Create a Channel
To create a new Data Streams channel:
-
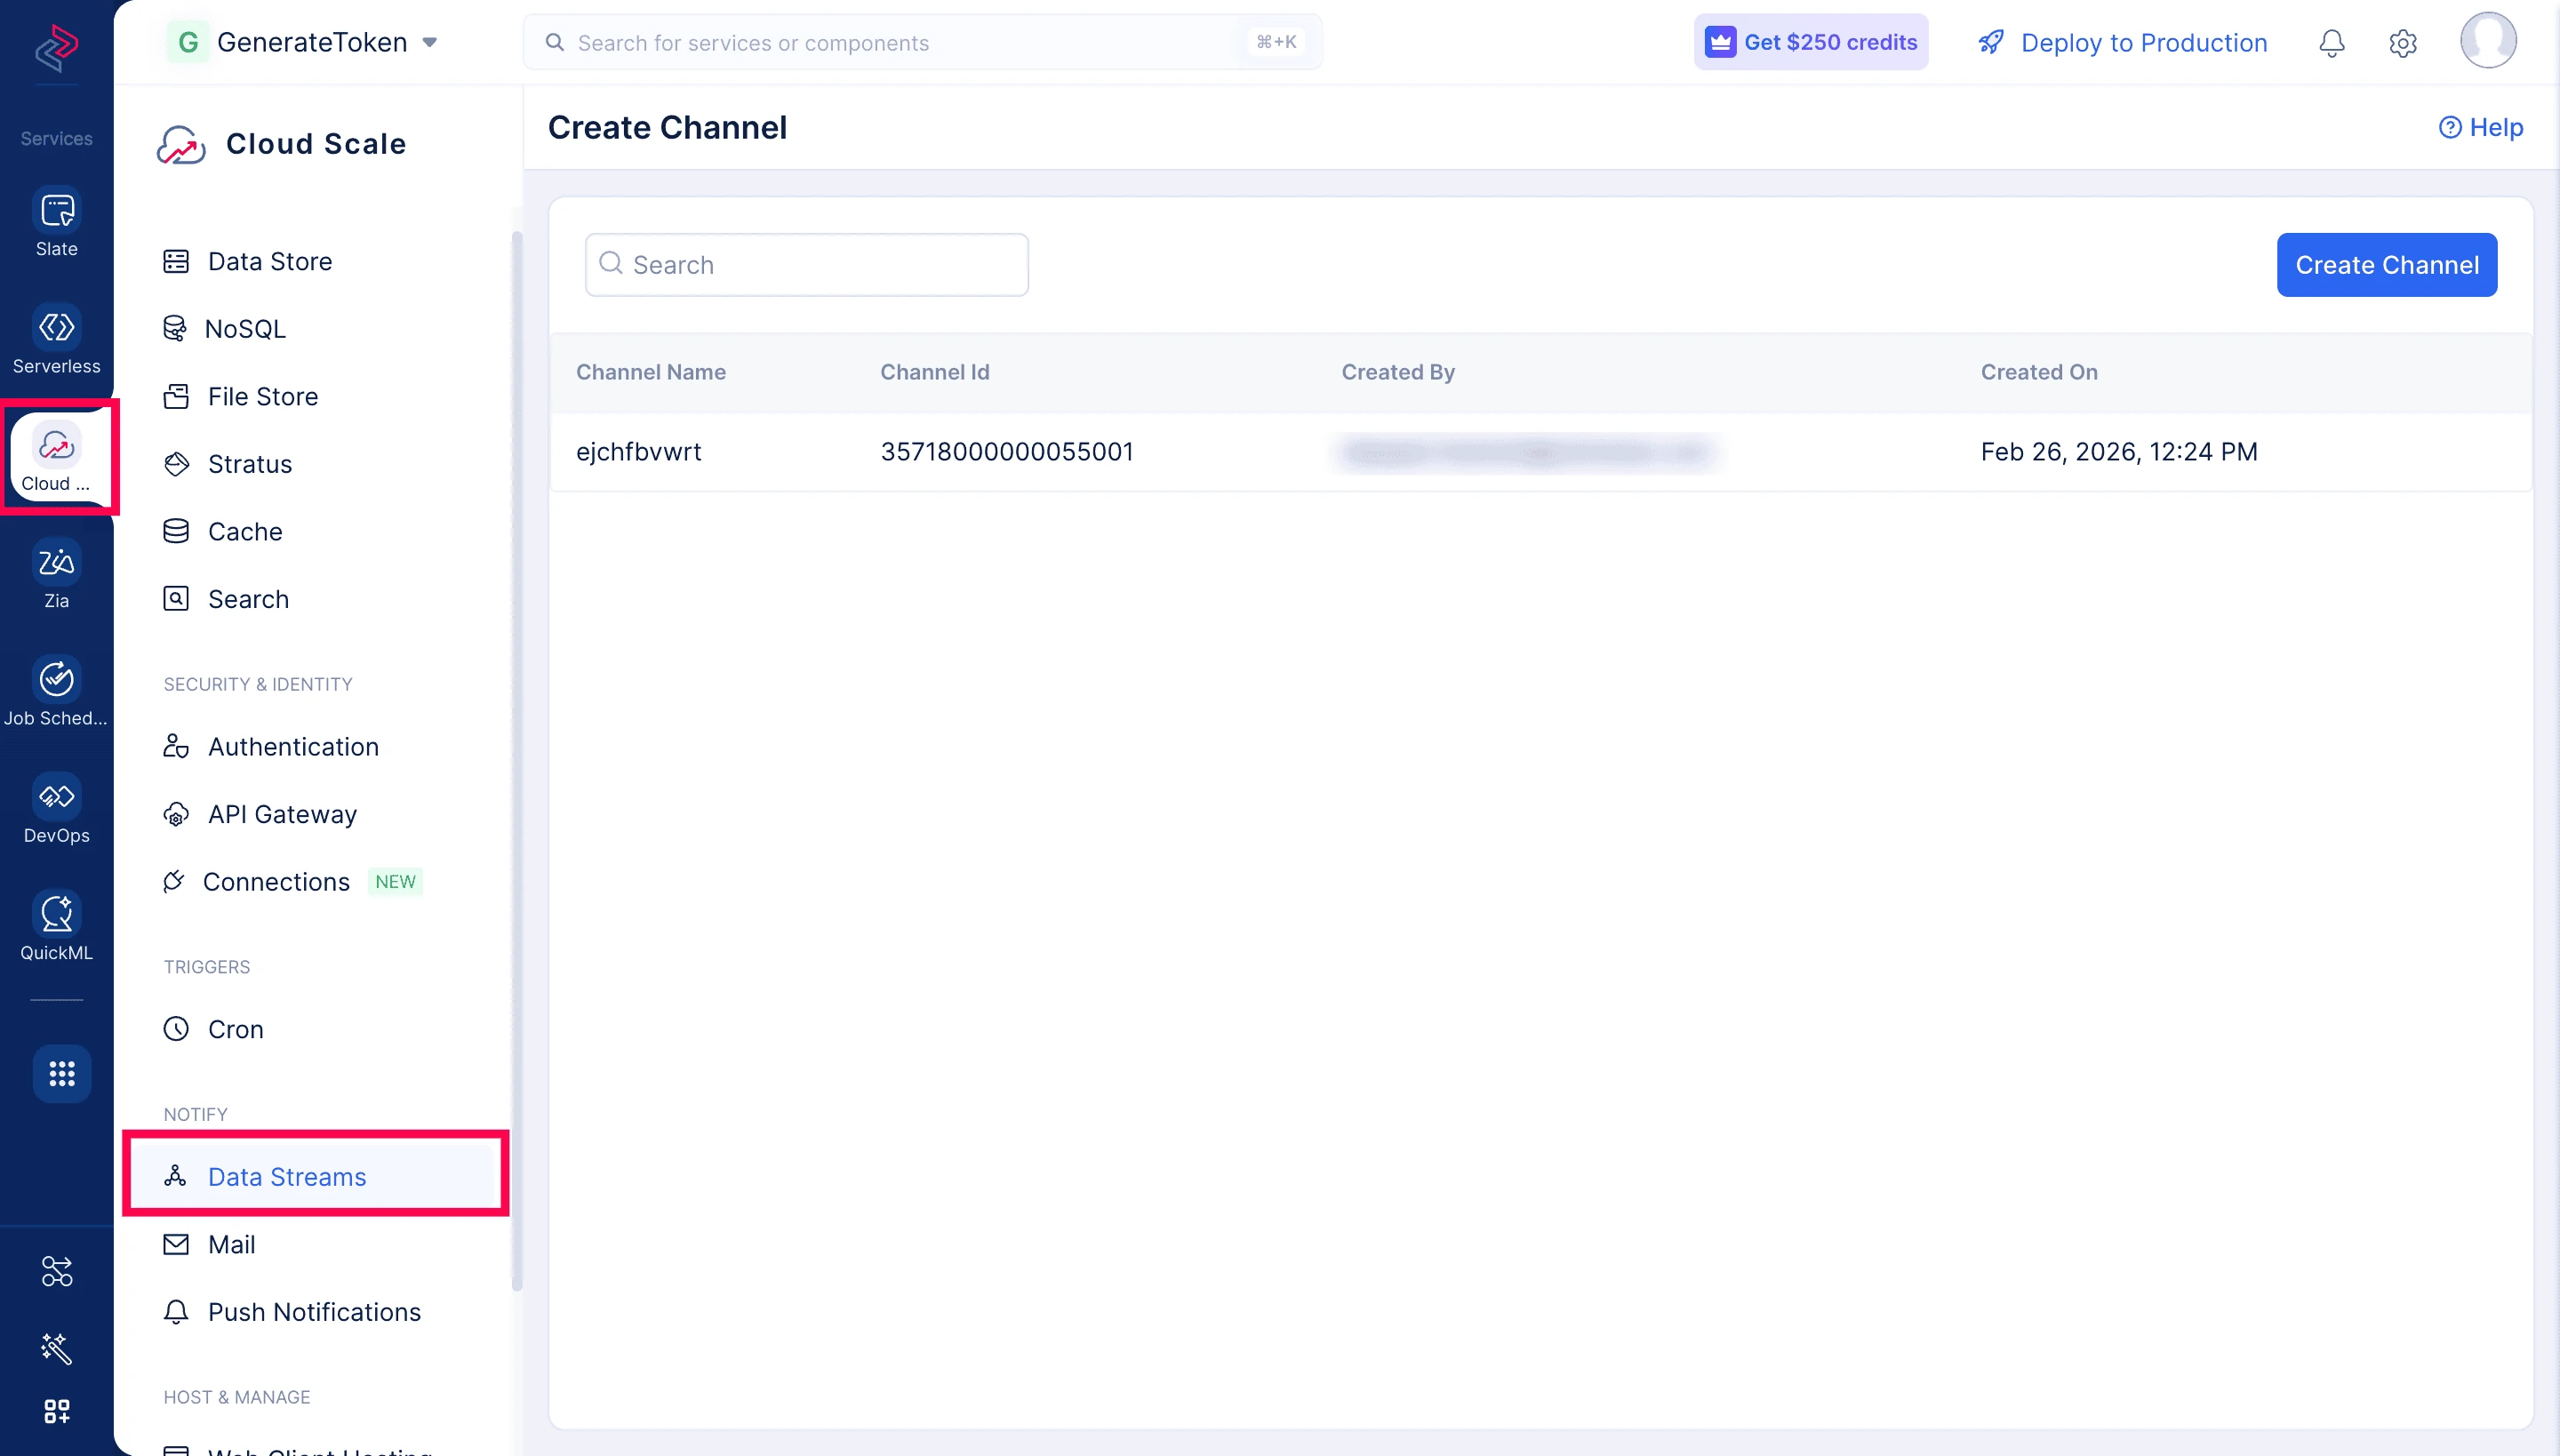
Access Data Streams from the service menu under Cloud Scale.
-
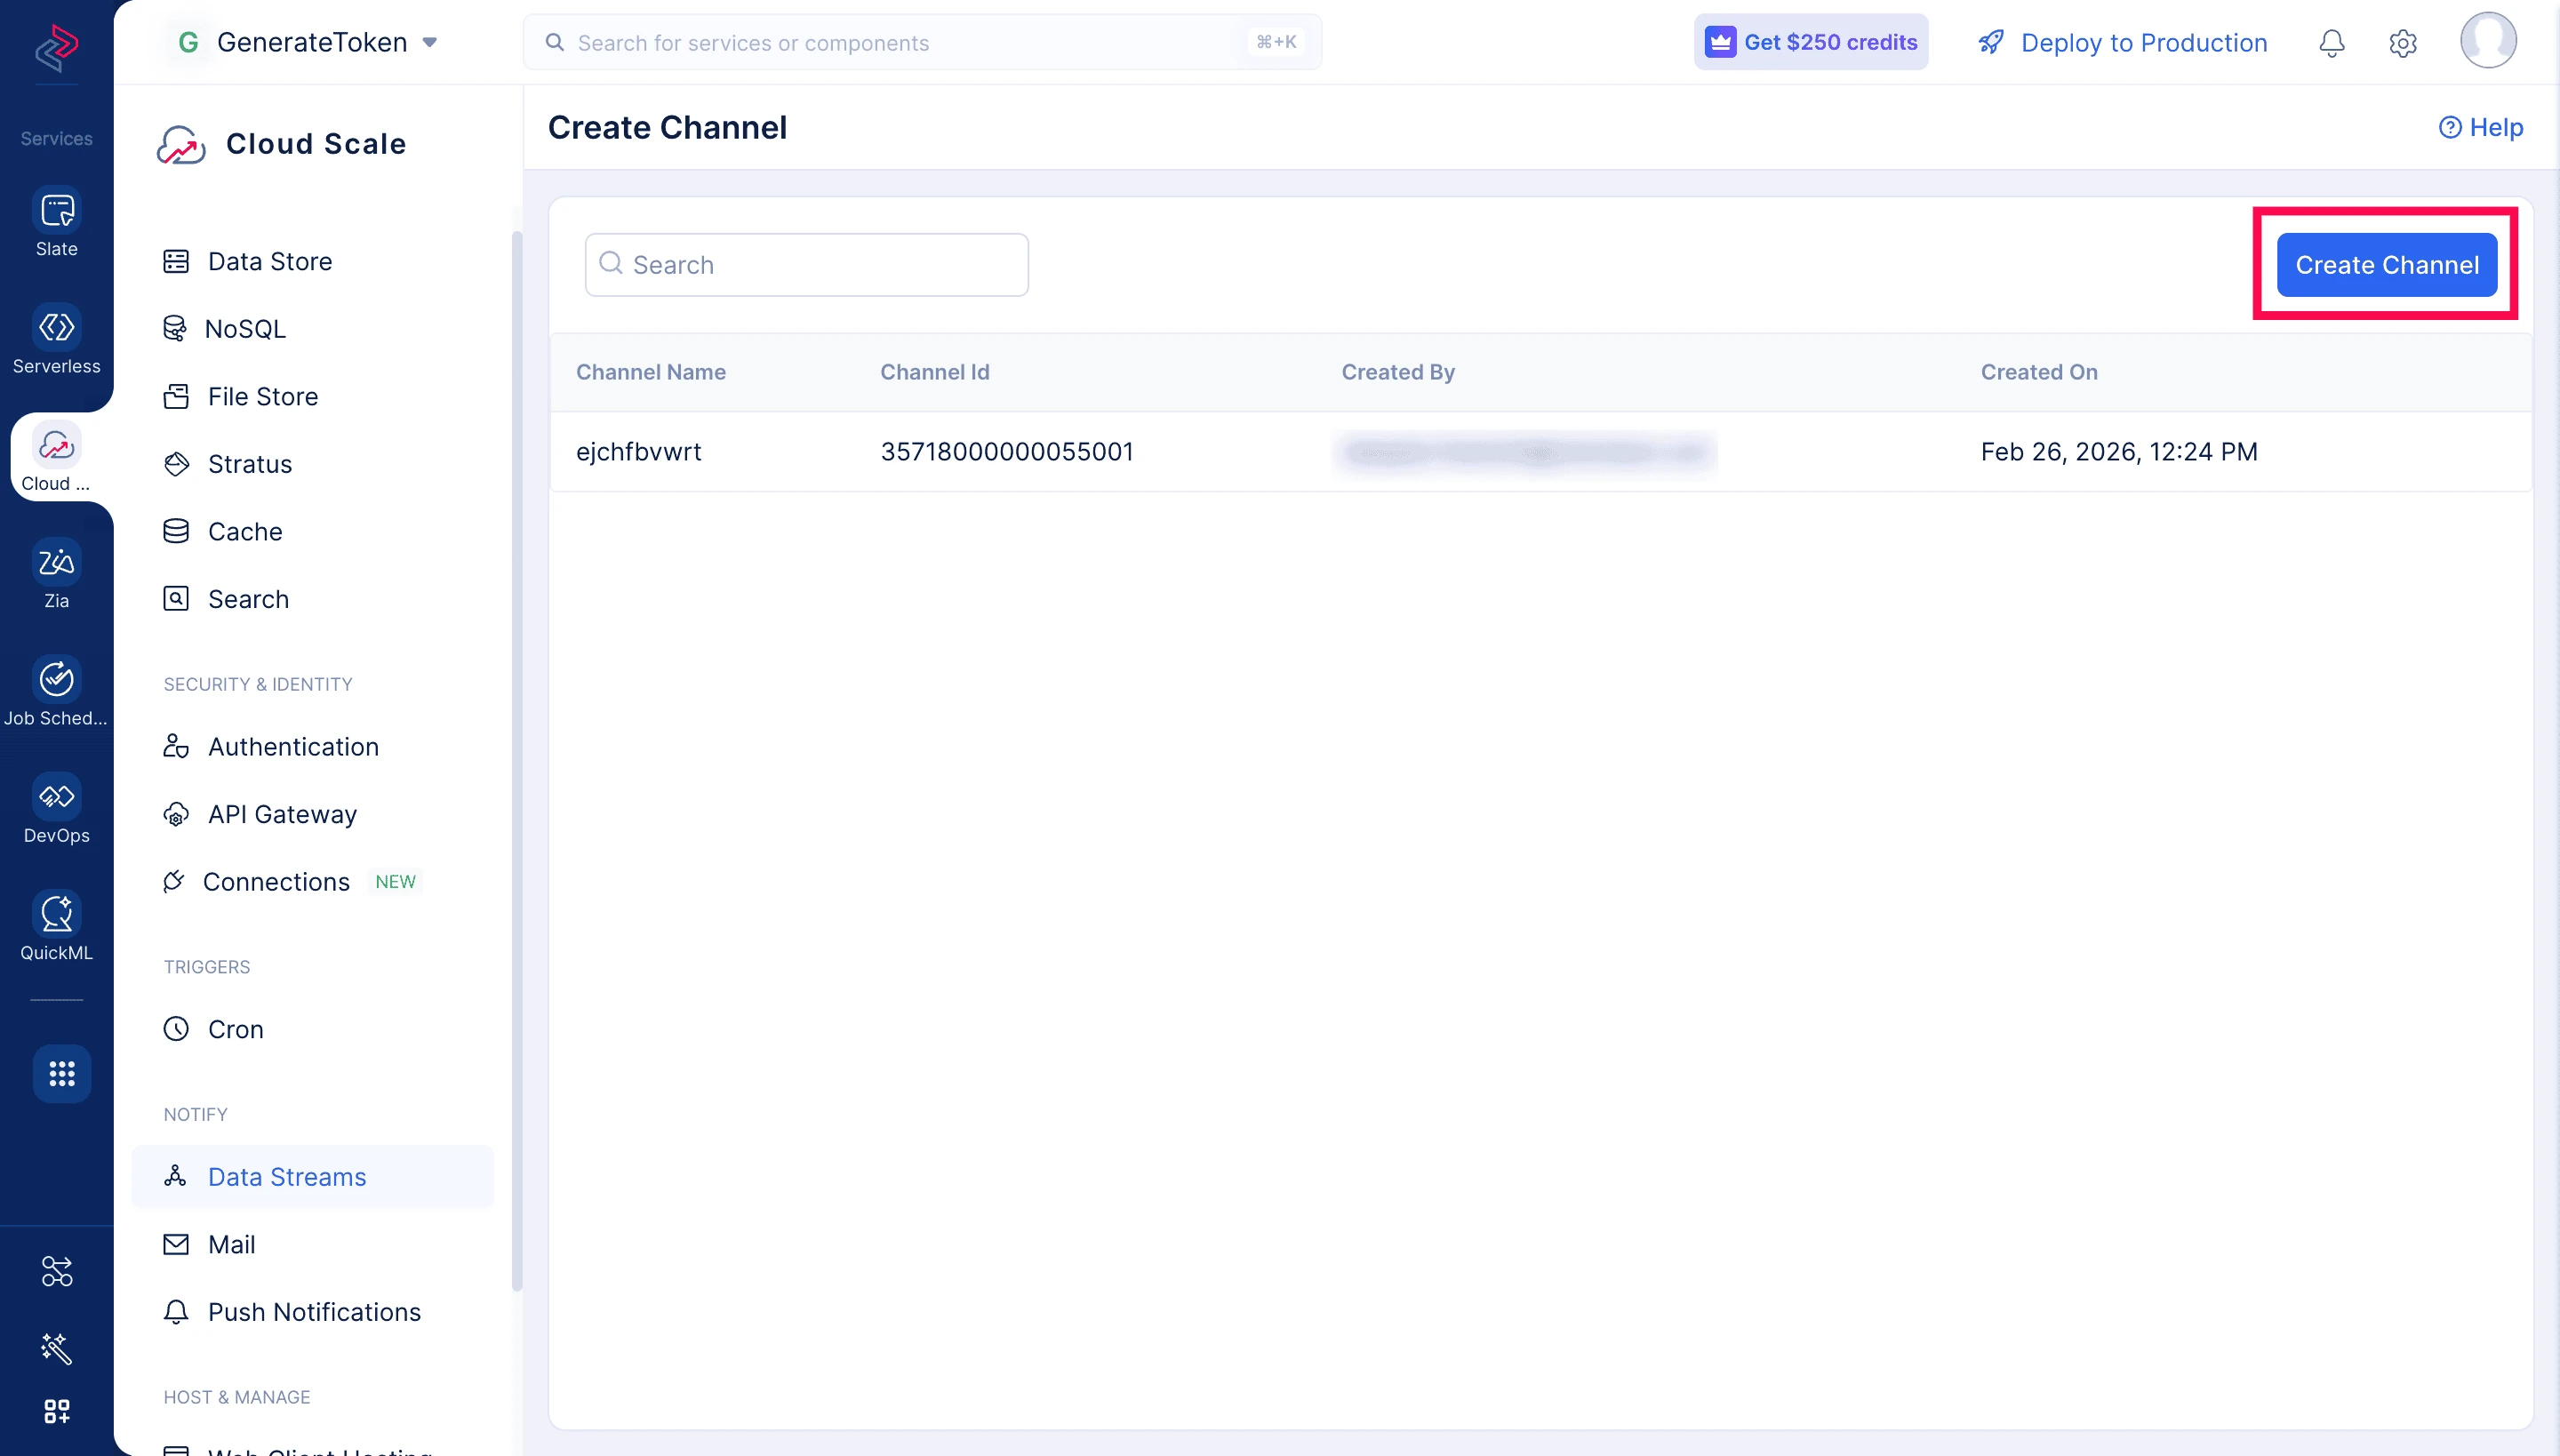
Click the Create Channel button.
-
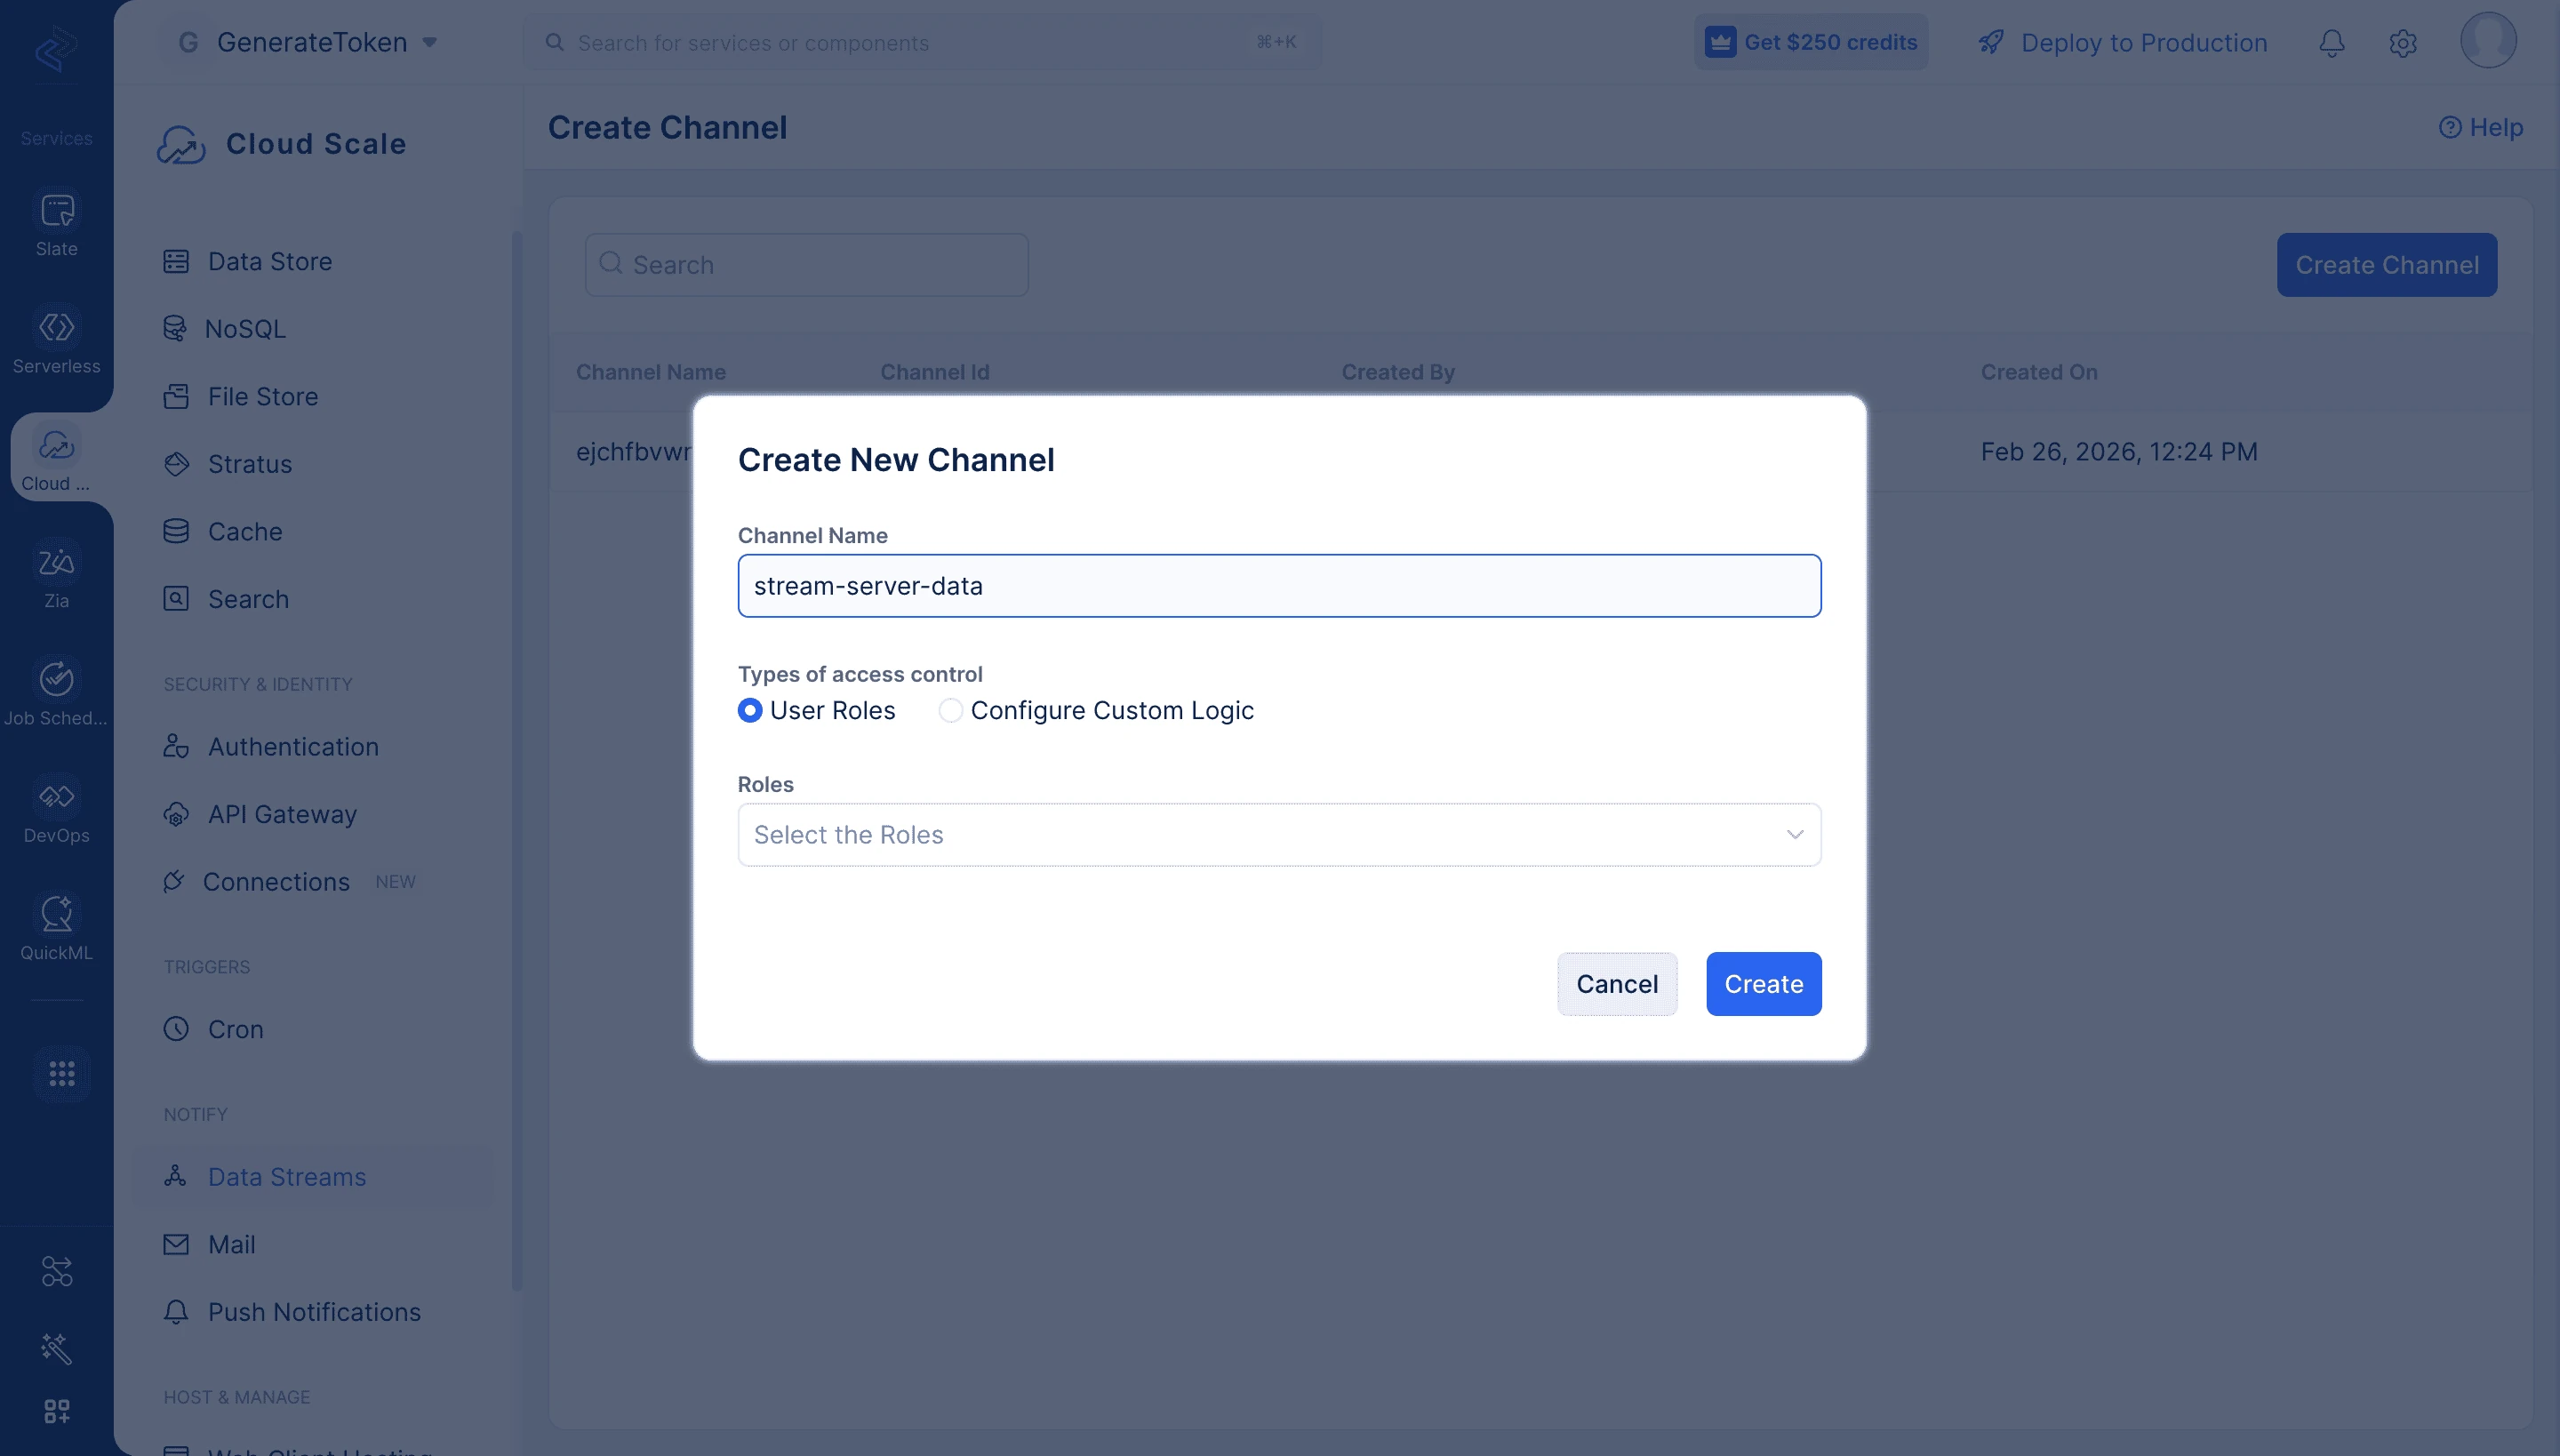
Enter a descriptive name for your channel (e.g., “user-notifications”, “order-updates”, “live-chat”).
-
Select an access control type to determine how subscribers will be authenticated when connecting to this channel:
- User Roles — Restricts channel access to authenticated users with specific roles. Select User Roles from the dropdown and choose one or more roles from your Catalyst Authentication configuration. Use this when subscribers are authenticated users in your application with defined roles.
- Custom Logic — Delegates authentication to an Advanced I/O function you define. Select Custom Logic from the dropdown and choose an existing function. Use this when you need custom authentication logic (SSO, API keys, anonymous users, device-based access).
Note: For detailed access control configuration, refer to Setup Access Control. To create user roles, refer to the User Roles documentation.
- Click Create.
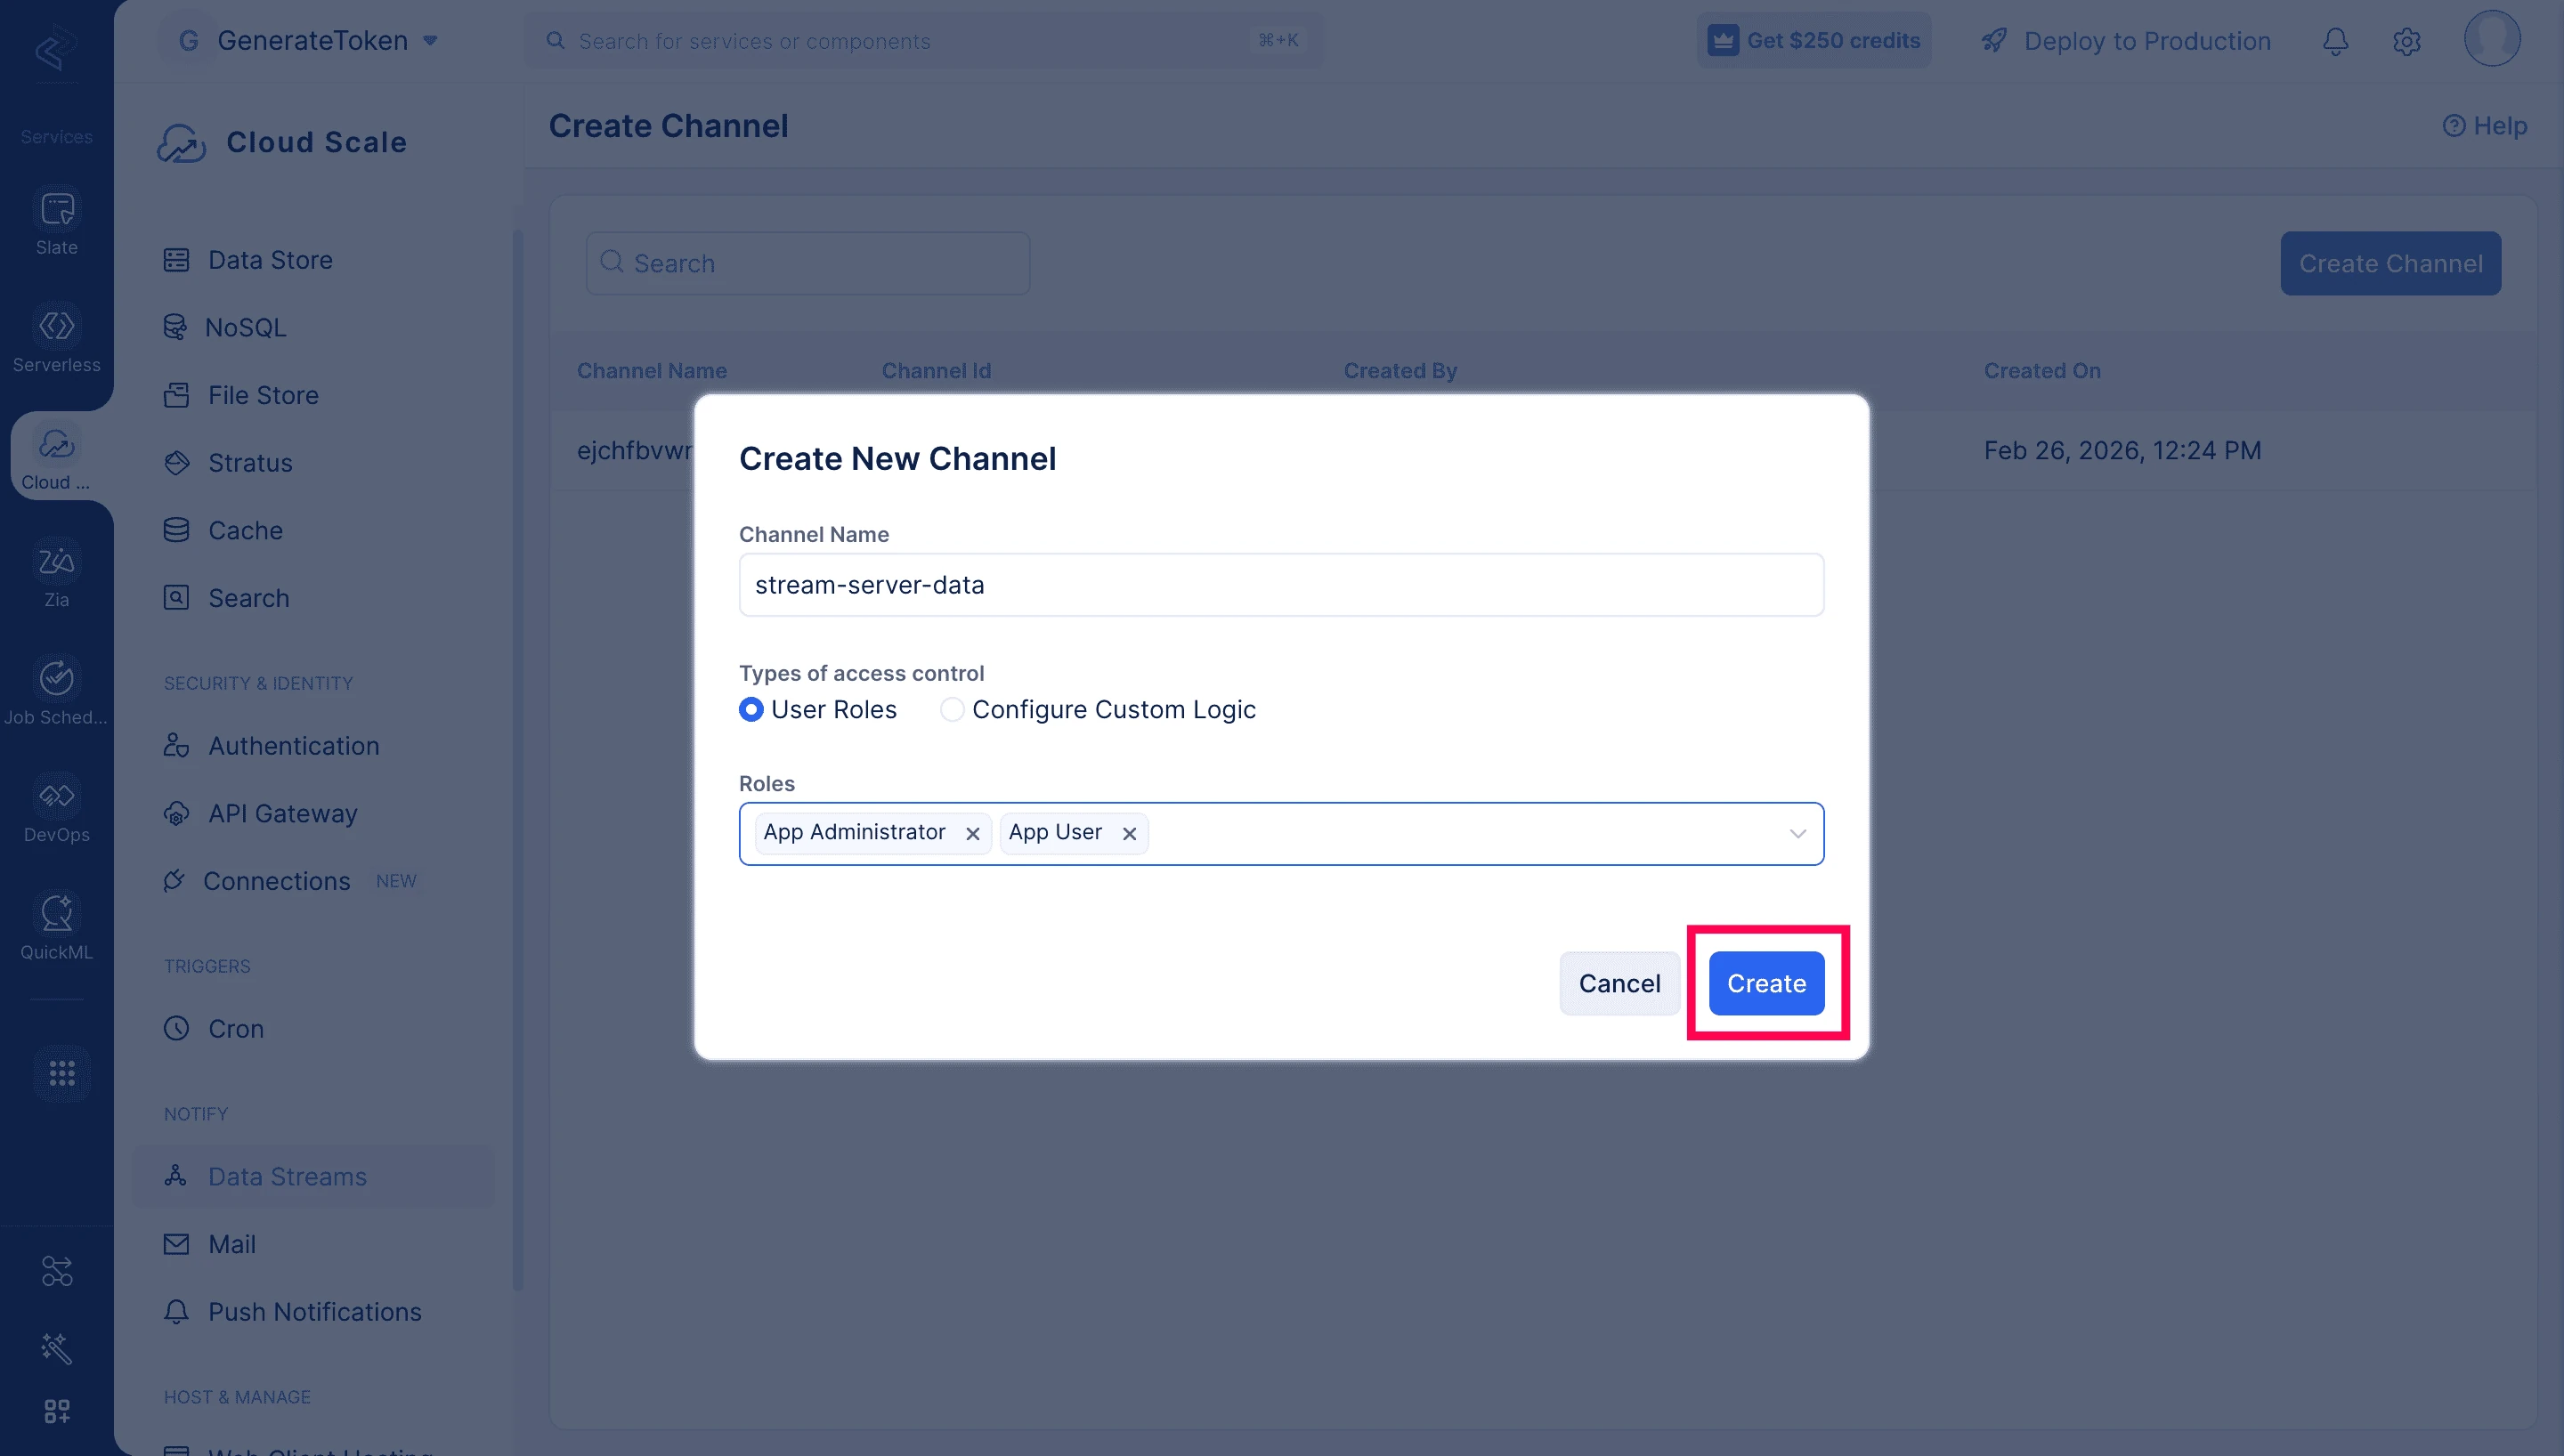
Your channel is ready to receive and distribute data. You will be redirected to the Test Data Flow section where you can verify that data flows correctly between publishers and subscribers. The Channel ID (required for all SDK and API interactions) is available in the General Details section of the Dashboard tab.
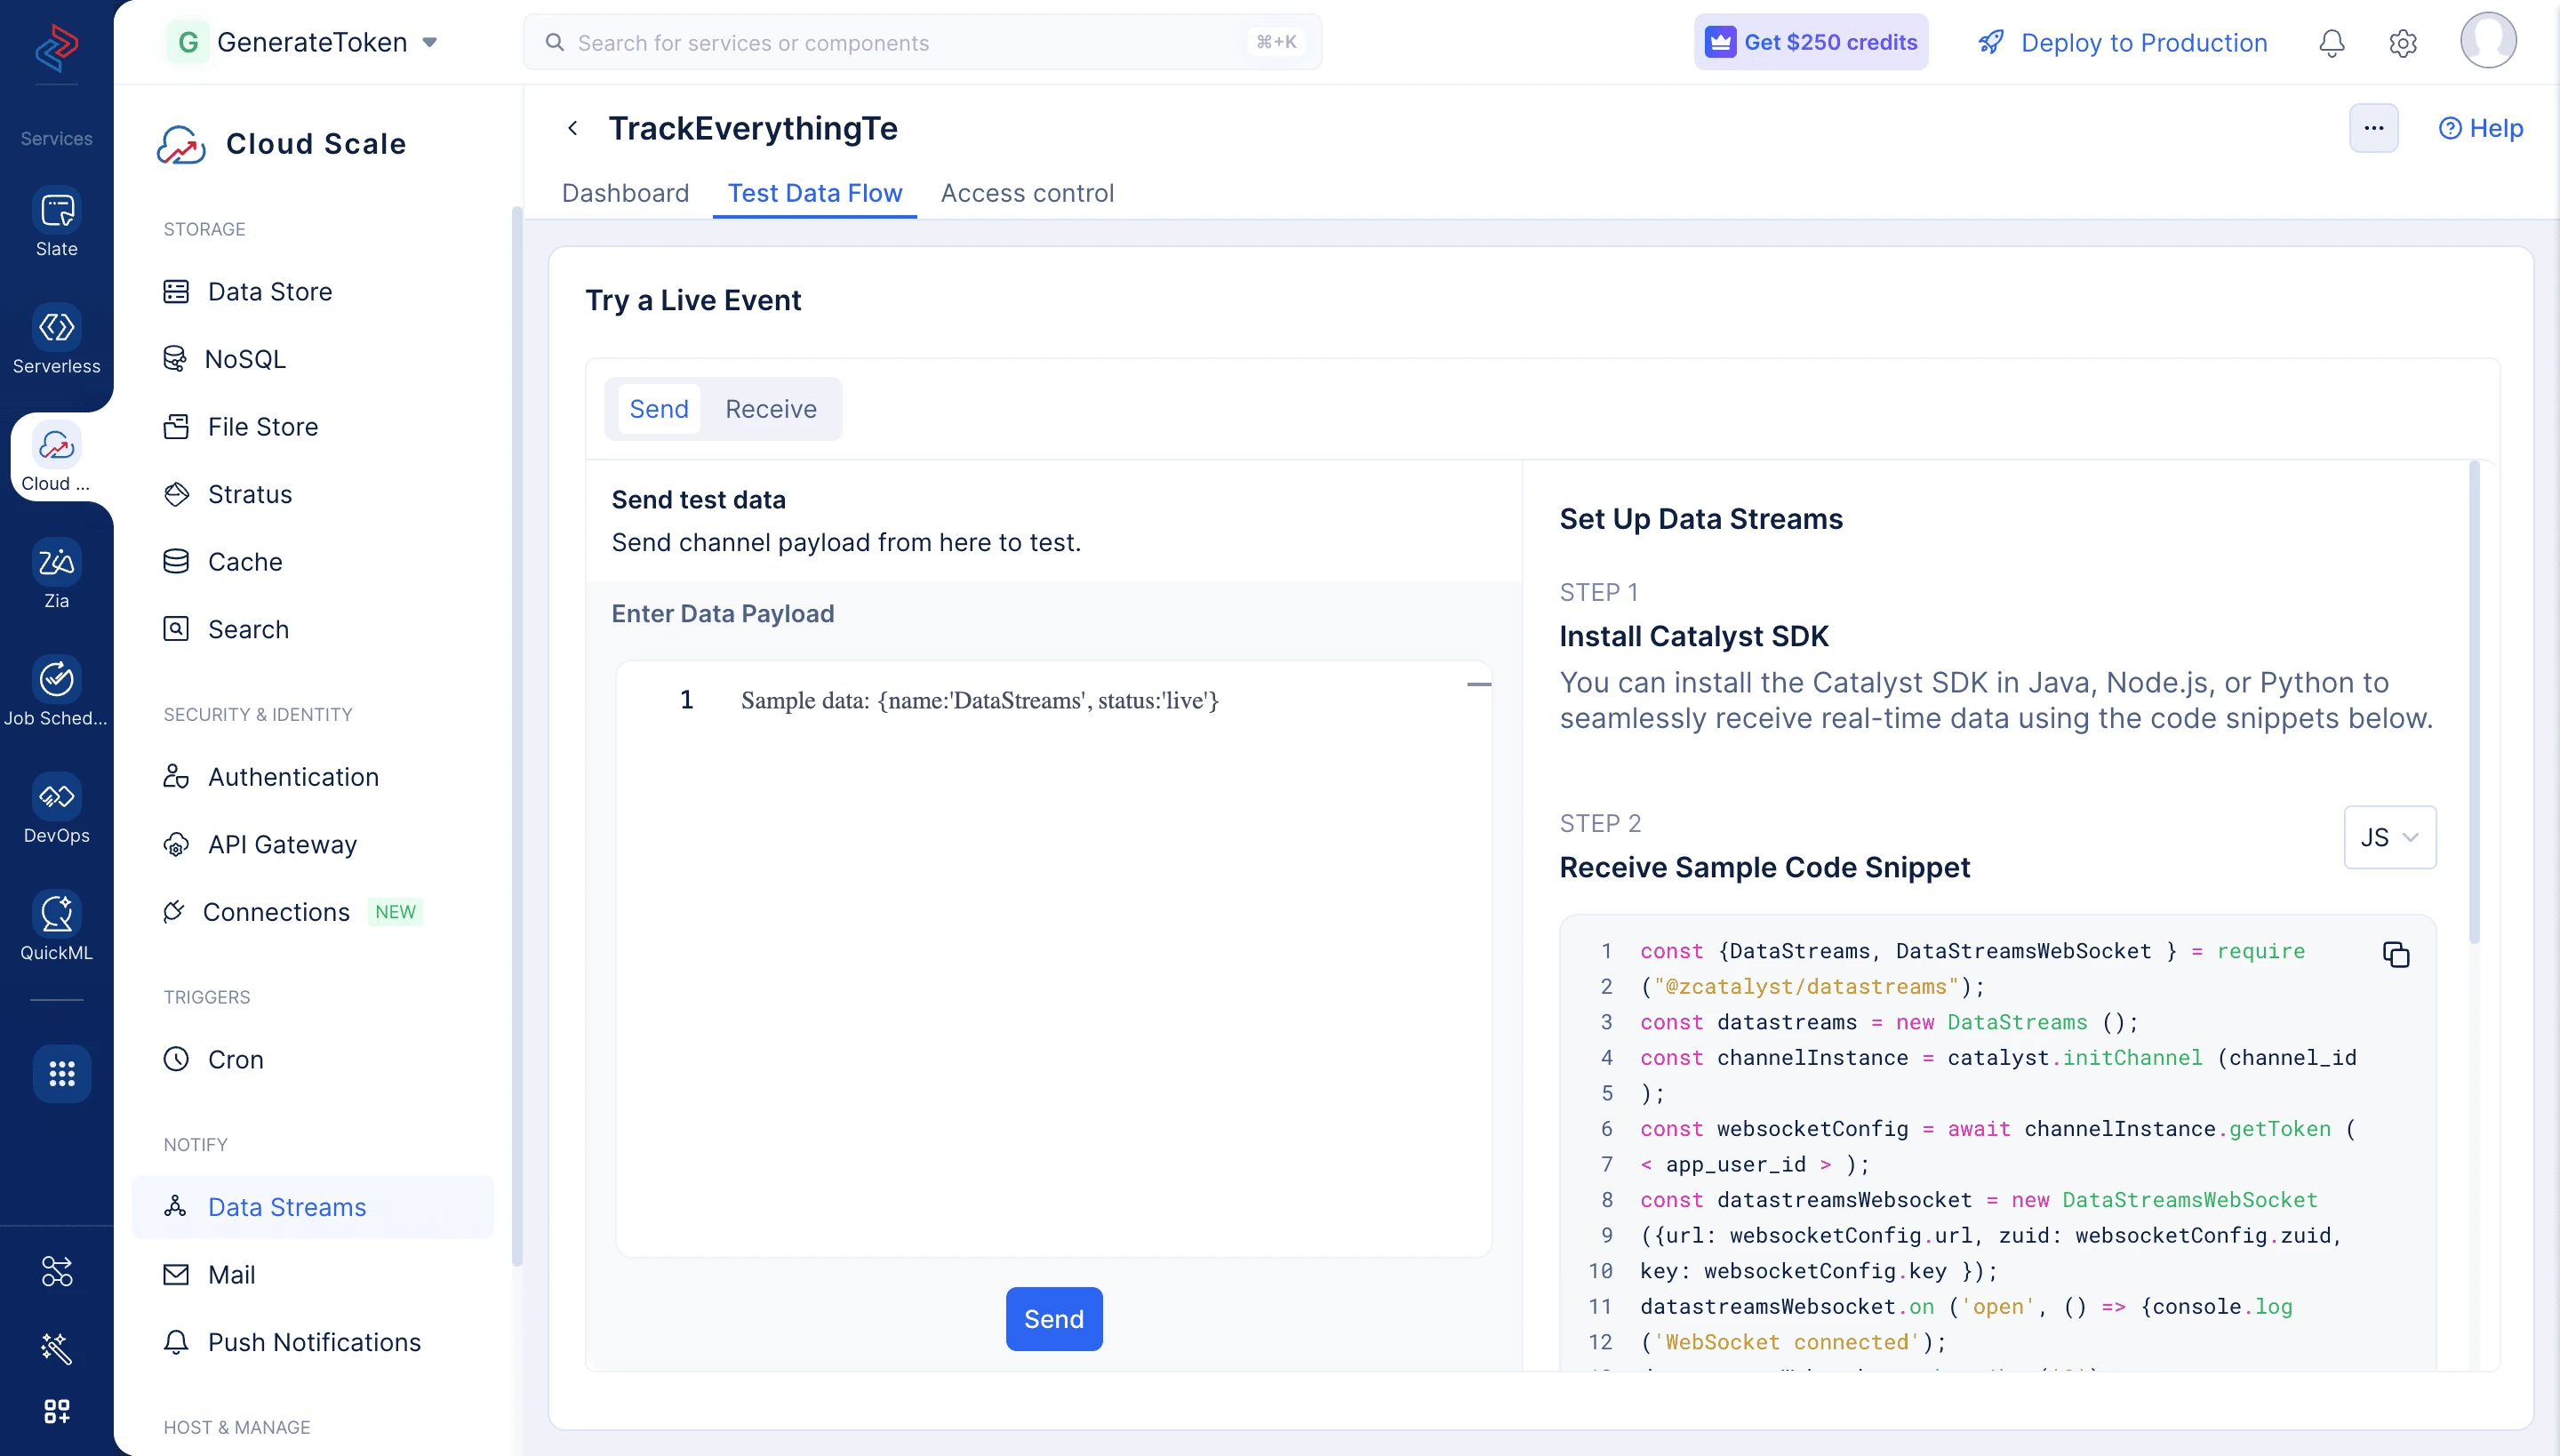
Note: Always use the Channel ID in your code, not the Channel Name. The Channel ID never changes.
Last Updated 2026-10-08 12:04:32 +0530 IST
Yes
No
Send your feedback to us
Skip
Submit
 Ask ChatGPT
 Ask Claude
 Ask Perplexity