Establish a Connection with a Custom Service
Using the Custom Service option, you can create a Connection with a service that is not listed or configured as a Default Service. Potentially, using this feature, you can create a successful connection with any Zoho or third-party service.
To create a connection, you need to first configure the required service as a Custom Service.
To configure a service as a Custom Service:
-
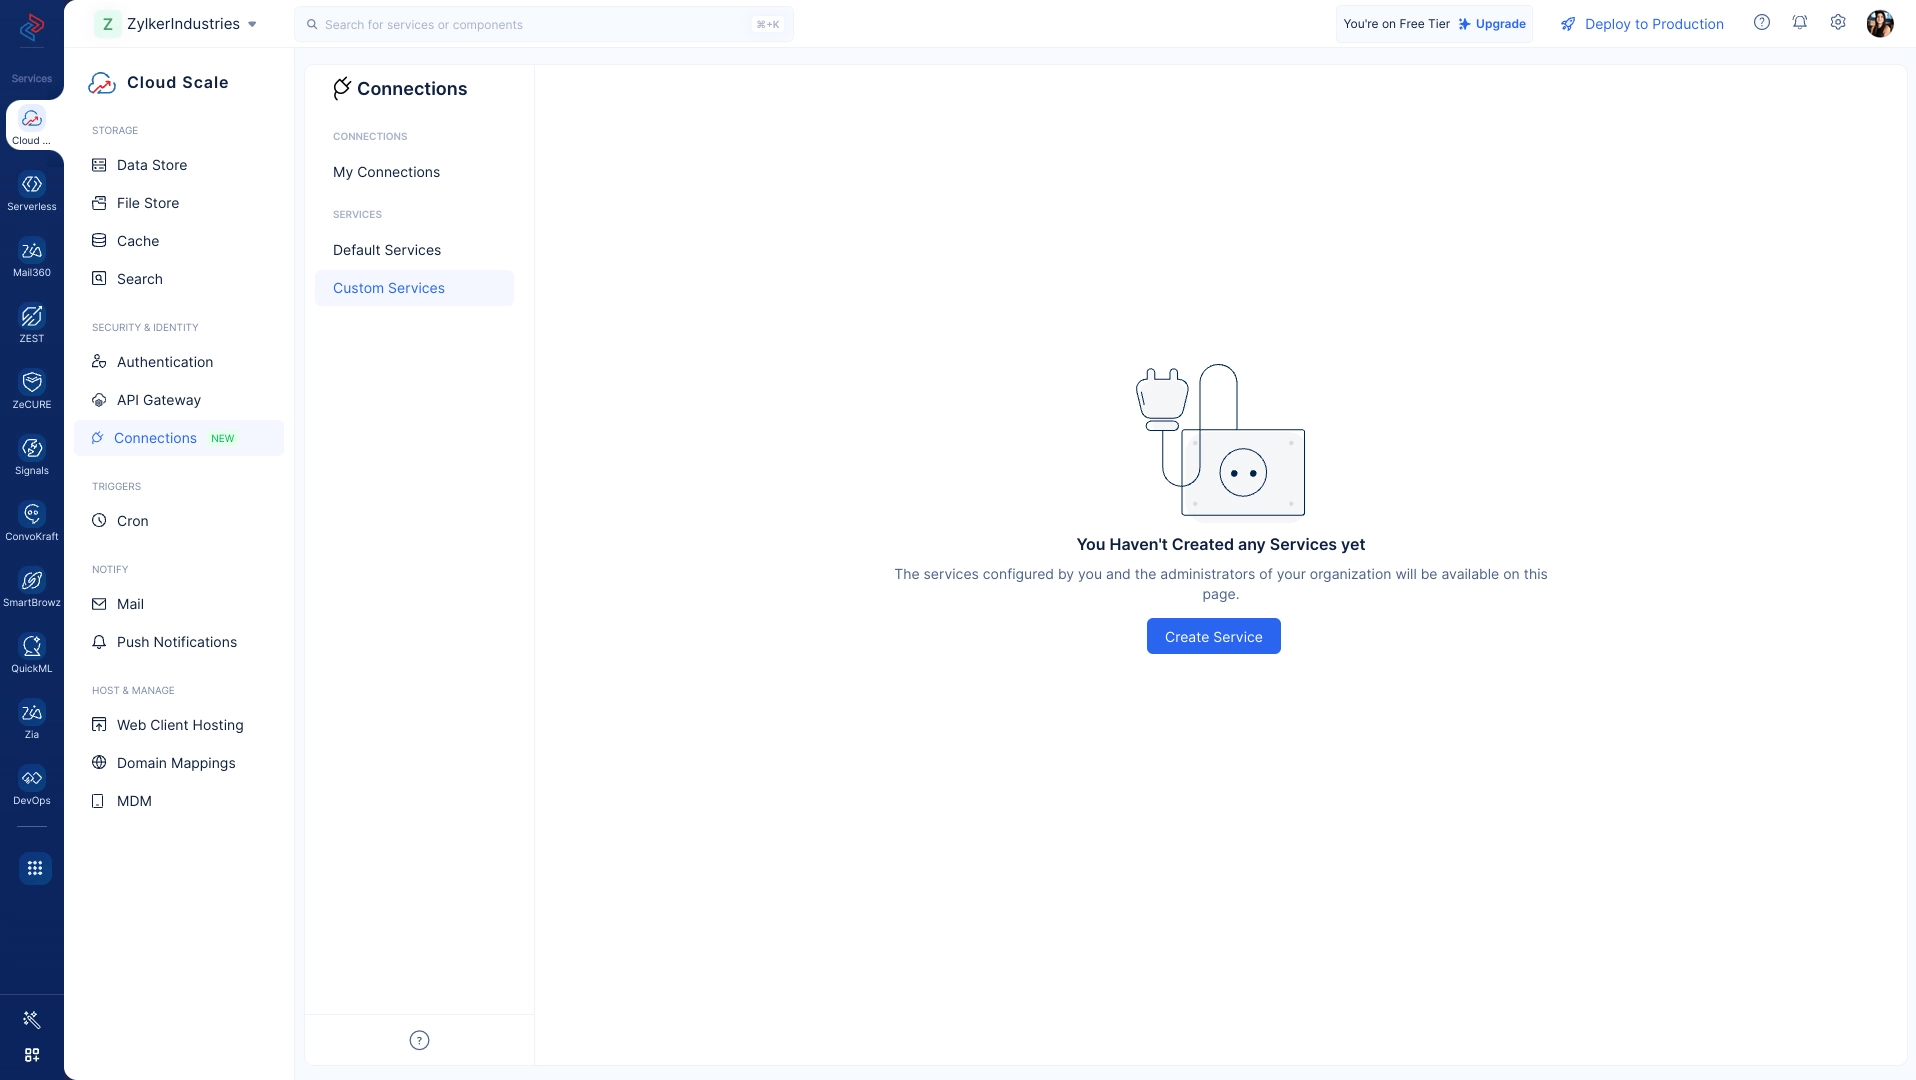
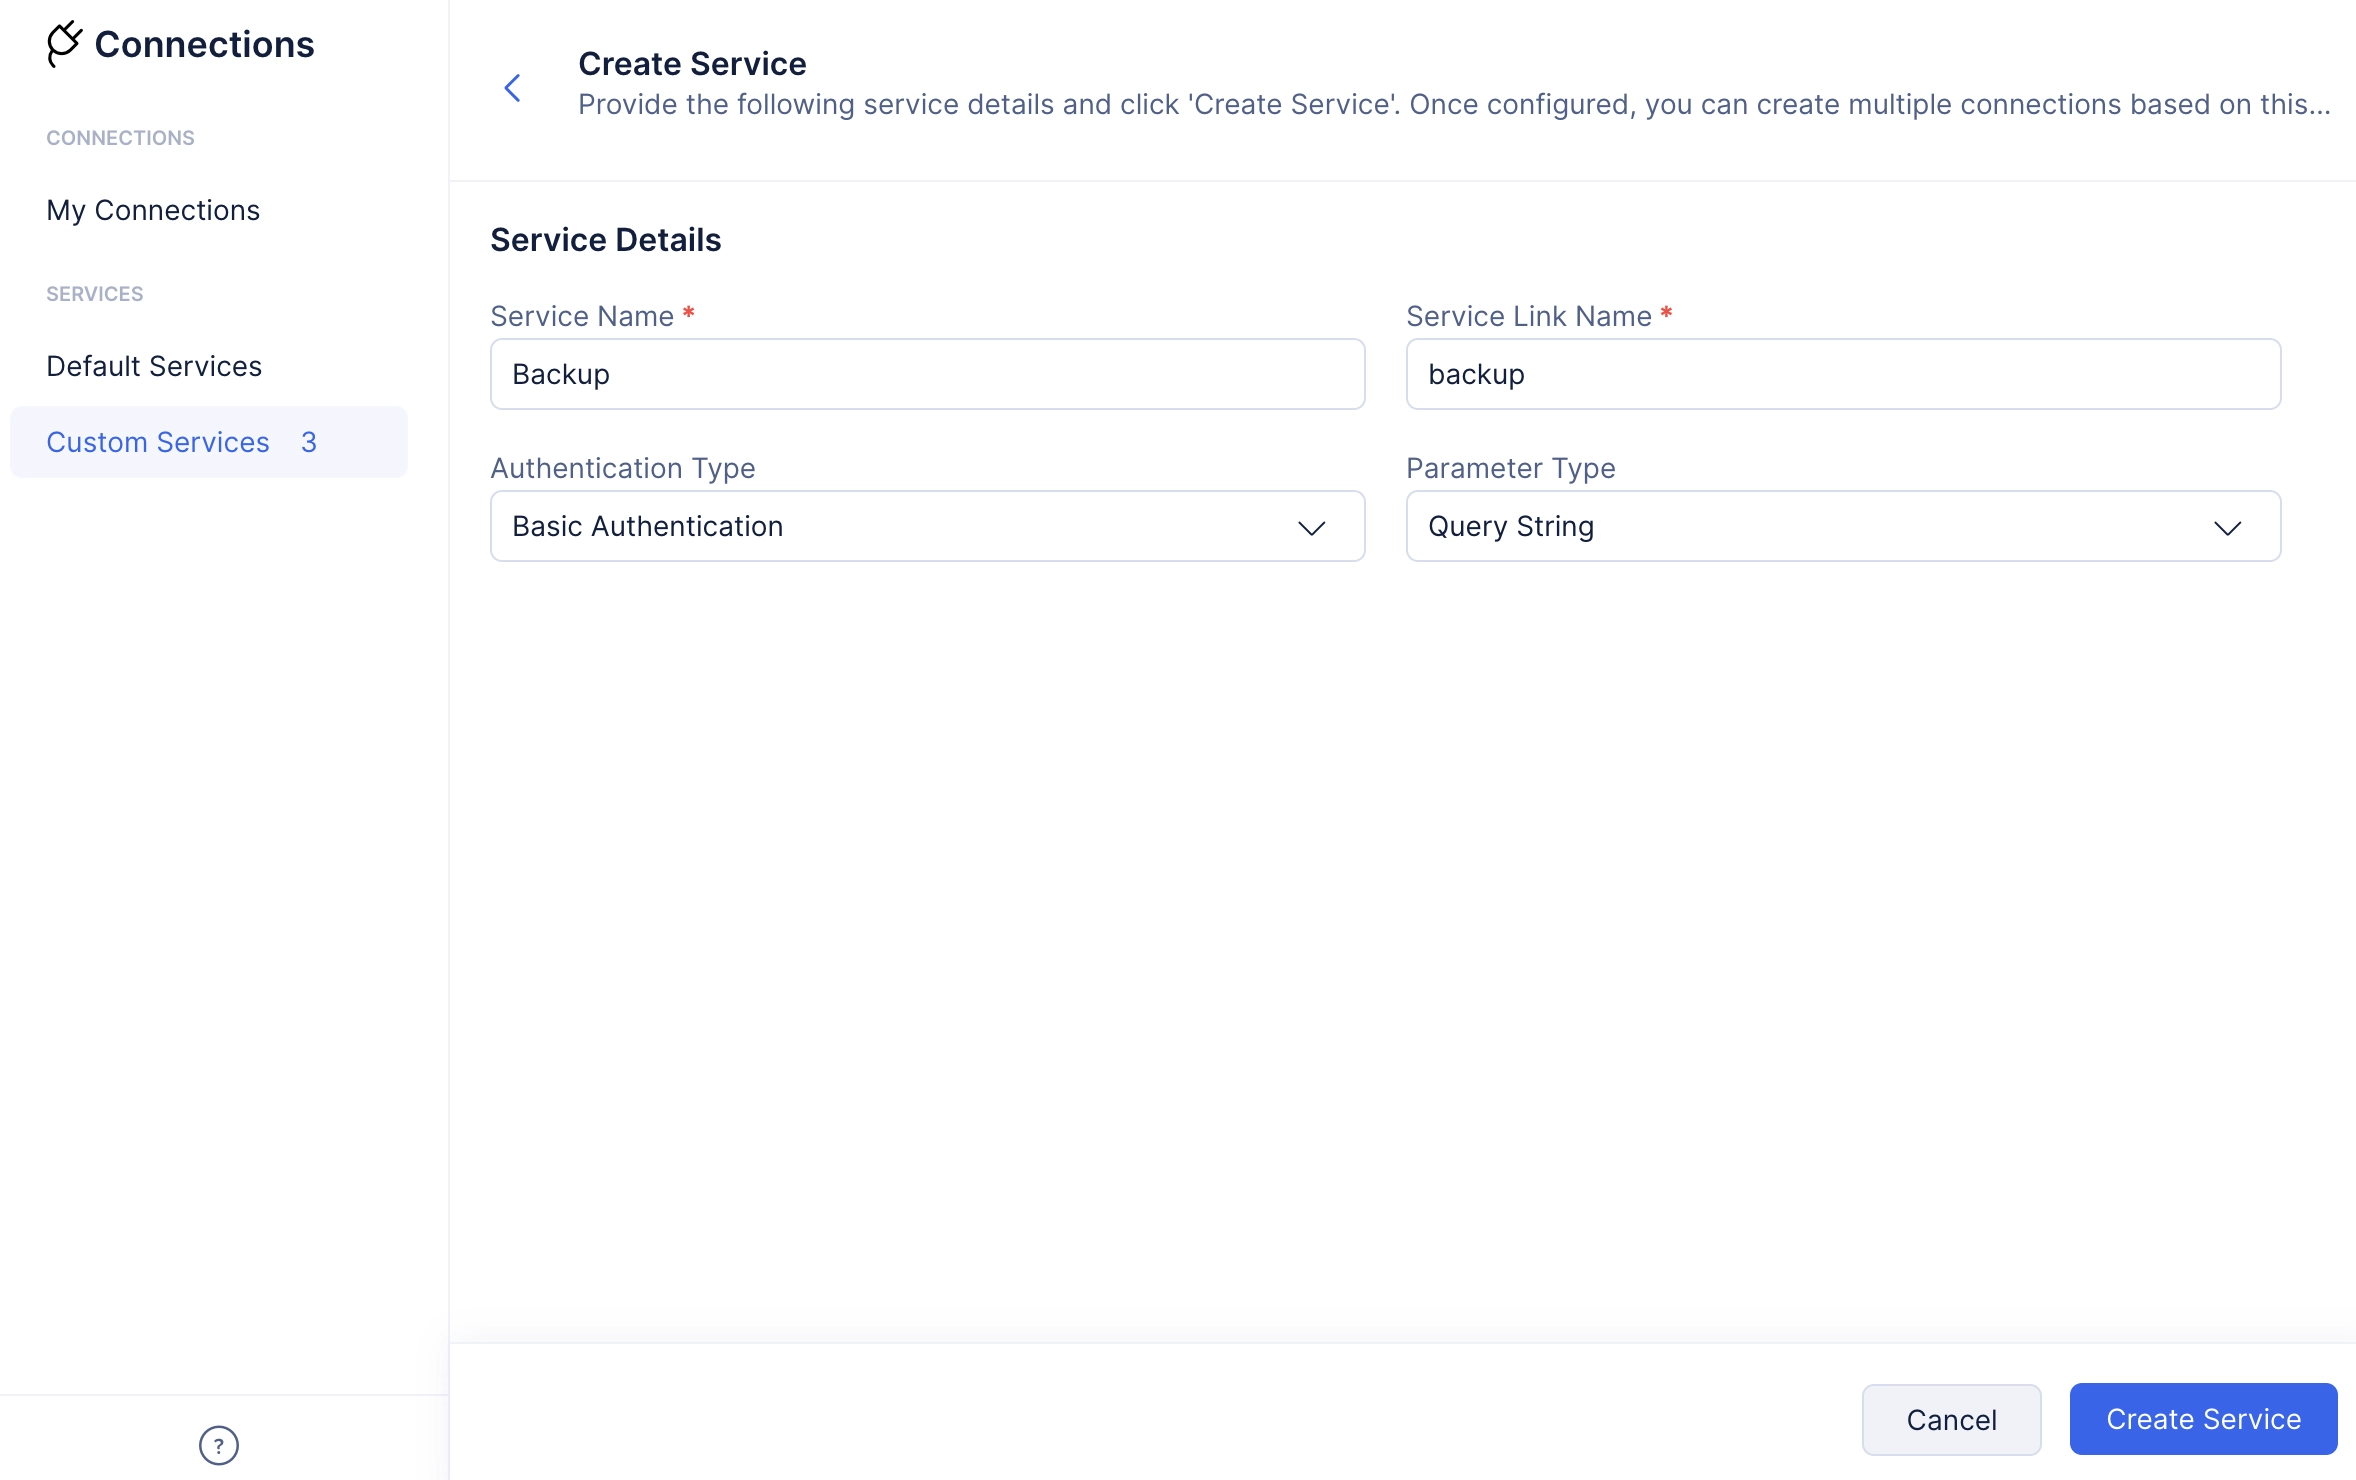
Navigate to the Custom Services option under the SERVICES section in the Connections component and click Create Service.
-
Provide a name for the service and choose the required Authentication Type:
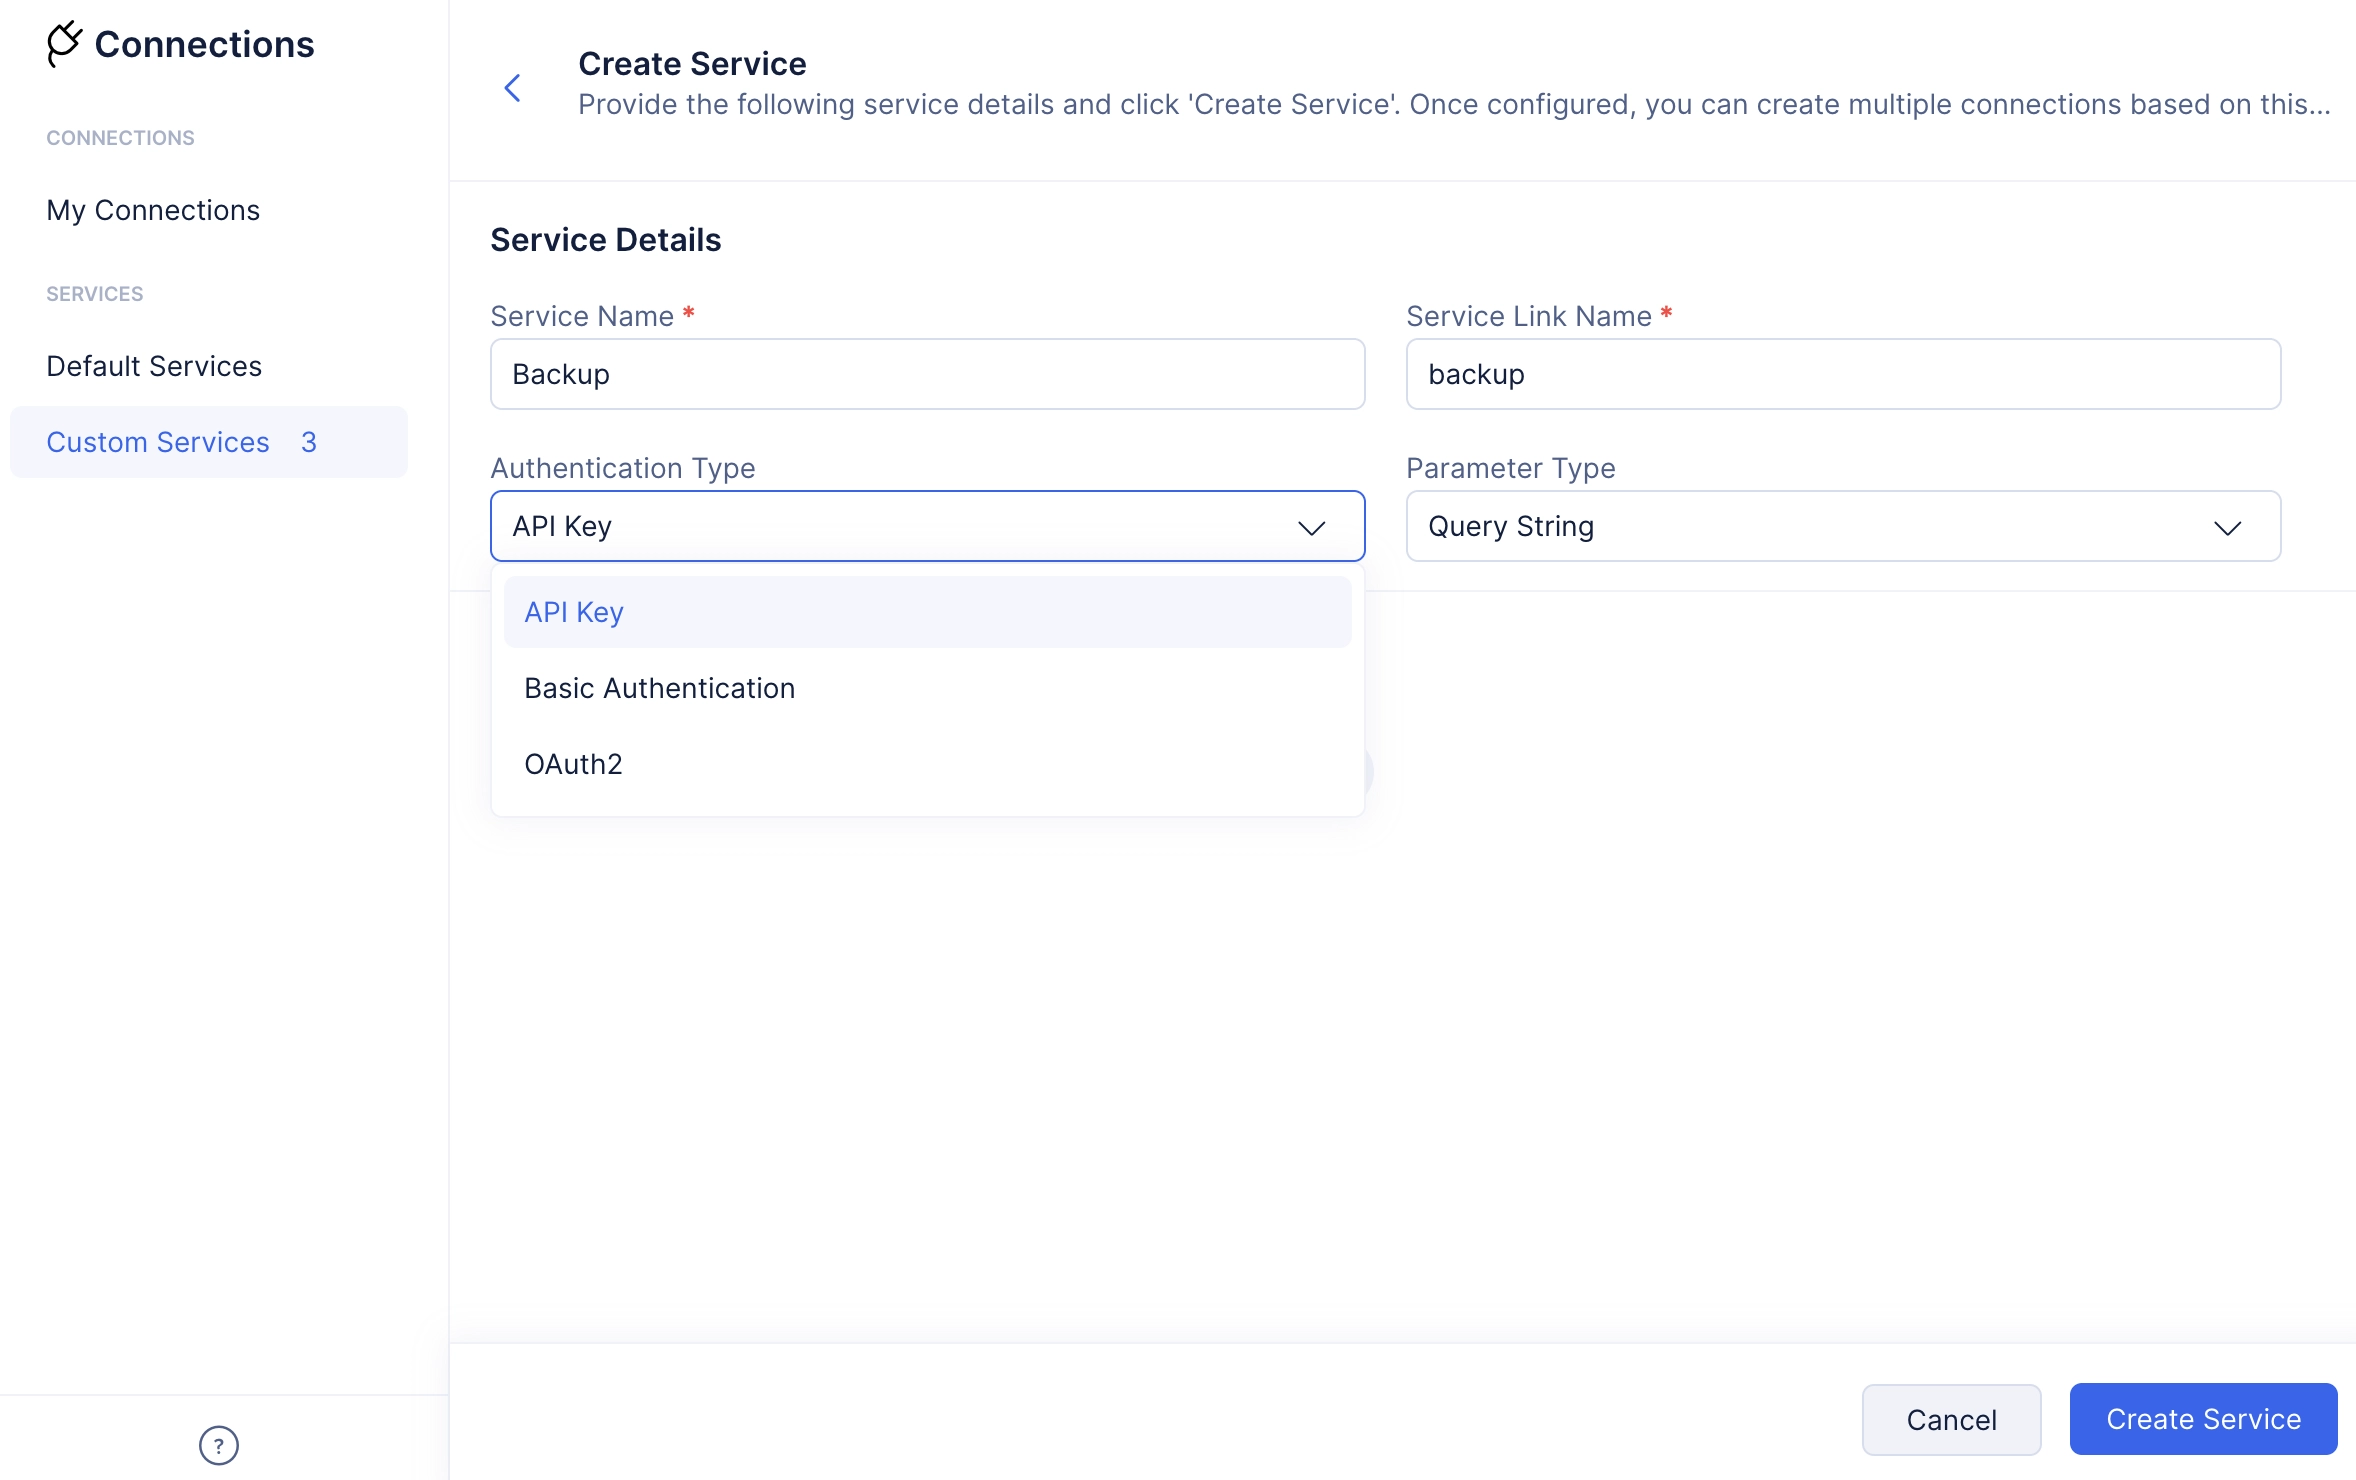
This choice will decide the manner in which you authenticate the connection request.
You can choose the API Key option if you wish to authenticate the connection request using a uniquely generated string.
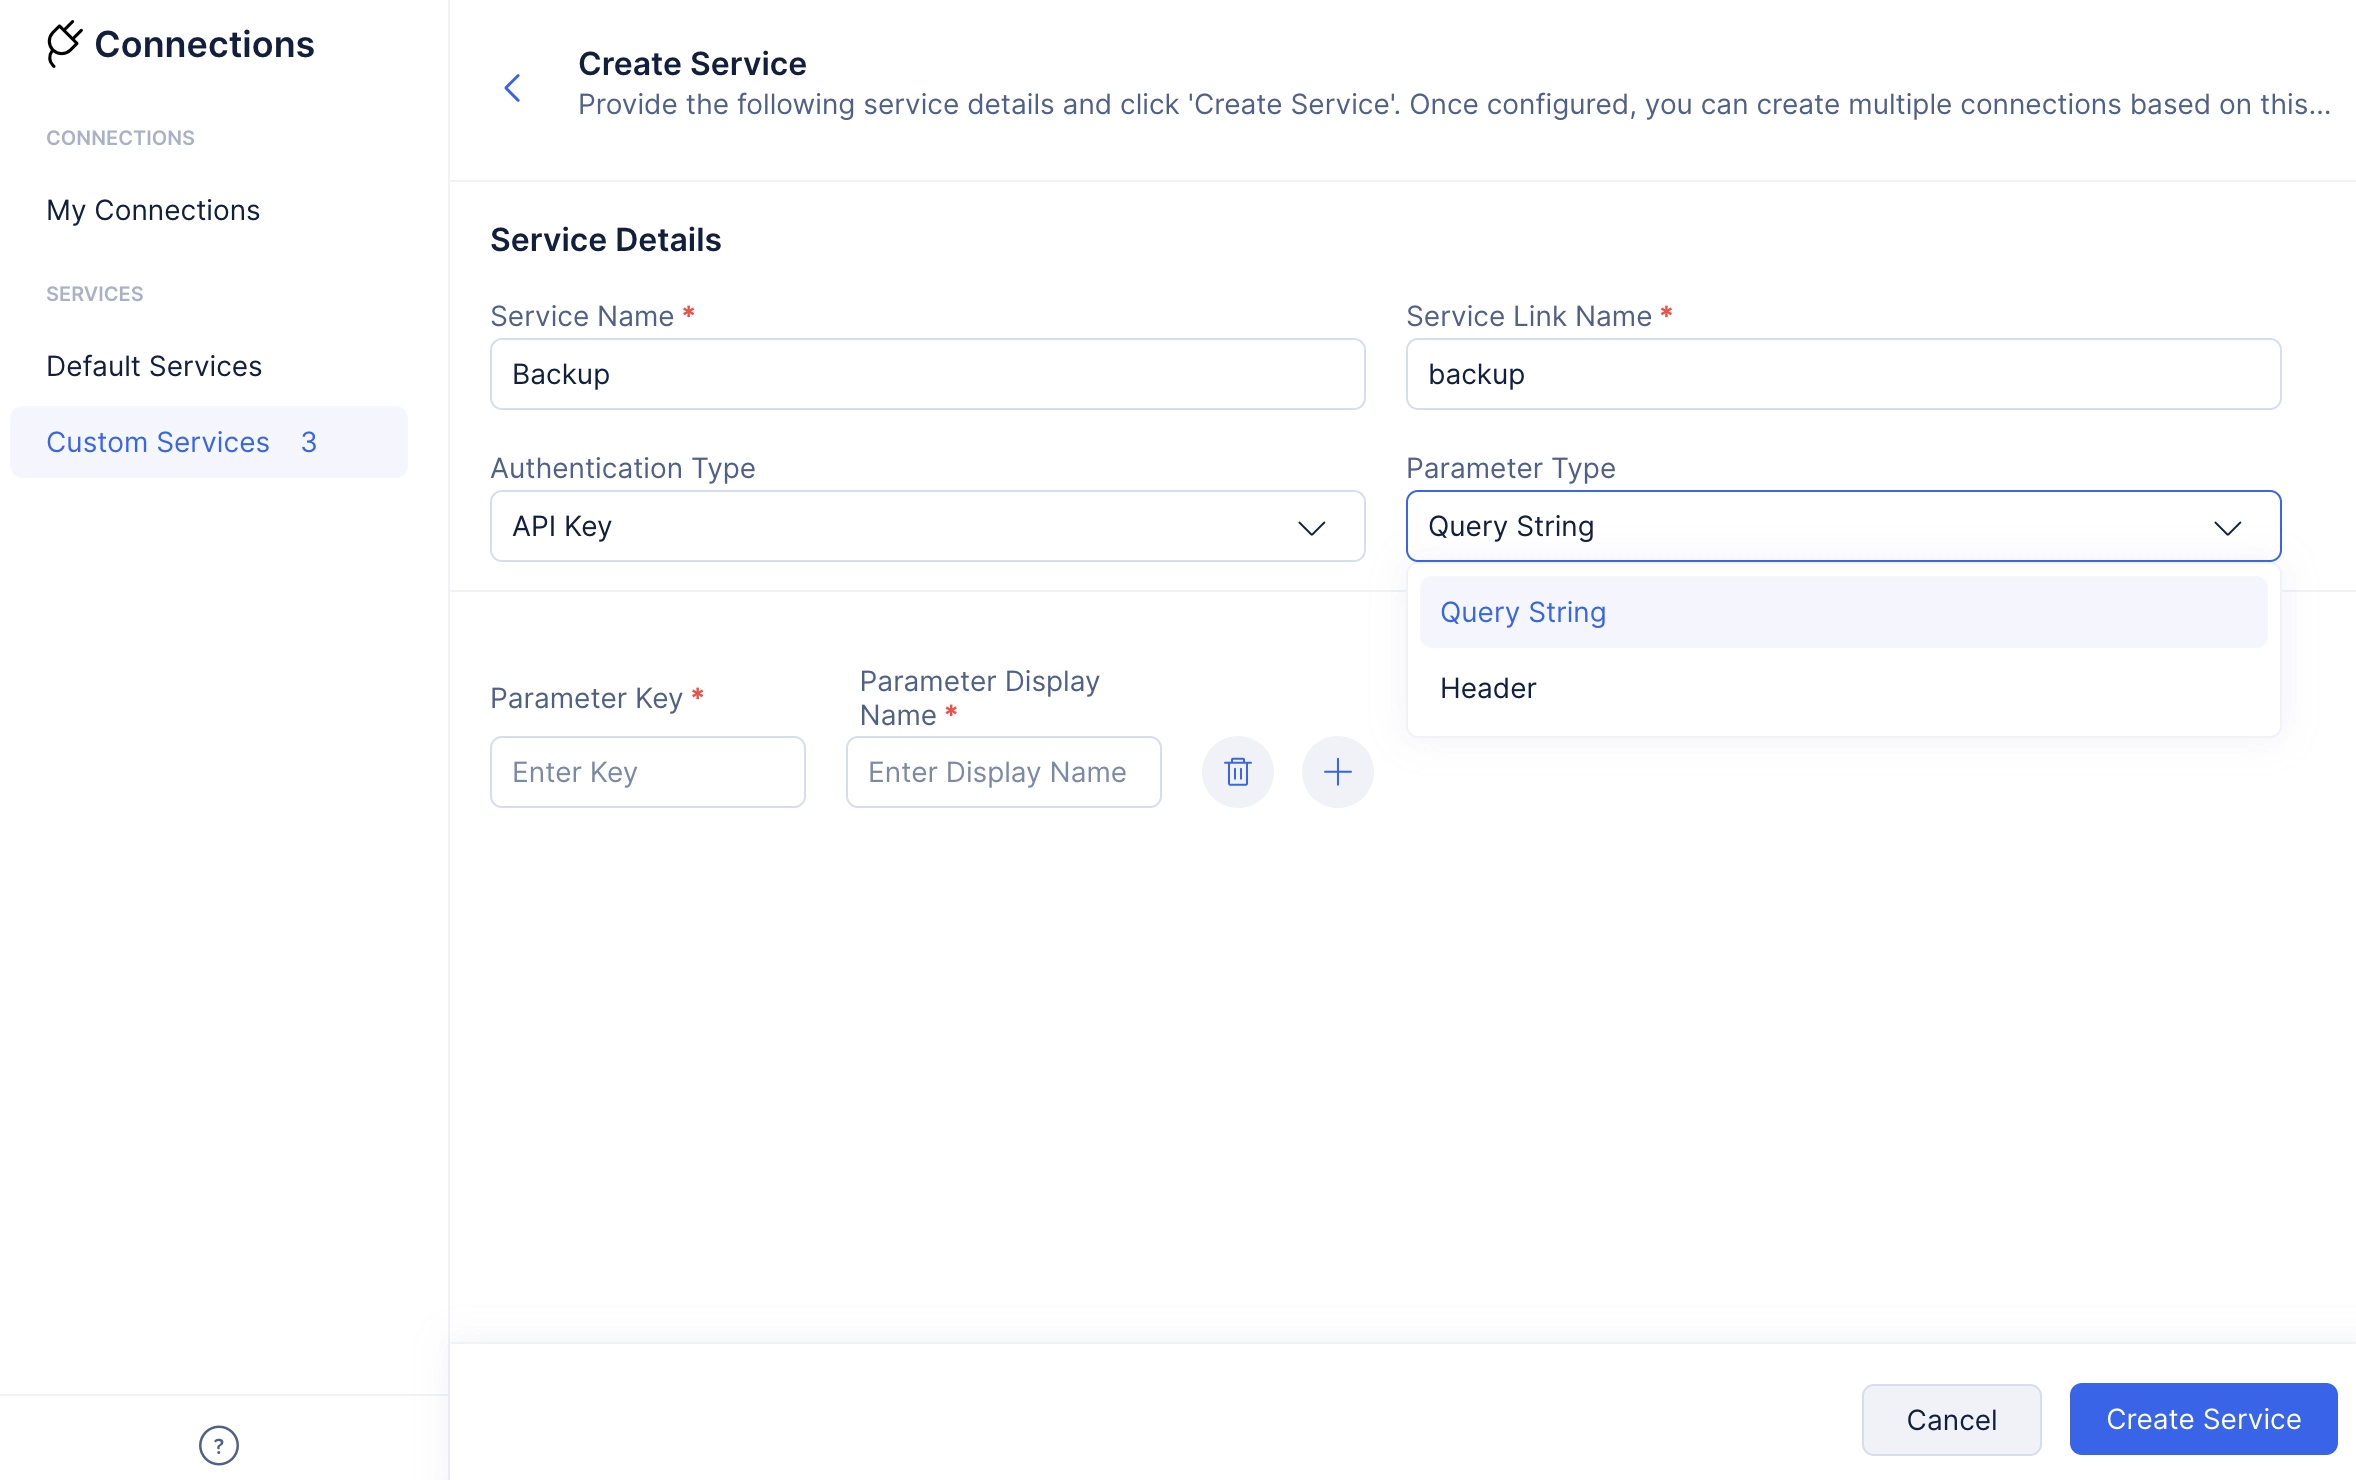
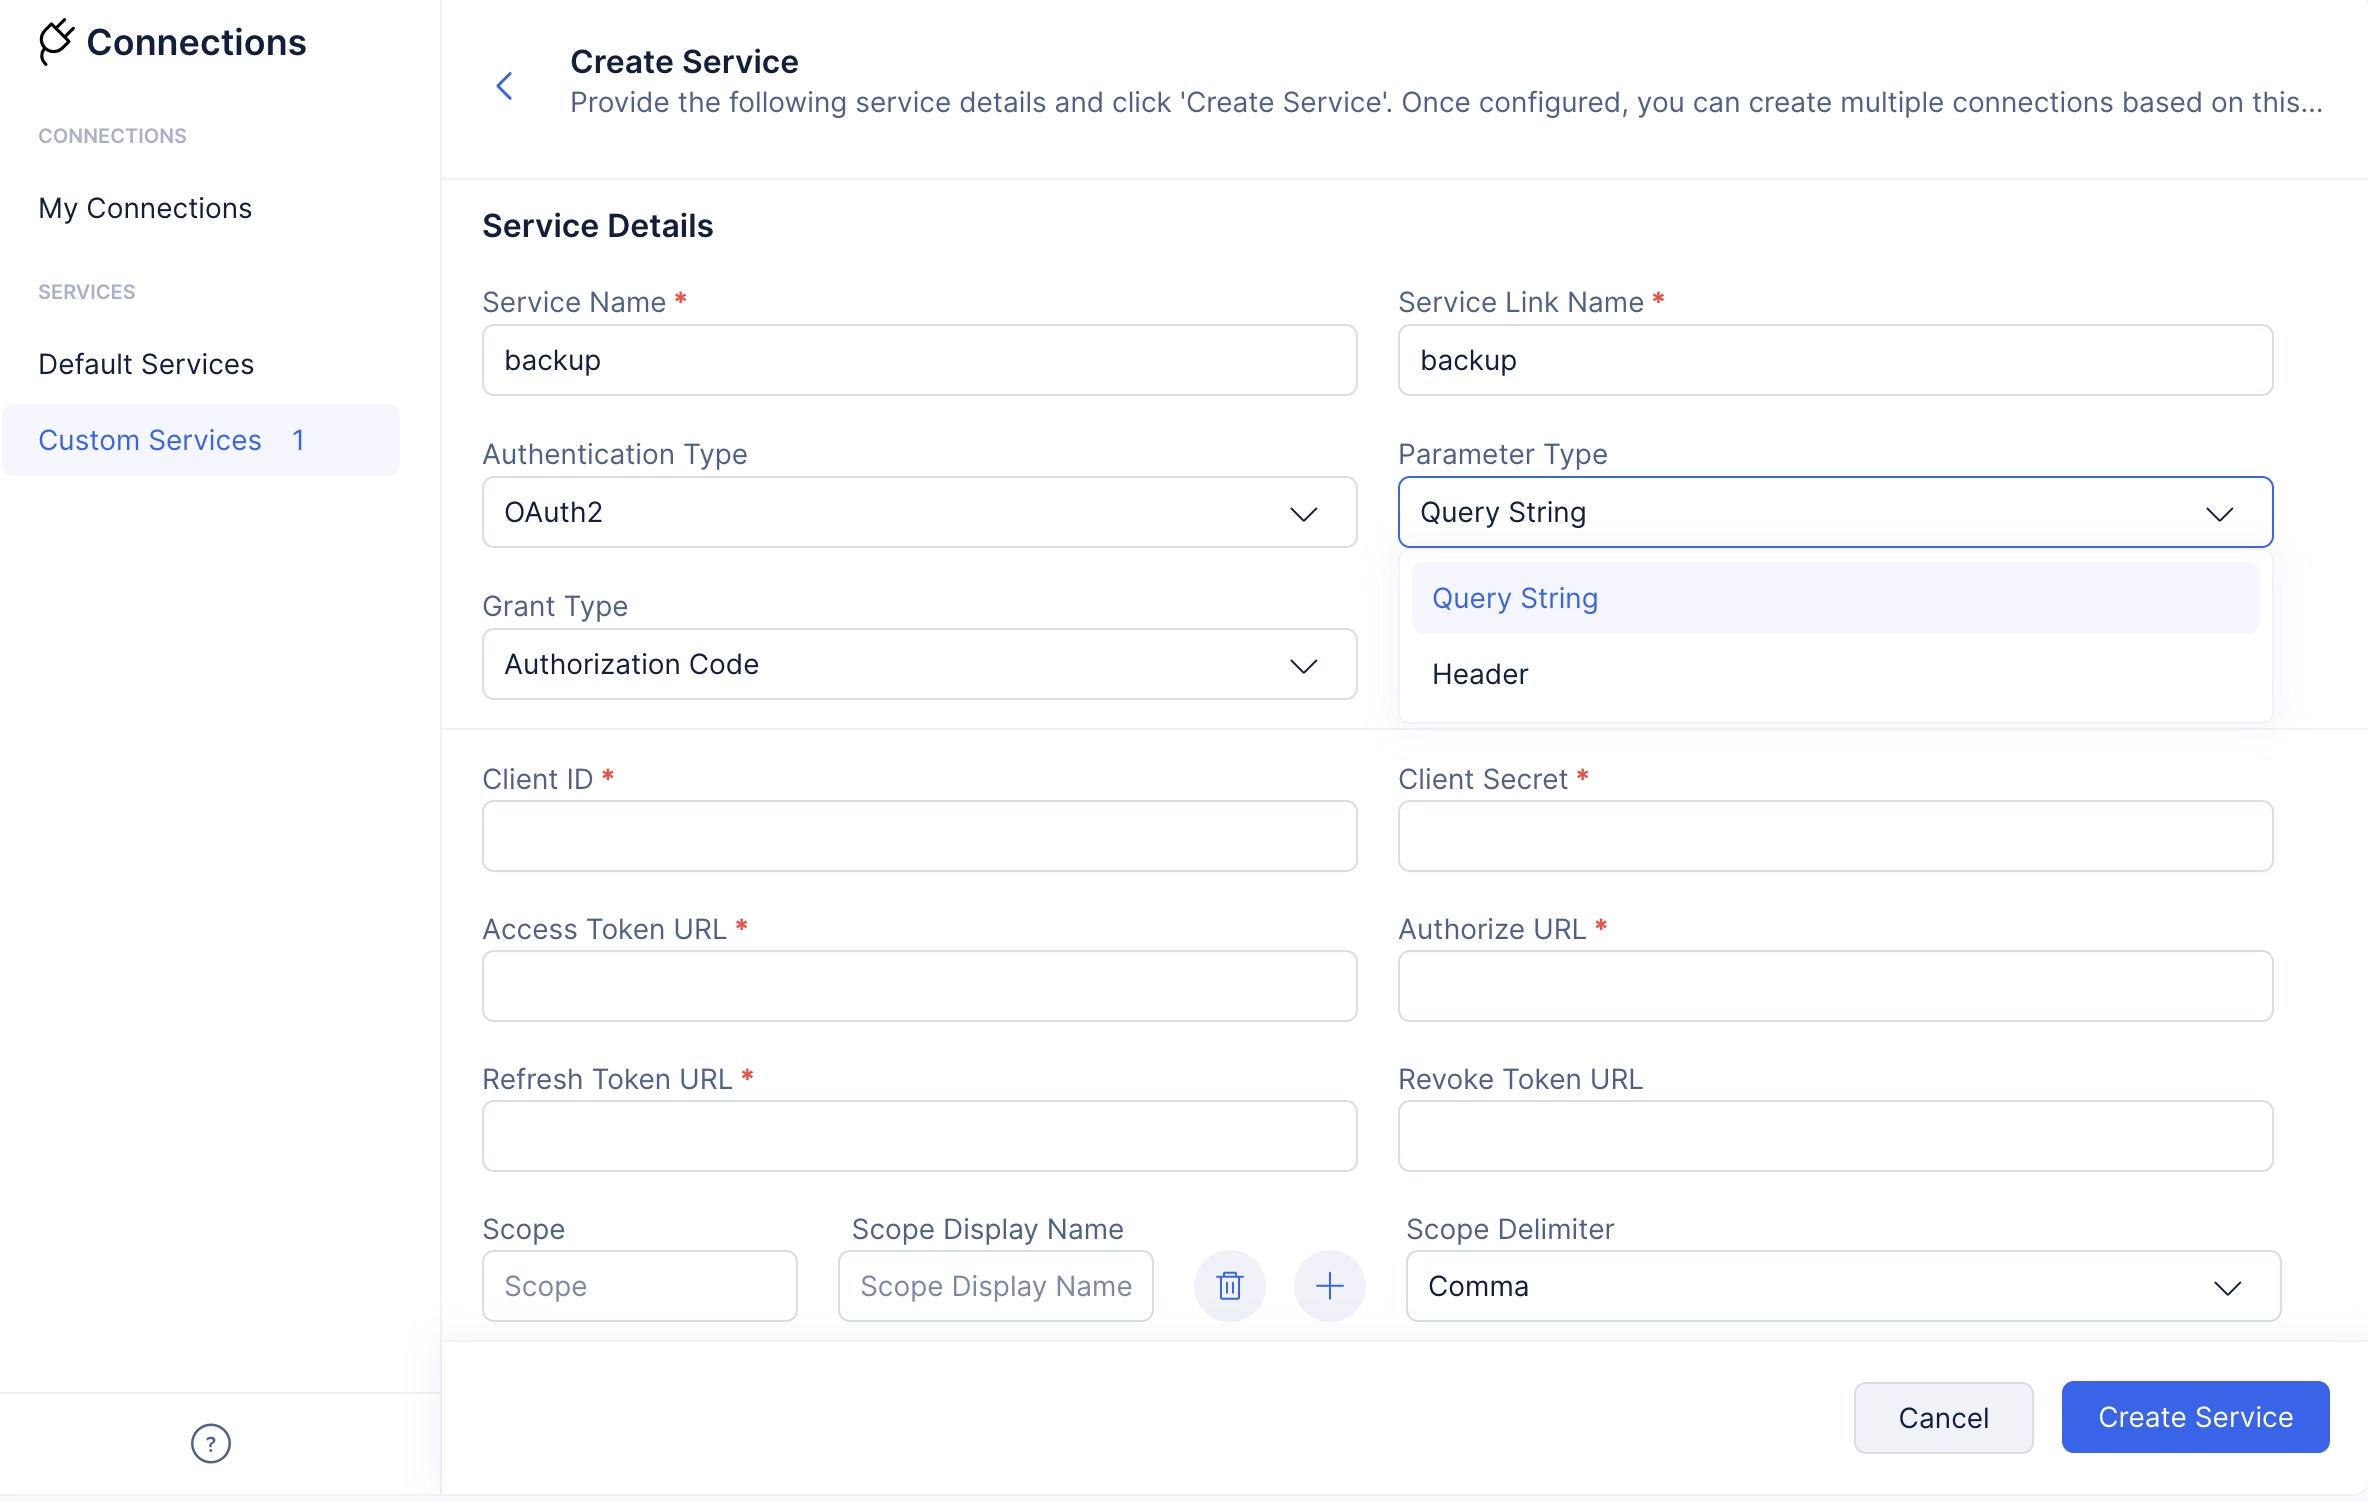
- Choose the required Parameter Type from the drop-down. This option can be used to configure the format type in which the required credentials are going to be passed.
-
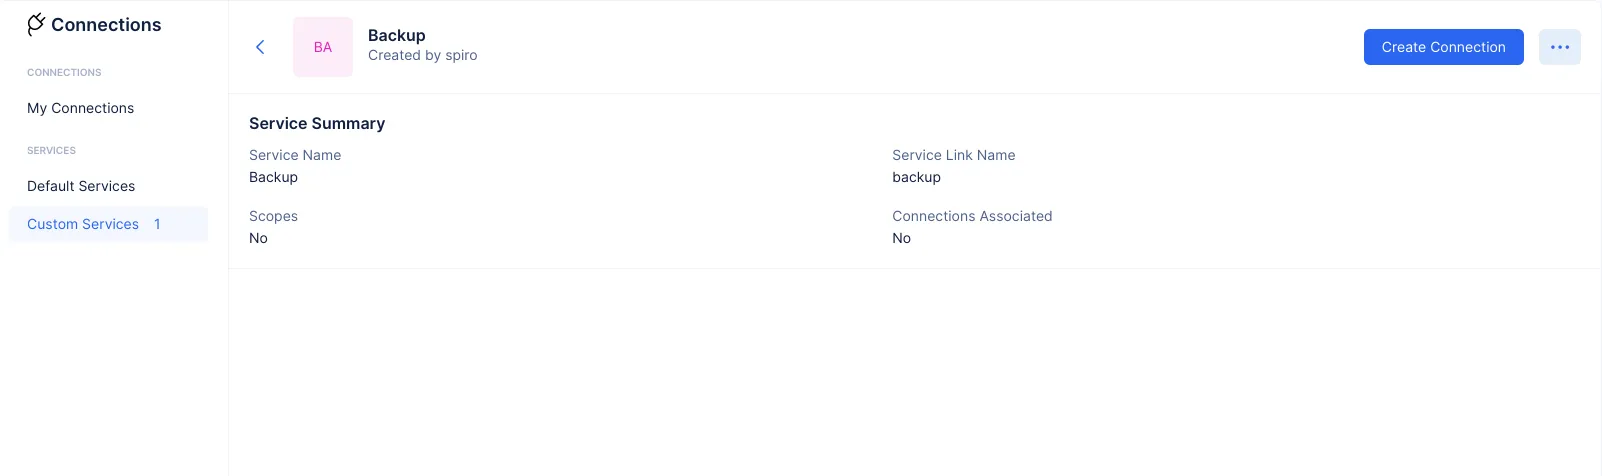
Provide the required parameter details in the respective field, and click Create Service to configure the required service as the custom service.
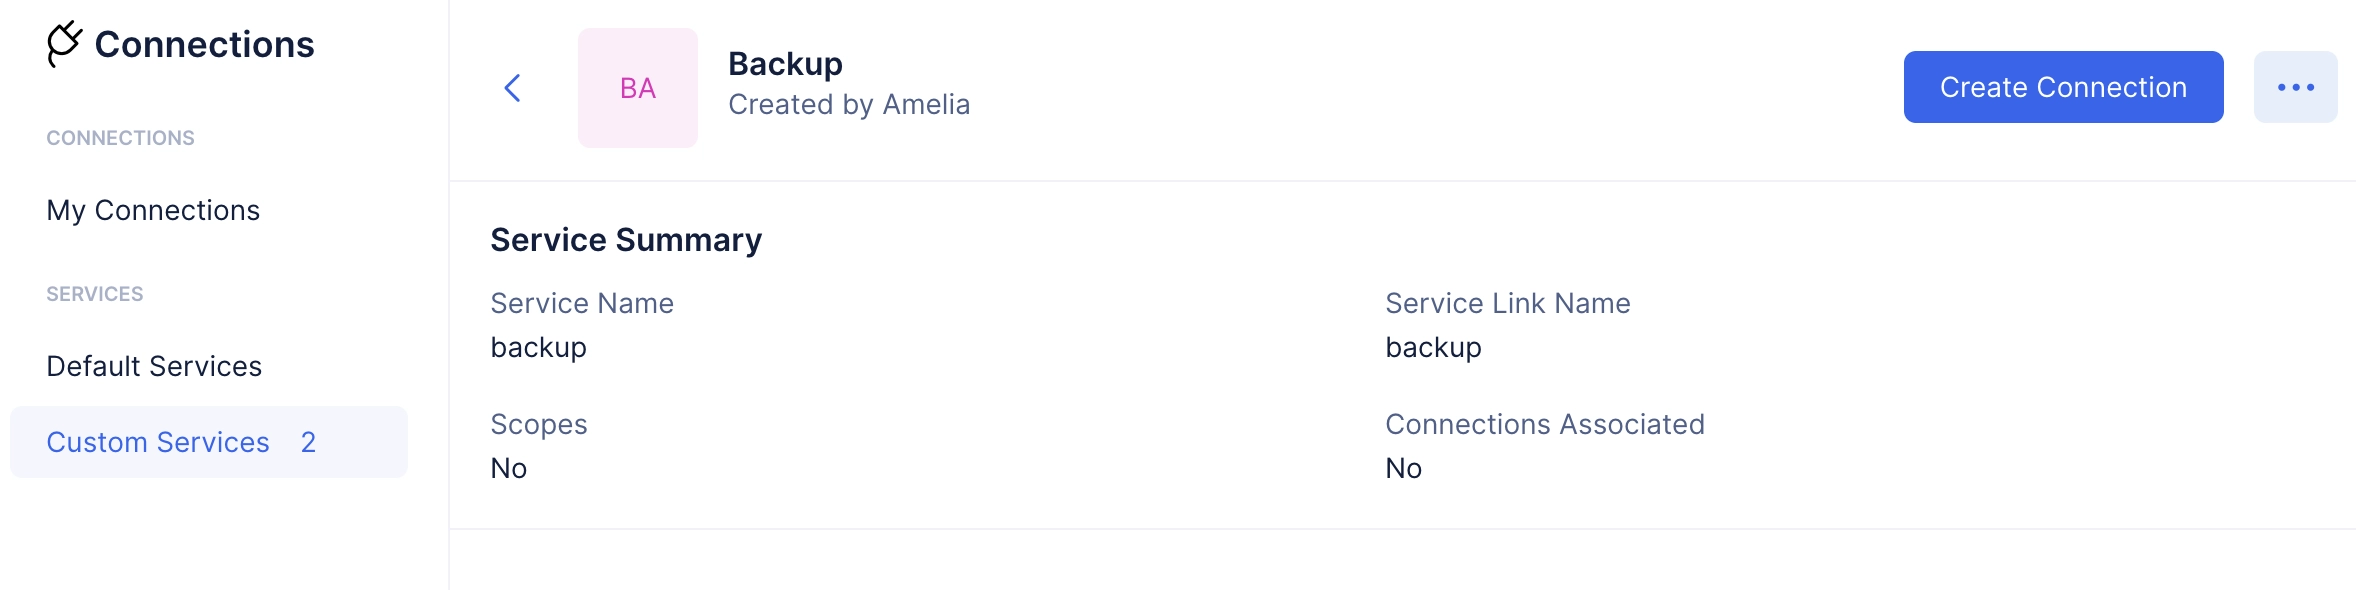
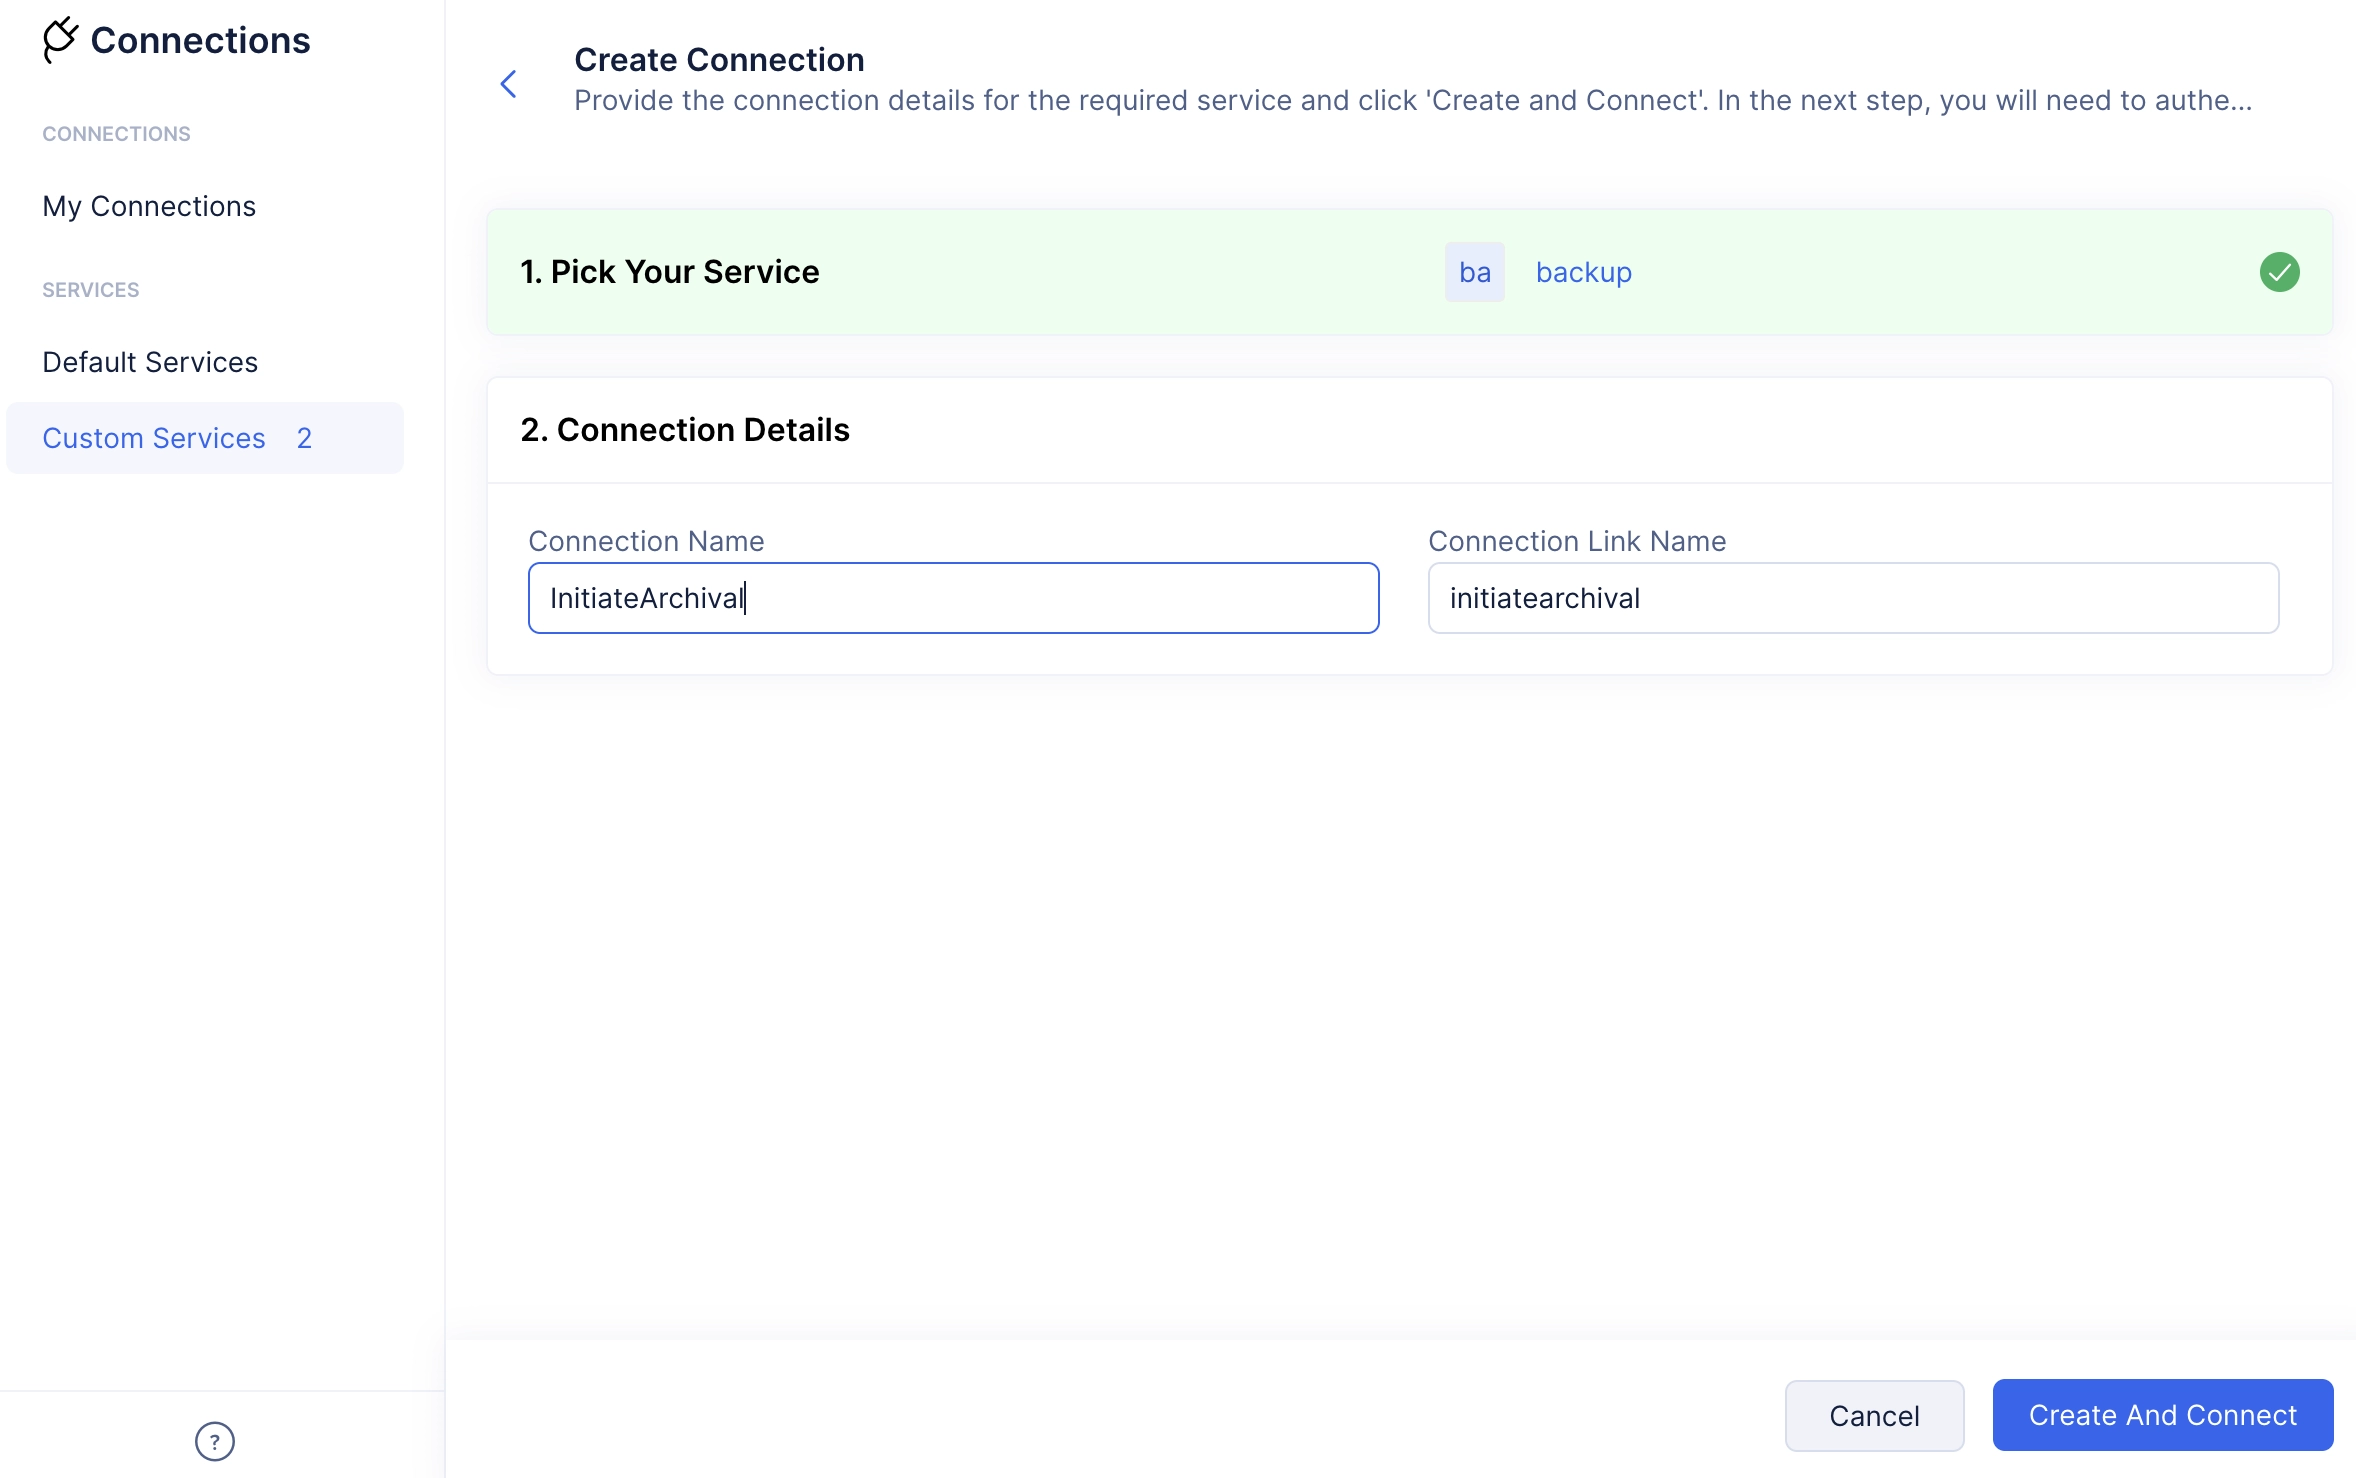
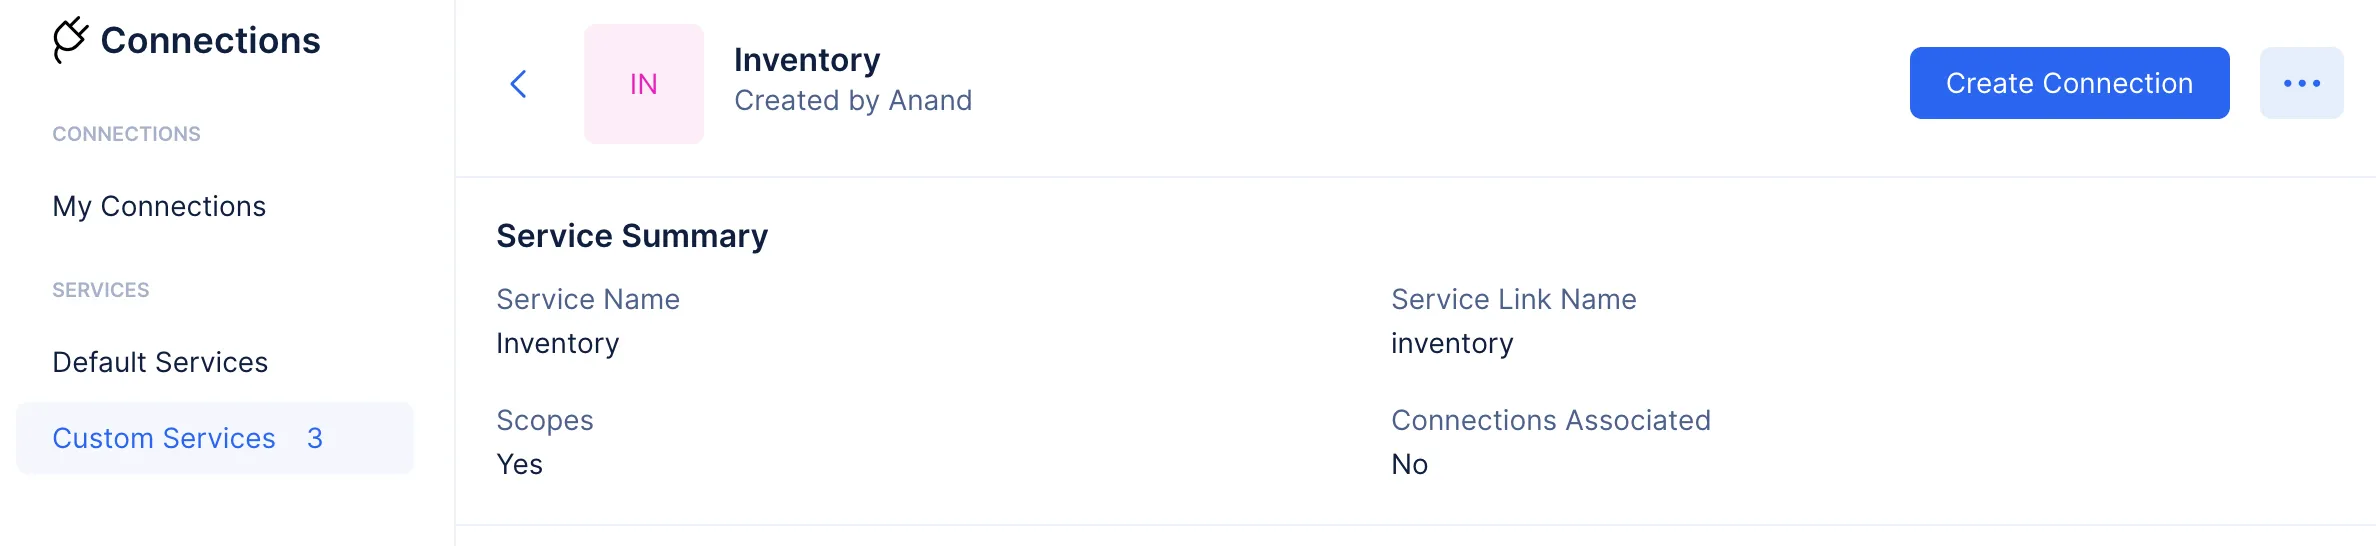
-
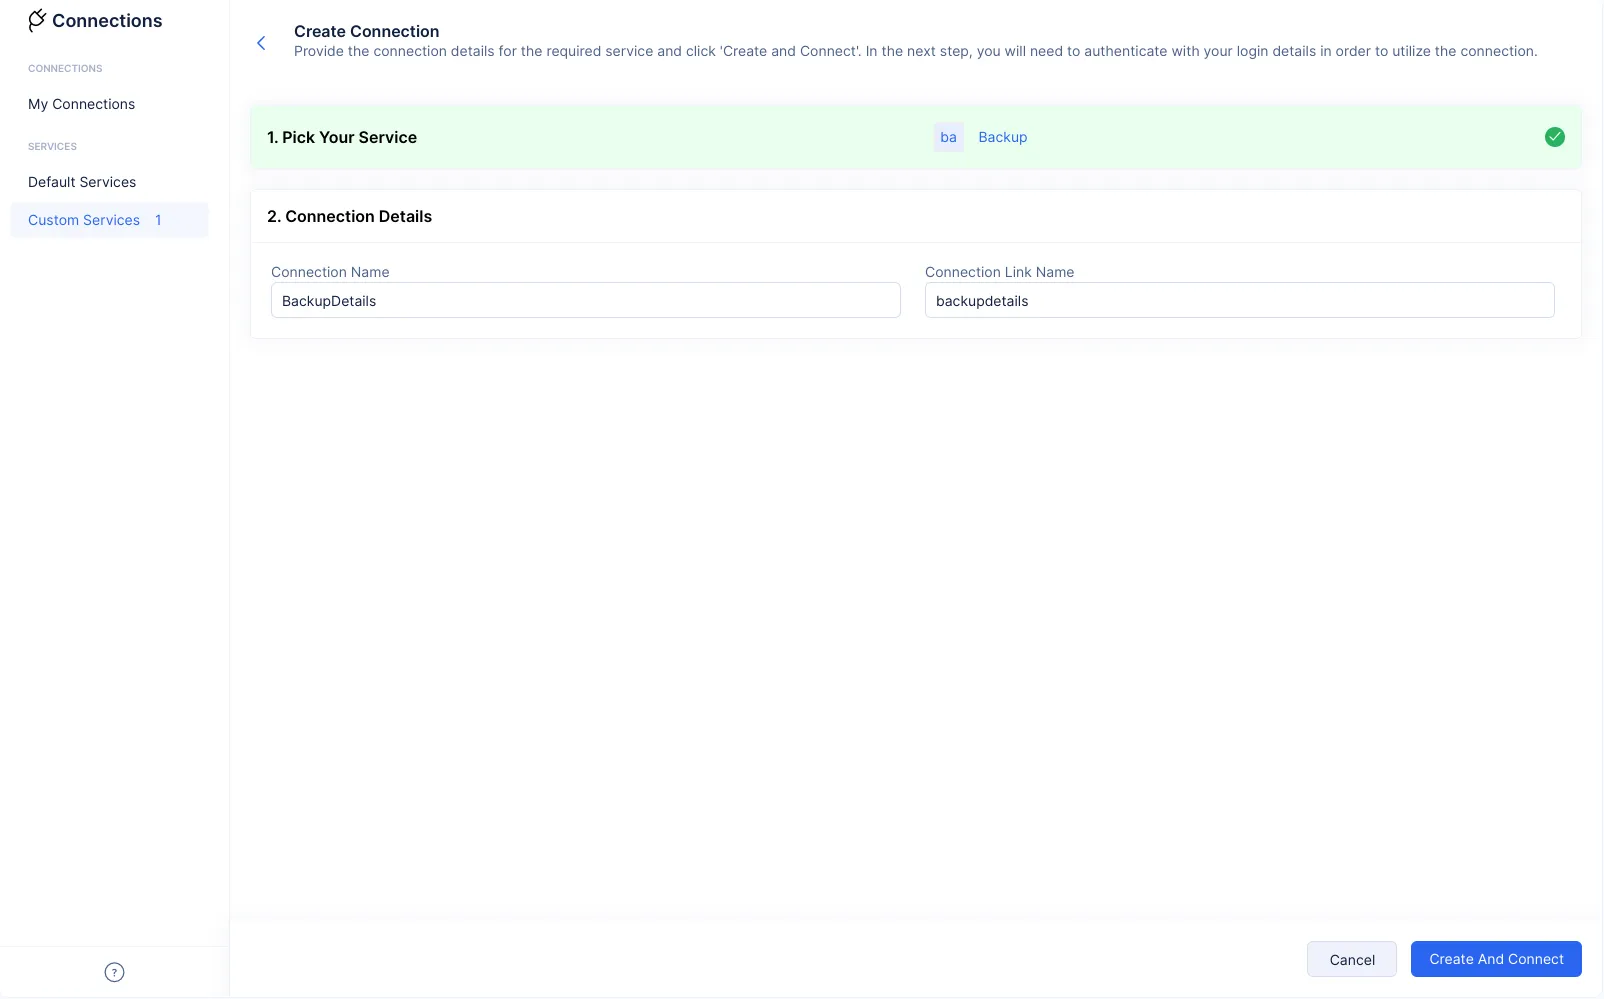
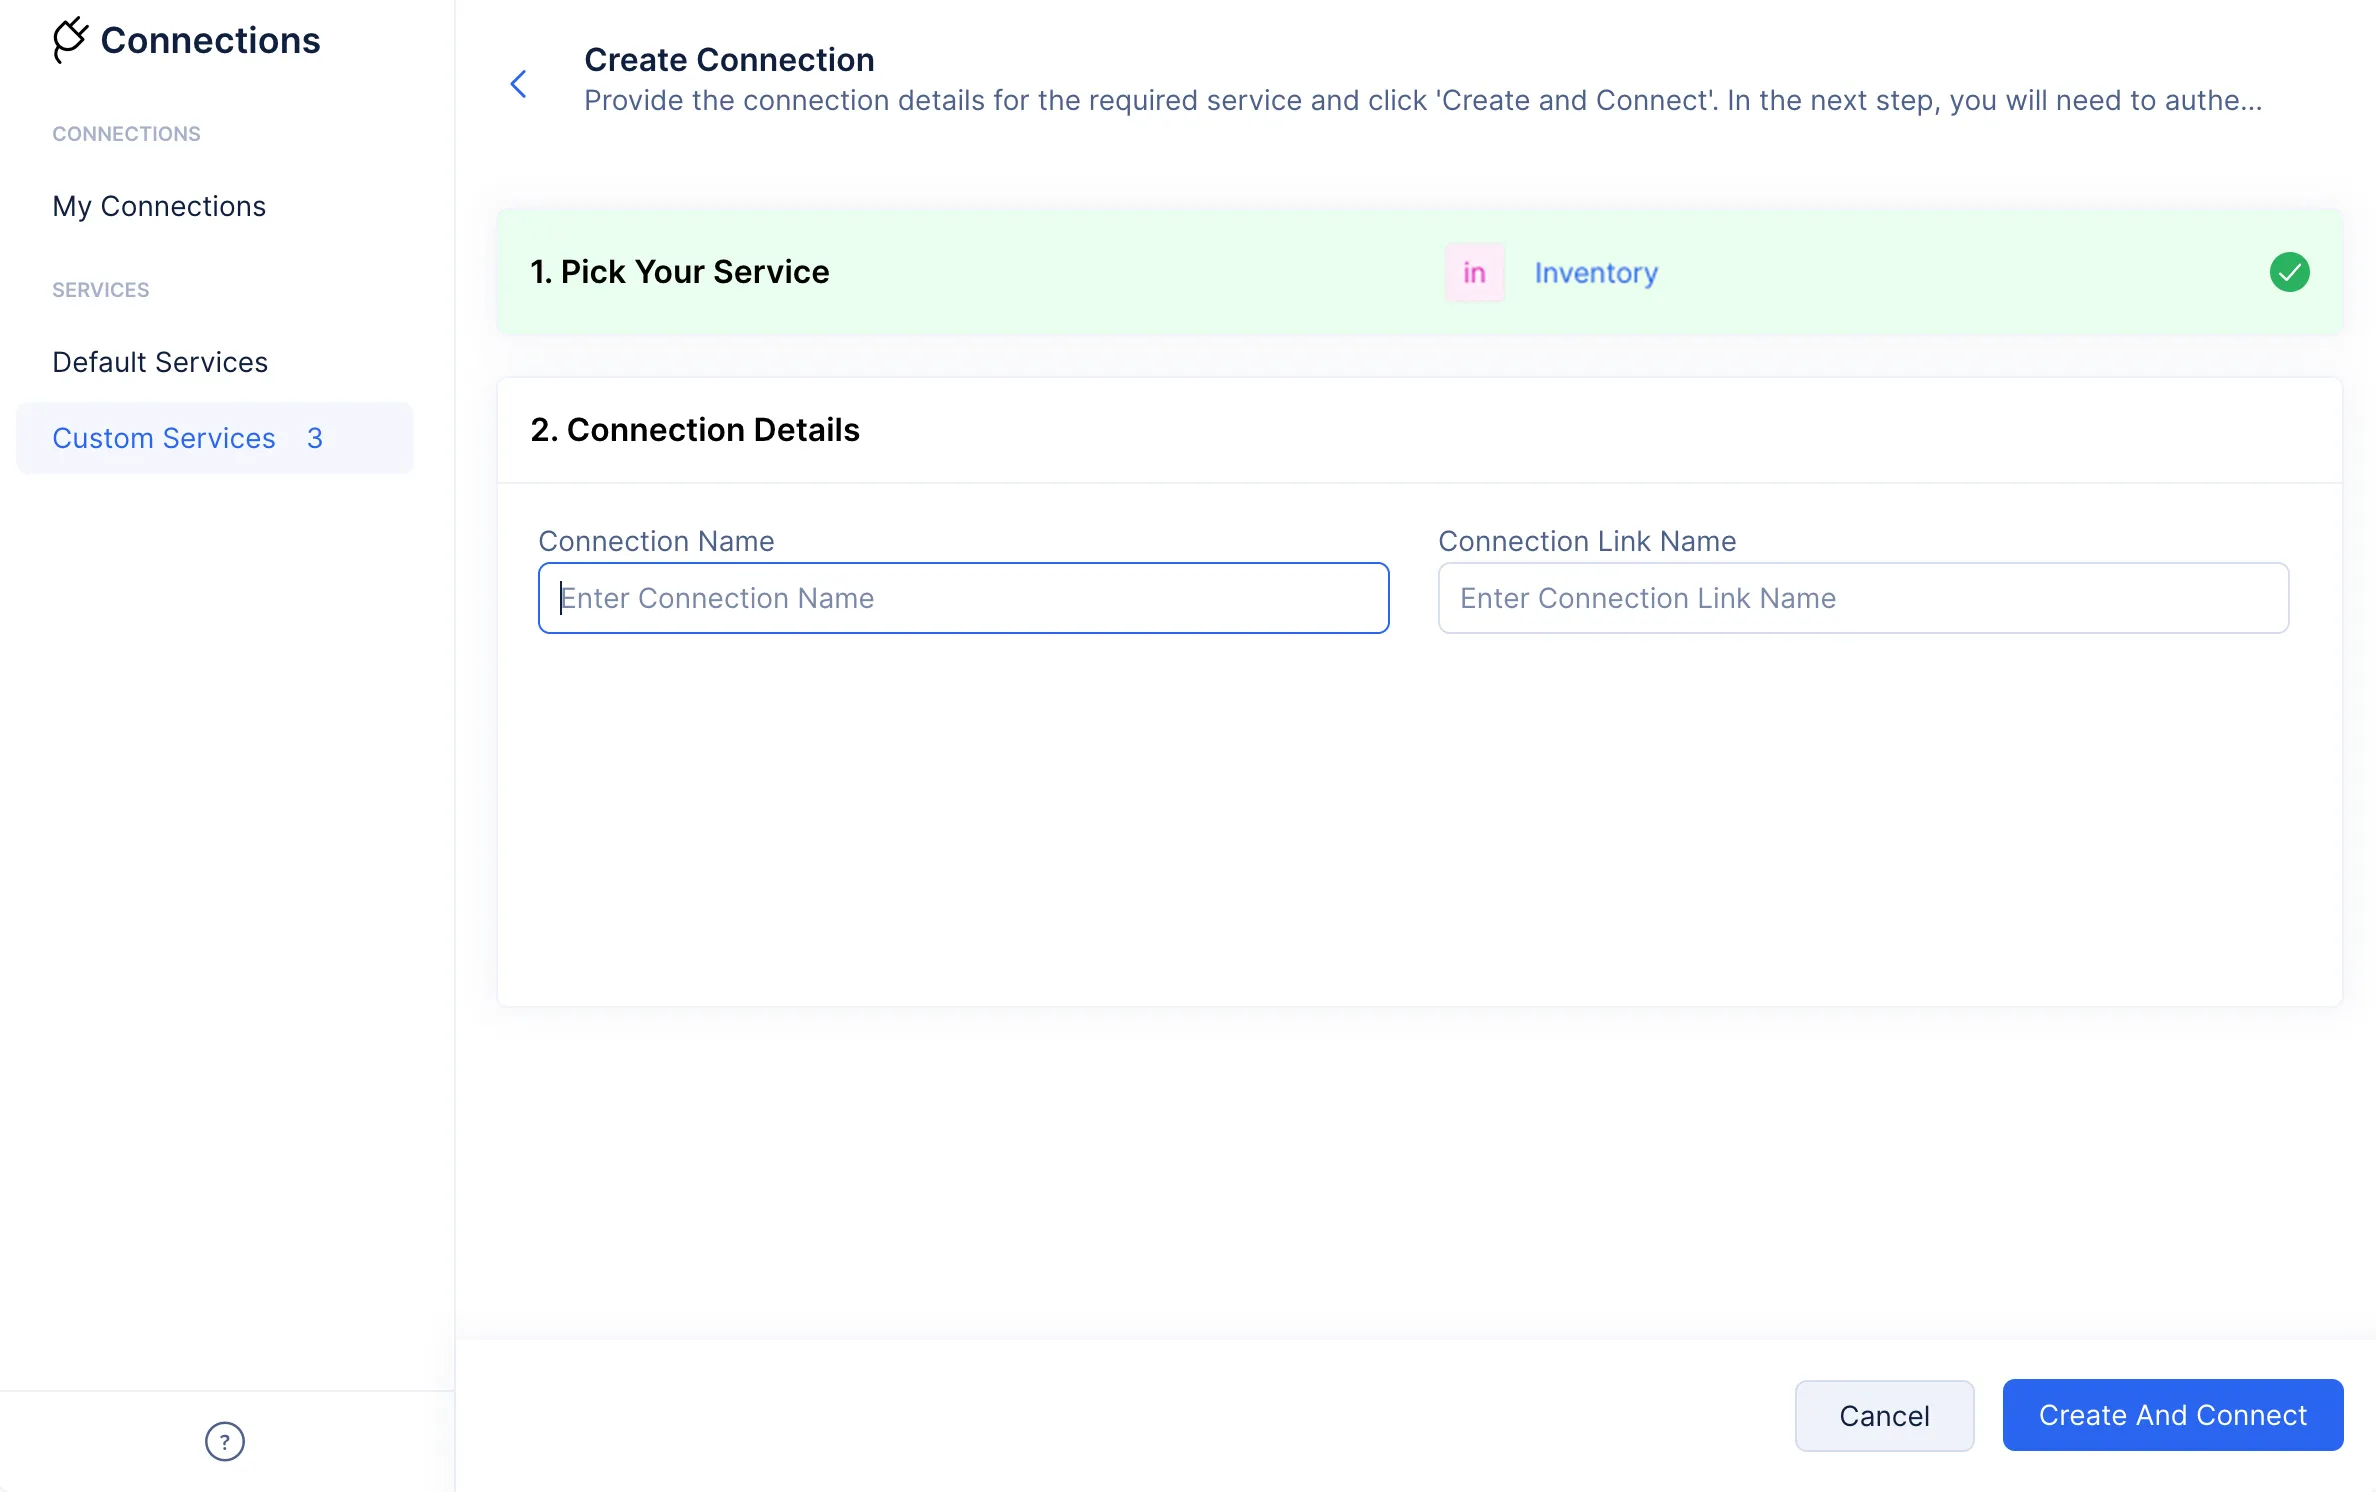
Click Create Connection to begin configuring a connection with the custom service you created. Click Create And Connect once you provide a name for your connection. The Connection Link Name input field will be populated automatically.
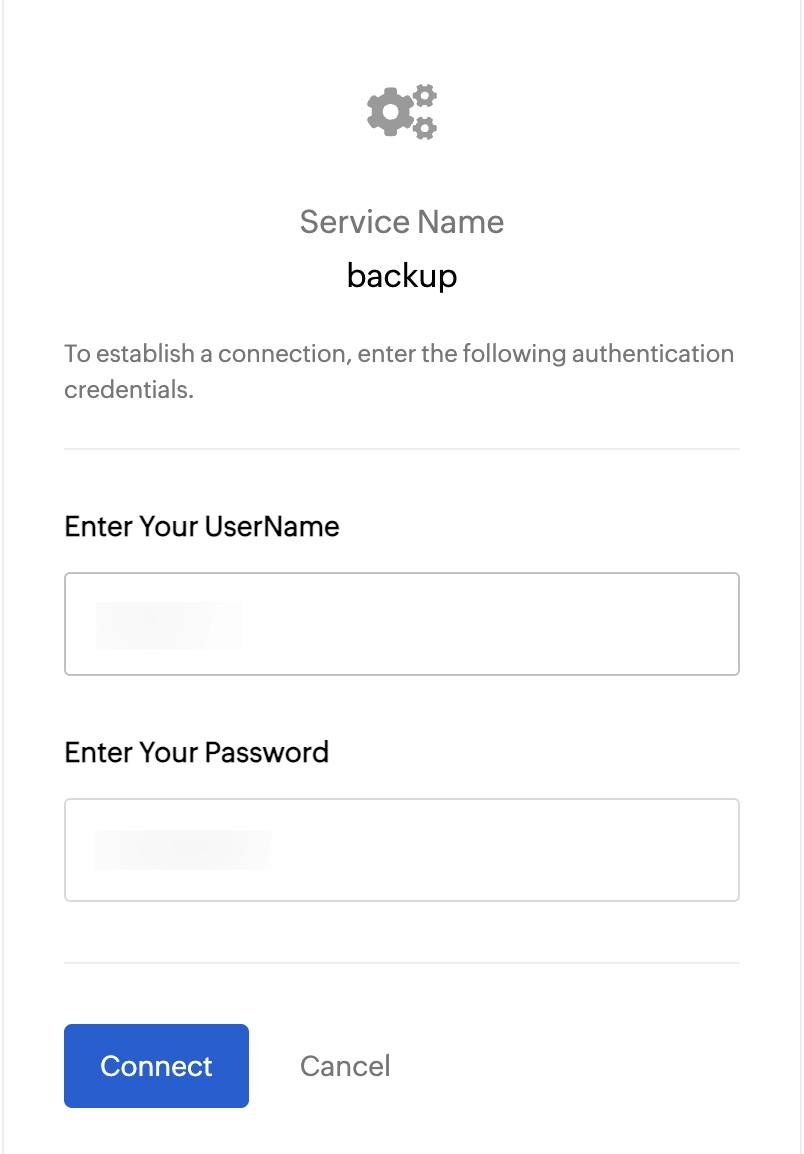
-
Provide the required credentials to the service you configured to authenticate the connection request.
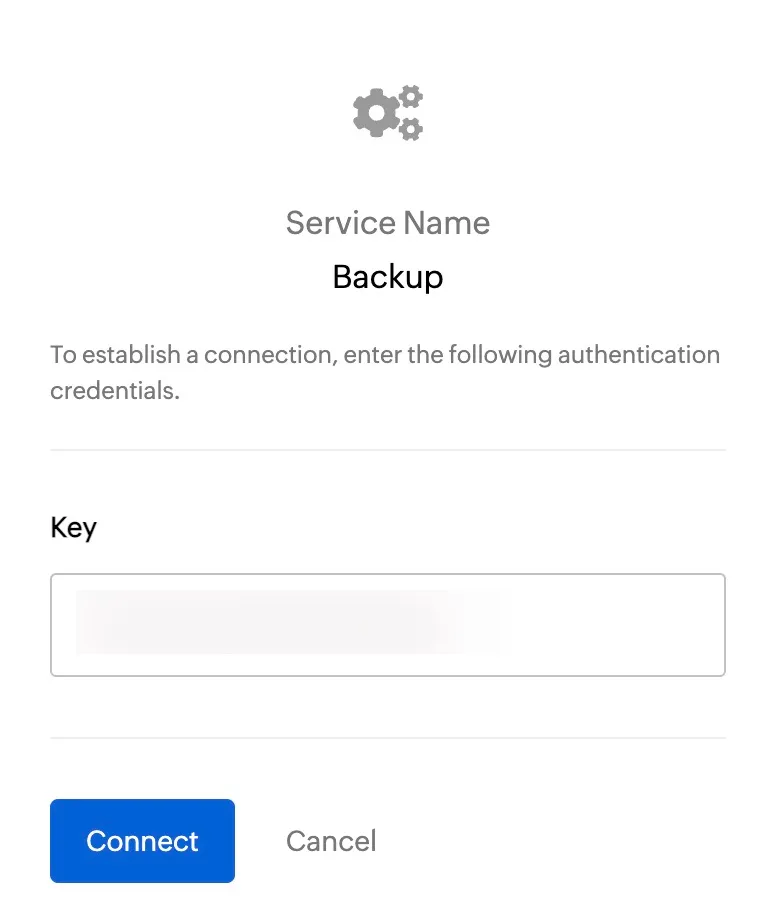
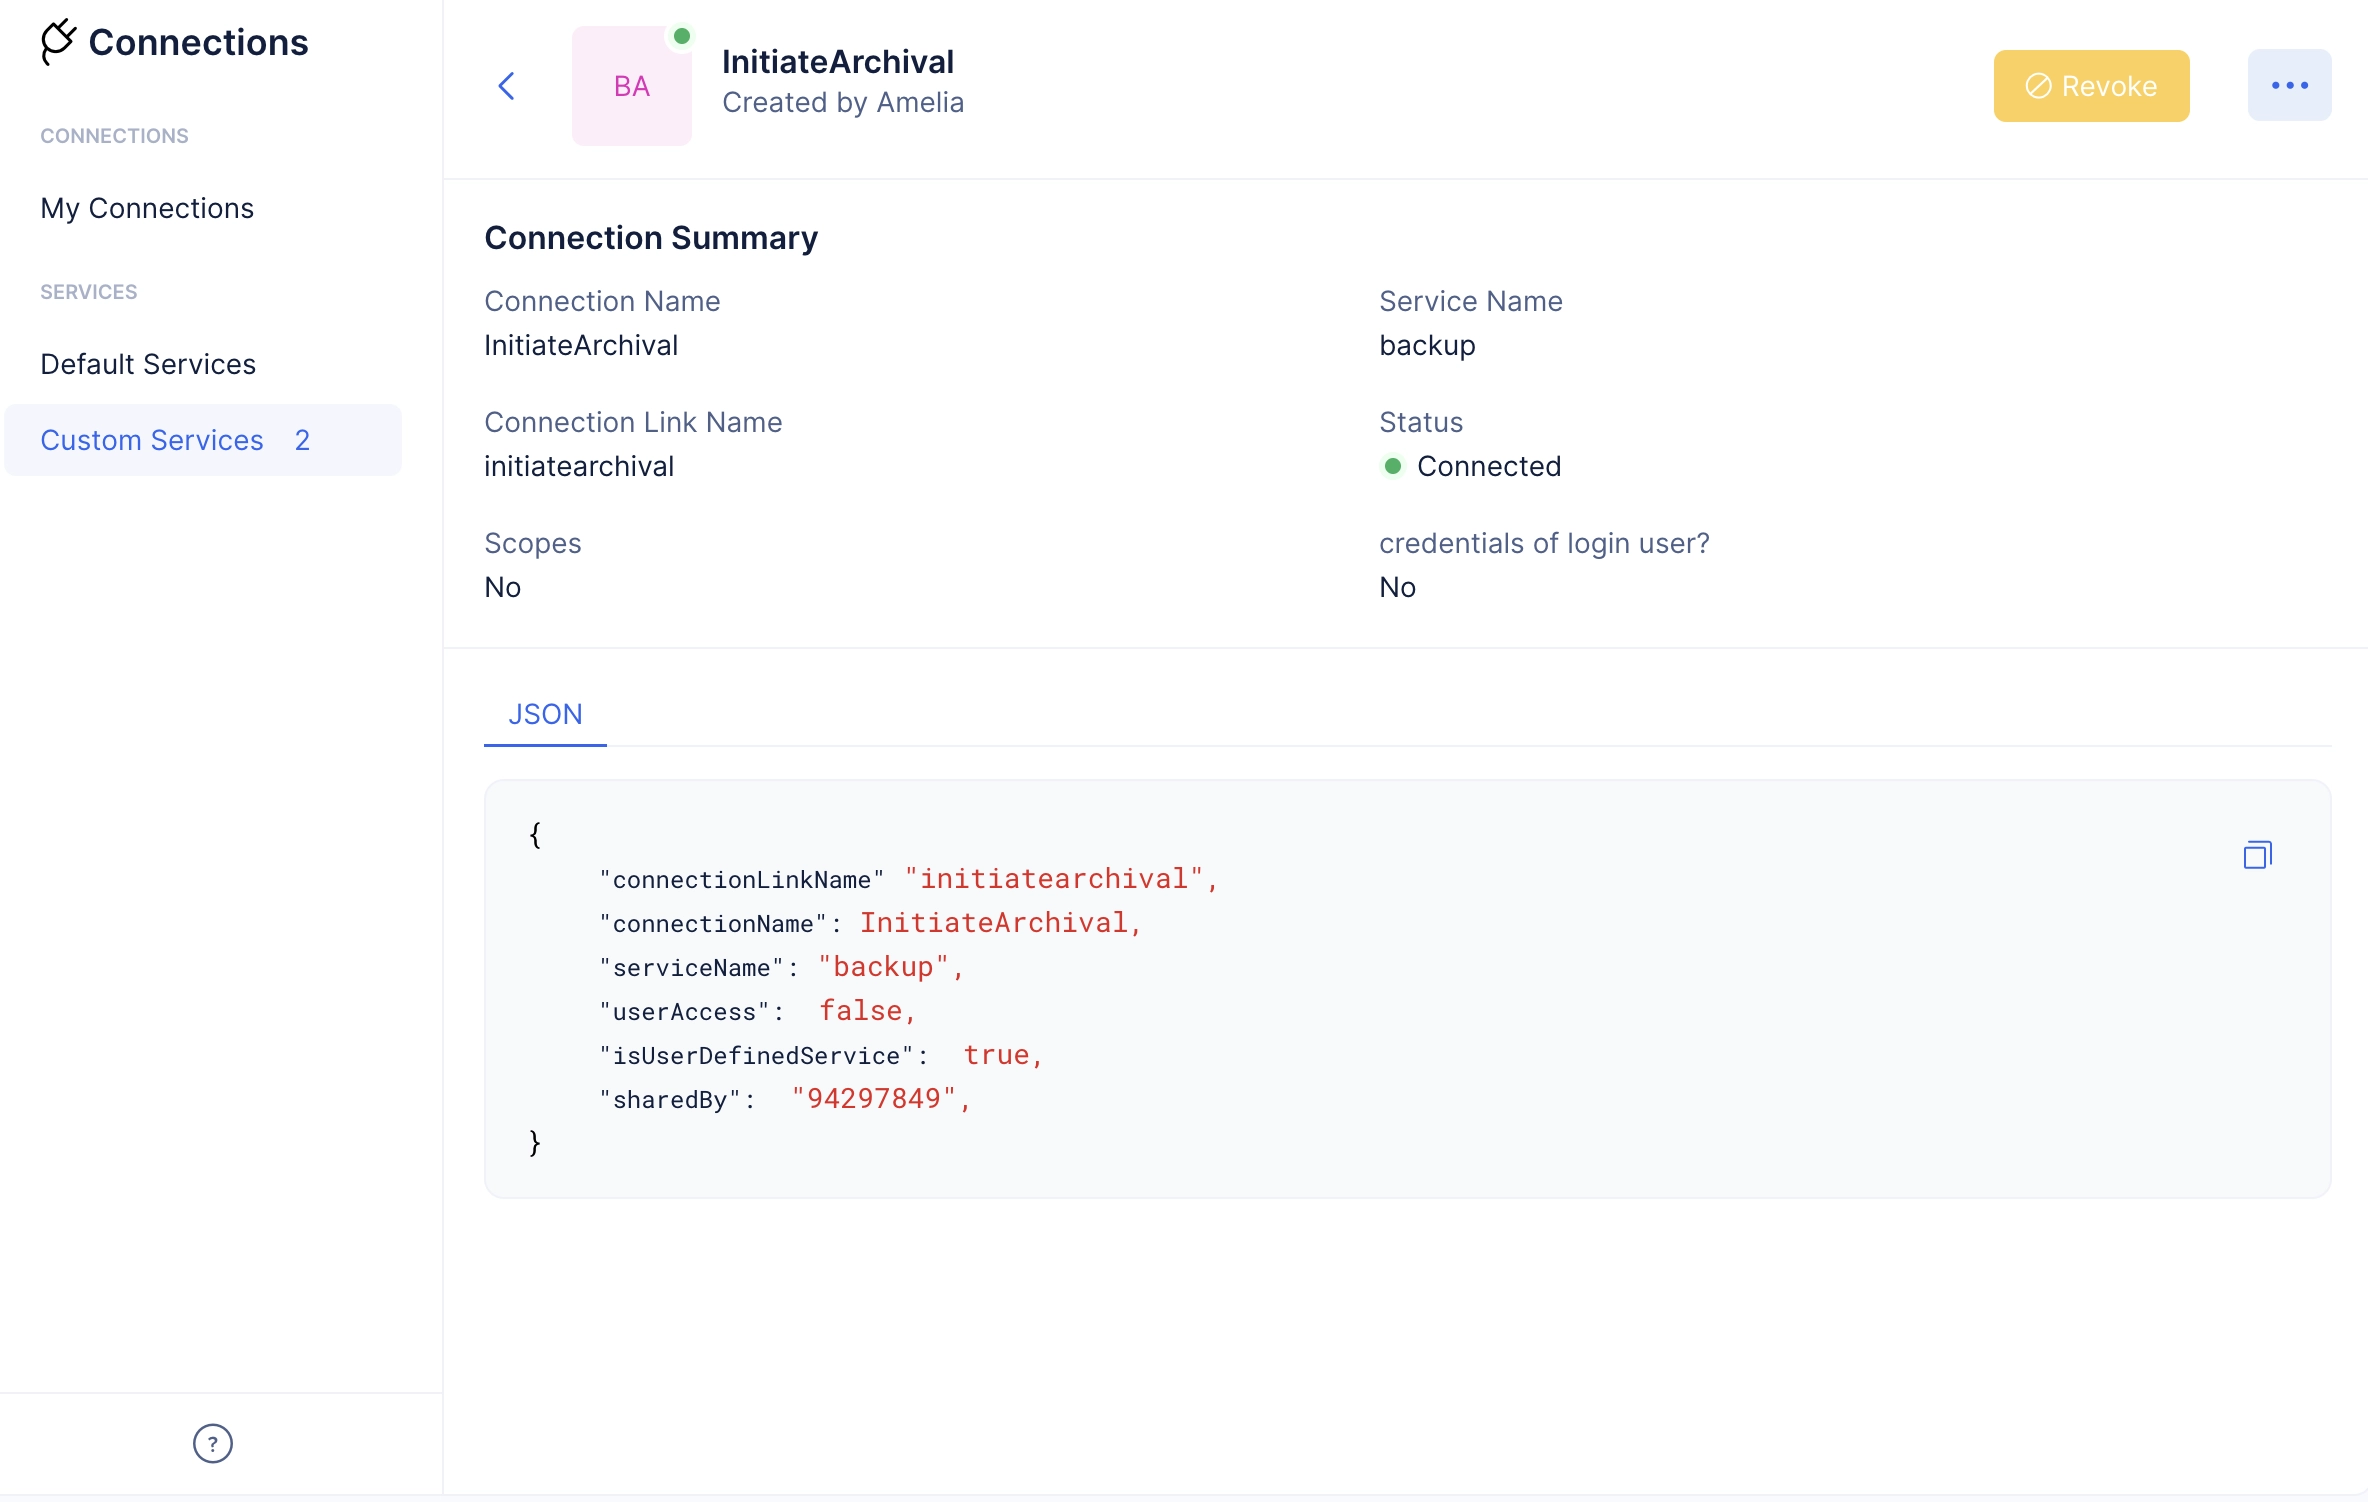
Your connection with the Custom Service will be active and live.
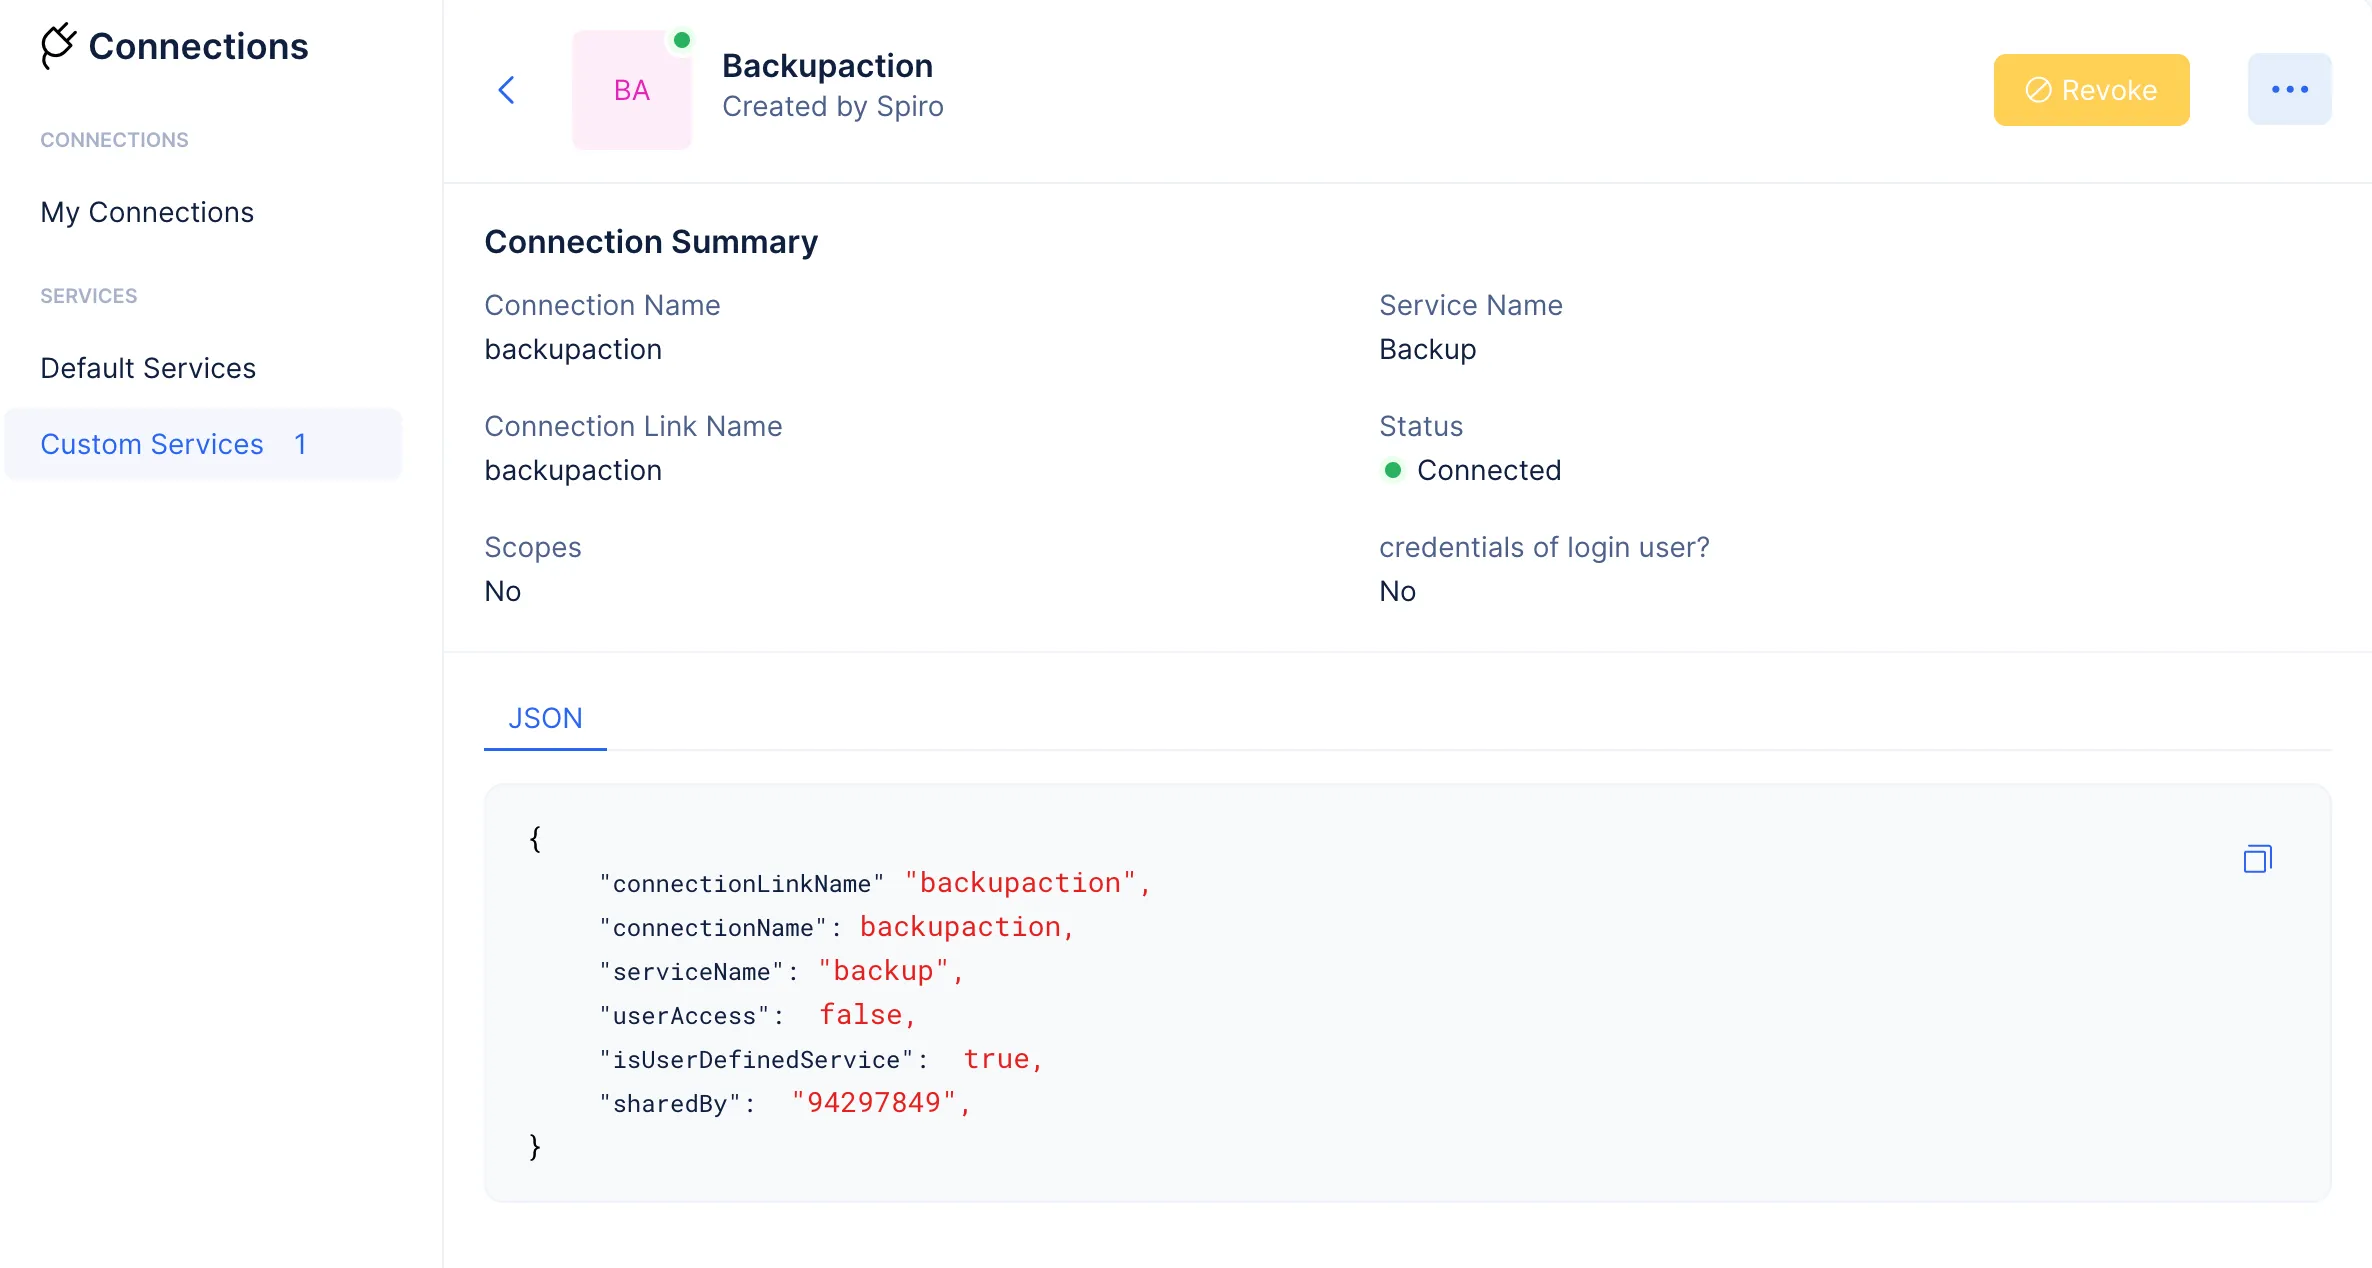
From here on, Catalyst will ensure that the Connections component produces the required tokens to keep the connection live. You can now share data and functionality with the custom service.
You can choose the Basic Authentication option if you wish to authenticate the connection request by passing the required credentials using the Query String.
- You cannot use any other parameter type other than Query String to pass the required credentials, and it will be automatically selected when you select this authentication type.
-
Click Create Service to configure the required service as the custom service.
-
Click Create Connection to begin configuring a connection with the custom service you created. Click Create And Connect once you provide a name for your connection. The Connection Link Name input field will be populated automatically.
-
Provide the required credentials to the service you configured to authenticate the connection request.
Your connection with the Custom Service will be active and live.
From here on, Catalyst will ensure that the Connections component produces the required tokens to keep the connection live. You can now share data and functionality with the custom service.
You can choose the OAuth2 option if you wish to authenticate the connection request using access tokens based on OAuth2 protocol.
-
Choose the required Parameter Type from the drop-down. This will determine the manner in which you wish to share your tokens.
-
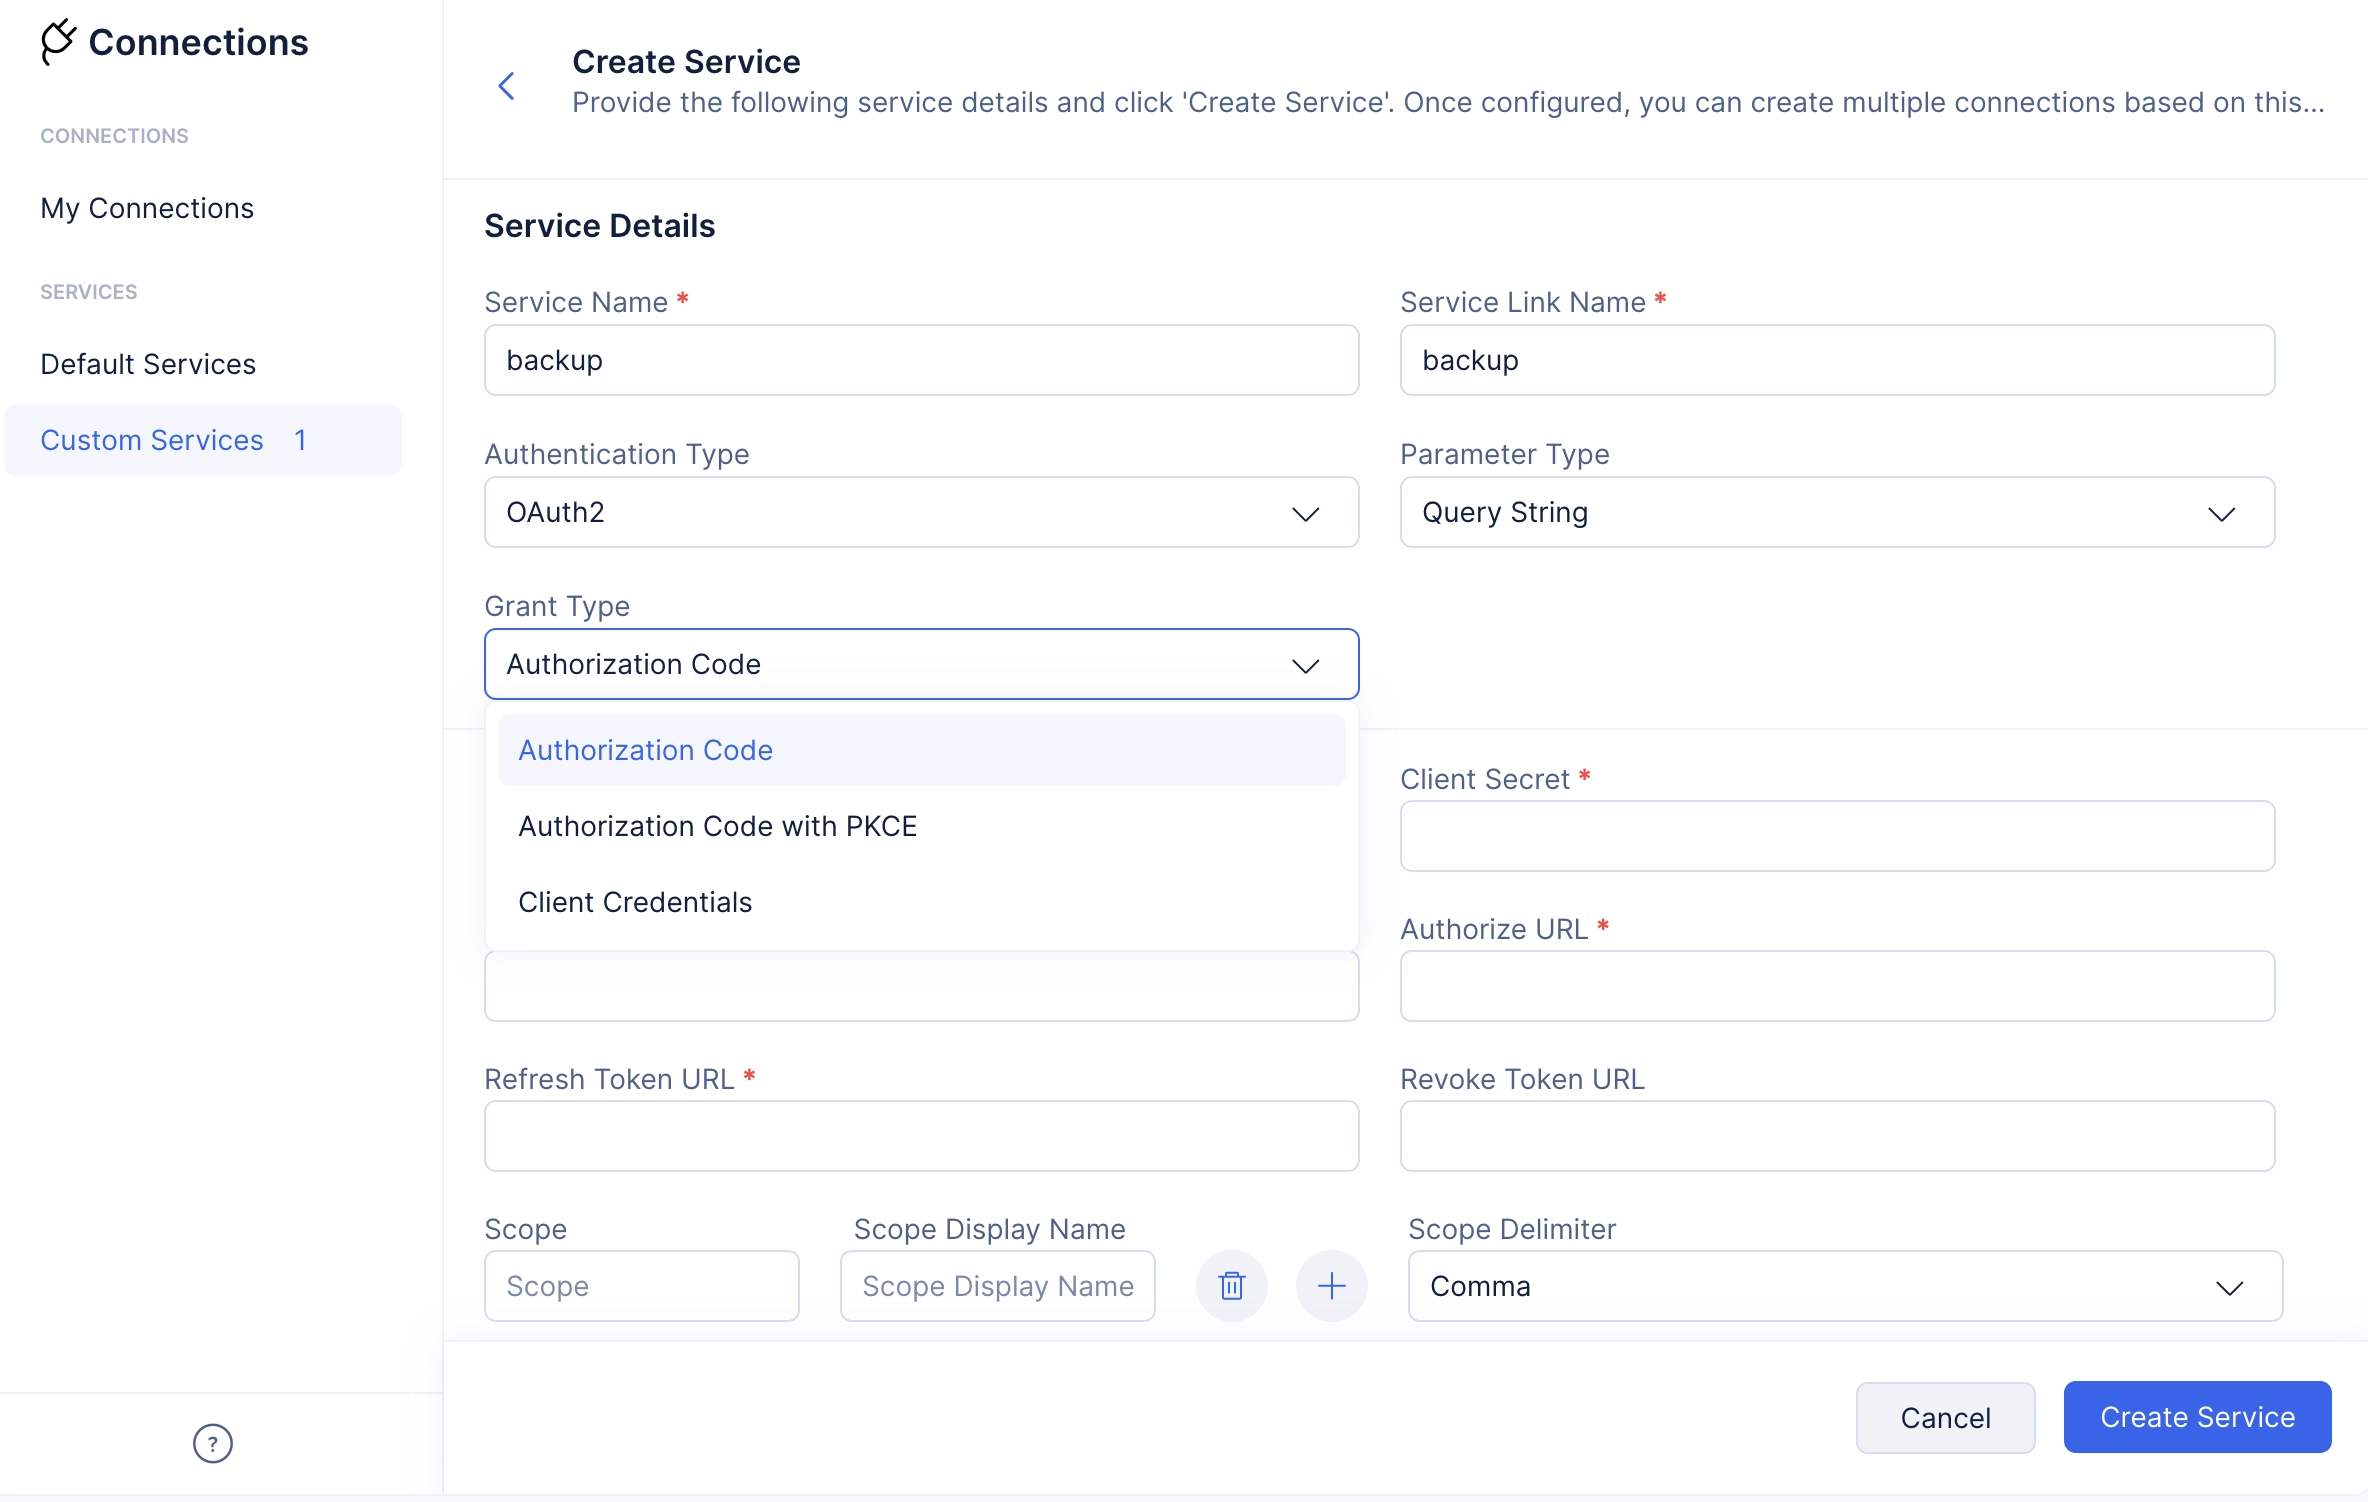
Select the required Grant Type from the drop-down. This selection will determine the manner in which you will obtain the required access tokens.
-
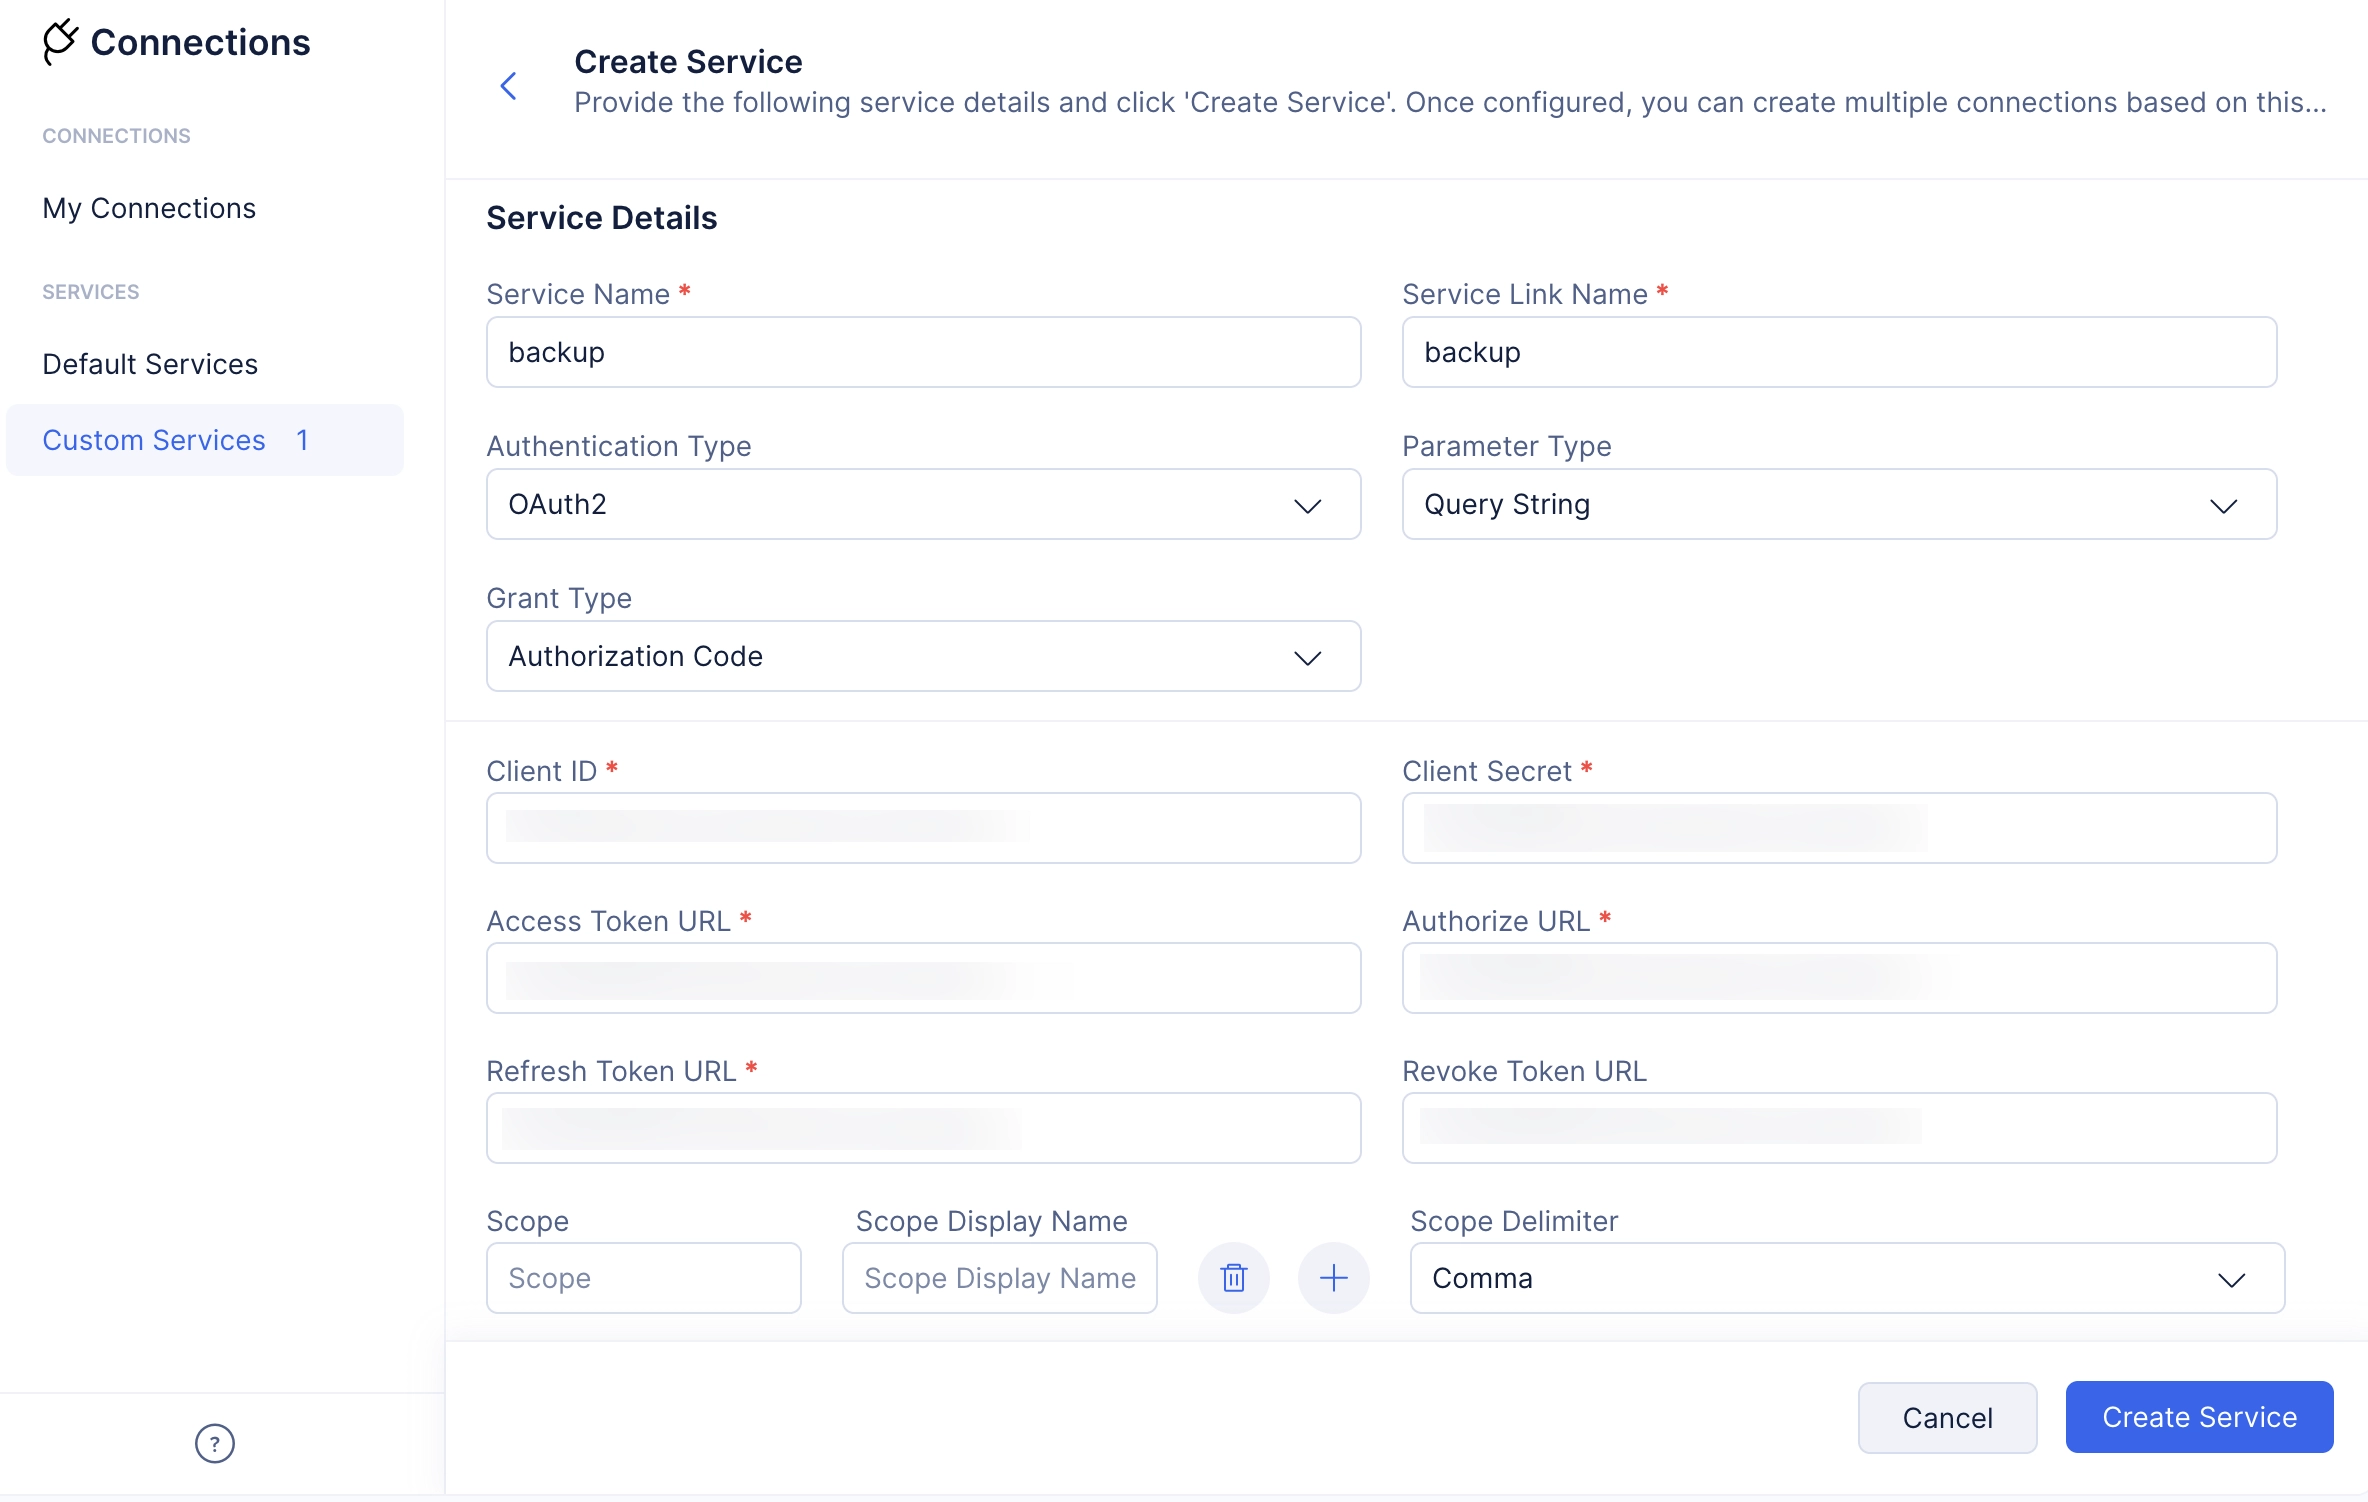
Provide the authorizing credentials and URLs based on your requirement.
-
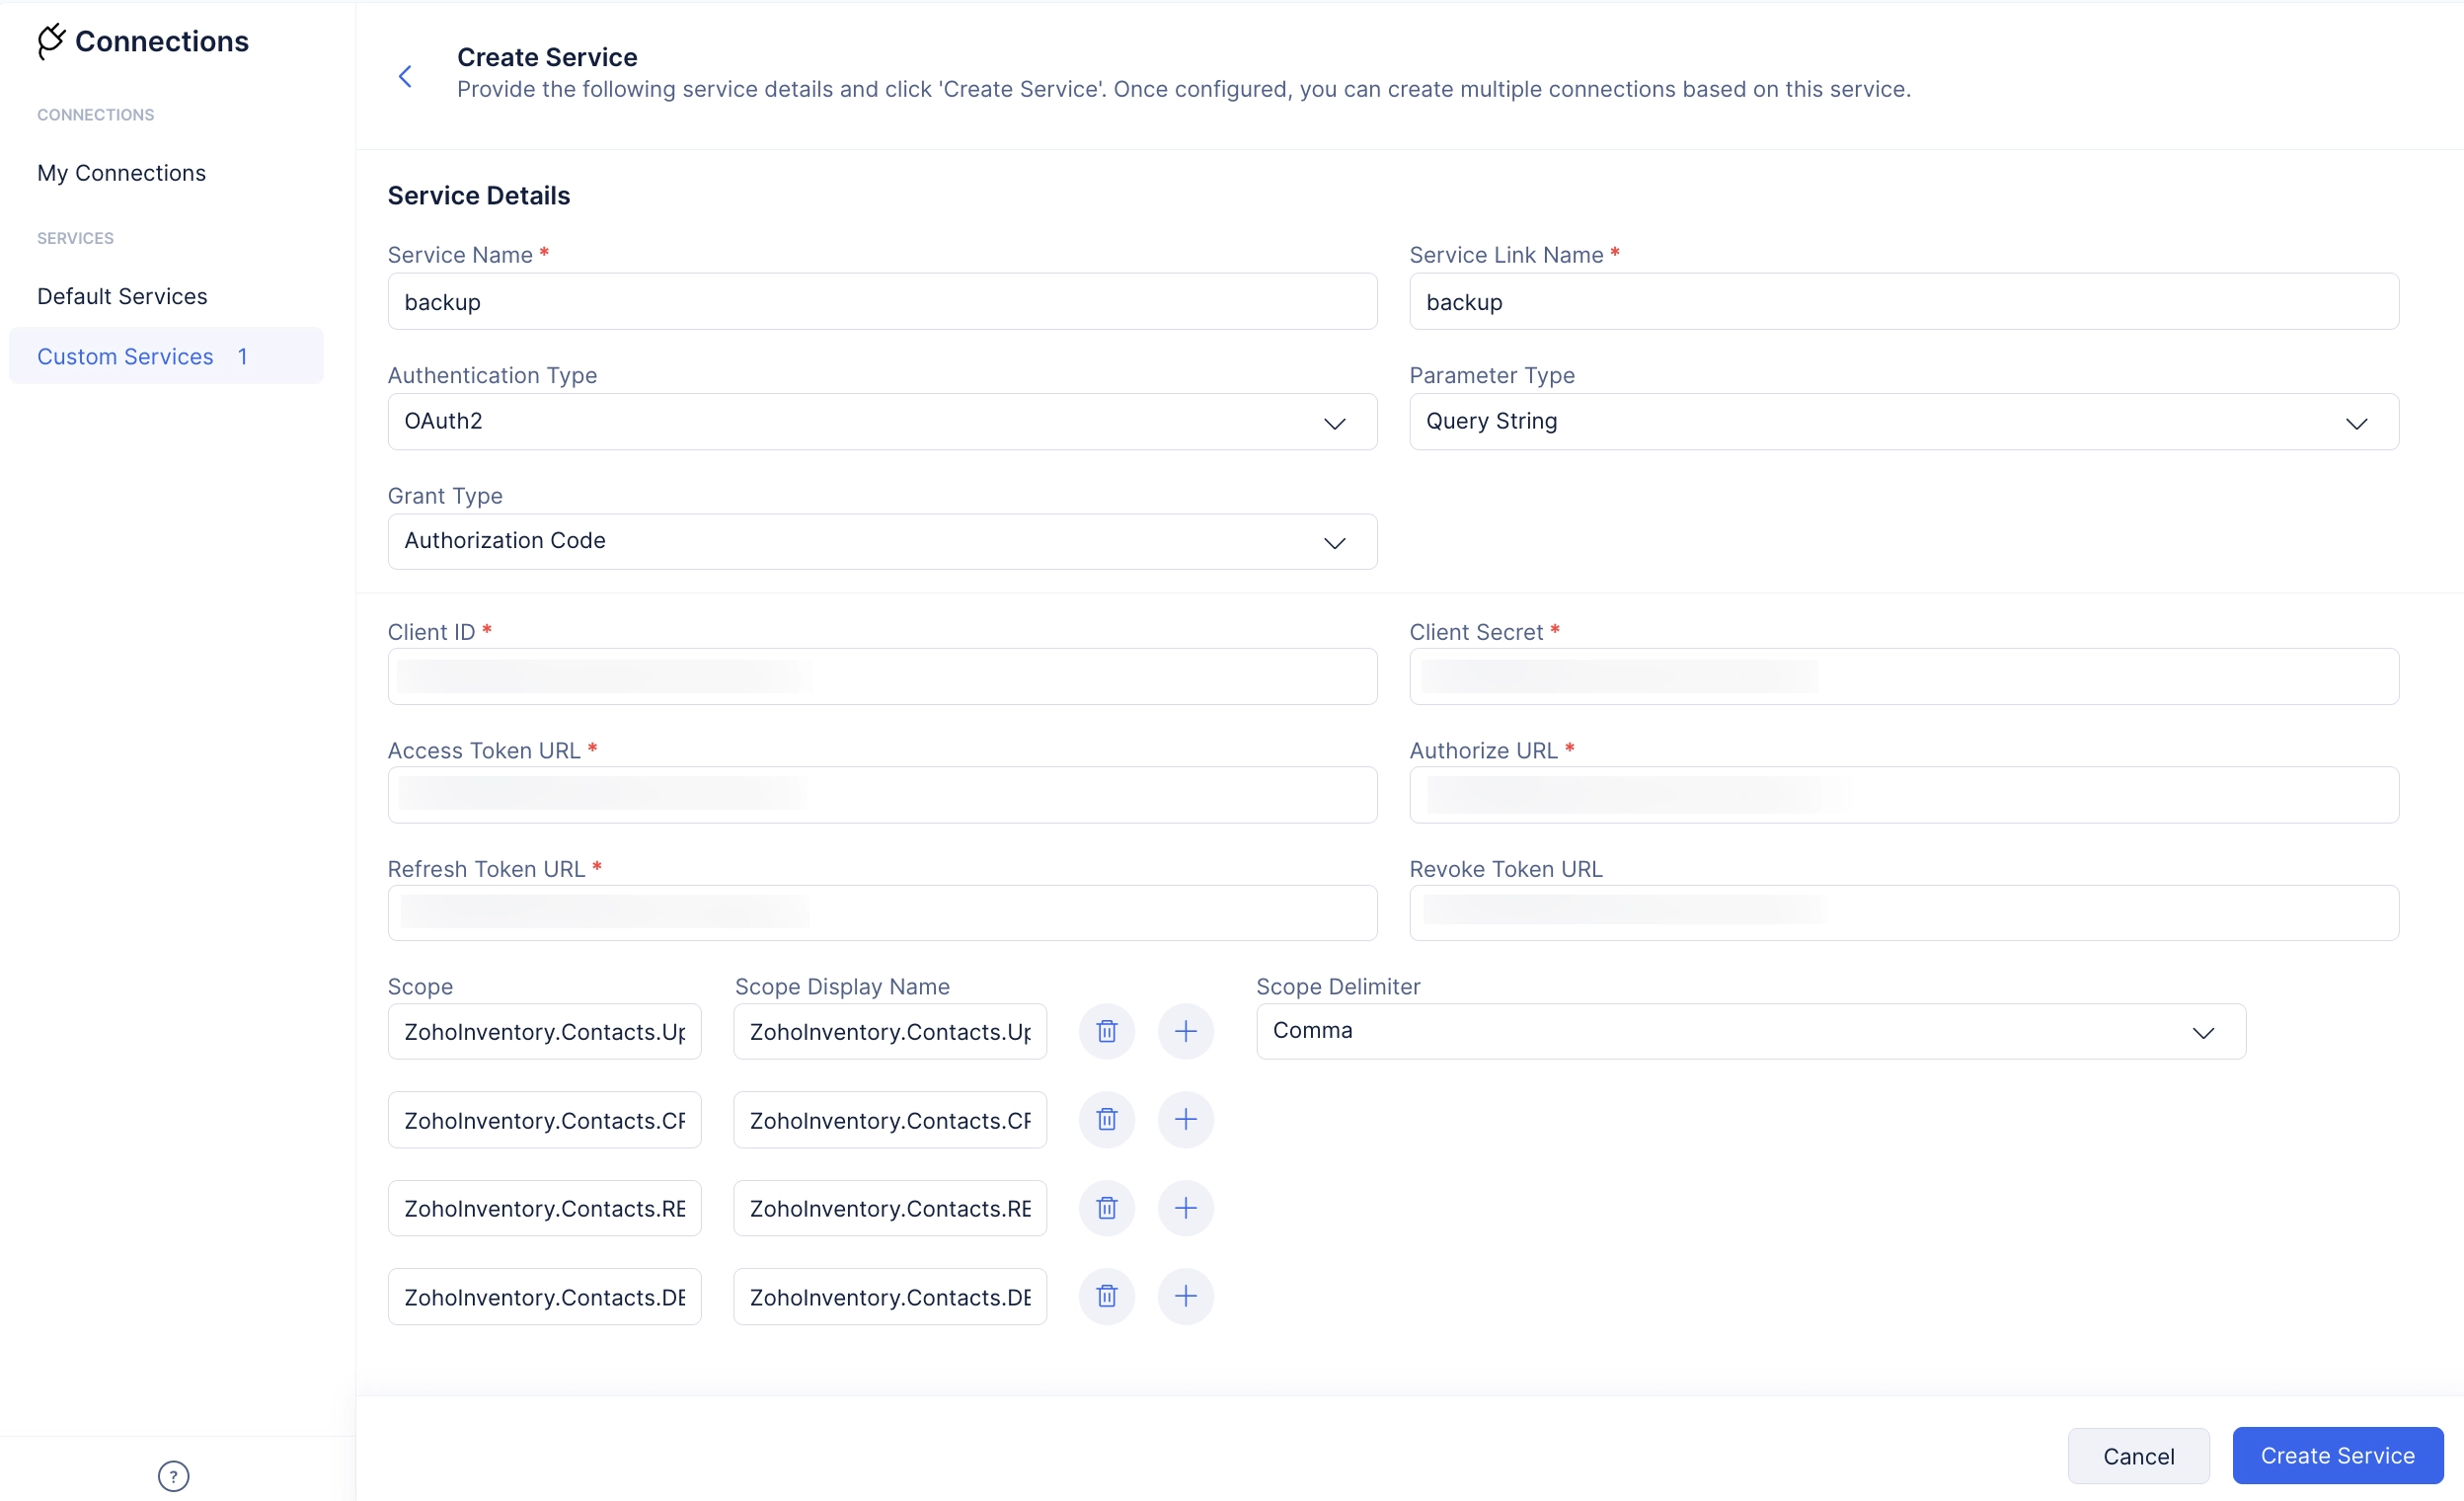
Enter the required Scopes to define the nature of access that connecting with the custom service will offer. You will also need to enter the display names of the scopes in the Scope Display Name input field. This will be the name that is displayed when you select Scopes to configure your connection with the service
Info:
-
Use the add icon to add more scopes.
-
Use the delete icon to delete a scope.
-
Click Create Service to establish the custom service.
-
Click Create Connection to begin configuring a connection with the custom service you created. The Connection Link Name input field will be populated automatically.
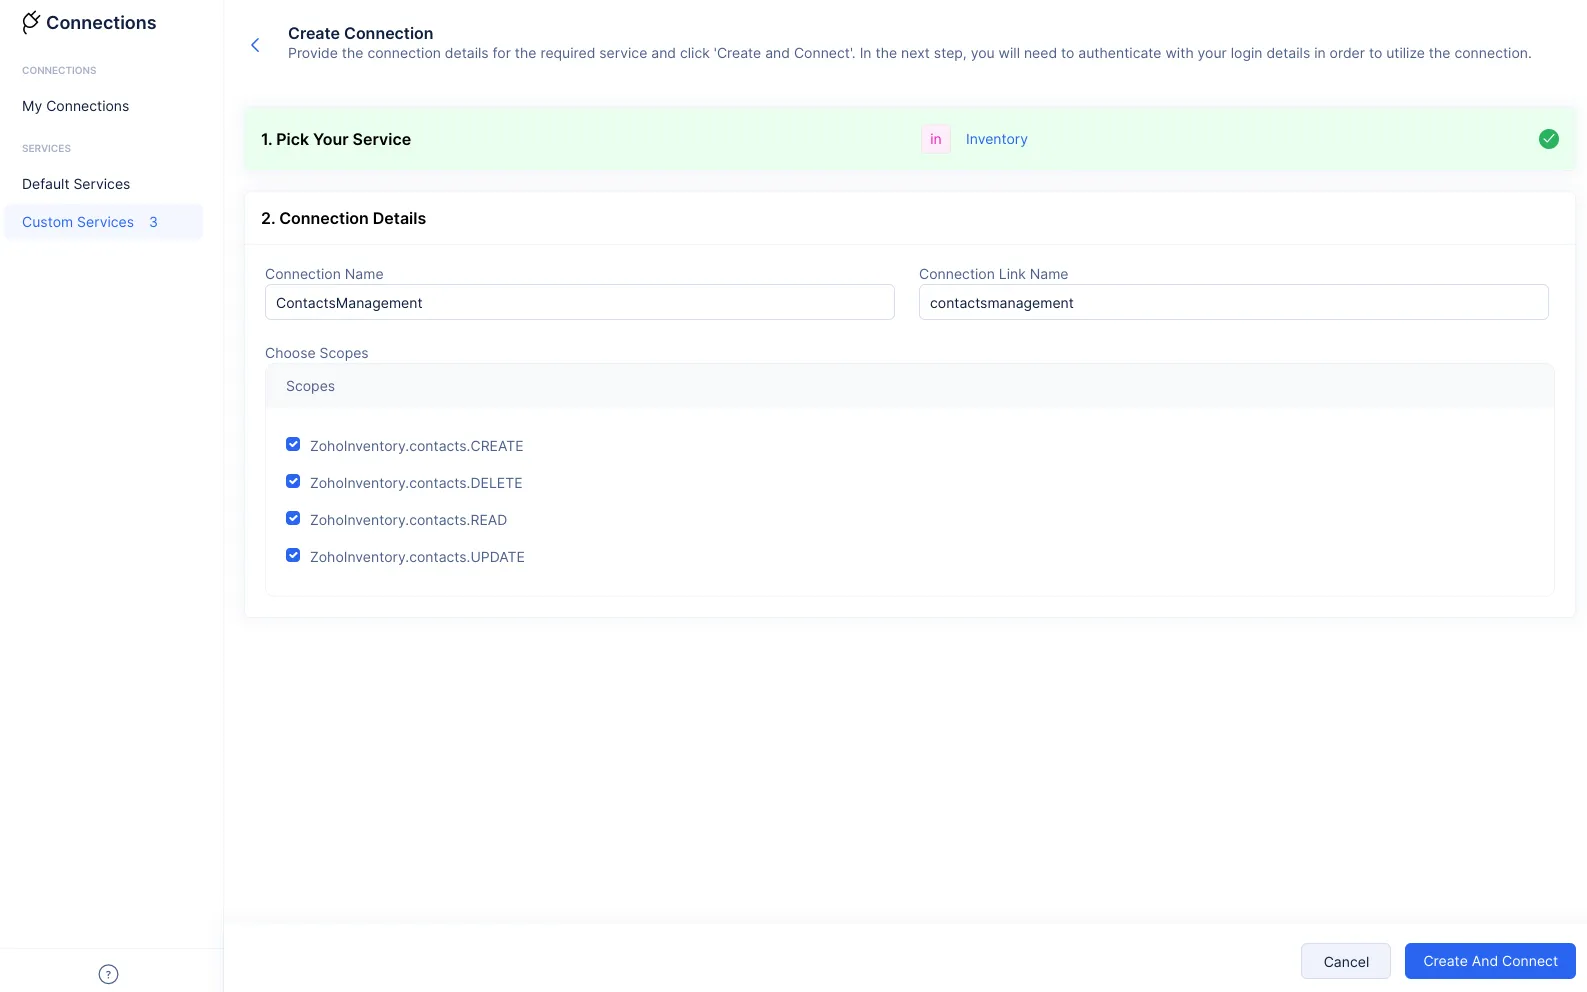
-
Select the required scopes from the list of scopes and click Create And Connect.
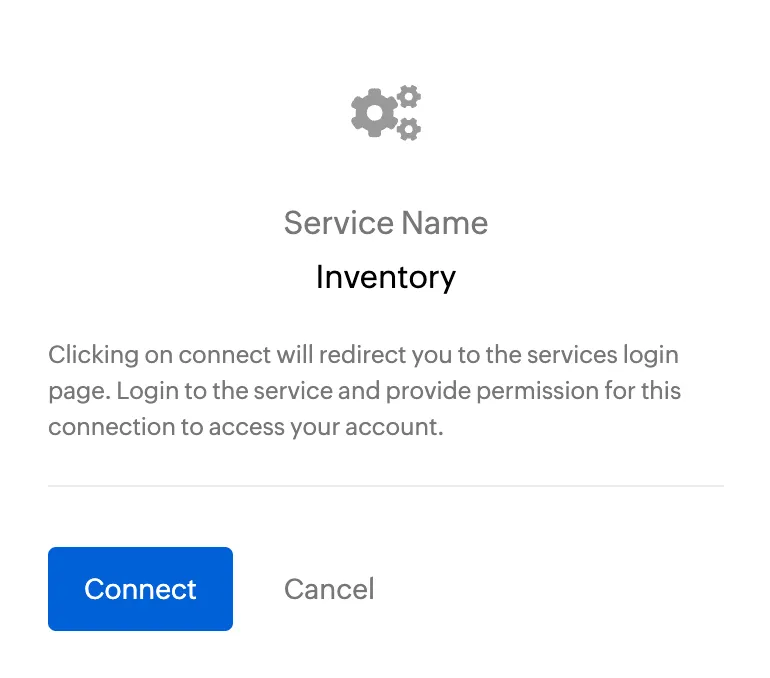
-
Perform the required authentication to authorize the connection request.
The connection will be made active and live.
From here on, Catalyst will ensure that the Connections component produces the required tokens to keep the connection live. You can now share data and functionality with the custom service.
Last Updated 2025-05-26 17:57:12 +0530 IST
Yes
No
Send your feedback to us