Configure Social Logins
Before you enable Social Logins while setting up an authentication method, you must complete certain steps to ensure you have the required Client ID and Client Secret for each service that you require. This involves configuring an app in the respective social login’s developer console, and fetching the OAuth credentials. You will also need to have your own account with each of the Social Login providers to access their developer consoles.
Enable Zoho Social Login
To enable Zoho sign in option in your application, you need to acquire the OAuth credentials for your application from the Zoho API Console in the following manner:
-
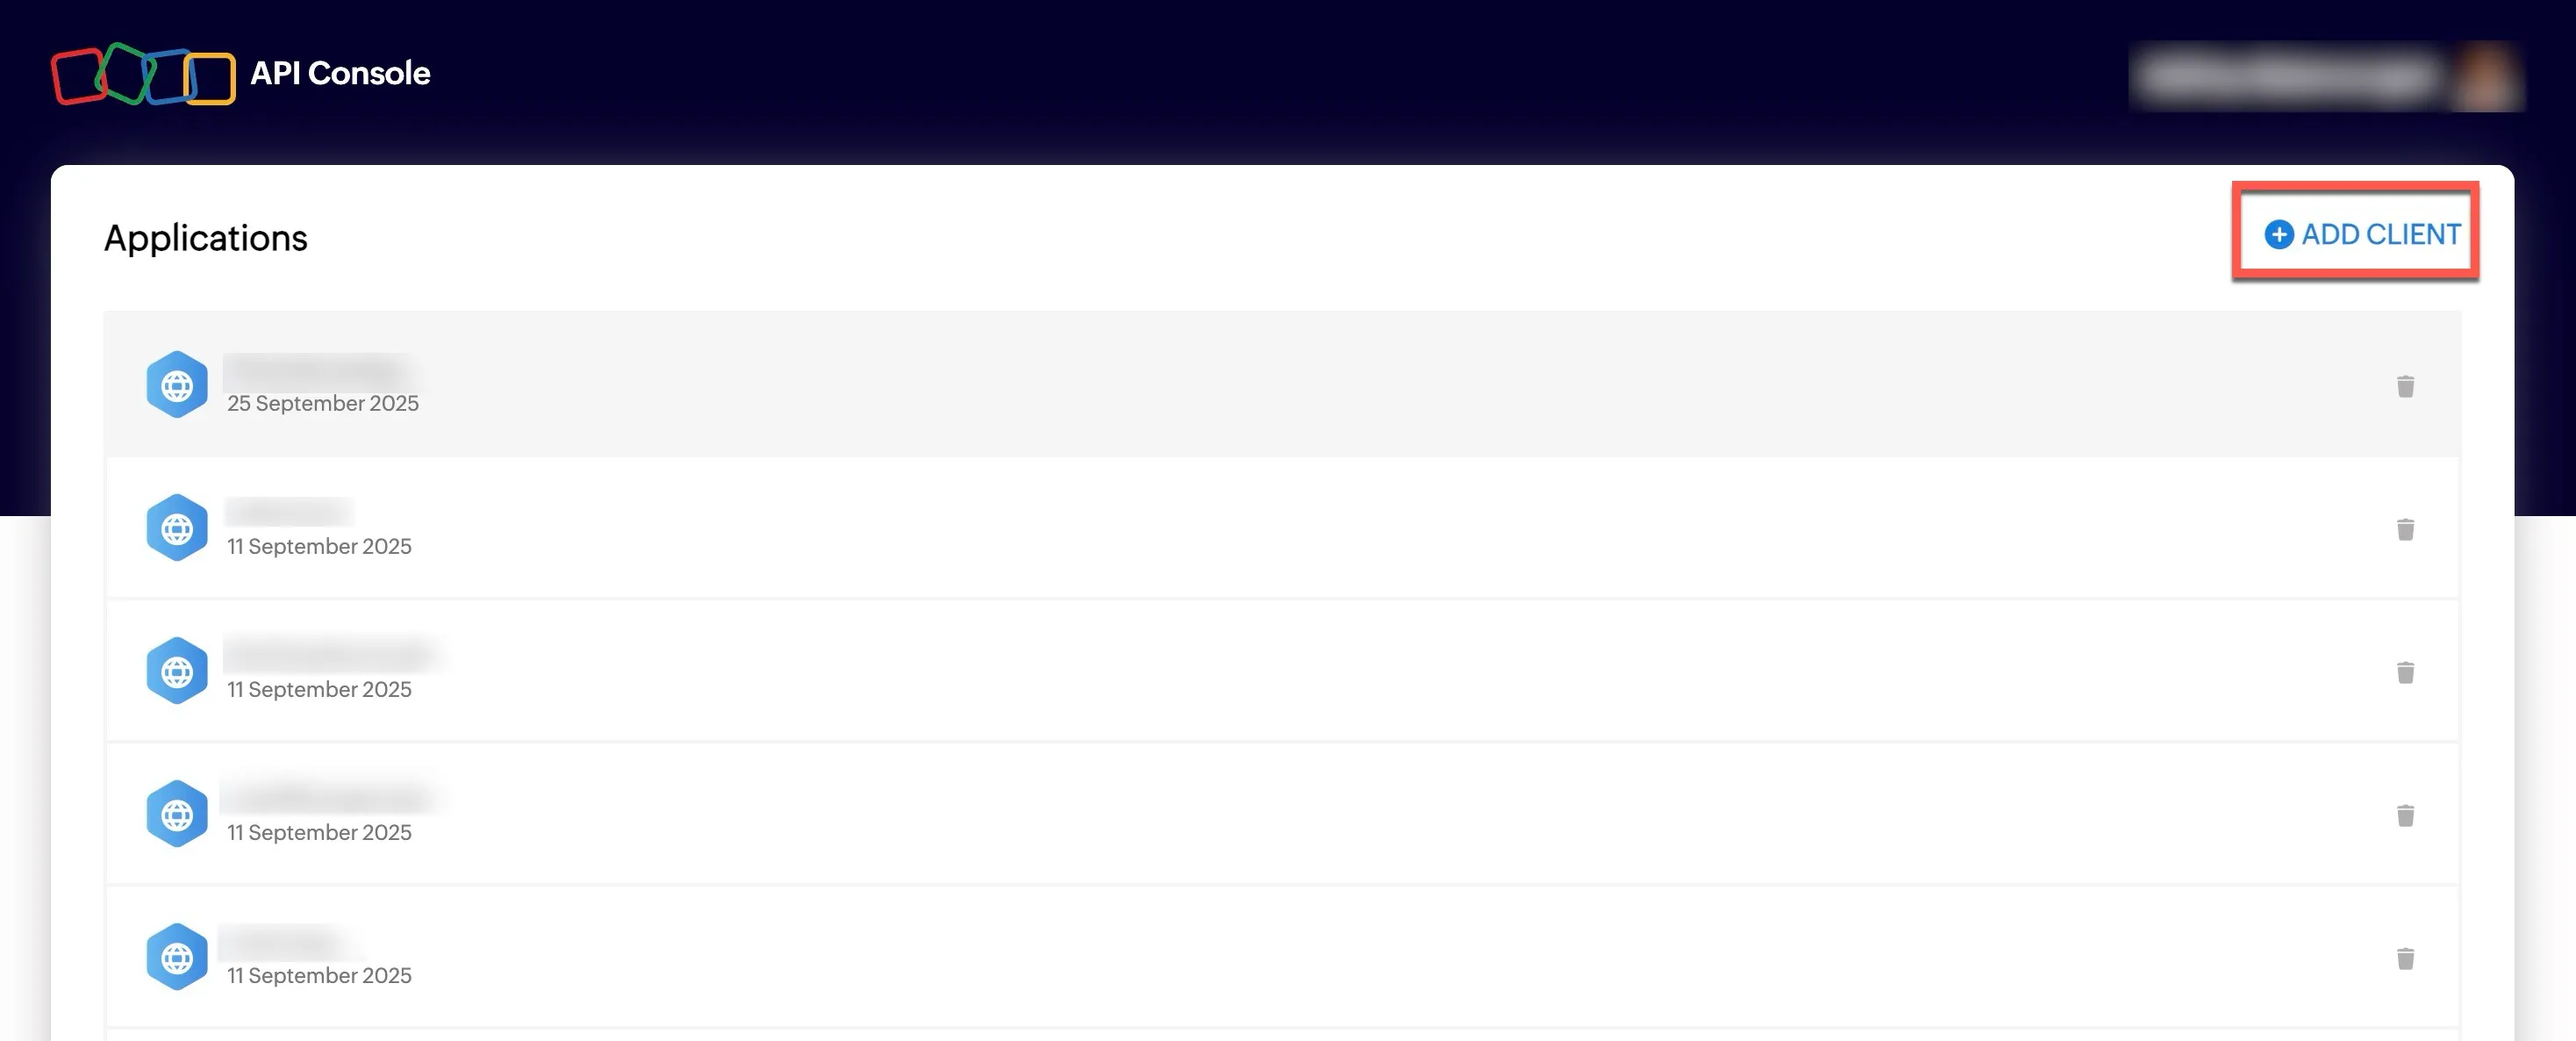
Navigate to the Zoho API Console from here, and click ADD CLIENT.
-
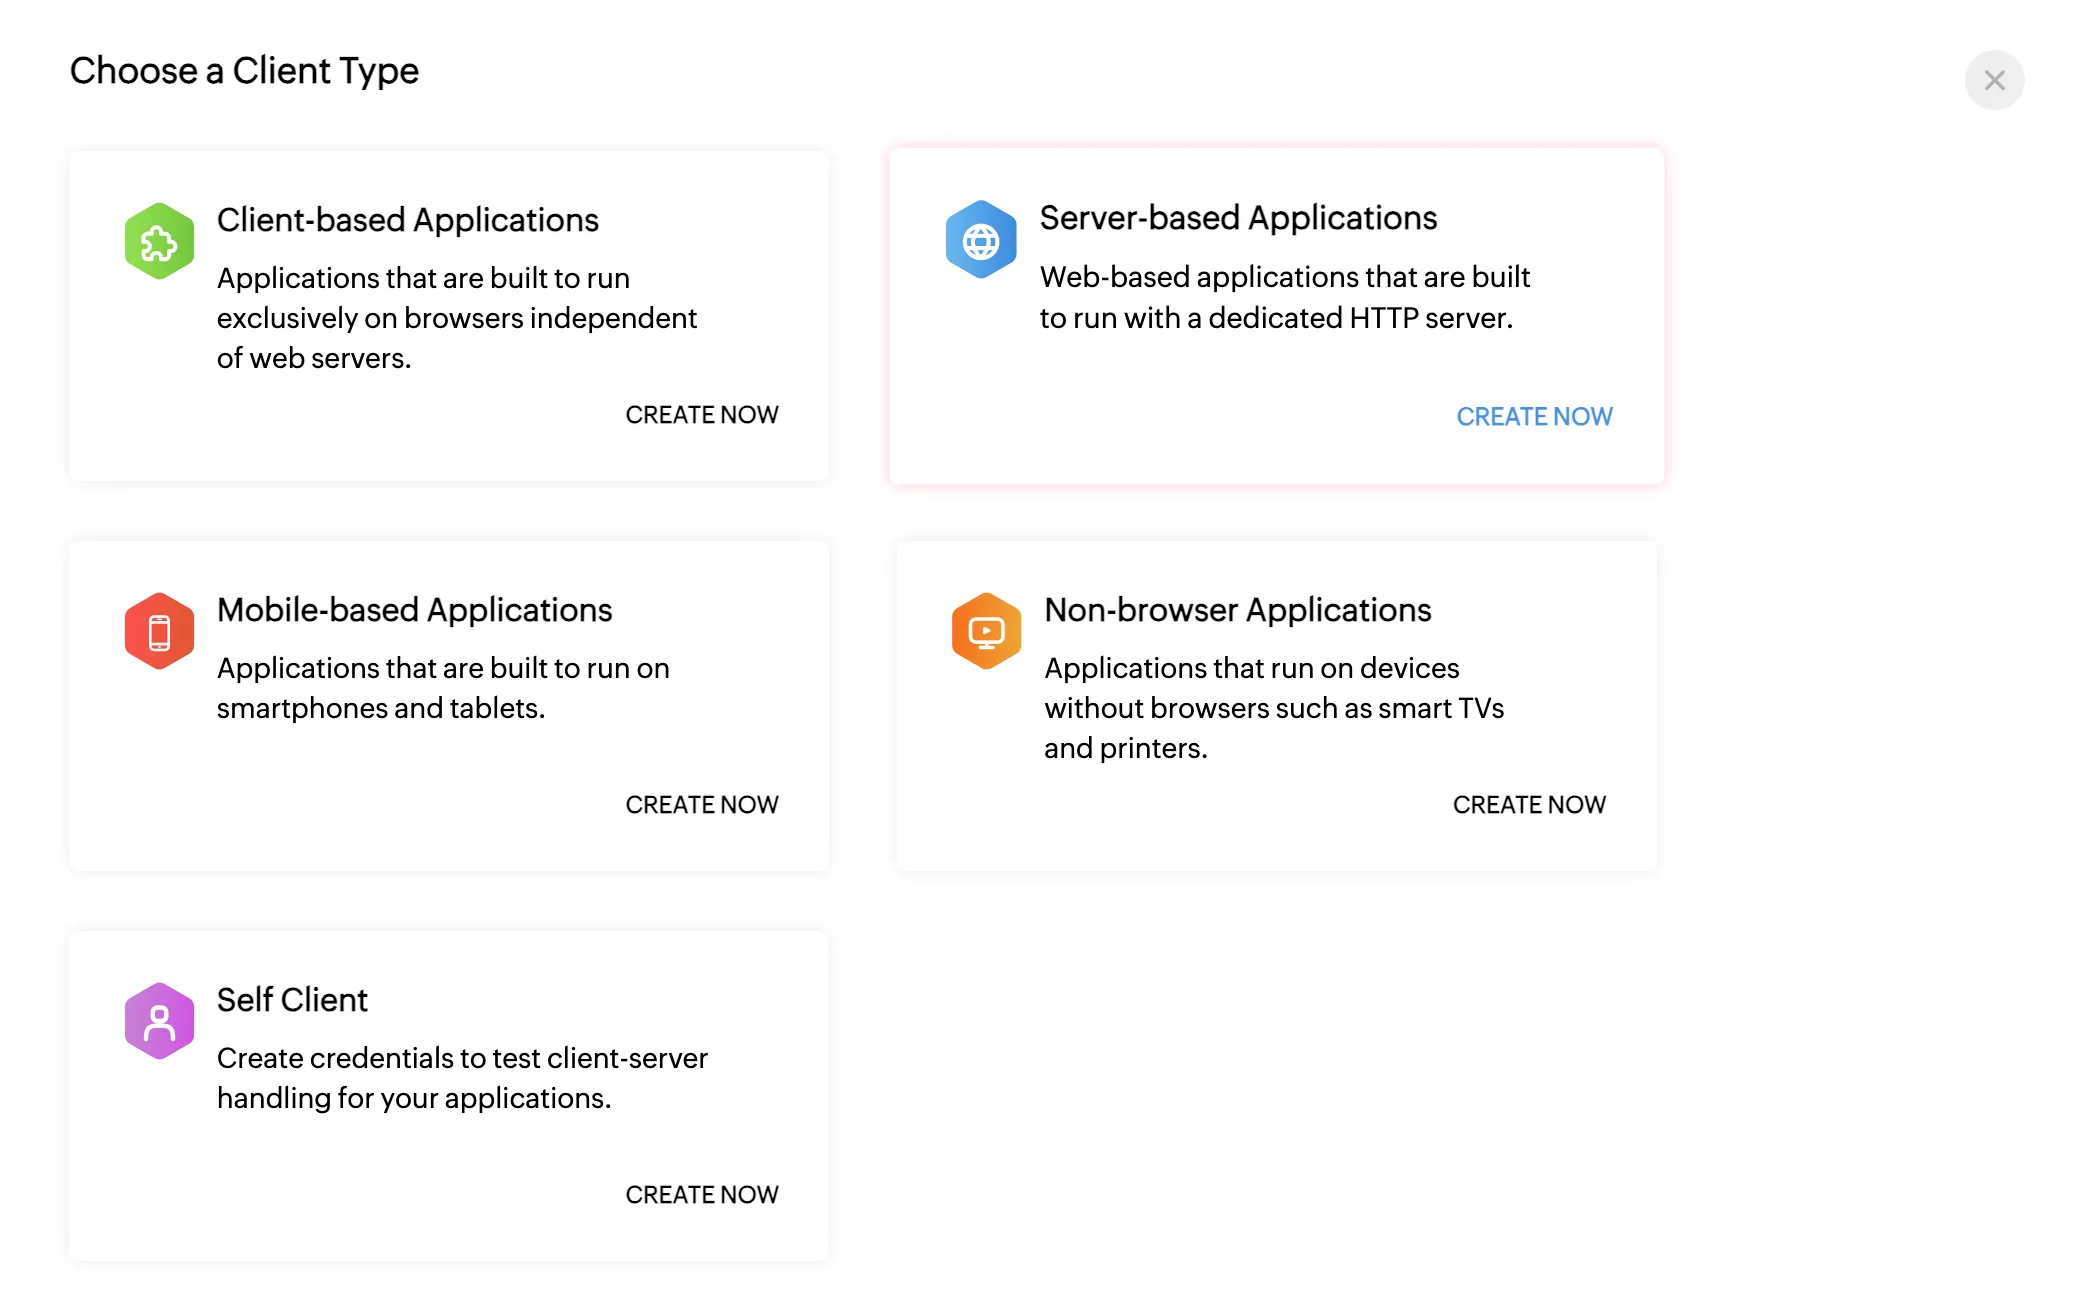
Select Server-based Applications, and click CREATE NOW.
-
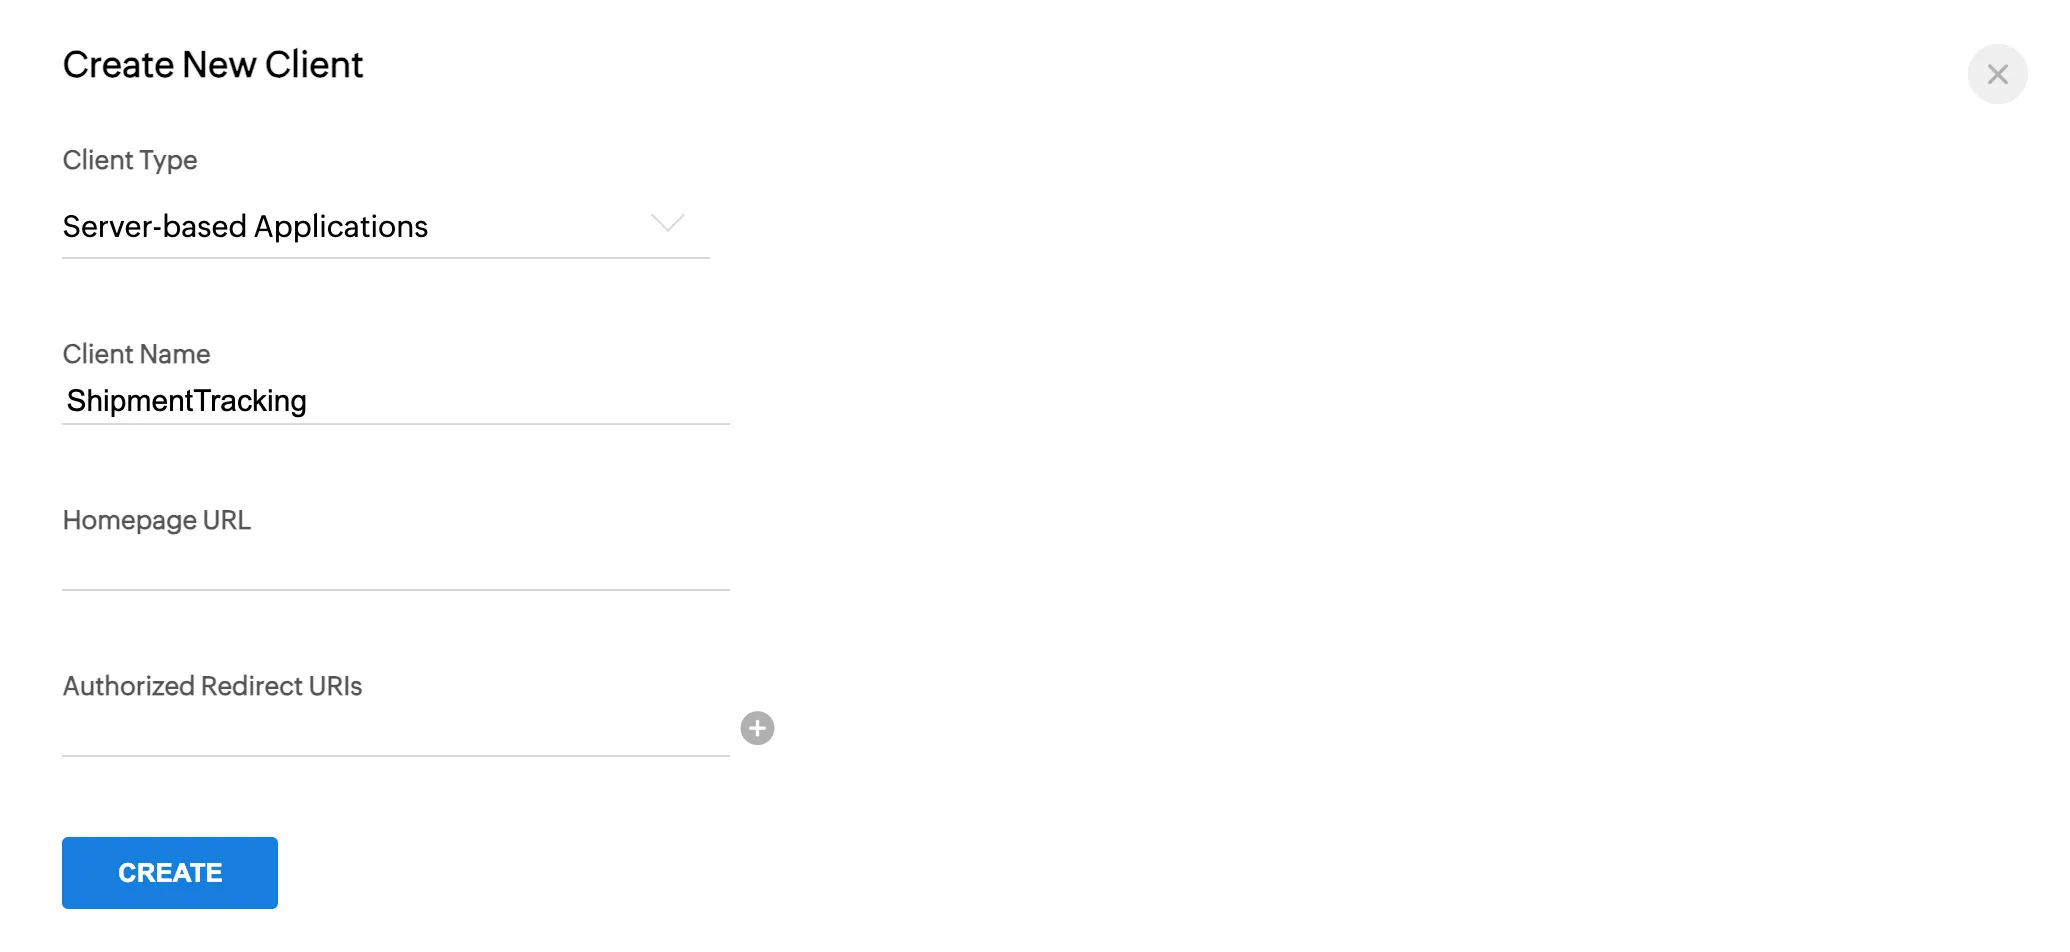
Provide the name of your application as the client name.
-
Provide the Homepage URL, and the required Authorized Redirect URIs.
- You can get the Authorized Redirect URIs, by following the steps detailed in this help document.
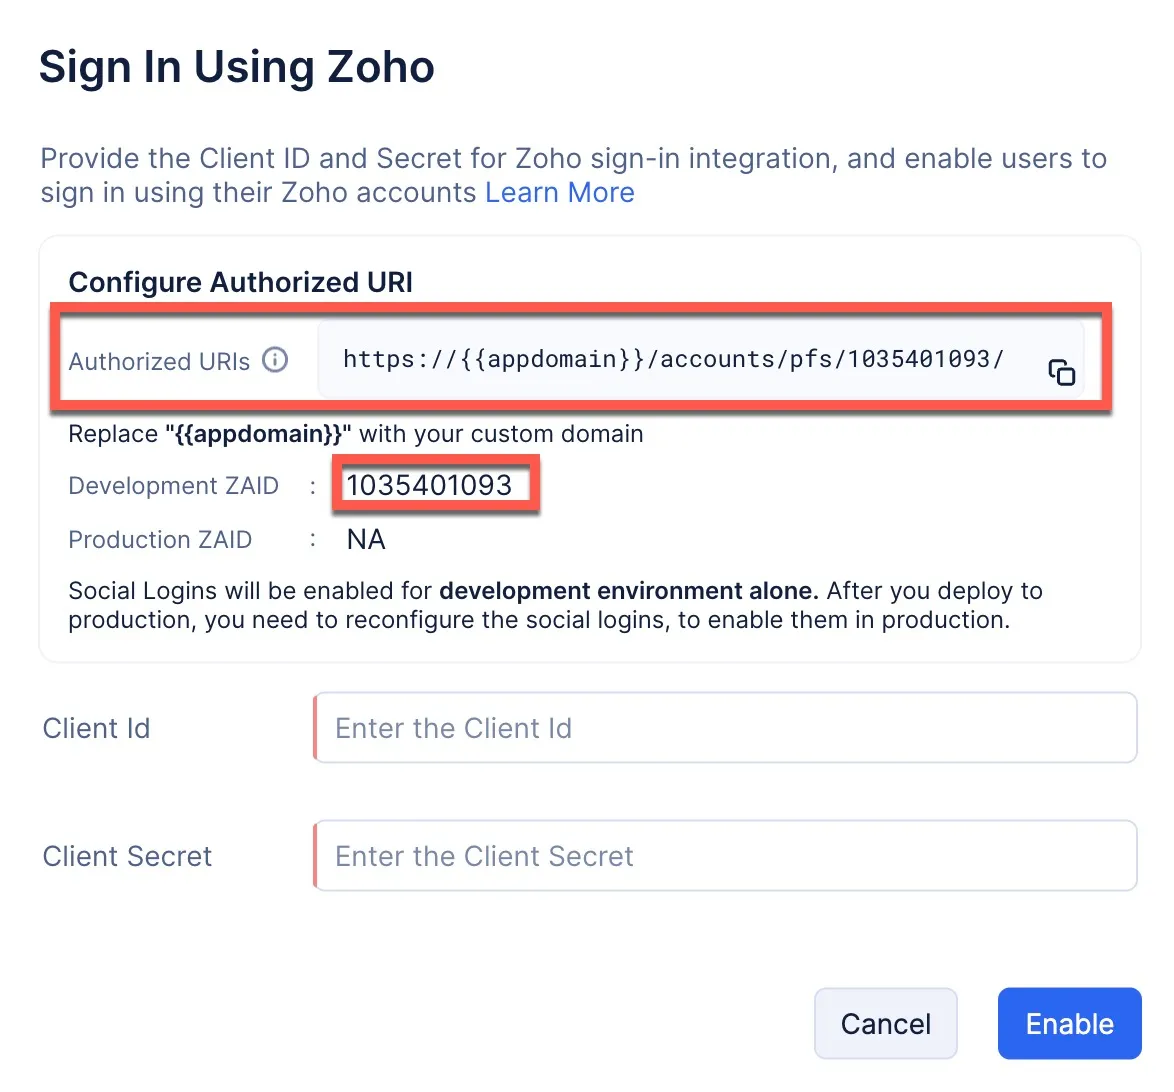
- Ensure you enter the redirect URIs of your application in the following format:
- https://accounts.zohoportal.com/accounts/extoauth/ZAID/clientcallback
- https://{{appdomain}}/accounts/pfs/ZAID/clientidpcallback
-
Click CREATE. The required Client ID and Client Secret values will be displayed.
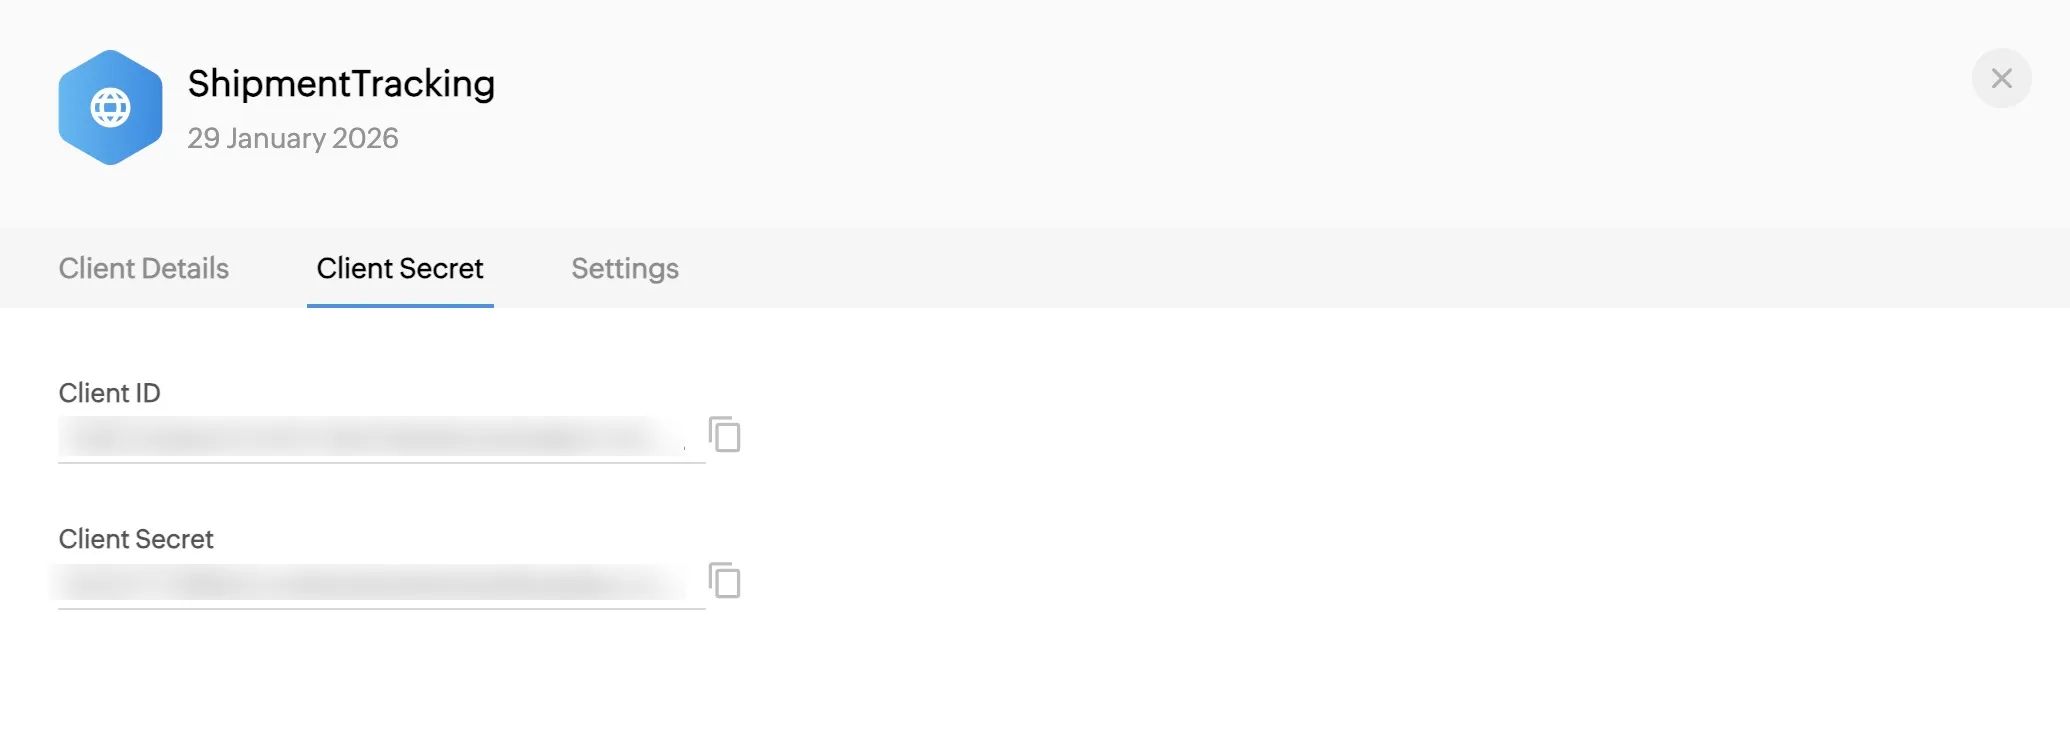
-
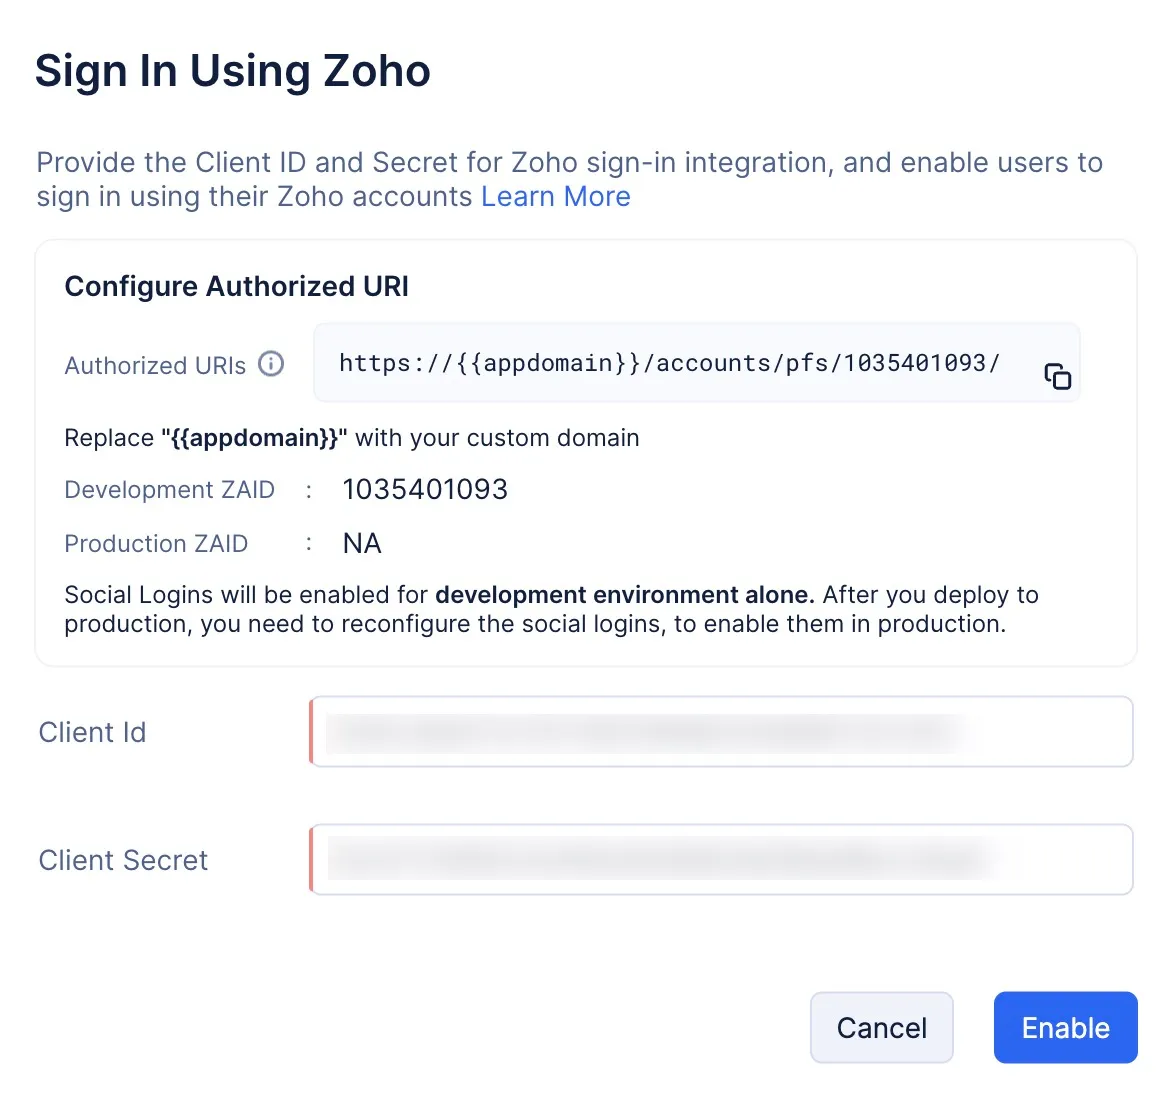
You can copy the required Client ID and Client Secret credentials from the API console and paste it in the respective fields in the Catalyst console, and click Enable.
Your end users can now sign up to your application using their Zoho credentials.
Enable Google Social Login
To enable Google sign in option in your application, you must obtain the required OAuth credentials for your application from Google in the following manner:
-
Login to the Google API Console and click Create Project.
-
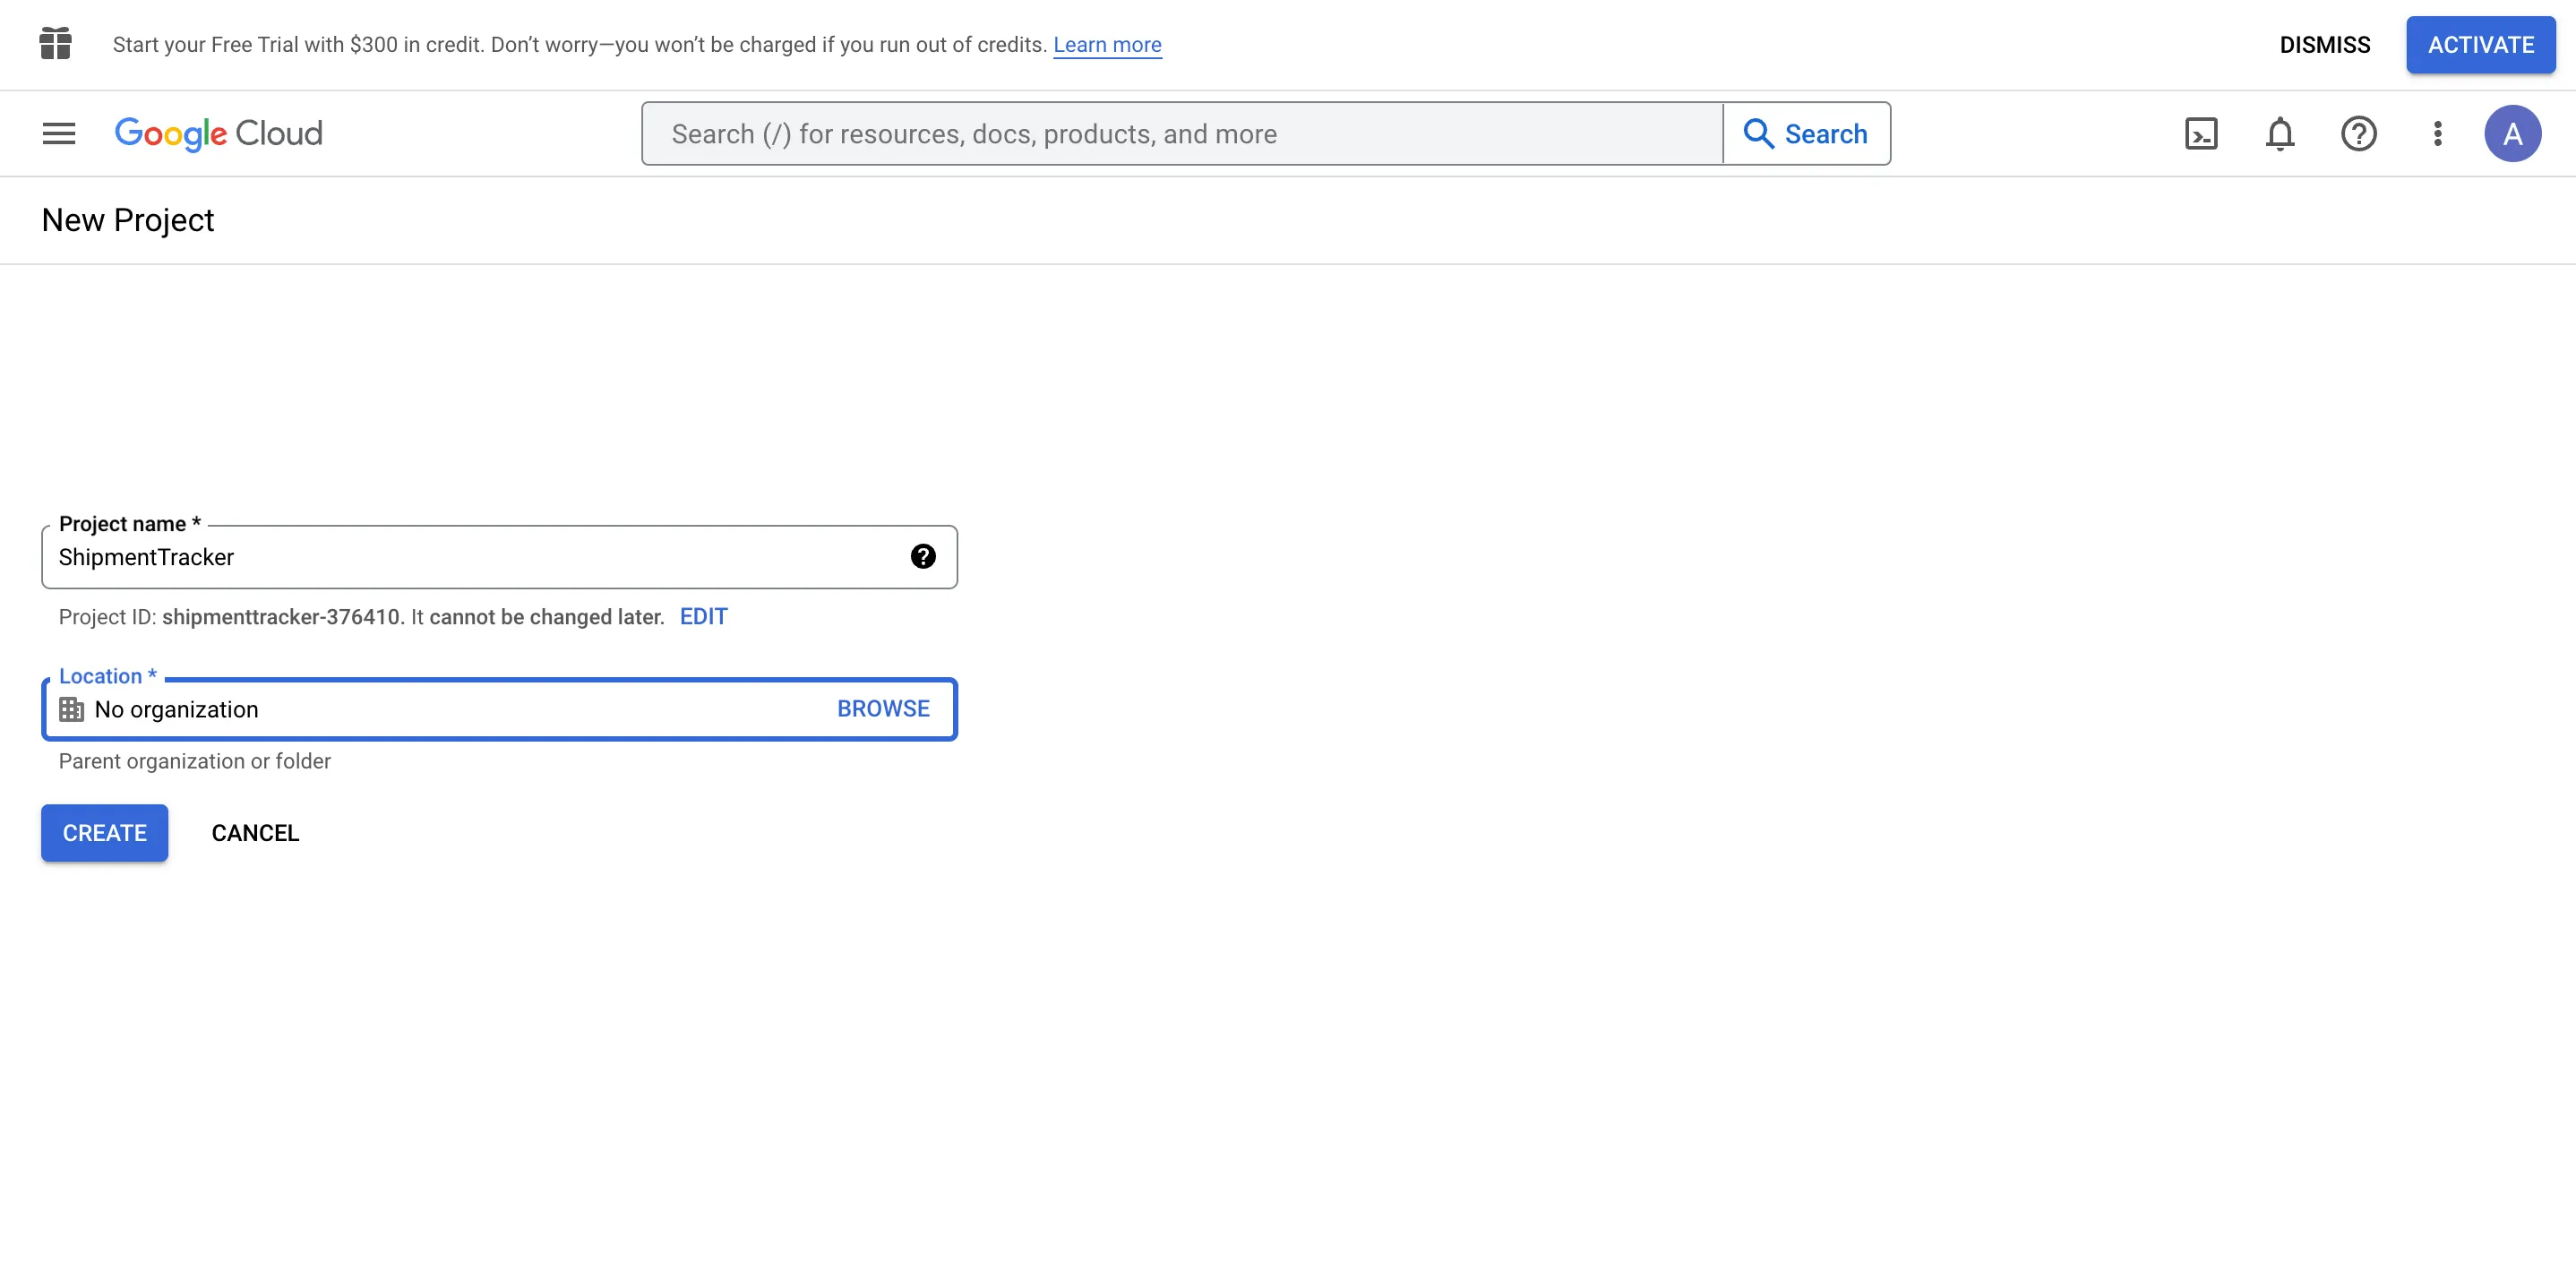
Click New Project.

-
Enter the required information and click Create.
-
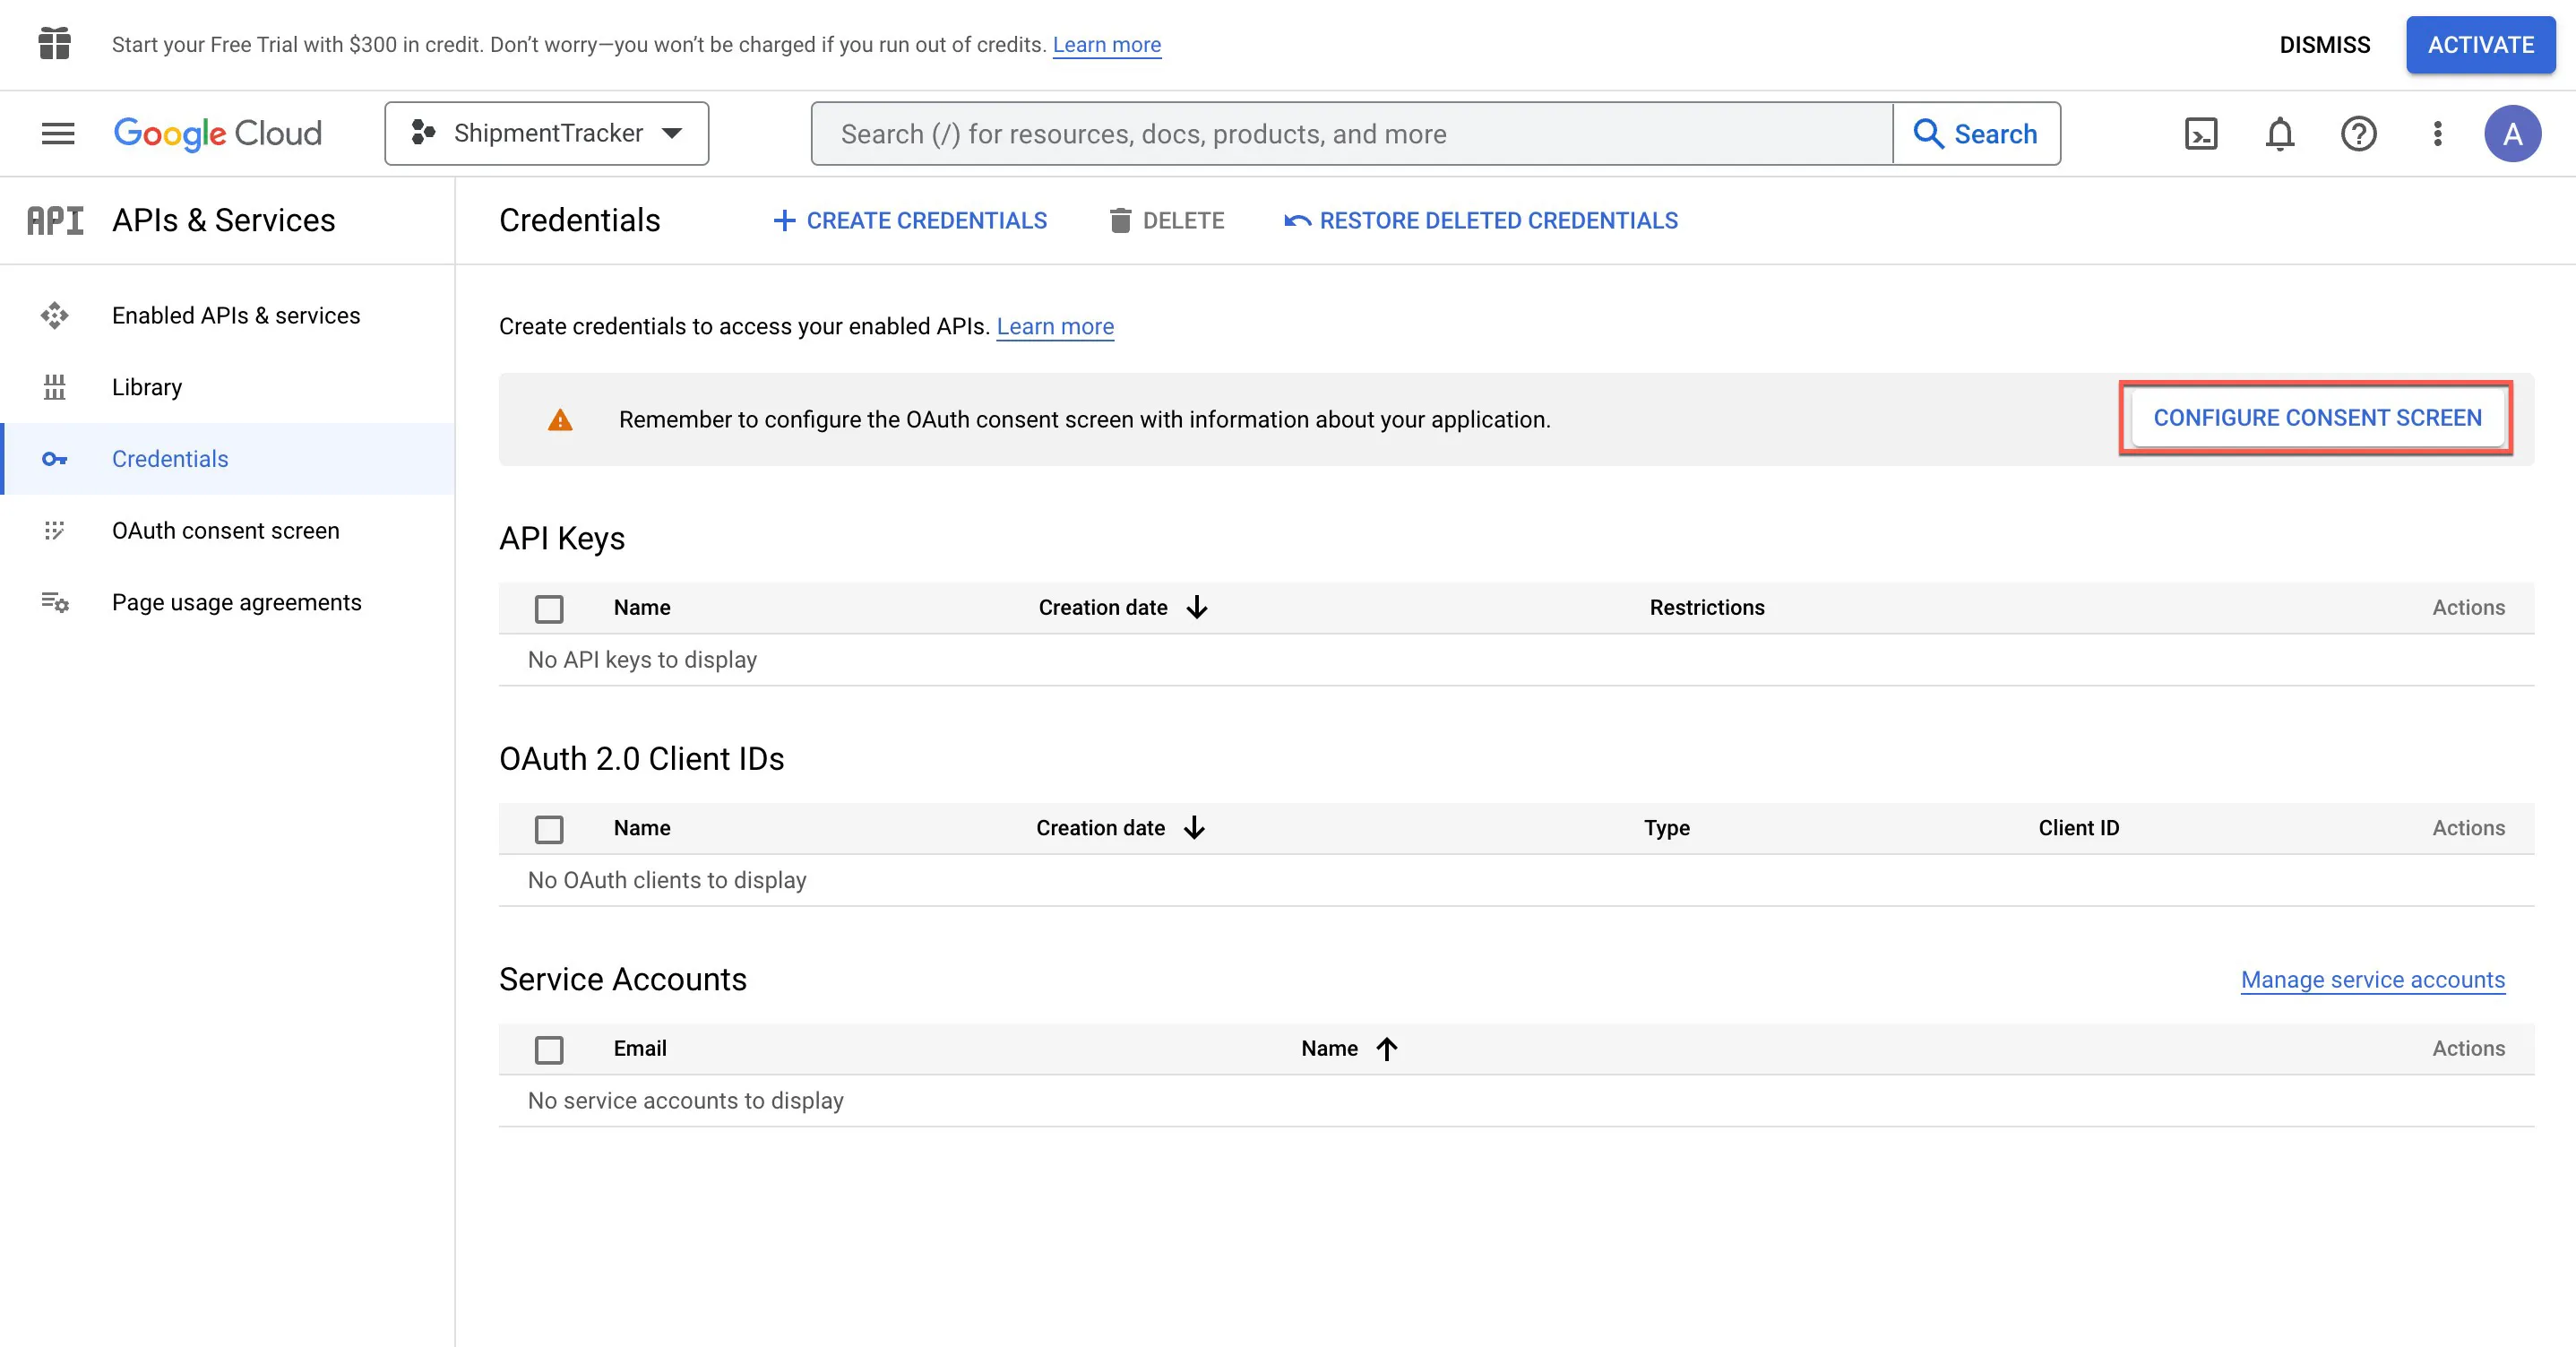
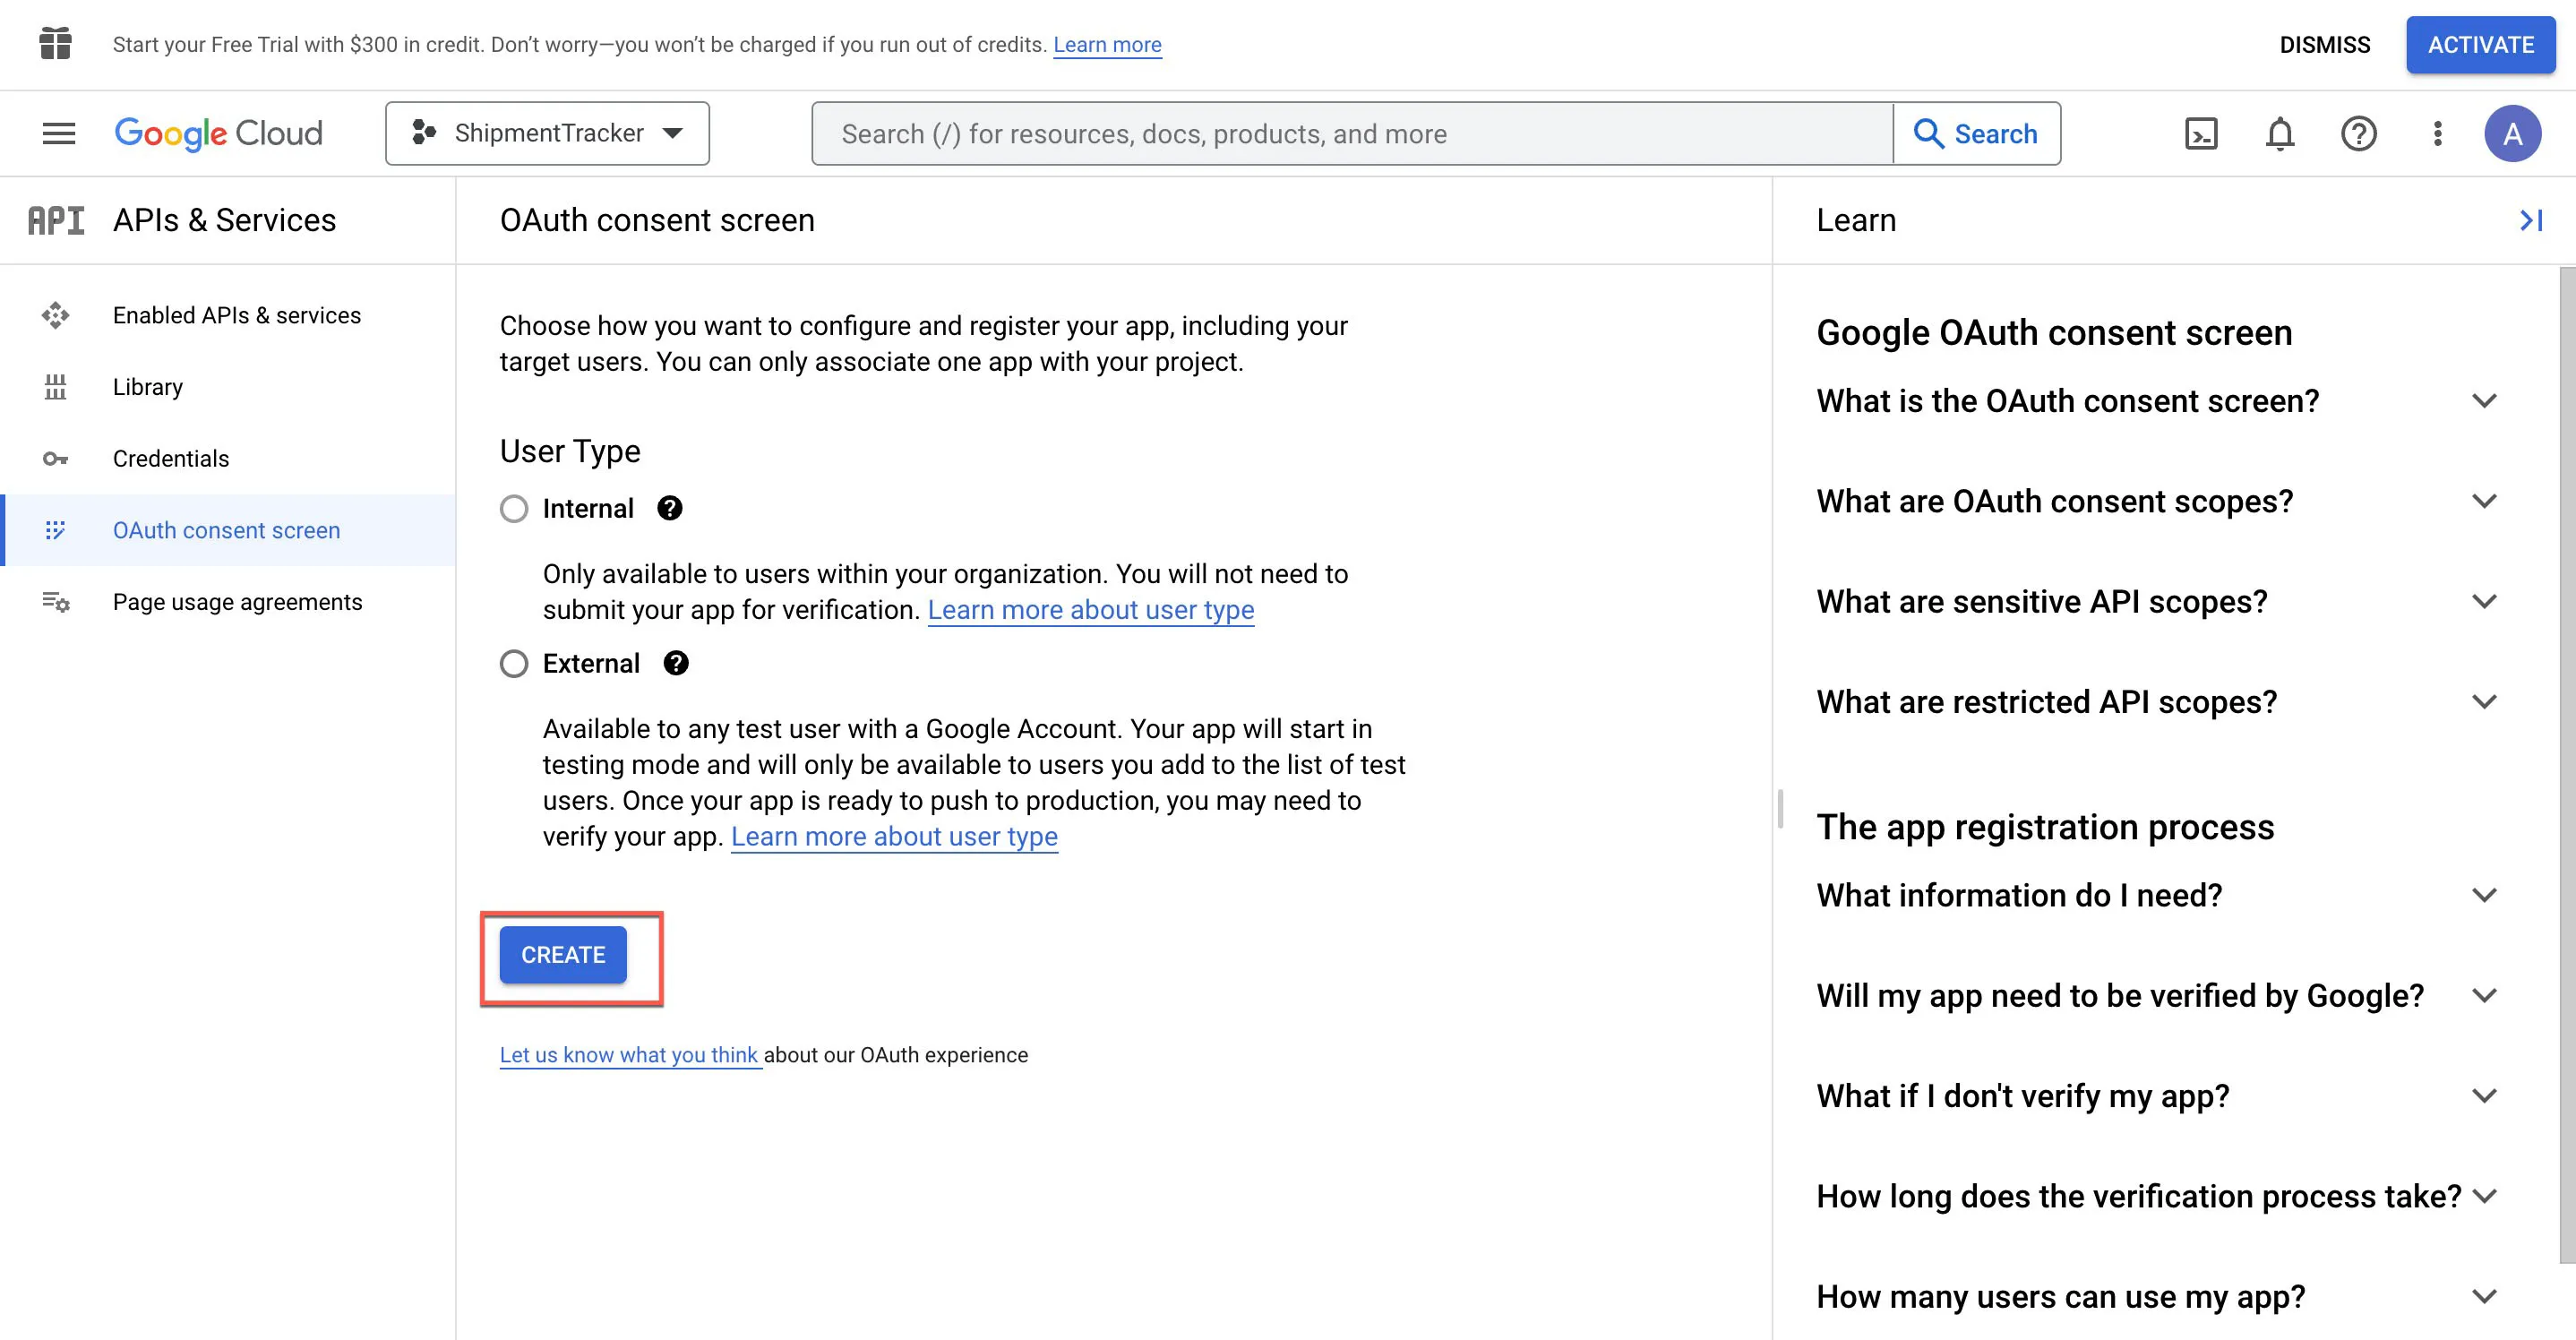
After the project has been created, navigate to the Credentials page. You will be asked to configure the OAuth consent screen with your application details, if it is a new project. Click Configure Consent Screen.
-
Choose a user type for your app and click Create.
-
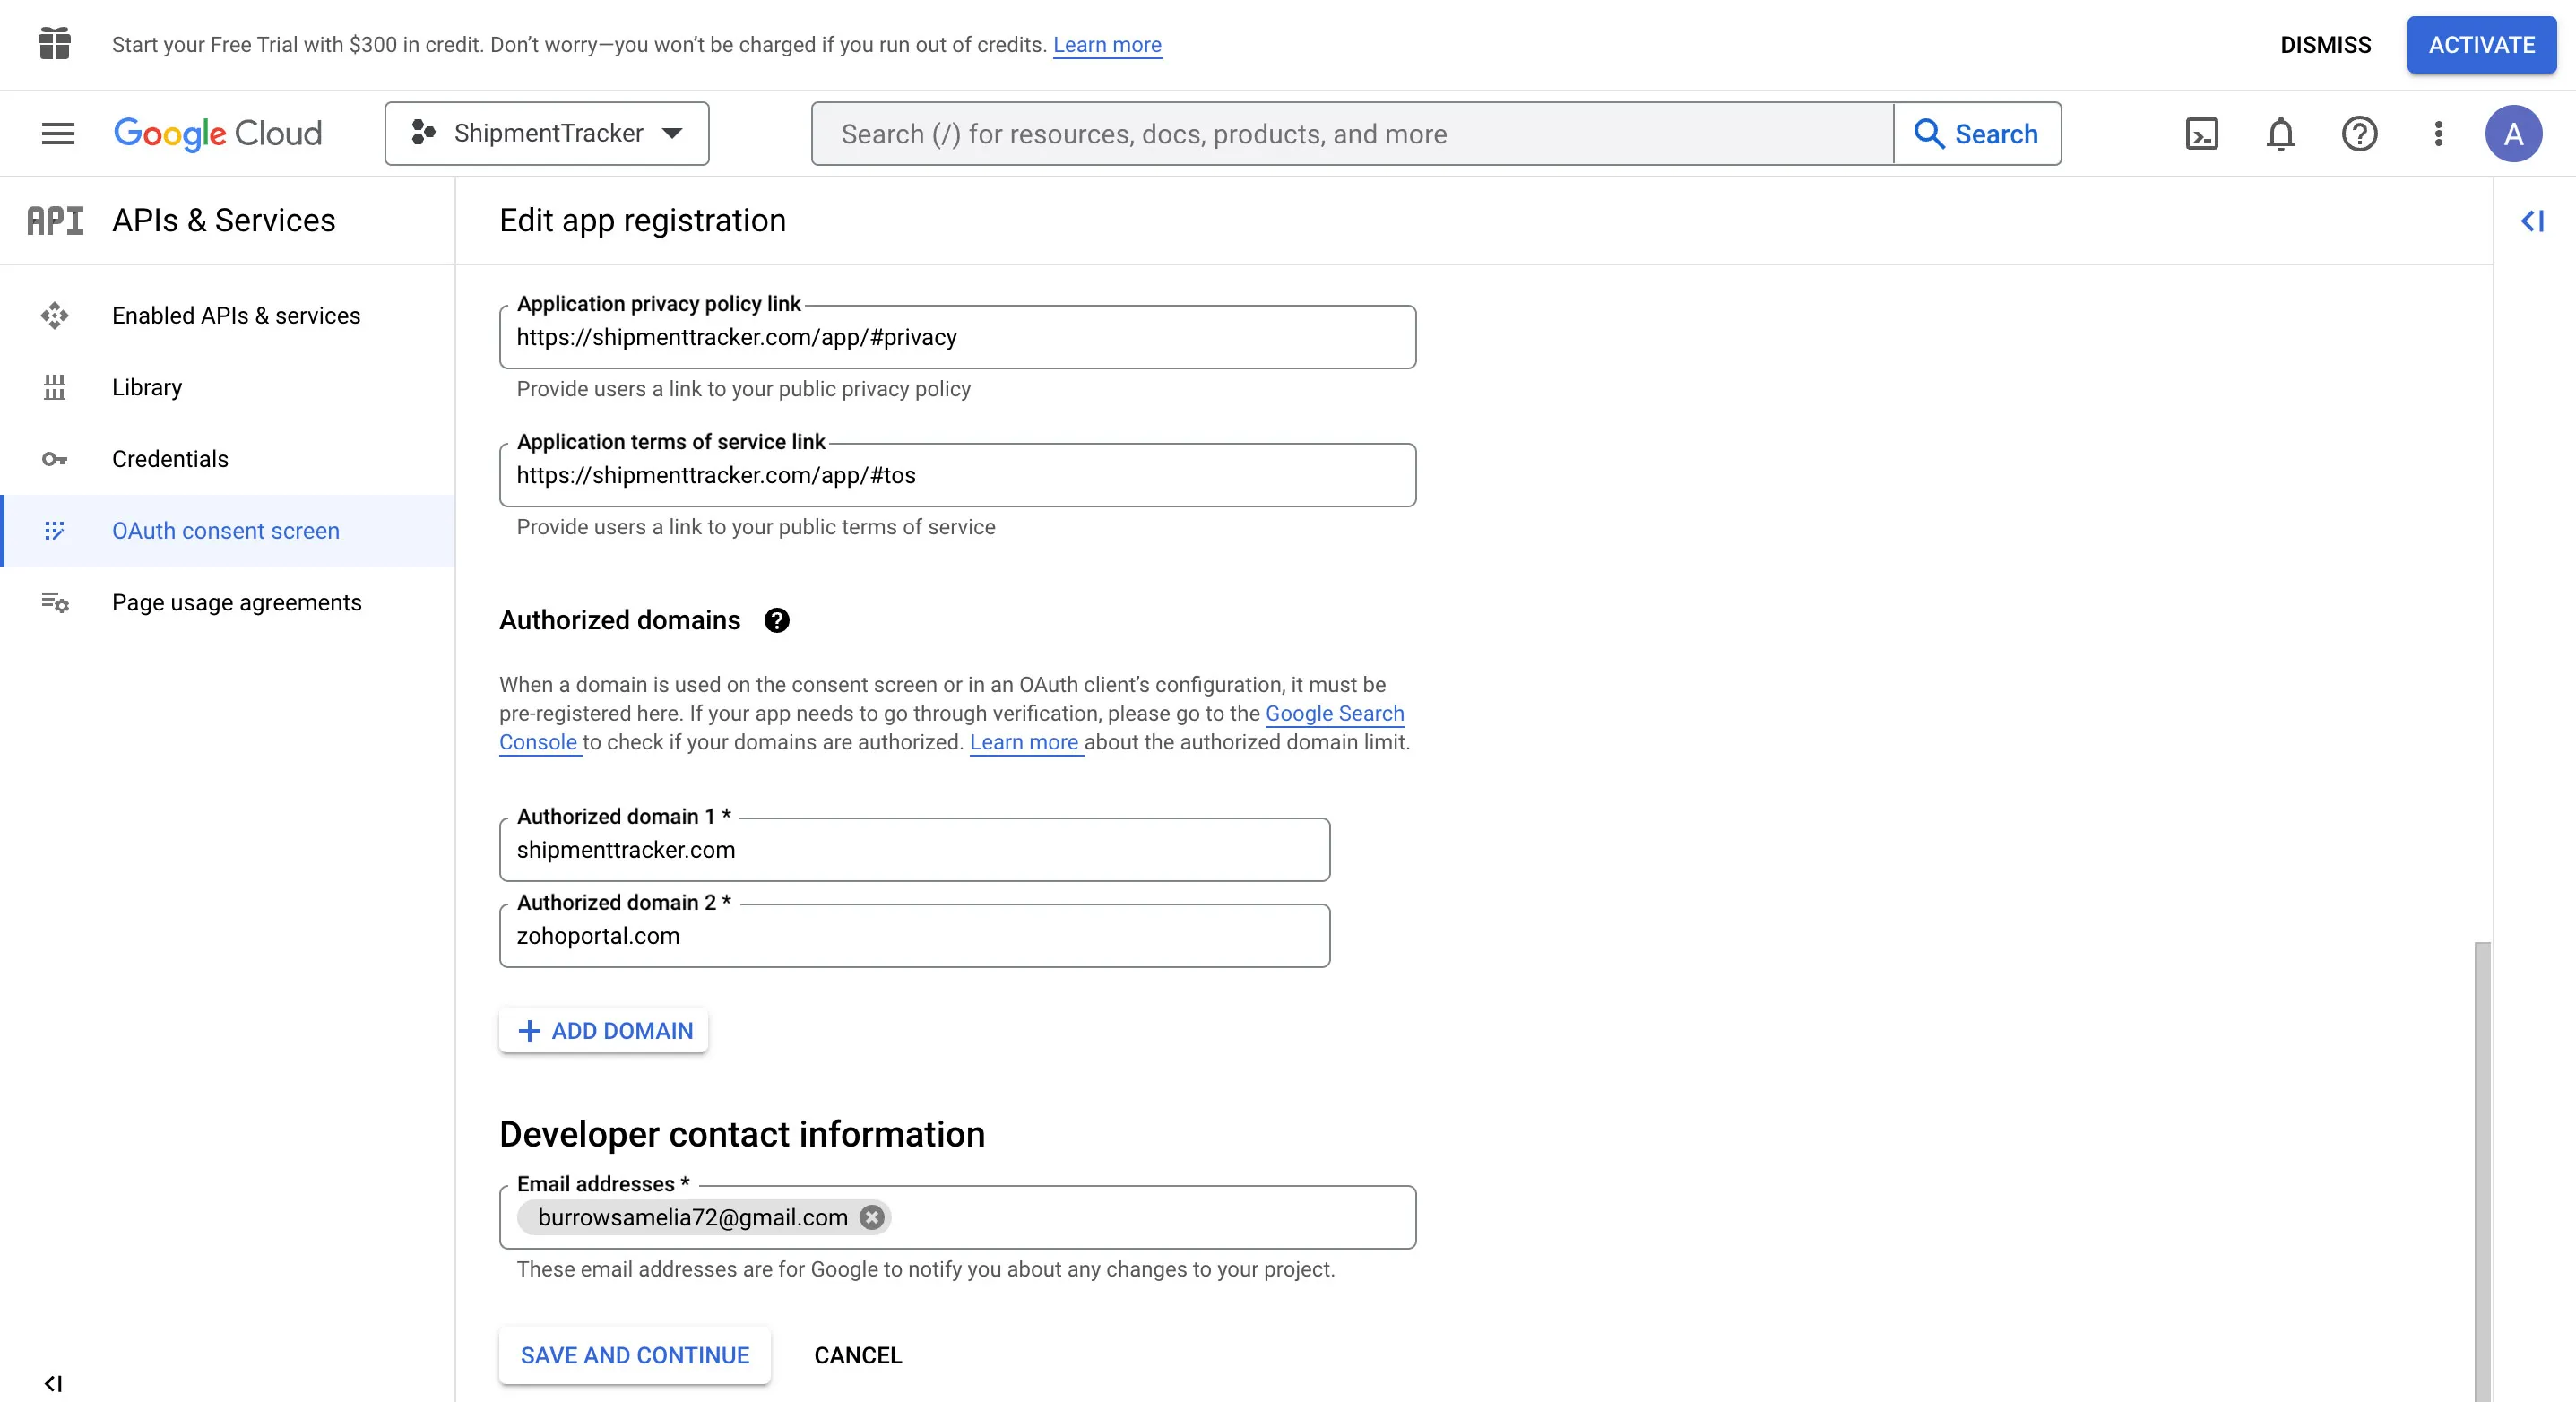
Provide the required information.

-
In the App domain section, under the Application home page section provide your applications home page. Enter the other information as required and click Save And Continue.
-
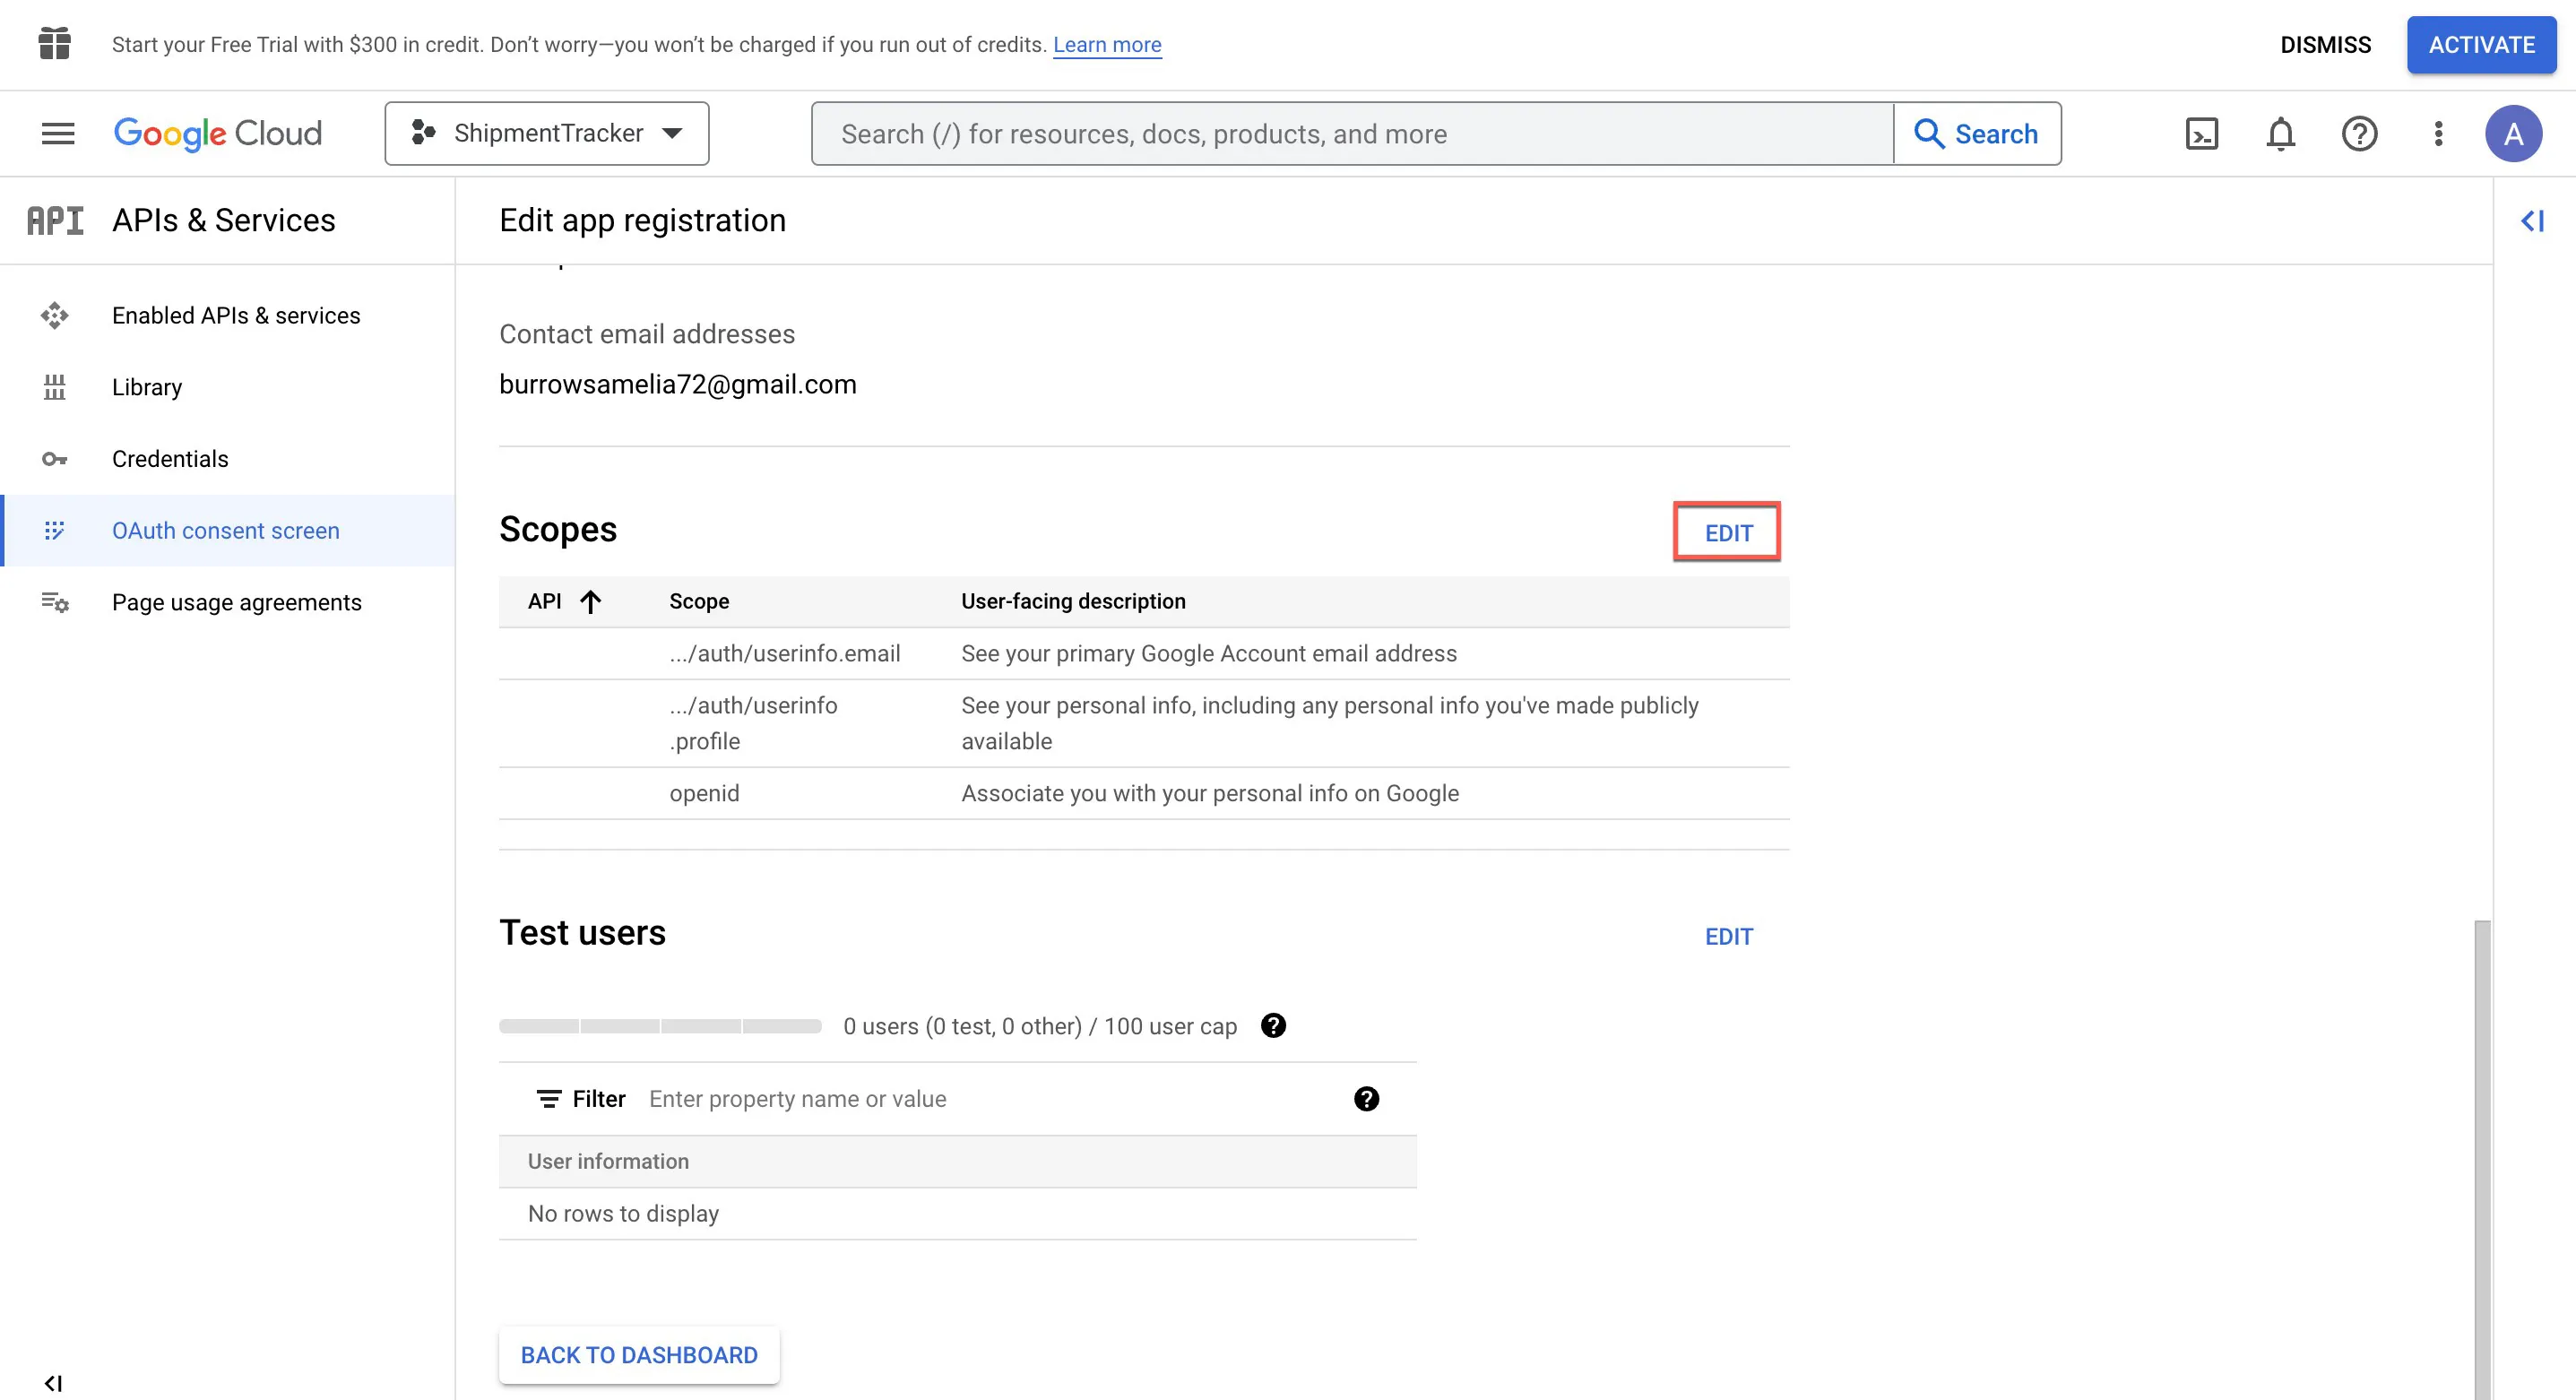
In the Scopes section, click Edit, if you wish to add or manage scopes other than the default section.
-
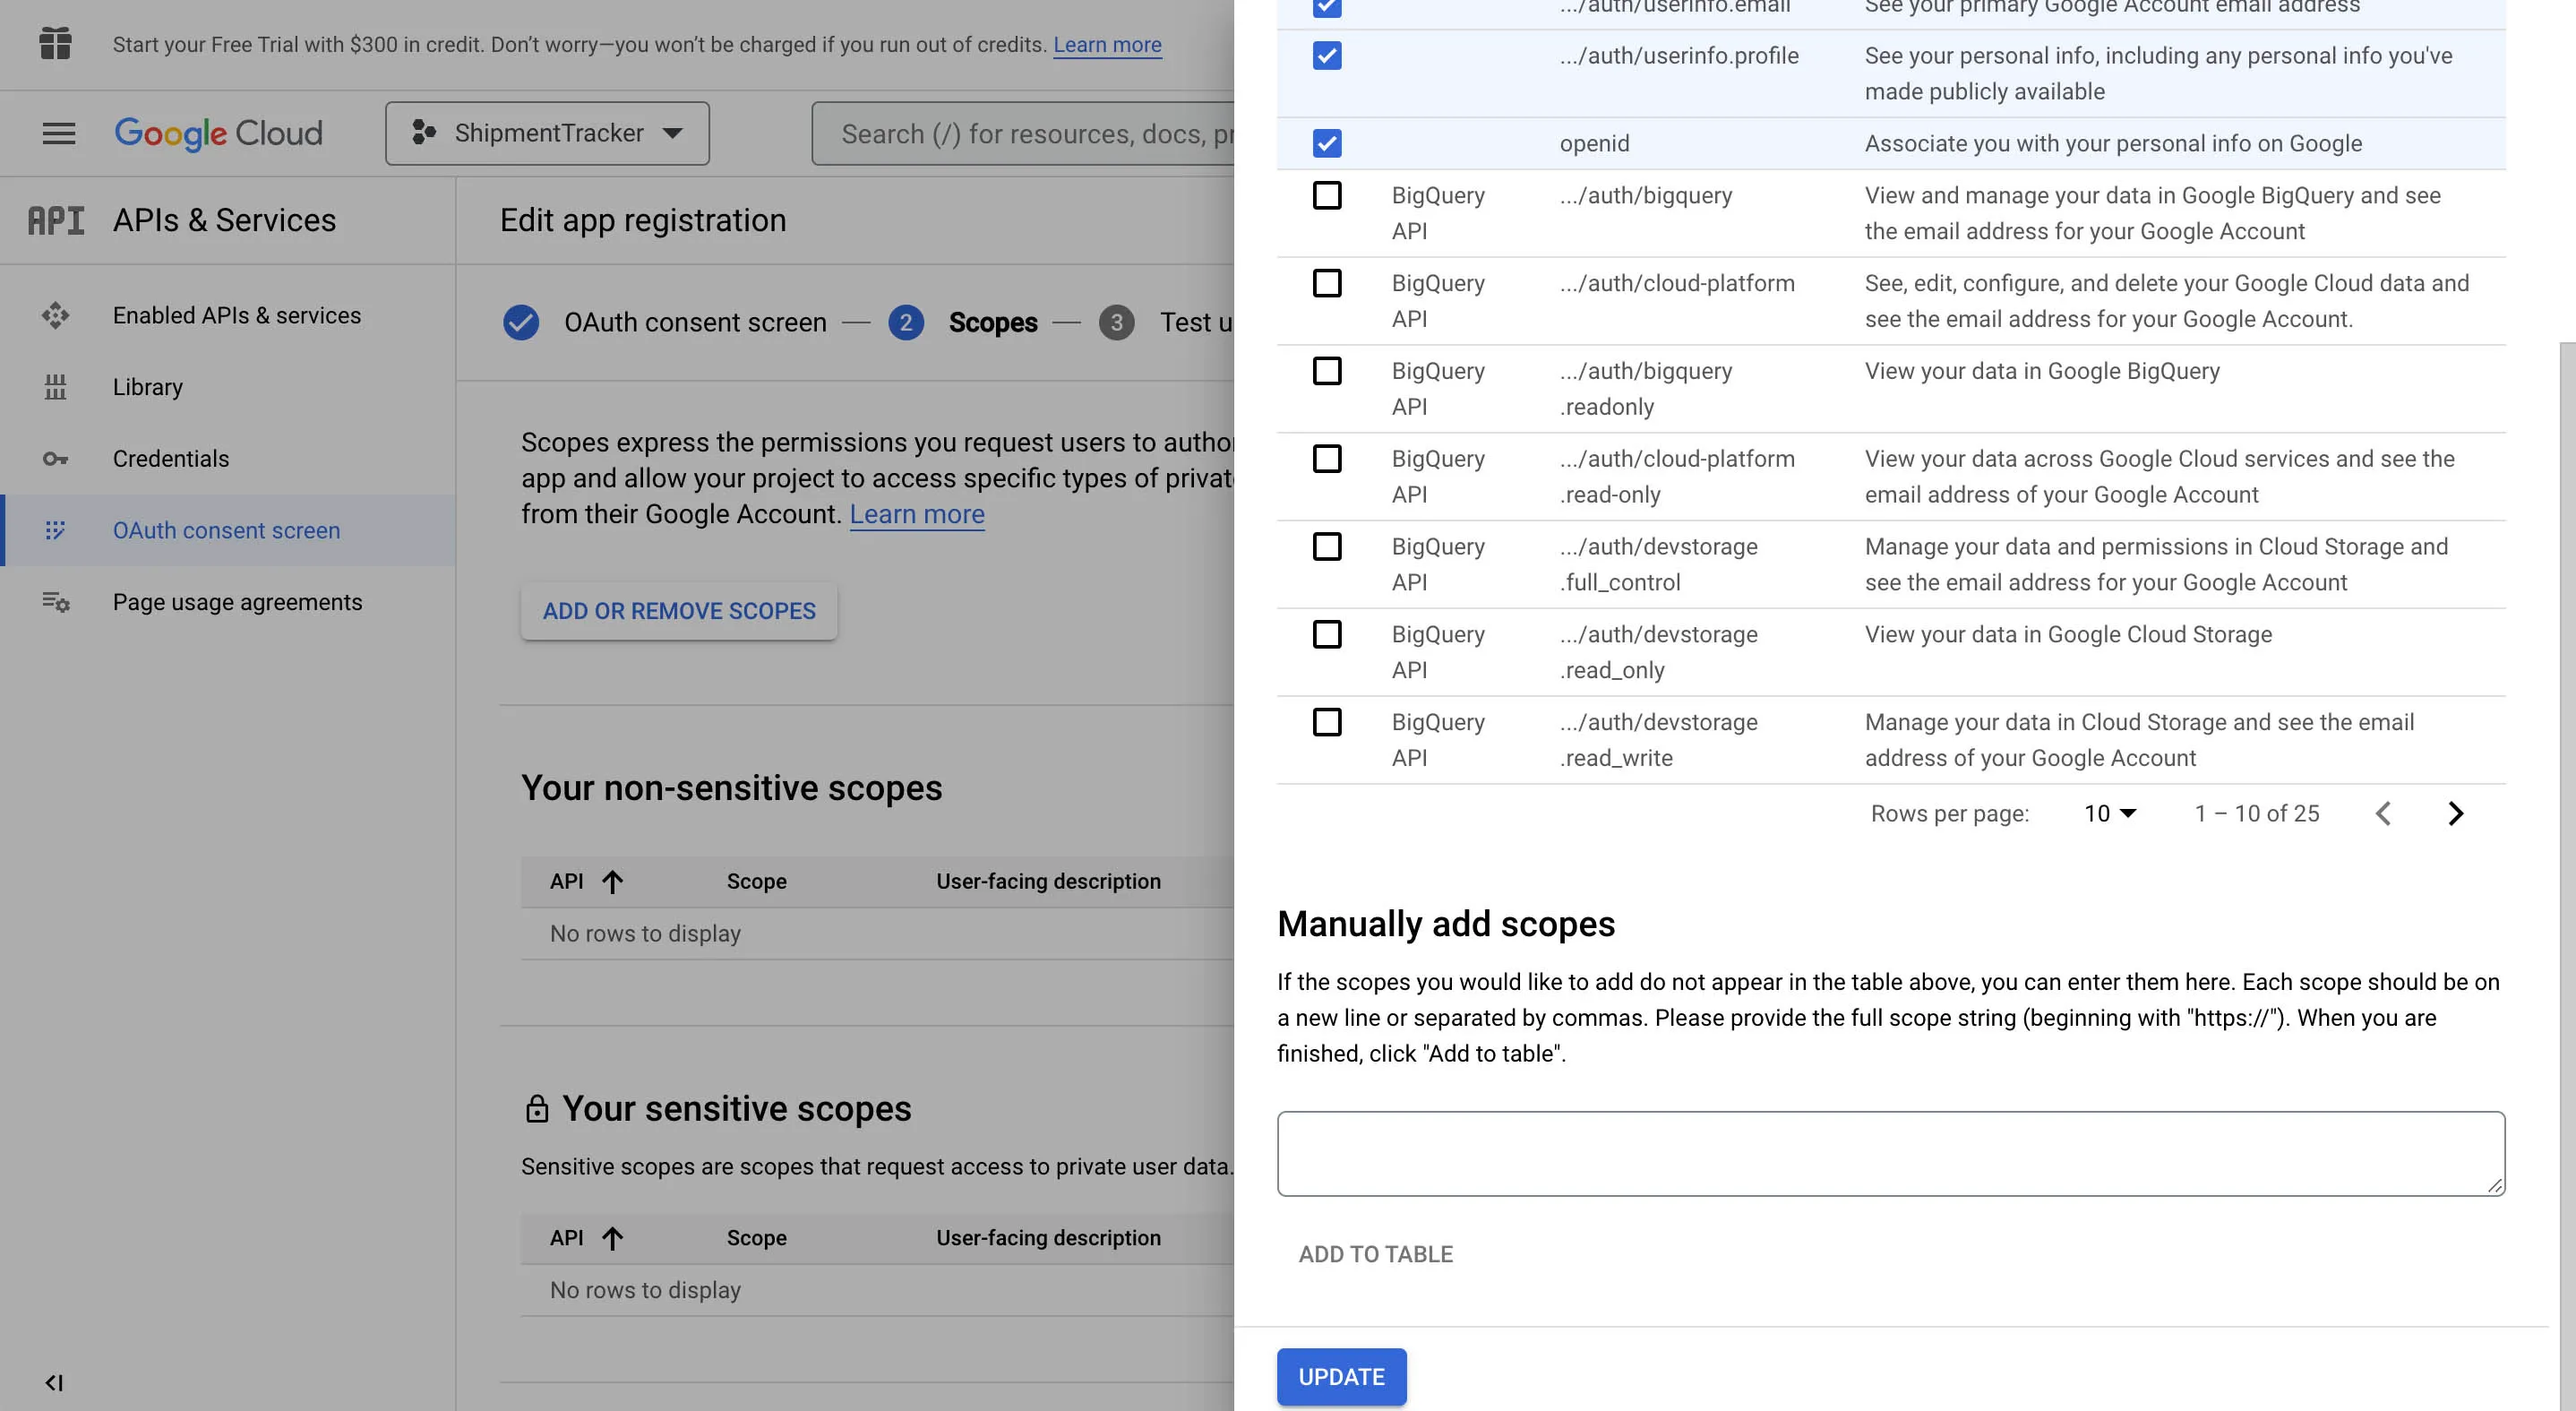
Select the scopes you require from the options listed. You can also manually provide the applicable scopes in the Manually add scopes section, and click UPDATE. Click SAVE AND CONTINUE once you have configured the scopes.
-
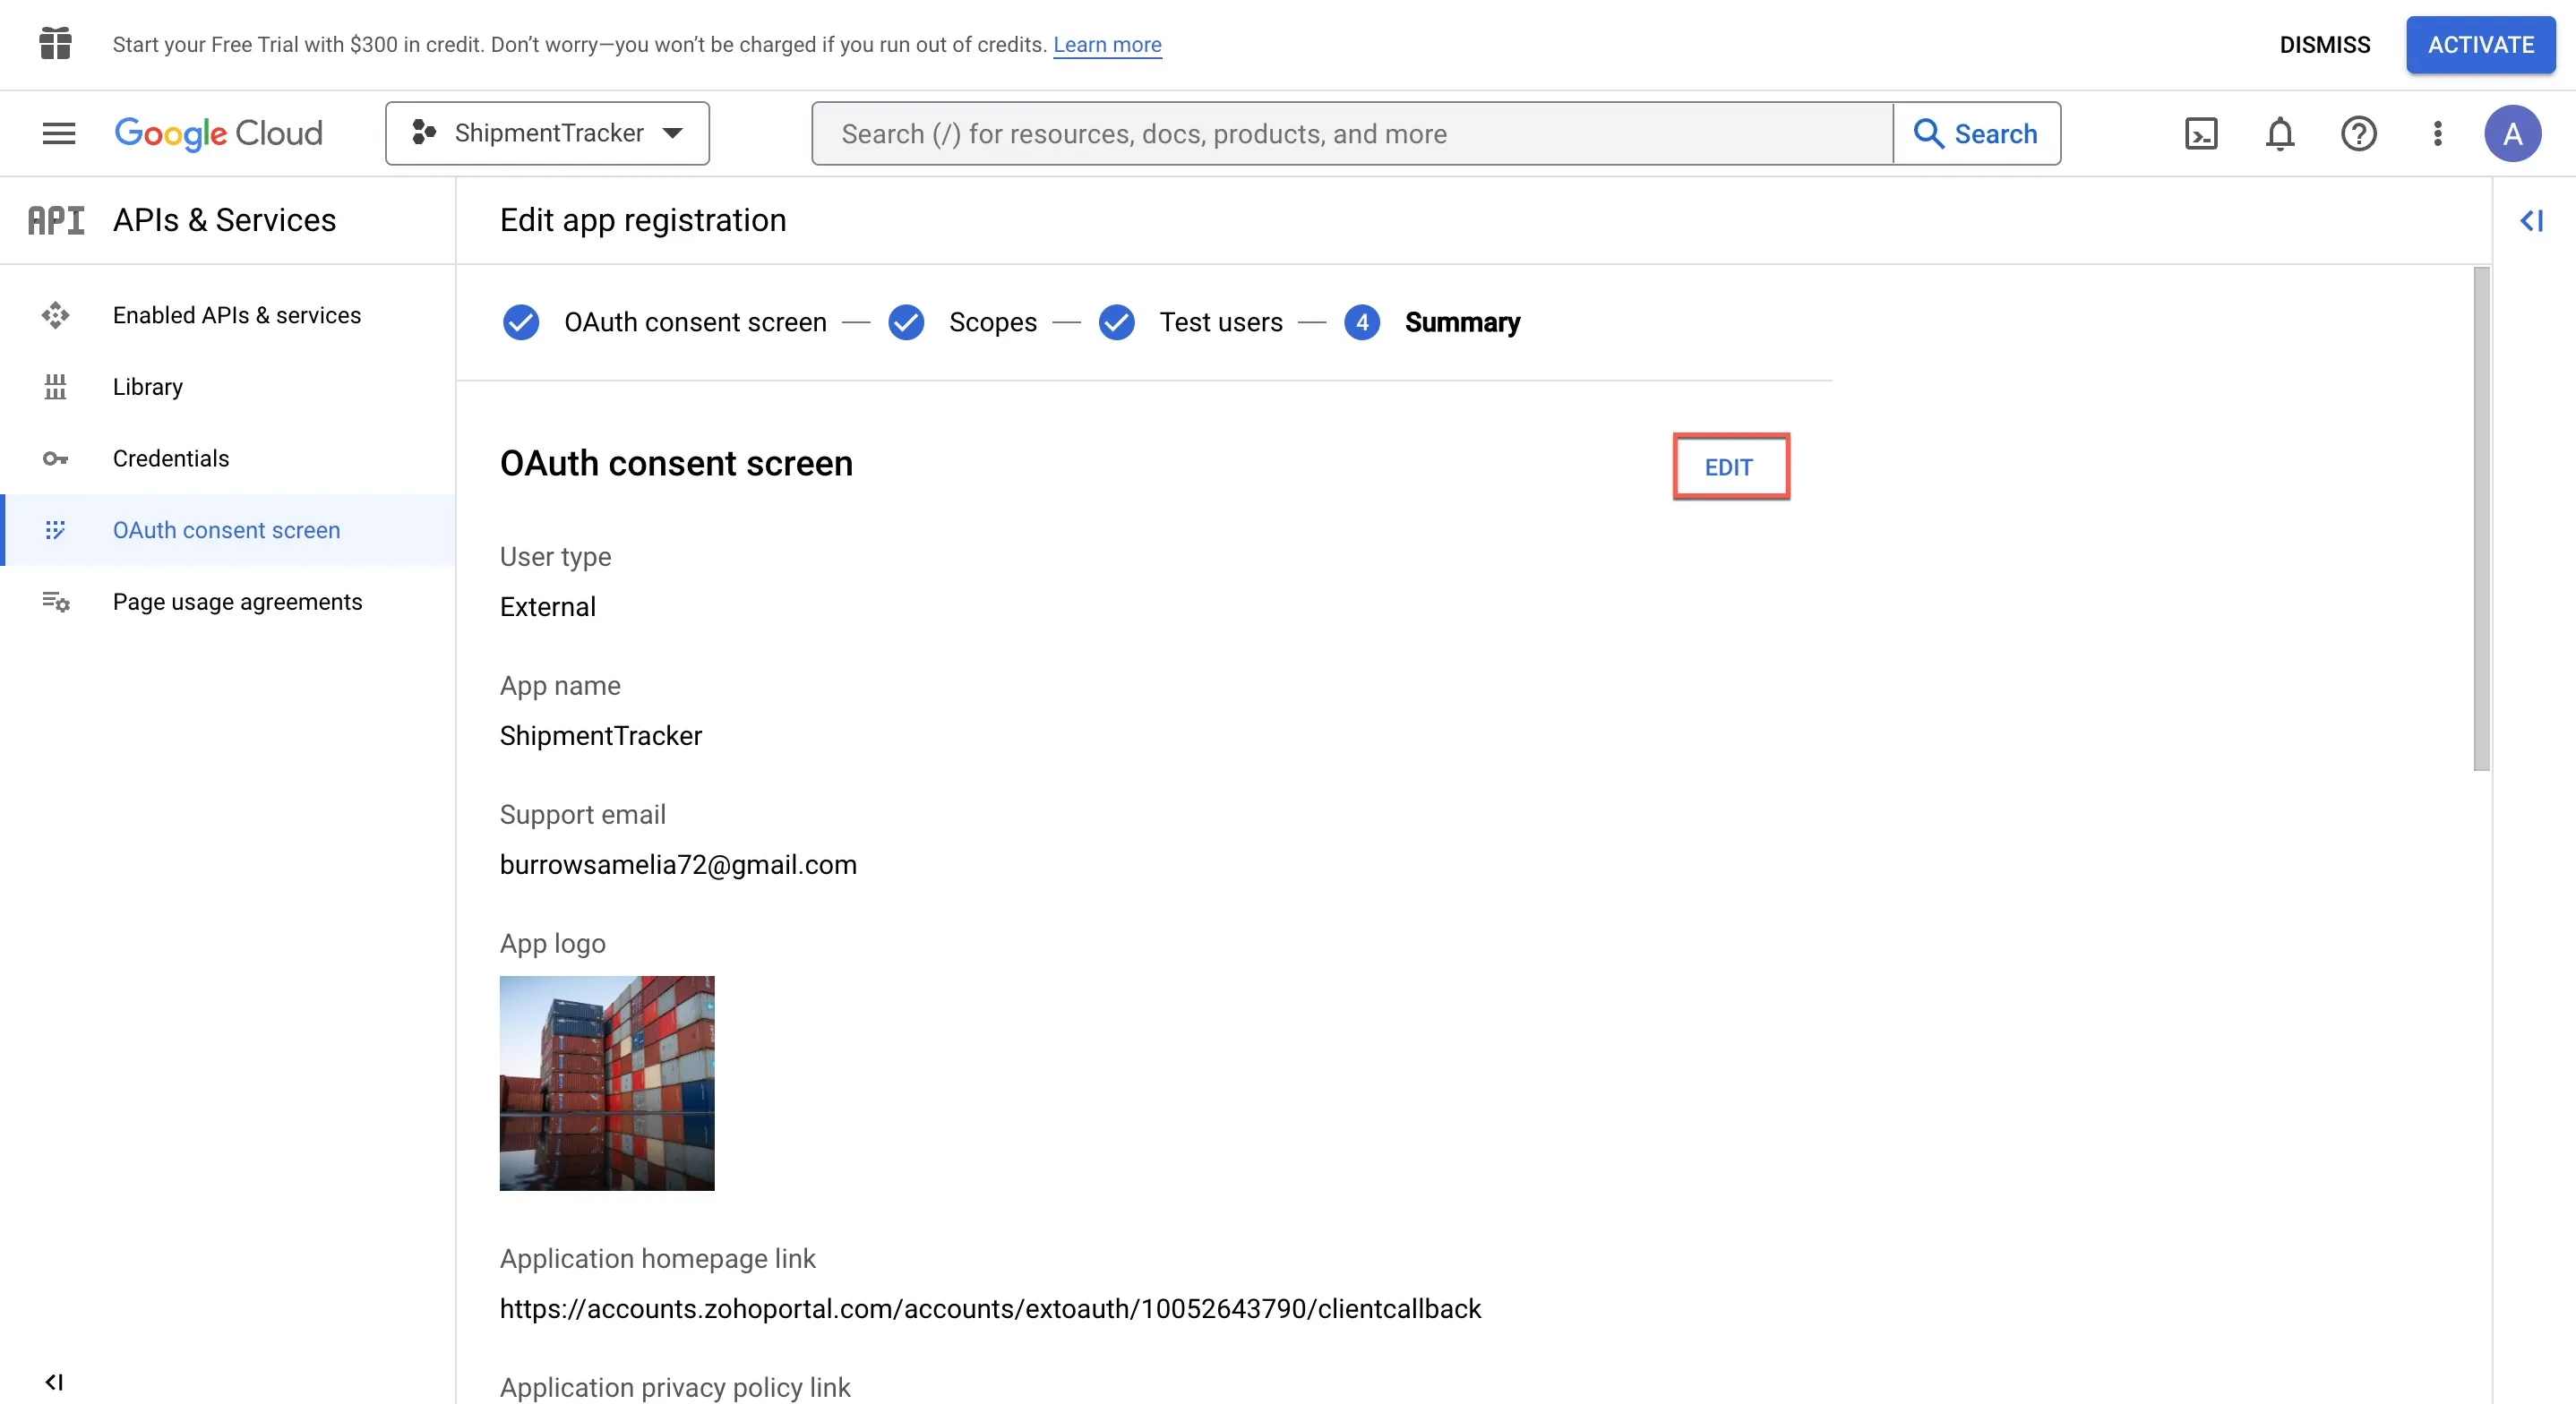
In the Summary section, confirm your configurations and click the Edit button should you need to edit any of the configuration.
-
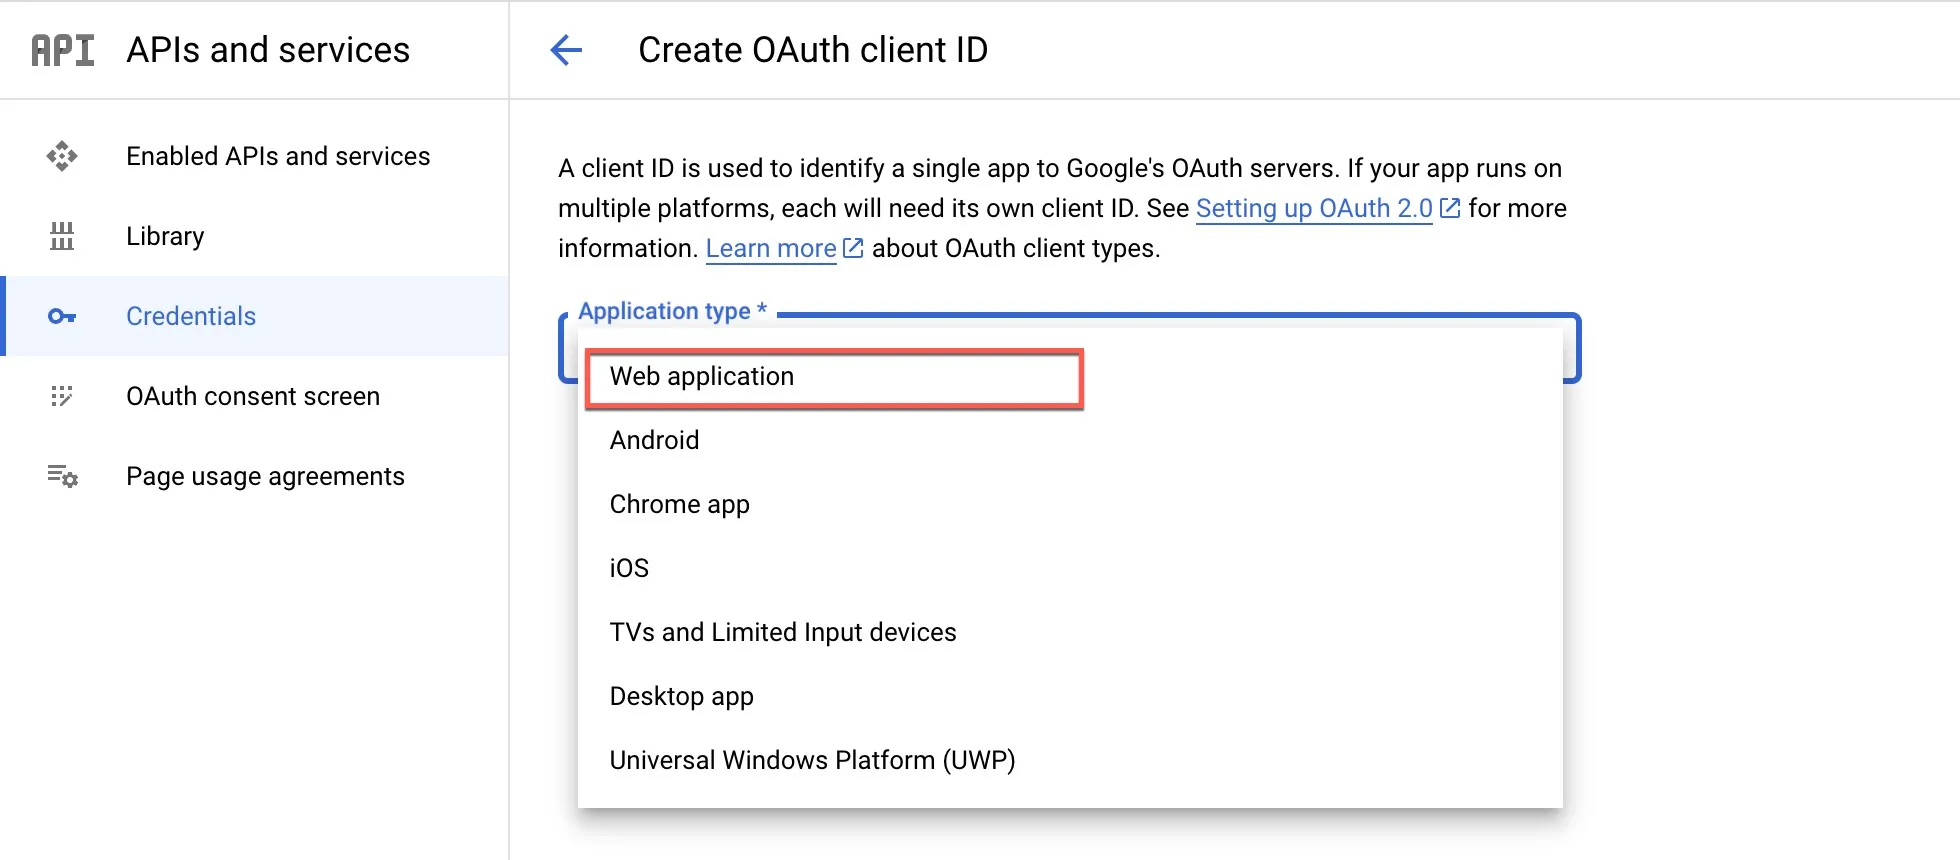
Navigate back to the Credentials page and click Create Credentials. Select OAuth client ID from the drop-down list.

-
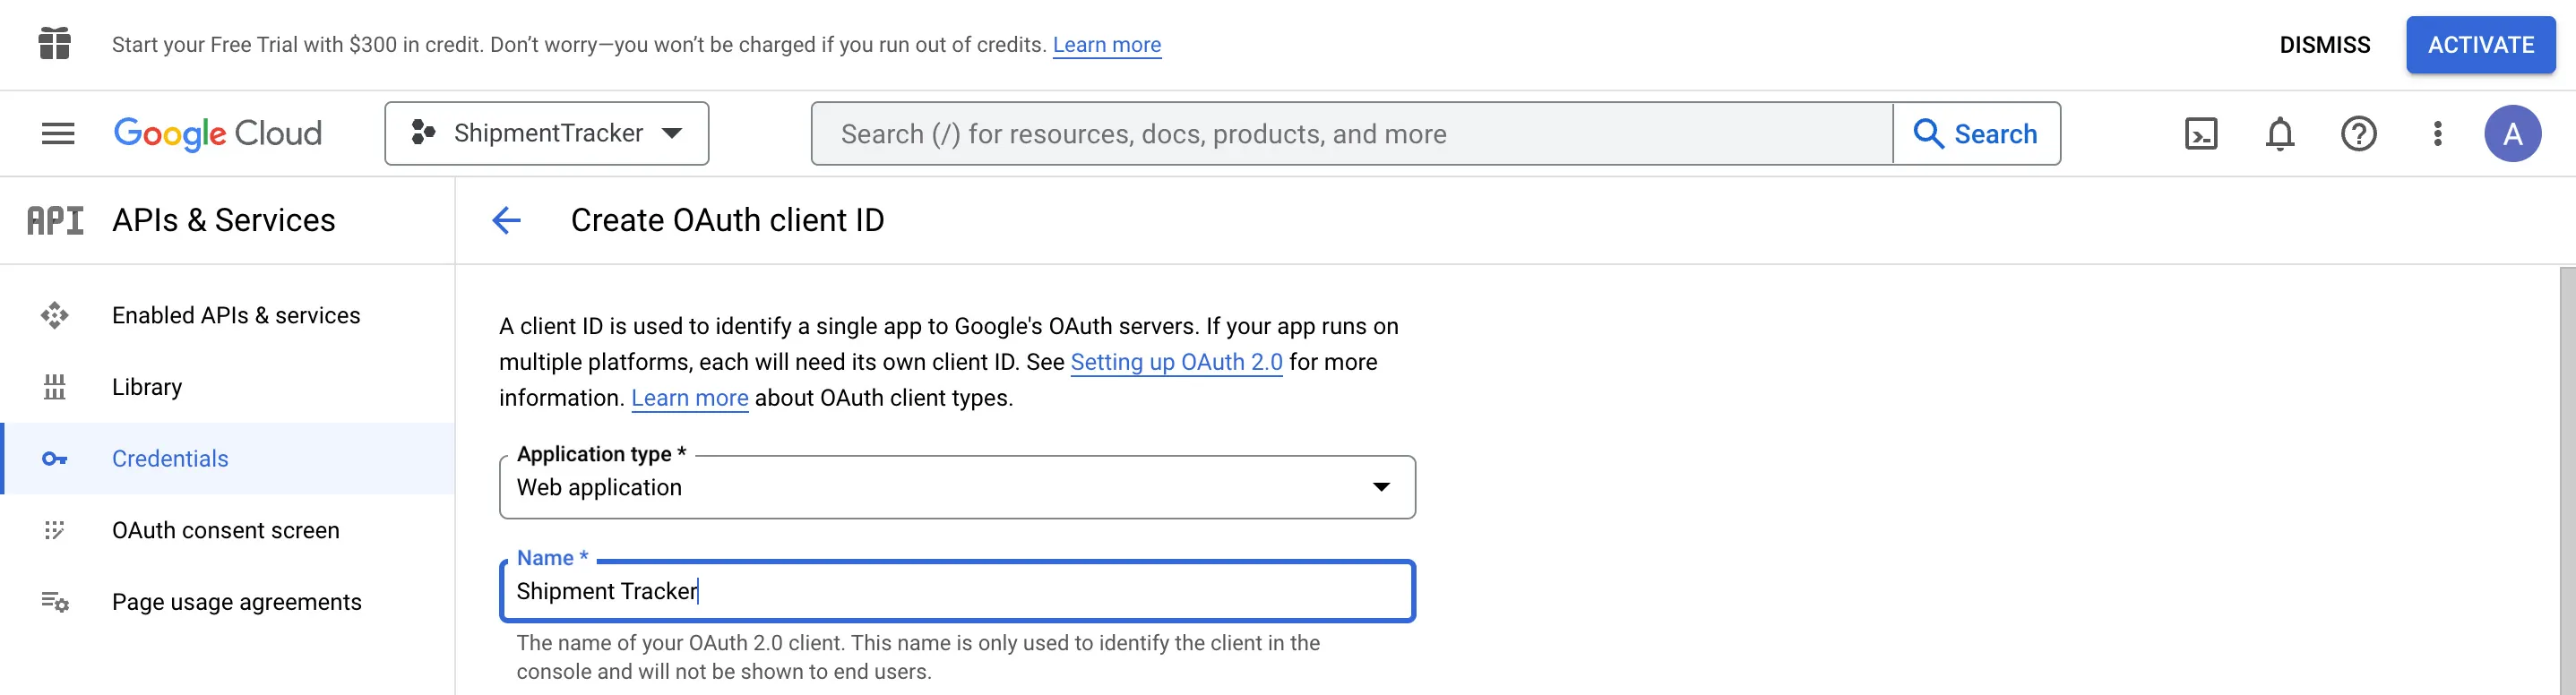
Select Web application as the type of your application your app is going to be from the drop-down selection of Application type.
-
Enter the name of your application.
-
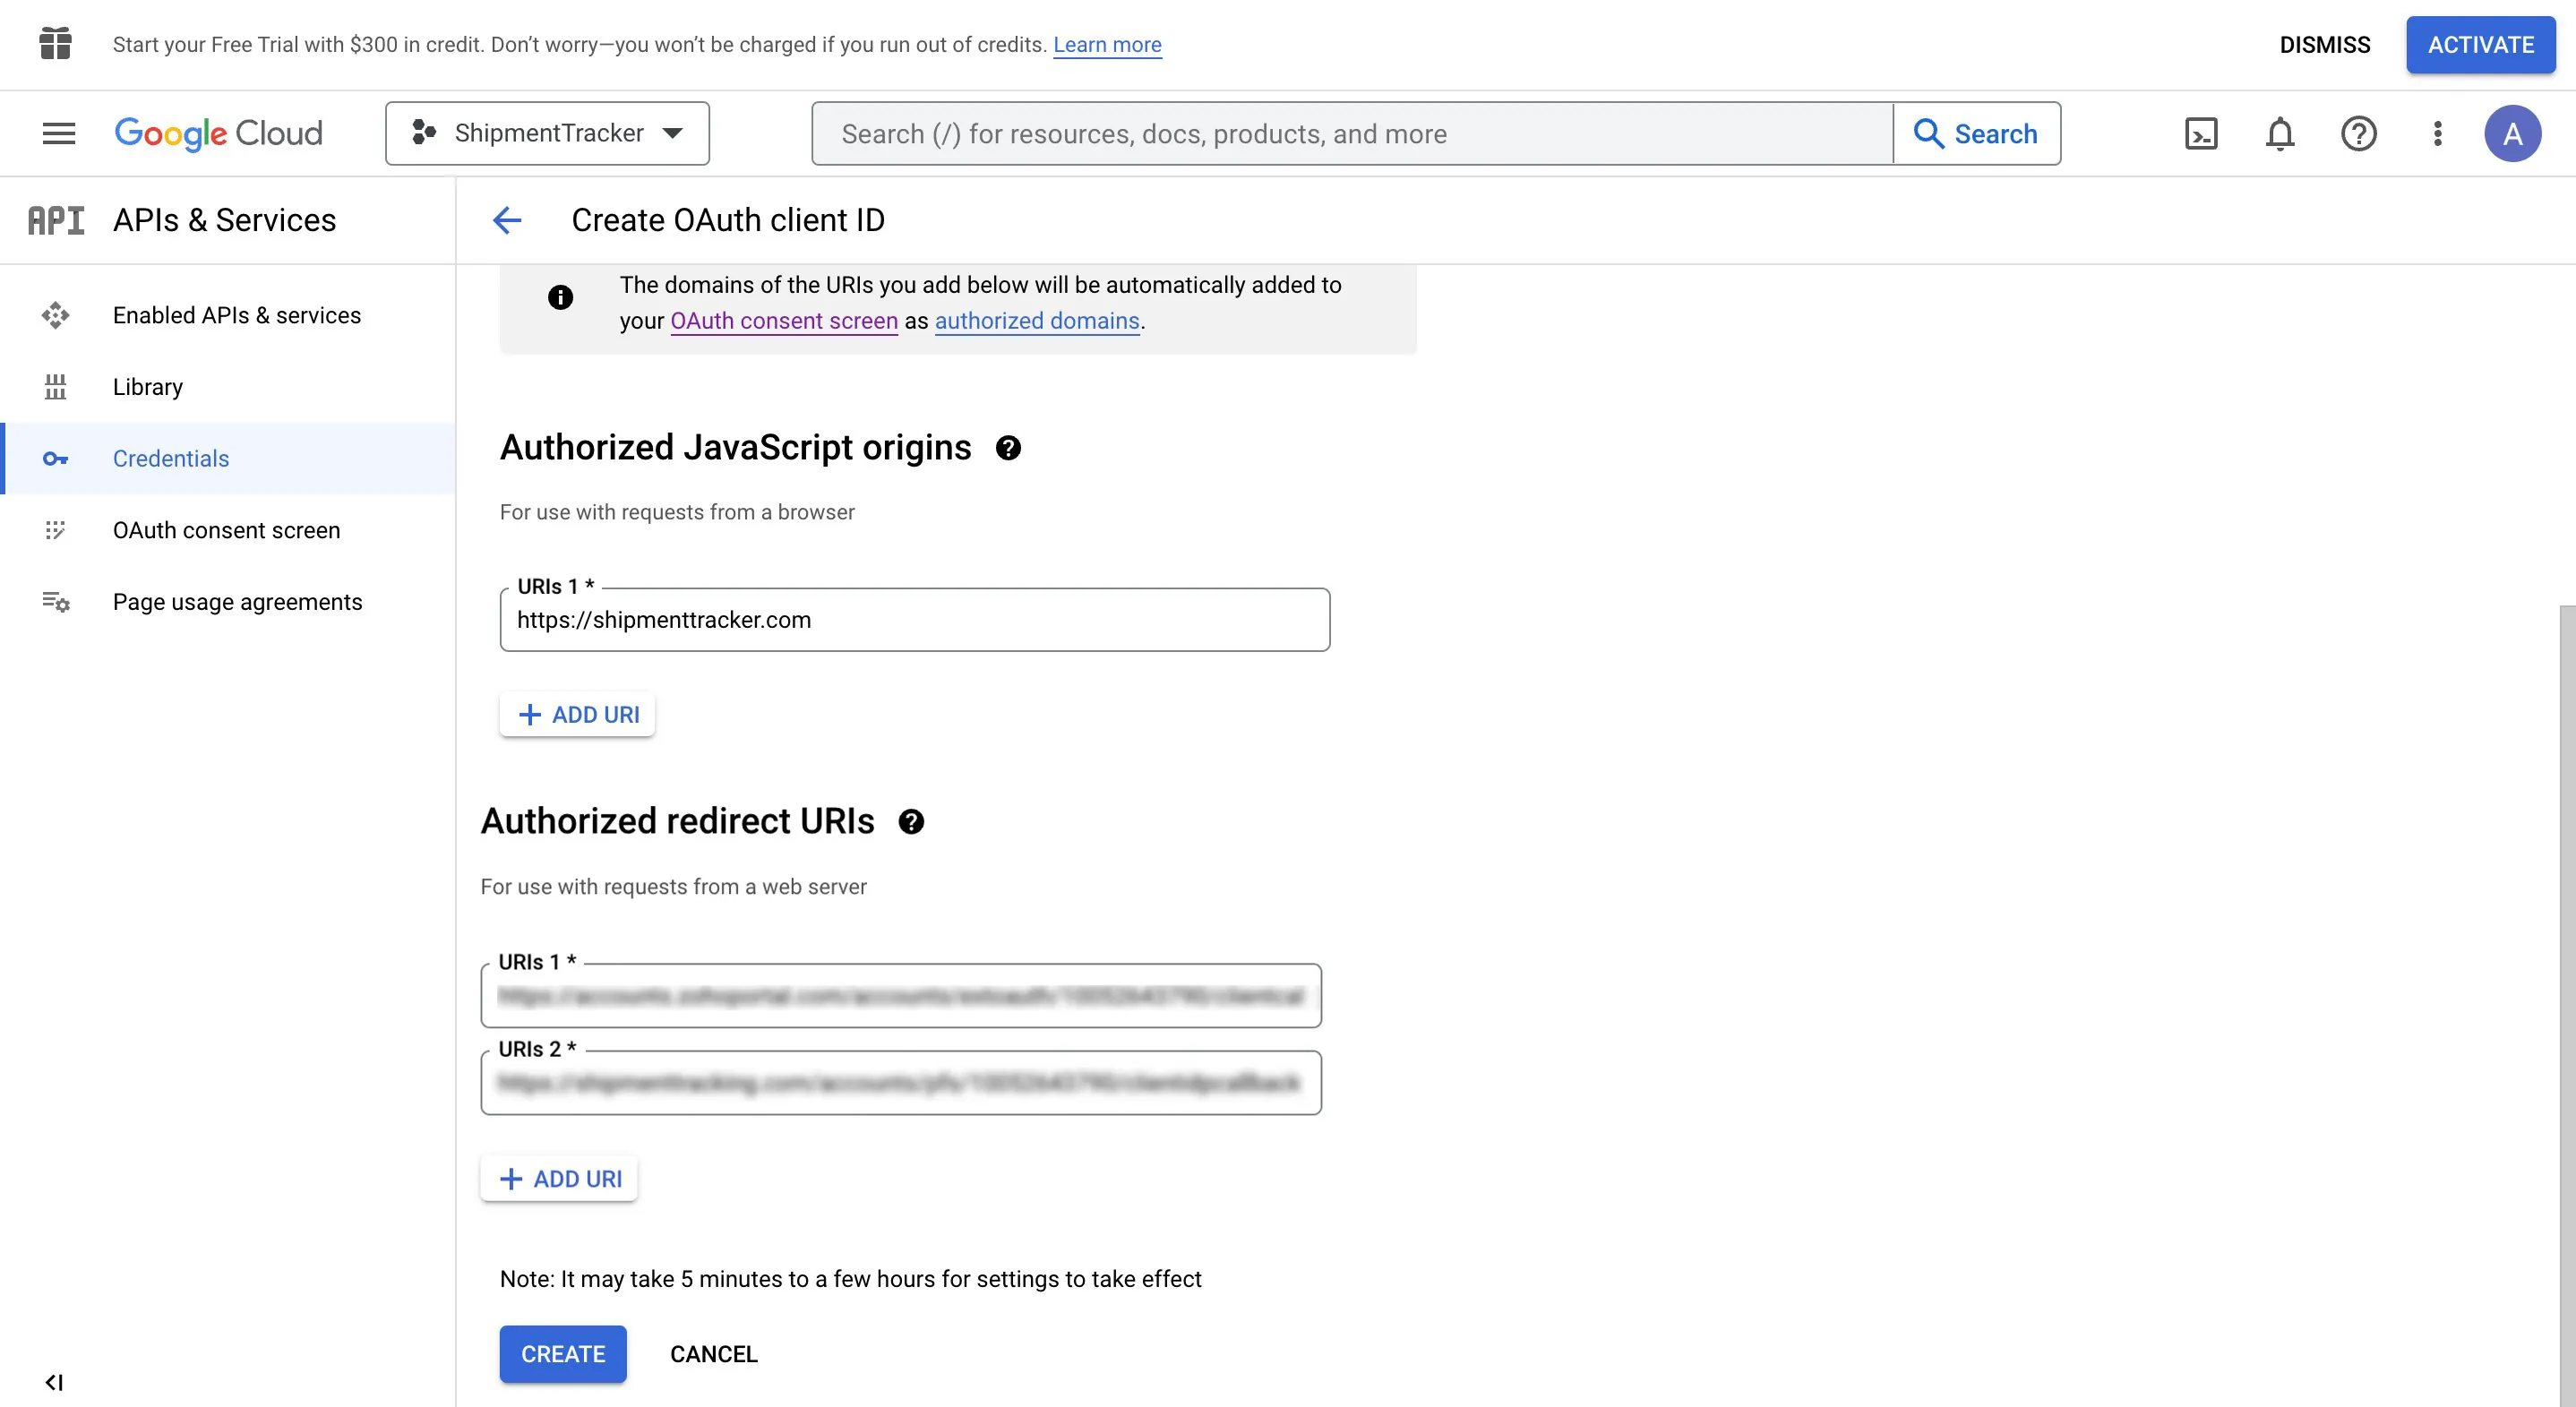
Click ADD URI under Authorised JavaScript origins and Click ADD URI under Authorised redirect URIs and enter the redirect URIs of your application in the following format:
-
https://accounts.zohoportal.com/accounts/extoauth/ZAID/clientcallback
-
https://{{appdomain}}/accounts/pfs/ZAID/clientidpcallback
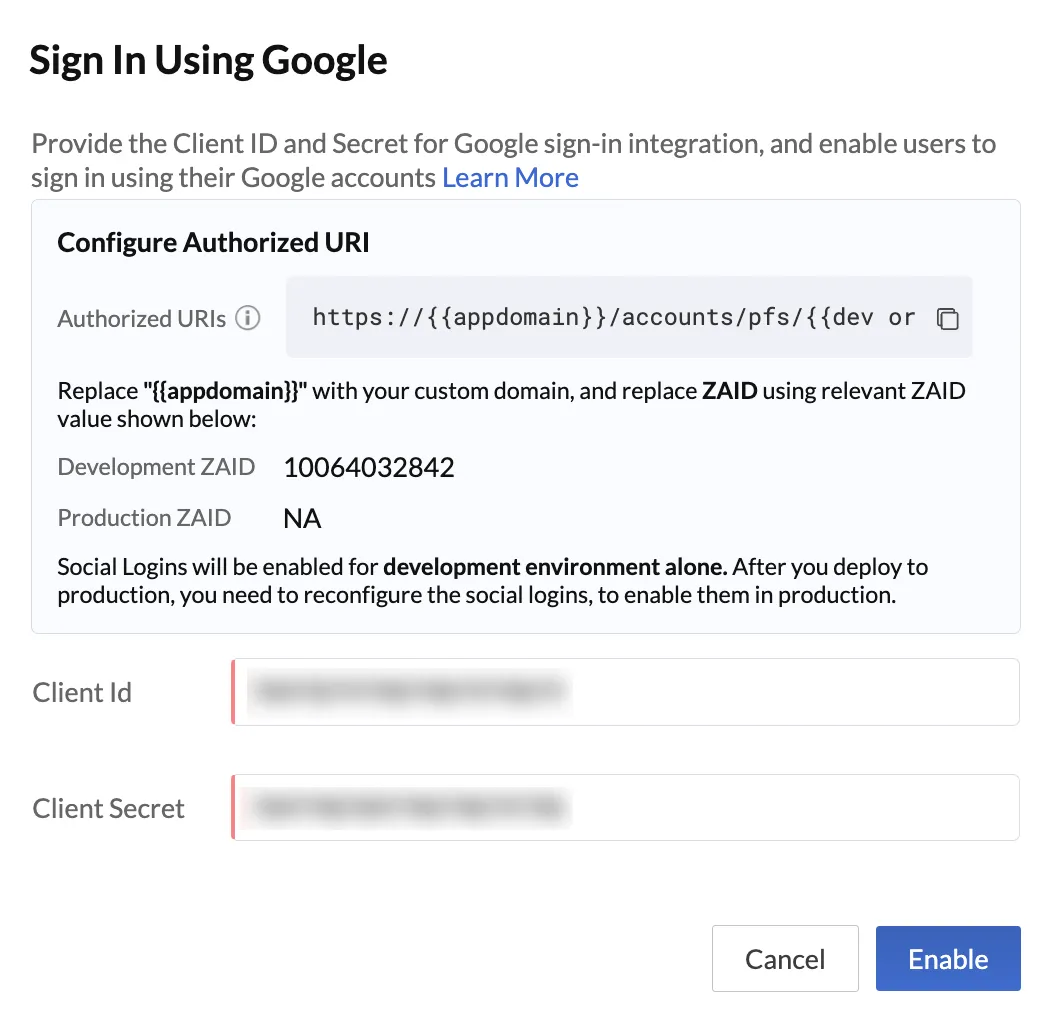
This URI can be copied from the Google Social Login pop-up, and steps to enable this URI is shown in this help document: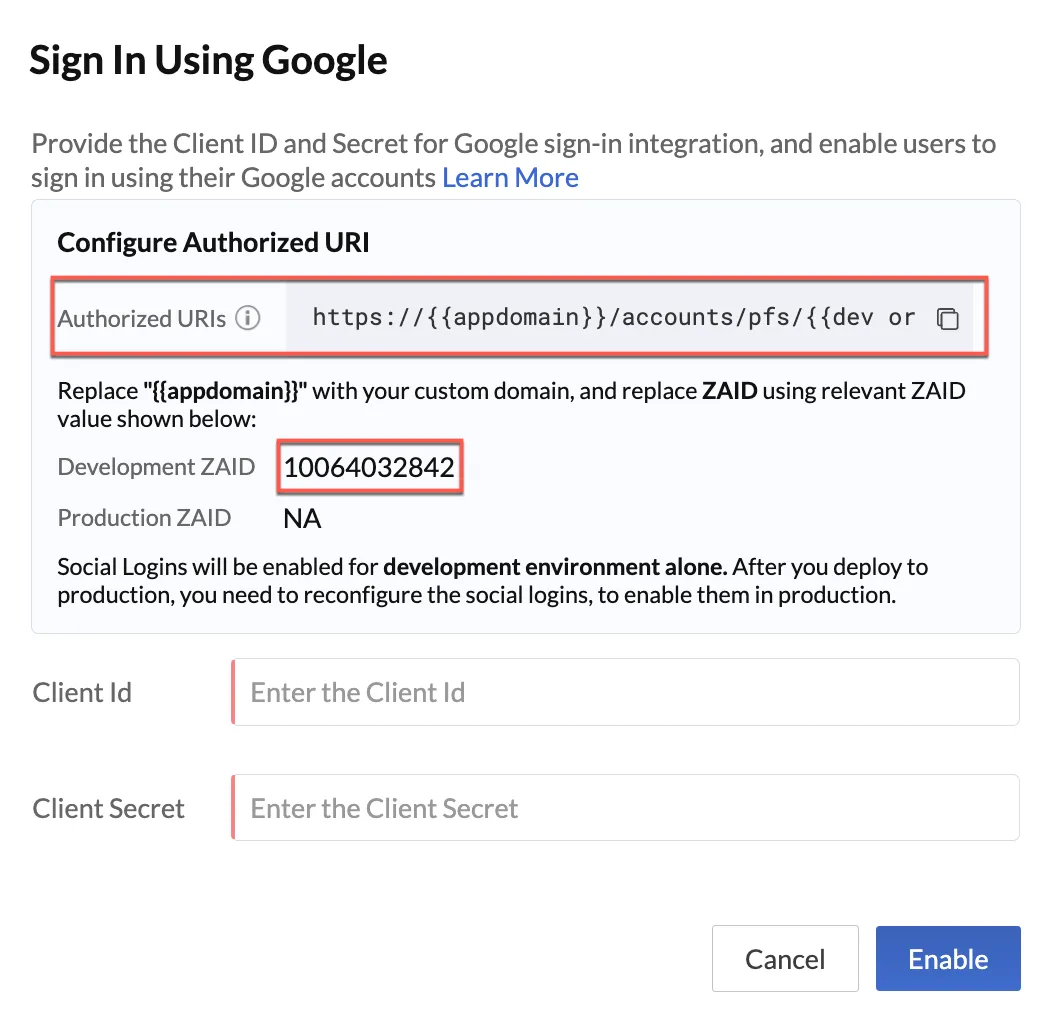
-
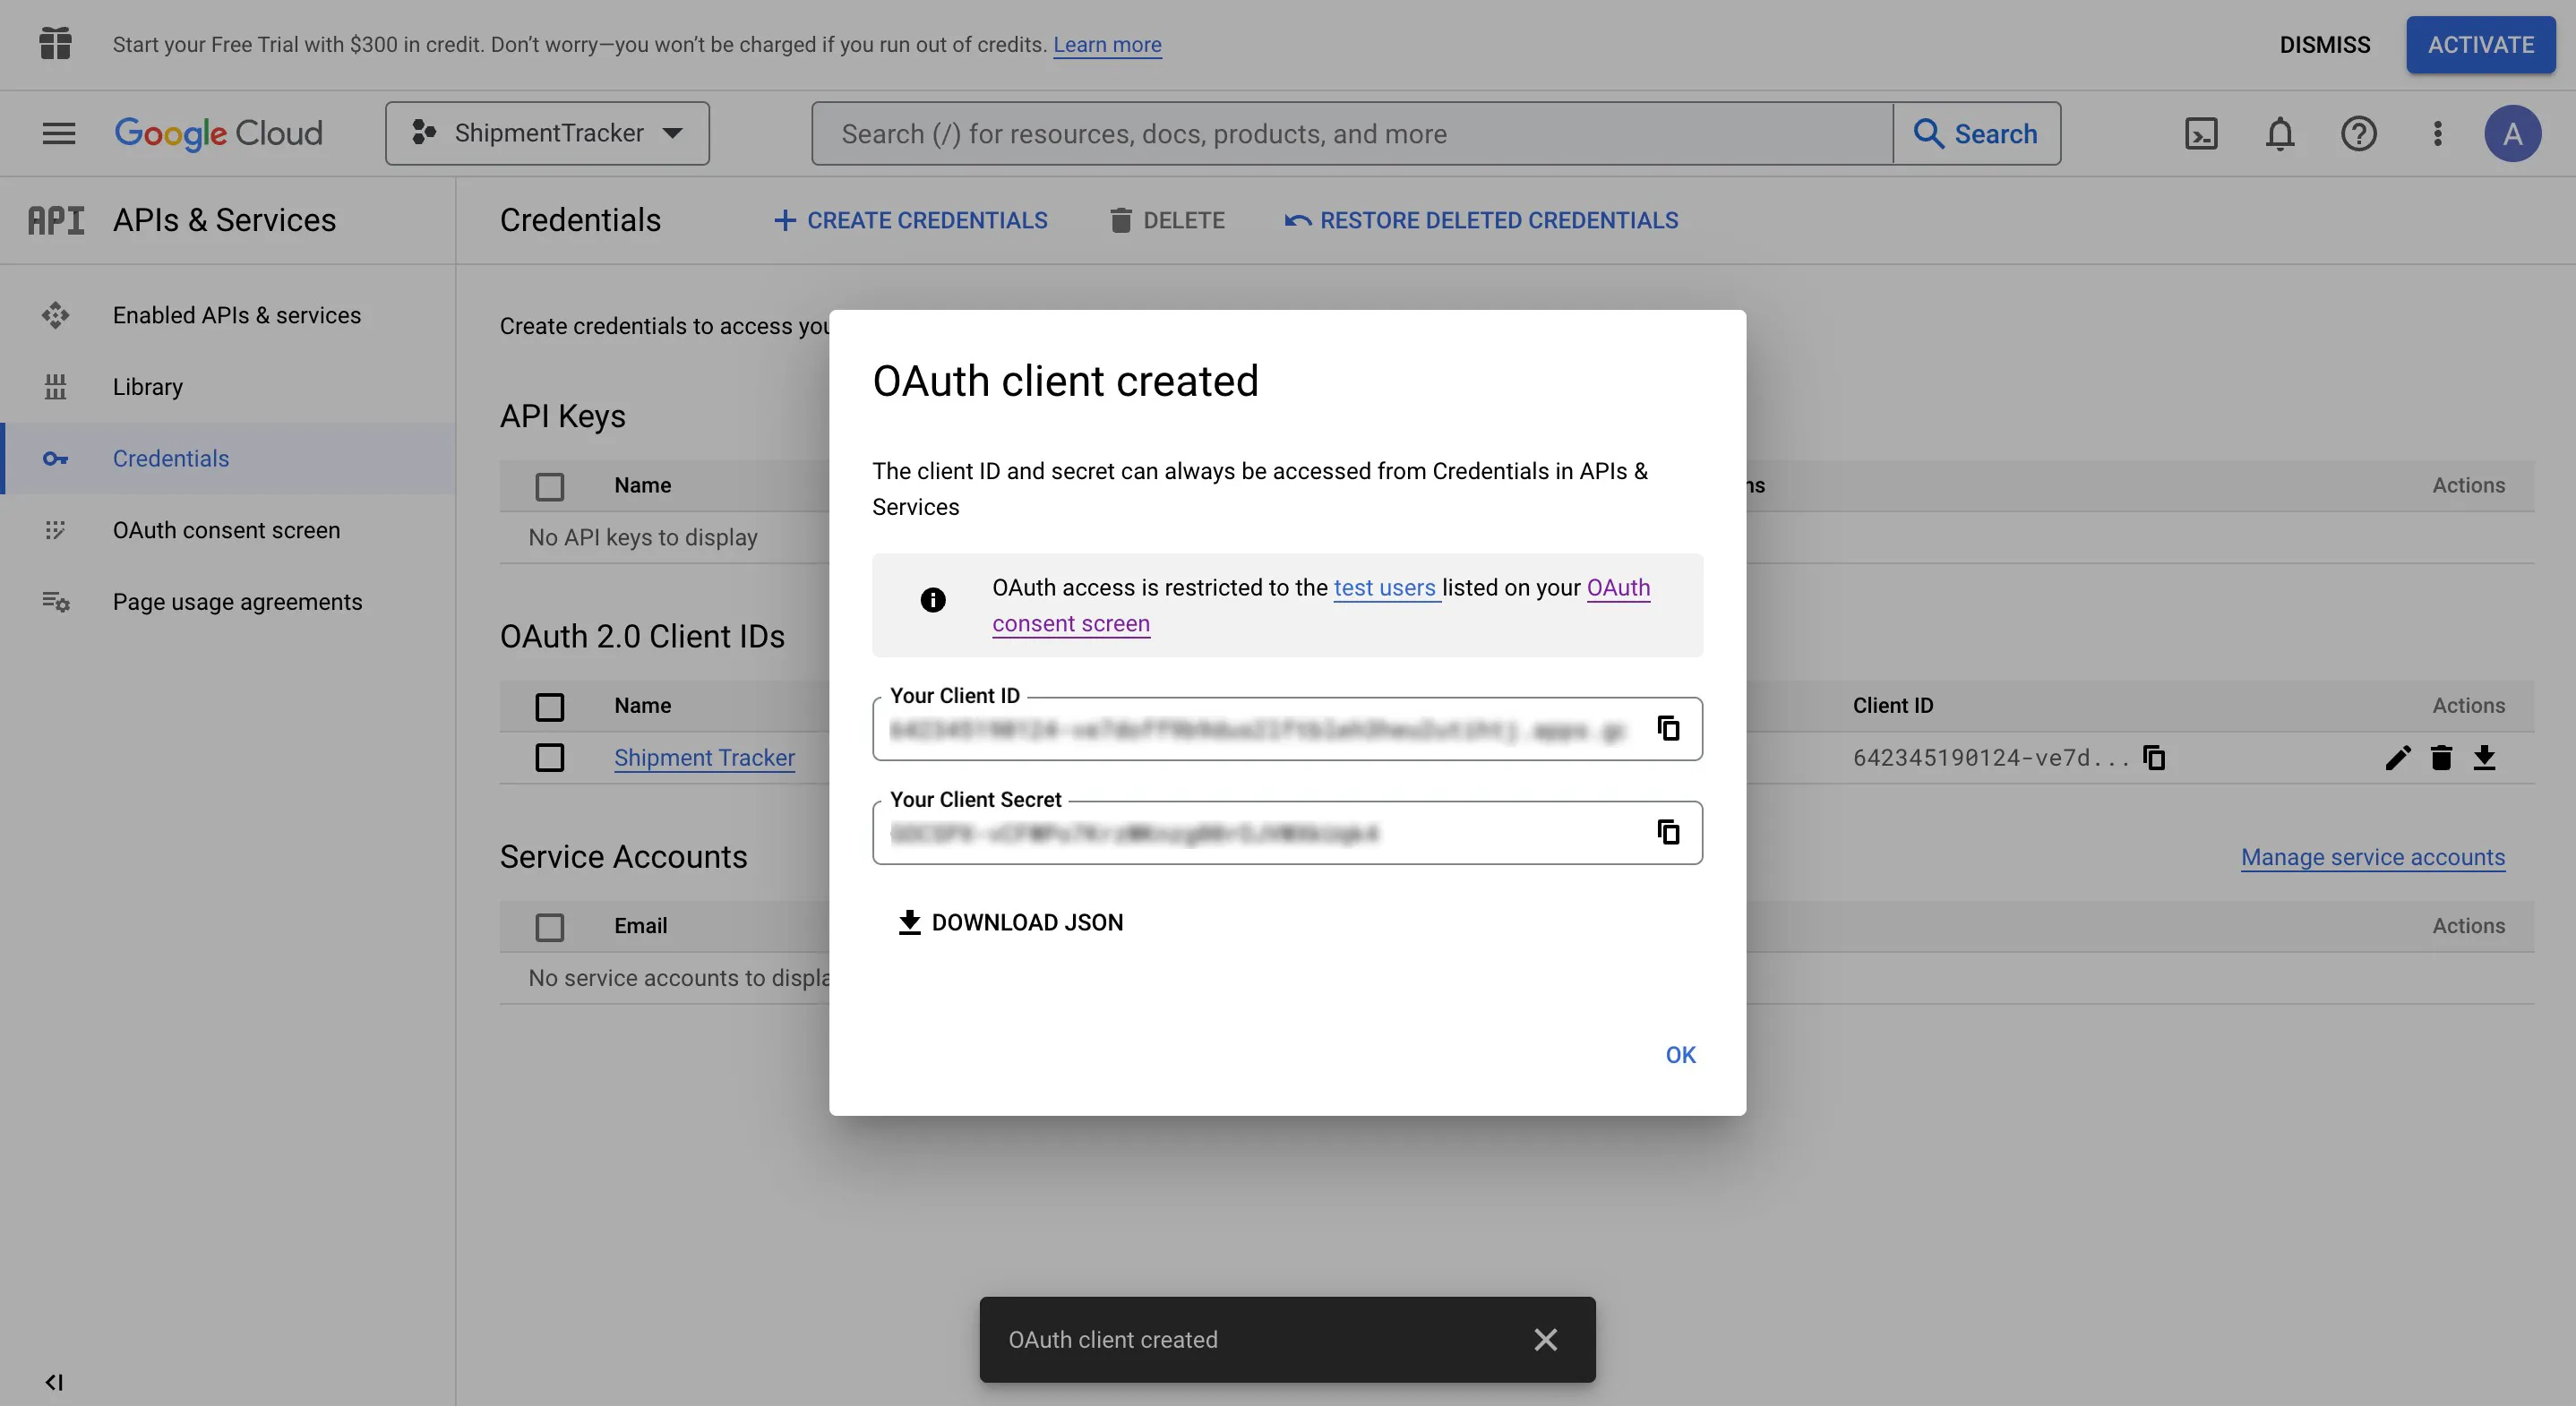
Click Create, once you have added the required information.
- You will now be directed to pop up displaying the Client ID and Client Secret. You can copy the values and download the JSON file containing the same.
- Now, click the Google social login present in the Catalyst console and enter the Client ID and Client Secret you copied from the Google console, and click Enable.
Your end users can now sign up to your application using their Google credentials.
Enable Facebook Social Login
To enable Facebook sign in option in your application you need to obtain the required OAuth credentials for your application from Facebook in the following manner:
-
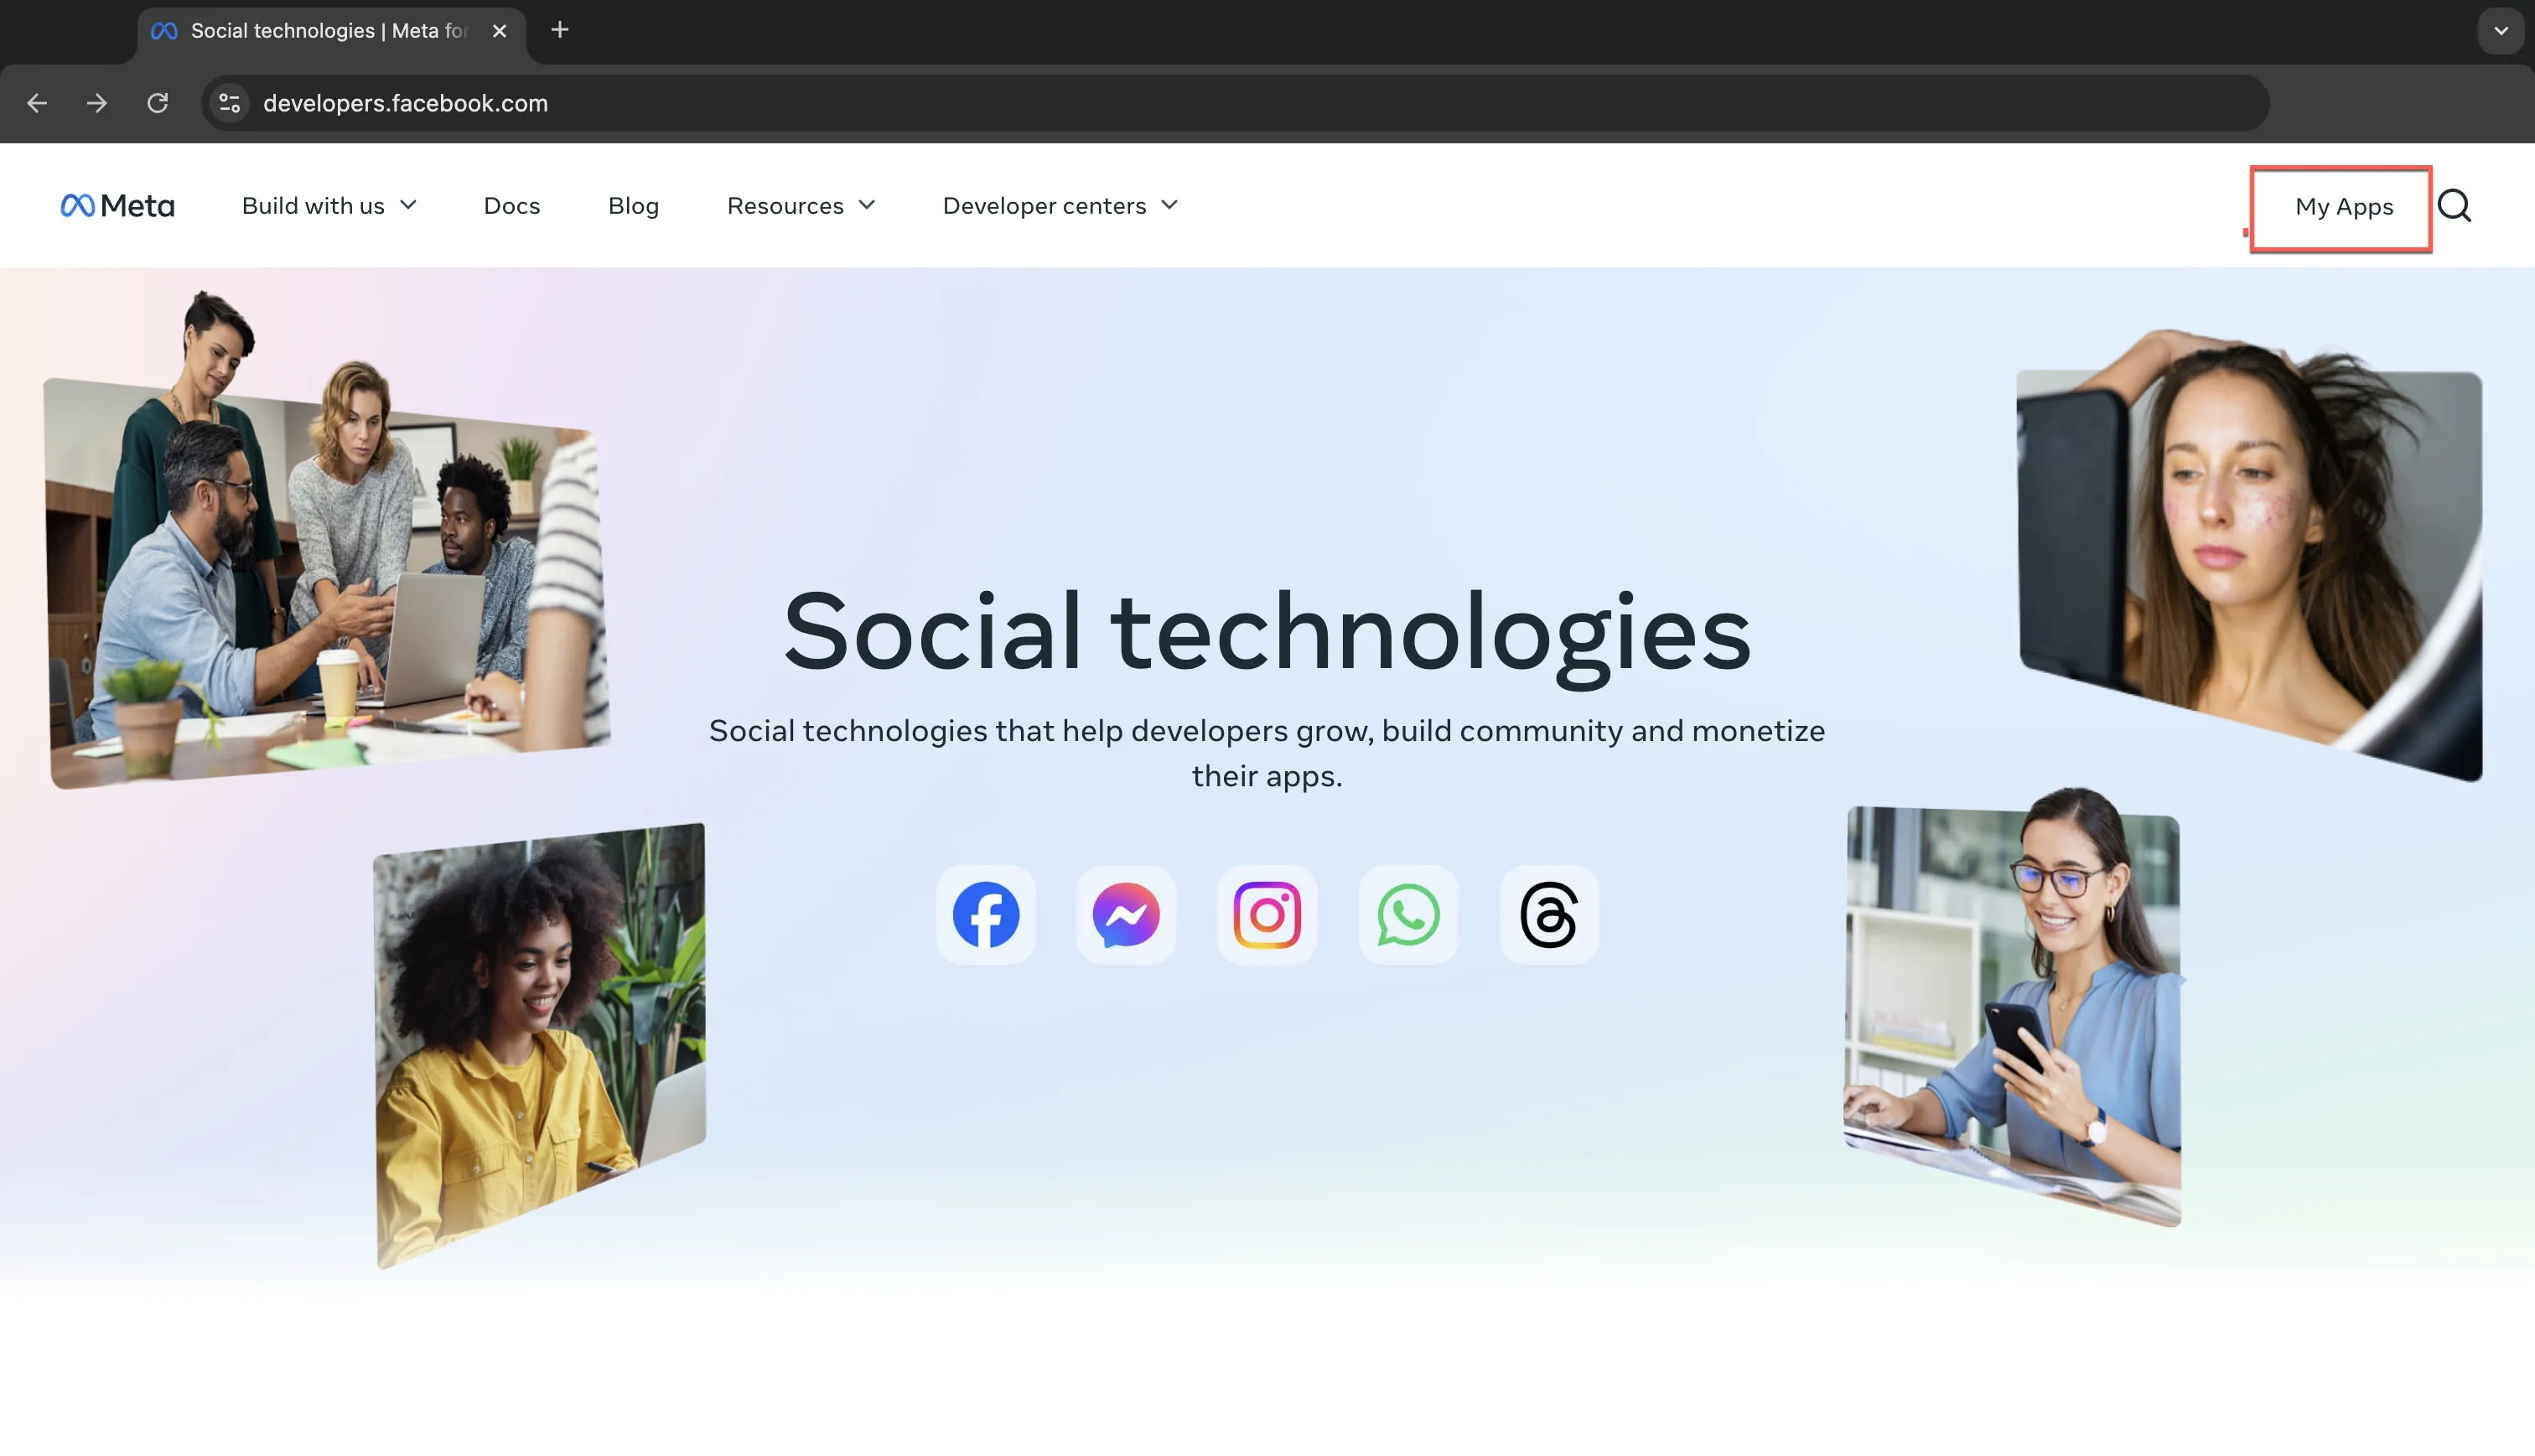
Open the Facebook developer page: Meta Developer Console
-
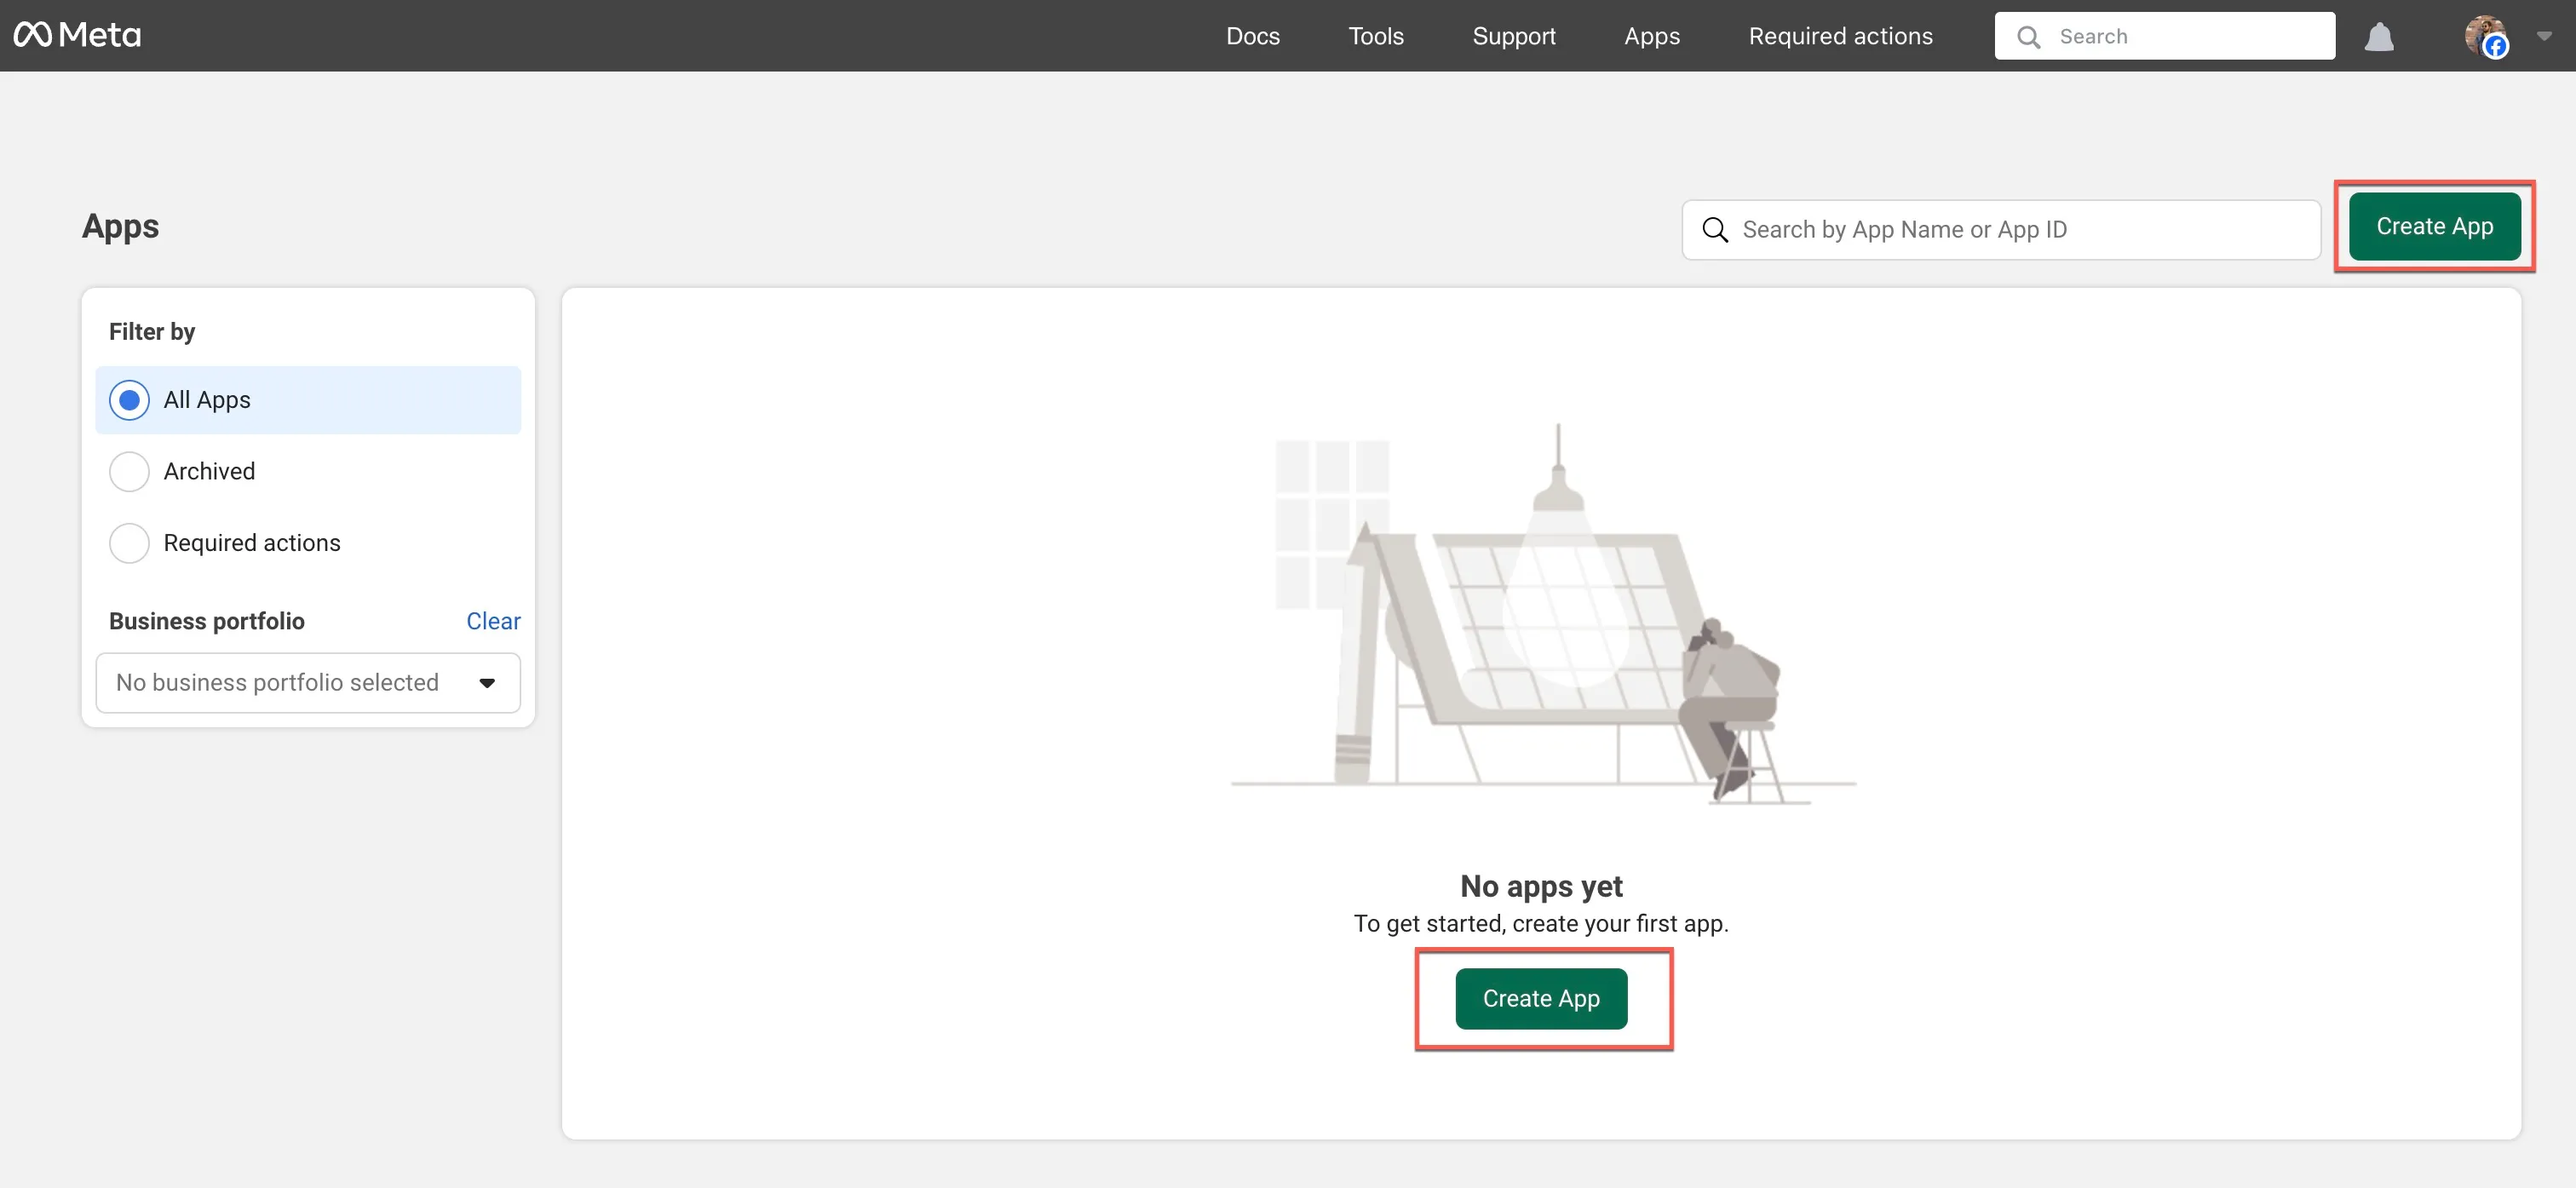
Log in to Facebook, and click the My Apps option.
-
Click on Create App
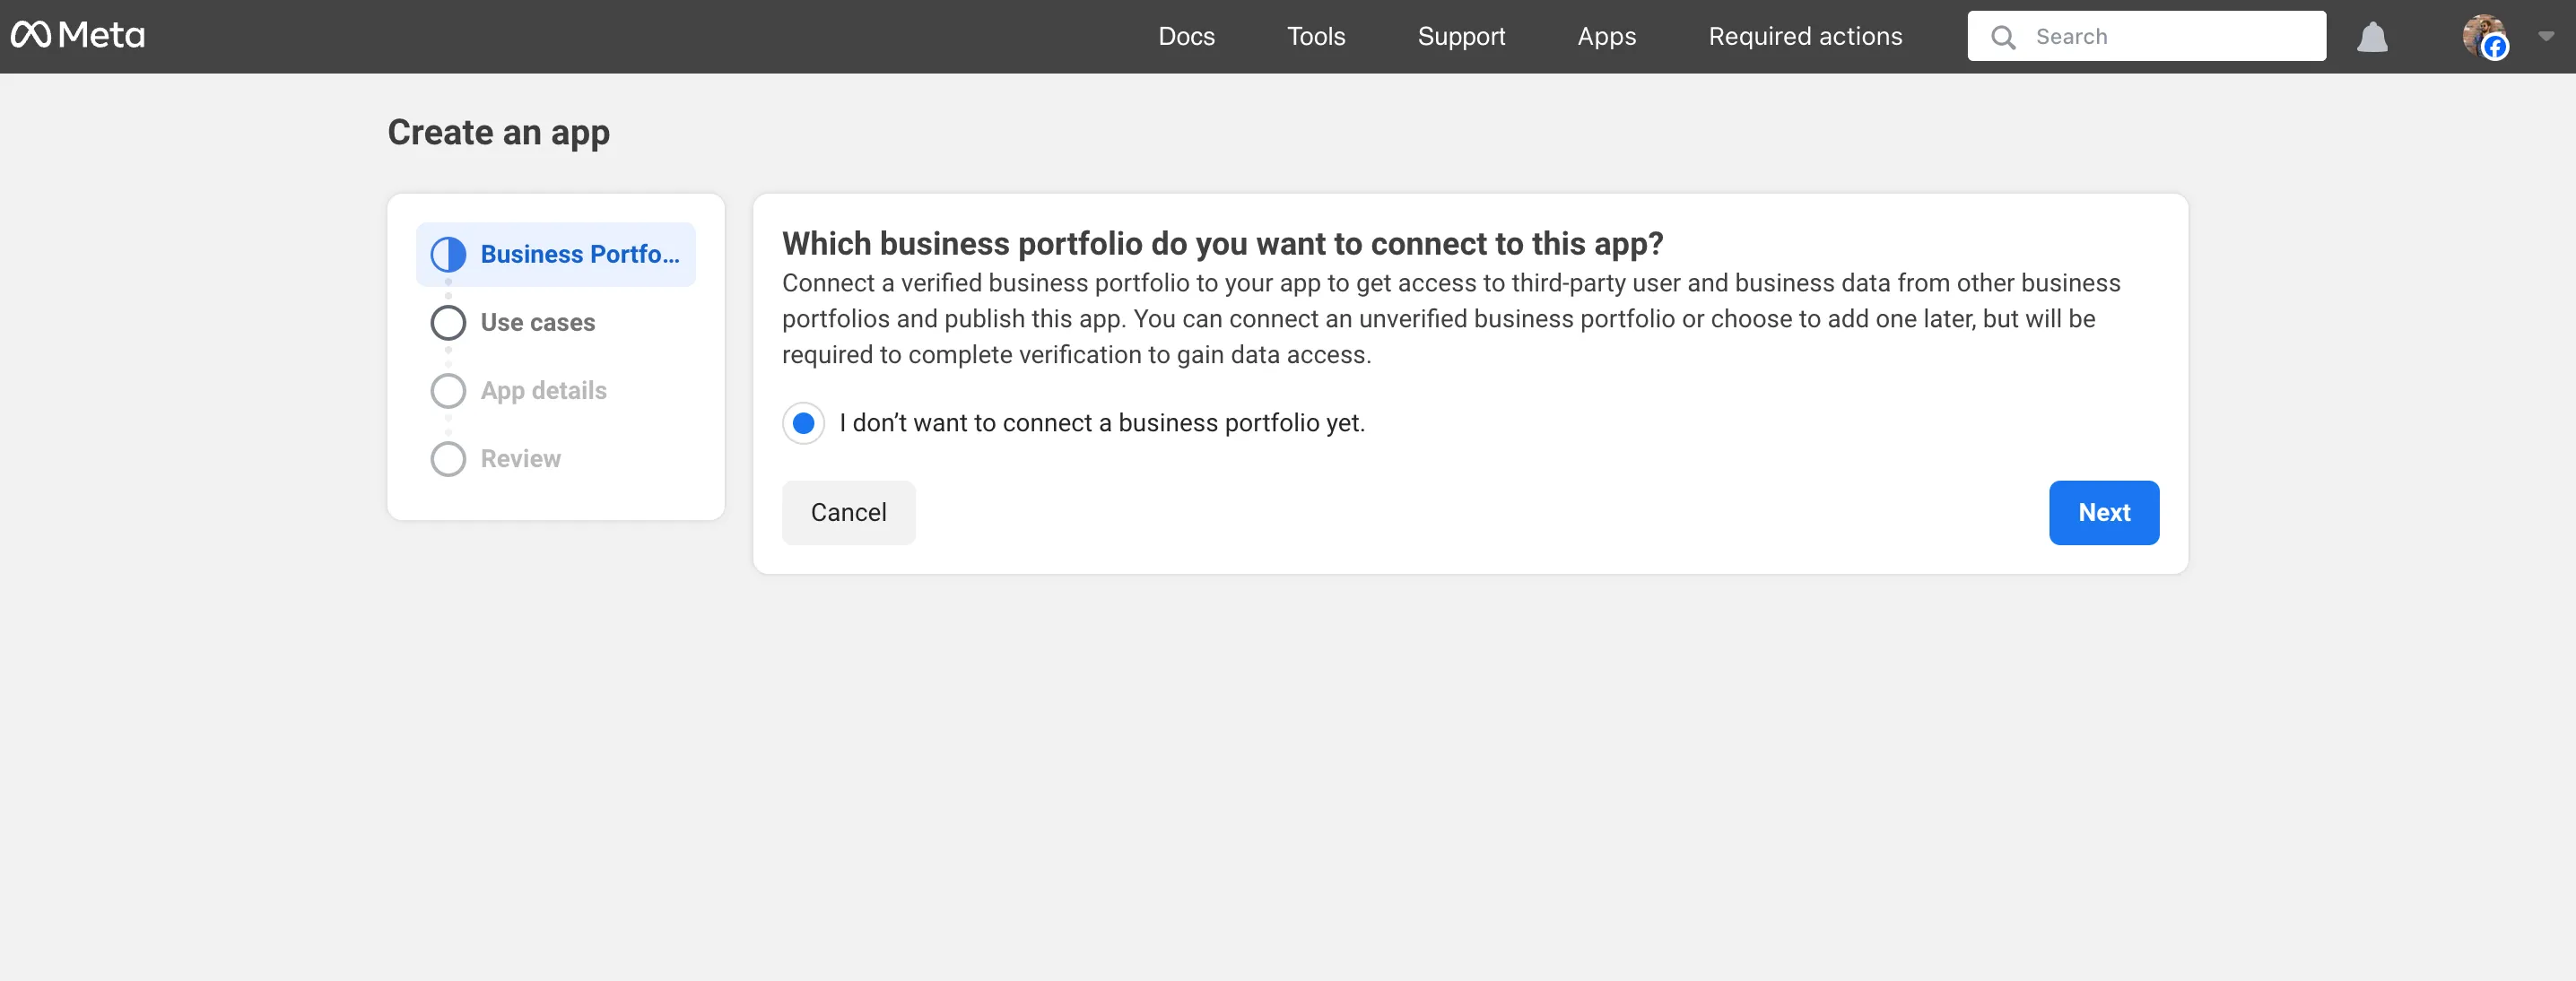
-
Based on your requirement, you can choose to connect your business portfolio to the meta console. Since, this is not required to configure the social login, we click the relevant option and click Next.
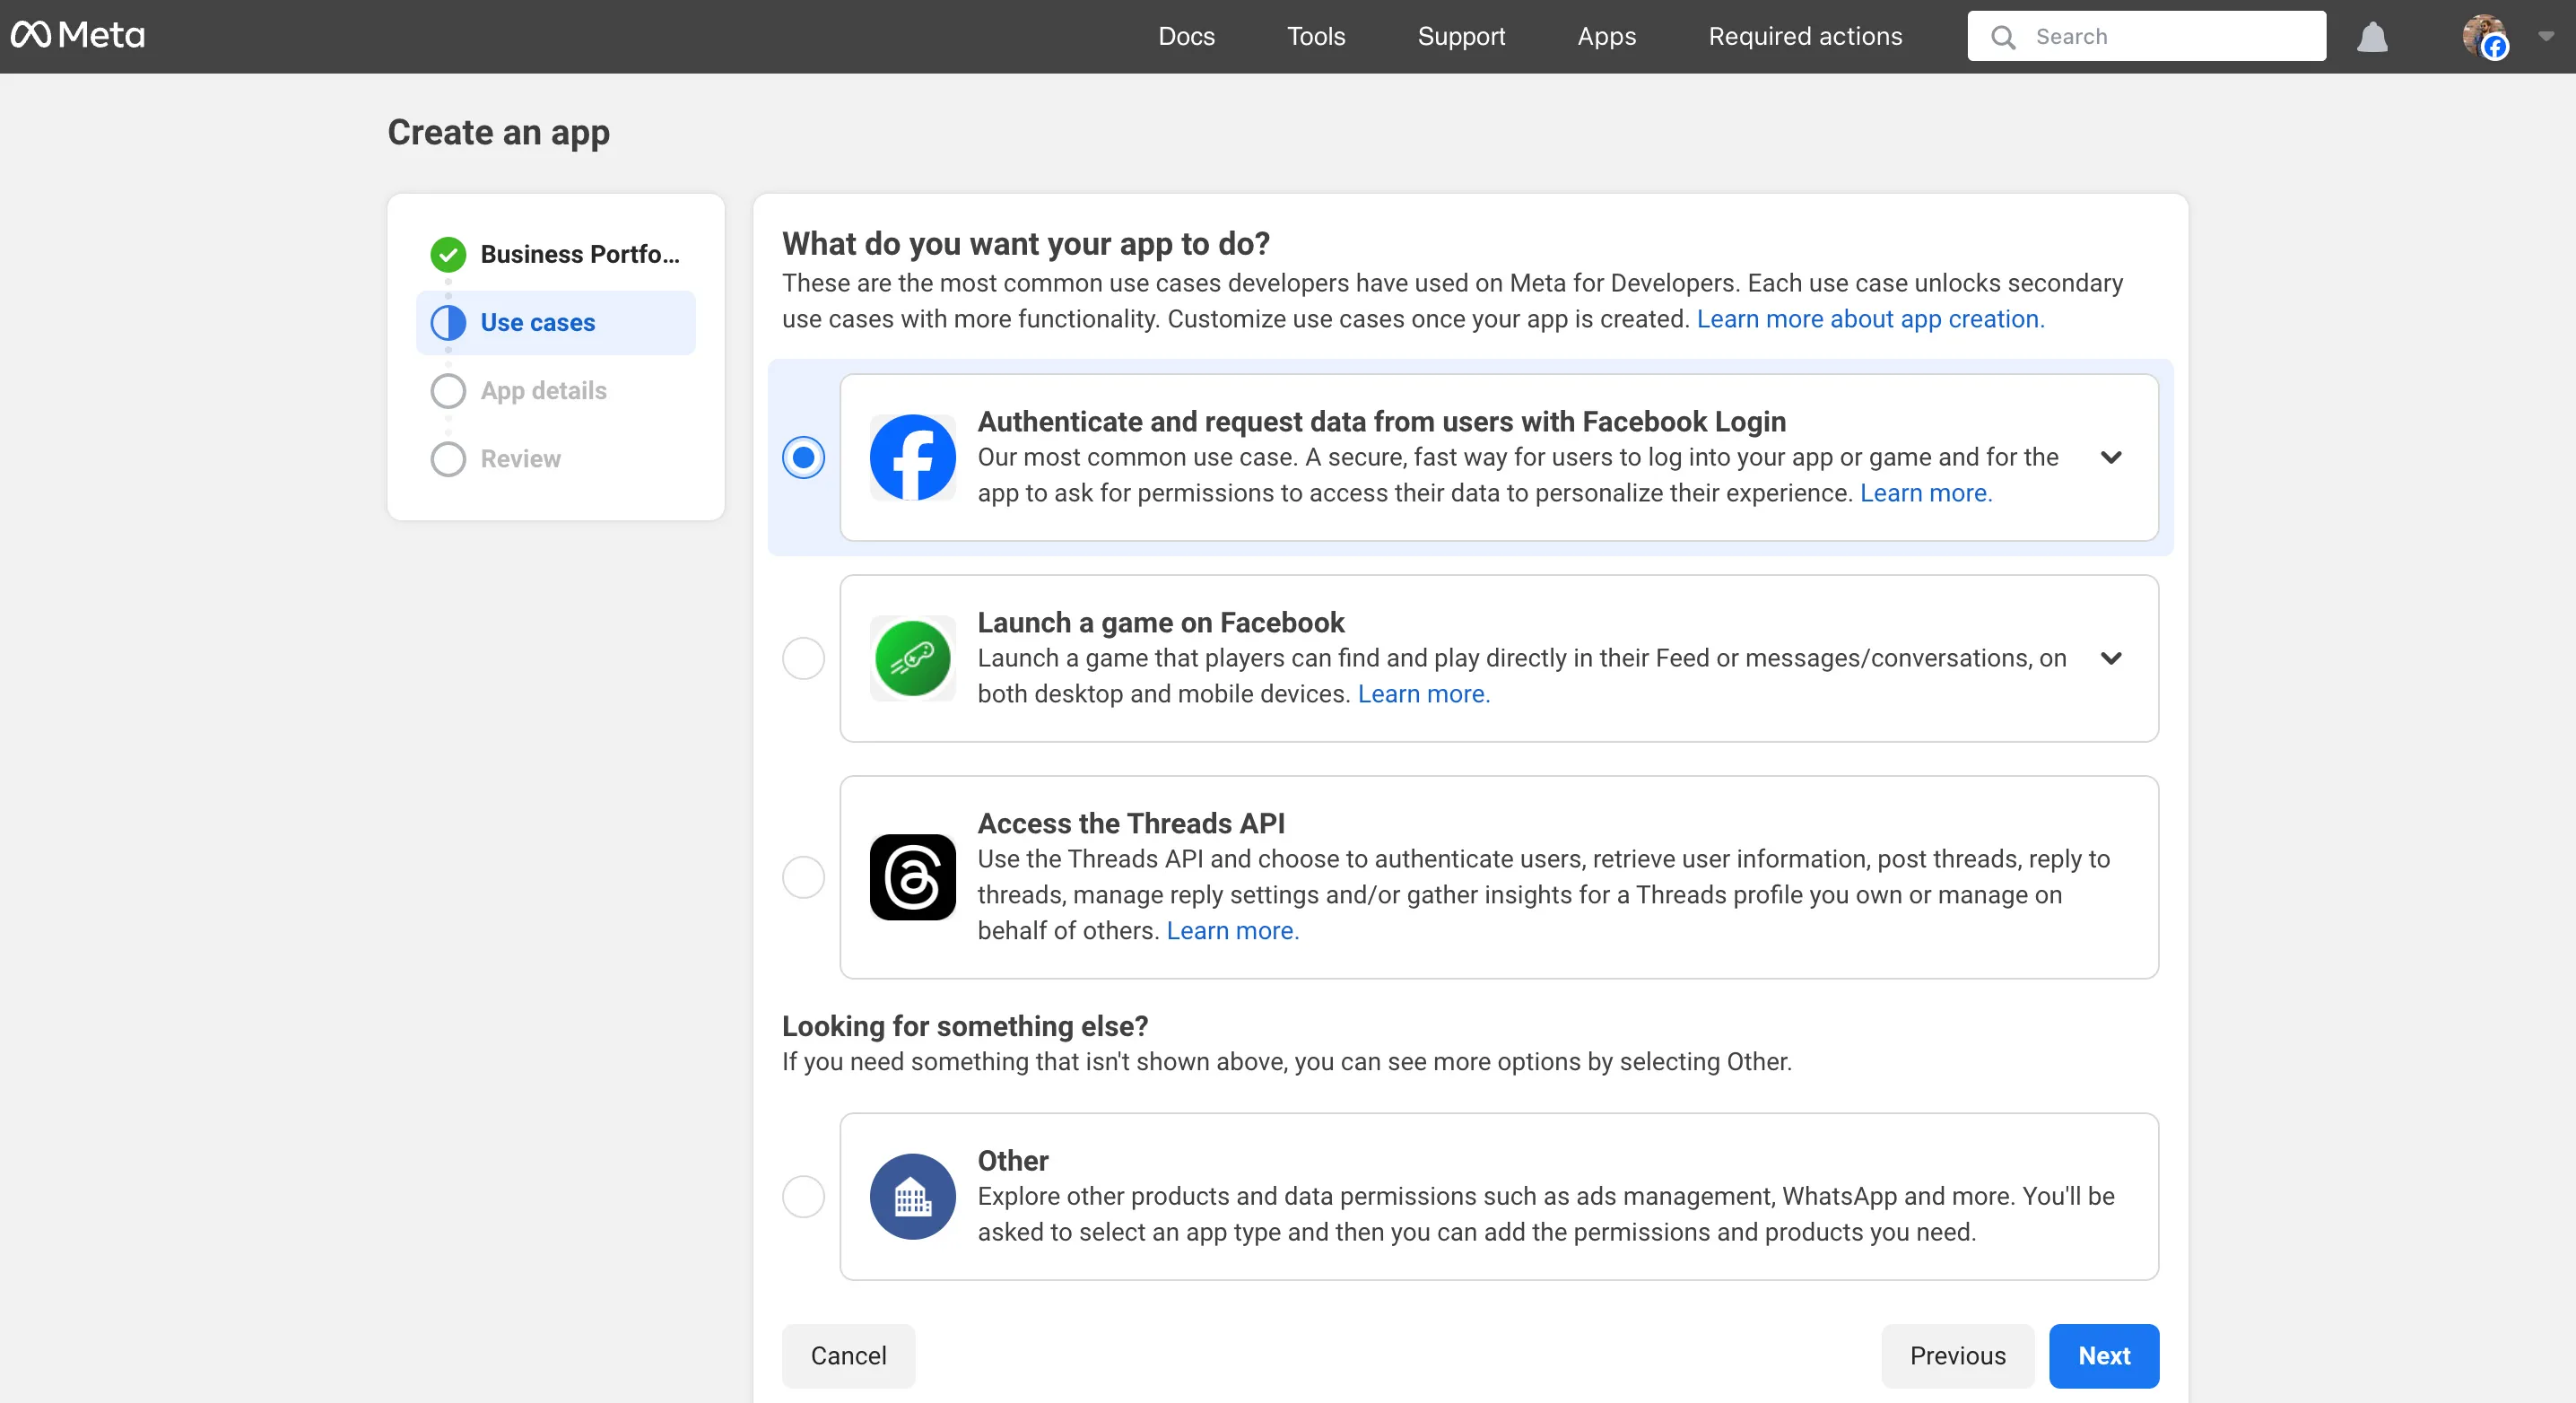
-
Select the “Authenticate and request data from users with Facebook Login” and click Next.
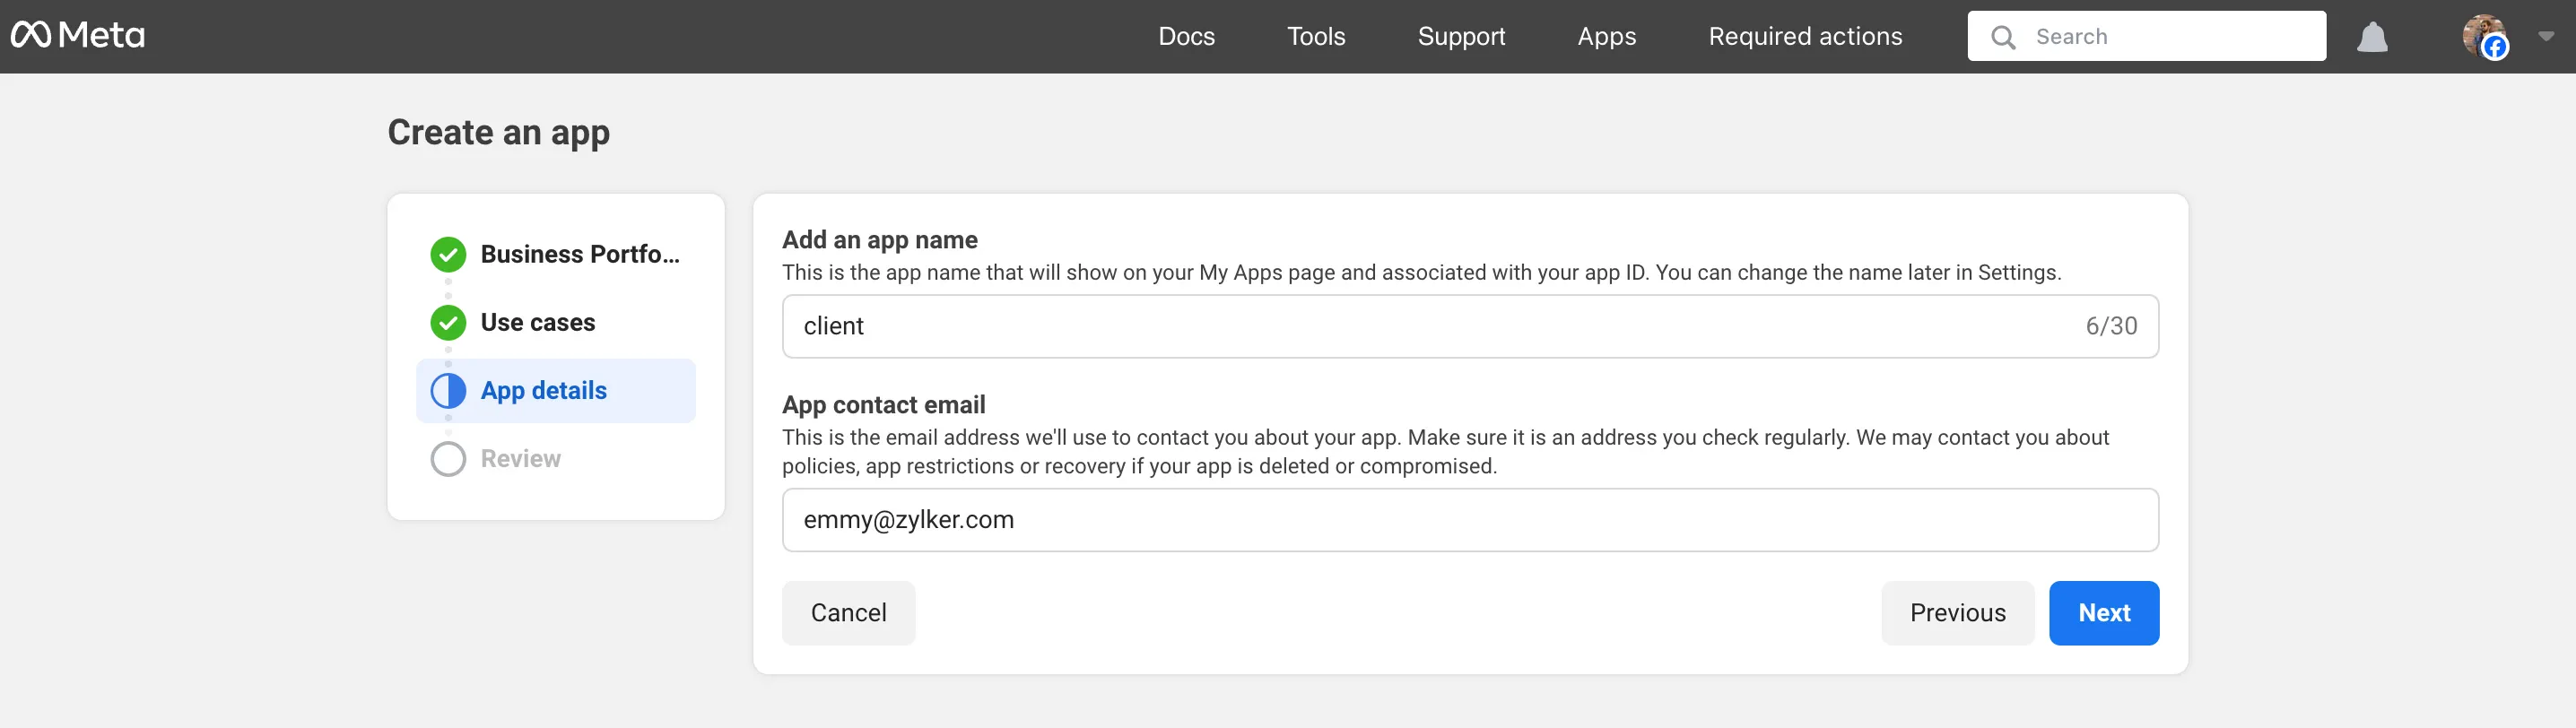
-
Enter the required details and click Next.
-
Review your configurations and click Create App.
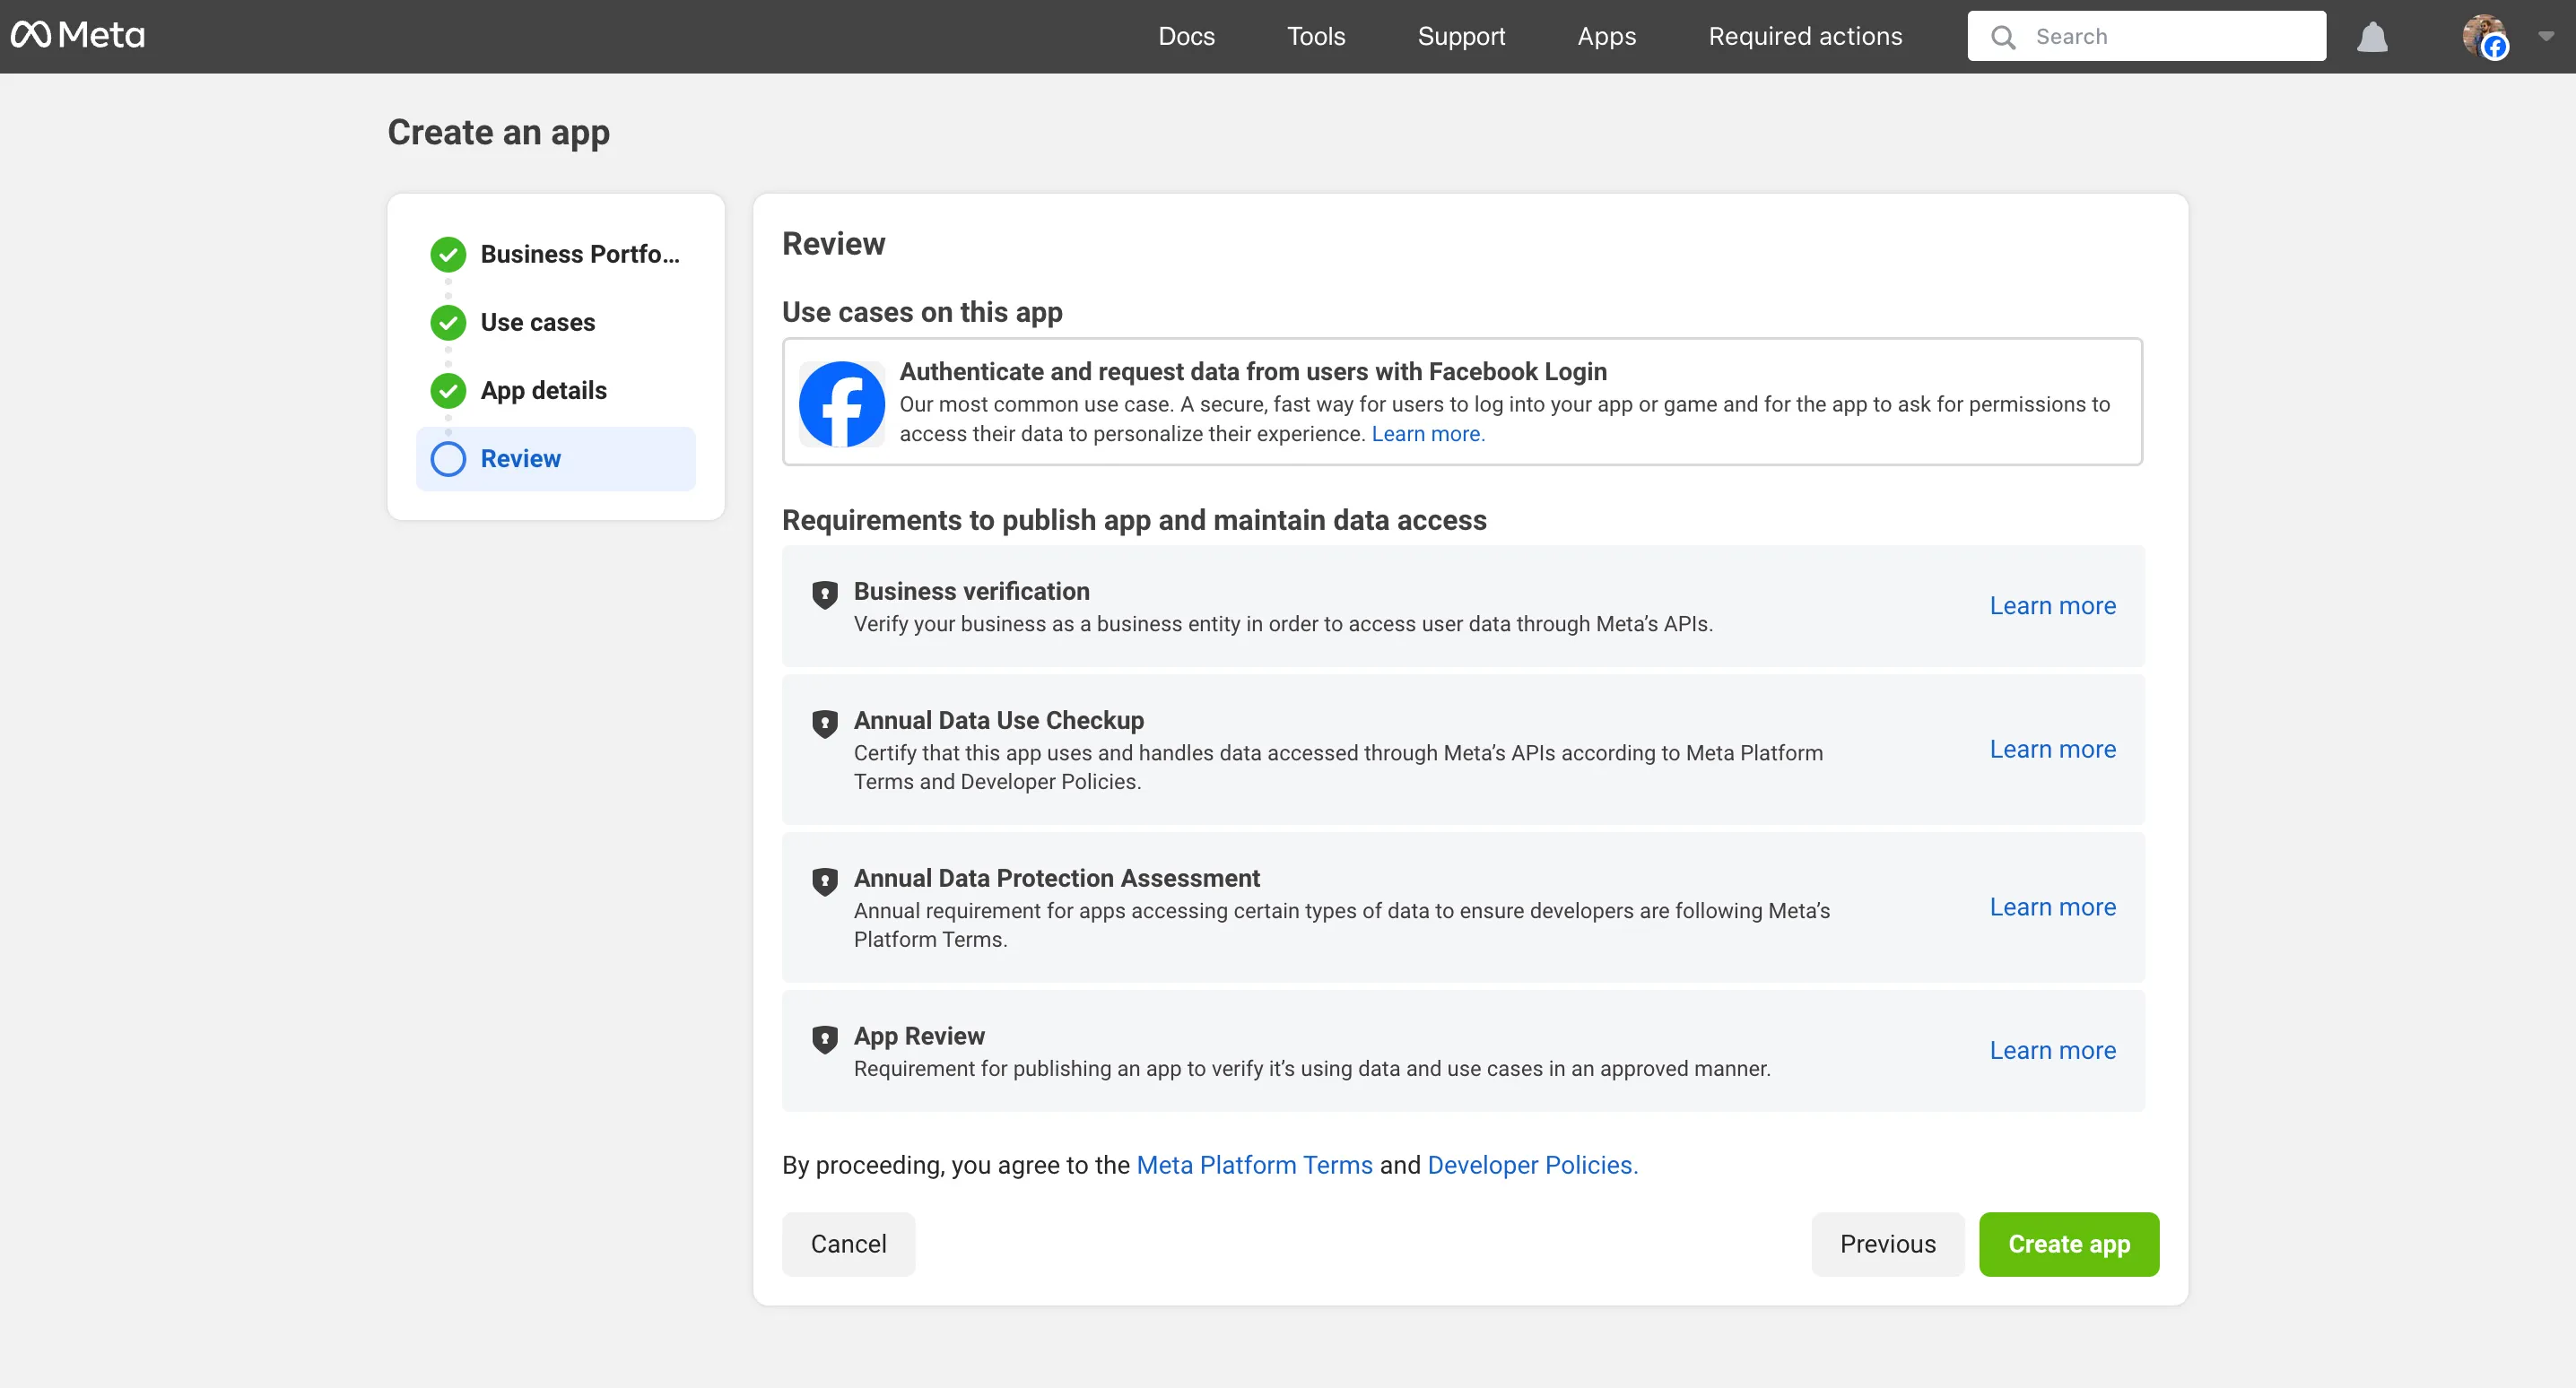
-
You will now be directed to the Dashboard of the Facebook developer console. Select the “Customize adding a Facebook Login button” option.
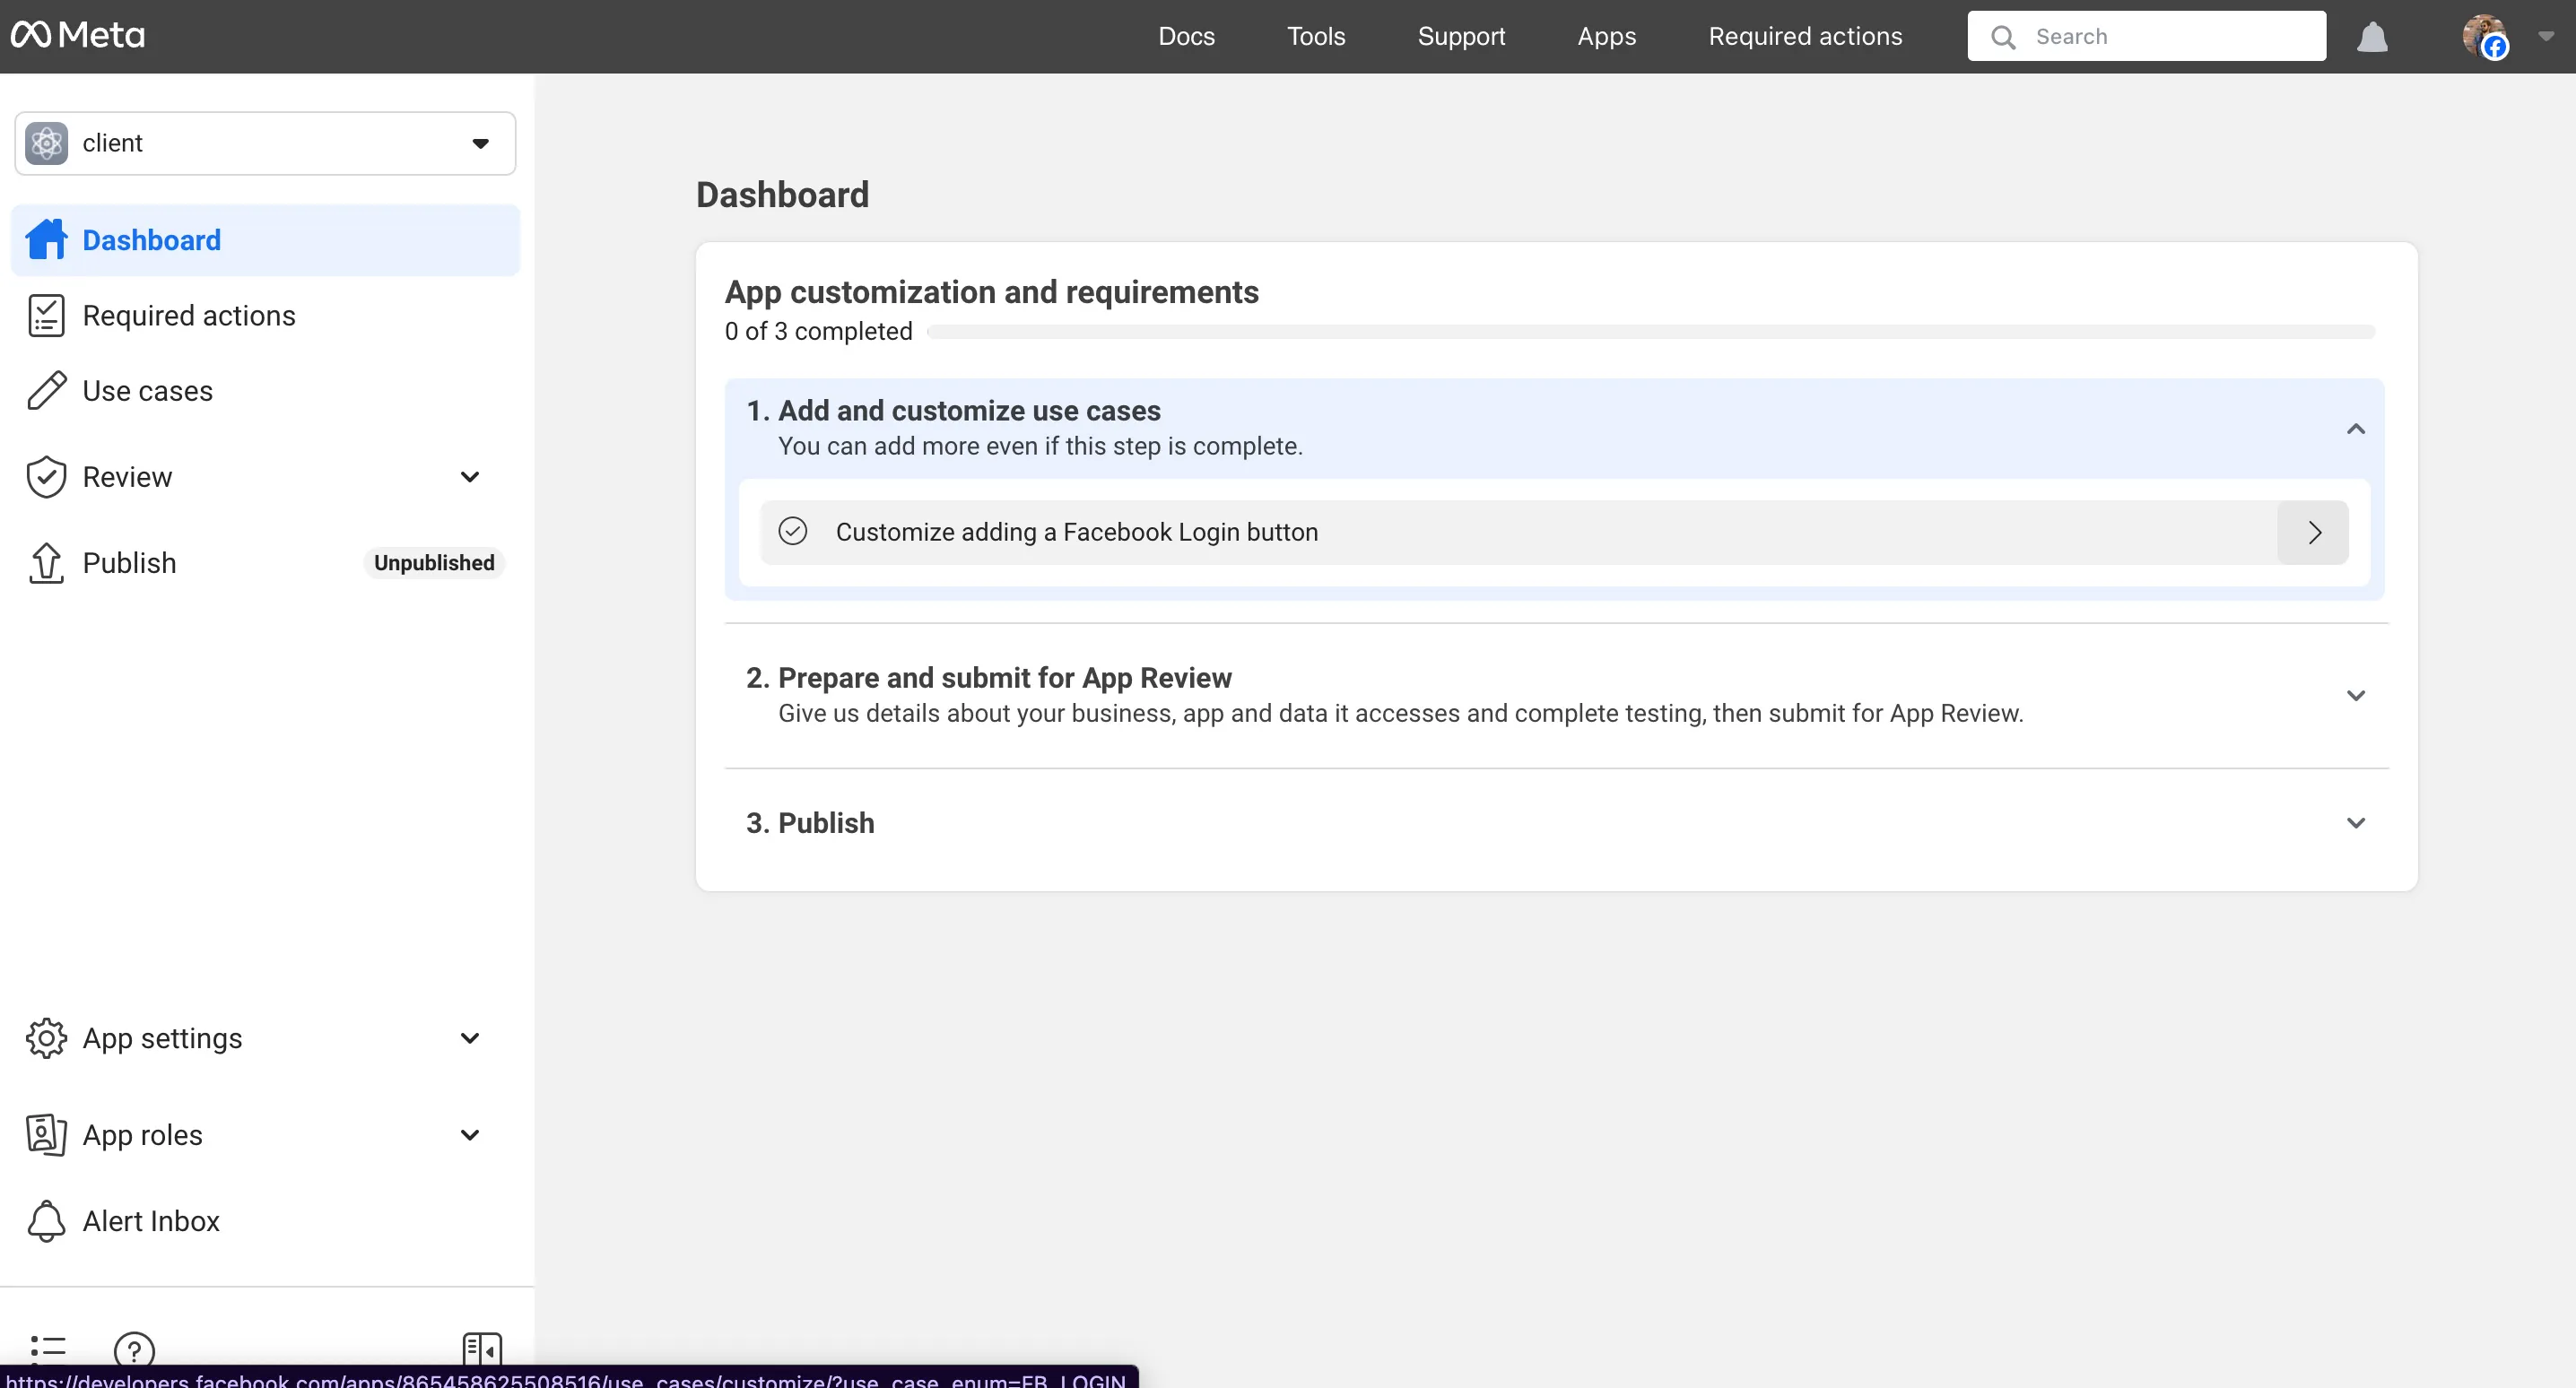
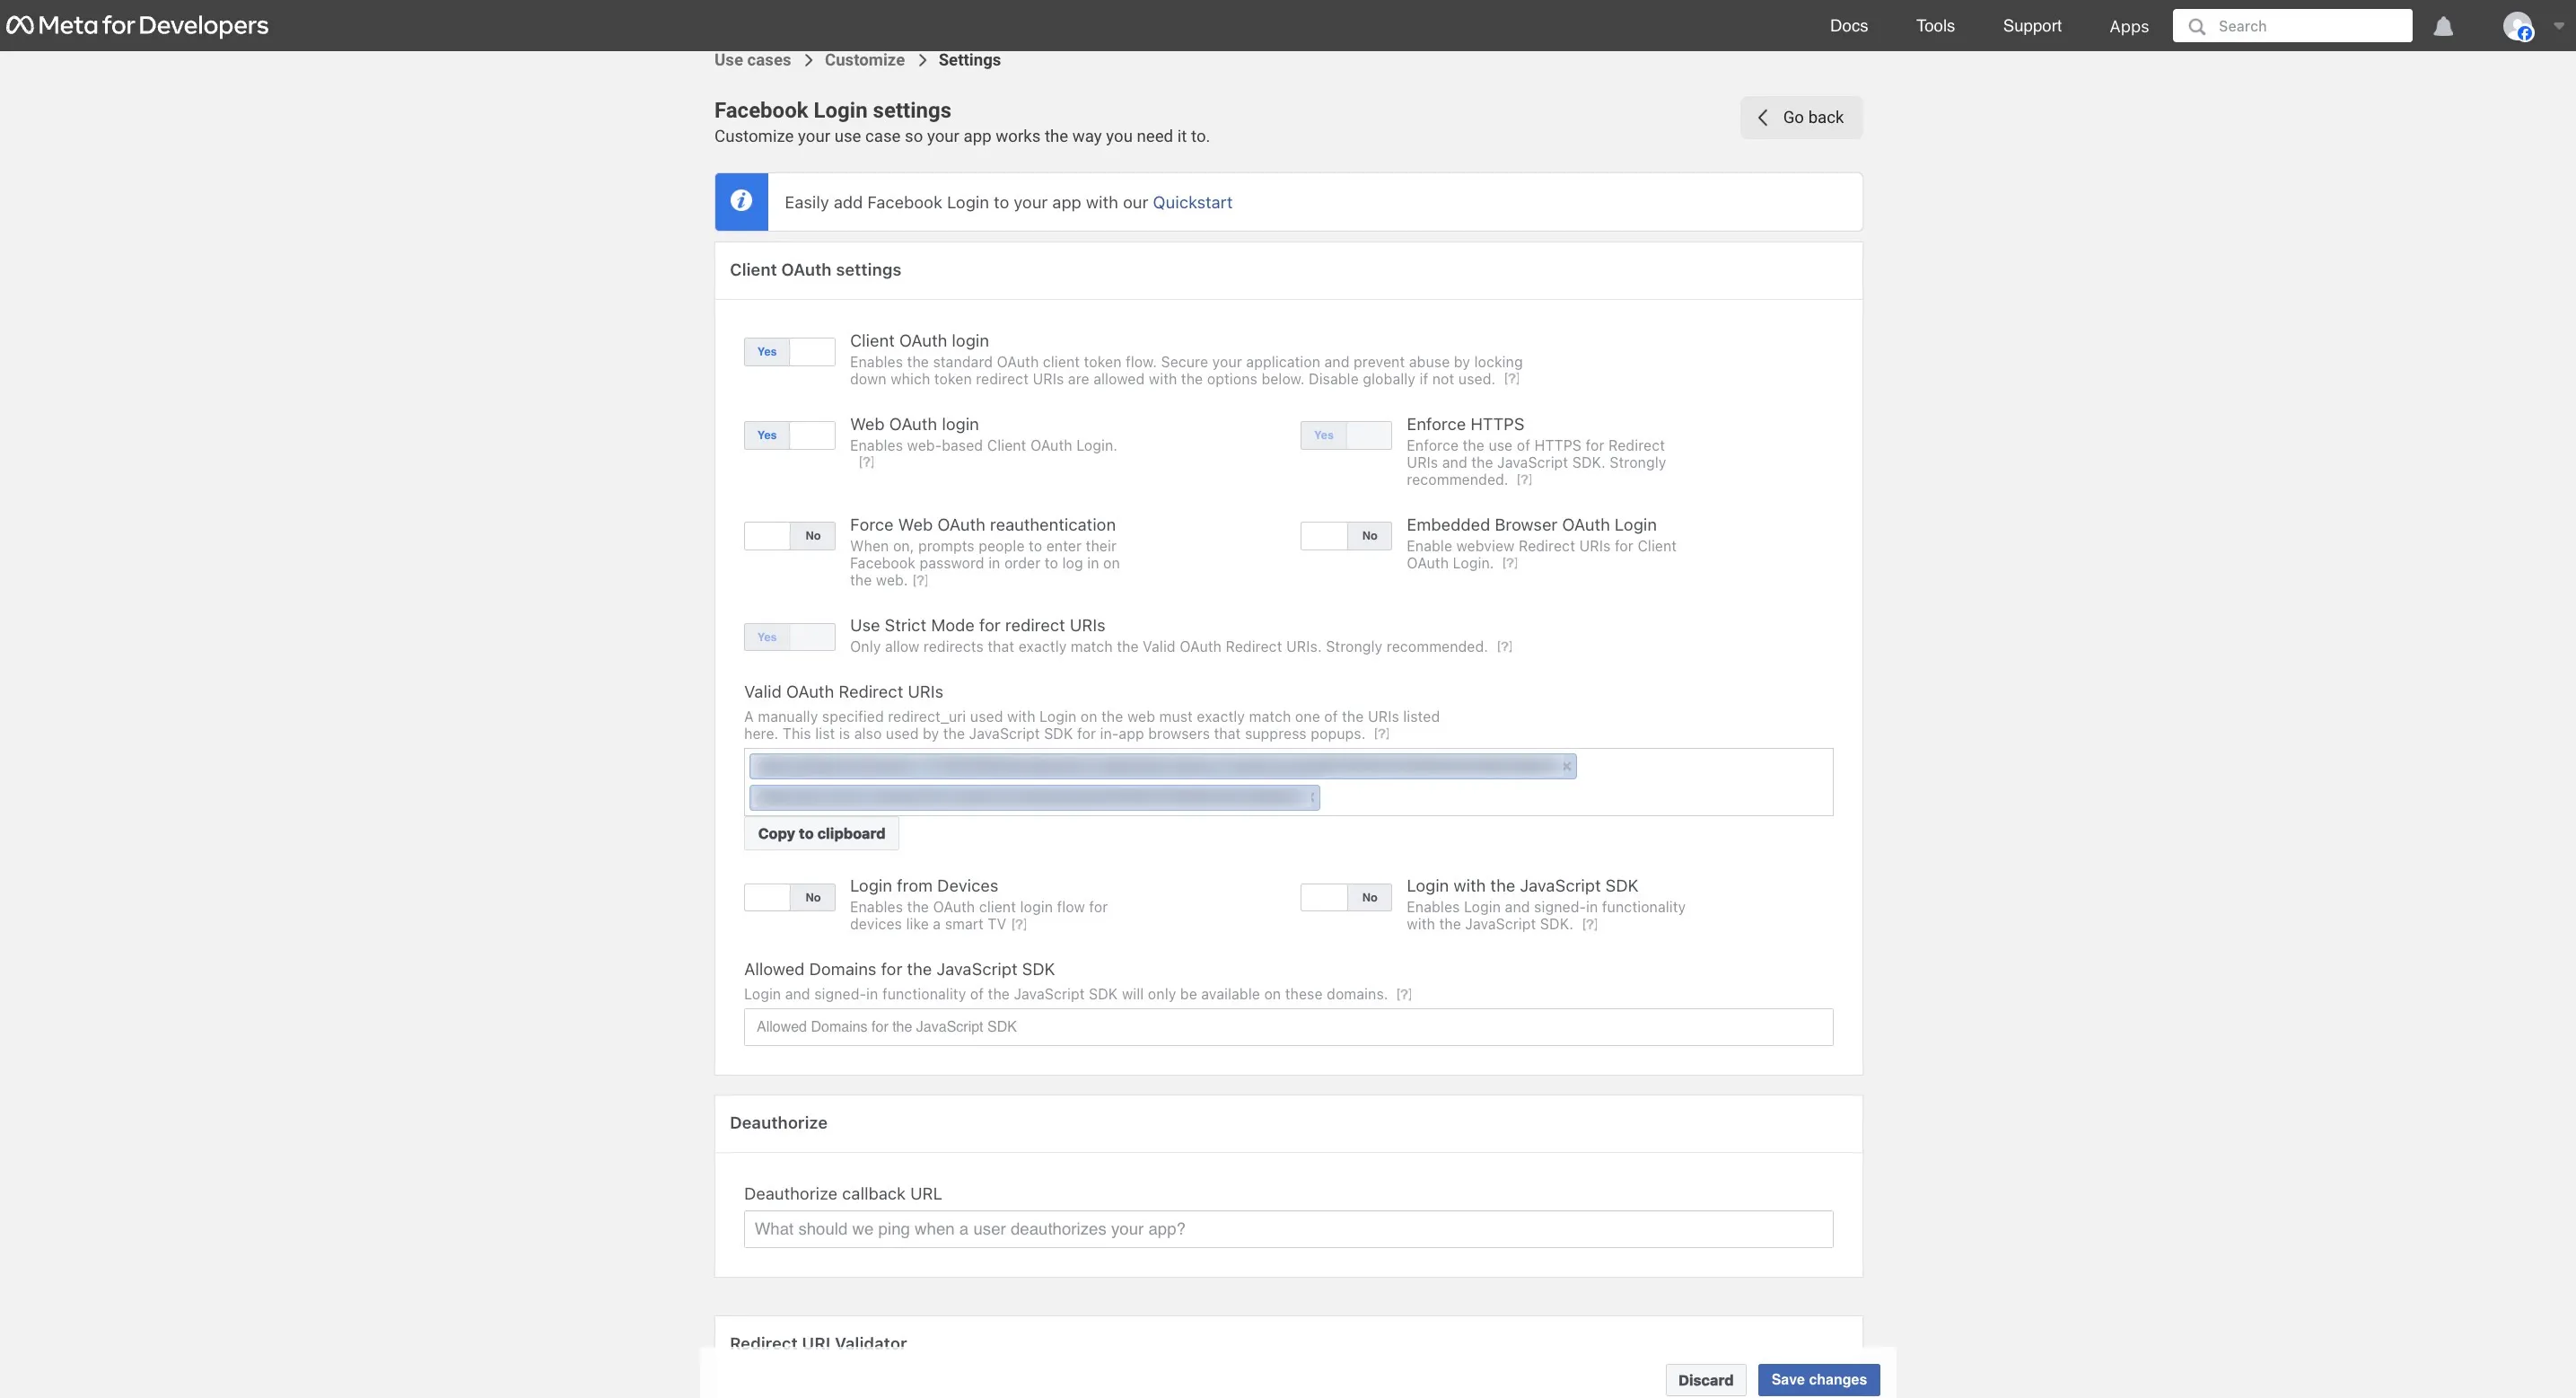
You will be directed to the Customization section of the Facebook Login.
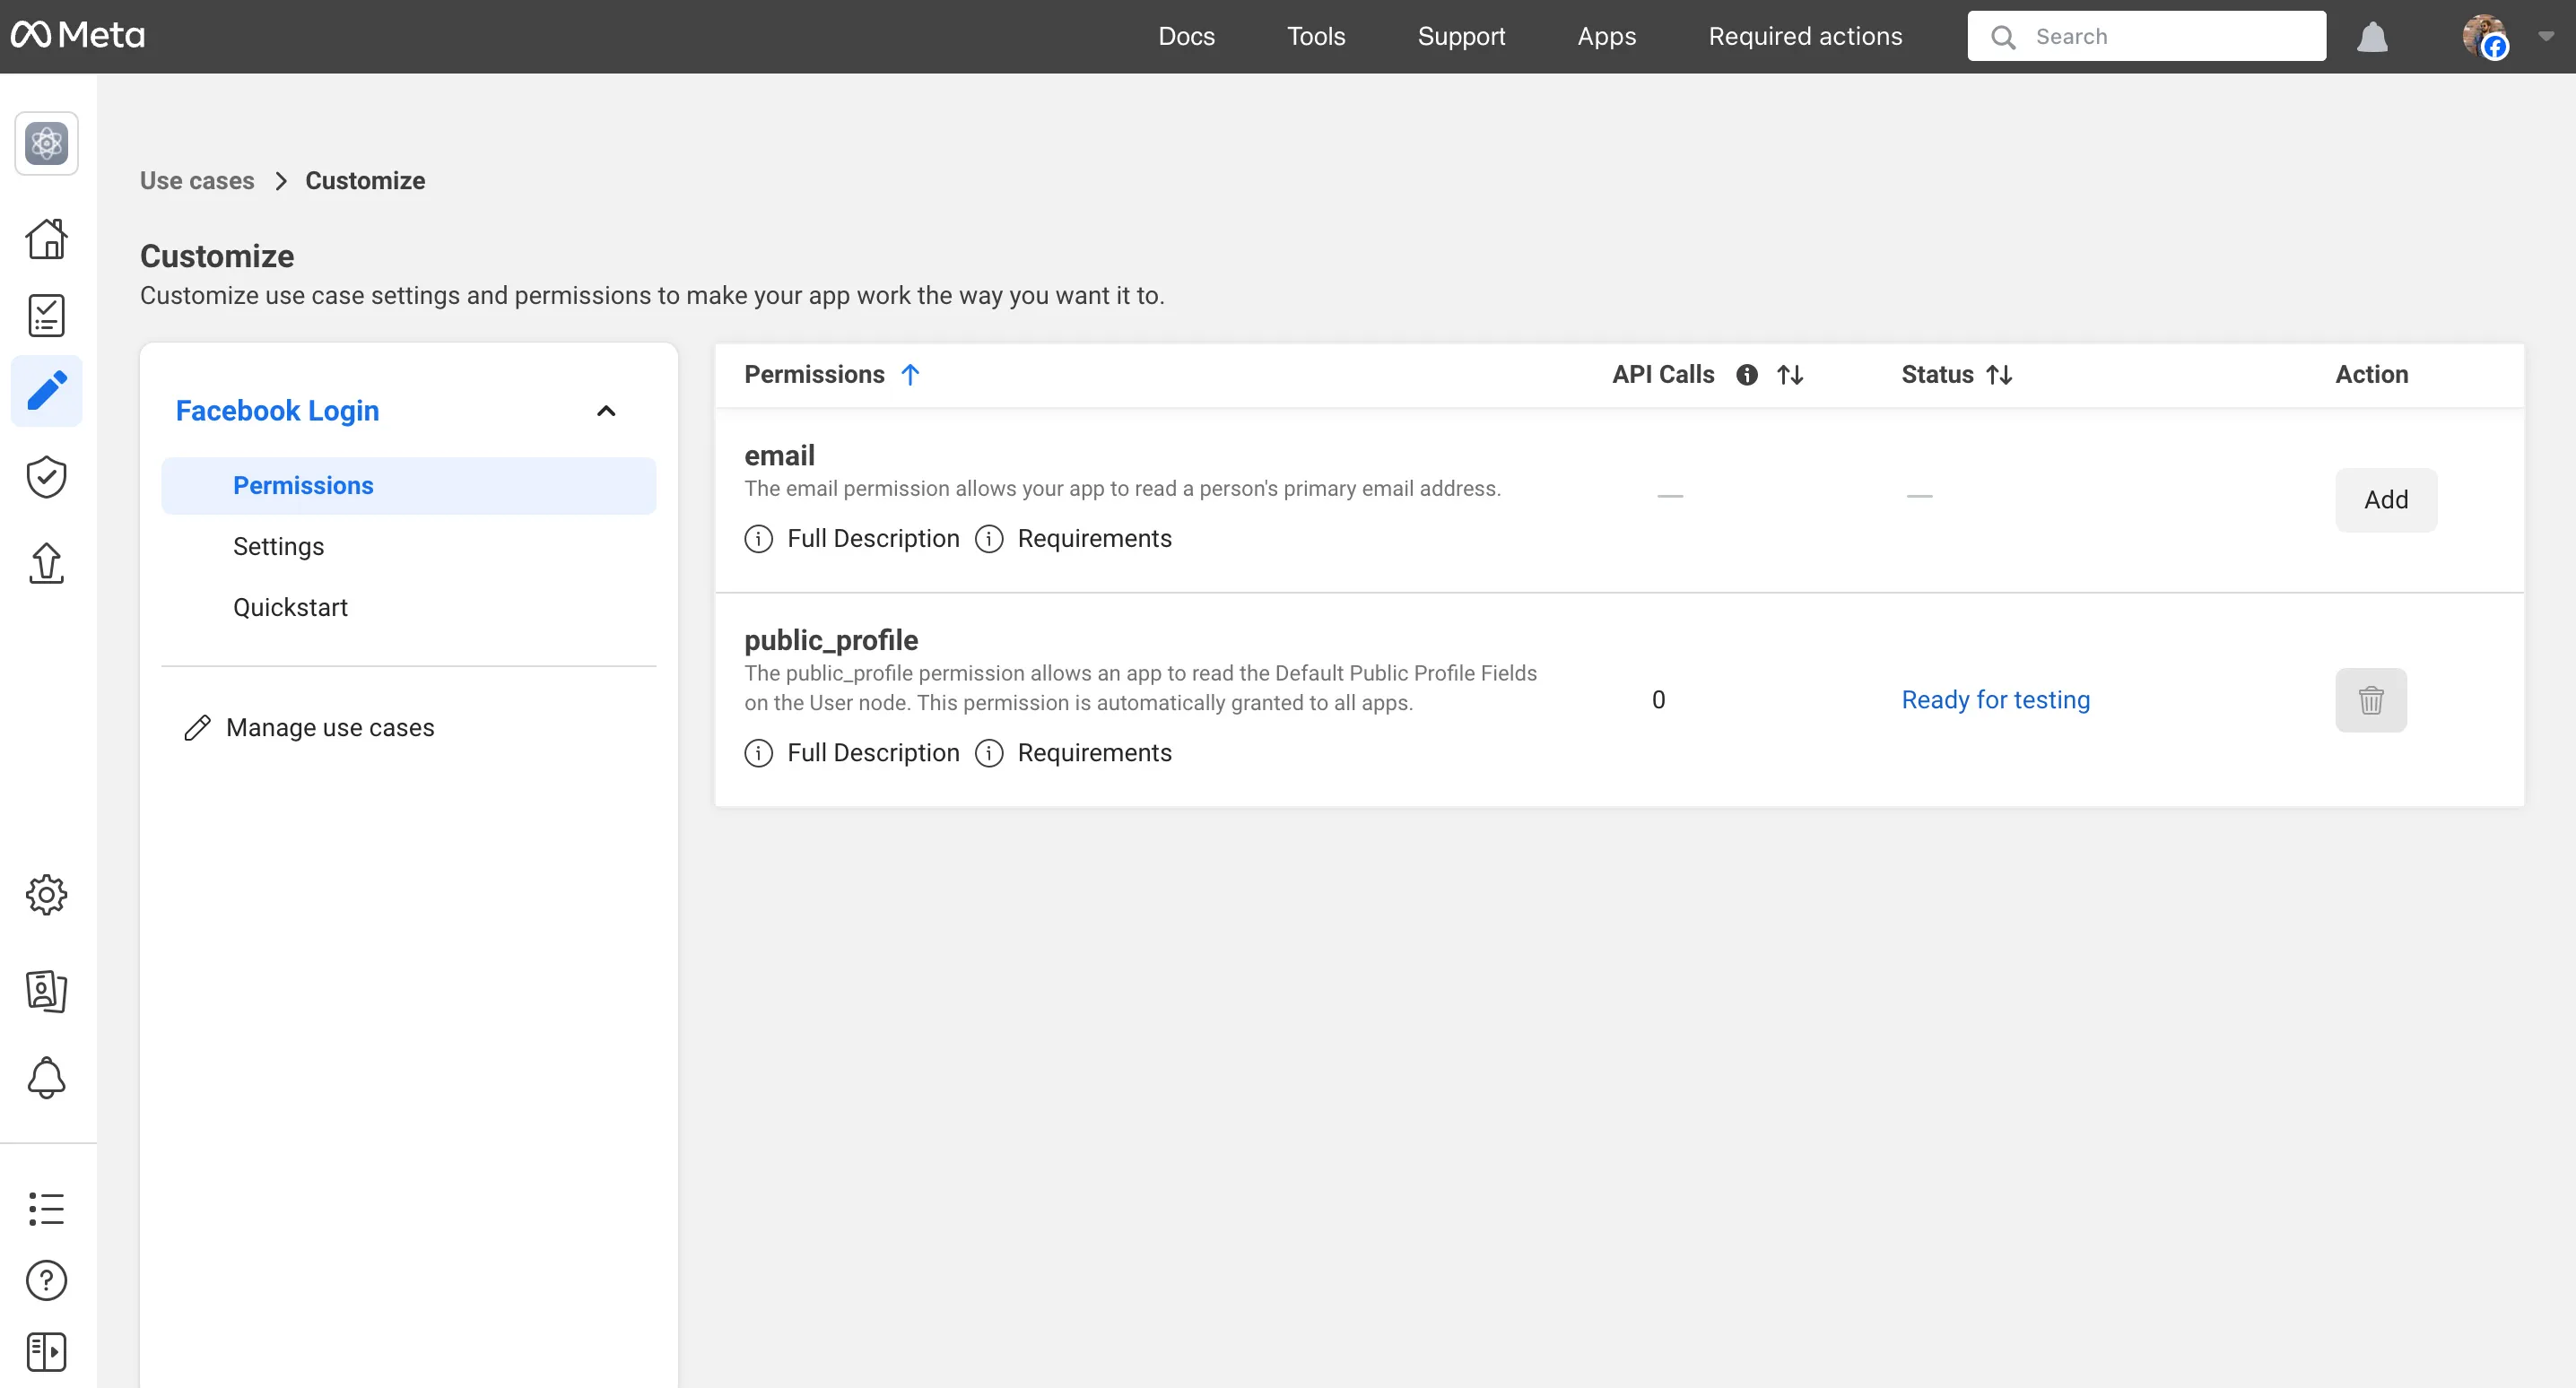
-
Click the Settings tab in the left-panel.
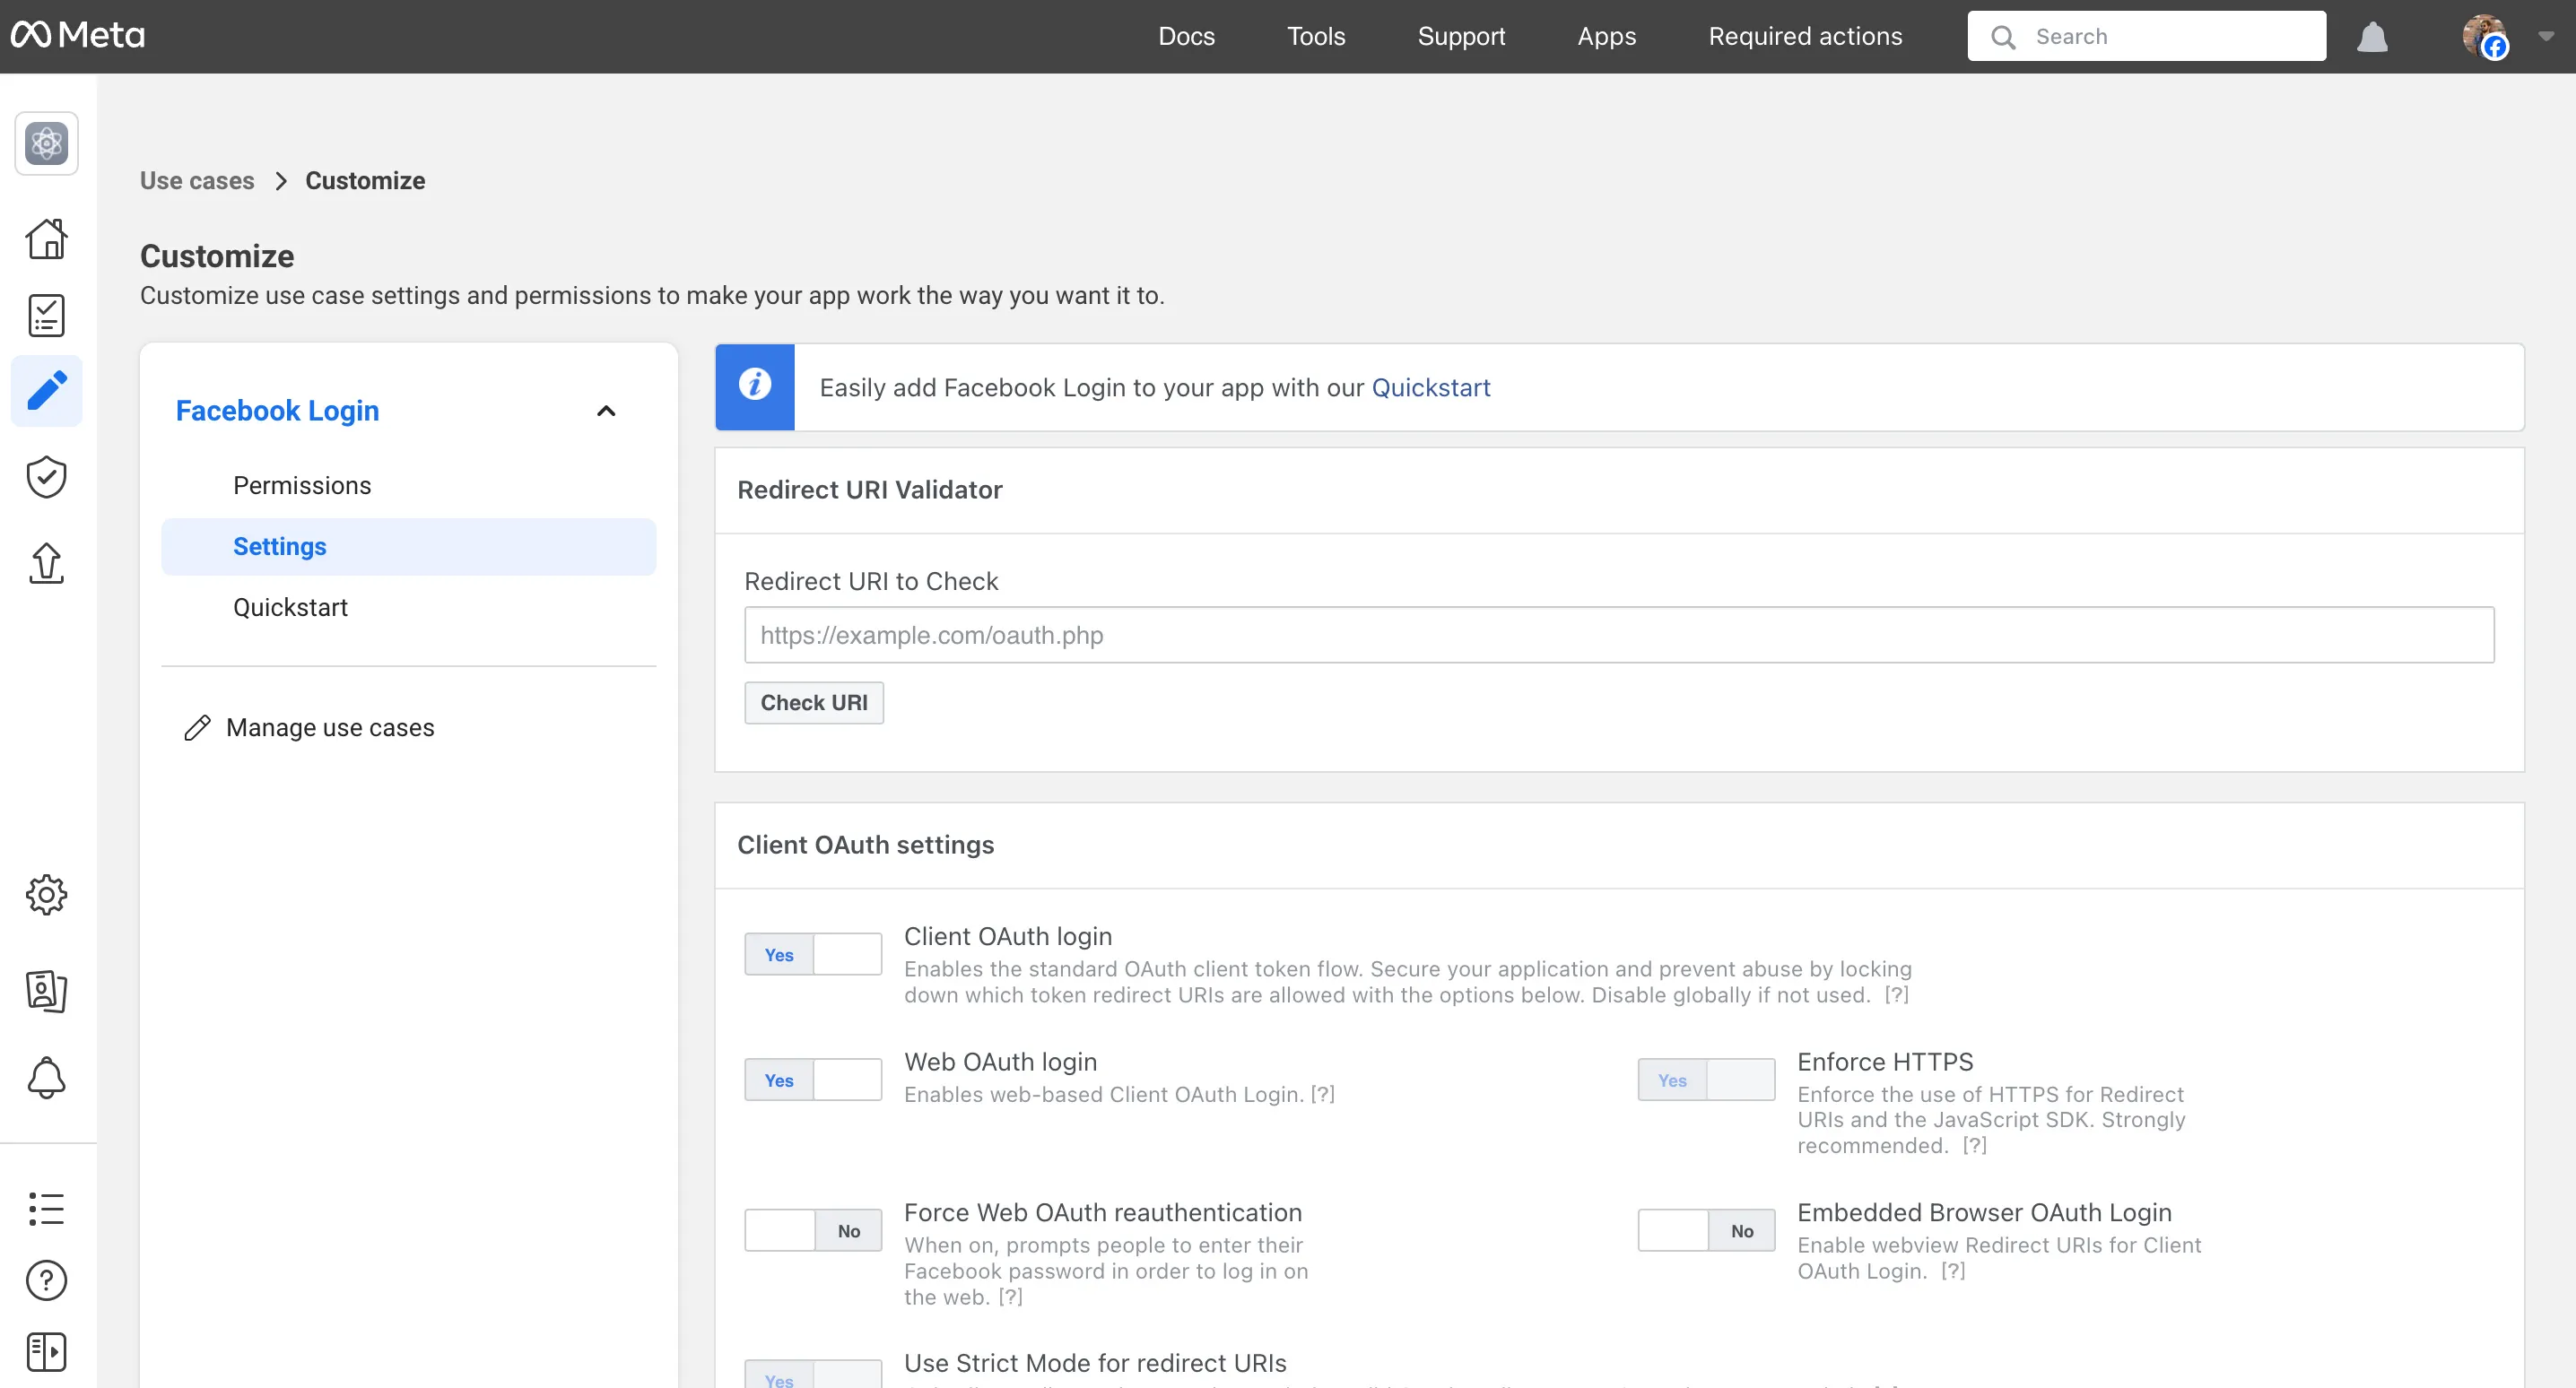
-
Scroll down to the Client OAuth Settings section.
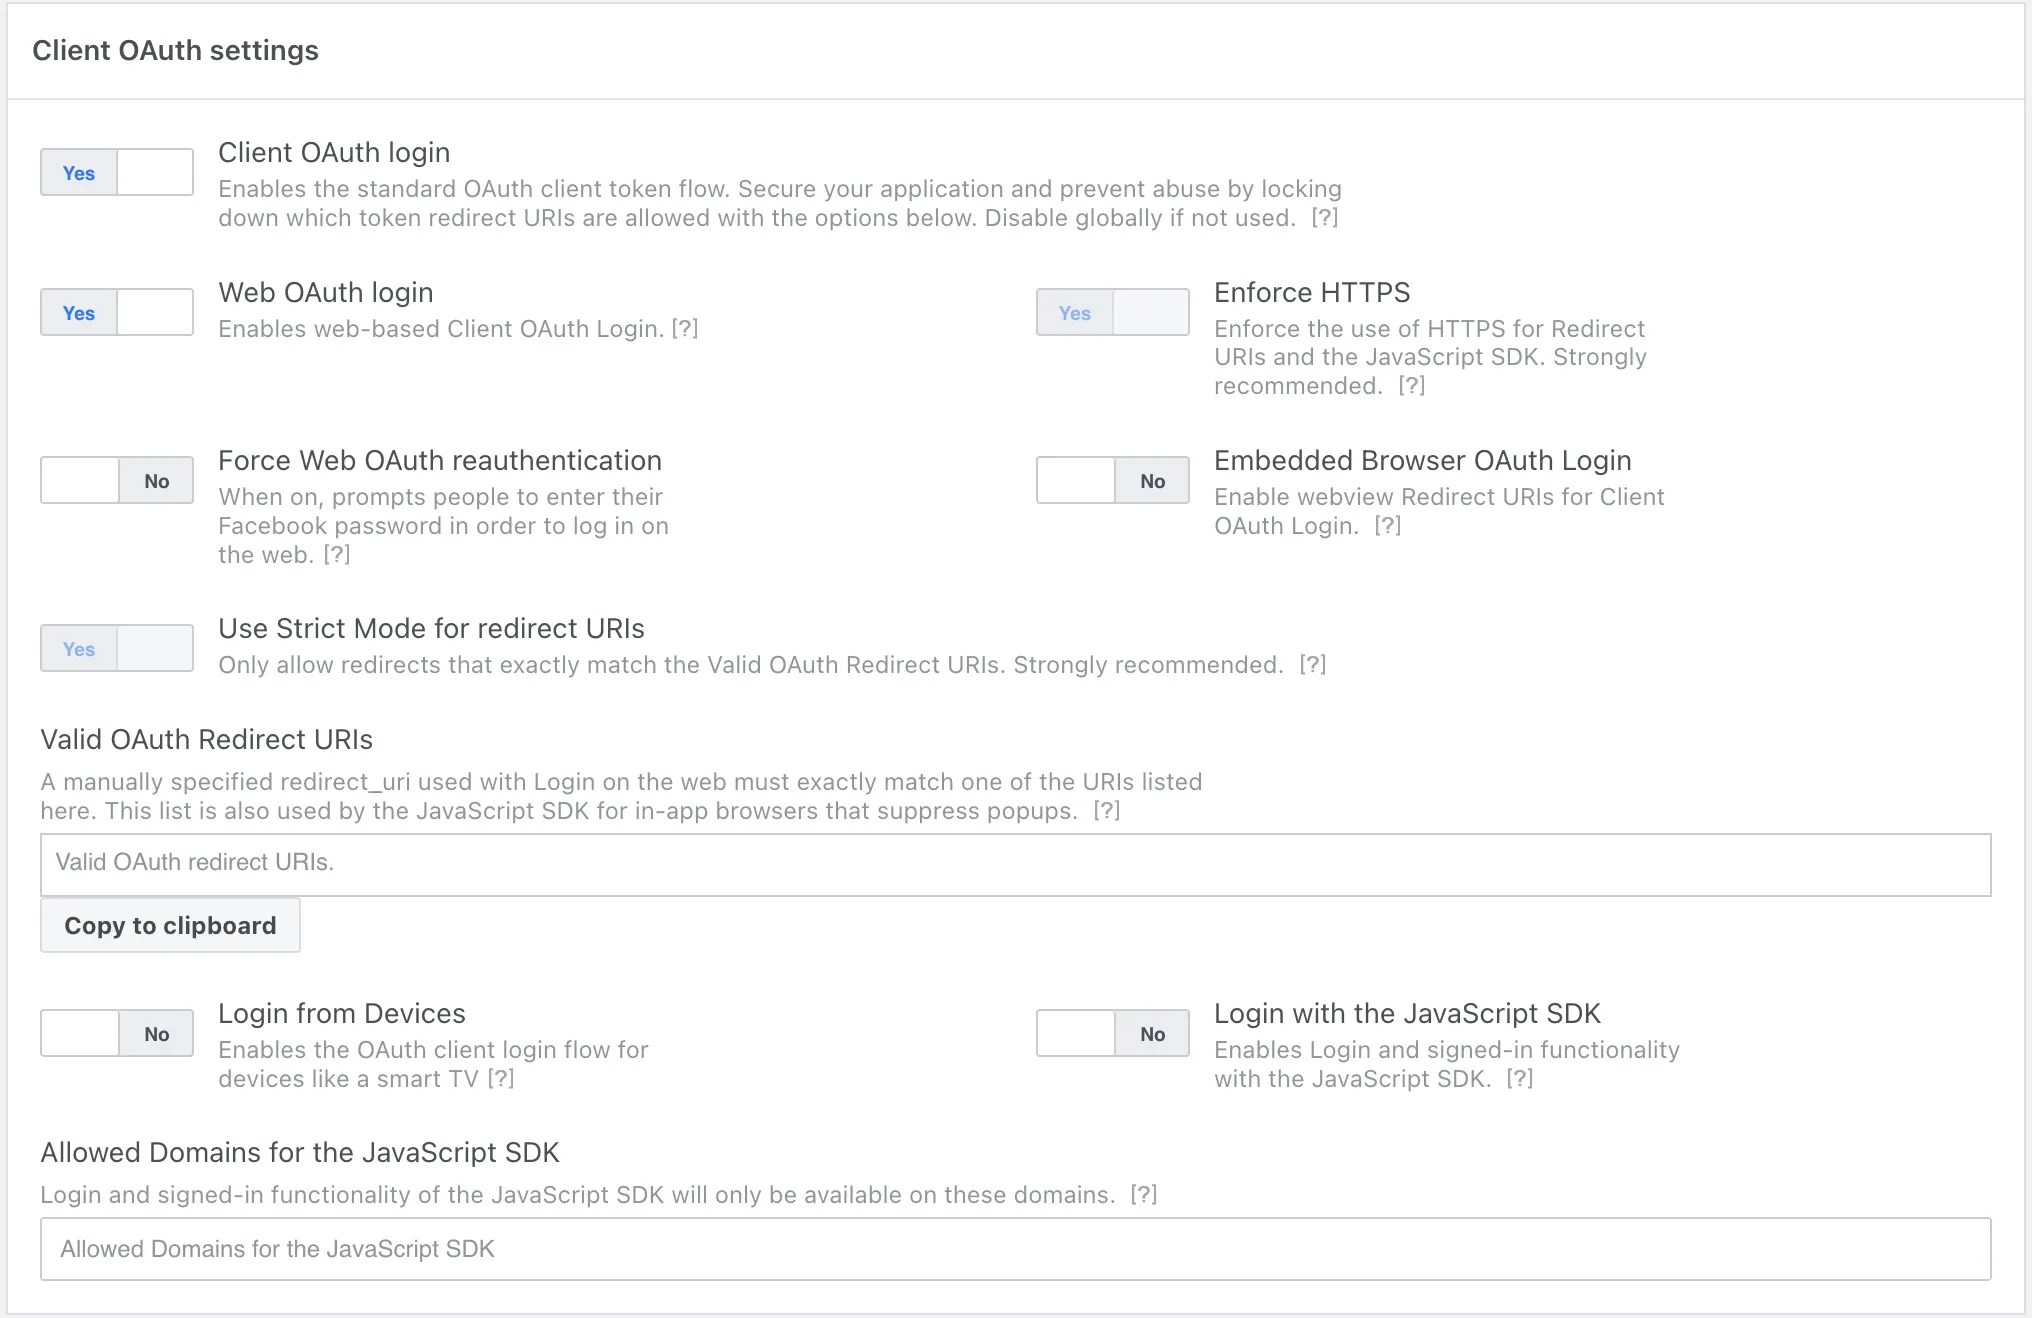
-
In the Valid OAuth Redirect URIs input field section, provide the OAuth Redirect URIs in the following format:
- https://accounts.zohoportal.com/accounts/extoauth/ZAID/clientcallback
- https://{{appdomain}}/accounts/pfs/ZAID/clientidpcallback
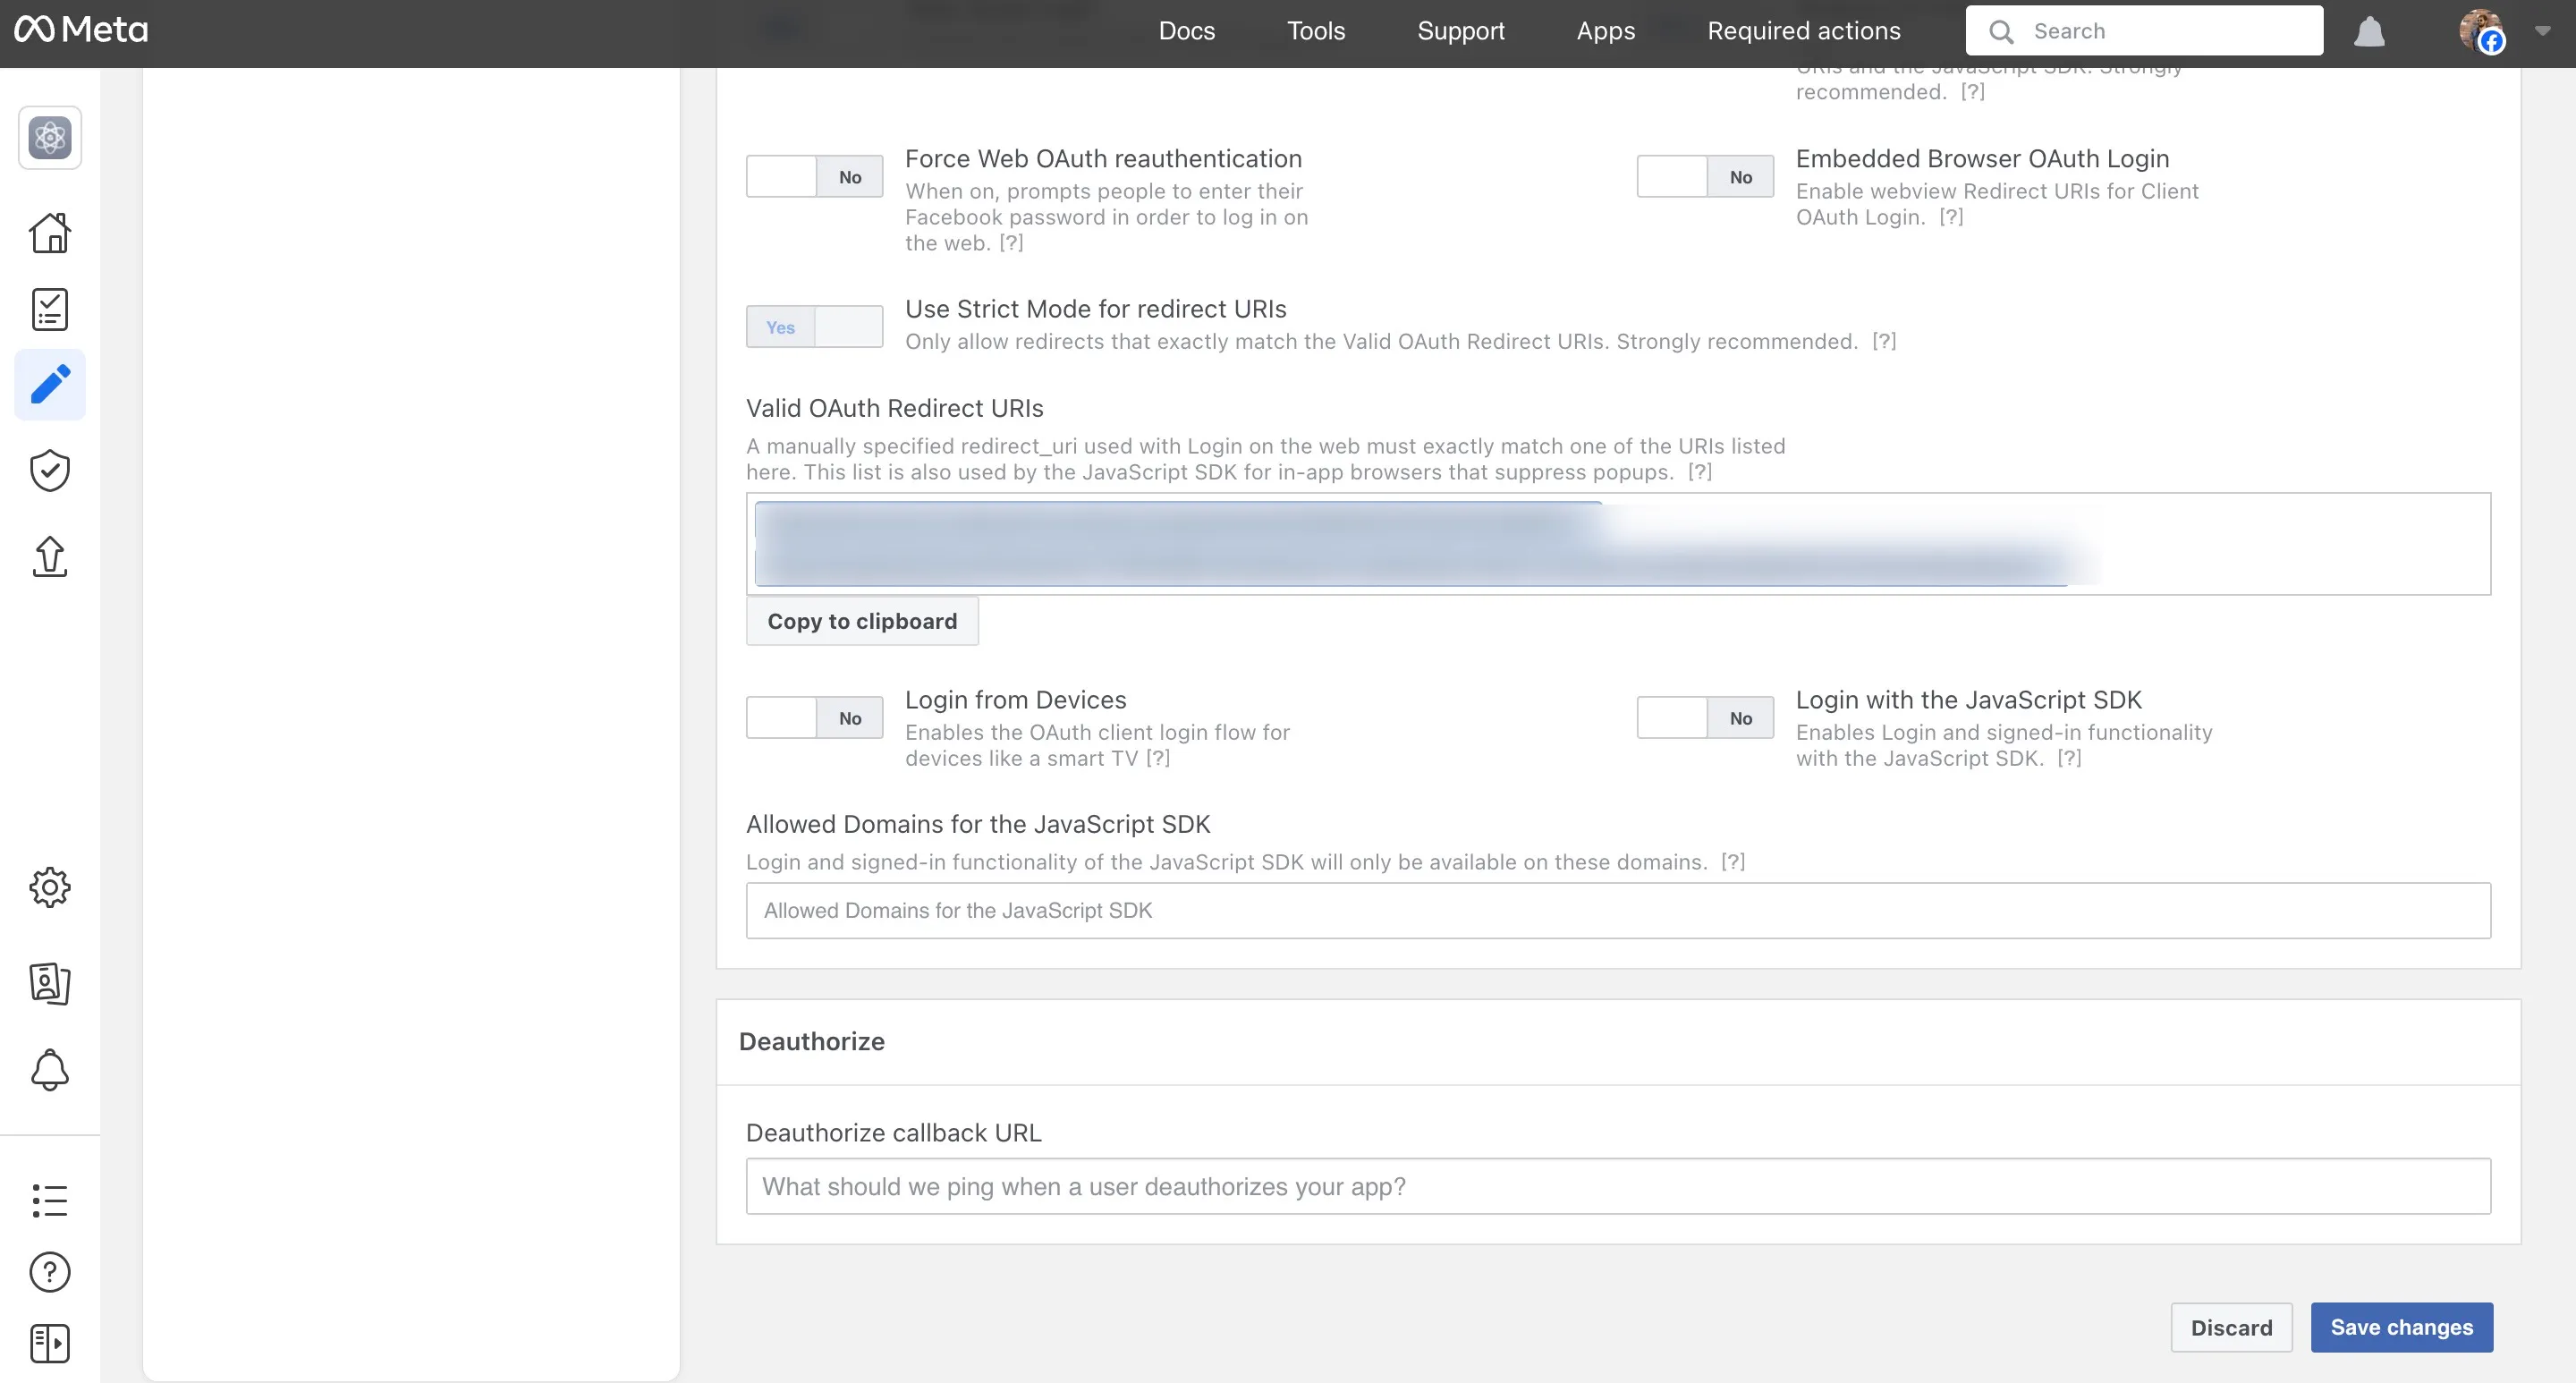
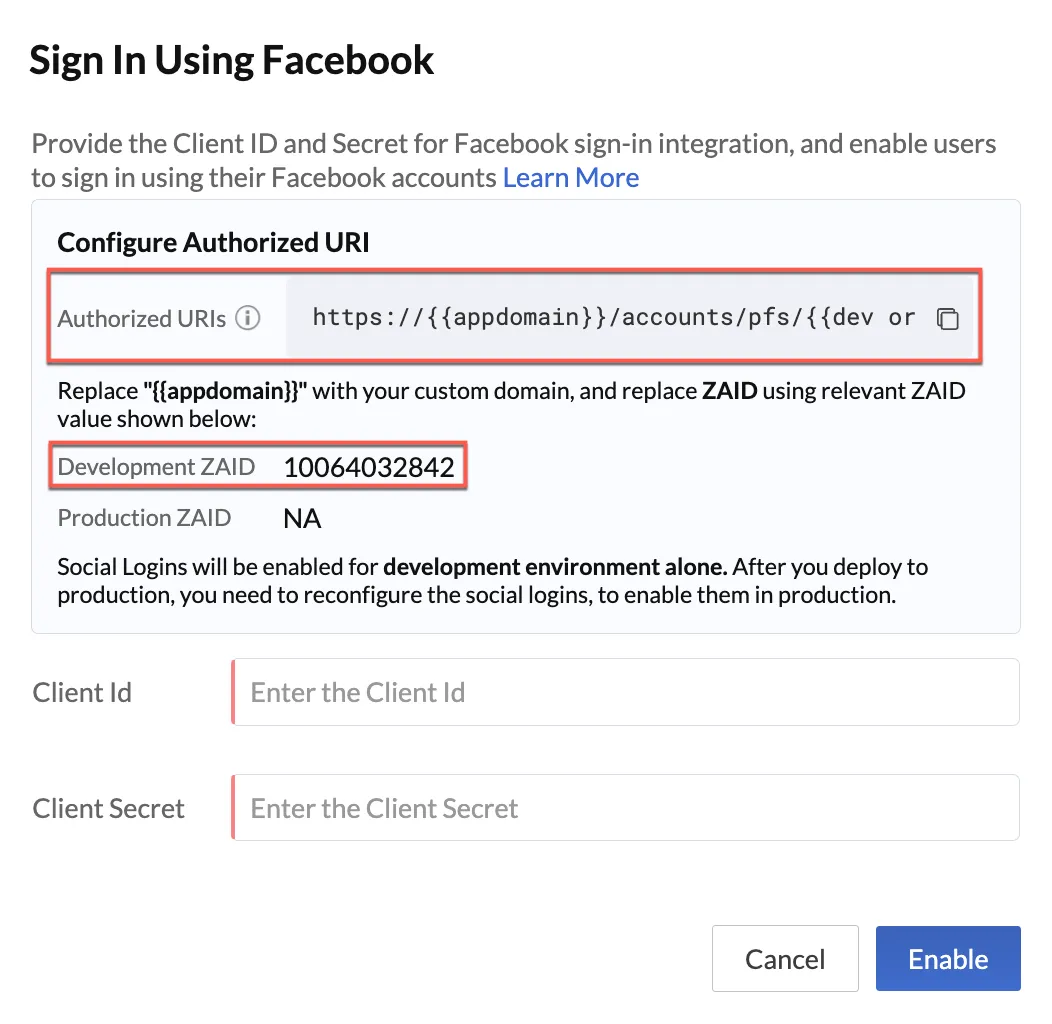
This URI can be copied from the Facebook Social Login pop-up, and steps to enable this URI is shown in this help document:
Click Save Changes.
-
You will be directed back to the Dashboard. Now select the “Basic” option present in the App Settings section of the console, and copy and save the Client ID and Client Secret details generated by Facebook. Click Save Changes once you have completed reviewing the details.
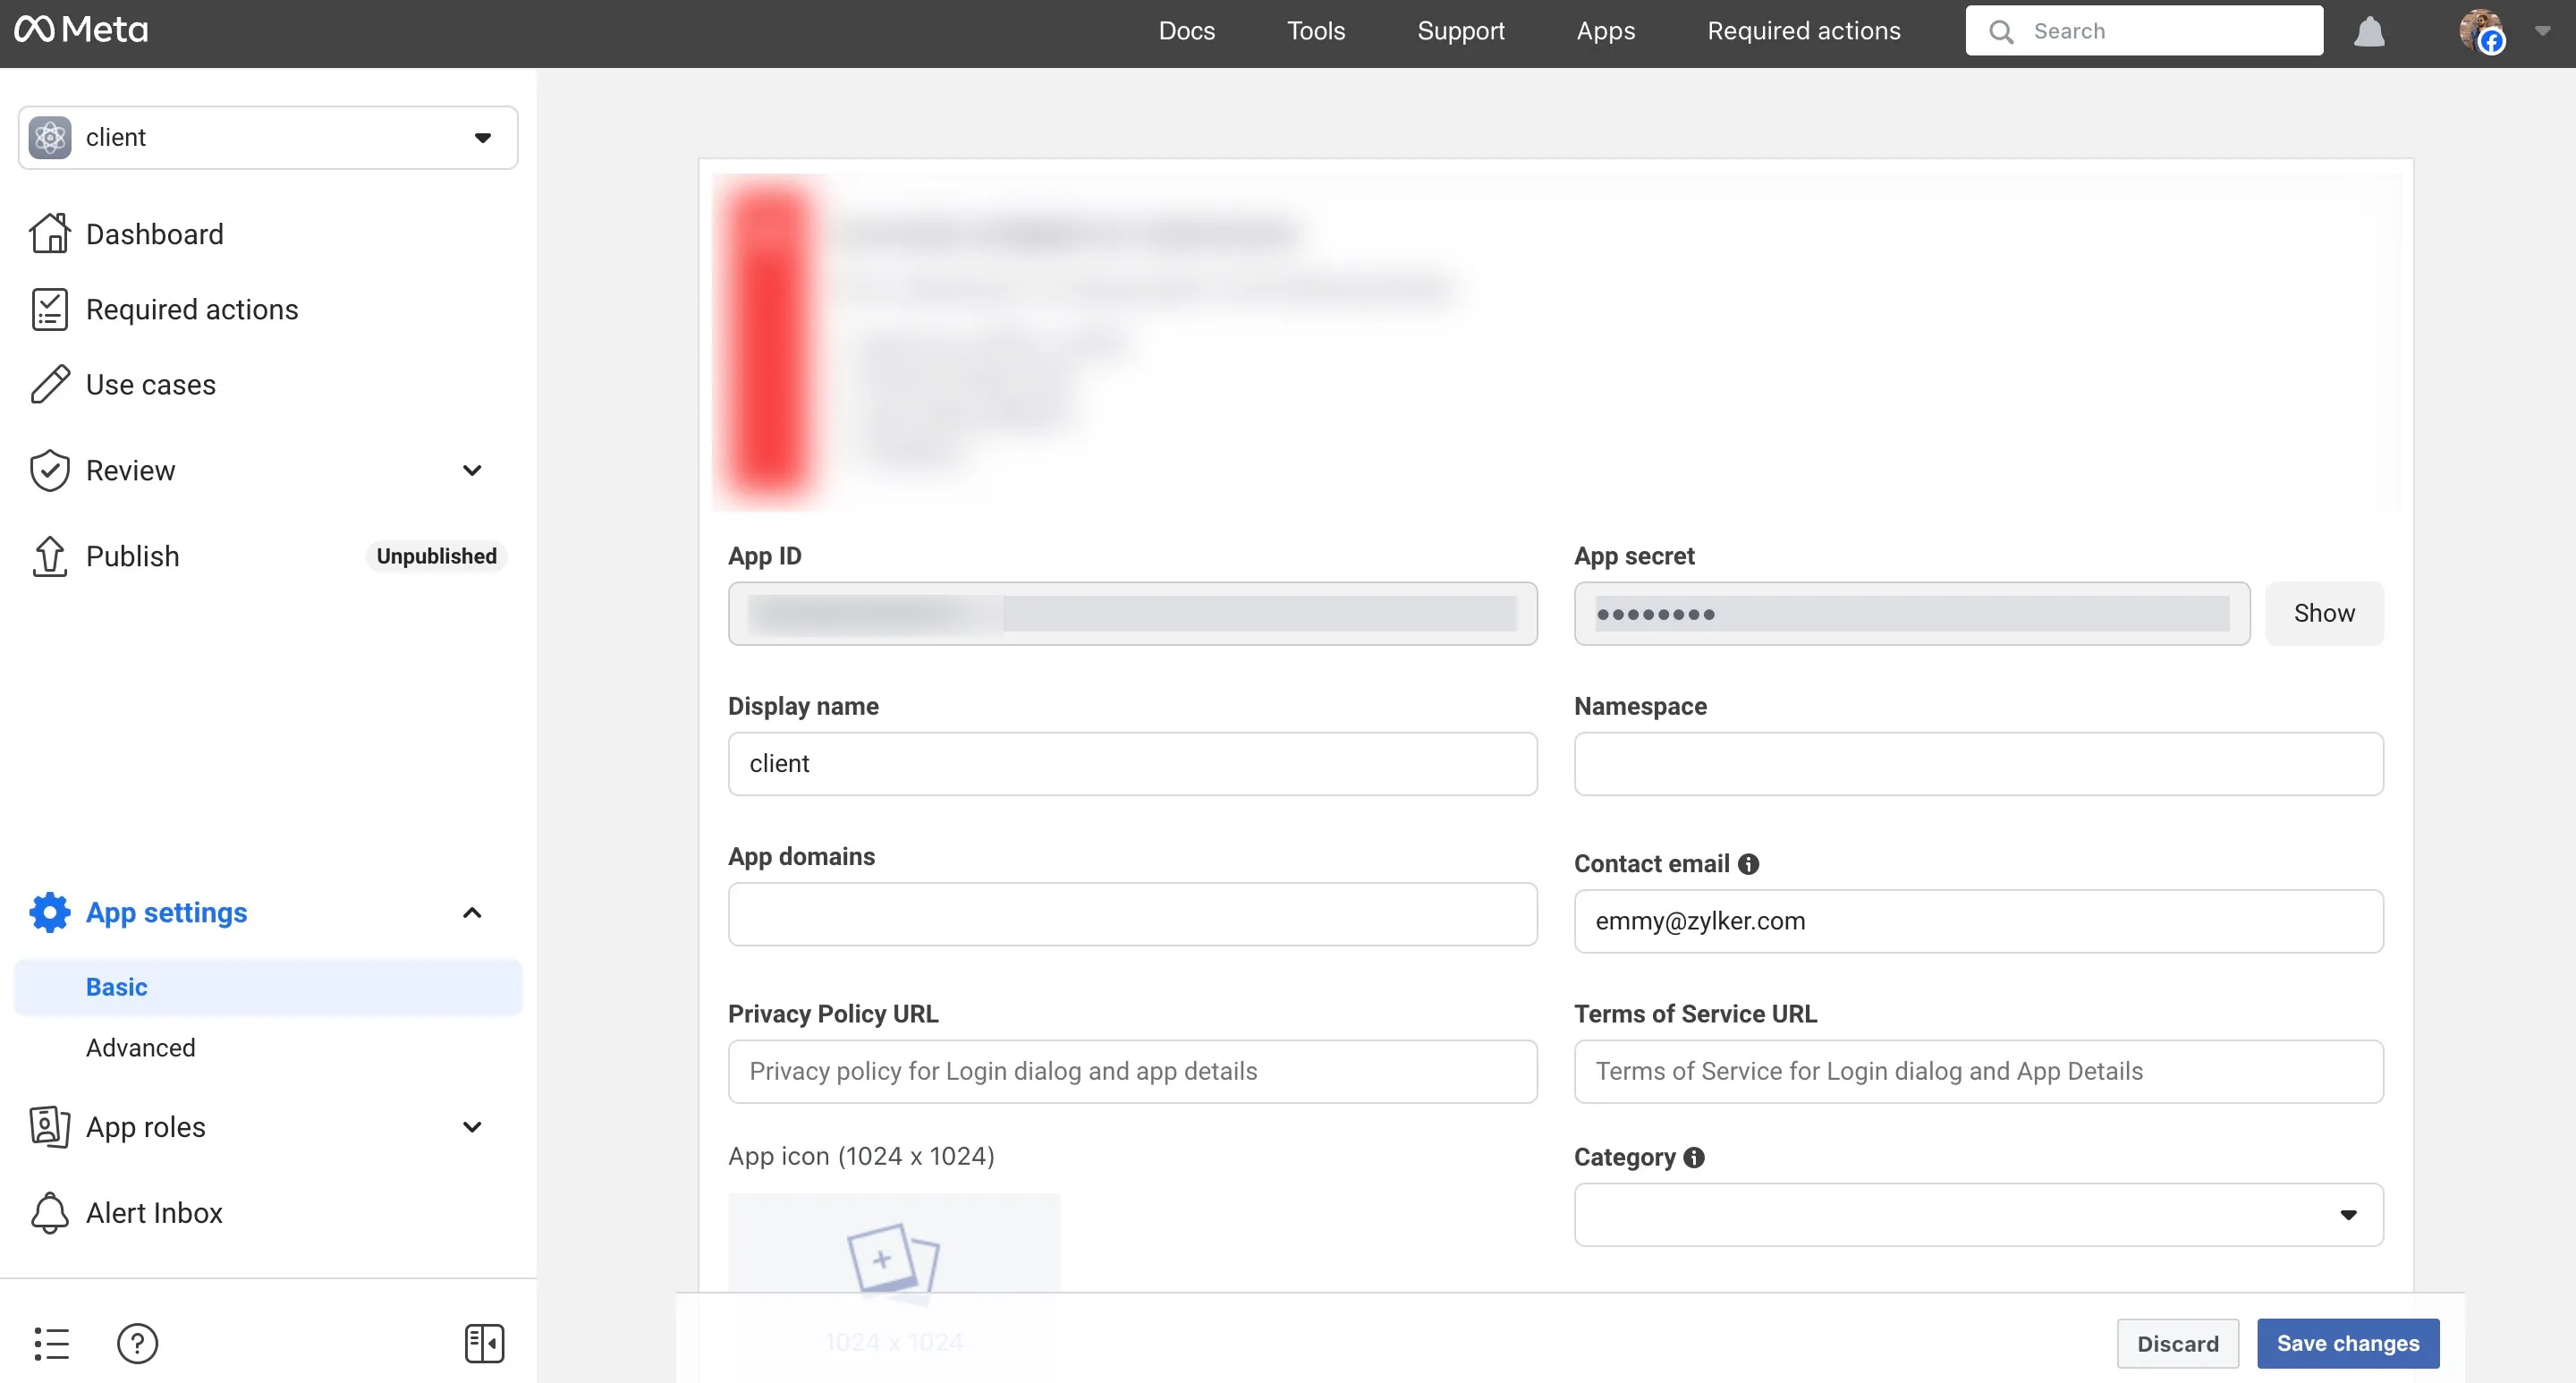
-
You can now enable the Facebook Social Login in the console. Click the Facebook option and paste the App ID value in the Client ID field and the App Secret value in the Client Secret field, and click Enable.
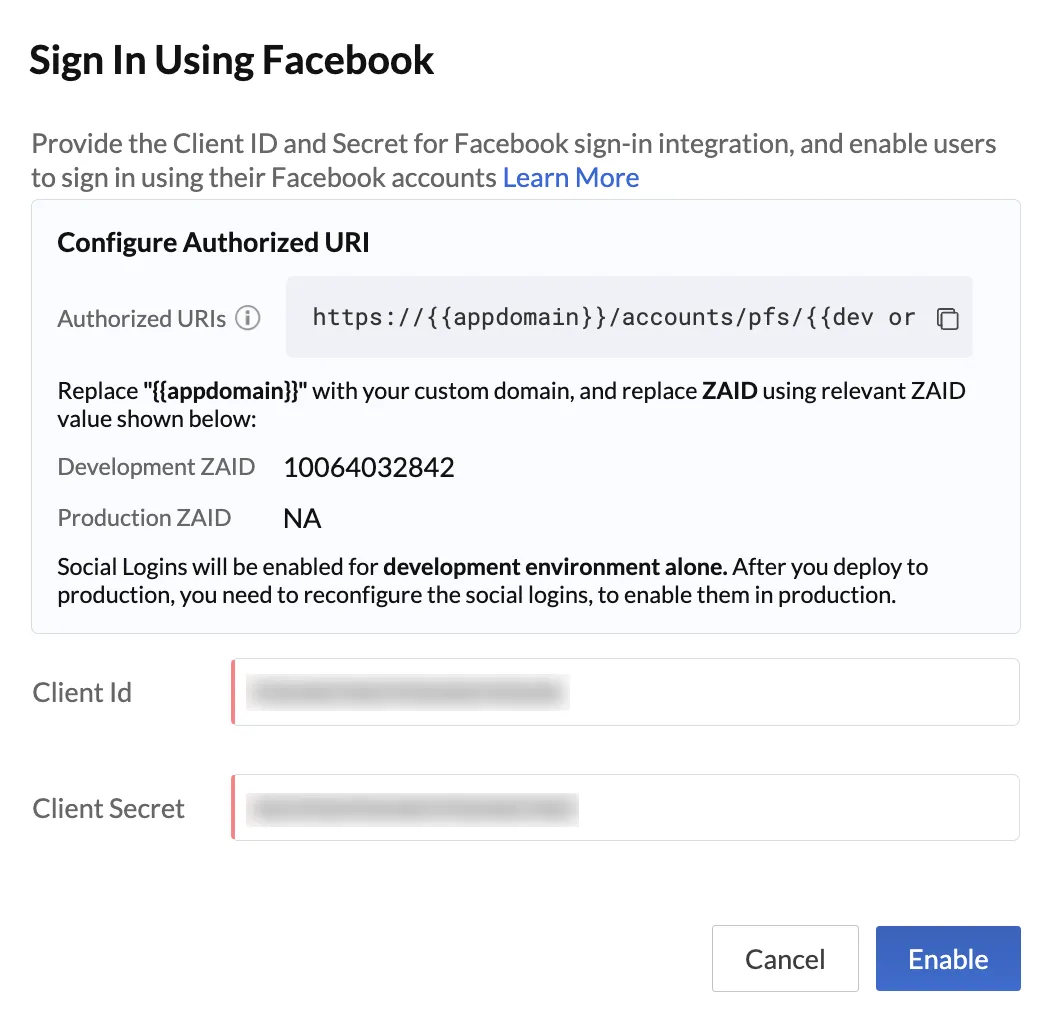
Your end users can will now be able to sign up to your application using their Facebook credentials.
Enable LinkedIn Social Login
To enable LinkedIn sign in option in your application you need to obtain the required OAuth credentials for your application from LinkedIn in the following manner:
-
Before you implement the following steps, ensure you have created a LinkedIn page to represent your company or organization. This page is mandatory to configure LinkedIn social login.
-
LinkedIn uses OpenID Connect protocols and not OAuth protocols. For more information on this update, visit LinkedIn’s documentation page
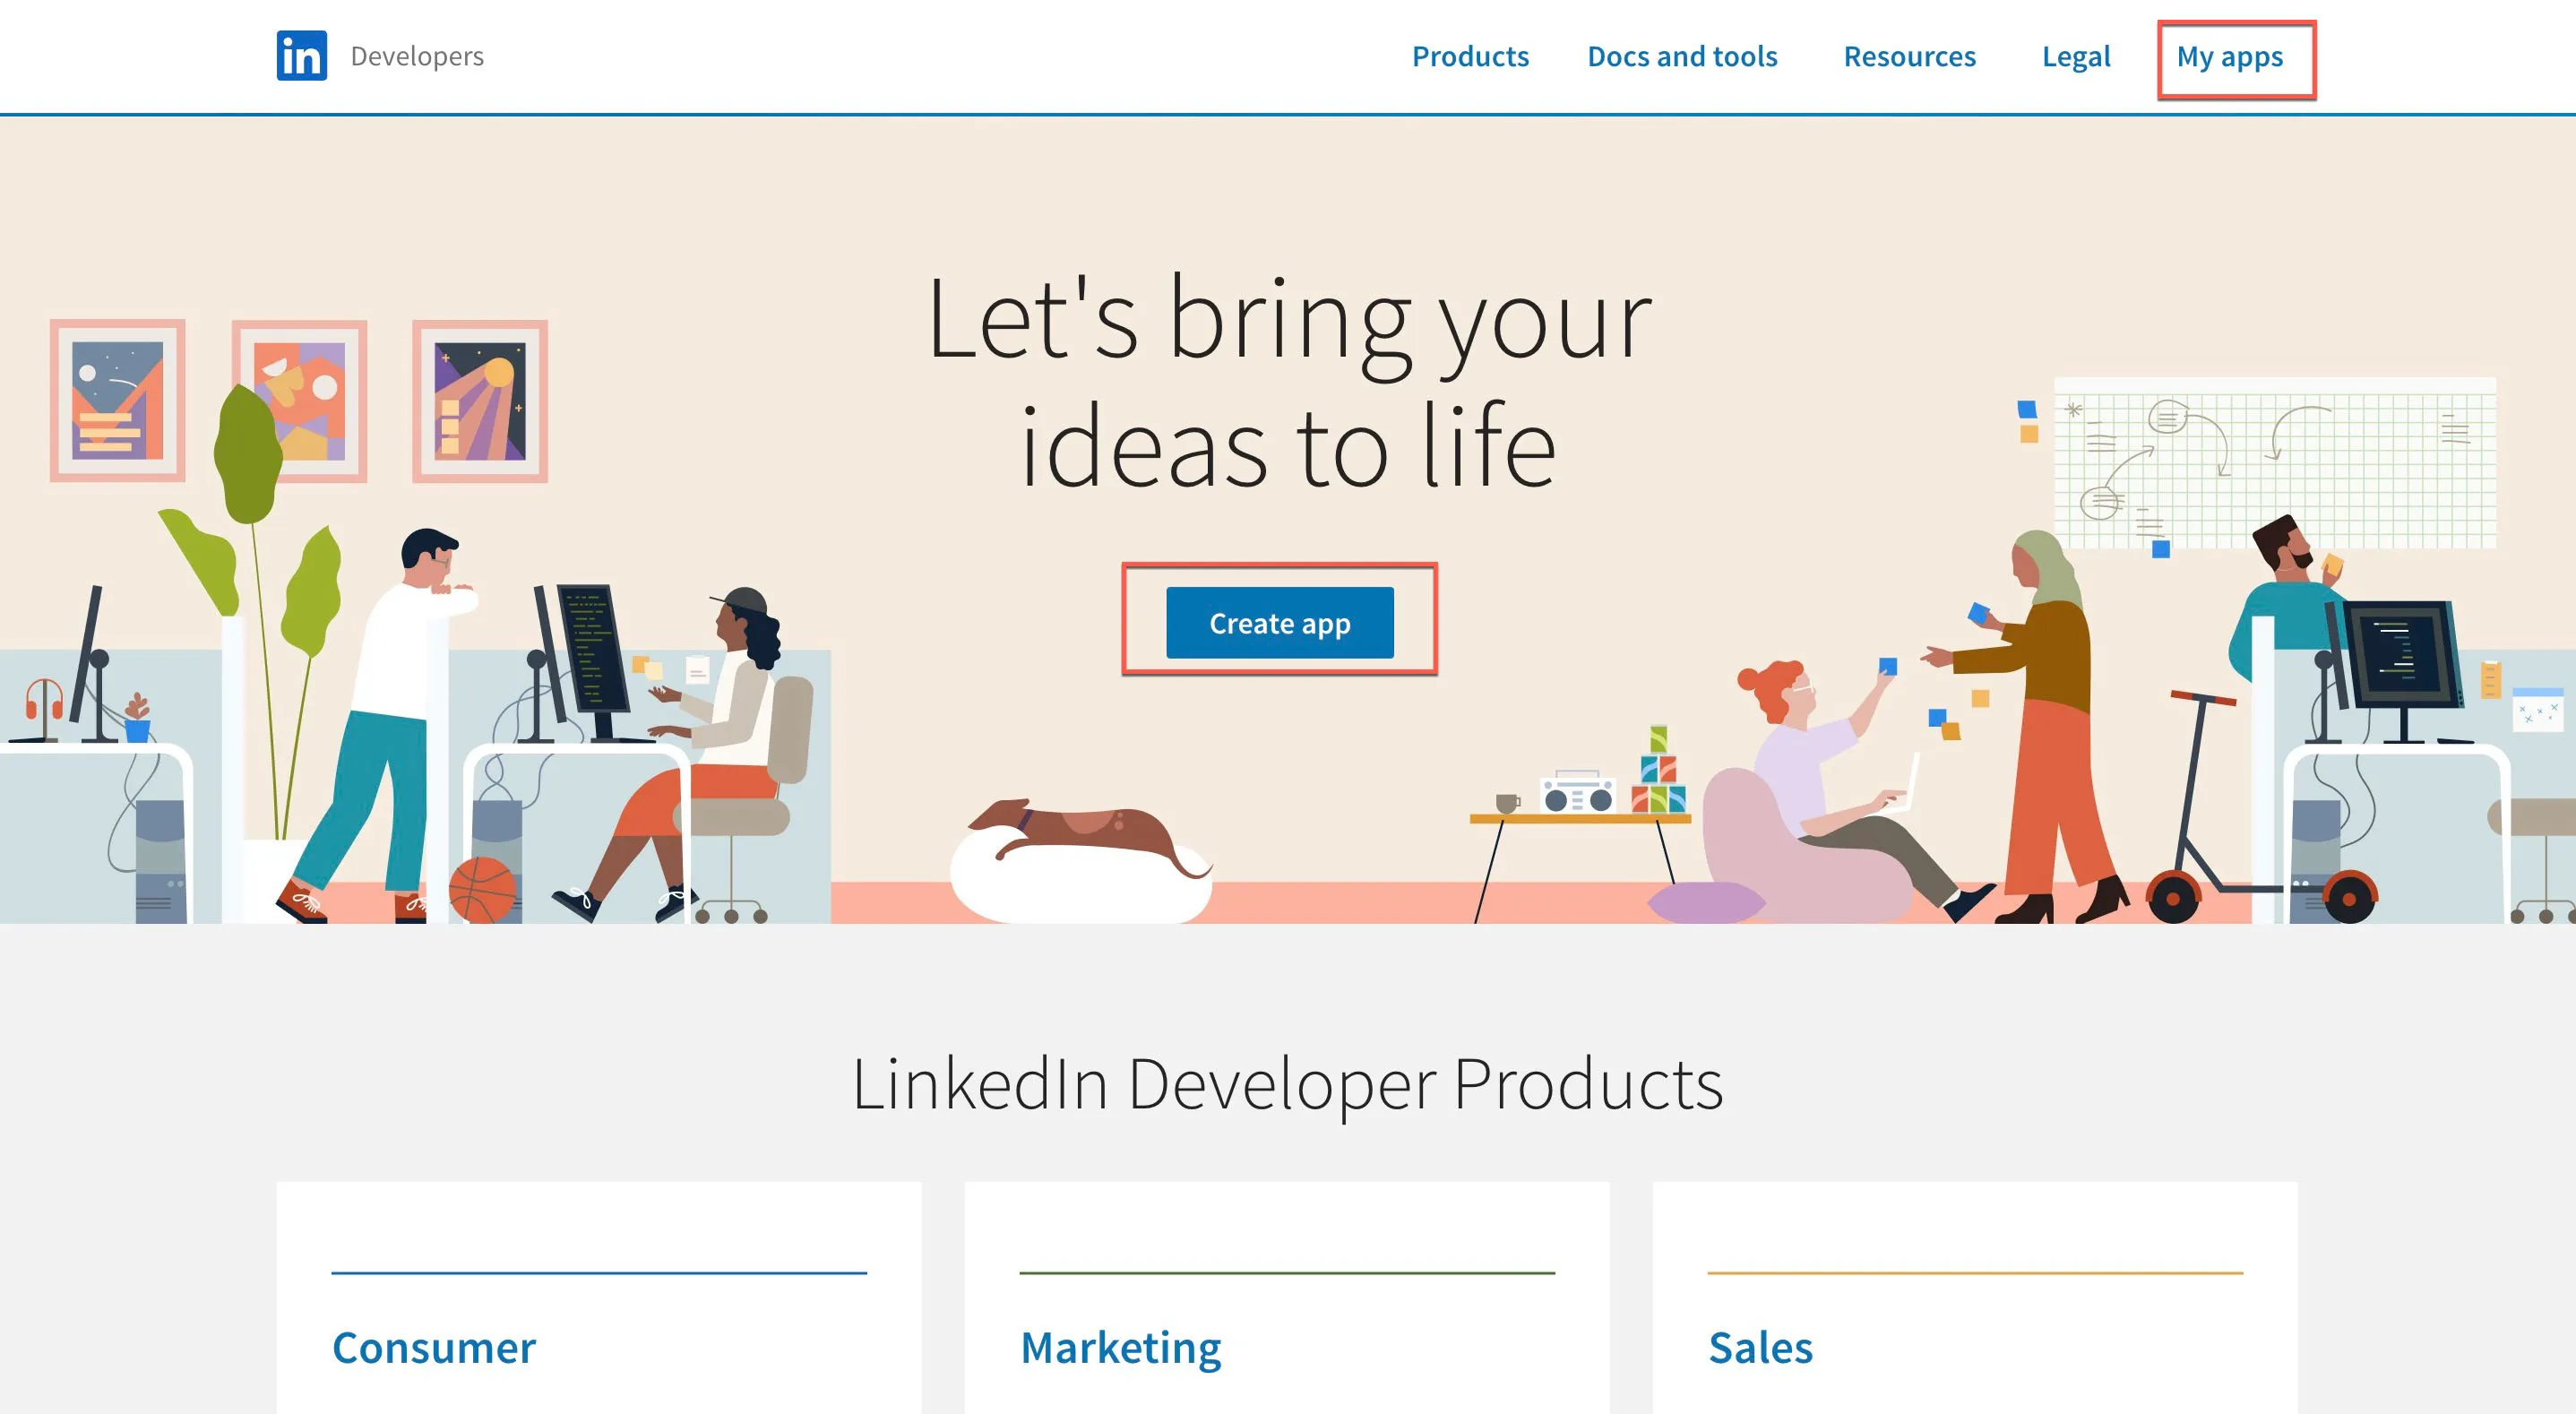
- Login to the LinkedIn developer page: http://developer.linkedin.com
- Click the Create App button in the center of the page.
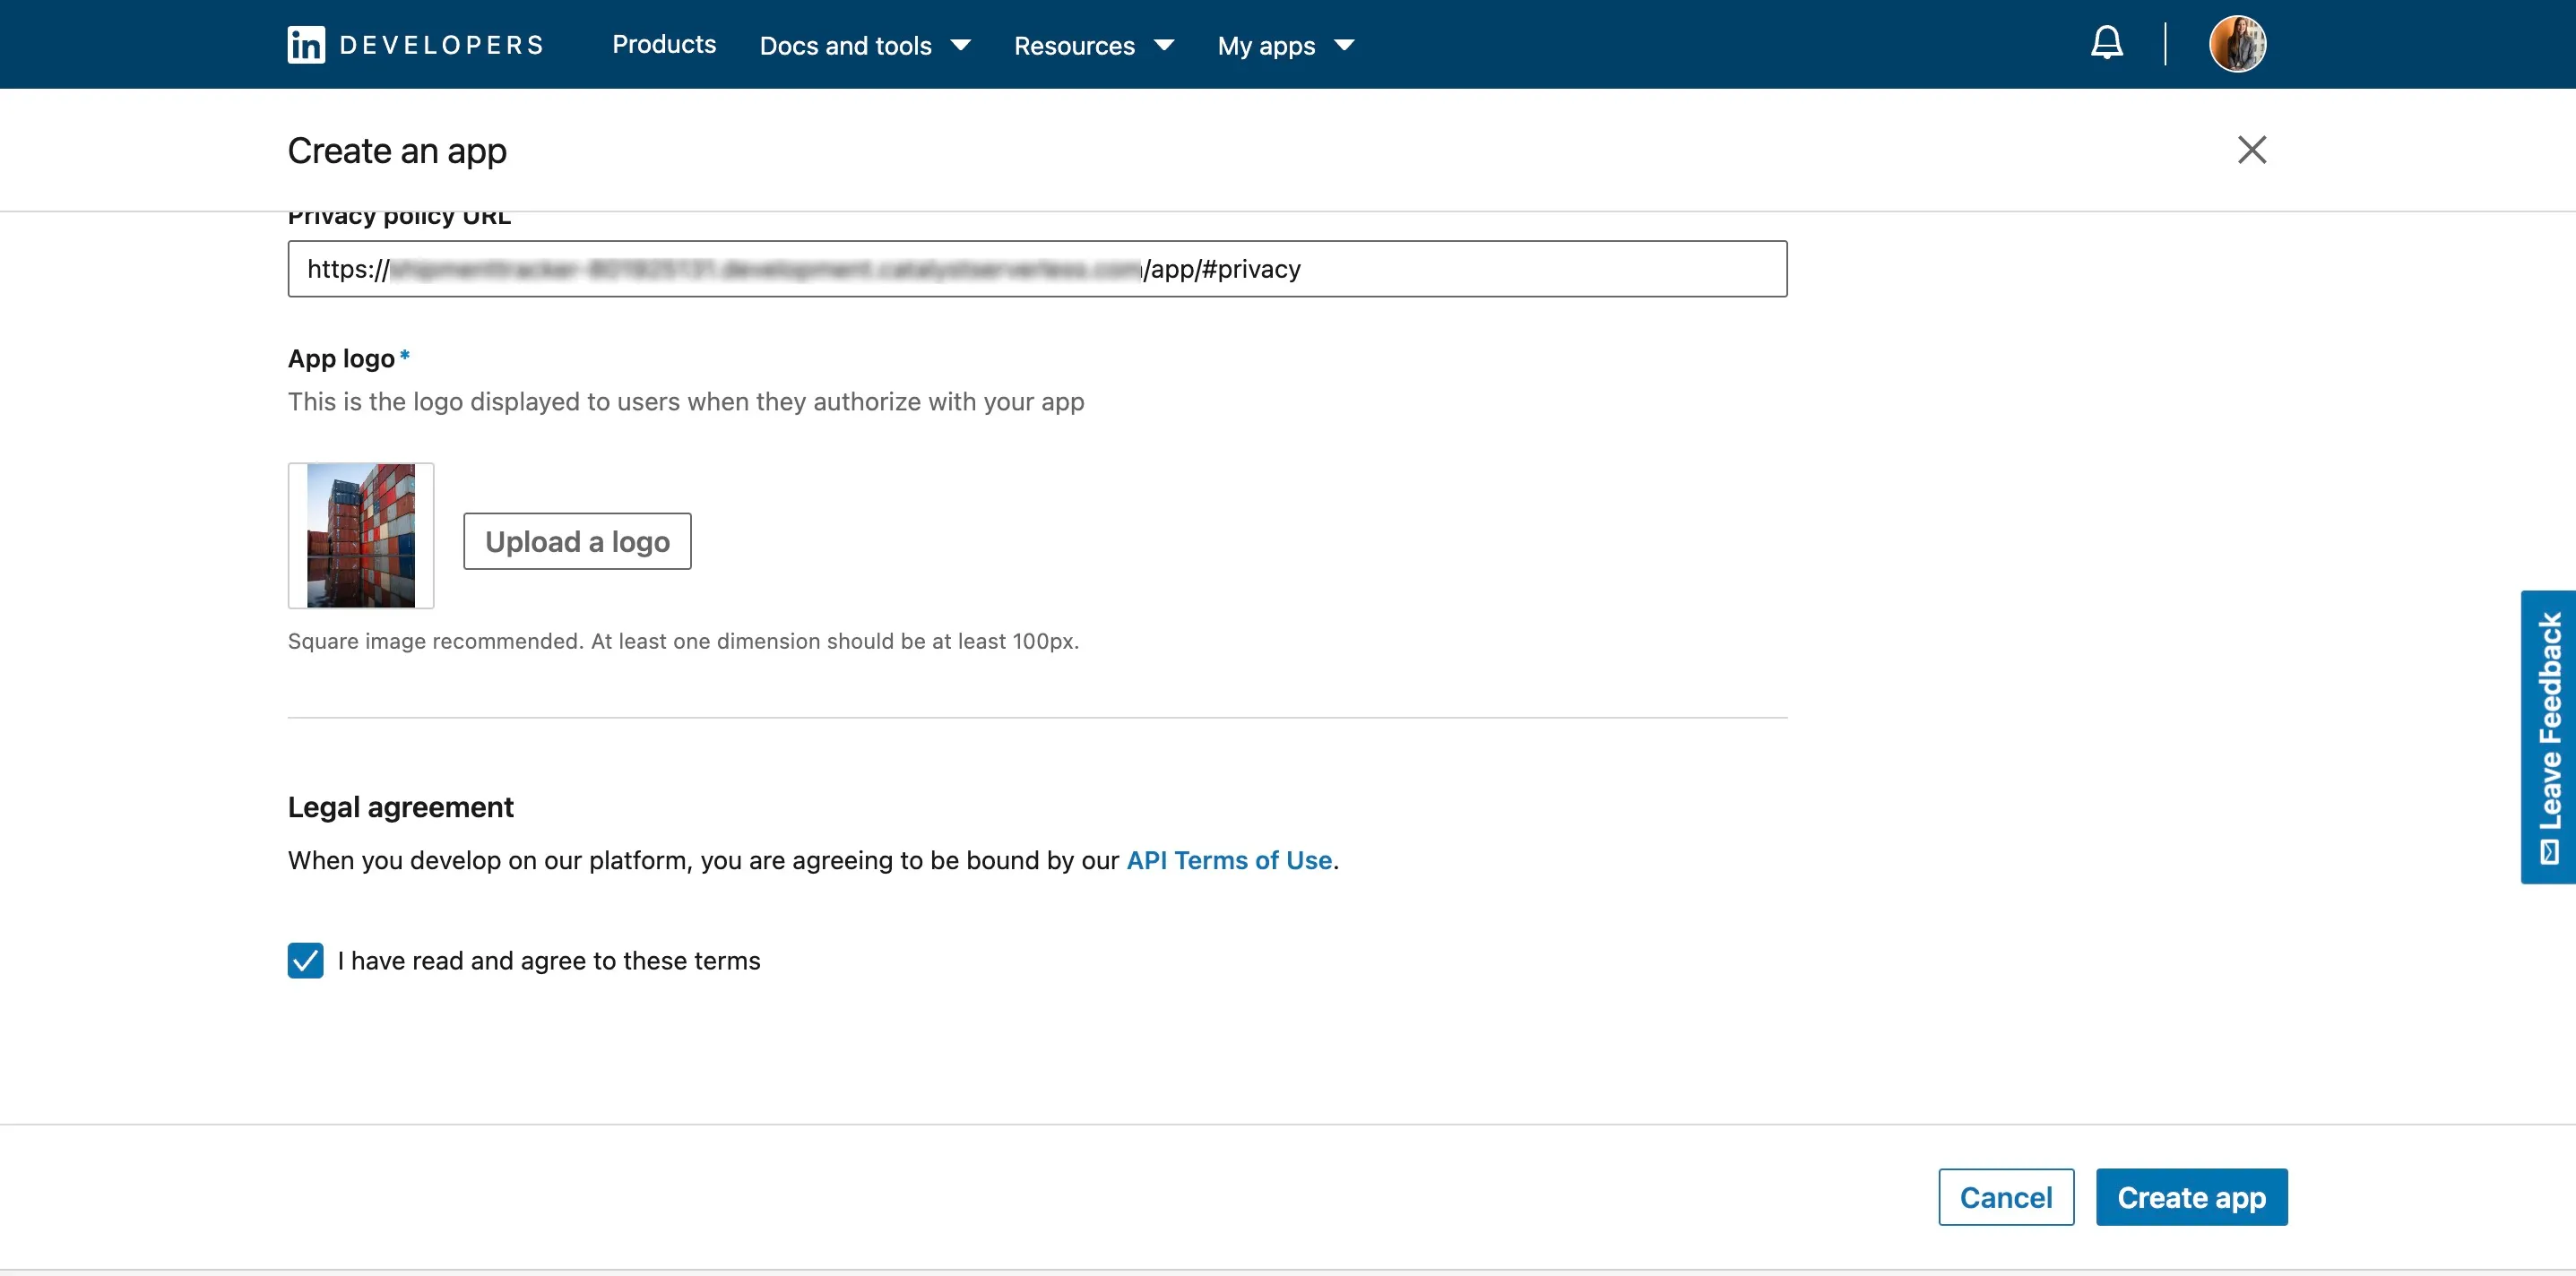
- Enter the required information, such as the app name, privacy policy URL, and the app’s logo.
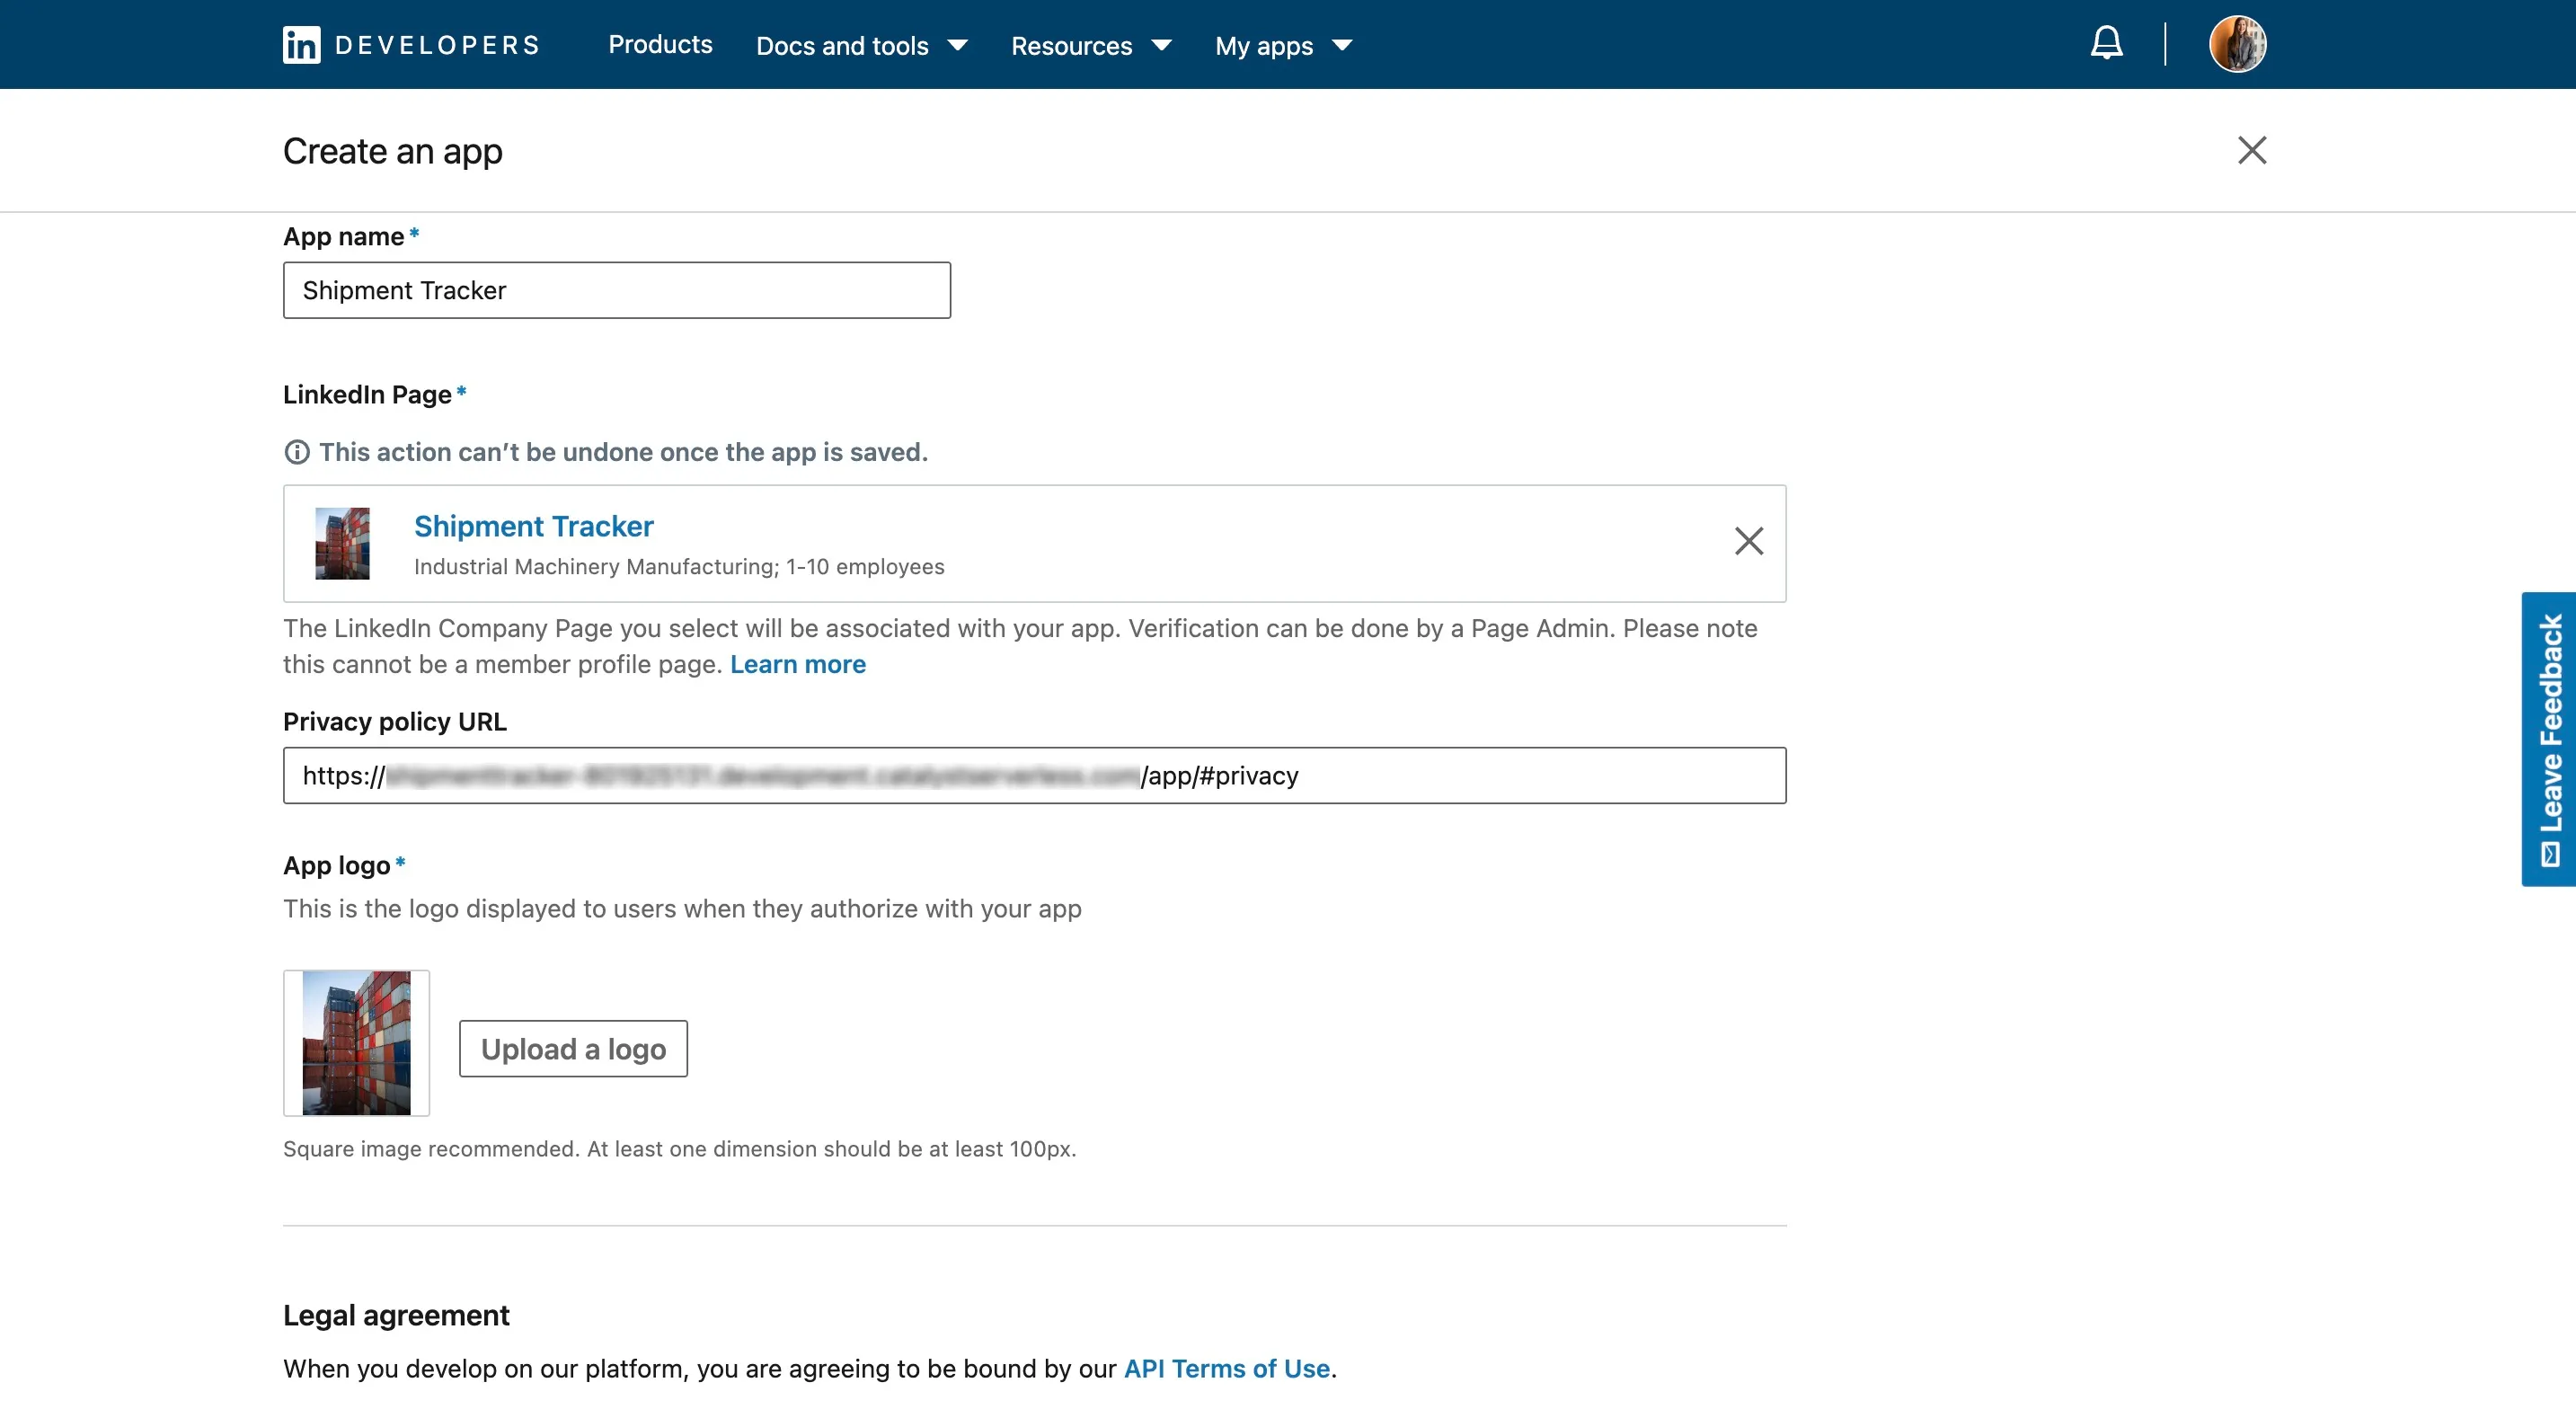
-
Agree to the terms and conditions and click Create app.
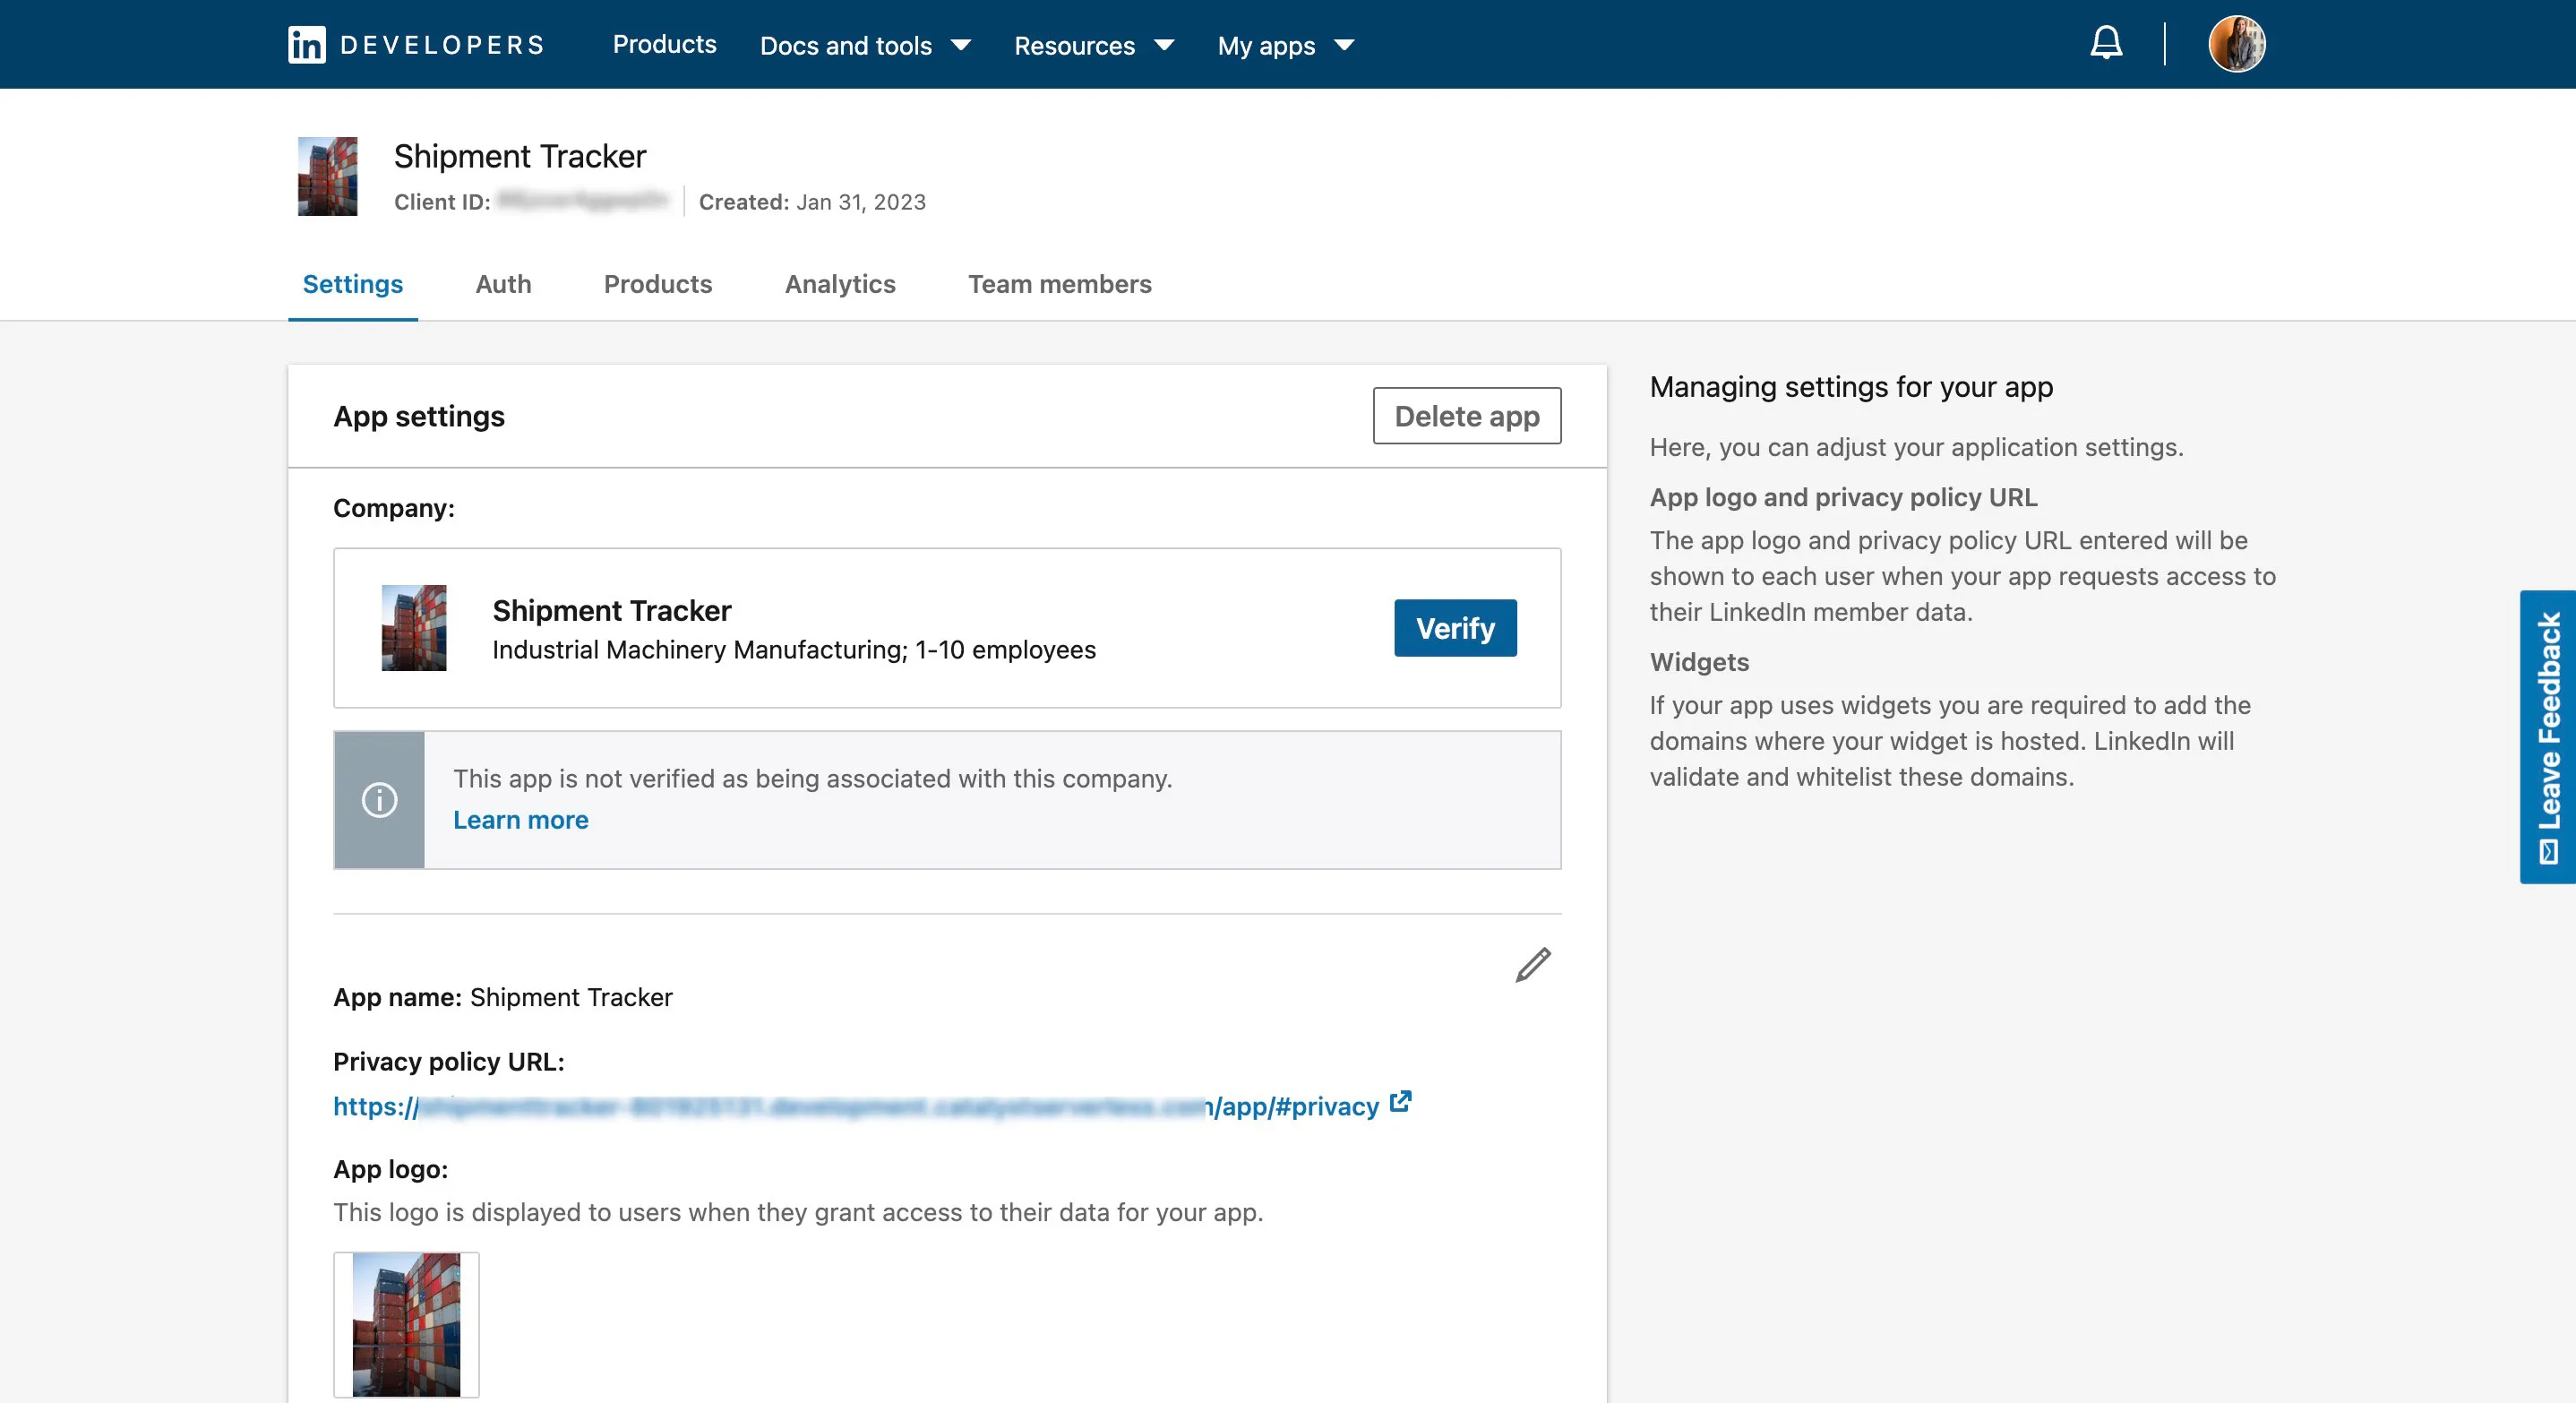
-
Now verify your application by clicking the Verify button that appears next to your application’s LinkedIn page.
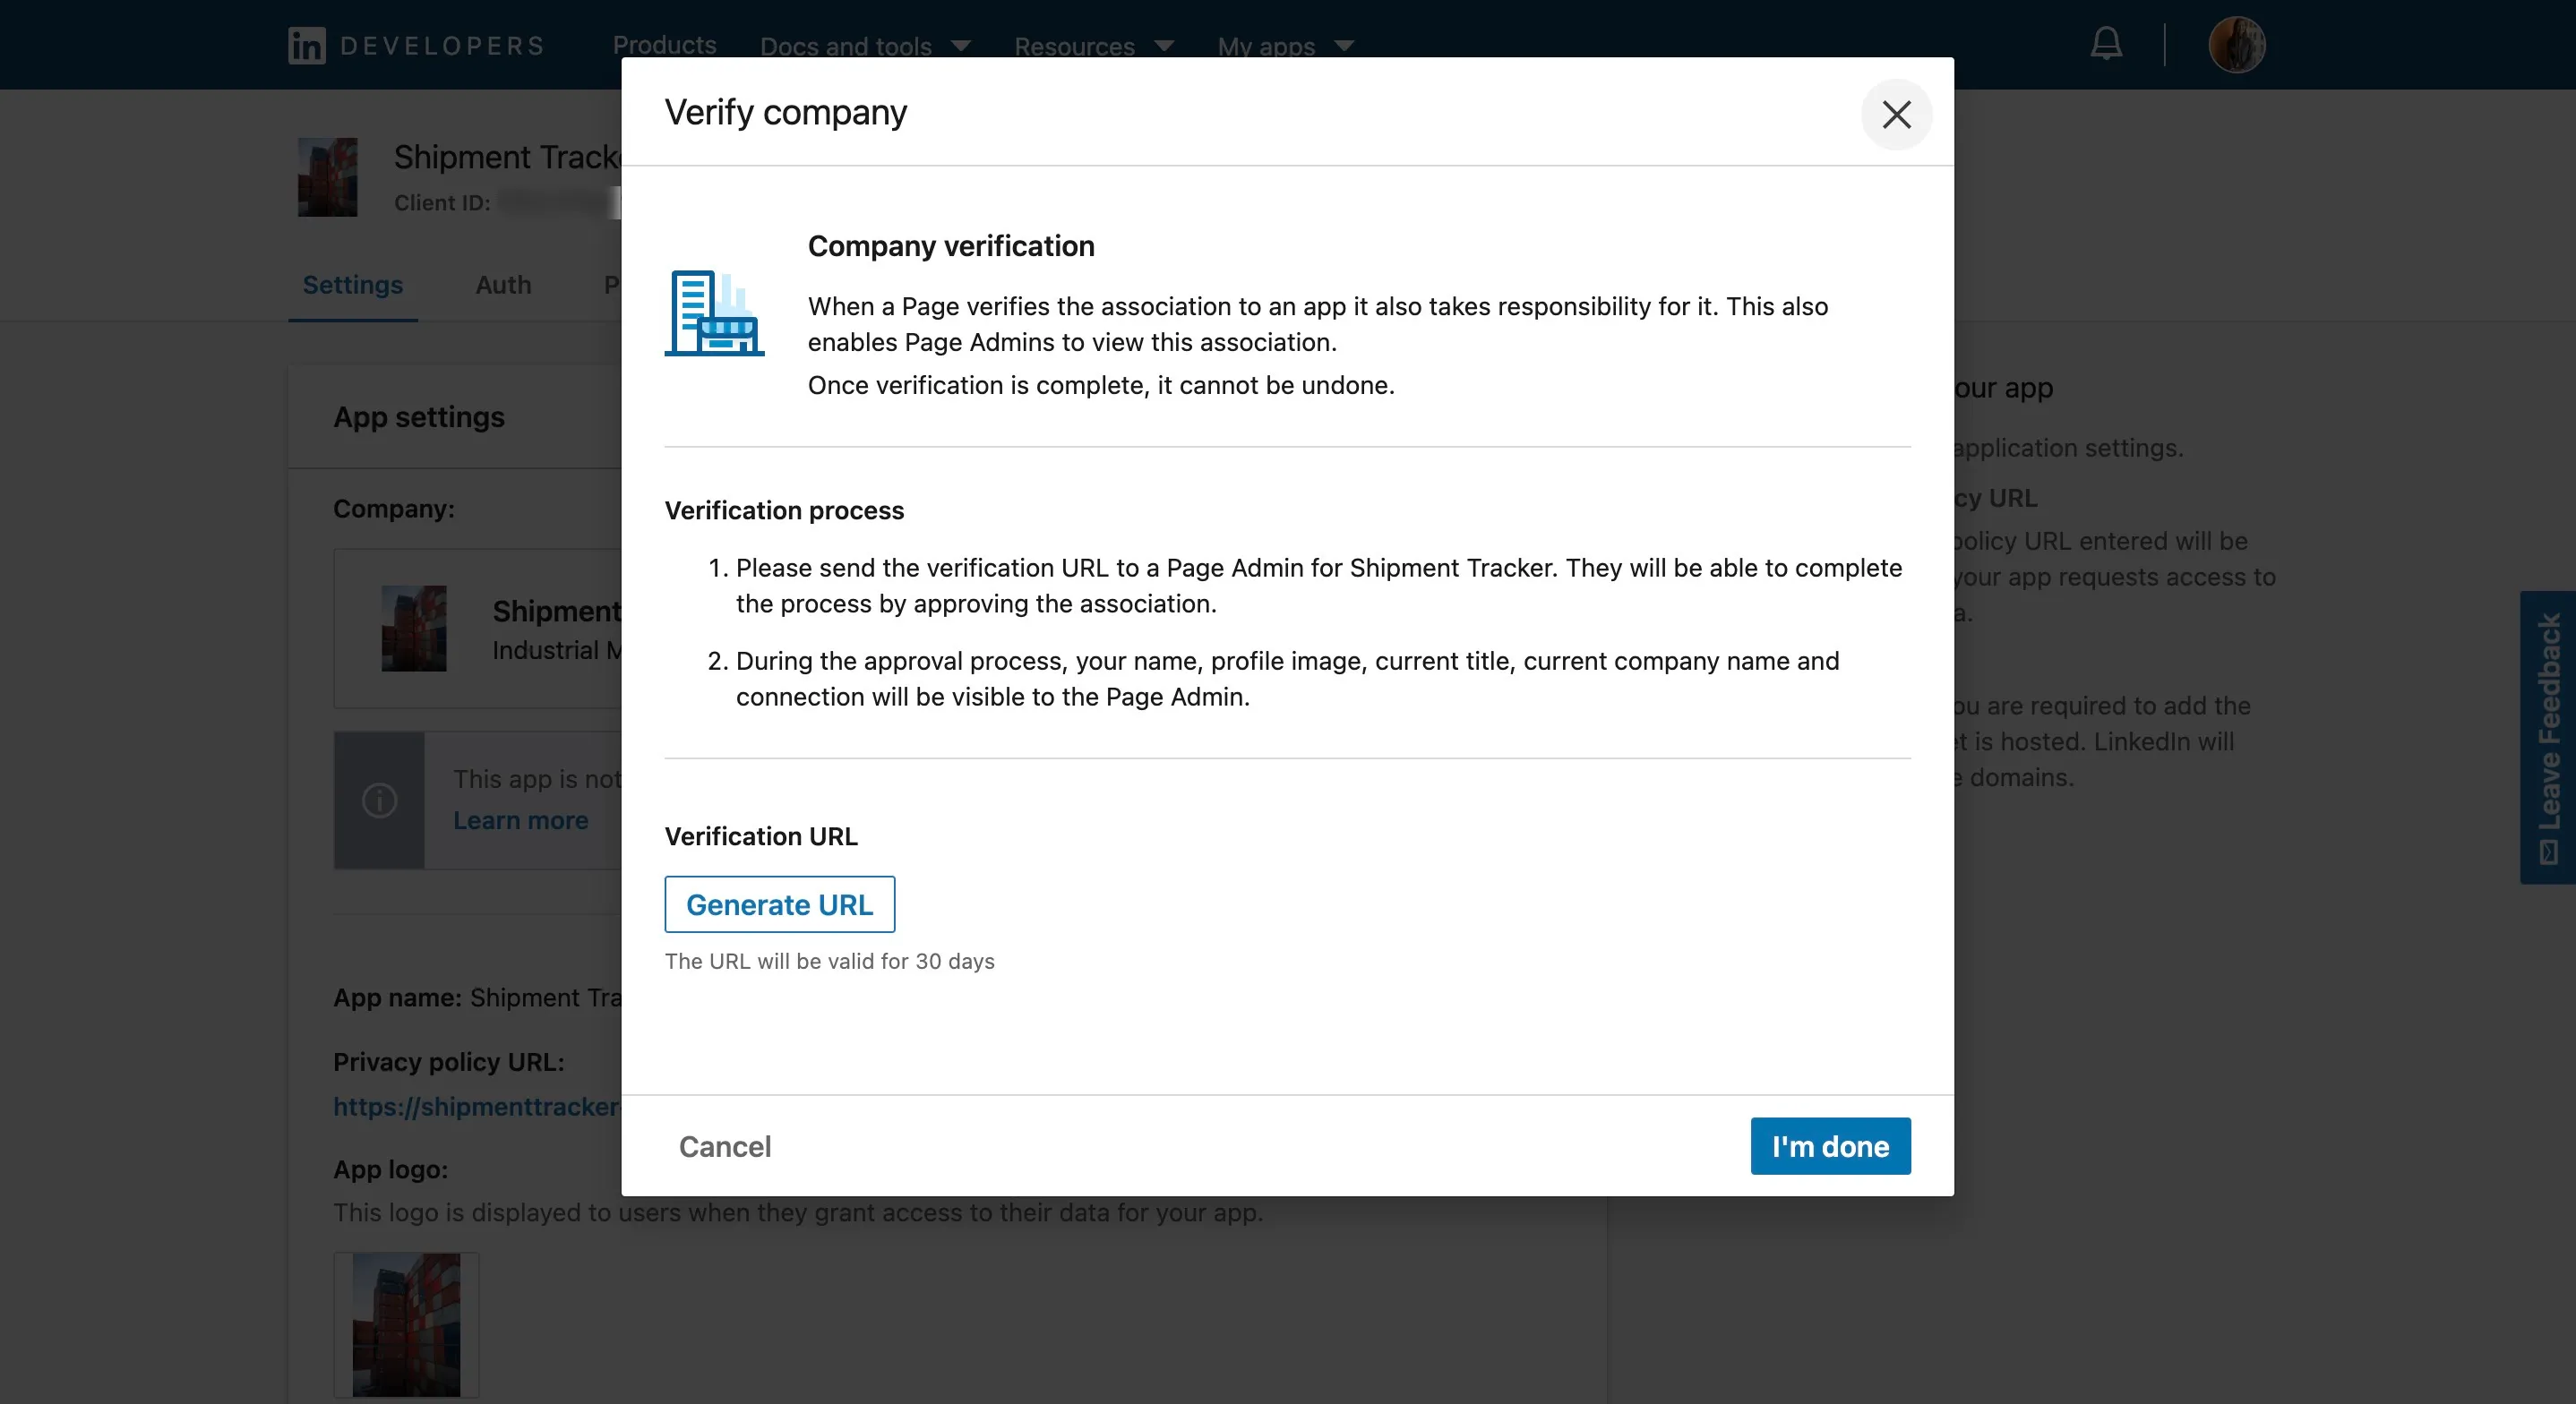
-
Click Generate URL to generate verification URL.
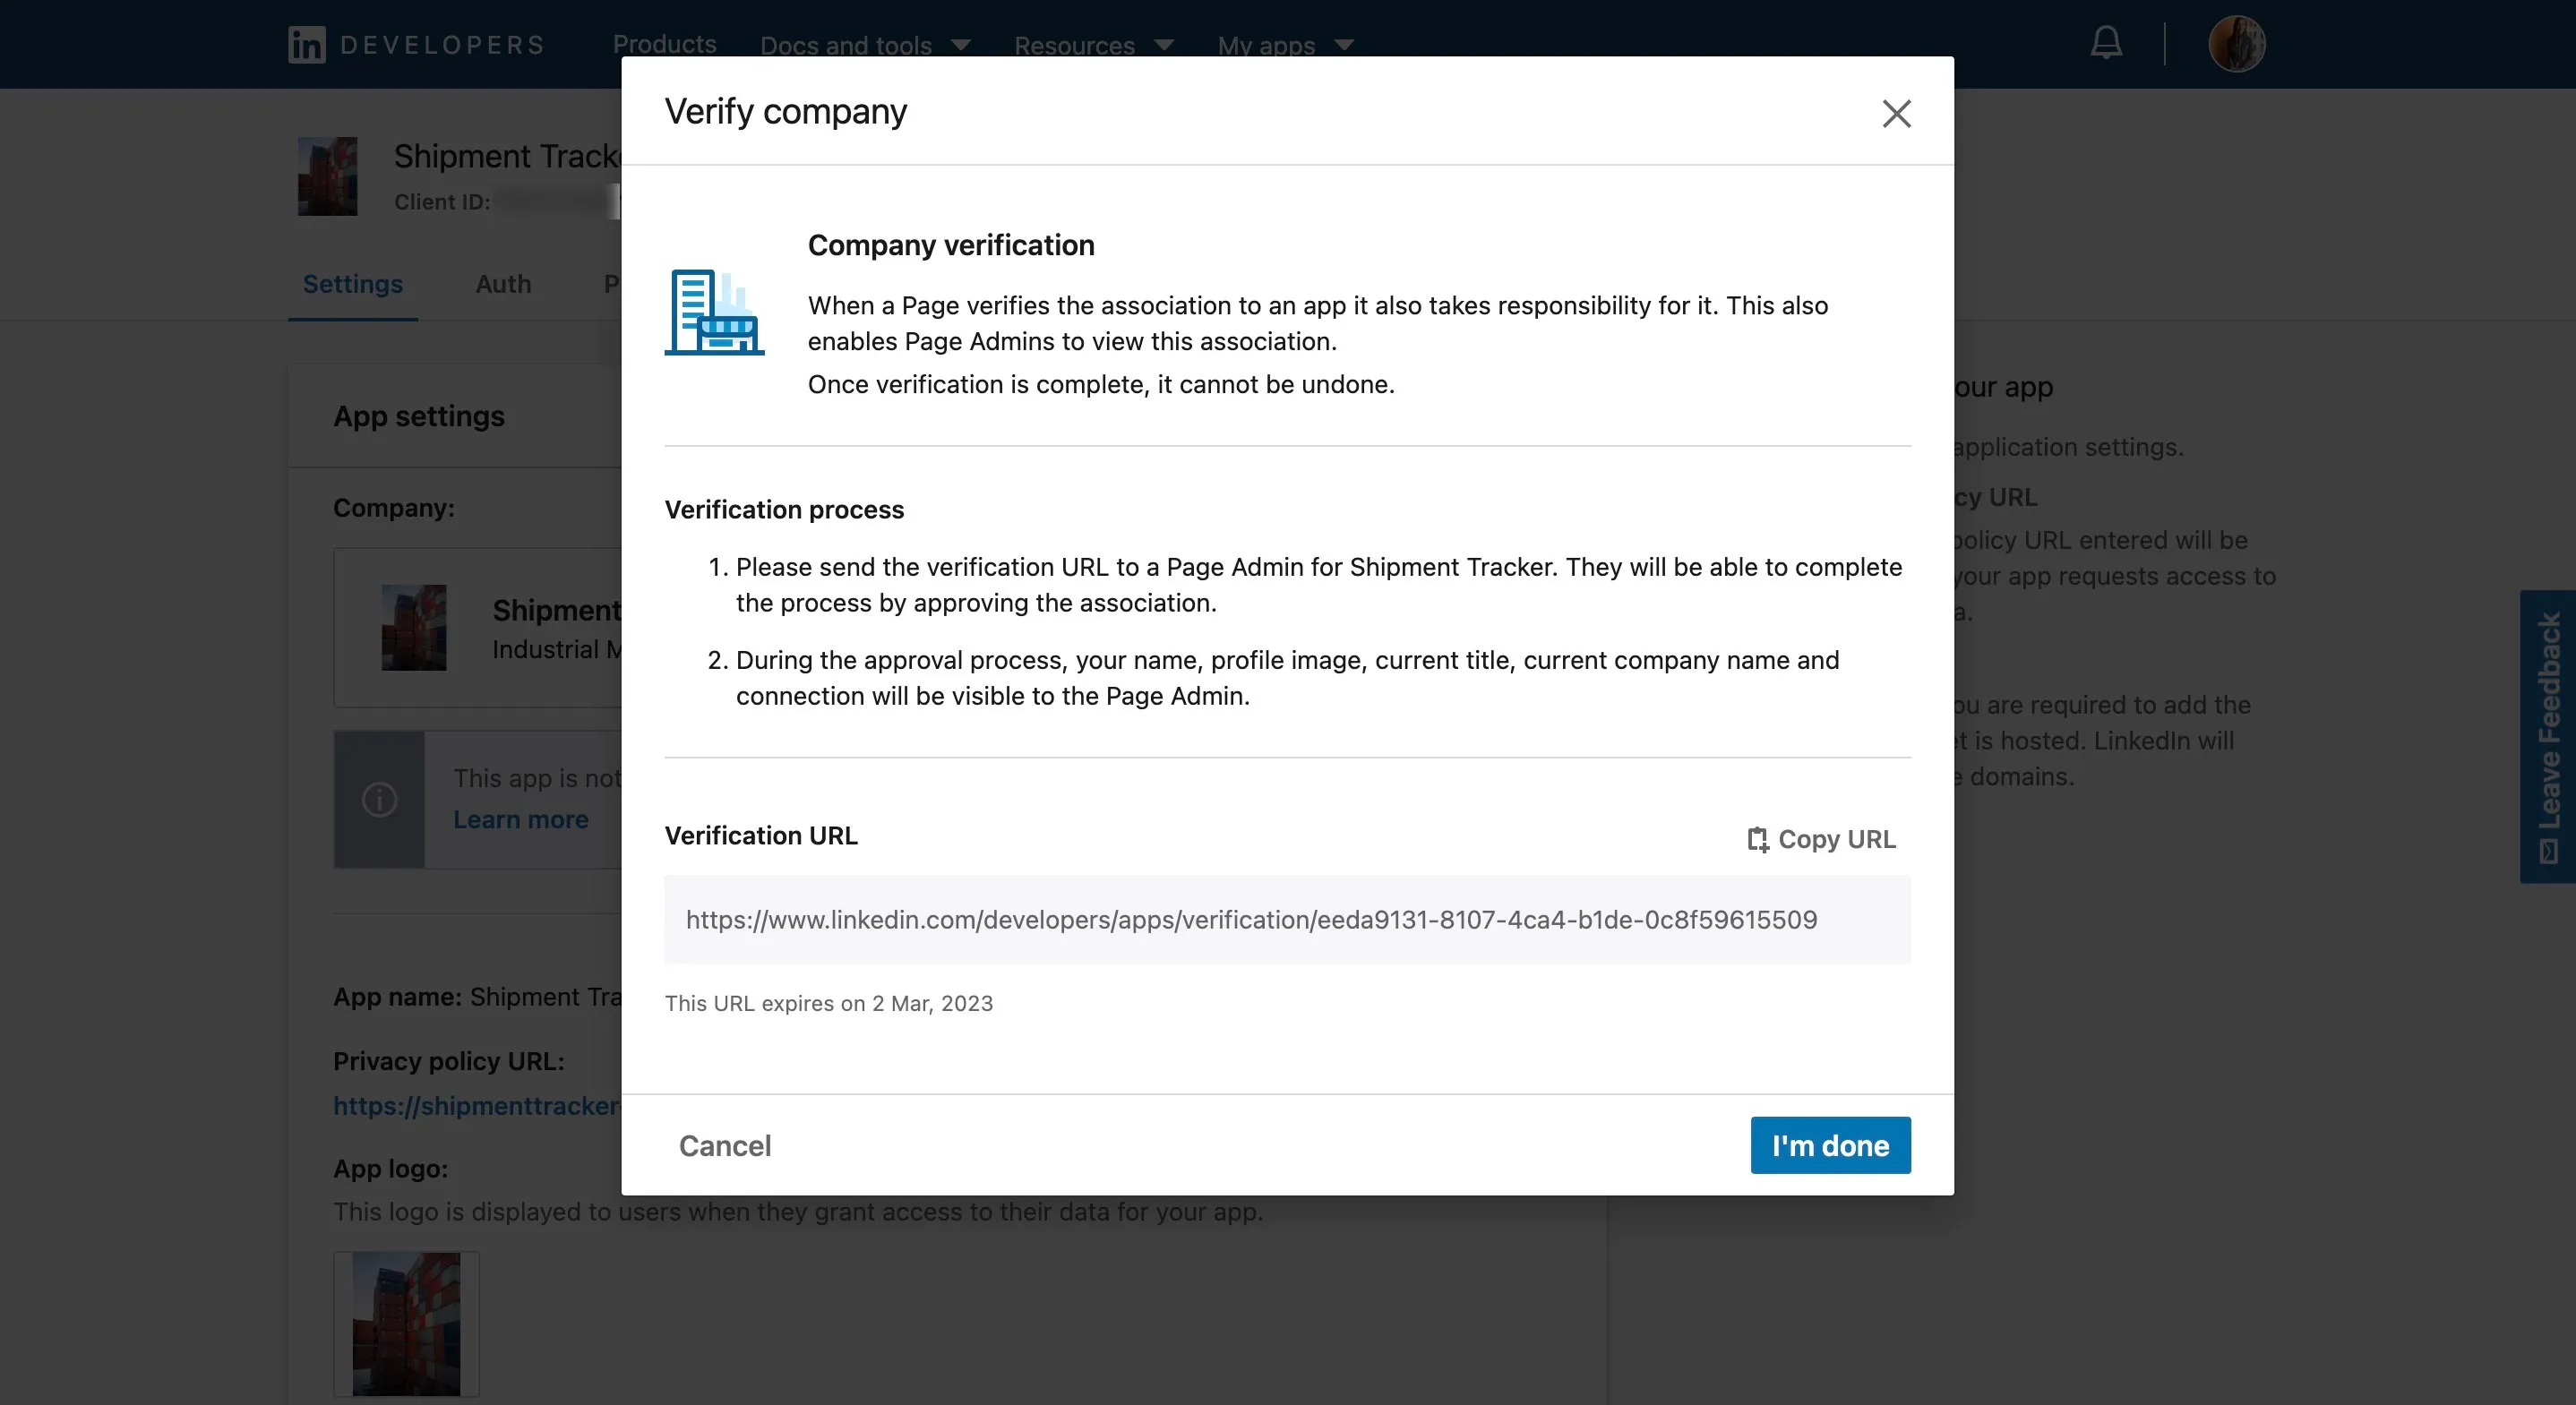
-
Complete the verification process, and click I’m done.
-
In the Settings section, add your application URL to the Domain input field of the Widgets section if necessary.
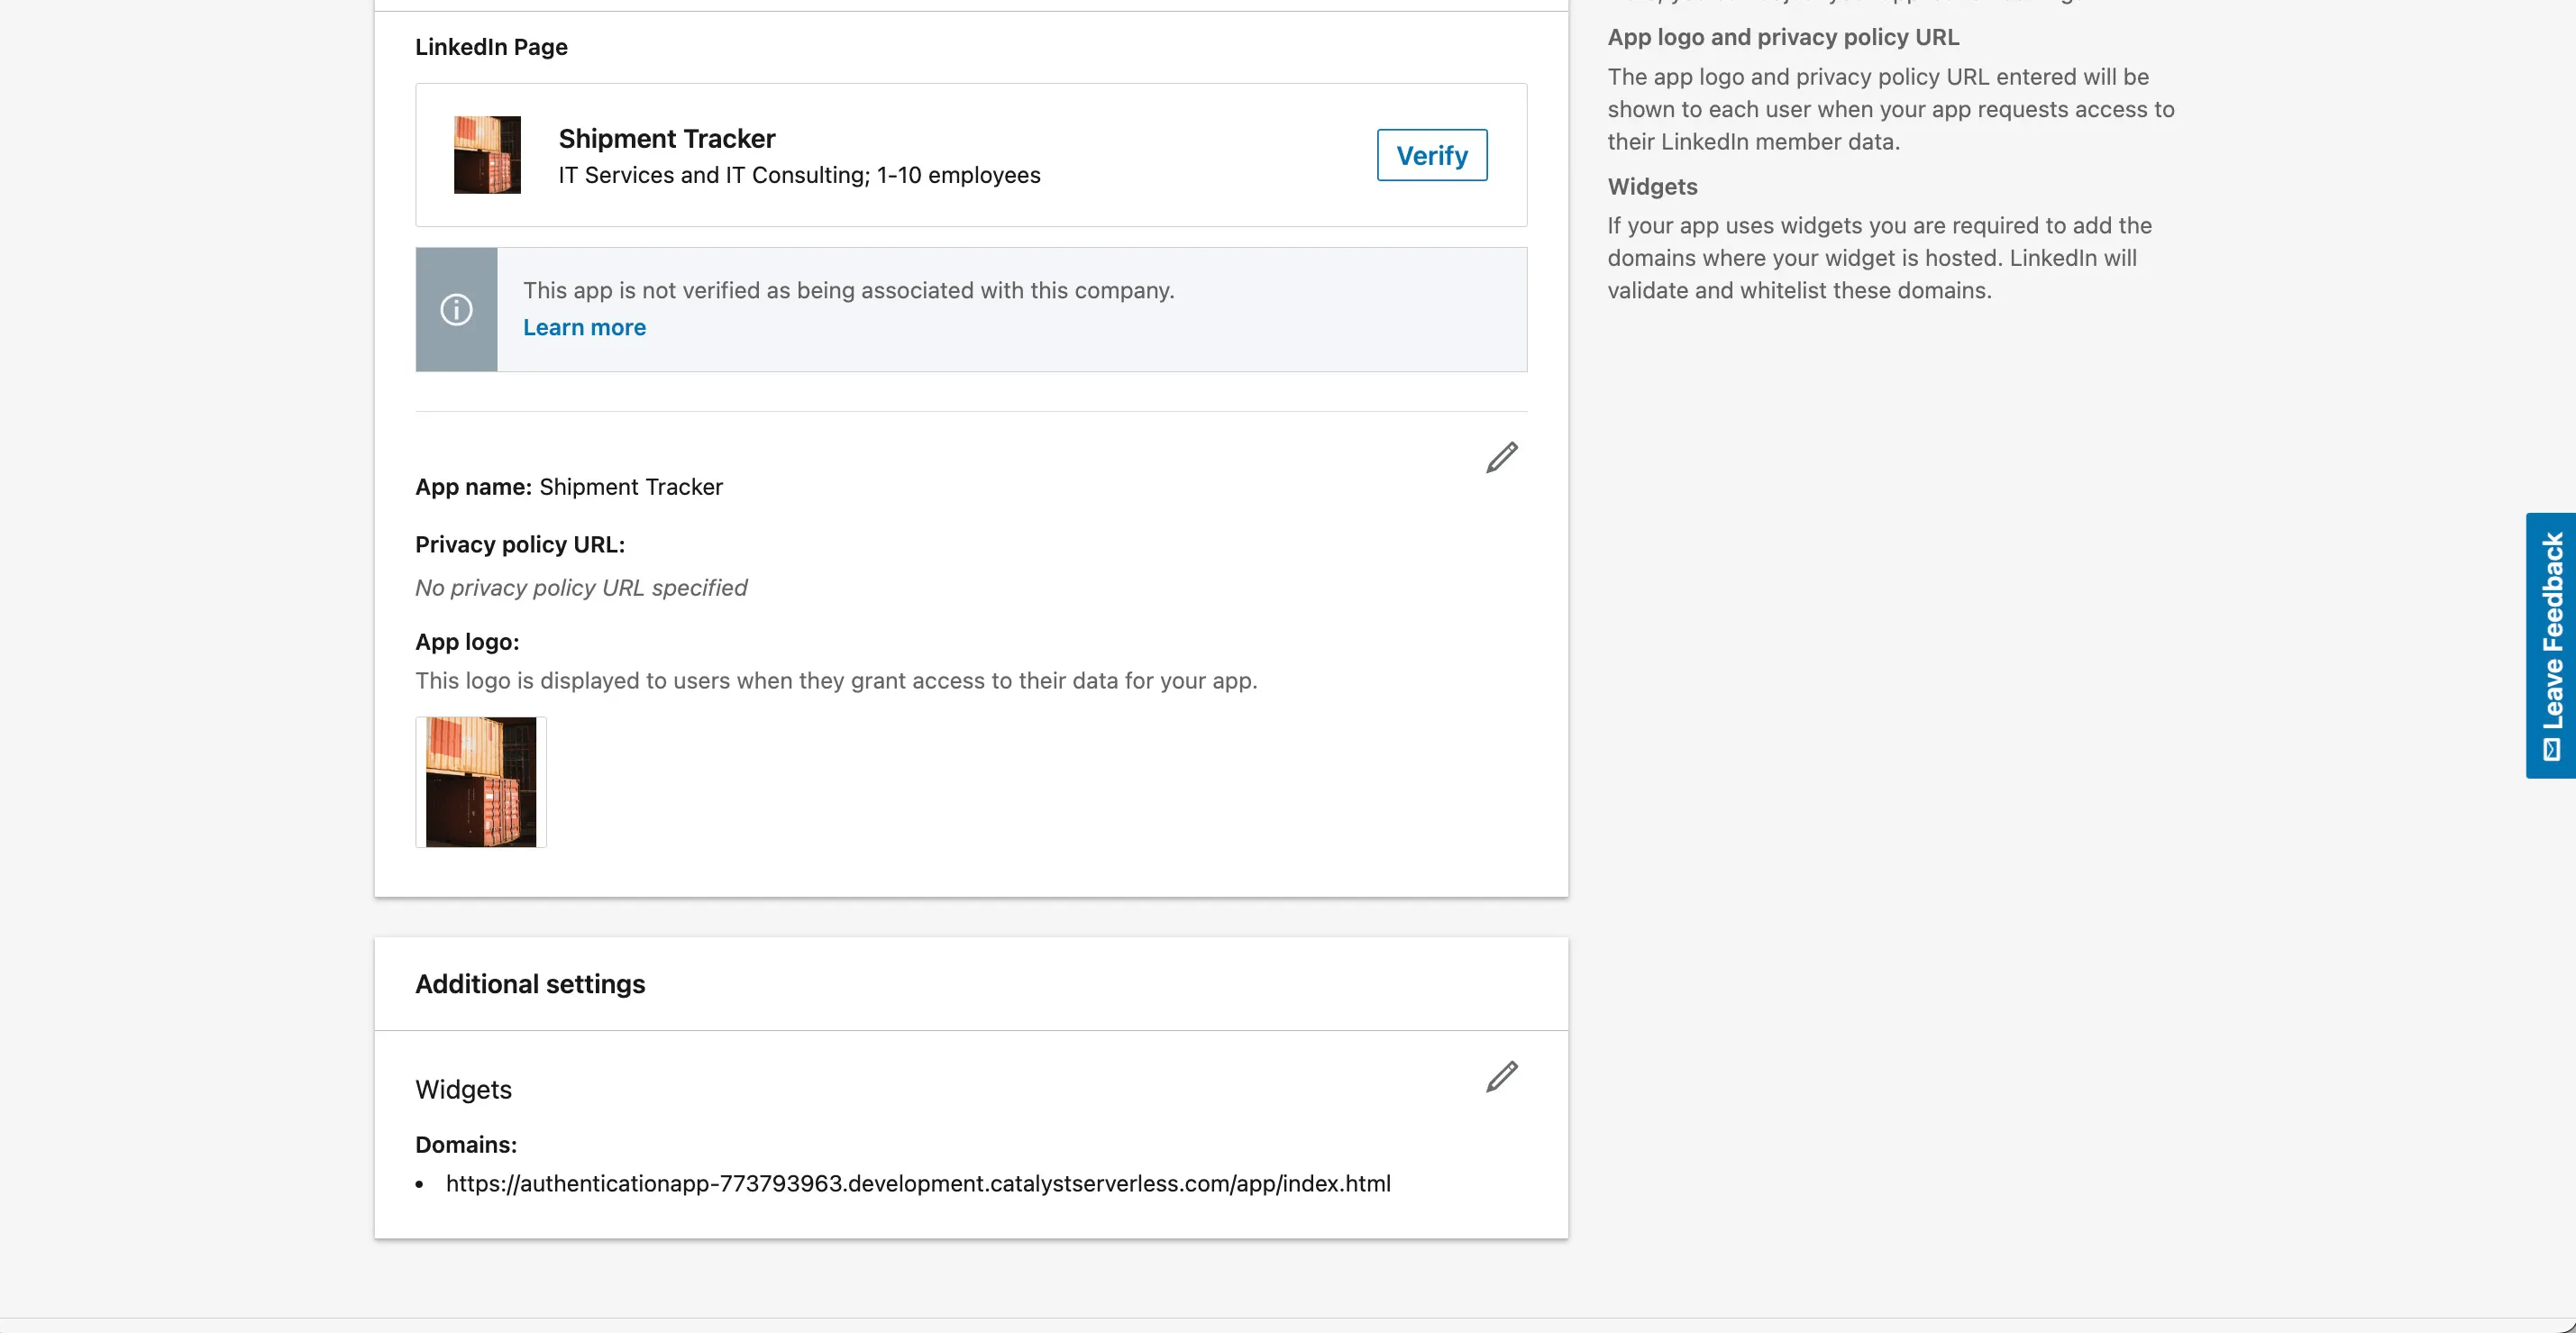
-
Navigate to the Products tab, select “Sign in with LinkedIn Using OpenID Connect”, and click Request Access.
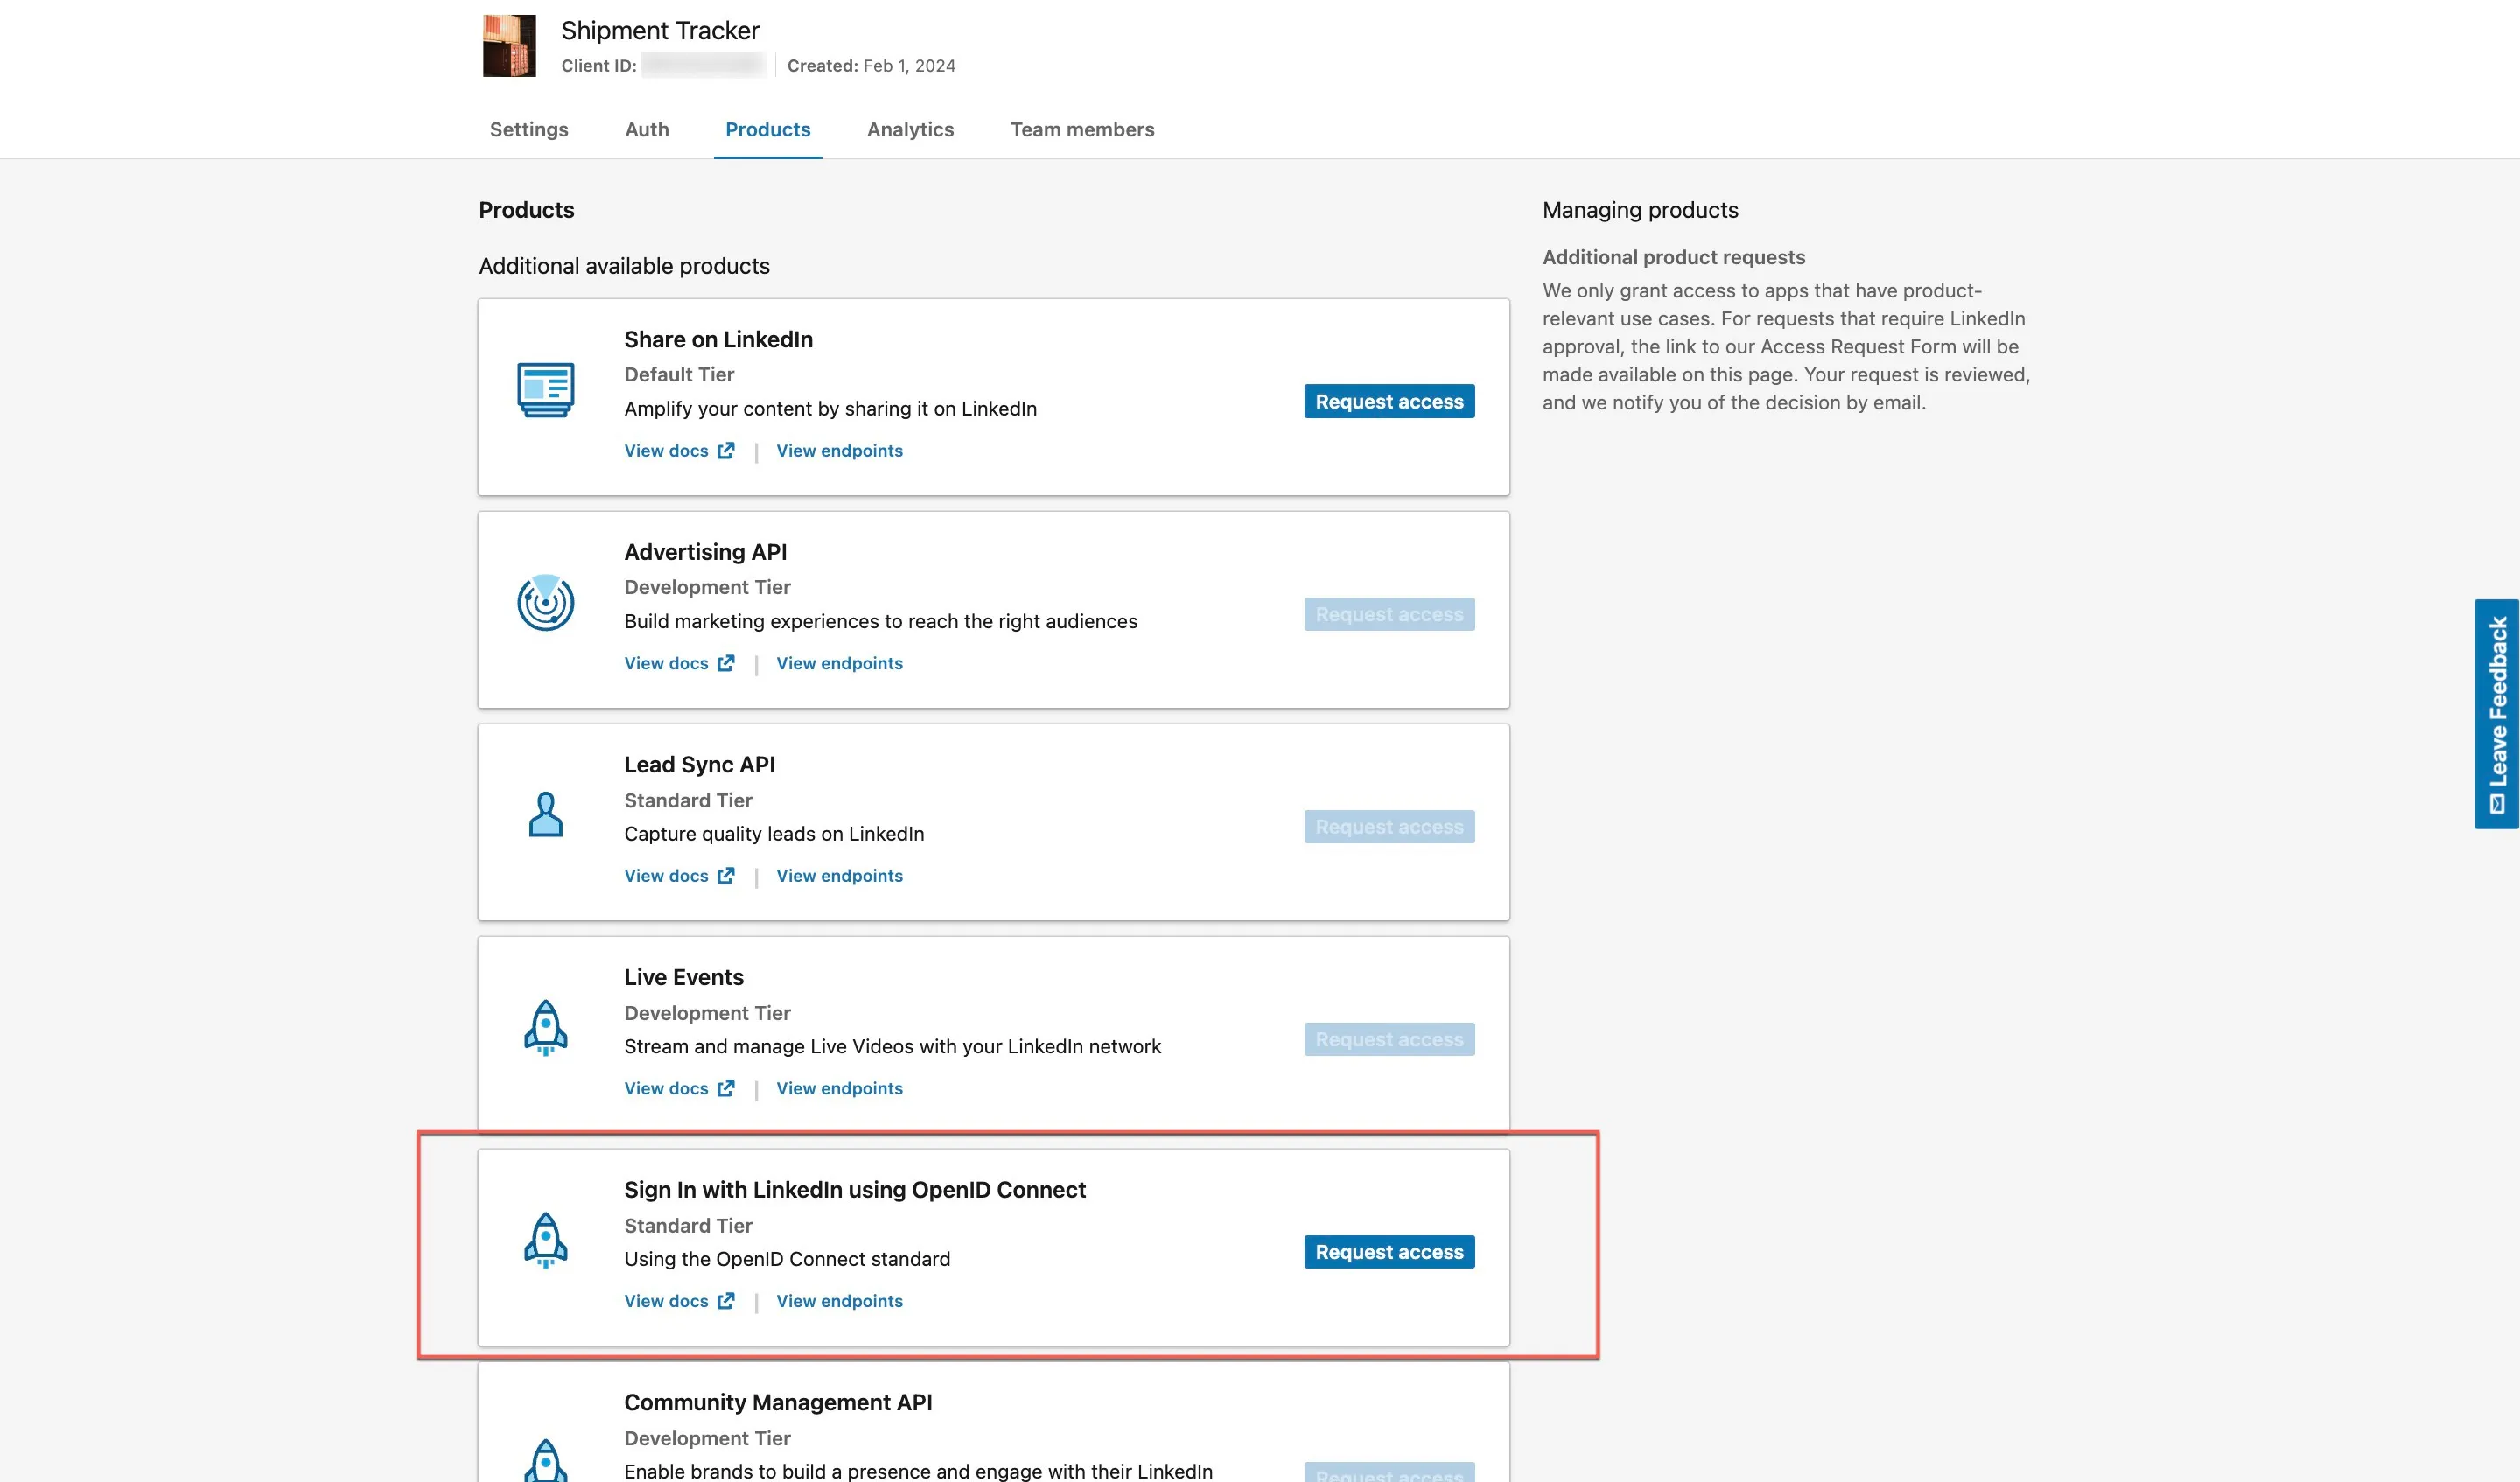
Read and accept the terms and conditions, click the Request Access button to allow sign ups with LinkedIn using OpenID connect.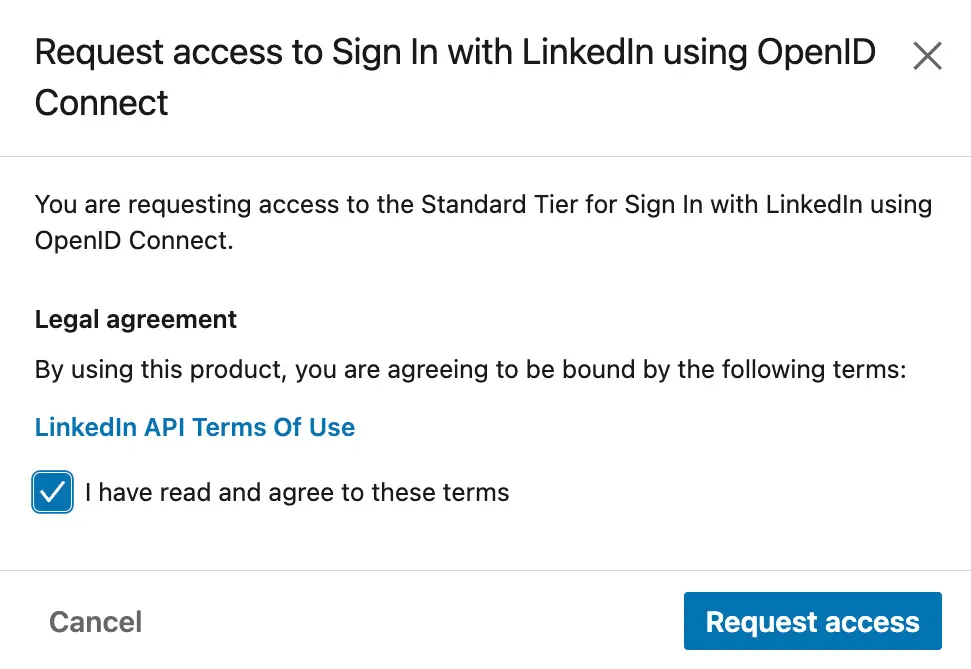
-
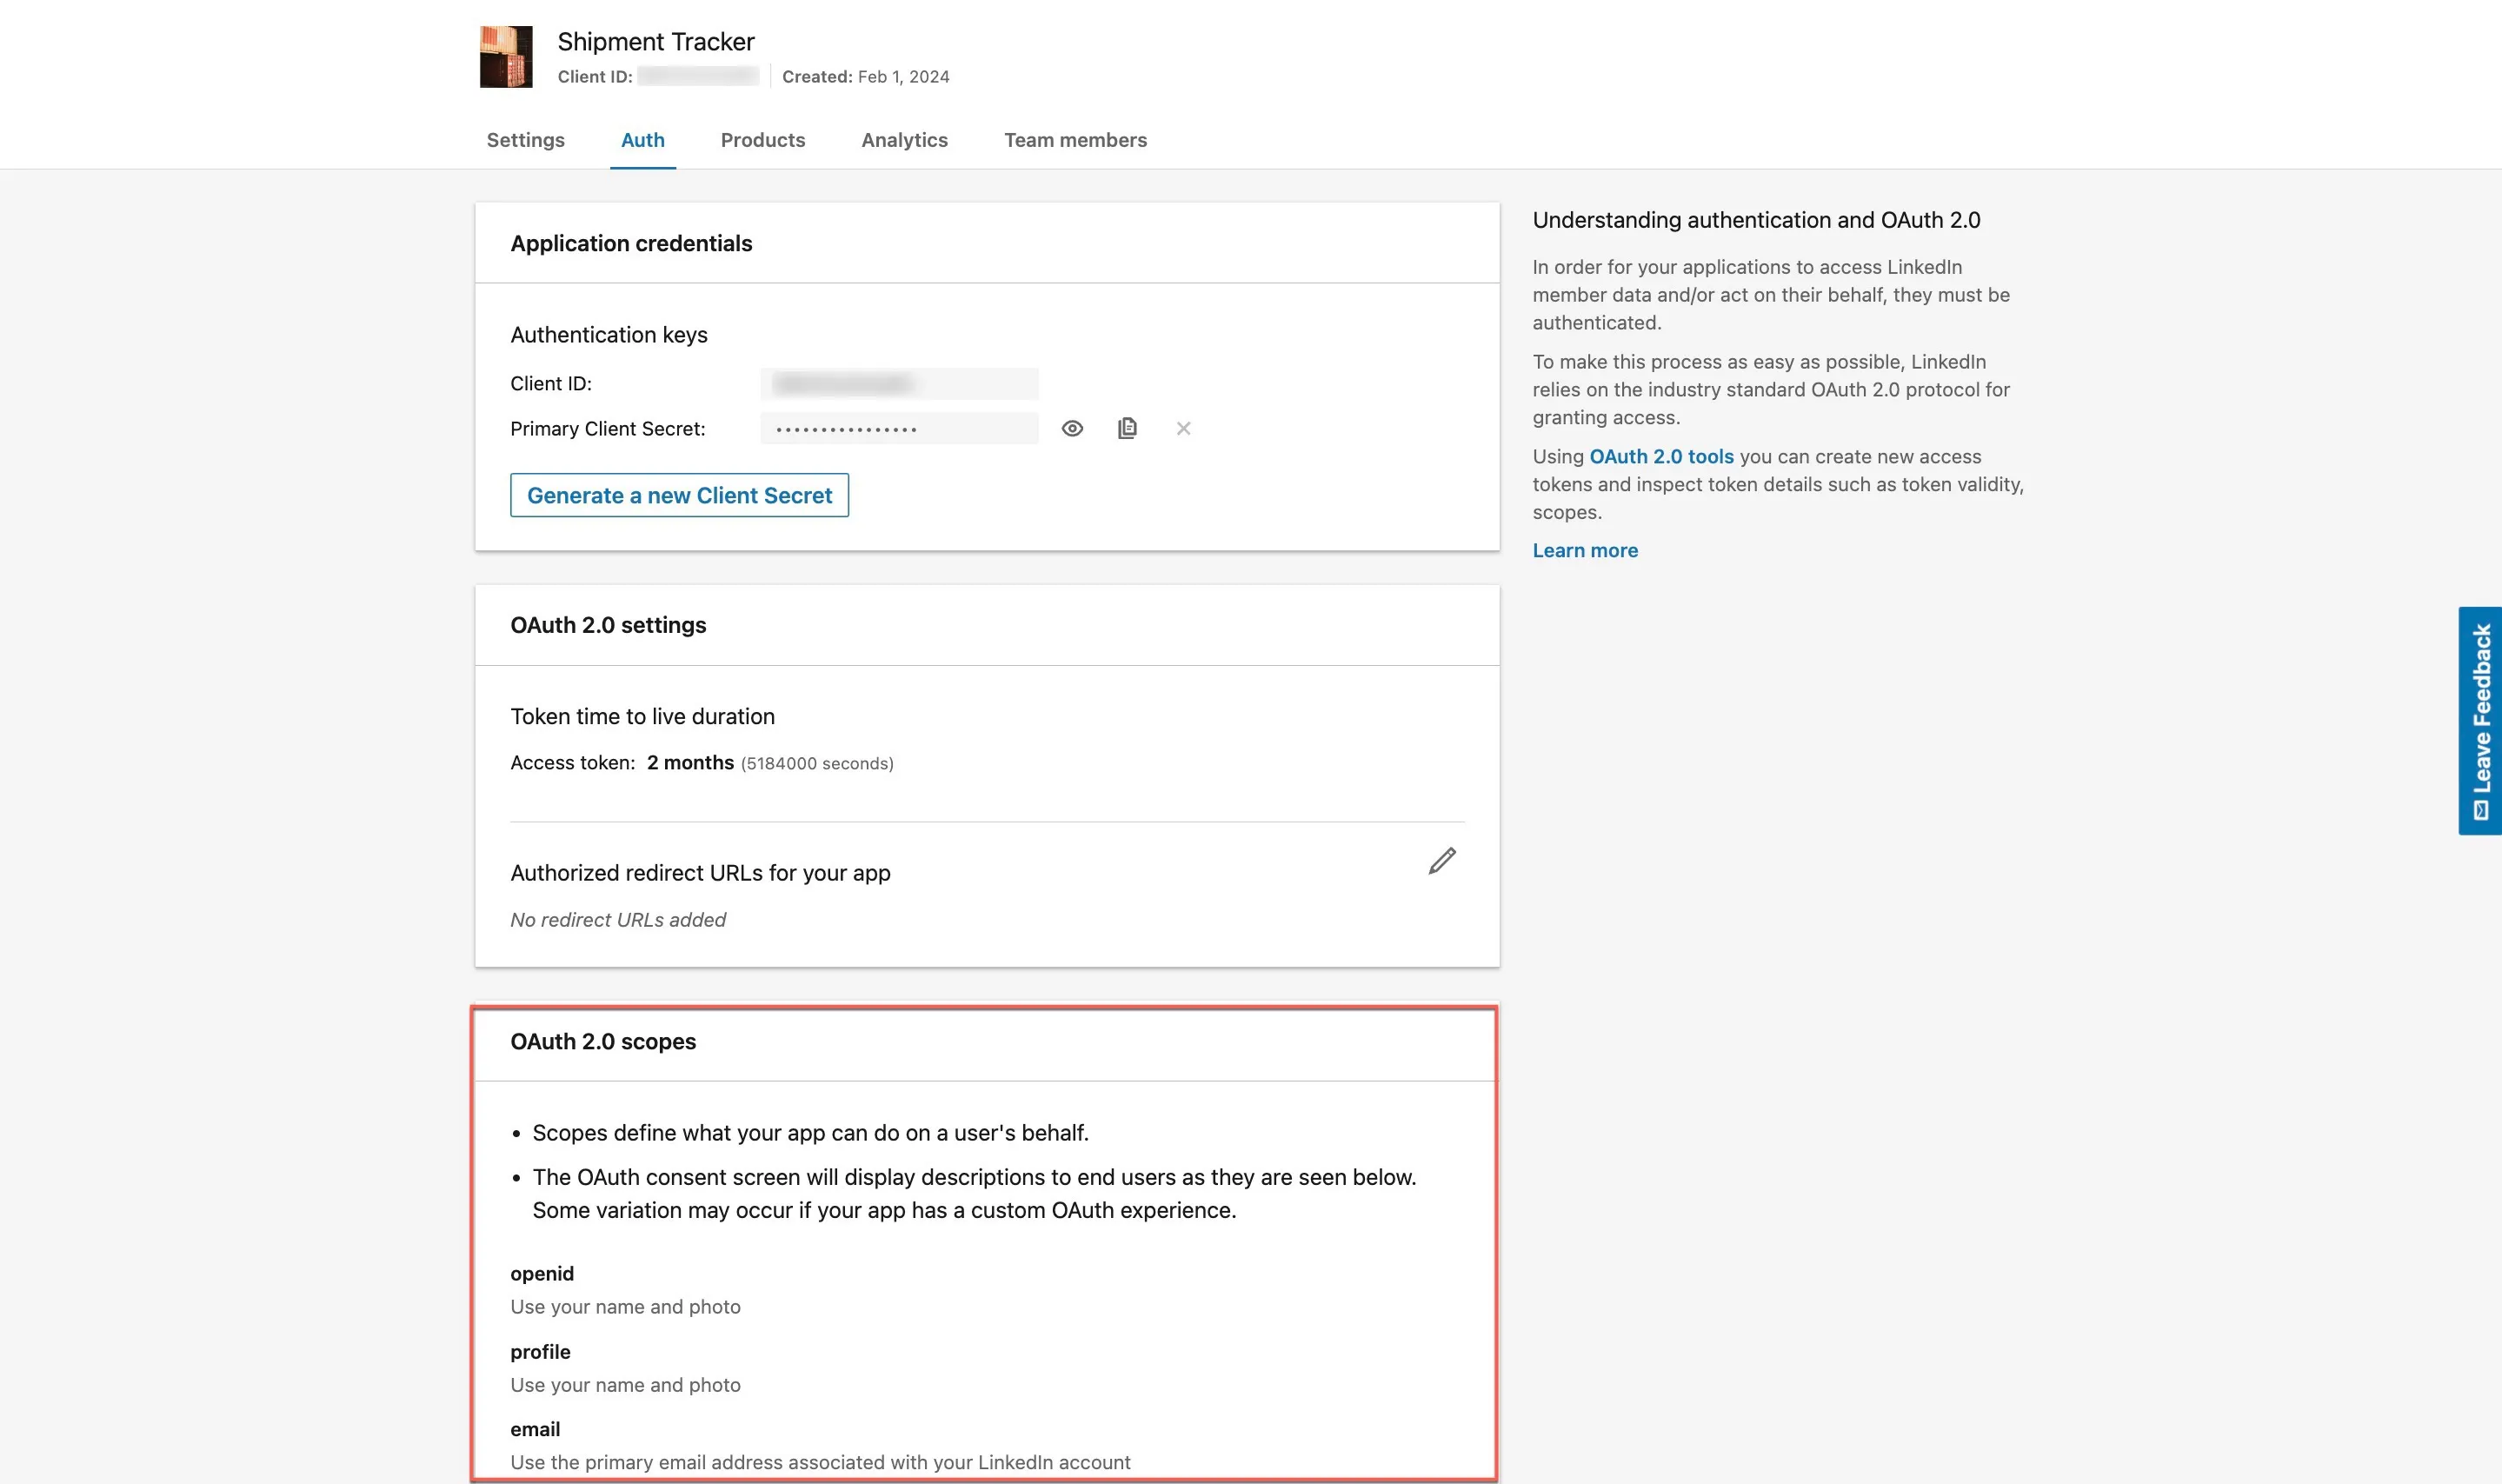
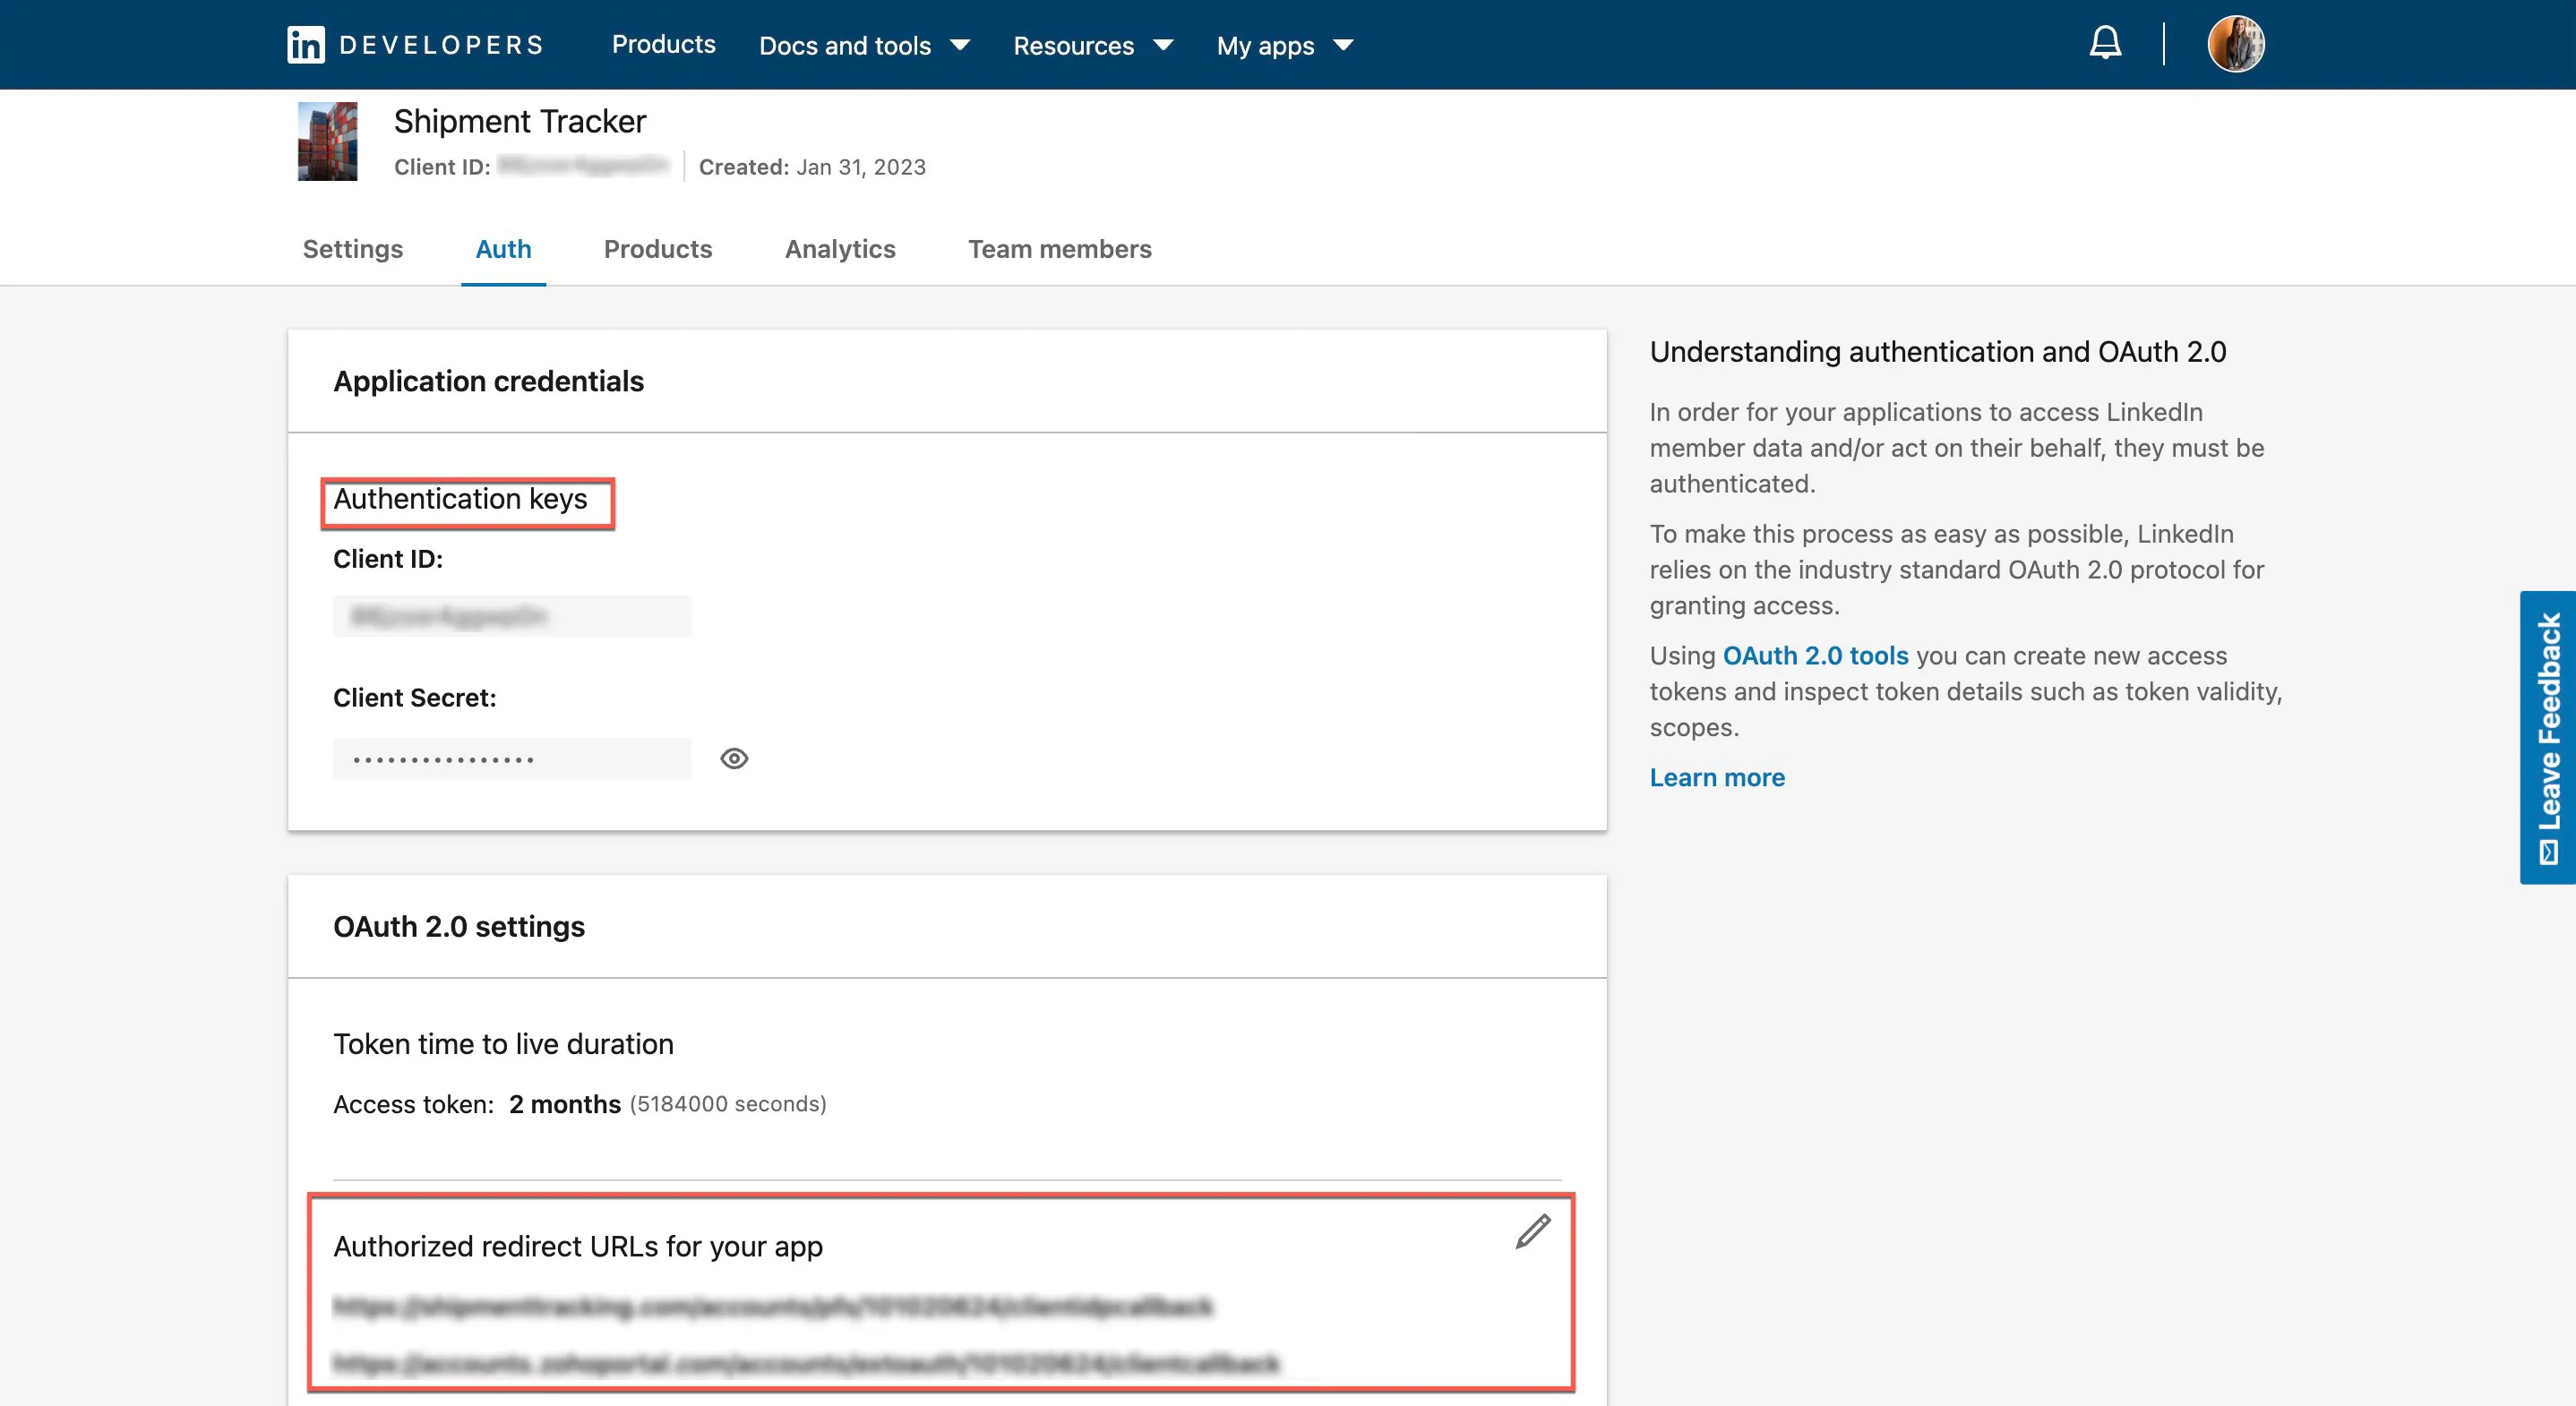
Click the Auth tab, and copy the Client ID and Client Secret present in the Authentication keys section. In the OAuth 2.0 scopes section you will be able to view three scopes have been added:
- openid
- profile
- email
-
Now click the Auth tab, and copy the Client ID and Client Secret present in the Authentication keys section. In the Auth 2.0 settings section add Authorized Redirection URLs of your application in the following format:
- https://accounts.zohoportal.com/accounts/extoauth/ZAID/clientcallback
- https://{{appdomain}}/accounts/pfs/ZAID/clientidpcallback
This URI can be copied from the LinkedIn Social Login pop-up, and steps to enable this URI is shown in this help document: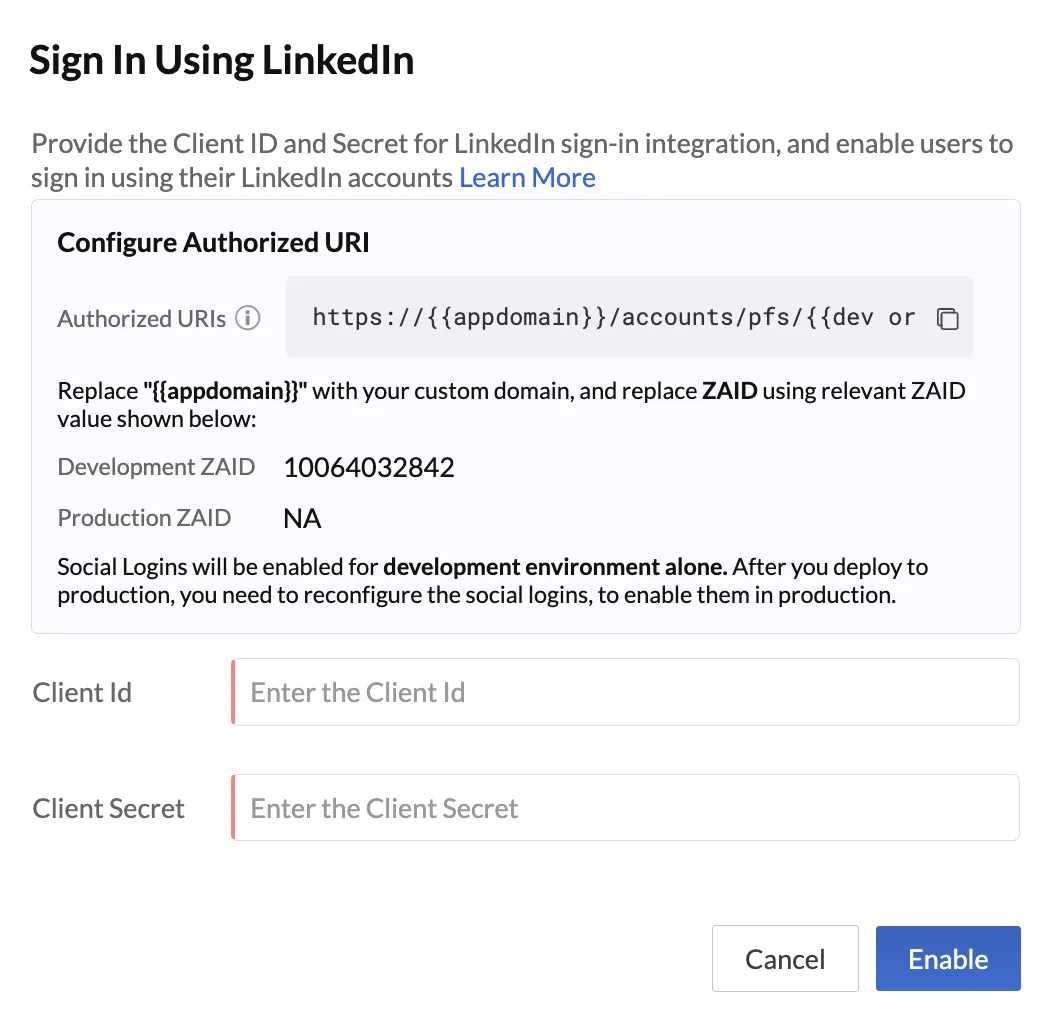
- Click the LinkedIn Social Login option present in the console, and add the Client ID and Client Secret obtained. Then, click Enable.
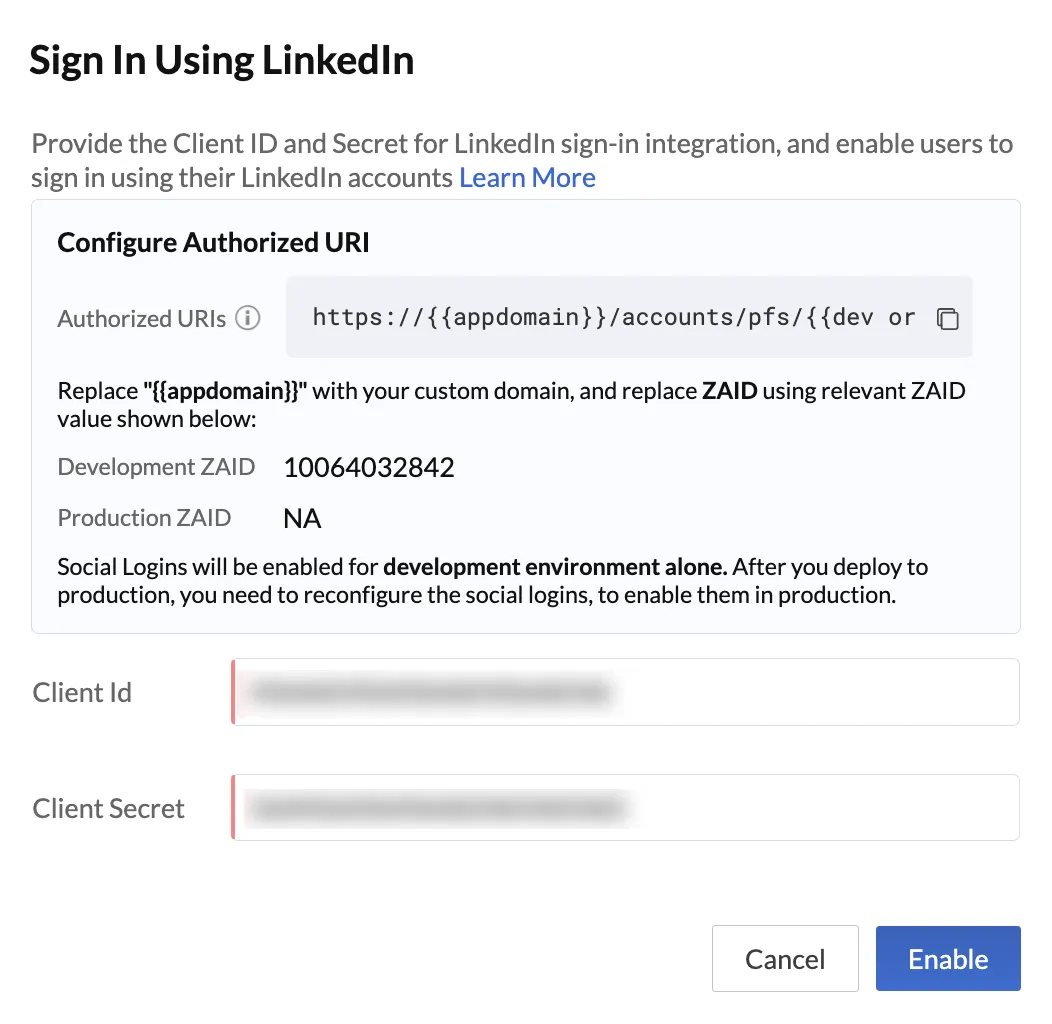
Your end users can now sign up to your application using their LinkedIn credentials.
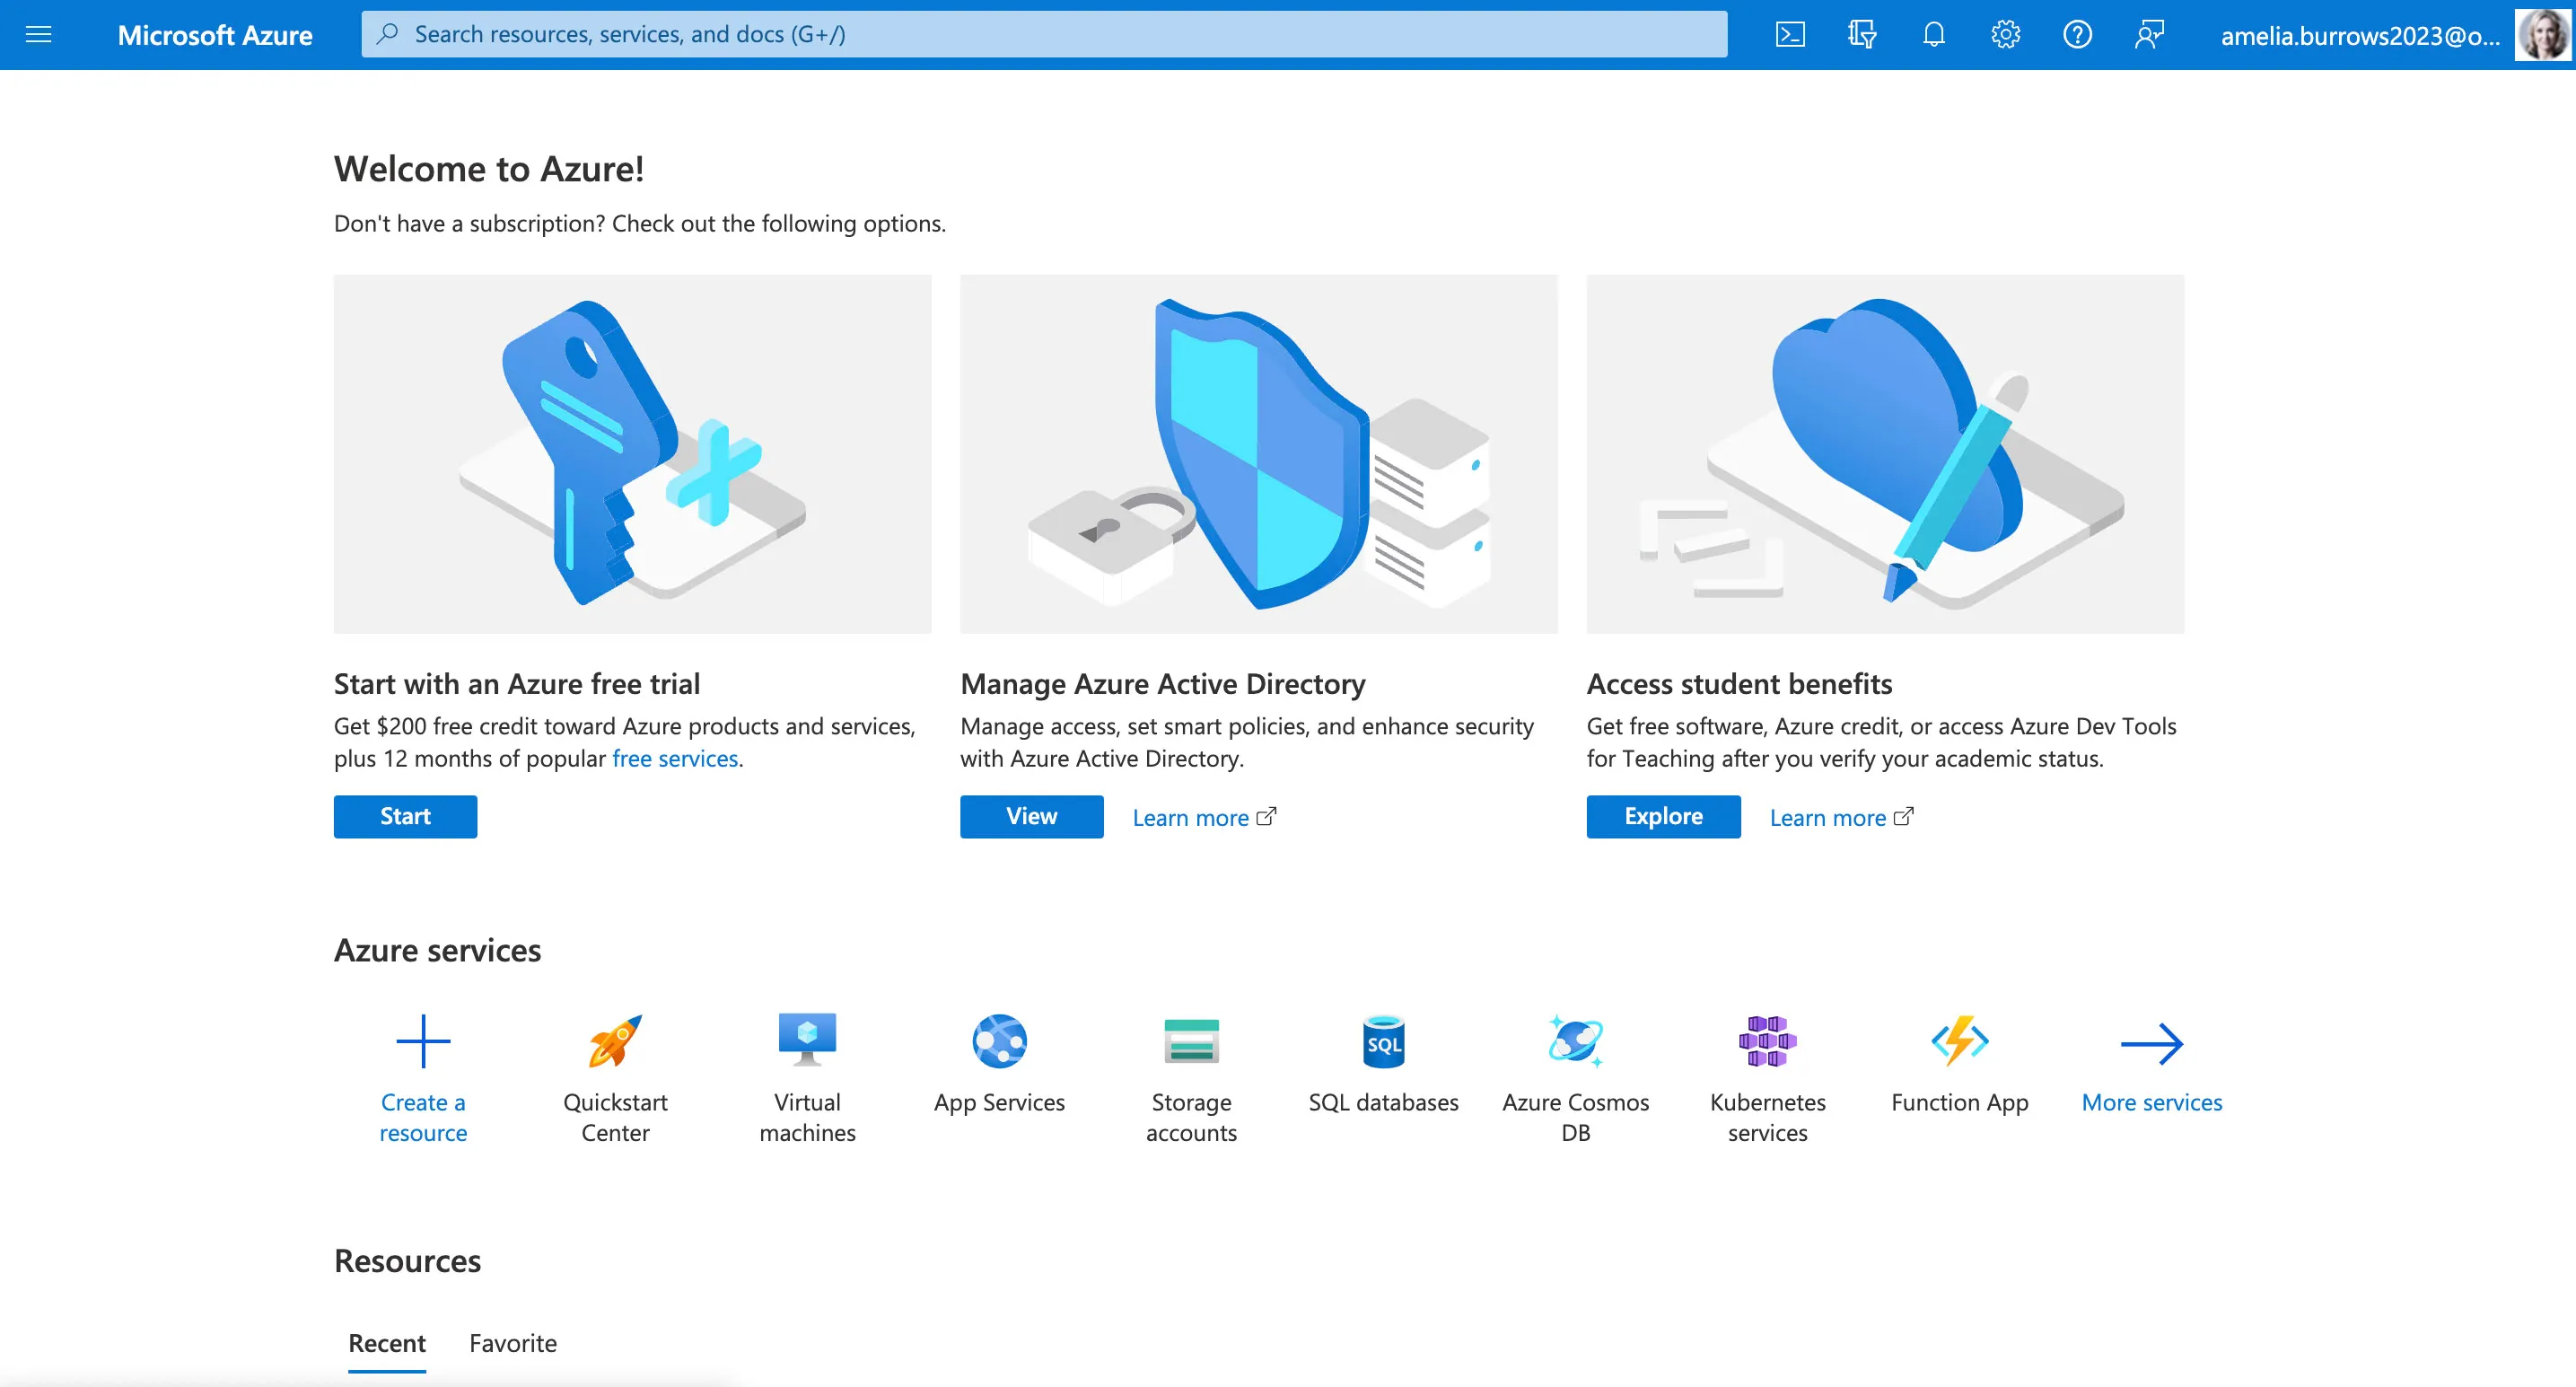
Enable Microsoft 365 Social Login
To enable Microsoft 365 sign in option in your application you will need to obtain the requisite OAuth credentials for your application with Microsoft Azure in the following manner:
-
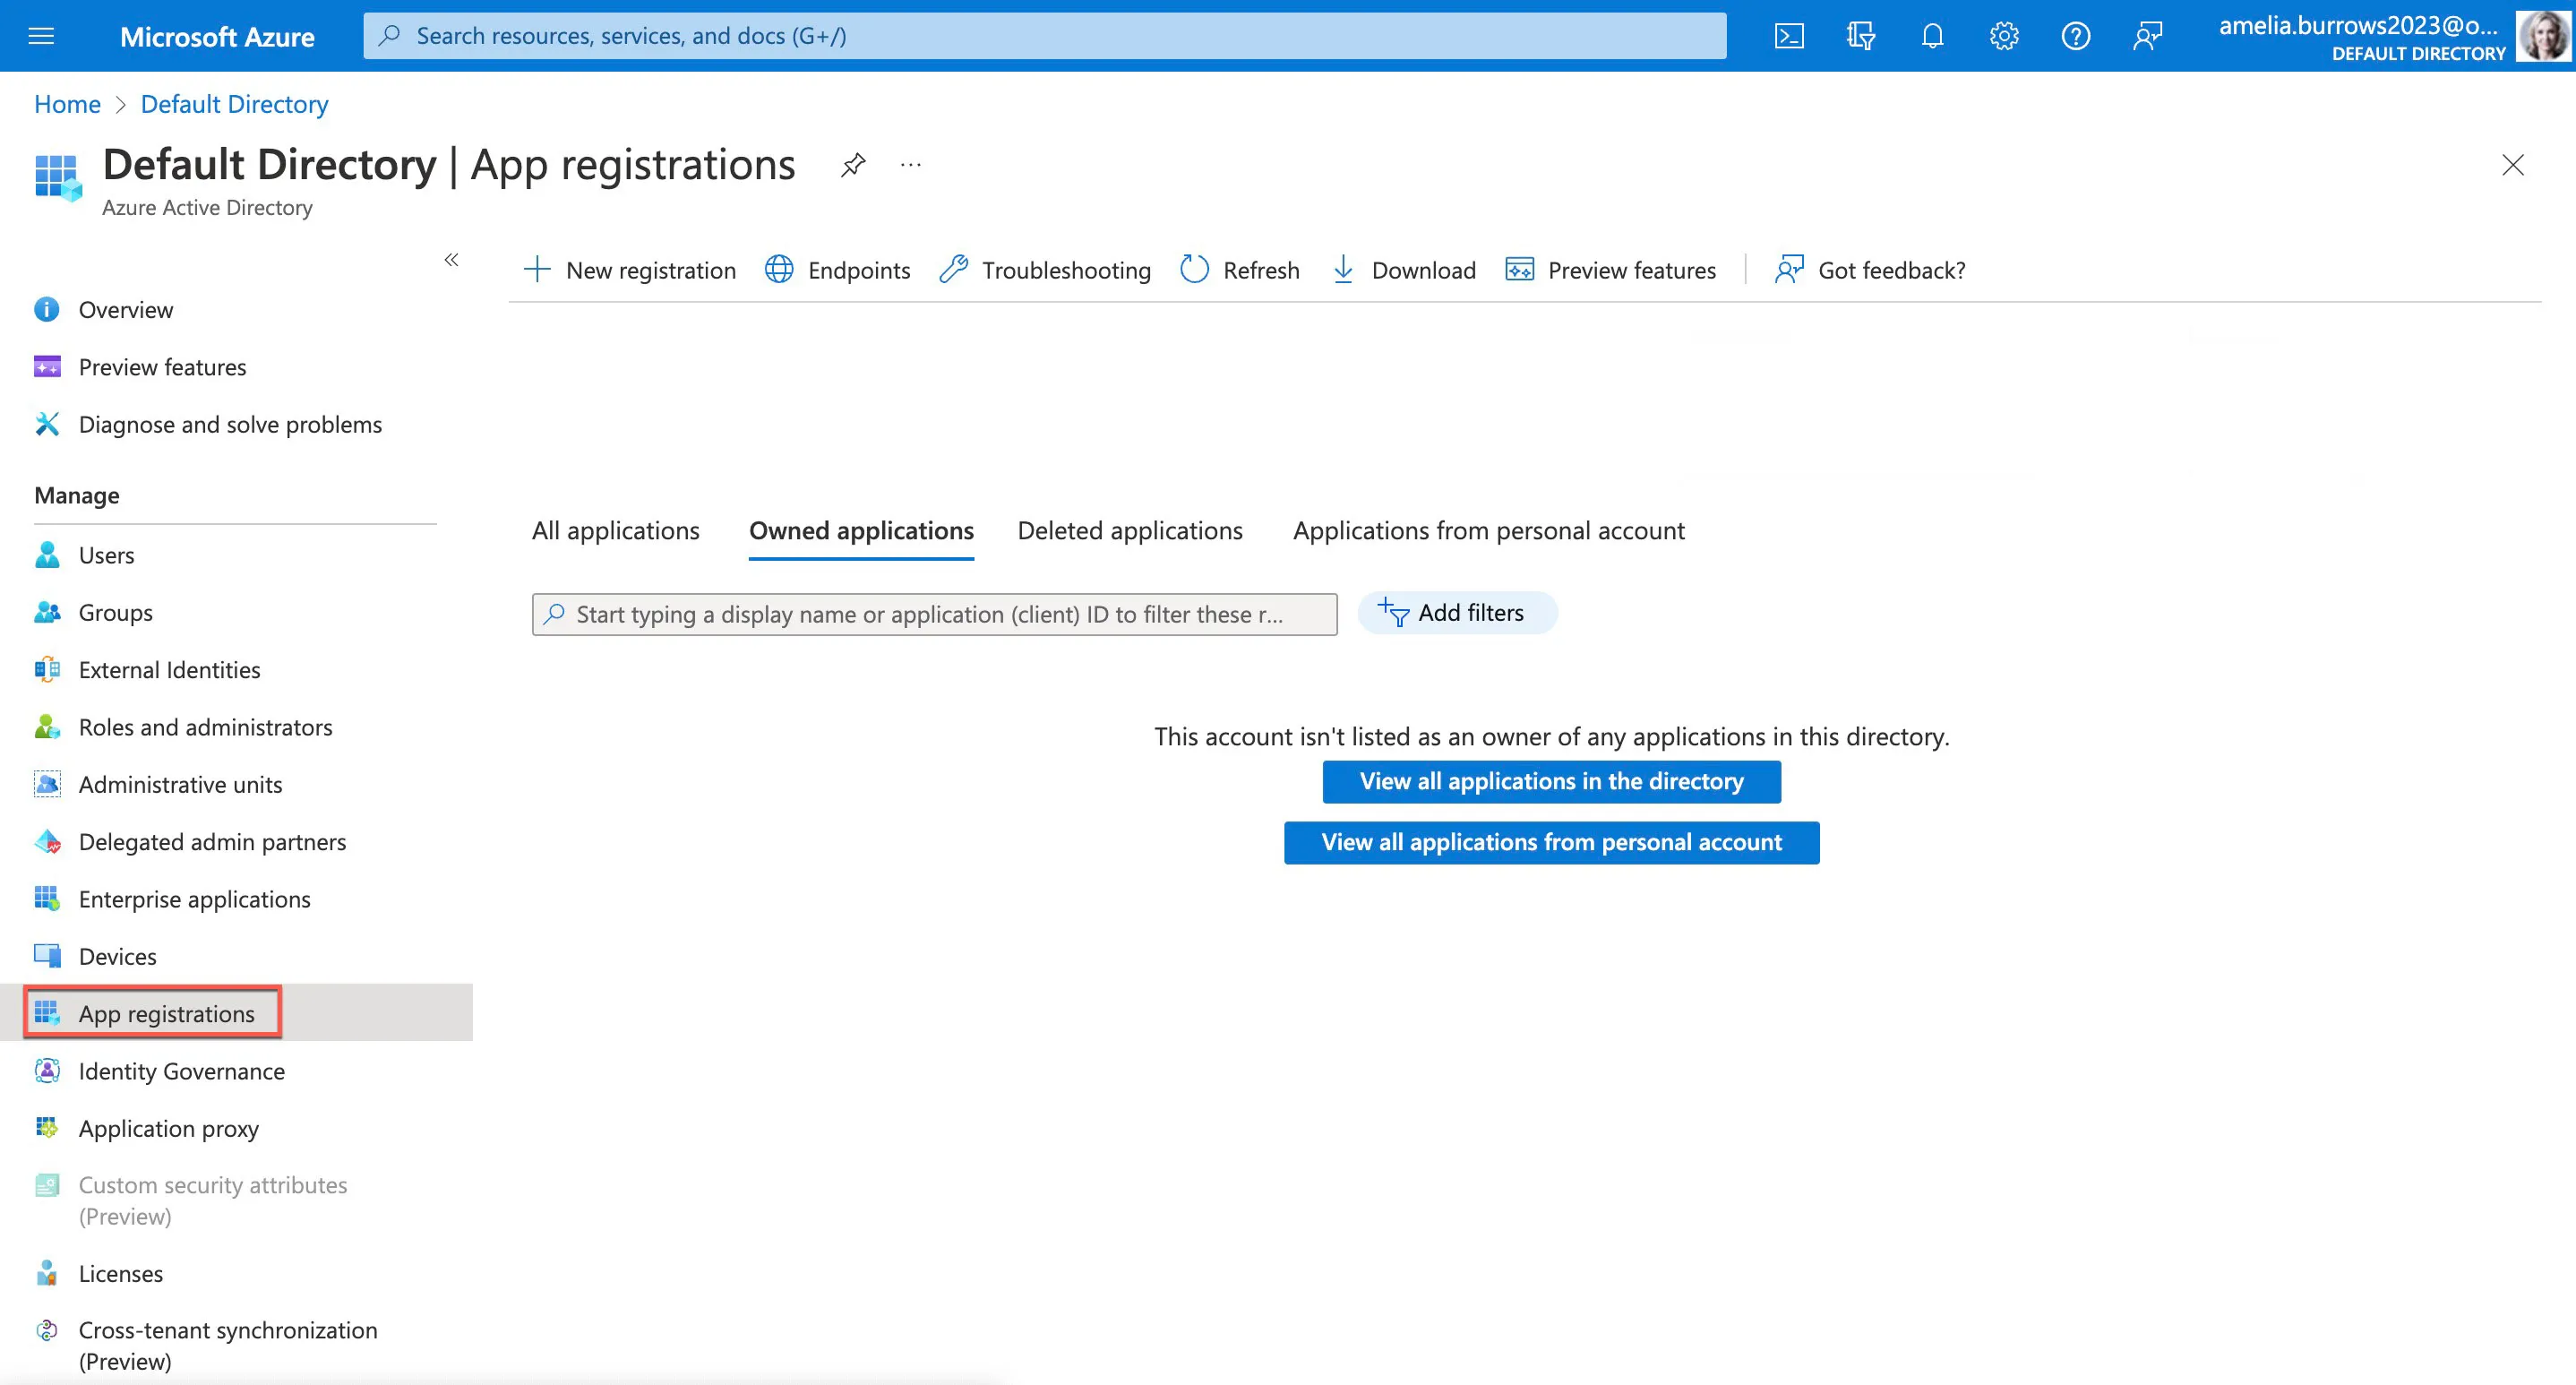
Open Microsoft Azure and login to the console.
-
Navigate to the menu section of the console and click App Registrations.
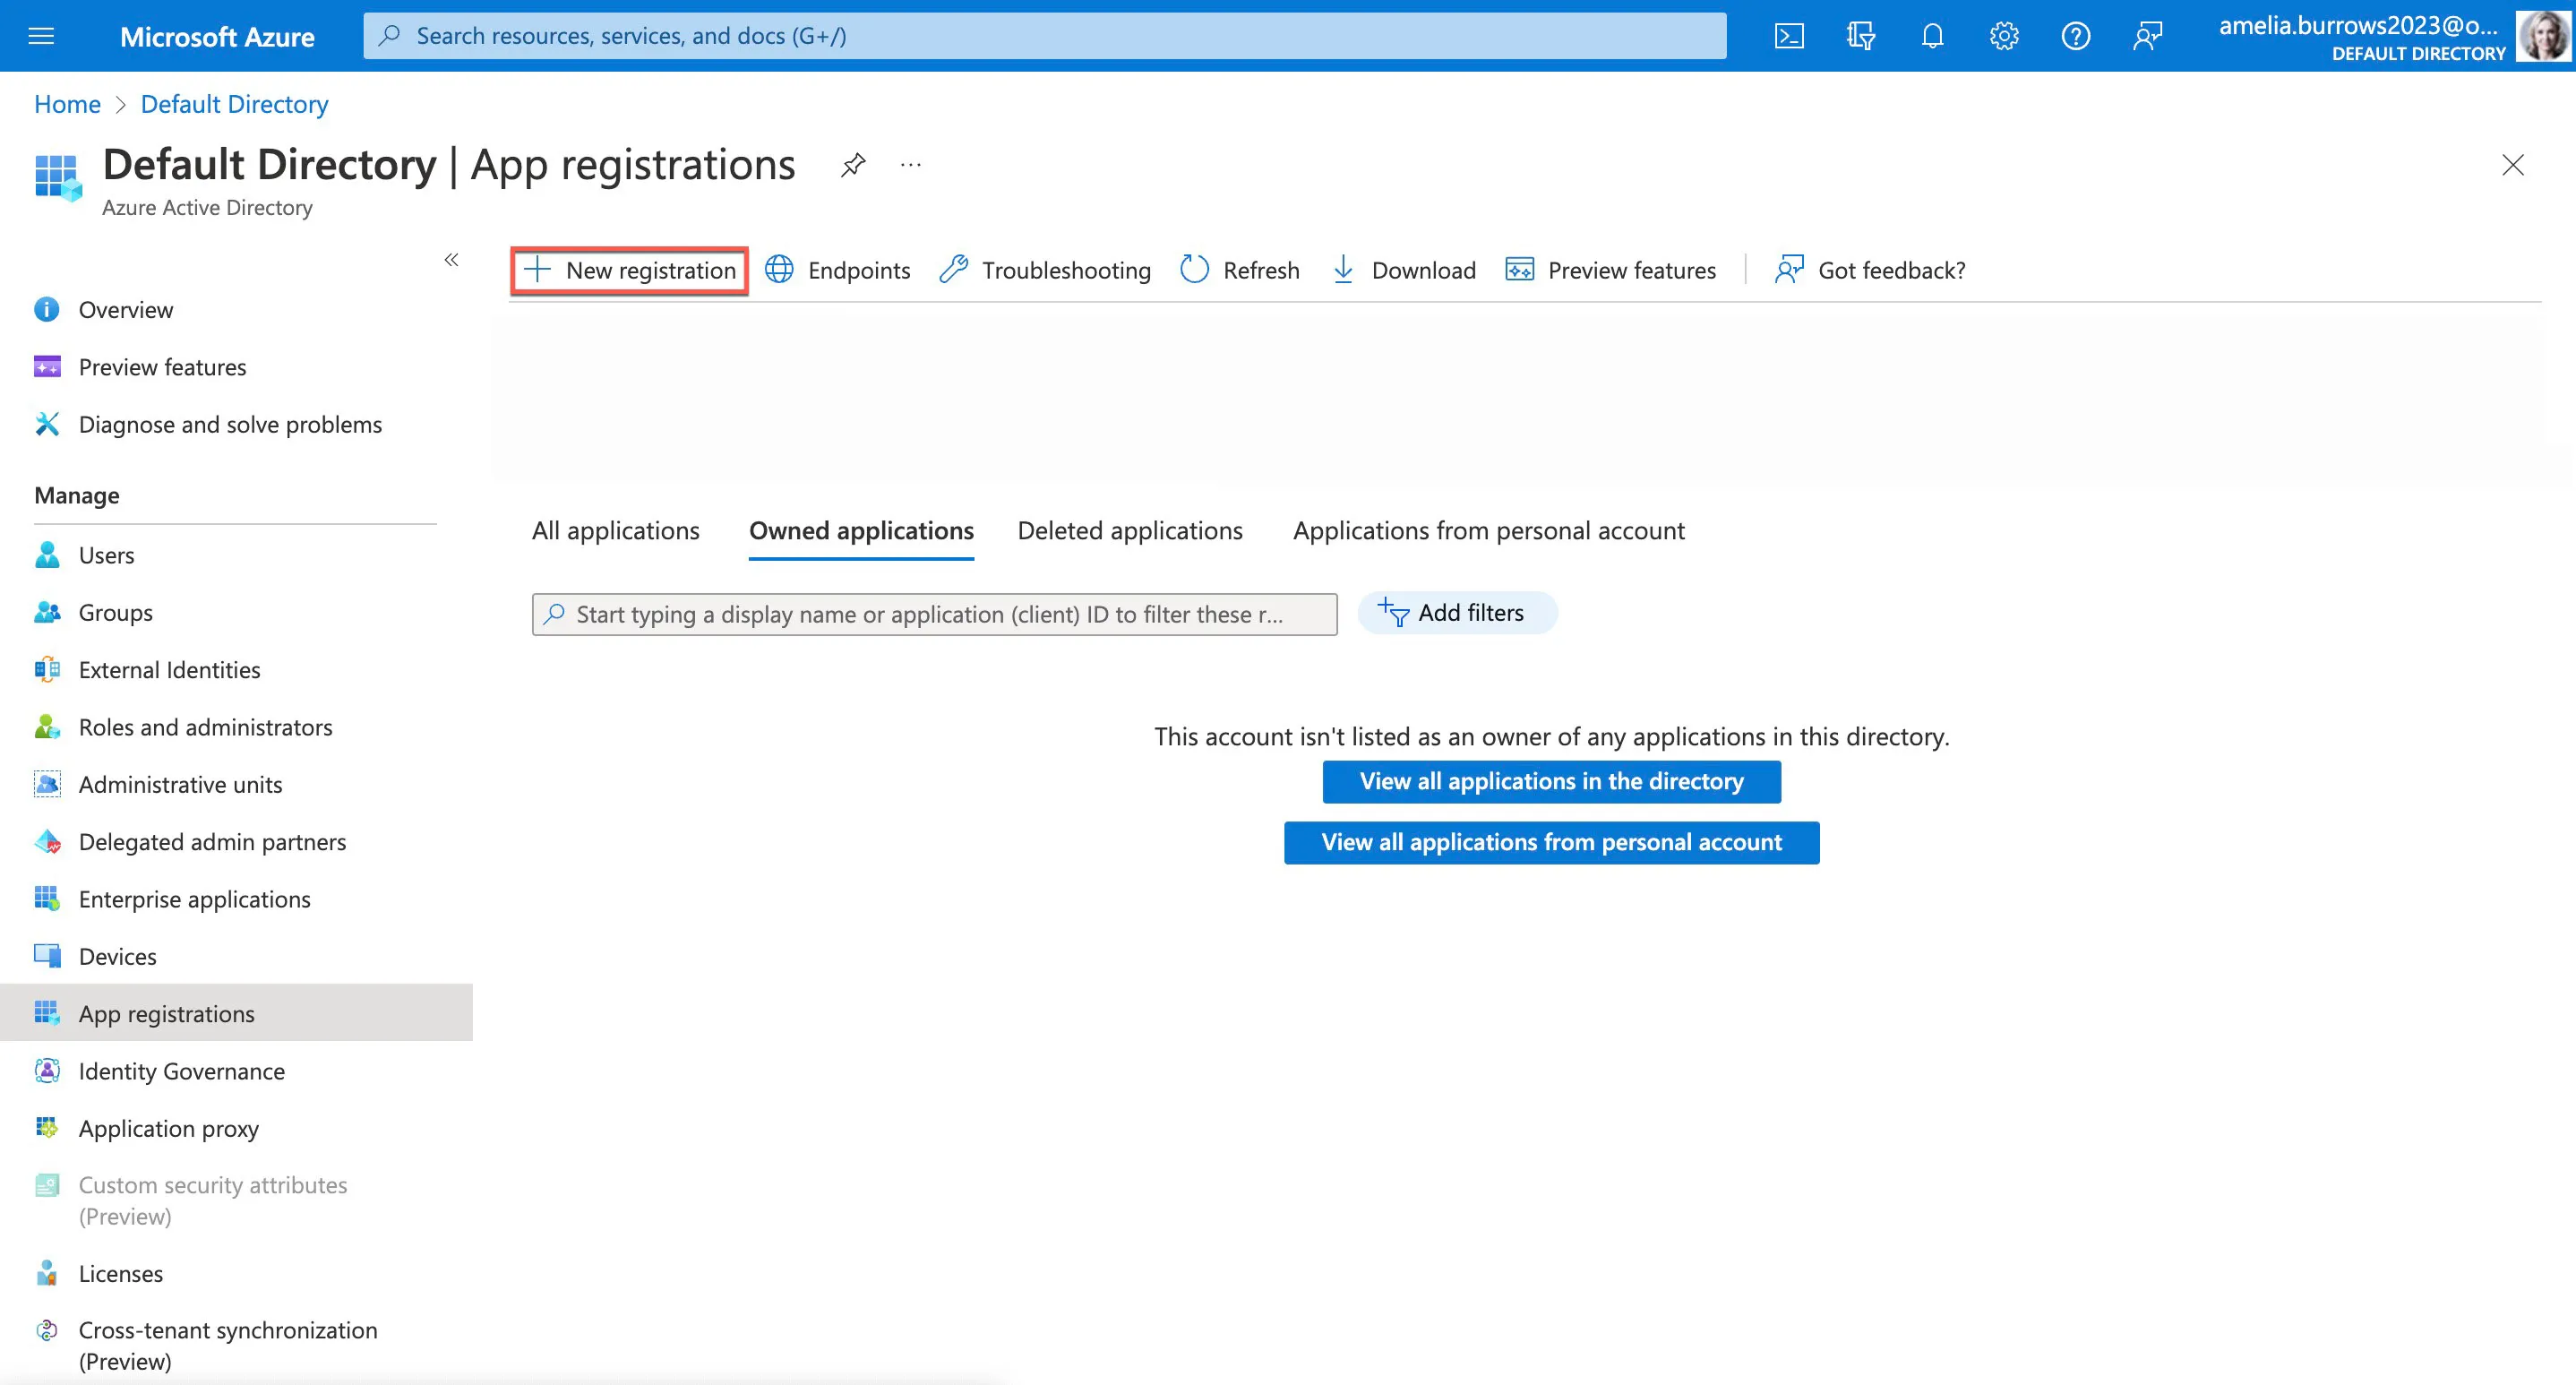
-
Click New Registration.
-
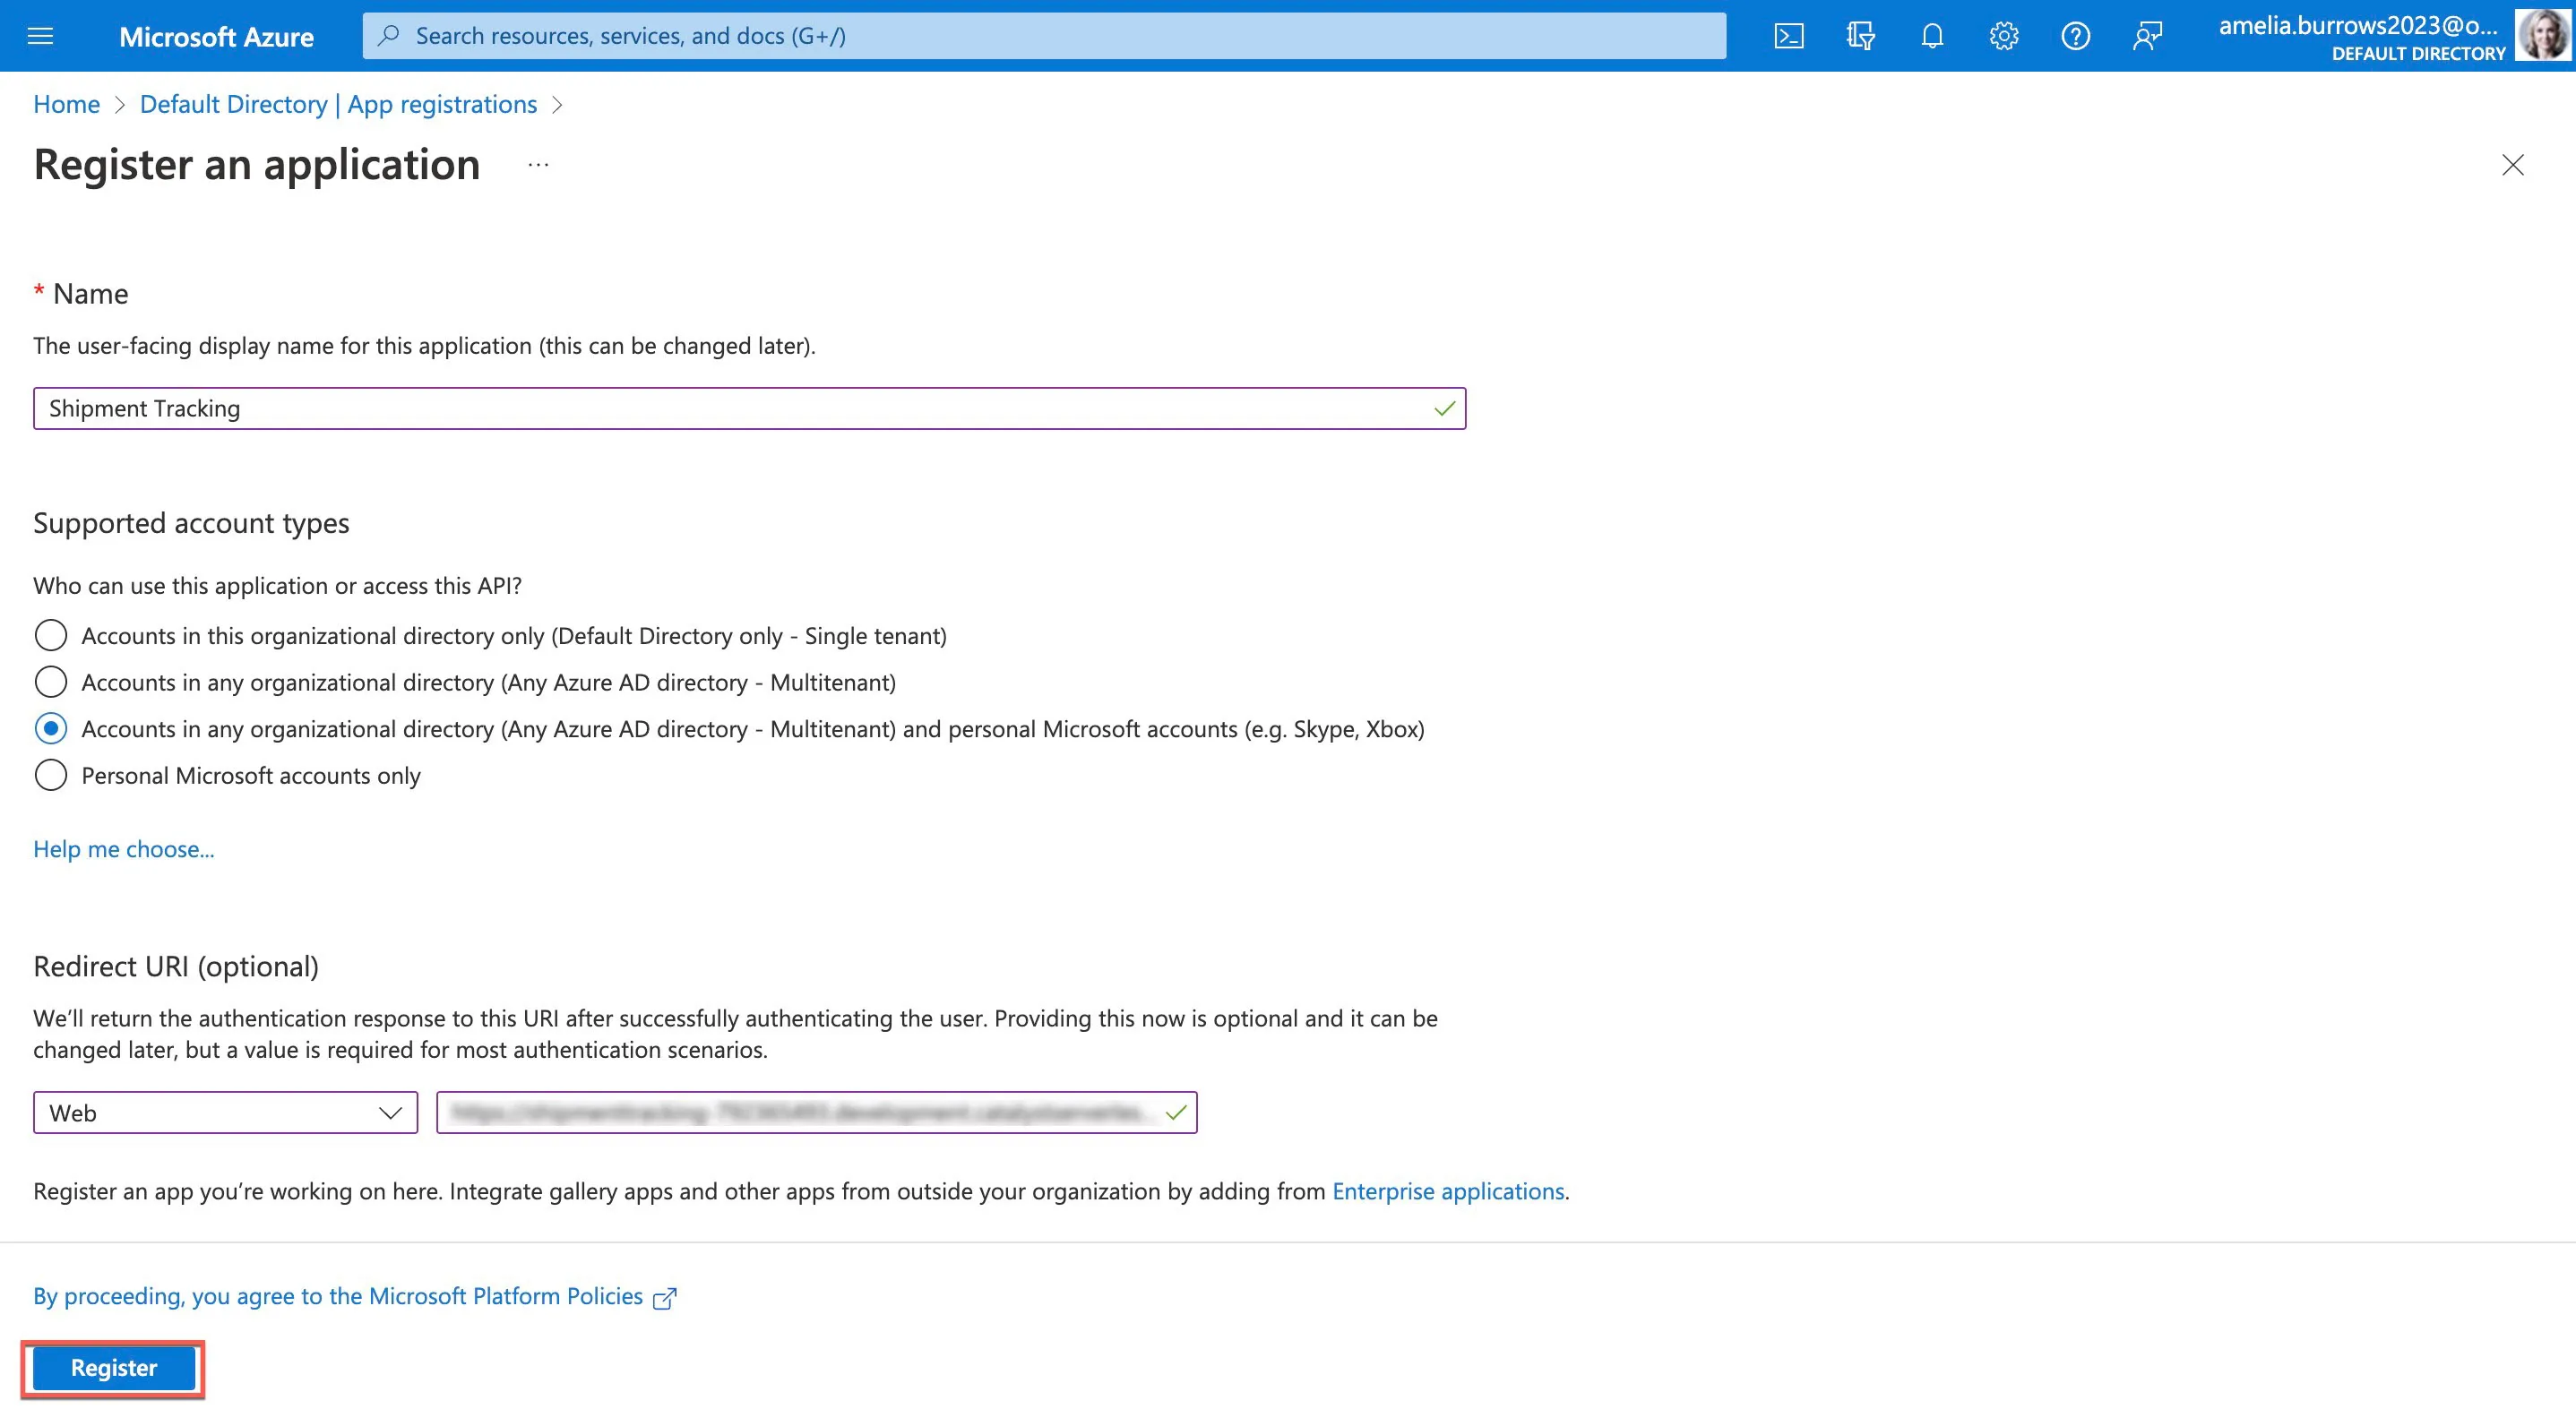
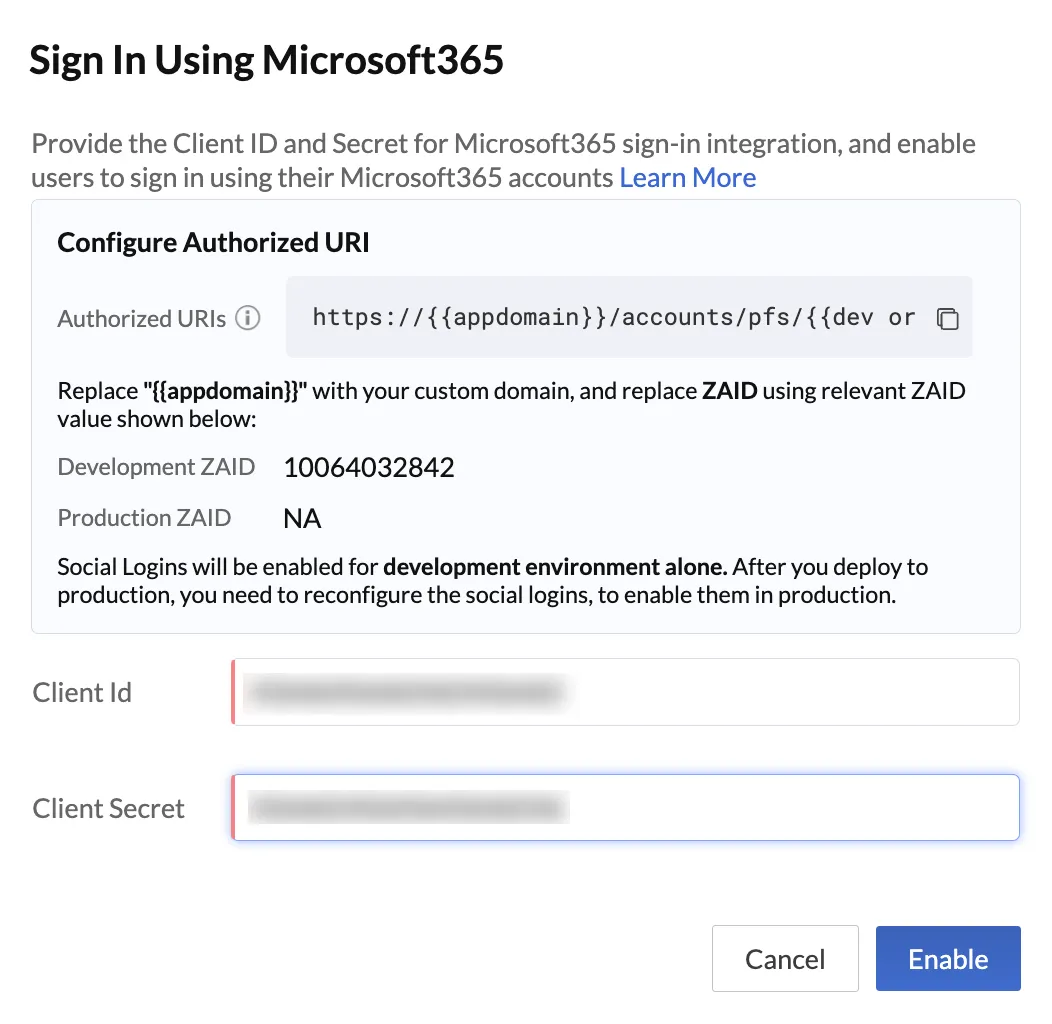
Enter the application name, choose the required permission. In the Redirect URI section, choose Web and enter the URI in the following format:
https://{{appdomain}}/accounts/pfs/ZAID/clientidpcallback
This URI can be copied from the Microsoft 365 Social Login pop-up, and steps to enable this URI is shown in this help document: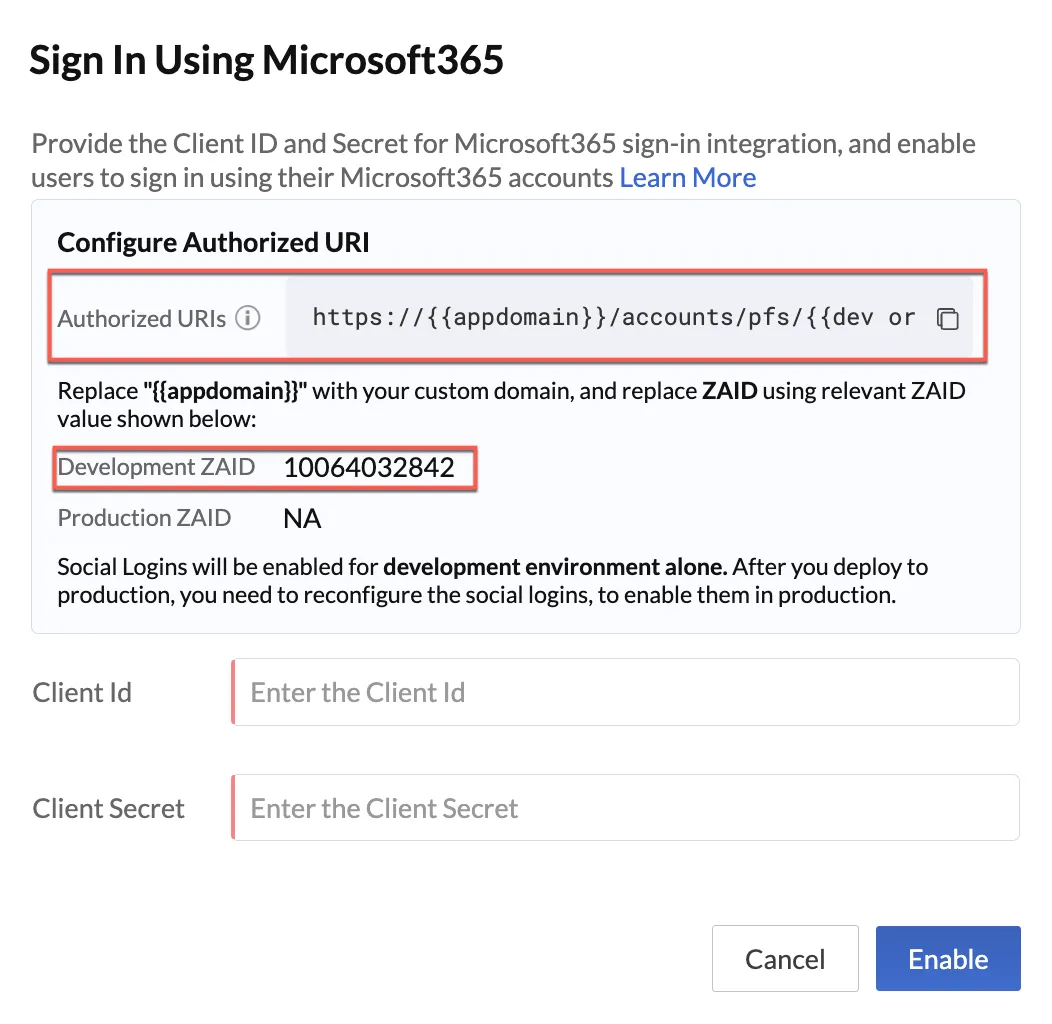
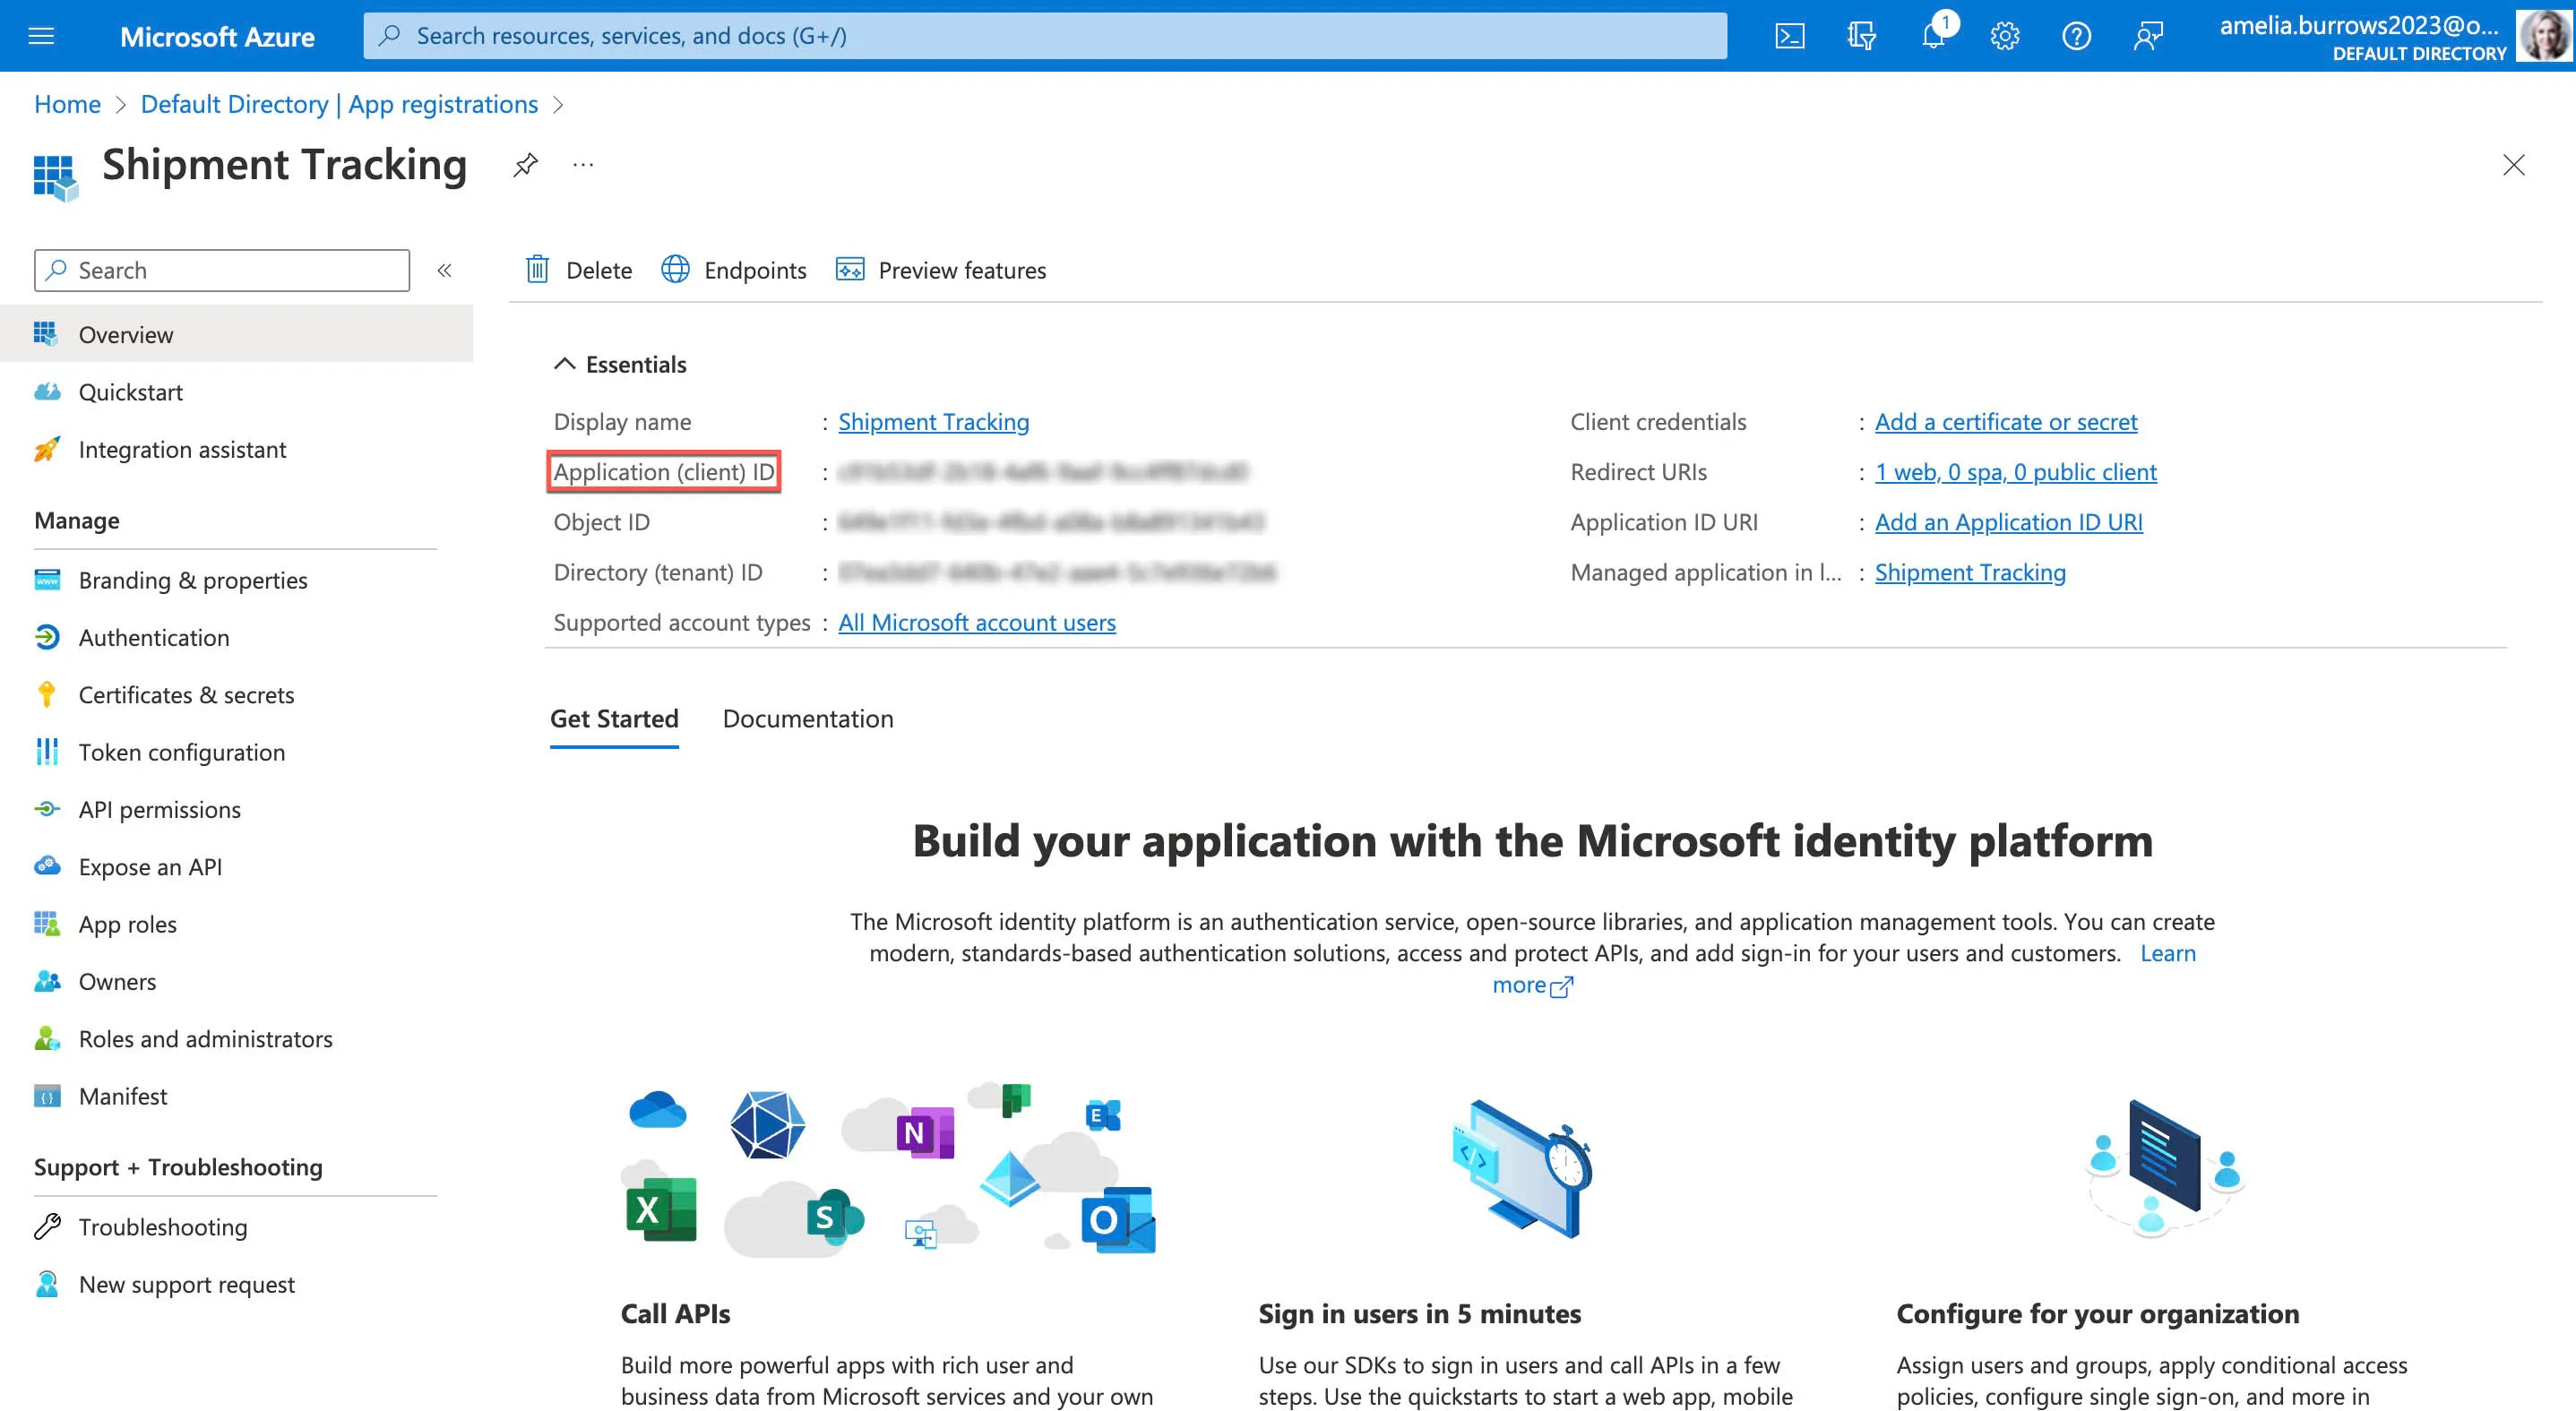
- You will now be directed to the Overview section. Here you can copy the Application ID (Client ID).
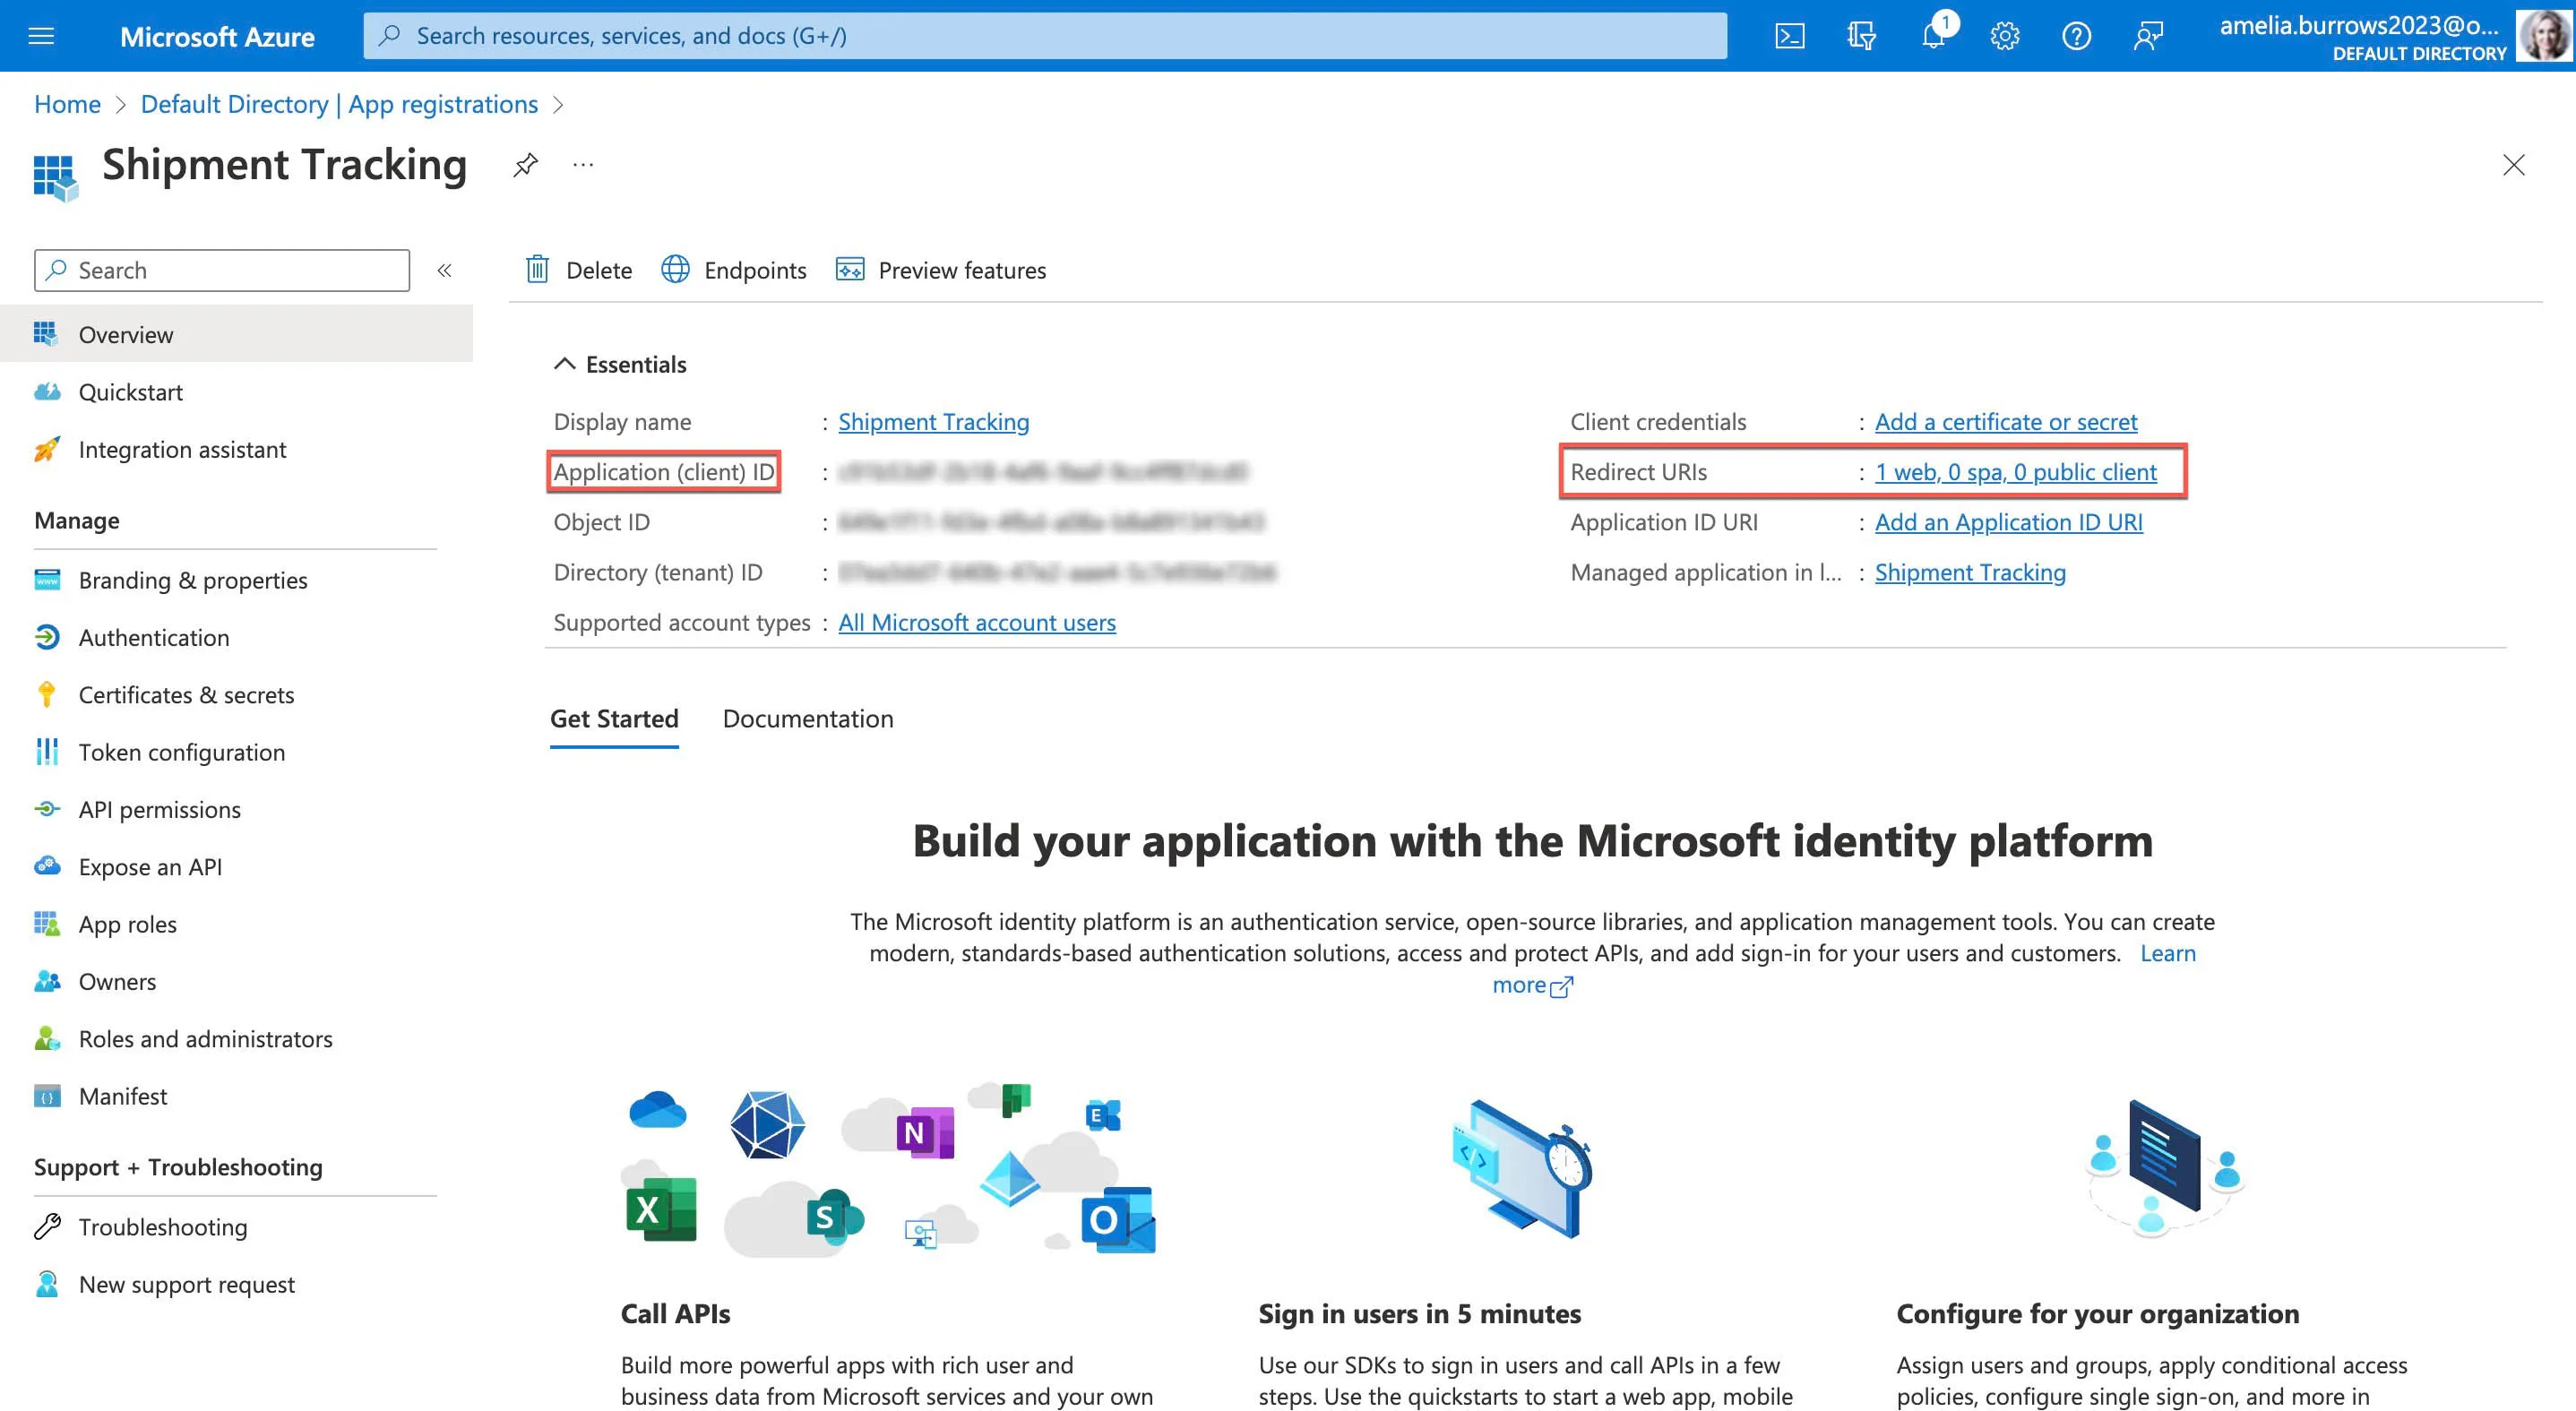
- Click the Redirect URIs section.
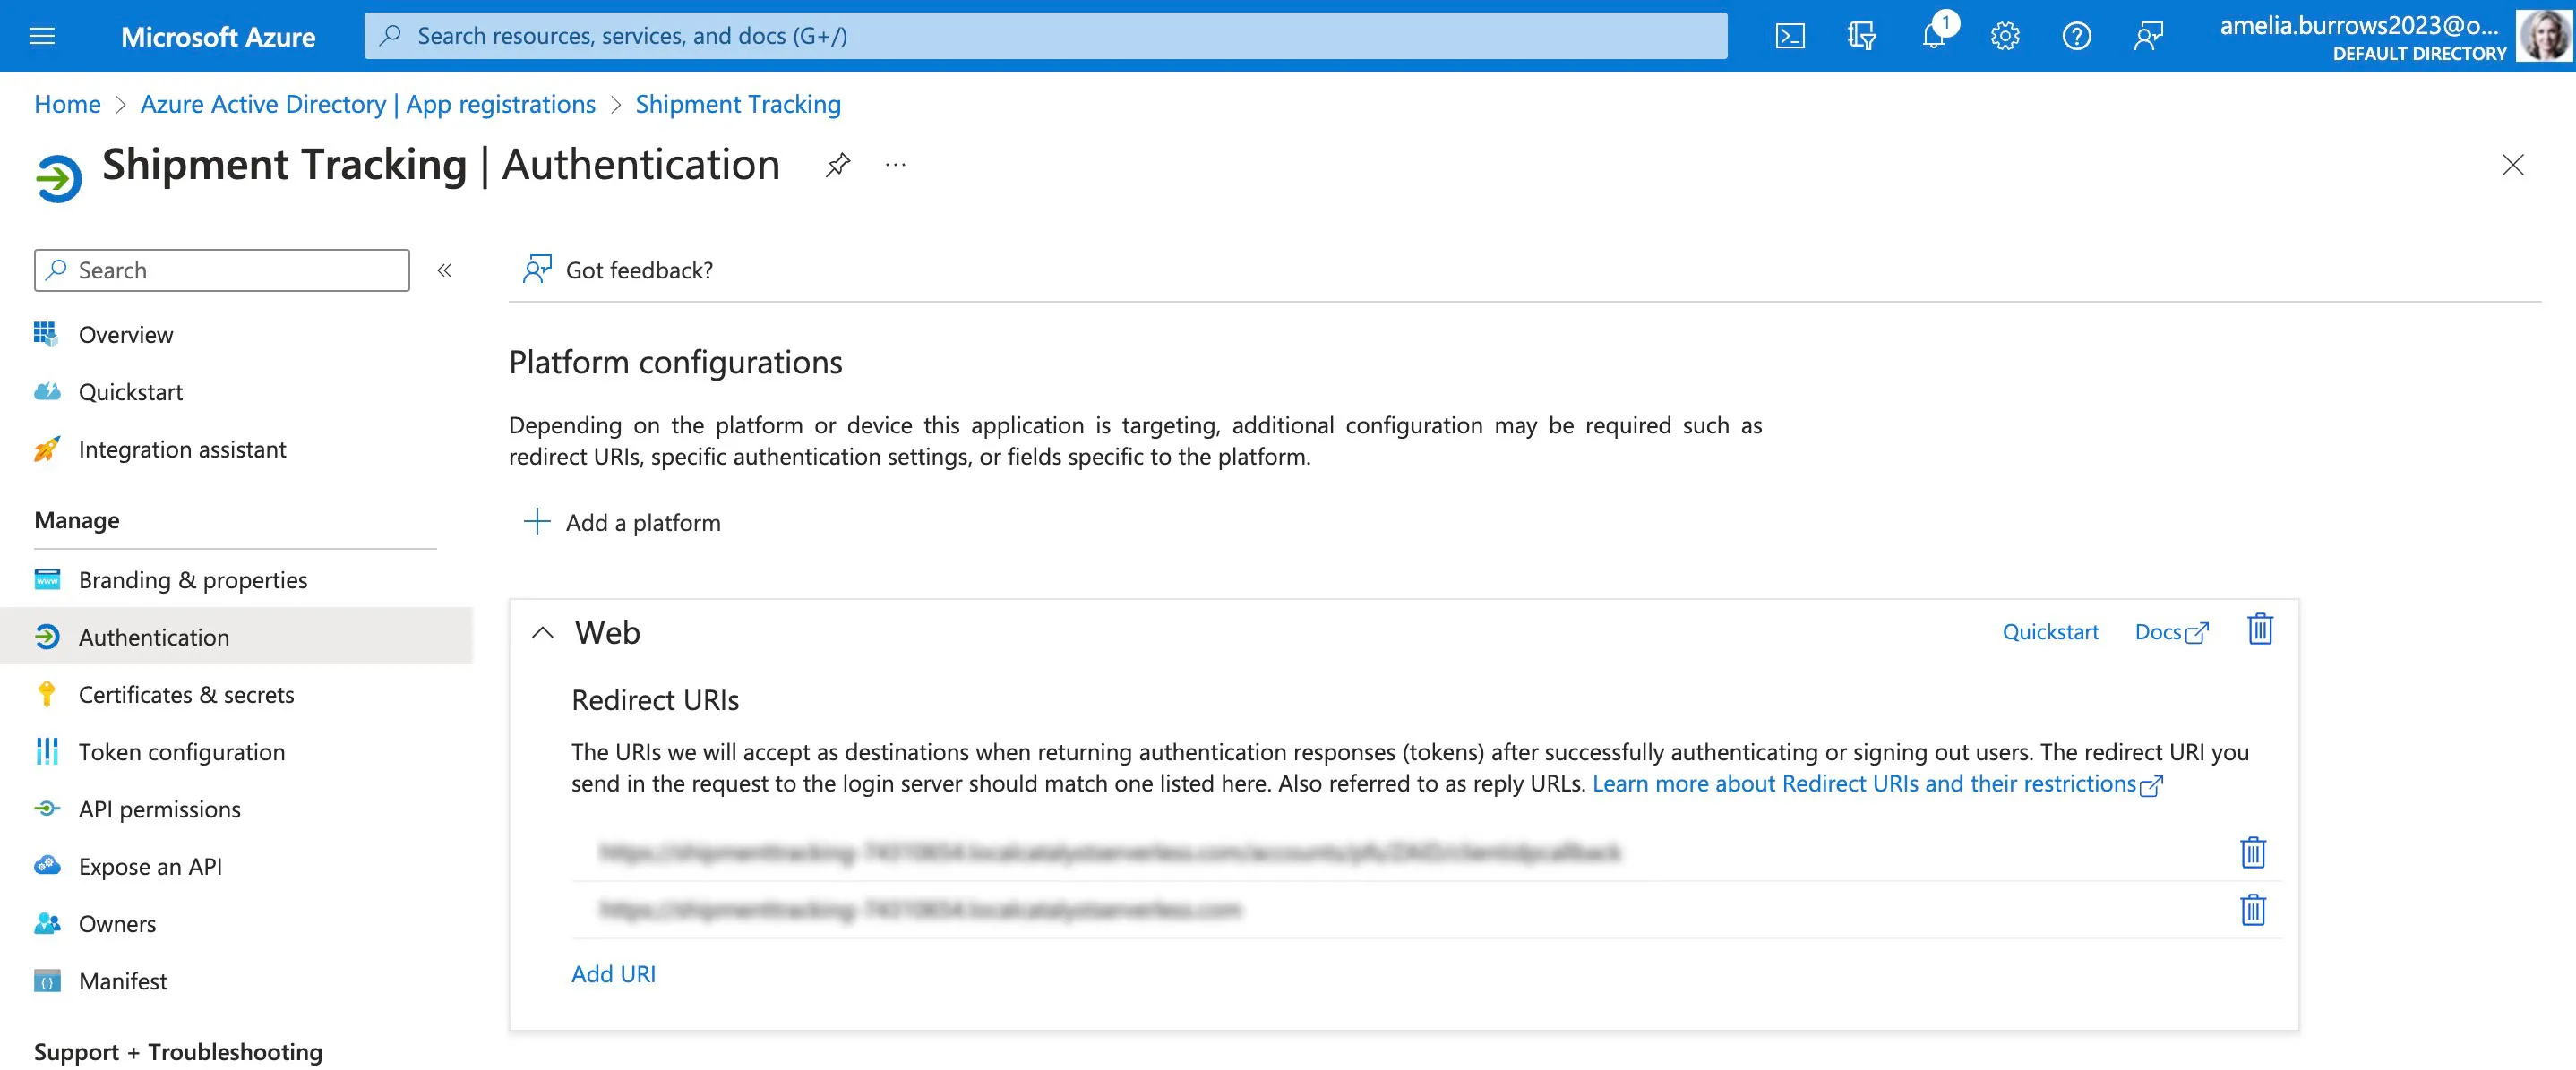
- In the Redirect URI section, click Add URI and add the second URI in the following format:https://accounts.zohoportal.com/accounts/extoauth/ZAID/clientcallback
-
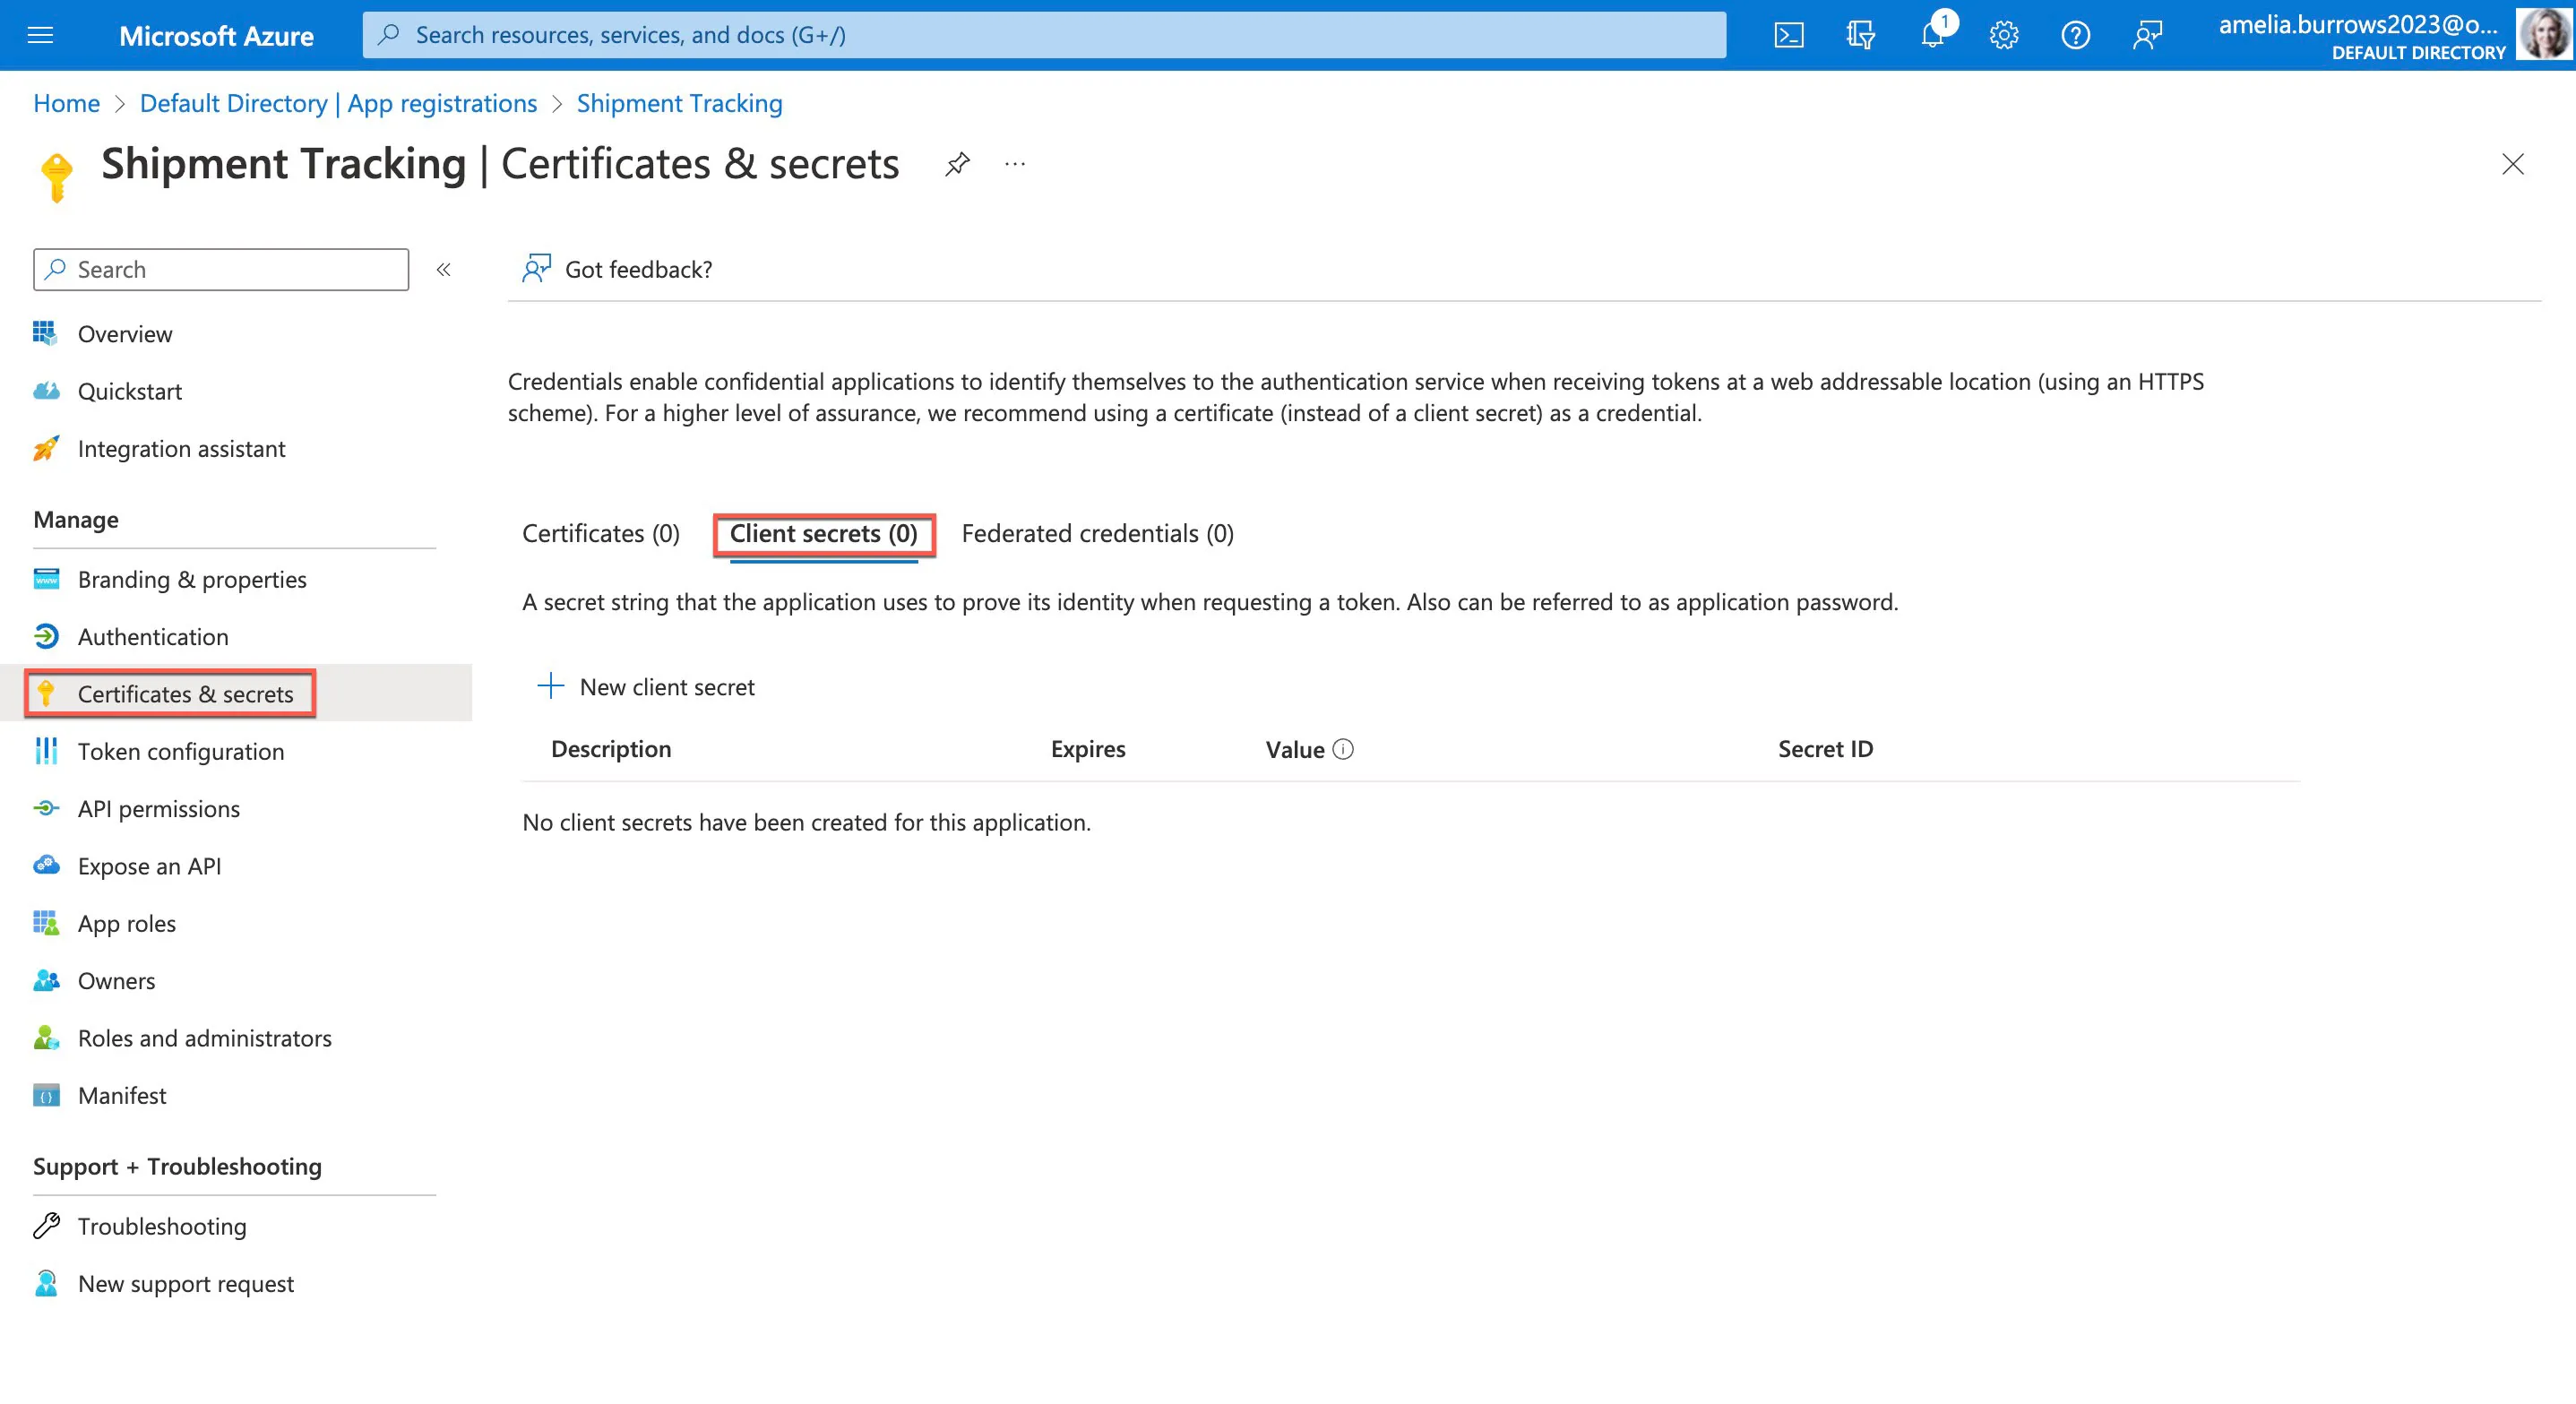
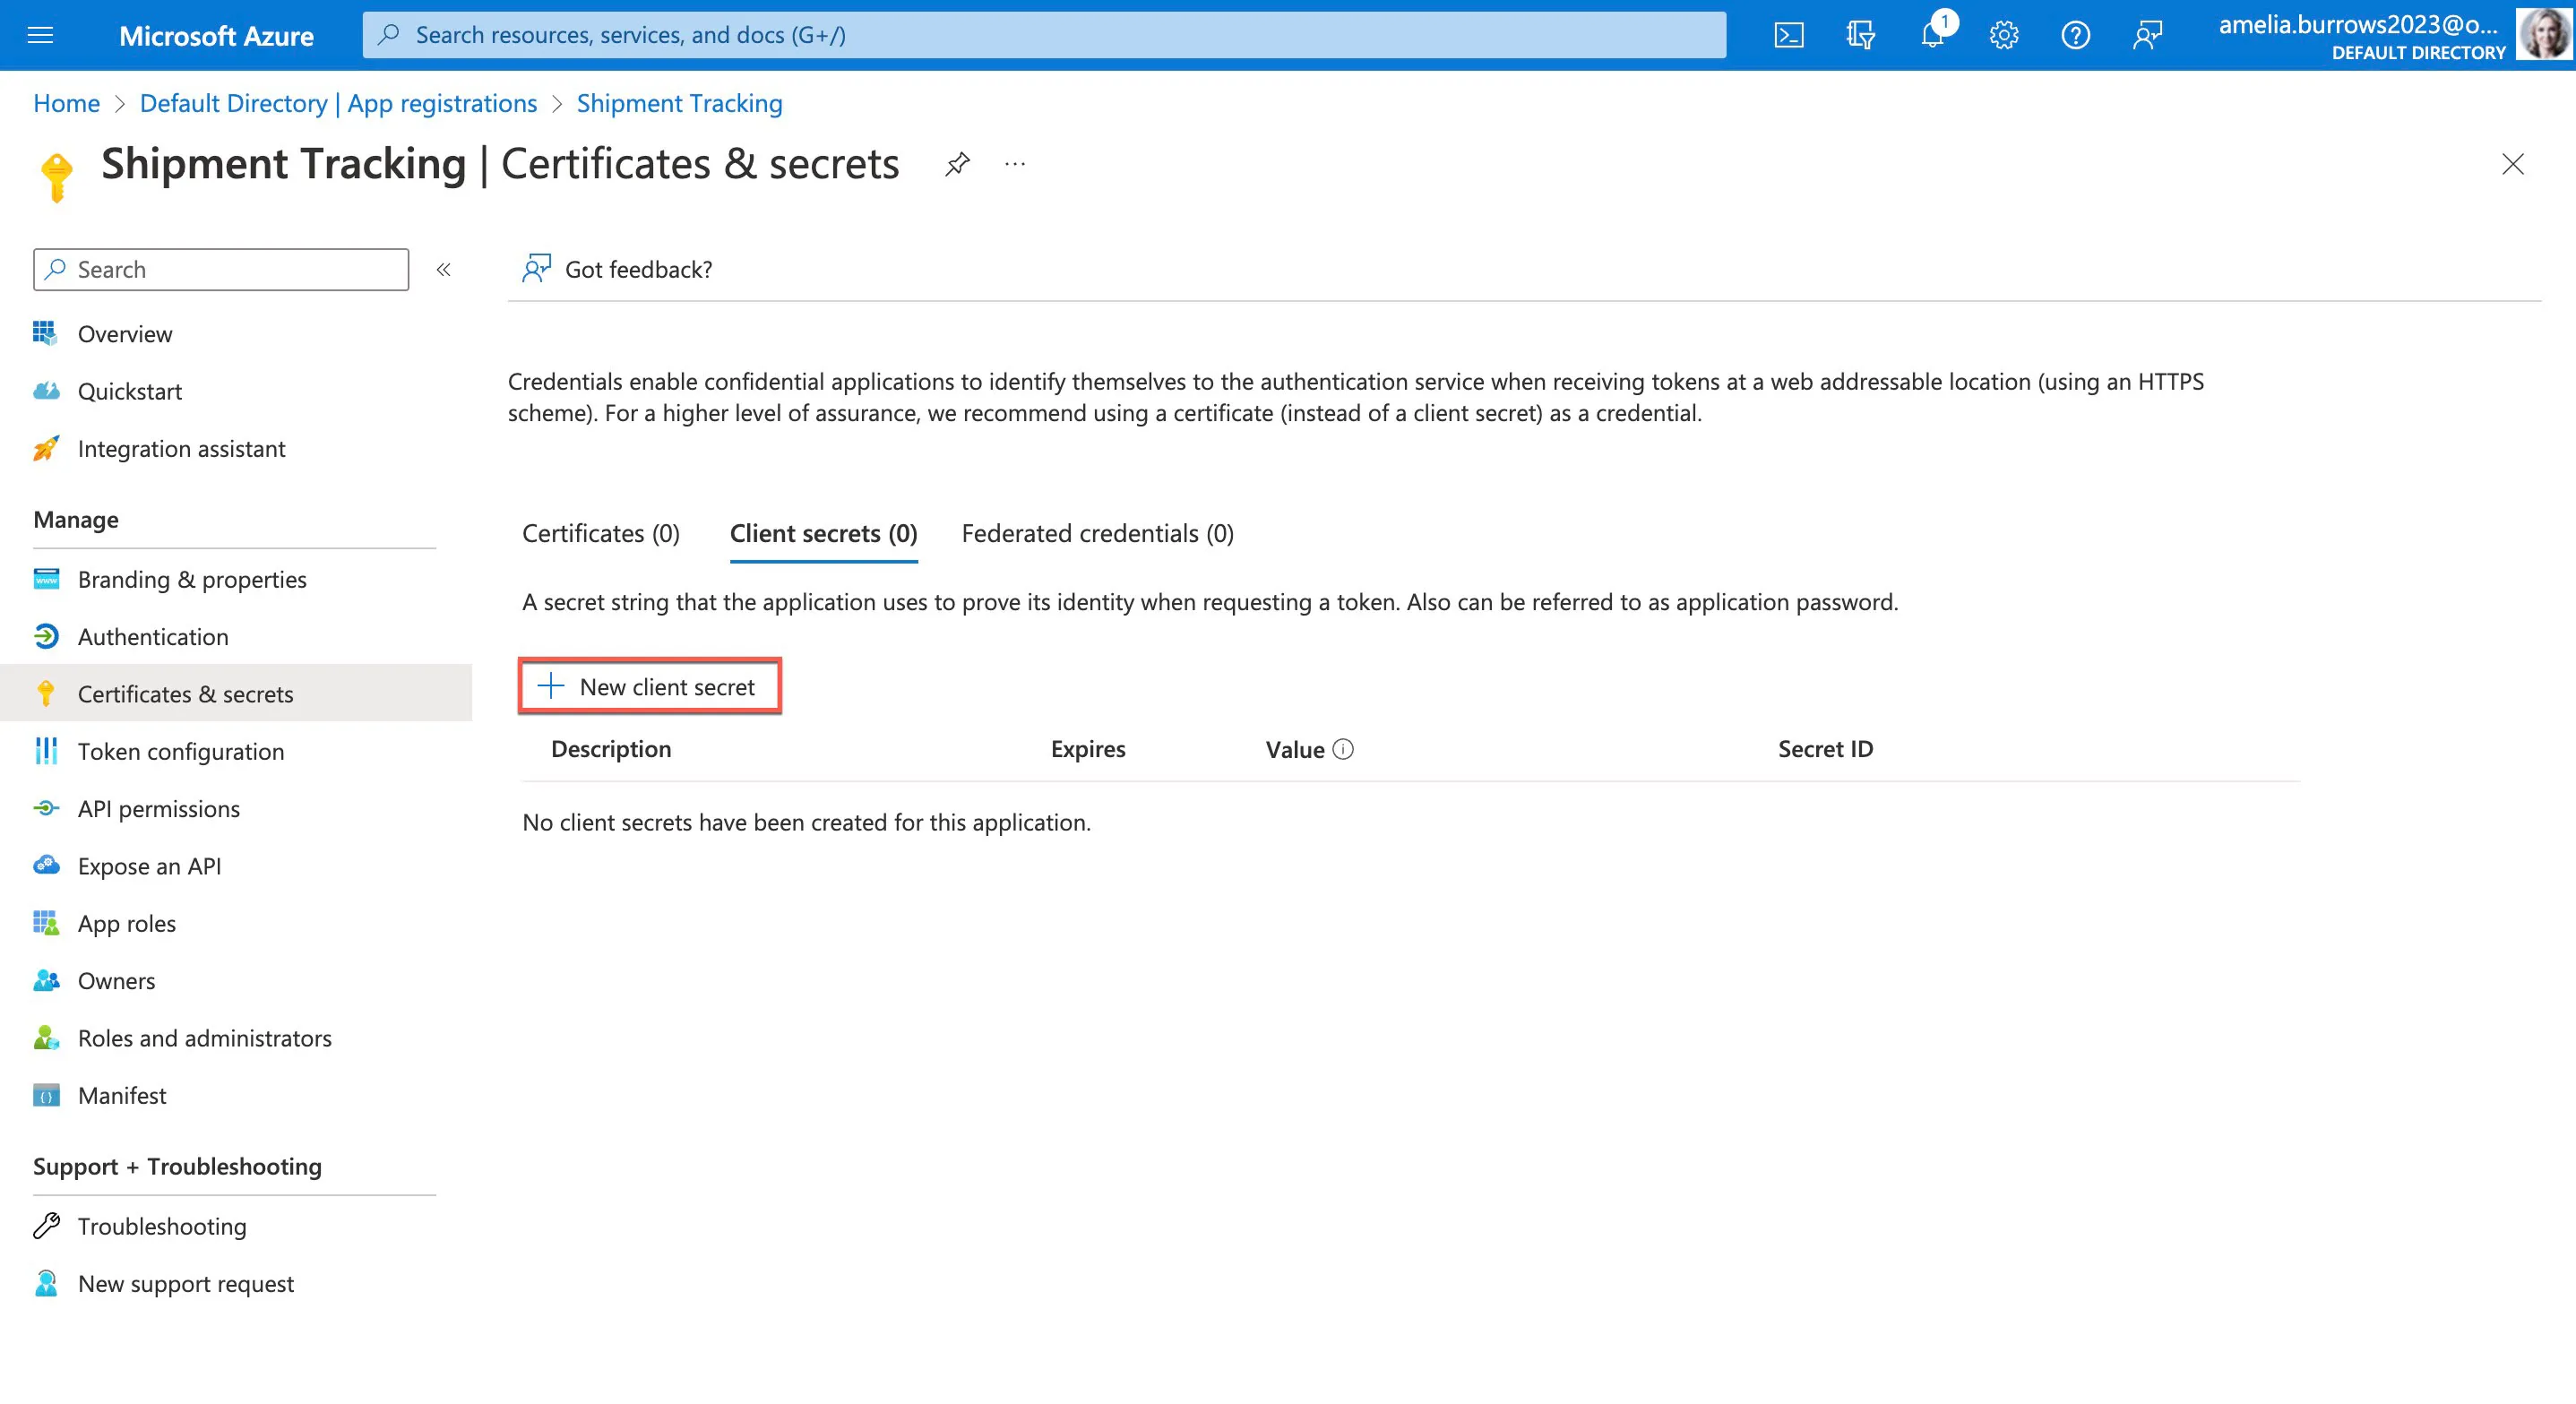
Now, navigate to the Certificates & secrets section from the menu-bar, and click the Client secrets section.
-
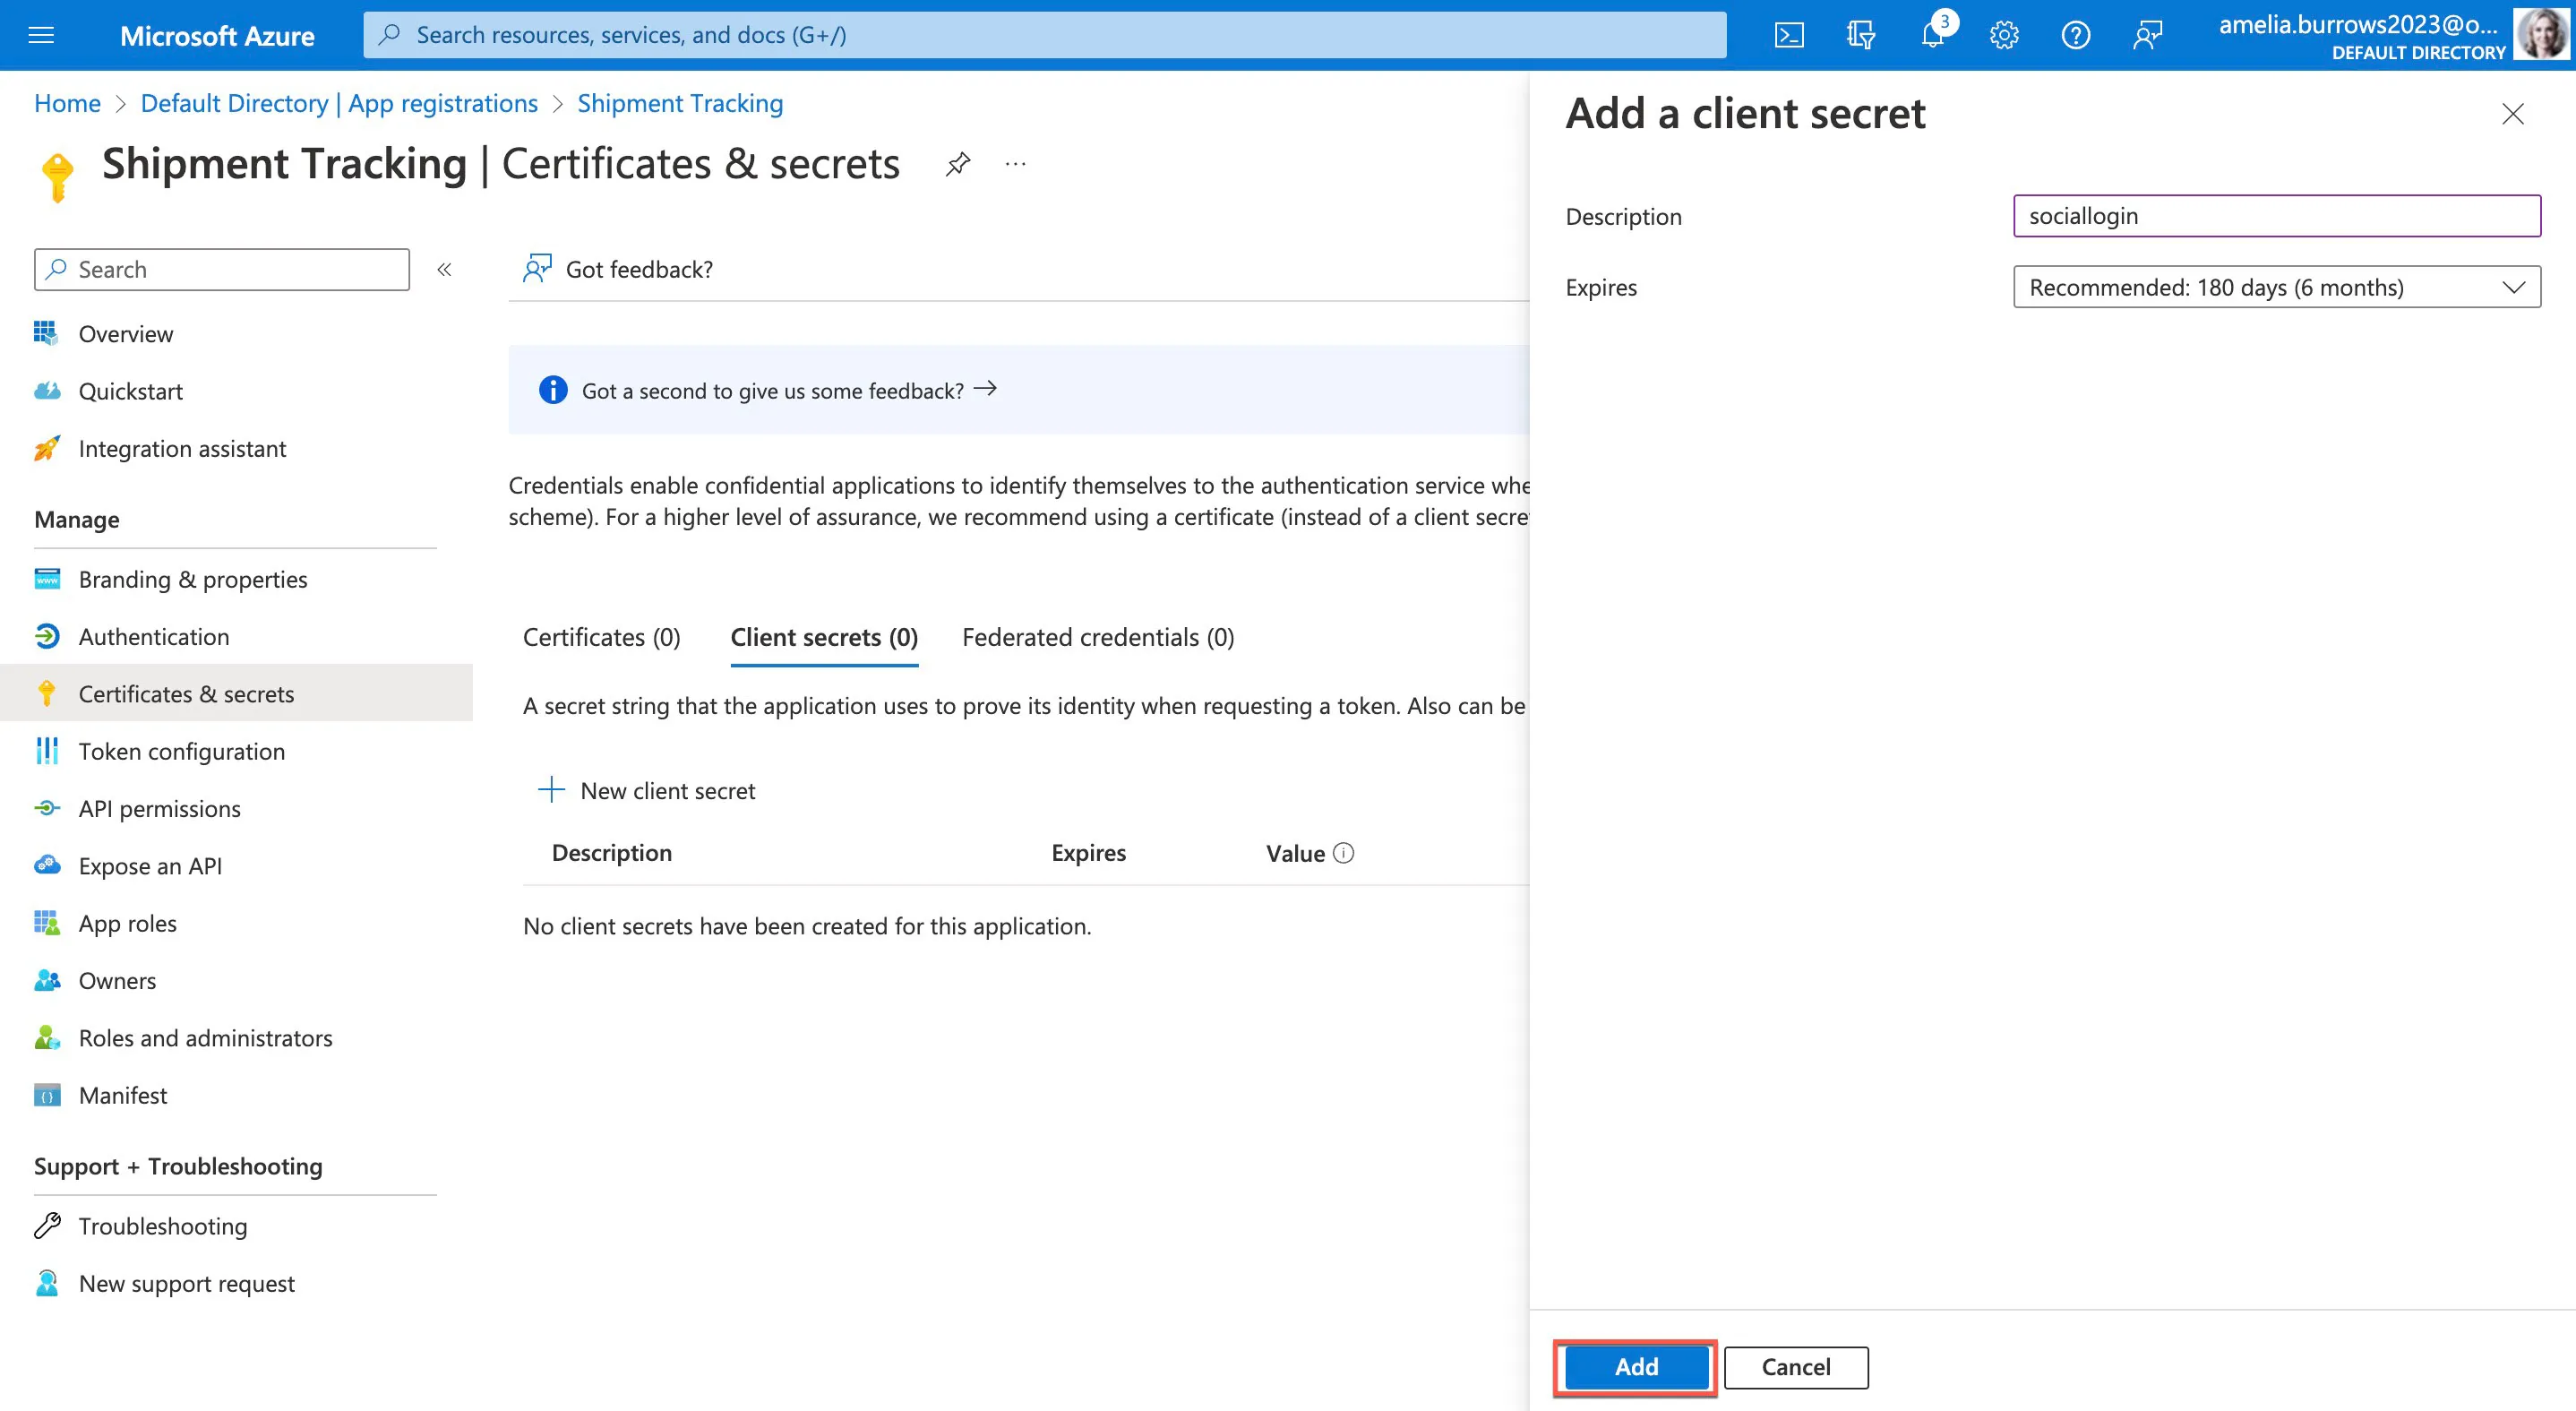
Click New Client Secret, to generate Client Secret.
-
Enter the required details and click Add.
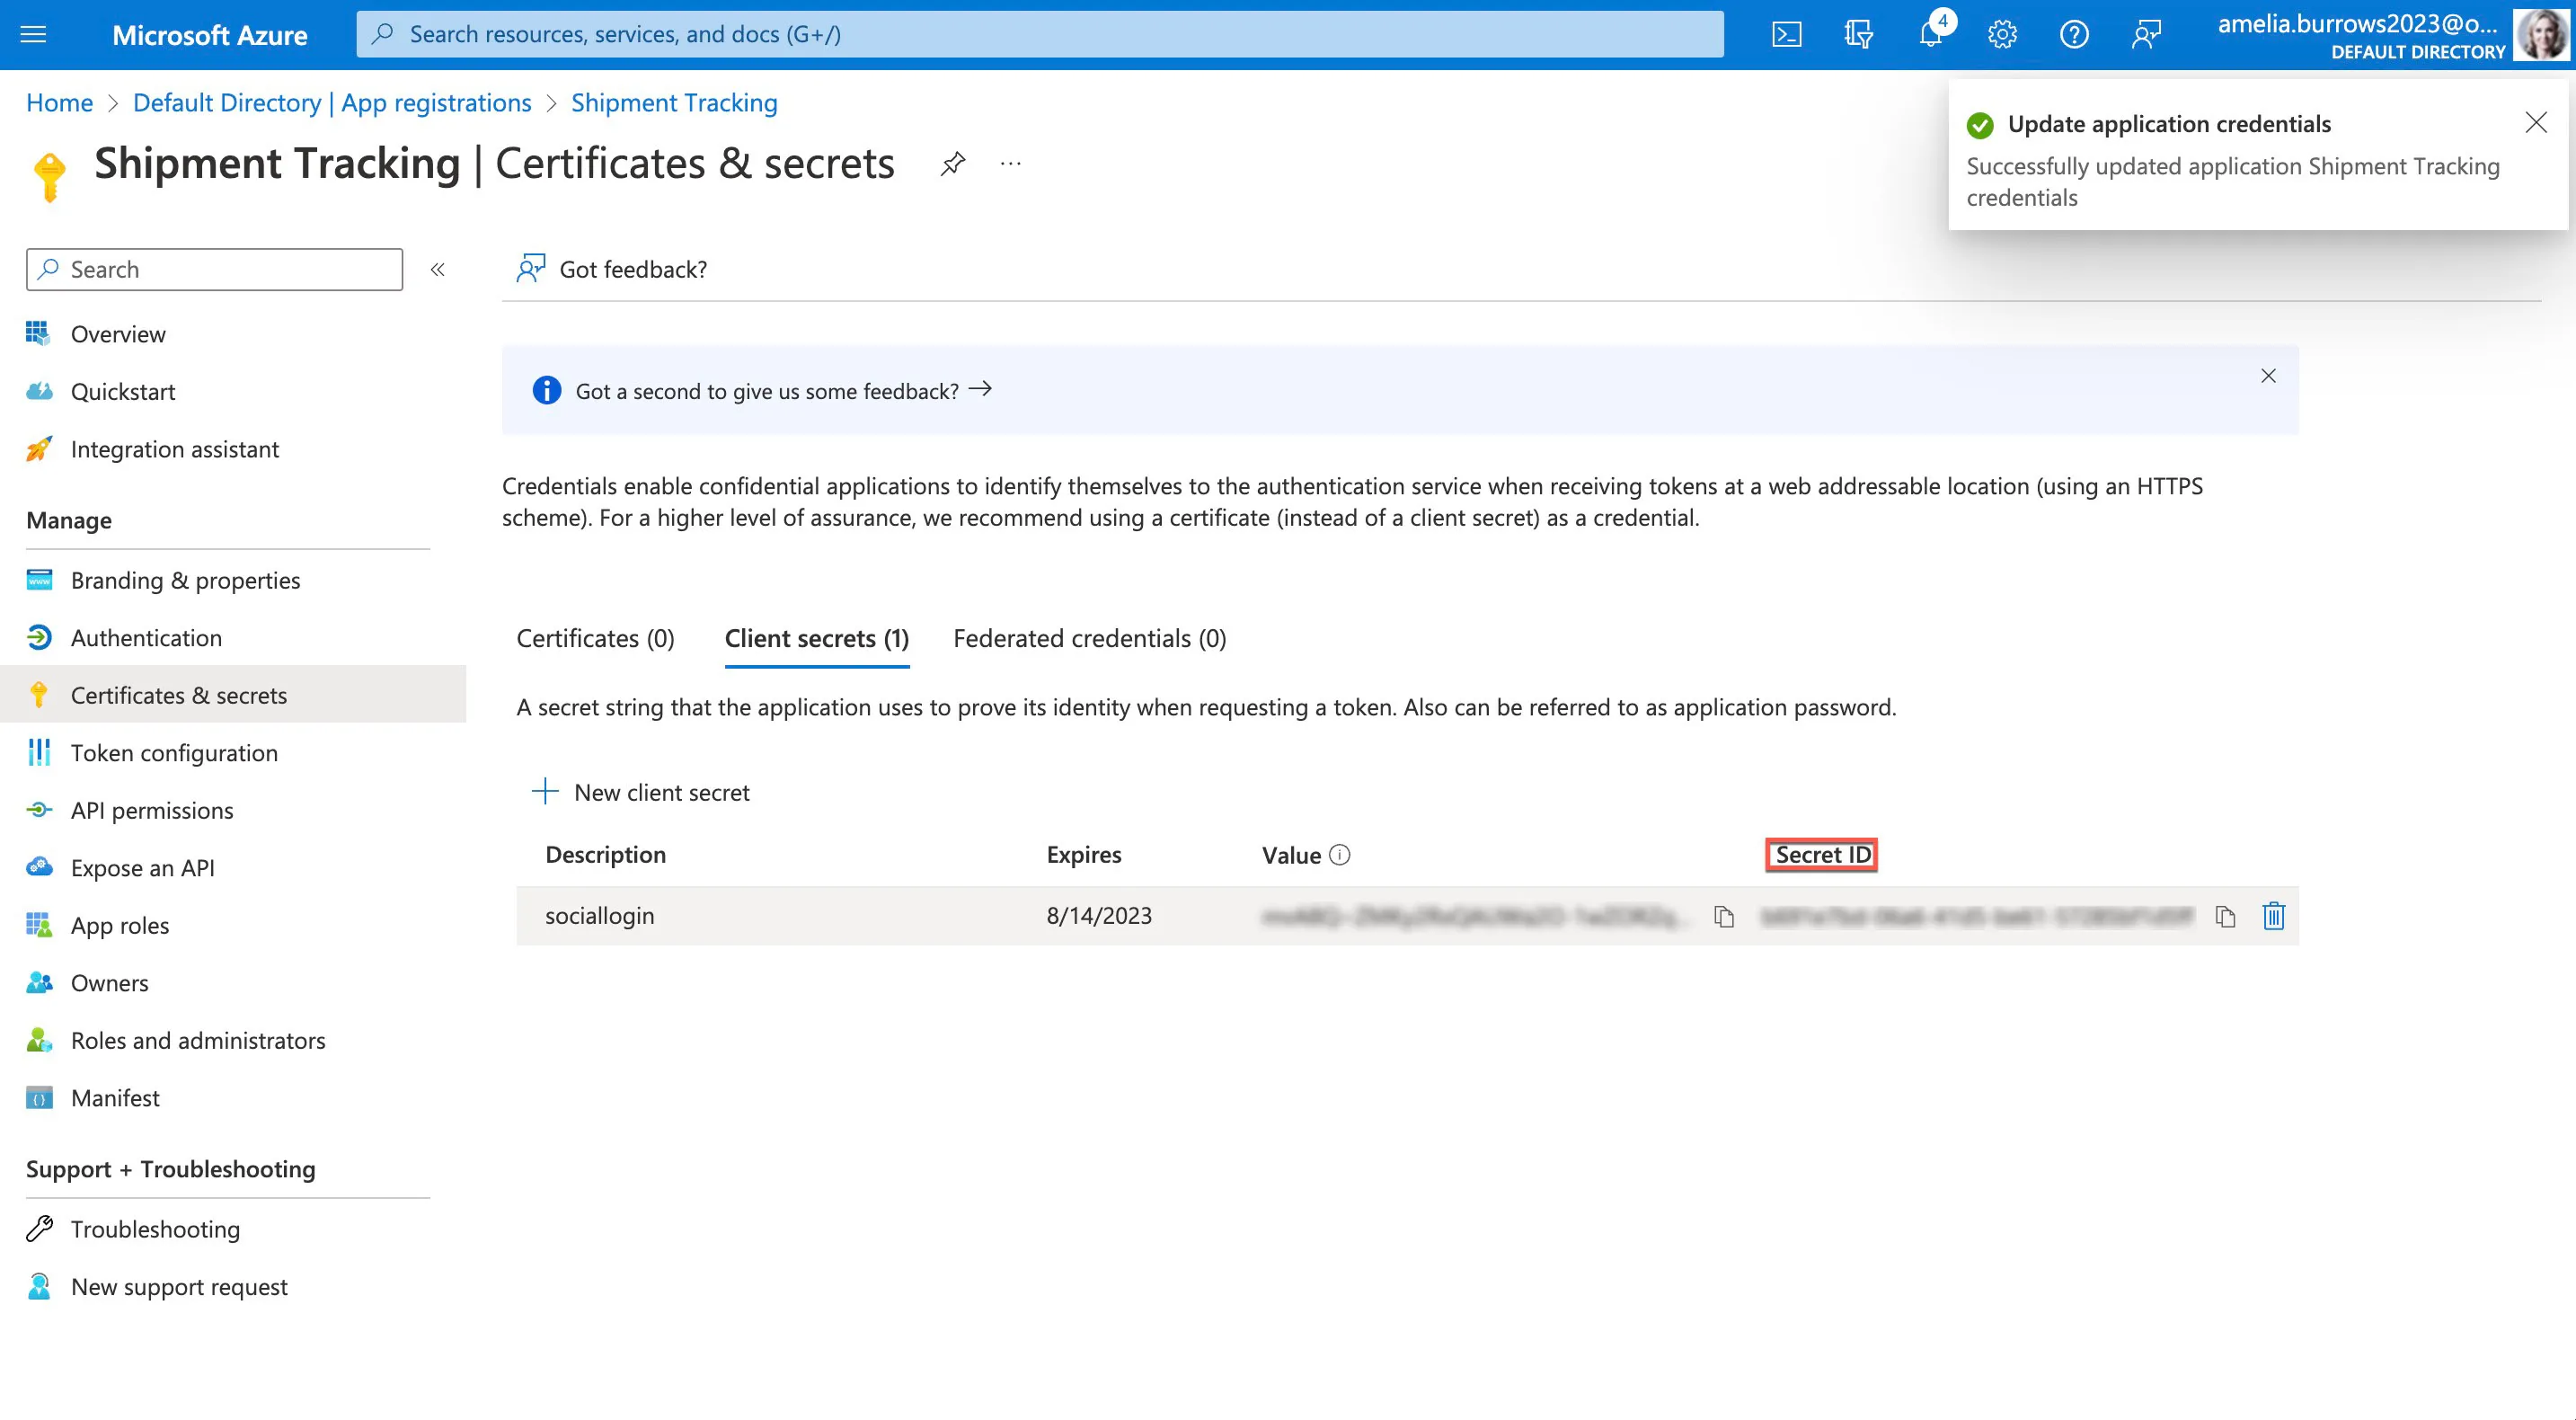
-
Copy the key present under the (Value) section.
-
Click the Microsoft 365 Social Login option present in the console and add the Client ID and Client Secret obtained and click Enable.
Last Updated 2026-02-10 15:16:32 +0530 IST
Yes
No
Send your feedback to us