Tables
You can create tables in the Catalyst Data Store to store your application’s data. You can create columns for a table that categorize and group similar data together, and then create records.
In Catalyst terminology, the rows in the Data Store represent the individual records of the table, and the columns represent the fields that are created for a table.
Create a New Table
To create a new table in the Data Store:
-
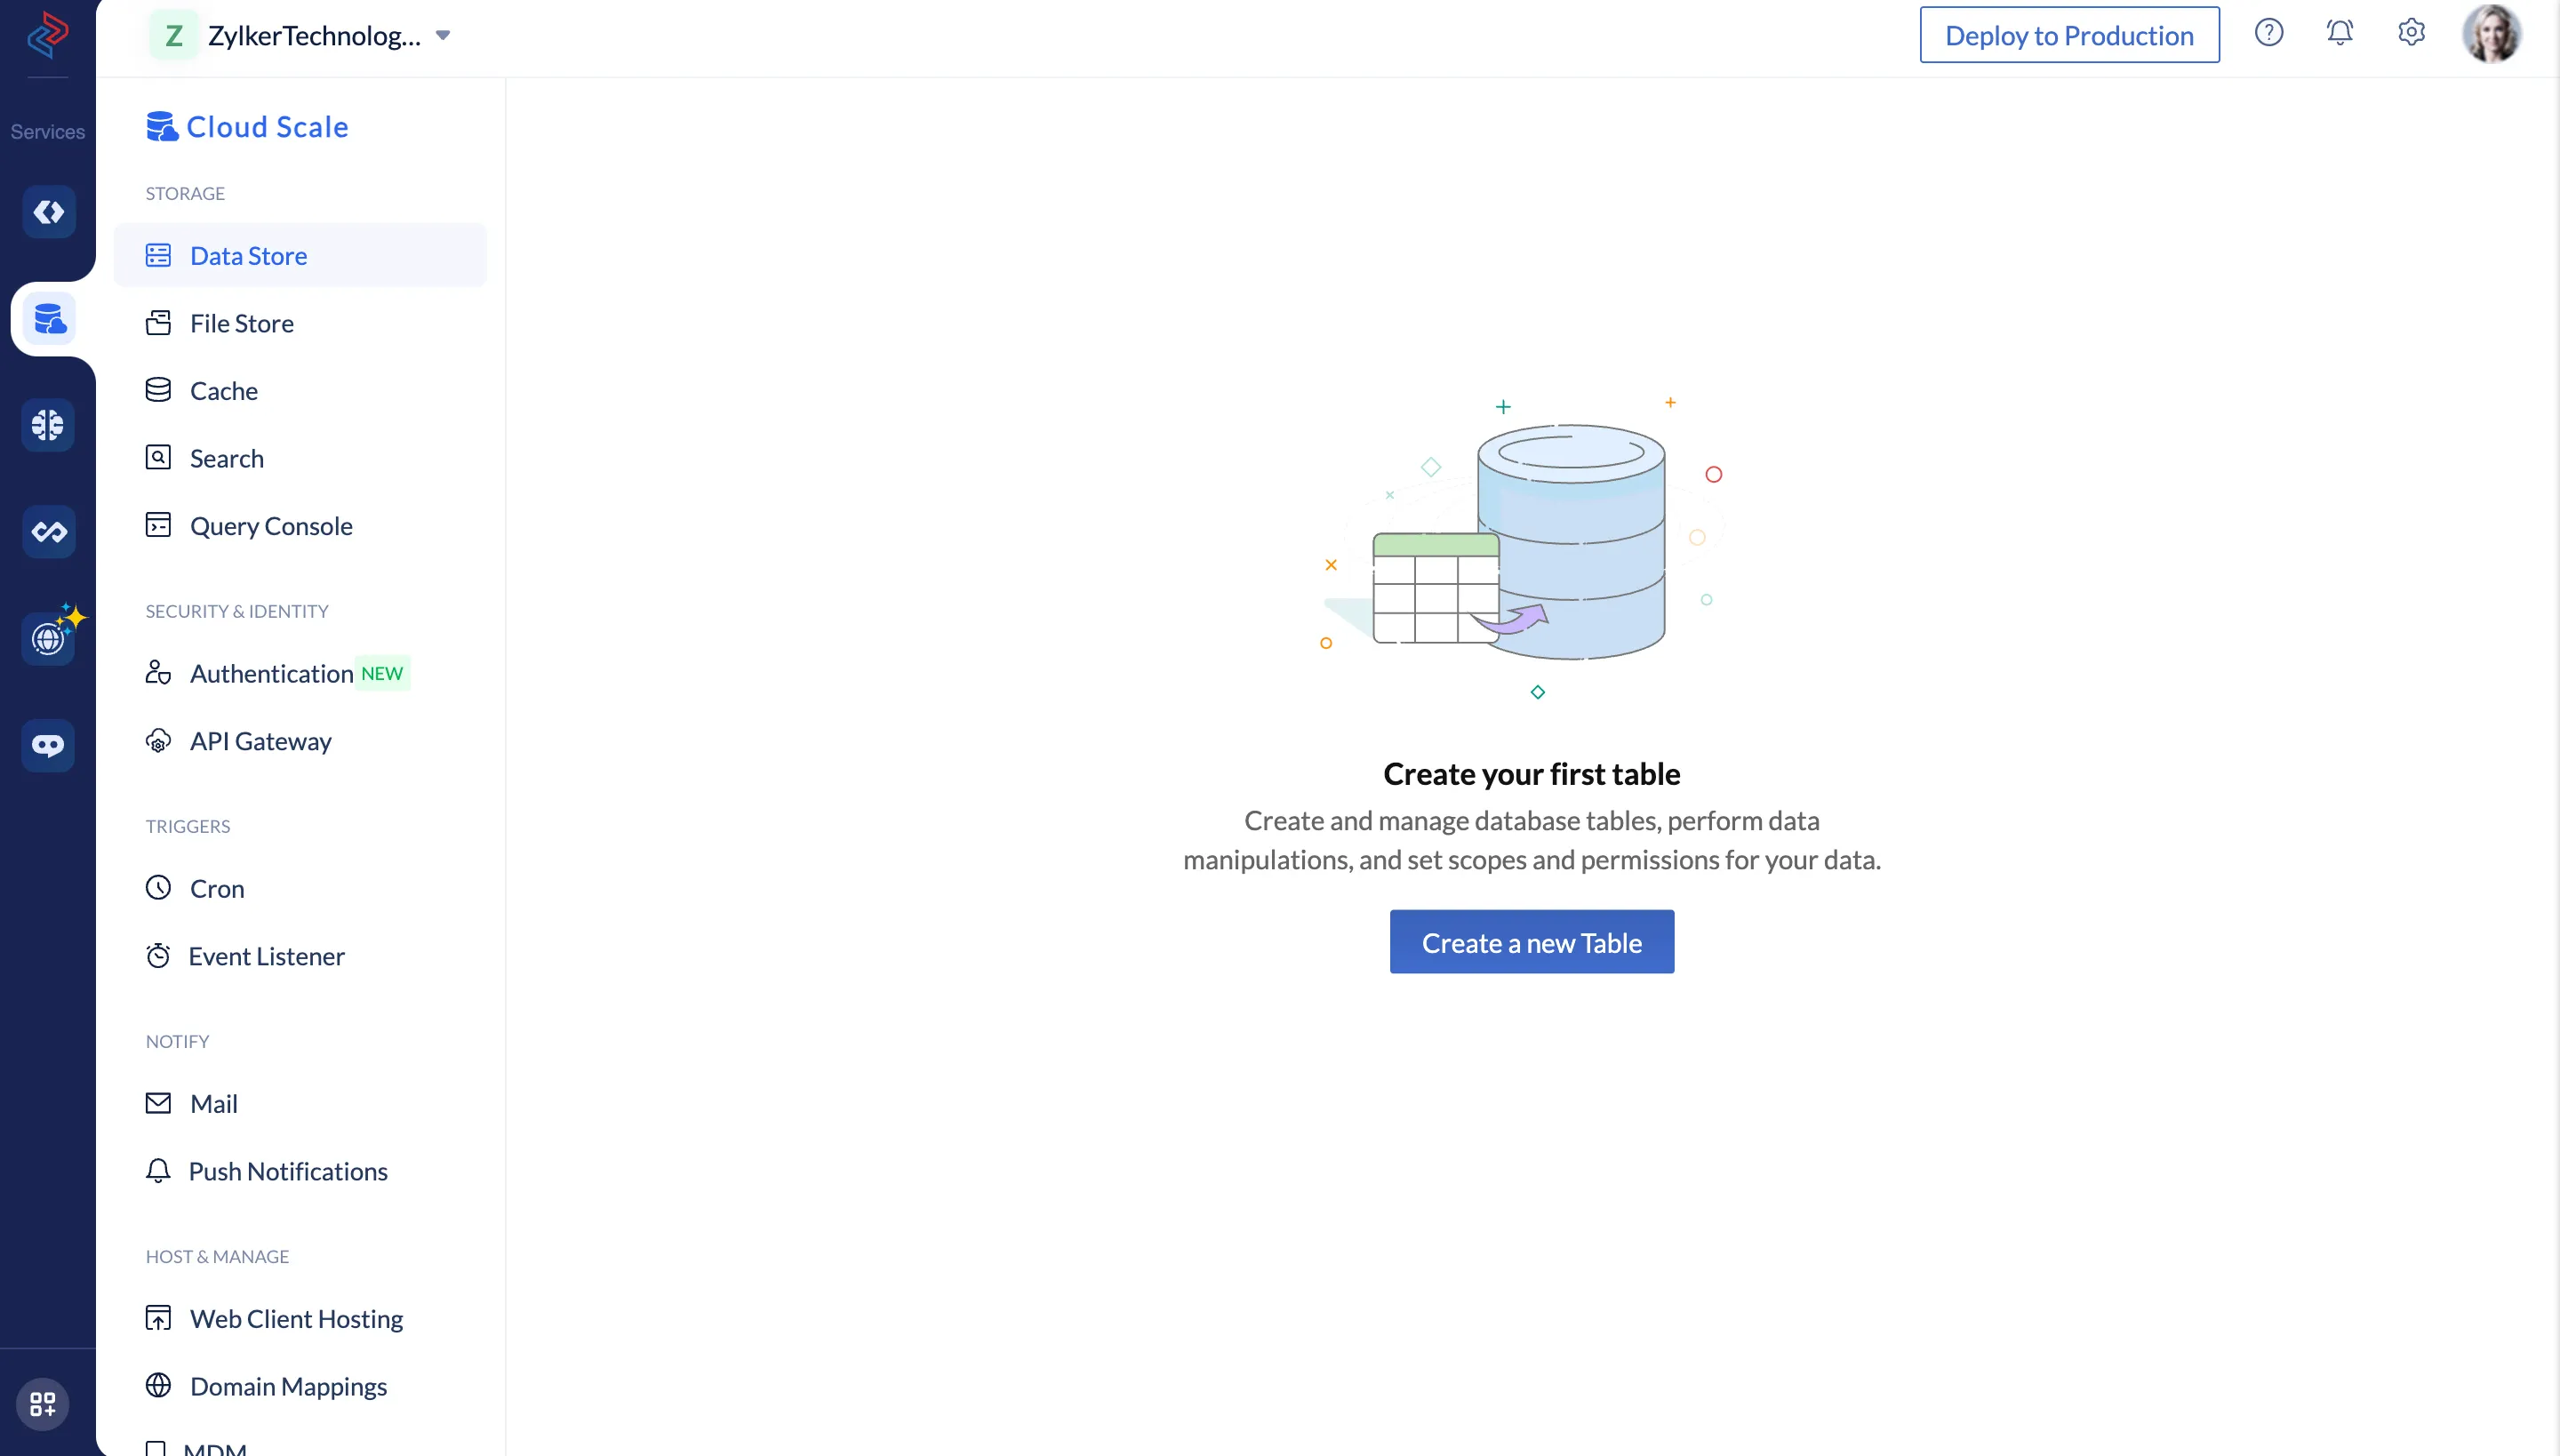
Navigate to Data Store under Storage in the Catalyst Cloud Scale console.
-
In the Data Store page, click Create a new Table.
-
Enter the Table Name in the text box and click Create.

The table is now created and displayed in the Data Store page. All tables that you create will be listed on the left hand side of the page.
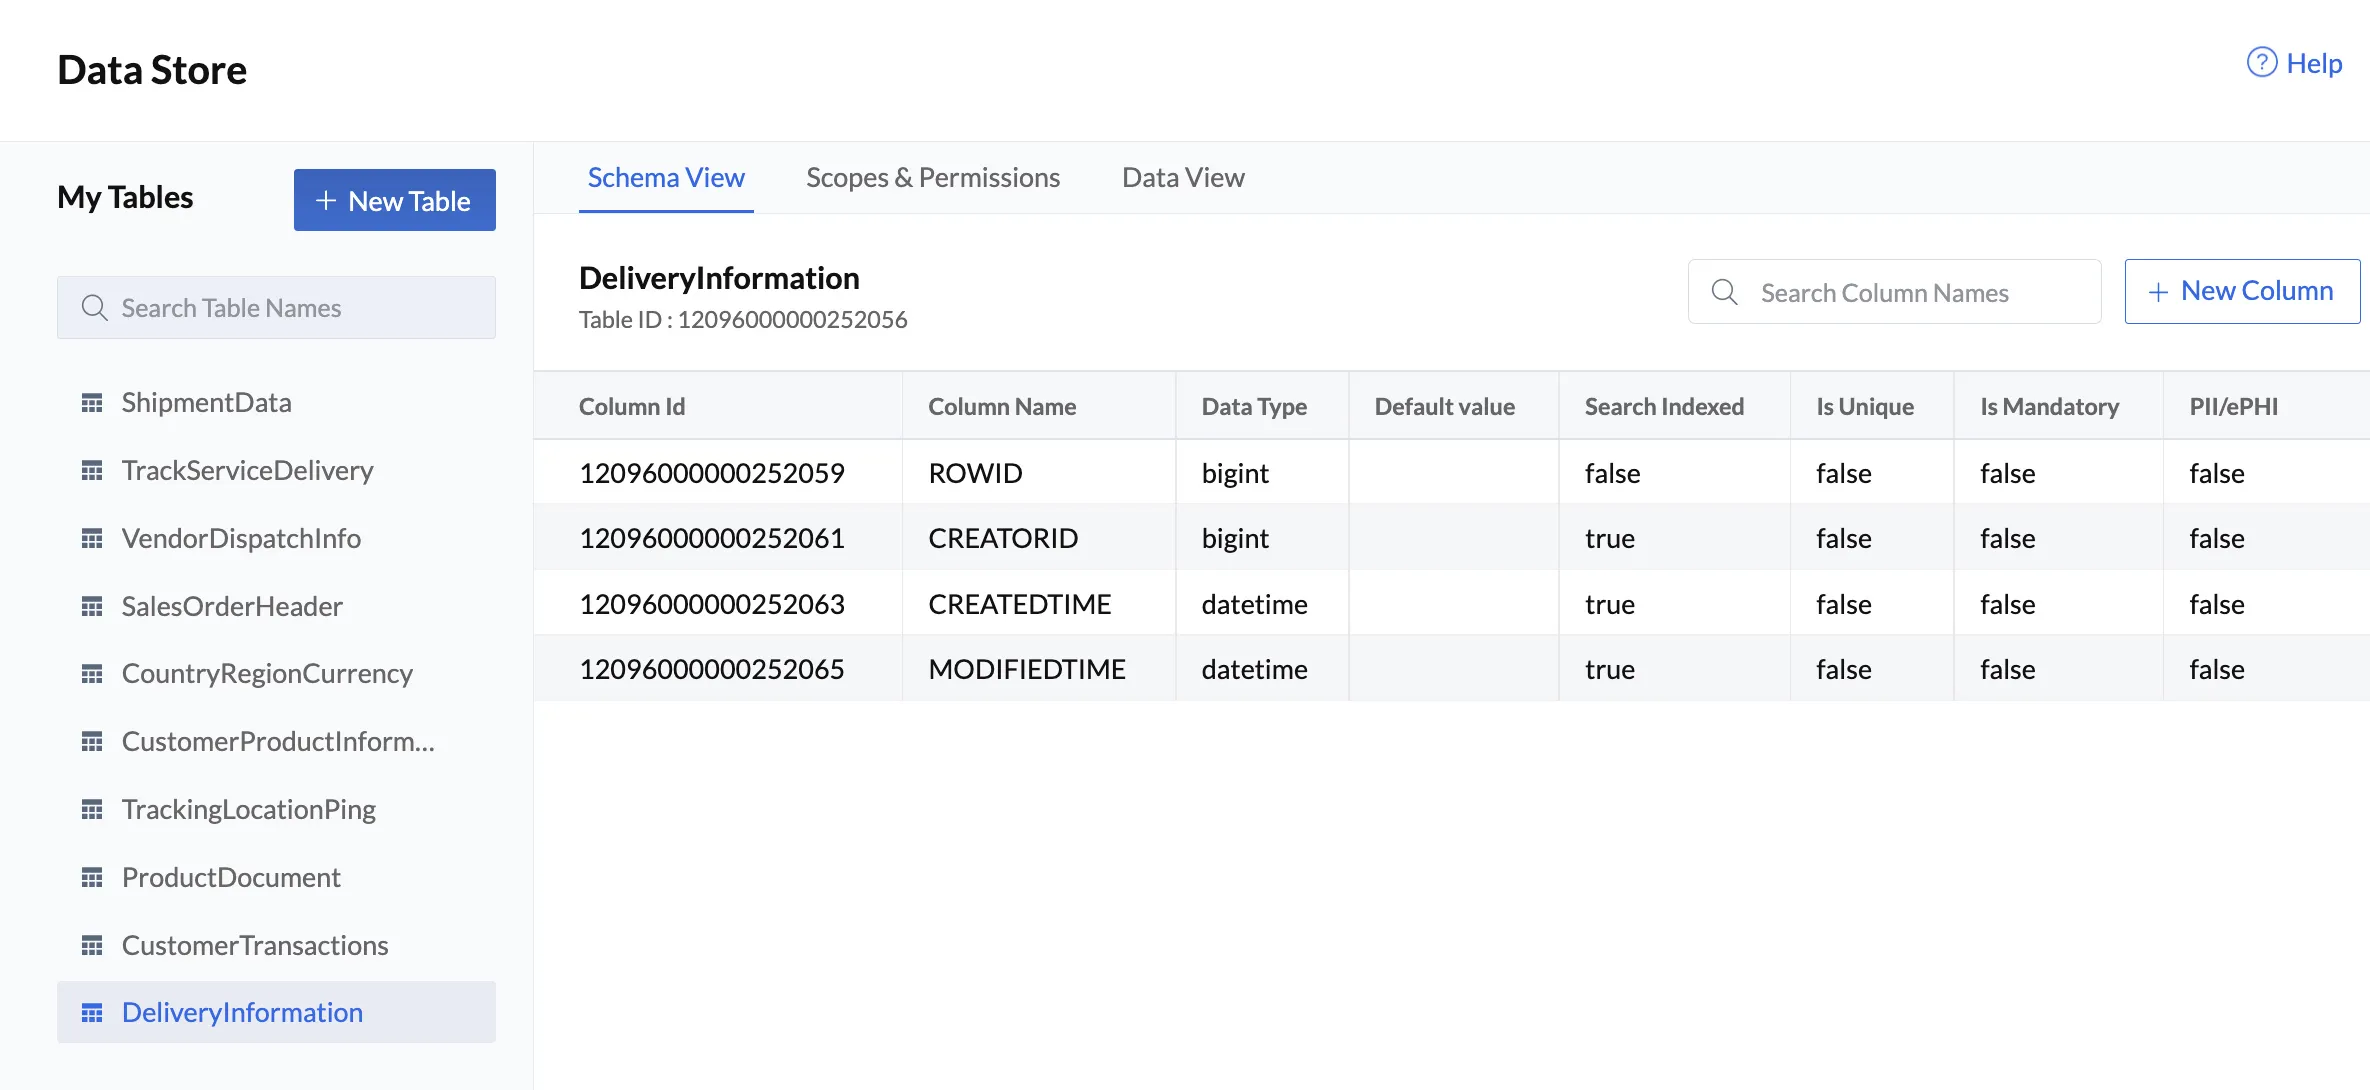
Once your table is created, a unique Table ID is created for it automatically. You can use it to refer to the table when working with the SDKs and APIs. You can find the Table ID under the table’s name when you click on a table from the list.
You can use the search box to search for a particular table by its name.
When you create a new table in the Data Store, a set of default columns for its characteristics are created automatically. You can learn more about these columns in the next section.
Update a Table Name
To update a table name in the Data Store:
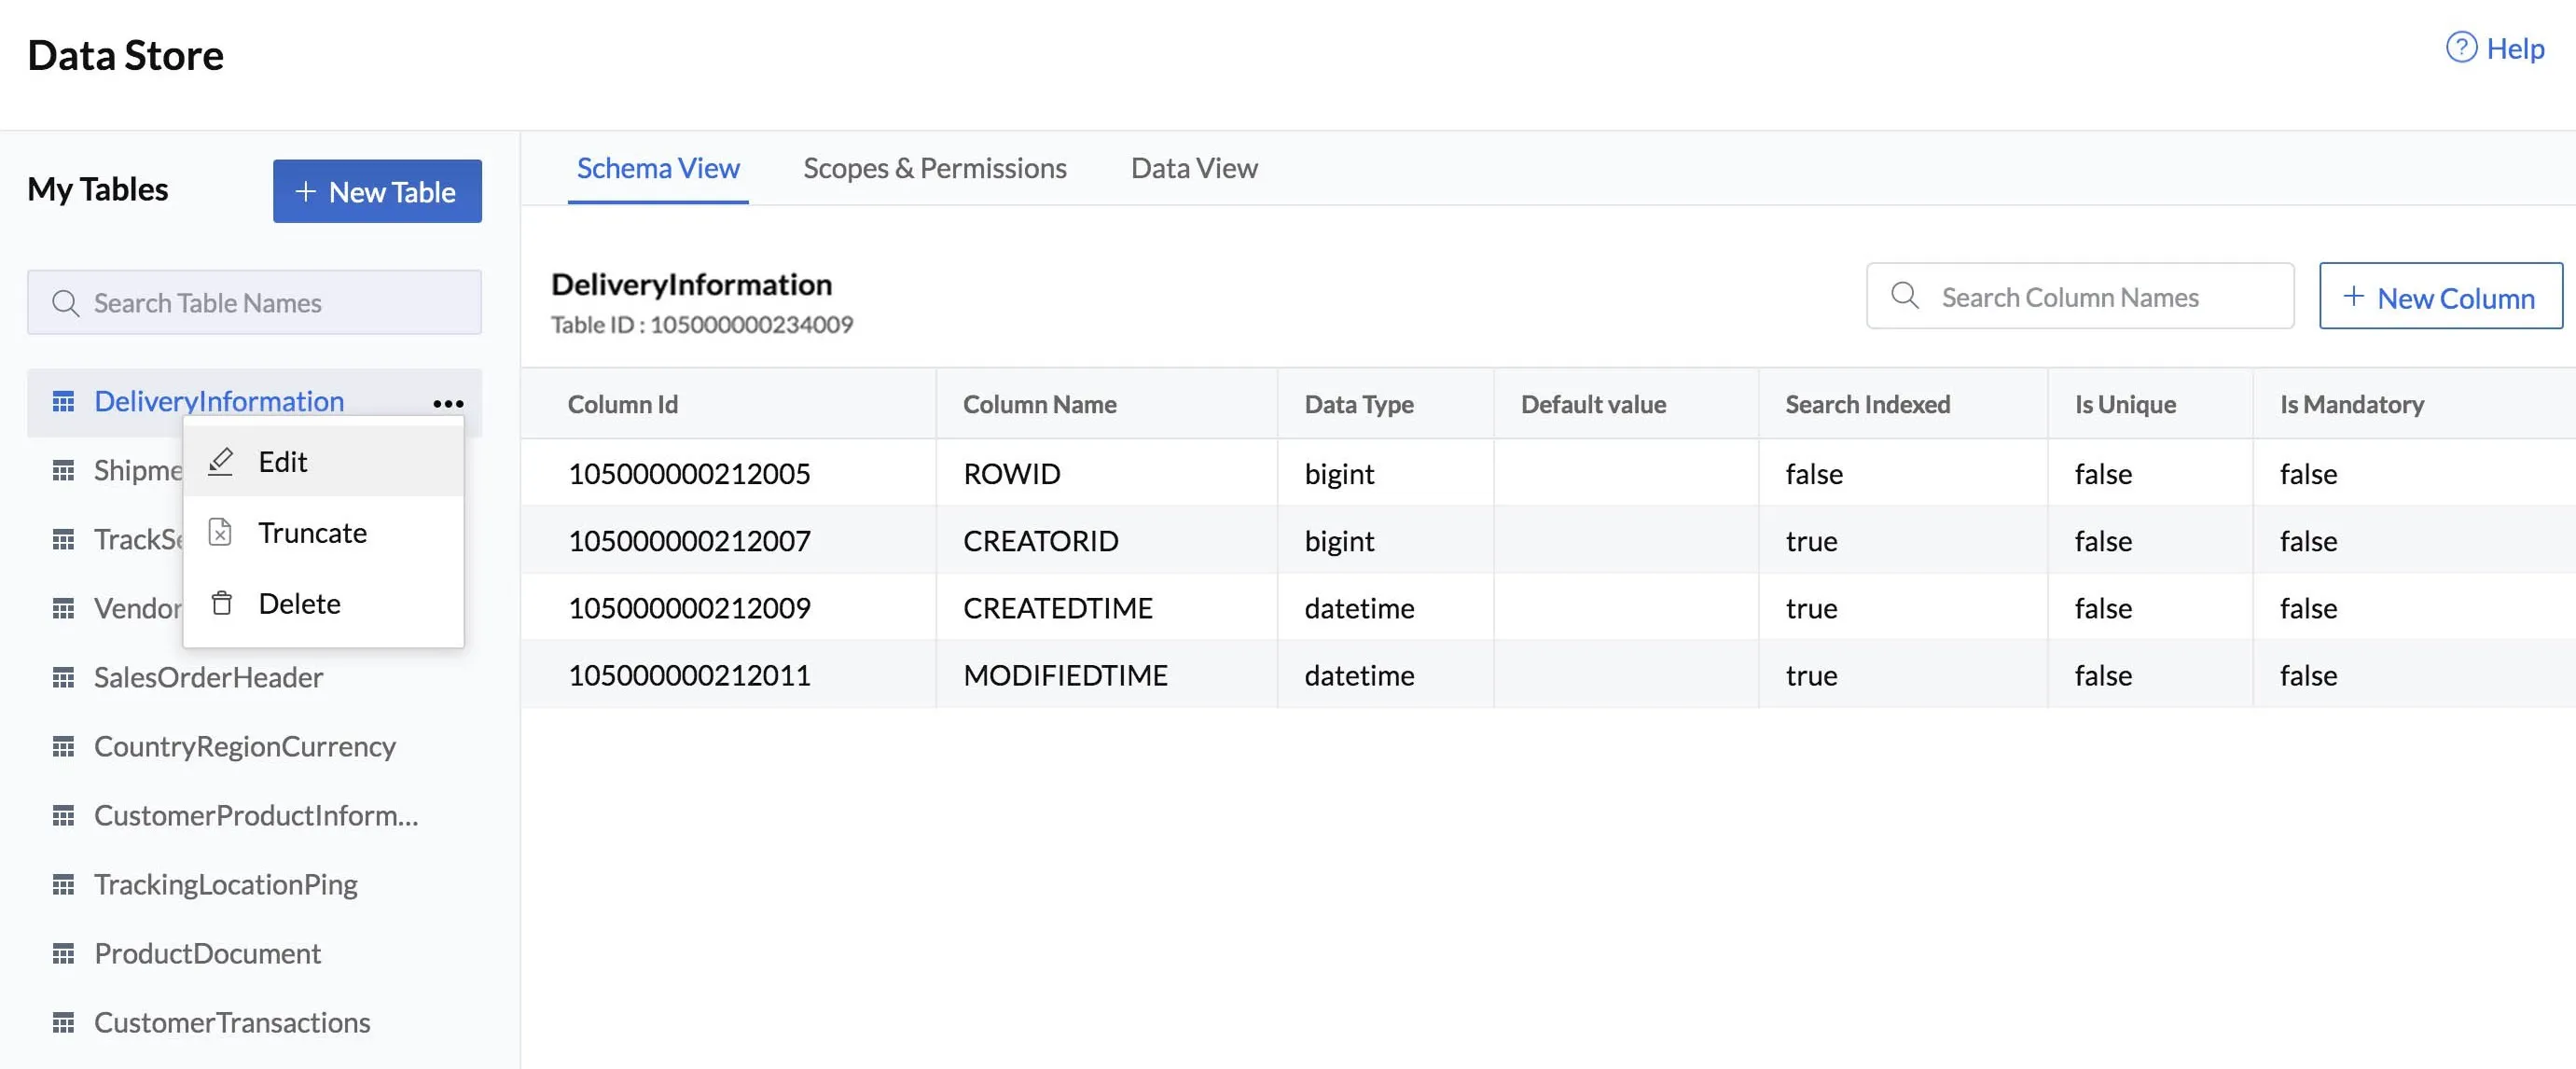
- In the Data Store page, click the ellipsis icon for the table that needs to be renamed and click Edit.
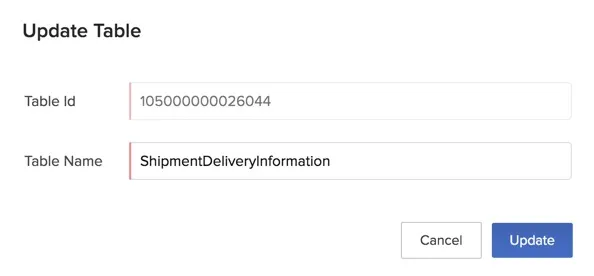
- Enter the new name for the table and click Update.
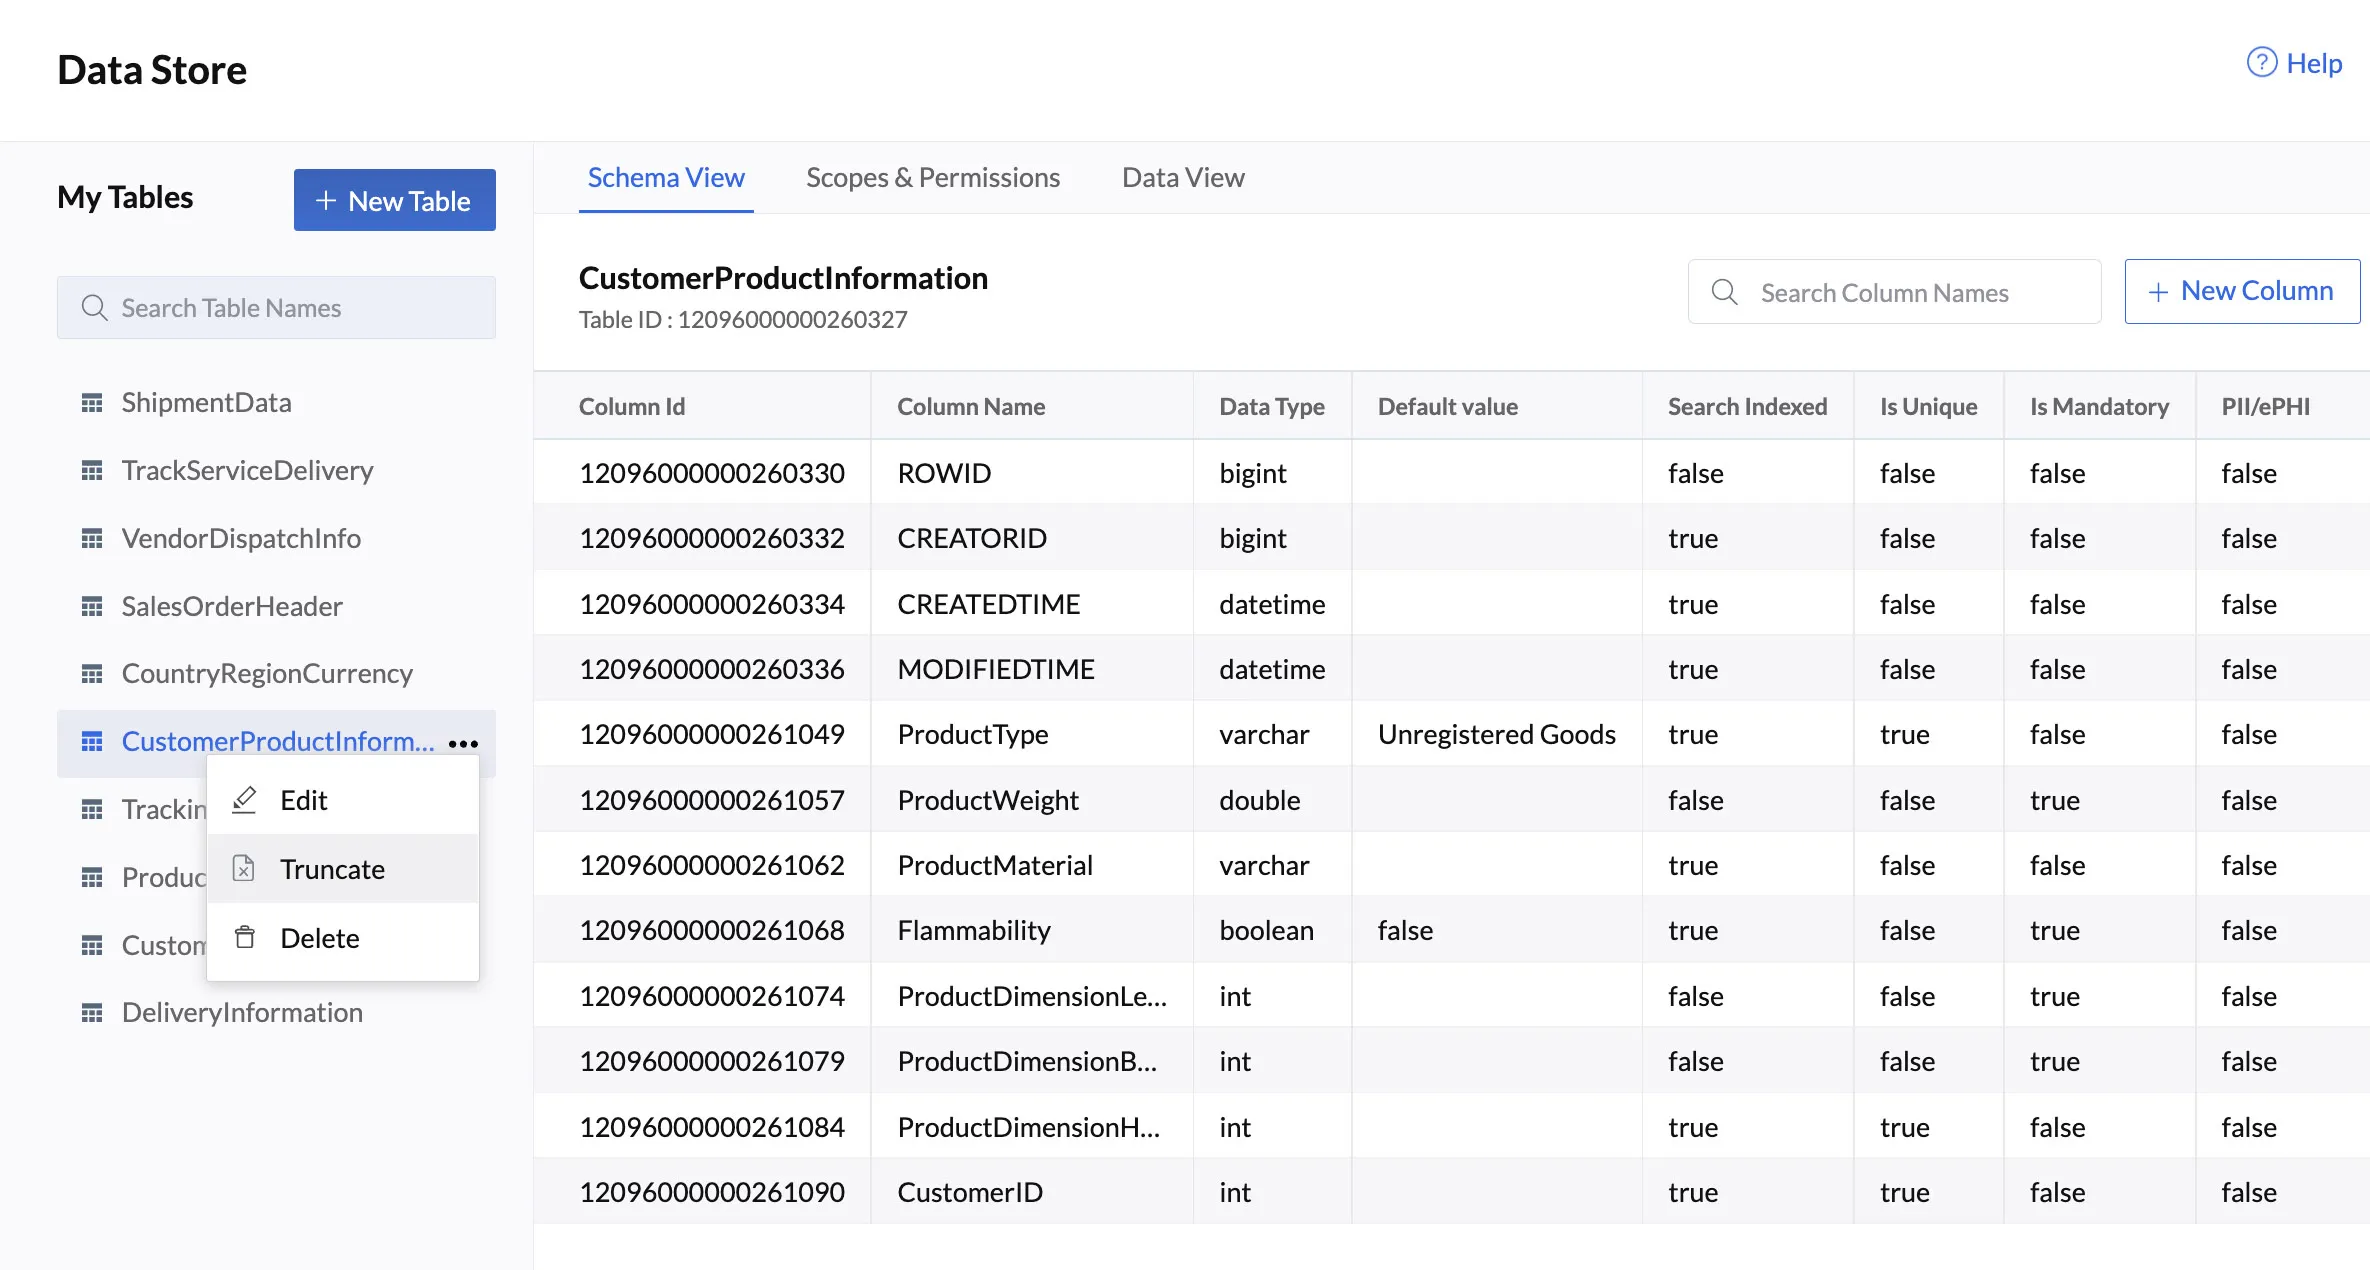
Truncate a Table
The truncate operation deletes all the records in the table, while retaining its schema. The columns of the table and the table’s metadata will still be available, after the operation has ended.
You can truncate a table if you want to re-populate a table with a new set of data periodically and clear the old data. You can also perform this operation if you want to avoid creating a new table from scratch, and use an existing table with pre-defined schema instead.
To truncate a table in the Data Store:
- Click the ellipsis icon for the table that needs to be truncated, then click Truncate.
- Enter “TRUNCATE” in the pop-up window to confirm the operation, then click Confirm.

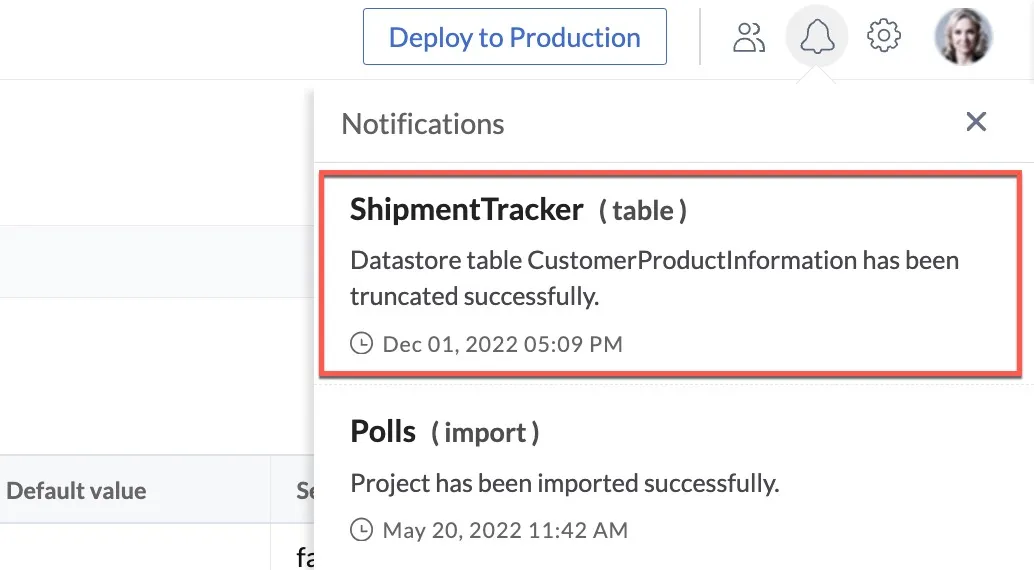
The truncate process will be initiated. A Catalyst scheduler will run in the background and execute the operation. You will be able to perform other operations in the Data Store while the truncate operation is still in progress.
After the truncate is complete, you will receive a notification in the console about the status of the operation.
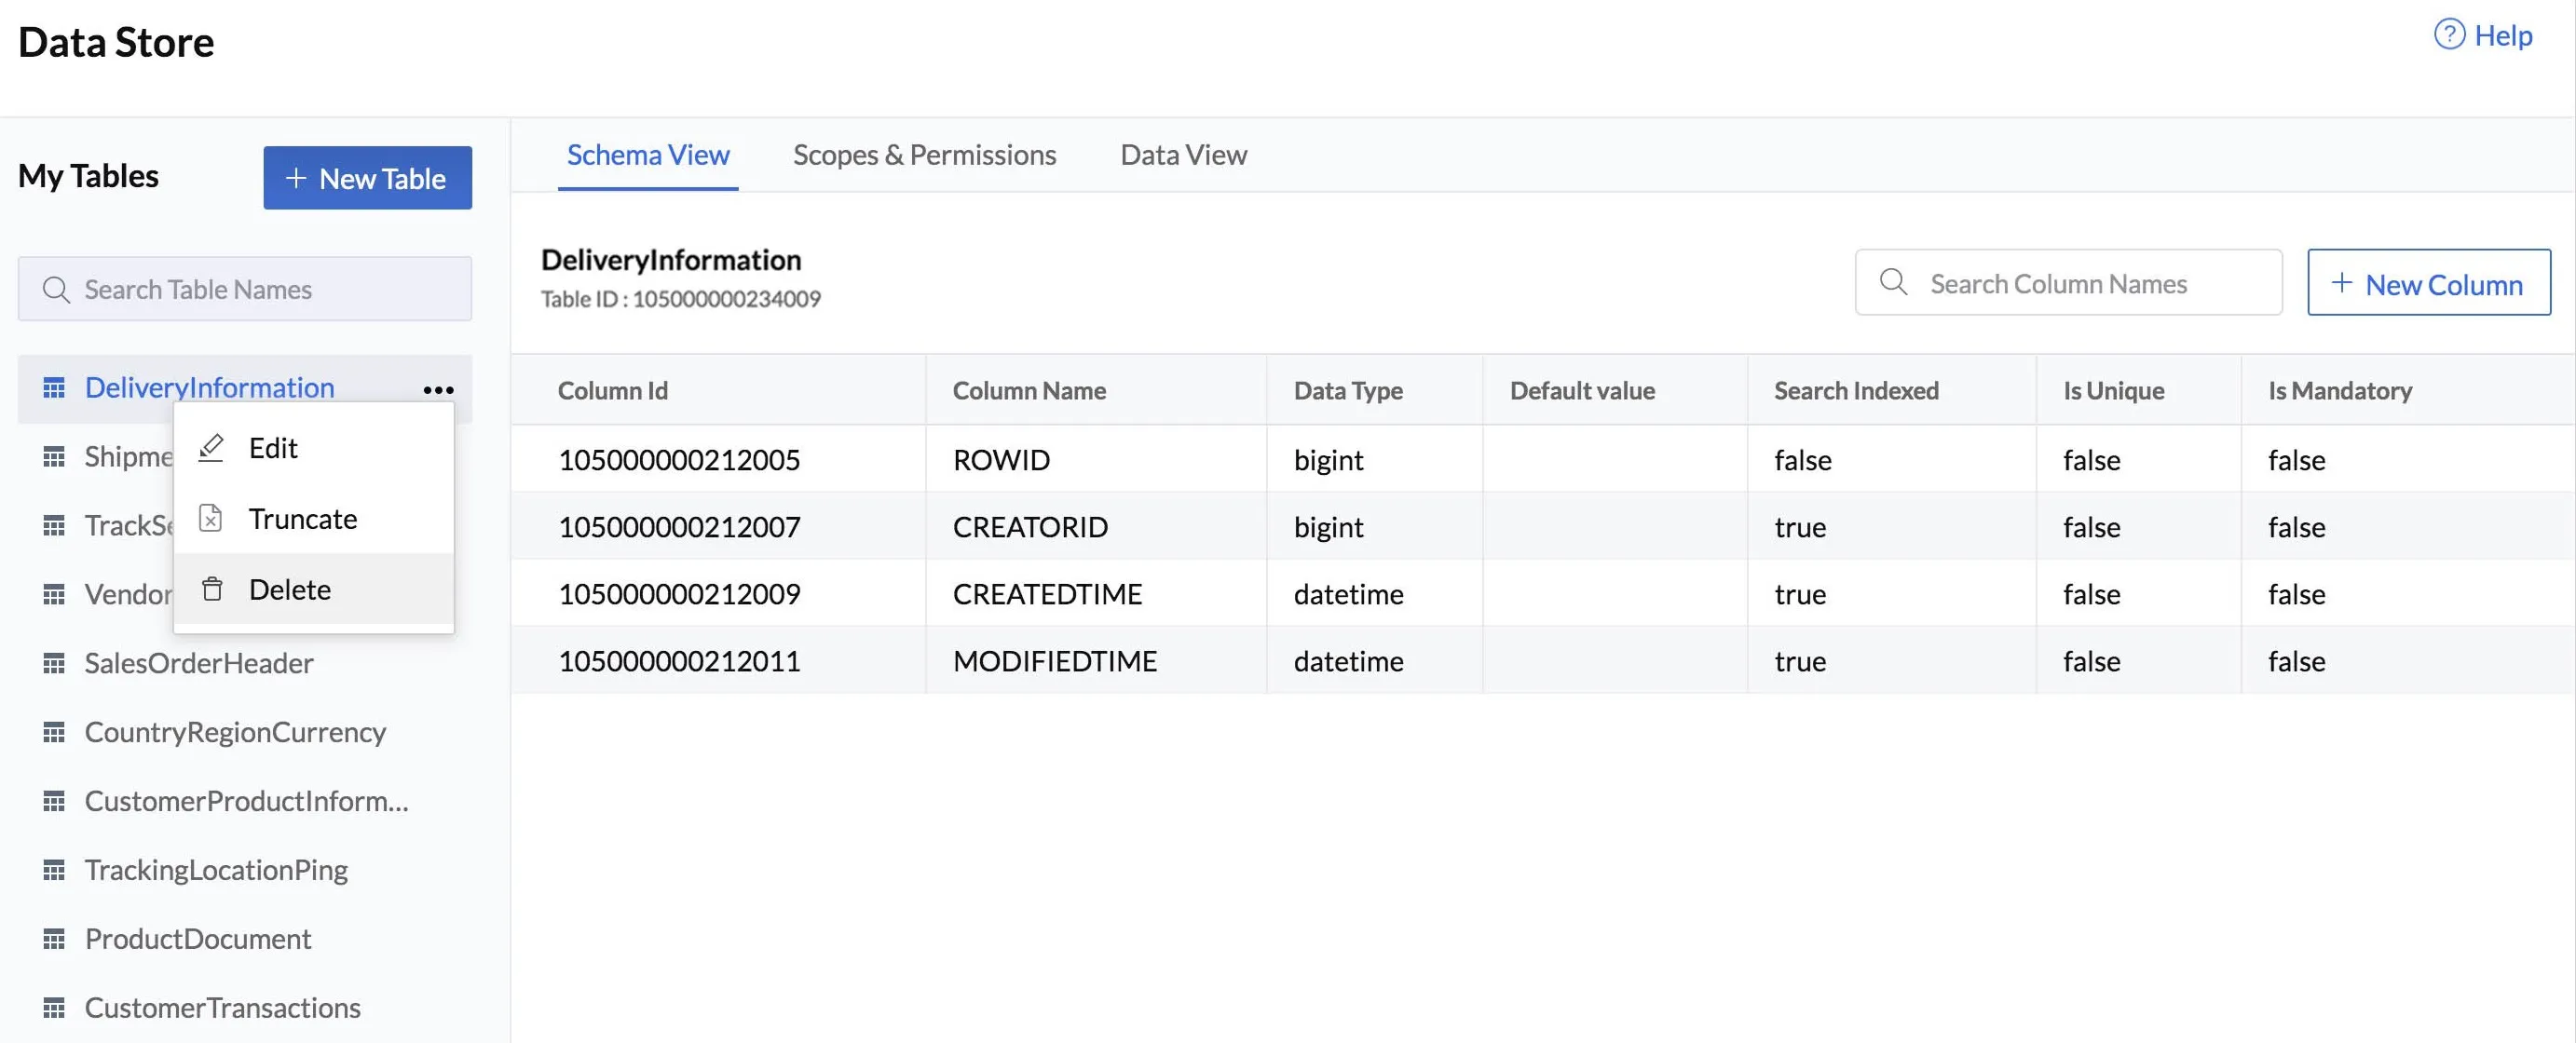
Delete a Table
To delete a table from the Data Store:
- Click the ellipsis icon for the table that needs to be deleted, then click Delete.
- Click Yes, Proceed in the confirmation pop-up.
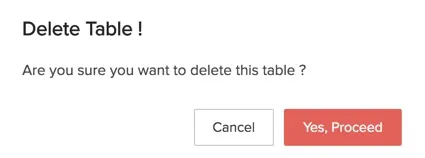
The table is now deleted from the Data Store.
Last Updated 2025-12-04 16:23:00 +0530 IST
Yes
No
Send your feedback to us