Android Push Notifications
Introduction
Catalyst uses Firebase Cloud Messaging (FCM) to forward push notifications of Catalyst apps to client Android devices. FCM is a cross-platform messaging solution by Google Firebase that provides a backend and a transport layer to distribute and deliver your push notifications to client devices. Catalyst acts as the app server in this scenario, which runs your app’s logic and processes your push notification requests. The section below explains this process in detail.
You can learn about the general architecture of the push notification flow from the Architecture help section.
Key Concepts
Implementation Path and Workflow
The implementation path of configuring Catalyst push notifications for your Android apps is listed as follows:
- Enable Firebase services in your Android app by registering your app in Firebase and adding their configuration file to your app’s directory.
- Obtain access to the Firebase Admin SDK by generating a private key.
- Enrol for push notifications in Catalyst by adding the Firebase Admin SDK private key to Catalyst.
- Register mobile devices to receive notifications.
After you perform the implementation described above, the following process happens in the background when push notifications are sent from your app:
- Catalyst interacts with FCM’s backend through Firebase Admin SDK, the superior and highly recommended option for interacting with FCM servers.
- Catalyst forwards your push notification messages to the FCM’s backend from your business logic, or the Catalyst console in case of test notifications.
- Firebase then routes the push notification messages to client apps running on users’ devices based on the configured server logic.
Elements of Android Push Notifications
Android supports a host of notification types ranging from basic text notifications, notifications with rich media elements, to call-style notifications. FCM categorizes messages to clients in two types, as explained in their help documentation- Notification messages and Data messages. You can compose notifications in either of these types as per the format and specifications described in their help page.
Elements such as images, hyperlinks, and call-to-action buttons can be passed as the data payload in these message formats. Catalyst also supports notification badge counts in your Android push notifications. This displays the number of notifications that are waiting to be read in the notification badge.
You must adhere to the standards, guidelines, and hard limits defined by Android and FCM while composing and sending push messages. You can find more information regarding this from Android’s official documentation for designing and developing notifications.
Configure and Enroll for Android Push Notifications
The steps to be followed for configuring and enrolling for Catalyst Push Notification services for an Android app are listed below in a logical sequence:
Step 1: Generate Firebase’s Android Configuration File
To begin, you must enable Firebase in your Android app. This can be done by creating a project on Firebase for your Android app and adding their Android SDK and configuration file to it as described below:
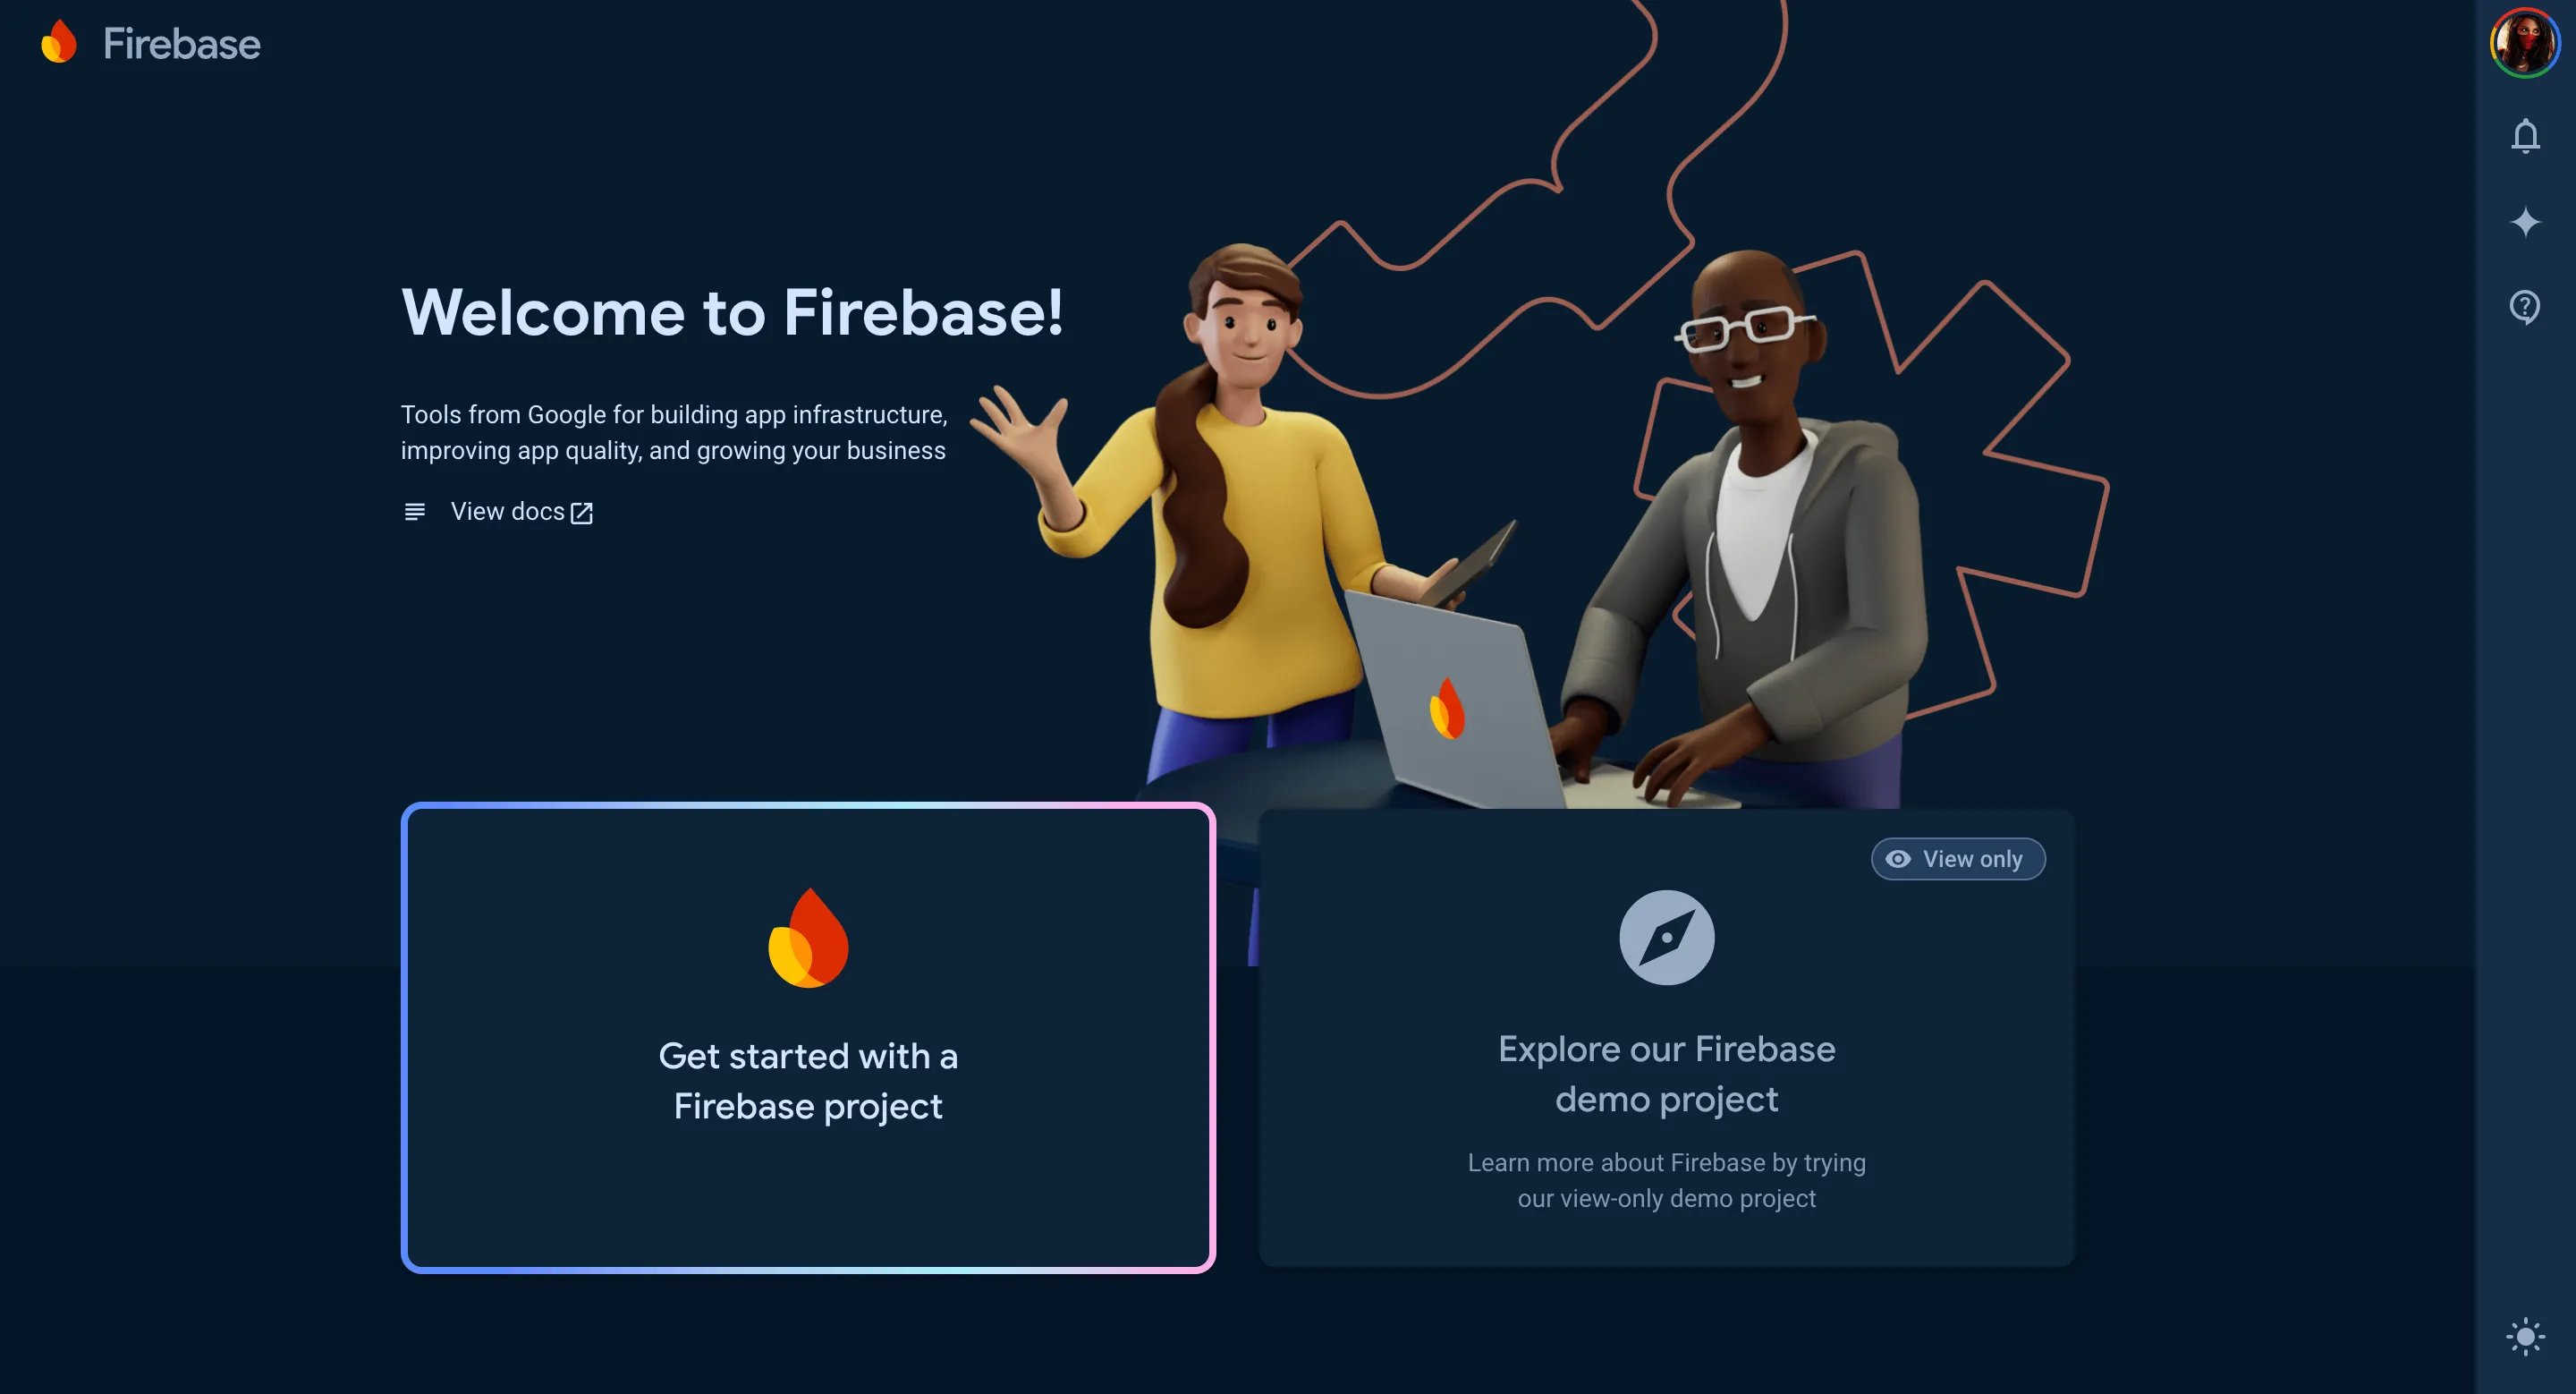
- If you have not created a project on Firebase for your Android app yet, you can do so by logging into your Firebase console. Select the option to create a new Firebase project.
If you have already created a Firebase project for your Android app, you can skip to step 4.
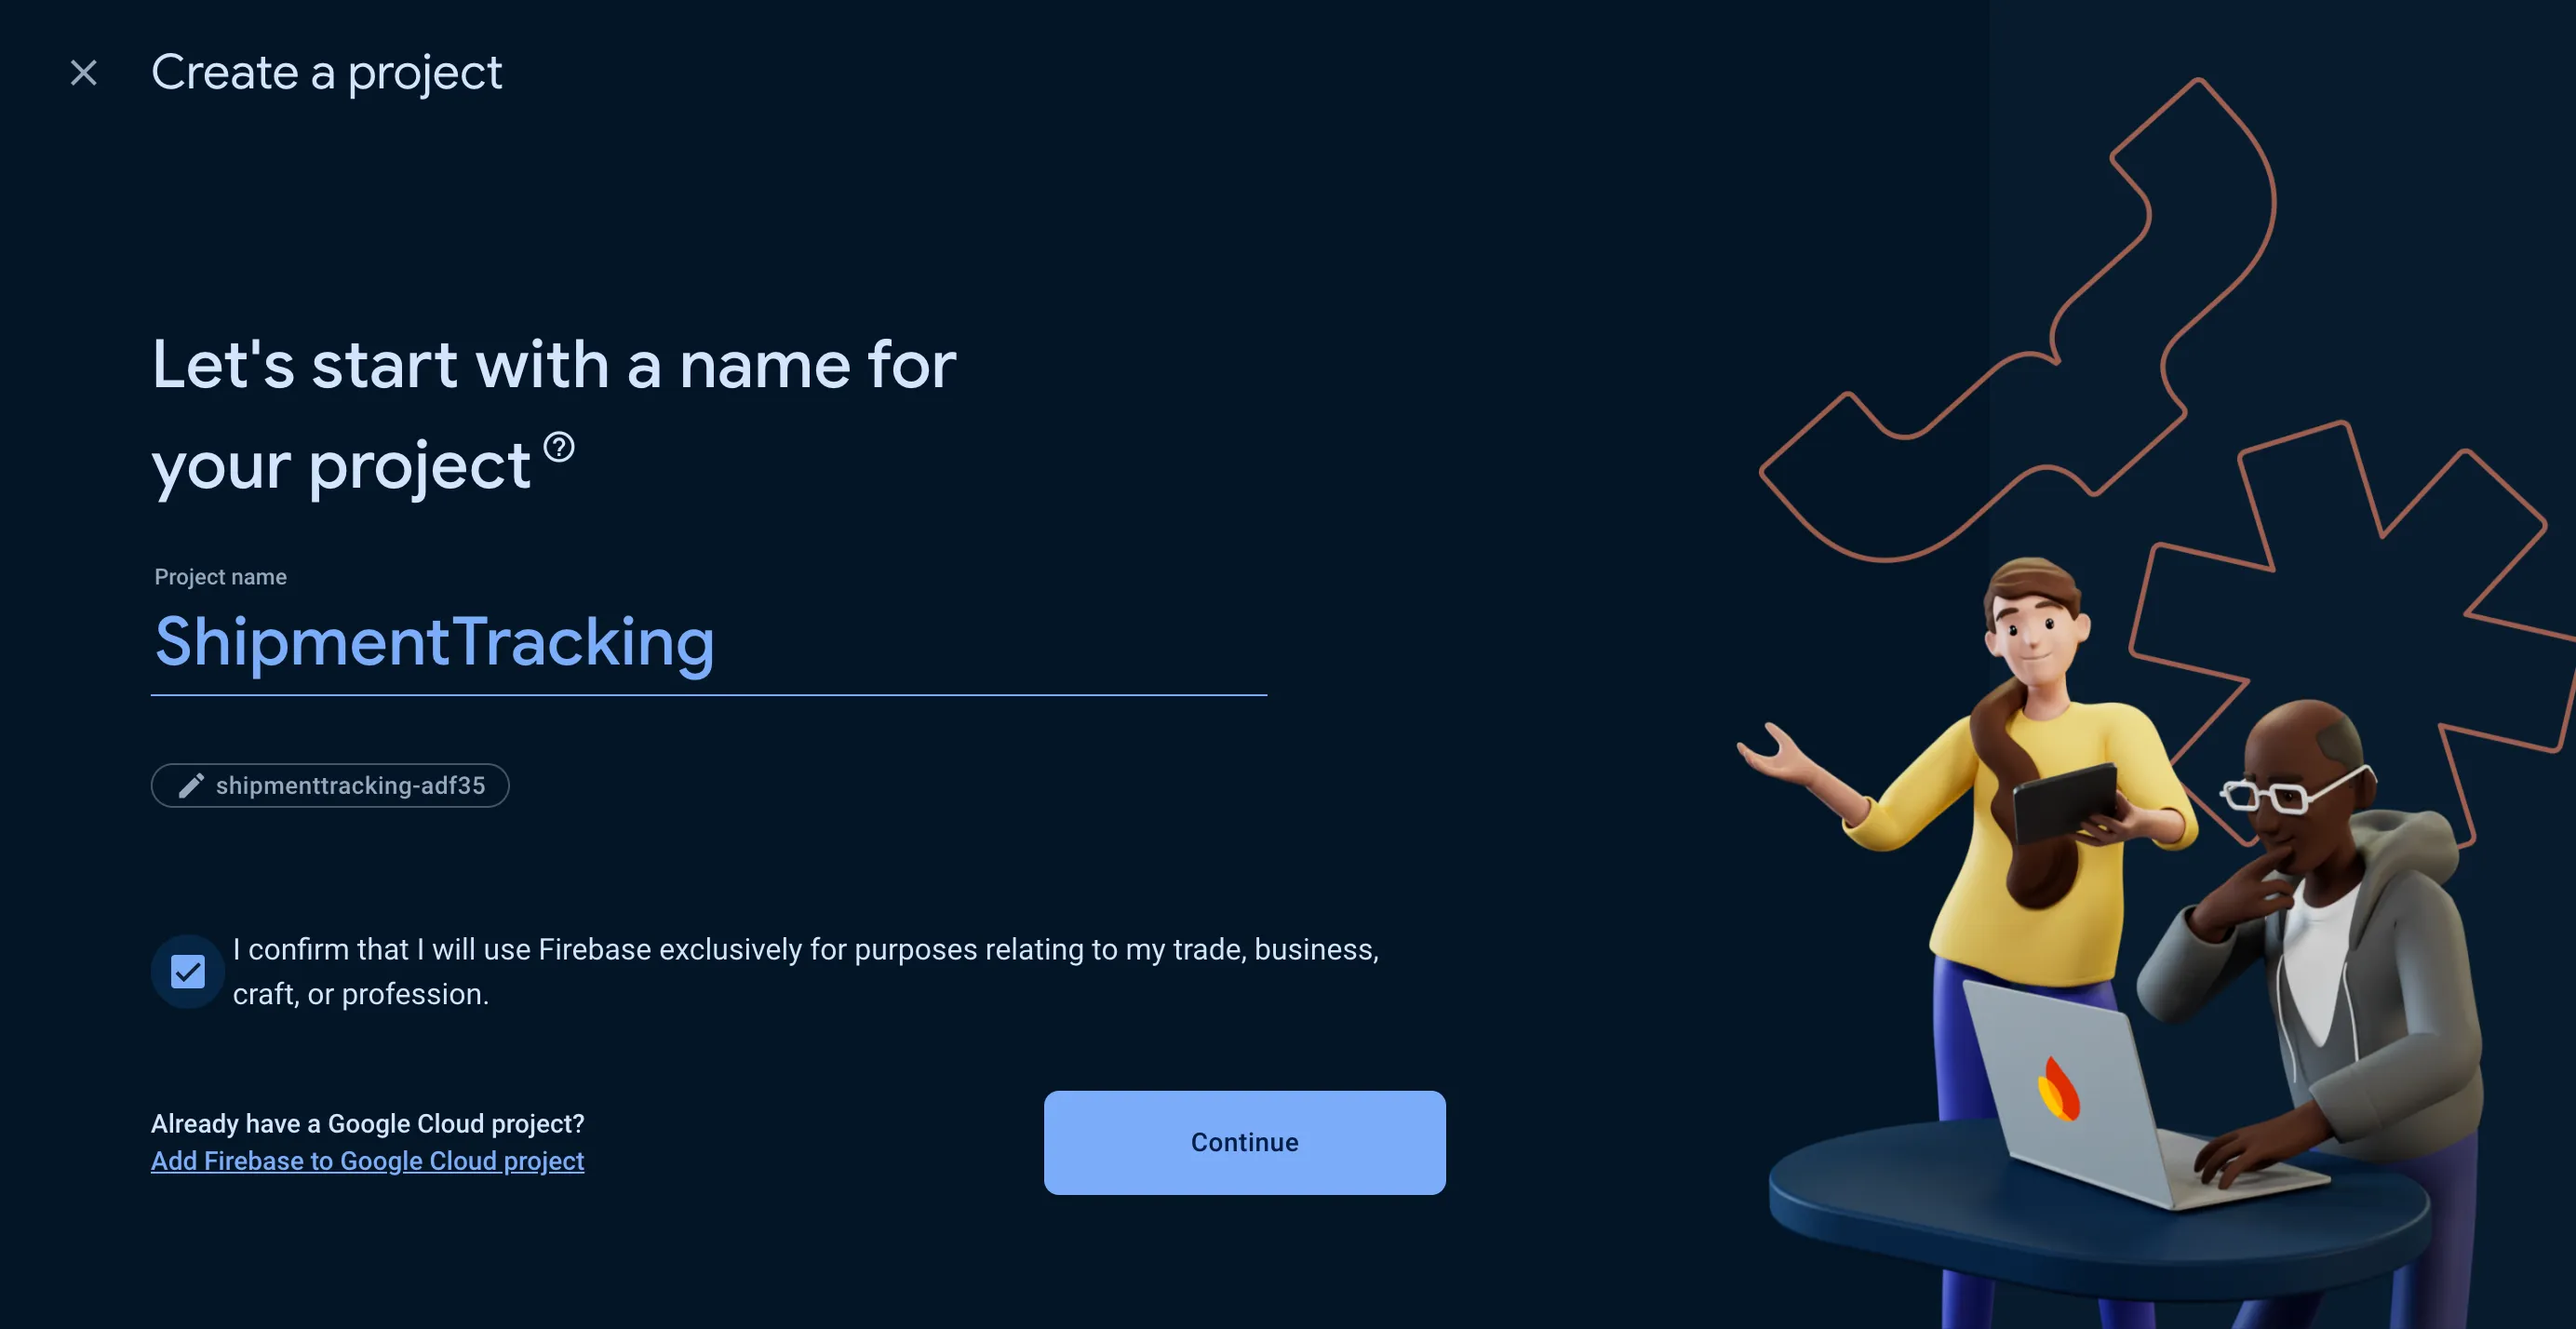
- Enter a name for your Firebase project, then check their checkbox. Click Continue.
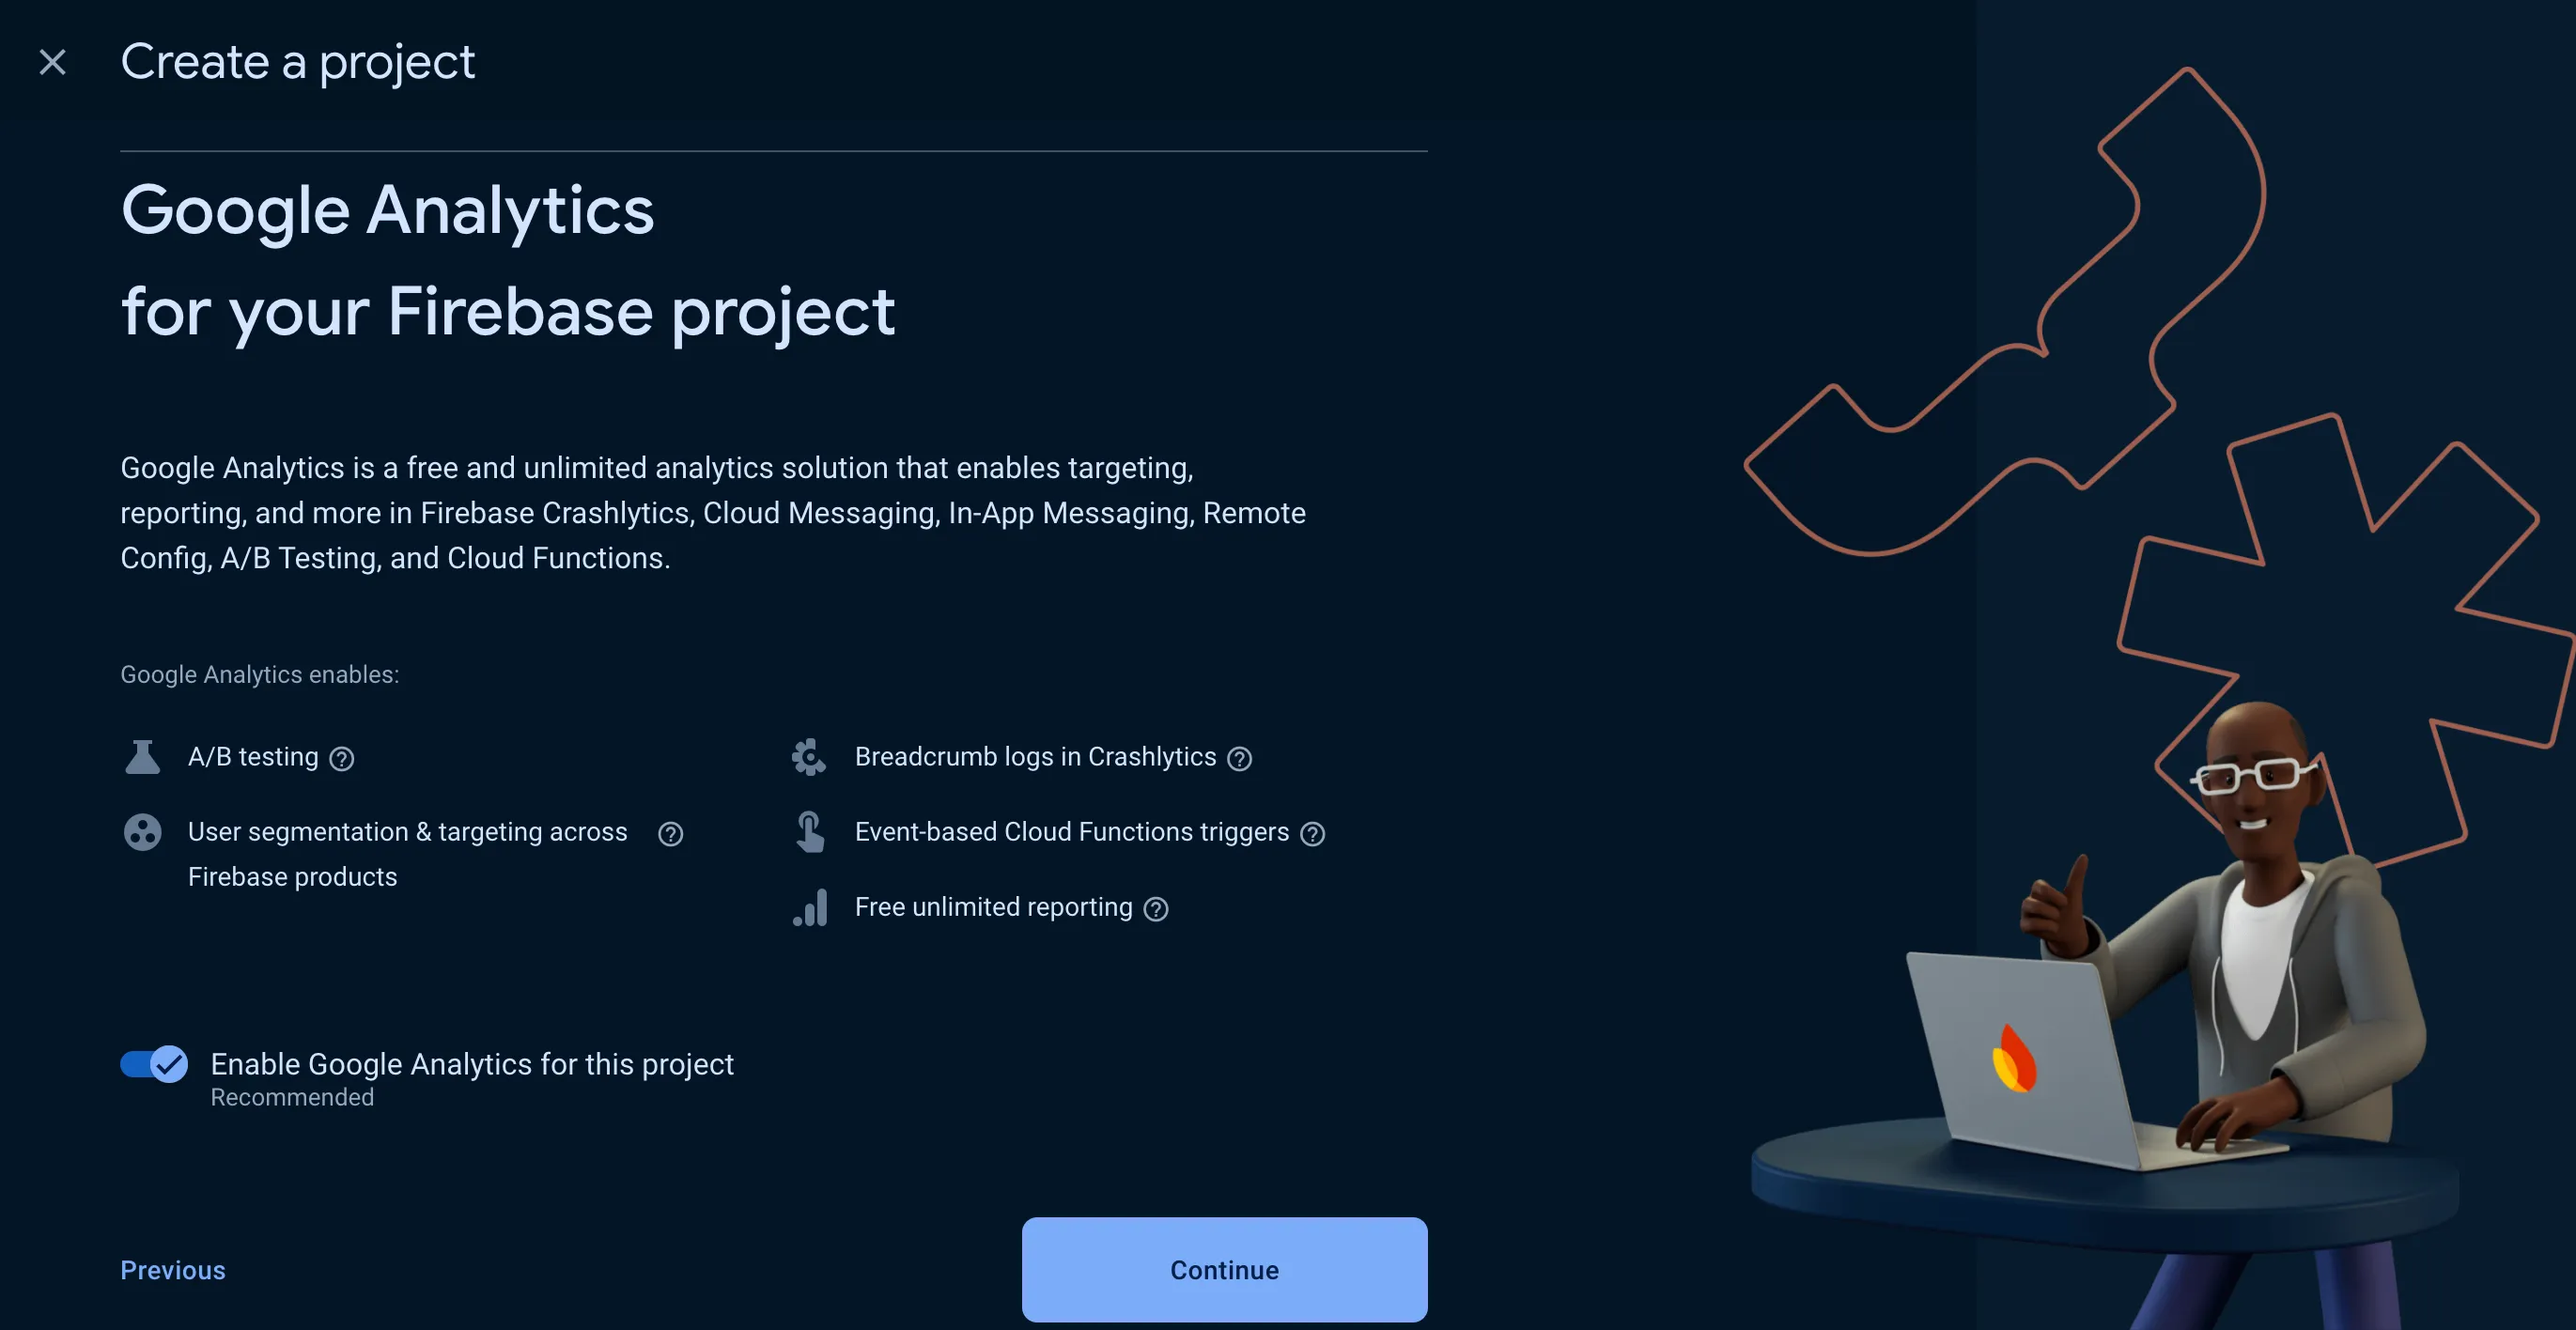
- You can optionally enable Google Analytics for your project and set it up, if needed. Click Continue.
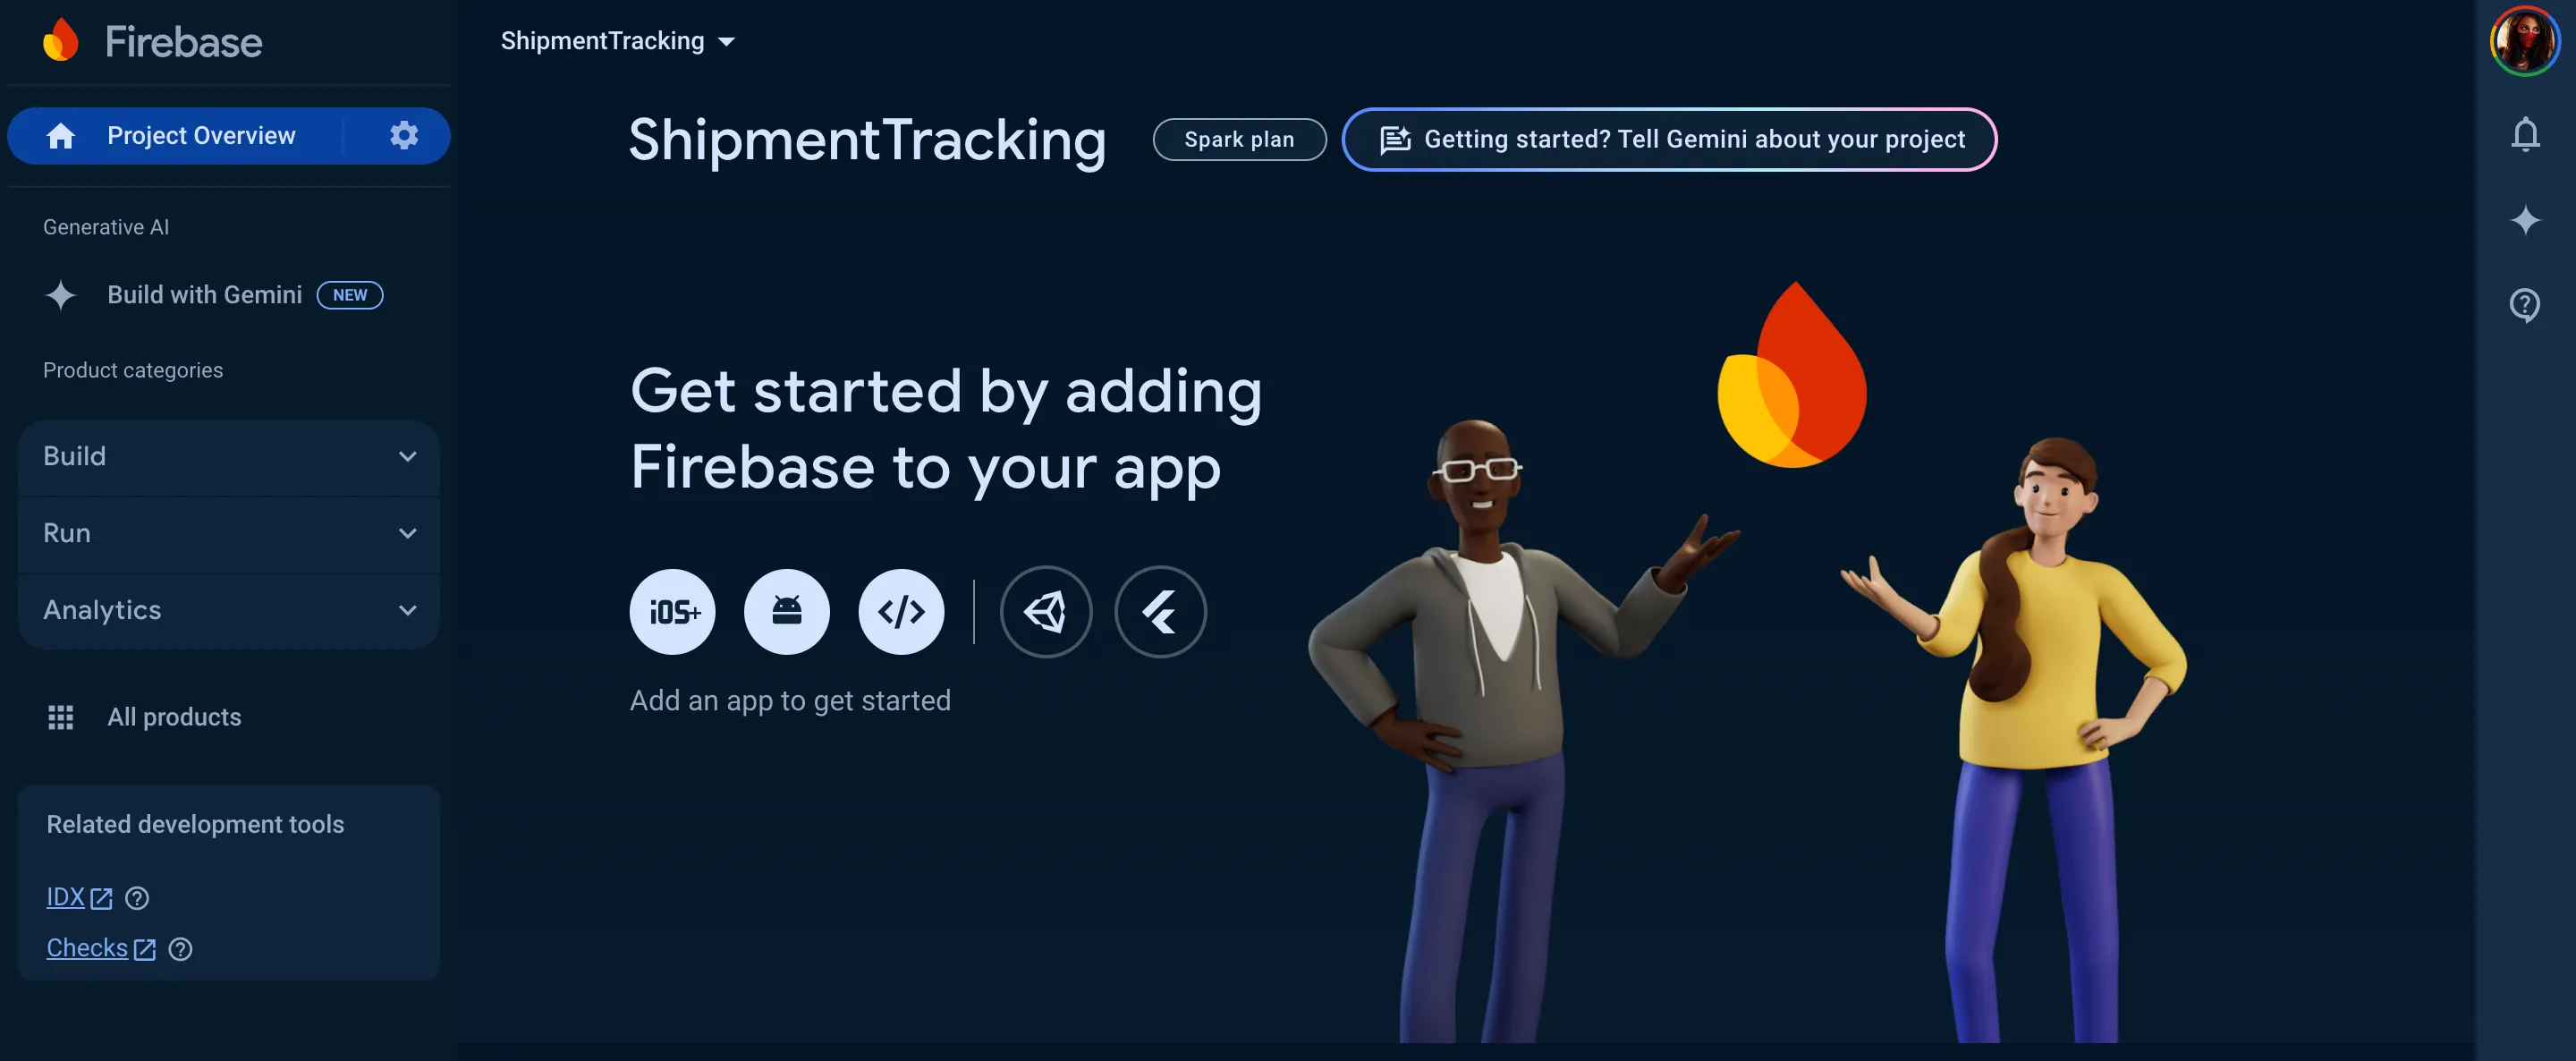
Your project will be created.
- You can now configure Firebase’s Android SDK for your app by clicking the Android icon after your project has been created.
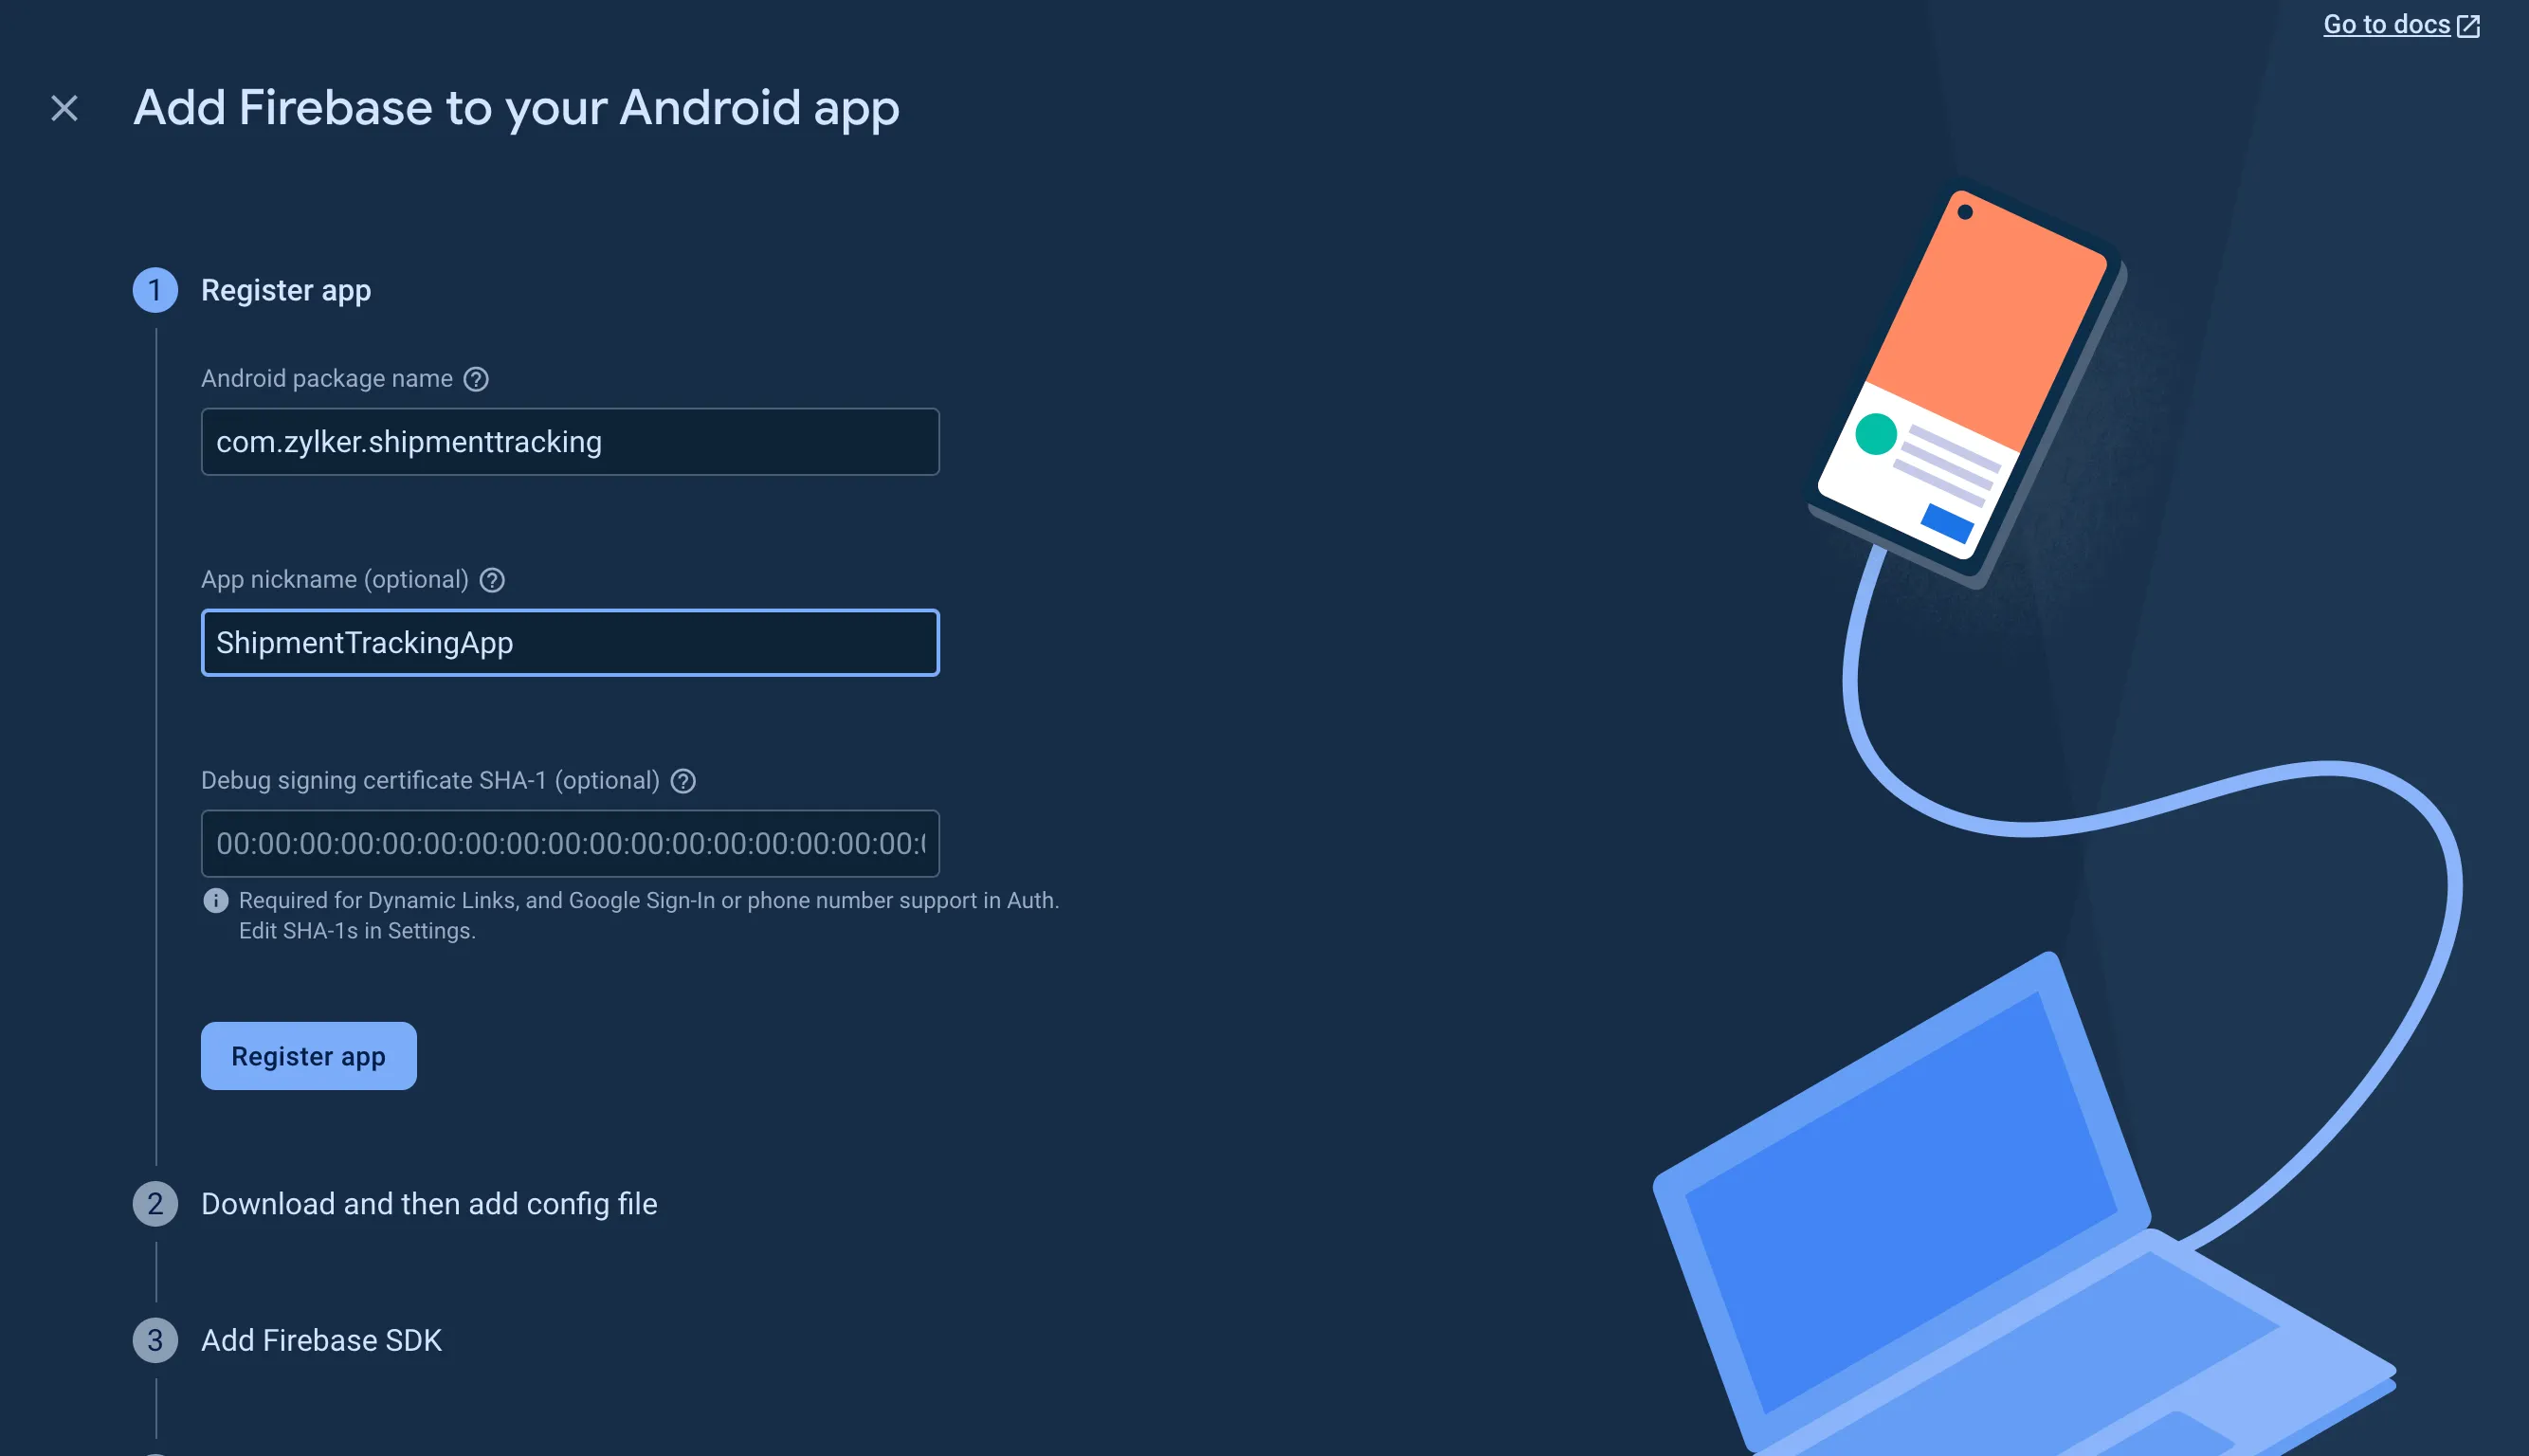
- Provide the package name and a display name for your Android app, then click Register App. You can also optionally configure a debug signing certificate if you have generated one for your app.
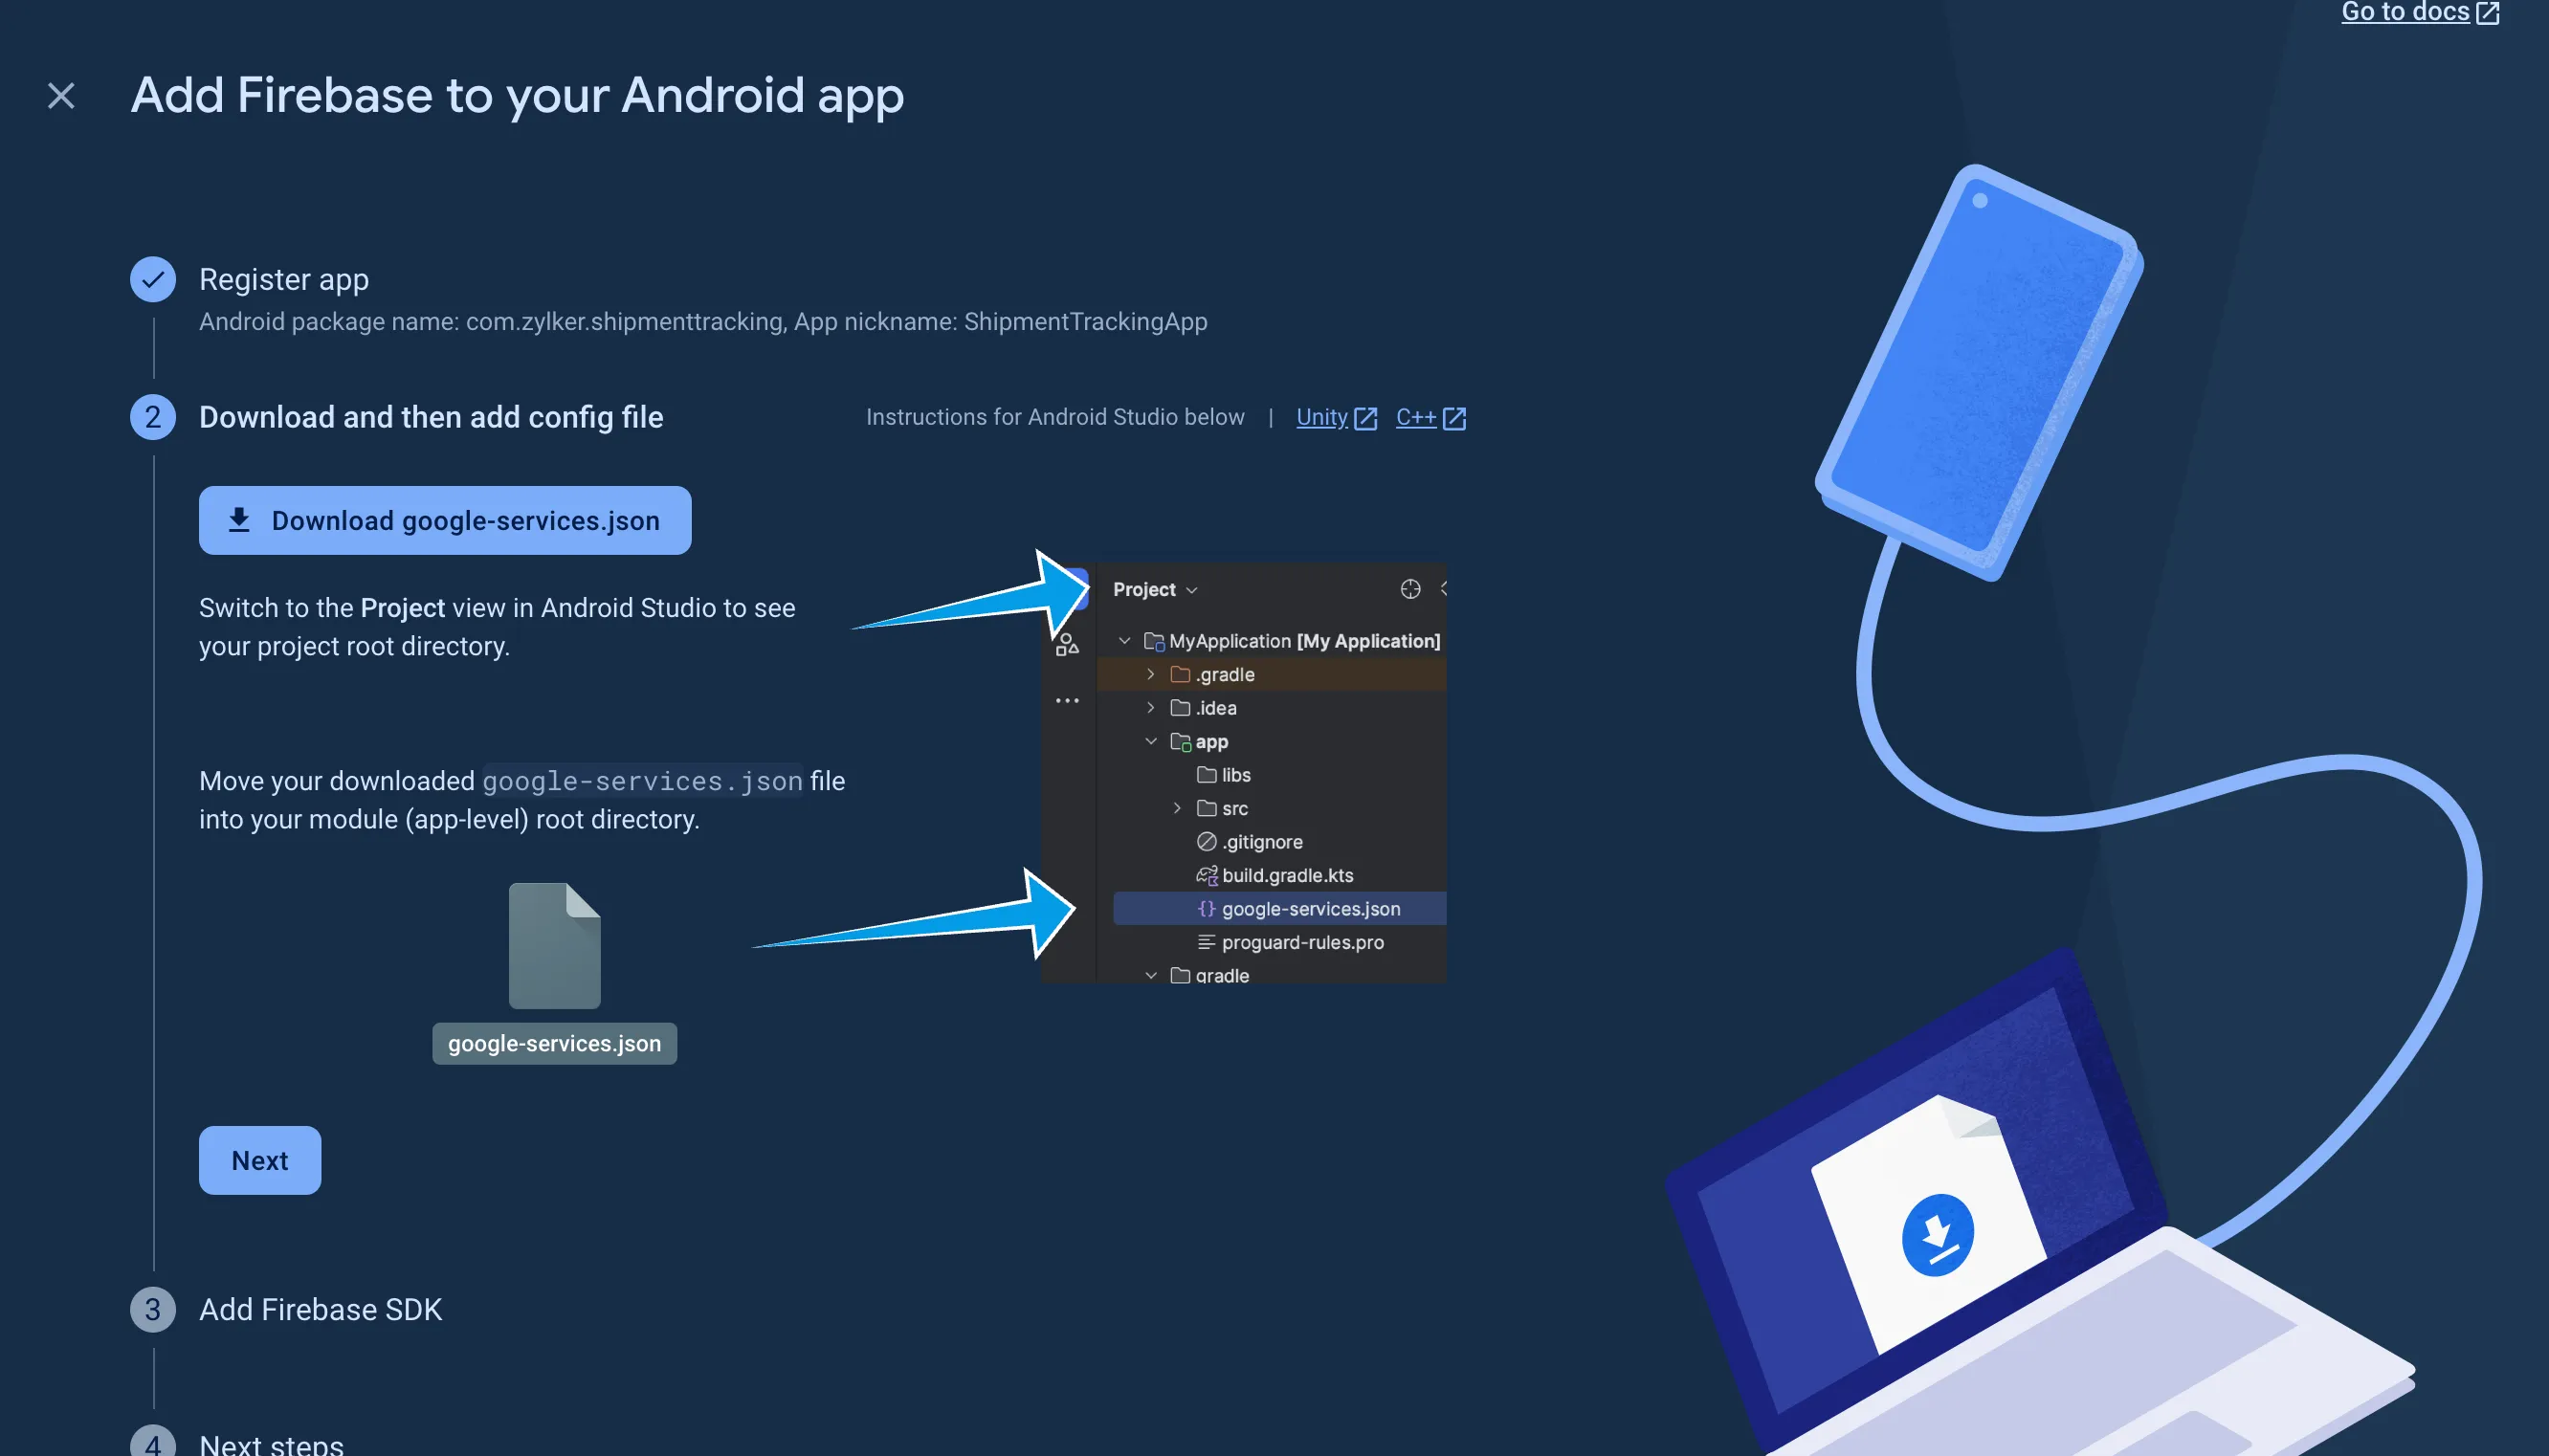
- You can now download the google-services.json file generated by Firebase by clicking the download button. You can click Next for the code snippets to incorporate the Firebase SDK in your app and finish the setup.
- The google-services.json configuration file that you downloaded must be added to your app’s module (app-level) root directory through Android Studio, as shown above .
Firebase’s Android configuration file is now available in your Android app.
Step 2: Generate Private Key for Firebase Access
The next step is to generate a private key to access the Firebase Admin SDK from your Android application. The unified Admin SDK facilitates authenticating multiple Firebase features, including providing full admin privileges to send messages or manage topic subscriptions through FCM. This is available as a part of your Firebase service account that Firebase uses to operate and manage services with admin privileges.
You can generate a service account private key by following the steps mentioned below.
- Navigate to the Firebase console. Open the project that you configured your Android application in previously.
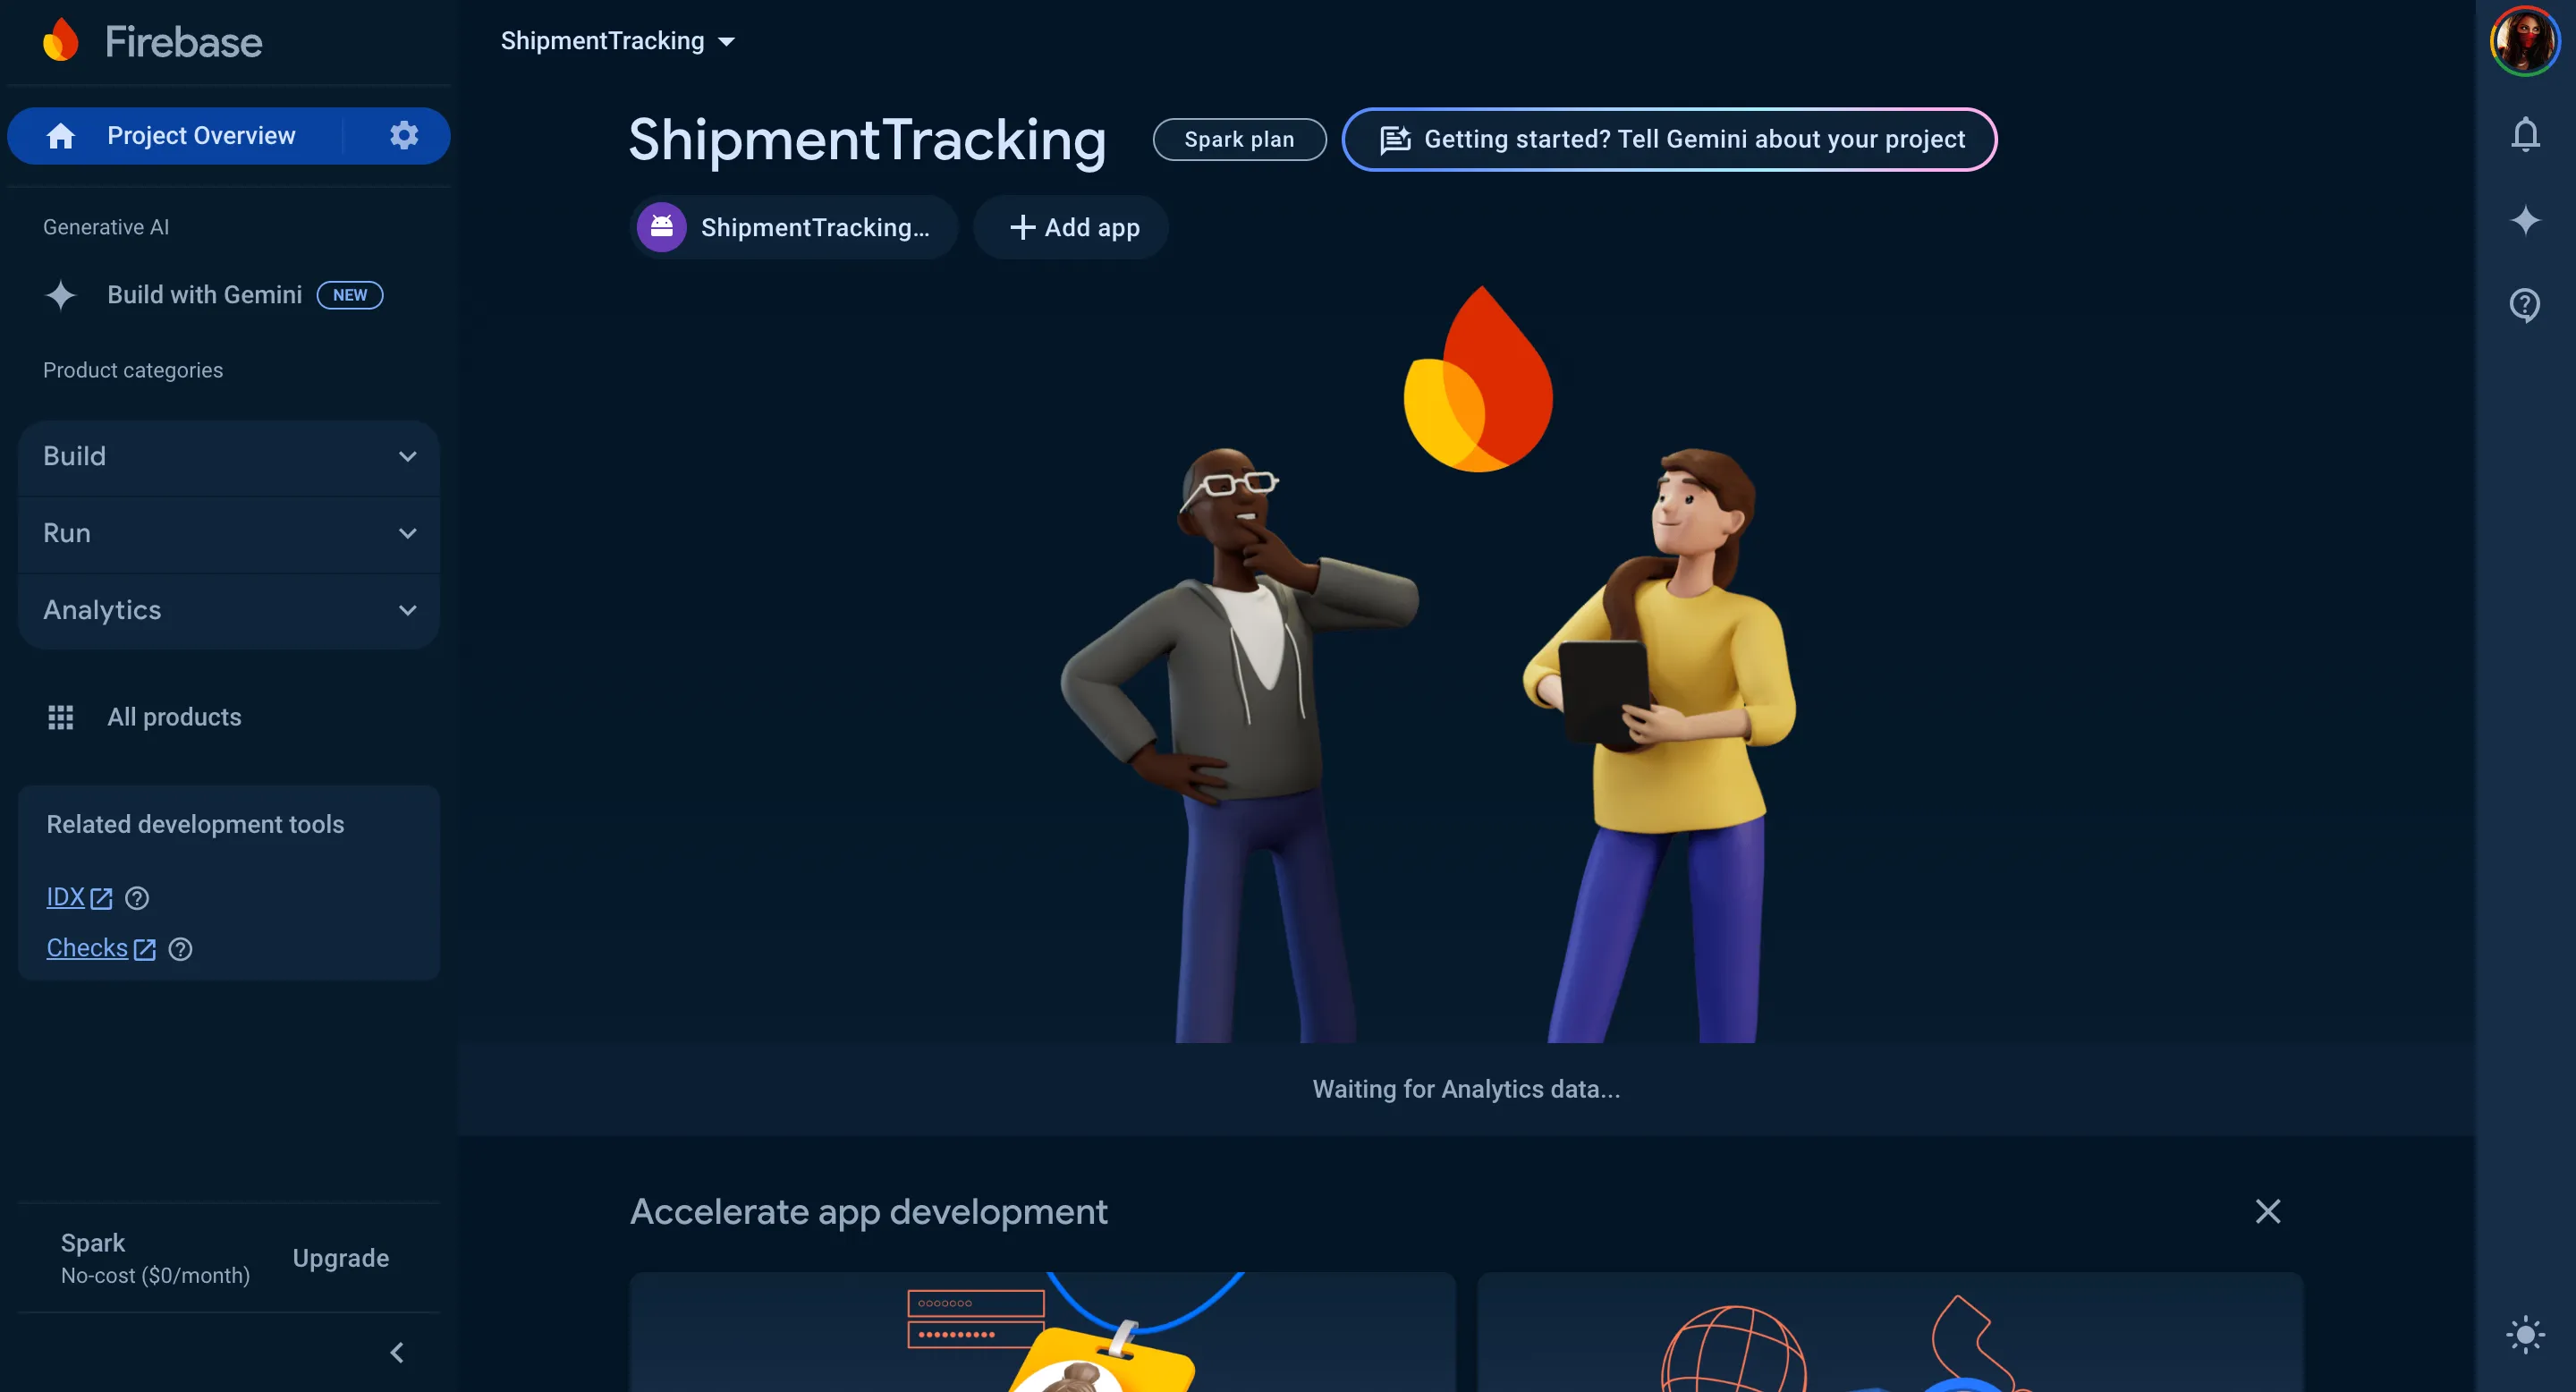
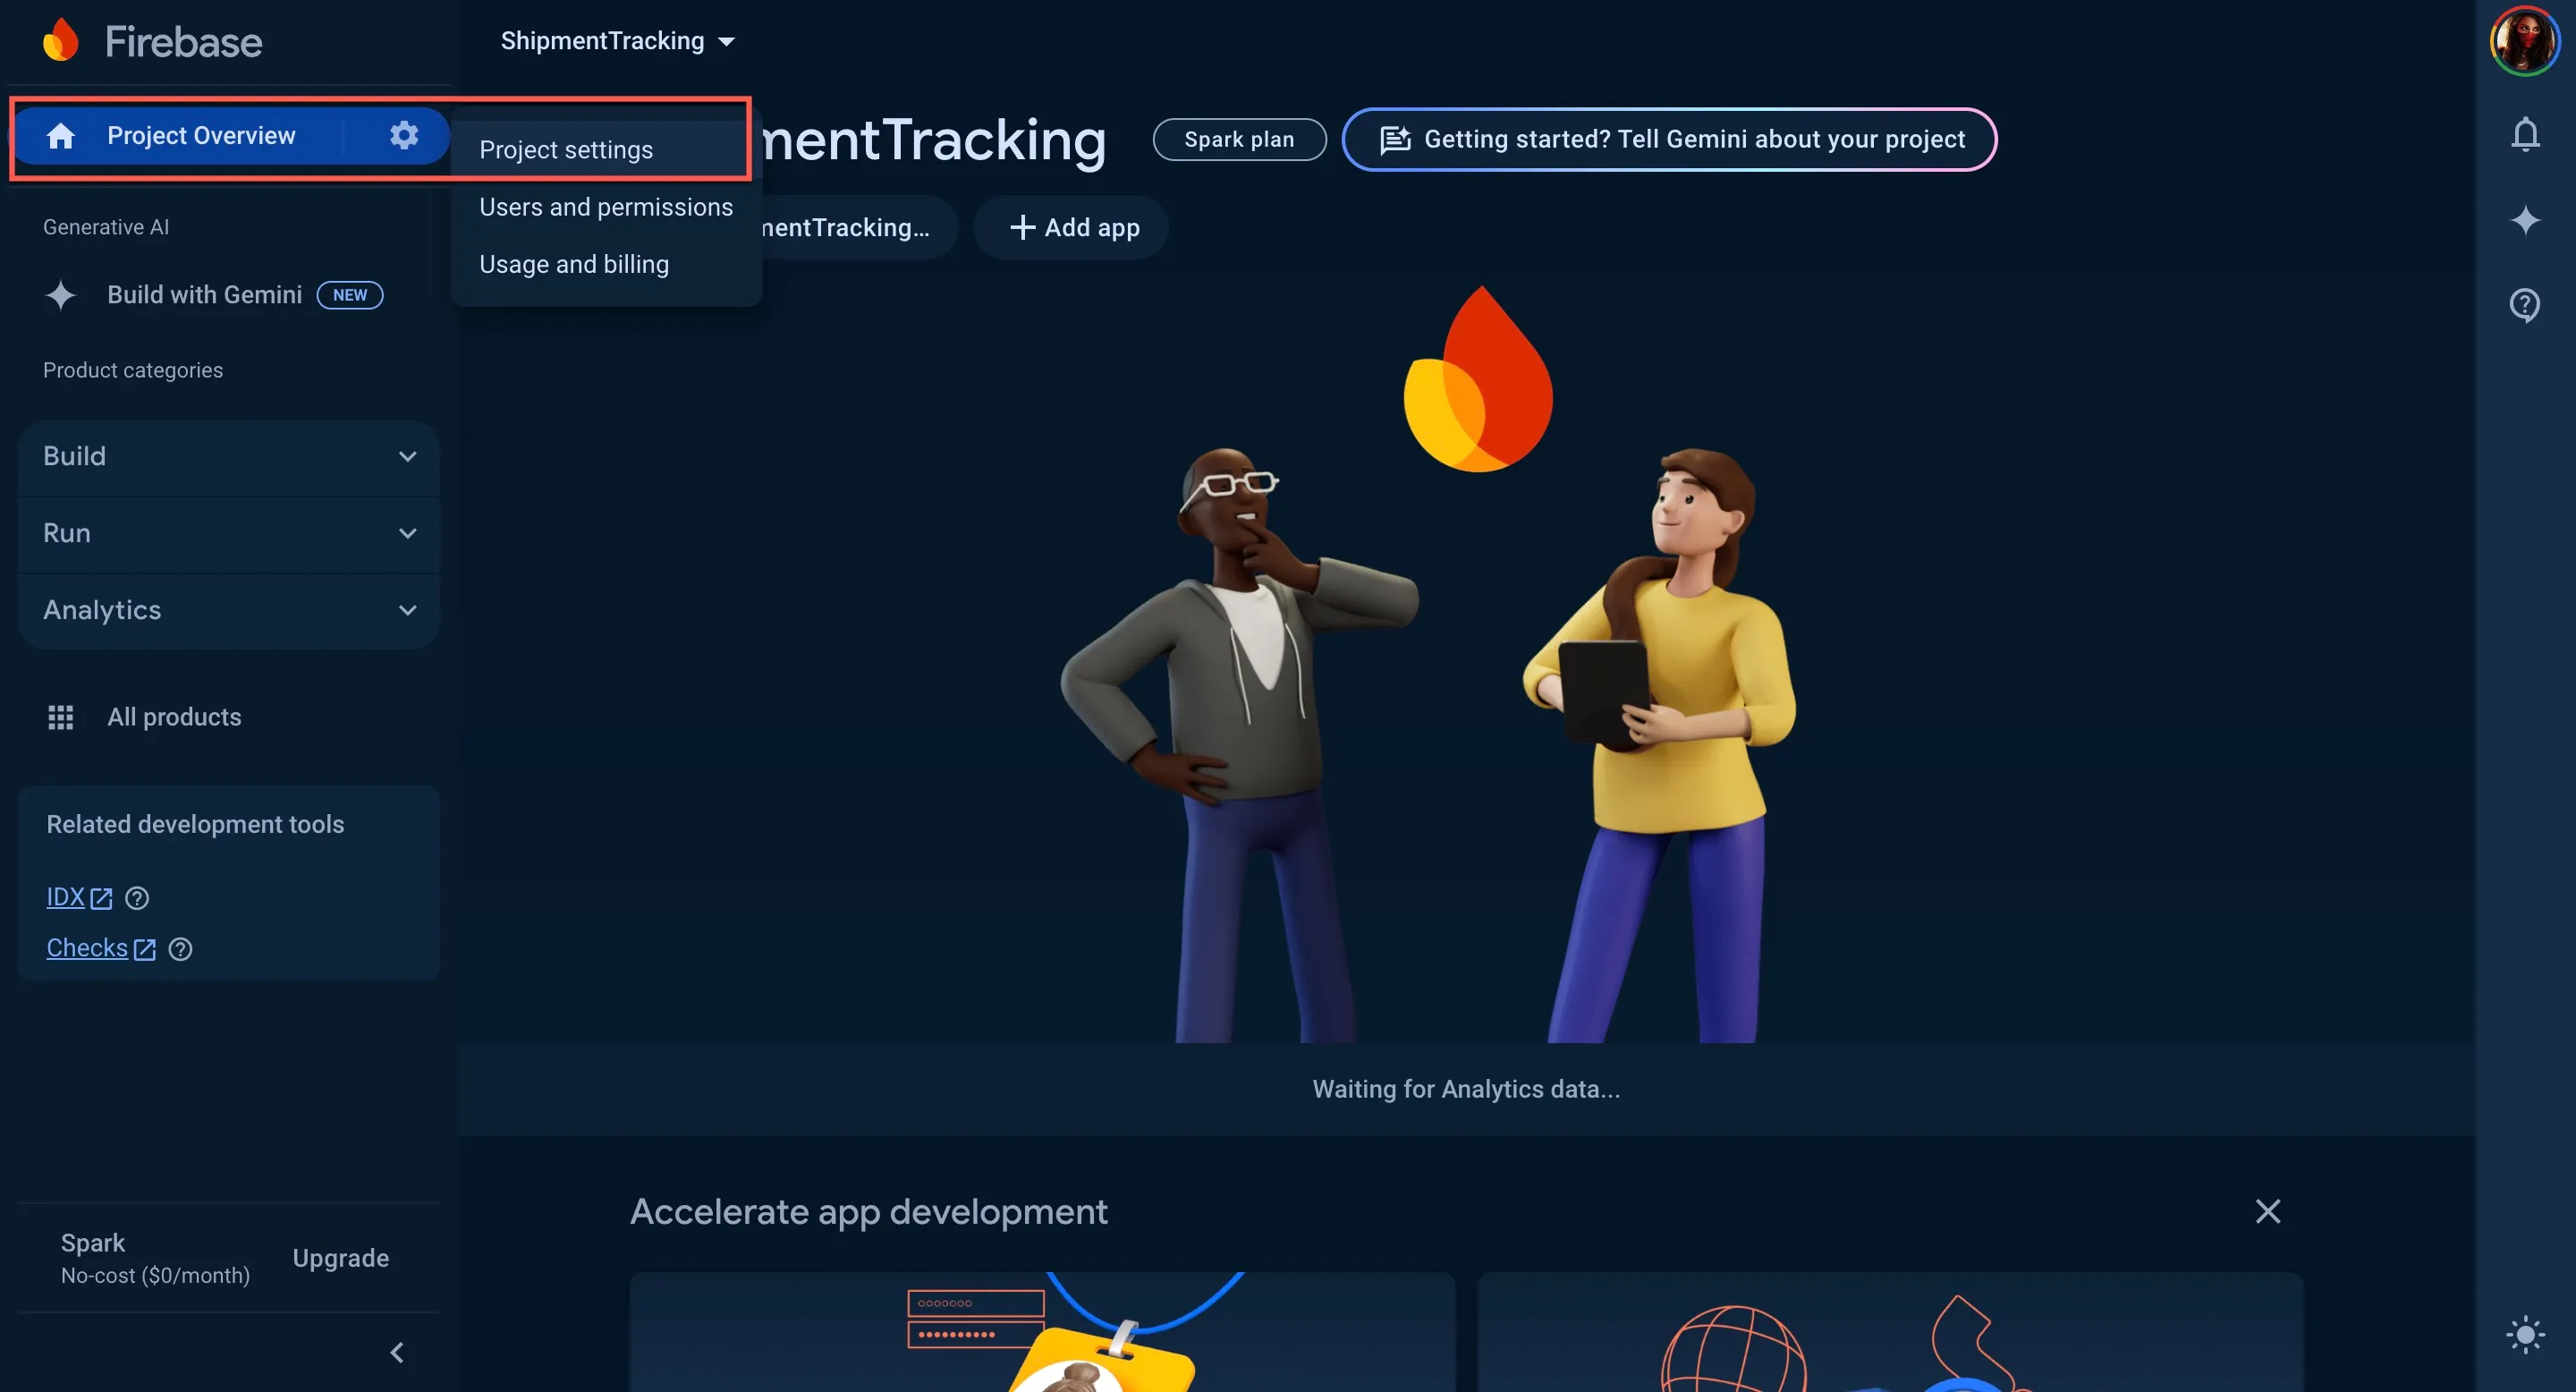
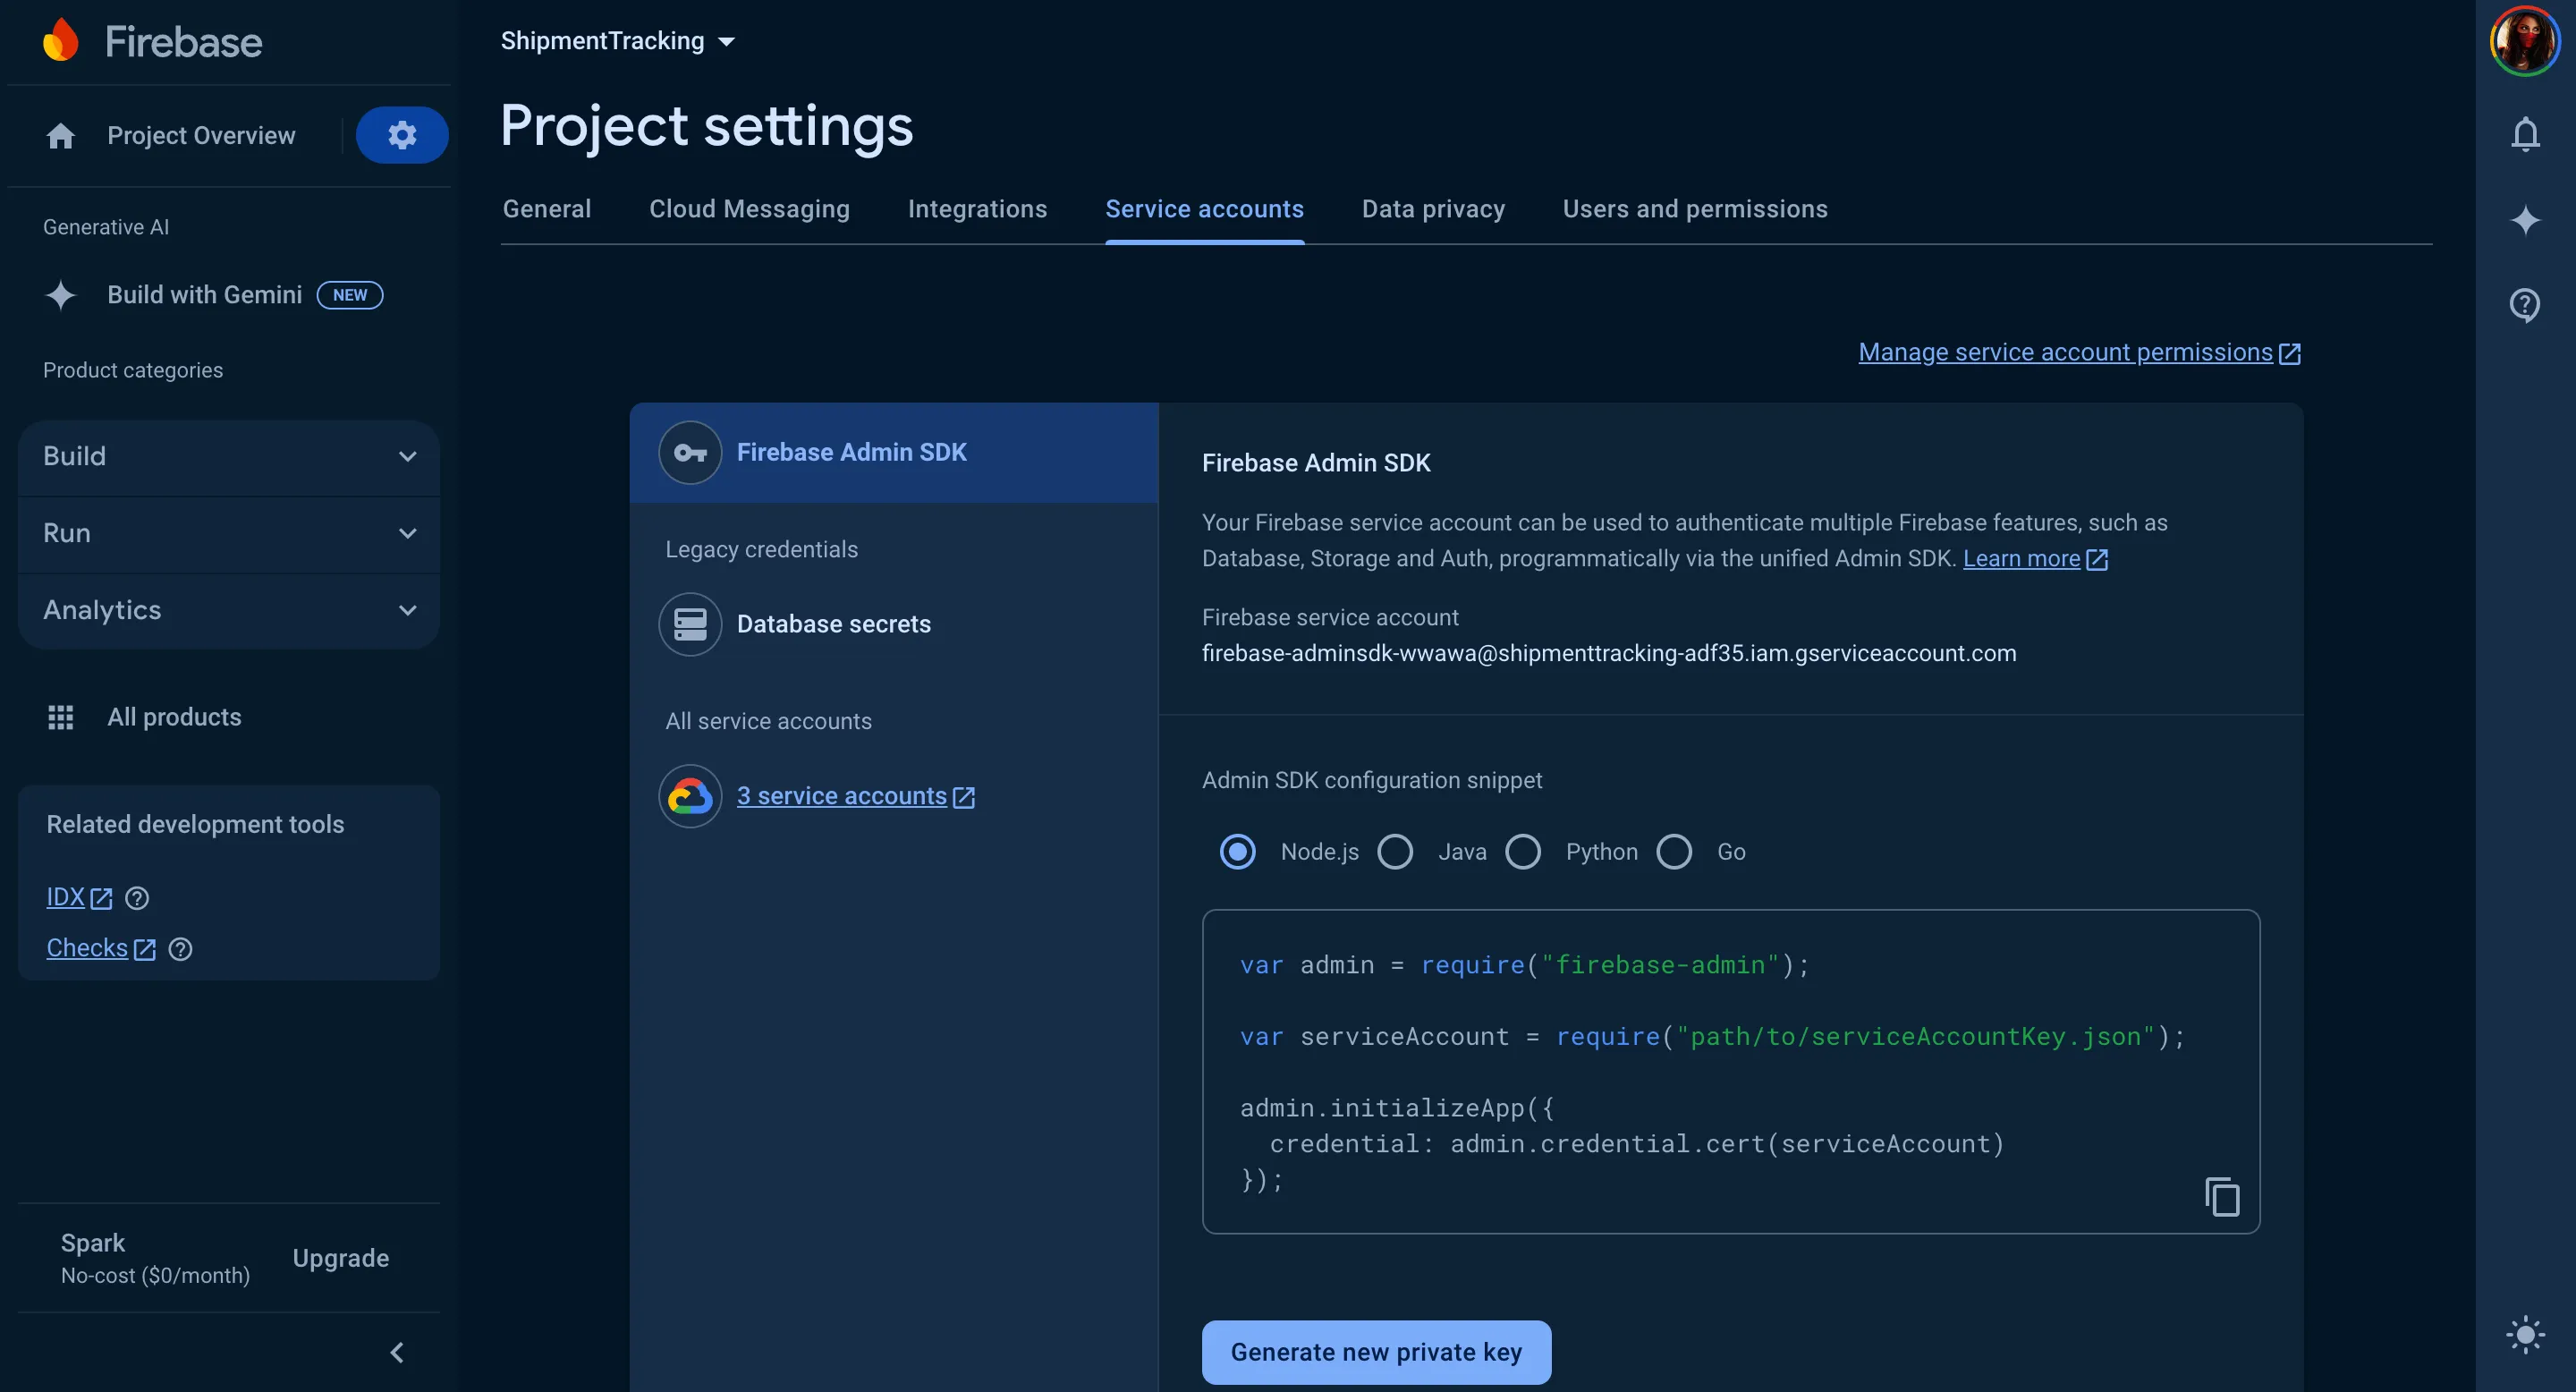
- Click Project Overview in the console, then click Project settings.
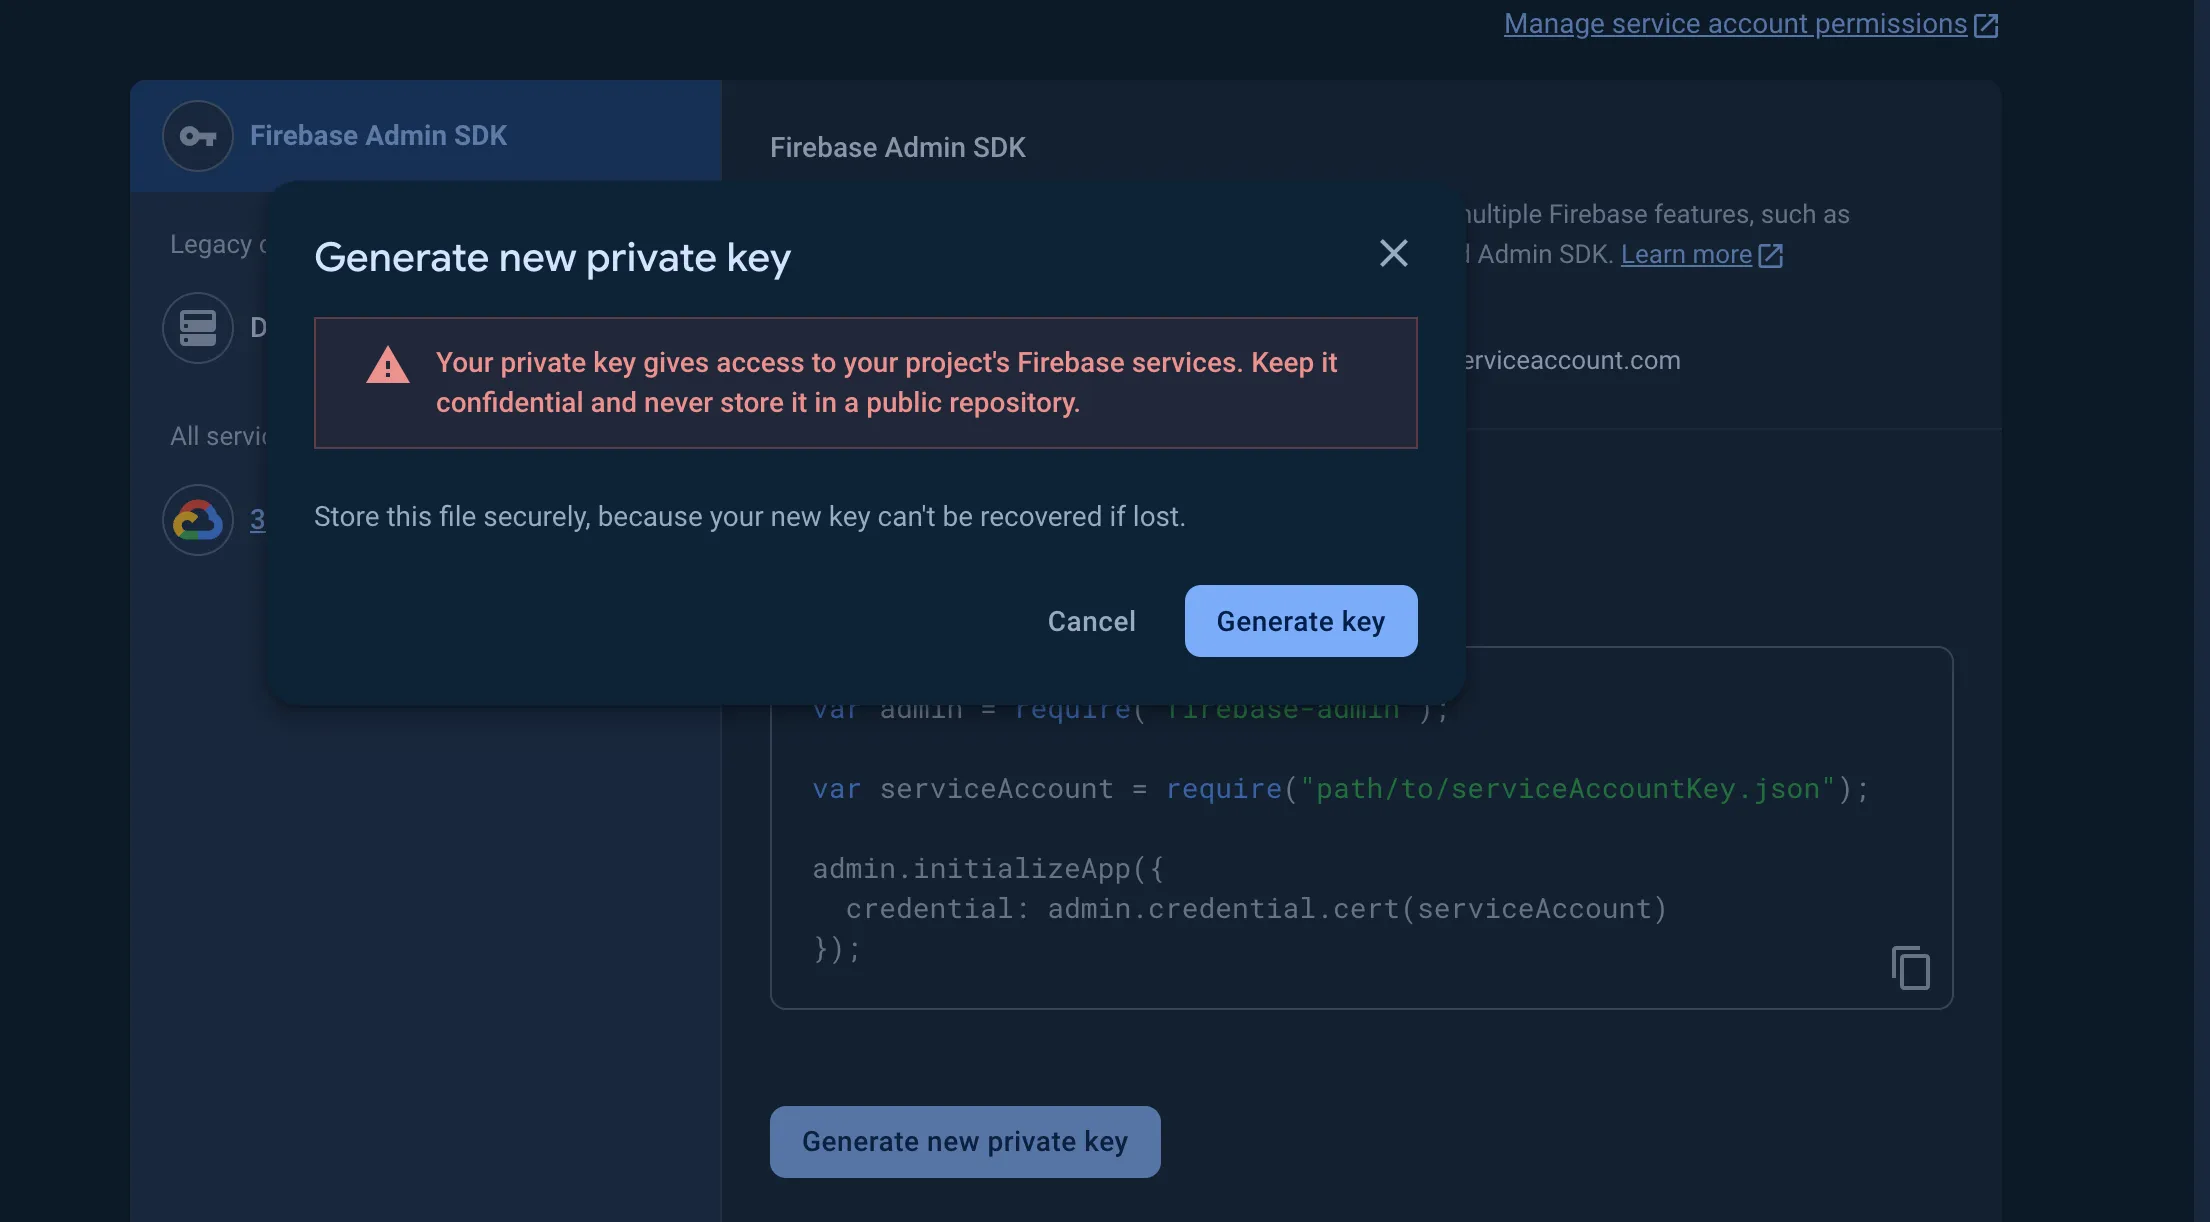
- Navigate to the Service Accounts tab in the project settings. From the Firebase Admin SDK section, click Generate new private key.
- Click Generate key from the pop-up that opens.
This will download the private key JSON file to your system.
Step 3: Configure Android Push Notification Services in Catalyst
After you obtain the service account private key for your Android app from Firebase, you must now configure that key with Catalyst in order to enroll for Catalyst Push Notification services in your app.
To enroll for push notifications for your Android app in Catalyst:
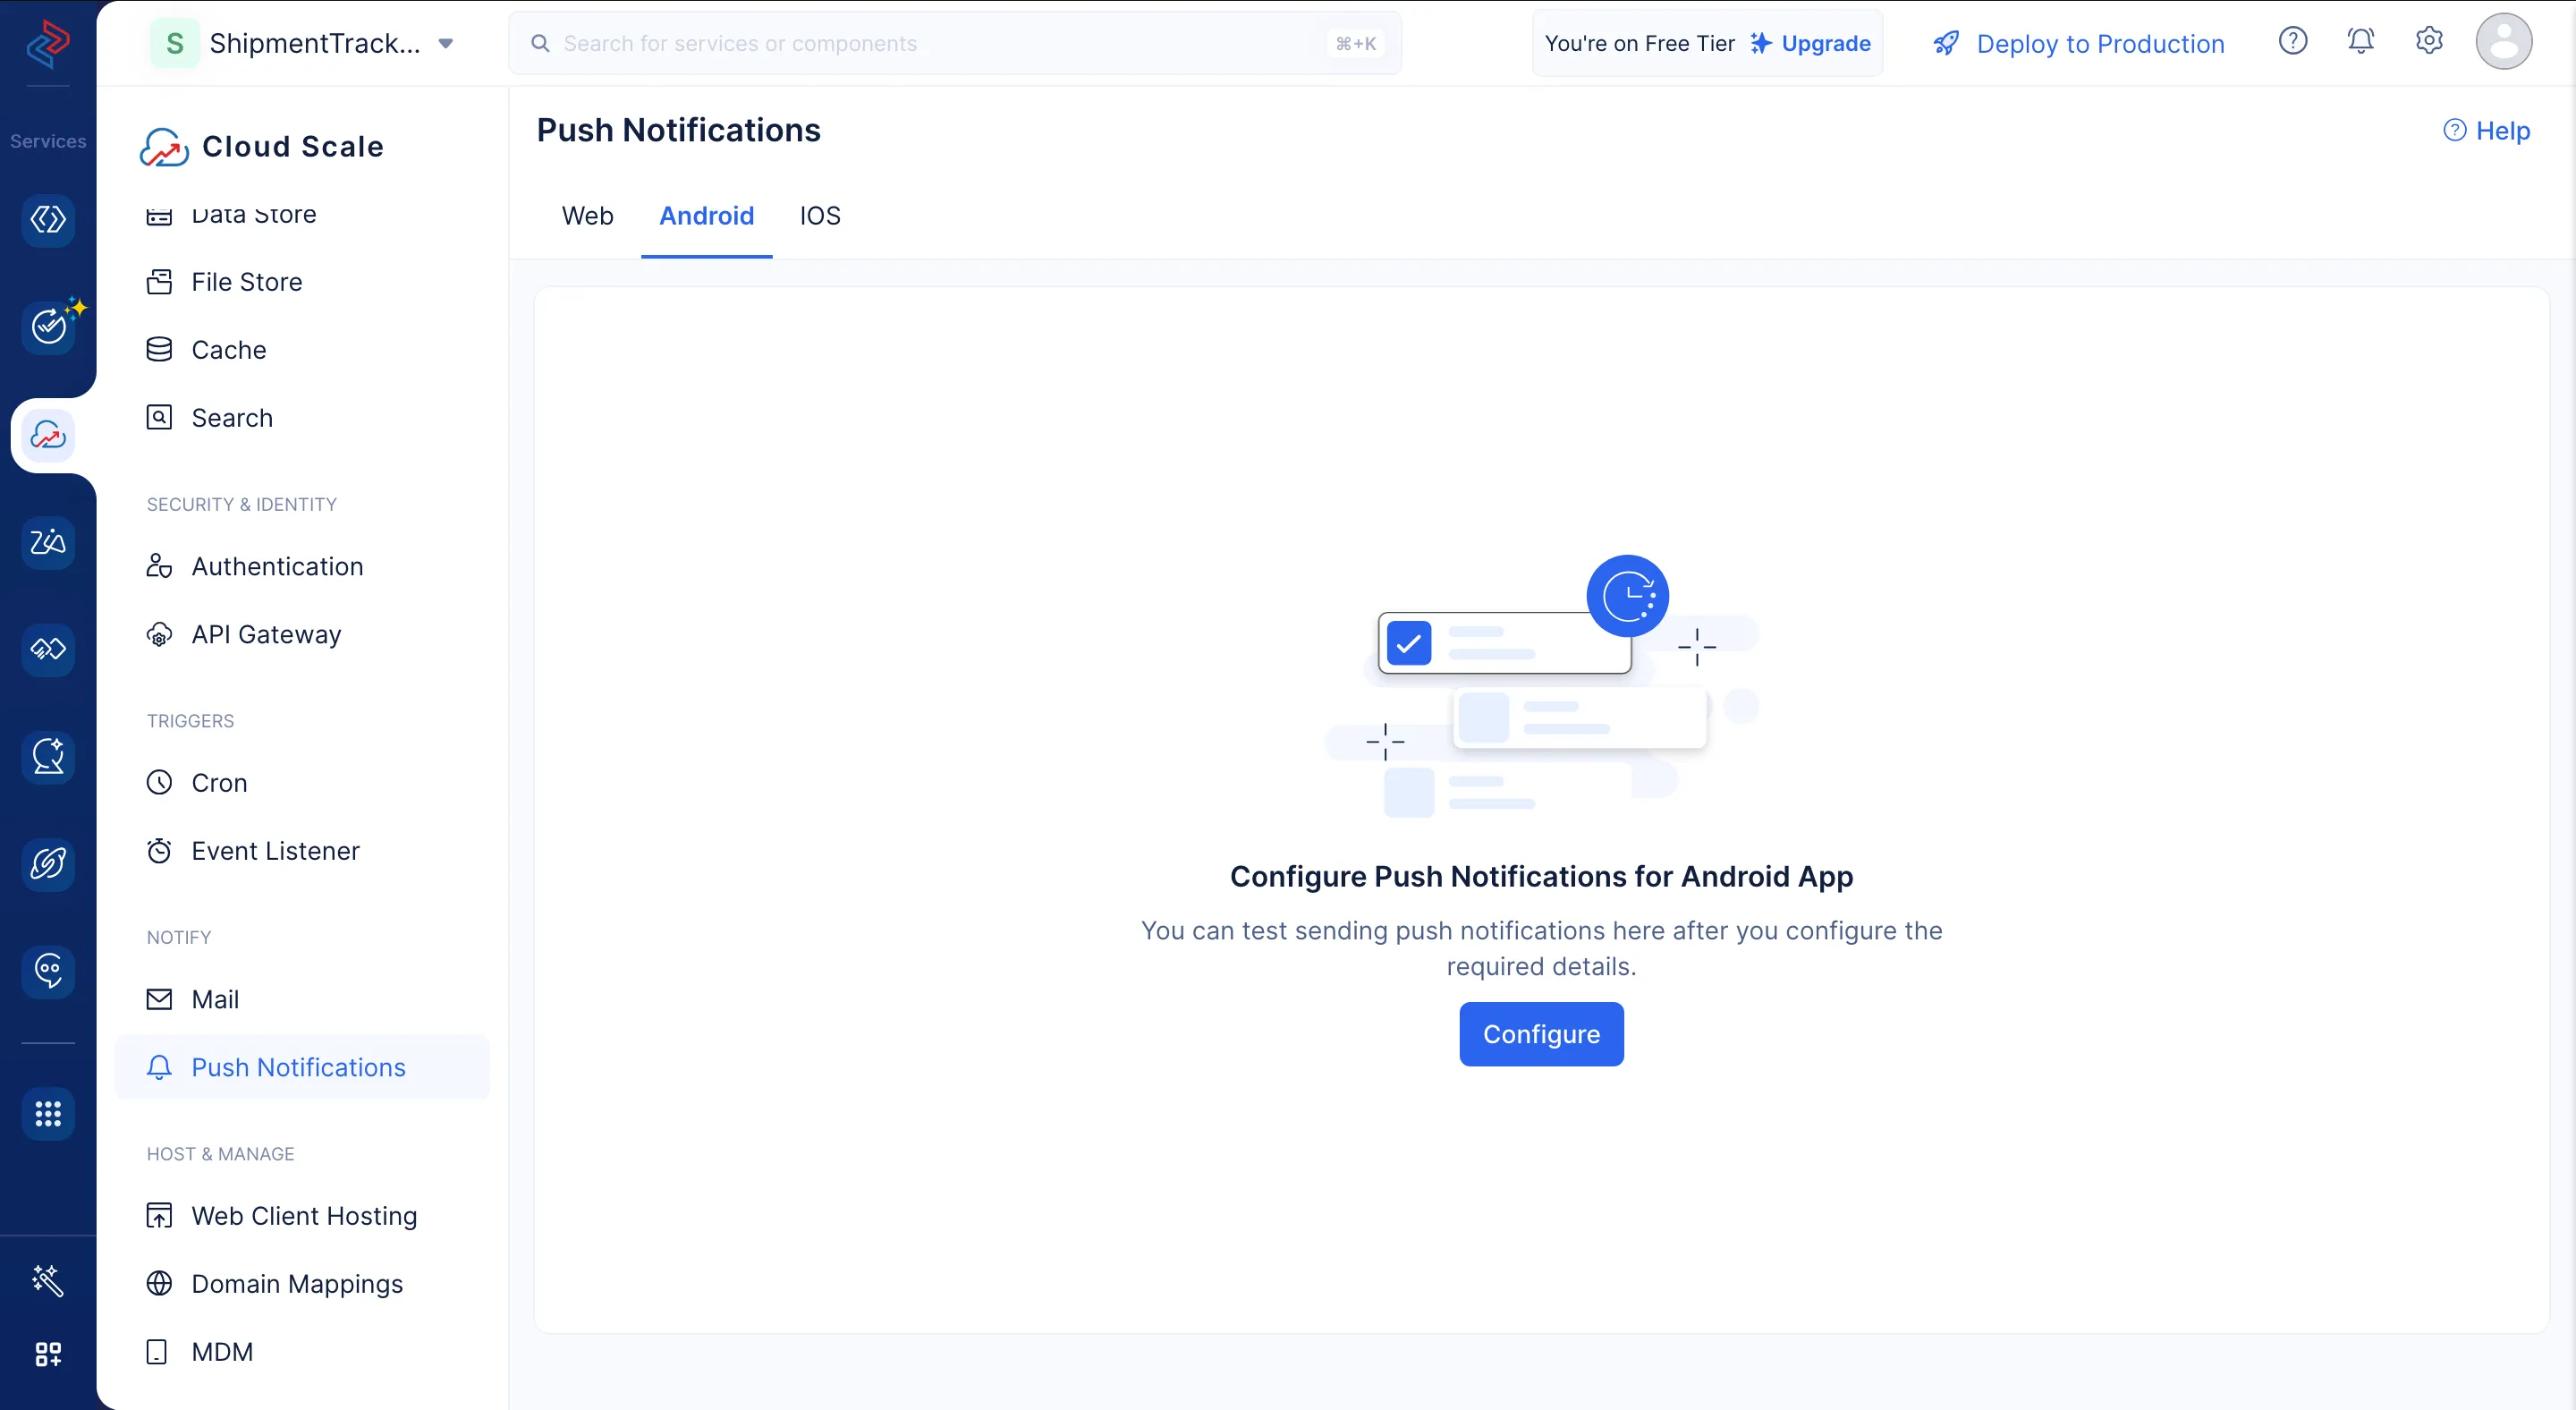
- Navigate to the Cloud Scale service from the Catalyst console in your project, then open Push Notifications. Click the Android tab, then click Configure.
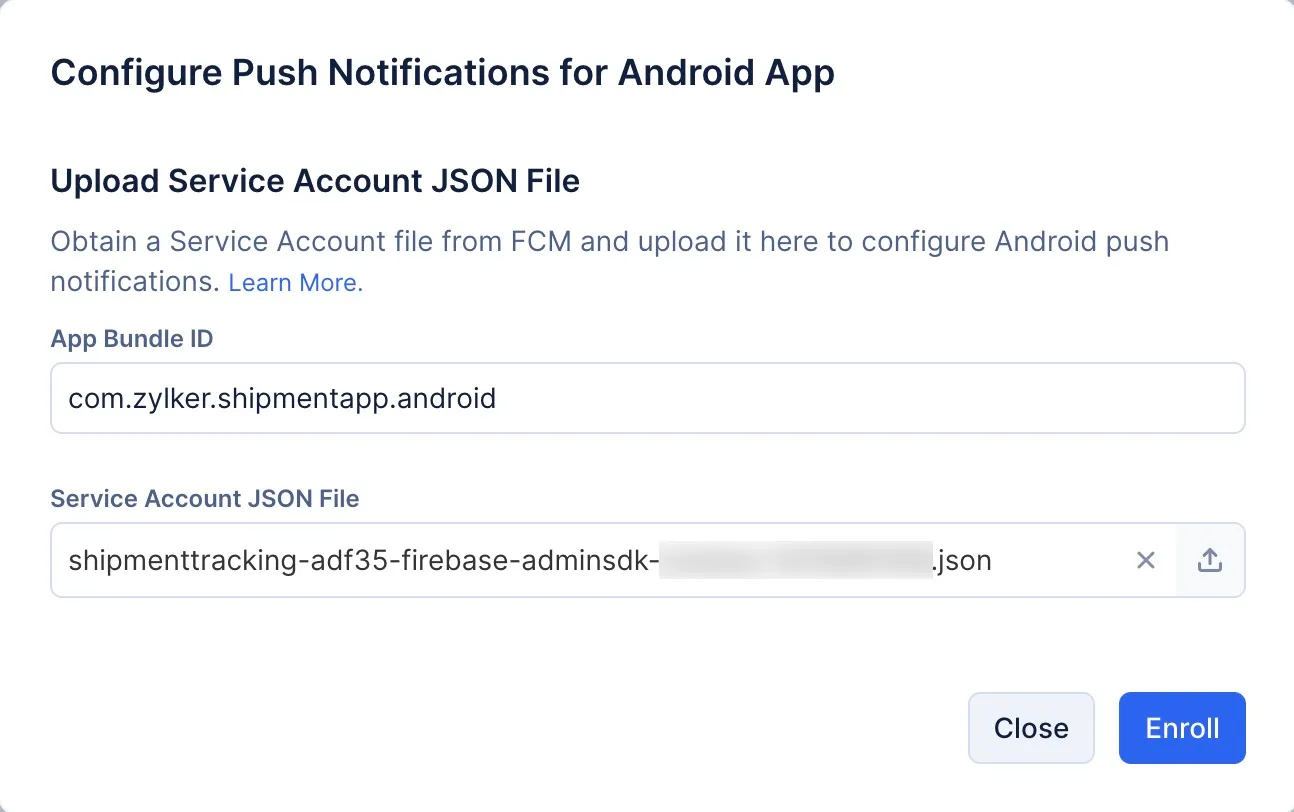
- Provide the Android app’s bundle ID. This must be the same as the package name you provided while registering your app in Firebase and while registering your app in Catalyst. Then, upload the Service Account JSON file (private key file) that you generated for your Firebase Admin SDK in the previous section.
- Click Enroll.
This will enroll you in the Catalyst Android push notification service. After your Firebase service account JSON file is configured, Catalyst will be able to interact with FCM servers for your Android app.
You can then send push notifications to the registered users of your Android app, or test sending notifications from the console.
Step 4: Register a Mobile Device for Push Notifications
Before you can send push notifications from your Android app or test sending them from the Catalyst console, you must register the mobile devices to receive the push notifications.
This can be done by calling the code snippet given below from the device. This passes the required credentials to the app.registerNotification() method in Catalyst SDK.
val app = ZCatalystApp.getInstance()
app.registerNotification(device_token,"bundleID",
                 "appID", test_device_boolean, {
                    Log.i("Register","App register successfully");
                }, {
                    Log.i("Register","App register failed");
                })
Parameters:
-
device_token: The device token obtained from FCM for your app.
-
bundleID: The Android app’s bundle ID that you configured while registering the app with Catalyst as well as in Firebase.
-
appID: The app ID generated by Catalyst for your app in Push Notifications. You can find this in the Android section of Push Notifications in your Catalyst console.
-
test_device_boolean: The value is set to true for test devices, and set to false for production devices
After a mobile device has been registered, the user must also provide explicit permission for your app to send push notifications from their device.You can handle this in the app’s logic by sending the users a permission prompt, where they can allow or deny permission. After the permission is provided, you can send test notifications to the device.
Deregister a Mobile Device
You can deregister a mobile device from receiving push notifications from your Android app by executing the code below. This passes the required credentials to the app.deregisterNotification() method in Catalyst SDK.
val app = ZCatalystApp.getInstance()
app.deregisterNotification (device_token,"bundleID",
 "appID", test_device_boolean, {
                Log.i("Unregister","App unregistered successfully");
        }, {
            Log.i("Unregister","App unregisteration failed");
        })</code></pre>
</div>
Parameters:
-
device_token: The device token obtained from FCM for your app.
-
bundleID: The Android app’s bundle ID that you configured while registering the app with Catalyst as well as in Firebase.
-
appID: The app ID generated by Catalyst for your app in Push Notifications. You can find this in the Android section of Push Notifications in your Catalyst console.
-
test_device_boolean: The value is set to true for test devices, and set to false for production devices
Test Android Push Notifications
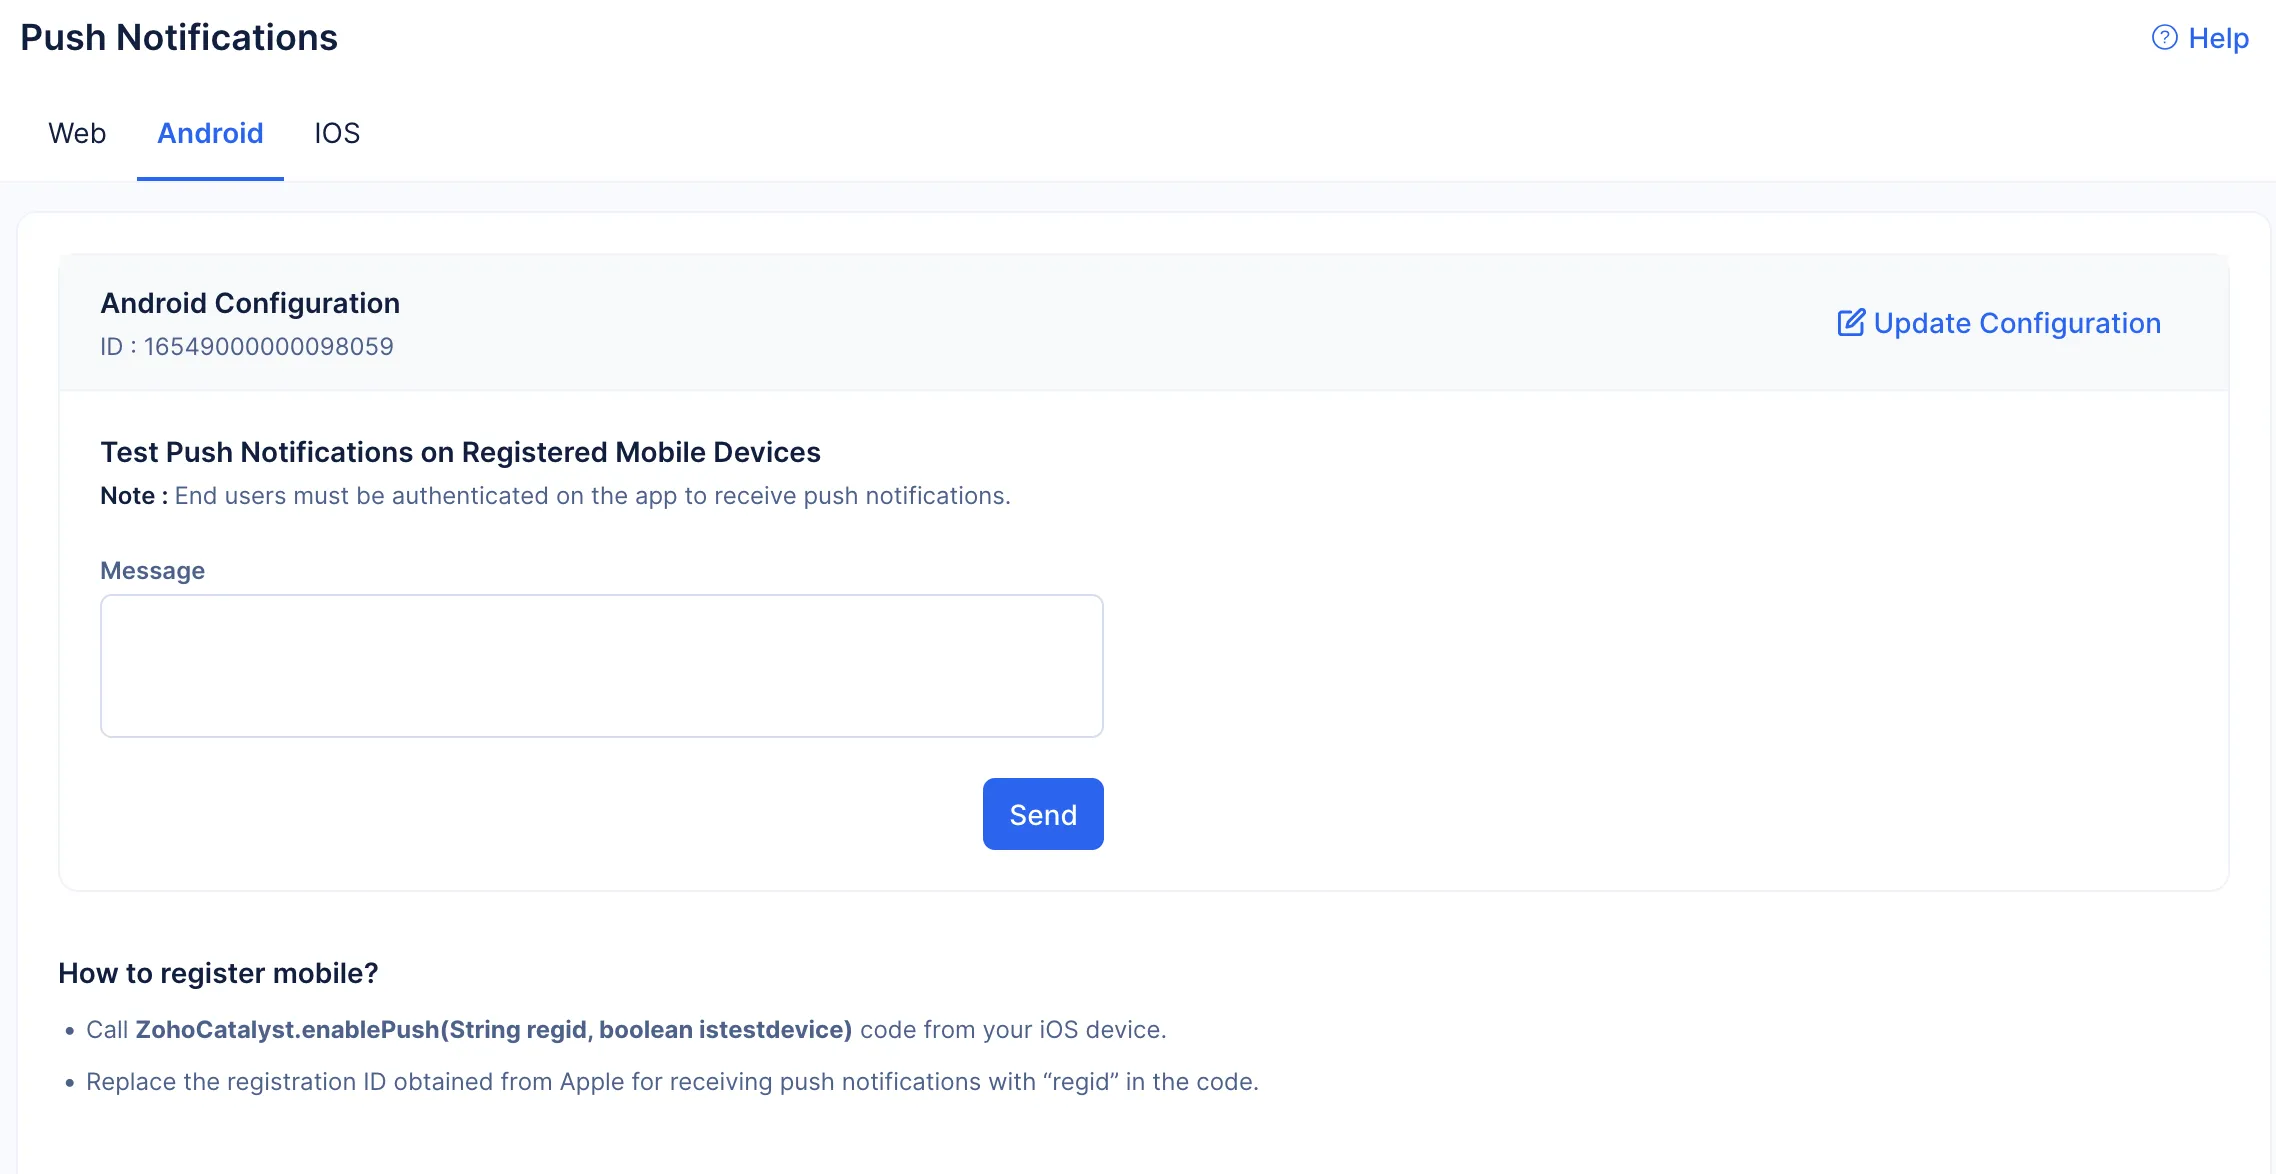
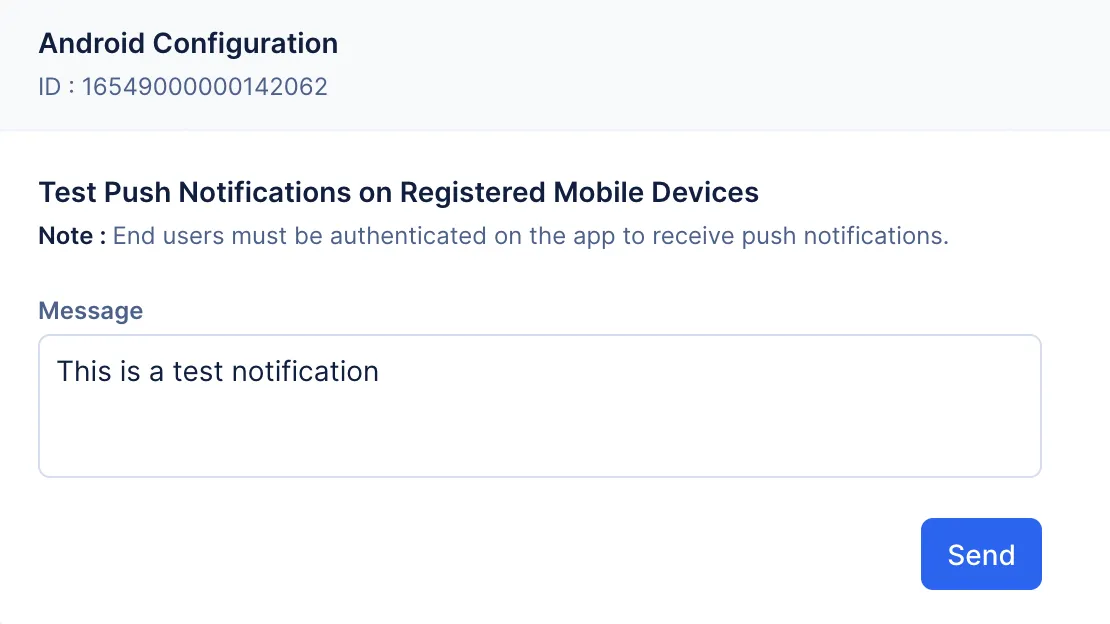
Catalyst allows you to send test notifications as text to all the user devices that have been registered from the console. You can send test notifications from the development or production environment by choosing the required option from the console. Ensure that the end user you are sending the test notification to is authenticated in the app and is a registered user.
To send a test push notification for a Catalyst Android app from the console:
- Navigate to Push Notifications from the Cloud Scale section in your project. Click the Android tab.
- Enter the message for the push notification and click Send.
The message will be sent as a push notification to the user devices that have been registered and the users that have been authenticated in your Android app.
Last Updated 2025-11-19 20:37:41 +0530 IST
Yes
No
Send your feedback to us
