Setup
After you create the Catalyst project and the Android project, you must follow these steps to set up and integrate the Android SDK package with your app.
Step 1: Register your Android app with Catalyst
You can begin by creating a package for the Android app in Catalyst to register it, and downloading its unique configuration file.
-
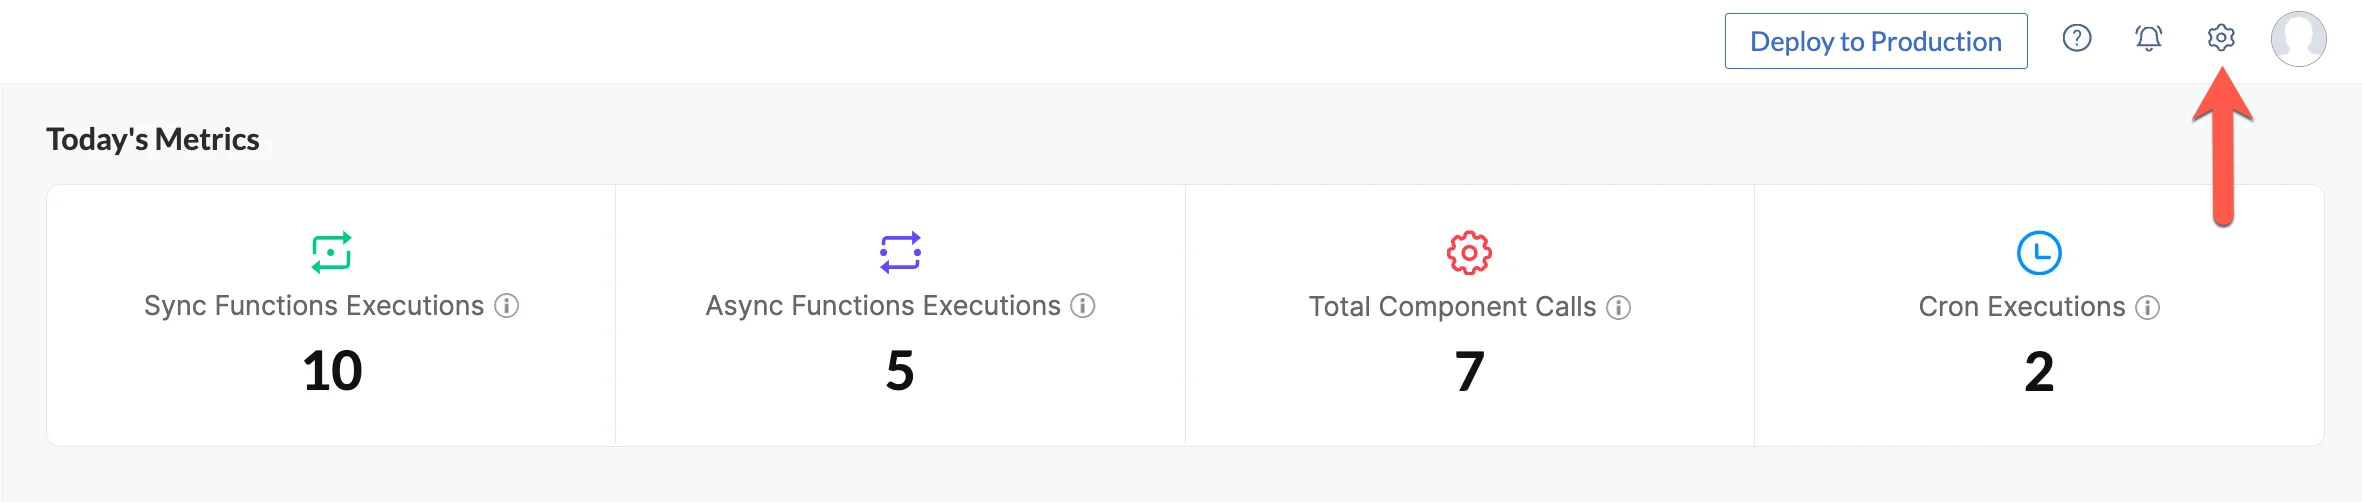
Click the Settings icon from your Catalyst console in your project.
-
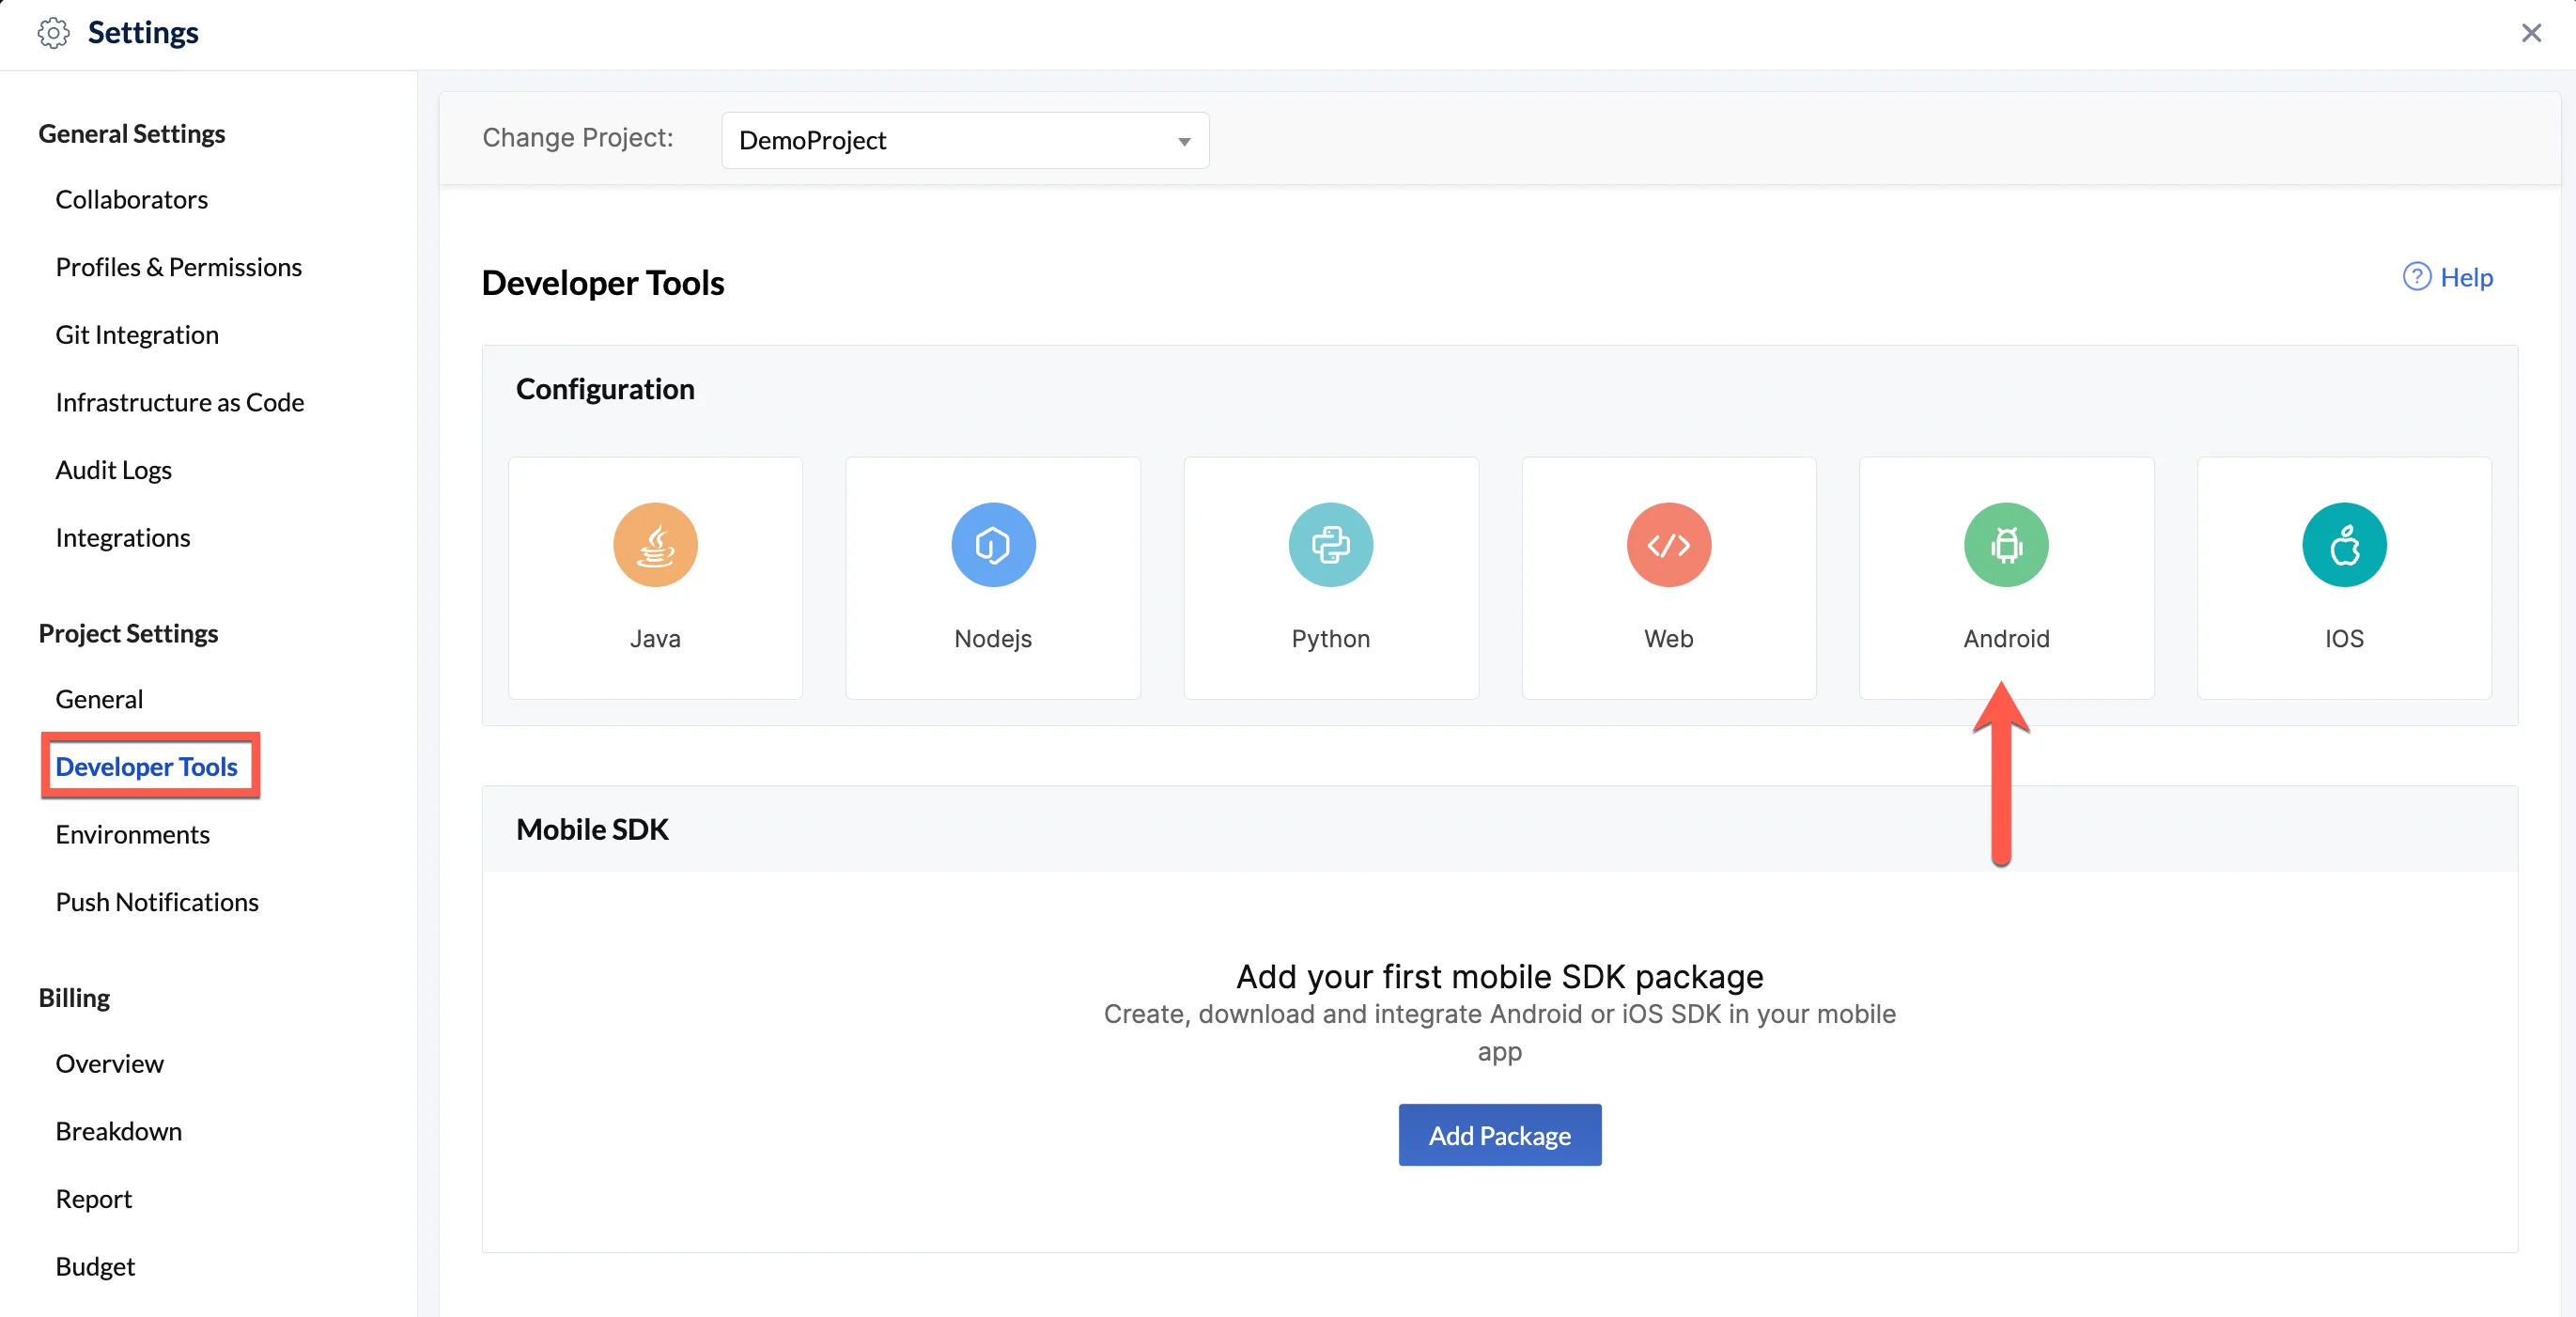
Navigate to Developer Tools under Project Settings in the settings menu, then click on the Android tile.
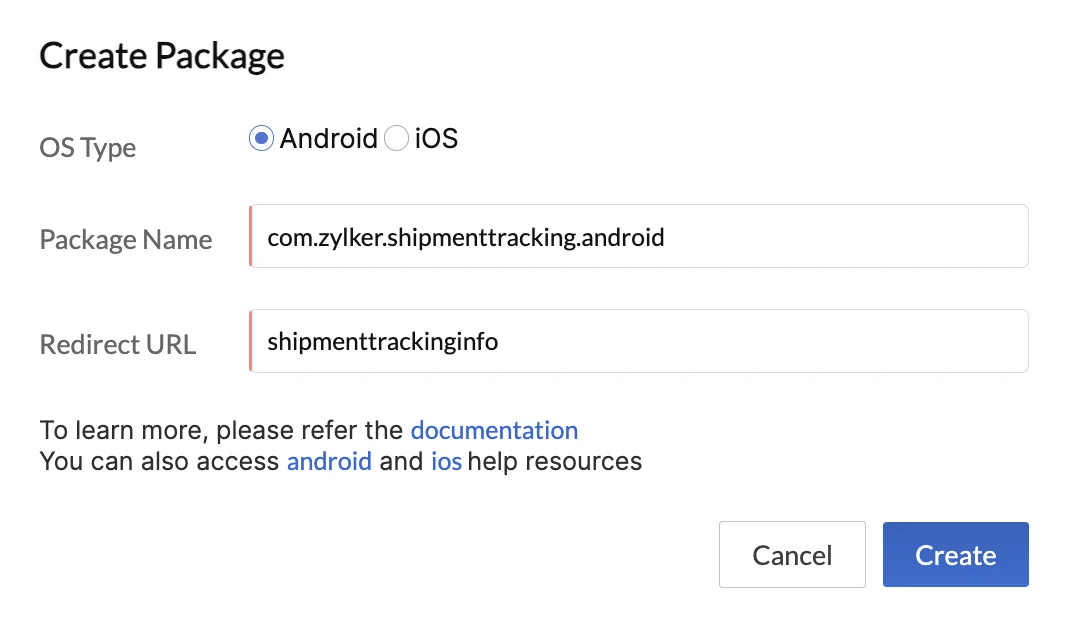
- Enter a package name that will identify it uniquely. Provide the URL to redirect the end-user to after they log in to the app, as the Redirect URL.
-
Click Create to create the mobile SDK package.
-
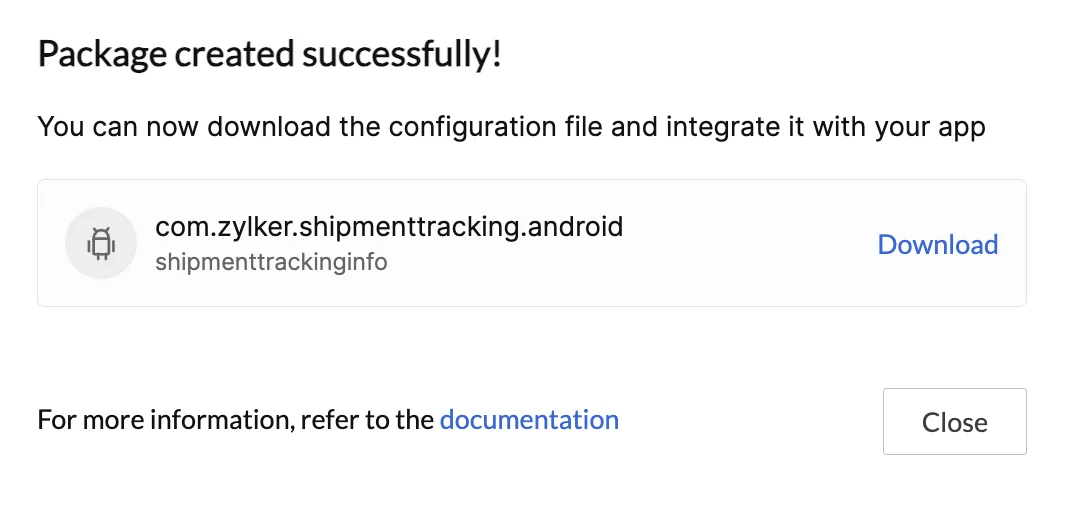
The console will then display a window from where you can download the configuration file. Click Download to download the file.
Step 2: Import the Configuration File in Your Android Project
Catalyst provides two work environments to develop and build your applications in: a Development sandbox and a live Production environment. You can learn more about them from the Environments help page.
When you create a package in the console, only the development environment’s configuration file will be available for download initially, irrespective of the environment you are working in currently. You can choose to download the configuration file from the console for any environment any time, once the package has been created.
The configuration files of each environment would be named as:
- Development: app_configuration_development.properties
- Production: app_configuration_production.properties
Based on the environment that you are working in, you must download and add the appropriate file to your Android app’s structure. To obtain a production environment configuration file, you must deploy your project to production first, and then download the file from the Developer Tools settings section.
The configuration file must be added to the assets directory of your Android app module. Typically, the assets folder is created in the app/src/main directory.
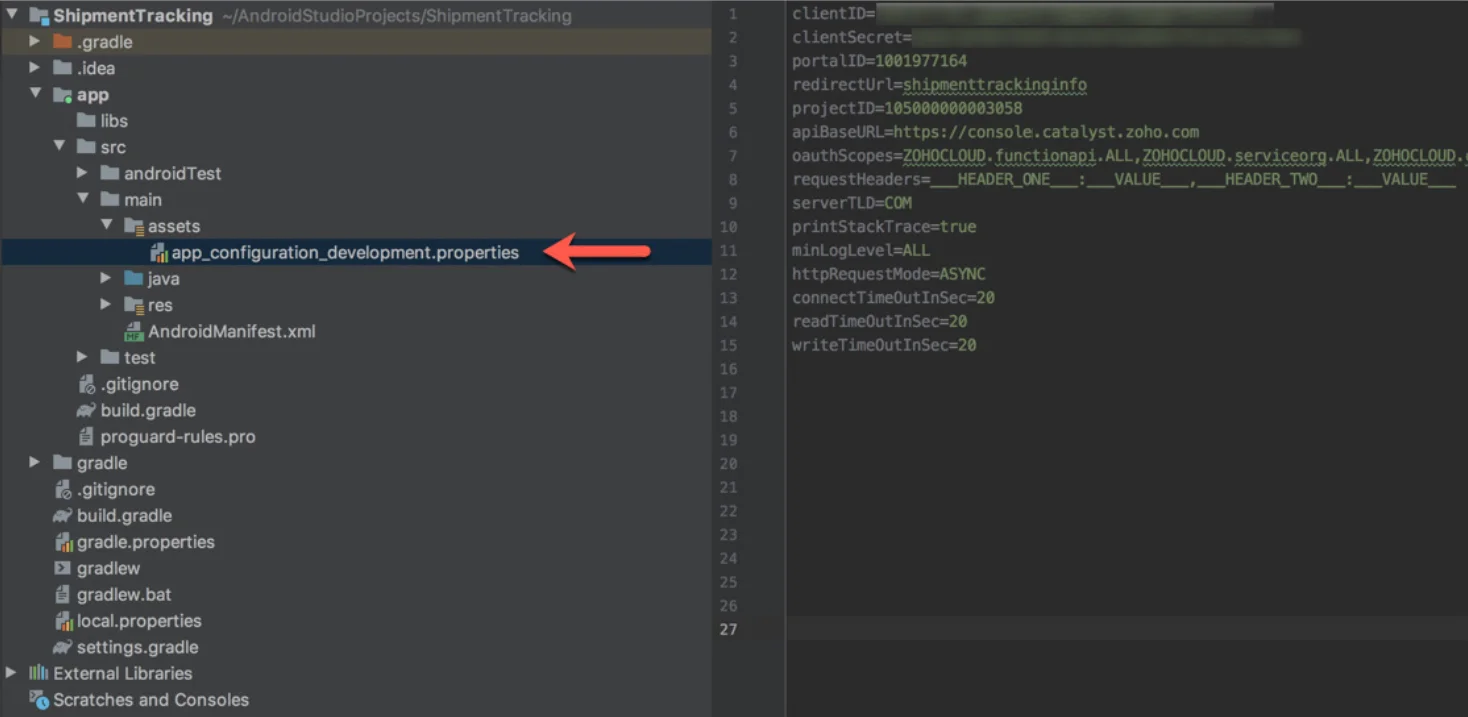
Properties of the app_configuration_development.properties/ app_configuration_production.properties File
The app configuration file defines the properties mentioned in the table below. All these values except the request headers are automatically populated, based on your project’s details or the default standards.
| Property | Data Type | Description |
|---|---|---|
| clientID | String | Unique identifier of your app client registered in Catalyst. This is received in the configuration file. |
| clientSecret | String | Secret value generated for a specific clientID, which is passed along with the API hits. This is received in the configuration file. |
| portalID | String | Unique identifier received in the configuration file |
| redirectUrl | String | The callback URL of your app that you provided while creating a package for it in the console, in the previous step |
| projectID | Long | The unique ID of your Catalyst Project |
| apiBaseURL | String | The URL of the Catalyst server through which the internal API is called. You must use the appropriate URL (development URL or production URL), based on the environment you are working in. |
| oauthScopes | String | The scopes that would be used by the app to access the Catalyst APIs from your project. You can find the available OAuth scopes here. |
| requestHeaders | String | The headers that would be sent by the client in the HTTP requests The values of the request headers must be individual key-value pairs, separated by commas like: requestHeaders=key1:value1, key2:value2 |
| serverTLD | String | The top level domain of the data server Acceptable values: AU, CN, COM, EU and IN |
| printStackTrace | Boolean | Enables you to obtain a detailed trace of the logs, if the printStackTrace value is set as 'true'. The default value is 'false'. |
| minLogLevel | String | Enables you to set the logging preferences for the app Acceptable values: warnings, errors, information, debug, ALL |
| httpRequestMode | String | Defines whether the HTTP requests are synchronous or asynchronous Acceptable values: SYNC, ASYNC Default value: ASYNC |
| connectTimeOut InSec |
Long | The connection time out value (in seconds) of the HTTP request sent from the SDK If a response for the client request isn't received from the server within this time, the connection will be terminated |
| readTimeOutInSec | Long | The read time out value (in seconds) of the HTTP request sent from the SDK If data isn't received from the server within this time, the connection will be terminated |
| writeTimeOutInSec | Long | The write time out value (in seconds) of the HTTP request sent from the SDK If the request fails to write or send the request data to the server within this time, the connection will be terminated |
| JWTClientID | String | The client ID property of the custom server token (JSON Web Token token) generated for third-party authentication to be passed to the client |
| JWTClientSecret | String | The client secret property of the custom server token (JSON Web Token token) generated for third-party authentication to be passed to the client |
-
If the values of the clientID, clientSecret, projectID, or portalID are modified in the configuration file, it will affect the functioning of the SDK and your Android app. If you wish to change any of these configurations, you can create a new package for the required project from the Developer Tools section and download a new configuration file for the appropriate environment, then add it to the assets directory in your app’s structure.
-
The values of the properties that are populated in the downloaded configurations file can be dynamically accessed using the ZCatalystApp.configs object.
Step 3: Add Catalyst Android SDK in your App
The next step is to include the SDK package in your app. Catalyst Android SDK is available as a Gradle library. You can add the SDK in your Android project by accessing the Maven repository that contains the library, in the following manner:
- Add the code snippet given below to the project-level build.gradle file in your Android app structure:
maven {
		url "https://maven.zohodl.com/"
}
- Add the code snippet given below to the app-level build.gradle file in your Android app structure:
dependencies {
	    implementation 'com.zoho.catalyst:android-sdk:3.0.1'
}
Step 4: Configure App Login Redirection
When a user logs in to your app successfully, they will be redirected to your app’s home screen. This user login and redirection is handled by the Catalyst SDK.
To ensure that this redirection is handled properly, include the string given below in the strings.xml file of your Android app:
<string name="url_scheme">{redirection_url}</string>
The strings.xml file is automatically created when you create the Android project. You can find it by navigating to app/src/main/res/values in your app’s structure. The file will already contain the string definition for your app name. Include this string along with it.
You must pass the Redirection URL that you configured while creating the package for your app in Catalyst, in place of redirection_url in this code.
Step 5: Set Required Permissions
Catalyst SDK requires the following app permissions to be enabled, to ensure that your app functions seamlessly and to provide a smooth user experience:
- INTERNET: To execute Catalyst APIs
- ACCESS_NETWORK_STATE: To handle network failures
To enable these permissions, you must declare them in the AndroidManifest.xml file, as shown below:
<uses-permission android:name="android.permission.ACCESS_NETWORK_STATE"/>
<uses-permission android:name="android.permission.INTERNET"/>
You can find the the AndroidManifest.xml file by navigating to app/src/main in your app’s structure.
All the required configurations to add and implement the Catalyst Android SDK are now done. After you execute all the steps mentioned above, you must build your project. If the gradle build is successful, your app will be able to access the components of the Catalyst Android SDK.
Step 6: Initialize the SDK
You must initialize the Catalyst SDK to enable the functioning of the methods and features defined in the SDK package.
Therefore, before you configure your app to consume the SDK methods, you must initialize the SDK in any one of the following methods:
Method 1: By specifying the Environment
The Environment indicates if the app is operating in the Development or the Production environment. Similar to including the appropriate configuration file (app_configuration_development.properties/ app_configuration_production.properties) based on the environment in your app’s project, you must initialize the SDK for the appropriate environment.
In this method, you must set the required configuration and specify the Environment of your app as either DEVELOPMENT or PRODUCTION, and pass it to the init() method through the ZCatalystApp class as shown below:
ZCatalystApp.init(
            context: Context,
            Environment: ZCatalystSDKConfigs.Environment.{DEVELOPMENT}
        ): ZCatalystApp
Method 2: Without specifying the Environment
If the Environment is not specified in the SDK initialization, it would be considered as PRODUCTION by default. Therefore, if your app is operating in the Production environment, you can initialize the SDK directly without specifying the Environment in the following way:
ZCatalystApp.init(context: Context): ZCatalystApp- If you configure a third-party authentication for your Android app, you will also need to re-initialize the SDK as new properties will be added in this configuration file. You can learn more from this help page.
If the SDK is successfully initialized, the app will invoke the component methods and function as intended.
Last Updated 2025-11-19 20:37:41 +0530 IST
Yes
No
Send your feedback to us