Settings
You can delete a Catalyst project in the following way:
-
Open the project from the Catalyst console.
-
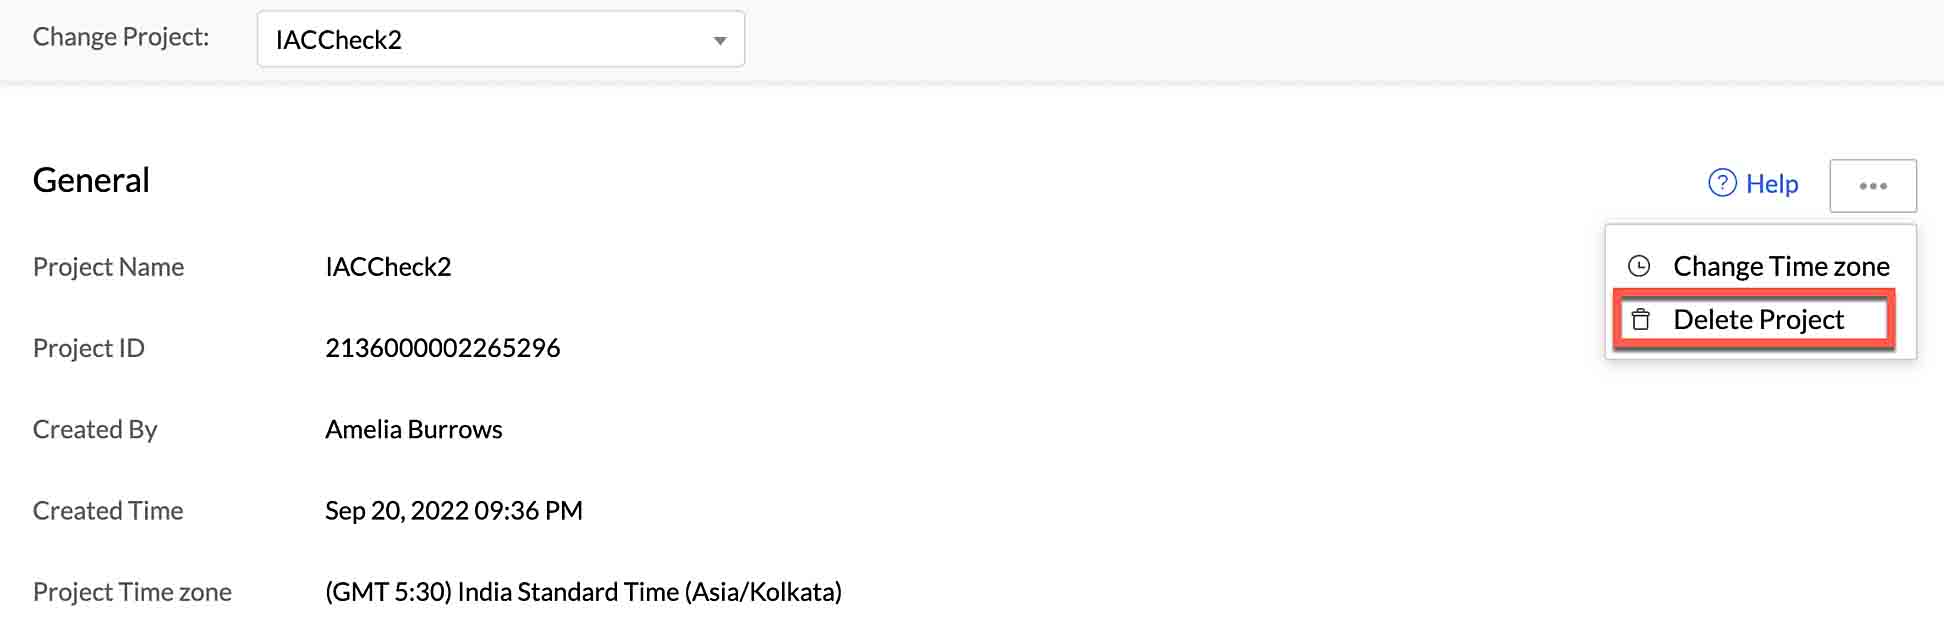
Navigate to Settings and click General under Project Settings.

-
You can delete your project permanently from this page by clicking the ellipsis icon, then clicking Delete Project.
-
Type “DELETE” in the pop-up window for confirmation, then click Confirm.
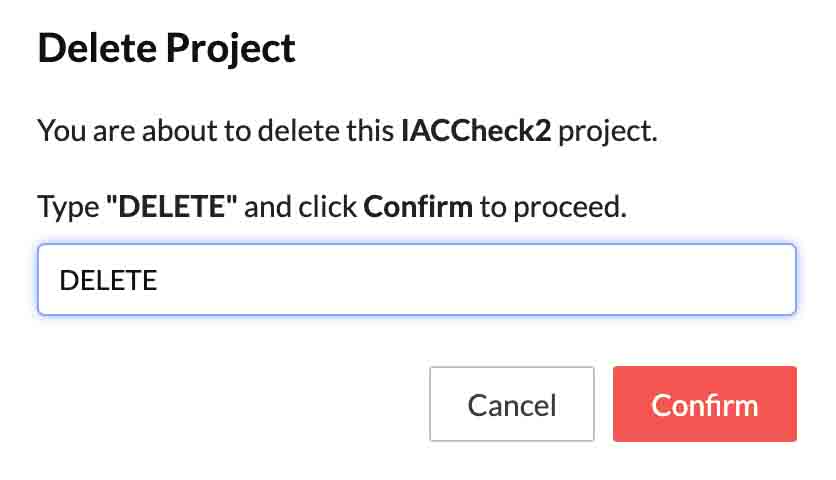
Your project and its resources will be permanently deleted from the console. You will not be able to initialize this project from the CLI once it has been deleted.
This issue occurs when the email address you are trying to add exists in an account from a different data center. You can try deleting the collaborator’s original Catalyst account, and then add the account again in the DC that you require. You can also try adding a different email address of the collaborator.
Note: You must take a backup of all the data in the collaborator’s Catalyst account. We will not be able to retrieve data of a Catalyst account, if it is deleted.
You can export and import your Catalyst project under Settings-> Infrastructure as a Code(IaC) in Catalyst console. You can also perform these IaC operations from the CLI. The CLI enables you to export a project into your local directory, import a new project in the remote console and/or the local environment, or generate an import-ready ZIP file of any project.
Note: Your Catalyst project will alone get exported, and not the data from with the project. You can export and import data present in your Data Store, using the bulk read/write APIs, or from the Catalyst CLI.
Deployment
Once you create and test your application in your local machine using the CLI or any other tool, you can deploy the project to the Catalyst remote console in three ways:
- Using Catalyst CLI:
You can deploy your project from the Catalyst CLI by executing the catalyst deploy command from the project’s root directory. Refer to the Deploy Resources help page for more information.
- Uploading the files manually:
-
Client component: You can upload your project’s client package manually to the Catalyst console and host the client component. Refer to the Web Client Hosting help page for a detailed explanation.
-
Functions: You can create functions in your project directly from the Catalyst remote console, instead of creating them in your local machine. You can learn more about this from the Functions help page.
-
Android, iOS, or Flutter applications: You can upload the source files of your Android, iOS, or Flutter applications in Device Management in the Catalyst console. Refer to the Device Management help page for a detailed explanation.
- Downloading your project files from a GitHub repository:
You can deploy the client and functions together or individually from your GitHub repository. You can learn more about this from the GitHub Integration help page.

You can use the Development environment to work with and test your Catalyst application during the development phase, and deploy it to the Production environment once it is ready to be made live. When you create a project, it will be created in the Development environment by default.
Once you deploy it to the Production environment, you will be able to switch between both environments in the Catalyst console and migrate your data between both environments.
Refer to the Environments help page for detailed help.
Billing and Pricing
Catalyst bills you in two different ways based on the pricing model you opt for.
-
Pay-as-you-go: This model requires you to pay only for the resources you consume, post the consumption. This is a postpaid model in which the price is calculated for each billable resource usage, and the bill is generated on a monthly basis.
-
Subscription: This requires you to pay a fixed subscription fee in advance on a monthly basis, and purchase Catalyst resources worth that amount as determined by the pricing. This is a prepaid model in which a fixed set of resources are allocated for each subscription amount tier.
You can refer to the Pricing Calculations help section for more details.
Last Updated 2025-02-19 15:51:40 +0530 IST
Yes
No
Send your feedback to us