iOS Push Notifications
Catalyst makes the task of incorporating push notifications in your iOS apps much easier by acting as an intermediary between you and Apple. Catalyst forwards your push messages to Apple on your behalf after you perform the required configurations, and provides you with the response to your action. You can learn about the general architecture of the push notification flow from the Architecture help section.
Key Concepts
The key concepts of iOS push notifications are explained below.
APNS and Device Token
The iOS push notifications are handled by Apple Push Notifications service, or APNs. Your app is connected to the APNs server when it is installed on a user’s device, and this enables the user to receive the notifications that your server forwards to APNs. Catalyst takes the role of the server: it obtains the push messages from you and forwards them to APNs on your behalf, which in turn routes them to the client devices.
This process involves a device token that is globally unique and identifies a single app-device combination. Every time a user device launches your app, it sends a request to establish a connection with APNs. After this is established successfully, the device token is provided by APNs, which you can then forward to and store in Catalyst securely. This process establishes the channel between your app and the device. You can learn about this in detail from the official developer documentation from Apple.
The first step in this process is to obtain an APNs certificate issued by Apple and to upload it to Catalyst. The APNs certificate permits the developer to send push notification data to the app installed on Apple devices. Uploading this certificate to Catalyst establishes a secure connection between Catalyst servers and APNs. Refer here for the complete steps.
Testing in Development and Production Modes
Catalyst enables you to test push notifications in iOS in two different modes: development and production, which can be considered as sandboxed and live modes. Apple supports and provides different servers for both these modes.
If you select the development mode in the Catalyst console to send test notifications, this will inform Catalyst to forward your notifications to Apple’s test servers. Likewise, if you select the production mode to send test notifications, this will inform Catalyst to forward your notifications to Apple’s live servers.
If your test notifications are delivered to the devices successfully, the APNs connection has been configured properly with your app. When the notifications are sent from your app, you can determine the status of their delivery from the API response you receive.
Registering a User Device
For iOS apps, the devices that you need to send push notifications to must be registered with APNs. The users must also provide explicit permission for the app to send them push notifications. This can be handled in the app’s logic by sending the users a permission prompt, where they can allow or deny permission. After the permission is provided, you can send test notifications to the device.
Elements of iOS Push Notifications
Apple supports a variety of rich media and elements that can be included in its push notifications. Catalyst supports iOS notifications that primarily contain text content. Other elements like audio and video attachments, images, hyperlinks, and call-to-action buttons can also be included as a JSON package. Catalyst also supports notification badge counts in your iOS push notifications. This displays the number of notifications that are waiting to be read in the notification badge.
You can also perform a variety of actions with iOS push notifications, such as:
- Modifying the notification content before it is displayed to the user
- Performing a background task
- Grouping notifications into threads
- Providing interactive UI in the notification such as a Like button
However, you must be aware of the standards defined by Apple and you must adhere to their guidelines before defining actions for iOS push notifications. You can find more information regarding this, as well as character count, payload limits, and other details from their official documentation about generating a remote notification.
Configure and Enroll for iOS Push Notifications
The steps to be followed for configuring and enrolling for Catalyst Push Notification services for an iOS app are listed below in a logical sequence:
Step 1: Register your iOS app with Apple
You must sign in to your Apple developer account and register your iOS app with Apple before you can procure an APNs certificate for it. While creating the app ID, ensure that you provide the same bundle ID for your app that you provided in Catalyst when you downloaded the iOS SDK. You can refer to Apple’s Developer Account Help page for more information.
Step 2: Generate a certificate from Keychain Access
You must generate a Certificate Signing Request (CSR) from your Mac OS terminal and upload it in the Apple Push Notifications Portal. To generate the CSR from Keychain Access:
-
Launch the Keychain Access application in your Mac OS terminal.
-
Select Keychain Access < Certificate Assistant > Request a Certificate From a Certificate Authority.
-
Enter your email address and check the option to save the certificate on your disk.
-
Save the certificate.
Step 3: Generate and download the APNs certificate provided by Apple
After generating the CSR, open your Apple developer account to generate the APNs certificate as follows:
-
Select your app from the App IDs list and click Edit.
-
In the Development SSL Certificates section, click Create Certificate and click Continue.
-
Upload the CSR file that you created in the previous step and click Continue.
-
Download the APNs certificate that is generated and click Done.
Step 4: Convert the downloaded APNs certificate into the .p12 format
The APNs certificate that you download from Apple will be in .cer format, which you must convert to .p12 before uploading it to Catalyst. You can convert a .cer certificate to .p12 format in the following way:
-
Double-click on the downloaded certificate on your Mac to install it in Keychain Access.
-
Open Keychain Access and locate the installed certificate in the Certificates section.
-
Click on the arrow next to the certificate to show the key and select it.
-
Select File and then Export Items…
-
Provide a name for the export file. Save the file in the .p12 format.
-
Provide a password to protect the certificate. You will need this password while enrolling for Catalyst Push Notification services. Click OK.
-
Enter your Mac password to enable the export. Click Allow.
Your APNs certificate is now saved in the .p12 format.
You can now upload the APNs certificate to the Catalyst console and enroll for Catalyst Push Notification services. This will establish a connection between Catalyst and APNs for your iOS app. The procedure is explained below.
Step 5: Enroll for iOS Push Notification Services in Catalyst
You can upload the APNs certificate and provide the necessary information to enroll for Catalyst Push Notification services.
To enrol for push notifications for your iOS app in Catalyst:
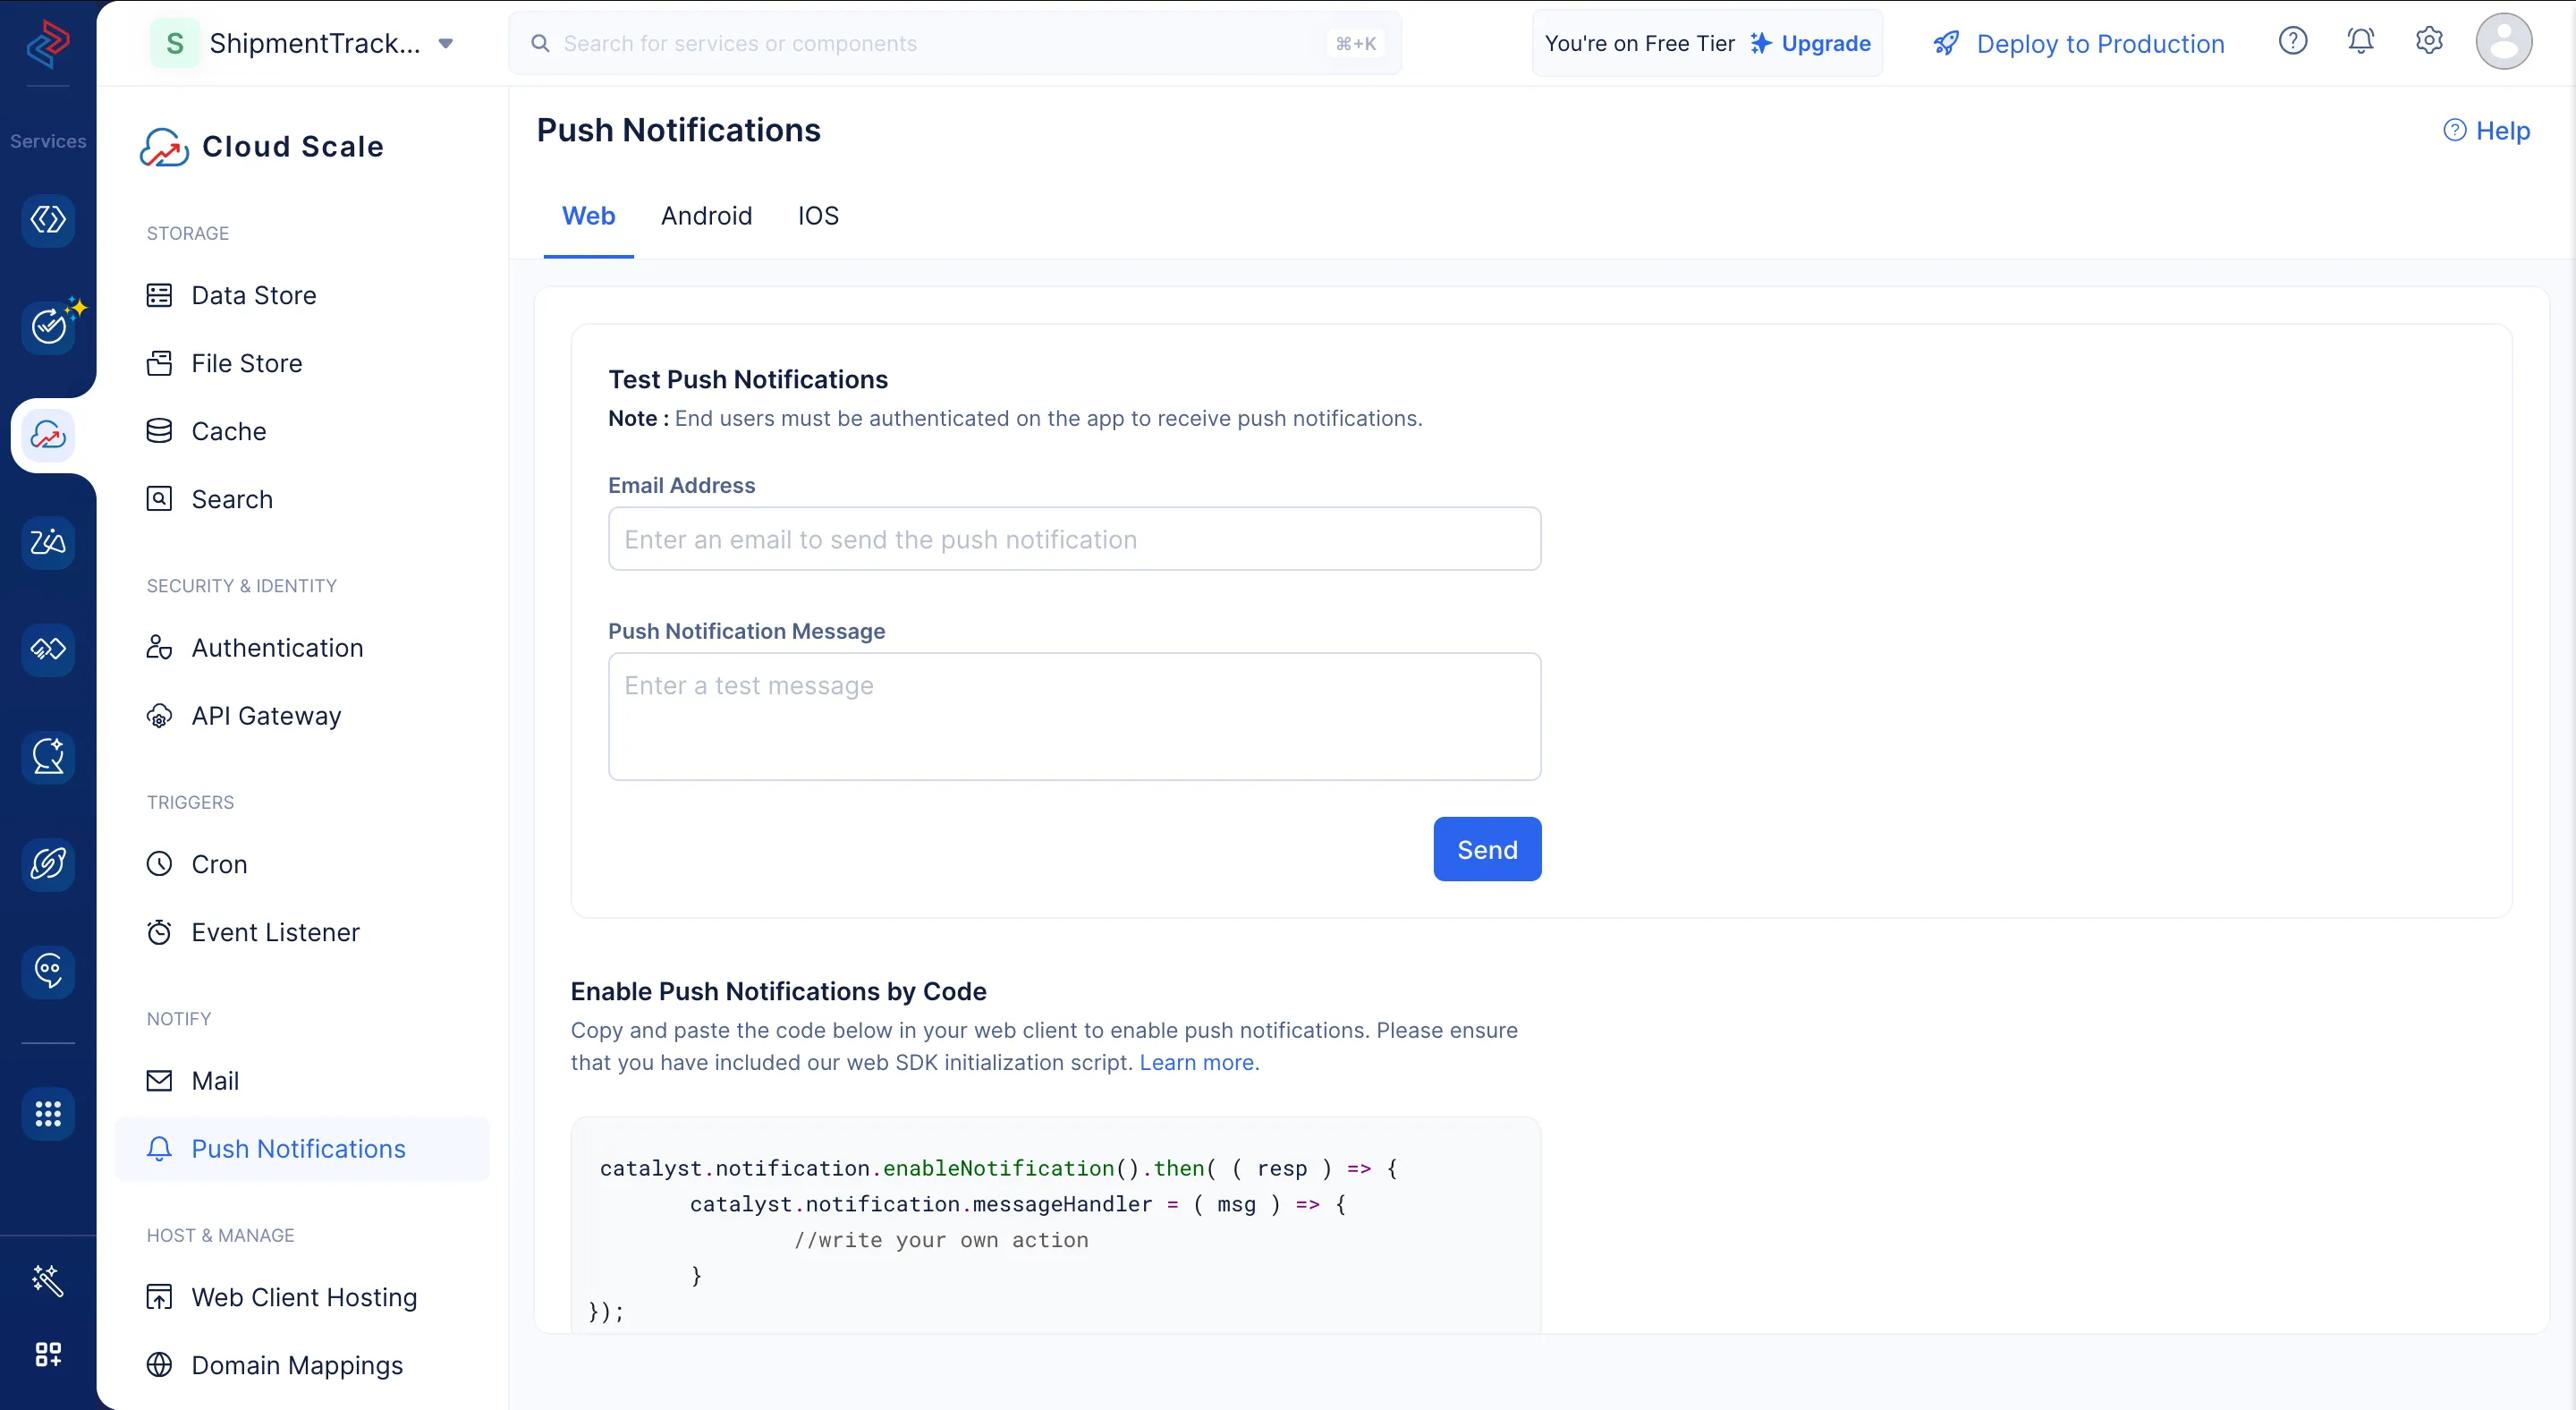
- Navigate to the CloudScale, then click Push Notifications under Notify.
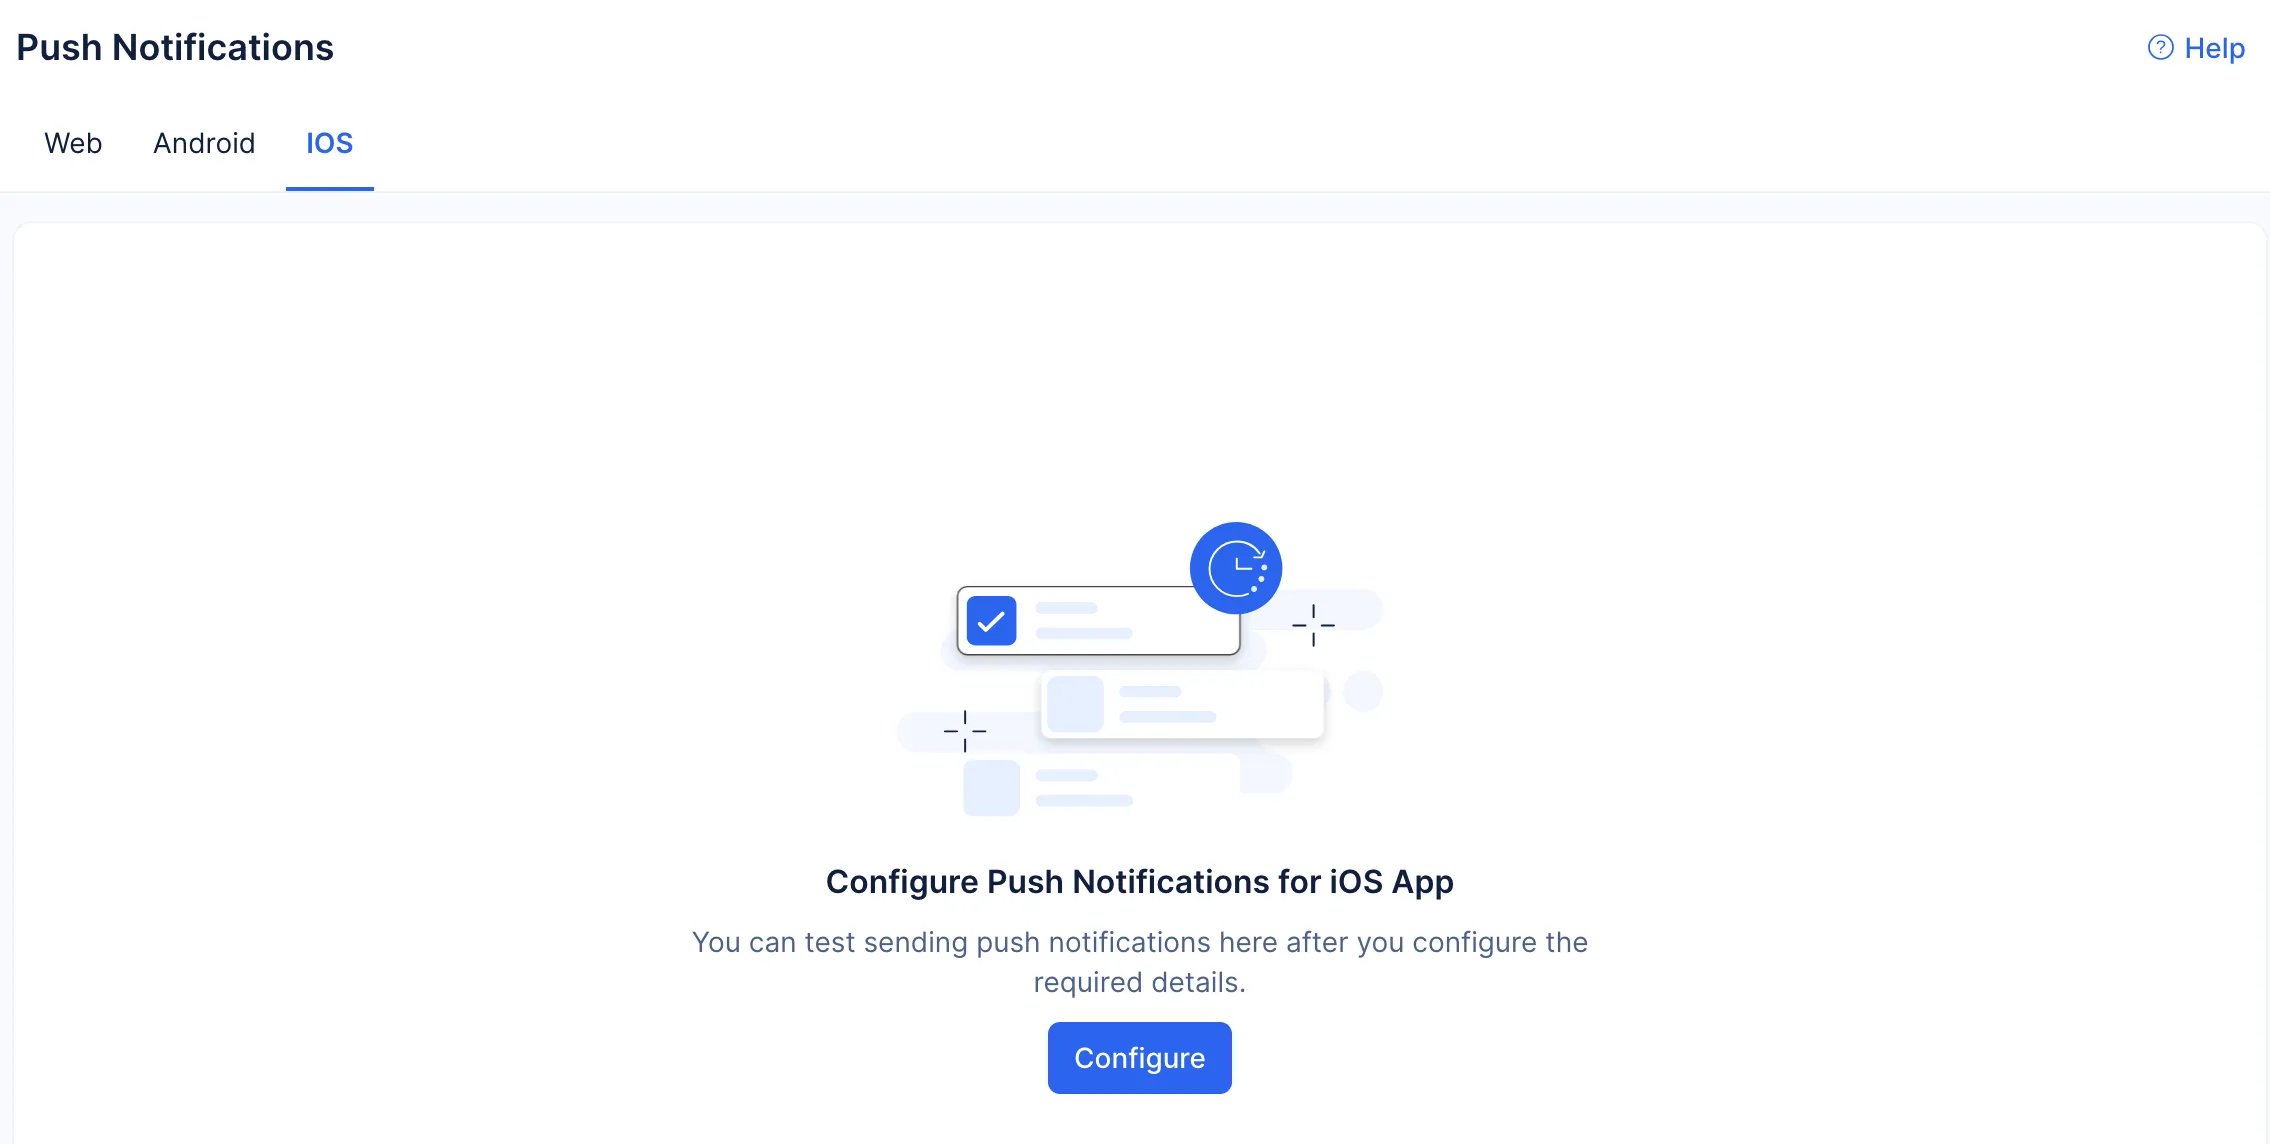
- Click the iOS tab, then click Configure.
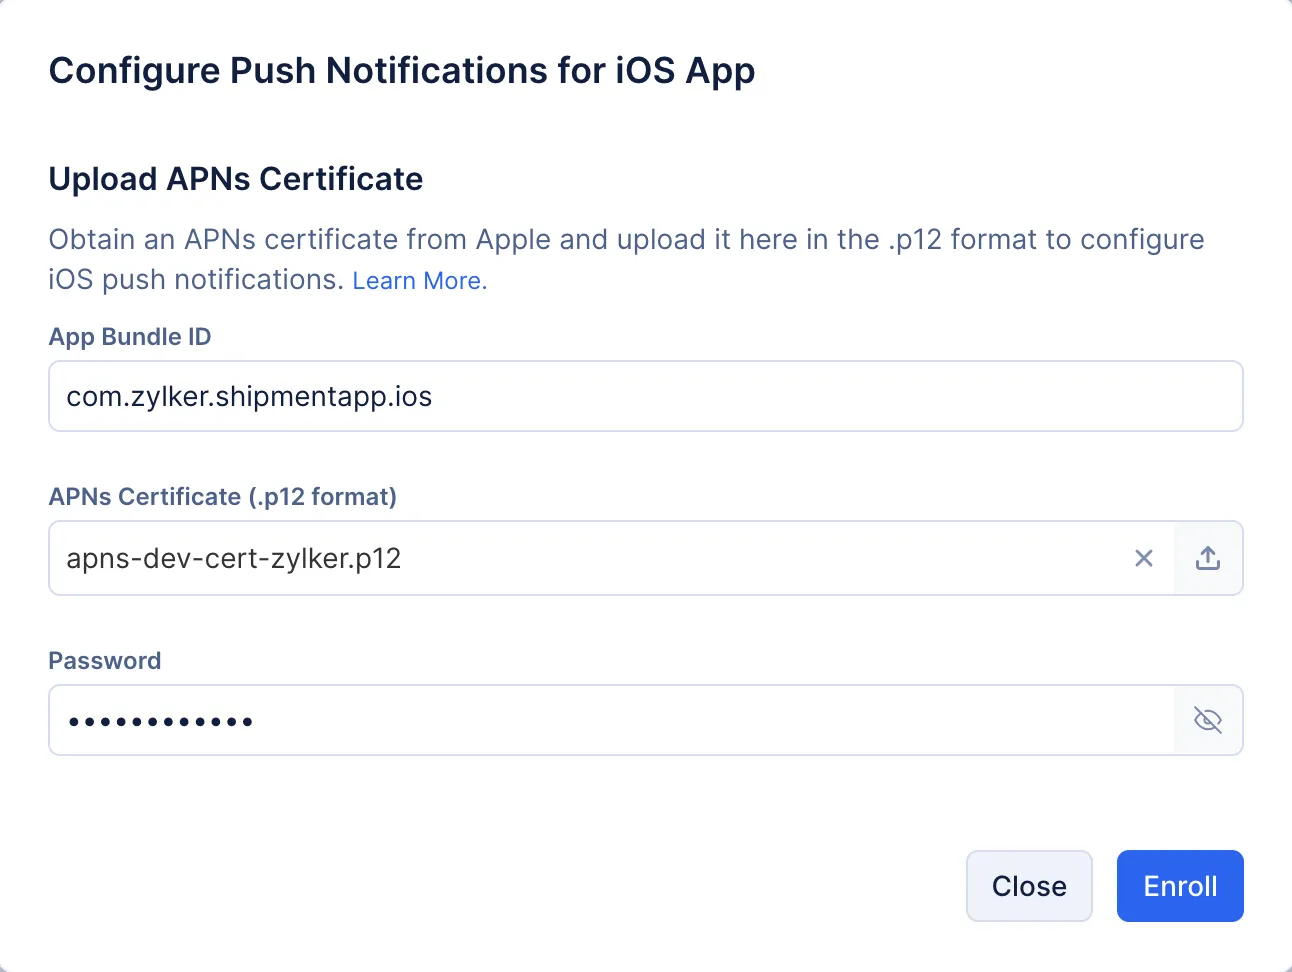
- Upload the APNs certificate that you generated from Apple. You will also need to provide your app’s bundle ID and the password that you created for the APNs certificate in the previous step. Click Enroll.
This will enroll you for the Catalyst iOS push notification service. After your APNs certificate is uploaded and its credentials have been provided, Catalyst establishes a connection with APNs for your iOS app. You can then use the console to send test notifications to mobile devices after registering them.
After you have enrolled, you must register your test mobile devices. This allows the devices to receive push notifications that you send them.
Step 6: Register a Test Mobile Device
To register an iOS mobile device as a test device, you must call the registerNotification() method with the required parameters as shown in the following code snippet:
ZCatalystApp.shared.registerNotification(token: e5********21, appID: 12345678, testDevice: false) { error in
            if let error = error
            {
                return print("Error : \( error )")
            }
            print("Registered successfully")
 }
Parameters:
-
token: Device token obtained after registering the device for remote push notifications with APNS.
-
appID: The notificationAppID obtained from the AppConfigurationDevelopment.plist/ AppConfigurationProduction.plist file generated by Catalyst for your app when you registered your iOS app in Catalyst.
-
testDevice: The value is set to true for test devices, and set to false for production devices
After a mobile device has been registered, the user must also provide permission for your app to send push notifications to them by clicking Allow from the permission prompt. After this is done, you will be able to send test notifications to the device.
De-Register a Mobile Device
You can deregister a device that was registered for Catalyst iOS push notifications using the code snippet given below.
ZCatalystApp.shared.deregisterNotification(token: e5********21, appID: 1234567, testDevice: true) { error in
            if let error = error
            {
                return print("Error : \( error )")
            }
            print("UnRegistered successfully")
 }
Parameters:
-
token: Device token obtained after registering the device for remote push notifications with APNS.
-
appID: The notificationAppID obtained from the AppConfigurationDevelopment.plist/ AppConfigurationProduction.plist file generated by Catalyst for your app when you registered your iOS app in Catalyst.
-
testDevice: The value is set to true for test devices, and set to false for production devices
Test iOS Push Notifications
Catalyst allows you to send test notifications in the form of text to all the user devices that have been registered in the test device mode from the previous step. You can send notifications for both the production and development modes from the console. Apple allocates different servers for each of these modes.
If you had configured the appID from the development plist file while registering the user devices, they will be added to Apple’s development mode. Likewise, if you had configured the appID from the production plist file, they will be added to the production mode.
You can also send test push notifications from the API.
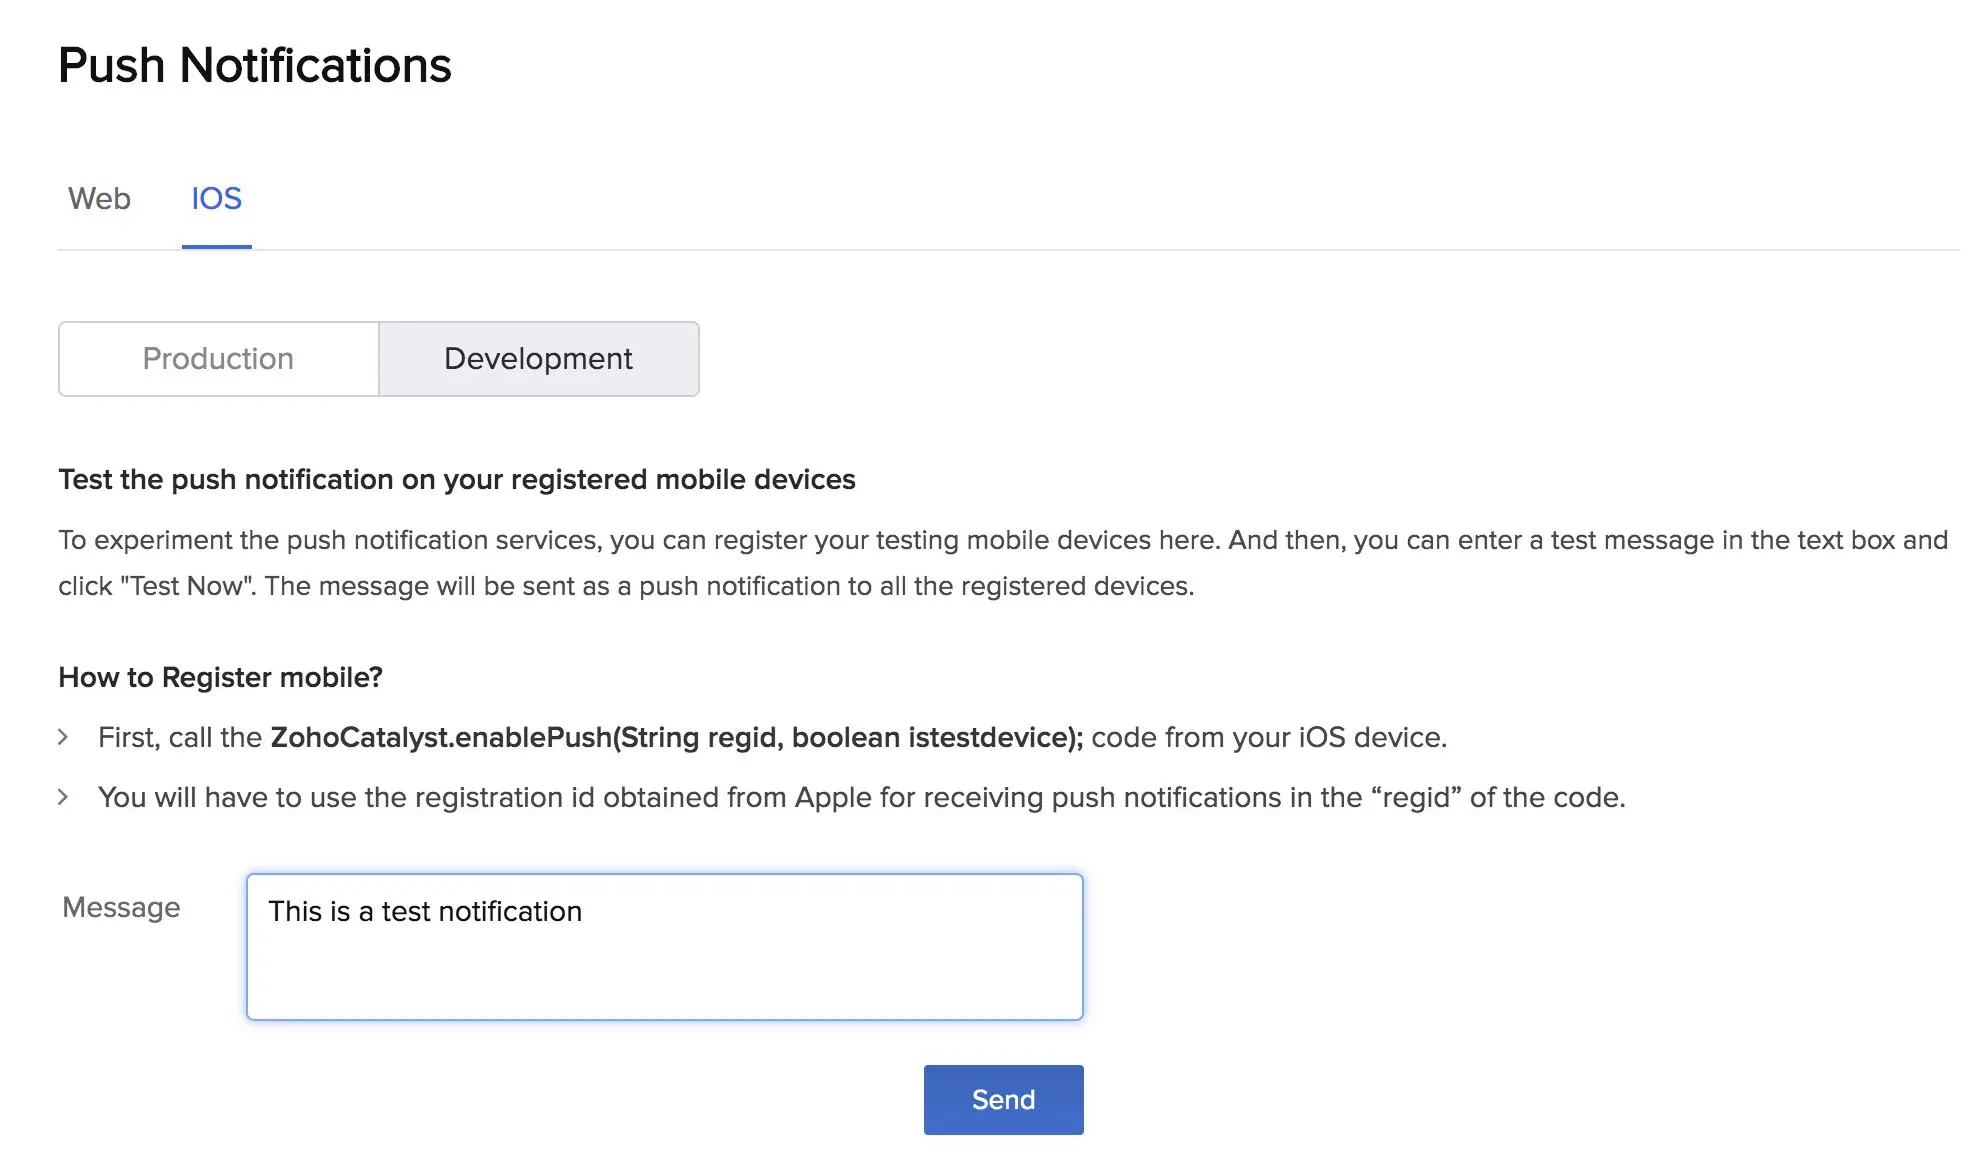
To send a test push notification in an iOS app to all registered test devices:
-
Navigate to the iOS section in the Push Notifications component of your project.
-
Click on either the Production or Development tabs.
-
Enter the message for the push notification and click Send.
The message will be sent as a push notification to the test user devices that have been registered for your iOS app.
Last Updated 2025-11-19 20:37:41 +0530 IST
Yes
No
Send your feedback to us


