Add and Manage Data in a NoSQL Table
Overview
This section covers performing CRUD operations in Catalyst NoSQL, as well as managing data from the Catalyst console. Refer to the Java, Node.js, and Python SDK and the API documentation for performing data operations through code or API.
Here are a few points to remember when you add or update data in a Catalyst NoSQL table:
-
The values for the configured partition key of a table must be present in each data item, if it is configured with a simple primary key. In case of a composite primary key, both partition key and sort key values must be present in each data item.
-
The data types configured for the partition key and sort key of a table must match with the data types you provide for the values of those attributes.
-
You will not be able to change the data types of the partition key and sort key in a table or the attributes associated with them, when you add or update data in the table.
-
The maximum total size of an item provisioned in Catalyst NoSQL is 400 KB.
Add Data in a Table
To add data in a NoSQL table from the Catalyst console to test:
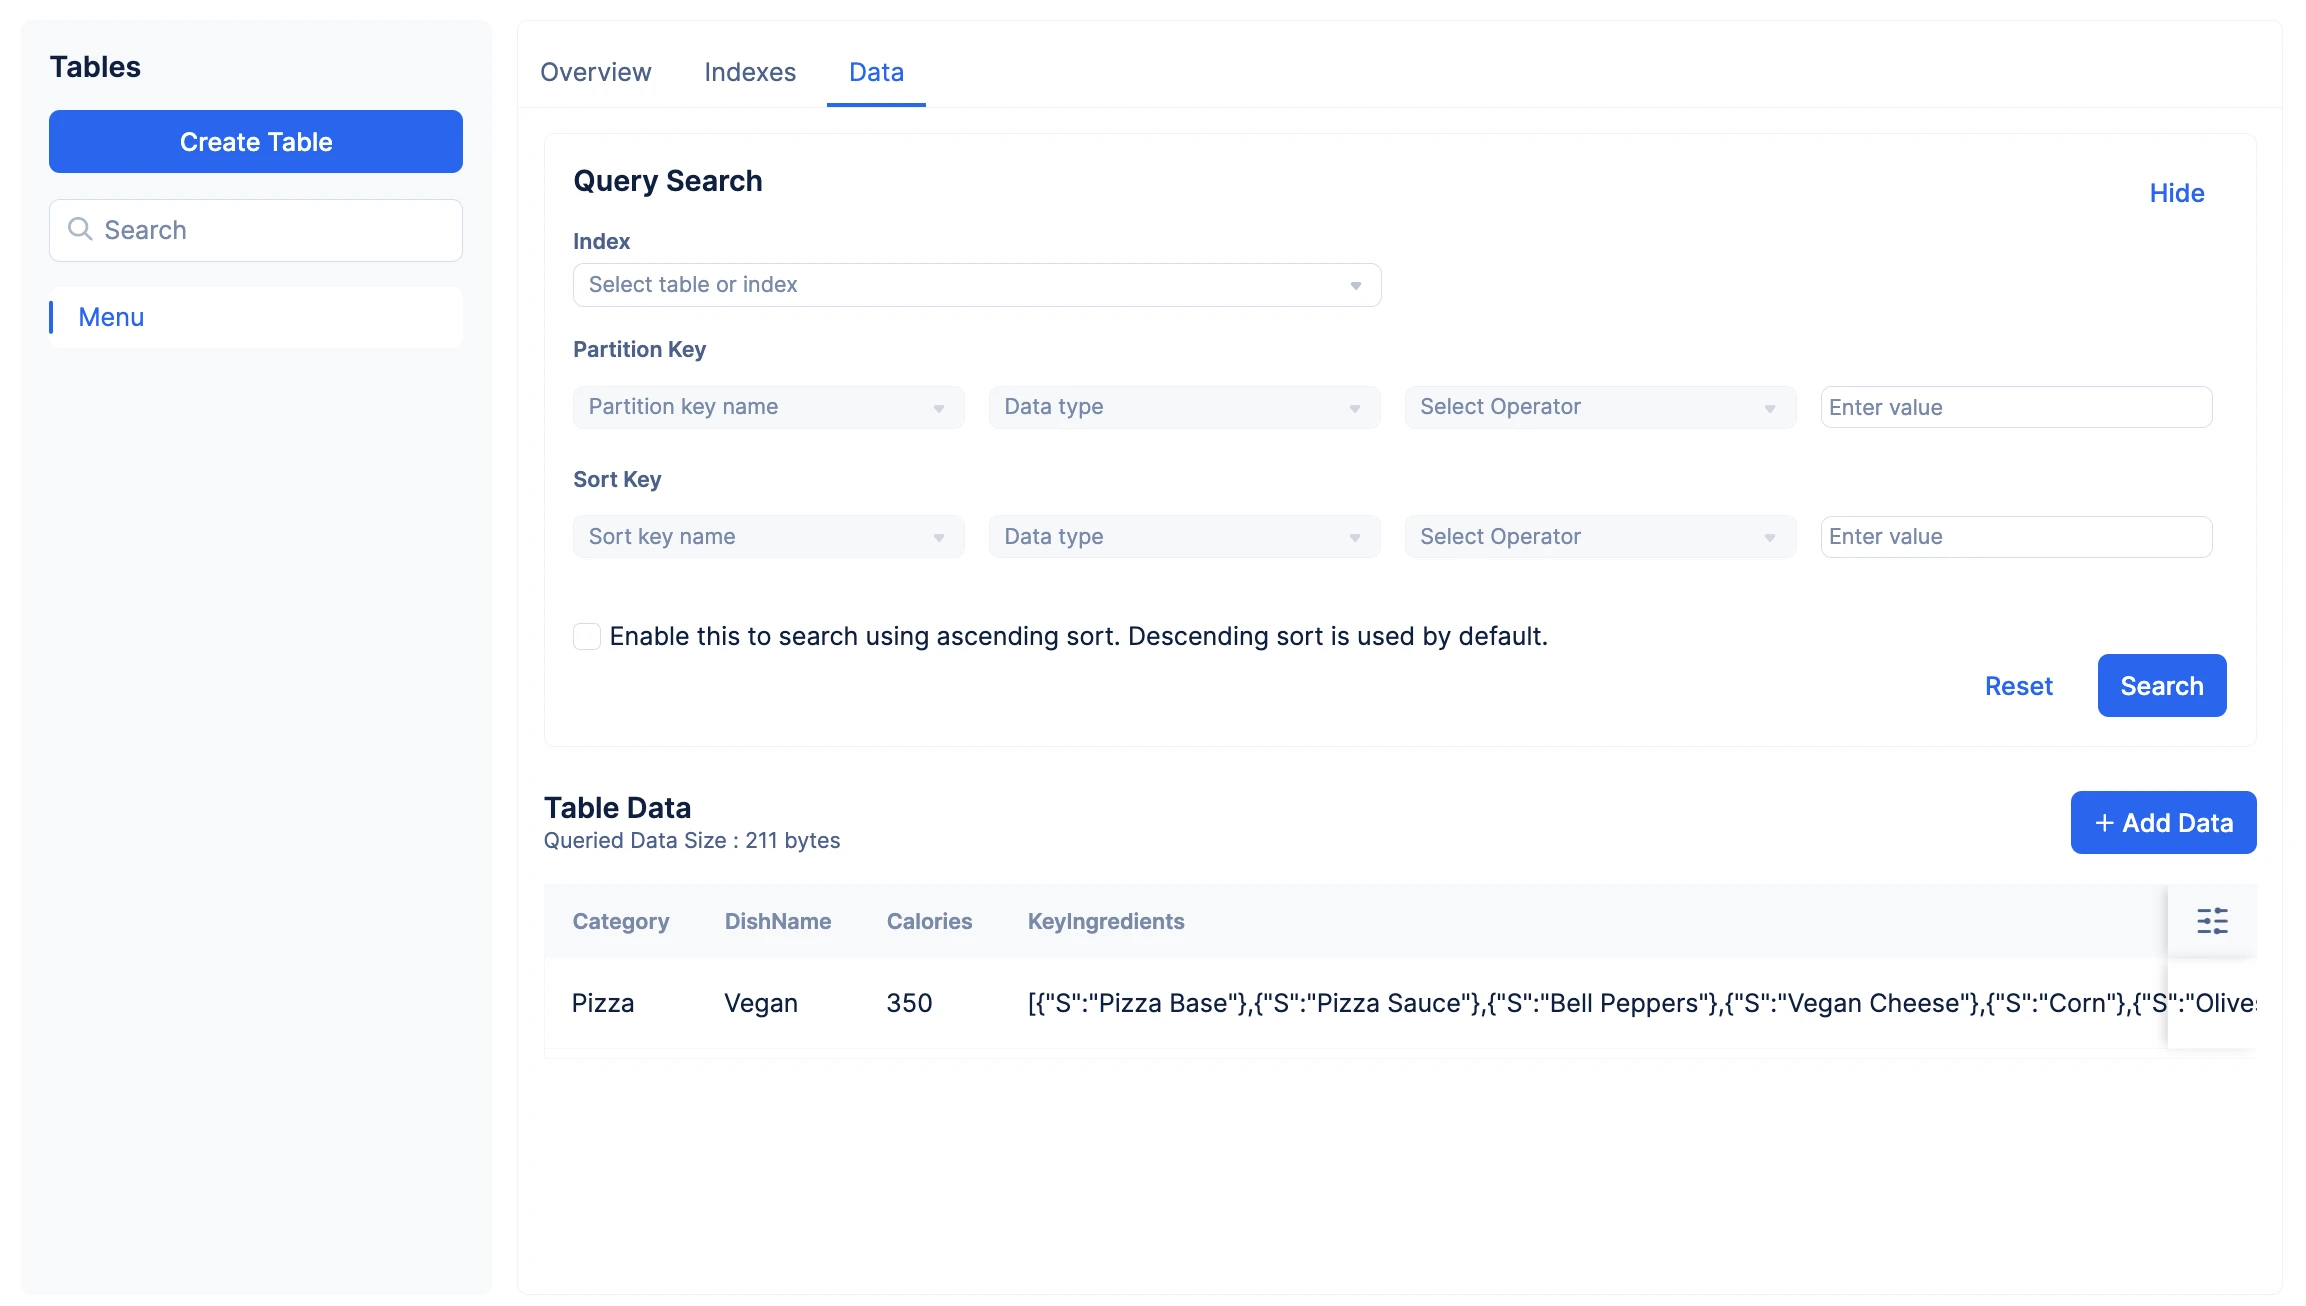
- Navigate to the Data section of the table from the NoSQL component, then click Add Data.
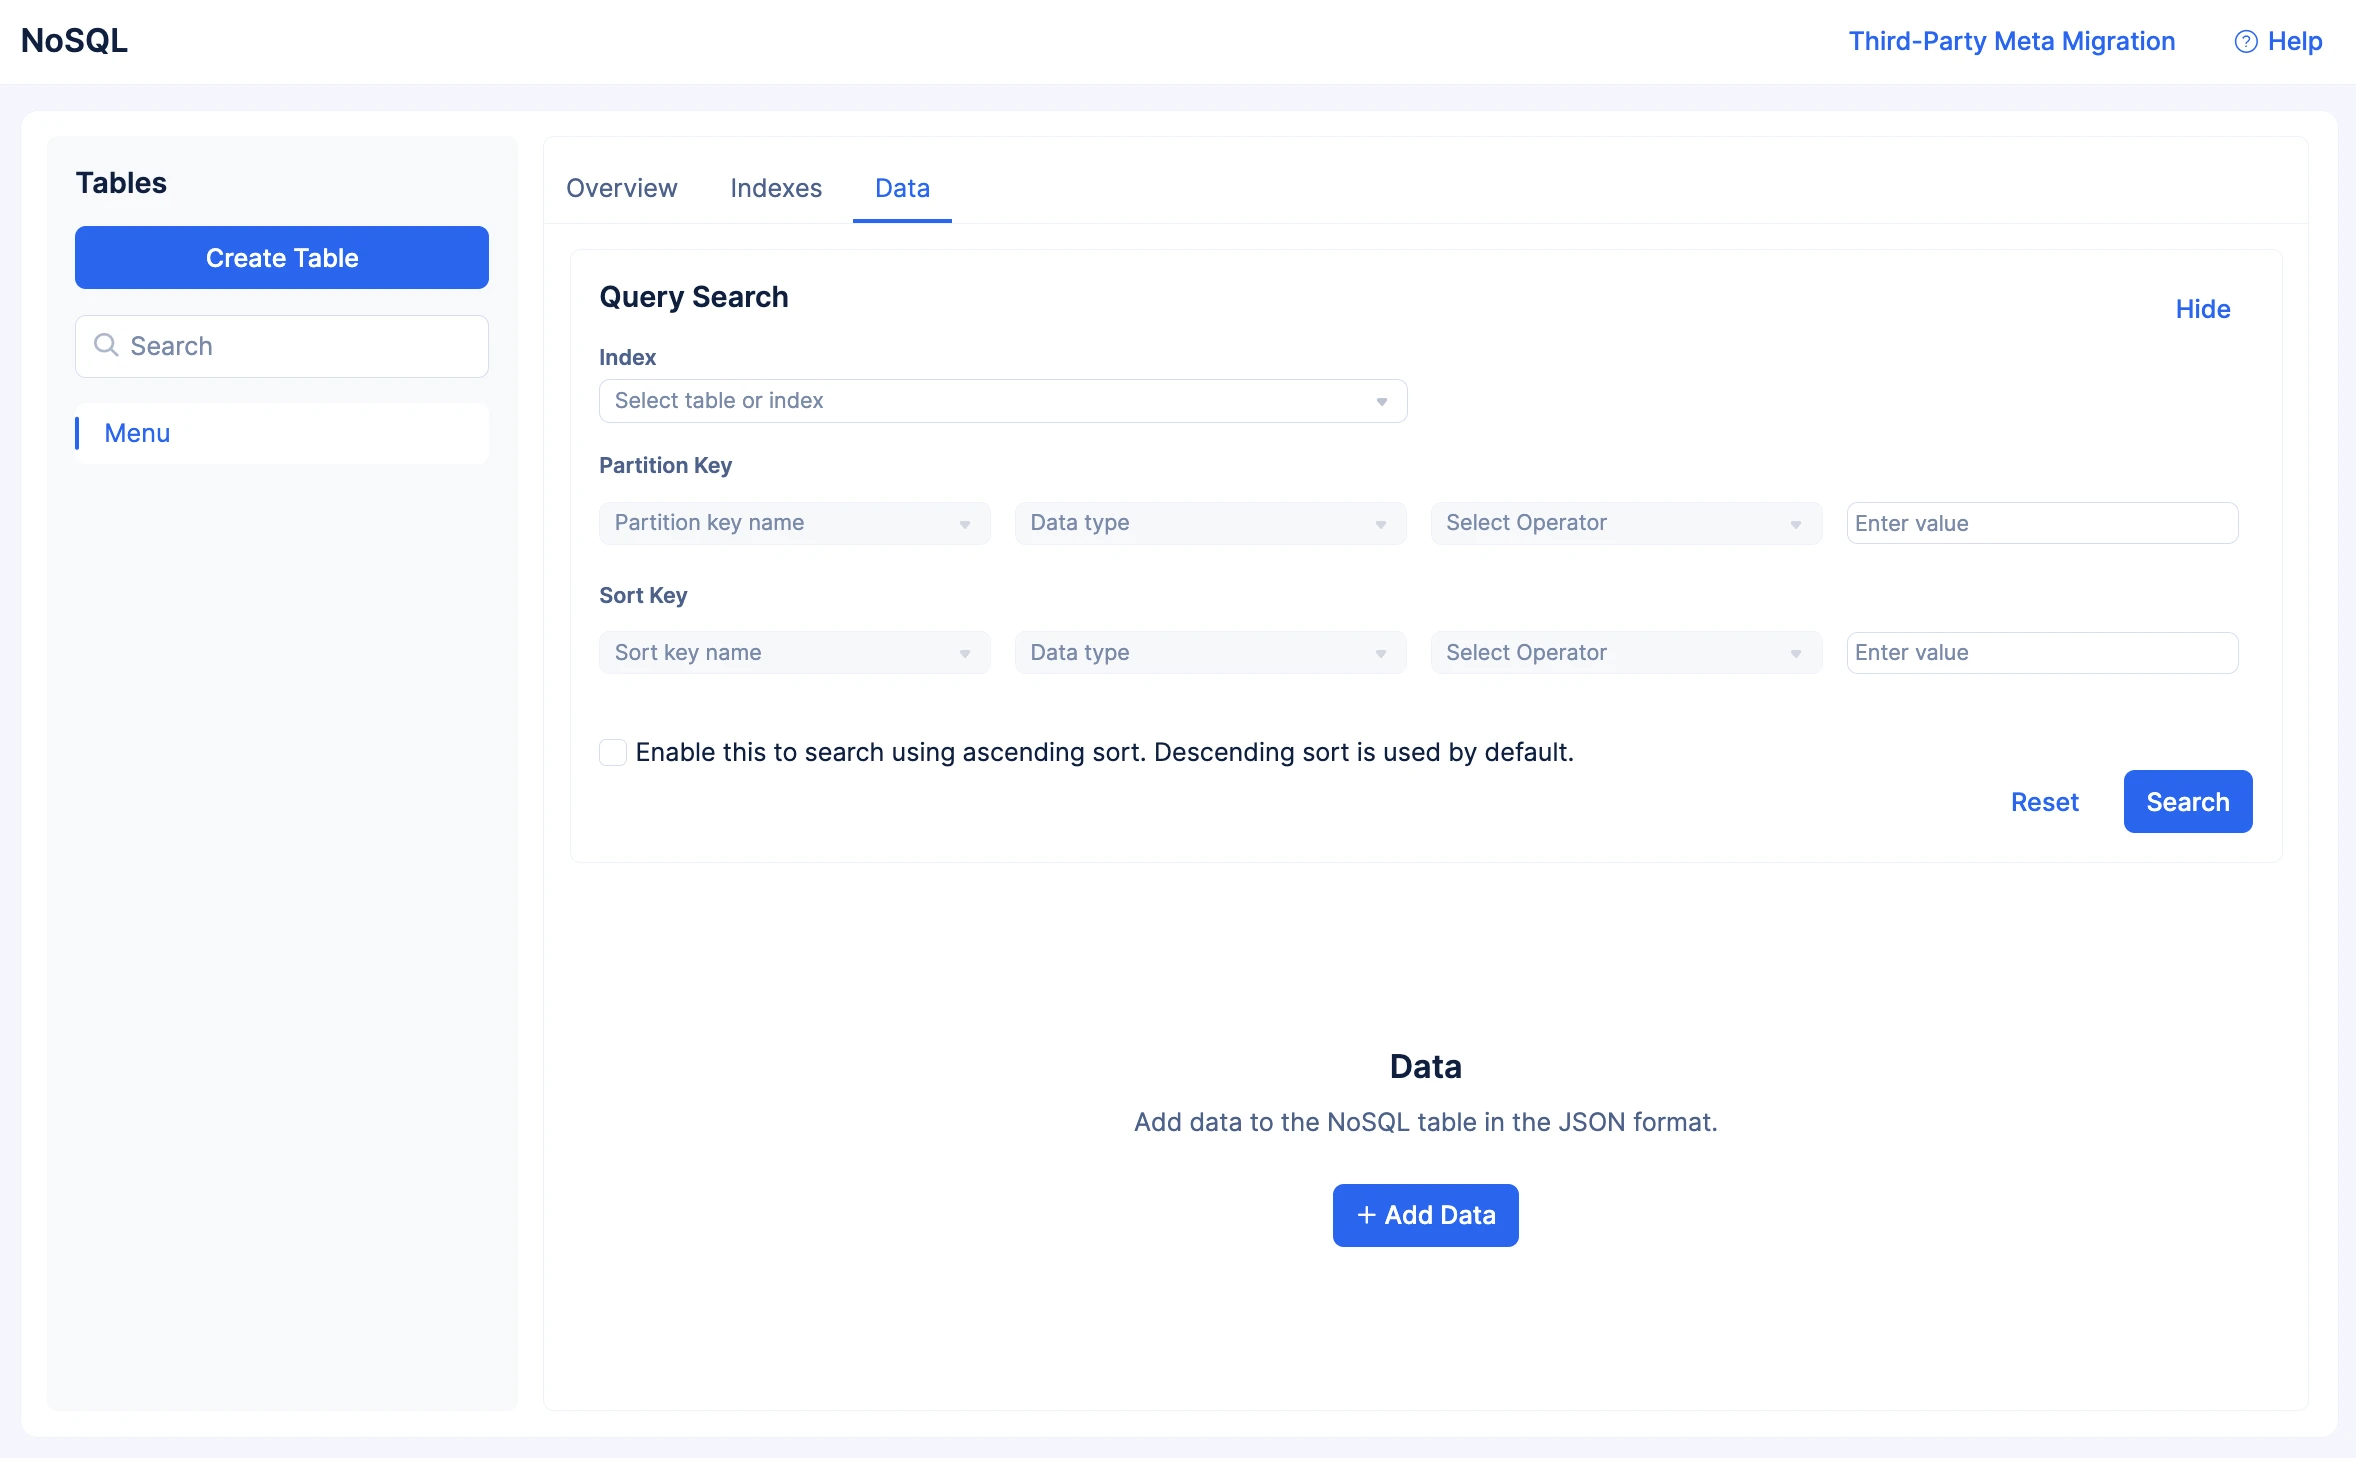
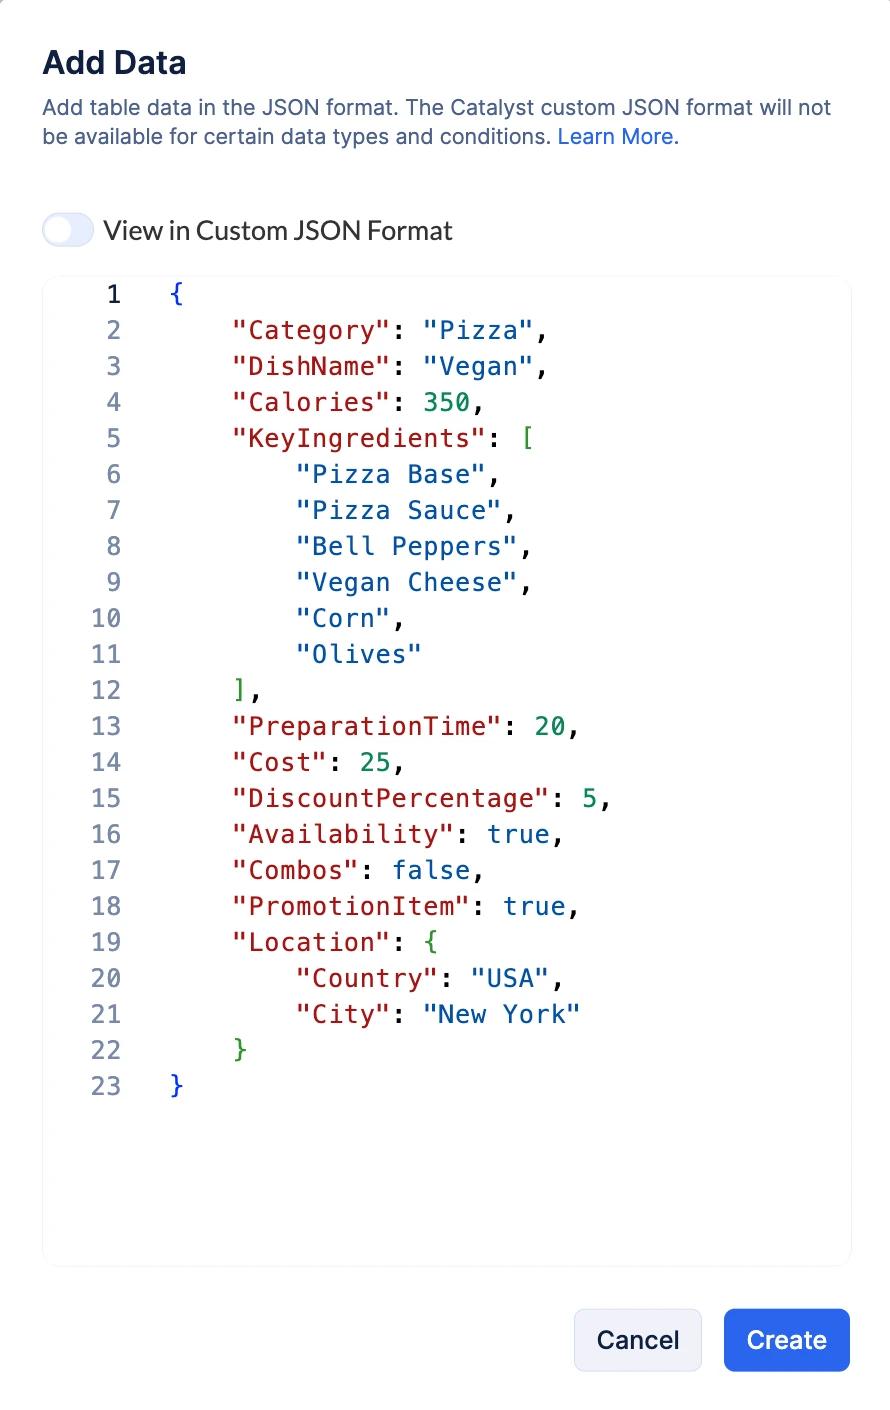
- This will open a pop-up where you can add data to the table. Catalyst will display a template for the data, which will include the partition key and sort key configured for the table, in both the Custom and Standard JSON formats.
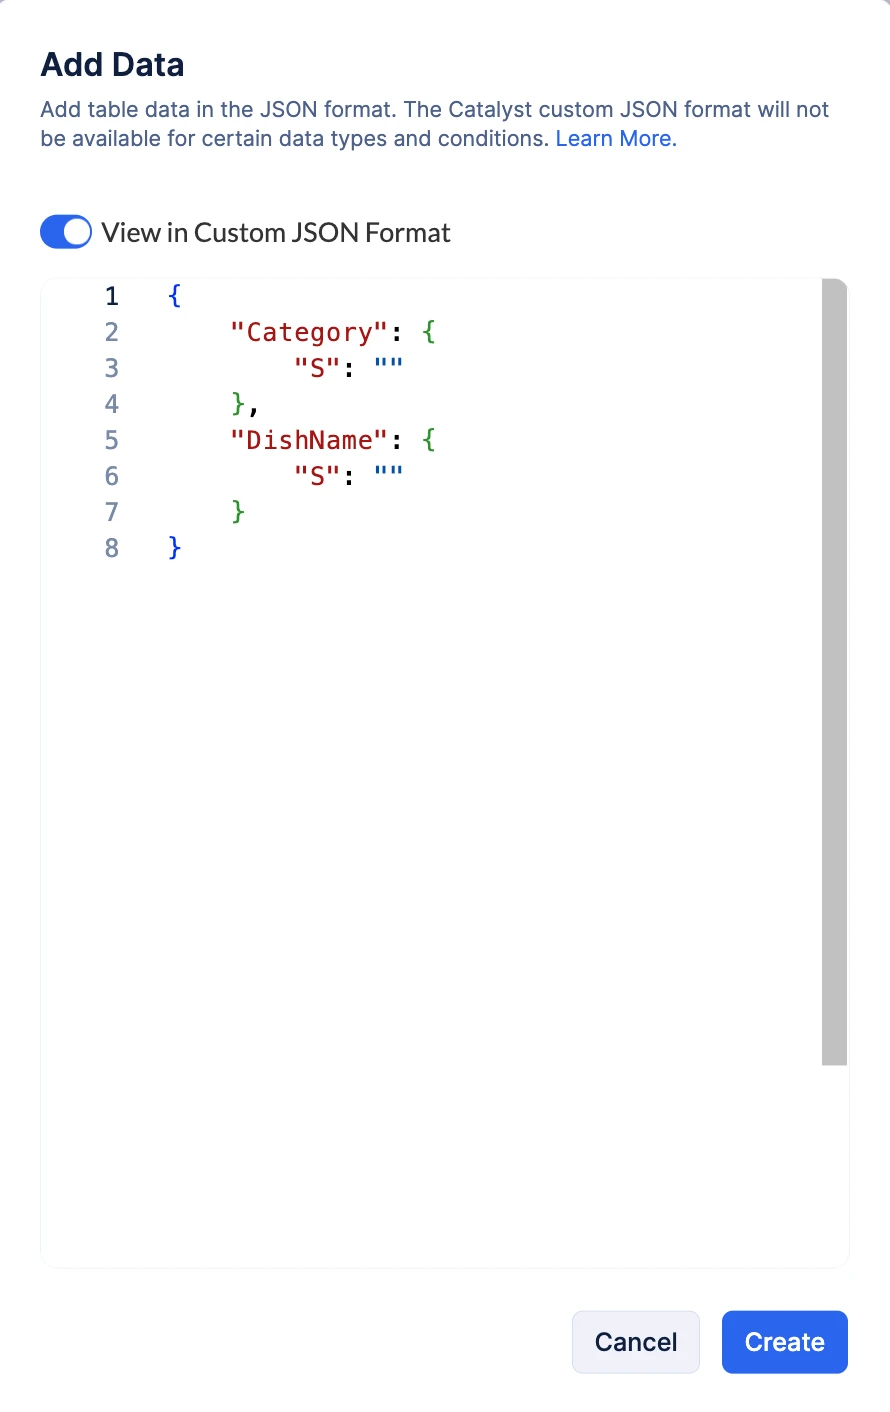
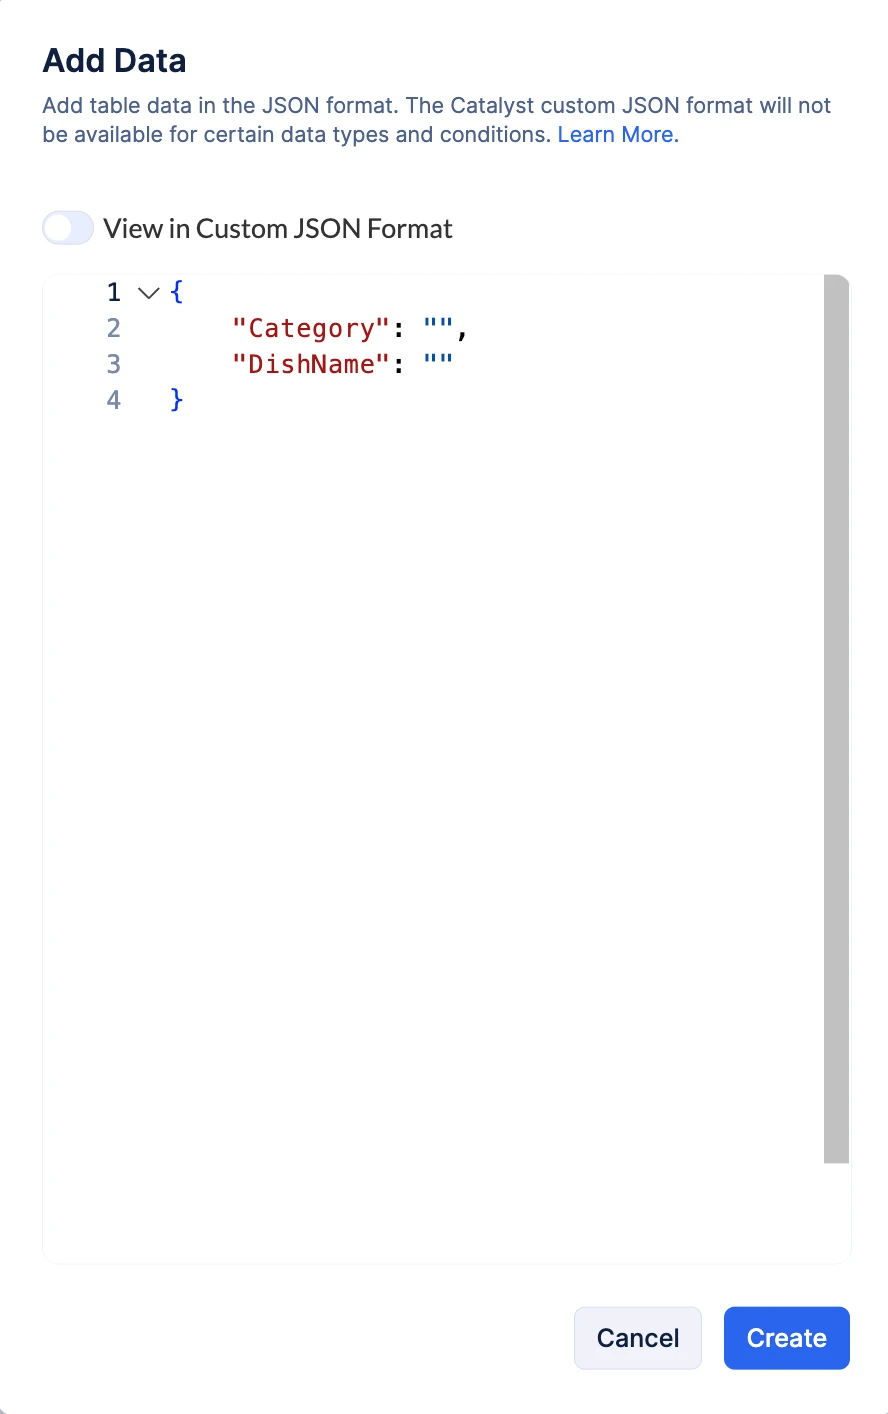
You can switch between the standard and Custom JSON view using the toggle button. However, there are certain conditions that data in the standard format must satisfy for you to be able to switch to the Custom format. This is explained below.
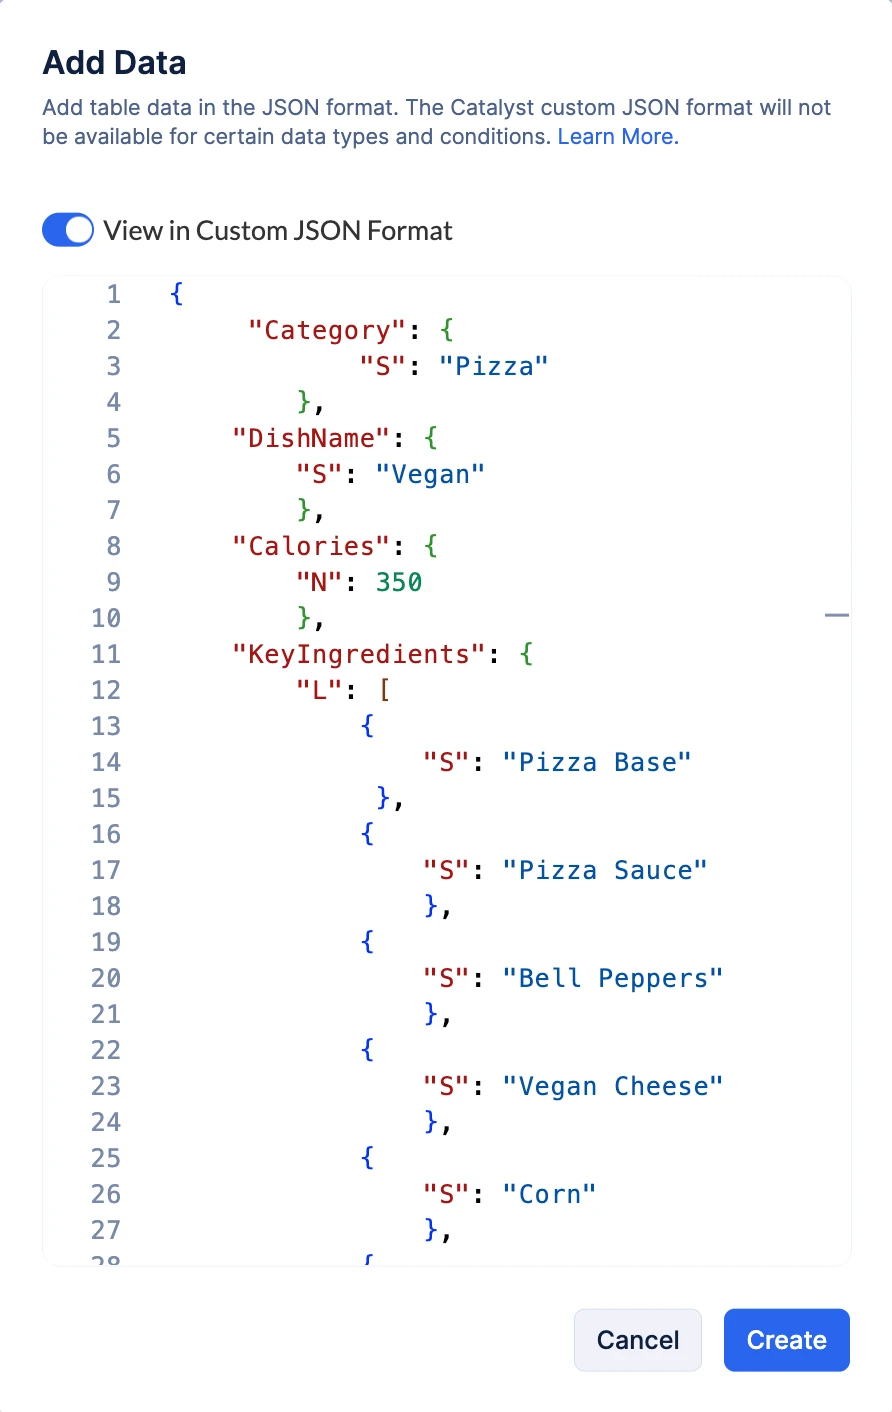
- Add the data for the table in either of the formats, then click Create.
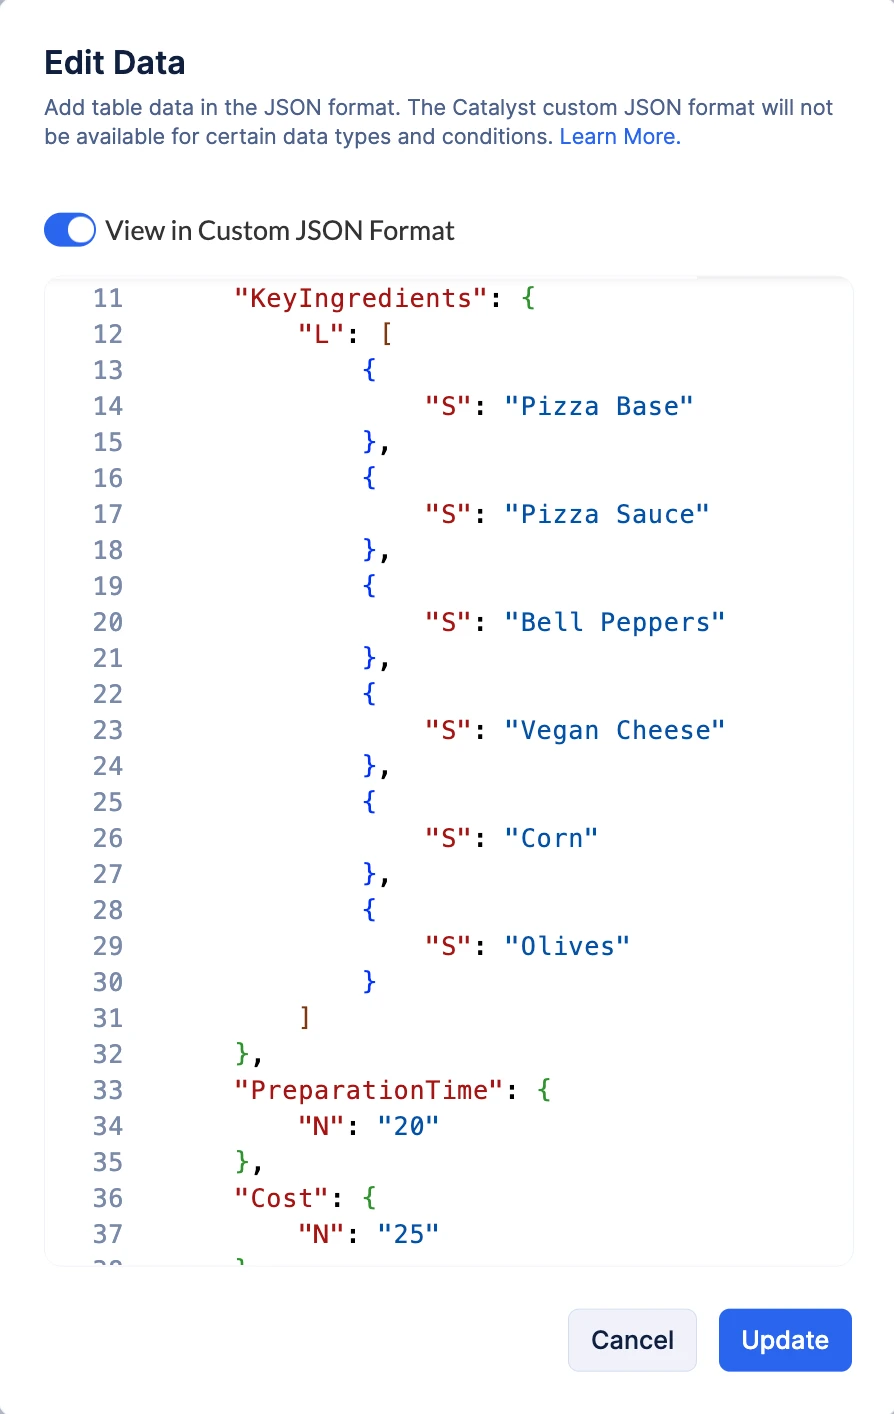
Custom JSON Format:
Standard JSON Format:
Conditions when the JSON View Toggle Button is Disabled
In certain cases, you will not be able to toggle between the Standard and the Custom JSON format while adding or updating data in the console. These include:
-
When the data type of an attribute is invalid or not supported in Catalyst
-
When the value provided for a key in the JSON is invalid
-
When the JSON code added is invalid, or contains syntax or logical errors
-
When the data is valid but includes certain supported data types that cannot be rendered in the Standard JSON view. For example, SS (Set of Strings) or SN (Set of Numbers) cannot be rendered, but the data you provide will be added to the table.
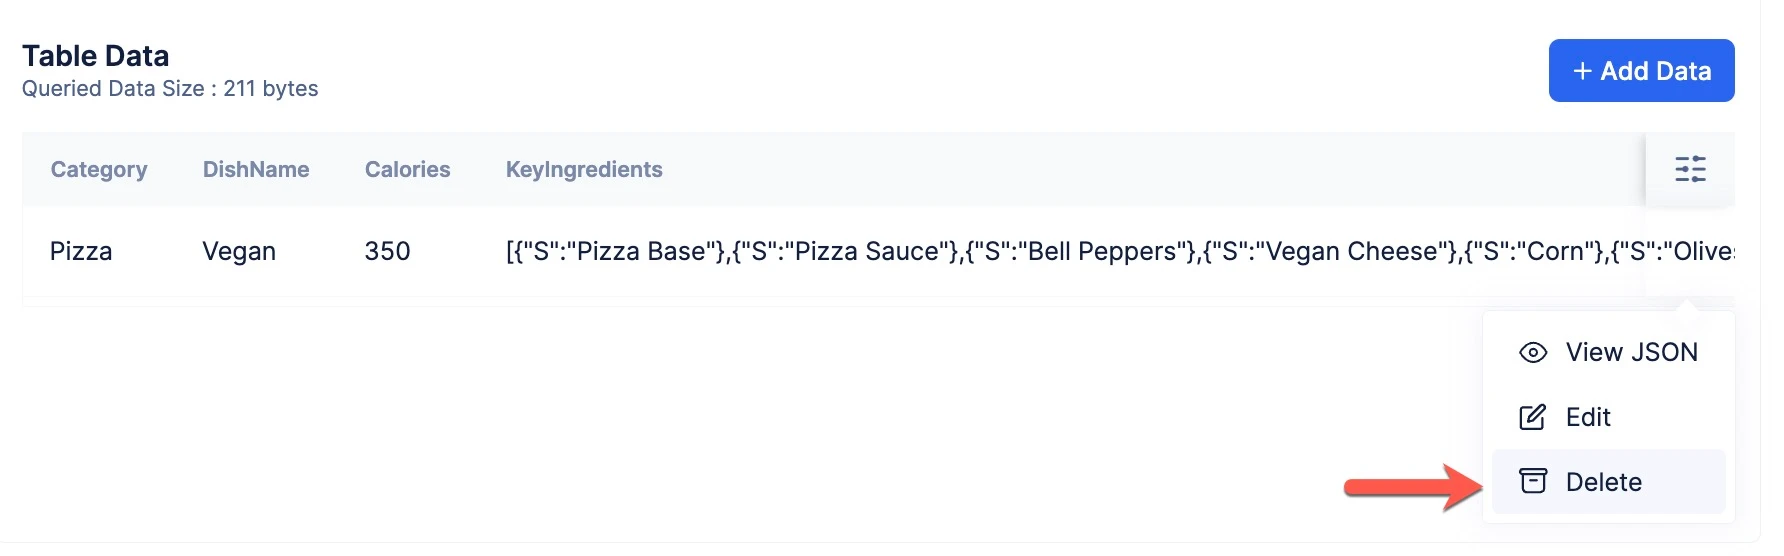
After you add the data in a NoSQL table, it will be displayed in the Data section in a tabular manner for easy viewing.
You can filter columns to be displayed upon querying or right after adding data through the console, using the Filter icon in the bottom-right corner. Select the required columns and click Apply.
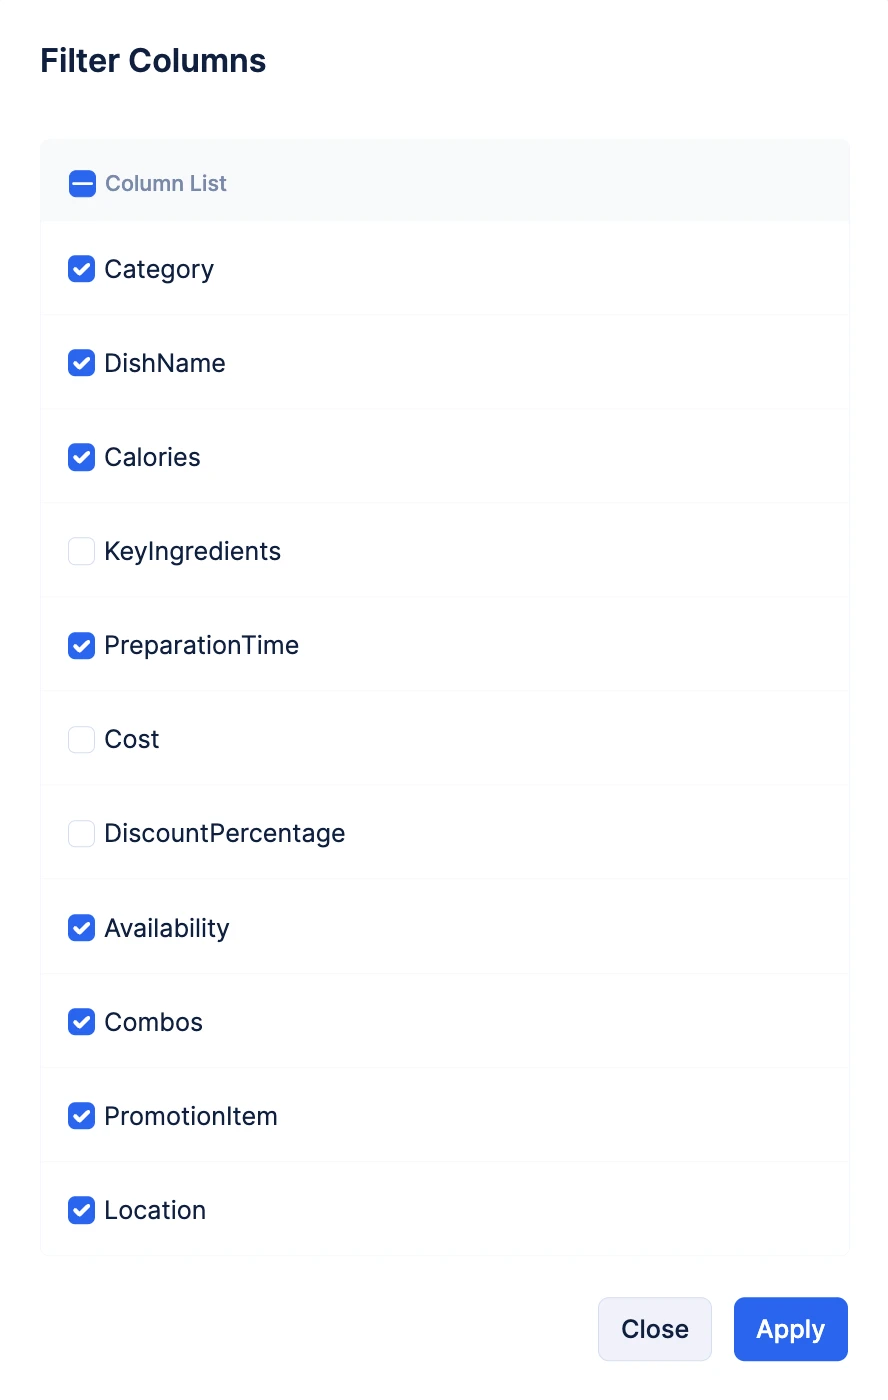
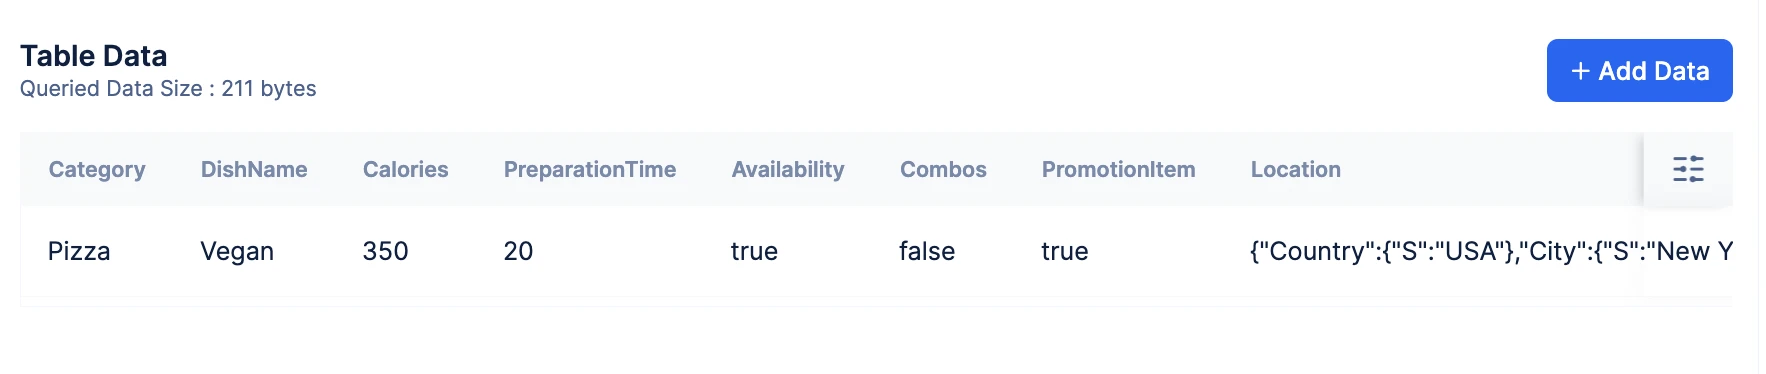
This will display the selected columns.
View Table Data as JSON
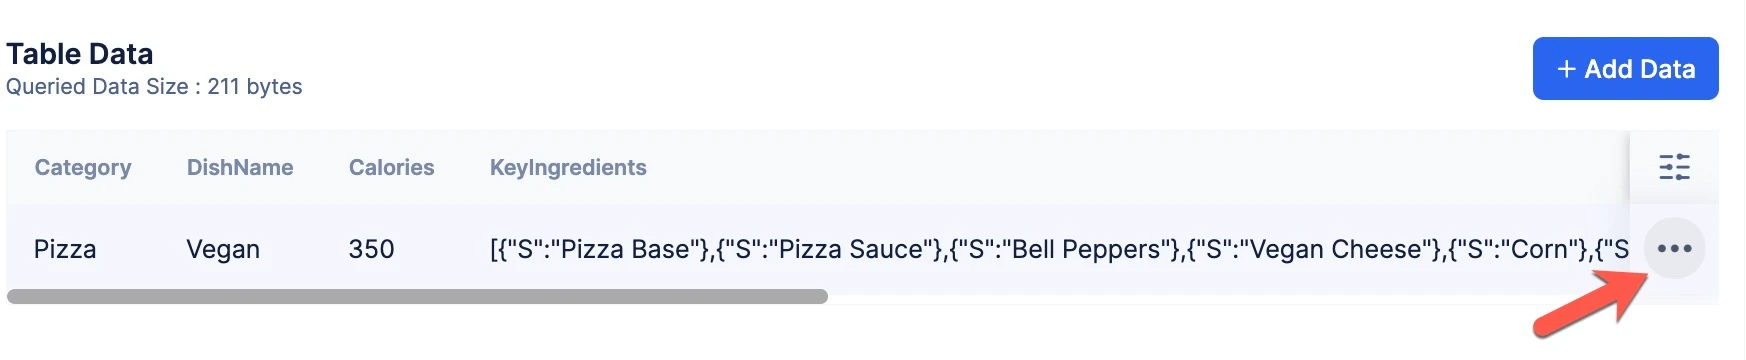
- You can view the table data in the JSON format by clicking the ellipsis icon against the table.
- Then, click View JSON from the options.
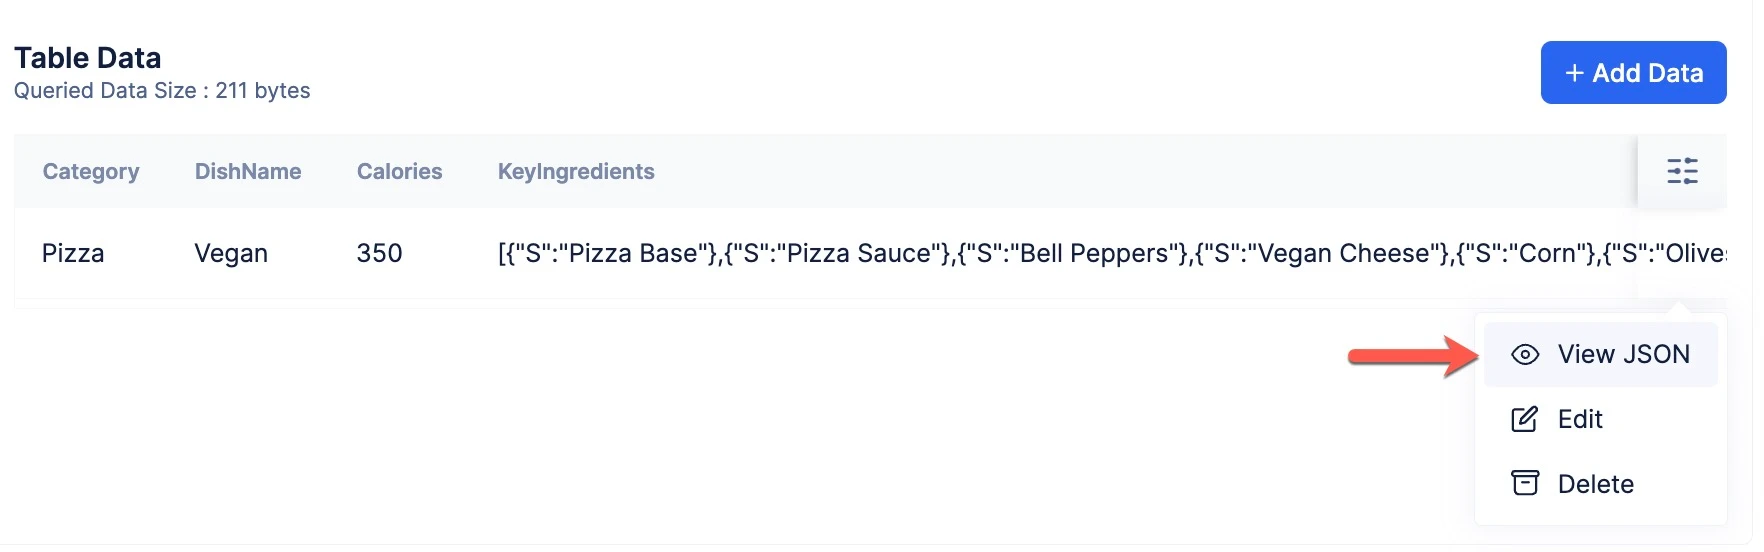
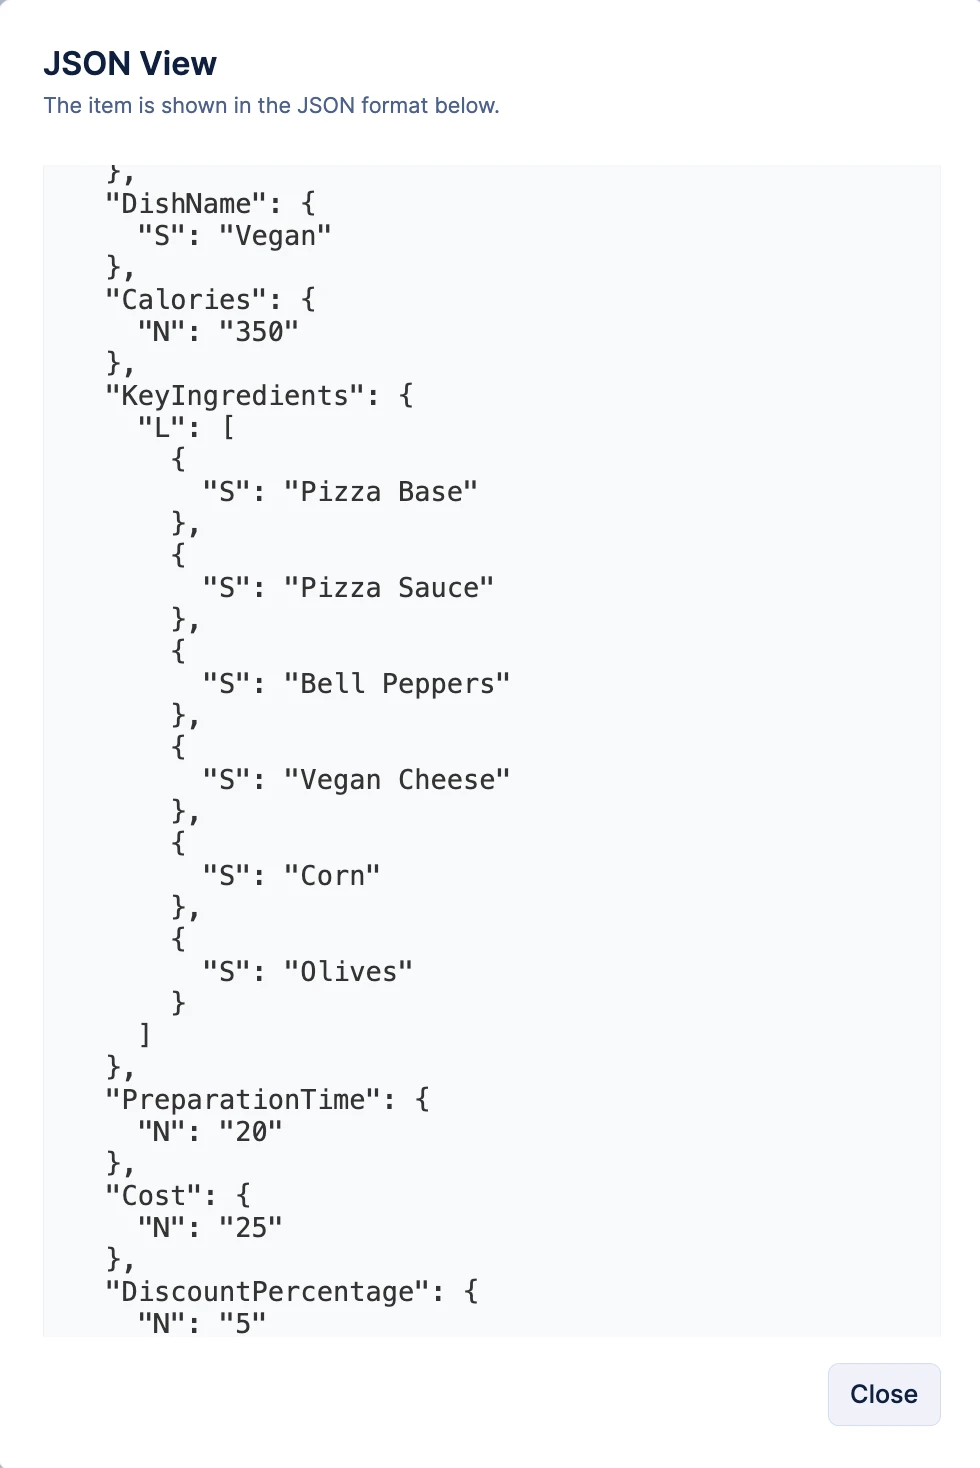
This displays the table data in Catalyst Custom JSON format.
Update Data in a Table
You can update your NoSQL table data easily from the console to test. All the specifications and constraints described for data addition apply to the data update operation as well.
To update the data of a NoSQL table in your project:
- Click the ellipsis icon against the table, then click Edit.
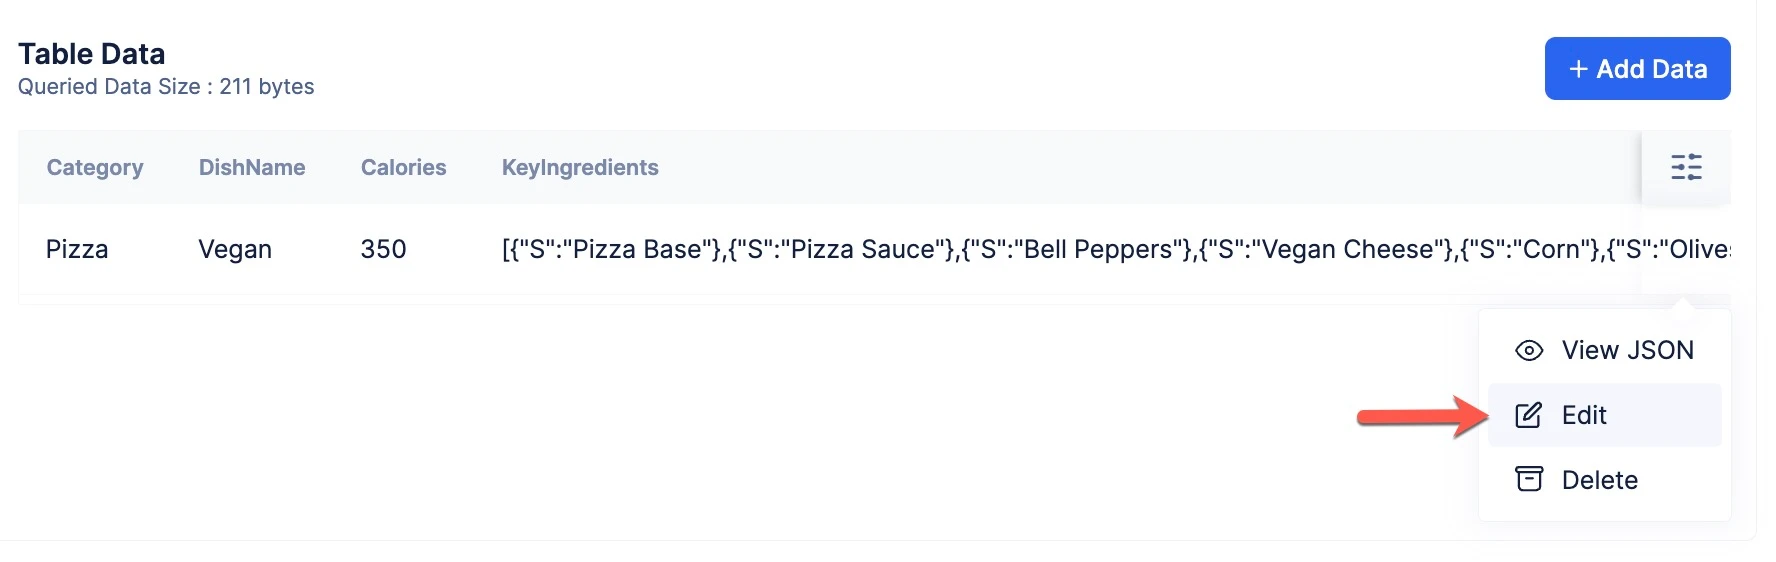
- Update the data in the Standard or the Custom JSON format, then click Update.
Delete Data in a Table
To permanently delete the data you added in a NoSQL table for testing purposes:
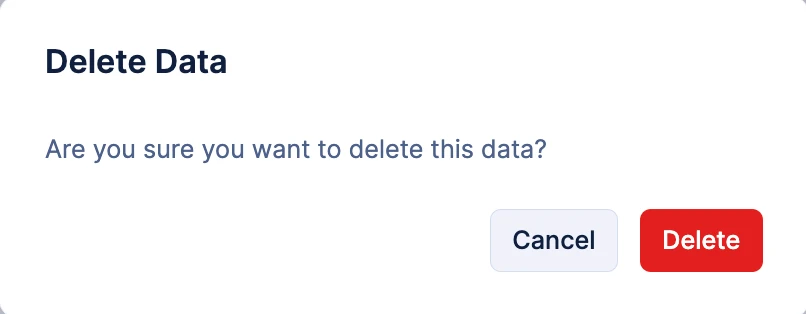
- Click the ellipsis icon against the table, then click Delete.
- Click Delete in the confirmation pop-up.
Last Updated 2025-06-20 16:21:48 +0530 IST
Yes
No
Send your feedback to us