Social Logins
Catalyst enables you to allow your end users to log on to your application using popular Identity Providers (IdP) or Social Logins. You can configure and add social logins to your login element directly from the console.
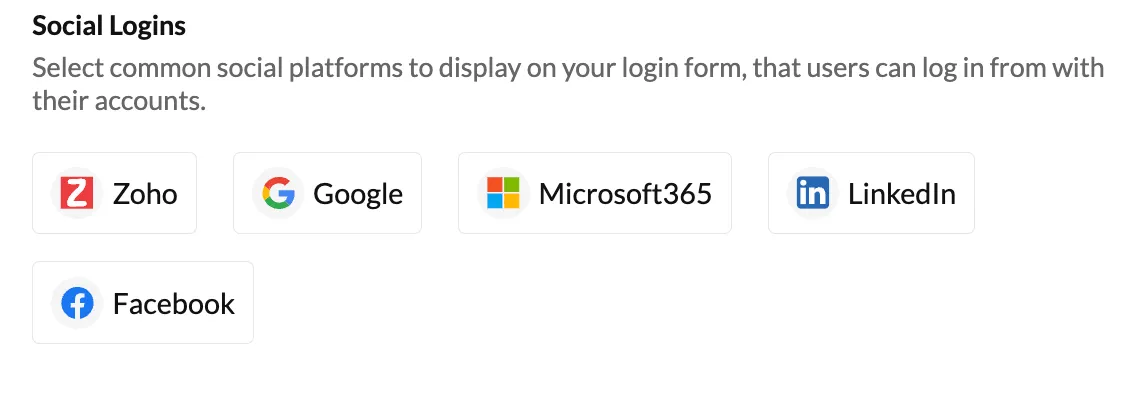
Catalyst offers support for you to implement the following social logins:
These social logins can be configured with Catalyst by utilizing the industry standard OAuth protocol, i.e., by configuring the Client ID and Client Secret for your Catalyst application provided by the IdP service.
Benefits
-
Enabling your end-users to log in to your application using Social Logins aids them in accessing your application easily and quickly without compromising security. It provides them with a more streamlined login experience by eliminating password fatigue and making it more mobile-friendly.
-
Catalyst provides support to manage the backend requirements of implementing social logins in your login element. You can easily enable them once you set up the Client ID and Client Secret from your preferred Identity Providers (IdP).
-
You can configure a login element with Embedded Authentication that authenticates users using only Social Logins. This lets you authenticate users securely with minimal efforts.
-
You can enable and disable them per your preference directly from the console, with no additional coding.
-
By implementing Social Logins on your application you also reduce the chance for fake accounts.
Configure Authorized URIs
To enable Social Logins for your application, you require an authorized URI to generate the required client tokens.
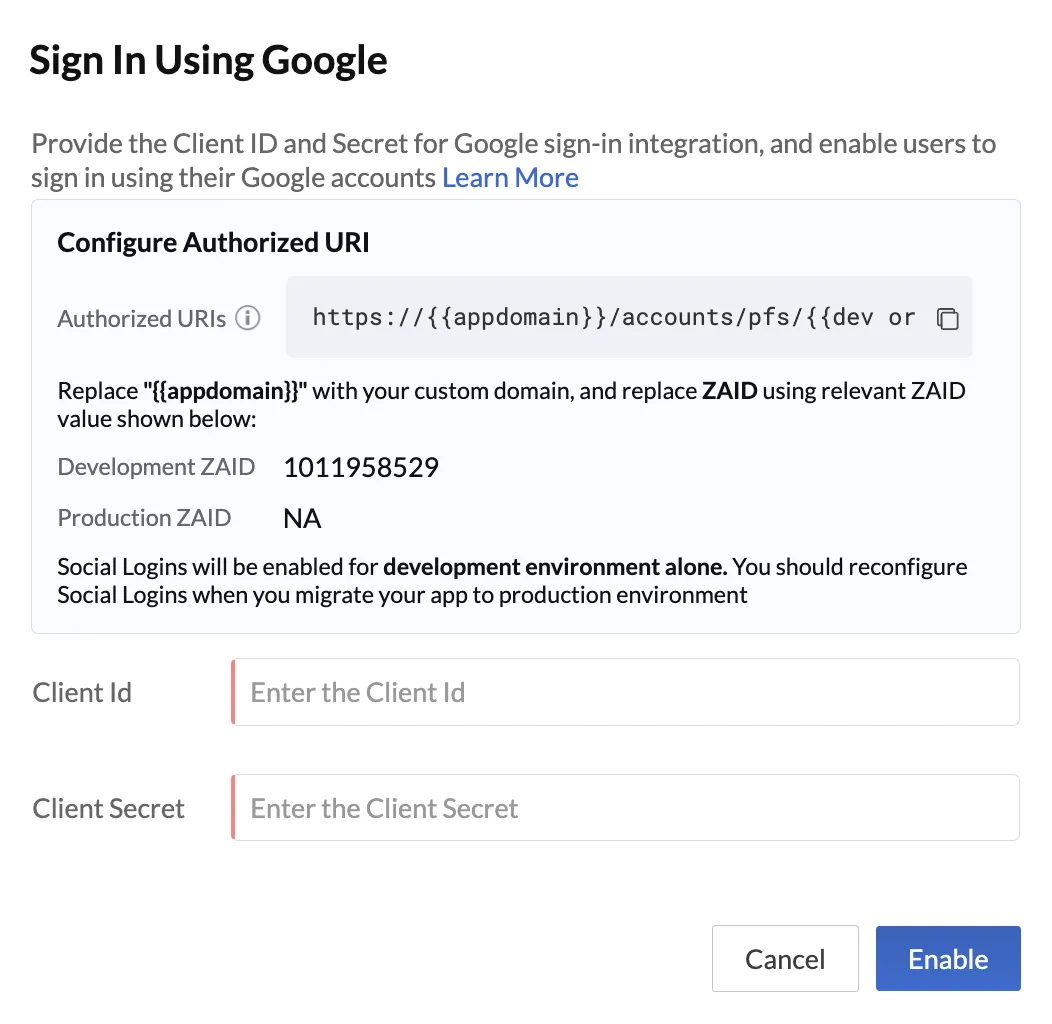
The steps to configure the Authorized URI is the same for all of the Social Logins, for the purposes of this help document, we are goin to illustrate the steps using the Google Social Login:
-
appdomain: appdomainis a placeholder in the Authorized URI generated by Catalyst. It is a place holder for the domain of your application. Your application’s domain will be generated and listed in the Web Client Hosting component after you deploy your application to the console. You can also add a cusotm domain that tou have mapped to your application.
-
ZAID: ZAID is a unique portal ID generated by Catalyst to map your project to the right environment.
For example,
The URI when its first copied, will be in the following format:
https://{{appdomain}}/accounts/pfs/{{dev or prod zaid}}/clientidpcallback
To make this a valid URI, copy your app domain and replace it with the {{appdomain}} placeholder and copy the development ZAID value and replace it with the {{dev or prod zaid}} placeholder.
Your completed URI will resemble the following URI:
https://authorizationportal-779513891.development.catalystserverless.com/accounts/pfs/1011958529/clientidpcallback
-
While configuring the Authorized URI to a valid URI, you can also use a custom domain of your choice.
-
When you migrate your application to production, you need to reconfigure the social logins using the the production appdomain and production ZAID, for the social logins to function in the production environment.
Last Updated 2025-02-19 15:51:40 +0530 IST
Yes
No
Send your feedback to us

