Initialize AppSail
Introduction
AppSail is a serverless platform of Catalyst that you can use to deploy web services of any scale to the cloud and manage its platform instances. You can initialize an AppSail service in one of two ways:
-
As a Catalyst-managed runtime: Initialize and deploy applications of specific Java, Node.js, and Python runtimes supported by Catalyst directly to the remote console
-
As a Container image: Initialize and deploy an OCI image of your application of any runtime or framework from your local registry to the remote console
In both cases, you can initialize an AppSail service for an app that is ready to be deployed, and associate it with a Catalyst project through this command.
Initialize AppSail as a Catalyst-Managed Runtime
You can initialize an AppSail service for a Catalyst-managed runtime directly in your app’s directory, or from a new directory. If you had selected AppSail during the project initialization, Catalyst will set it up after the client initialization.
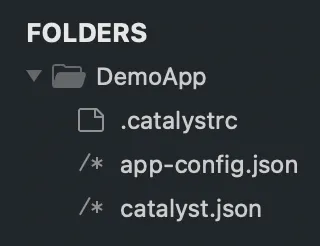
Catalyst creates an app-config.json file when an AppSail service is initialized in this method.
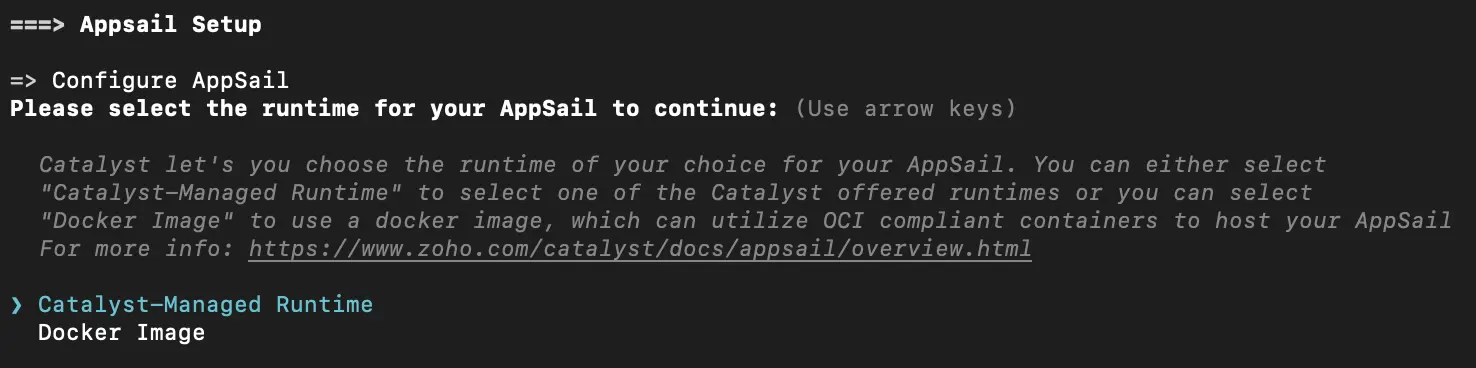
- The CLI will prompt you to select the runtime type as Catalyst-Managed Runtime or Docker Image when AppSail is initialized. Select the first option.
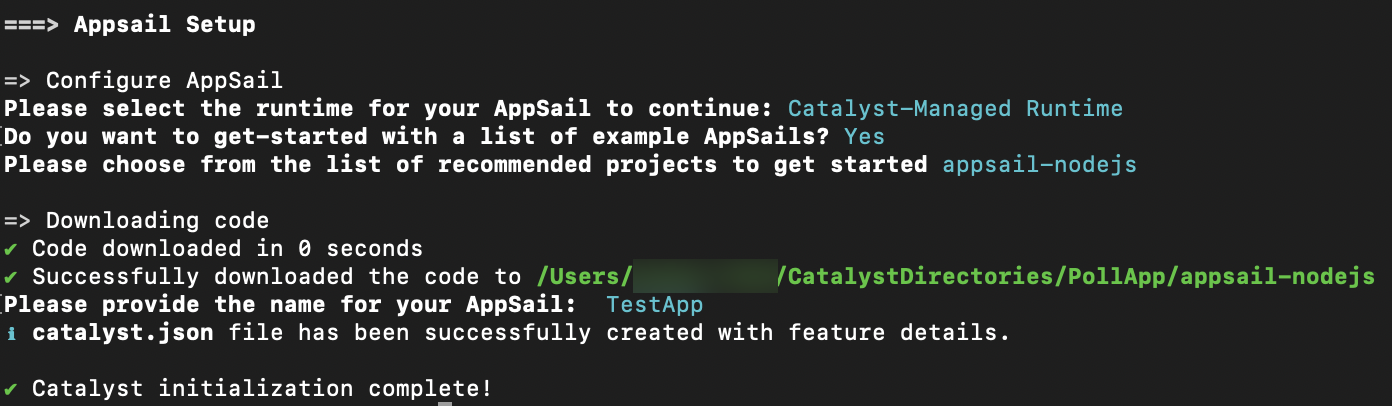
- You can now choose to get started with a readymade sample project by entering “Y” and pressing Enter, then selecting a sample app from the list.

The sample app will be downloaded to the directory. Provide a name for it when prompted.
If you want to initialize your own app, enter “N” , then press Enter.
- Select if this will be your source directory of your app by entering “Y”. If you enter “N”, the CLI will prompt you to type in the absolute path for your app’s source in your directory. Press Enter after the entries.

- Enter a name for your app. You can name the main file of your app’s build anything you prefer.

- Enter the absolute build path for your app, then press Enter.

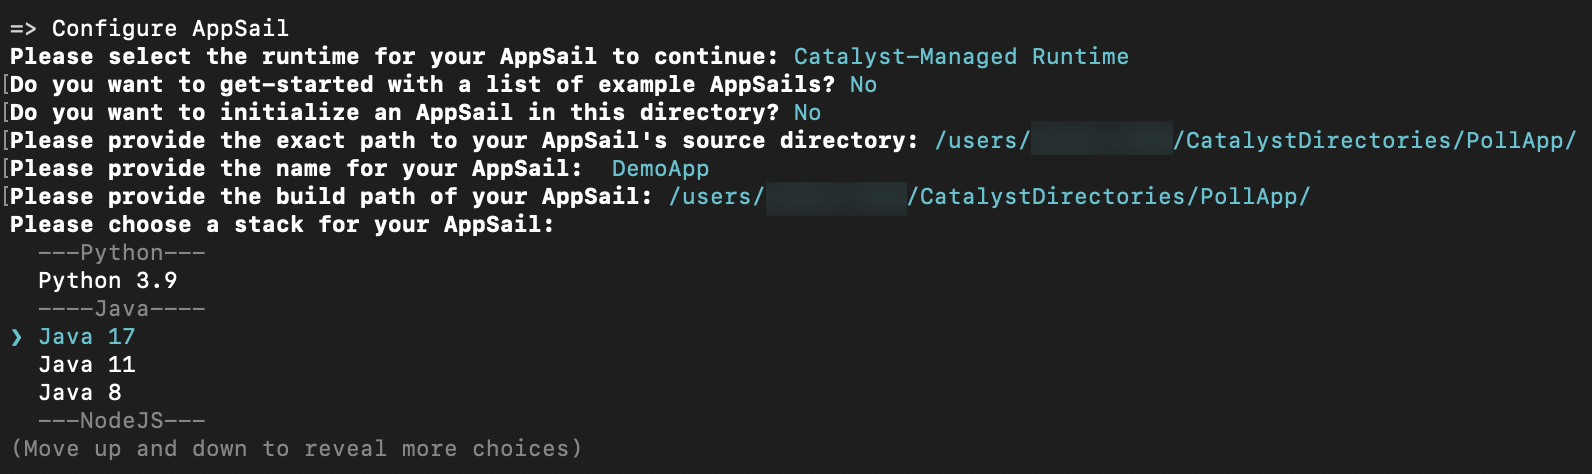
- Select a stack and runtime for your app and press Enter.
If you select Java, the CLI will further prompt you to pick either Java SE or the Java WAR as your app’s deployable format. You can learn more about this here.
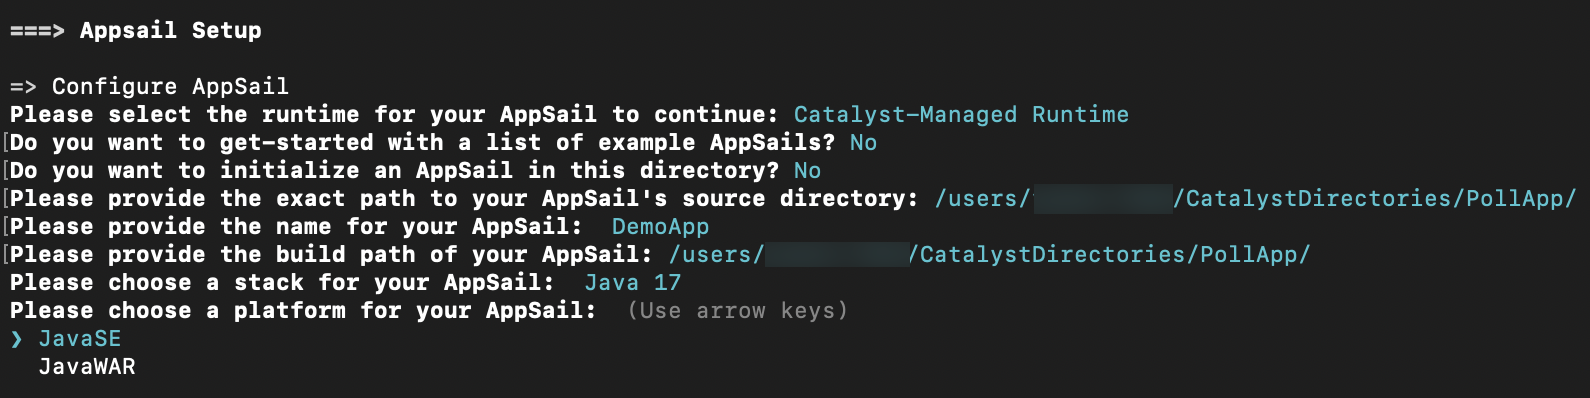
If you select any other stack, this will be skipped.
AppSail is now initialized in the source directory you selected, and the app is now associated with the Catalyst project. The configurations will be updated in catalyst.json file accordingly.

This initialization will only create the app-config.json configuration file that is specific to AppSail in your app’s source directory. You can edit the values such as the startup command, environment variables, or memory in this file before deploying.
Initialize AppSail as a Custom Runtime
You can initialize AppSail for a compliant OCI image of your app from a new directory. Catalyst supports two protocols that you can use to associate your app’s image with AppSail. Each protocol has a distinct schema for identification and functioning.
-
Docker Image Protocol: Use this to associate a pre-built image of your app present in the local docker registry. The image must be built and tagged to point to the local registry. Example: docker://localhost/expres-hw:latest
-
Docker Archive Protocol: Use this to point to an archive file (.tar or .tar.gz) of a pre-built image of your app in your system’s directory. Example: docker-archive://test.tar
You need not provide any other details except the name for the AppSail for container images. The source or build path of the app, stack, and startup command are not required to be configured for OCI images, as they are already defined in the images.
- The CLI will prompt you to select the runtime type as Catalyst-Managed Runtime or Docker Image when AppSail is initialized. Select the second option.

- Select the protocol as Docker Image or Docker Archive.

- Docker Image Protocol:
If you select Docker Image, the CLI will list all the available images with tags in the local docker registry. Select the image you need.

Docker Archive Protocol:
If you select Docker Archive, the CLI will prompt you to enter the absolute path to the TAR file image of your app in your local system.

- Provide a name for the AppSail service. You can name it anything you prefer.

AppSail is now initialized in your local directory, and the app’s image is now associated with the AppSail service. The configurations will be updated in catalyst.json file accordingly.

You can now code your business logic in your app, then serve the AppSail service through a localhost to debug and test it, or deploy it to the remote console directly.
Last Updated 2025-11-03 16:18:29 +0530 IST
Yes
No
Send your feedback to us