Set Up Functions
Set Up Function Type
- You can set up the functions directory in your project by navigating to your project directory and executing the following command in your CLI:
The procedure is the same as initializing the functions directory during the project initialization.
- Select the type of function you would like to develop and press Enter .

The six types of functions that you can develop in Catalyst are: Basic I/O, Advanced I/O, Event, Cron, Browser Logic, Integration, and Browser Logic functions. To learn more about the function types and their purposes, refer to the Functions help page.
Integration Functions:
The CLI initialization process is the same for all the other function types, except the Integration functions. If you select Integration from the list, you have to perform these two extra steps before moving on to the next step:
i. Select the service that you want to integrate with. You can currently only select Cliq integration.

ii. Select the handlers that you require. You can learn more about this from the Integration Functions help page .

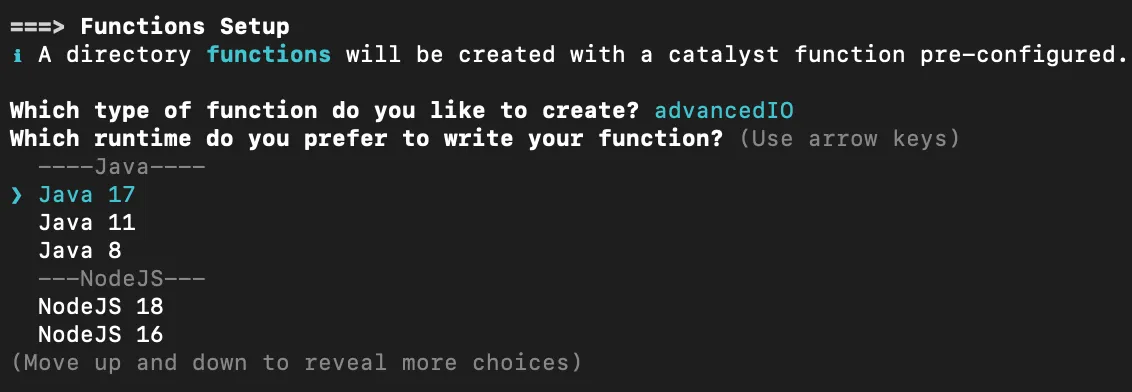
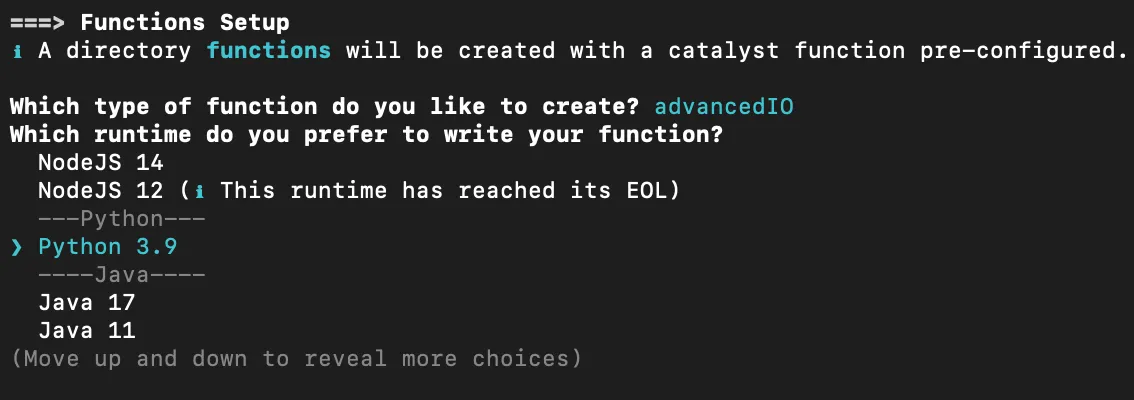
- Select a stack to develop the server side functions in and press Enter . The list displays all supported runtimes. You can select the latest supported runtime of Java, Node.js, or Python from the list.
Set Up a Java Function of Any Type
-
If you set up a Java function, select the required runtime from the supported runtimes: Java 8, Java 11, Java 17, Java 21, Java 25.
- Enter the reference name of the Java function when prompted and press Enter, and enter the main class name of the Java function and press Enter. The CLI will then download the Java SDK package and complete the functions setup process.

- If it is your first time initializing or setting up a Java 11, Java 17, Java 21, or Java 25 function, you will need to additionally set the path information of the JDKs installed in your system. You can set this information in a specific configuration file that is present in your local system as a hidden file. The path of the installed JDKs will need to be set using the config:set <key=value> CLI command. You can find out more about this command from this help document.
Set the path information in the configuration file as shown in the example below:
Java 11:
Java 17:
Java 21:
Java 25:
- Replace the path listed in the above commands with your JDK path.
- If your local system is running on Windows OS, kindly enclose the path in double-quotes. For example, you will set the Java 11 path in the following manner:

The Java function’s folder will be created with the main .java class file, the library JAR files, catalyst-config.json , and other configuration files. These values will be updated in the catalyst.json configuration file.
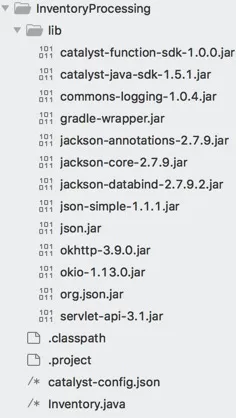
You can learn about the Java function directory structure in detail from the Project Directory Structure help page .
Set Up a Node.js Function of Any Type
- If you set up a Node.js function, select the required runtime from the supported runtimes: Node 24, Node 22, Node 20, Node 18, Node 16, Node 14, Node 12.

-
Provide a package name for your Node function when prompted and press Enter .

-
Enter the name of the entry point file and press Enter .

-
Enter a name for the function author and press Enter .

-
The CLI will then prompt you to allow installation of node dependencies. Press Y to confirm the installation, and press Enter to confirm your choice. If you don’t install all the required dependencies, it could cause errors during the function’s execution.

The CLI will then download the Node.js SDK package and complete the function setup process.Note: Catalyst enables you to create an Advanced I/O Node.js function in the Express template, which installs the Express.js modules. However, you will not be able to create the Express template from the CLI. But you can install Express on your system independently by executing npm install express –save from a particular function's directory to use the Express modules in it. You can learn more the Express template from the Advanced I/O Function help page.
The Node function’s directory is now set up with the .js main function file, catalyst-config.json, and the necessary node modules and configuration files if you installed the dependencies. These values will be updated in the catalyst.json configuration file.
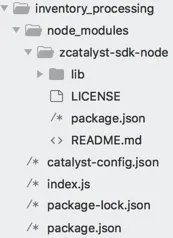
You can learn about the Node.js function directory structure in detail from the Project Directory Structure help page .
Set Up a Python Function of Any Type
- If you set up a Python function, select the required runtime from the supported runtimes: Python 3.10, Python 3.11, Python 3.12, or Python 3.13.
-
Provide a package name for your Python function when prompted and press Enter .
-
Enter the name of the entry point file and press Enter .

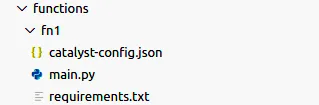
Upon successful initialization of the Python function, the Catalyst Python SDK package will be automatically installed for your project and an entry will be made in the requirements.txt file.
The Python function’s directory is now set up with the .py main function file, catalyst-config.json, and the requirements.txt configuration file. These values will be updated in the catalyst.json configuration file.
You can learn about the Python function directory structure in detail from the Project Directory Structure help page .
- You can add any number of sub-folders and files in a Java, Node.js, or Python function’s directory. Besides the main function file, a function’s folder can contain other sub-functions. However, the configuration files and dependencies need to be in the function directory’s root.
- You can create sub-functions for Node.js functions through the Catalyst console , or using external editors. However, Java and Python functions can be created and updated only from the CLI.
- You can also pull an existing function directory from the console to your local system using the catalyst pull command.
You can now work on the function that you set up. You can code the function by uploading the package to the Catalyst console, and working on it using the online editor in the console or by another editor of your choice. You can also use the functions shell to test and execute the function’s code, and then deploy it to the console.
Last Updated 2026-06-03 21:57:08 +0530 IST
Yes
No
Send your feedback to us