Import Project
Introduction
The import project option allows you to import a new Catalyst project. Catalyst will create and configure the project based on the source ZIP file. It will configure each component based on the definitions specified in the project-template JSON, and the functions and client code will be populated in the project.
As mentioned in the Introduction, you can import a project in two different ways:
- IaC Import: Executing the IaC import command will only import the project in the remote console. A new project will be created and configured in the console based on the source ZIP file. You will not be able to find this project in the local directory.
- Import through Initialization: You can also import a project while initializing a new project from the CLI.
This will perform the same actions as a project initialization, i.e., the project will be imported in both the Catalyst remote console and in the local environment. You will find a new project created and configured in the console based on the ZIP file. The project-template JSON file, and the function and client code will be available in the local directory as well.
Every other feature of the import operation will be the same in both cases.
Some important points to remember:
- The source ZIP file containing the project definitions, and the functions and client code must be in the standard format to be imported, as discussed earlier.
- The project-template JSON file must be present in the root of the ZIP file. A project cannot be imported without this file. The functions or client directories, or the catalyst.json configuration file are not mandatory.
- You can always pack any existing Catalyst project directory and generate an import-ready ZIP file using the catalyst iac:pack command.
IaC Import
- To import a new project through the IaC import method, create and navigate to a new directory for the Catalyst project in your terminal, then execute this command from the directory:
- Provide a name for the new project, then press Enter .

-
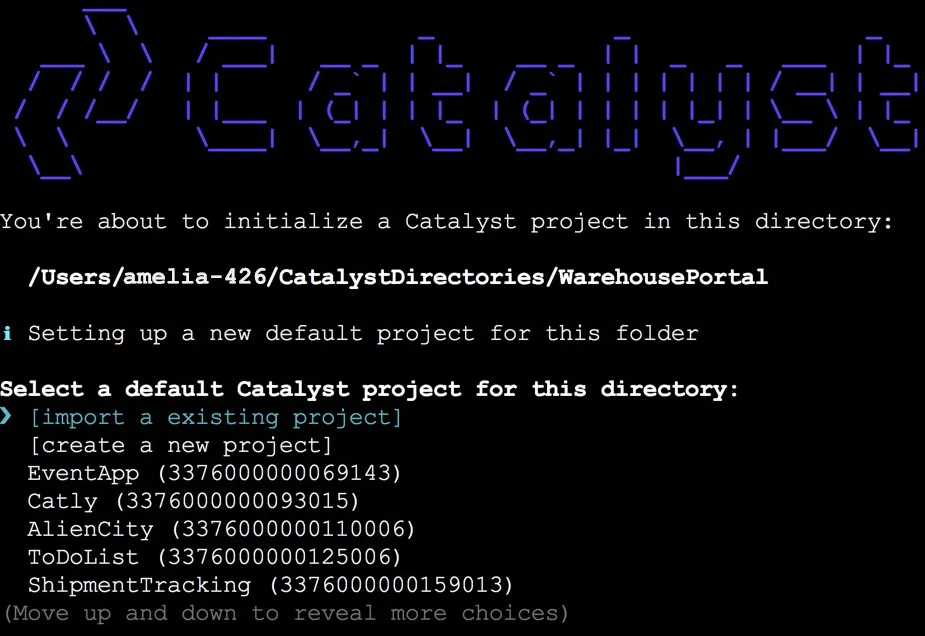
Catalyst will check the directory you executed the command from for ZIP files, and will ask you to select a ZIP file from the available ones as the project source.

If there are no ZIP files present in the directory, you can provide the path to the source ZIP file to be imported.

-
The CLI will redirect you to a browser window to confirm the user login session briefly, and the import job will be initiated. You can close the browser window and return to the terminal.
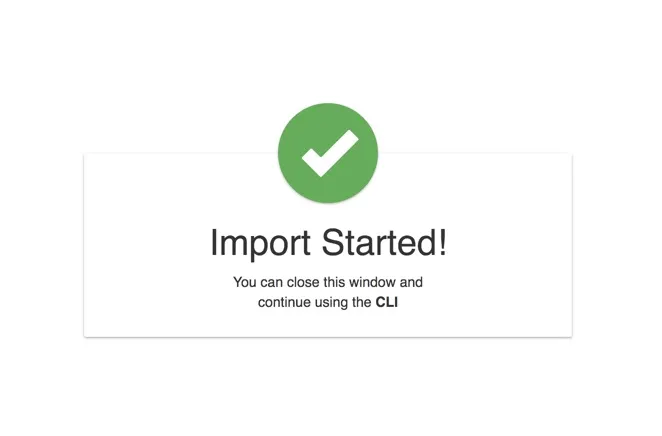
Catalyst will assign a unique Job ID to the import operation. You can use this Job ID to check the status of the job at any time.

After the import job is complete, the CLI will display its status. If the import is successful, you will find a new project created in your Catalyst remote console with the components, functions, and client configured based on the ZIP file.
You can always pull the resources to the local environment from the console, to fetch the project in the local environment. Pulling the project will only fetch the functions, client, and API Gateway rules. It will not fetch any component configurations.
Import Project Options
--name
You can directly provide a name for the project while importing a project, using the --name option with the import command in the following way:
Provide a name for the project to be created by the import job with the --name option. The CLI will then ask you to choose a ZIP file in the directory or provide a path to the source file, as discussed above.
Import through Initialization
- To import a project during the project initialization, execute the project initialization command from a new directory created for the project:
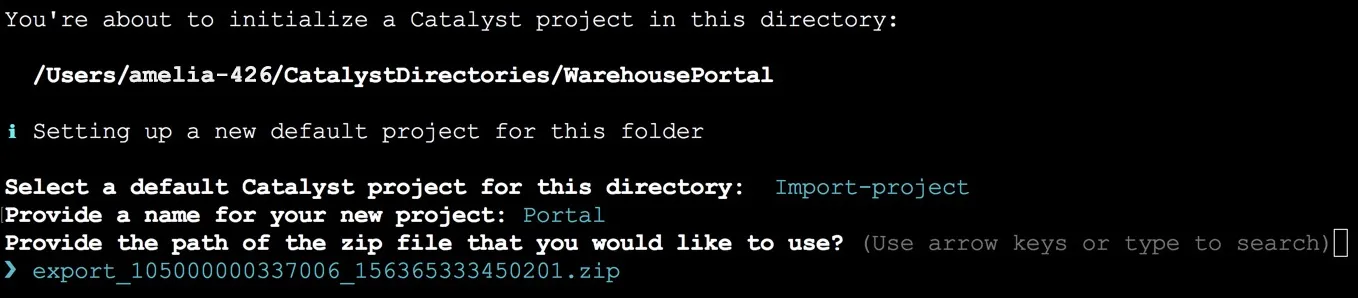
- Select “Import an existing project " from the list of projects to associate the directory with.
-
Provide a name for the project, then select a source ZIP file or provide a path to it to import, as discussed in the IaC project import section. The process will be the same.
Catalyst will assign a unique Job ID to the import operation after it is initiated. After the import job is complete, you can find the project created and configured in the remote console, as well as in the local directory.
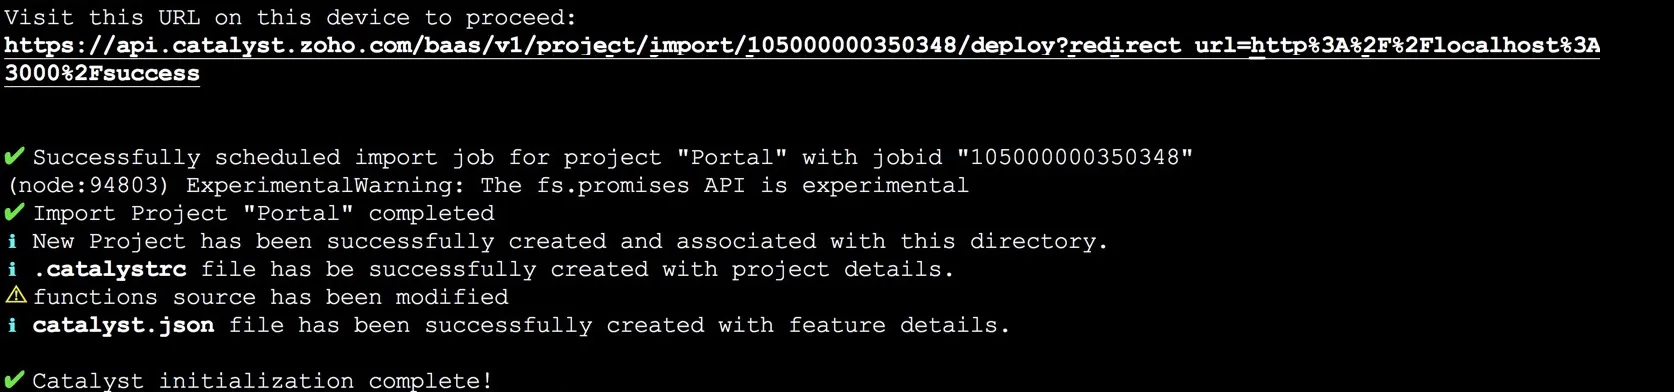
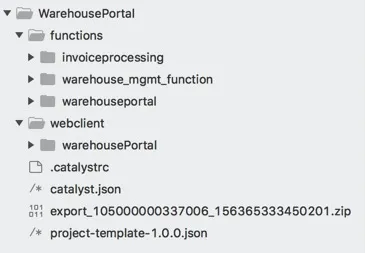
Because this imports the project in the local directory, the catalyst.json and the .catalystrc configuration files will be created with the project details. The project directory will also contain the functions and the client directories, if they were present in the ZIP file, and the project-template JSON file.
Last Updated 2025-02-19 15:51:40 +0530 IST
Yes
No
Send your feedback to us