Modules and Test Cases
Modules
Modules enable you to categorize the test cases that you create, based on the actions they execute or their logic. Modules can also represent the same process or function. However, you can use them to divide the process into various parts that focus on individual activities. For example, you can group all the test cases related to submitting a particular form in your application in one module.
Make sure to remember the following points about modules in Automation Testing:
- You must create a test case in a module, because a test case must be associated with a module. Therefore, before you create a test case, you must either create a module for it or add it to an existing module.
- You can create sub-modules in a module up to one level.
- Modules cannot contain test cases and sub-modules at the same level. For example, Module A cannot contain Test Case 1 and Submodule B as separate entities on the same level. You can create Test Case 1 inside Submodule B, in a different sub-module, or create it in a different module altogether.
Test Cases
Test cases contain the definitions and particulars of an action to be performed. An API test case involves invoking one or more request URLs, and passing parameters, headers, or data in the request body.
-
You can test both the Development and Production environment function URLs of your application in a request, as well as any third-party URLs.
-
You can also test the APIs that you configured in API Gateway for your function endpoints.
In API testing, we typically send a request to access a function’s endpoint or a third-party resource to receive a response. The testing is done to observe the responses that will be received for various test conditions, request methods, environments, and values that you set for the request.
If you obtain the expected responses for the values and conditions that you pass in all the requests you make in a test case, the testing can be deemed successful.
Keep the following points in mind about the test cases in Automation Testing:
- A test case can contain one or more requests that you can configure individually.
- A test case can only be automated after it is added to a test suite, and scheduled to be executed in a test plan.
- You can orchestrate a sequence of requests in a single test case to execute automatically, and pass the dynamic values obtained from one request’s response into the next. This can be done by defining a variable for a request and passing that variable as the parameter in the next request.
- You must define the expected responses in a request using Assertions. Upon the execution of a request, Catalyst will automatically validate the received response with the expected values, determine the result of the test case accordingly, and display it in the Results section. Each individual request must be successful for a test case execution to be successful.
- The requests made in Automation Testing can be authenticated through a Custom Authentication method. You can set up a connection using Deluge Connections and authenticate the request through it.
Create a Test Case
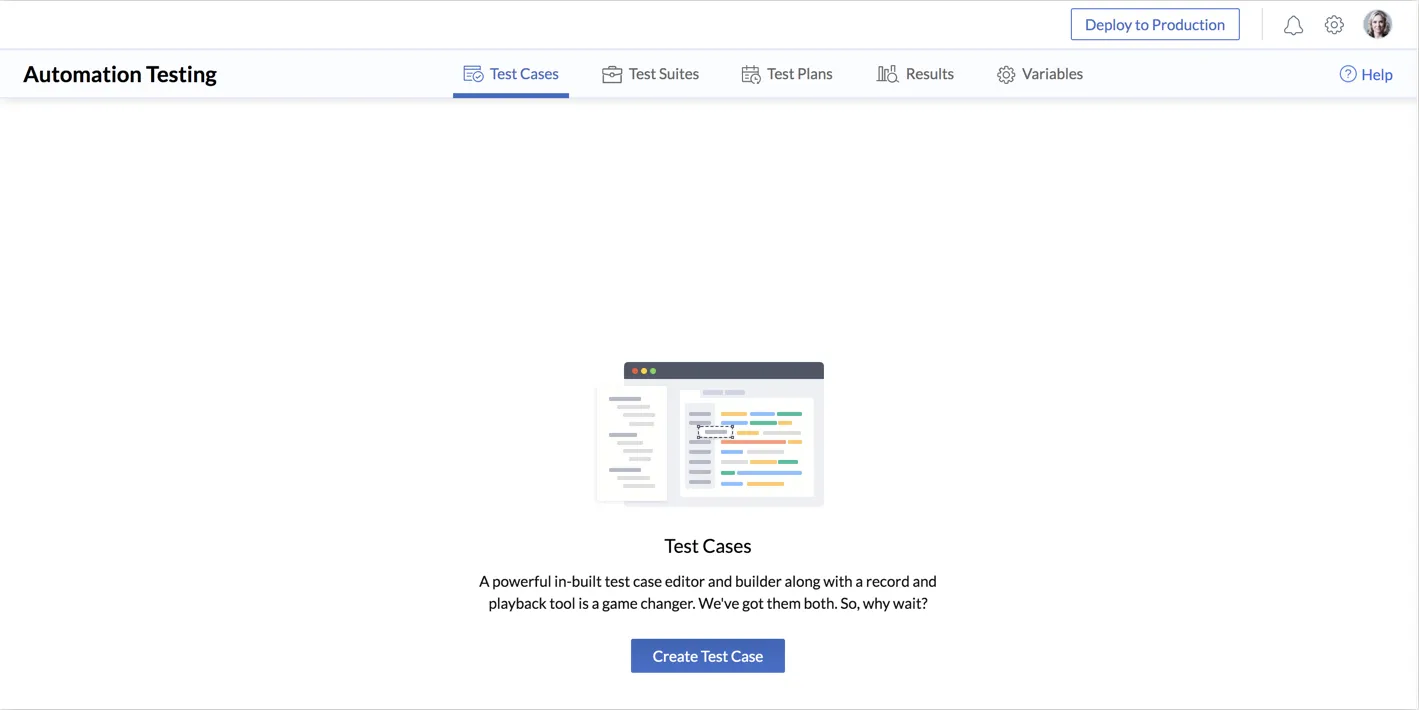
You can begin working with Automation Testing by creating a test case. Each action involved in setting up the test case’s configuration is described in this section in detail.
-
After you enable Automation Testing from the Add-on Services, you can click Create Test Case from the Test Cases section.
-
Enter a name and a description for the test case.
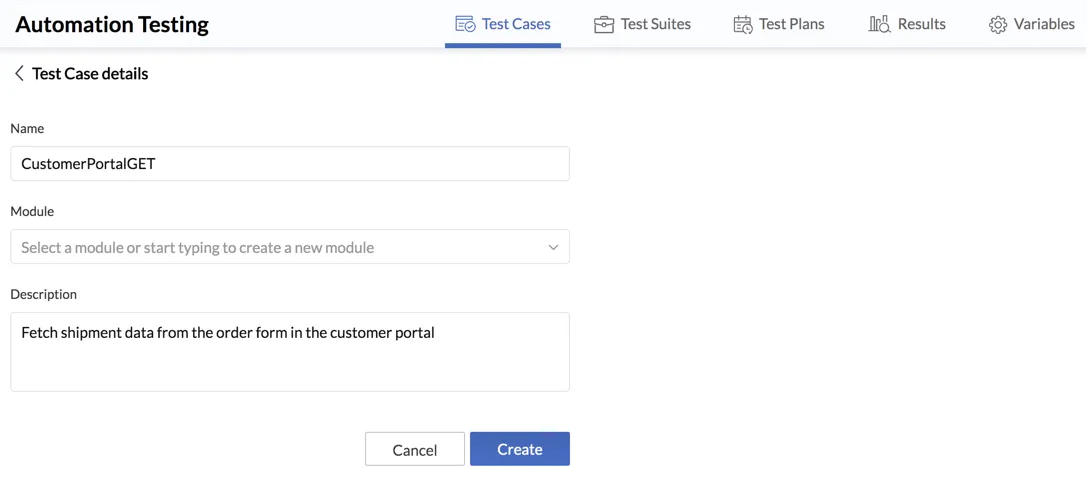
Since a test case needs to be associated with a module and we have not created a module yet, click the drop-down and type a name for a new module and click Create in the search bar.

If a module or a sub-module already exists, you can simply select it from the list. -
Click Create.
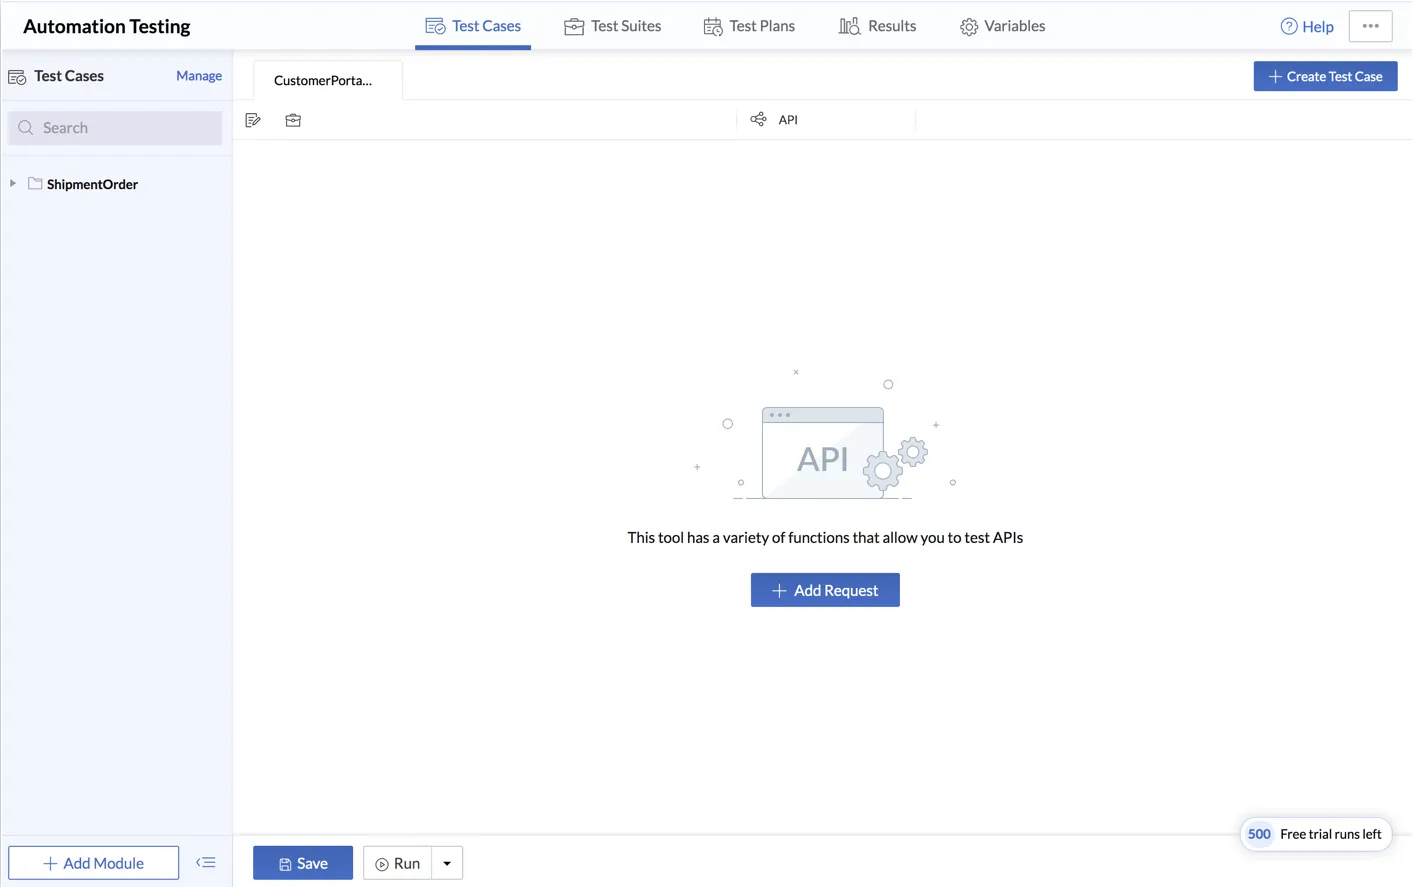
The test case will be created in the specified module. The test case’s tab will be opened, and you can configure requests in it.
We will discuss the UI elements later in this documentation.
Configure a Request
You can configure a request in a test case in the following way:
-
Click Add Request in the test case’s section.
-
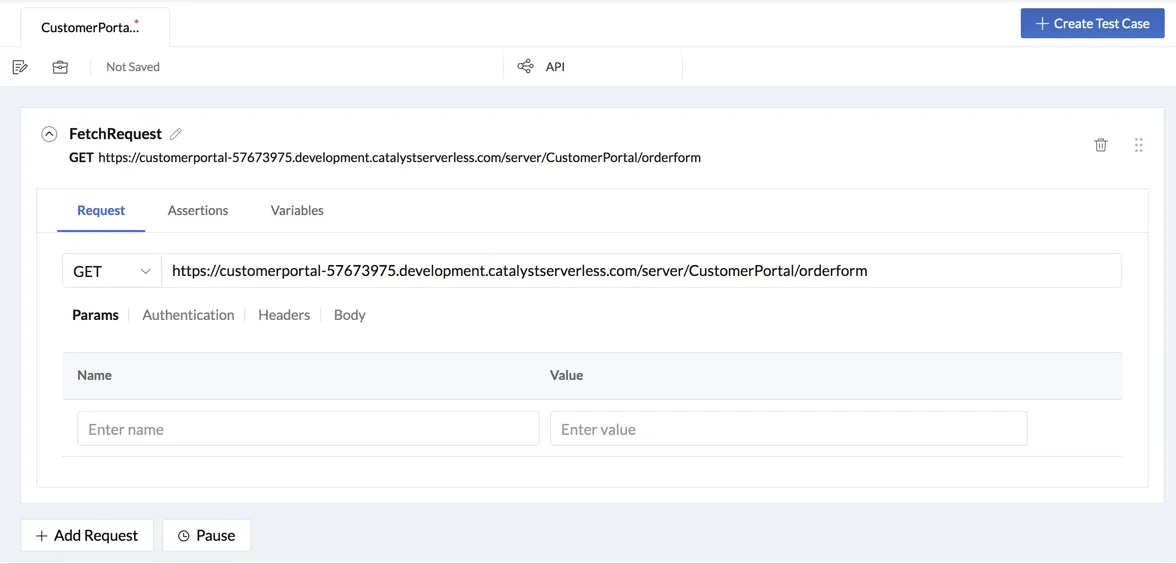
Enter the URL of the API endpoint that needs to be tested.
You can enter a Basic I/O or an Advanced I/O function URL of either environment, an API you configured for them in API Gateway, or any third-party URL.
You can also pass an Environment or Global variable that you configured, as the value for the request URL. You can learn about these in the Variables section. -
Select a HTTP request method for the request from the dropdown list. You can select from: GET, PUT, POST, PATCH, DELETE, HEAD, OPTIONS.
-
Params: You can configure query strings to be passed appended to your request URL in a key-value format under the Params section. Once you enter a parameter name, a new column will appear to add another parameter. You can click the close icon to remove a parameter.
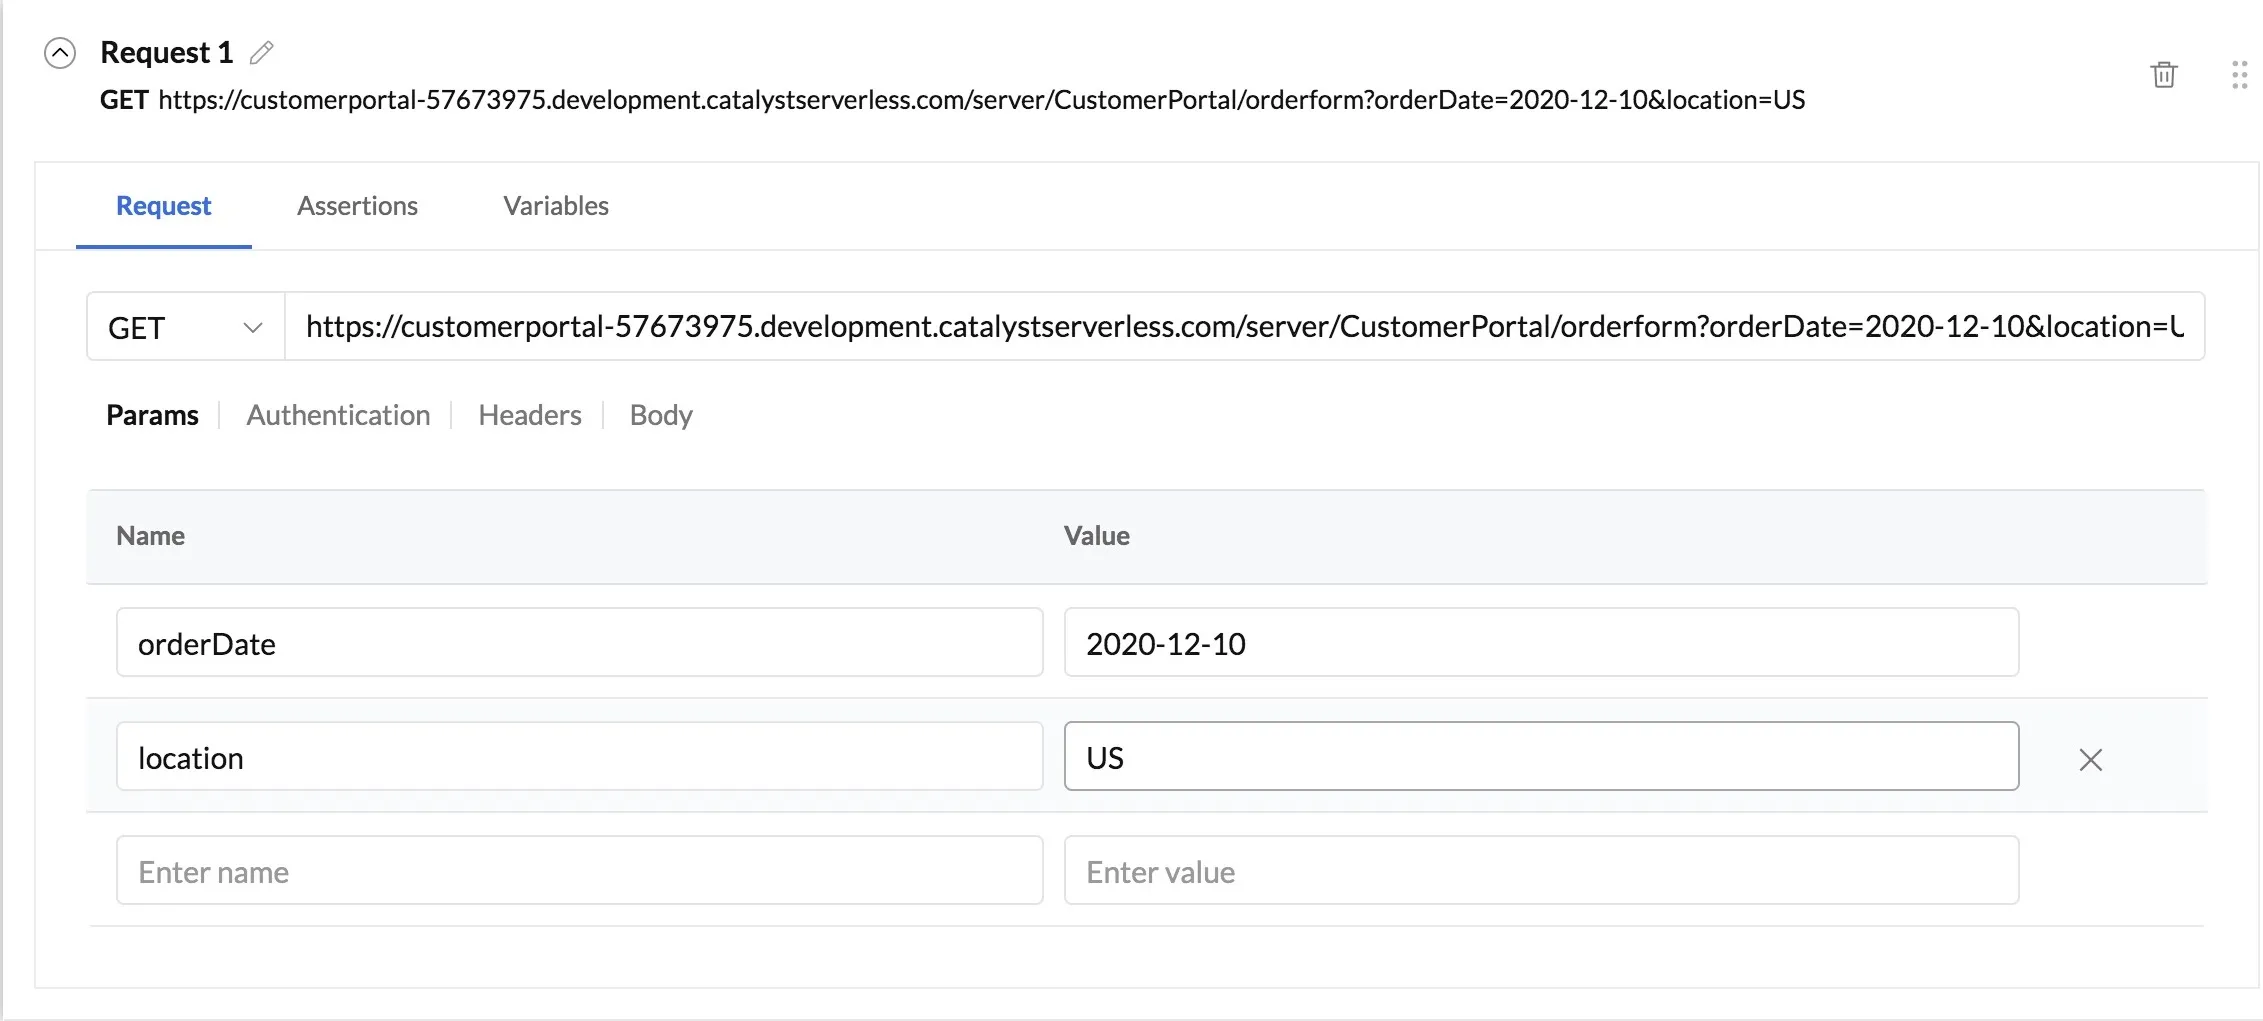
You can also pass an Environment or Global variable in the {{$<variable>}} format, or assign a value from a previous request’s response to a variable and pass that as the parameter of a request in the {{<variable>}}. -
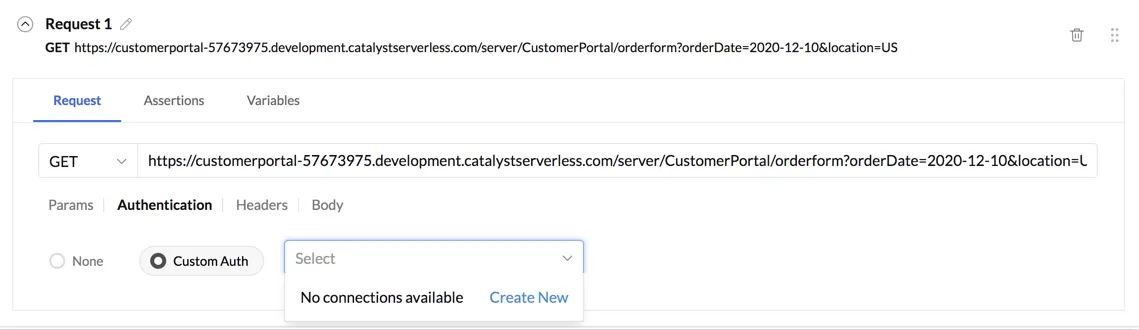
Authentication: To set up the authentication method for this particular request, click the Authentication tab under the request URL. If you opt to have no authentication in your request, select None.
You can select Custom Auth to configure a Deluge connection. Deluge connections enable you to establish authentication with a Zoho or a third-party service. This connection will allow Catalyst to invoke the third party service’s API, and obtain access to the authenticated data. In this case, the request you are configuring is the third-party service.
When you select Custom Auth, a drop-down box will list any pre-existing connections that were configured. To create a new connection, click Create New.
This will open the Connections configuration page in the request section. You can configure the connection here, and choose one of the authentication types available.
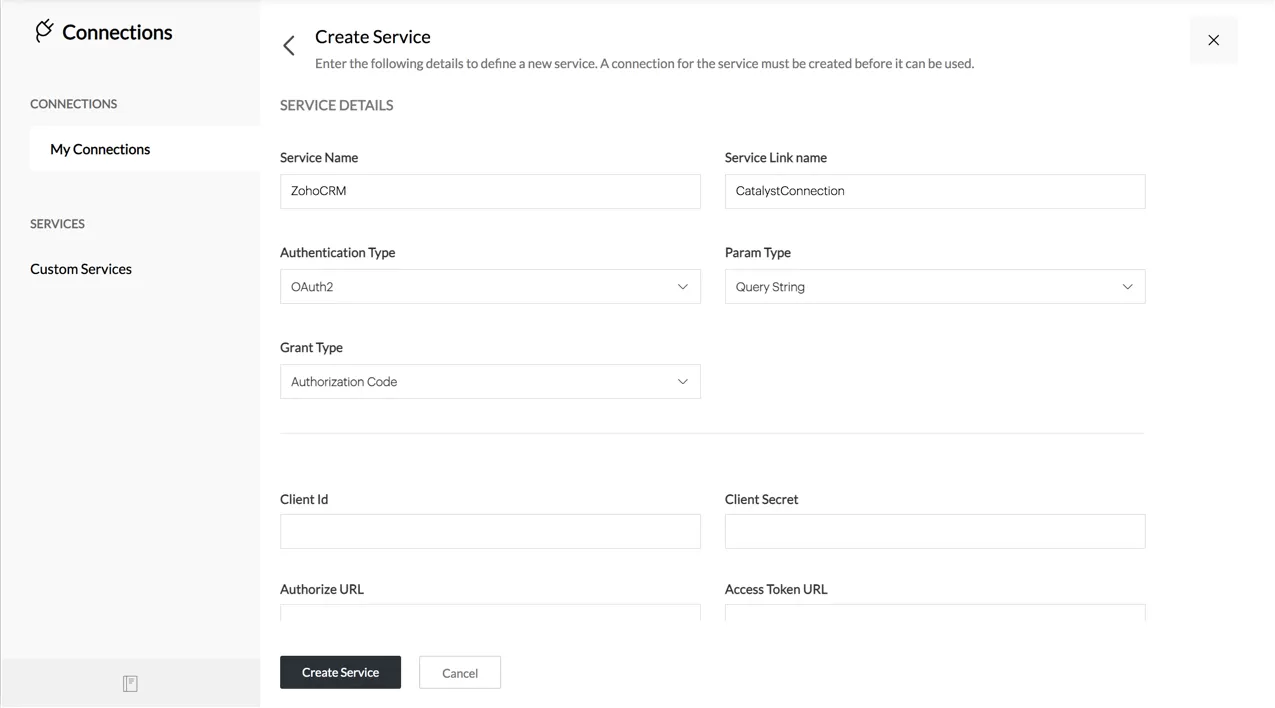
You can learn about these steps in detail from the Zoho CRM Connections help page. CRM implements the same Deluge connections service. A connection with Zoho CRM, for example, can enable you to perform actions such as inserting a lead or obtaining a contact from your CRM account, in the request. -
Headers: You can configure headers for the request URL from the Headers section. Click the Headers tab. Enter the names and corresponding values of the headers to be passed. Catalyst suggests header keys as you type.
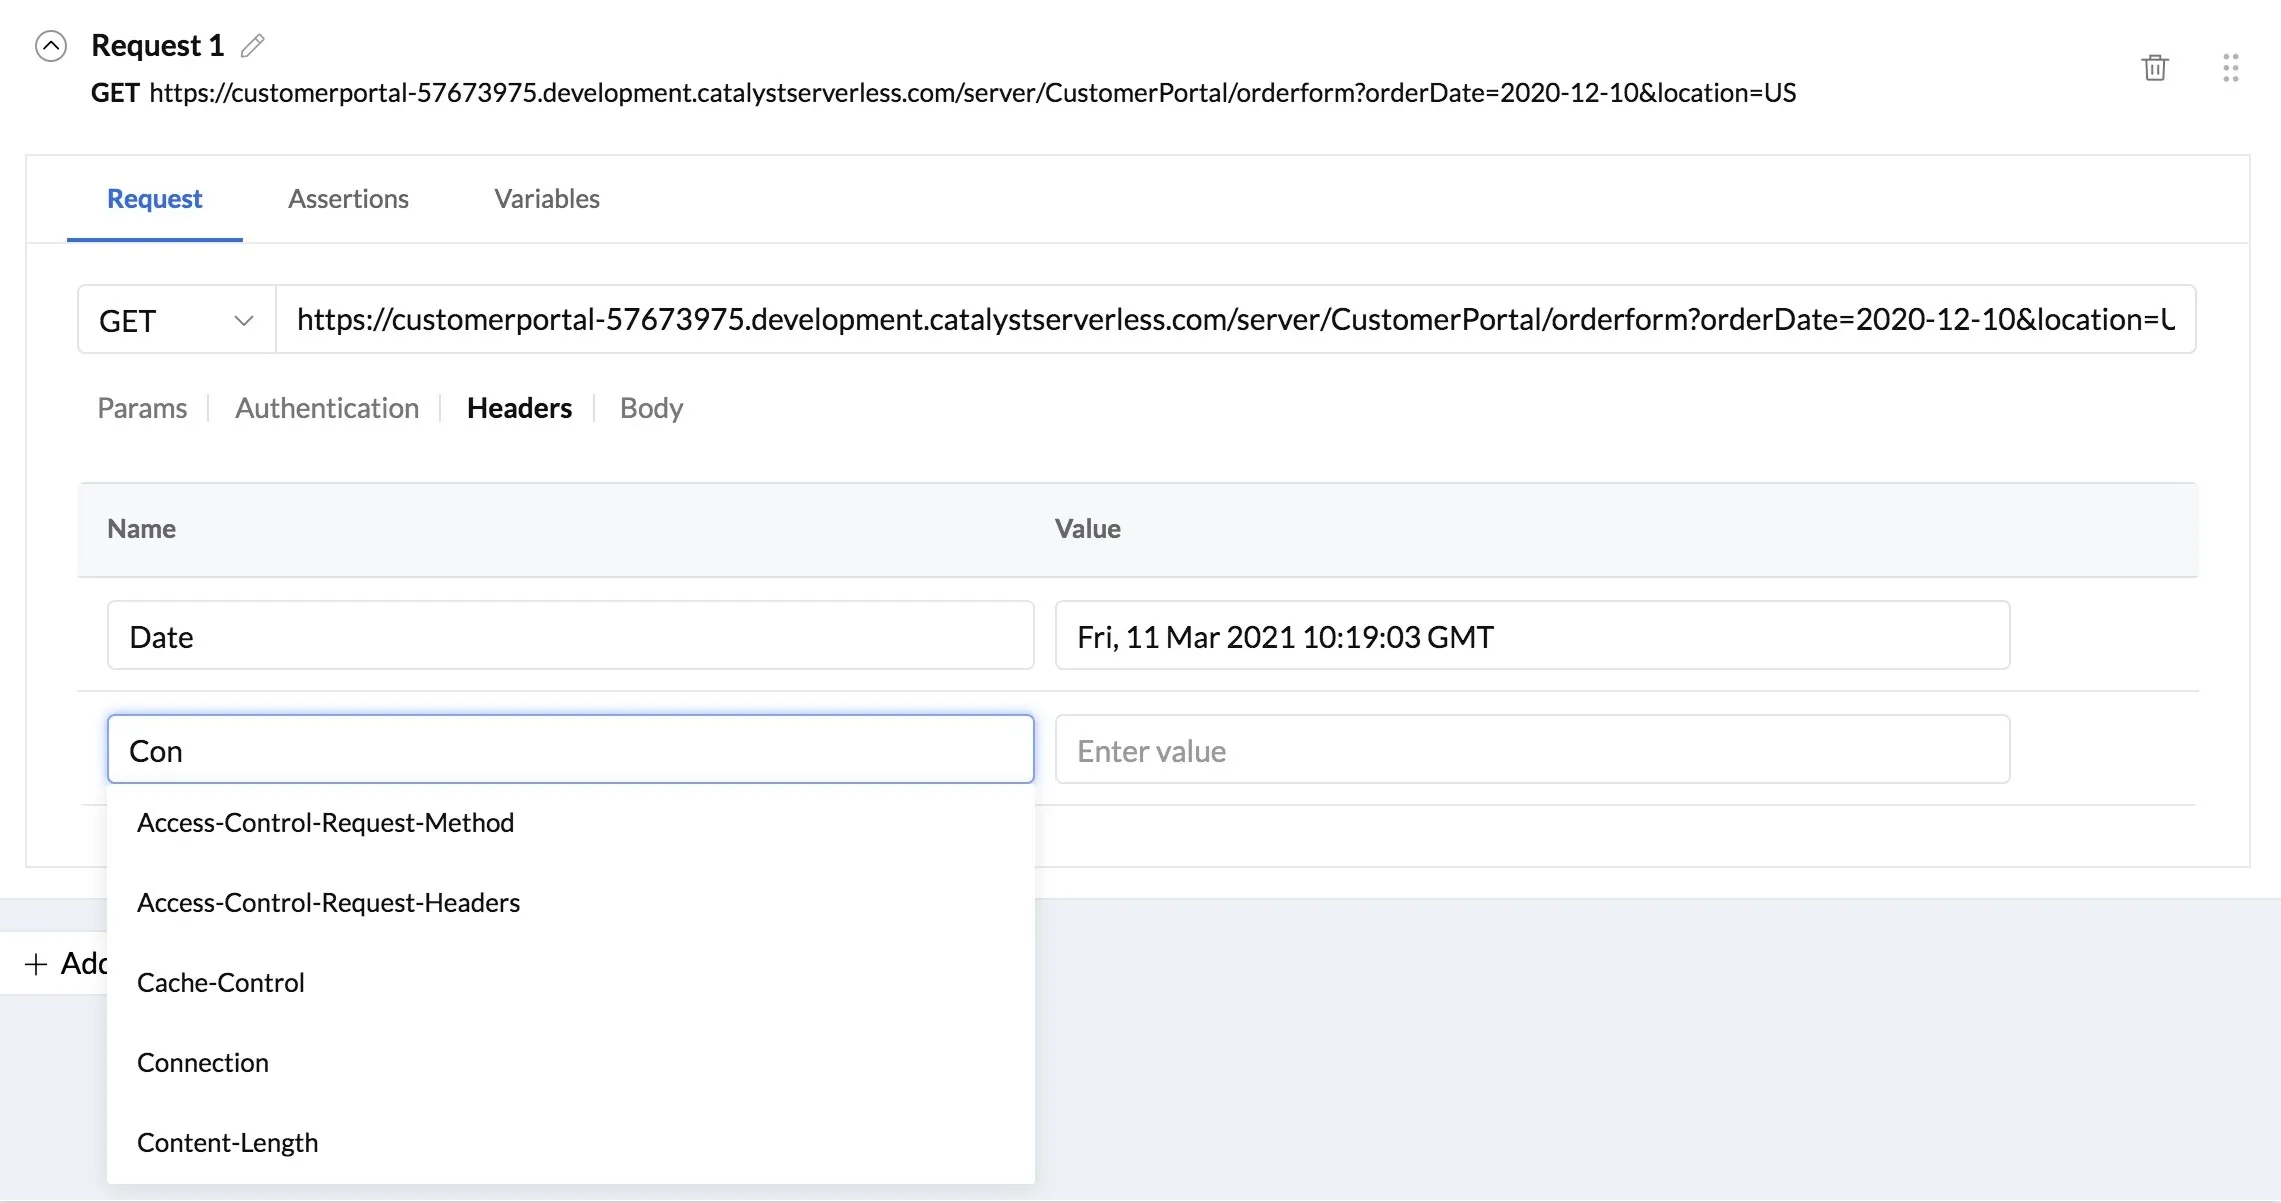
Once you enter a header name, a new column will appear to add another header. You can click the close icon to remove a header. -
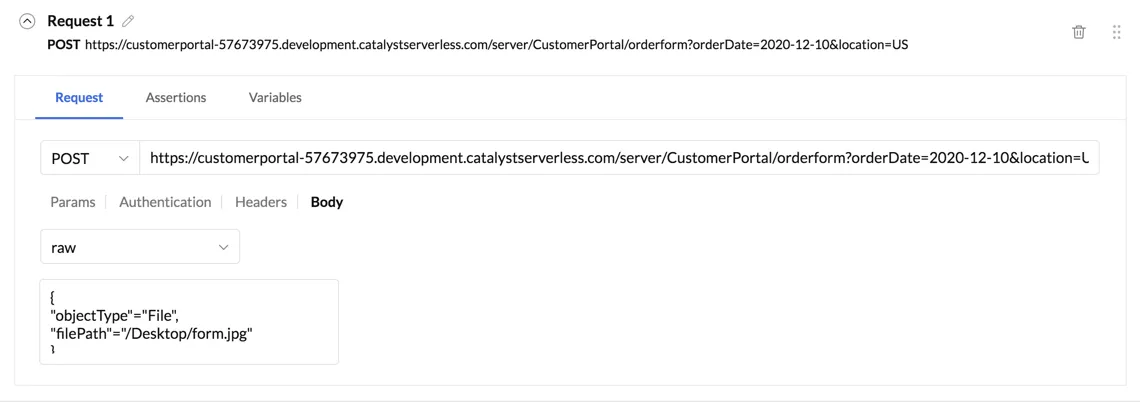
Body: You can configure data to be passed in the body of the request from the Body section. A request body is typically passed in POST or PUT requests. Click the Body tab.
Automation Testing supports three types of request bodies: form-data, x-www-form-urlencoded, and raw. Select a type from the drop-down list.
If you select form-data or x-www-form-urlencoded you can enter the payload in a key-value format. You can also pass variables as the value for keys in these formats. If you select raw, you can pass it as a JSON.
After you configure all the necessary parts of the request, you can add assertions for the request.
Add Assertions
Assertions are used to validate the response received for a request. You can define the values that you expect in various parts of the response here. Automation Testing will automatically compare the expected values with the received values. If the values match and all assertions are satisfied, the request execution is considered successful. Otherwise, it is considered a failure.
Click the Assertions tab in the request configuration window, then click Add Assertion to configure assertions for the test case.
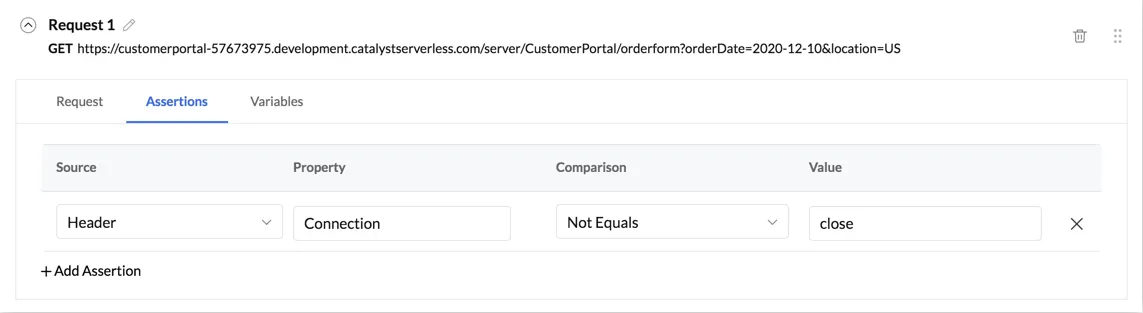
An assertion consists of the following elements that you can configure:
-
Source: The location the assertion needs to be applied on.You can select one of these sources for an assertion from the drop-down list:
- Header: You can define the headers and their corresponding values that are expected in the response.
- Status Code: You can define the HTTP status code that is expected for the request in the response. For example, if you expect your request to be processed successfully, you can define an assertion indicating the status code equals 200.
- XML Body: You can extract a specific data item received in the XML body of a response by specifying its path and defining its expected value.
- JSON Body: You can extract a particular data item received in the JSON body of a response by specifying its path and defining its expected value.
-
Property: The specific attribute of the source that the assertion needs to be applied for
For example, if you select Header as the source, you can enter the key of a specific header whose value needs to be compared in the Property text box.
Similarly, if you select XML Body or JSON Body as the source, you can specify the path of the data item to be extracted in the Property text box. You must ensure that you adhere to the JSON or XML syntax in defining the path.
- Comparison: Operator that compares the expected value with the defined value
You can select any one of these operators from the drop-down list: Equals, Not Equals, Contains, Not Contains, Is Empty, Is Not Empty, Lesser Than, Greater Than, Lesser Than Or Equal To, Greater Than Or Equal To, Has Key, Array Count.
The Has Key operator can verify if a particular key is present in a header, or an XML or JSON path. You can use the Array Count operator to specify the count of array items you expect in a header, or for an XML or JSON key.
- Value: The value that is expected for the selected property, based on the comparison operator
You can remove an assertion by clicking the corresponding close icon.
Example:
Assume you expect the response of a certain request to contain data in a JSON body that fulfil these conditions:
- Key id must be greater than or equal to “10000”
- Key location.country must definitely be present
- Key location.country must not contain an empty value
- Key location.city must not contain the value “New York”
Therefore, you must add these assertions after selecting JSON Body as the source each time:
- Assertion 1: Property= “id”, Comparison= “Greater Than Or Equal To”, Value= “10000”
- Assertion 2: Property= “location”, Comparison= “Has Key”, Value= “country”
- Assertion 3: Property= “location.country”, Comparison= “Is Not Empty”
- Assertion 4: Property= “location.city”, Comparison= “Not Equals”, Value= “New York”
Now assume that you receive this JSON response upon execution:
{
"id" : "10993",
"location": {
"country":"US",
"city":"Austin"
}
}
Because the response satisfies all the assertions that you defined, the test is considered to be successful.
Configure Variables in a Request
You can extract data from the response that will be received for a request, and assign it to a variable to pass it on to the next request as a parameter value in a chain request.
The variables that you configure inside a test case are different from the Environment or Global variables that you use to store the required details of your Catalyst project. The syntax for using these variables in the parameter or request URL field are different. You can learn about these in detail from the Variables section. We will discuss adding variables for a chain request alone in this section.
Click the Variables tab in the request configuration window, then click Add Variable for each variable you want to configure for the test case.
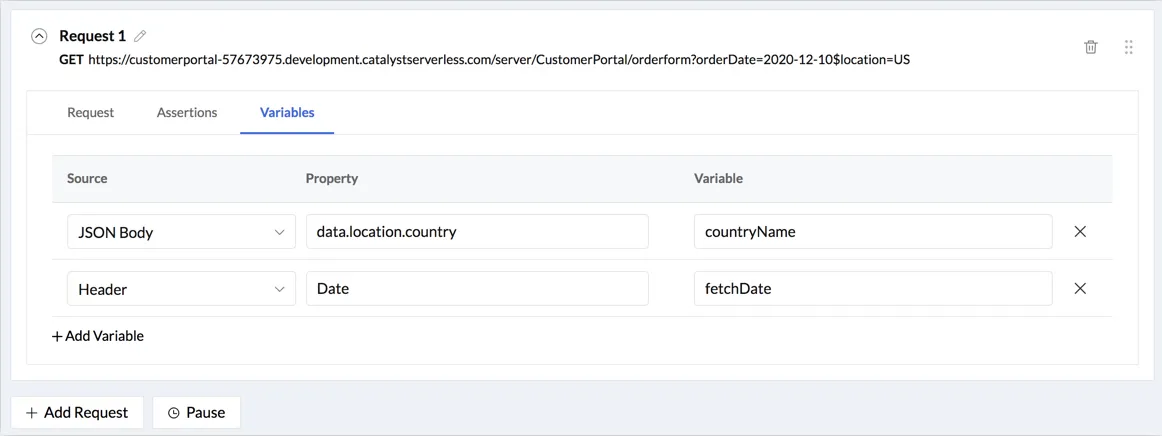
This contains the same elements as Assertions.
- Specify the location that the data needs to be extracted from, by selecting the Source.
- Define the specific attribute of the source that the variable needs to be assigned for, as the Property.
- Enter the variable name that the data needs to be assigned to, under the Variable column. Refer to the Variables section for detailed syntax.
You can remove variables by clicking the close icons.
The Chain Requests section illustrates an example of passing data in a chained request using a variable that you create.
Manage a Test Case and its Requests
Before we discuss configuring a chain request, here are a few actions that you can perform on a request from the console:
-
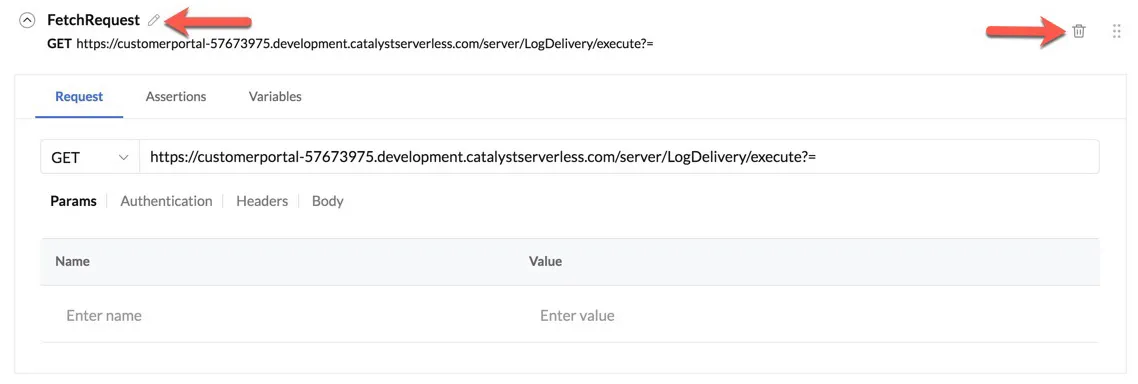
Rename a Request: Click the edit icon next to its name on the request’s configuration window, then enter a new name. Press Enter to save the changes.
-
Delete a Request: Click the delete icon, then click Yes in the confirmation pop-up window.

You can also perform the following actions on the test case from the tool bar and from the options below:
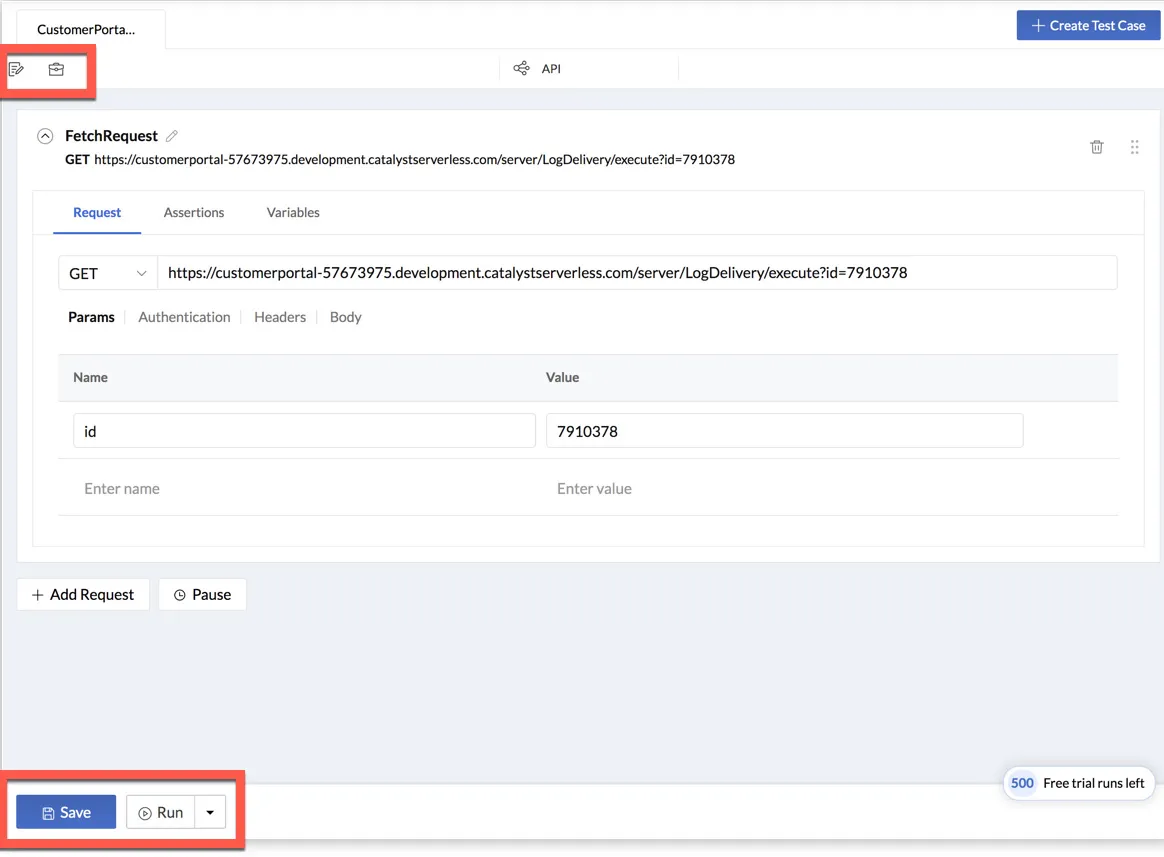
- Run a Test: You can instantly run a test and view a live preview of the response. Click Run from the bottom of the page, after saving all the changes by clicking the Save button next to it.
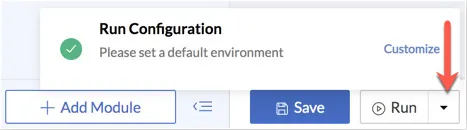
You can also optionally select a default environment that the test must be run in, from the pop-up window that opens. You can also click the arrow next to the run icon, then click Customize to choose or change previously set configurations.
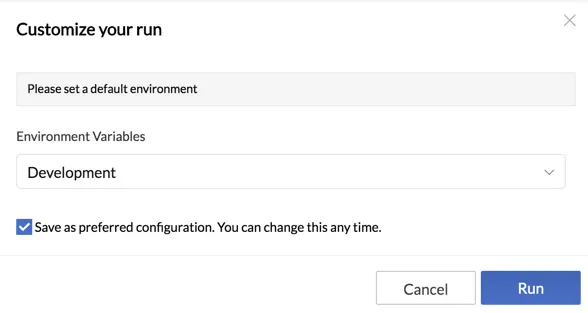
You must select the environment variables from the drop-down window. Refer to the Variables section for details on configuring environment variables. You can click the checkbox to save this as the preferred configuration. Click Run.
A Live Preview window will open displaying the progress. It will show the run summary after the execution is complete. You can click Restart to restart the run.
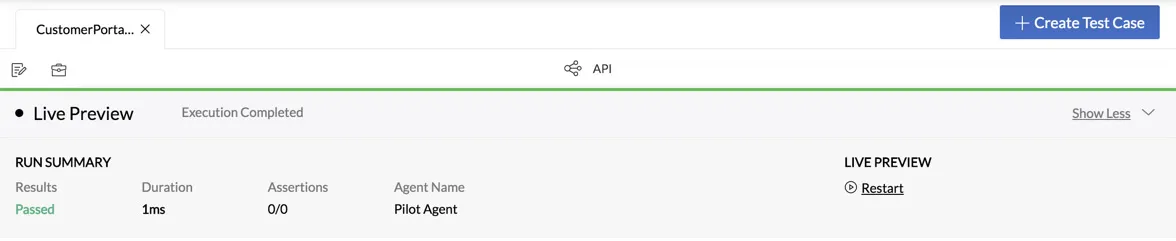
You can open collapse and expand the live preview anytime from the bottom of the screen by clicking Show Less or Show More respectively. If your run includes multiple requests, all their responses will be displayed in the Live Preview section.
- The summary of an instant run will not contain detailed reports.
- These summaries will also not be available in the Results section. The Results section only displays the detailed reports of the automated test runs executed through test plans.
- The summary shown in this Live Preview section will disappear if you navigate away from this section.
-
Save a Test Case: You must ensure that you save the changes you make in a test case periodically by clicking Save from the bottom of the page.
-
Instantly Add or Remove a Test Case from a Suite: Click the suite icon on the tool bar of the test case to add it to a test suite instantly. Click Add to Test Suite in the pop-up window, and select the existing suites from the list.
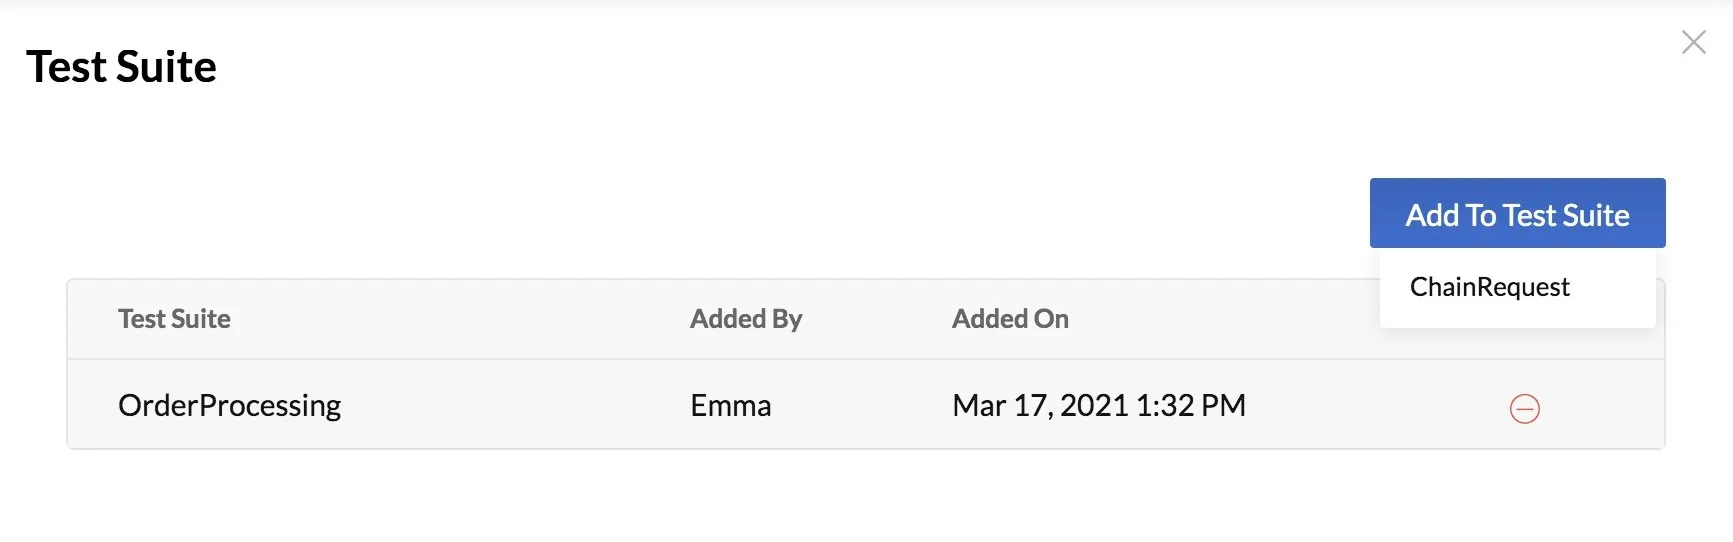
You can also remove the test case from a suite it is already added in, by clicking the remove icon that appears when you hover over the suite name in this window. Click Yes, Proceed.
-
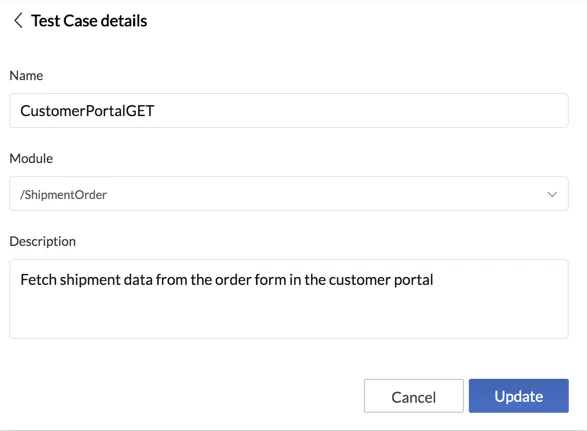
Edit a Test Case: Click the edit icon to edit the test name and description, or move the test case to a different module. Make the changes and click Update.
Read more about the left panel in this section.
Chain Requests
After you create and configure all the necessary requests in a test case, you can choose the sequence that these requests must be executed in.
Whenever that test case runs, the requests will be executed in the configured sequence alone. By default, the requests are listed in the order of creation in the test case, with the first request you created on top, followed by the next request you created, and so on.
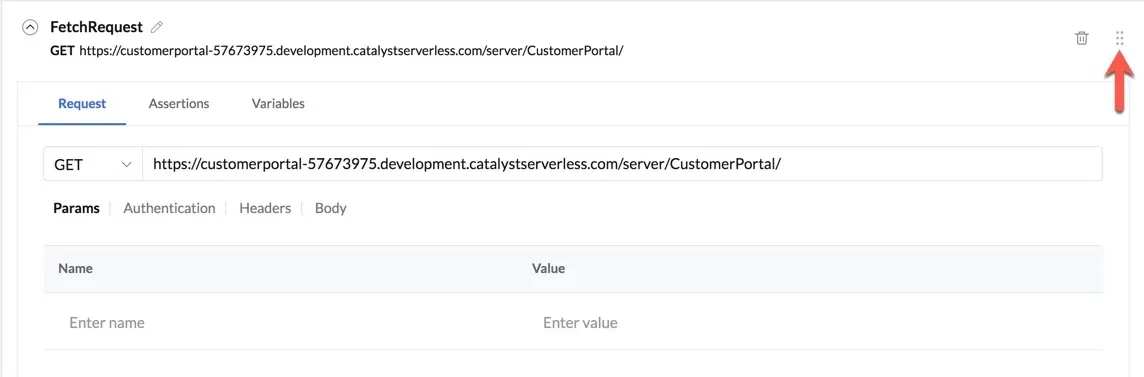
You can arrange the requests in a sequence that you require, by clicking the drag icon on the top right corner of the request window, and dragging it to new location.
Chain requests enable you to pass dynamic values between the requests using variables.
Let’s discuss this with an example.
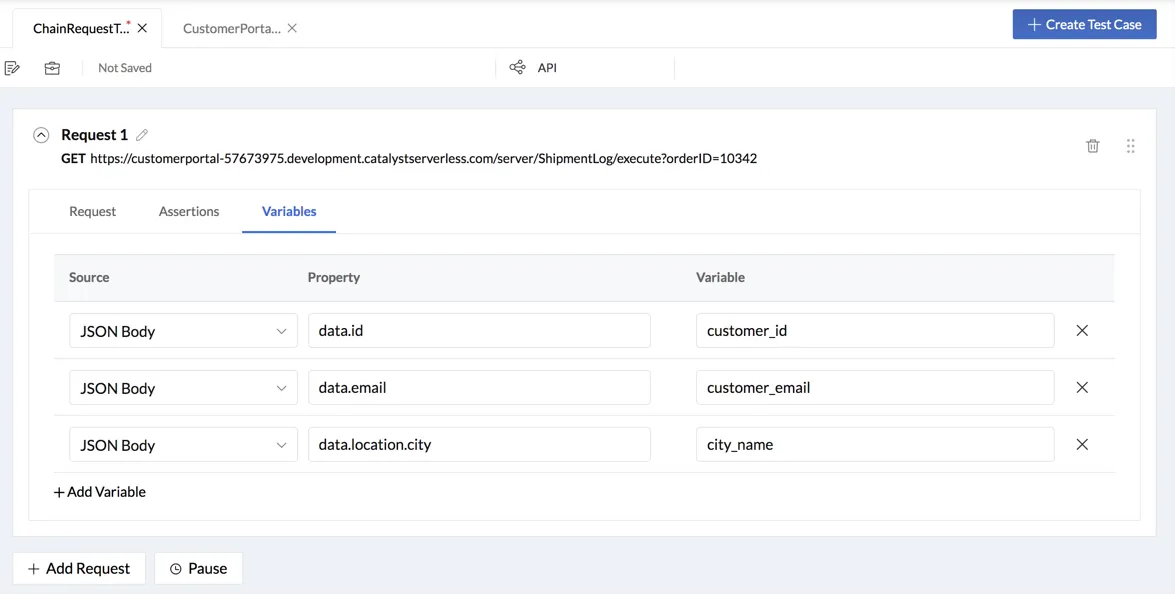
Assume we configure Request 1 to invoke a function and fetch some data using the GET method. The response will return a JSON body.
We need to extract the values of the keys id, email, and city from this response and pass them to Request 2 as its parameters. We can do this by configuring the variables for these values to be extracted in Request 1 as shown below.
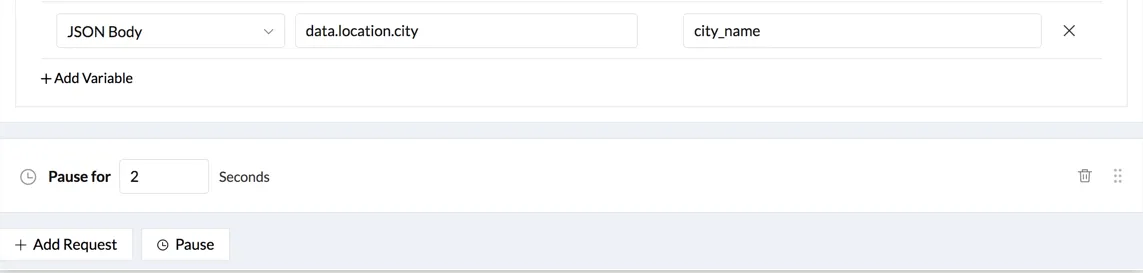
If you wish to pause for a certain amount of time after executing the first request and before executing the next, you can configure the pause time by clicking Pause below the first request. You must configure this before creating the second request.
Let us now create another request and pass the extracted values to it dynamically. We must add corresponding parameters in Request 2 to pass these variables as the parameter values. We can do this as shown below.
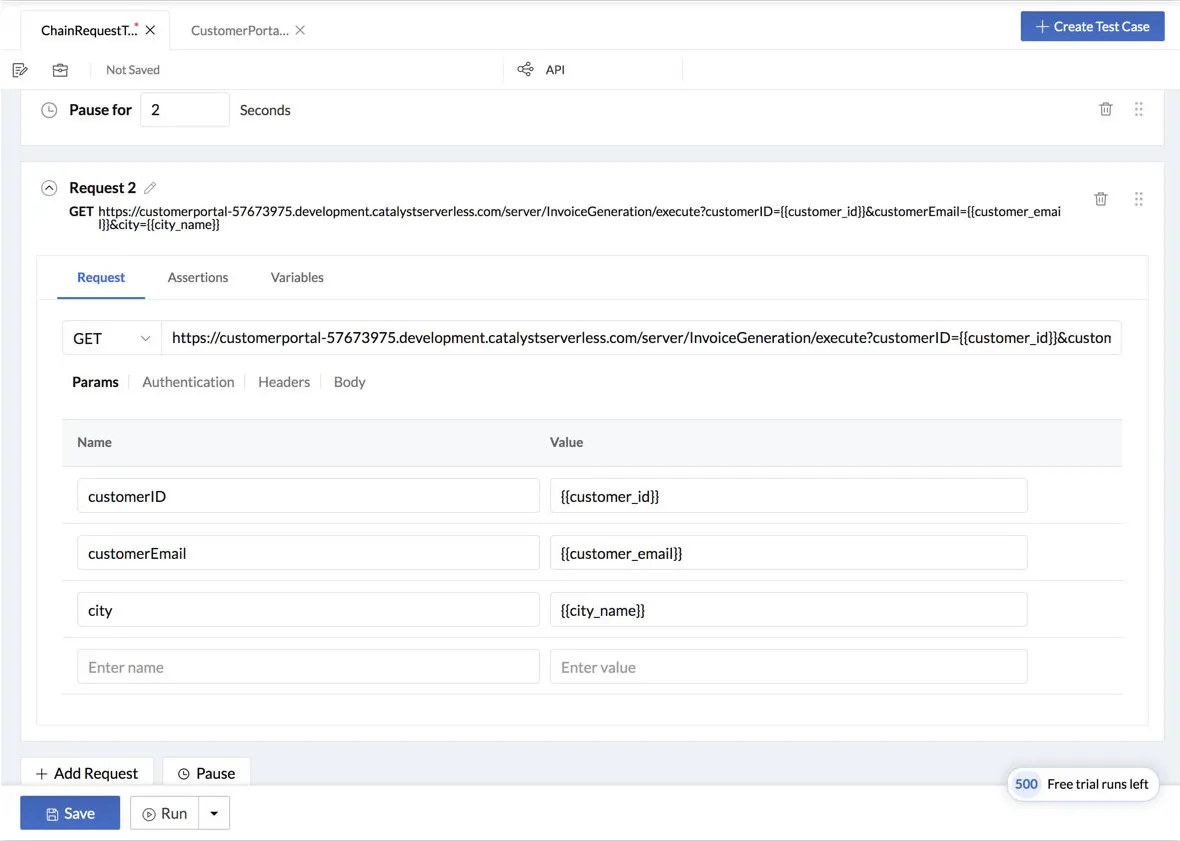
If we initiate an instant run after saving the configurations, Request 1 will execute first. Assume it returns with the expected JSON response. The values sent for the defined keys id, email, and city will be extracted from it and assigned to the variables customer_id, customer_email, and city_name for Request 1.
These will be passed as the values to the parameters customerID, customerEmail, and city, defined in Request 2 respectively, while the request is invoked.
You can configure and orchestrate chain requests in this manner.
Manage All Test Cases and Modules
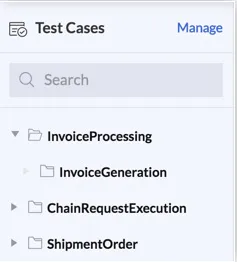
The left panel in the Test Cases section enables you to perform several actions. It lists all the modules that you have created, and all the test cases present in those modules.
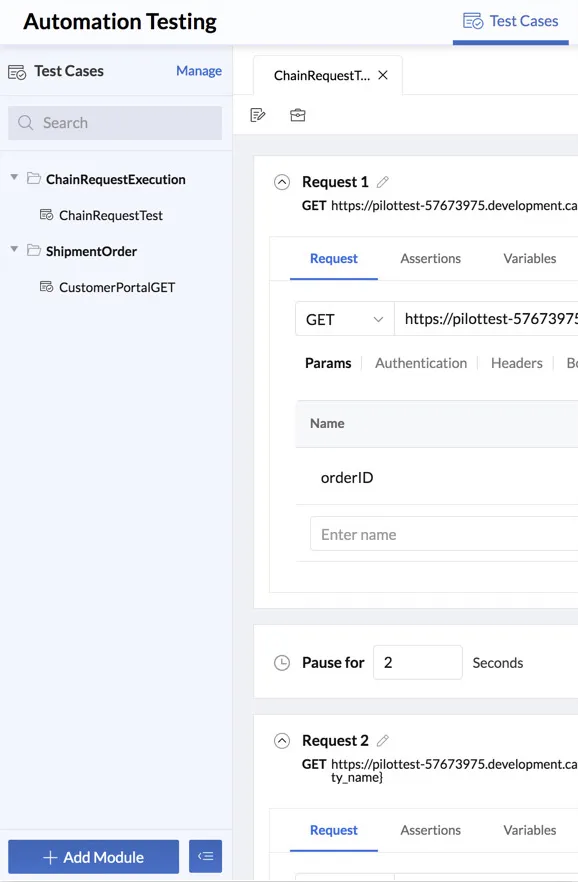
You can search for a test case using the search bar, and open any test case by navigating to its module from here.
Create a Module
You can create any number of modules to add test cases in.
- Click Add Module on the bottom of the left panel.
- Enter a name and a description for the module.
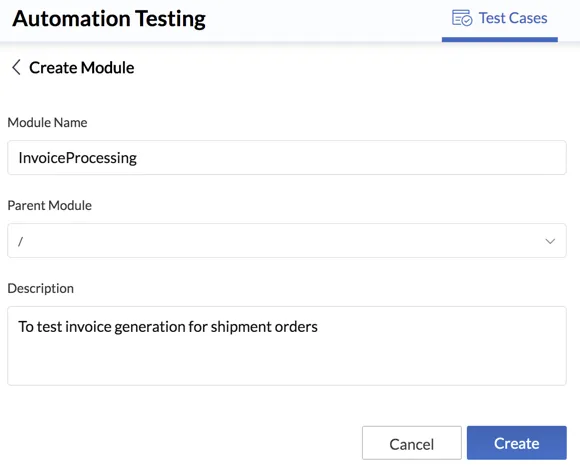
- If you are creating a sub-module, click the drop-down list to choose an existing parent module. If you wish to create a new module, ignore this and click Create.
The module will be created and listed in your directory.
Test Cases Schema
You can access a detailed schema of all your modules, sub-modules, and test cases that you configure by clicking Manage on the top of the left panel.
This will open the details page. You can expand or collapse directories and view the schema of the test cases.
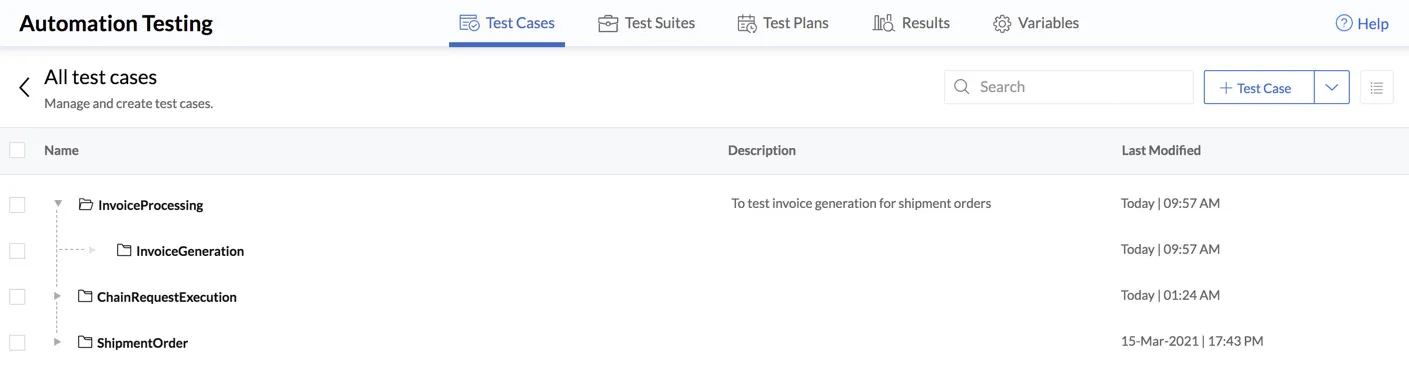
You can search for a test case using the search bar, click the list icon corner to view only a list of the test cases, or quickly create a new test case or module from the top-right corner of this section.
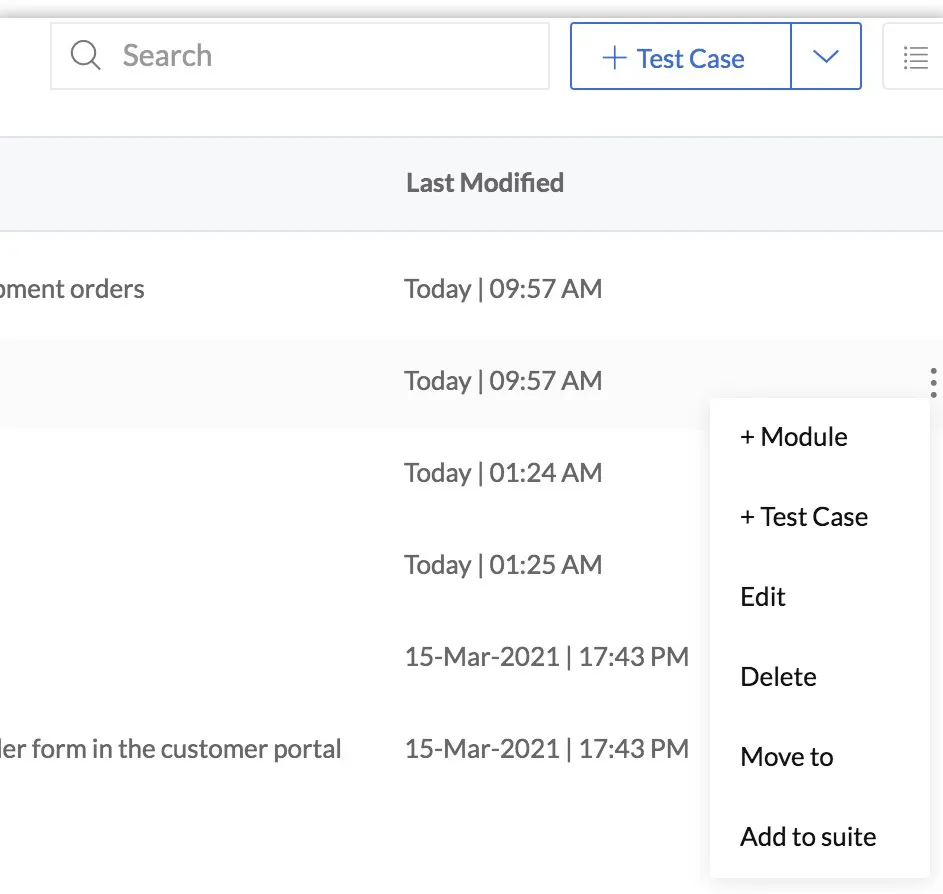
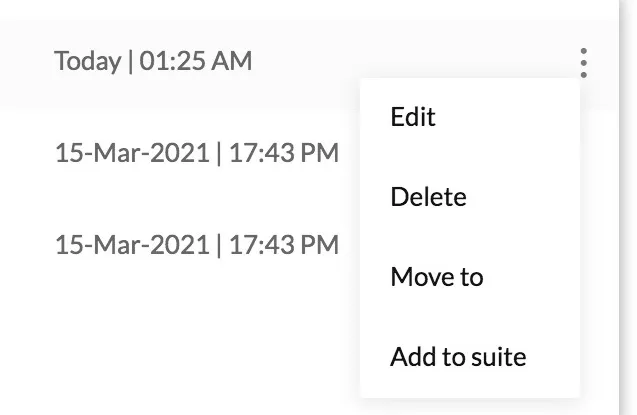
Click the ellipsis icon for a module to perform the following actions:
-
You can create a new sub-module or a new test case inside the module by selecting +Module or +Test Case from the menu respectively.
-
Edit a Module: Click Edit to update a module’s name, description, or move it under a different module or out of a parent module.
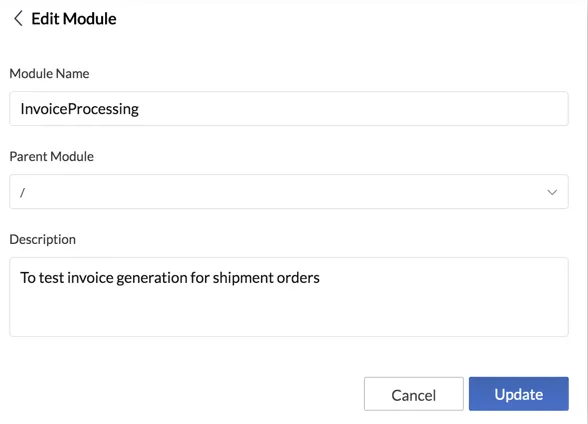
Make the necessary changes and click Update. -
Delete a Module: Click Delete to delete a module permanently.
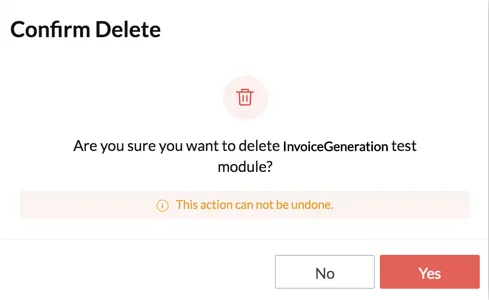
Click Yes in the confirmation pop-up window.
-
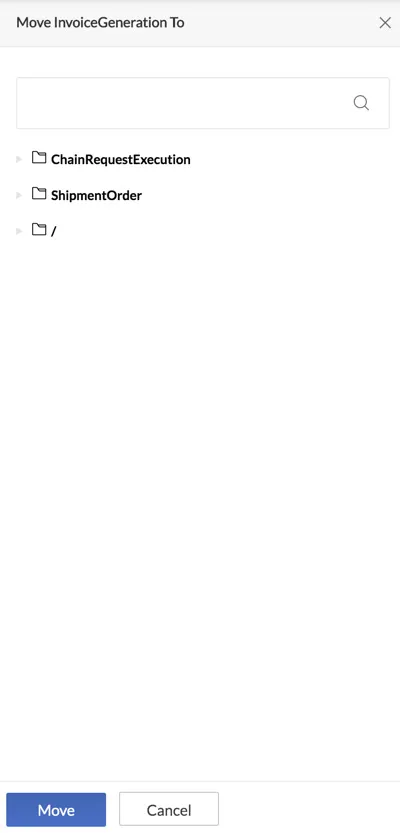
Move a Module: You can also quickly move a module under a different module or out of a parent module by clicking Move to. This will open a panel on the right. Choose a module or the root, then click Move.
-
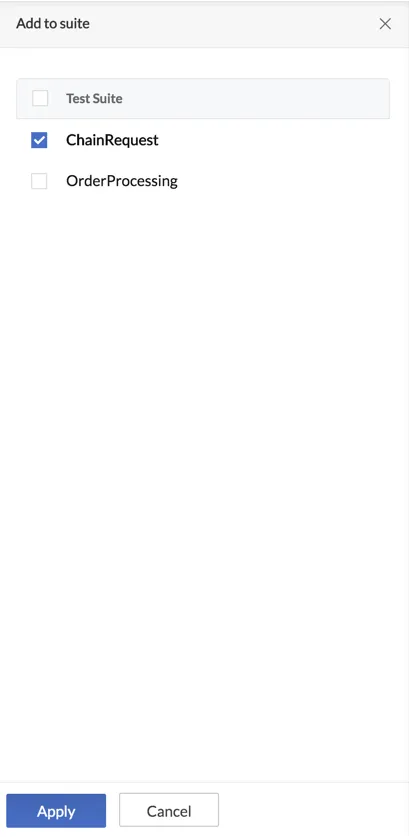
Add a Module to a Suite: Click Add to Suite to quickly add a module to one or more suites. This will open a panel on the right where you can select the suites. Click Apply to save the changes.
Similarly, if you click the ellipsis icon for a test case from this page, you can access the options shown below.
-
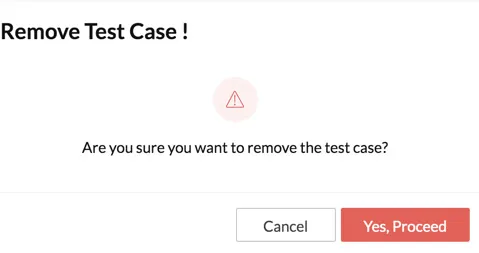
Delete a Test Case: Click Delete from the menu, then click Yes in the confirmation pop-up window.

The Edit, Move To, and Add to Suite options are the same as discussed in this section. You can also select multiple test cases using the check boxes in the Manage section to delete, move, or add to a suite in bulk.
Last Updated 2025-11-19 20:37:41 +0530 IST
Yes
No
Send your feedback to us