Implementation
This section covers creating, configuring, and managing Application Alerts from the console.
Create an Alert
To create a new alert:
-
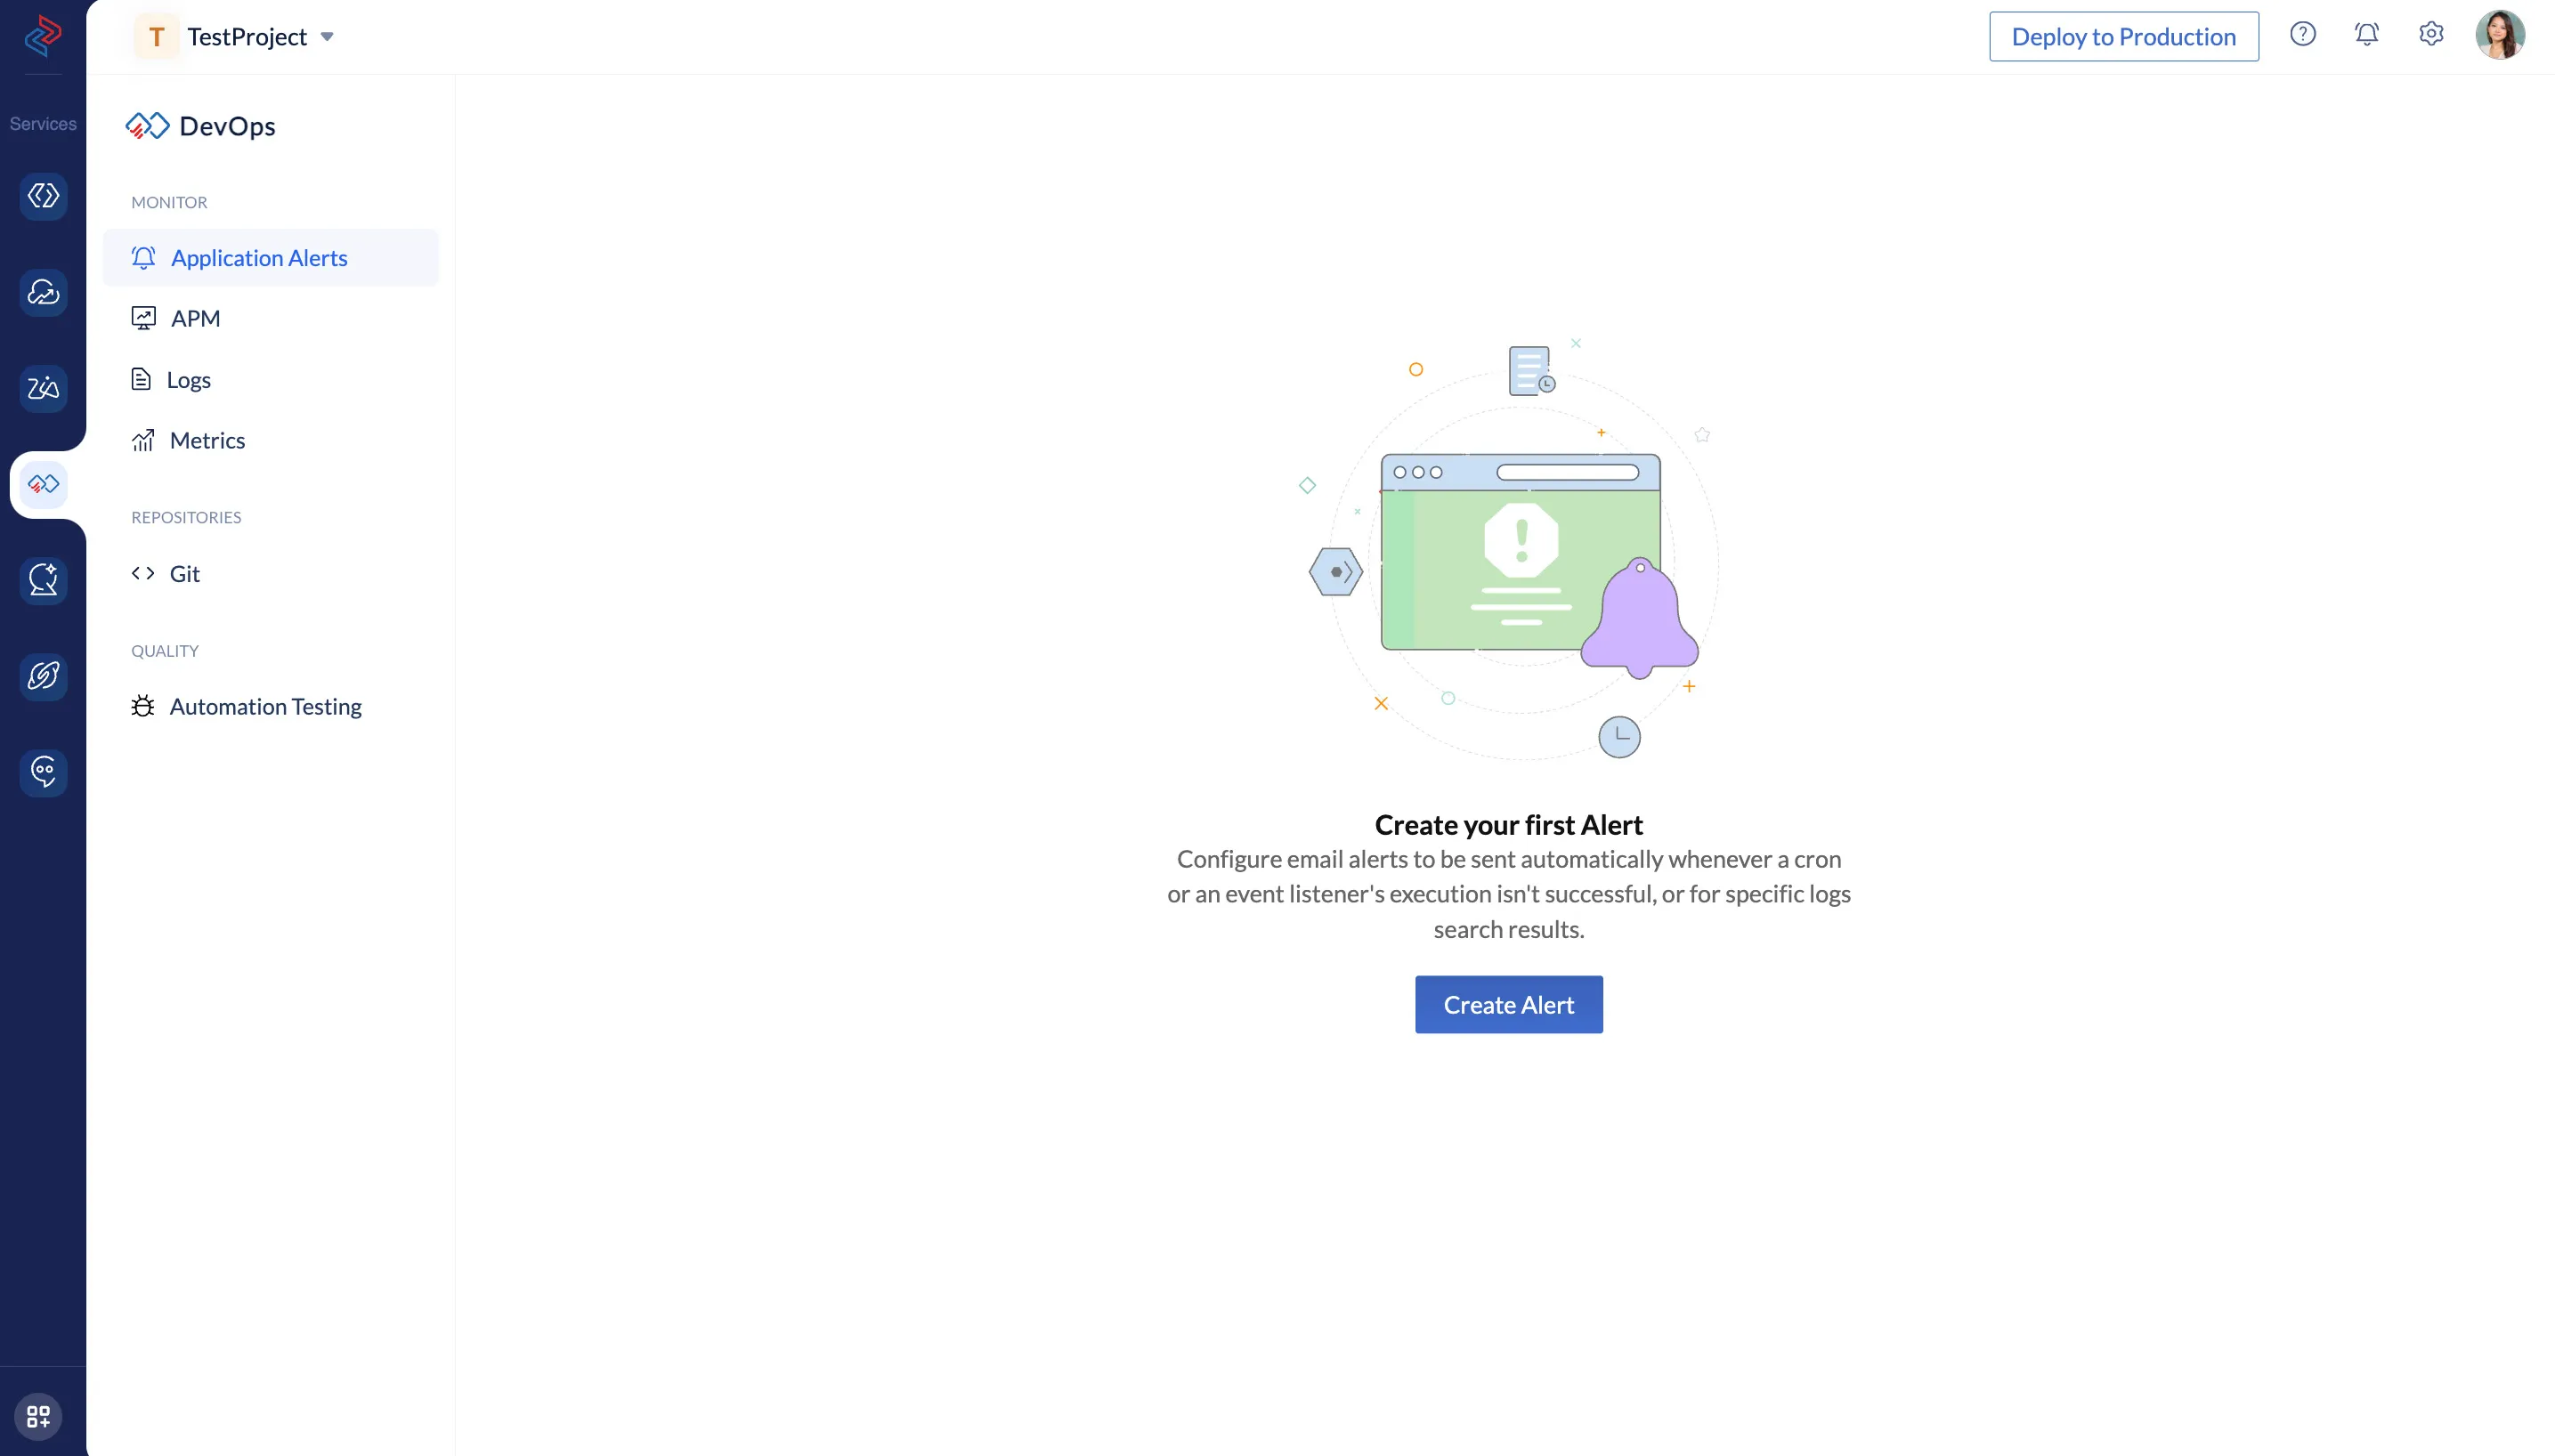
Navigate to DevOps in the left pane of the Catalyst console and click Application Alerts.
-
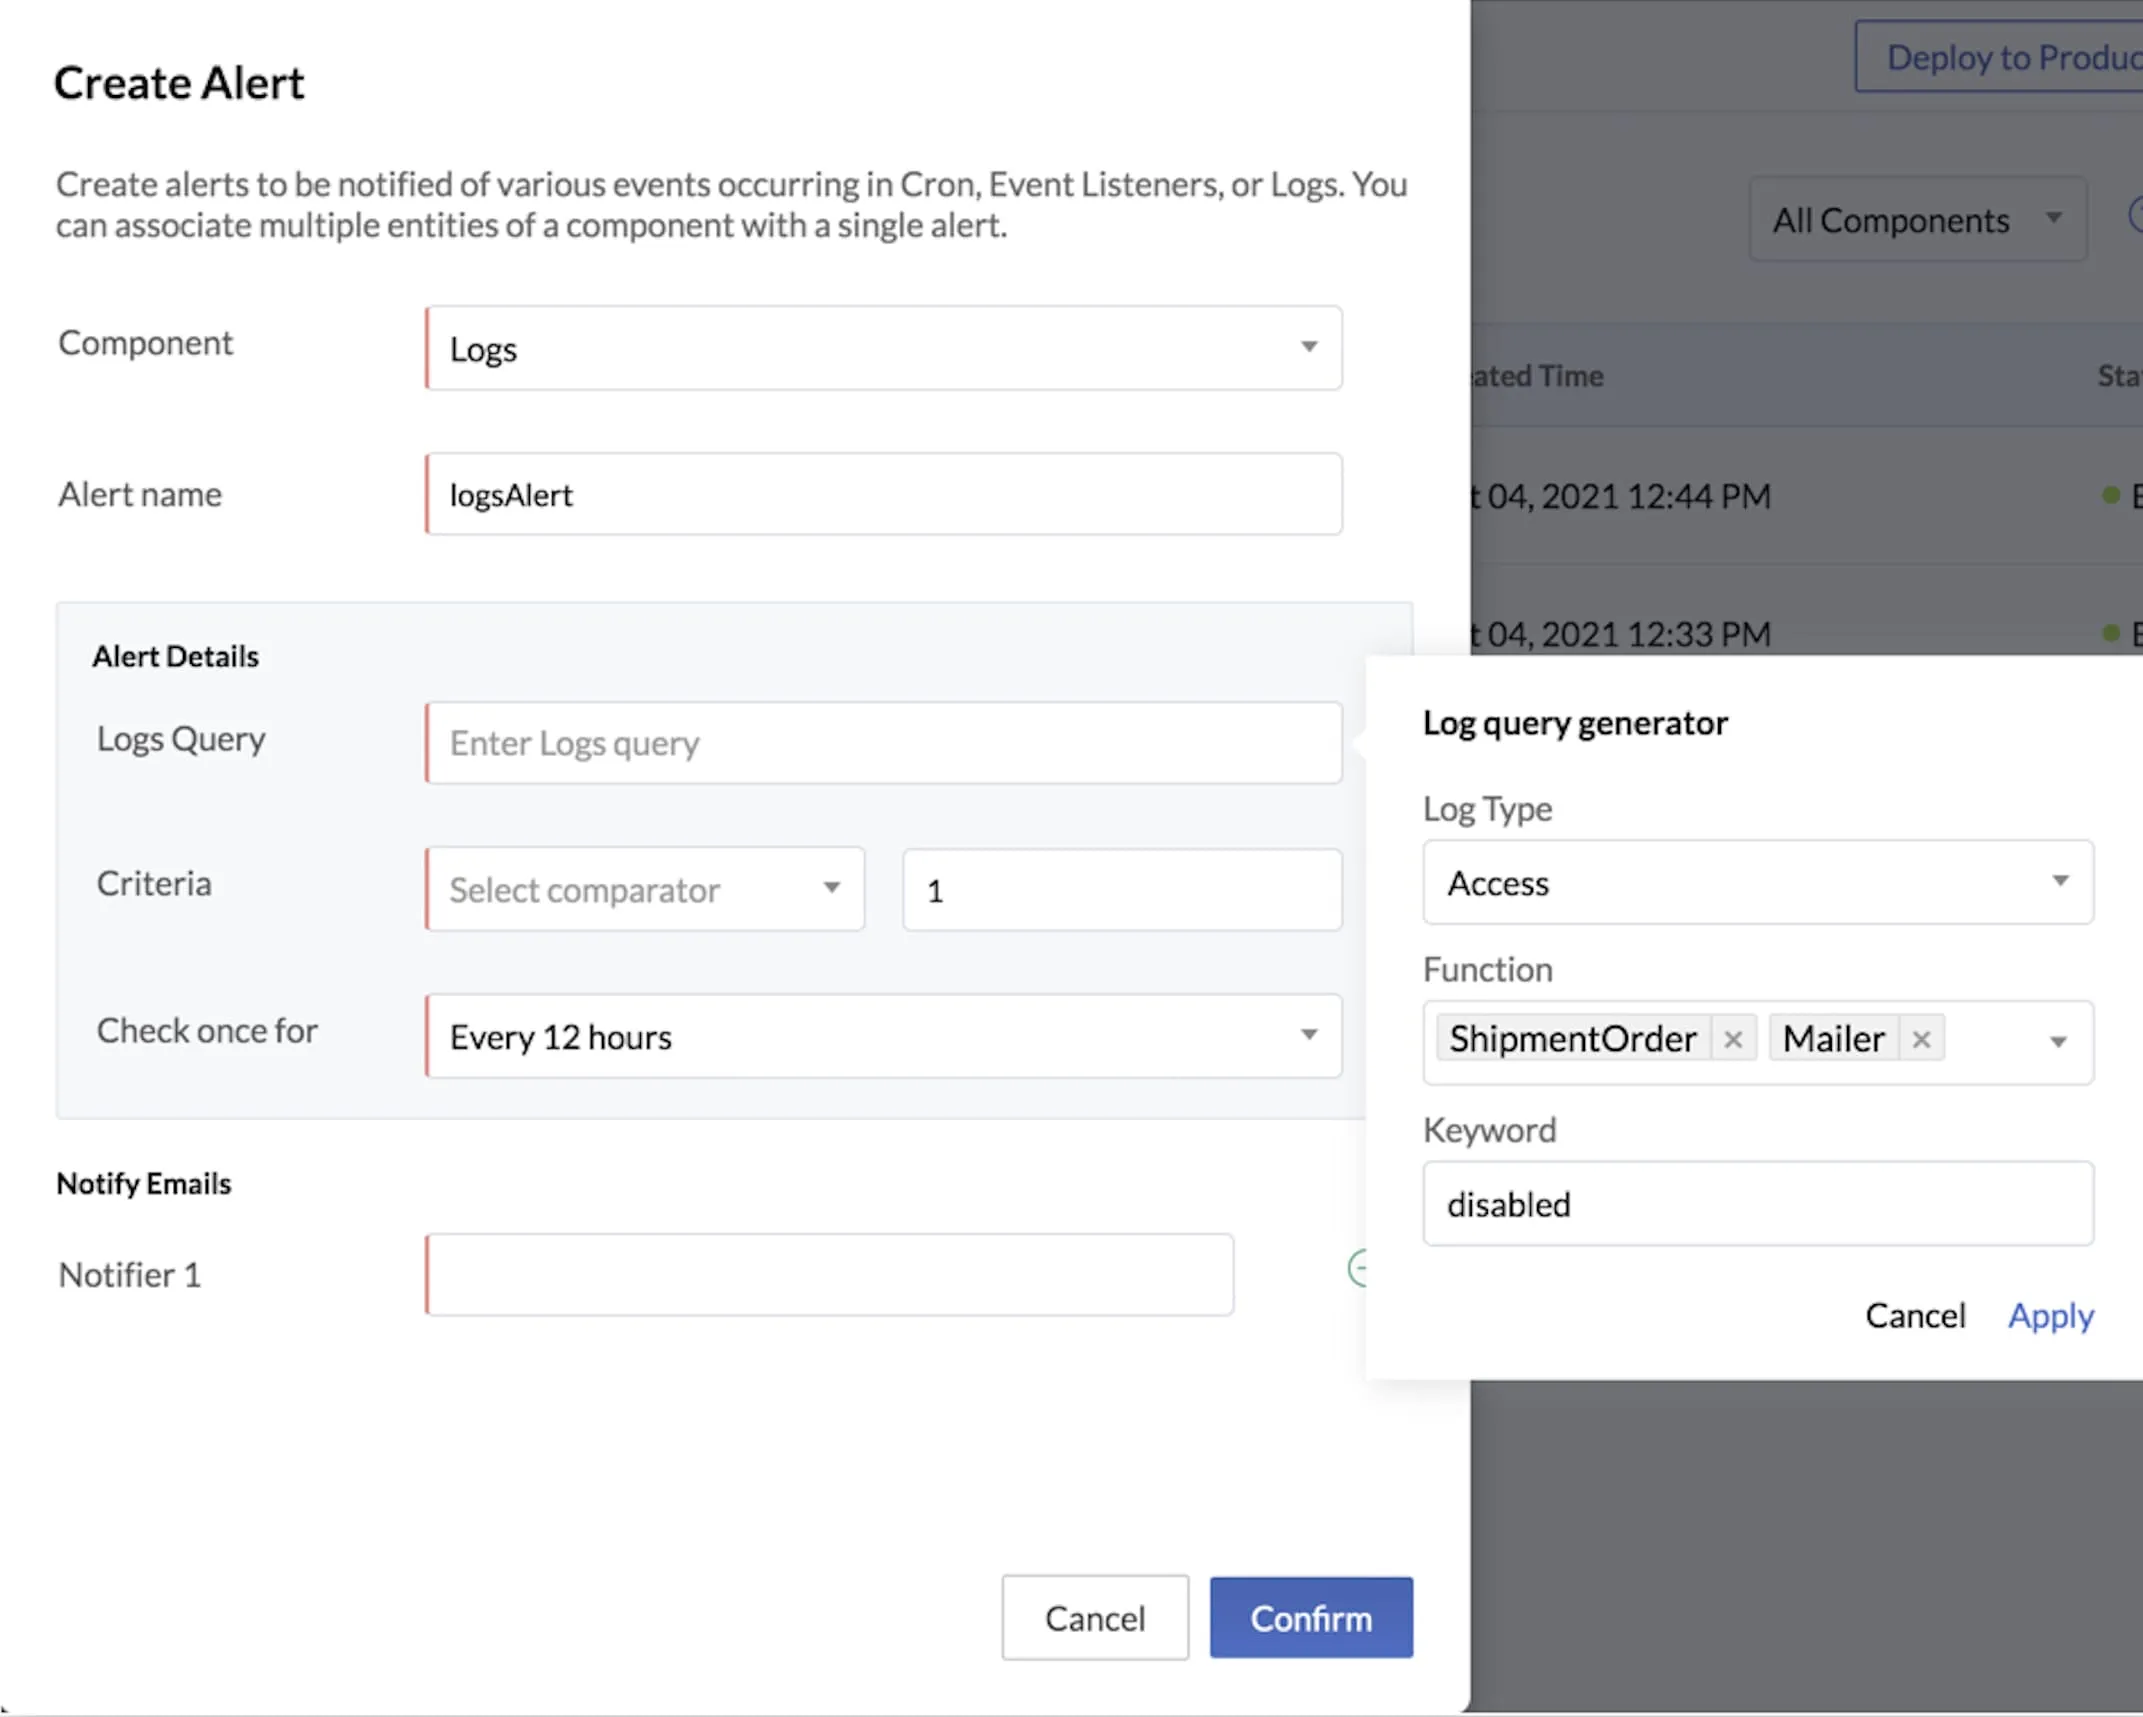
Click Create Alert in the Application Alerts component. This will open a pop-up.
-
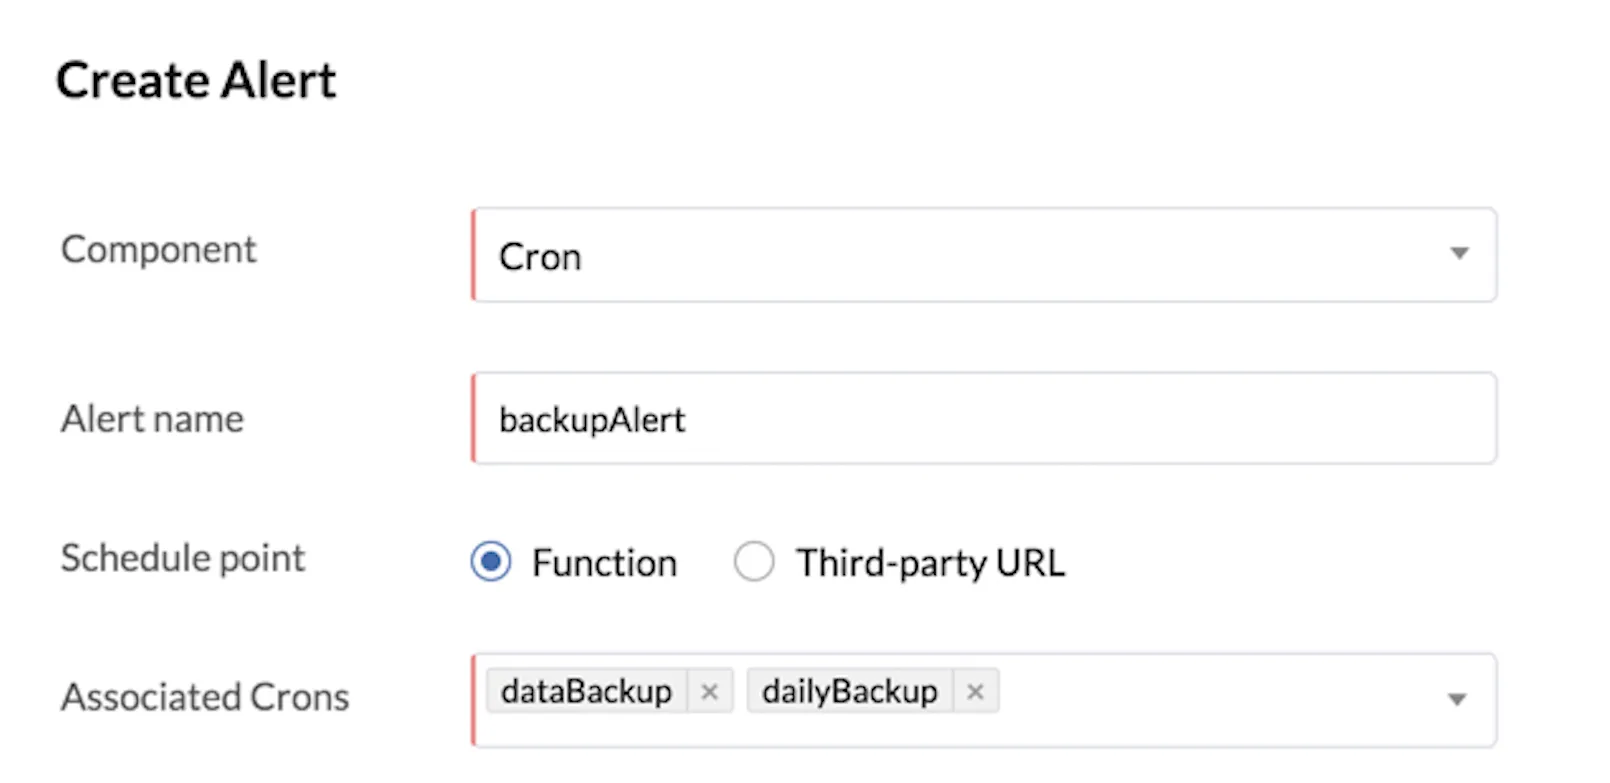
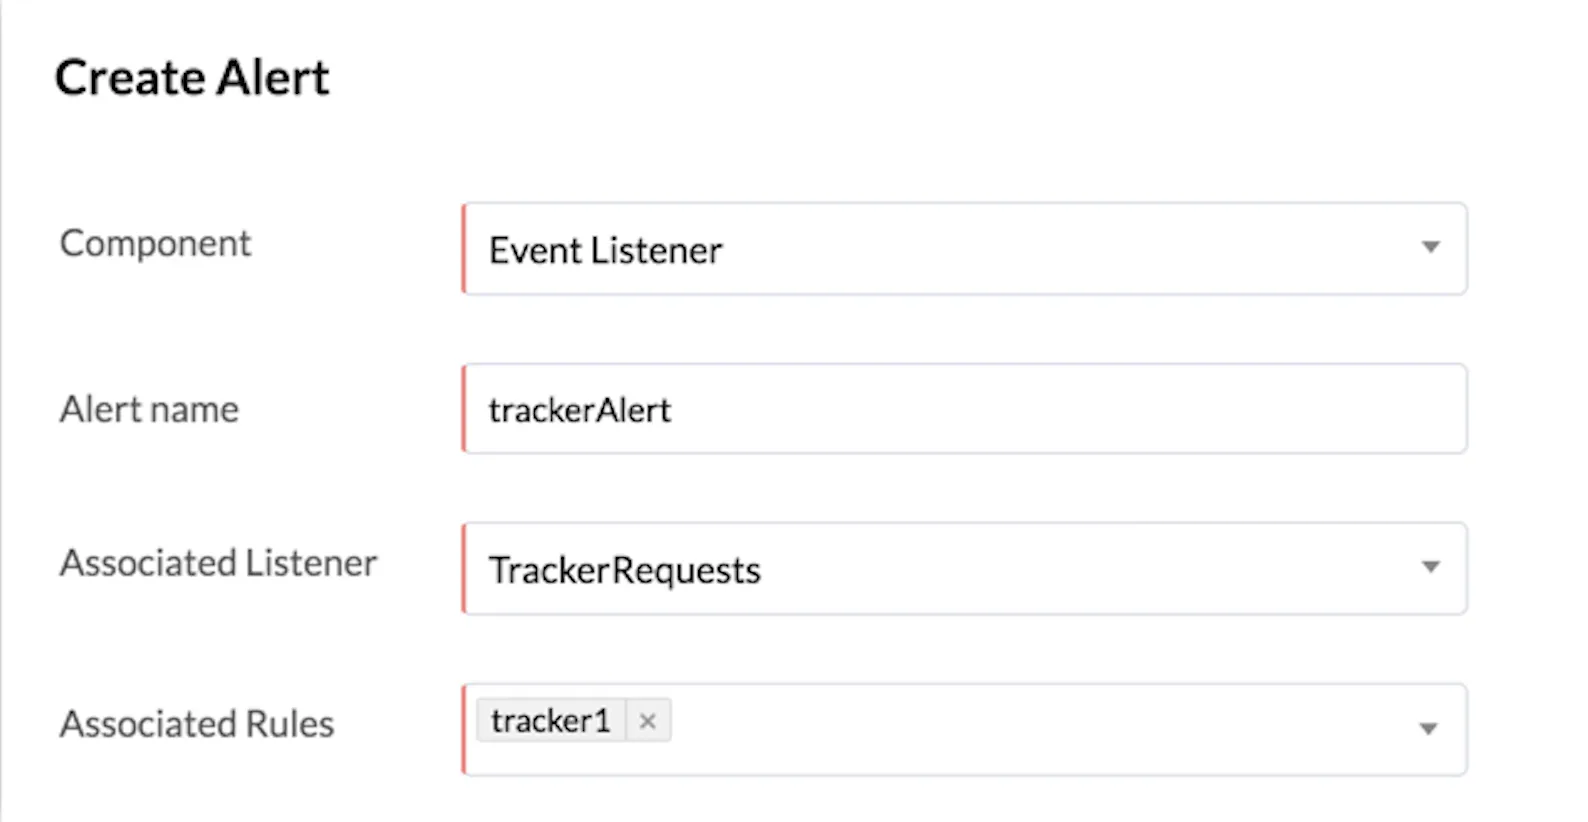
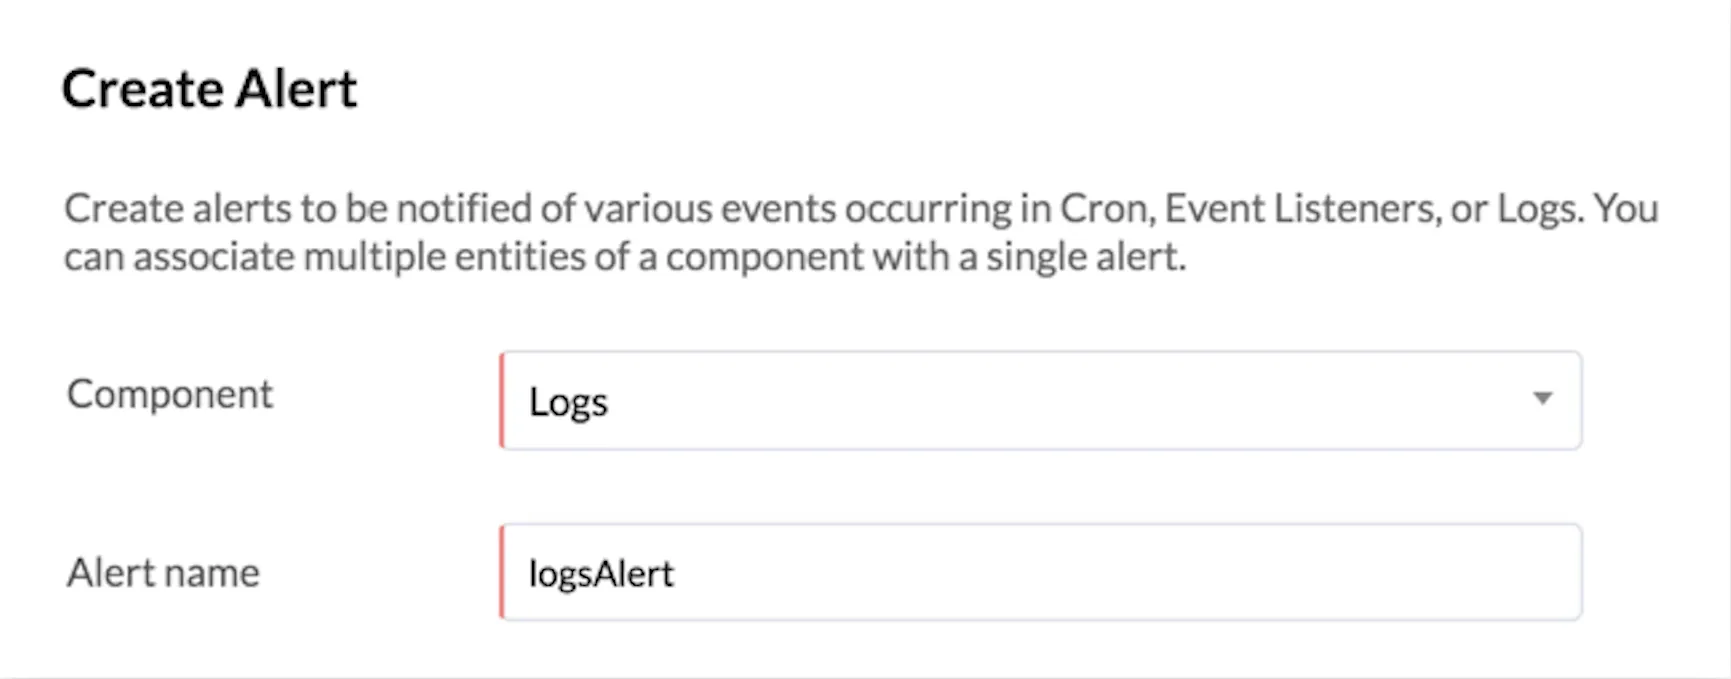
Select the component to associate with the alert and provide a name for the alert. Based on the component you select, you must configure the other values.
Cron: Select the schedule point to filter crons based on function executions or third-party URL executions. You can then select one or more crons from the drop-down list to configure the alert for.
Event Listener: Select an event bus. You can select the Catalyst Component Event Listener or a custom event listener. Select one or more rules of the event listener to associate with the alert.
Logs: There will be no further entities to select for a Logs alert.
-
You must now configure the alert details.
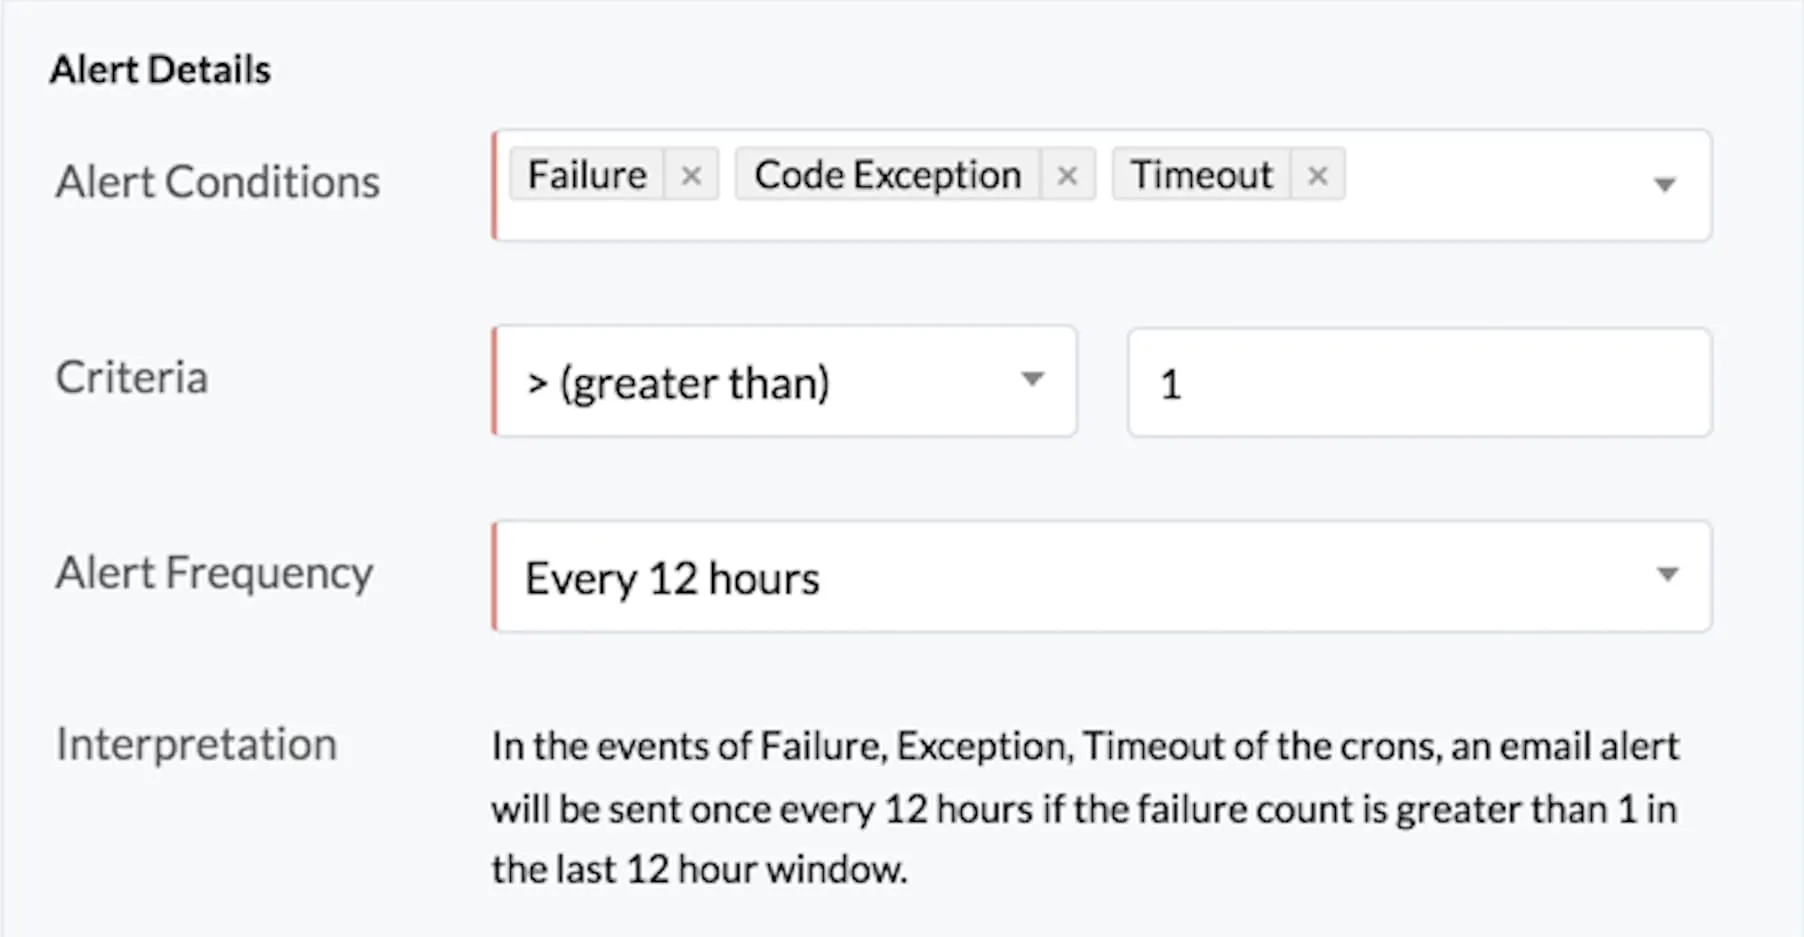
Cron or Event Listener: Select one or more of the alert conditions from the drop-down list. Select the criteria comparator and provide a threshold value. You must then specify the alert frequency. You can select a time frequency, or configure the alert to be sent on a particular hour and minute everyday.
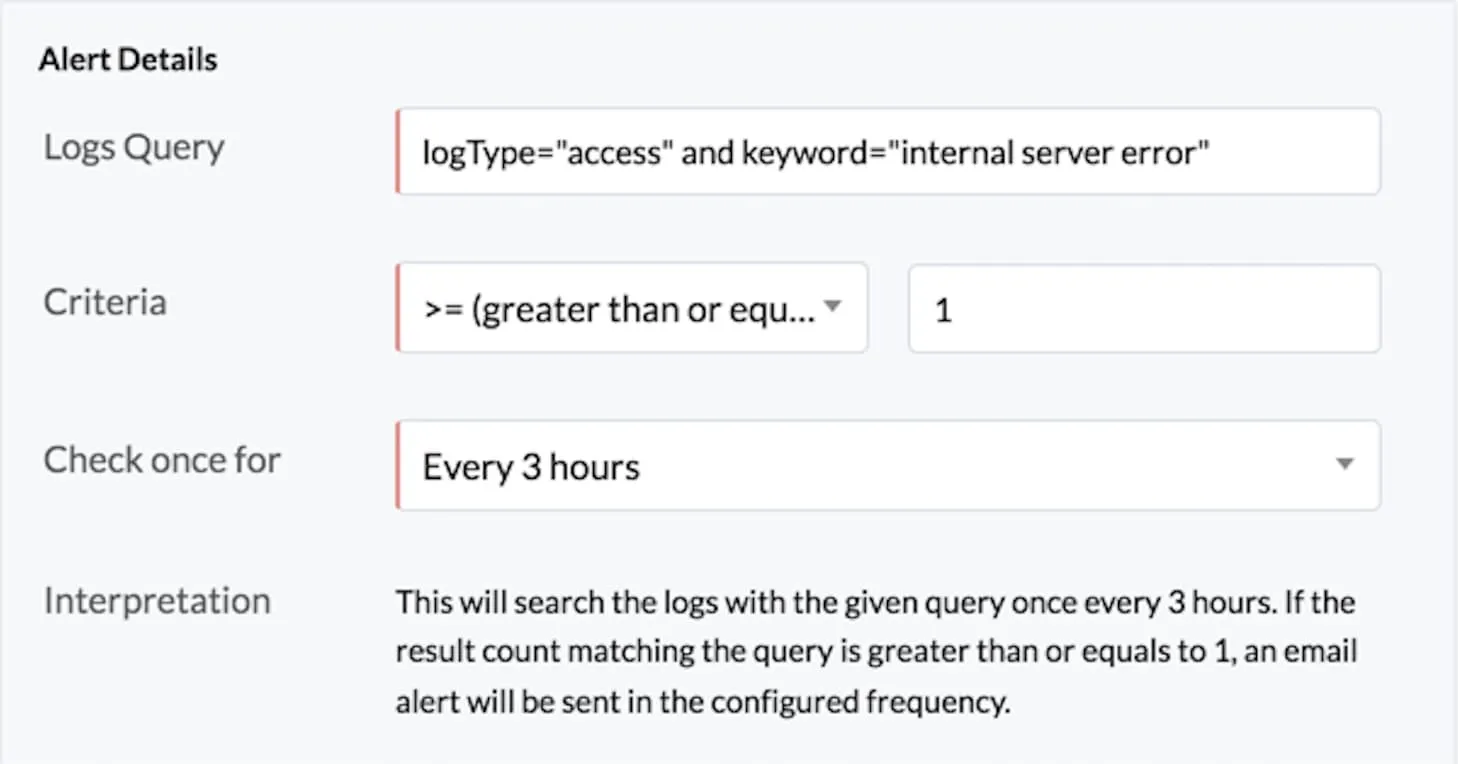
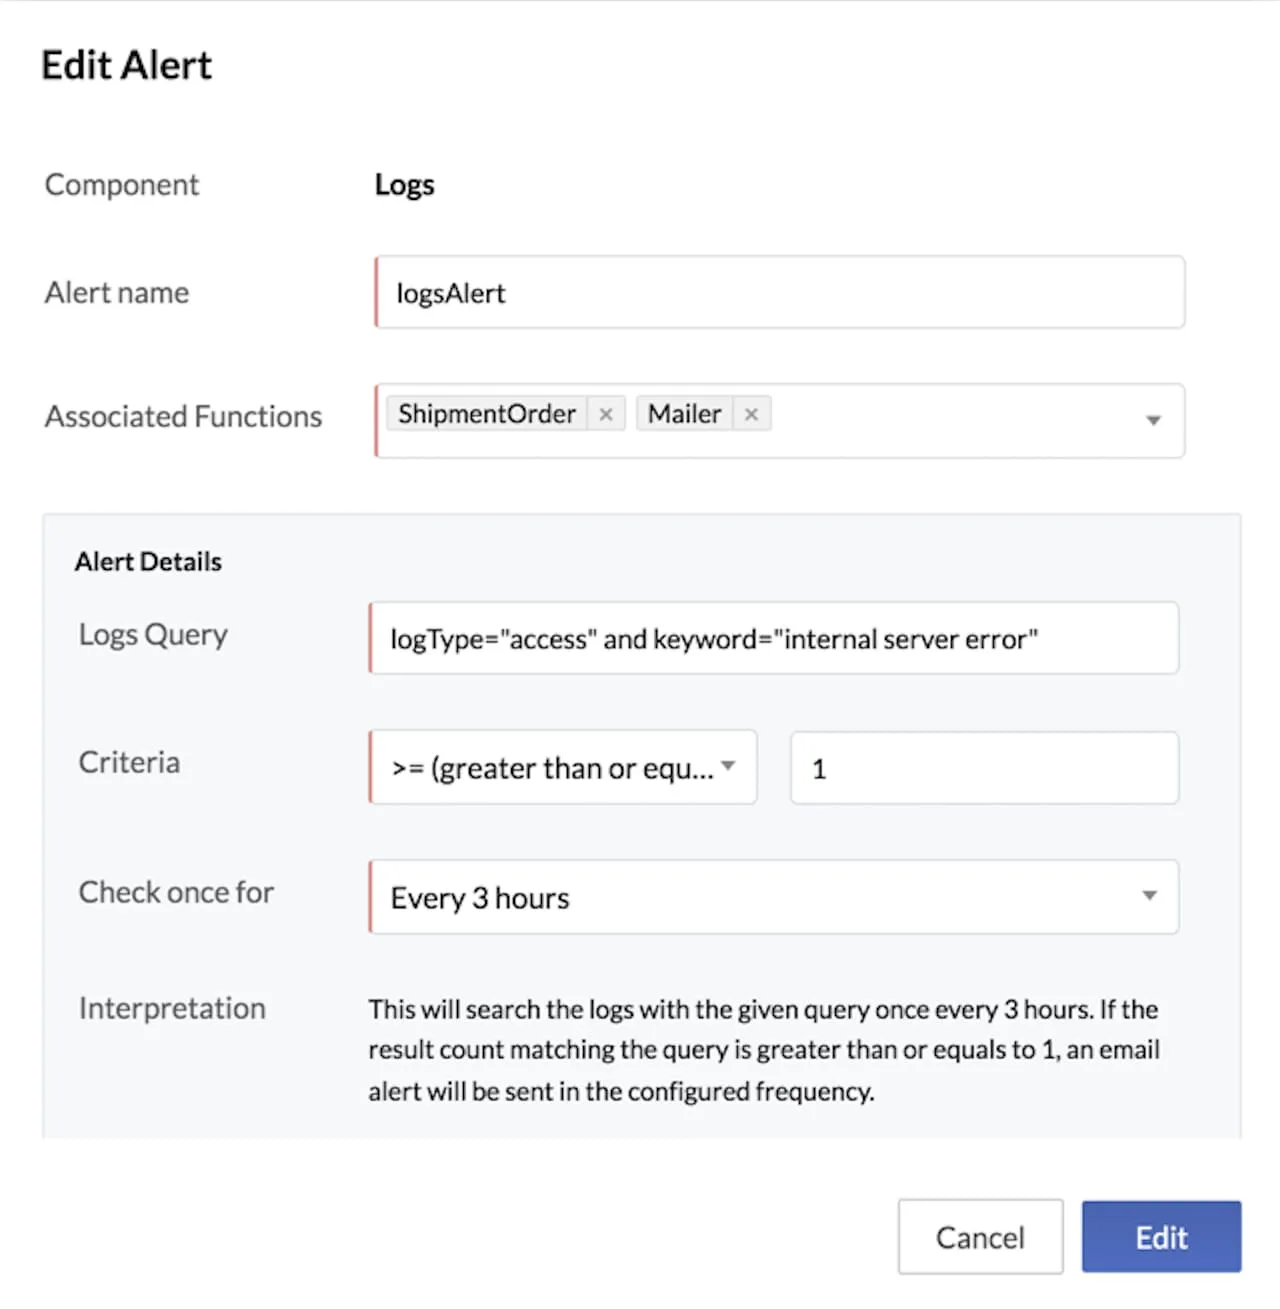
Logs: Click the Logs Query text field to open the Logs Query Generator. Select the log type, and one or more functions from the list. Enter the keyword to search for in the query. If you select Application logs, you must select a log level. Click Apply. This will automatically generate a query string.
You can then select the criteria comparator and provide a threshold value. Specify the alert frequency as a time range, or configure the alert to be sent a particular hour and minute everyday.
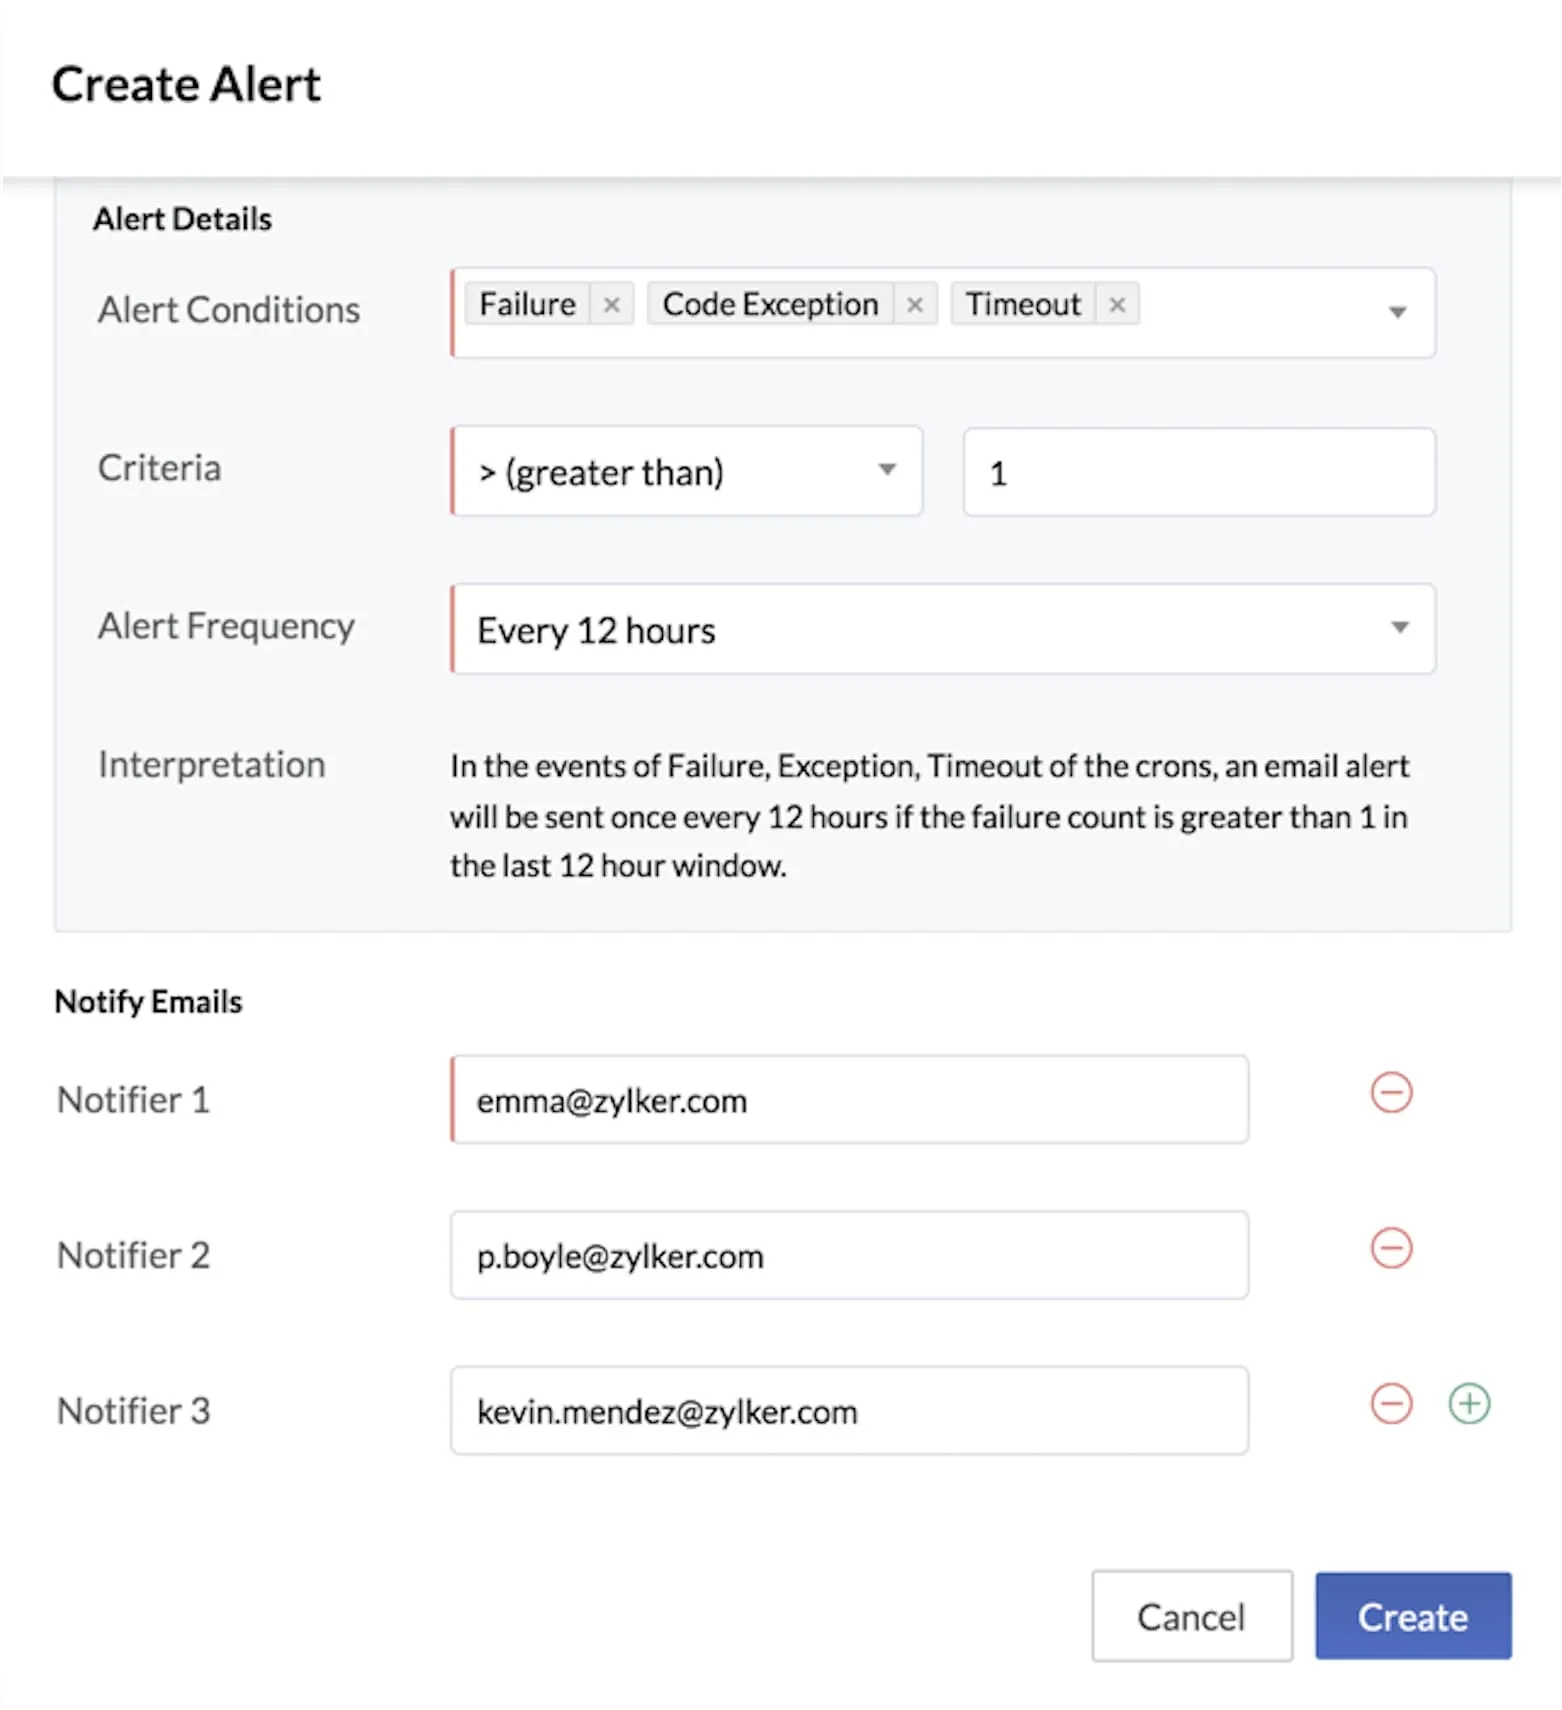
The pop-up displays the configuration interpretation of the alert. -
Enter the email addresses of all the recipients to be notified of the alert. You can add up to 10 emails. Click the (+) icon to add more. You must add atleast one email address.
-
Click Create.
The alert will be created and the details will be displayed. A unique Alert ID will be automatically generated for each alert that is created.
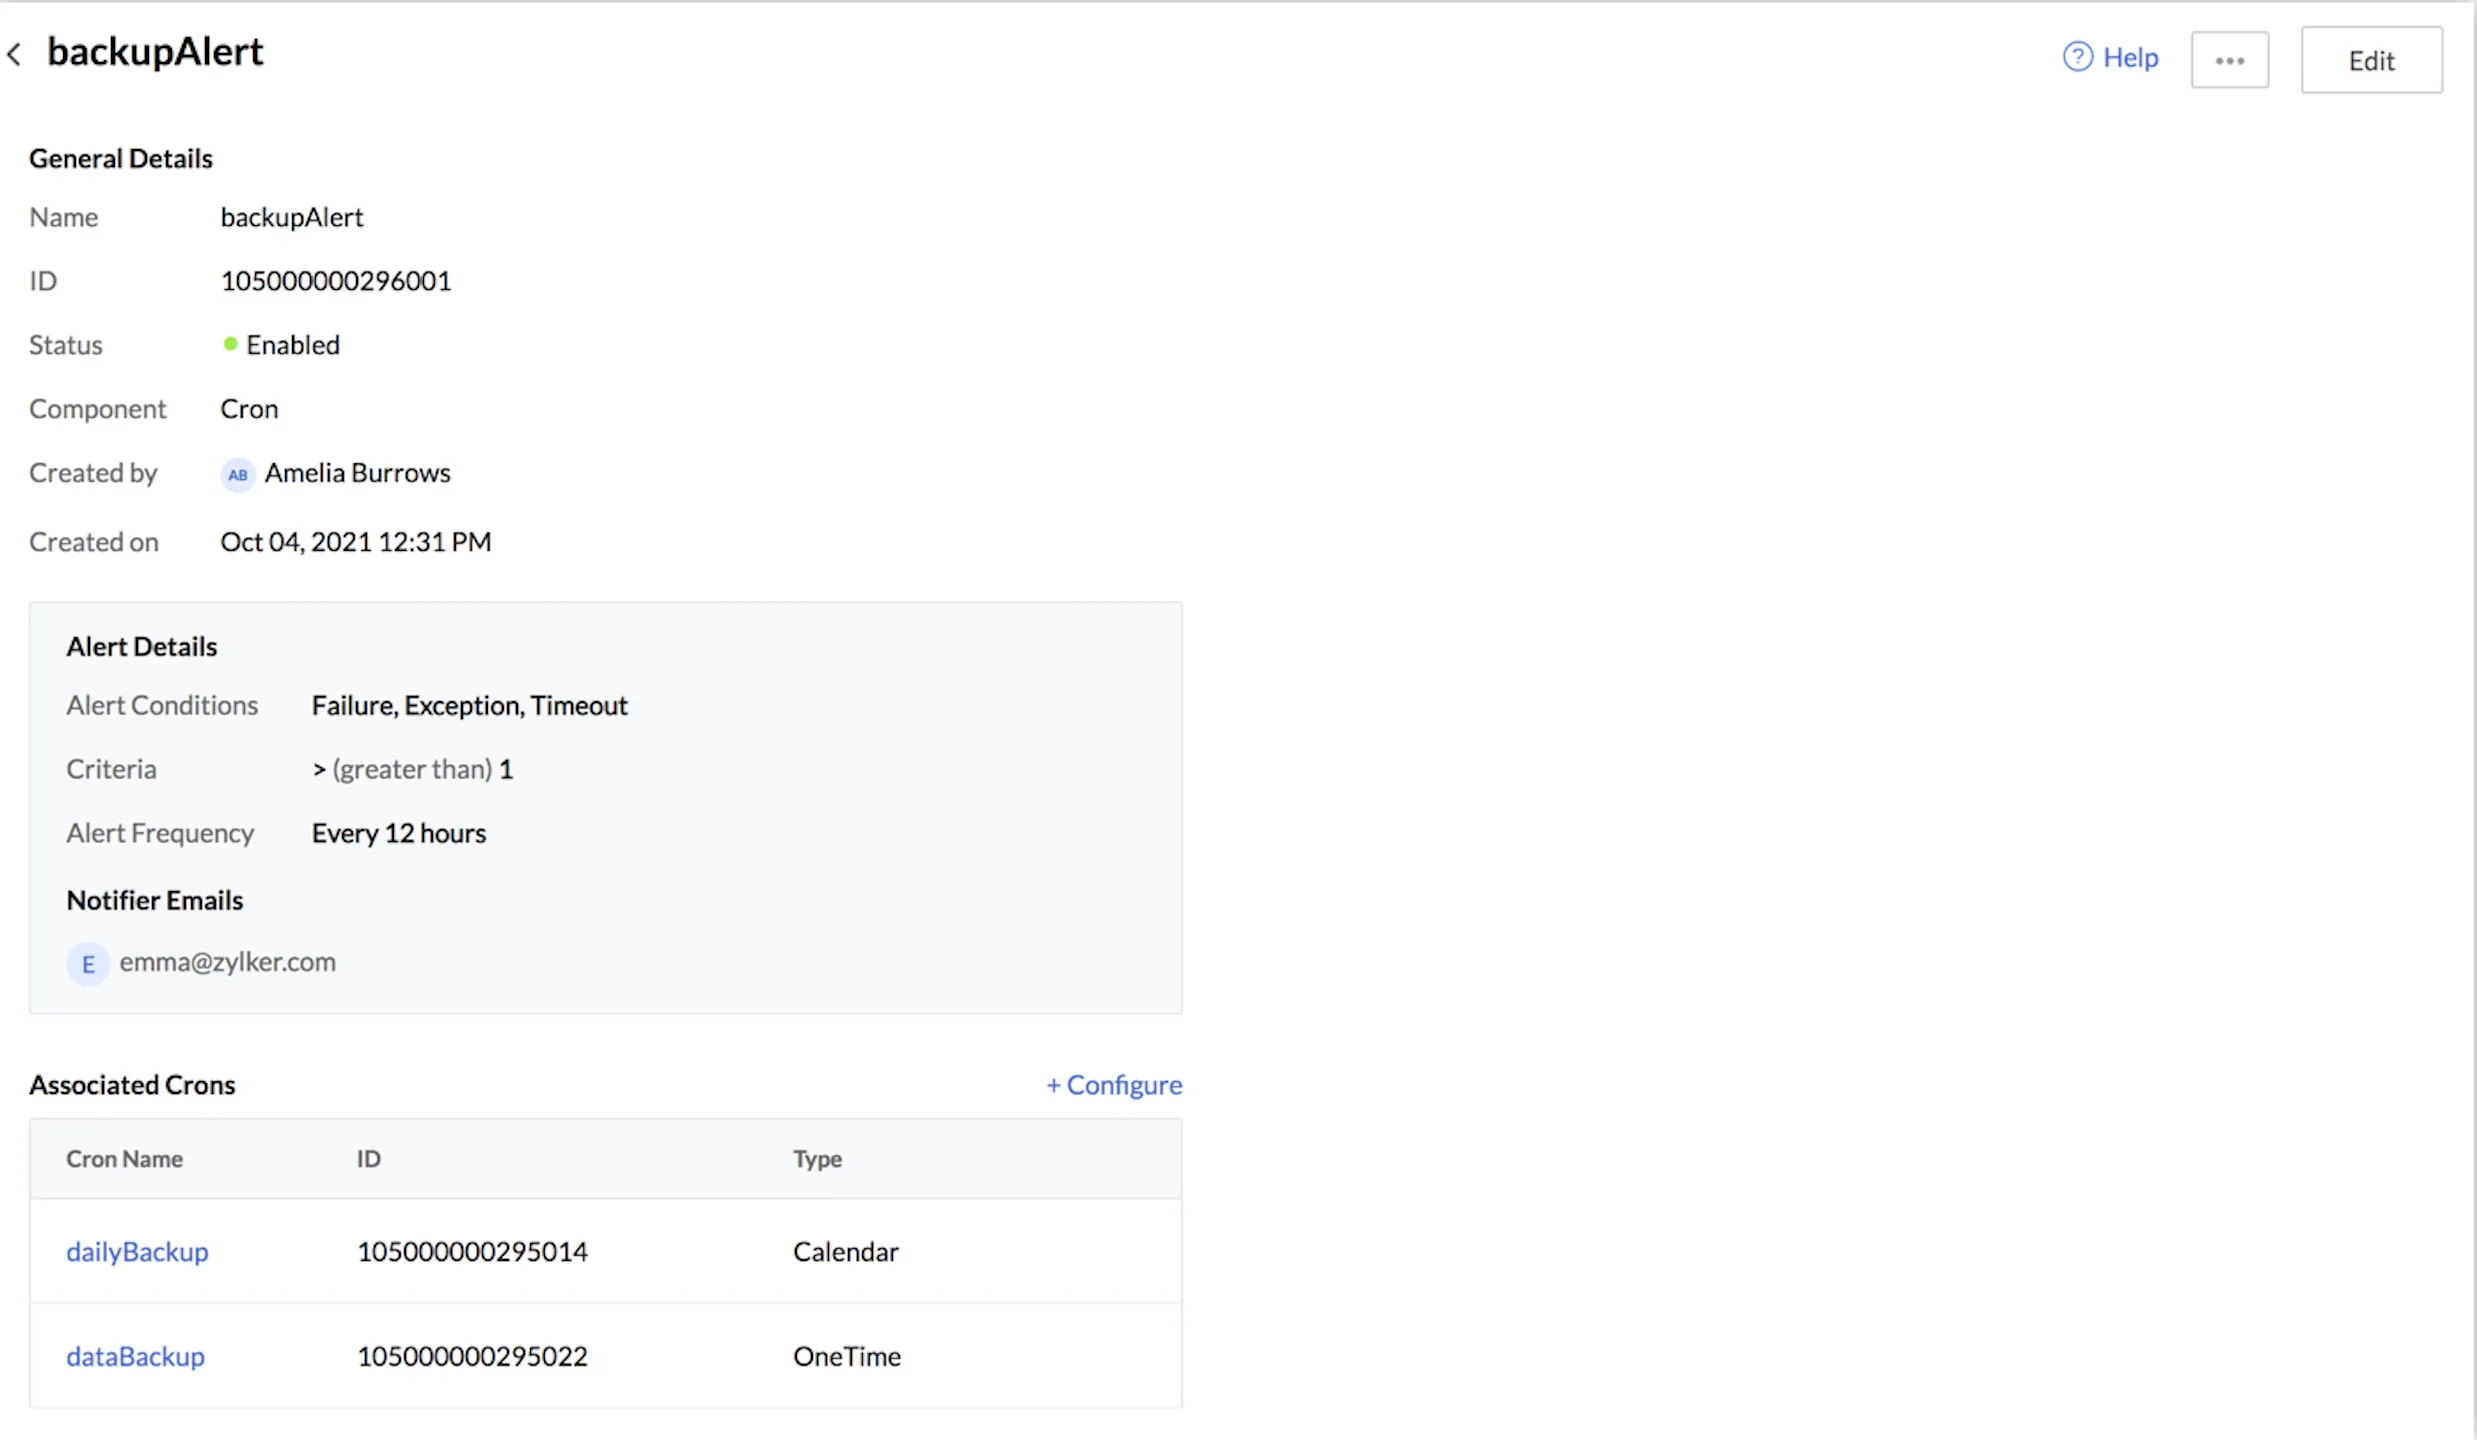
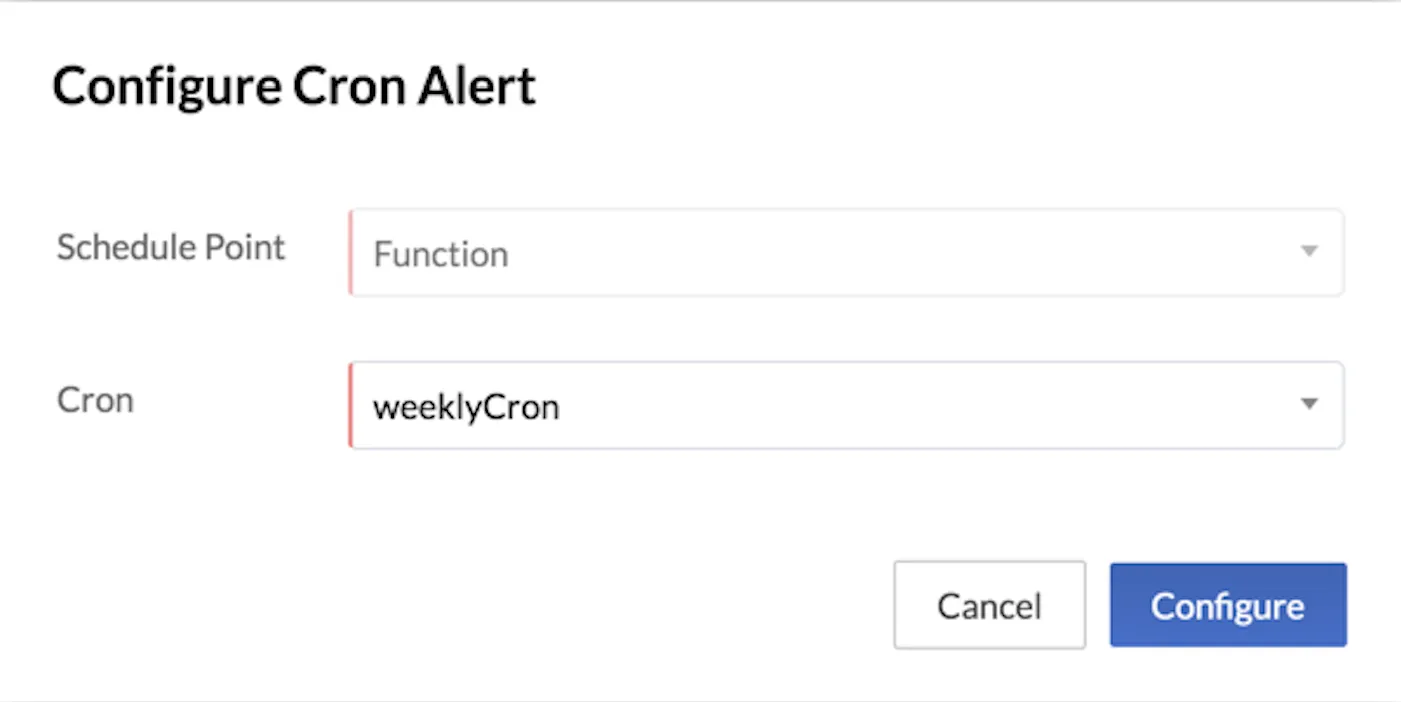
For Event and Cron alerts, you can directly add more entities of the event listener or other crons to associate the alert with respectively, by clicking +Configure in its details page.
This will open a pop-up where you can select more event listener rules or crons for the alert. Click Configure after making the selection.
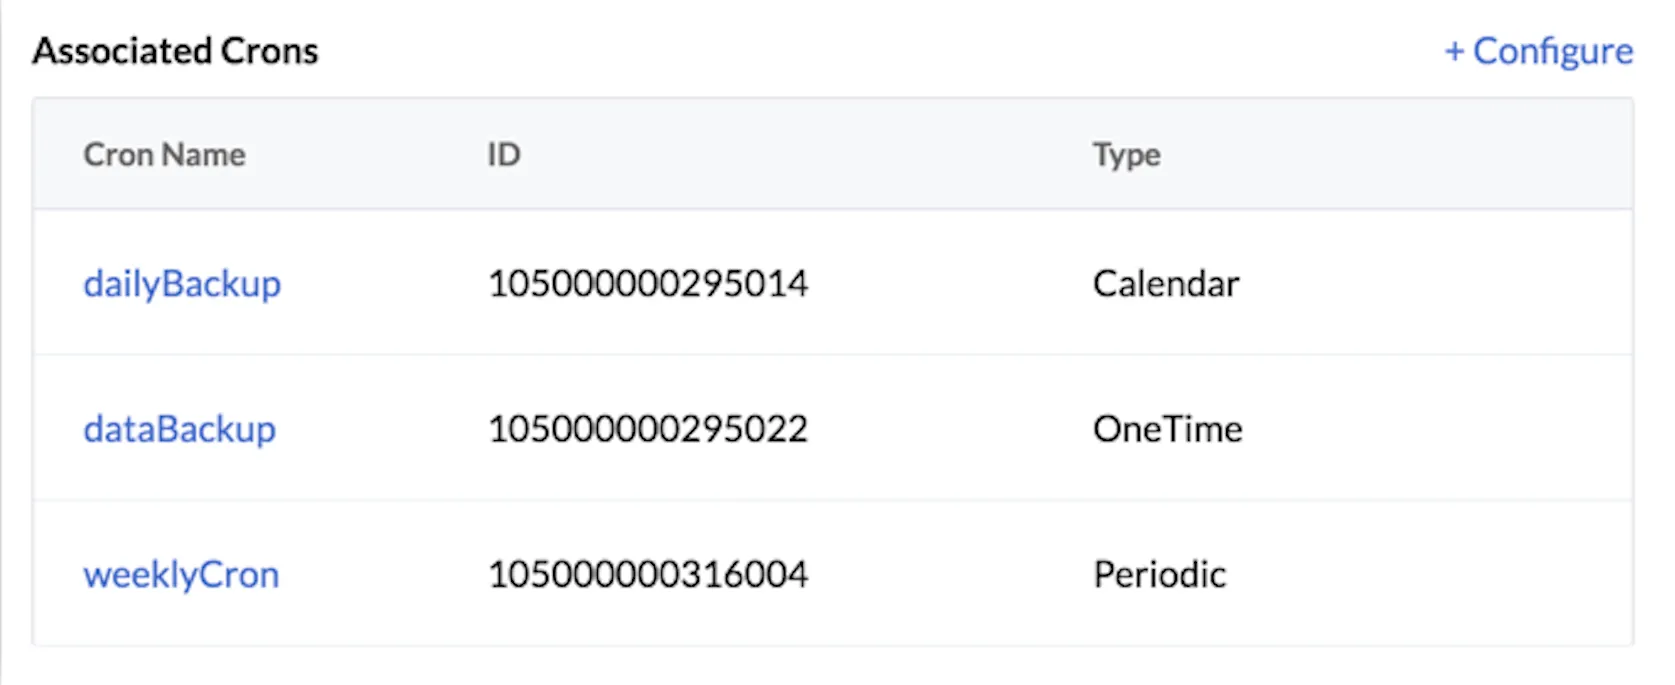
The entities will be added and you will receive alerts for these entities as well.
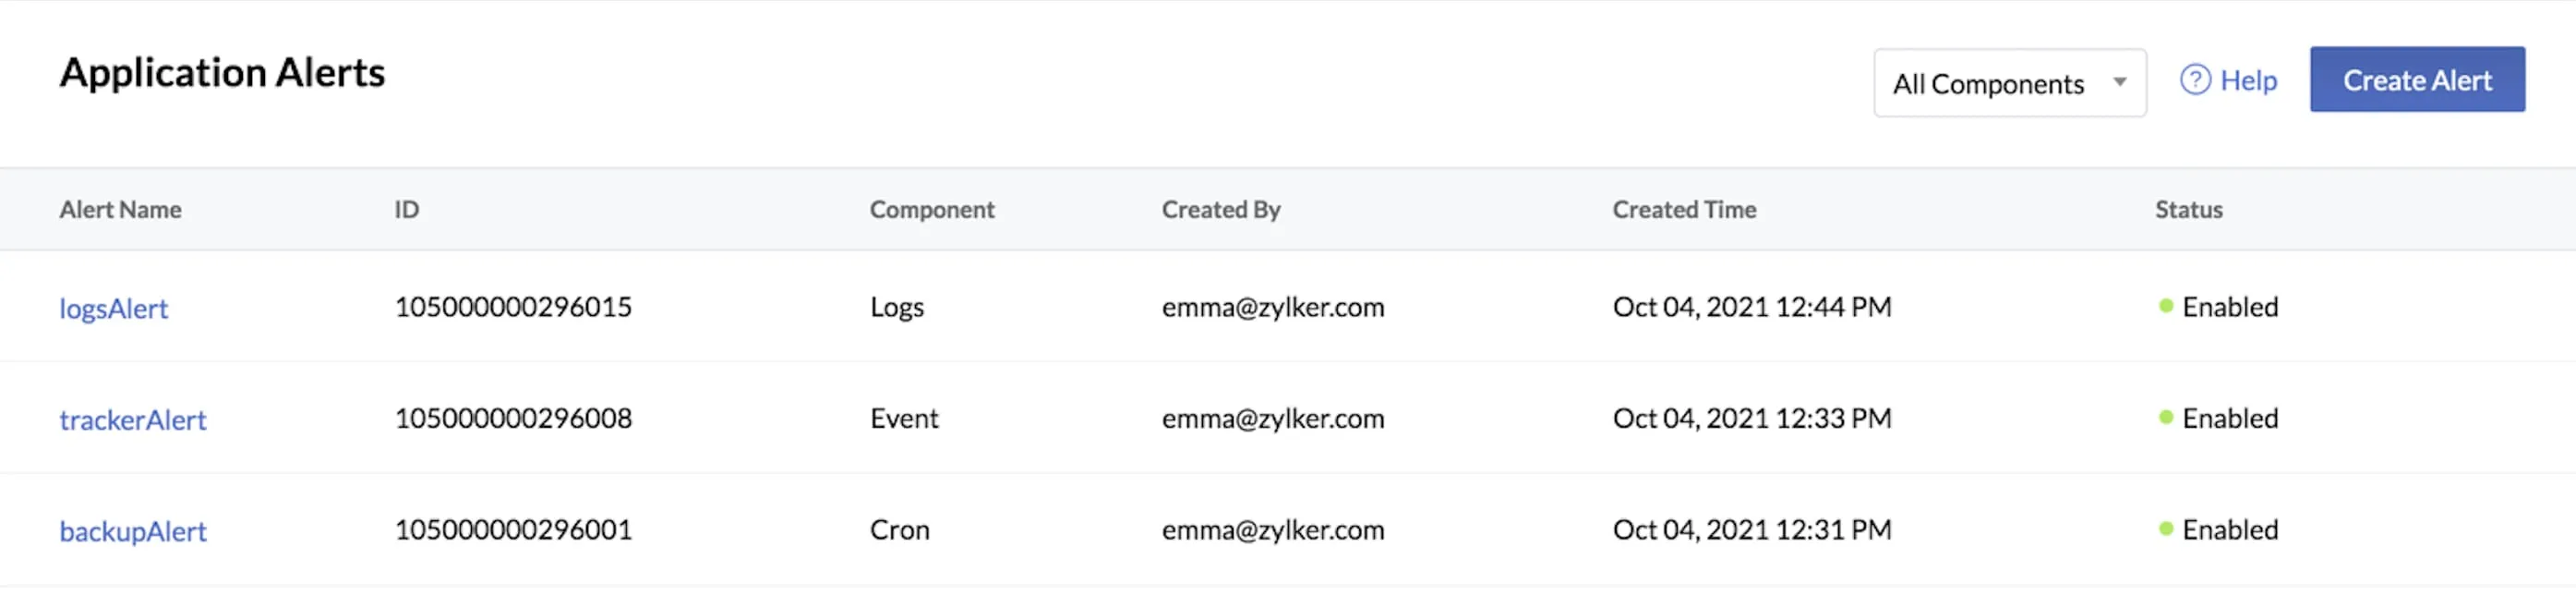
You can find a list of all the alerts you create, as well as their details, by navigating back to the index page of Application Alerts. You can filter the alerts to view based on the component using the drop-down above.
Edit an Alert
You can modify an alert and edit any of its configurations in the following way:
- Click the ellipsis icon for an alert from the alerts list, then click Edit. You can also open an alert and click Edit from its details page.
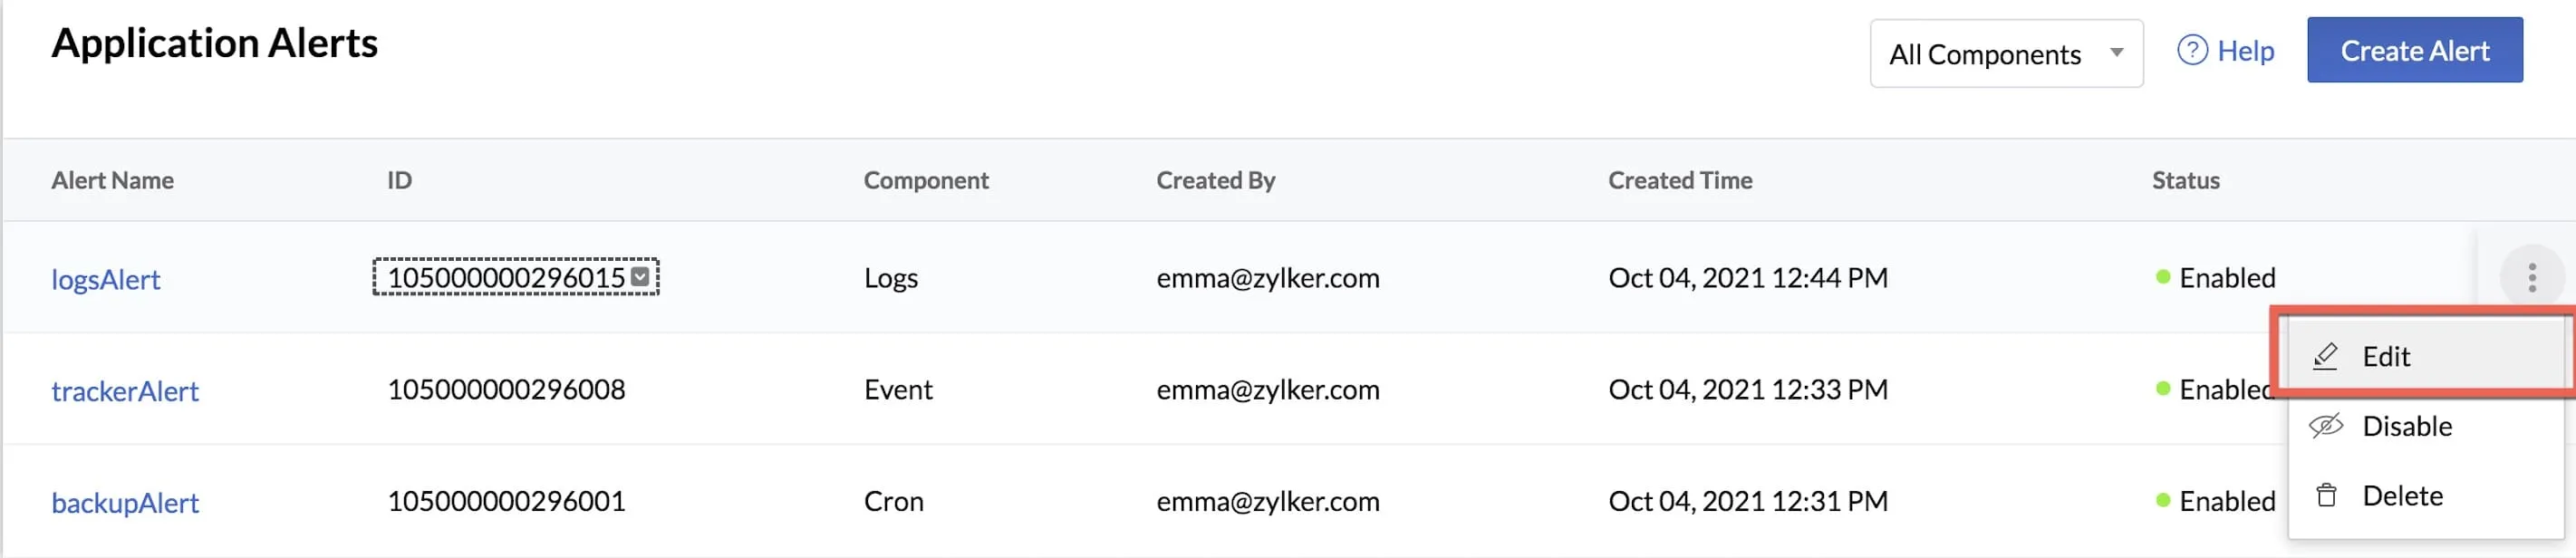
- Modify the required configurations, then click Edit.
The alert will then be sent based on the modified configurations. If you change the frequency, the alert will be triggered based on it starting from the time of its modification.
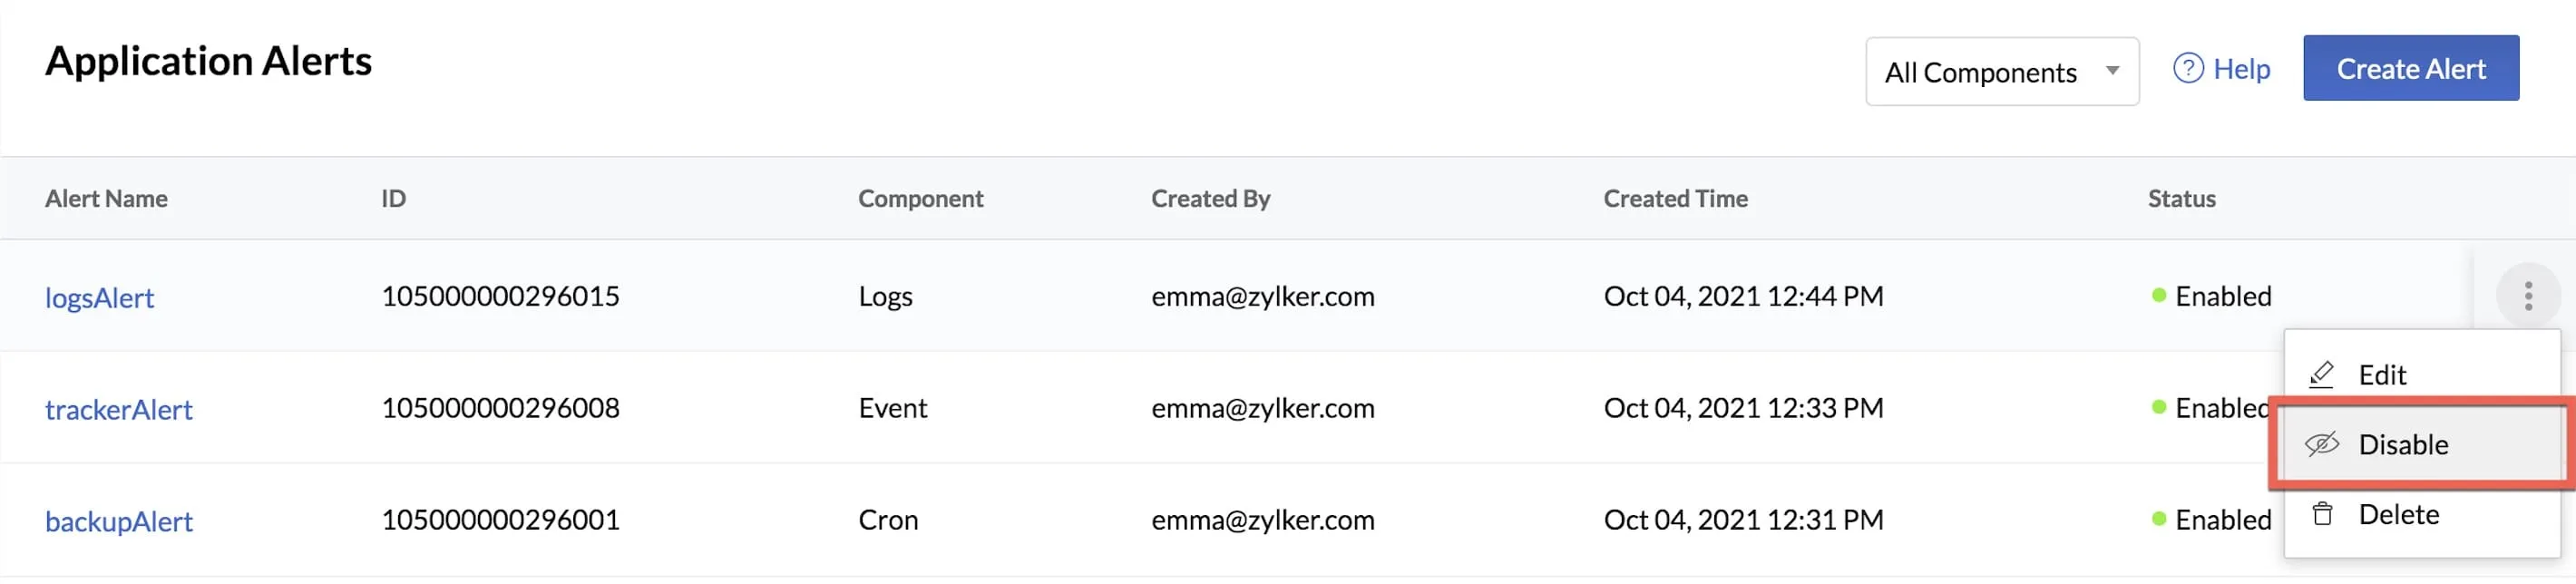
Disable an Alert
You can temporarily disable an alert if you don’t need to be notified of it. You can re-enable it later whenever you need to.
- Click the ellipsis icon for an alert from the alerts list, then click Disable. You can also access this option from its details page by opening the alert.
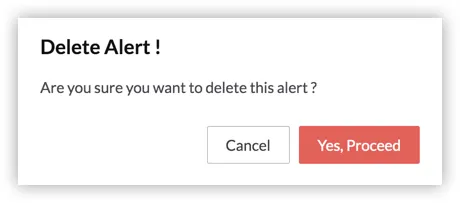
- Click Yes, Proceed in the confirmation pop-up.
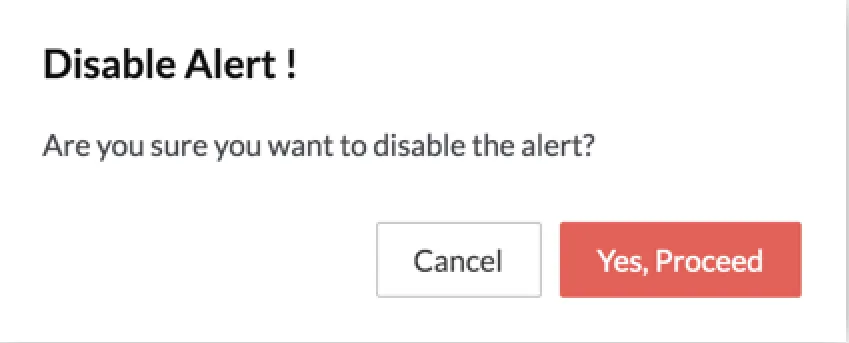
The alert will be disabled. You can enable it again by clicking Enable from the index page or its details page in the same way.
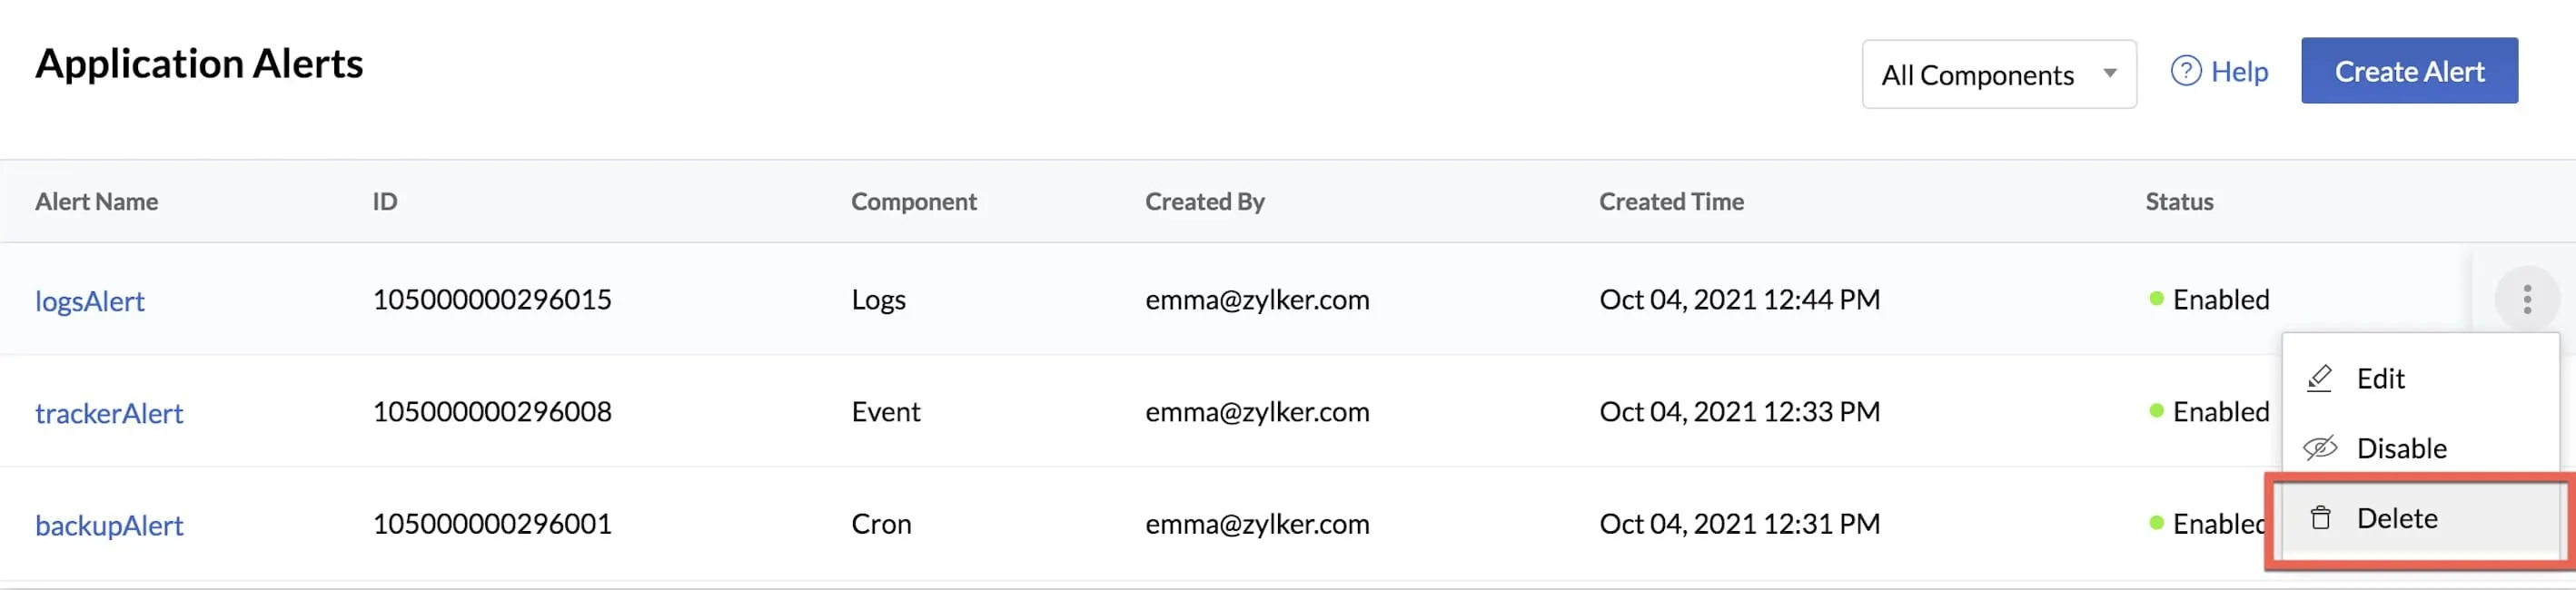
Delete an Alert
You can permanently delete an alert in the following way:
- Click the ellipsis icon for an alert from the alerts list, then click Delete. You can also access this option from its details page by opening the alert.
Last Updated 2025-03-06 20:18:17 +0530 IST
Yes
No
Send your feedback to us