Implementation
Implement the following steps to create and initialize a Browser Logic function through the Catalyst CLI. You can learn about CLI initialization and other CLI operations in detail from the CLI help docs.
Before you initialize your function, you will need to install the browser automation library you require in your local system. The installation instructions for the automation libraries that Catalyst provides templates for are:
Create a Browser Logic Function
You can now begin with initializing your browser logic function by either initializing a new project from a local directory, or adding the function in an existing project directory:
-
Create or initialize the Project in the console or through the CLI, and begin Function Setup in CLI.
-
Choose Browser Logic as the function type, and click Enter.

-
Choose you preferred function stack, as the latest supported runtime of either Java or NodeJS and click Enter.

-
If you chose to create your function with:
-
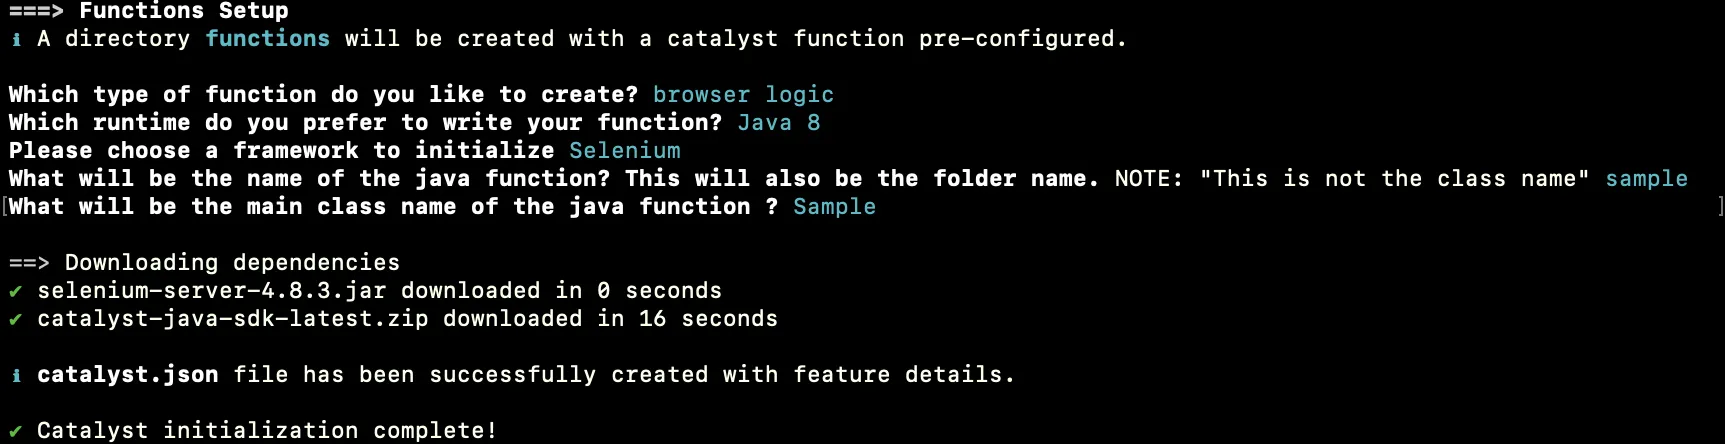
Java function stack
You can initialize your Browser Logic function with Selenium alone. Press Enter.
-
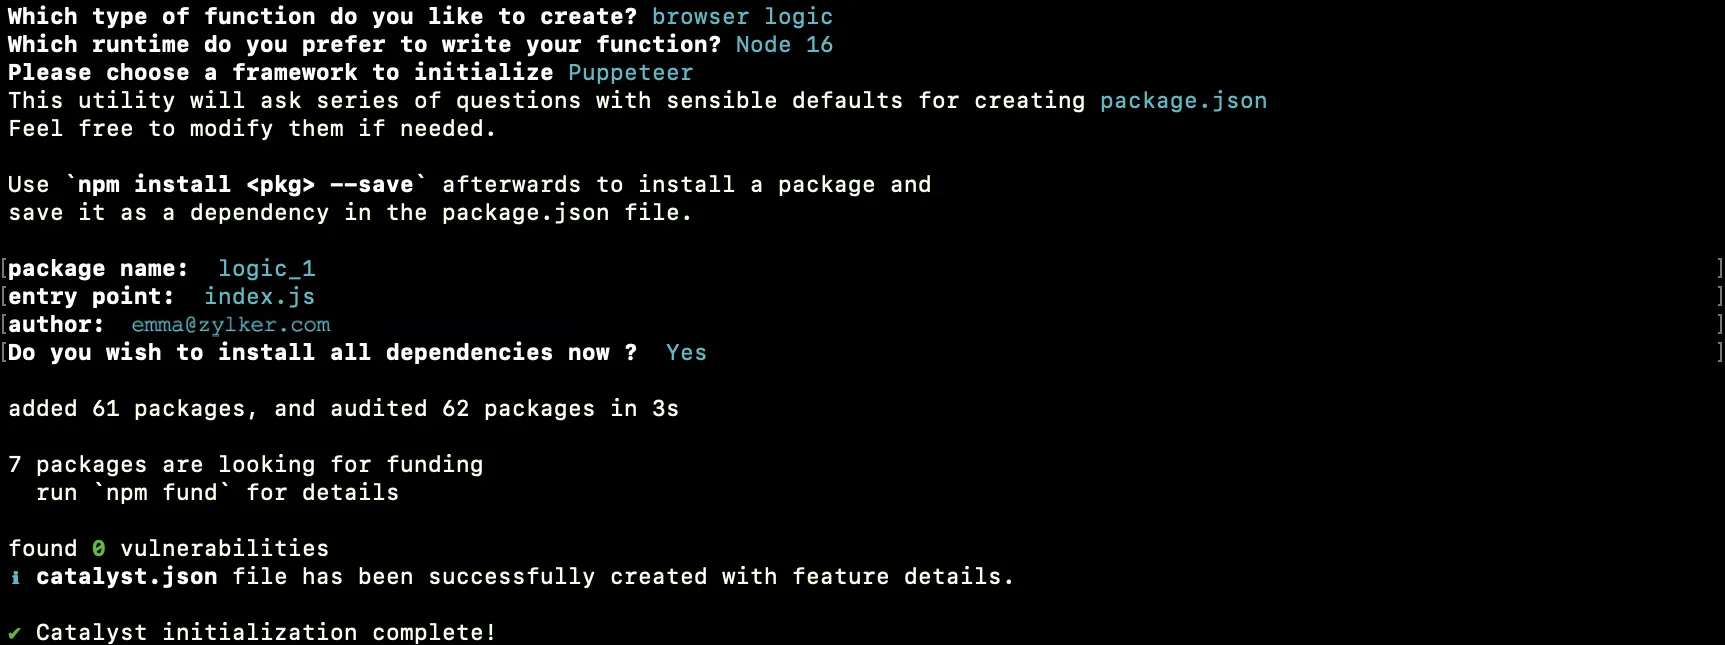
NodeJS function stack
Choose an automation library of your preference and press Enter.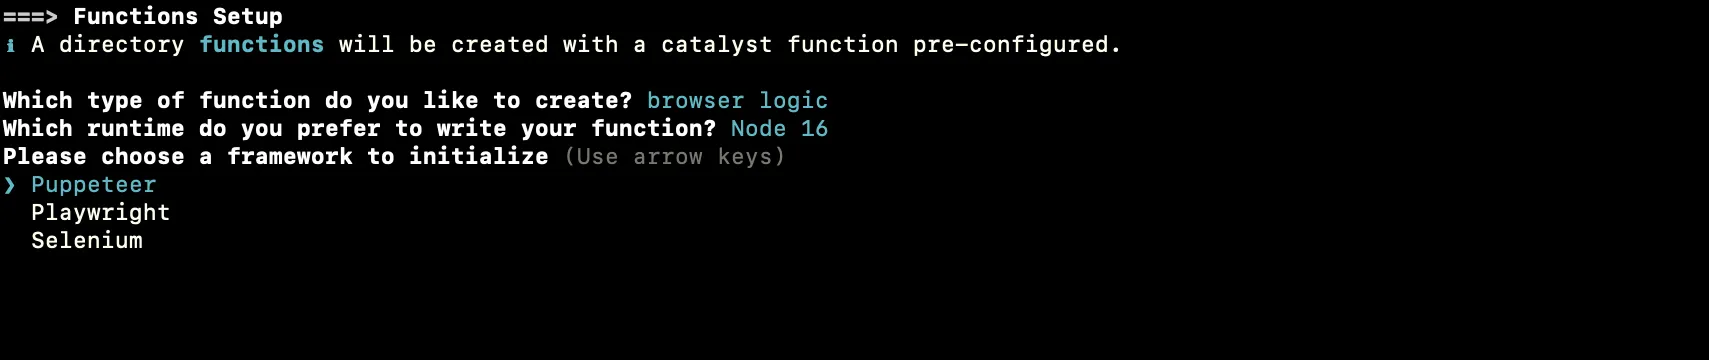
-
The Browser Logic function will be be created successfully along with the required project or function dependencies and configuration files.
Java:
NodeJS:
You can now code the function using an IDE of your choice.
Serve Browser Logic Function
Before we test the Browser Logic function, you need to implement the following steps in your local system:
-
Since Browser Logic only supports Chrome web browsers, you need to download a chrome driver suitable to your operating system from here.
-
Go to .bashrc file present in your local system and set the following environment variables:
export CHROME_EXECUTABLE_PATH="/Applications/Google Chrome.app/Contents/MacOS/Google Chrome" // Replace the value with the Chrome driver you dowmloaded earlier
export CHROMEDRIVER_EXECUTABLE_PATH="/usr/local/bin/chromedriver" // Replace the value with the local ocation of your Chrome browser
Once you have coded your Browser Logic function in an IDE of your choice, you can test the functionality of your function by using the following CLI command:
This CLI command will serve all the resources in your project, including your Browser Logic function. To learn more about Catalyst serve resources, visit this help document.
When you execute the above command, this will start a local serve in your default port 3000, and a secure endpoint URL for your function will be generated by Catalyst, and displayed in your CLI.
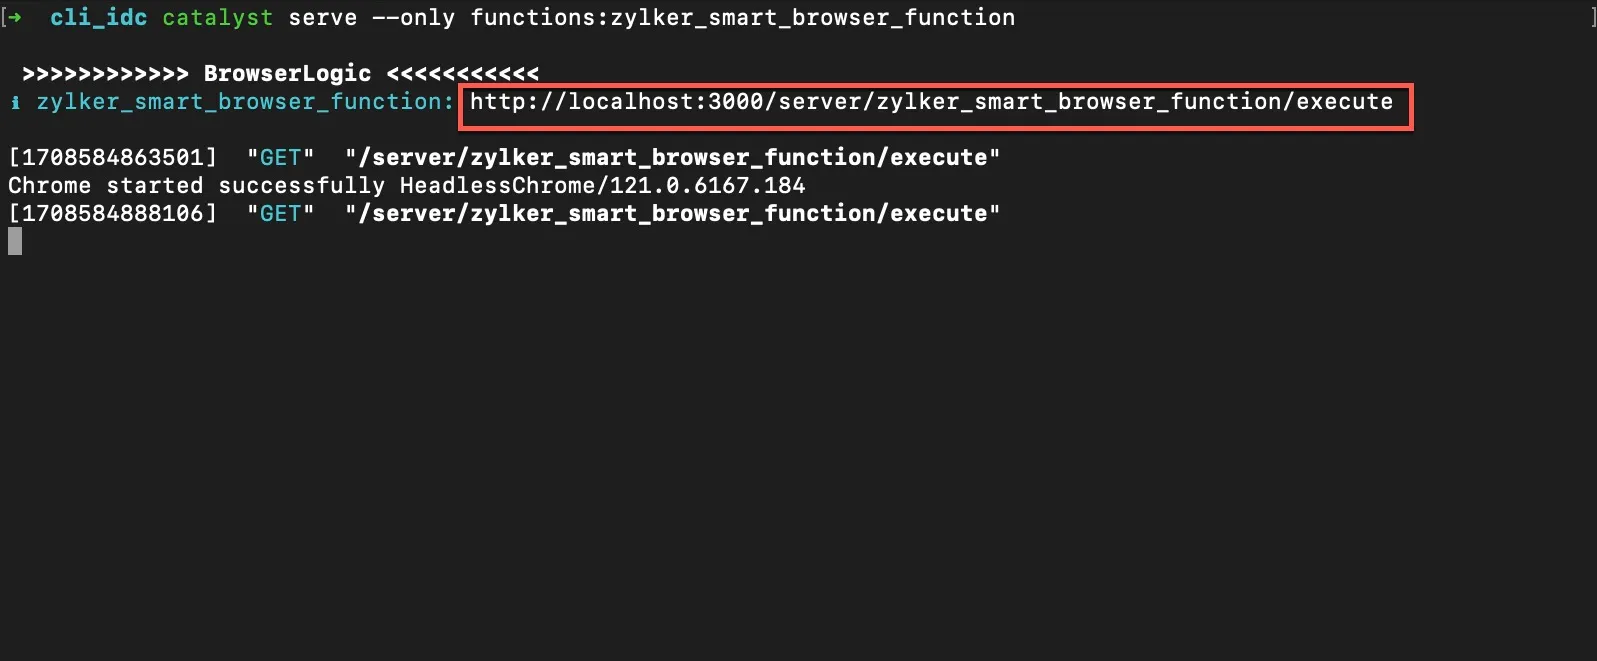
You can use this URL to test your Browser Logic functions in your browser.
Deploy Browser Logic Function
After you have coded and tested your function, you can either deploy it using the Catalyst CLI or you can upload your function to the console as a zip file.
Deploy using the Catalyst CLI
Execute the following command from your project or function directory:
The function will be deployed to the console, and an Invocation URL will be generated for the function. You can use this URL to directly access the function, use it in code, or for any purpose of your preference that requires you to directly access the function.

You can find out more about how catalyst deploy works by visiting this help page.
Upload Function as ZIP File in the Console
You can upload the function by navigating to SmartBrowz -> Browser Logic or by navigating to Serverless -> Functions. The steps mentioned below are for uploading the function from the Browser Logic section of SmartBrowz.
Implement the following steps to upload your Browser Logic function to the console:
-
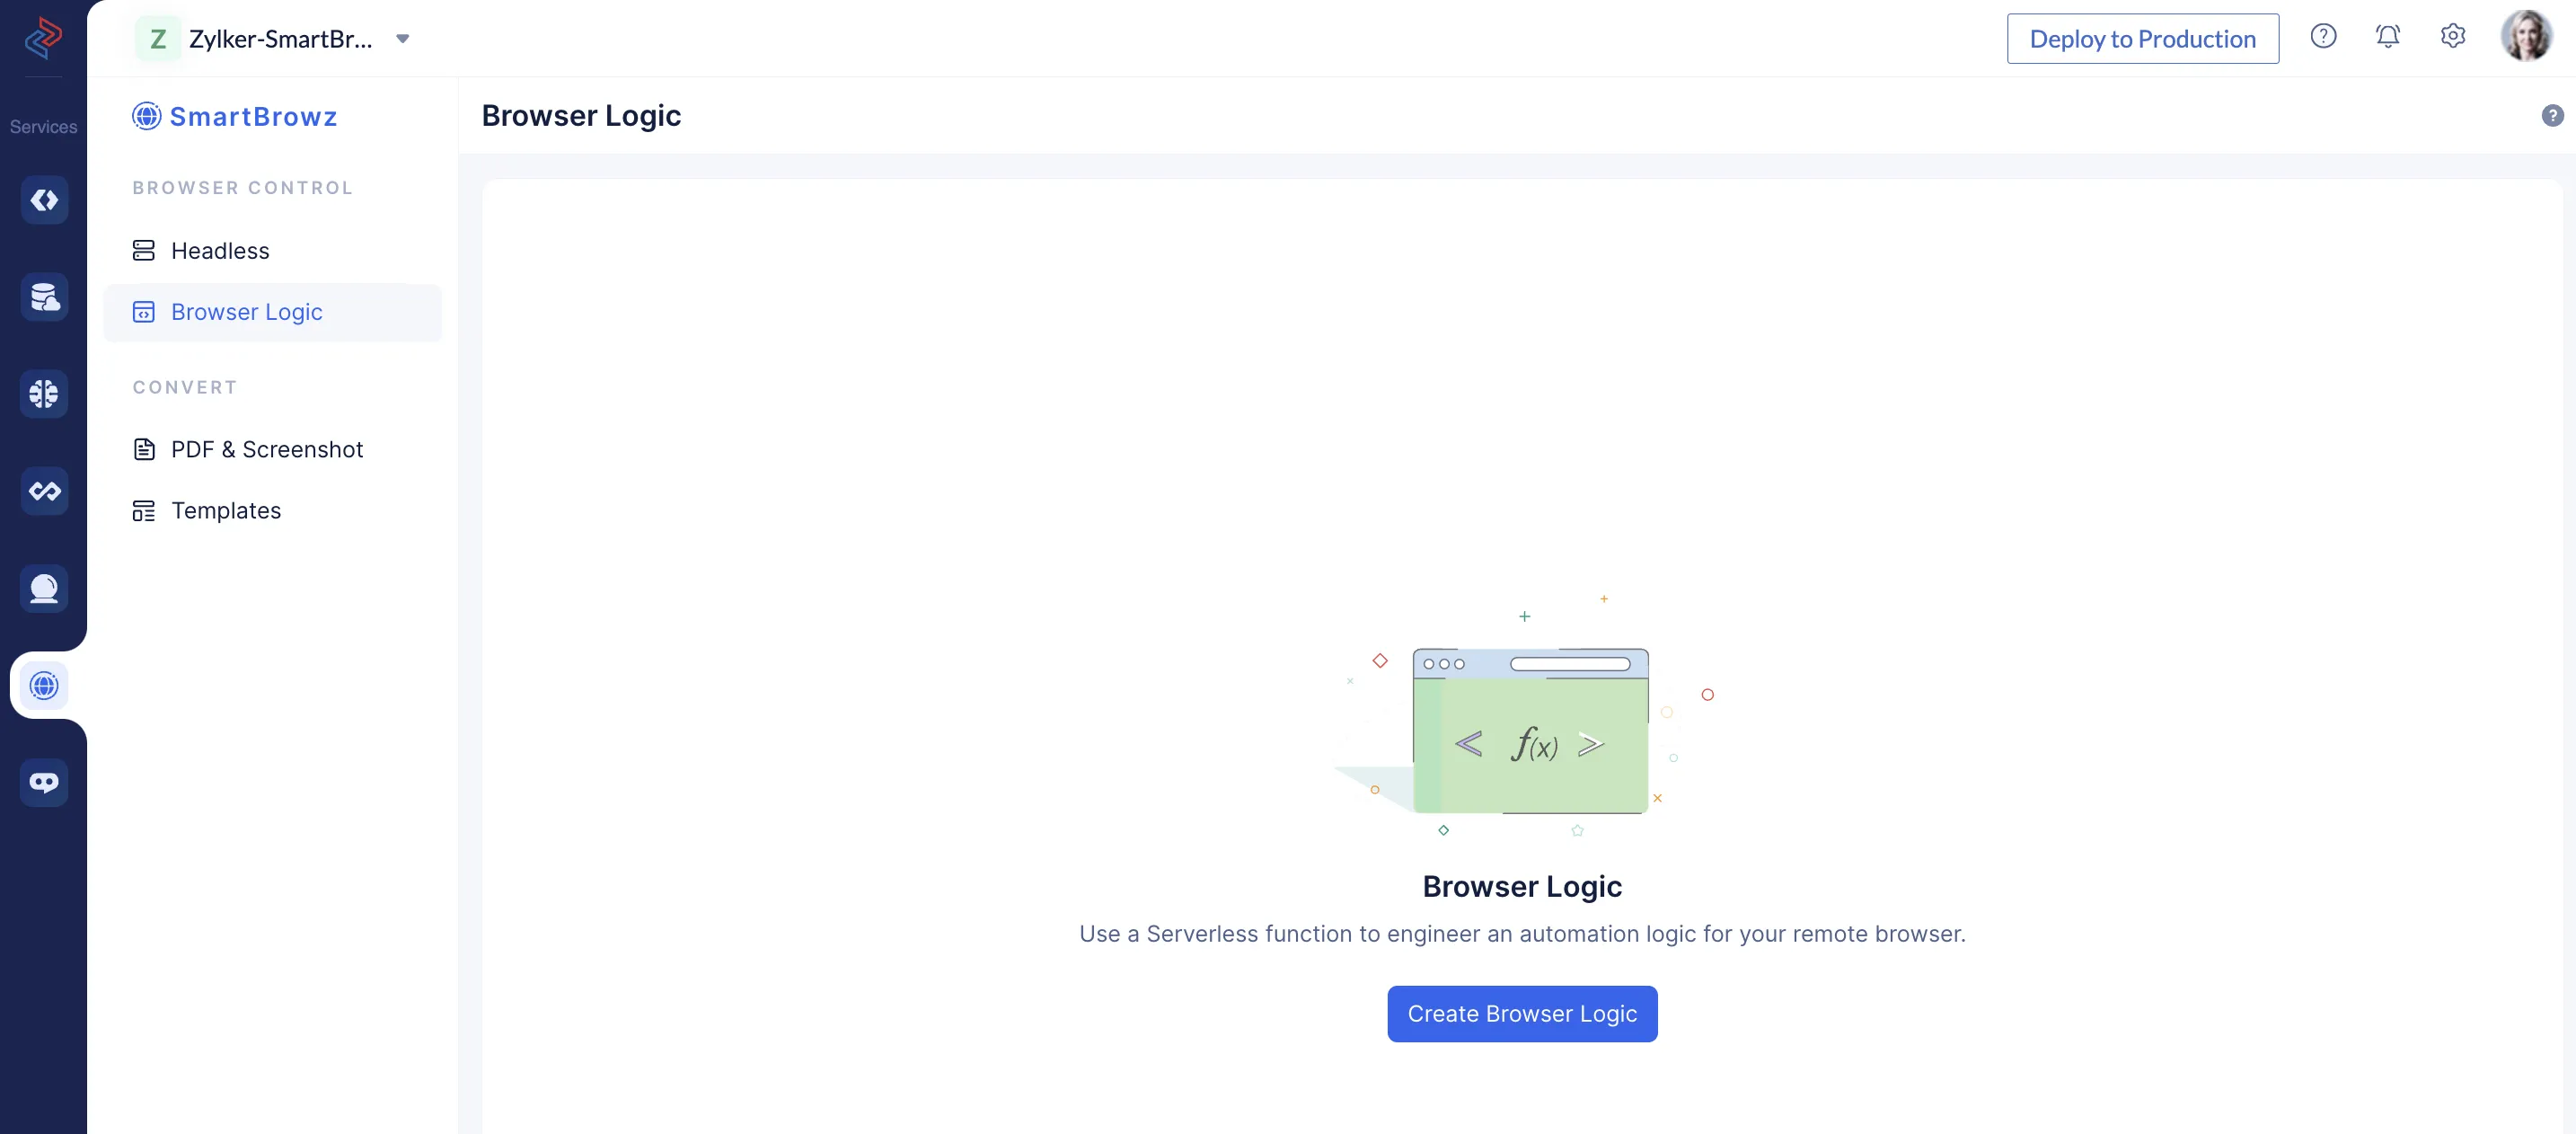
Navigate to the Browser Logic component present in the SmartBrowz service section in the Catalyst console under Browser Control. Click Create Browser Logic.
-
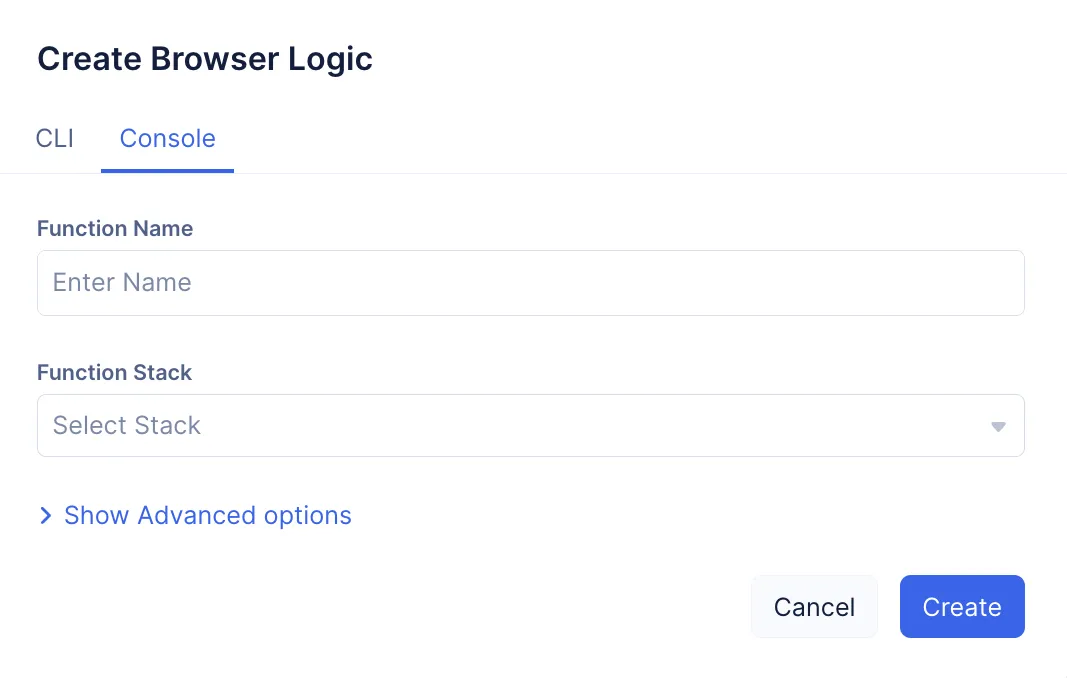
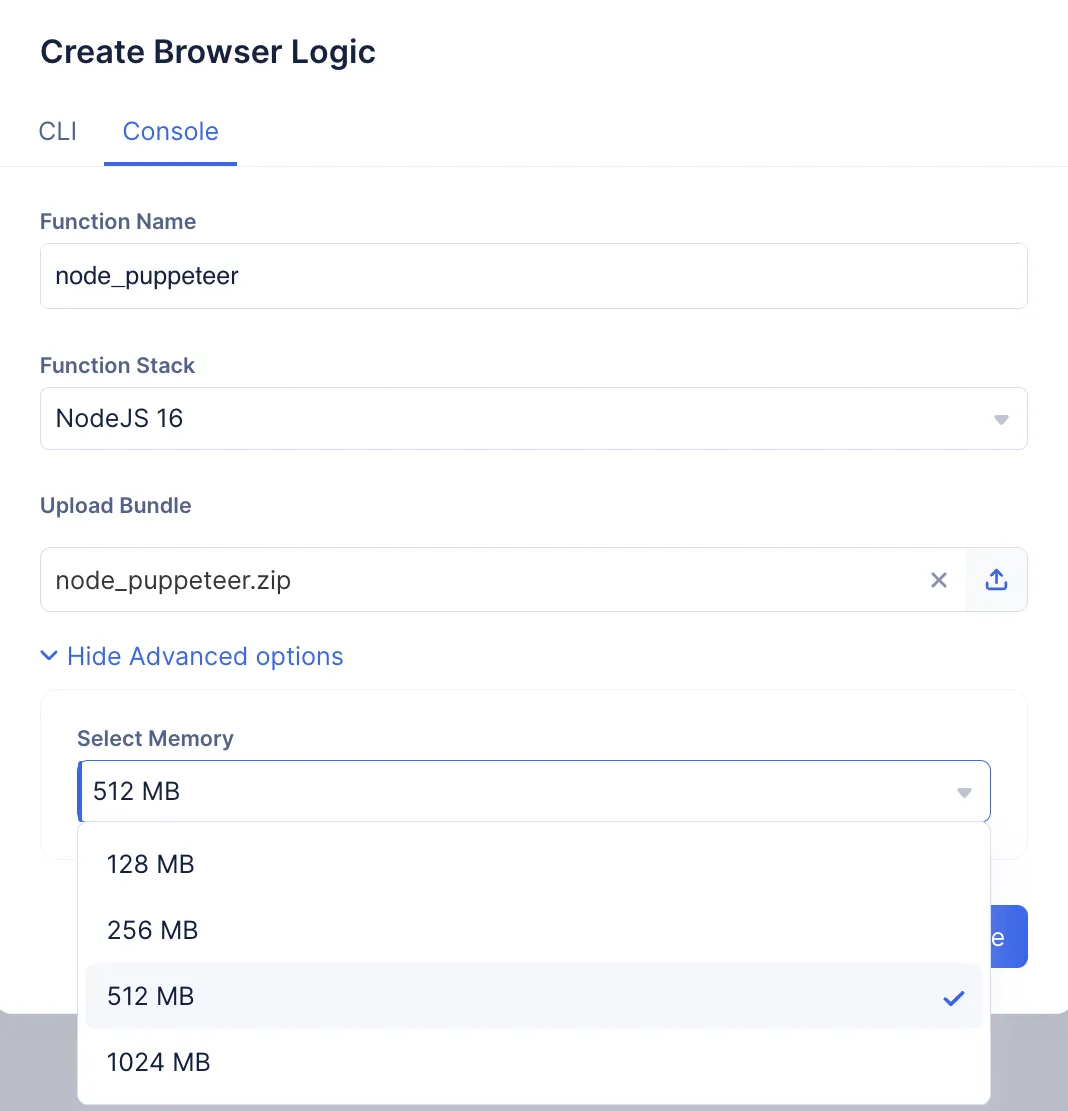
Click the Console tab.
-
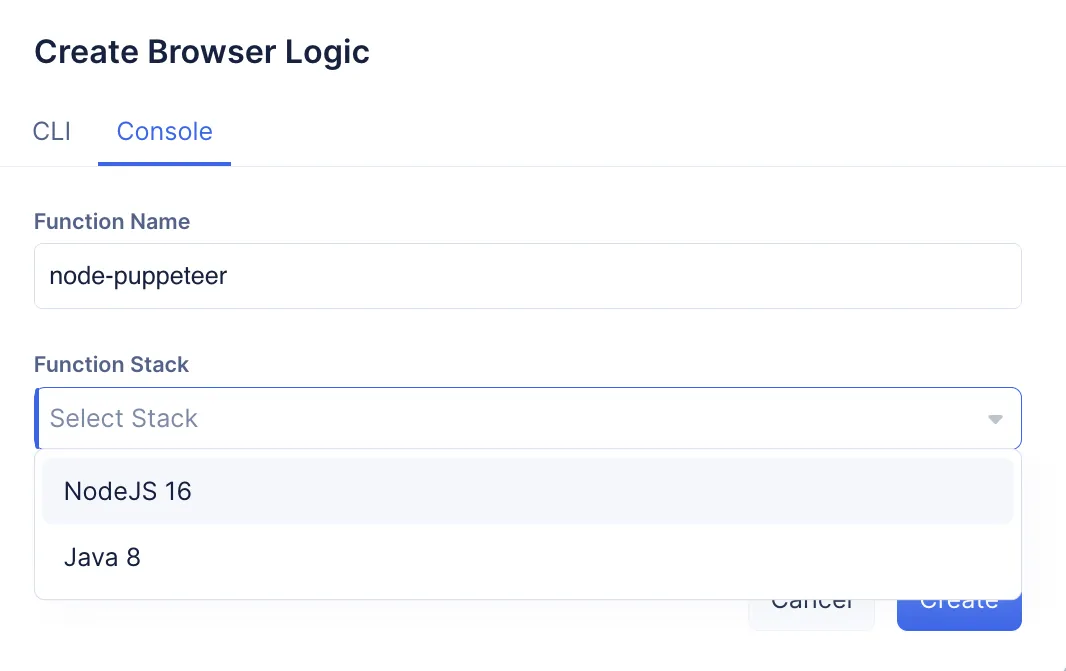
Enter the Function Name, and select the Function Stack in which you created your Browser Logic Function.
-
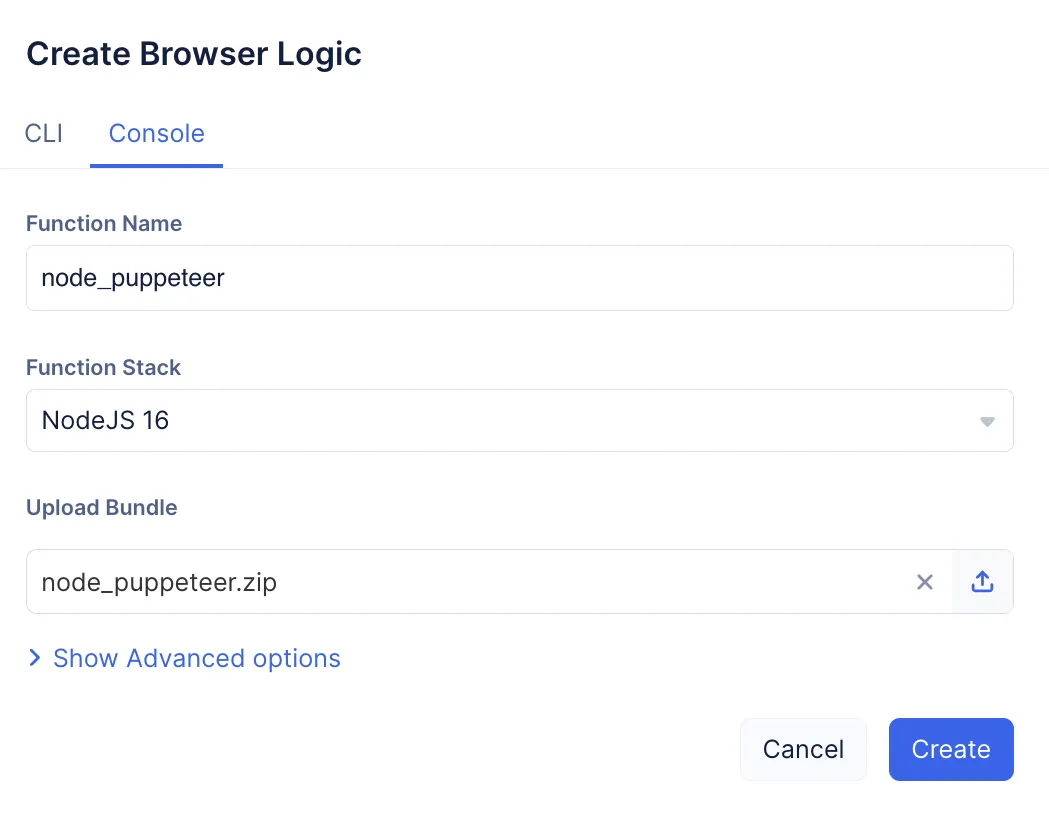
Upload your function directory as a zip file.
While uploading a Java or a Node.JS function bundle in the console, you must ensure that:
-
Instead of compressing the function folder as a whole, you must navigate inside the function folder, select all the files in it, and then compress them together. This is because, when Catalyst extracts a Java or Node.js function’s zip file, the catalyst-config.json file must be present in the root.
-
The function’s directory contains all the required configuration files in the standard structures.
-
The function name you enter in the console matches the names configured in package.json for Node.js, and catalyst-config.json for both Java and Node.js. The zip file’s name can be anything.
-
The stack version you select in the console matches the stack version configured in catalyst-config.json for both Java and Node.js functions.
- Configure Function Memory:
Catalyst enables you to configure the memory for each of your functions. This memory will be allocated when the function is executed.
The default memory allocated for a function is 256 MB. That is, if you don’t configure the memory, or if you had created a function before this feature was made available, the memory would be set to 256 MB automatically. You can edit any of your existing functions and change this value as per your requirements.
You can choose to change the allocated memory of the function by clicking Show Advanced Option, and selecting your preferred memory from the Select Memory drop-down.
- Click Create.
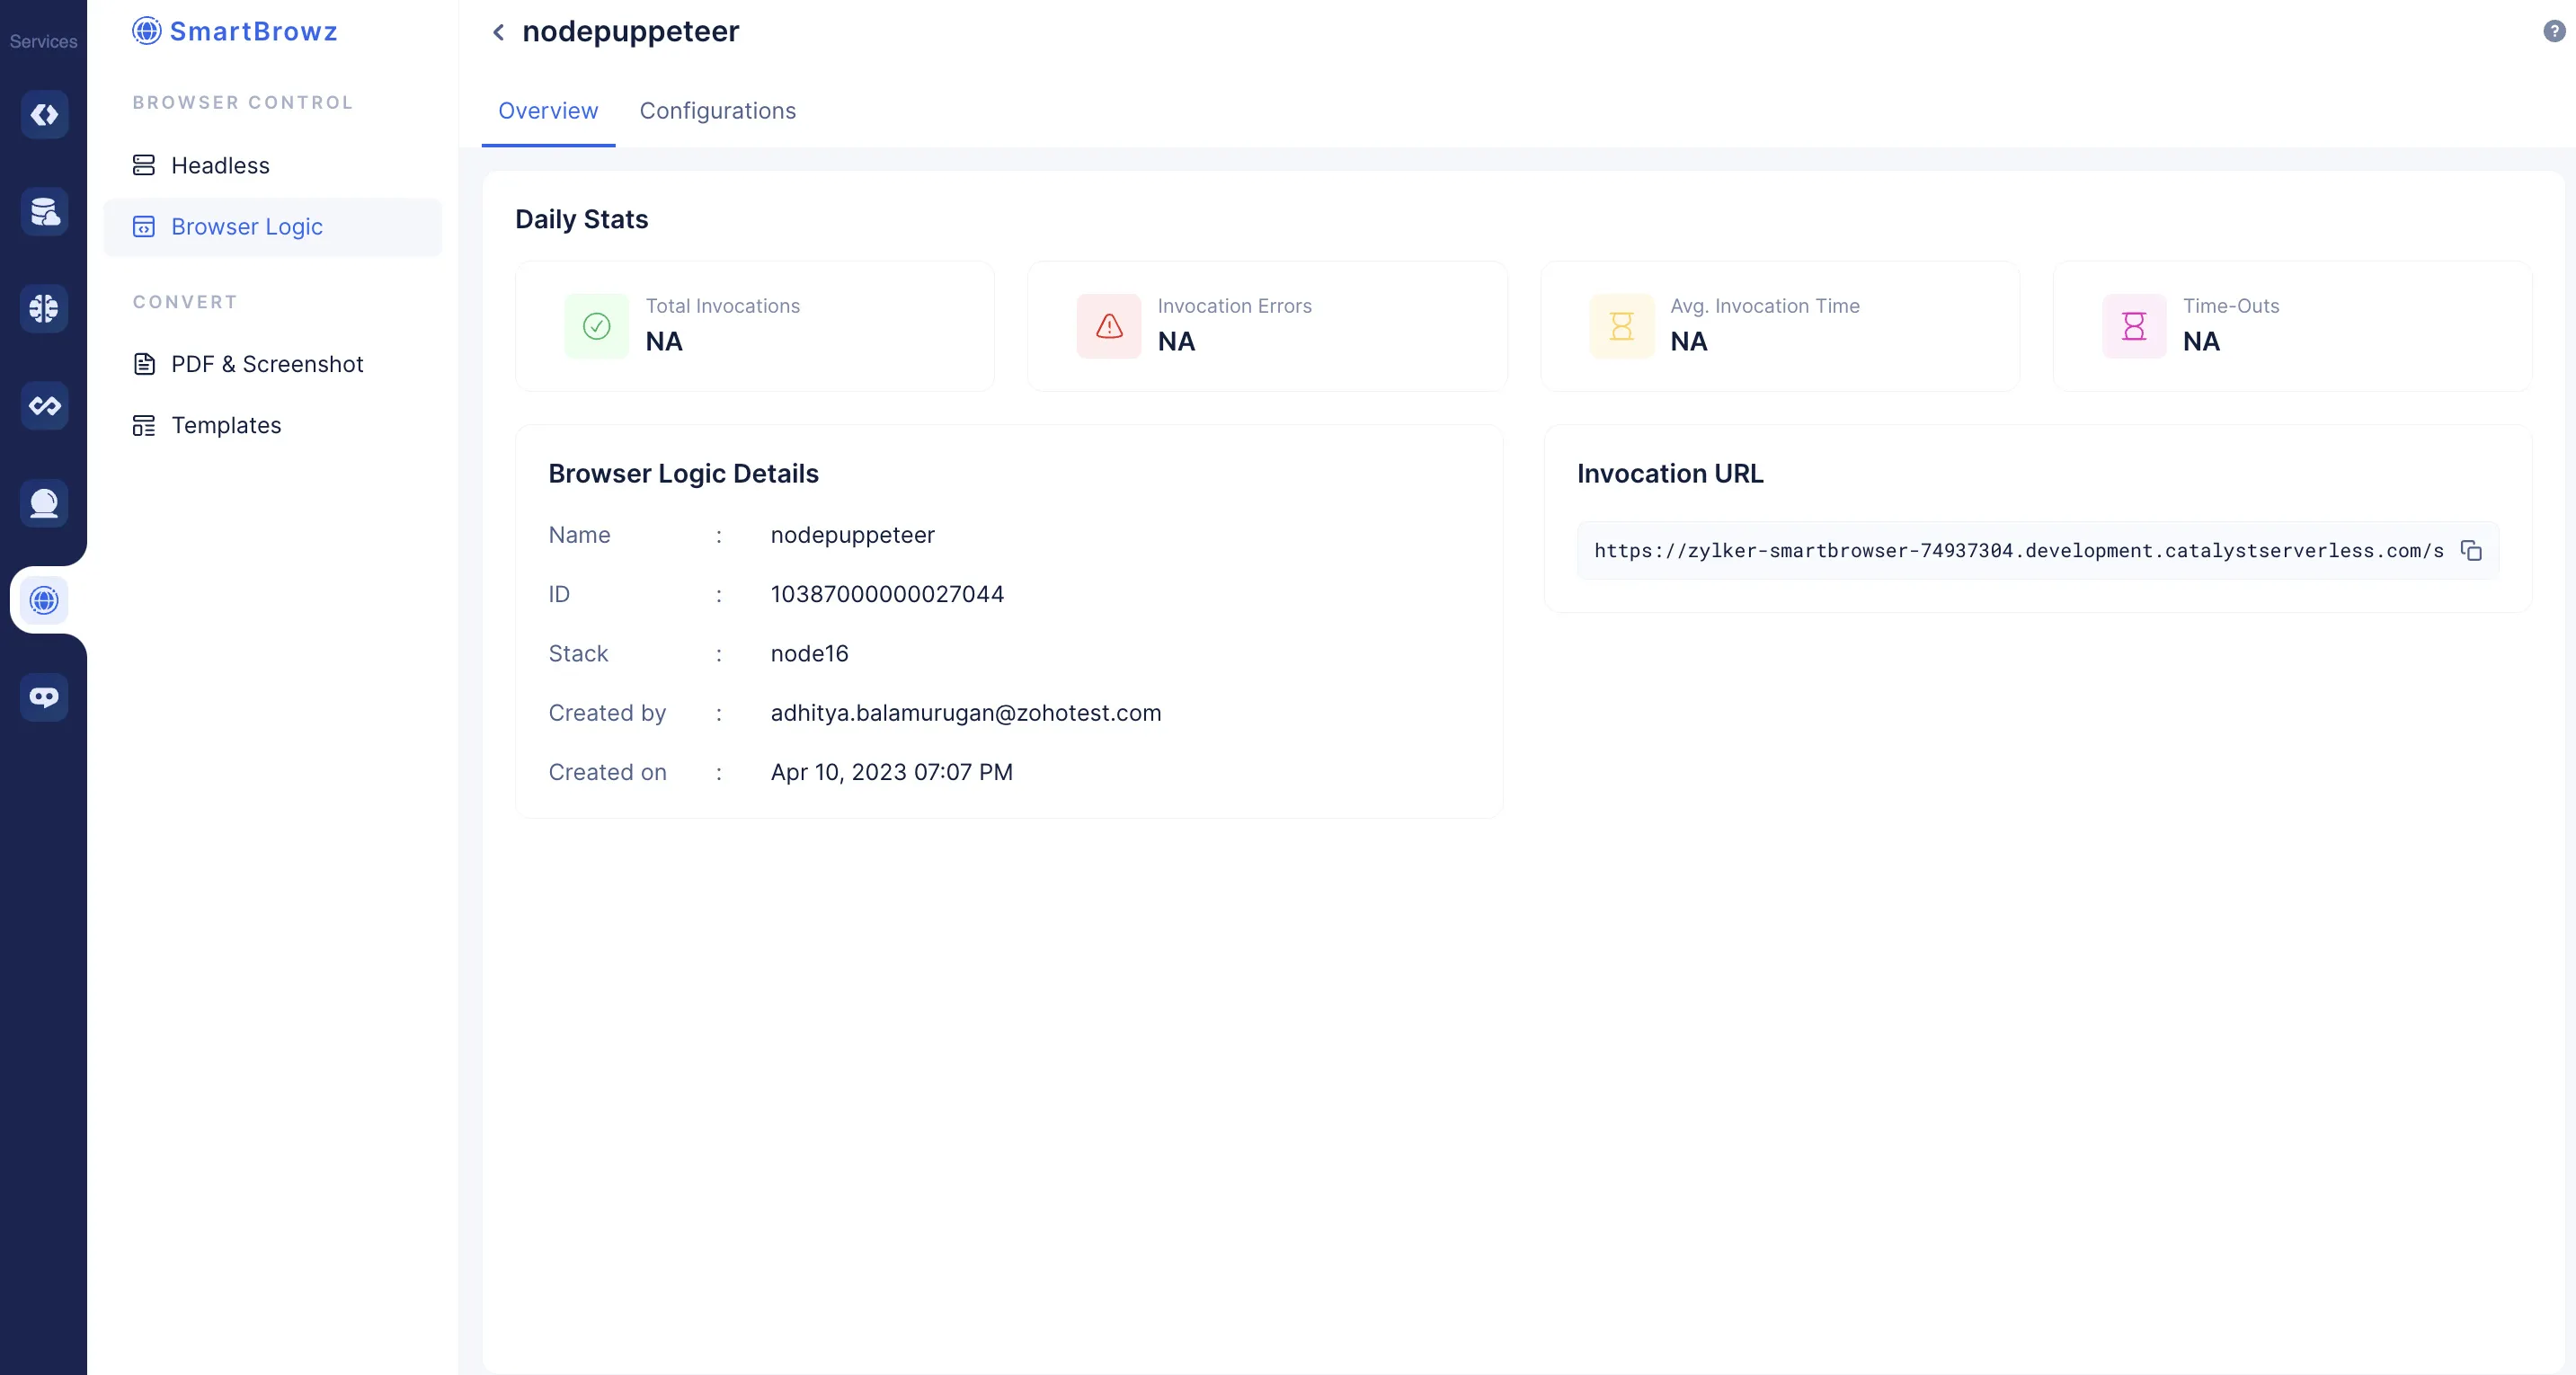
The function will be created and listed in the Functions page. A unique Function ID will be created for it and displayed in the page, along with the function’s details.
Function Details
After you upload the function to the console, you will be able to view meaningful stats on your function performance and other function details.
You can also copy and use the secure Invocation URL present in the console to access your function directly, pass inputs, or implement it in your code as you require.
Similar to other Serverless function types, you can use the Configurations section of the console to:
-
Change the allocated memory of the function stack.
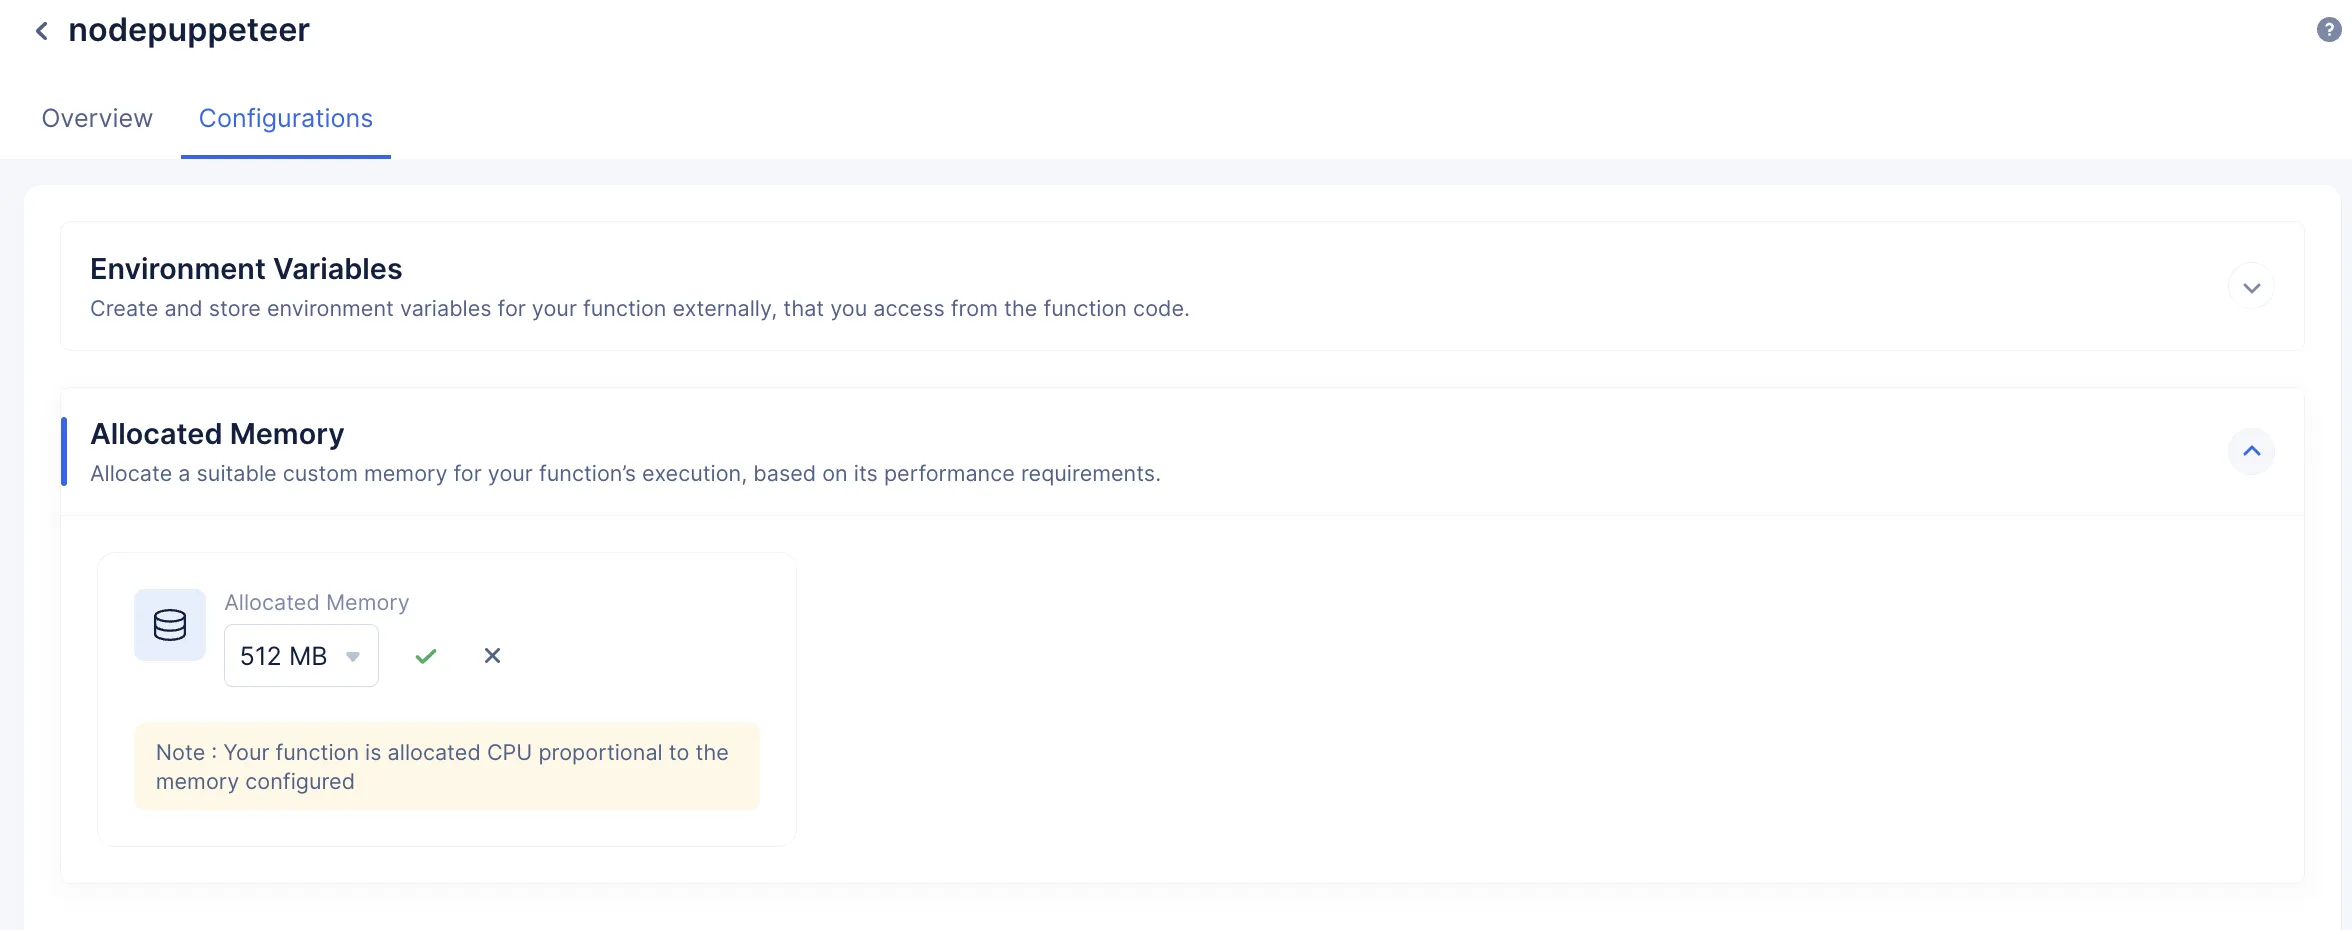
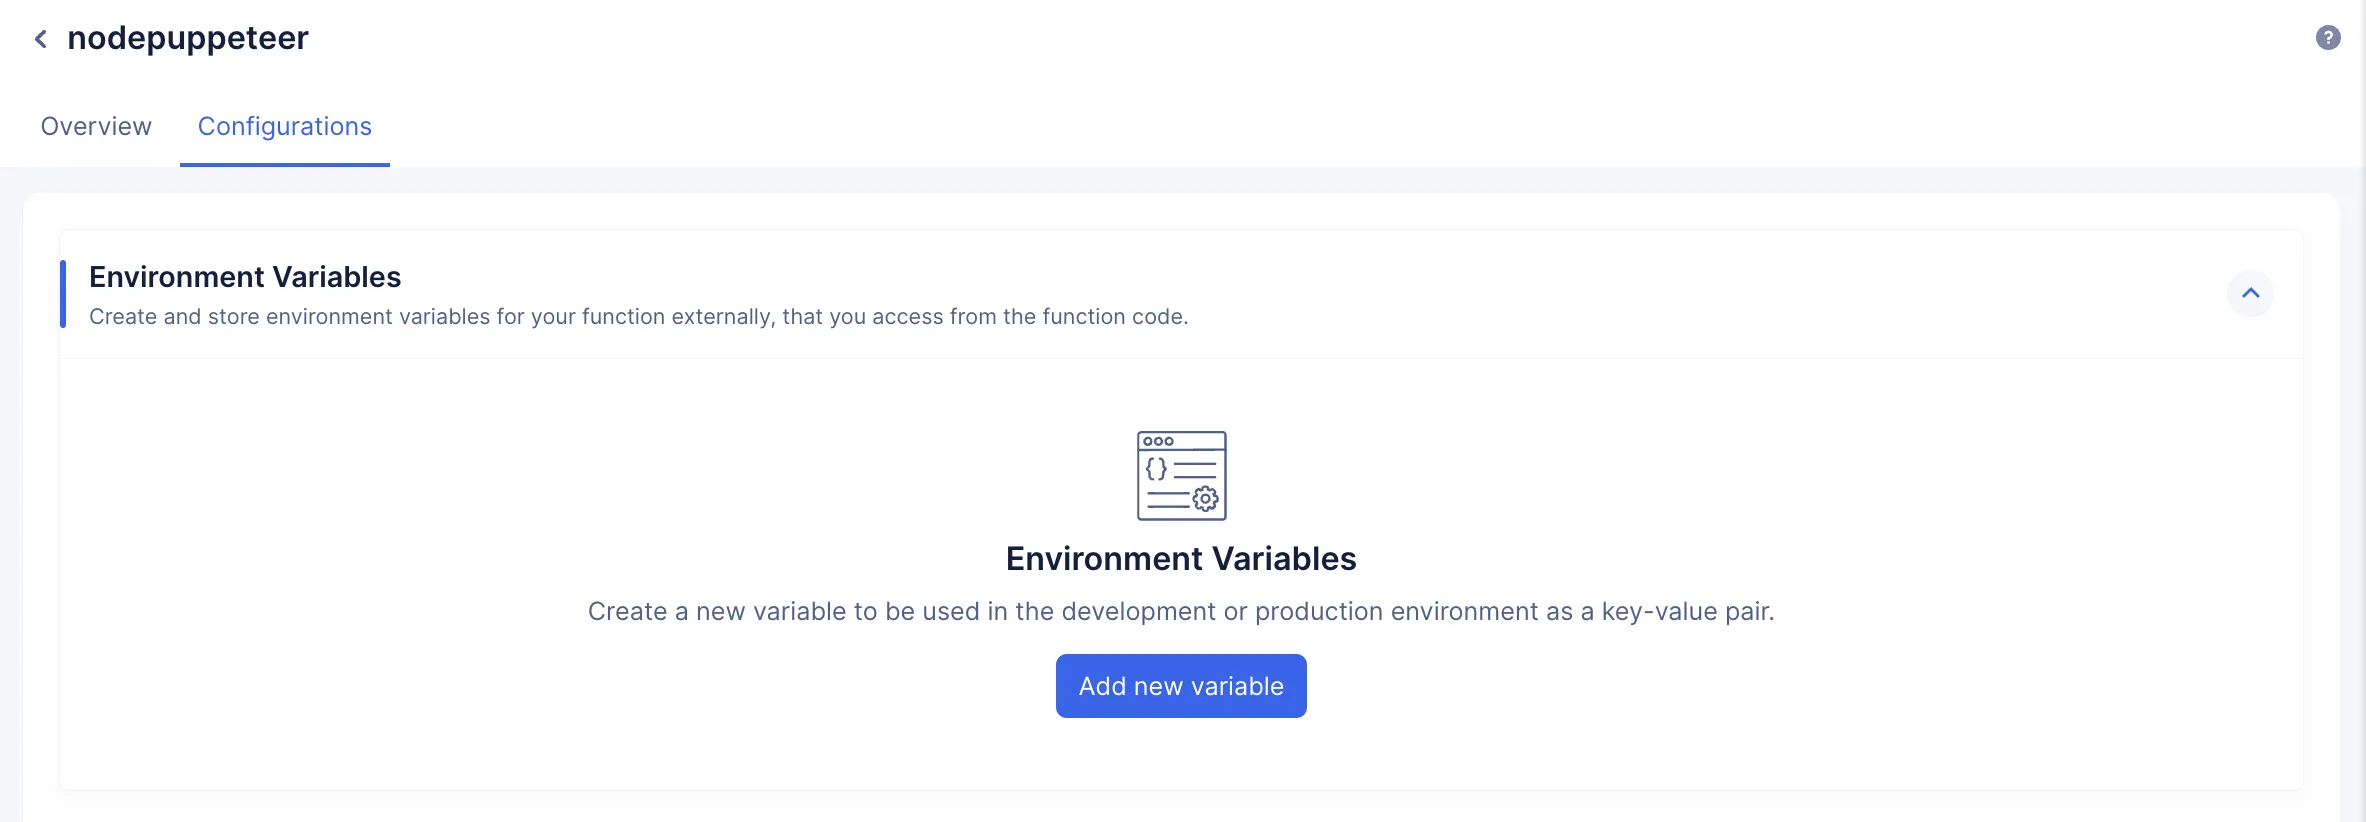
You can refer to the Functions Implementation section for more information about these actions.
Last Updated 2025-10-09 21:41:25 +0530 IST
Yes
No
Send your feedback to us