Create a Template
-
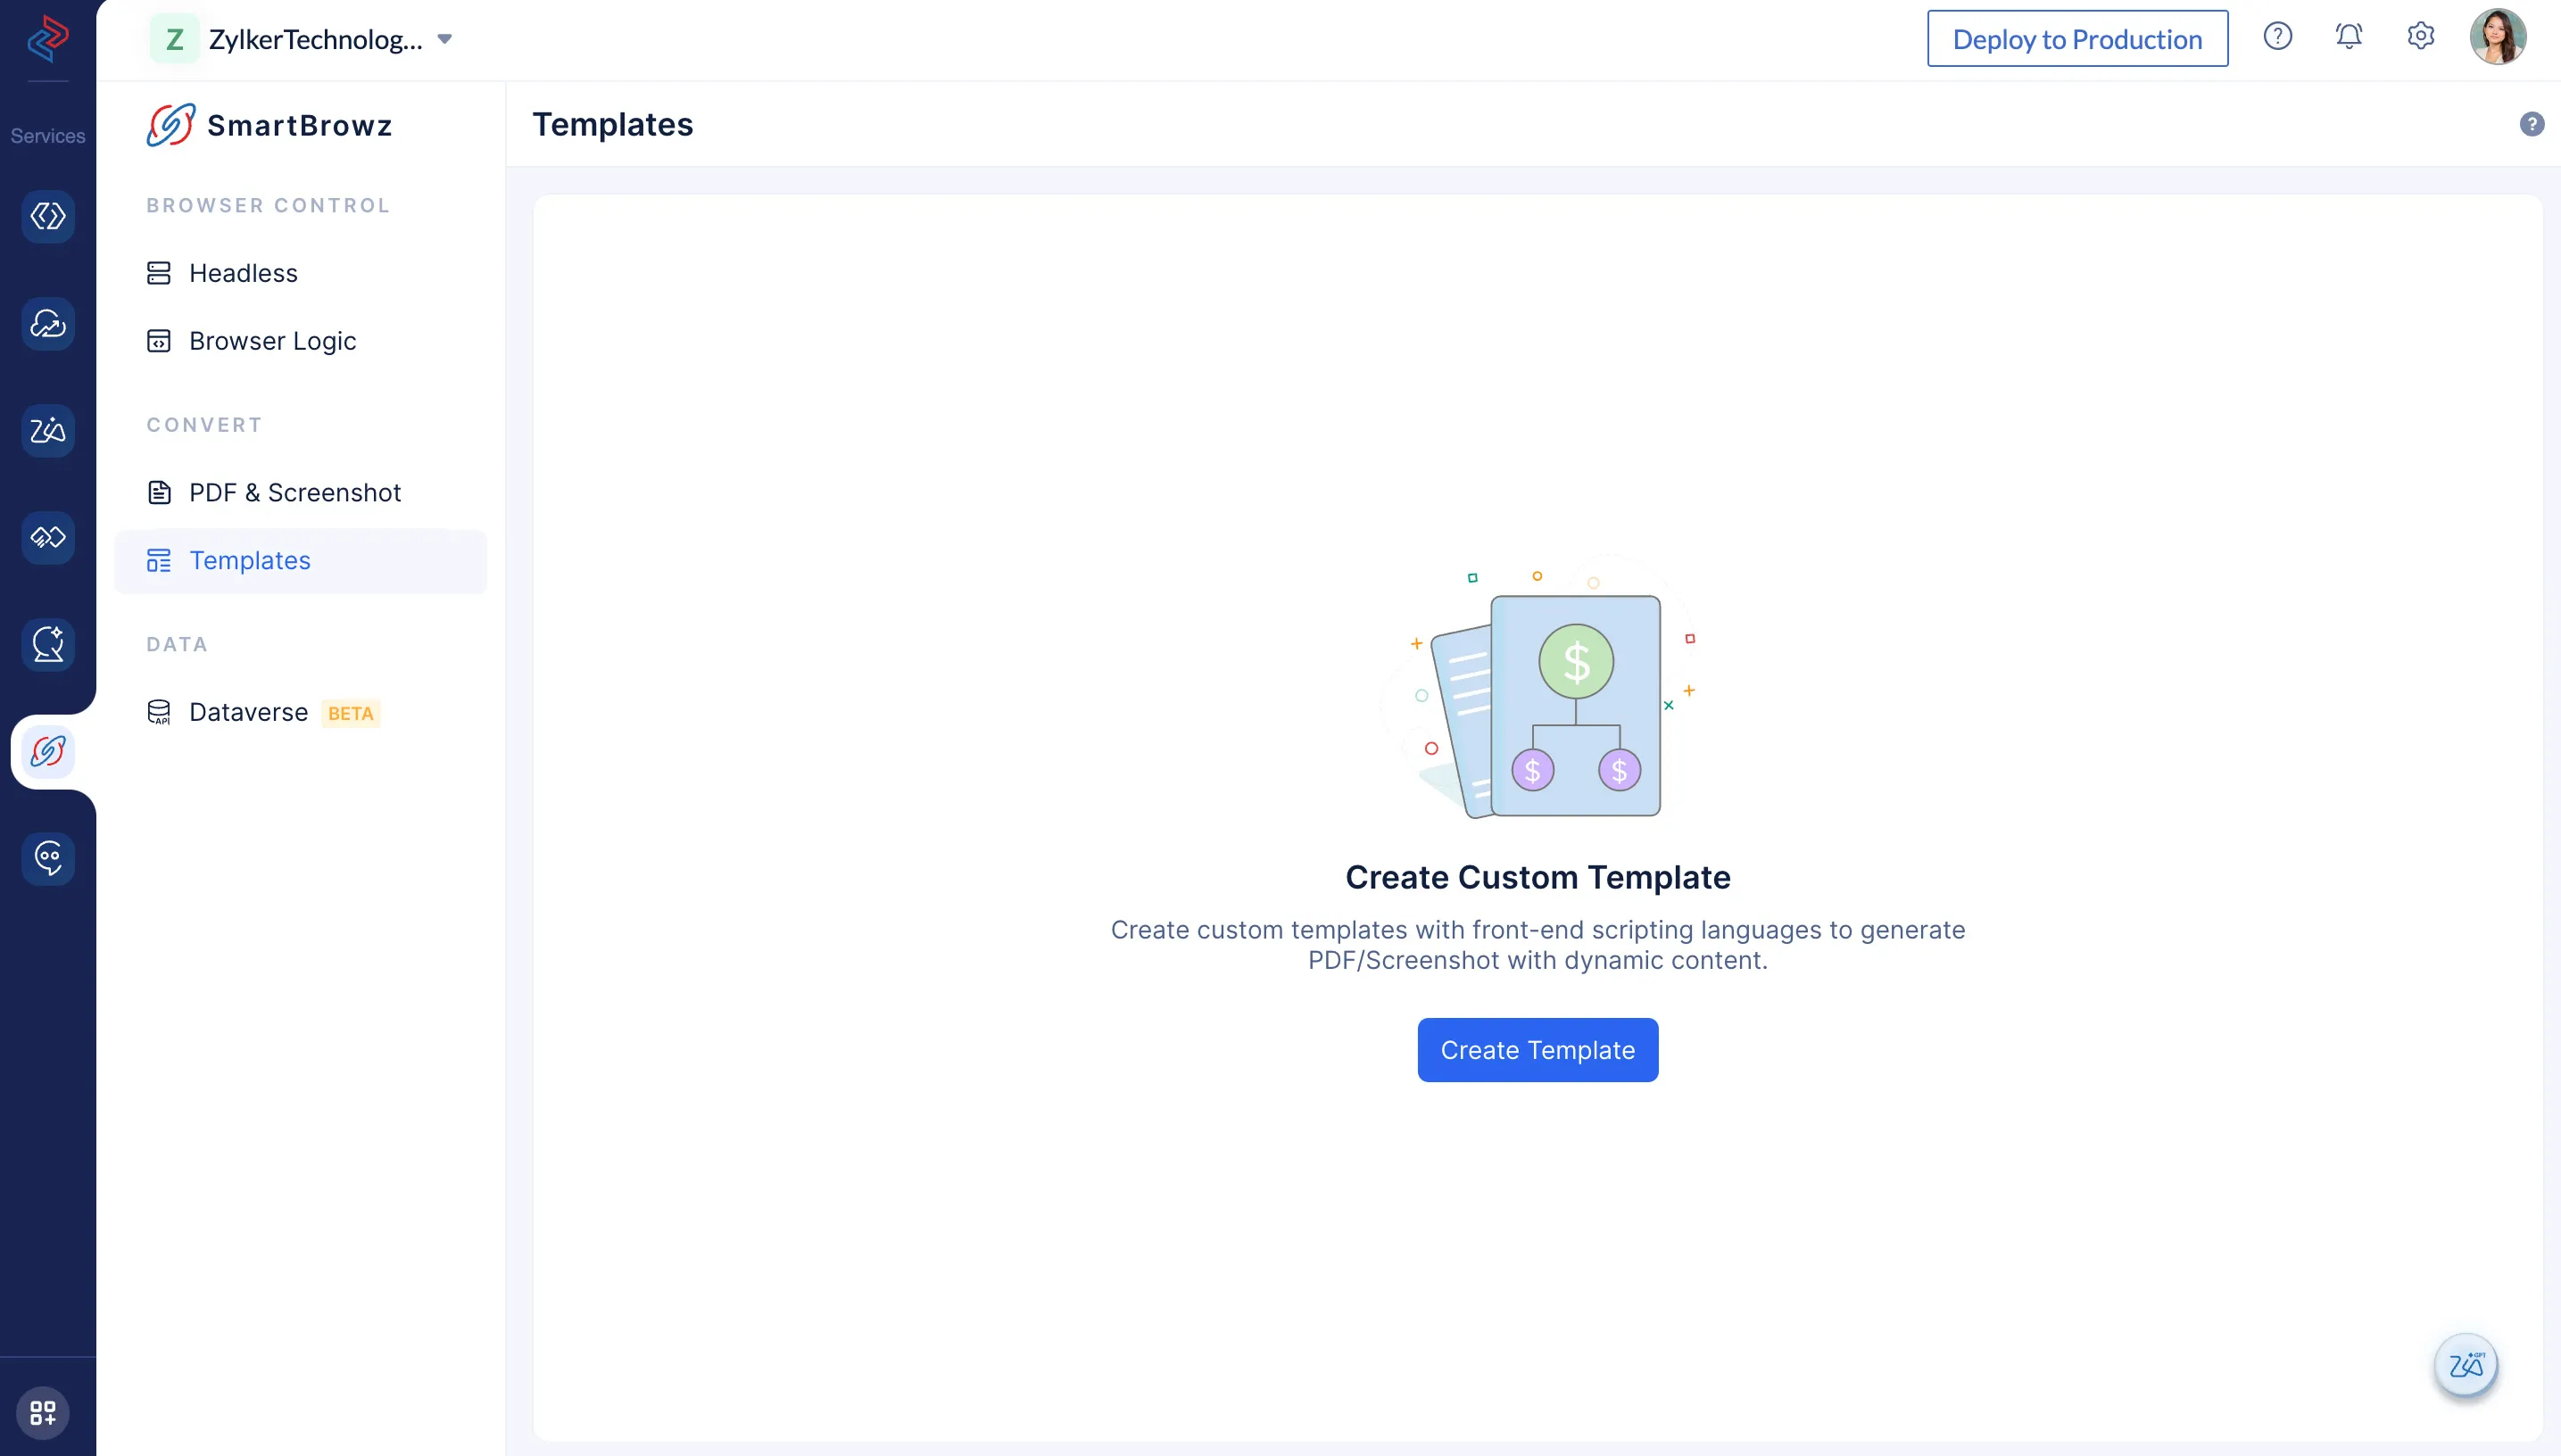
Navigate to the Template component present under CONVERT section in SmartBrowz from the console, and click Create Template.
-
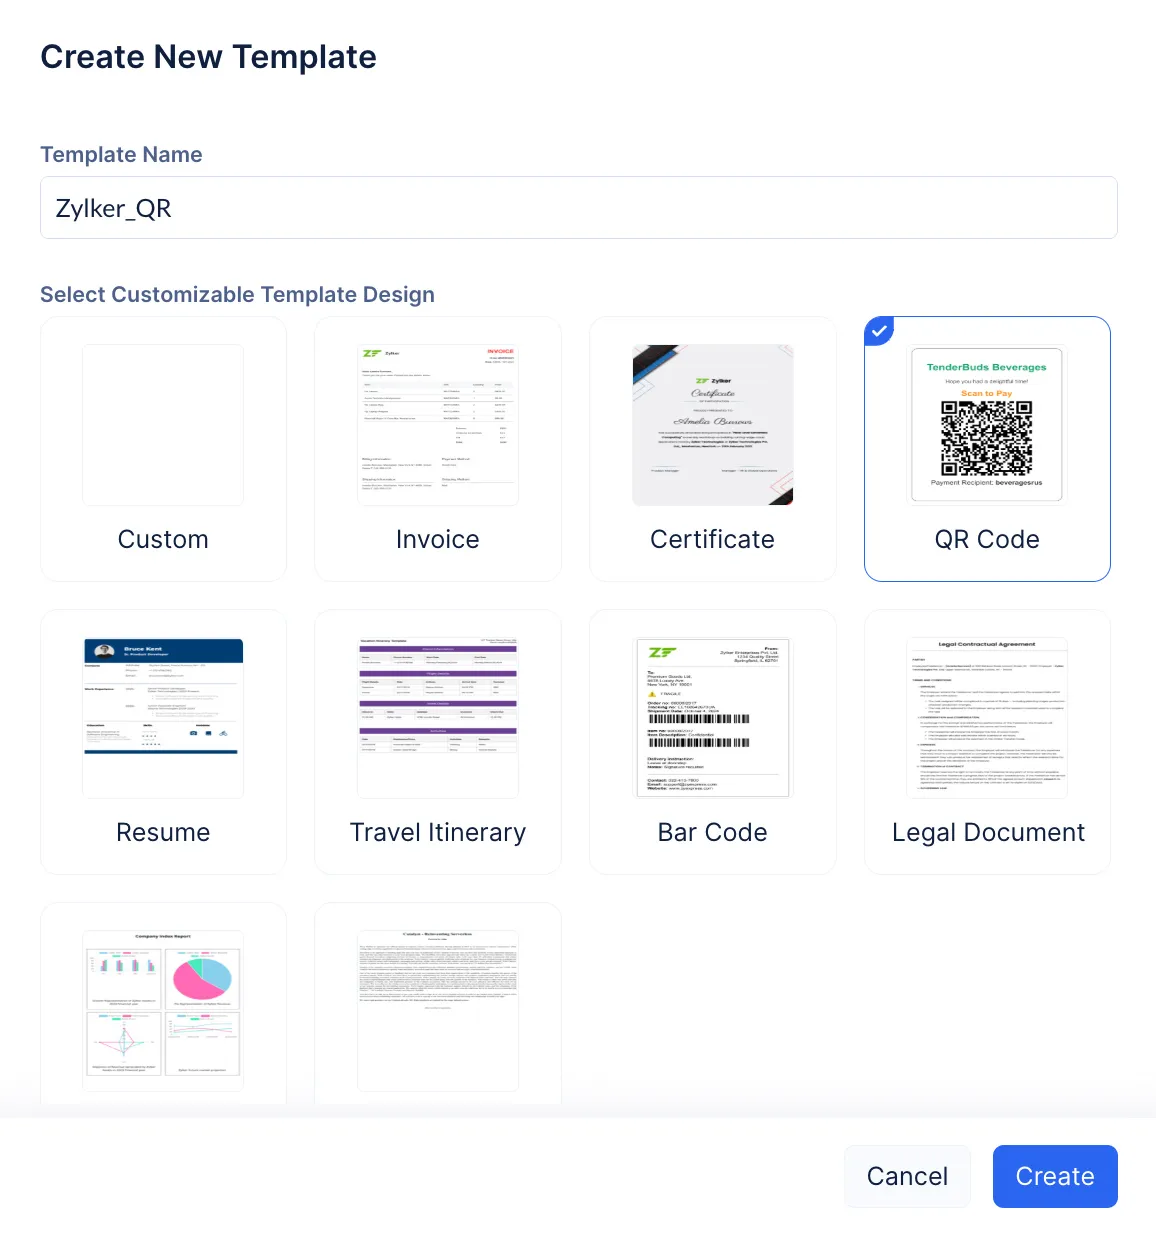
Enter a Template Name and select a template design. You can select from one of the pre-configured templates, or select Custom to design a template from scratch.
You can see a preview of each pre-engineered style of template by clicking the zoom-icon.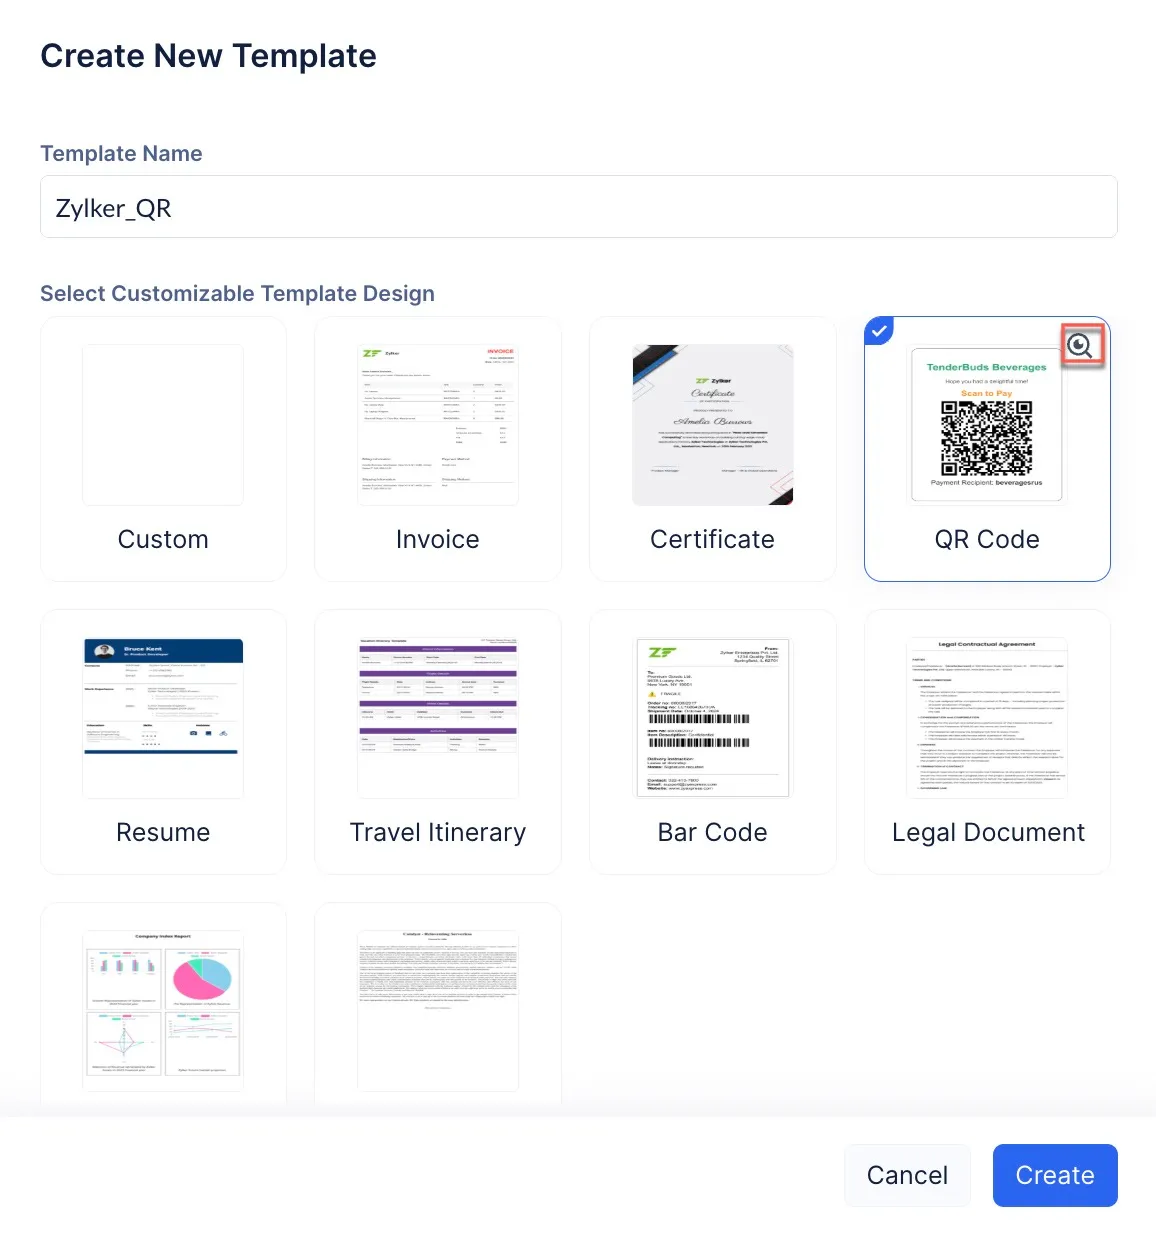
-
Click Create.
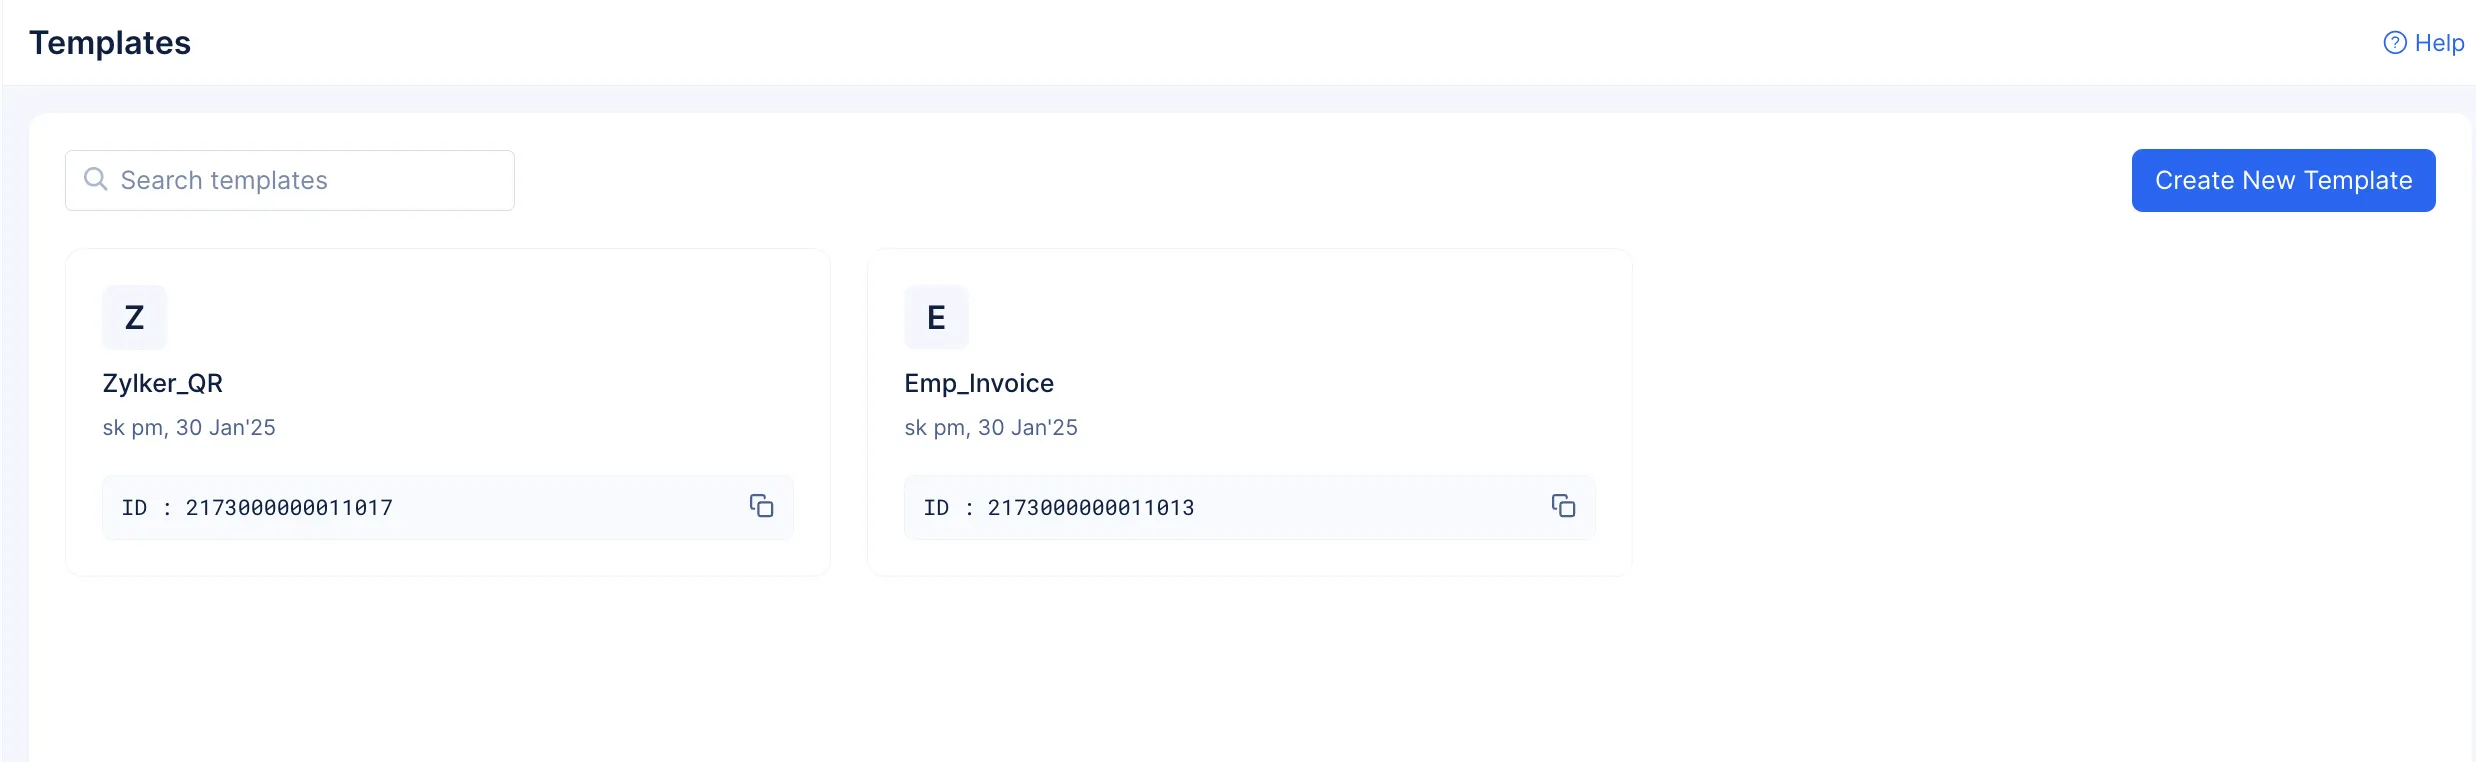
The required template will be created.
Last Updated 2025-05-26 17:57:12 +0530 IST
Yes
No
Send your feedback to us
Skip
Submit