Third-Party Authentication
Cloud Scale’s Authentication allows you to implement a third-party authentication service of your preference for your Catalyst application. The authorization and validation of the end-user is handled by the third-party service, and the data is passed on to Catalyst.
To implement third-party authentication in your Android app, you will need to perform the steps described below.
1. Configure the Third-Party Authentication Service
Before you associate a third-party authentication with your Catalyst application, you must ensure that you have first completed handling the third-party logic in the external service. You can configure the authentication with any third-party of your choice.
2. Set up the Third-Party Authentication Type in Catalyst
You must now set up the third-party authentication that you configured in Catalyst by navigating to the Authentication component in Cloud Scale in the Catalyst console. The steps are explained in Set Up Third-party Authentication in Catalyst help page.
This process involves the following steps that you must perform:
i. Generate a custom server token:
When a user is re-directed from a third-party service after being authenticated, their credentials must be passed to an authentication function that you will need to code in Java, Node.js, or Python. This function will generate a Catalyst server-side token jwtToken or customToken which will then be passed to client-side (Android app). The Catalyst console provides readymade scripts to generate the customToken. You can incorporate this script in the server-side function you write, to return the customToken.
ii. Skip the client-side configuration:
You can skip the client-side configuration in the console for now, as we will incorporate the custom server token in the client logic at the end to complete the login process.
iii. Configure additional settings and finish the setup:
Configure Customer User Validation or Authorized Domains as a part of Whitelisting and finish the set up.
Catalyst will display a confirmation that a third-party authentication service has been enabled and your application’s authentication is being handled by it.
3. Re-Import the Configuration File in your Android Project
After you enable the third-party authentication for your Android app from the Catalyst console, you will need to download and import the app_configuration_development or the app_configuration_production properties file in your Android project again, based on your app’s environment. This is because this file will now include two additional properties: JWTClientID and JWTClientSecret. These properties will need to be passed in the next step, after you re-initialize the SDK.
To re-download the configuration file:
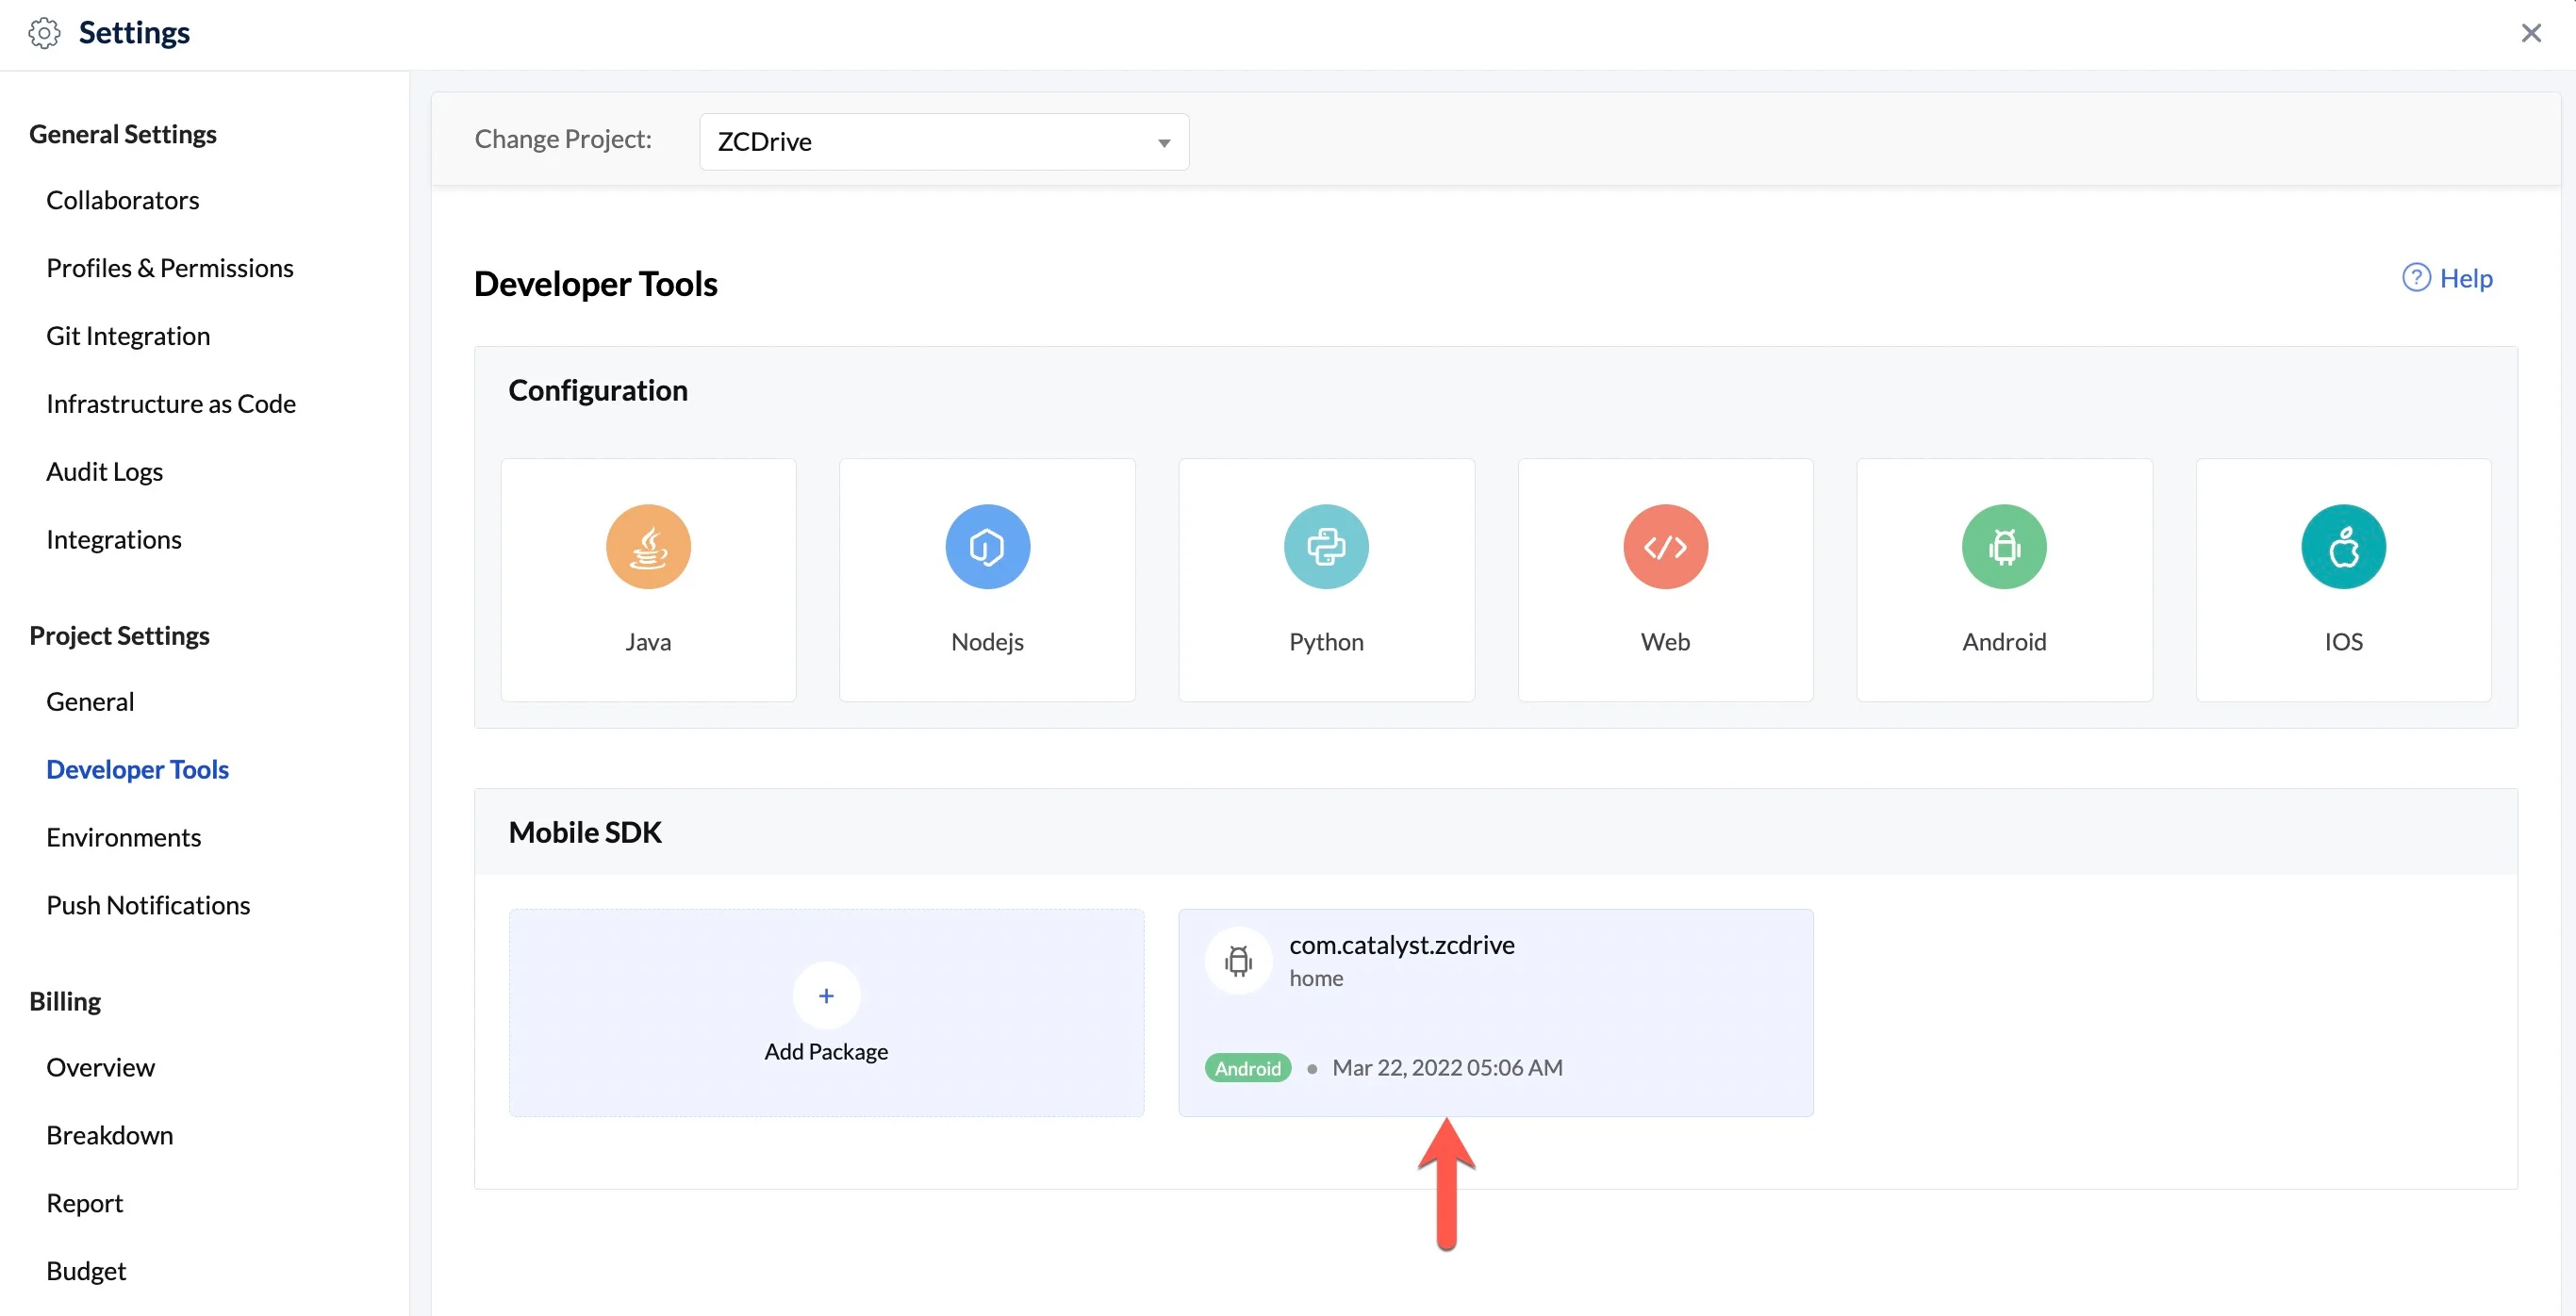
- Navigate to Settings, then Developer Tools in your Catalyst console of your project. You will find your existing Android package under the Mobile SDK section. Open the package.
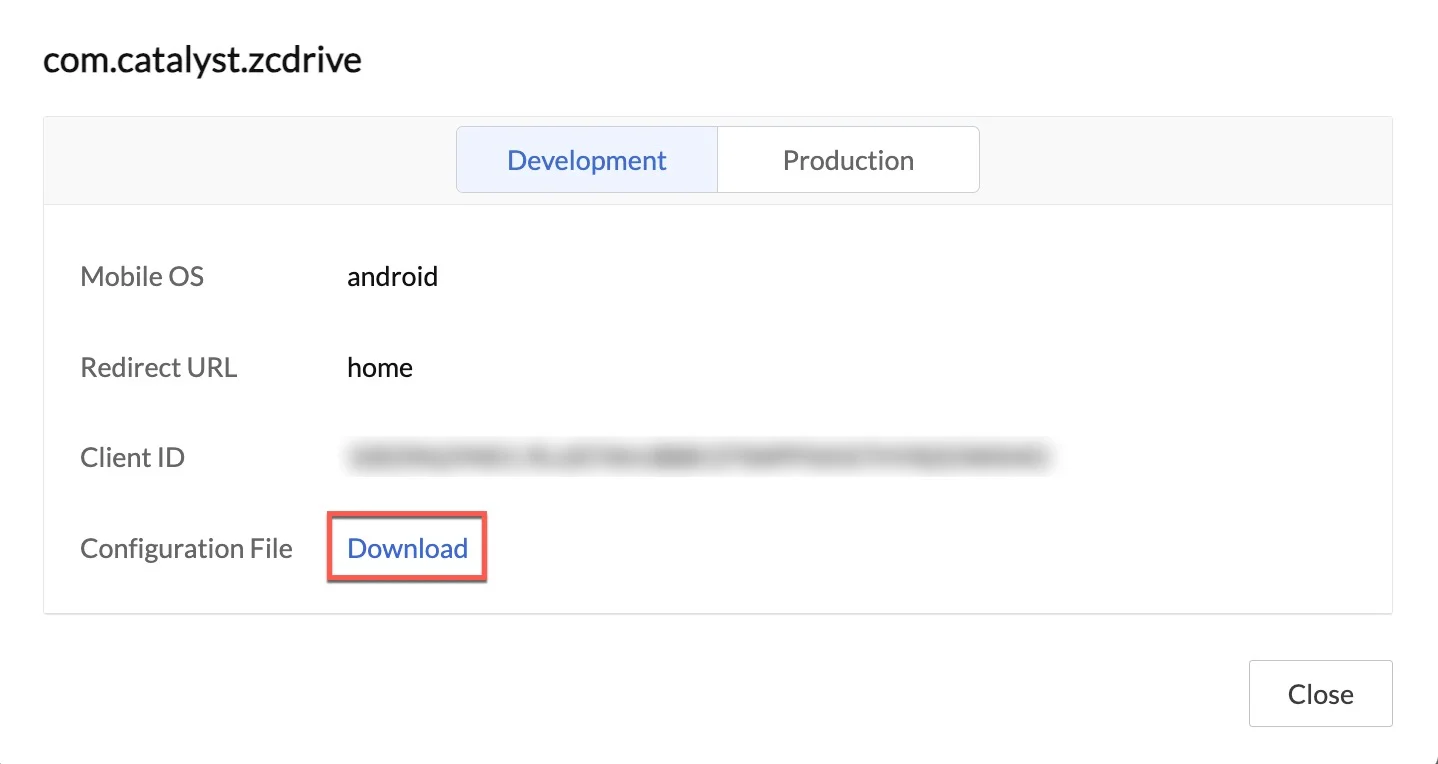
- Click on the required environment tab in the pop-up, then click Download to download the configuration file.
You can now re-import this downloaded configuration file by following the steps mentioned here.
4. Re-Initialize the SDK
You must now re-initialize the SDK to include the newly-downloaded properties in your code. Re-initializing the SDK can also be done in two ways similar to initializing the SDK for the first time: by specifying the environment of the project, and without specifying the environment where the production environment is considered the default. However, this will include additional SDK methods to confirm third-party authentication.
Method 1: By specifying the environment
You can re-initialize the SDK as shown below. You can pass the values for the Environment as either DEVELOPMENT or PRODUCTION based on the environment the app is operating in. The isCustomLogin indicates a boolean value that is set for the presence of a third-party authentication.
These are passed to the init() method through the ZCatalystApp class as shown below:
fun init(
context: Context,
environment: ZCatalystSDKConfigs.Environment,
isCustomLogin: Boolean = false
): ZCatalystApp
A sample code snippet for this operation is given below:
ZCatalystApp.init(
context,
ZCatalystSDKConfigs.Environment.{DEVELOPMENT},
true
)
Method 2: Without specifying the environment
If the Environment is not specified in the SDK initialization, it would be considered as PRODUCTION by default. This method also lets you re-initialize the SDK by specifying the JWTClientID and JWTClientSecret properties obtained from the newly-downloaded configuration file through with ZCatalystSDKConfigsBuilder.
This can be done in the following way:
fun init(context: Context, sdkConfigs: ZCatalystSDKConfigs, isCustomLogin: Boolean = false): ZCatalystAppA sample code snippet is given below:
val sdkConfigs = ZCatalystSDKConfigs.Builder(
          apiBaseURL: 'https://api.catalyst.zoho.com',
          clientID: '100****************************FX', //JWTClientID
          clientSecret: '19ed***************************2s', //JWTClient secret
          redirectURL: '*****',
          oauthScopes: 'ZOHOCATALYST.tables.rows.ALL, ZOHOCATALYST.tables.columns.ALL',
          portalID: '10******79',
          projectID: 28*******90
  ).setAccountsPortalBaseURL('https://accounts.zohoportal.com')
     .setUserAgent("ZCatalyst Sample App")
     .setRequestHeaders('PORTAL_ID', '*********')
     .build();
ZCatalystApp.init(context, sdkConfigs, true)
5. Code the User Login Logic for the Third-Party Authentication
You can now complete the setup by handling the login logic of the third-party authentication in your Android app. You must pass the customToken or jwtToken generated in step 2 to the handleCustomLogin() method as shown below:
fun handleCustomLogin(jwtToken :String, success: () -> Unit, failure: (ZCatalystException) -> Unit)A sample code snippet is given below:
ZCatalystApp.getInstance().handleCustomLogin("123xxxxxxxx", {
    println("Login successfully.")
}, {
    println("Login failed.")
})Last Updated 2025-11-19 20:37:41 +0530 IST
Yes
No
Send your feedback to us