Using Catalyst Tools
This help section will cover utilizing the Catalyst Tools extension to its fullest potential and performing various operations on your project within the VS Code environment.
Install Catalyst Tools
To install the extension:
-
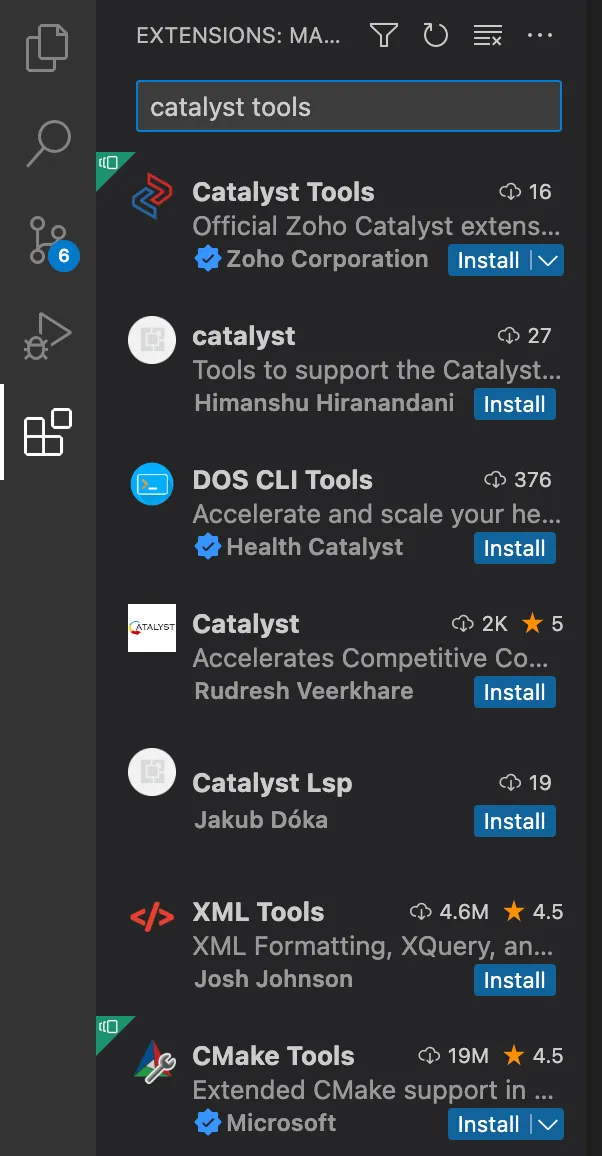
Click the VS Code extension icon and search for “Catalyst Tools”.
-
Click Install.
-
Ensure you are currently using VS Code version v 1.74.0 or above.
-
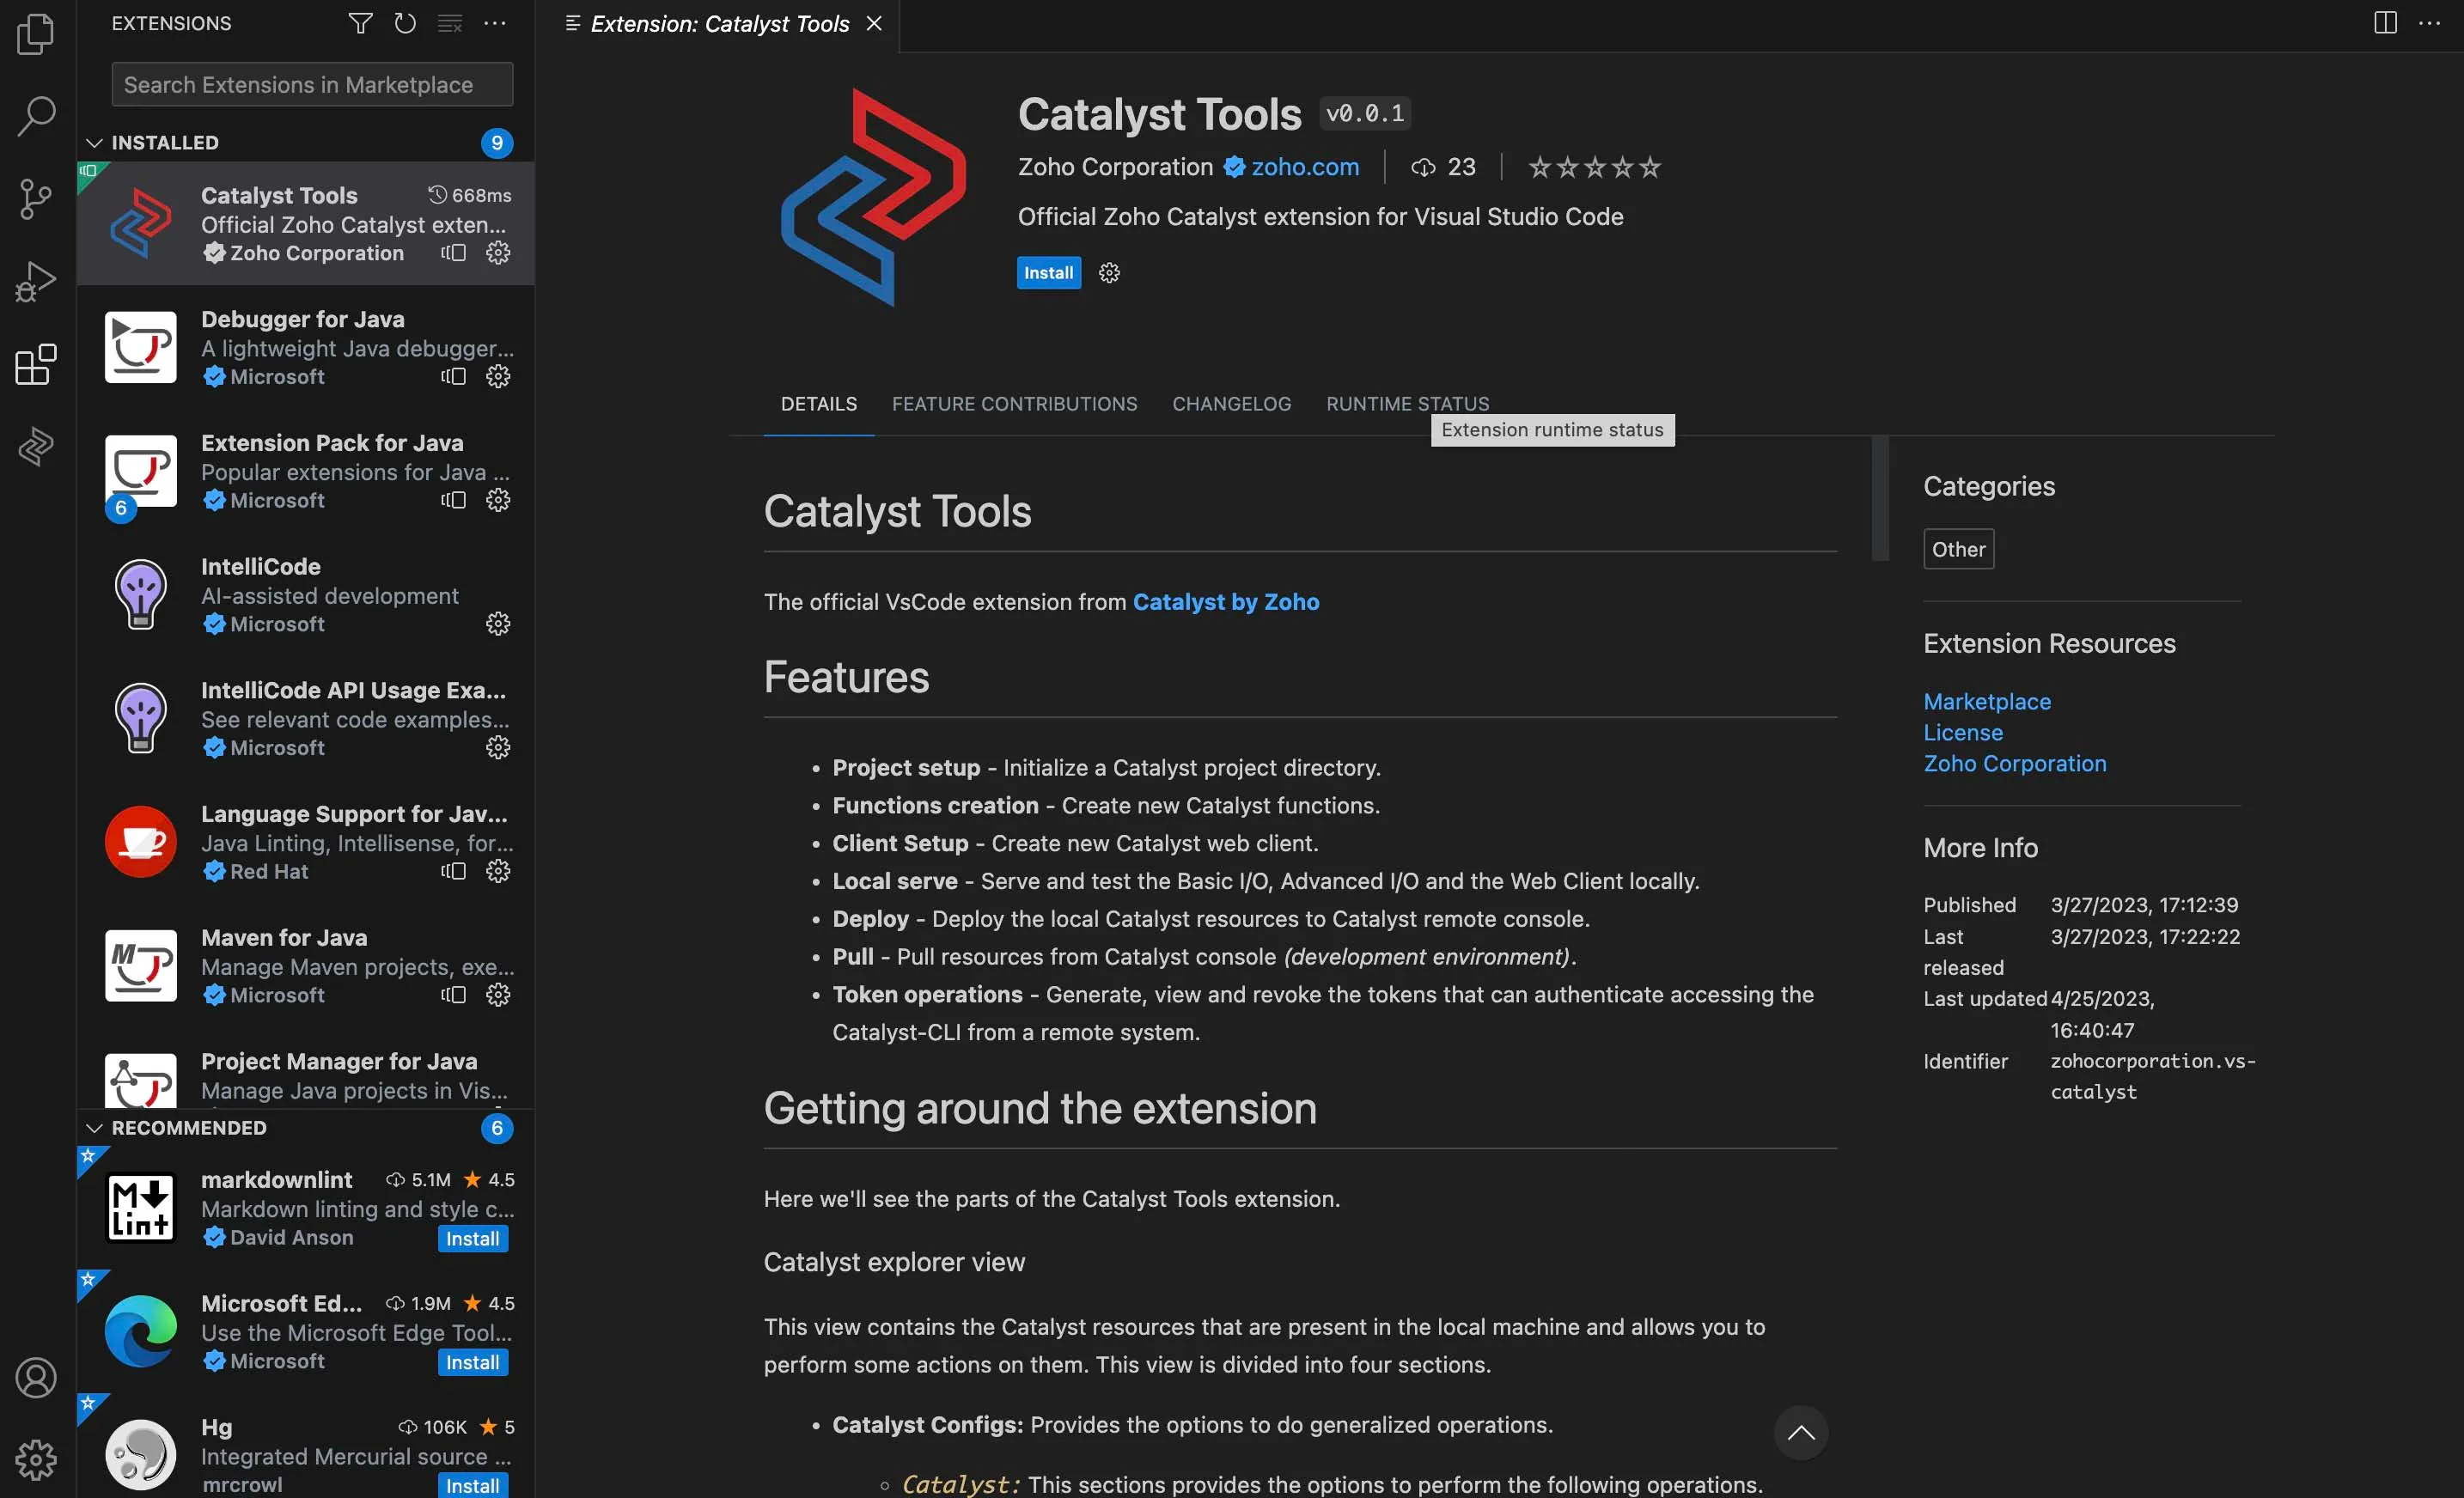
Go through the description and features listed, to get a better understanding of the extension.
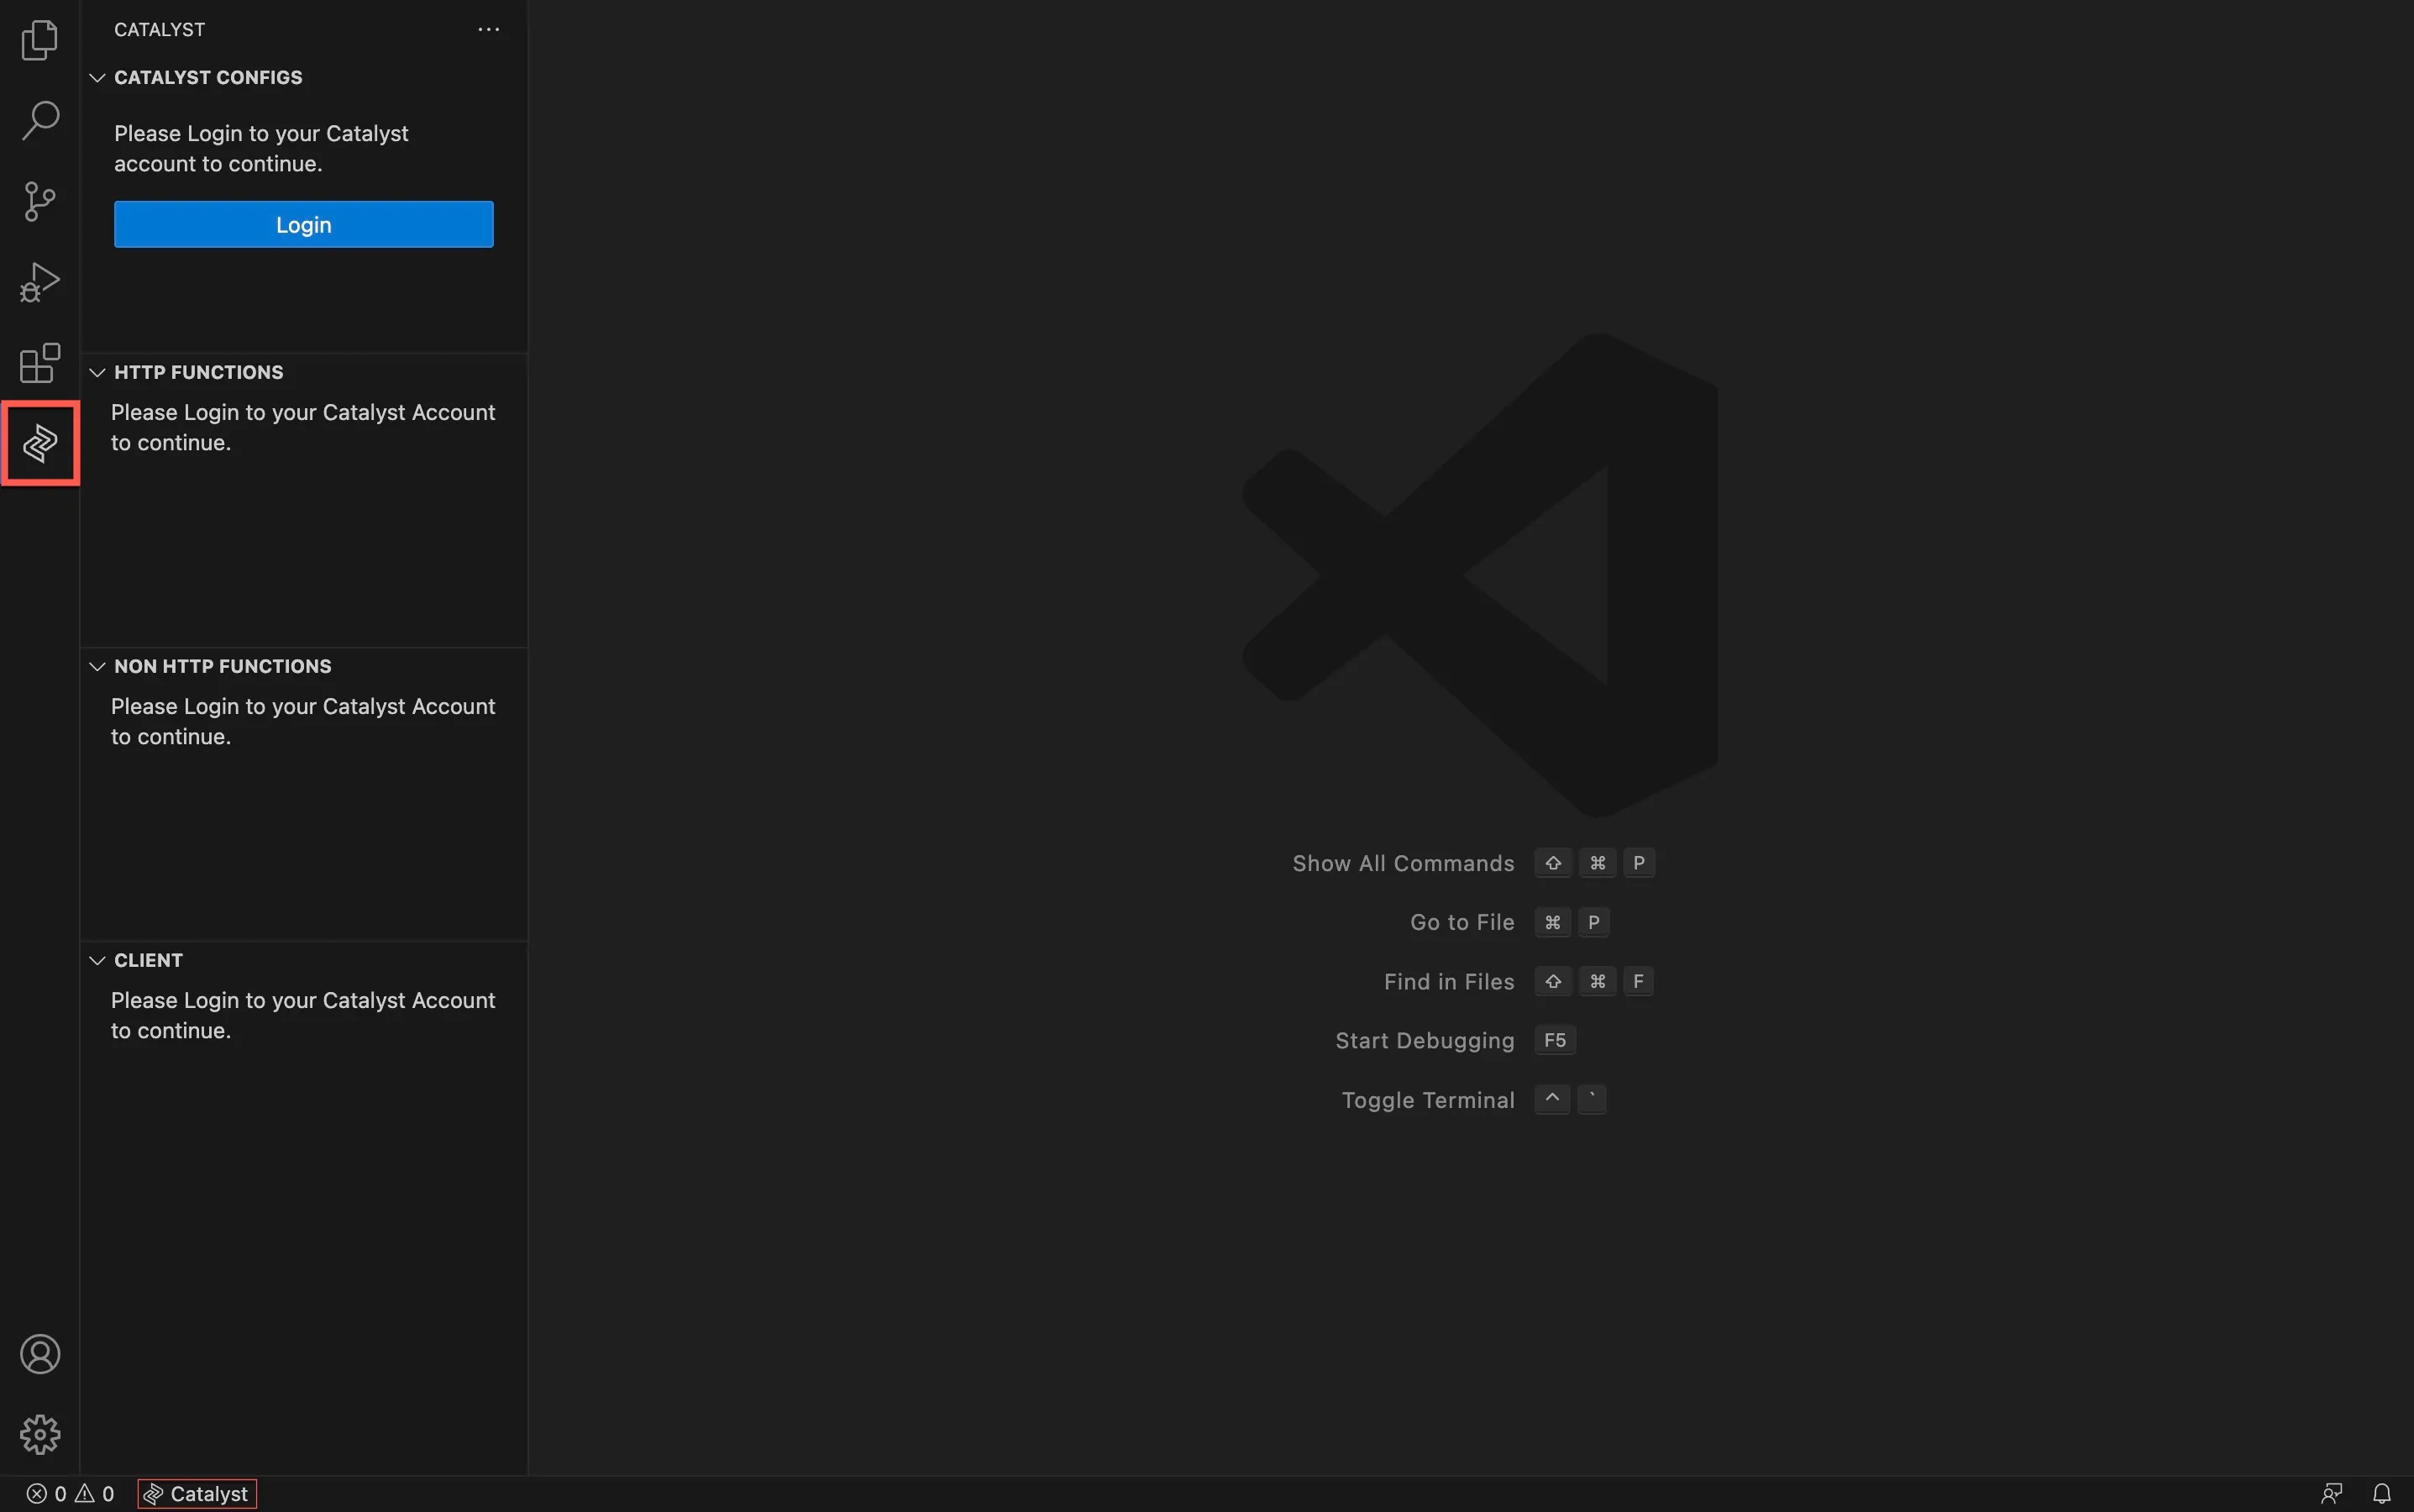
The Catalyst Tools extension can now be accessed by clicking the Catalyst icon in the sidebar, or at the footer of the IDE.
Log In to Catalyst
To begin using the Catalyst Tools extension, you will first need to log in to your Catalyst account. You can refer to the CLI Login help page for details about various steps.
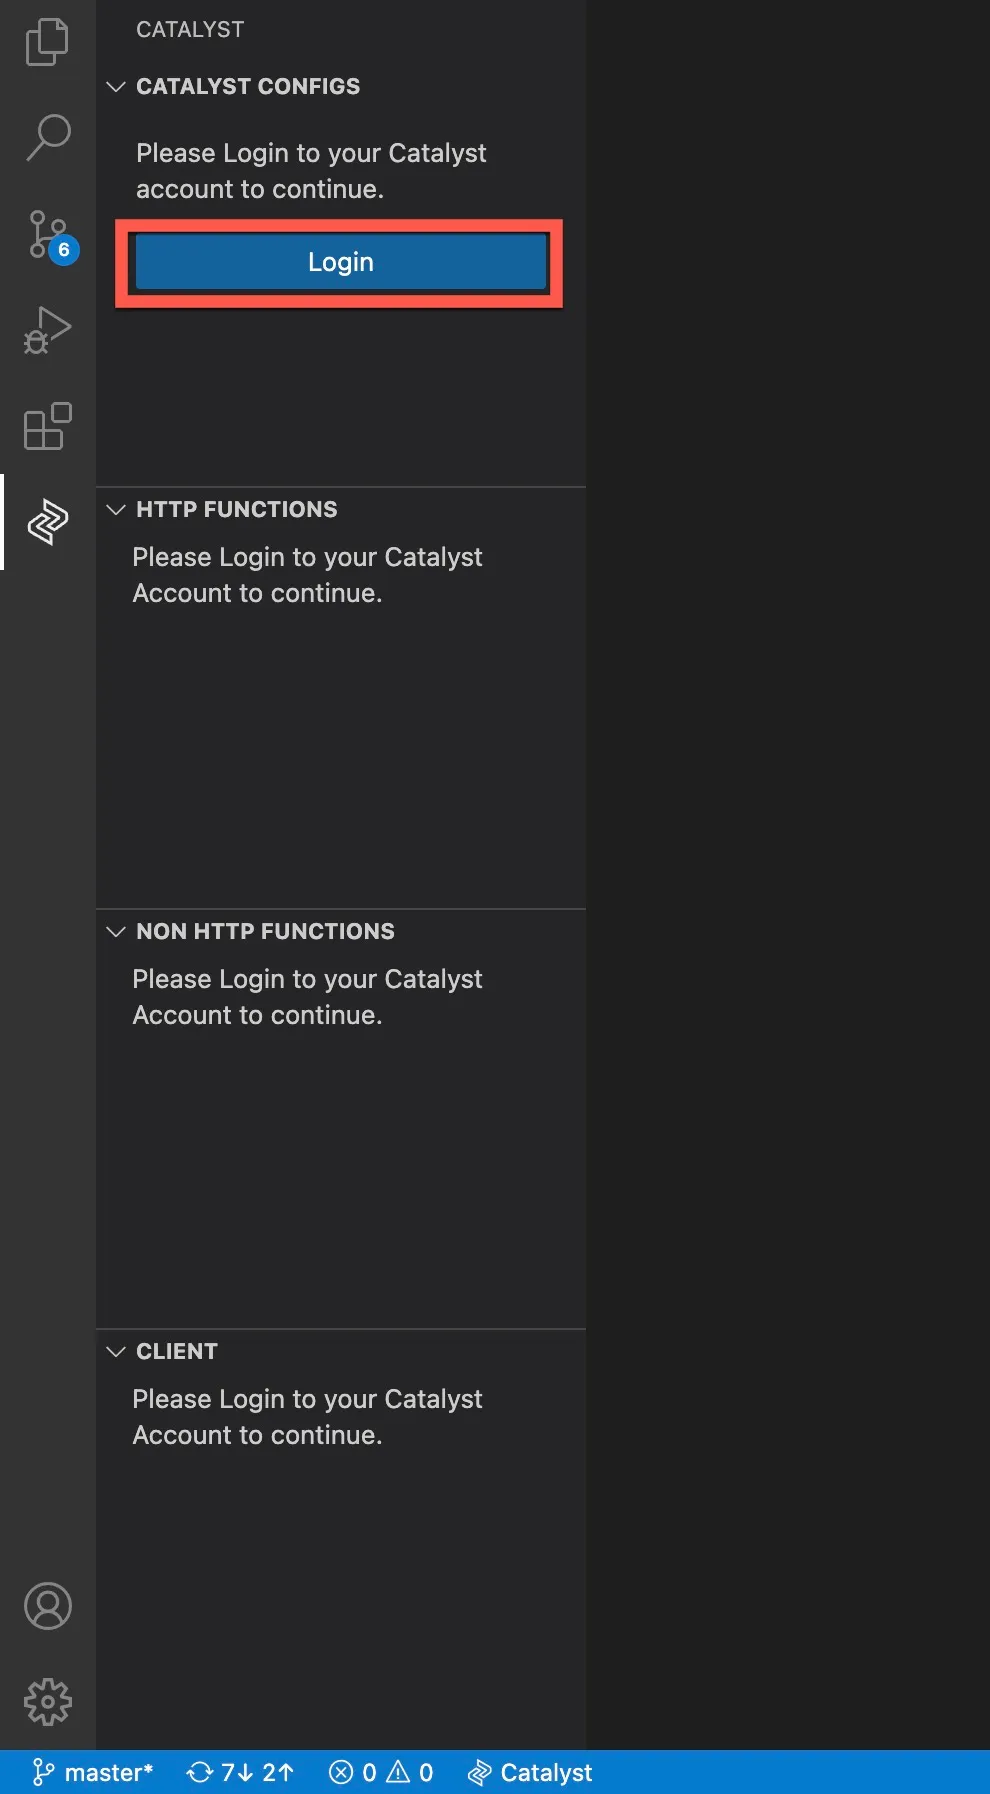
Log in to your Catalyst account from the VS Code IDE in the following way:
-
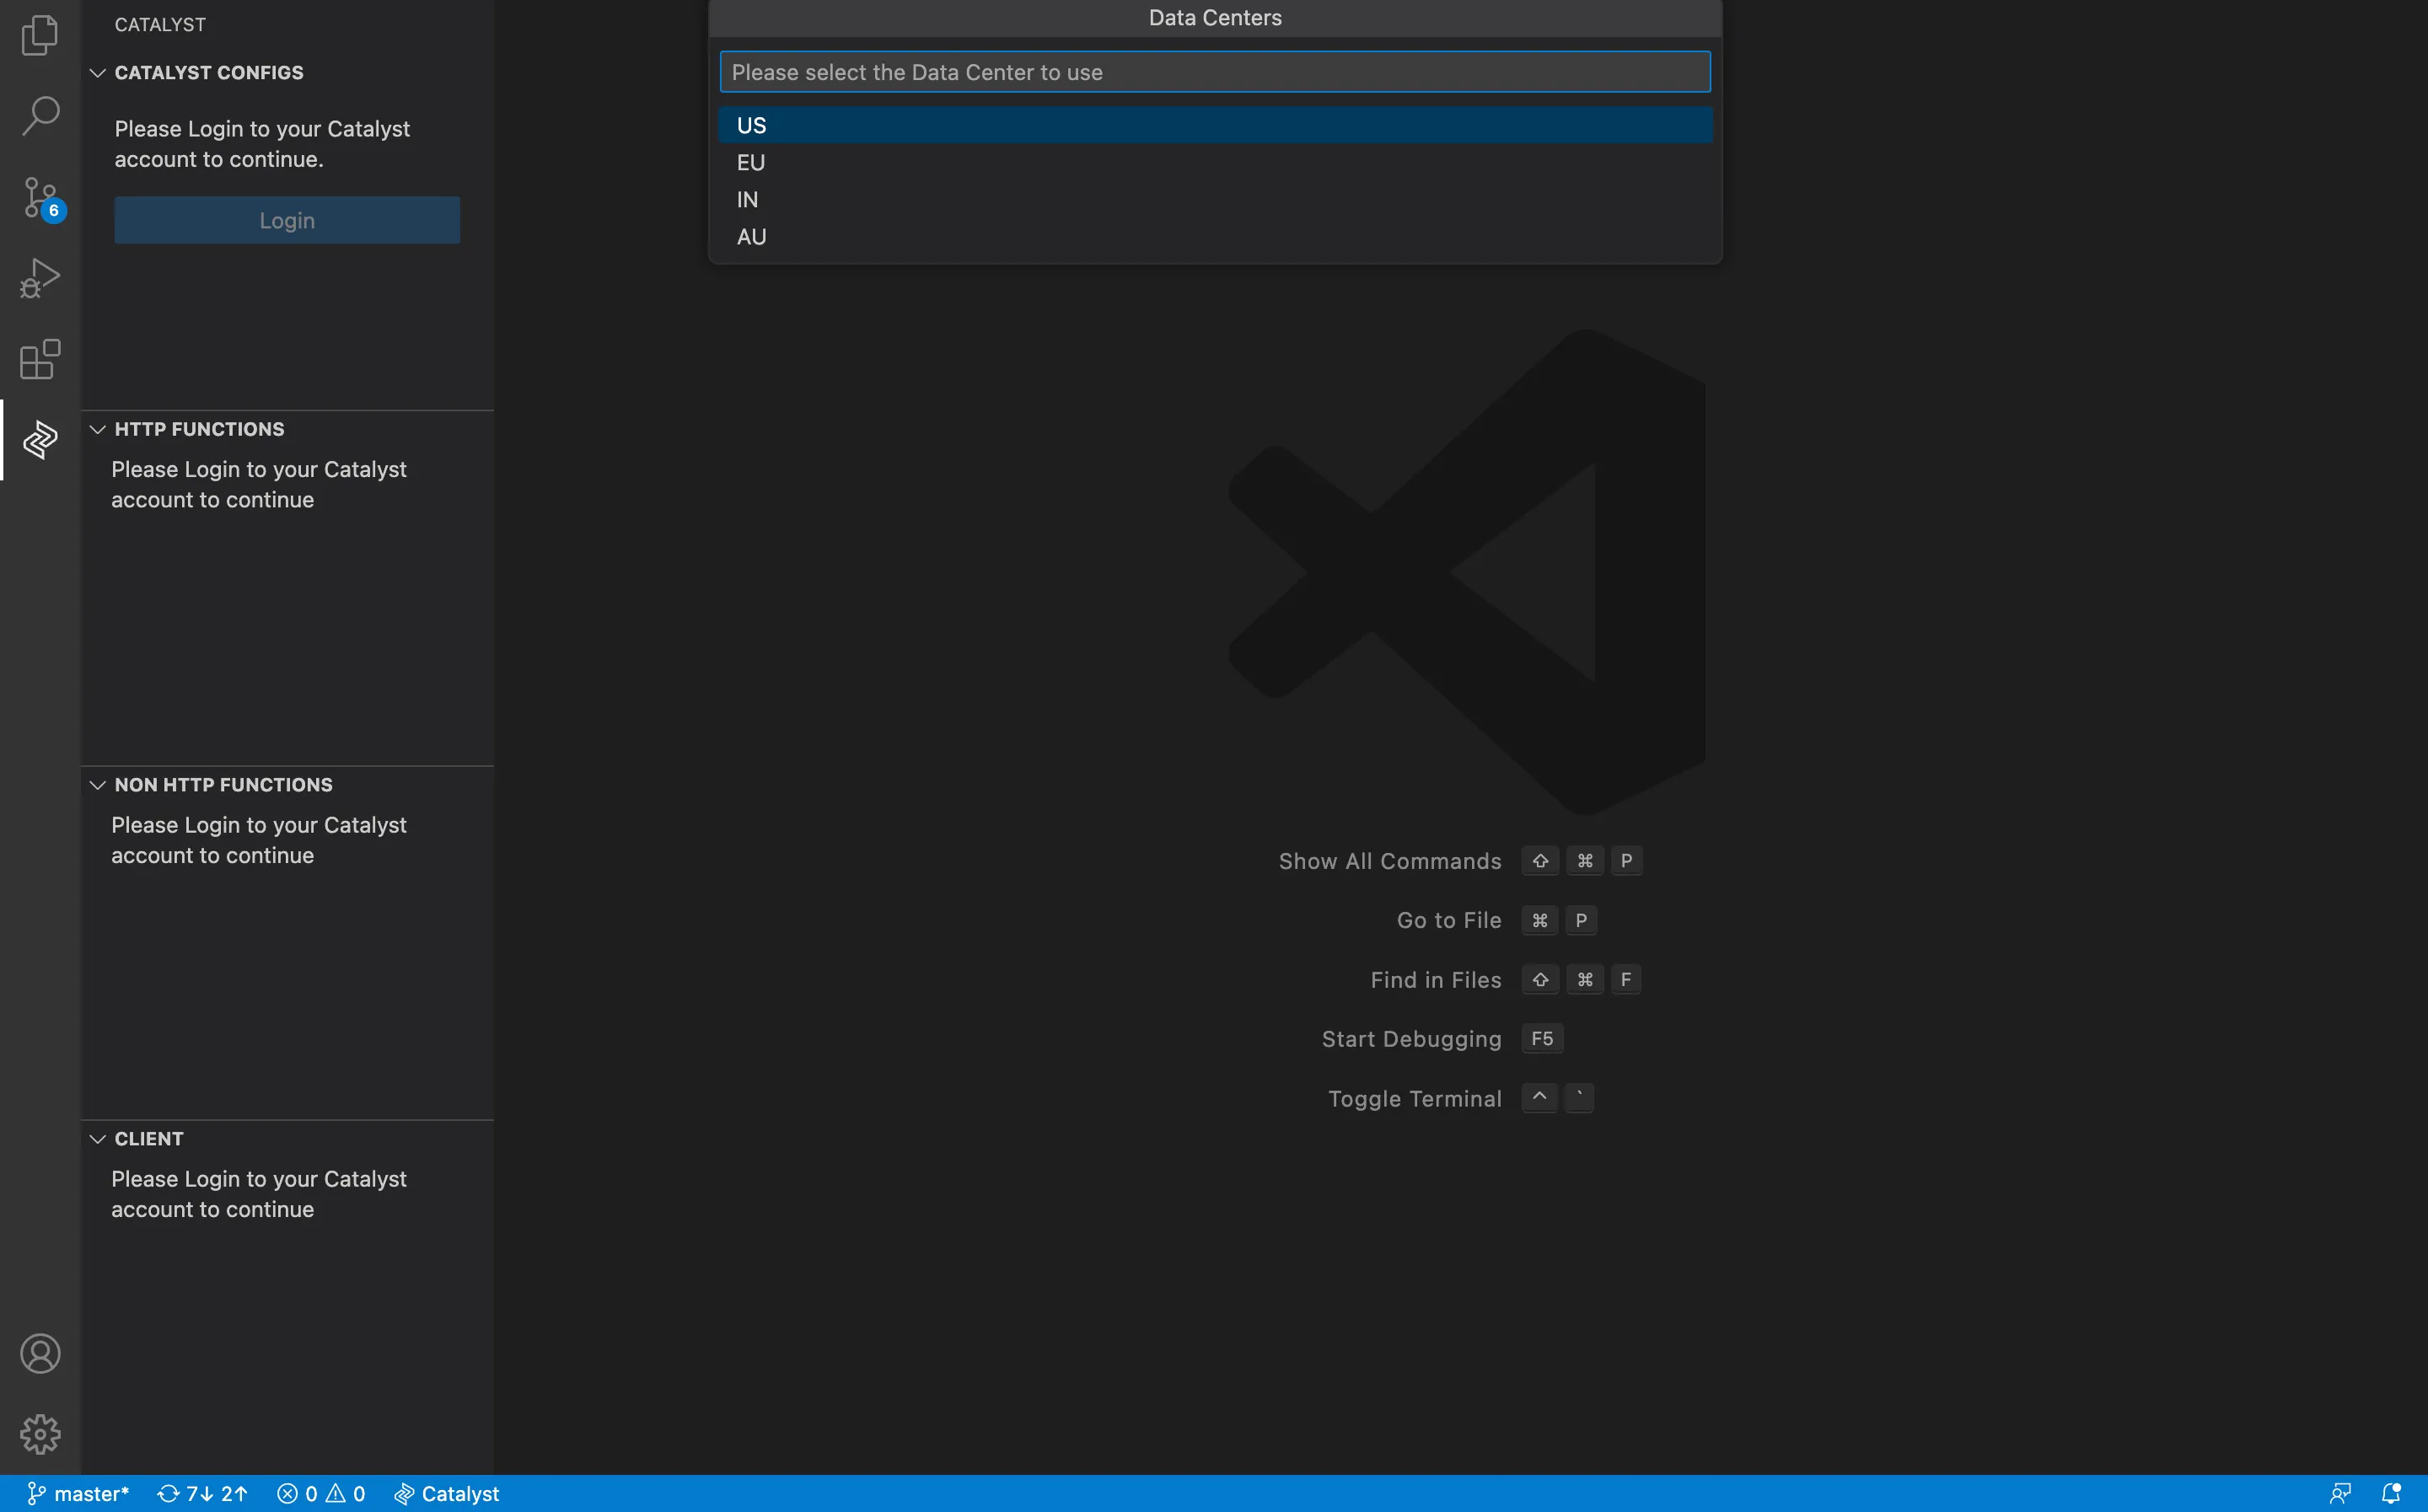
Click the Login button shown in the CATALYST CONFIGS section in the left-panel.
-
Choose the DC to log in to.
-
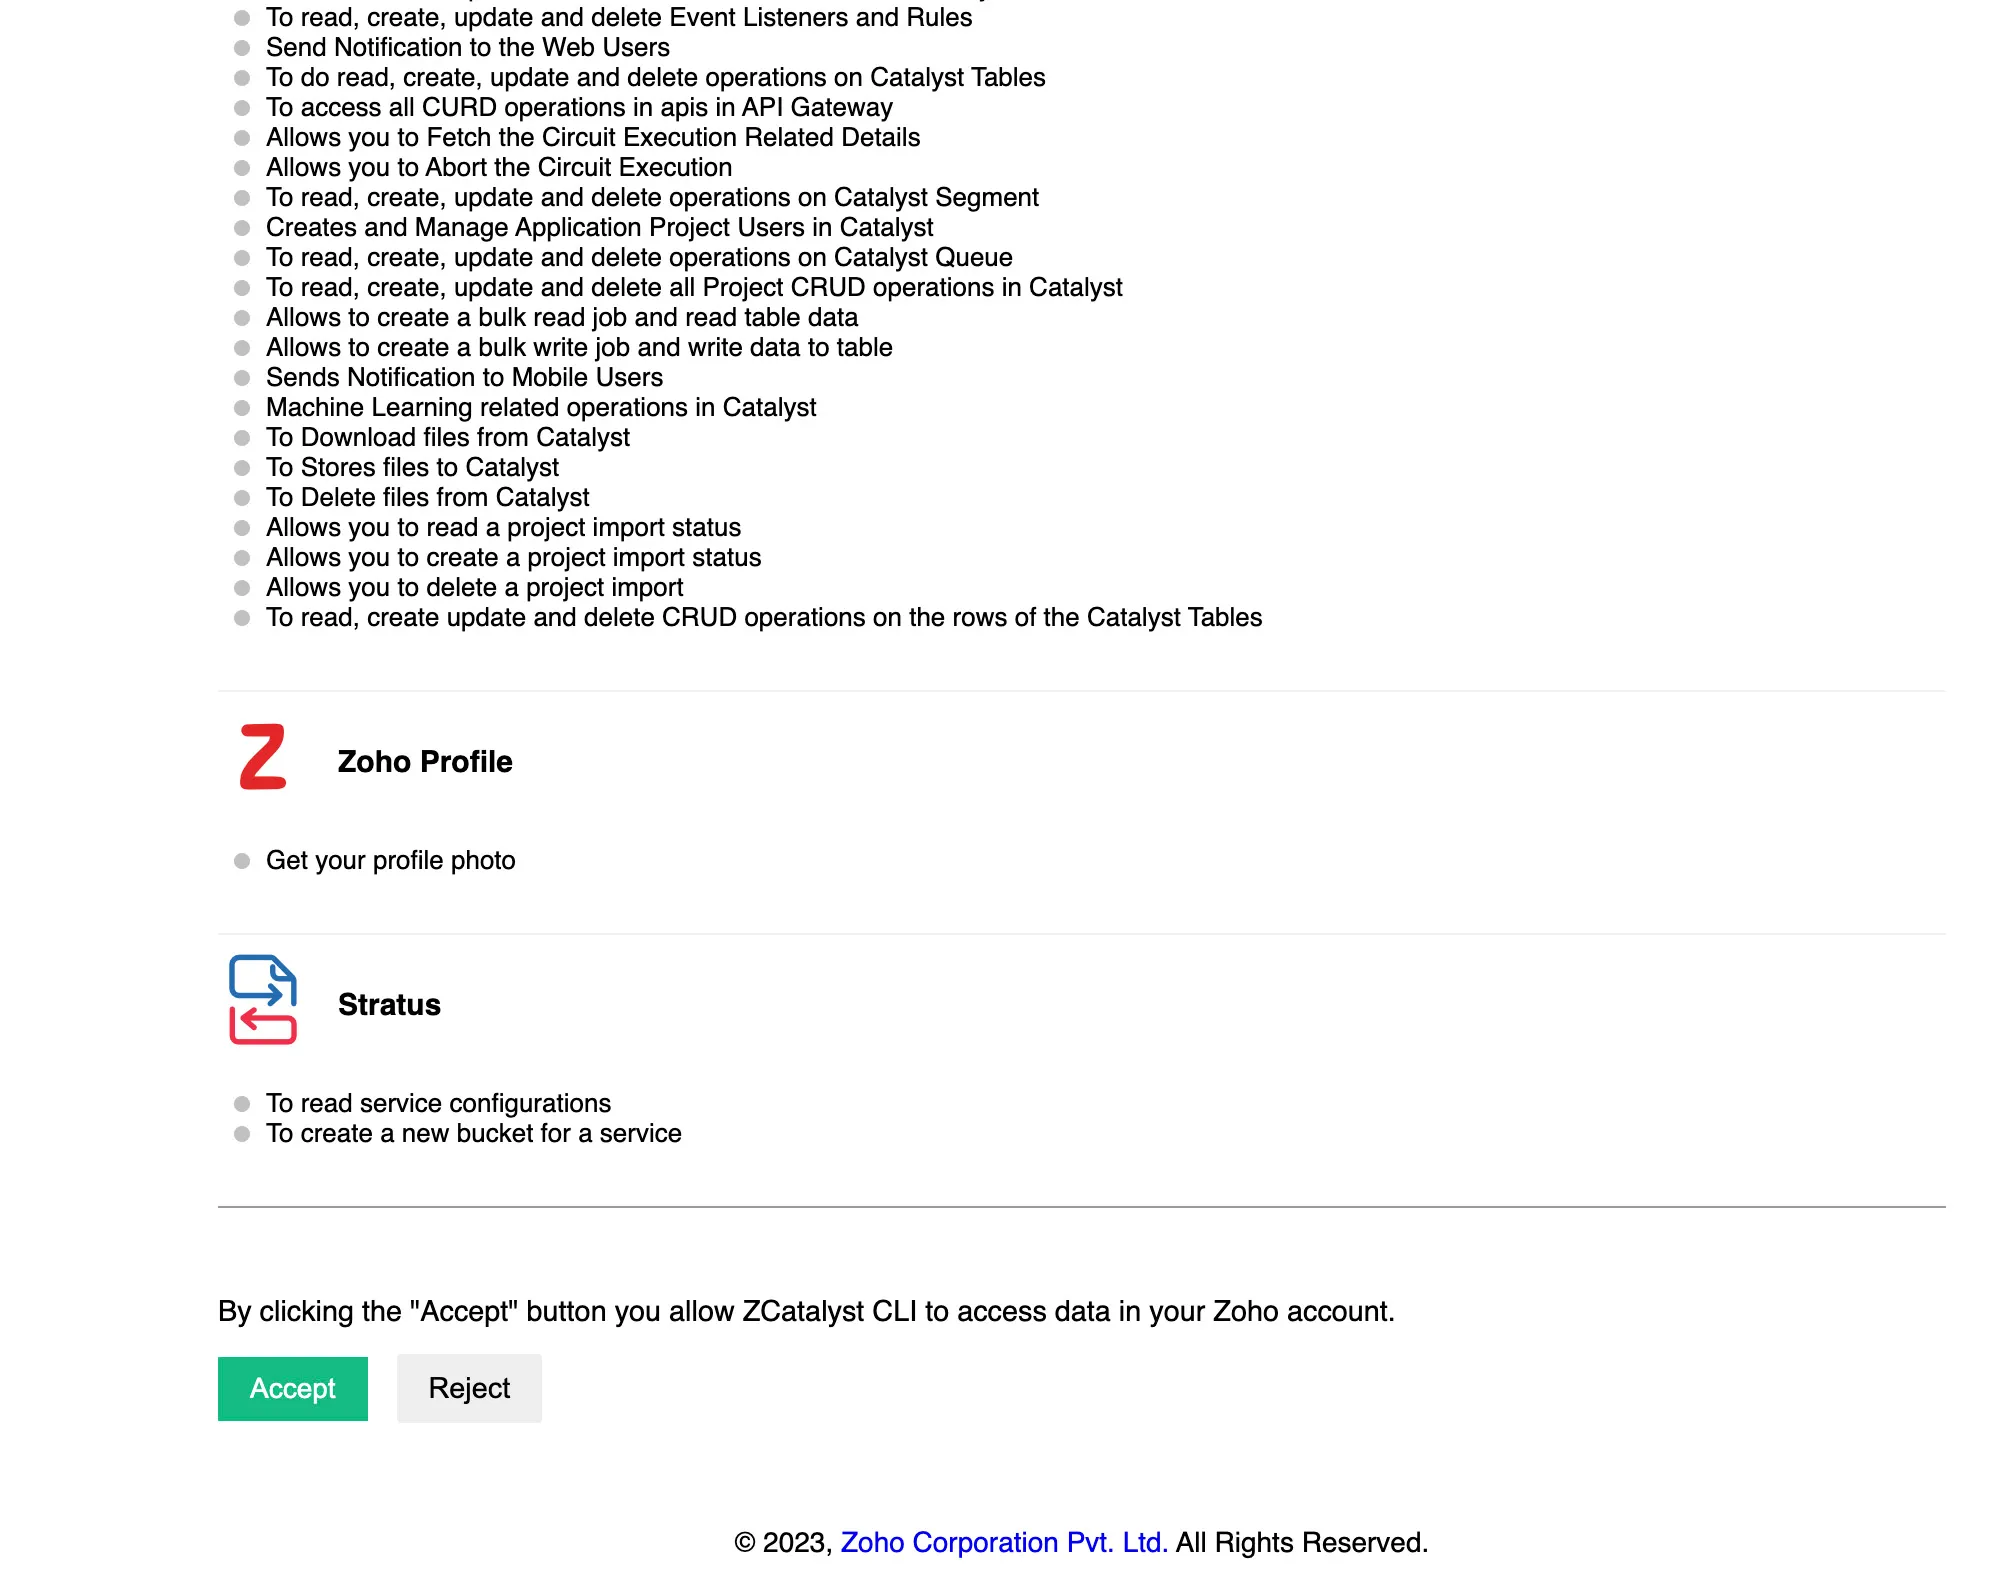
You will be redirected to a permission page in your default browser.
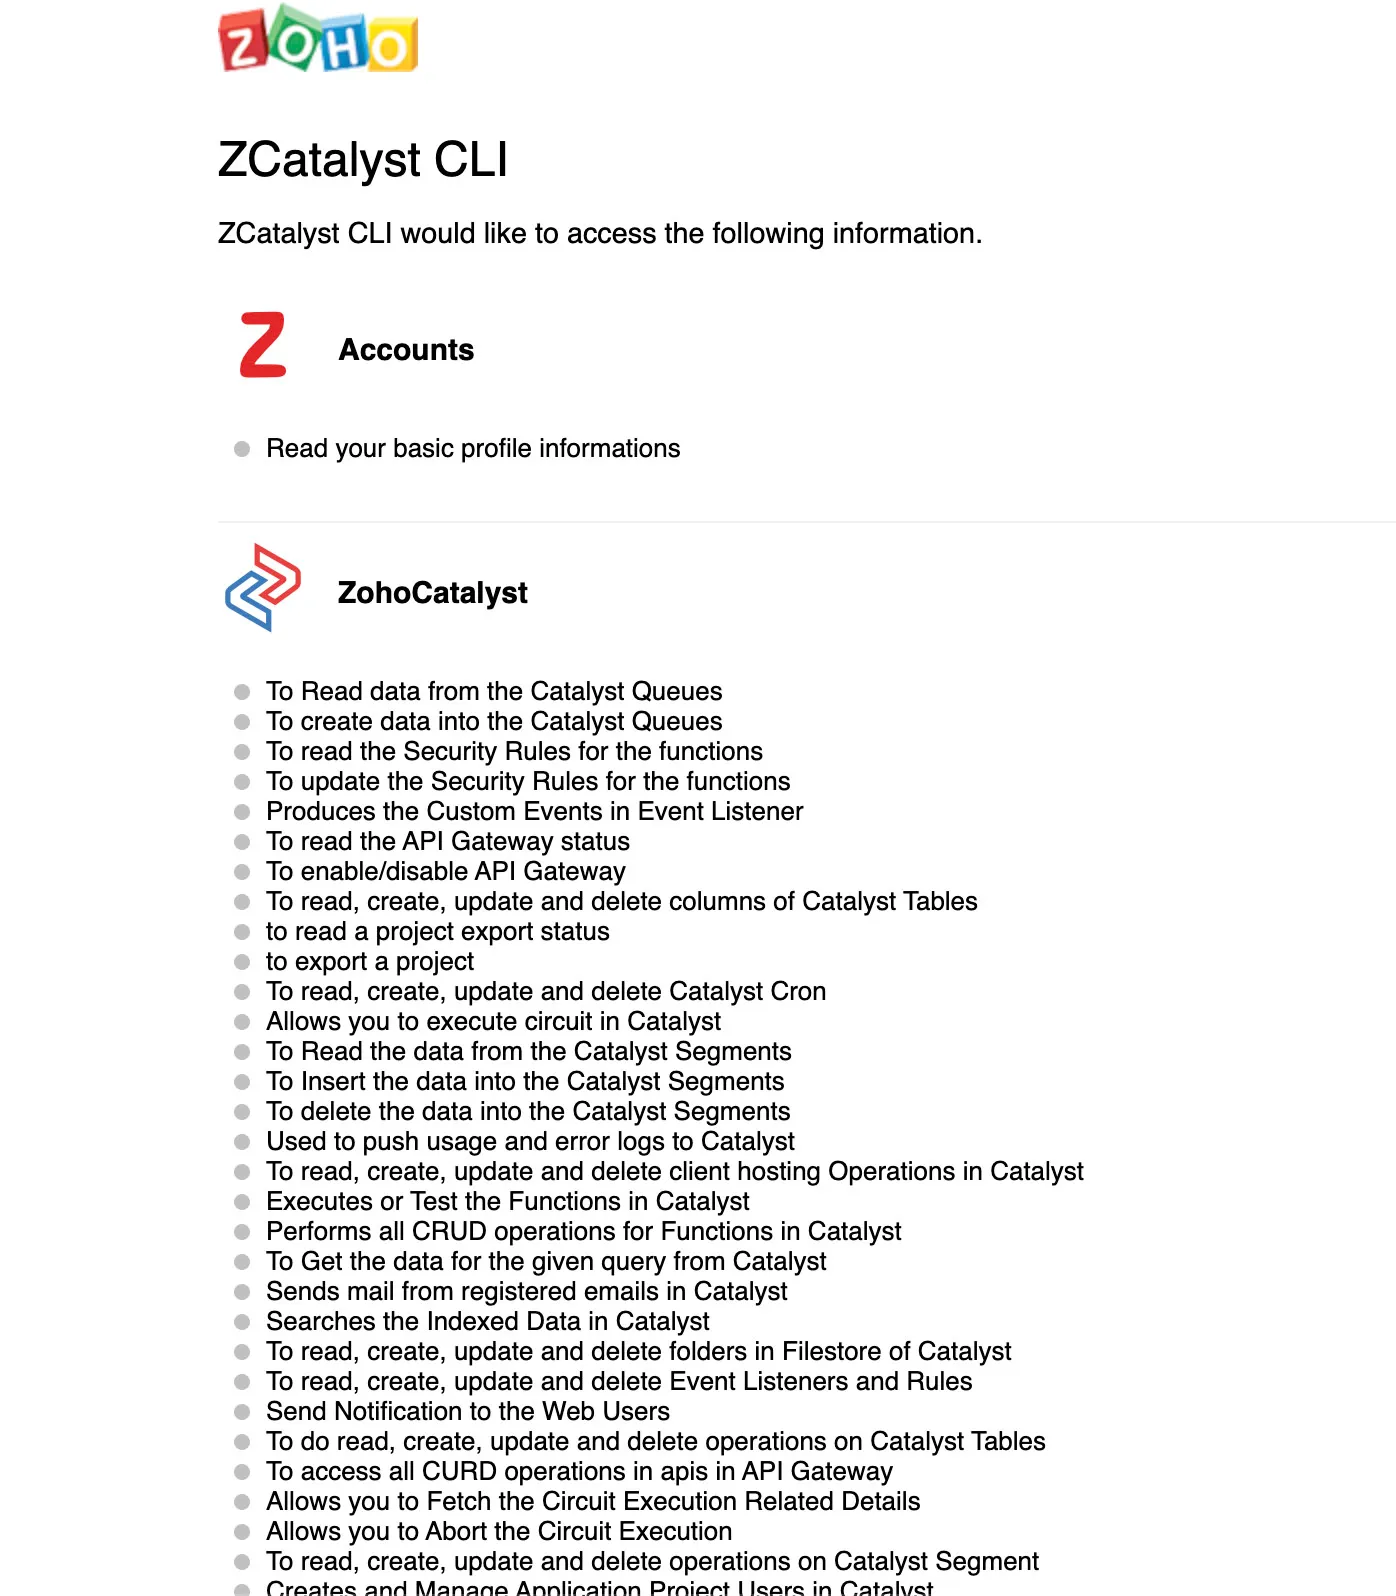
-
Click Accept, to complete logging in to your Catalyst account and connecting the IDE to the Catalyst console.
-
You will be logged in.
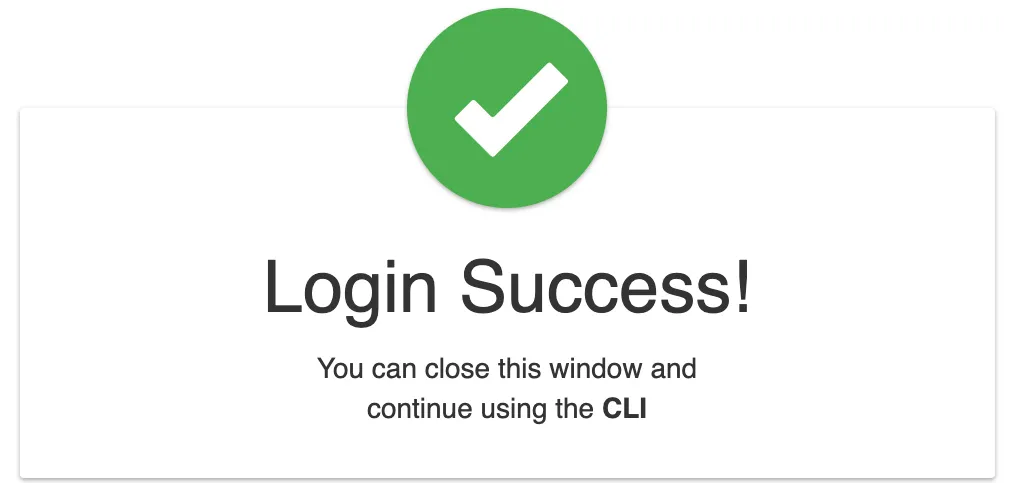
Close the window and continue using the Catalyst Tools extension in VS Code.
Initialize Your Catalyst Project
Before you initialize a project in this extension:
-
Ensure you have created a project in the Catalyst Console. You can find out how to from this help section.
-
Create a local directory to initialize your Catalyst project in using Catalyst Tools from VS Code.
You can refer to the CLI Initialize Resources help document for a more detailed explanation on initializing Catalyst project resources, including functions of different stacks and types, in your local environment.
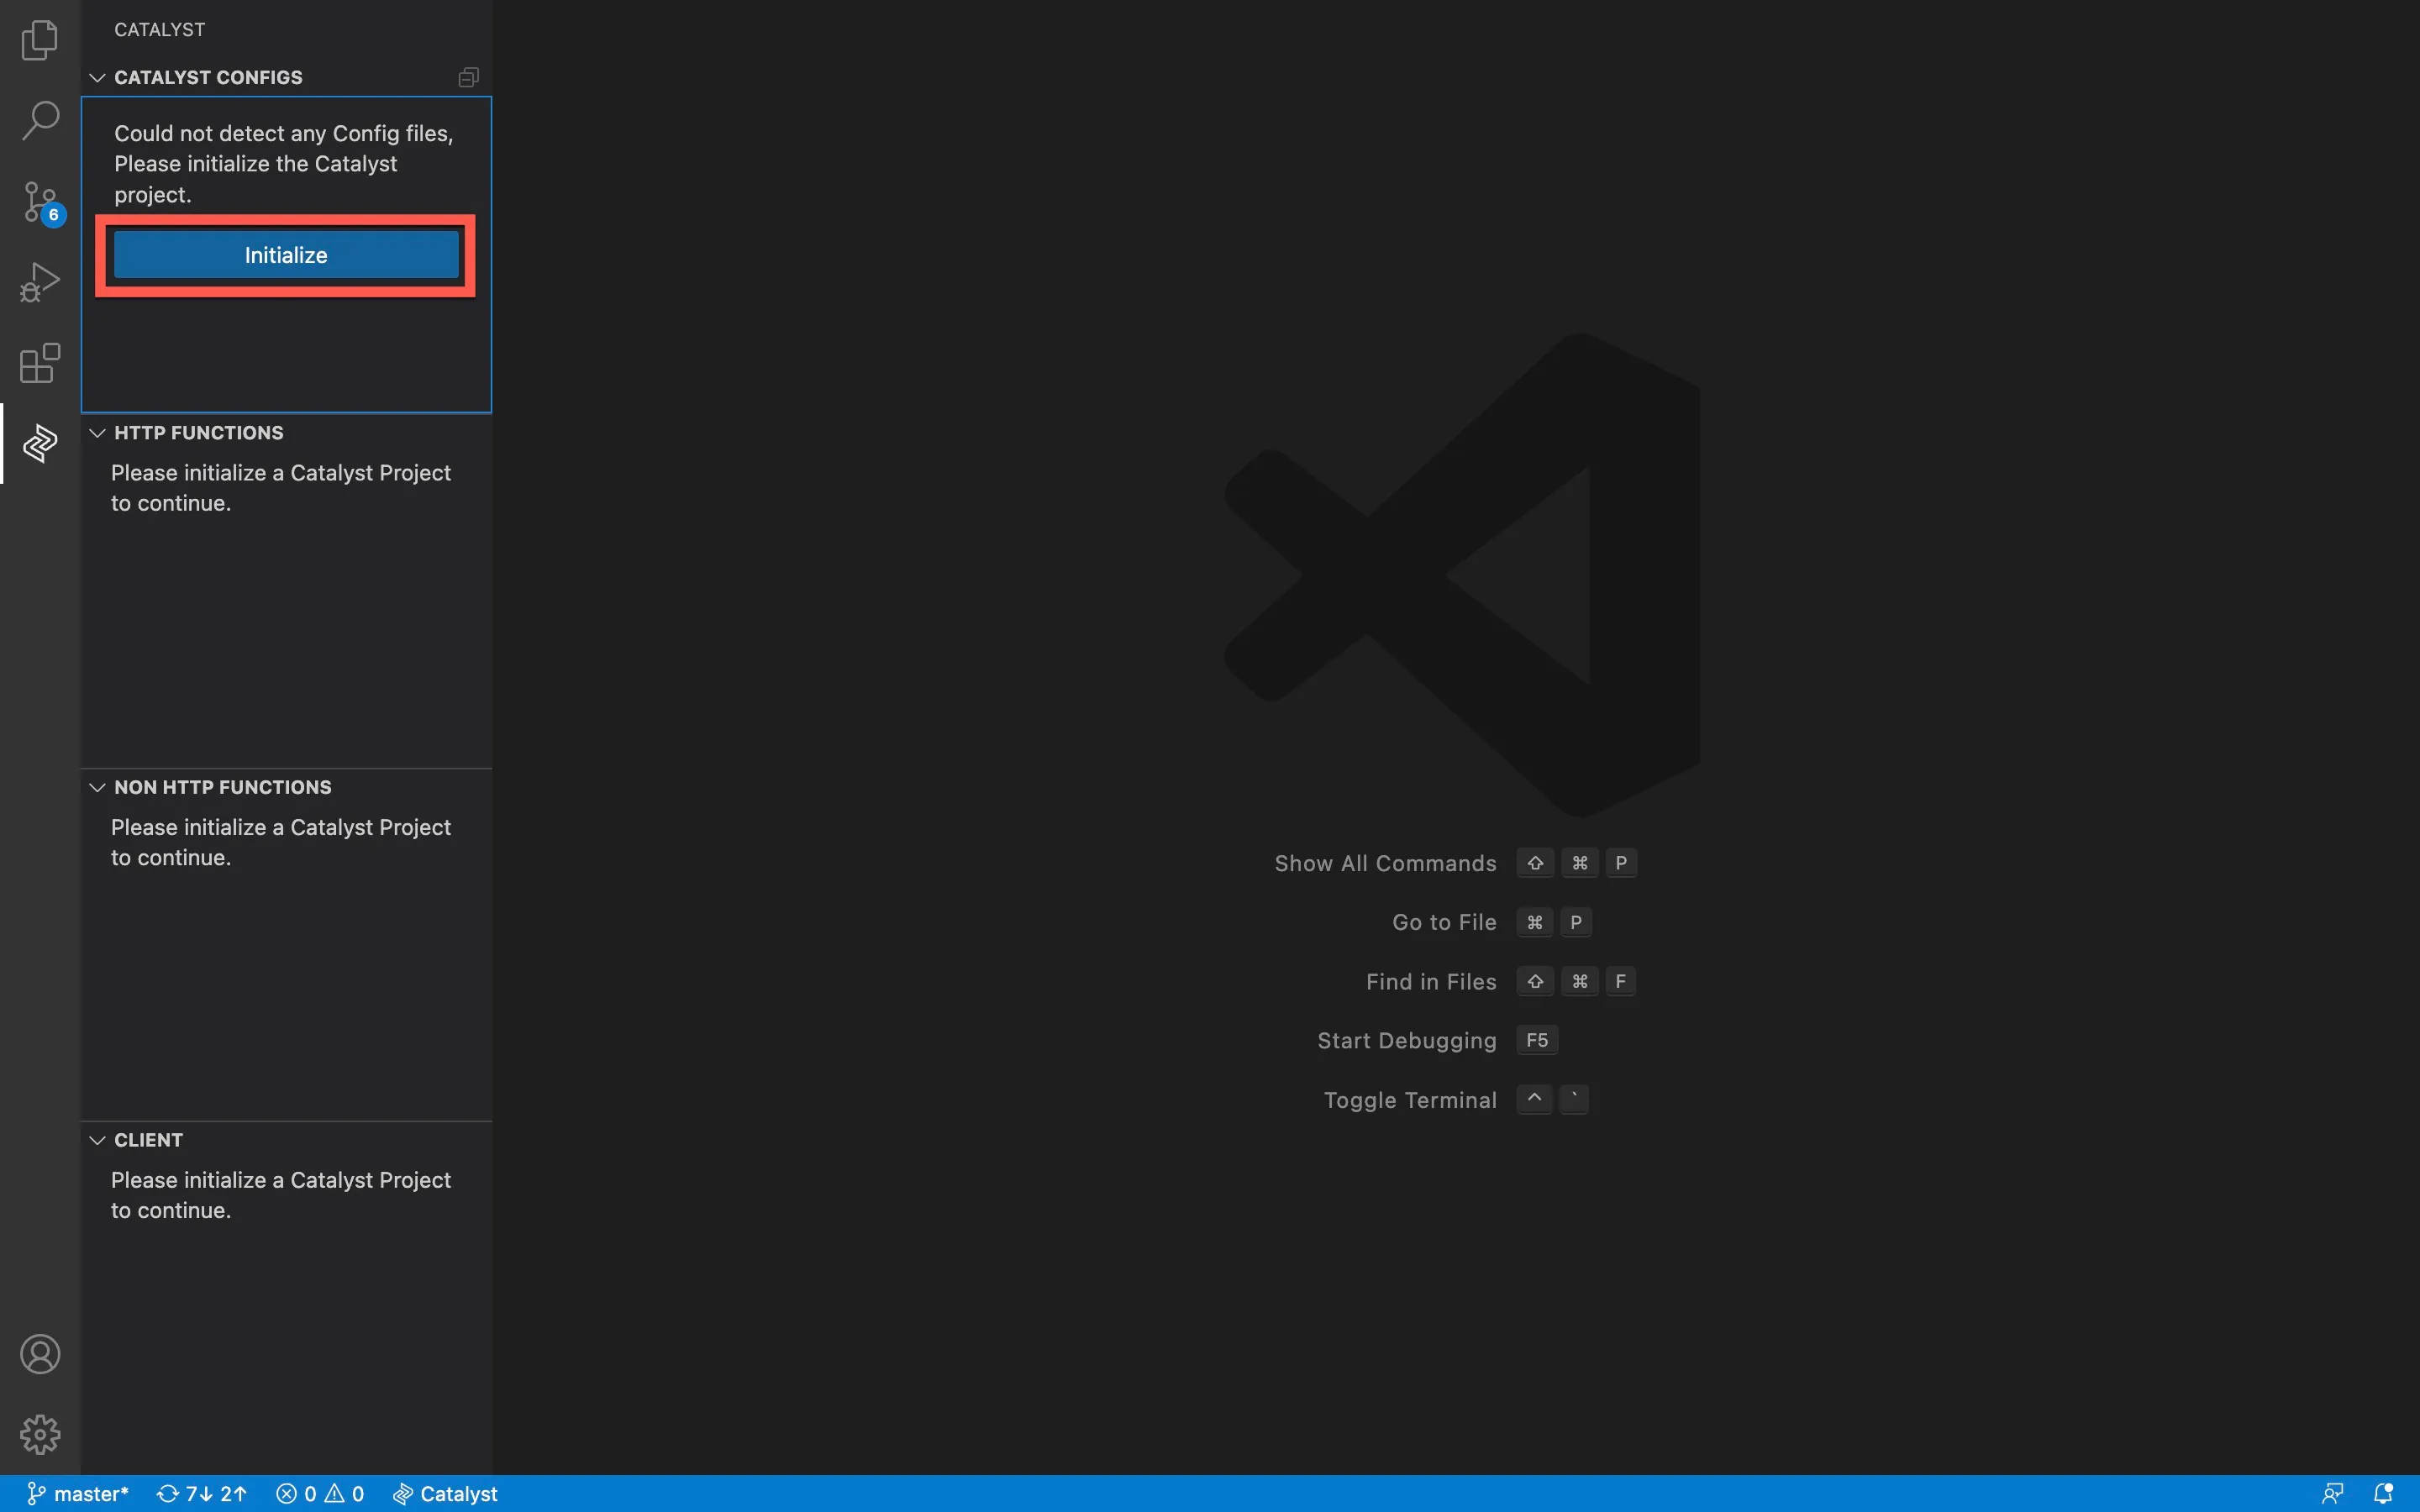
To initialize a project in the Catalyst Tools extension:
-
Click Initialize.
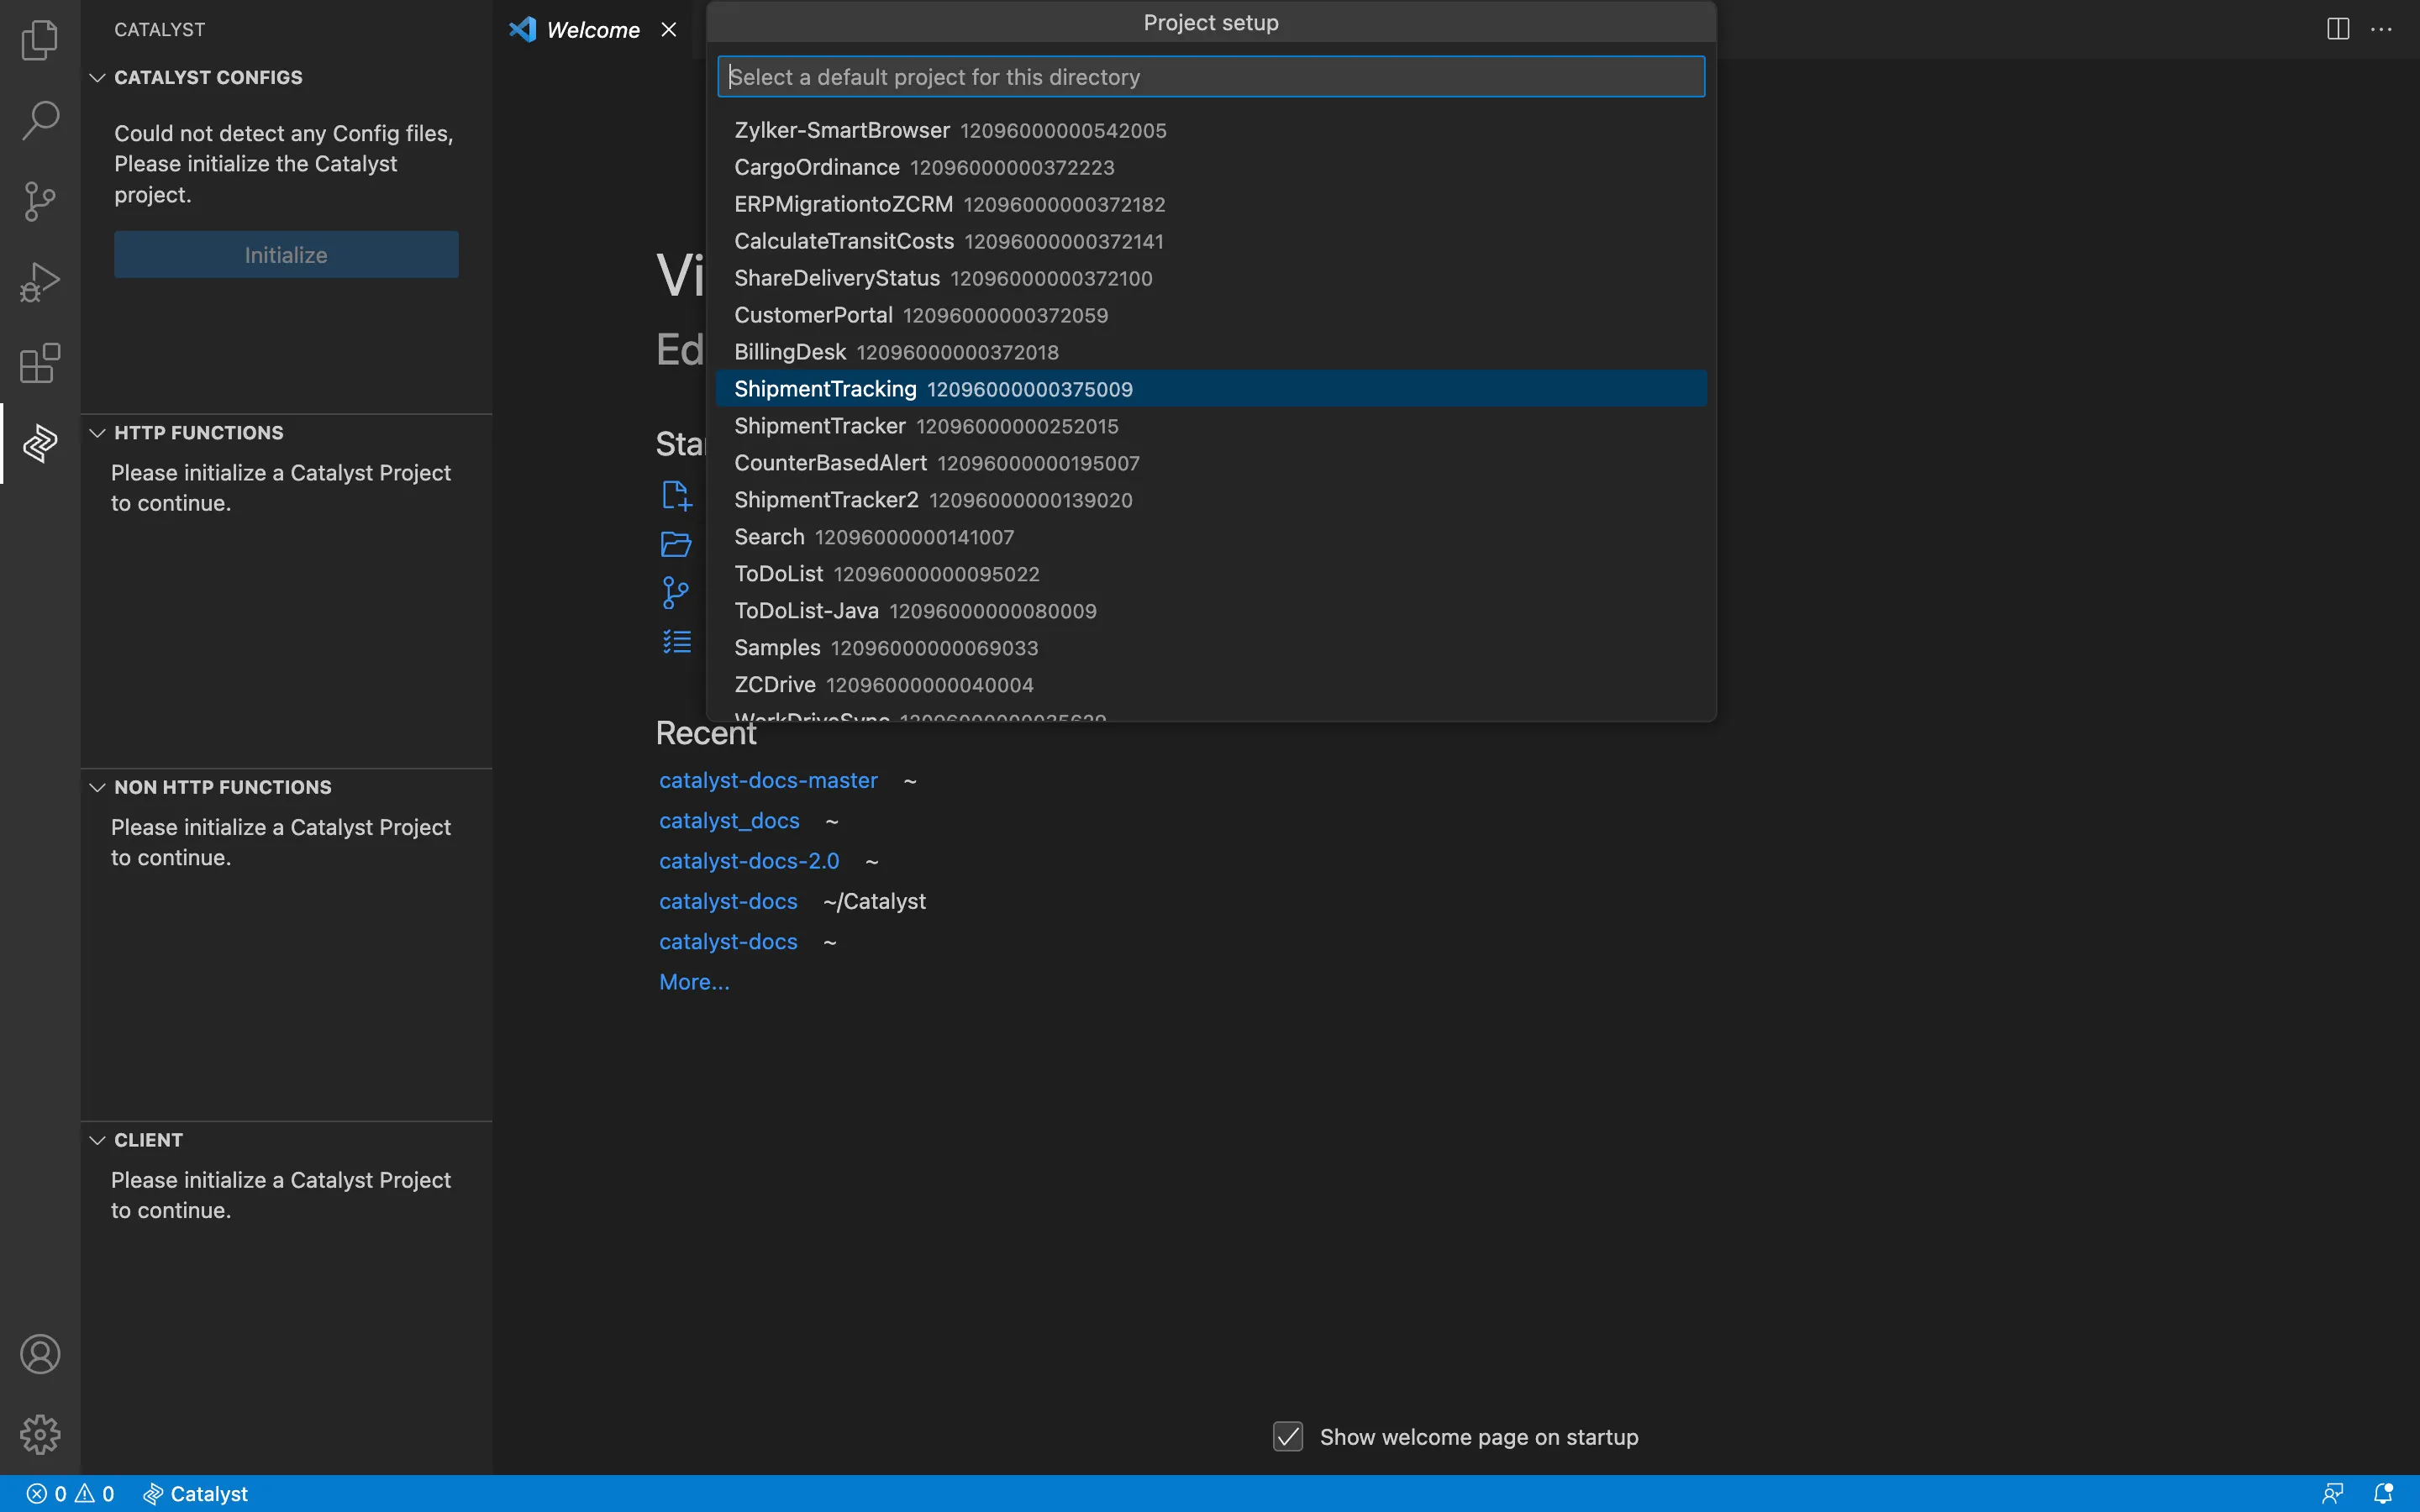
-
All Catalyst projects from your remote account will be listed here. Choose your required project to initialize within VS Code.
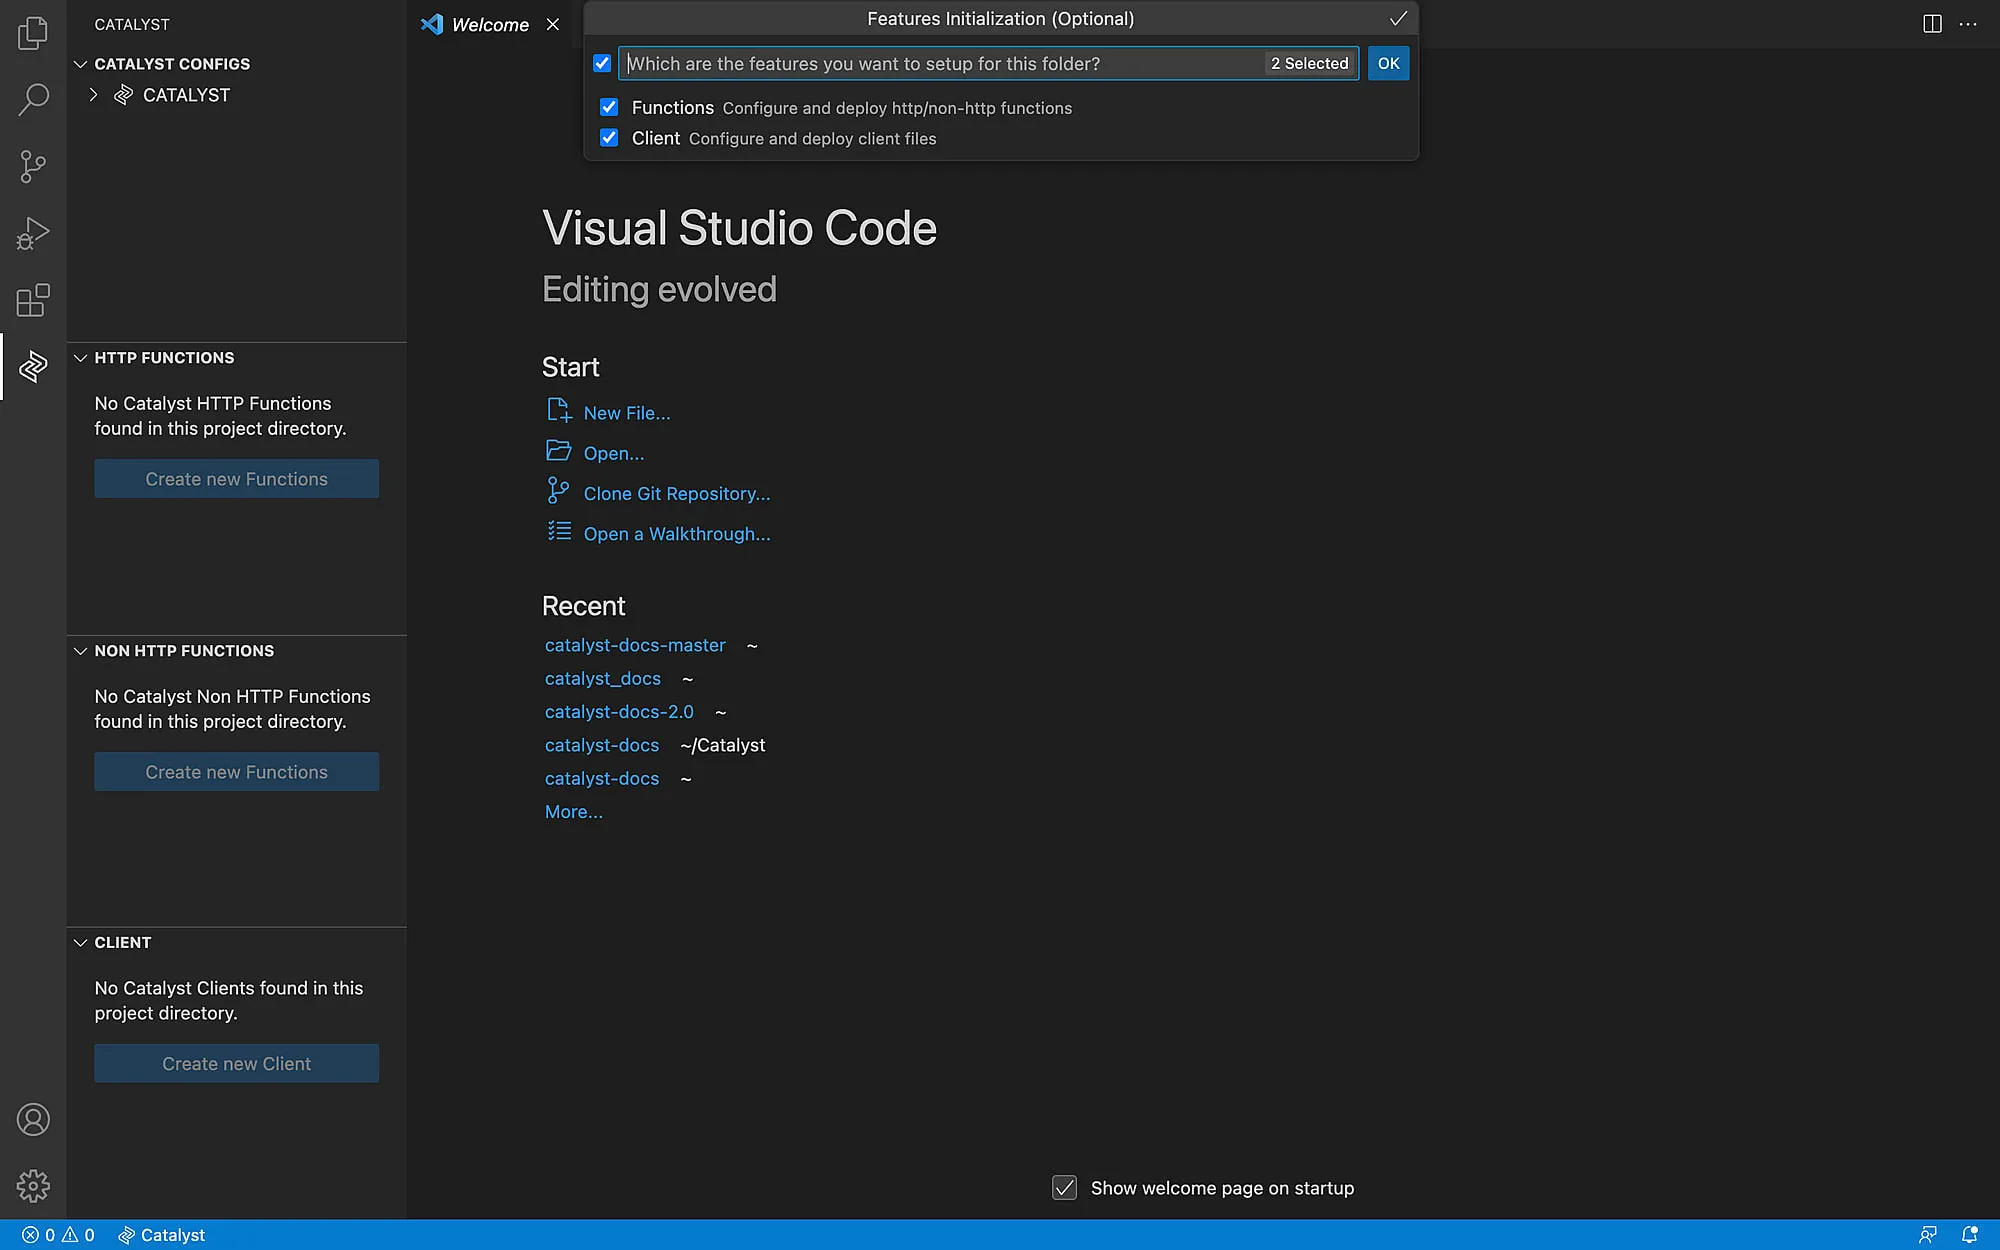
-
Select the components you would like to initialize, then click the check icon. You can initialize Functions and Client.
-
Function Setup
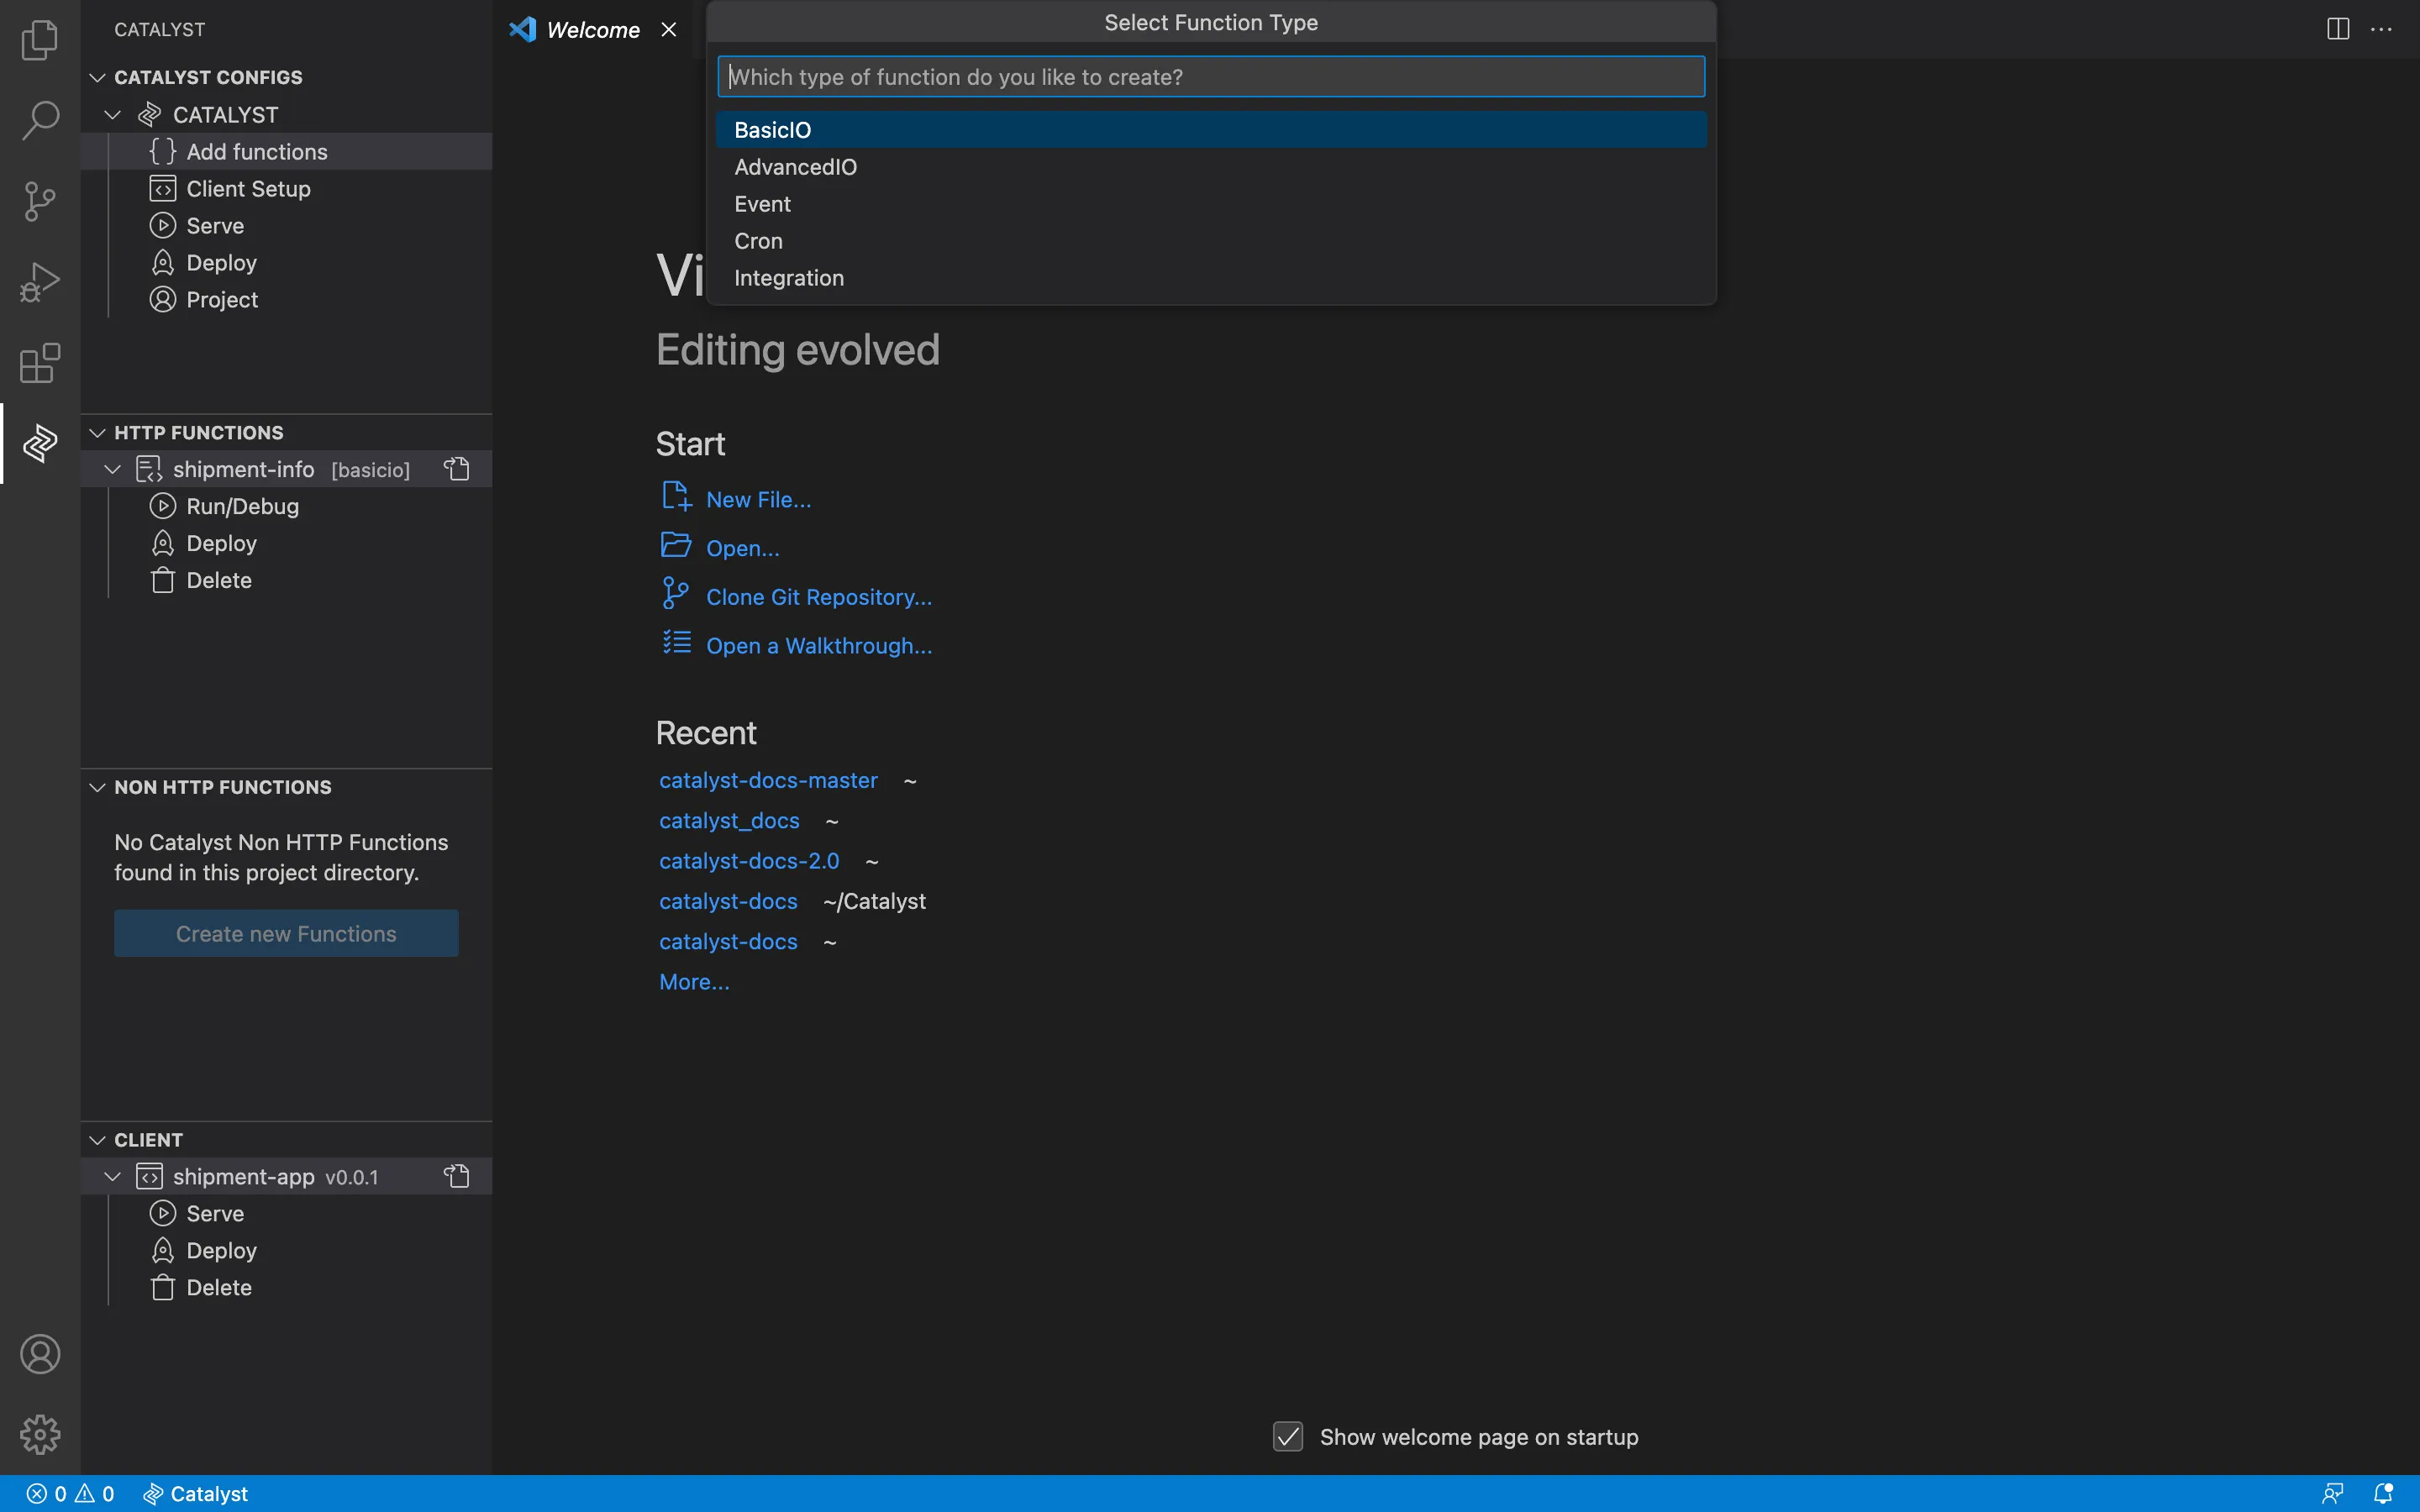
-
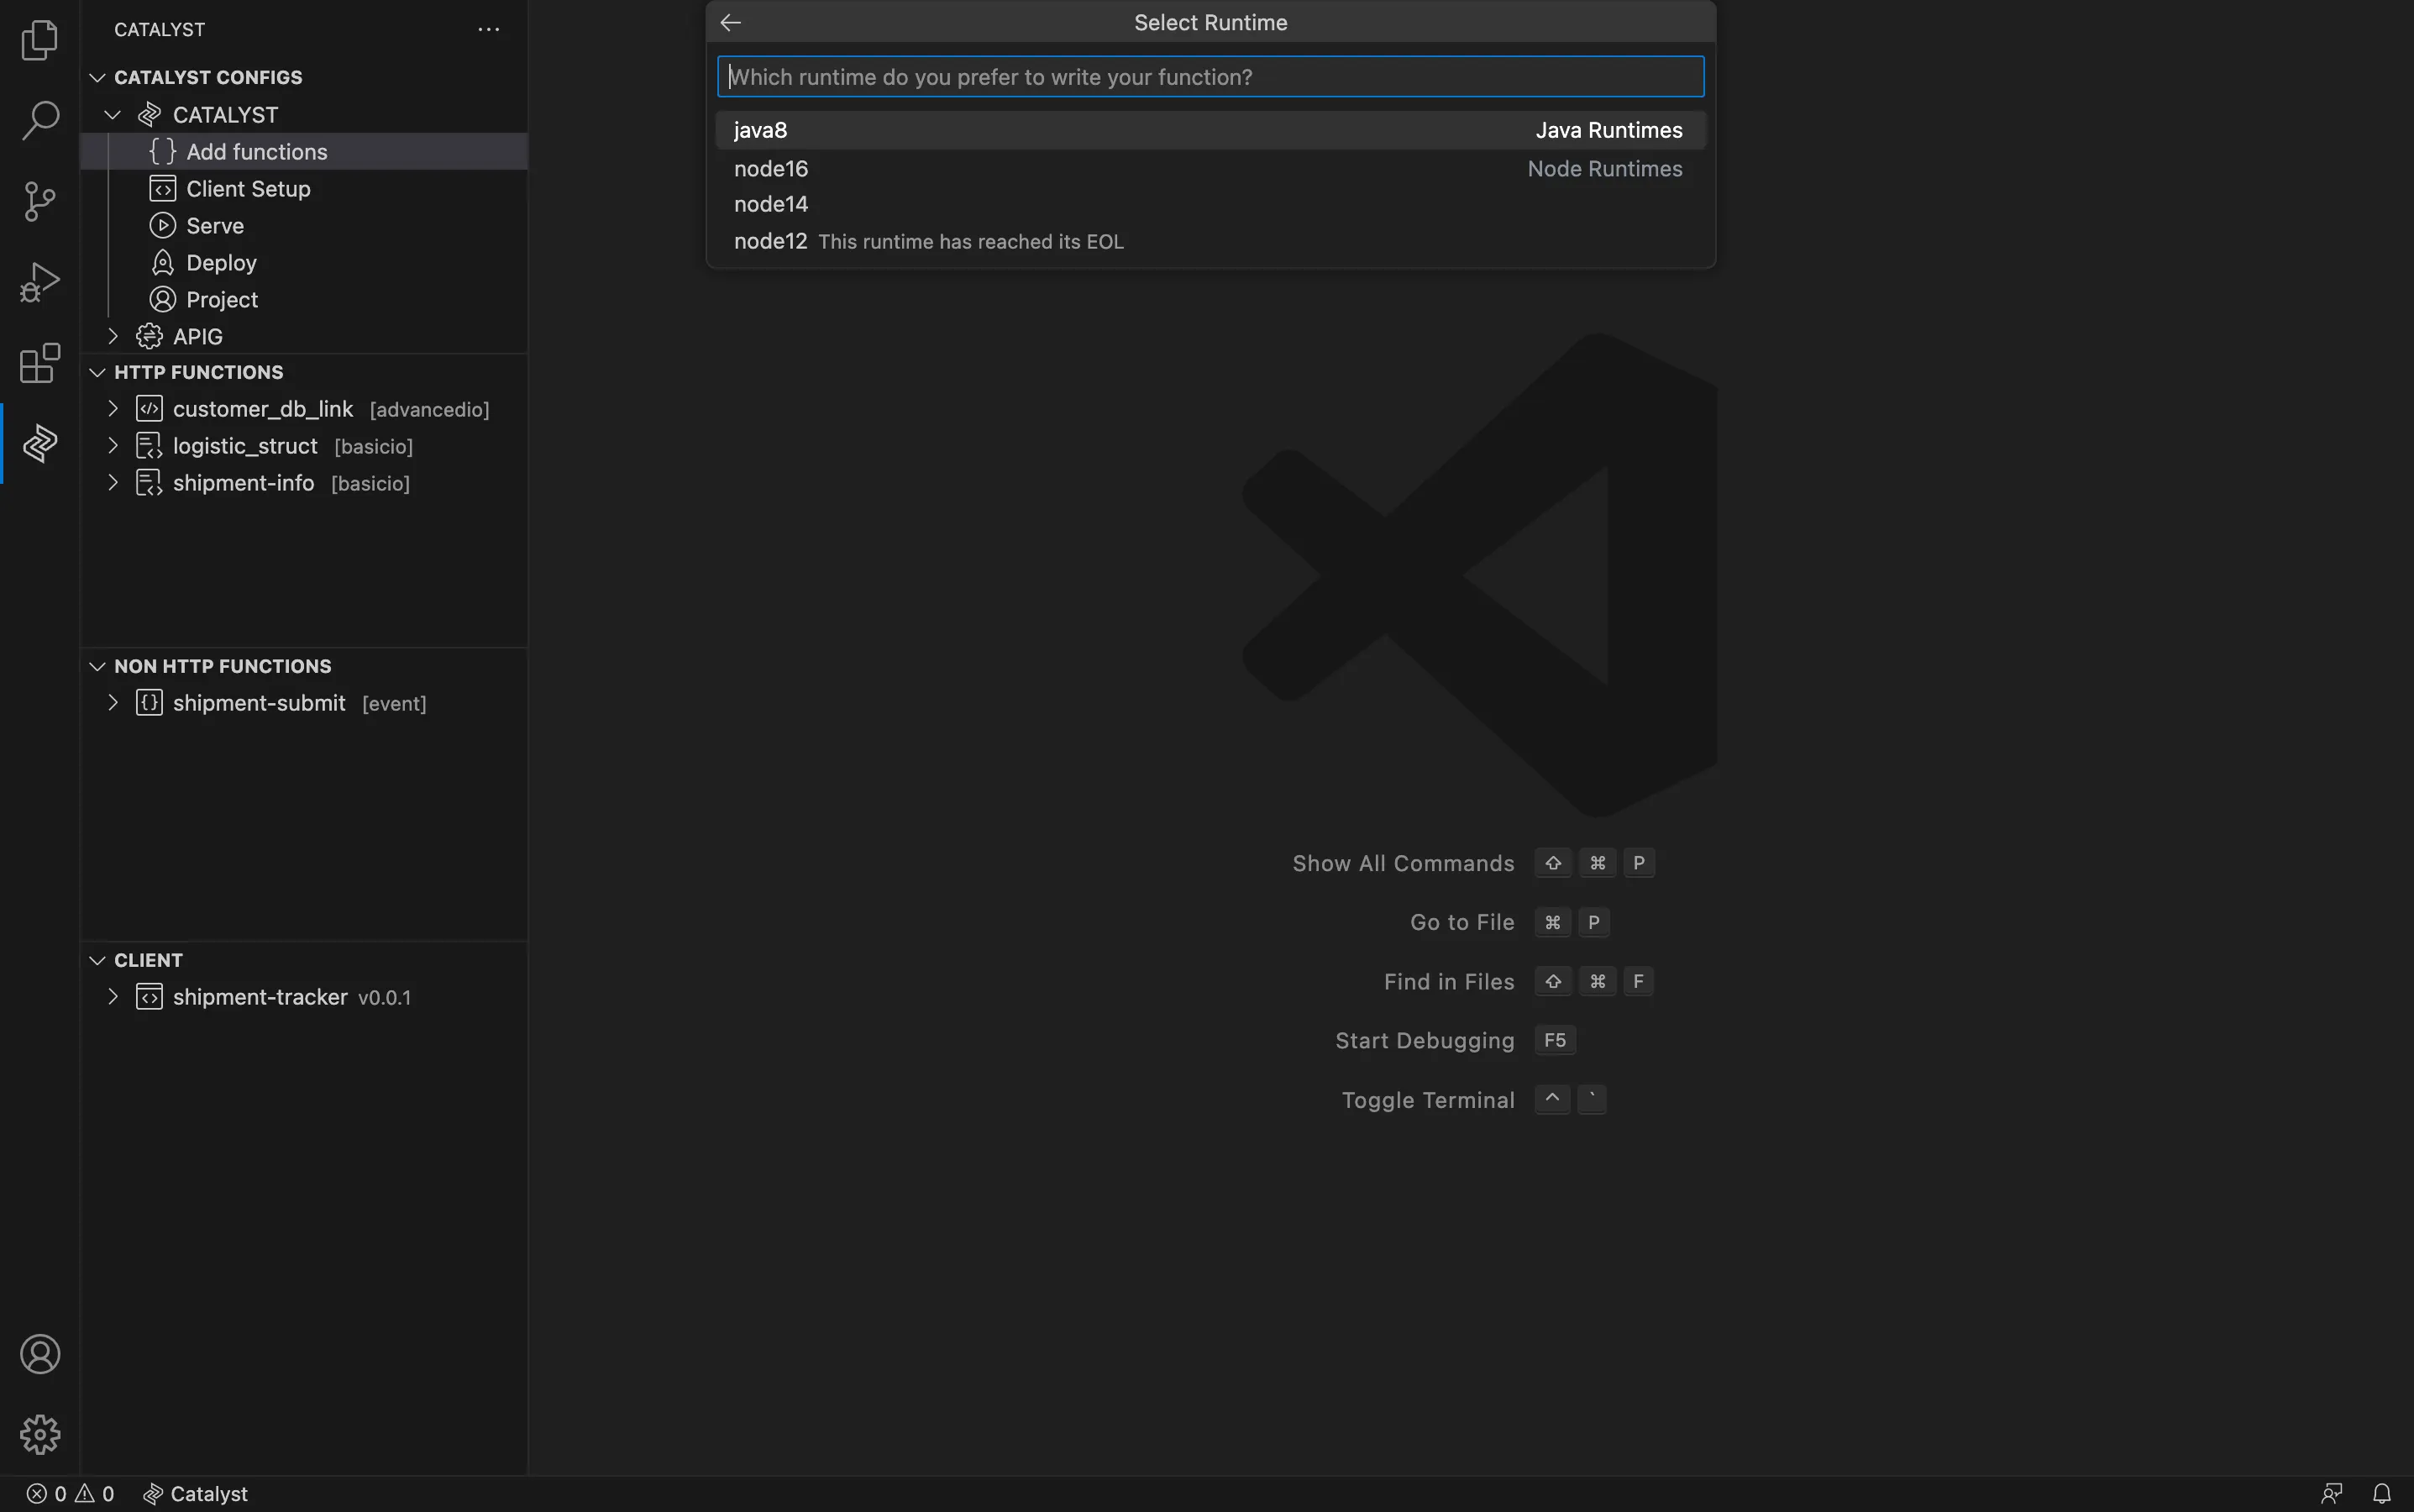
Select the required function type. You can refer to the Functions help page for details about each type.
-
Select your preferred programming language as Java, or Node.js.
-
Enter the required details and submit them by clicking Enter.
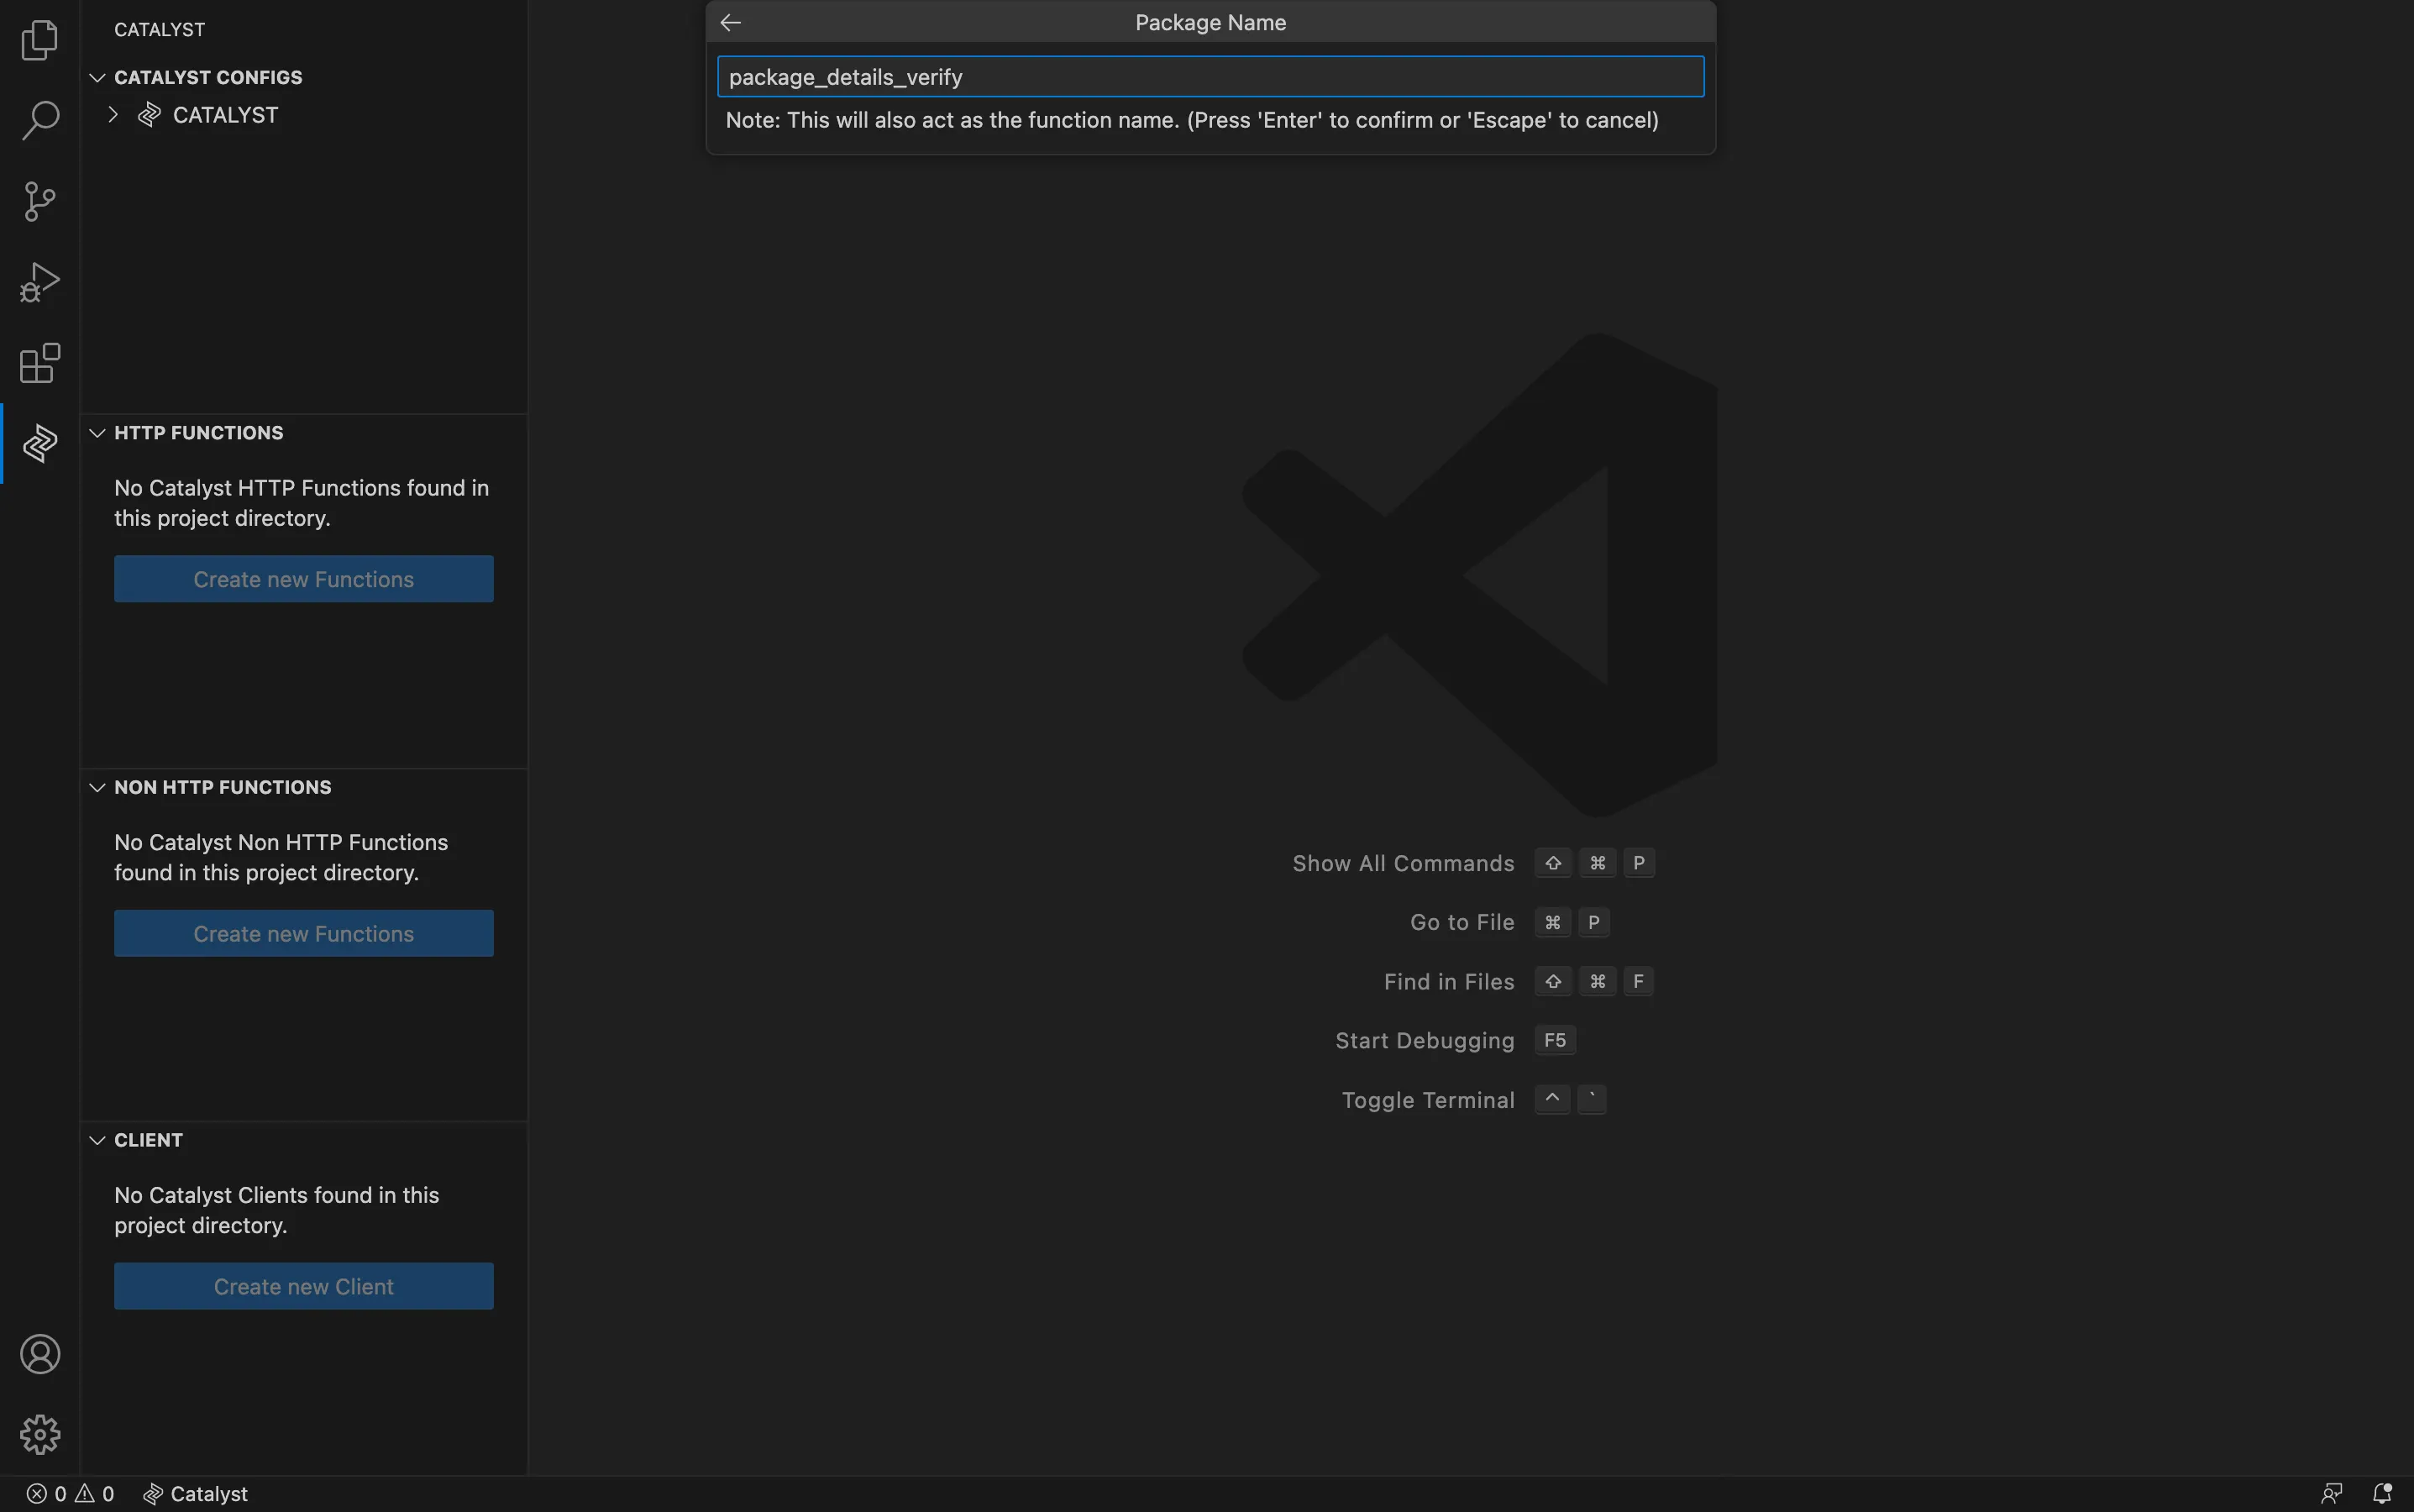
-
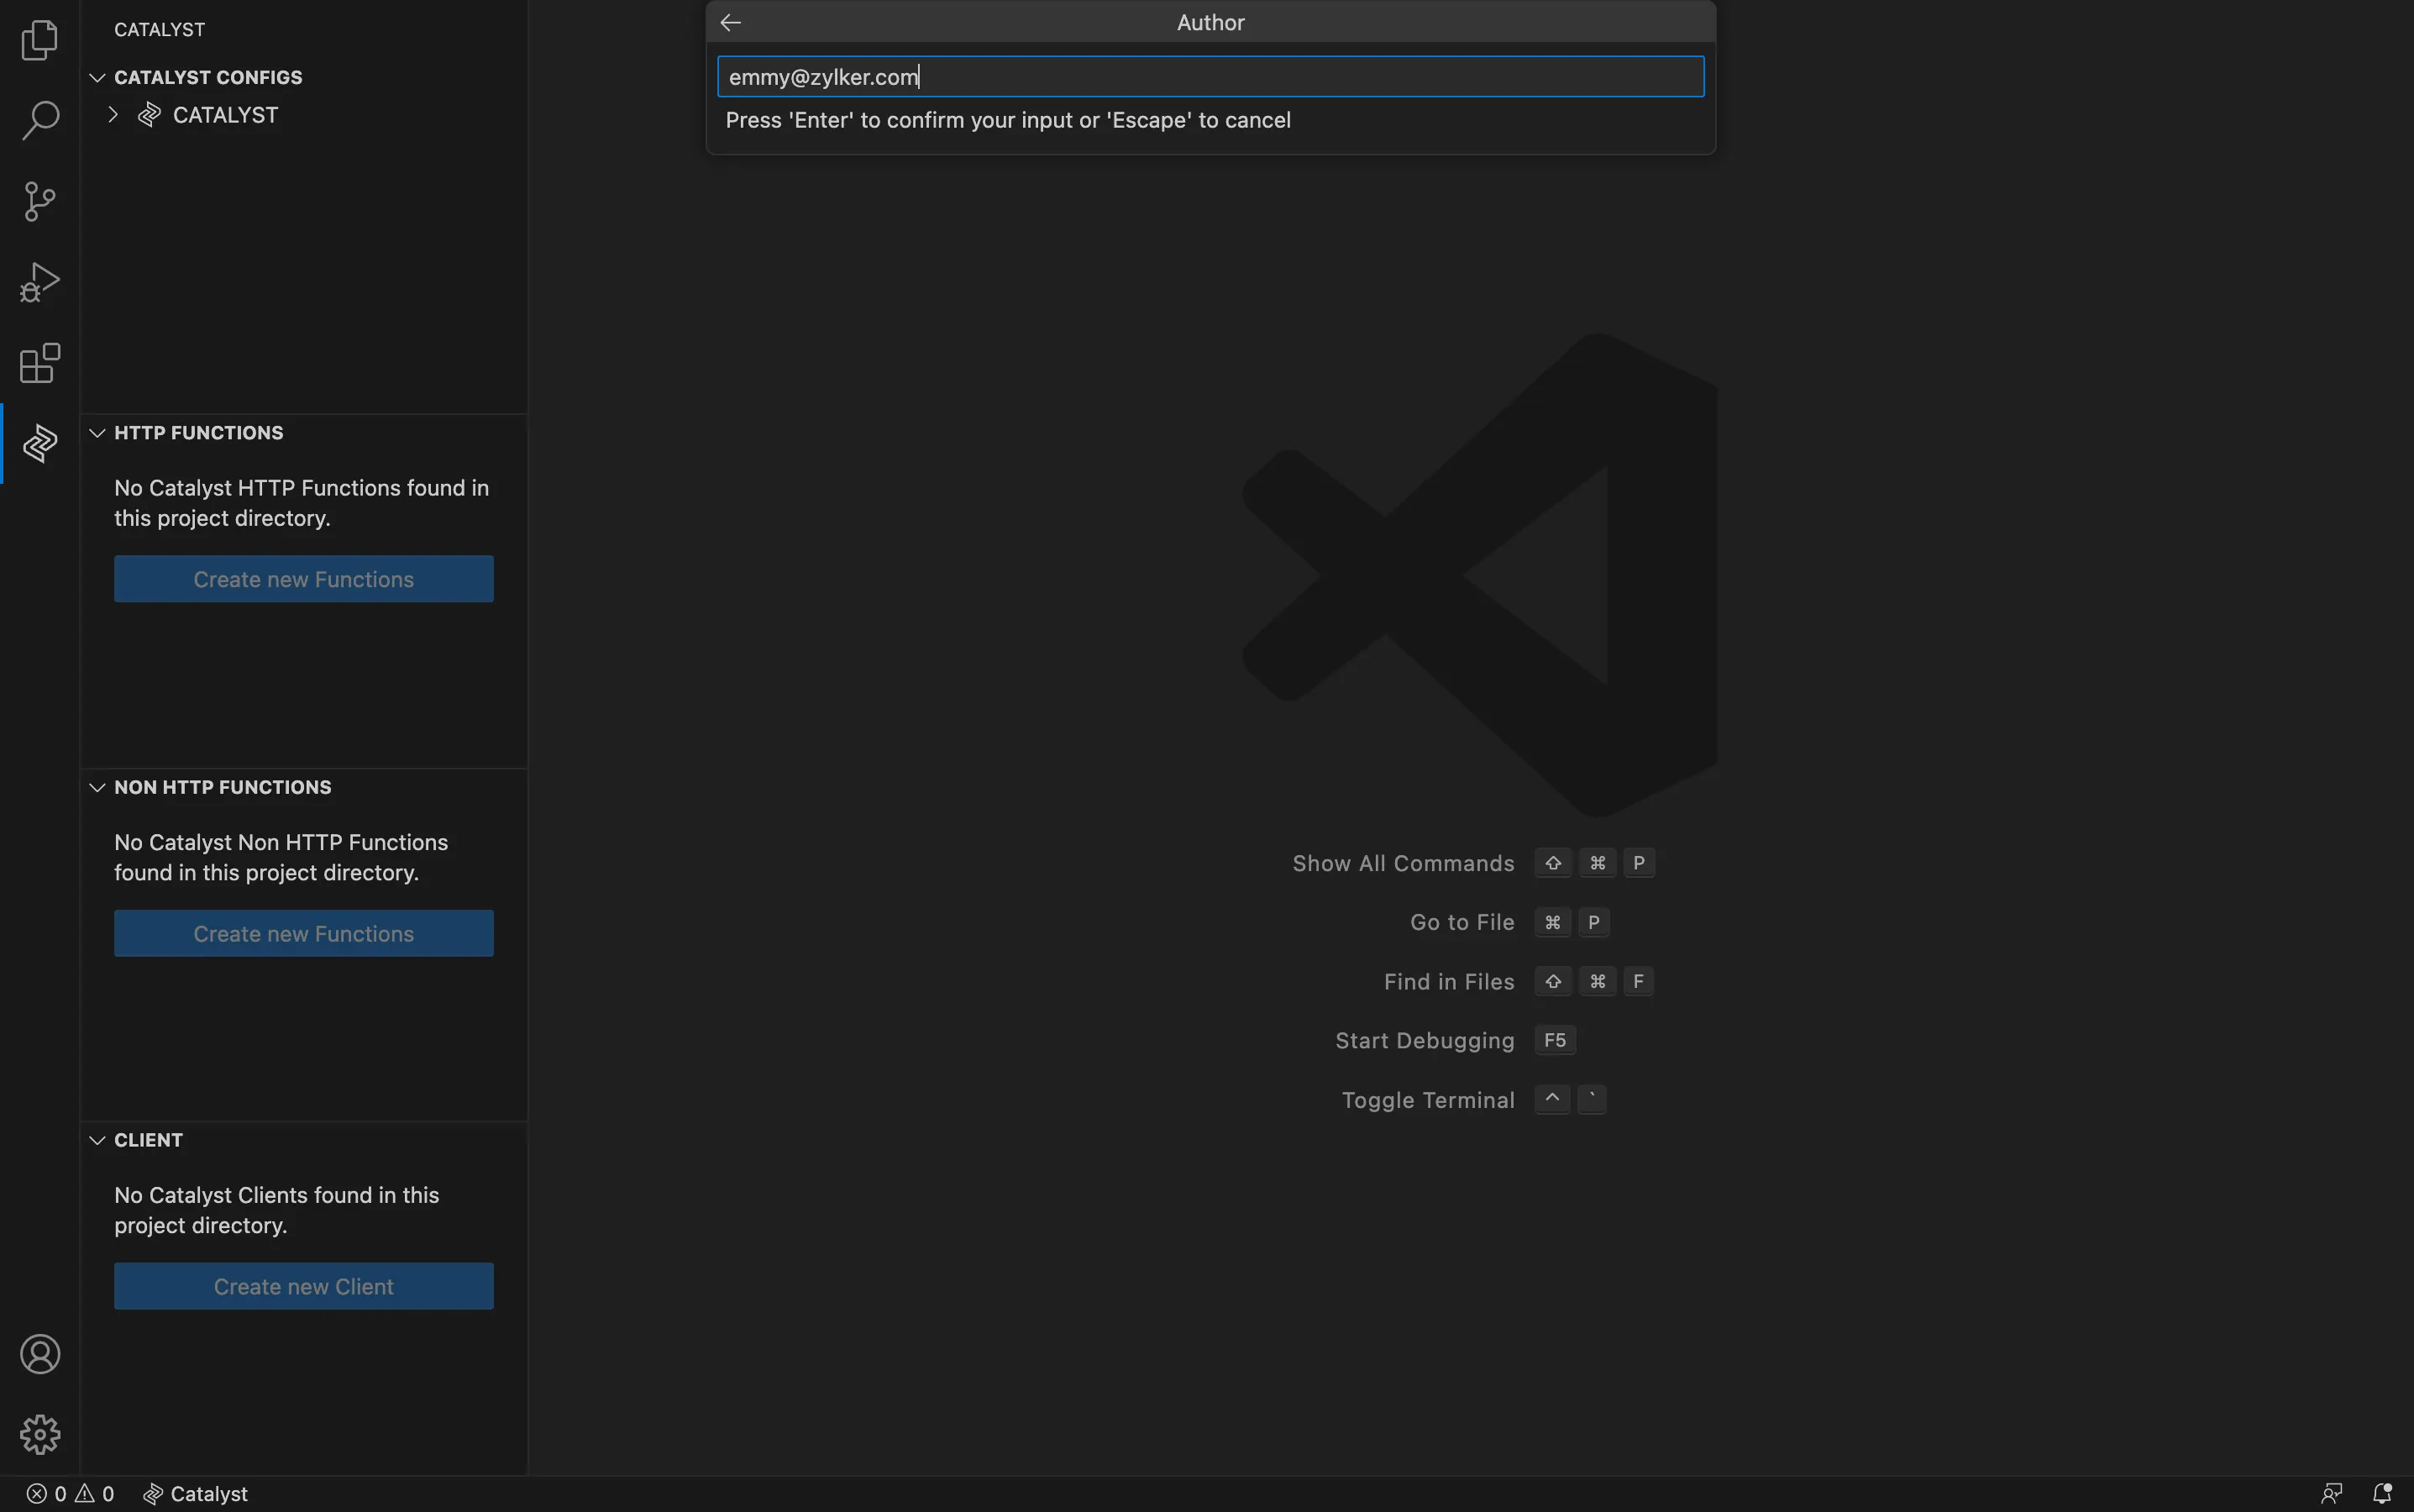
Enter an email address for the author or click Enter to use the same email address you used to create your Catalyst account.
-
Click Yes, if you wish to install the required dependencies.
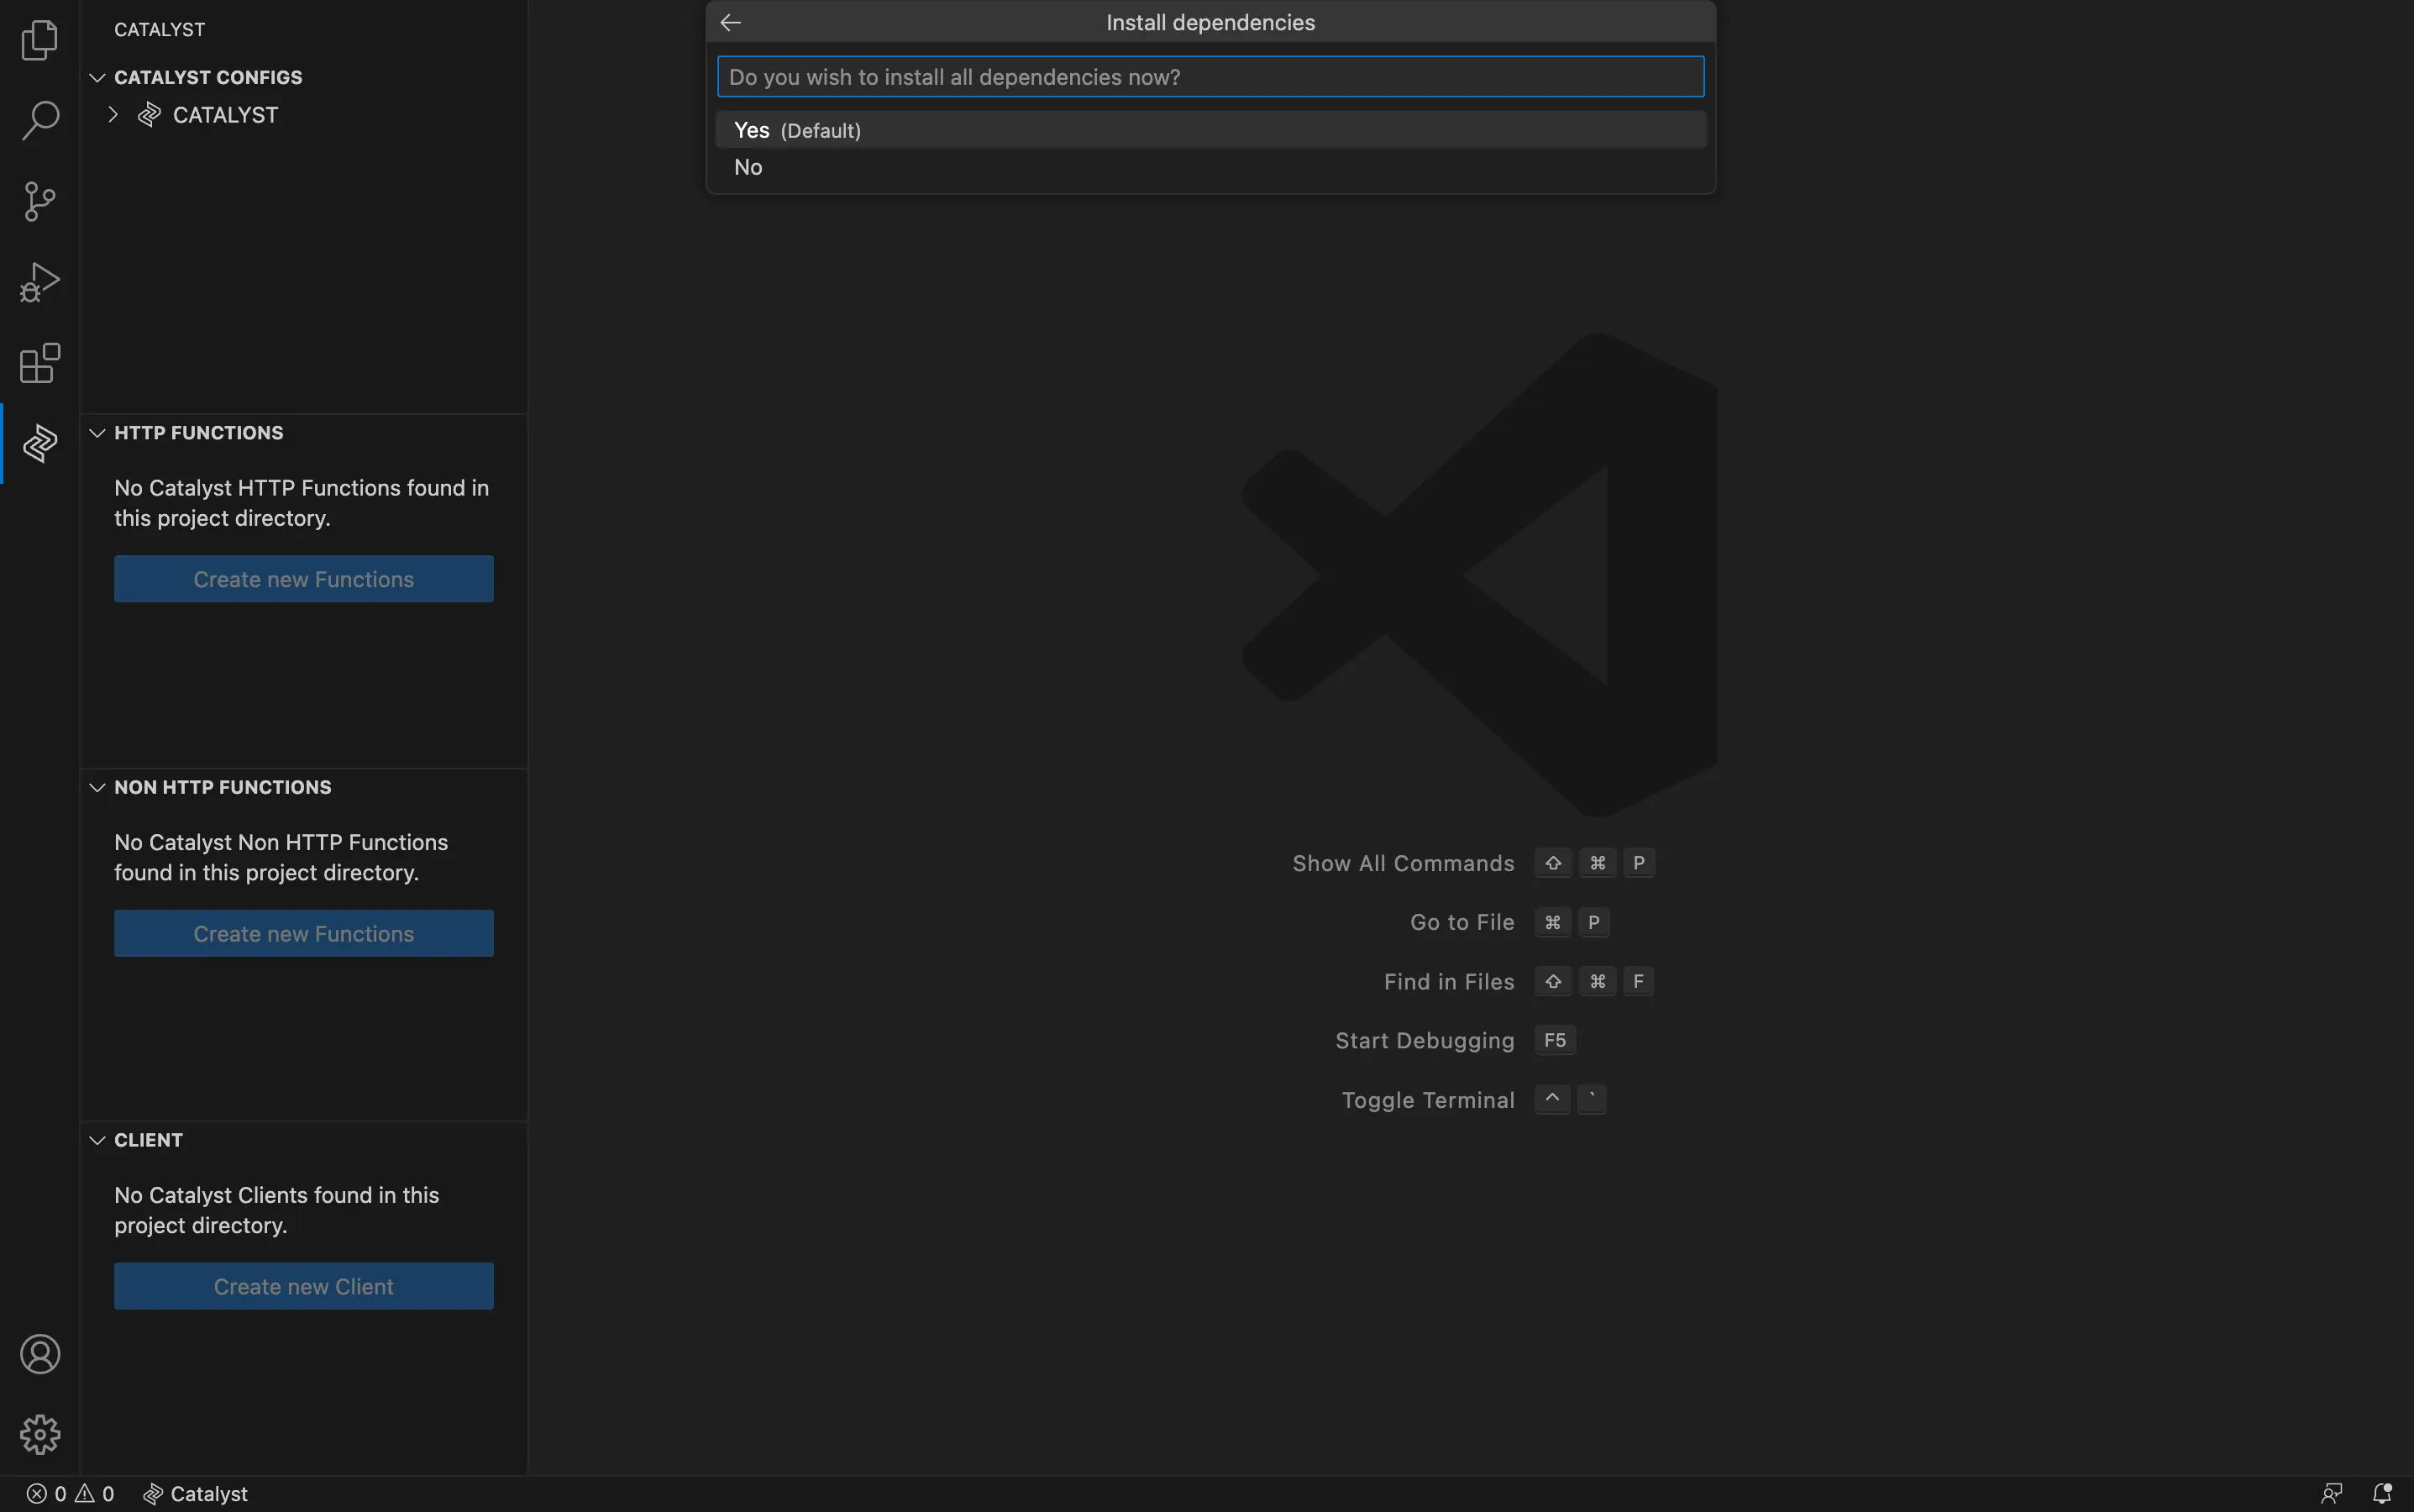
The function setup is complete.
-
The initialized Advanced I/O function will now be available in the HTTP FUNCTIONS section.
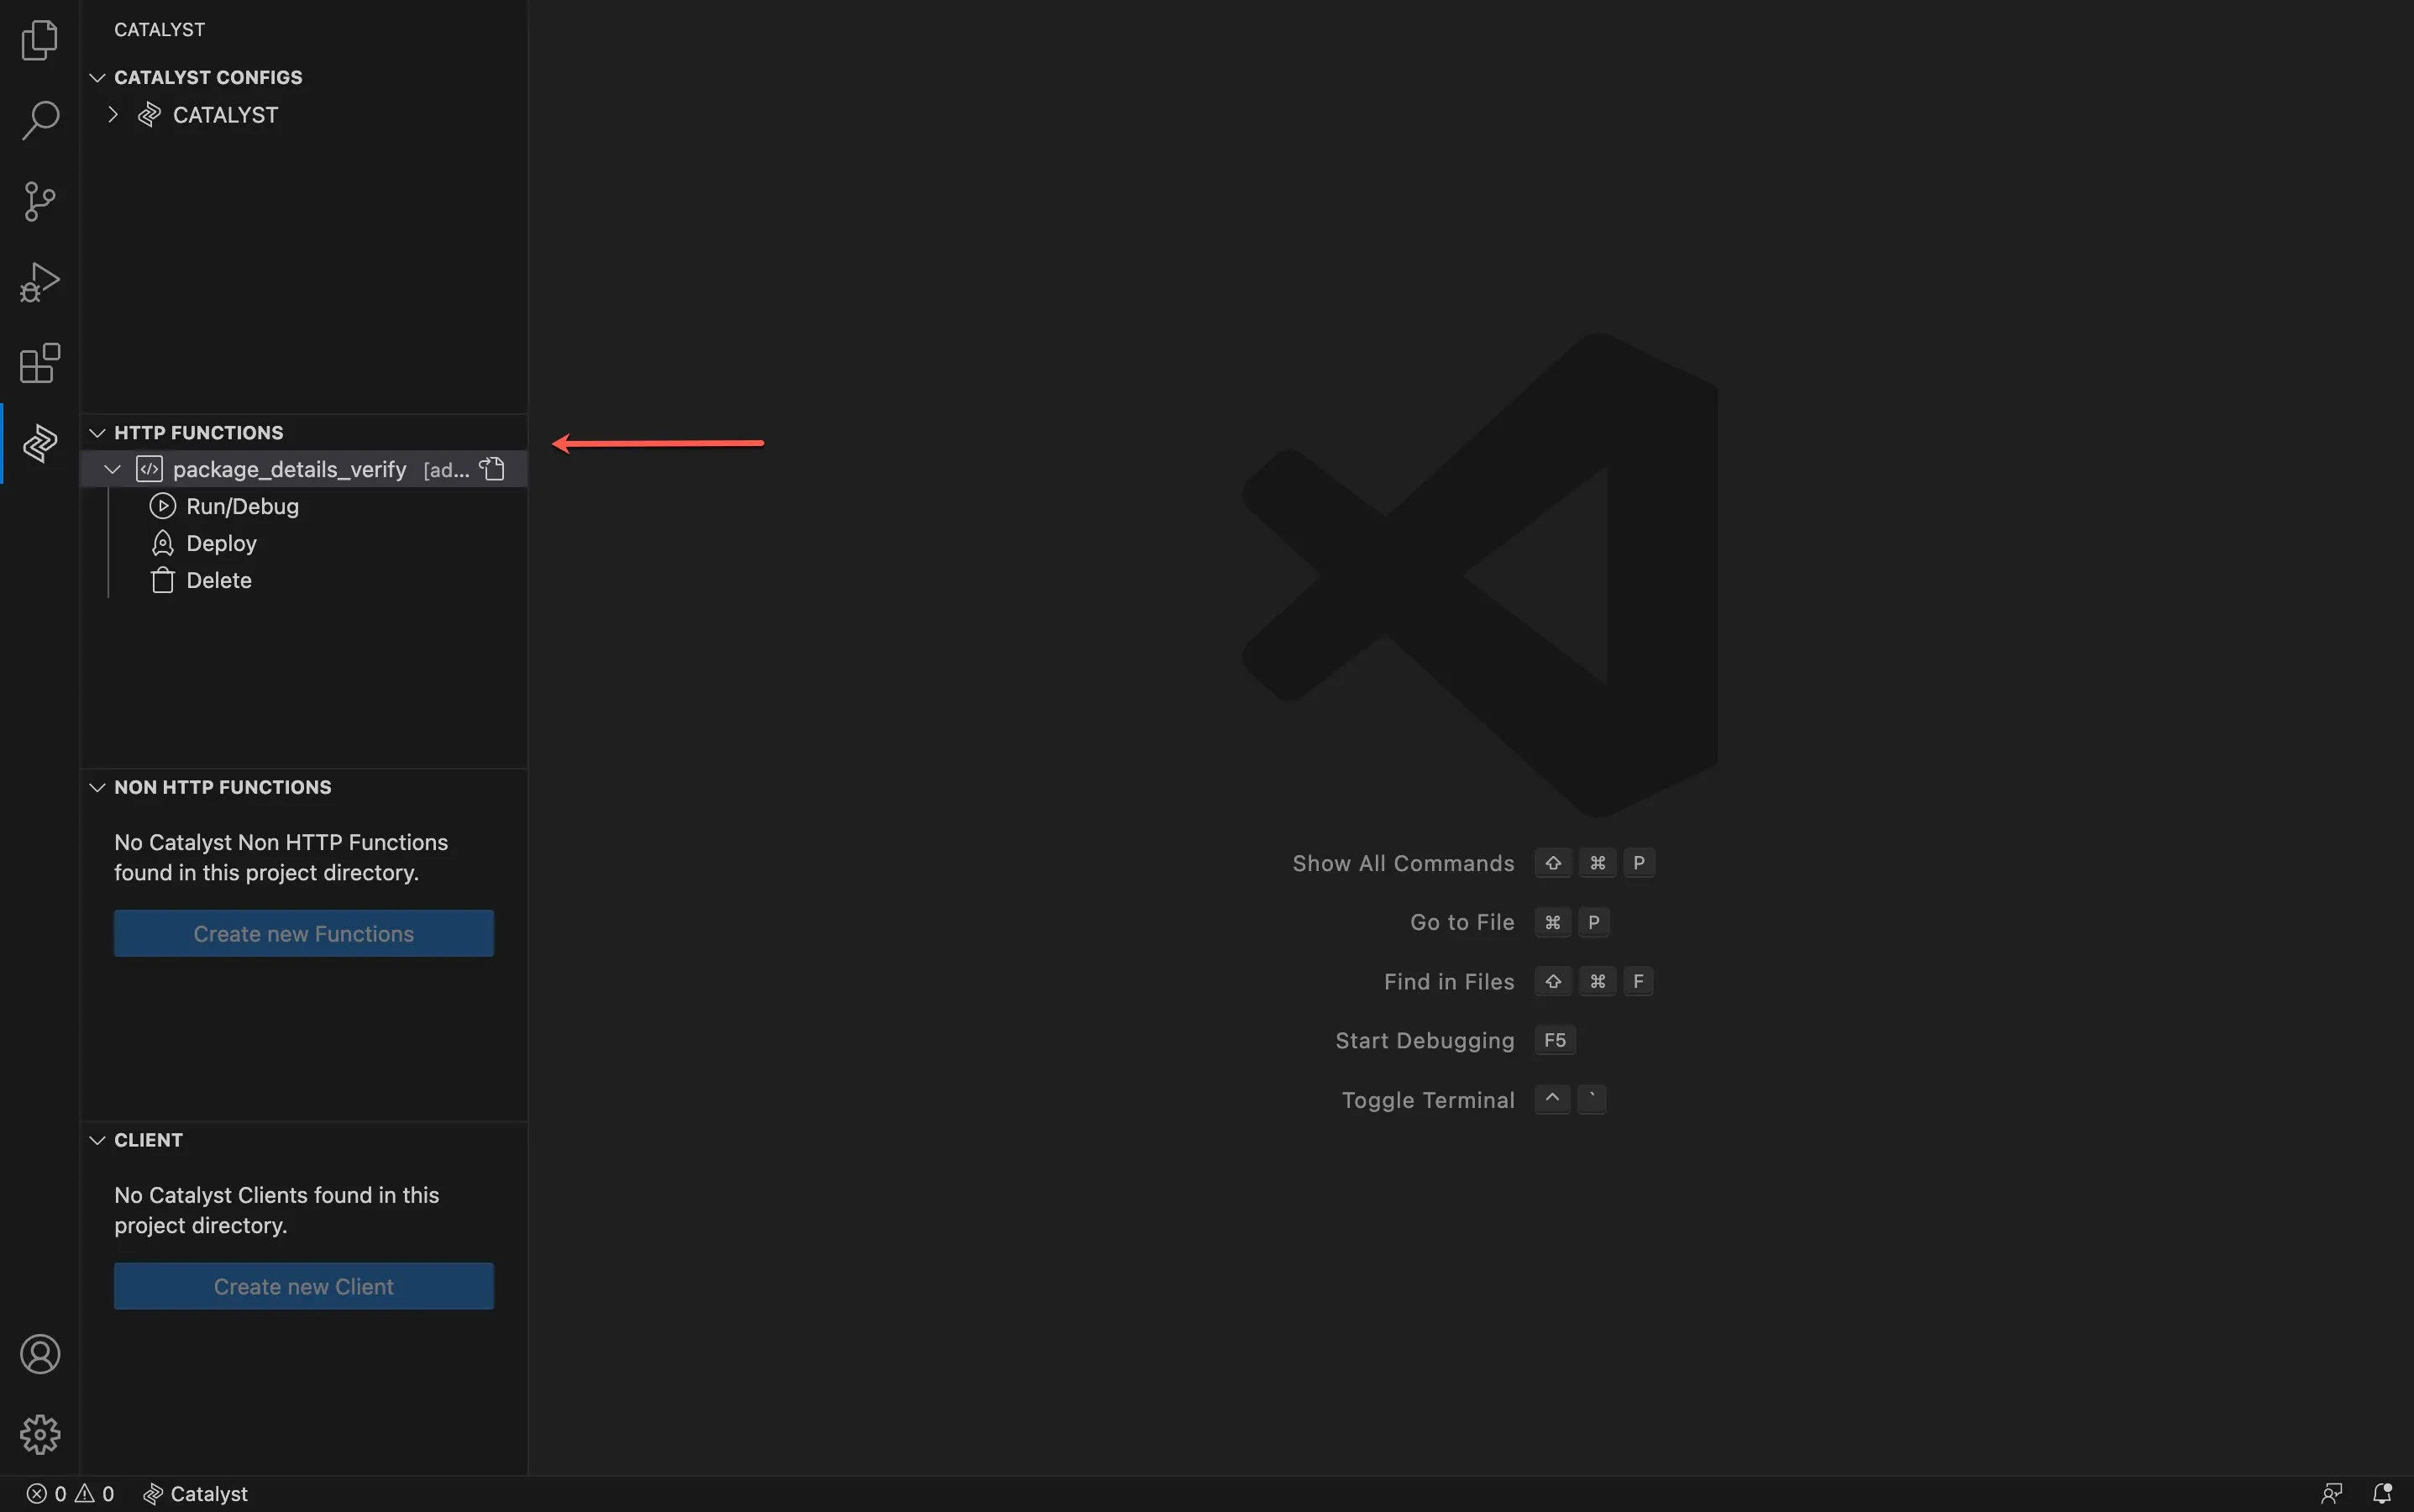
You can find more information on each function stack’s initialization steps in this help page.
-
Client Setup

The project directory will contain the client and function directory in the standard structure. You can refer to the project directory structure help page for details on the configuration files and dependencies that are installed.
The project and its resources are now successfully initialized in the VS Code IDE using the Catalyst Tools extension.
Manage Your Project
The CATALYST CONFIGS section can be used to perform various operations in your project and manage it. You can perform the following operations:
-
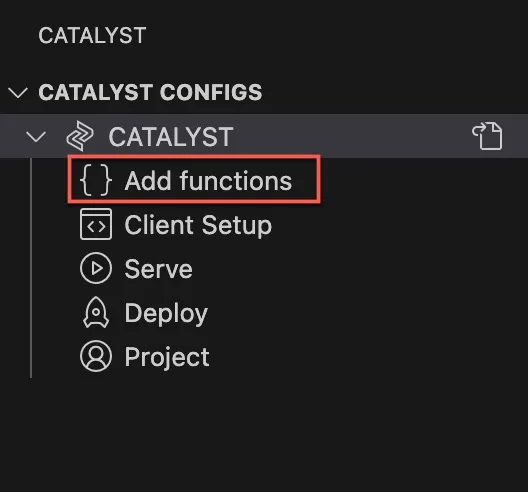
Add Functions: Add a new HTTP or non-HTTP function to your project directory.
-
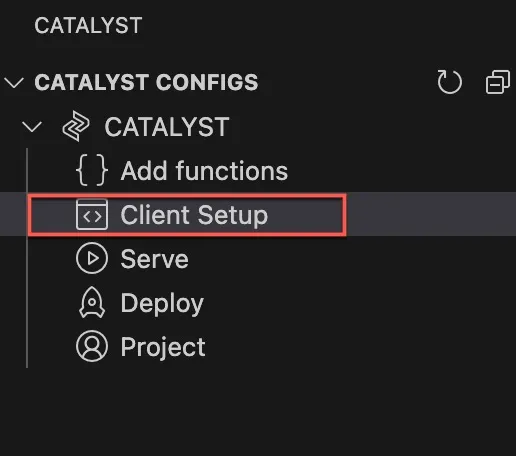
Client Setup: Set up the client component in your project directory.
-
Serve: Serve both the function and client resources of the project through a localhost using your default 3000 port.
-
Deploy: Deploy the entire local project to the console.
-
Project: View project information and alter configurations using the extension’s built-in management console.
Add Functions
You can add additional functions of any type or stack to your project directory through this option, or add your first function to the project if you did not initialize functions during project initialization. Refer to Working with Functions help page for details.
To add HTTP or non-HTTP function to your project, click the Add Functions option to begin function setup.
Follow the same steps mentioned in the Function Setup section of this help page.
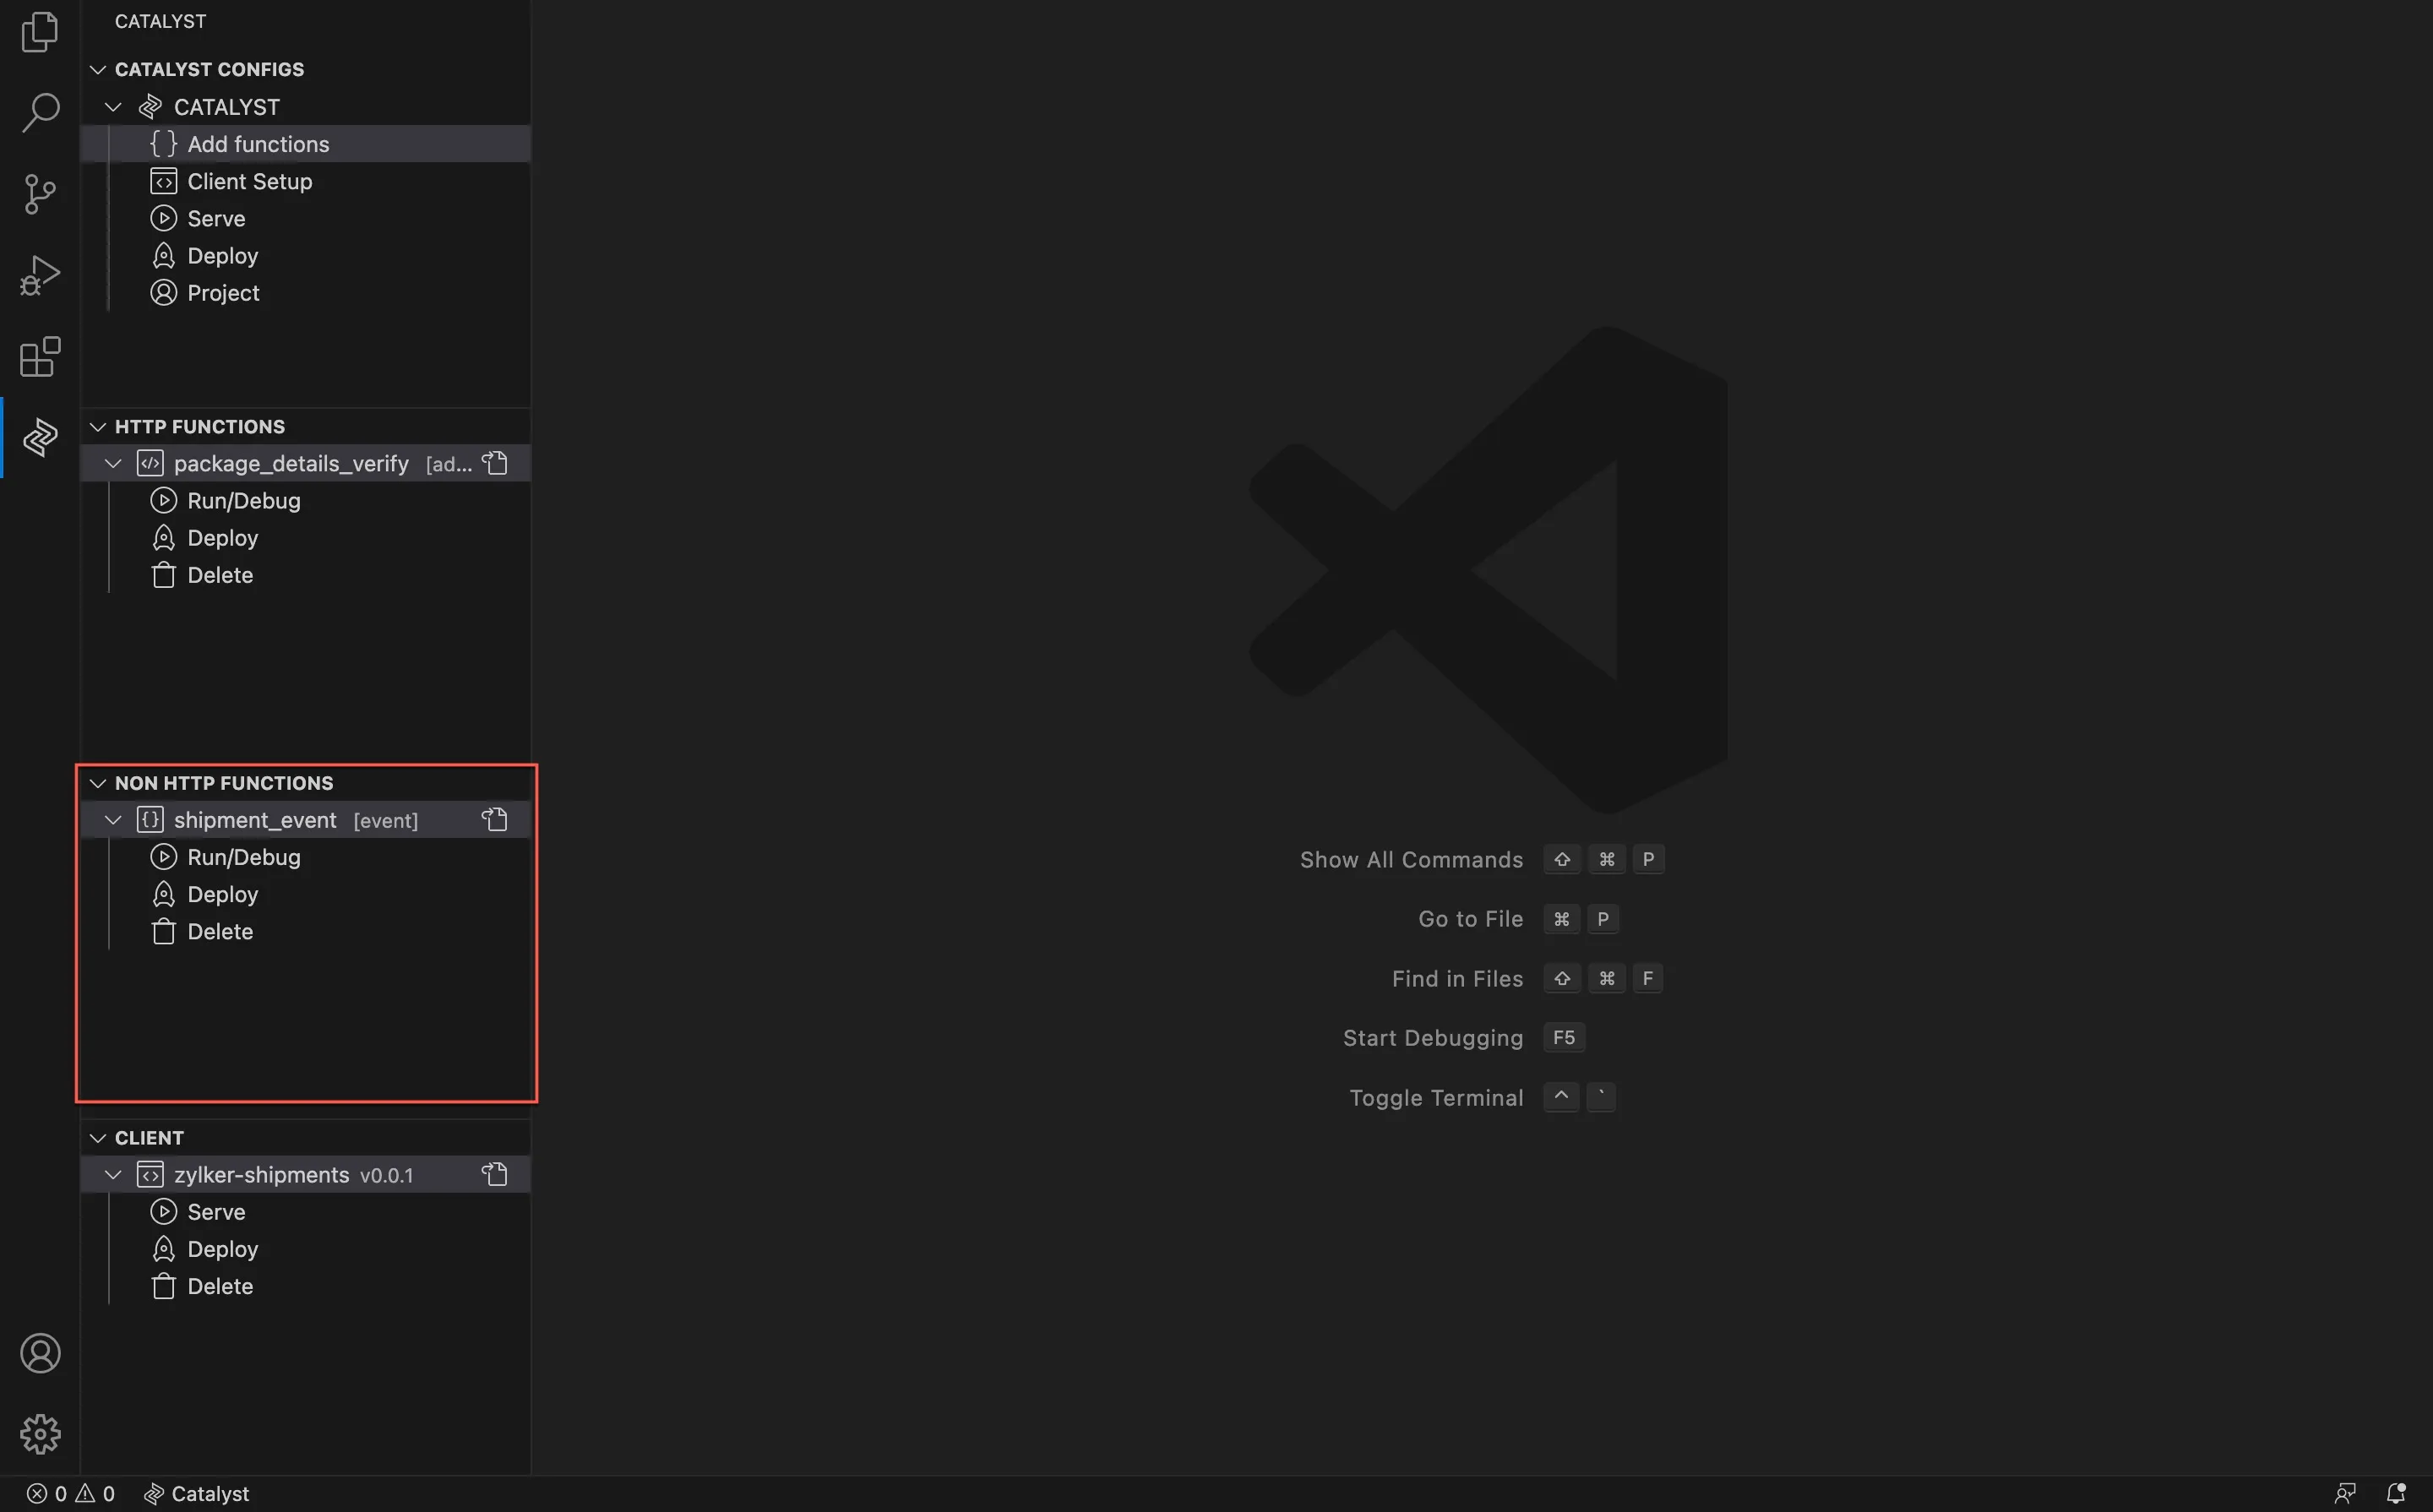
For the purpose of this help document, we have created an Event function, and it will be listed in the NON HTTP Functions section of the IDE. The function will be created in the standard function directory structure.
Client Setup
You can set up the client component in your project directory through this option if you did not initialize client during project initialization. Refer to Working with the Client help page for details.
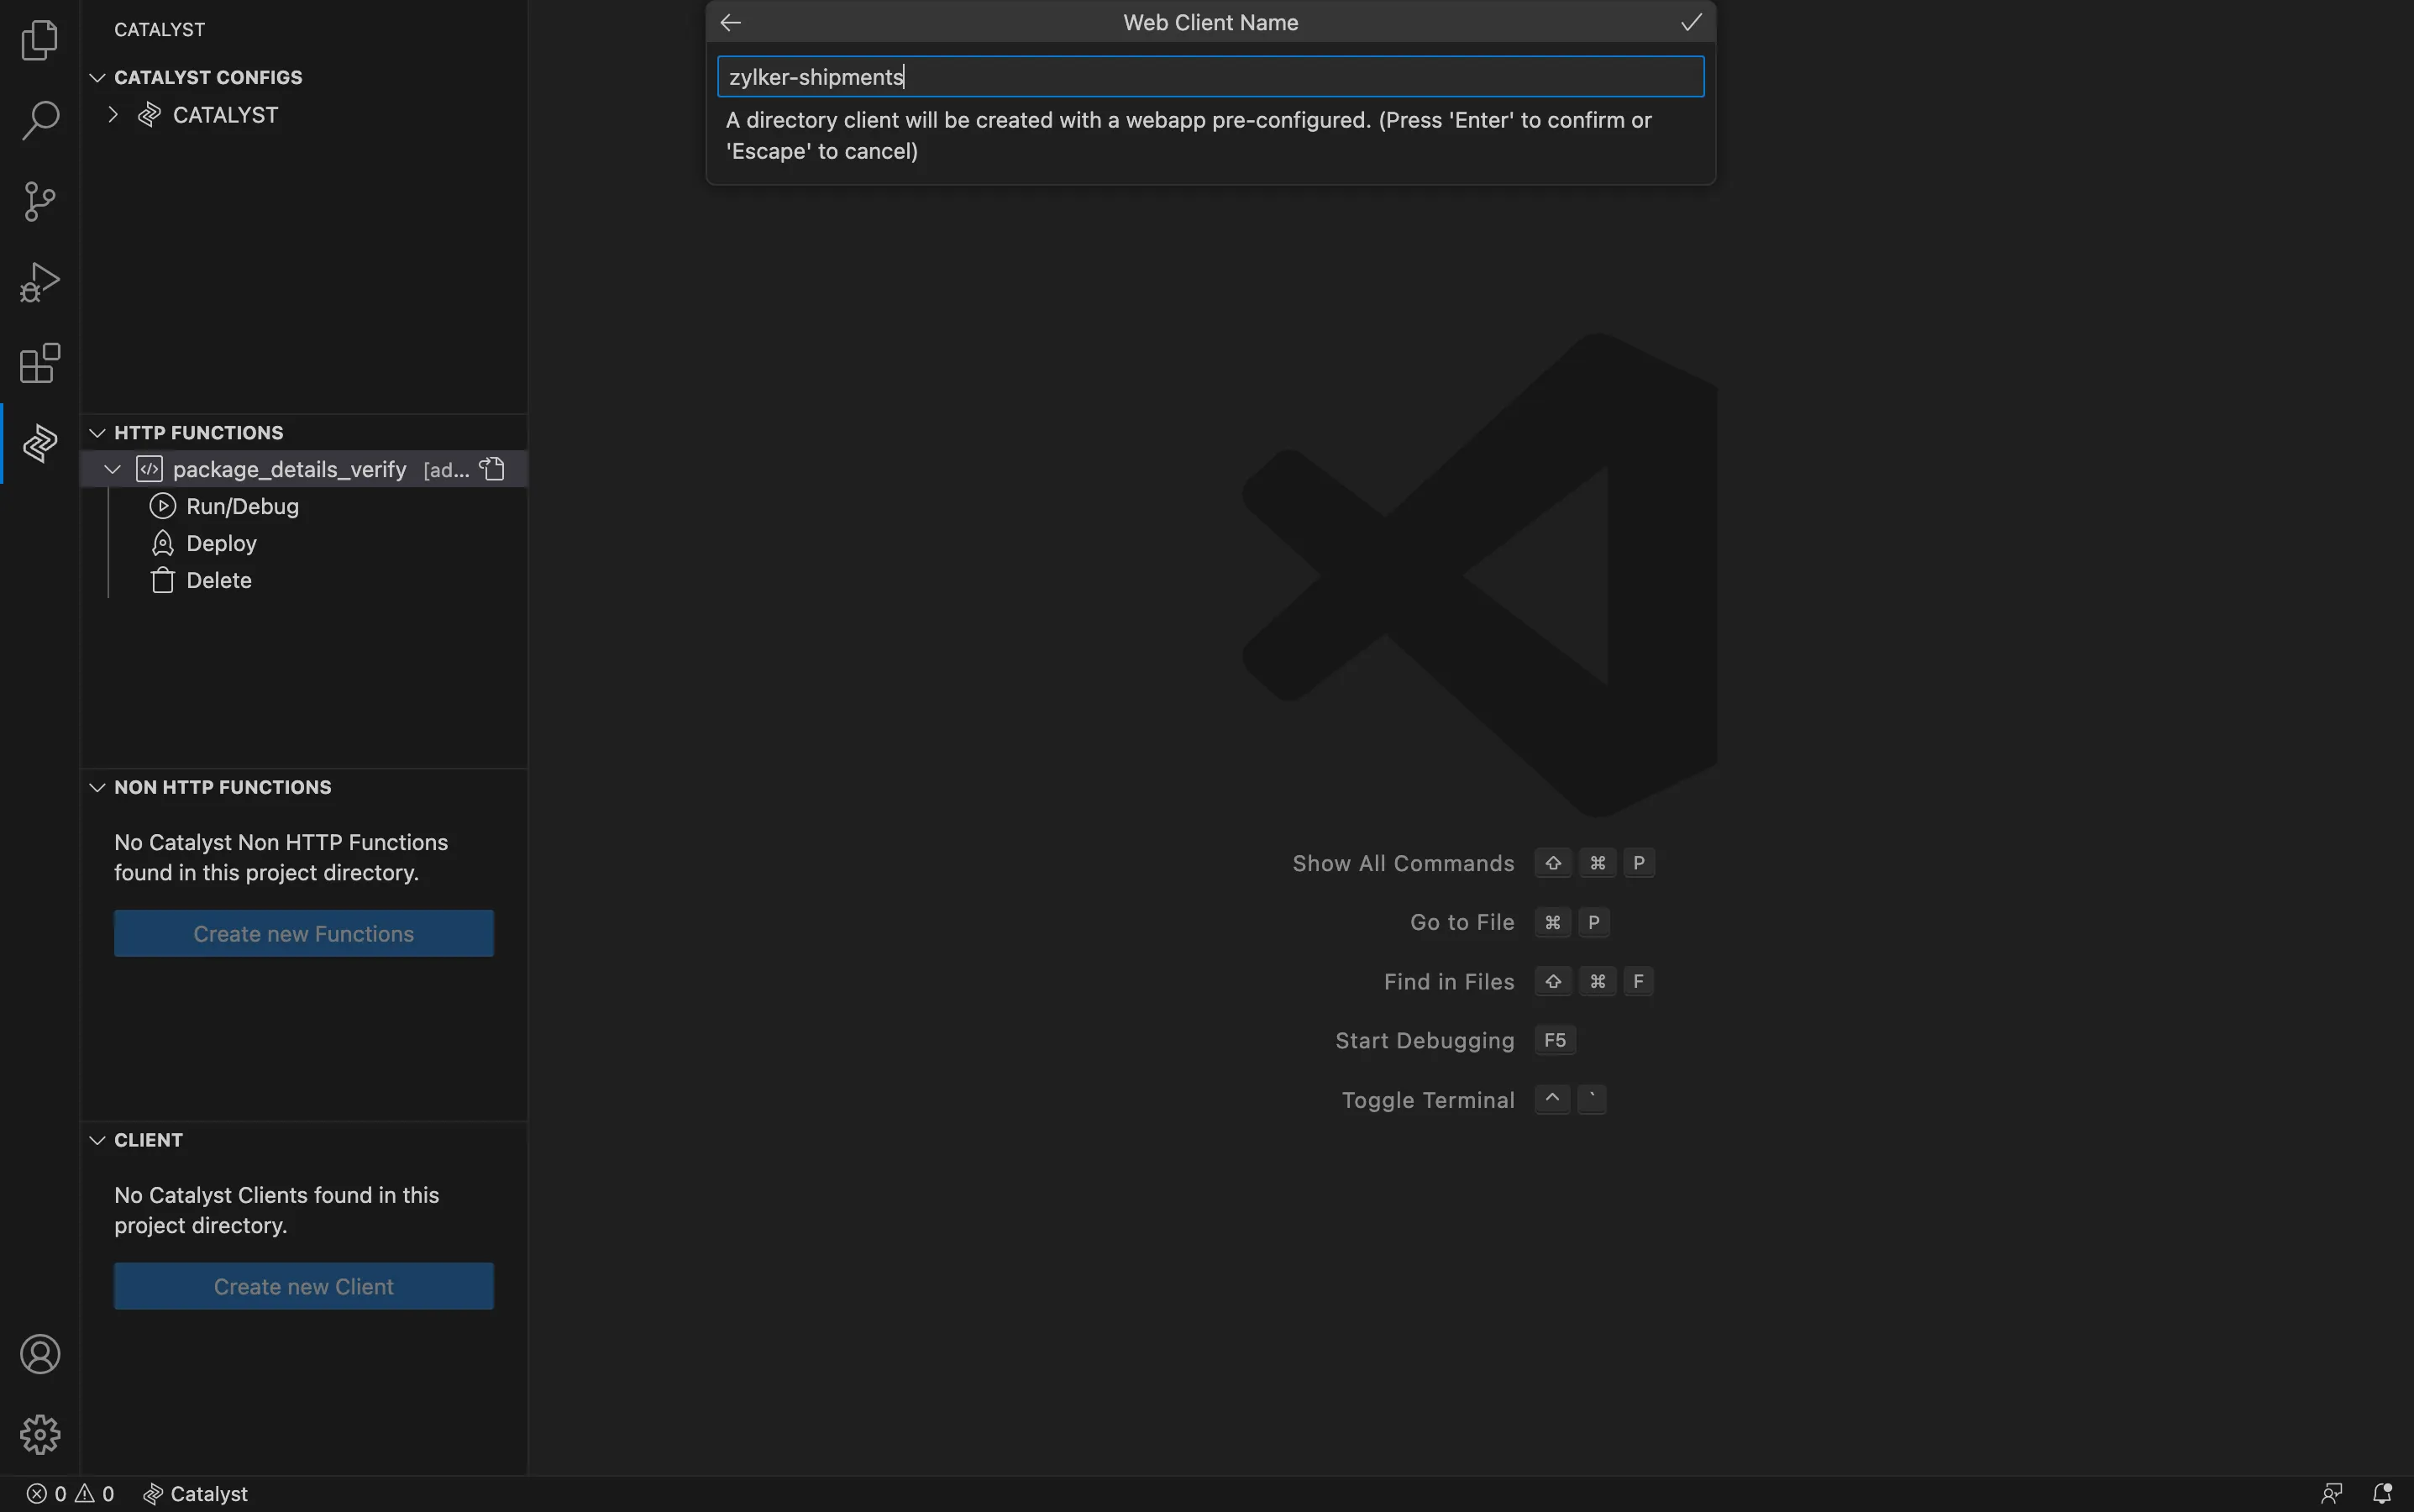
To initialize a client component, click the Client Setup option to begin client setup.
Follow the steps listed in the Client Setup section present in this help page.
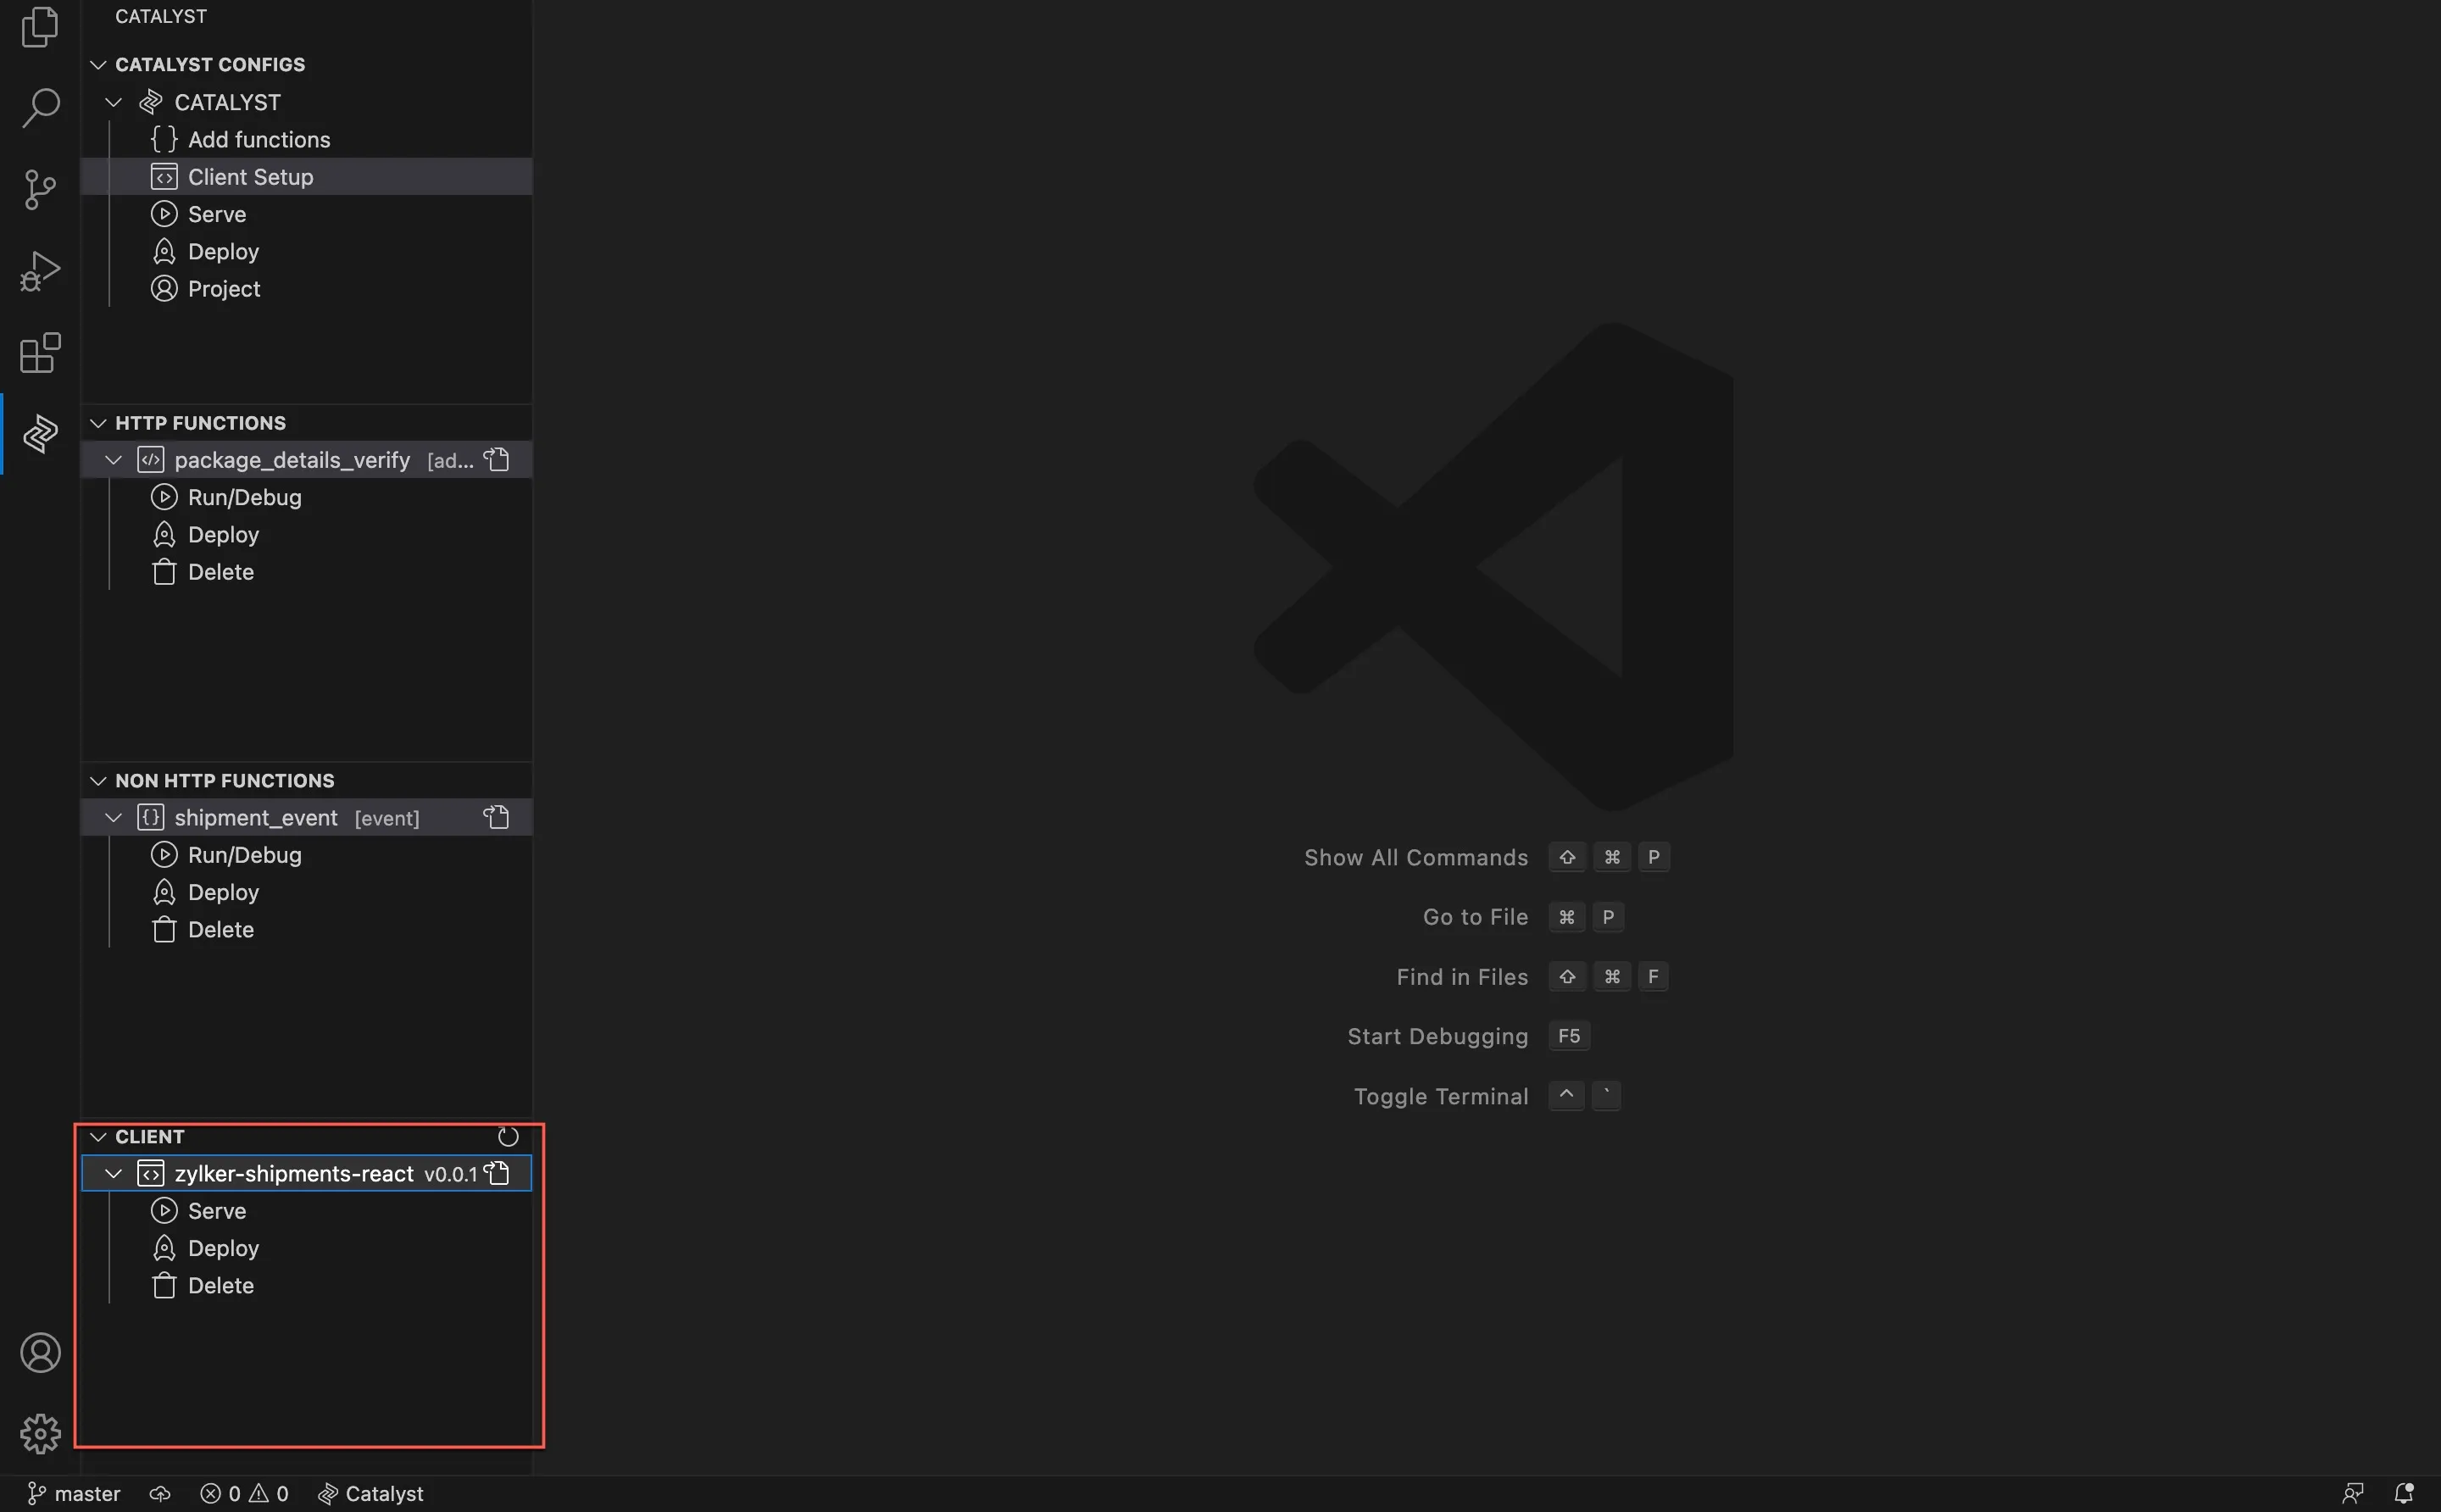
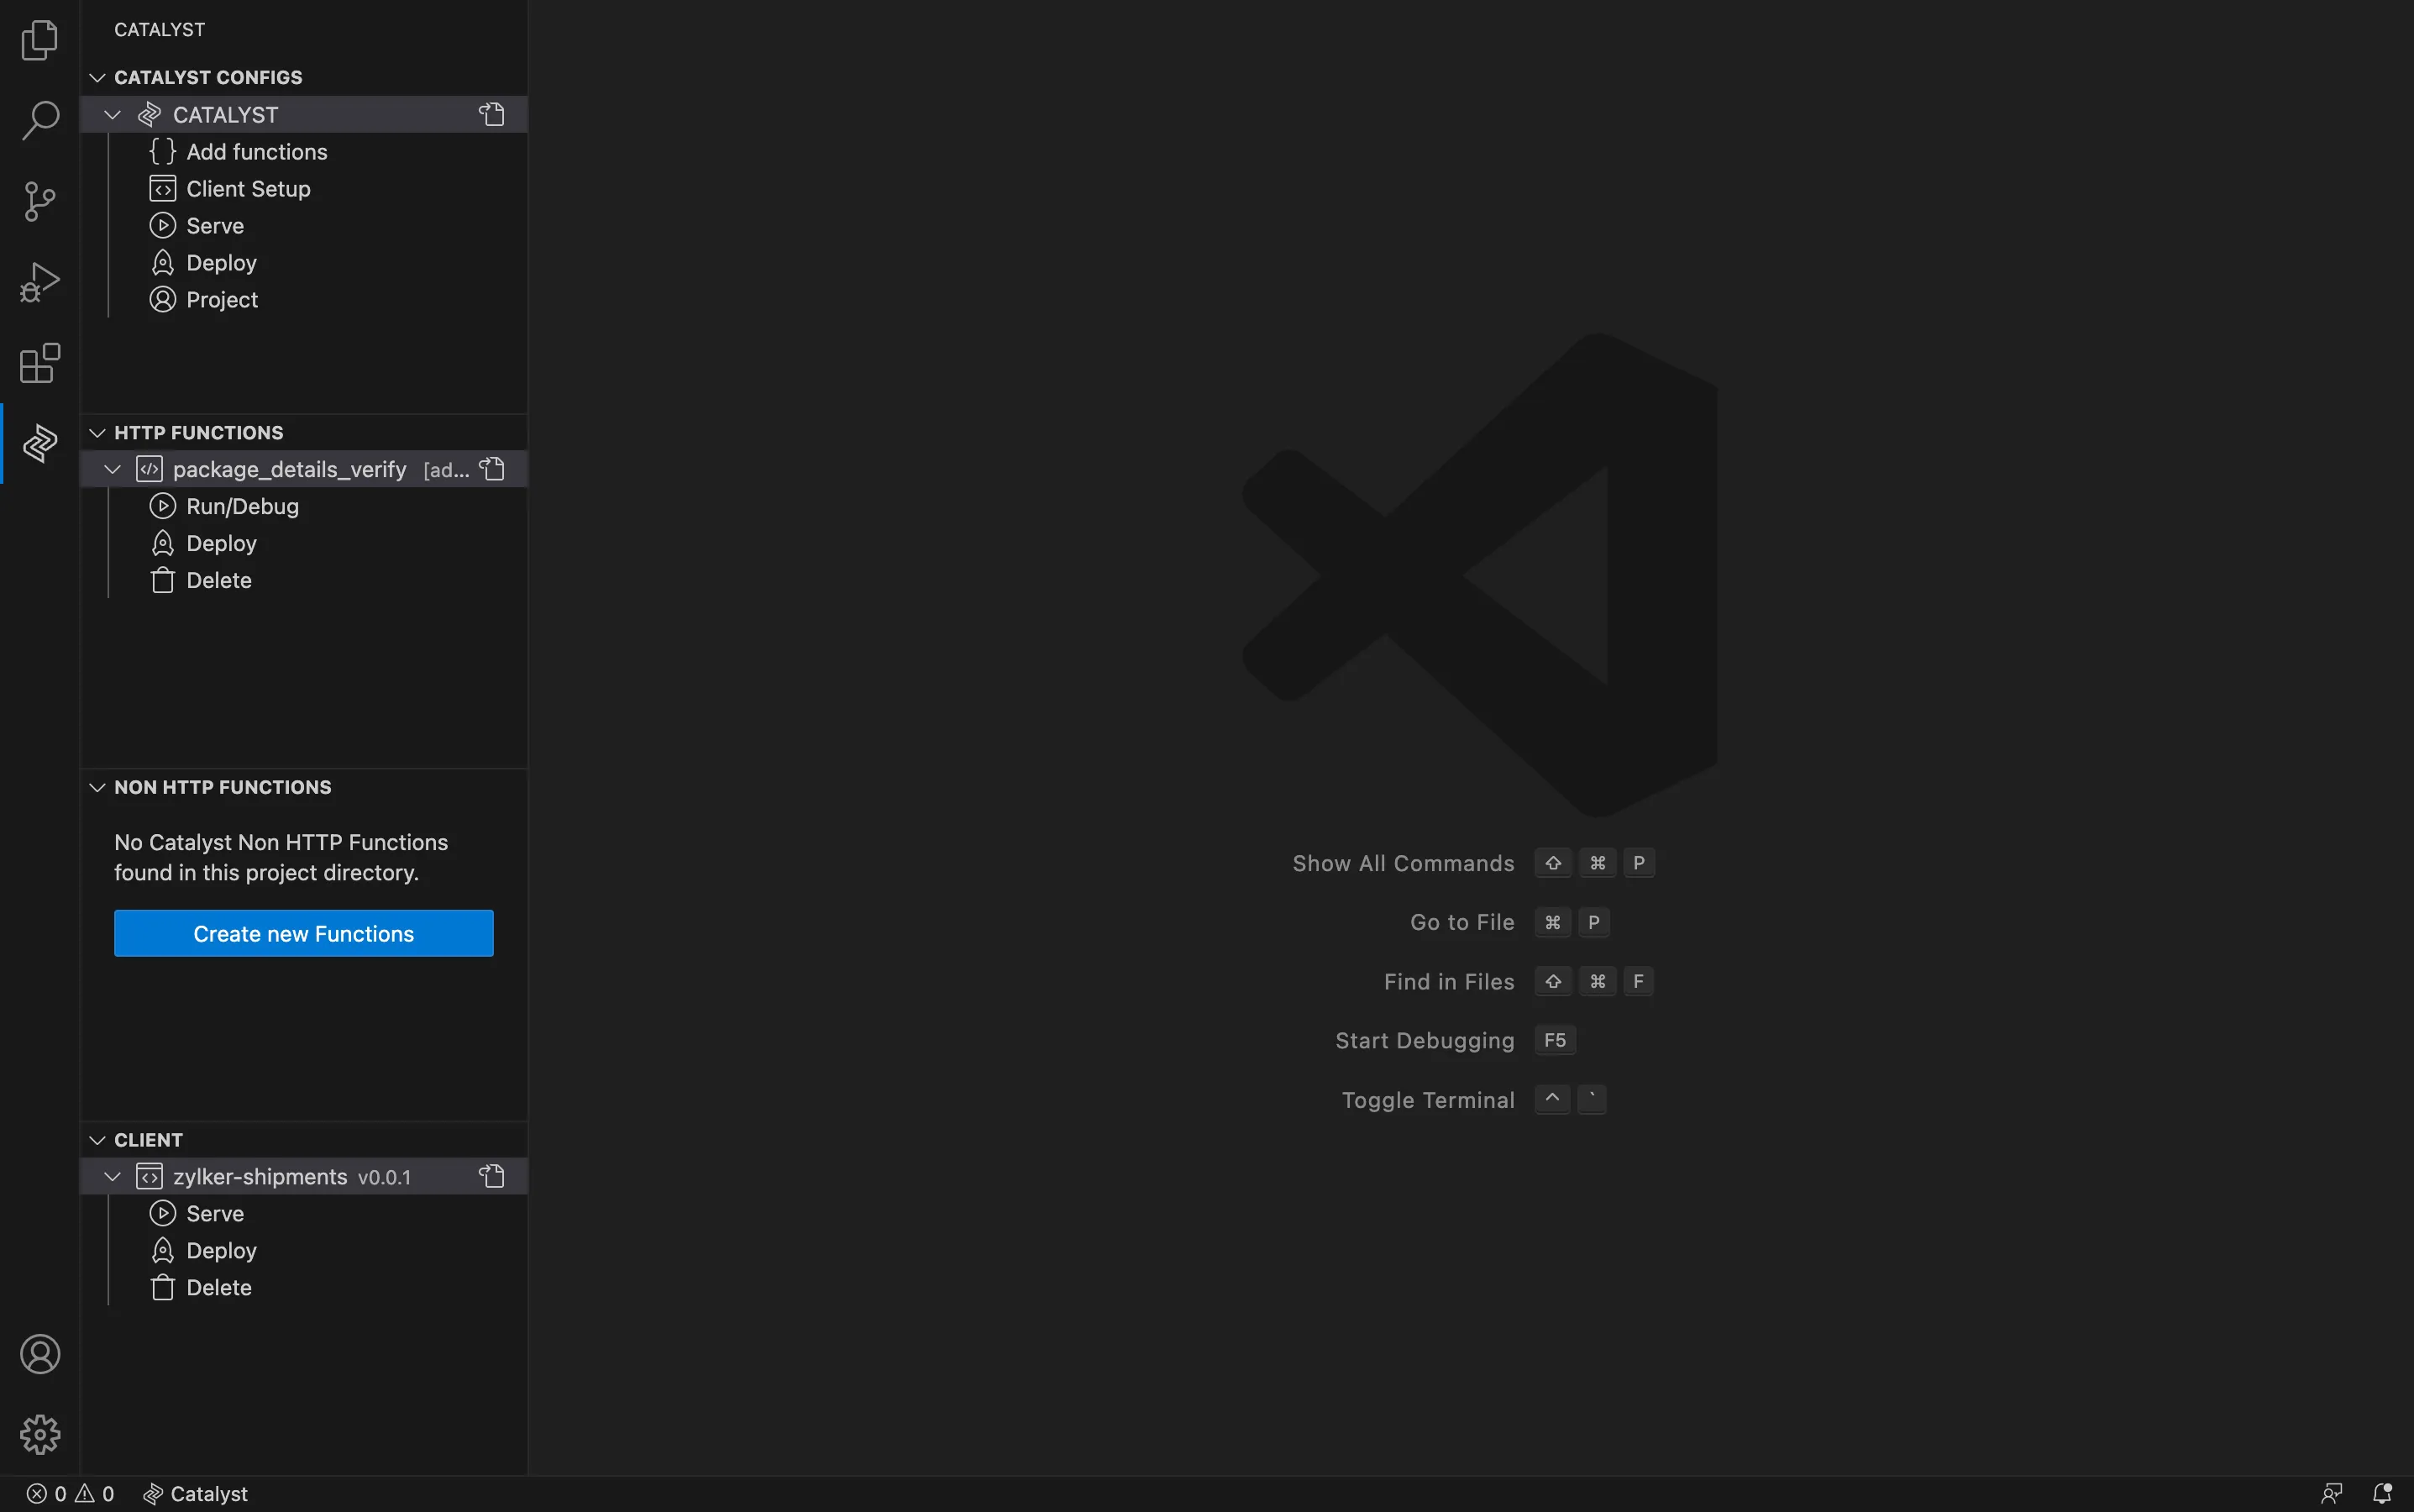
For this help document, we have created a new client component as a React web app and it will be created in its standard structure.
Serve
You can serve Basic I/O and Advanced I/O functions, and the client component of all types through a localhost using the default port: 3000, to test them before deploying them to the remote project. Refer to the Serve Resources help page for details.
To serve all the project’s resources locally:
-
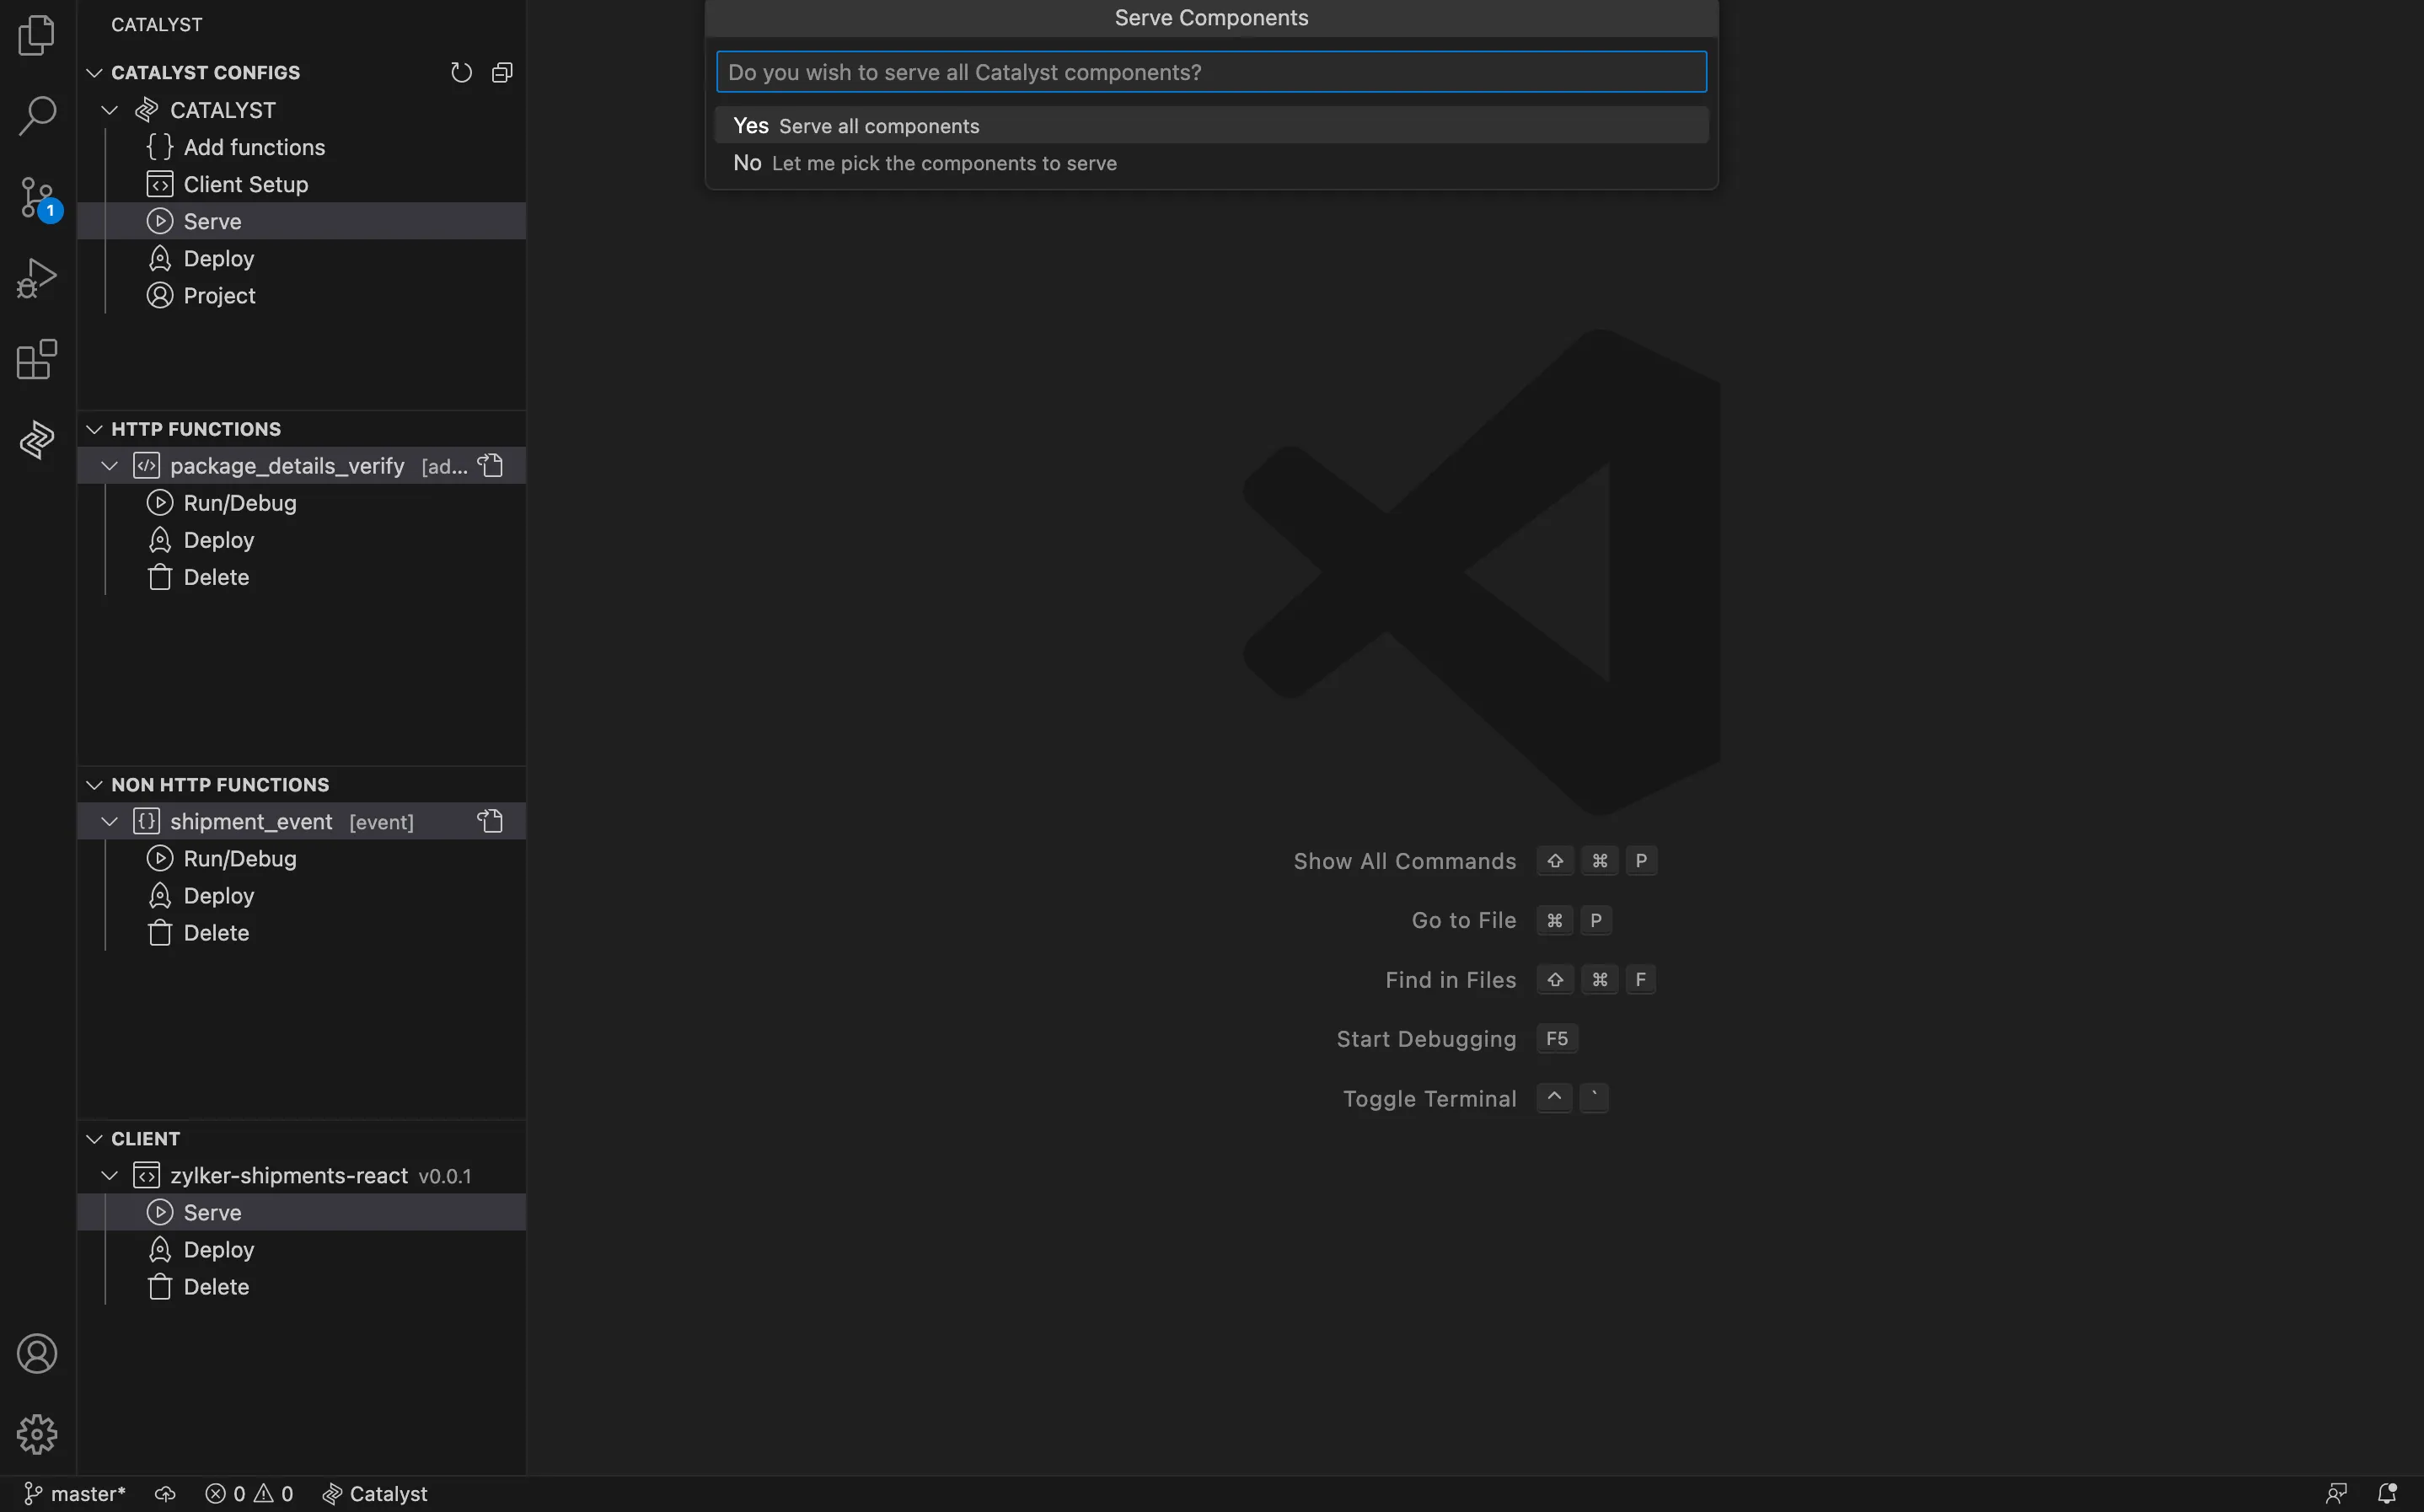
Click the Serve button.
-
Choose your preferred option:
-
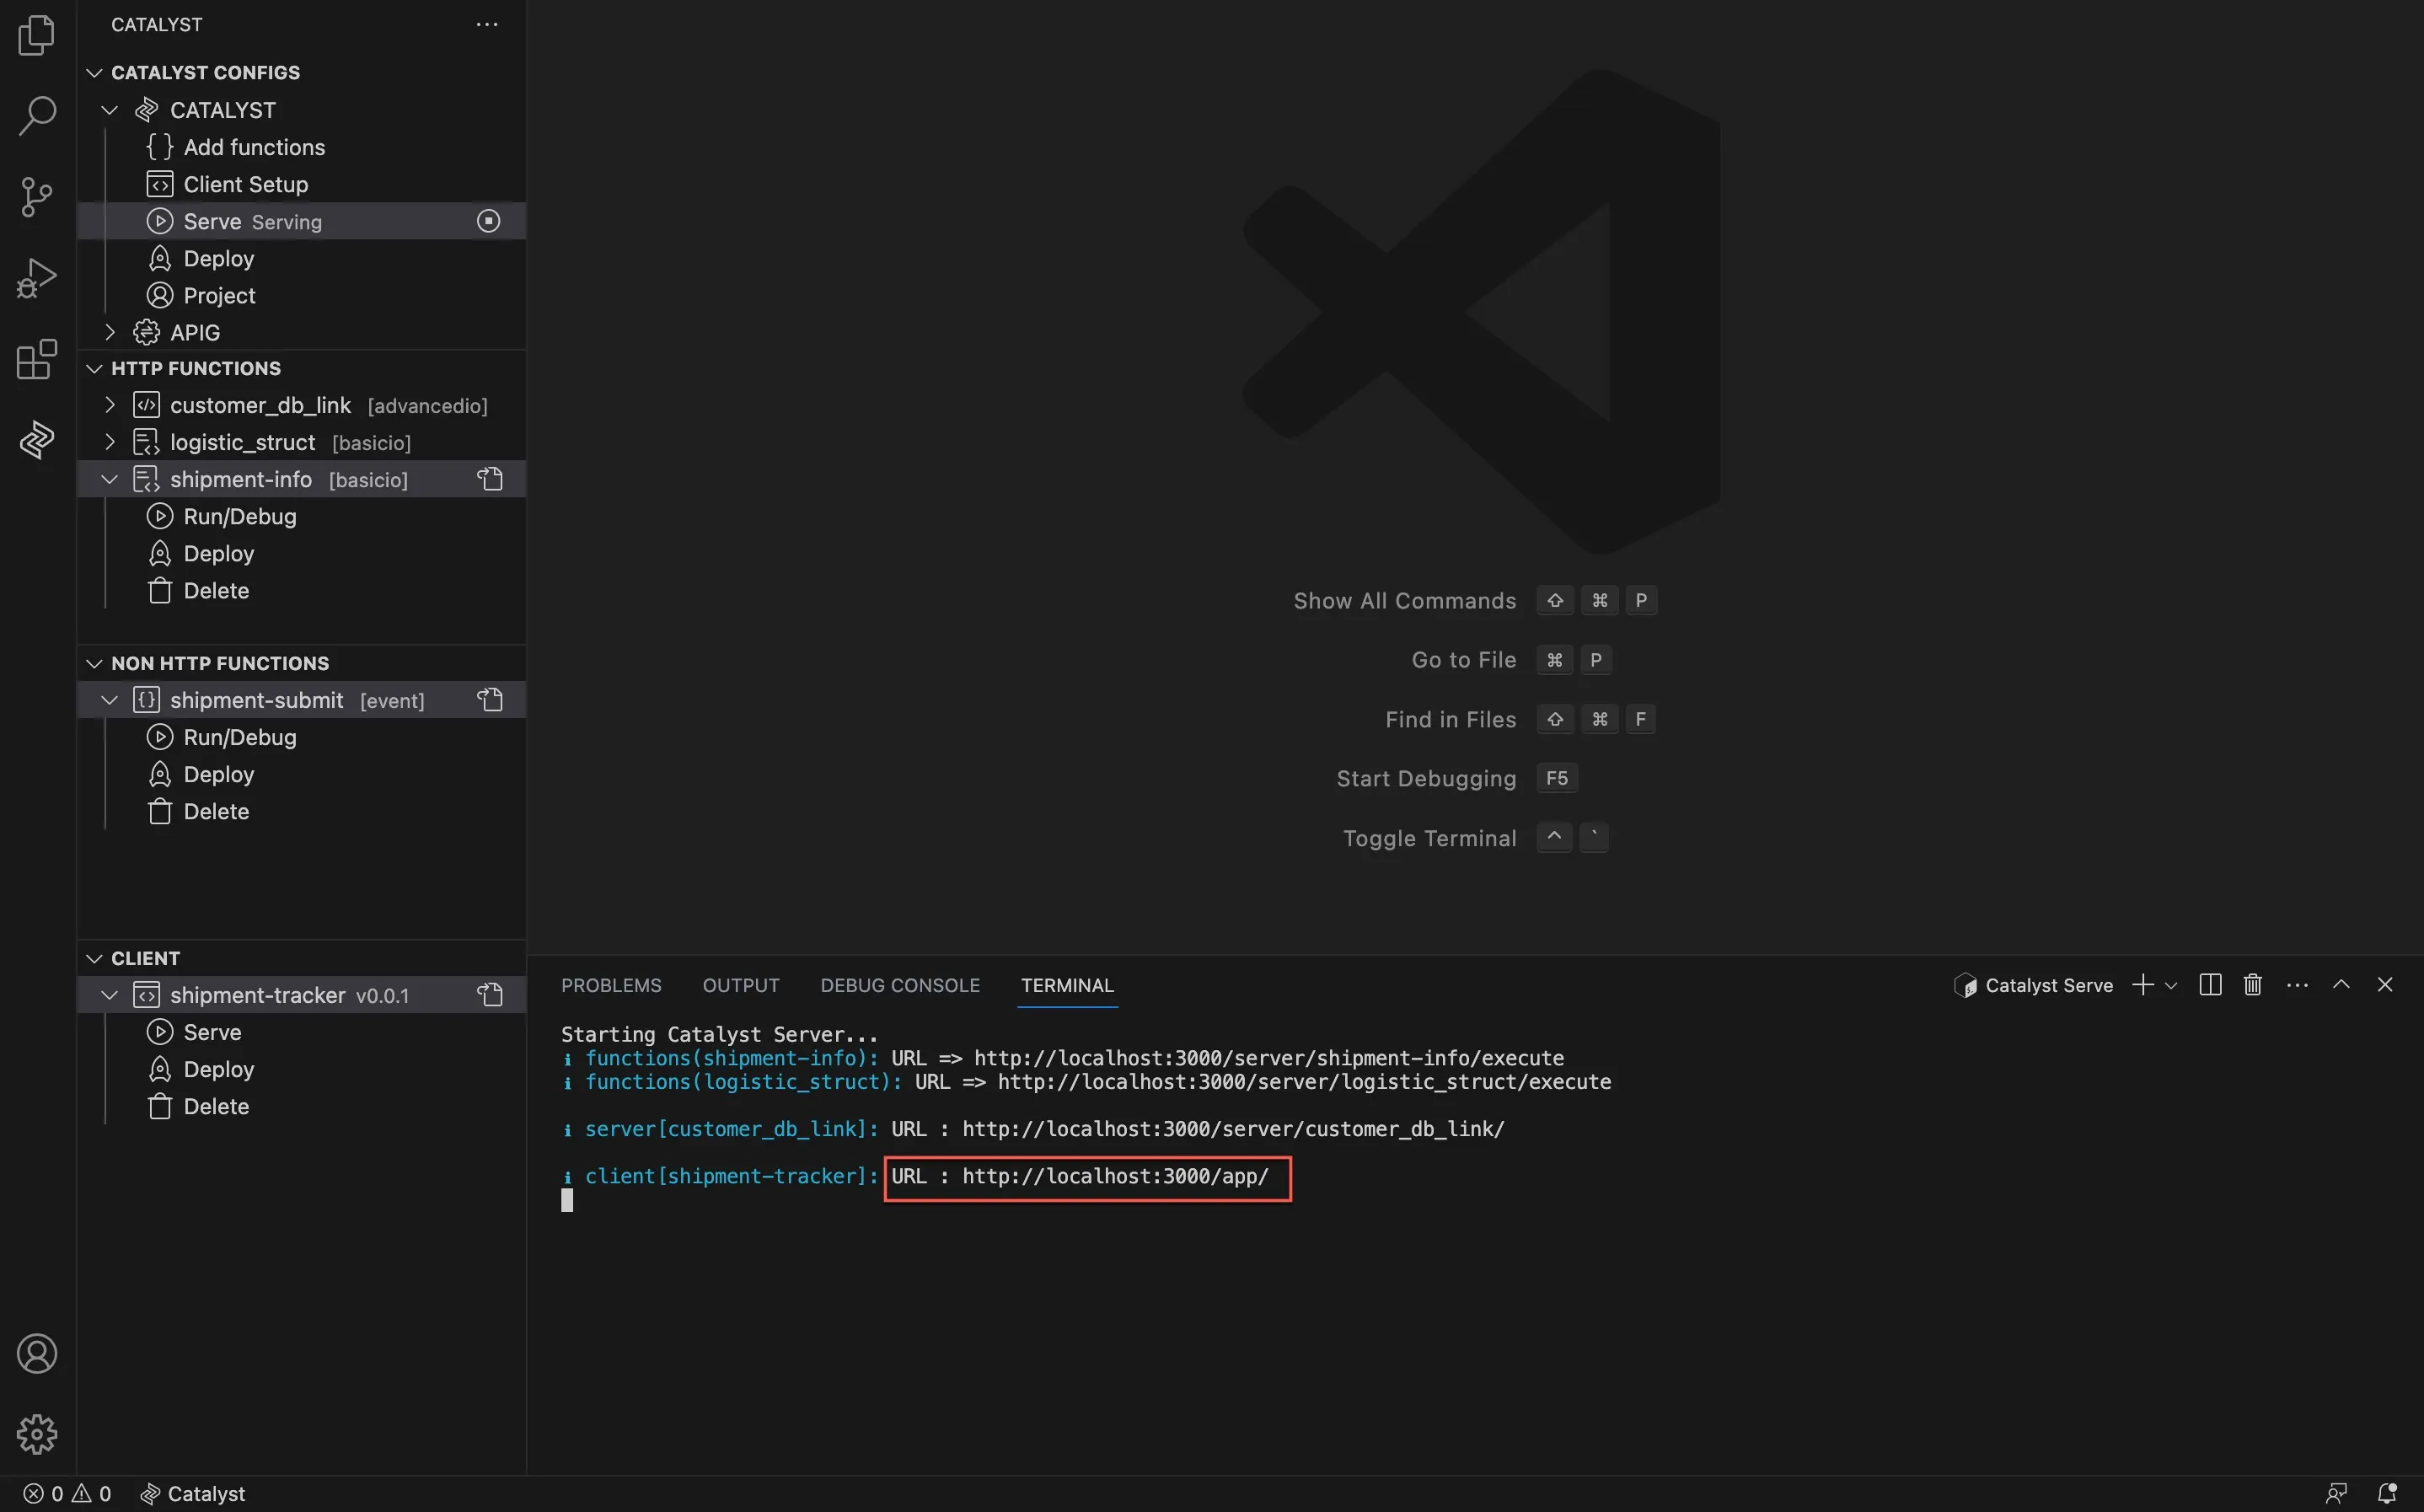
Click Yes to serve all the function and client components.
-
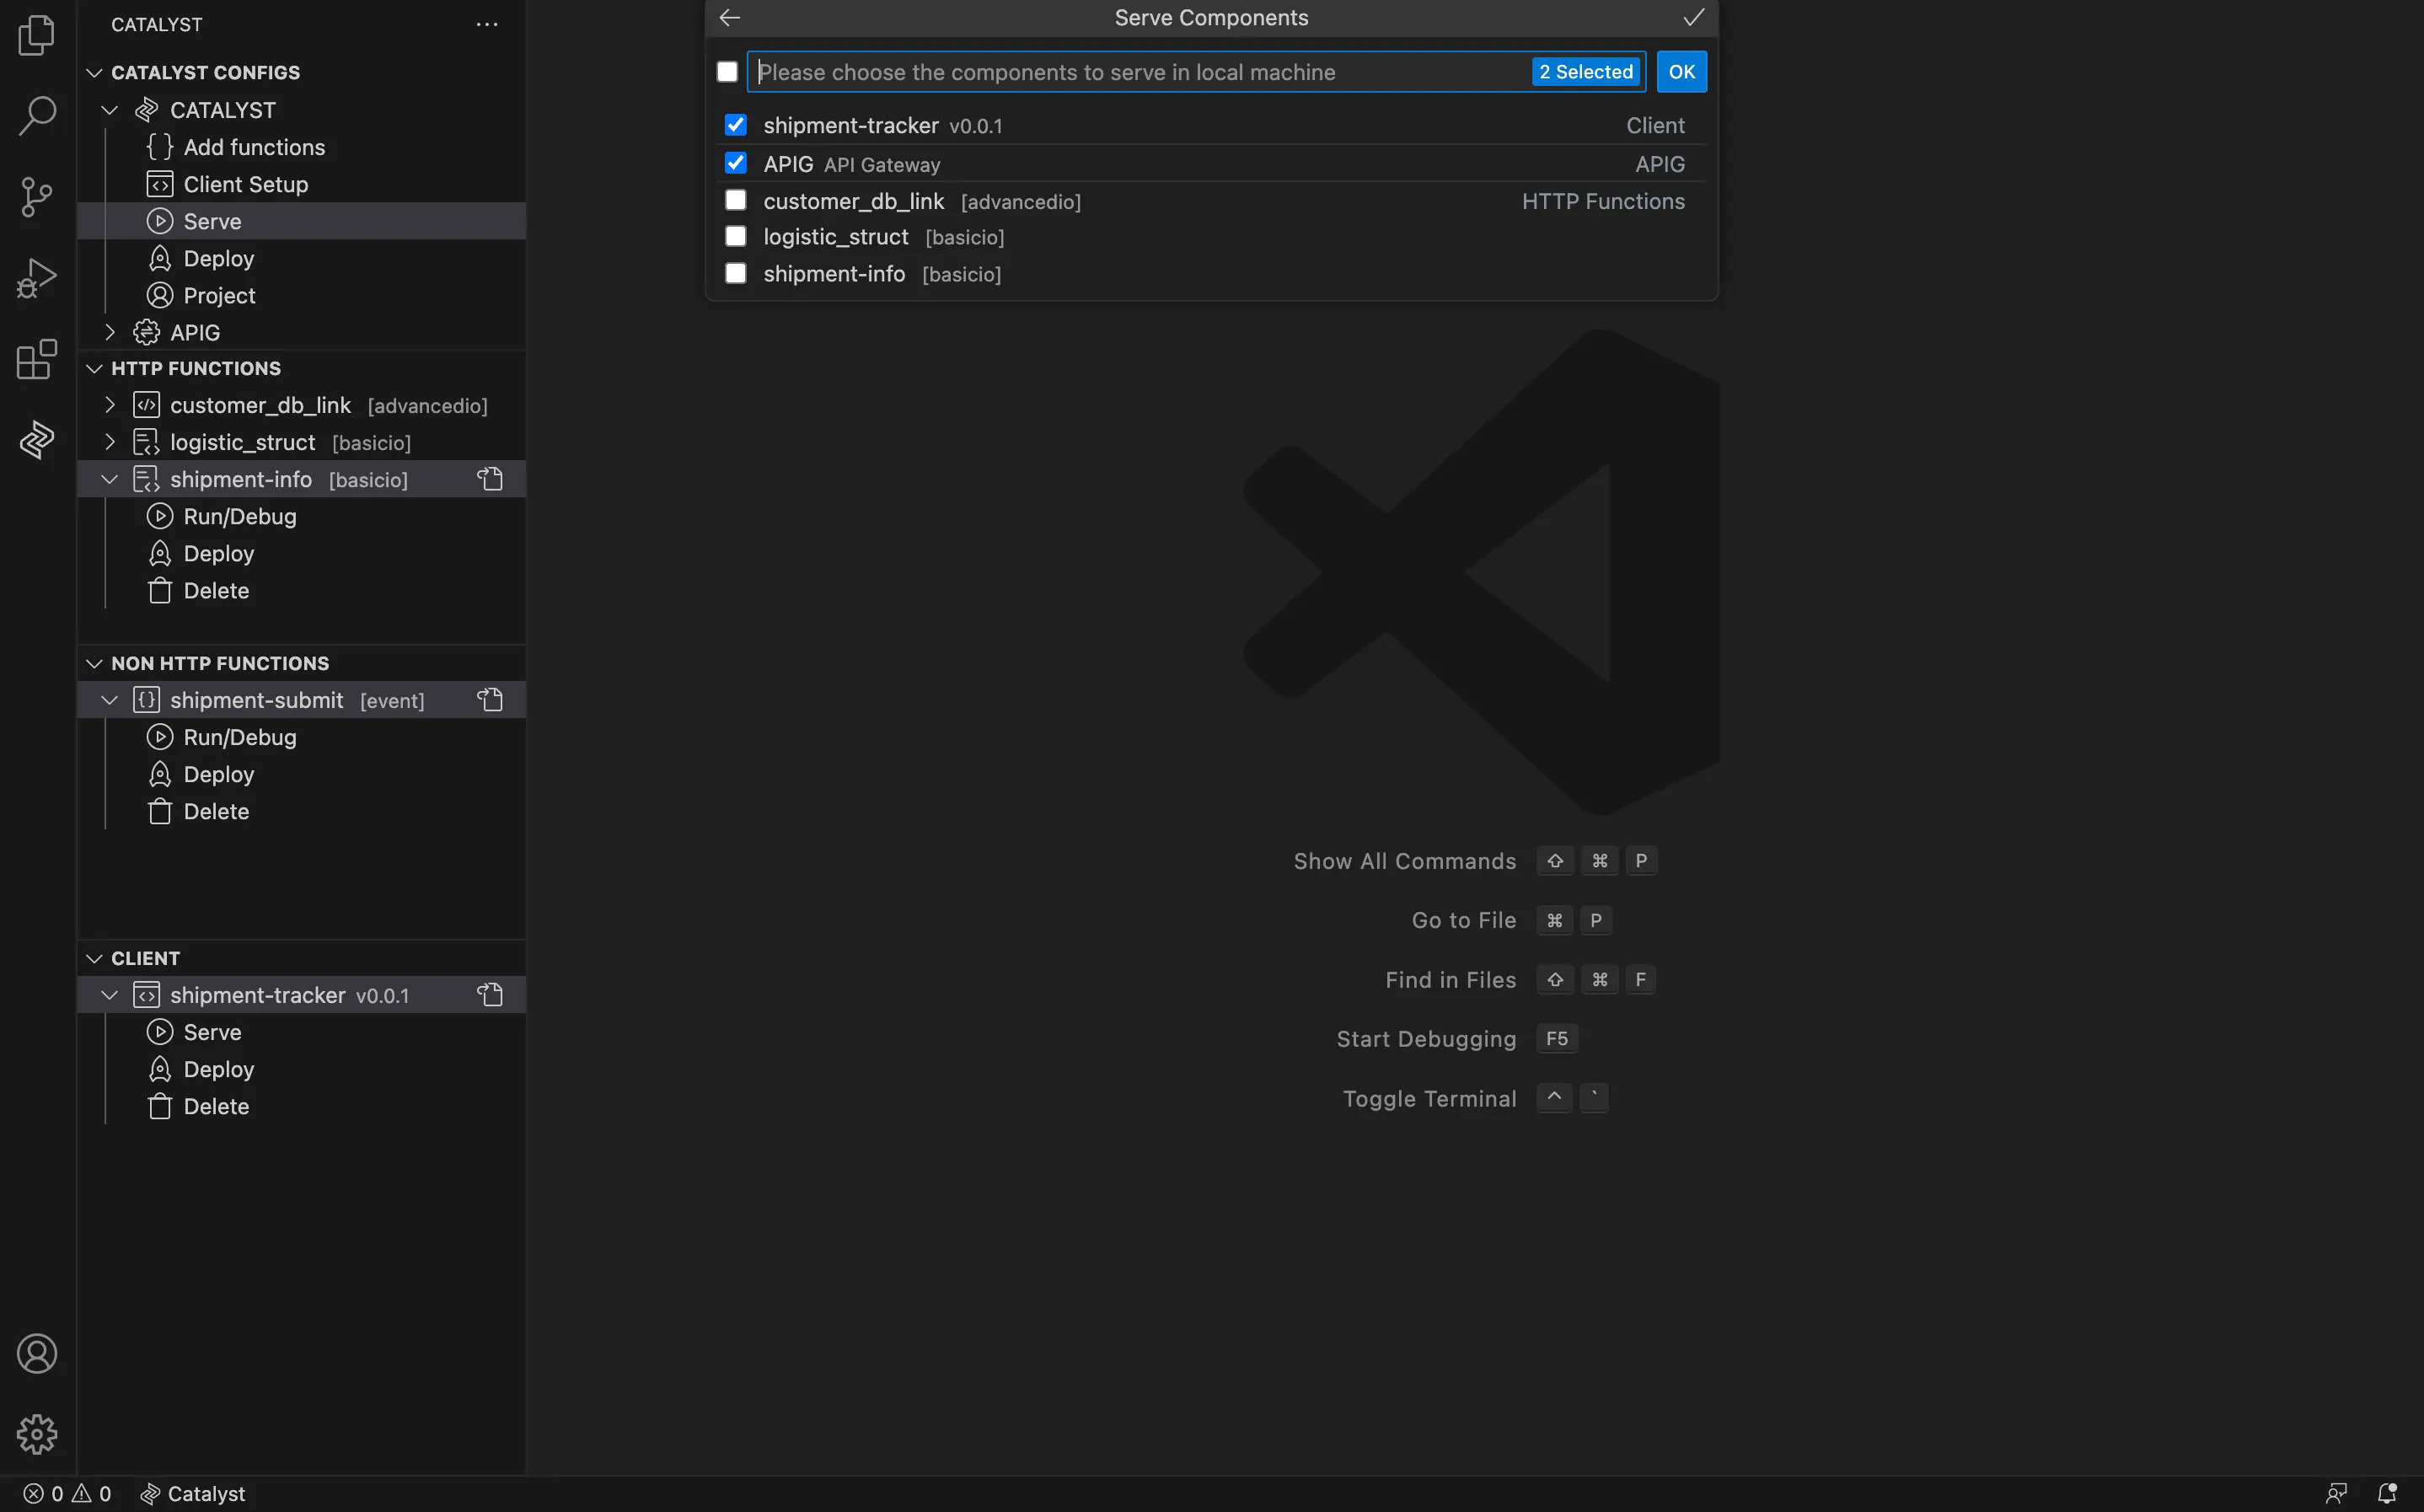
Click No to choose the specific components you wish to serve locally.
The selected components will be served locally. You can use the URL generated in your preferred browser to test the components’ functionality.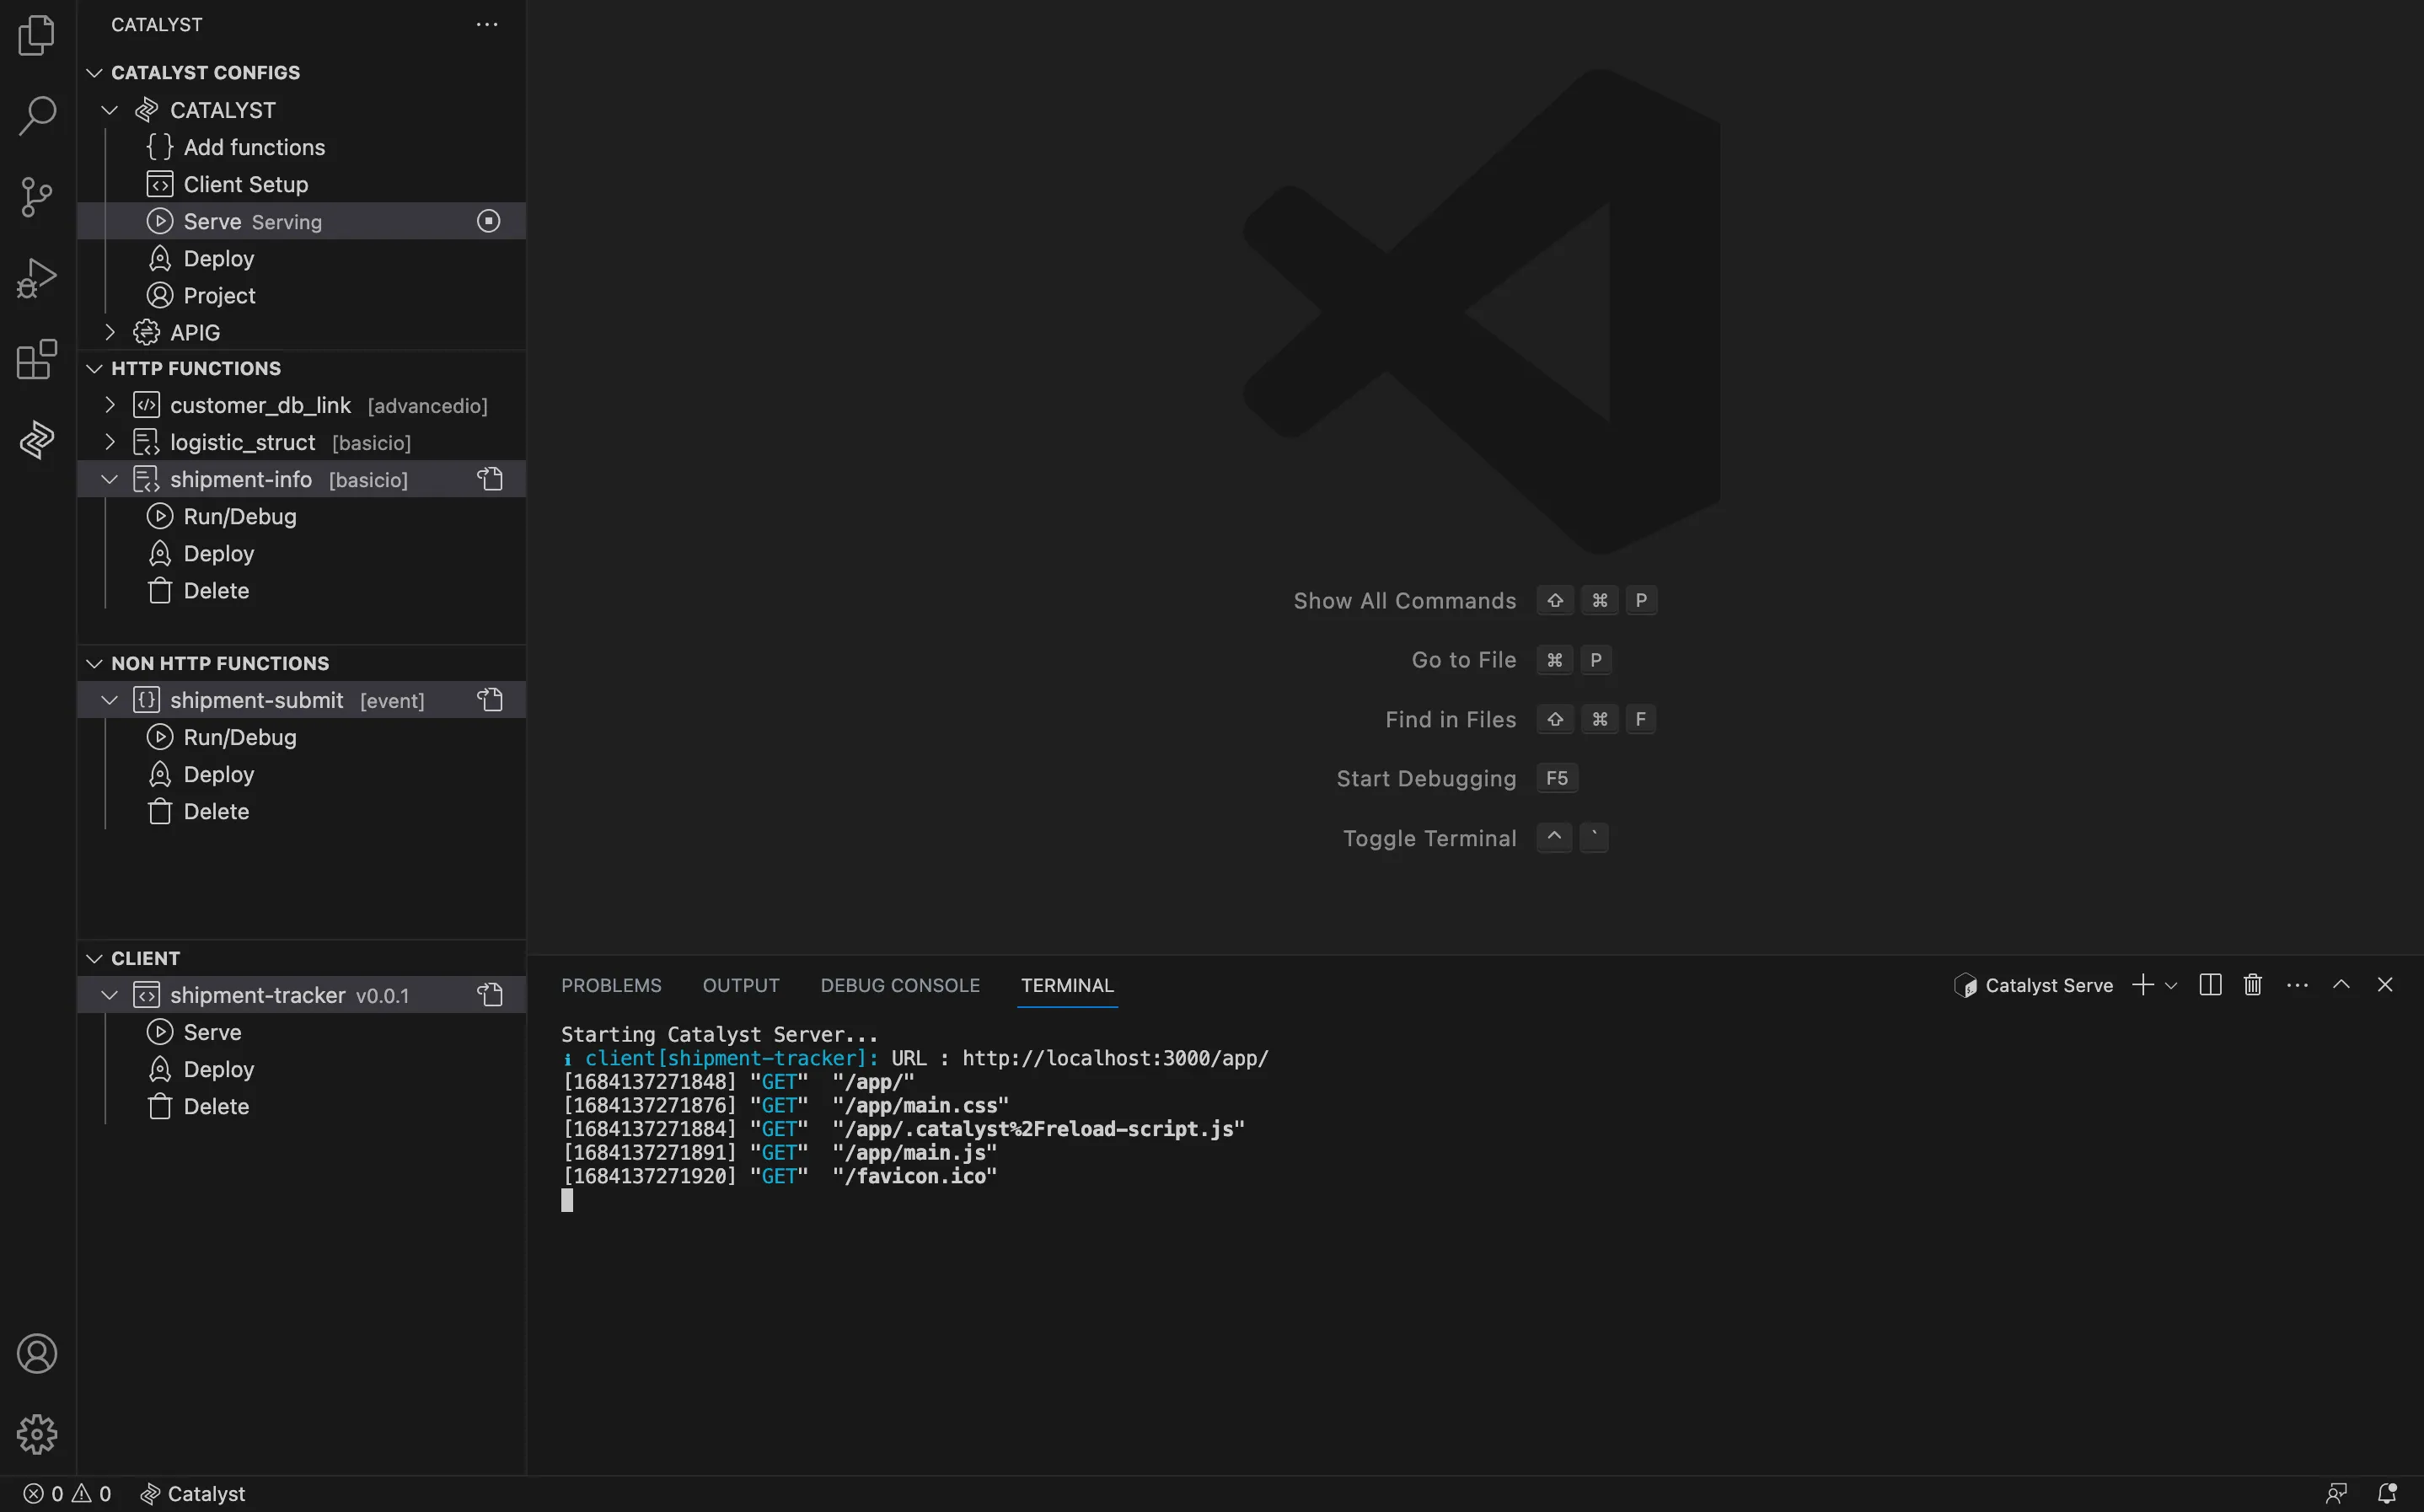
-
You can kill the serve process, by clicking the stop icon.
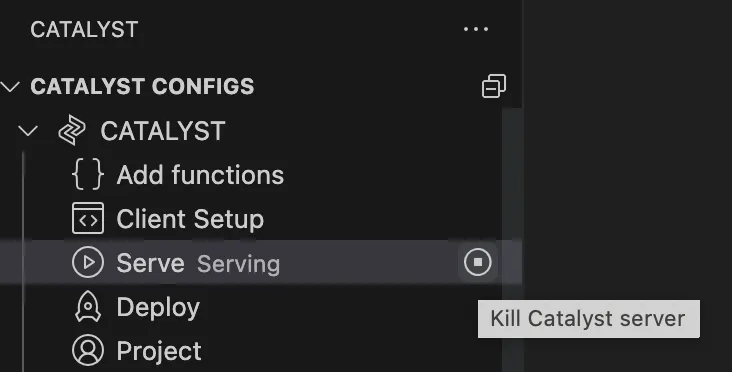
-
Deploy
You can deploy all the functions and the client that you initialized in the extension to the remote console. This will make them available in the development environment of your project. Refer to the Deploy Resources help page for details about the deployment process of each project resource.
To deploy the project to the Catalyst console:
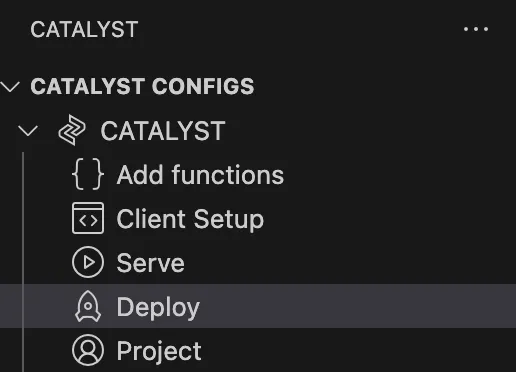
-
Click the Deploy button.
-
Choose your preferred option:

-
Click Yes to deploy all the components.

-
Click No to choose the specific components you wish to deploy. Click the components you wish to deploy, then click the submission icon.
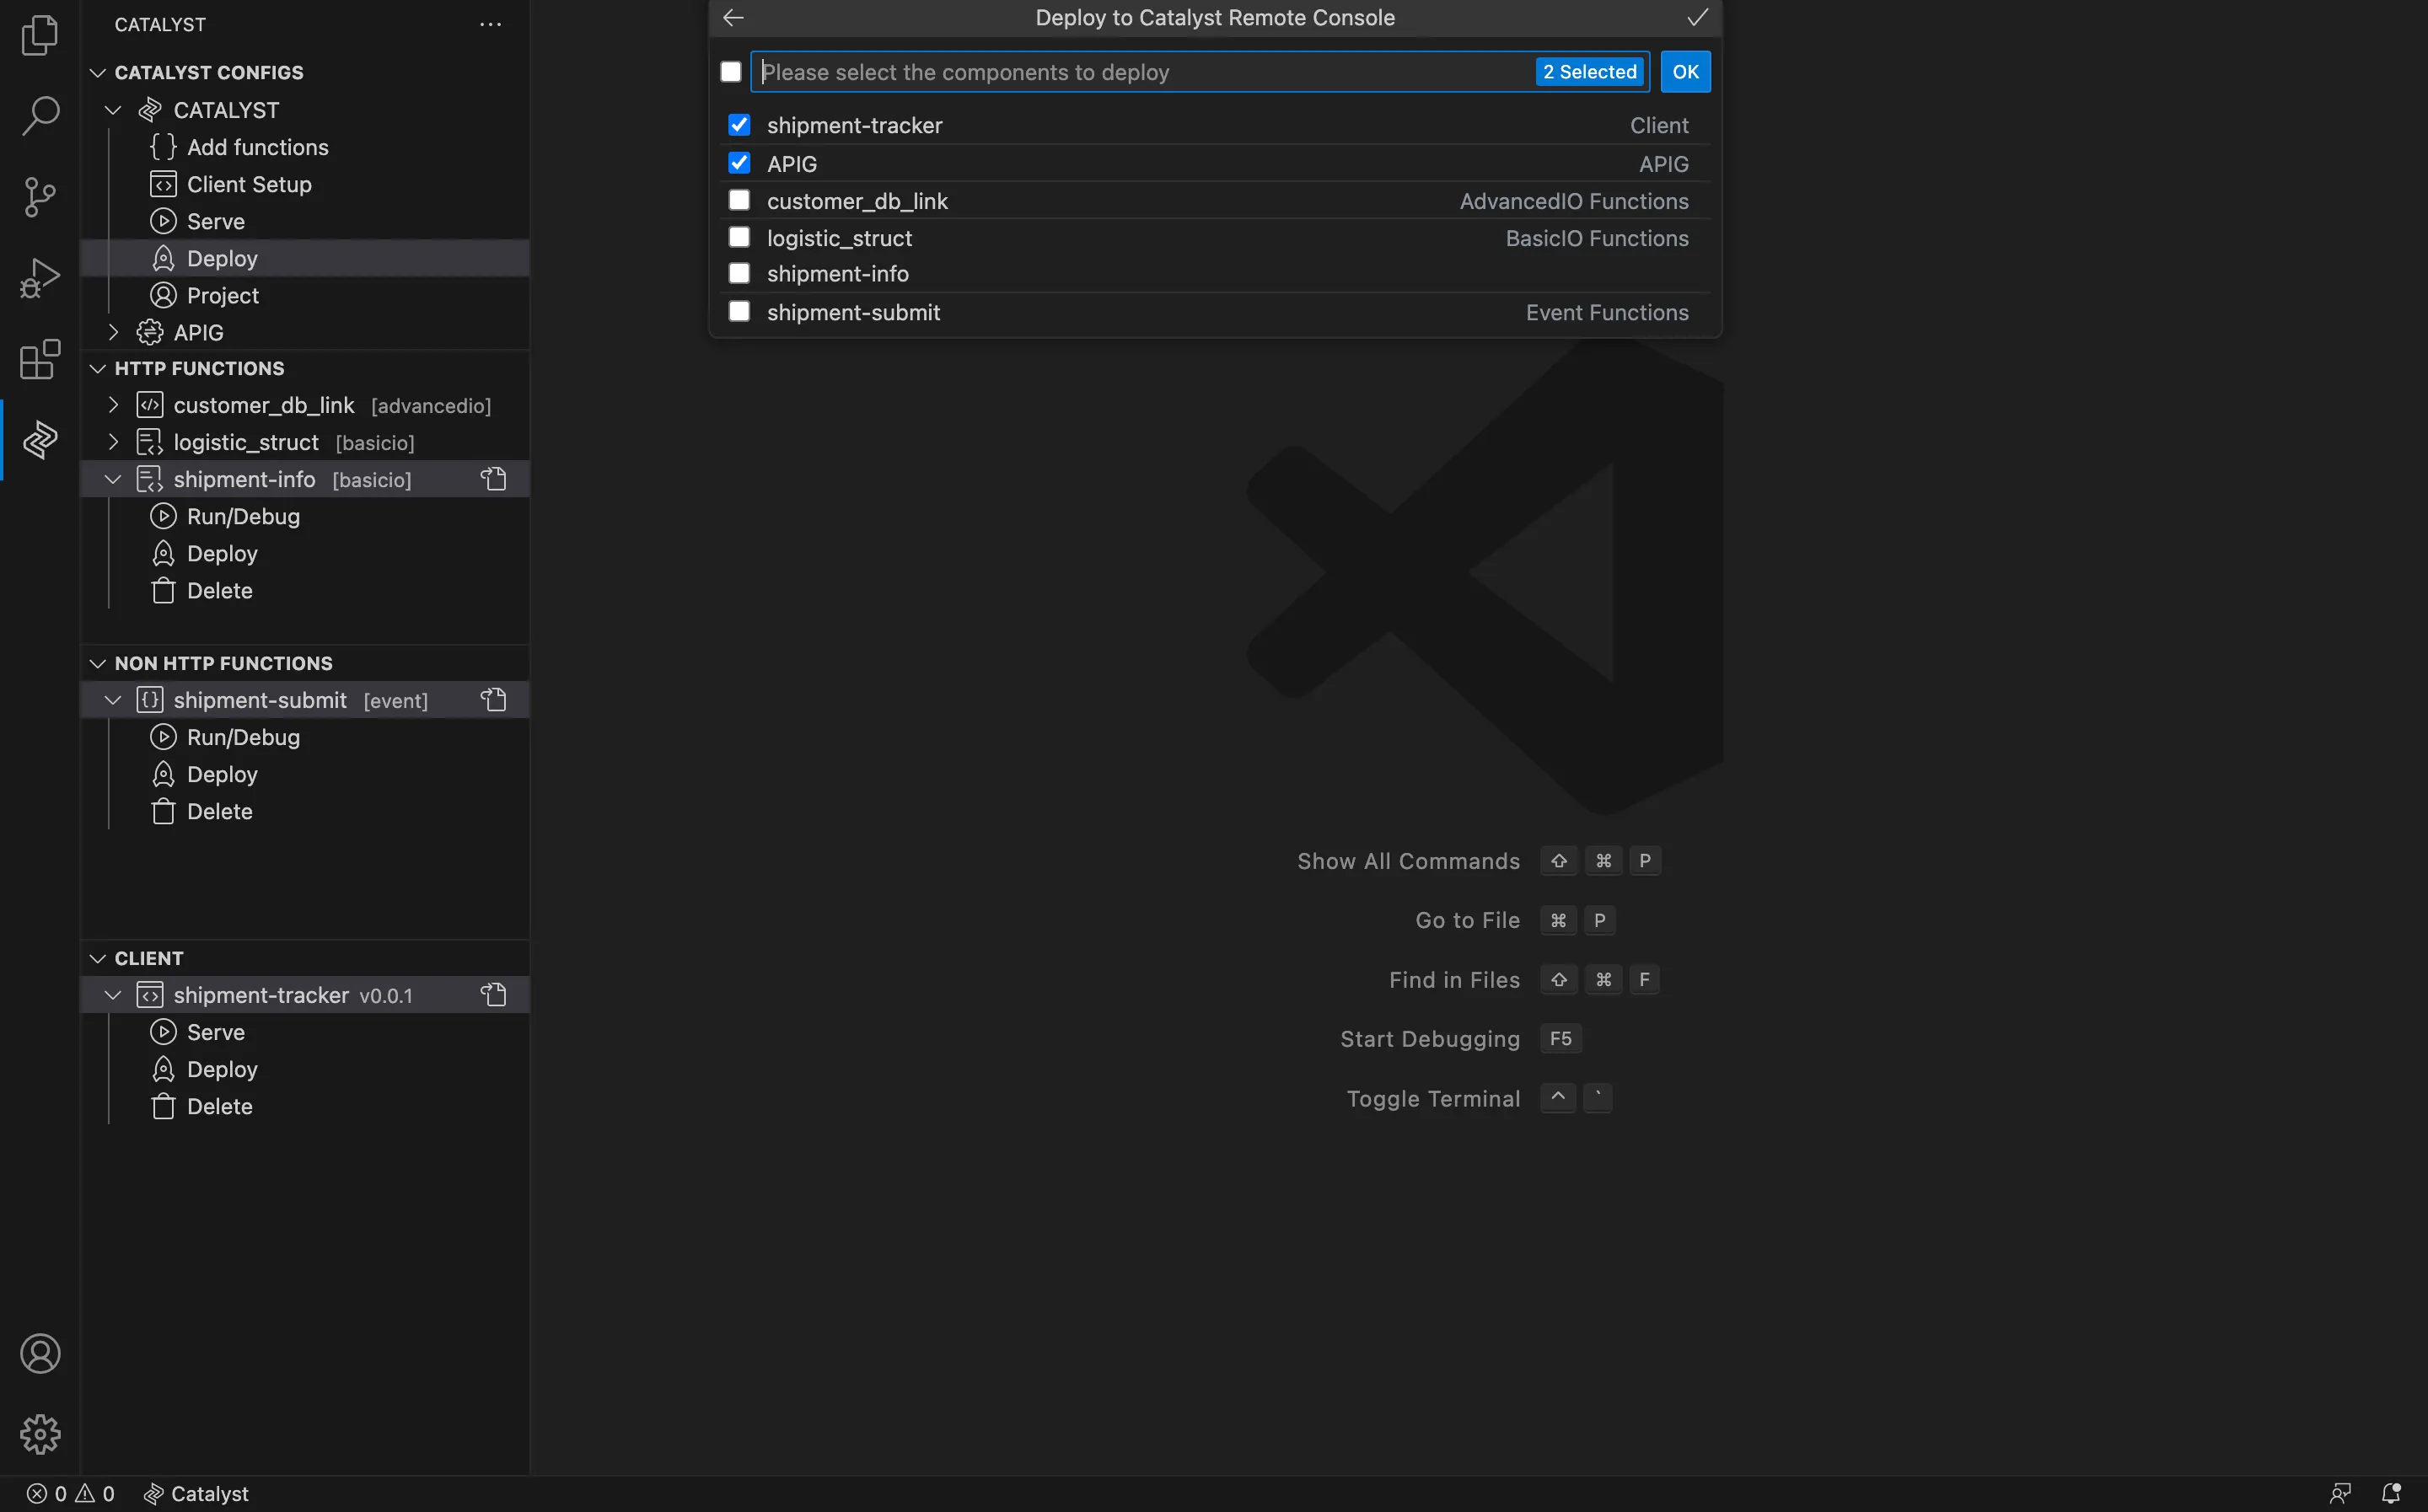
-
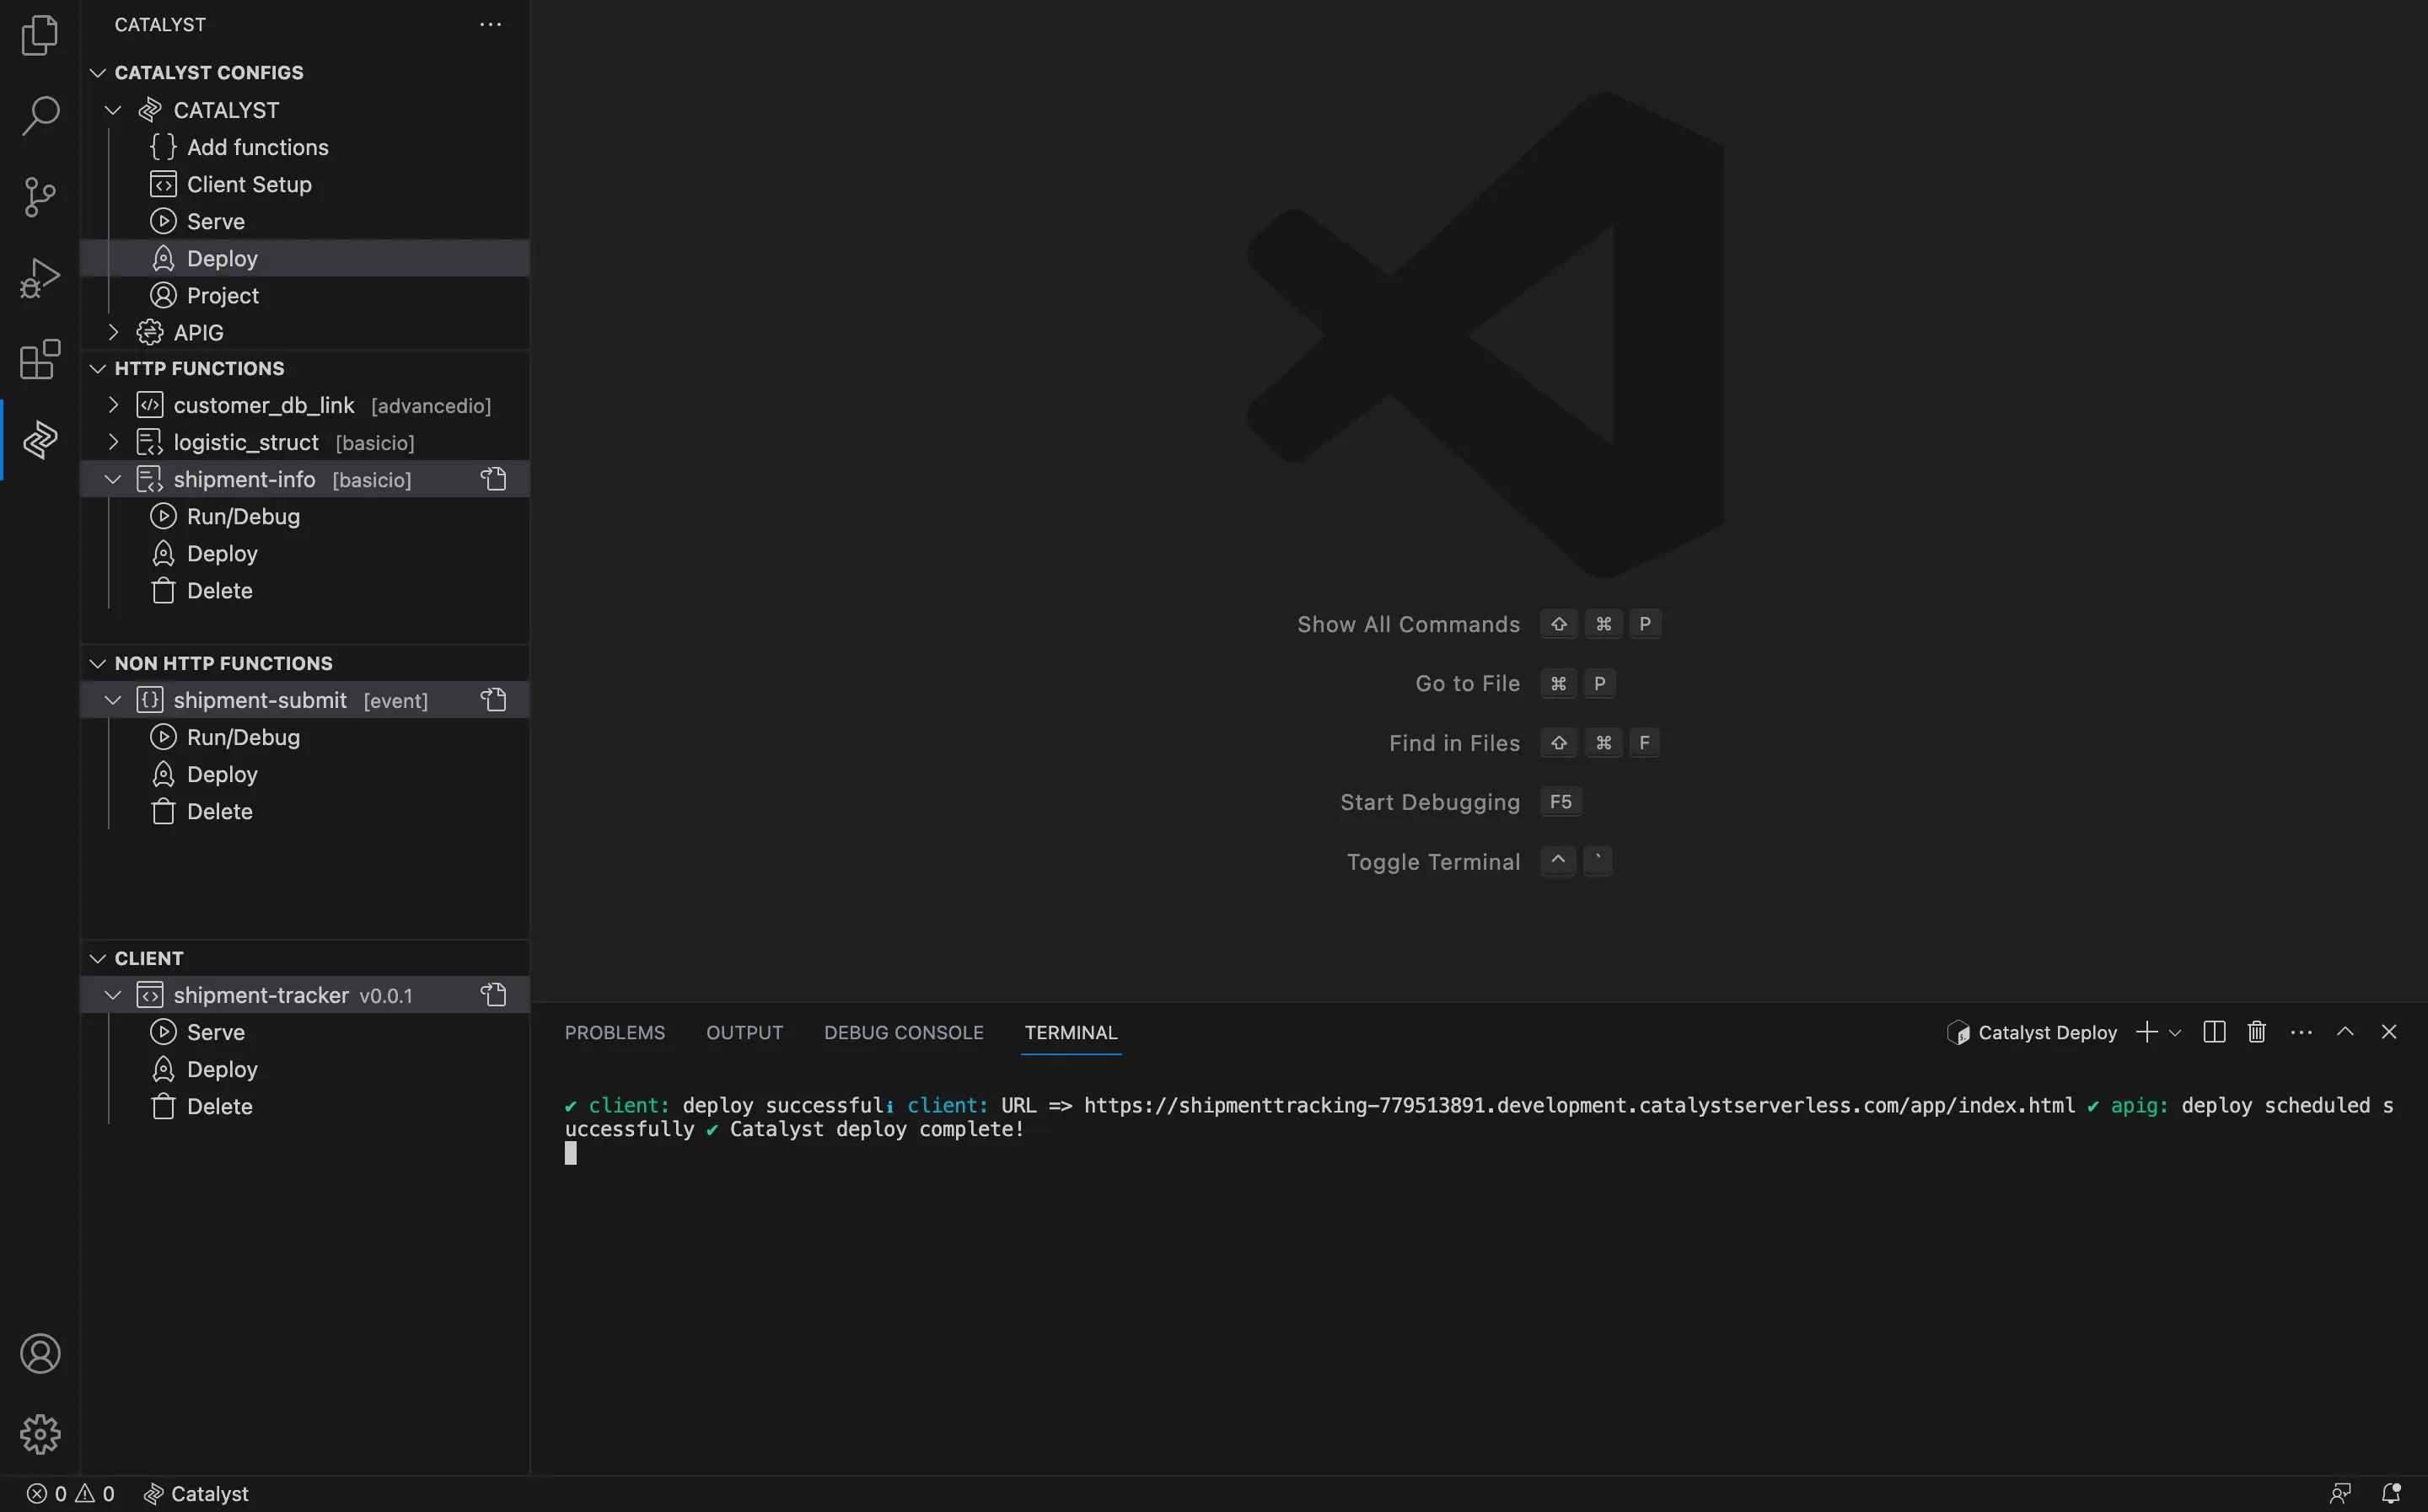
The selected resources will be deployed and the extension will display the endpoint URLs of the functions and the client that you can access.
Serve & Deploy From Within catalyst.json
The catalyst.json file contains the component list and configuration of the entire project. Using Catalyst Tools you have the option to serve and deploy your entire project or selective resources from within the catalyst.json file.
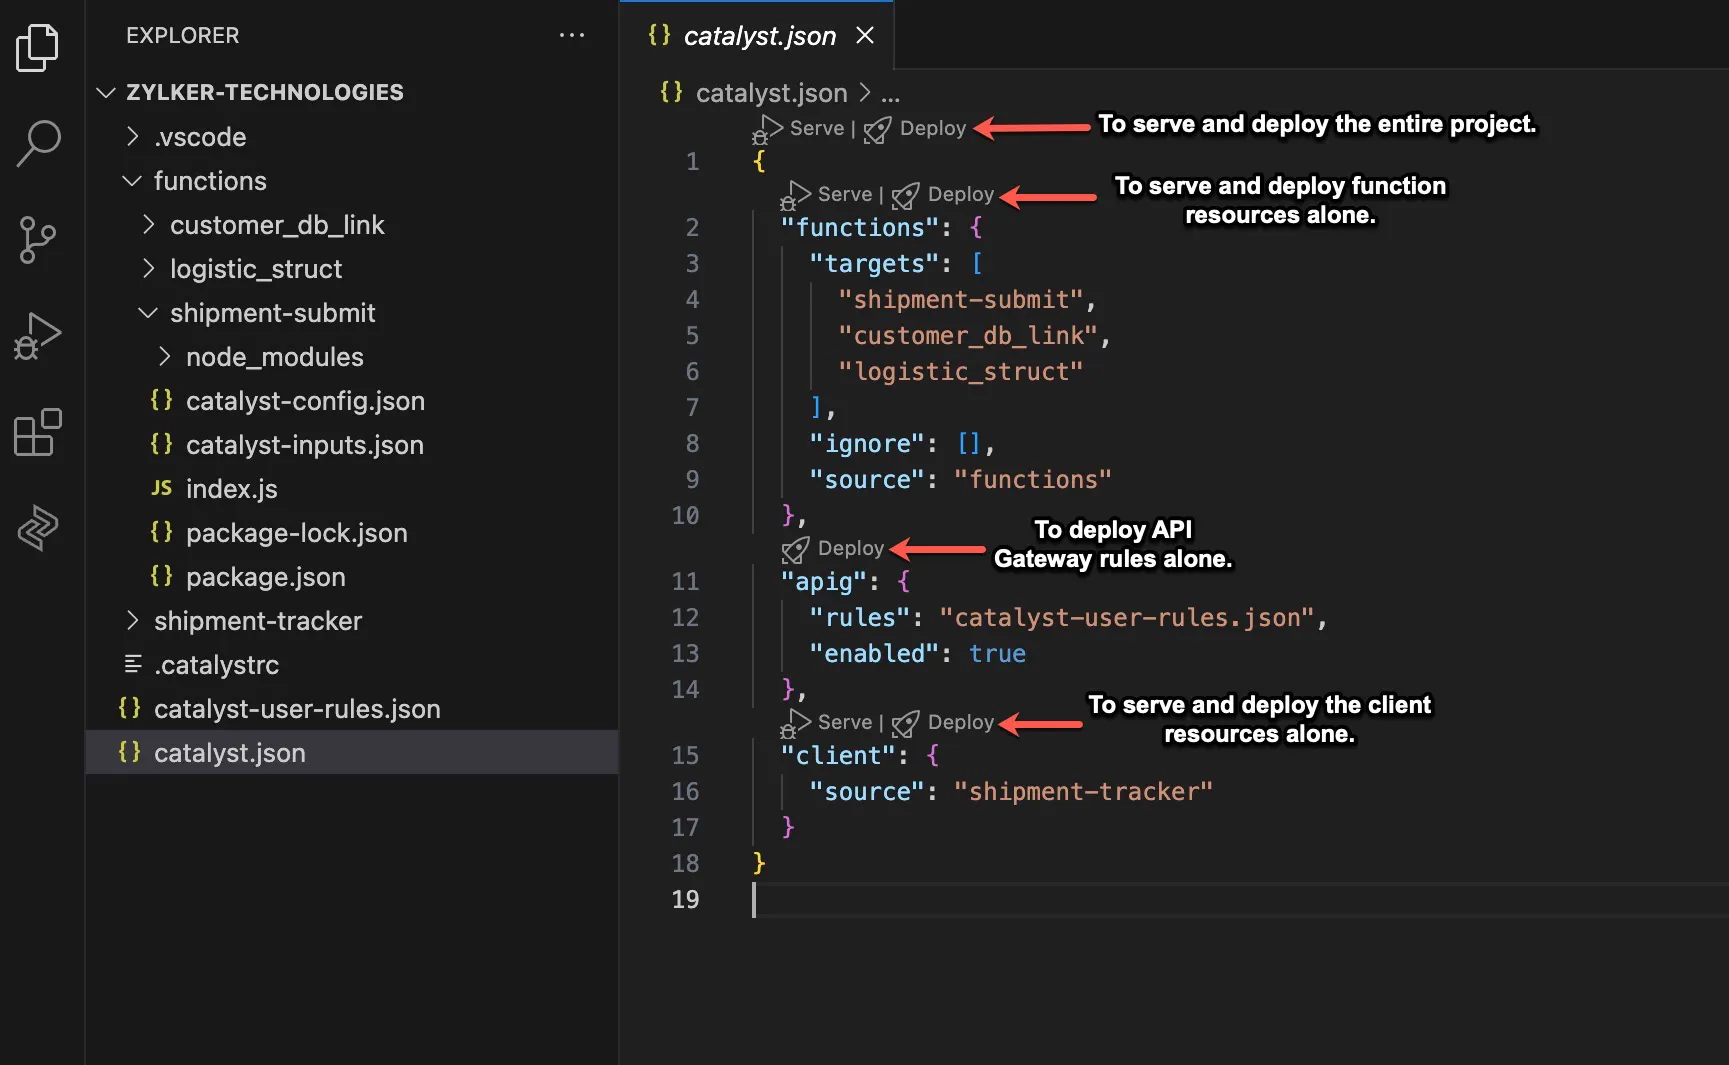
To serve or deploy ypur project resources, you can click the Serve and Deploy button present next to each project resource, and then follow the same serve and deploy steps instructed above.
Functions
In this section we will go over all the operations that can be performed in the HTTP FUNCTIONS and NON HTTP FUNCTIONS section of the Catalyst Tools extension.
-
Run/Debug: Serve the function locally and test its functionality. It also syncs with the IDE’s debugger, and allows you to debug your code in an easy manner.
-
Deploy: Deploy function components alone to the Catalyst console.
-
Delete: Delete a function from your local project permanently.
Run or Debug a Function
This section will cover the steps to use the run/debug feature of the extension effectively.
HTTP FUNCTIONS
HTTP functions include Basic I/O and Advanced I/O functions as they can contain HTTP requests and response functionalities. All Basic I/O and Advanced I/O functions present in your project can be accessed here.
Follow the steps below to test HTTP functions locally and debug them:
-
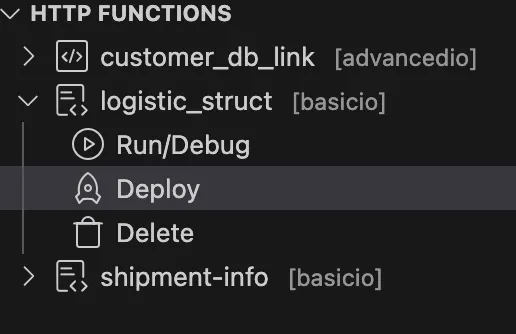
Click the function you would like to work with from the functions list present in the HTTP FUNCTIONS section.
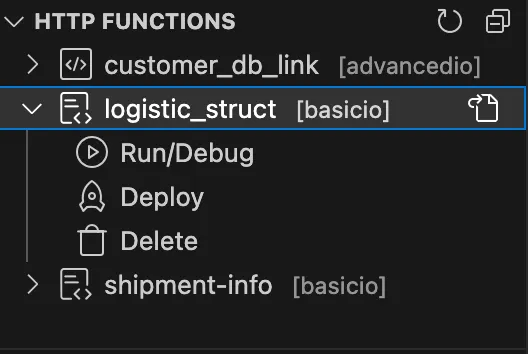
-
Click the Run/Debug option to serve the function locally.
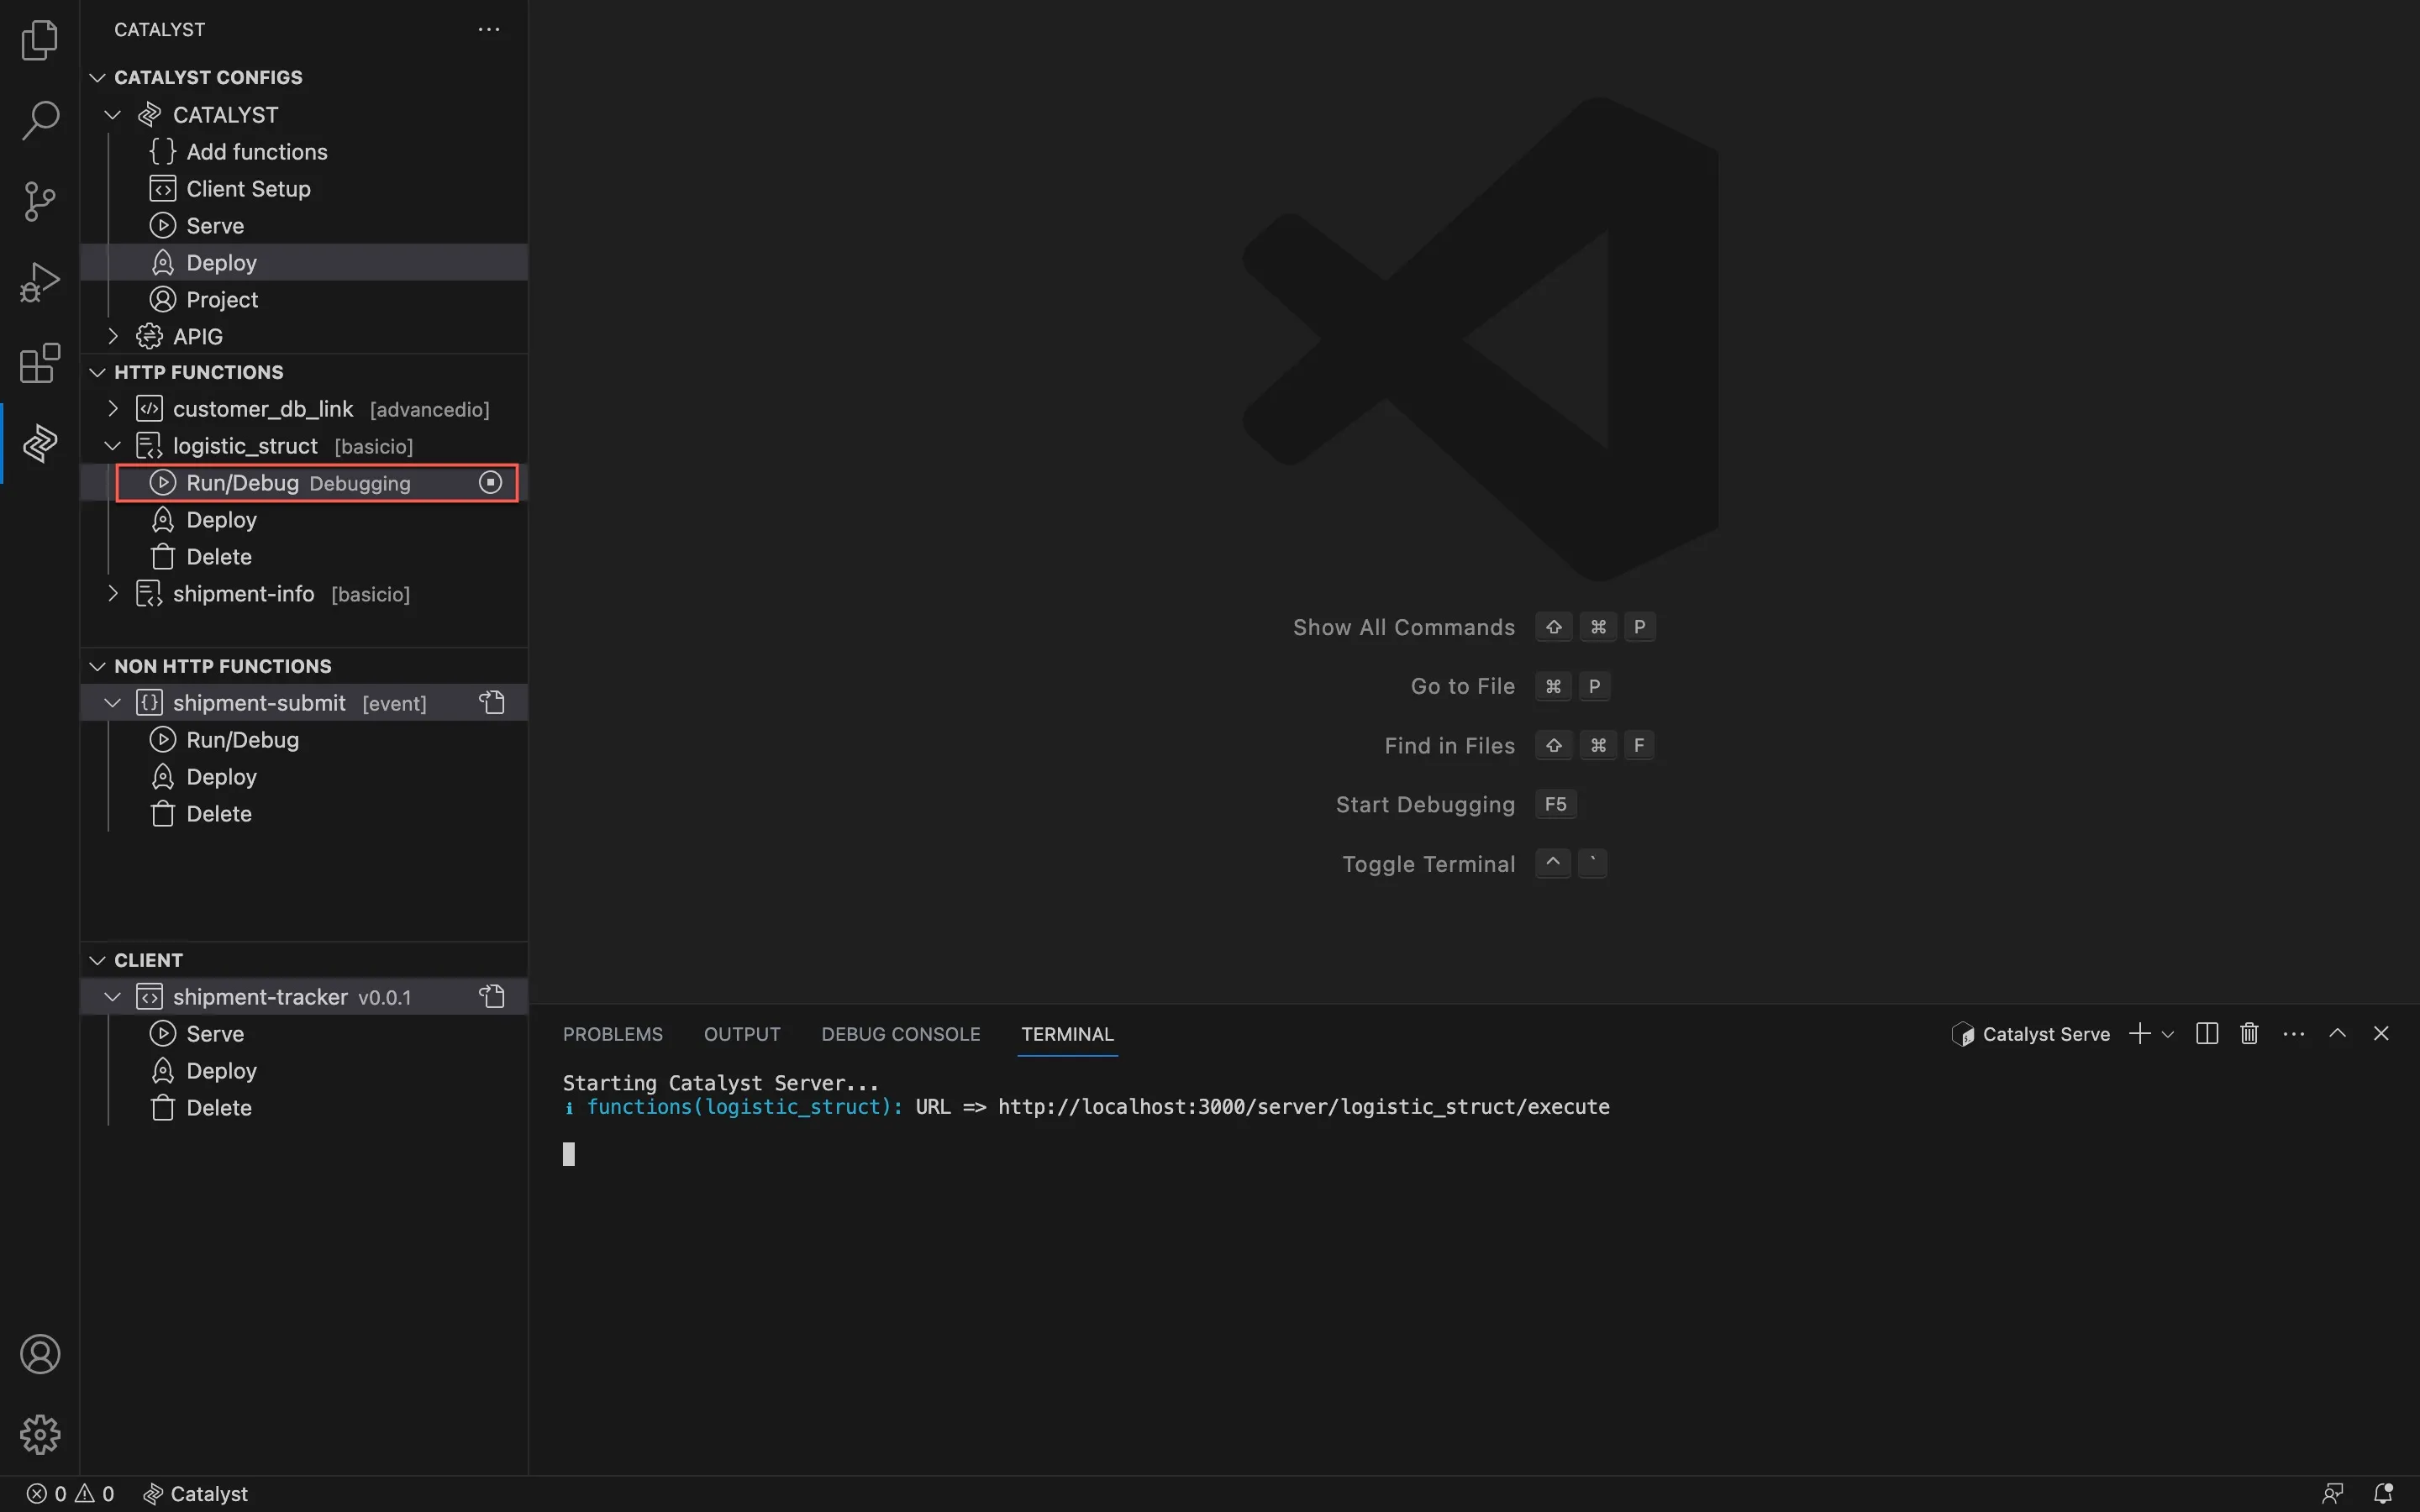
The Function URL through a localhost will be generated in the Catalyst Serve Terminal in VS Code. You can click to begin testing its functionality.
- You can click the function local URL and it will be opened in your default browser. The IDE will also redirect you to the Debugging section.
- If required, you can simultaneously change or edit the code and view the changes live.
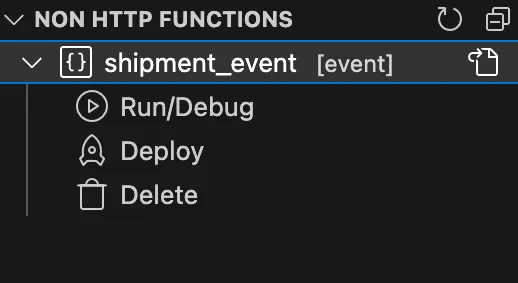
NON HTTP FUNCTONS
Cron functions, Event functions, and Integration functions present in your project can be accessed here. To Run/Debug these function types, you will need to create a JSON file named catalyst-inputs.json. This file will contain your test inputs as a JSON value, and you will need to store this file in the respective function’s directory.
- The catalyst-inputs.json is exclusive to the Catalyst Tools VS Code extension for the purpose of testing non-HTTP functions.
- Cliq Integration Functions is currently not available to Catalyst users accessing from the EU, AU, IN, or CA data centers. ConvoKraft Integration Functions are available to users accessing from all DCs.
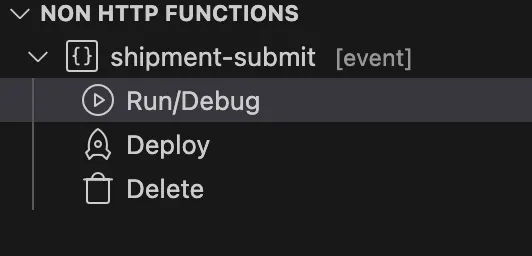
For this help document, we are going to Run/Debug an event function named shipment-submit.
To Run/Debug this non HTTP function, we will first create a catalyst-inputs.json in the shipment-submit function directory.
A sample JSON code to be added in the catalyst-inputs.json file for the shipment-submit event function is given below:
{
    "cache_put": {
        "project_details": {
            "id": "1434000000473001",
            "project_name": "ShipmentTracking"
        },
        "event_bus_details": {
            "name": "Default",
            "id": "1434000000473009"
        },
        "data": {
            "cache_name": "3b793",
            "cache_value": "0b3c97a93a",
            "project_details": {
                "id": "1434000000473001",
                "project_name": "Tunneling"
            },
            "segment_details": {
                "segment_name": "Default",
                "project_details": {
                    "project_name": "Tunneling",
                    "id": "1434000000473001",
                    "project_type": "Live"
                },
                "id": "1434000000473037"
            },
            "expiry_in_hours": 48,
            "expires_in": "Apr 28, 2023 03:13 PM"
        },
        "current_project": {
            "id": "1434000000473001",
            "project_name": "Tunneling"
        },
        "action": "Put",
        "source_entity_id": "1434000000473037",
        "source": "Cache",
        "event_time": 1682502183500
    },
    "datastore_insert": {
        "project_details": {
            "id": "1434000000473001",
            "project_name": "Tunneling"
        },
        "event_bus_details": {
            "name": "Default",
            "id": "1434000000473009"
        },
        "data": [
            {
                "ROWID": "345460658792283",
                "CREATORID": "979726486268217",
                "CREATEDTIME": "2023-04-26 15:14:06",
                "MODIFIEDTIME": "2023-04-26 15:14:06"
            }
        ],
        "current_project": {
            "id": "1434000000473001",
            "project_name": "Tunneling"
        },
        "action": "Insert",
        "source_entity_id": "817140351651431",
        "source": "Datastore",
        "event_time": 1682502245961
}
}
This input file passes sample event data from a Cache PUT and a Data Store INSERT operations occurring in the Default event listener. The event data is passed to the shipment-submit function.
-
This sample JSON file contains two key values: cache_put and datastore_insert. You can customize the event source and modify the name of these keys accordingly. However, Catalyst follows a specific format for the event data that is passed for each entity or operation. The keys and values must stick to the standard event data format for the operation that you provide.
-
You can access sample event data to include in the catalyst-inputs.json file for any supported operation by generating sample event payload from the Catalyst CLI.
The shipment-submit function directory will include the following files:
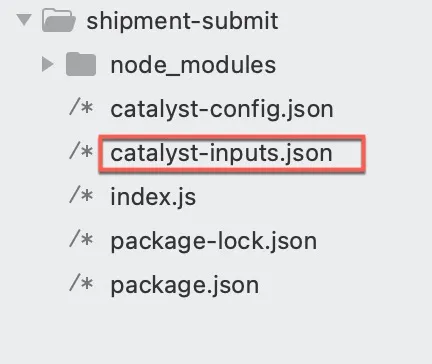
Now, follow the steps below to test your function locally and debug it, if necessary:
-
Click the function you would like to work with from the function list present in the NON HTTP FUNCTIONS section.
-
Click the Run/Debug option to serve the function locally.
-
Click the input key you would like to serve your function with.
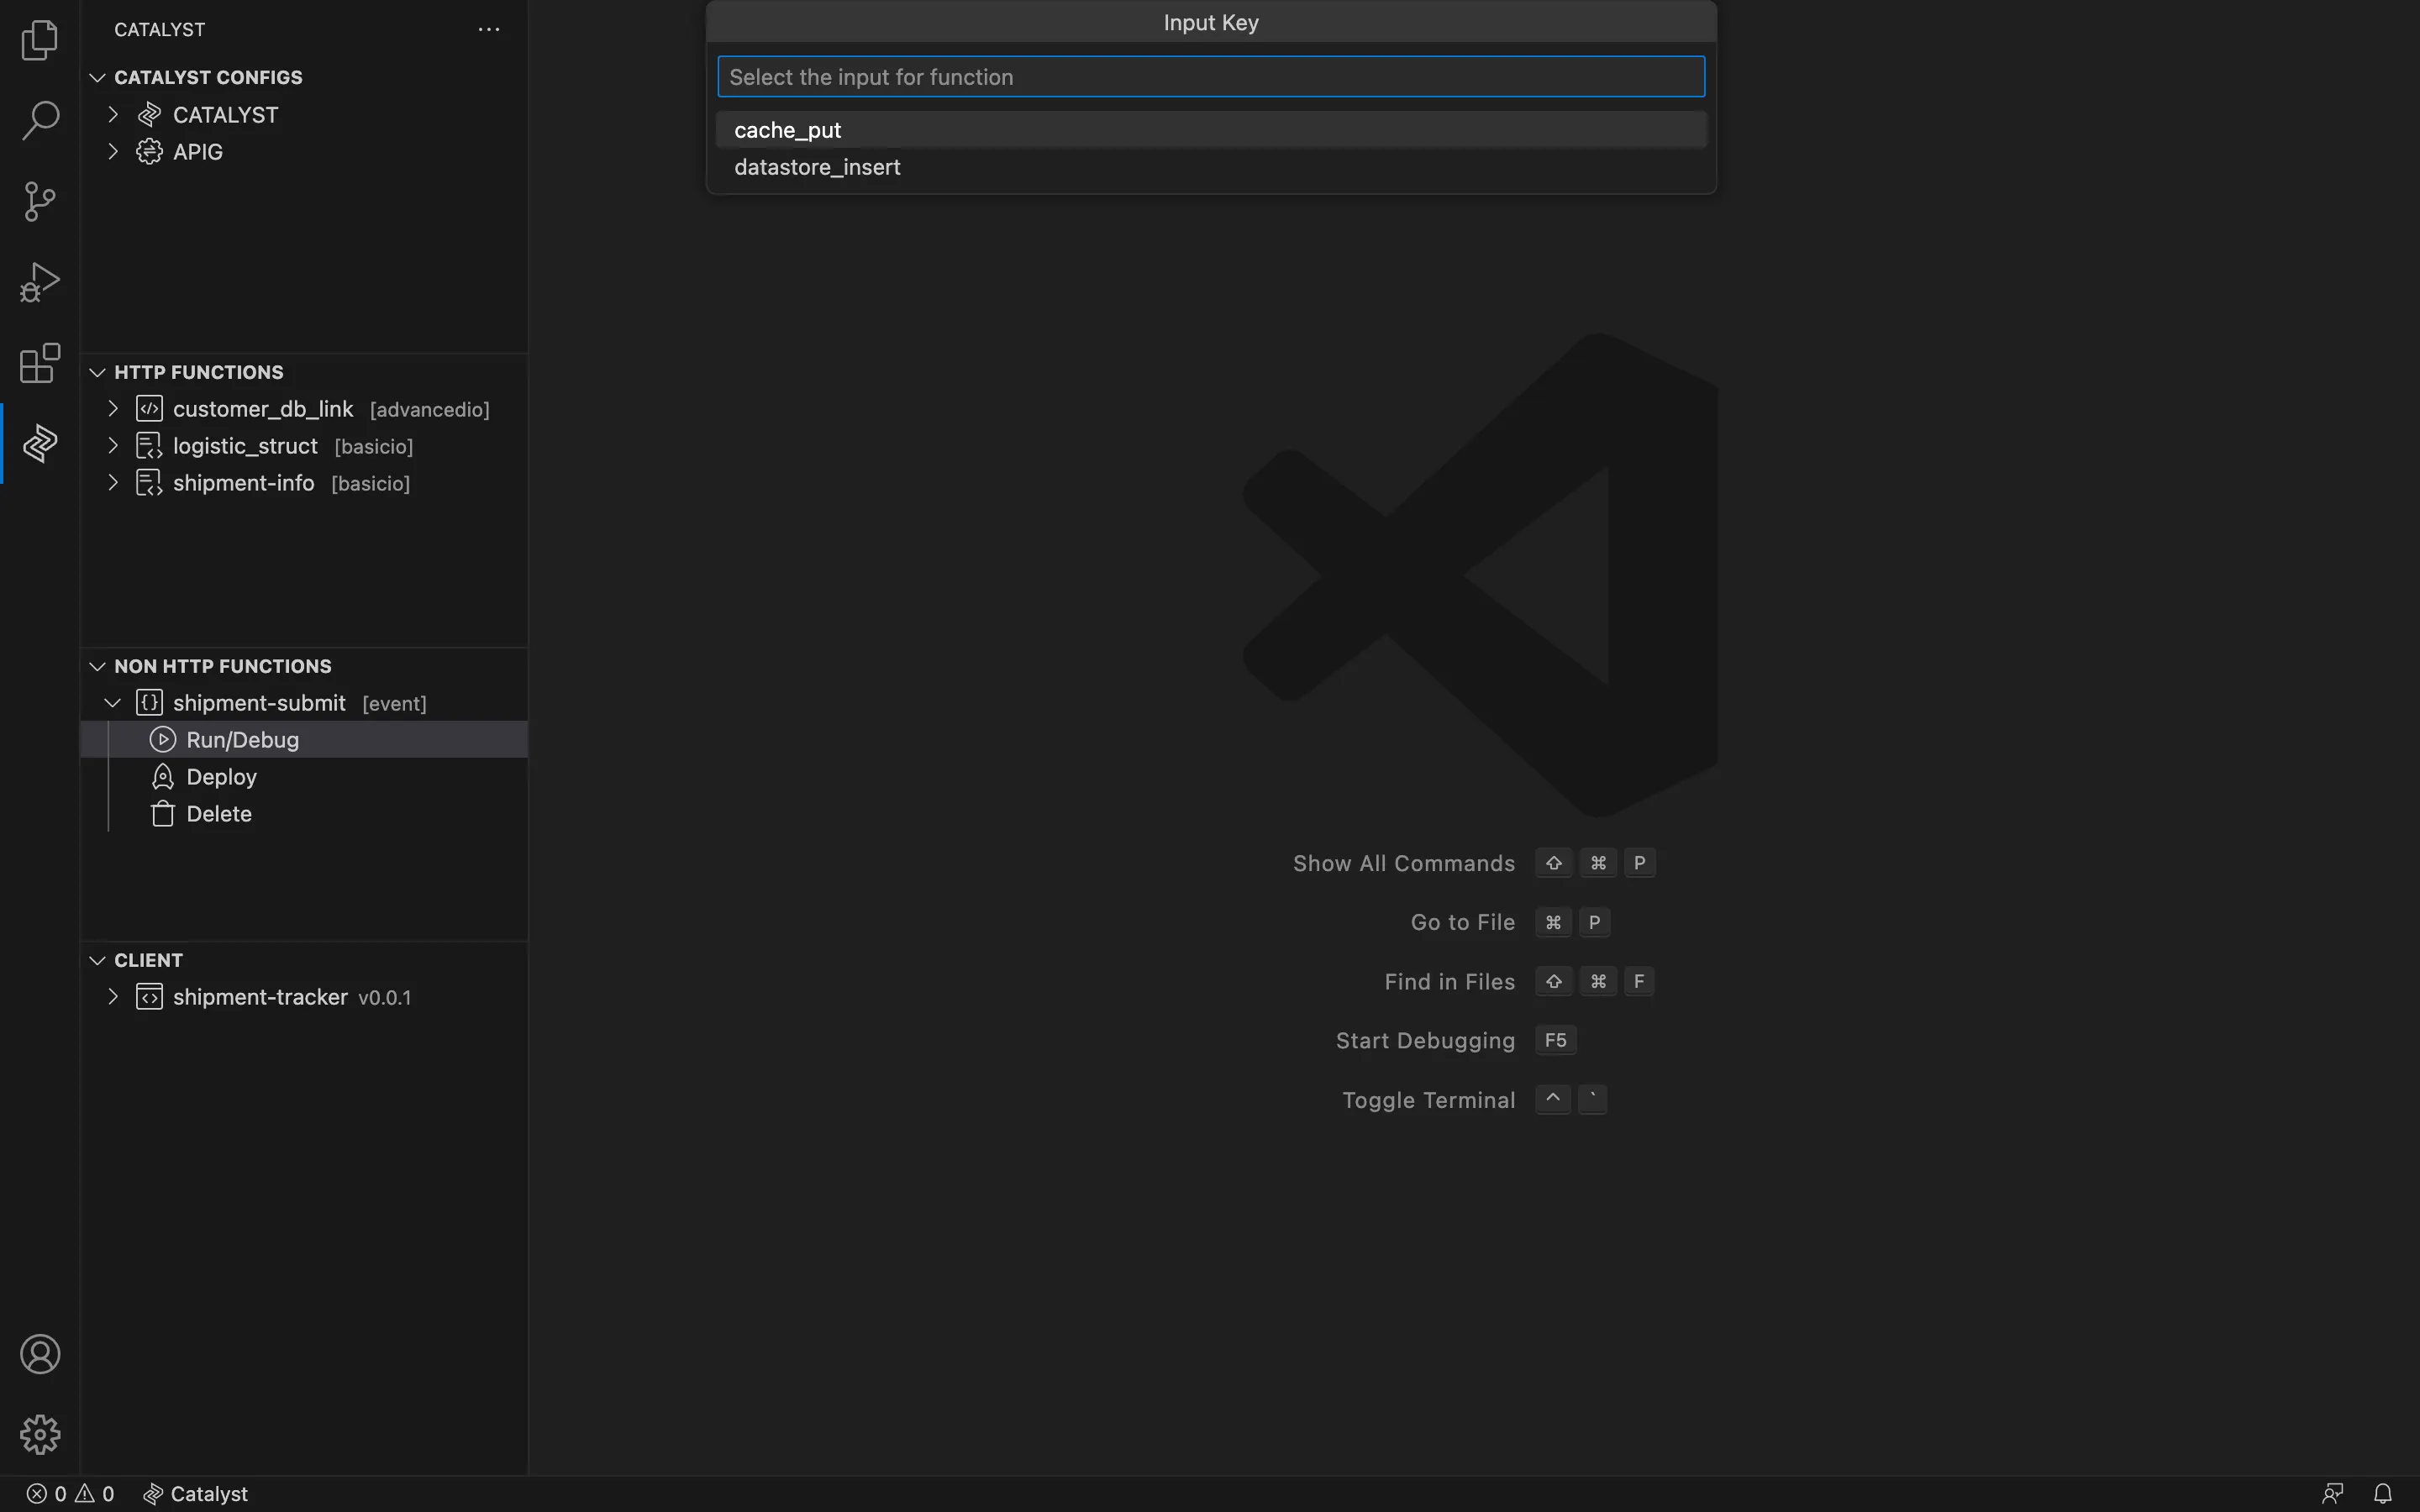
-
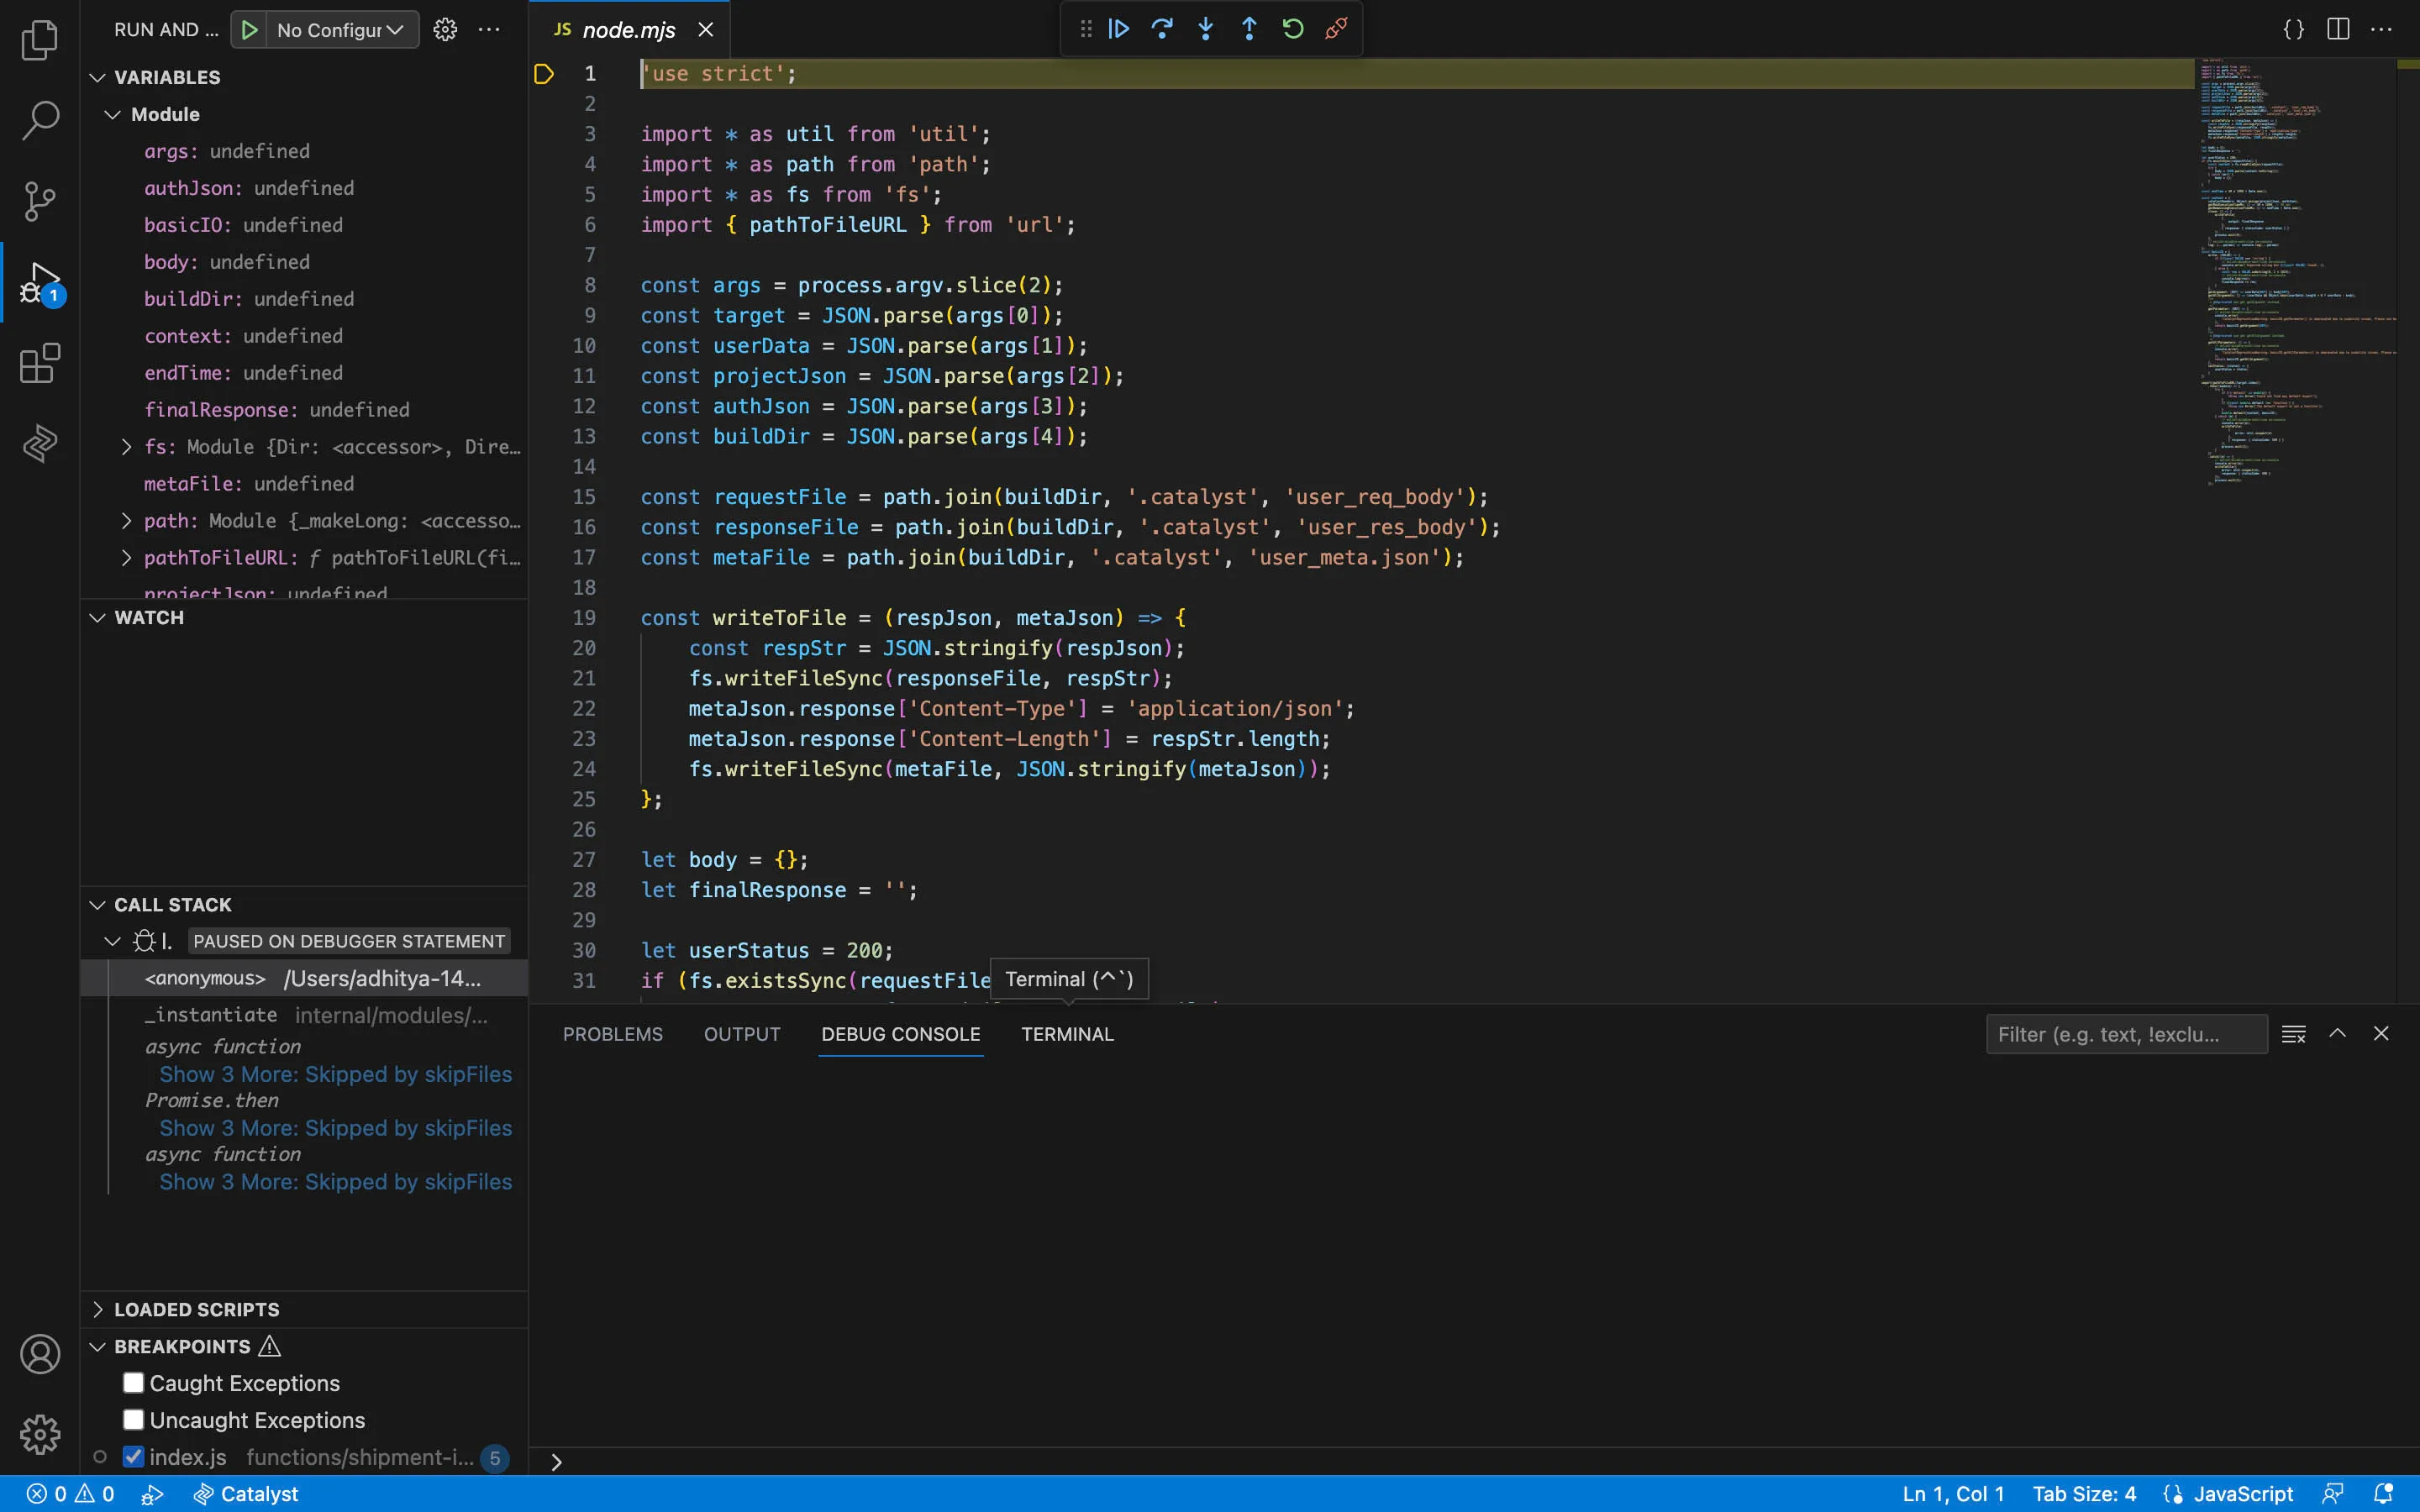
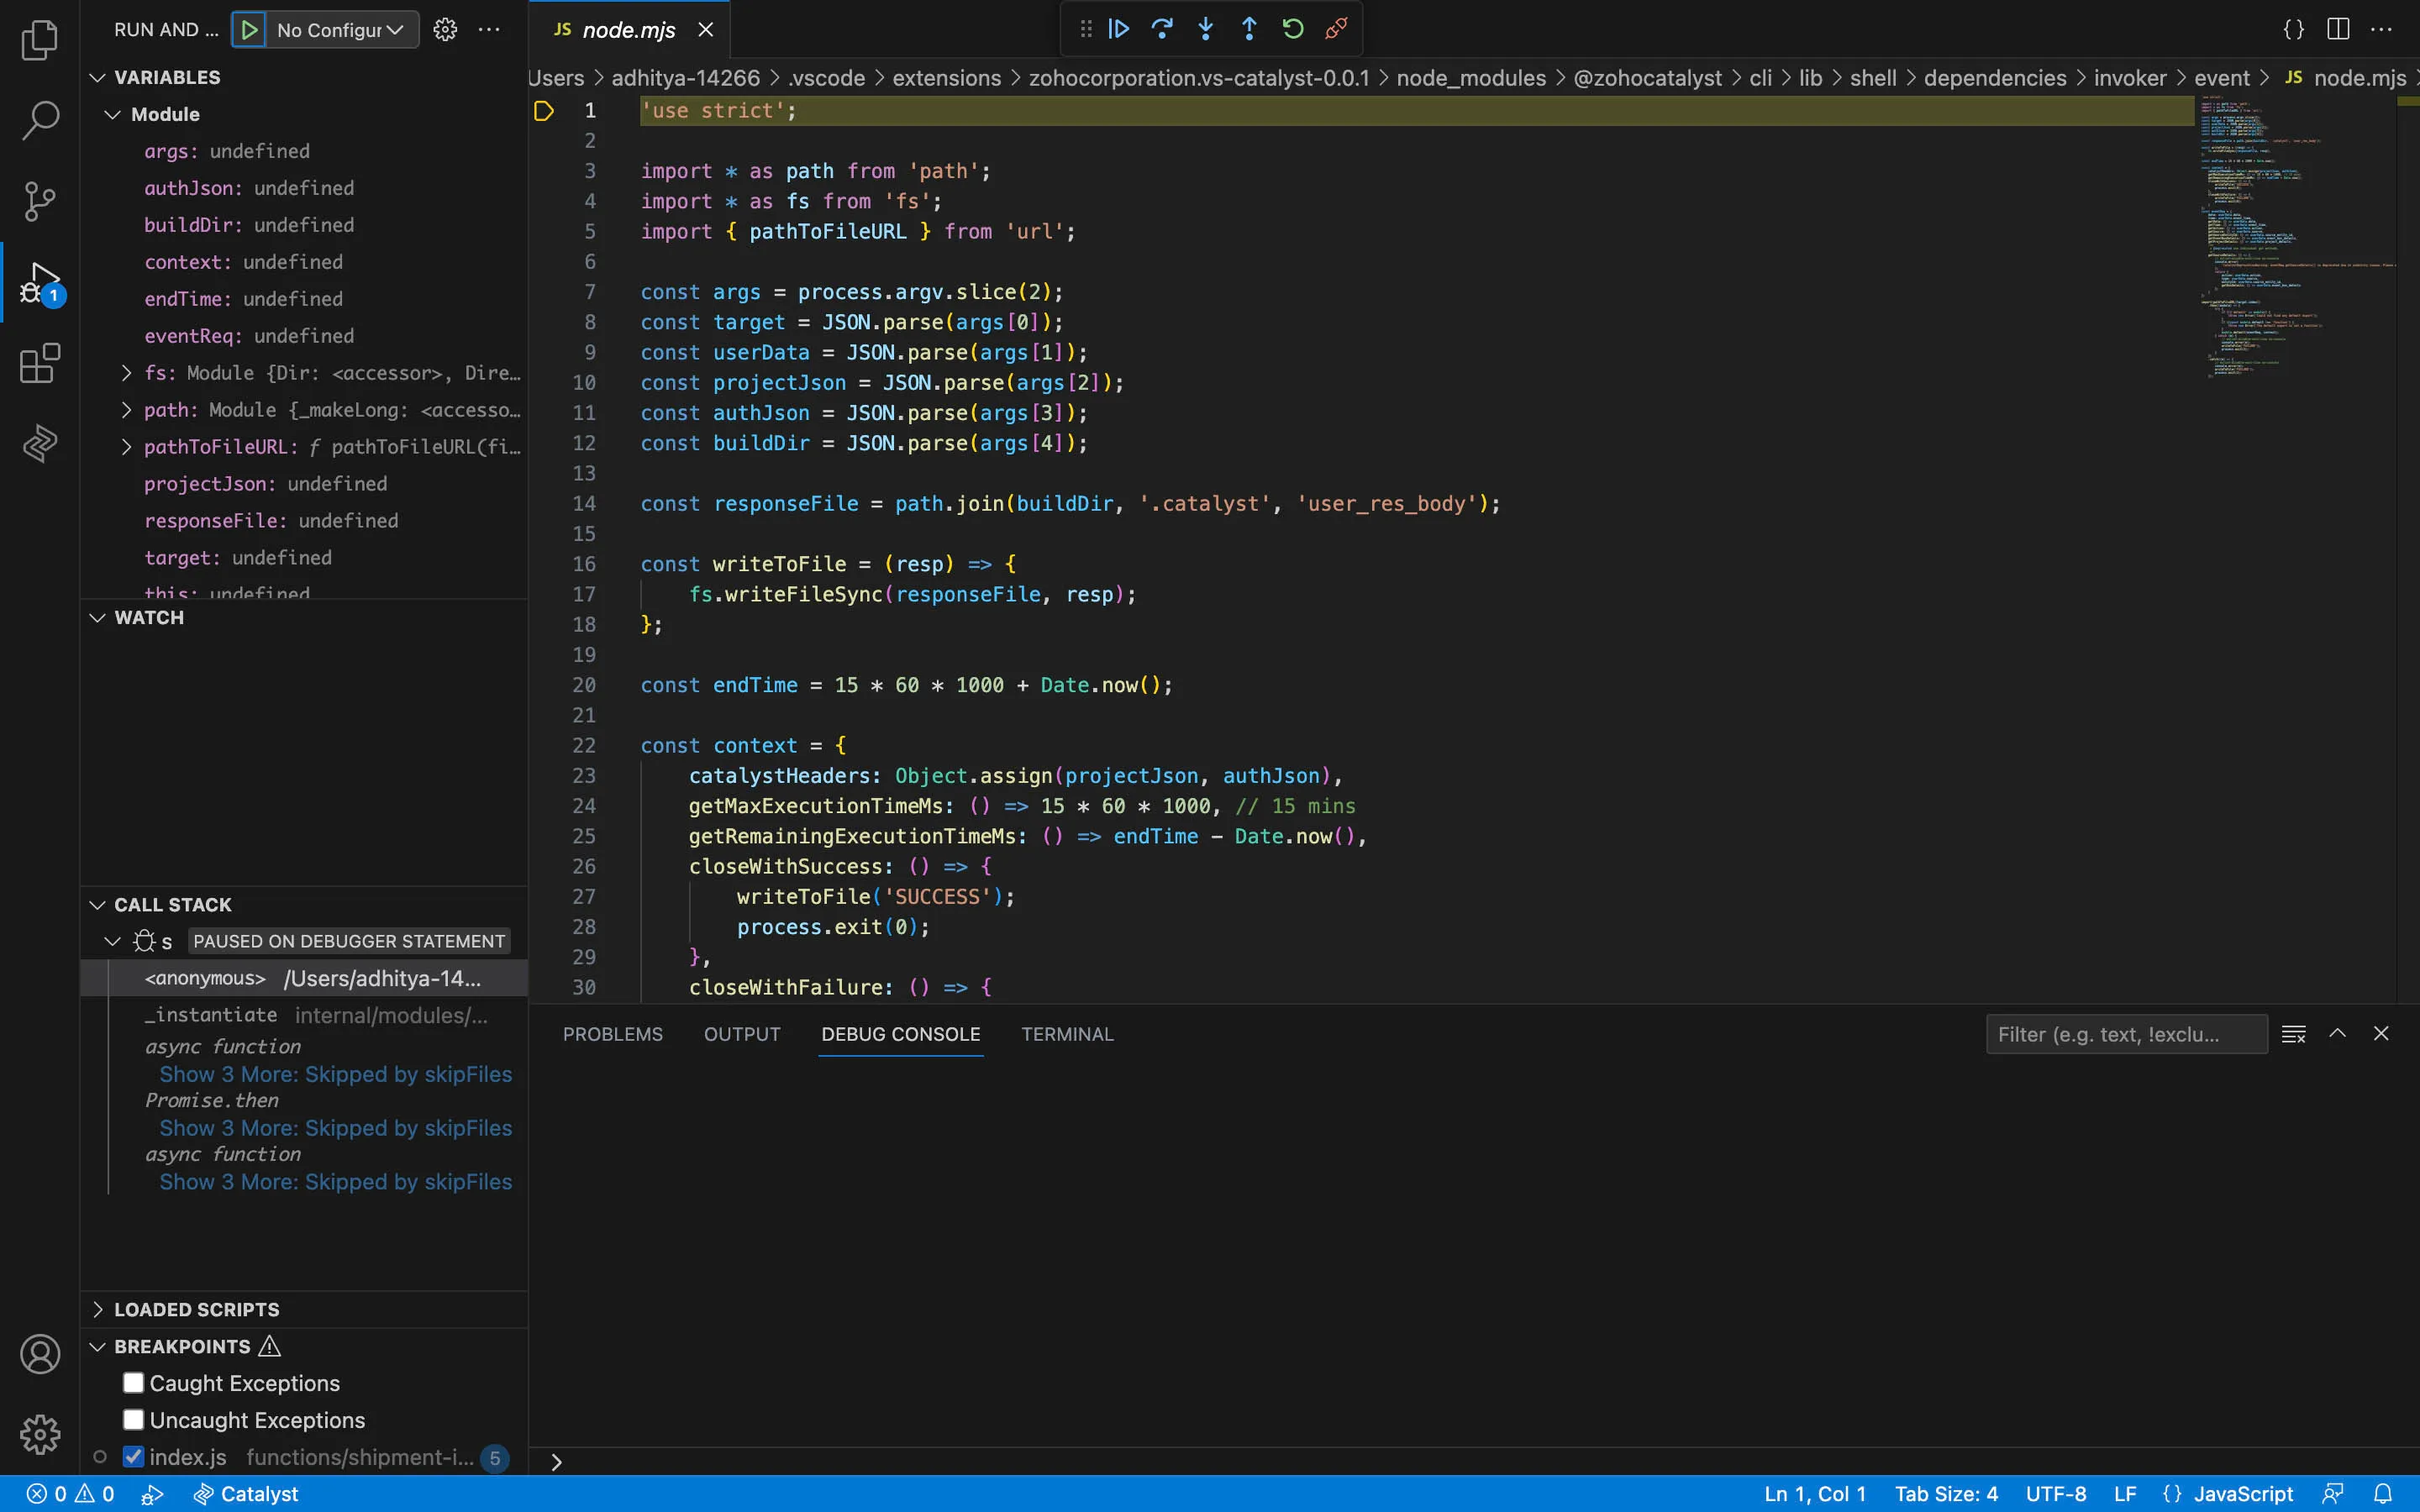
A Catalyst Serve Terminal will be opened in VS Code. You will be able to view that the function is served in a web socket. You can test the function. You will also be able to access the IDE’s debugger.
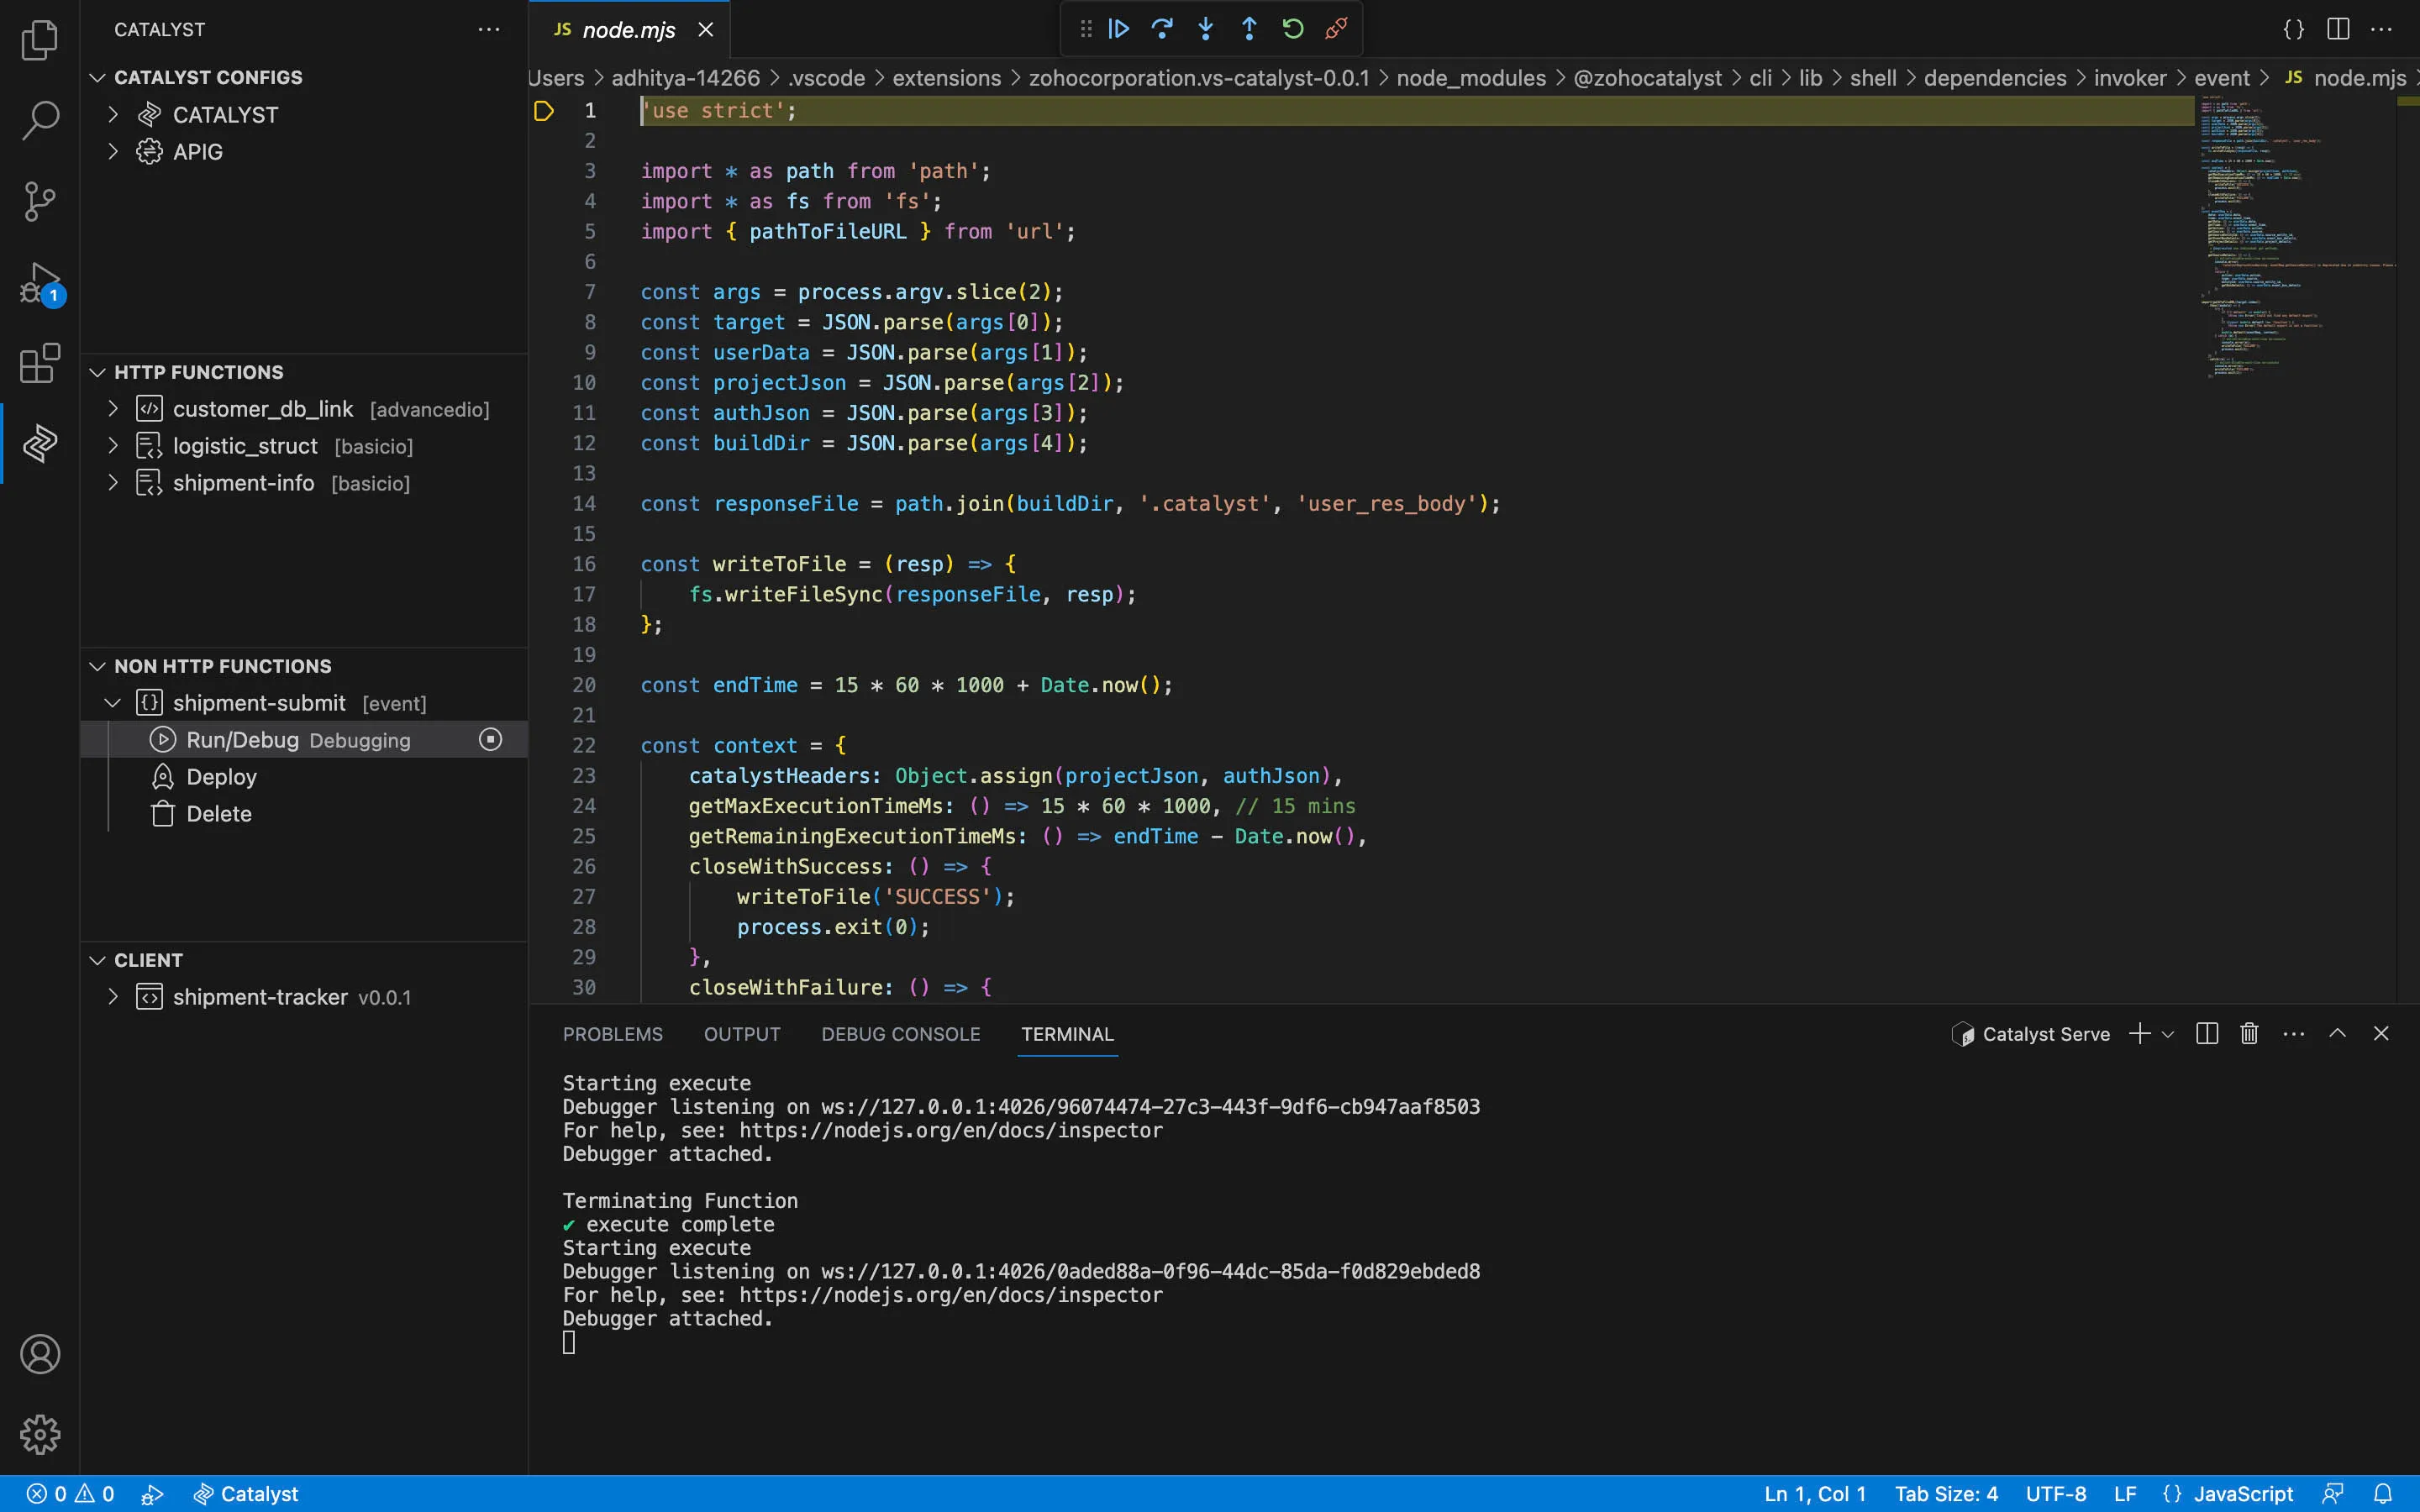
-
You can make changes in your function’s code, if required, and they will be reflected during the serve process.
You can also kill the Catalyst Serve Terminal by clicking the delete icon in the IDE console below.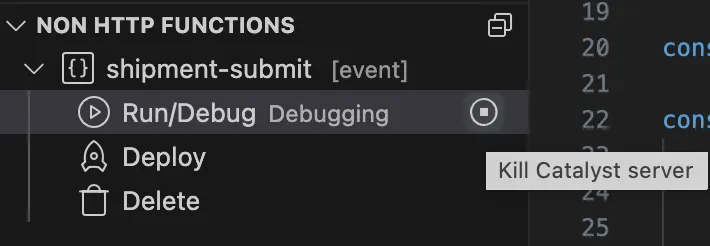
For the above example, we had used an Event Function as an example, the catalyst-inputs.json file containing an example payload for testing Cron and Integration functions is given below:
catalyst-inputs.json example file for a Cron function:
{
    "cron_input": {
        "param": "value"
    }
}
catalyst-inputs.json example file for an Integration function:
{
    "bot_welcome": {
        "name": "Sample",
        "unique_name": "sample_uniq",
        "handler": {
            "type": "welcome_handler"
        },
        "response_url": "https://cliq.zoho.com/v2/extensions/2980/responses/17202823900615741410013820",
        "type": "bot",
        "timestamp": 1569520690703,
        "params": {
            "environment": {
                "data_center": "us"
            },
            "access": {
                "user_id": "651652091",
                "user_agent": "Mozilla/5.0 (Macintosh; Intel Mac OS X 10.14; rv:69.0) Gecko/20100101 Firefox/69.0",
                "chat_id": "CT_2243226337559778047_661211447-B2"
            },
            "user": {
                "country": "us",
                "timezone": "Asia/calcutta",
                "last_name": "Fisher",
                "first_name": "Scott",
                "language": "en",
                "id": "123456",
                "email": "scott.fisher@zylcal.com",
                "admin": true,
                "organization_id": "123456456"
            },
            "newuser": true,
            "mentions": [],
            "options": {},
            "selections": [],
            "arguments": ""
        }
    }
}
Deploy a Function
To deploy a function to the Catalyst console, follow the steps below:
-
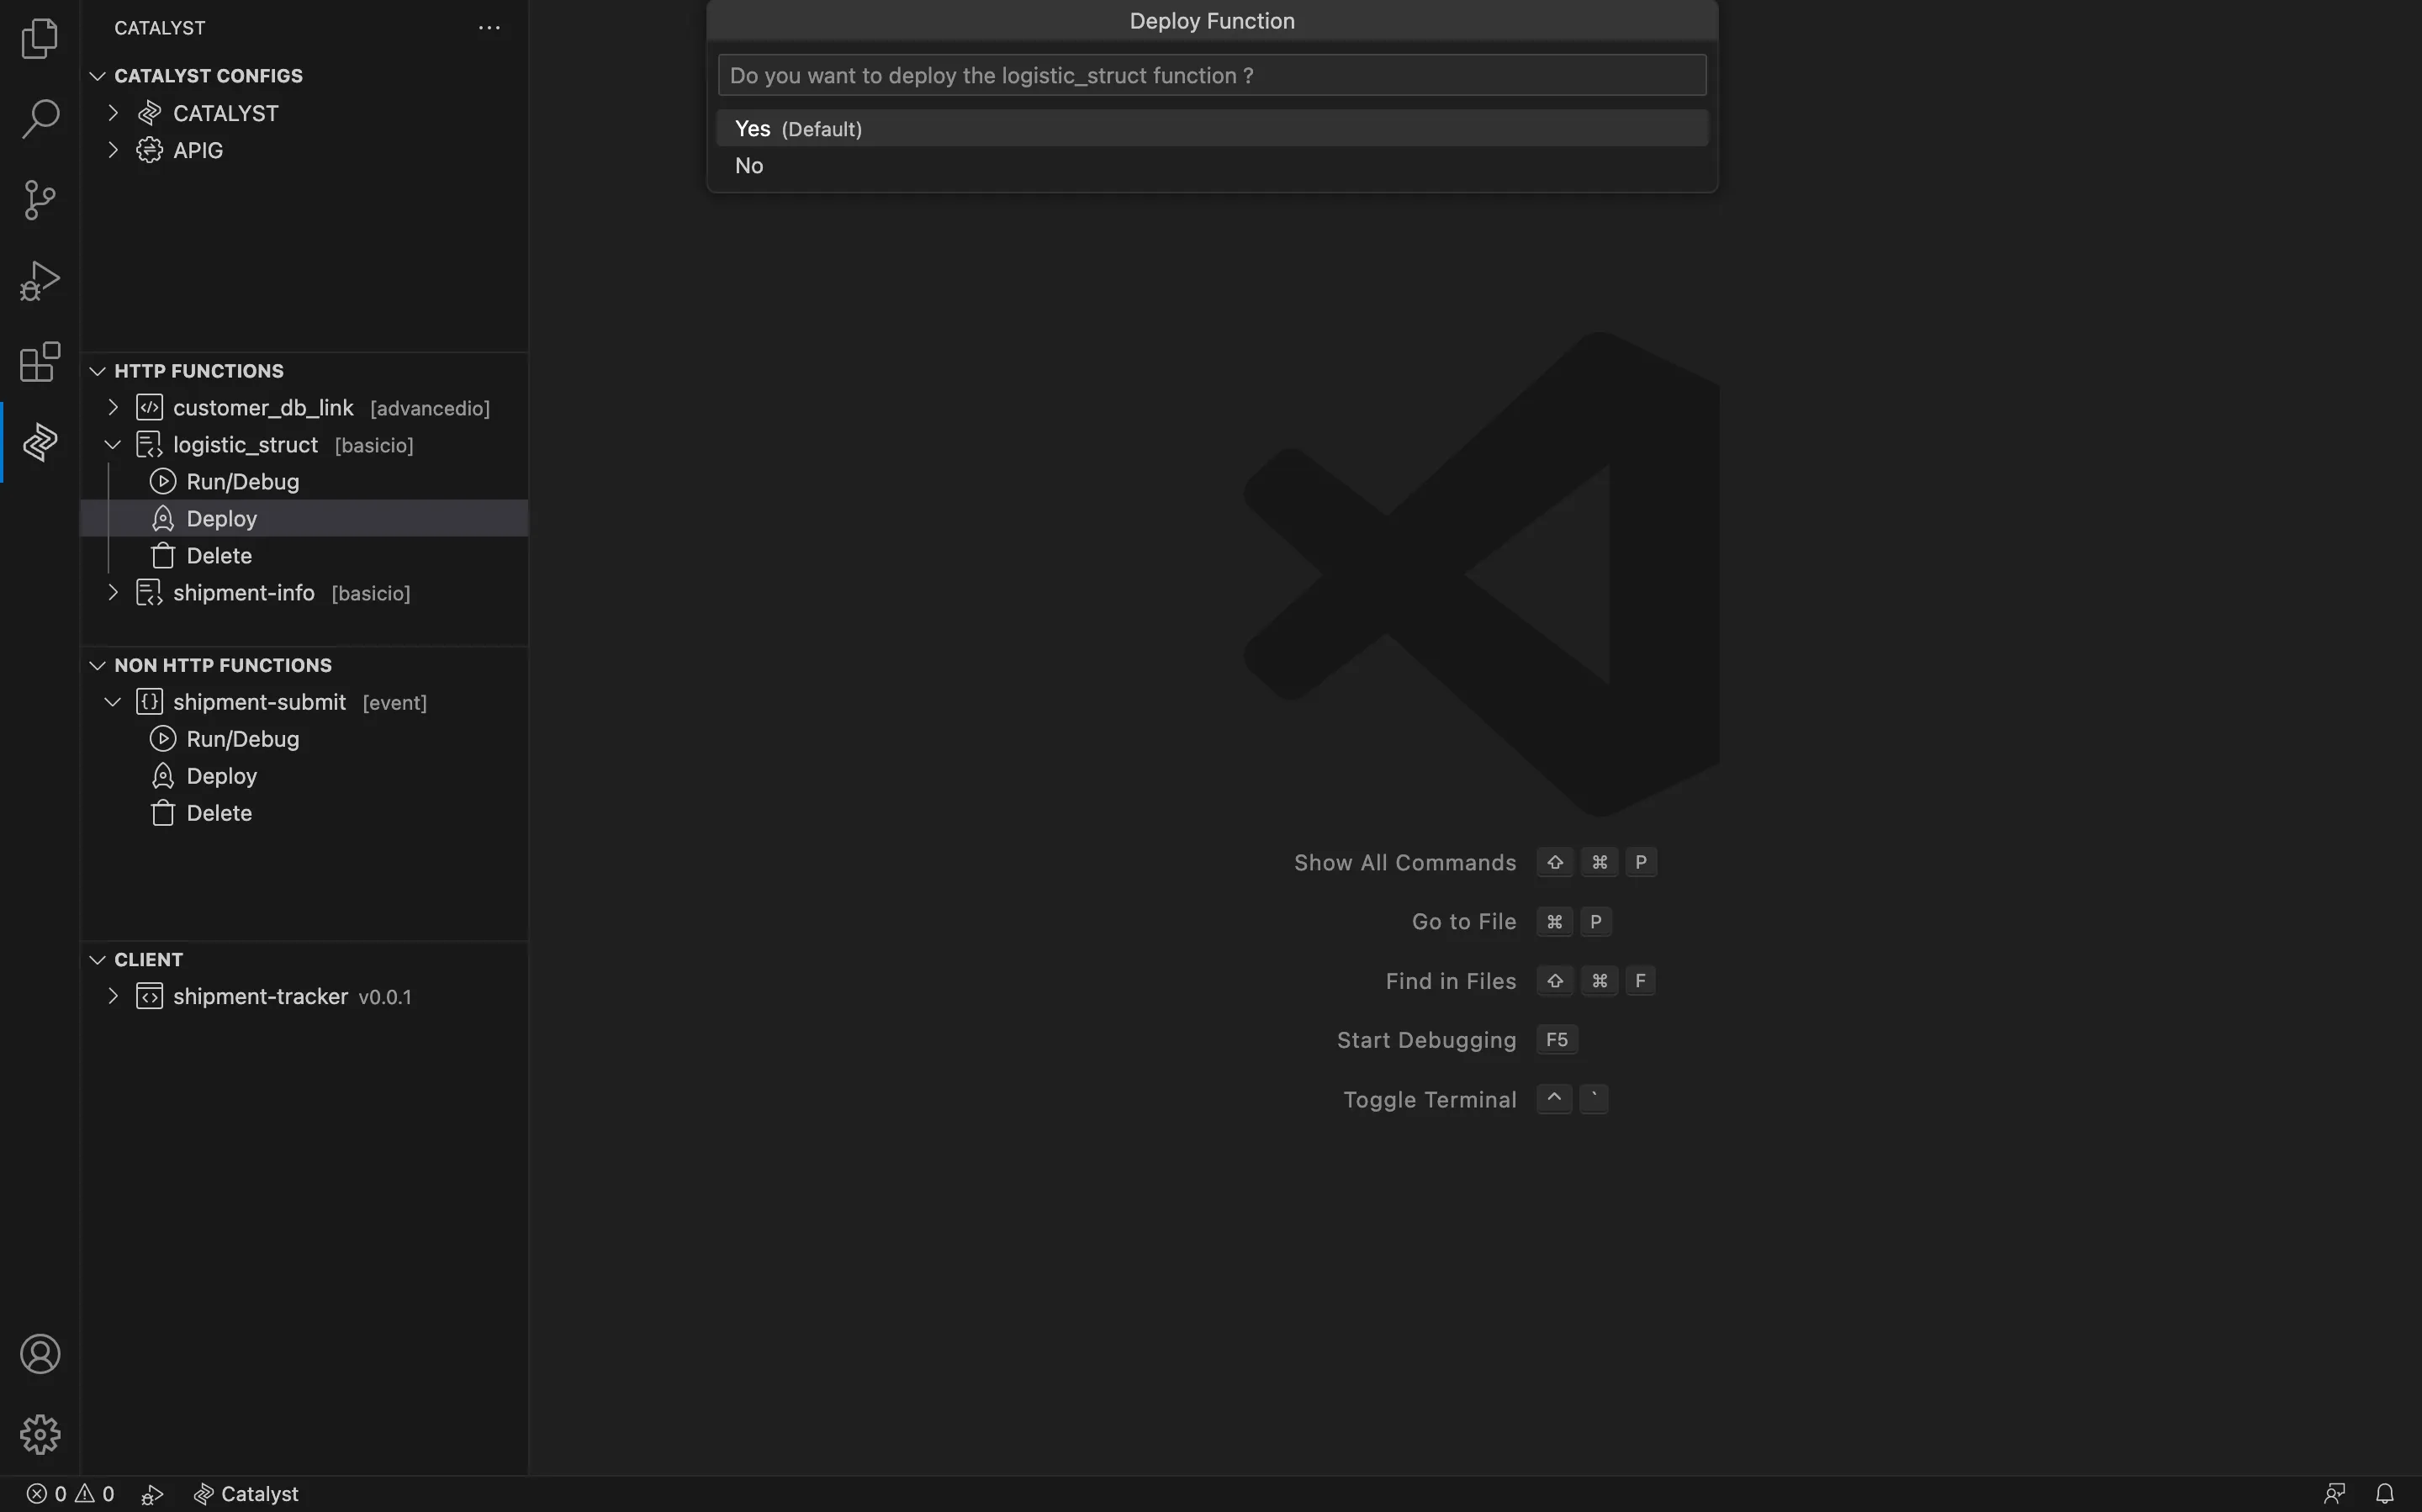
Click the function you would like to deploy from the function list present in the HTTP FUNCTIONS or NON HTTP FUNCTIONS section, then click Deploy.
-
Click Yes, to confirm.
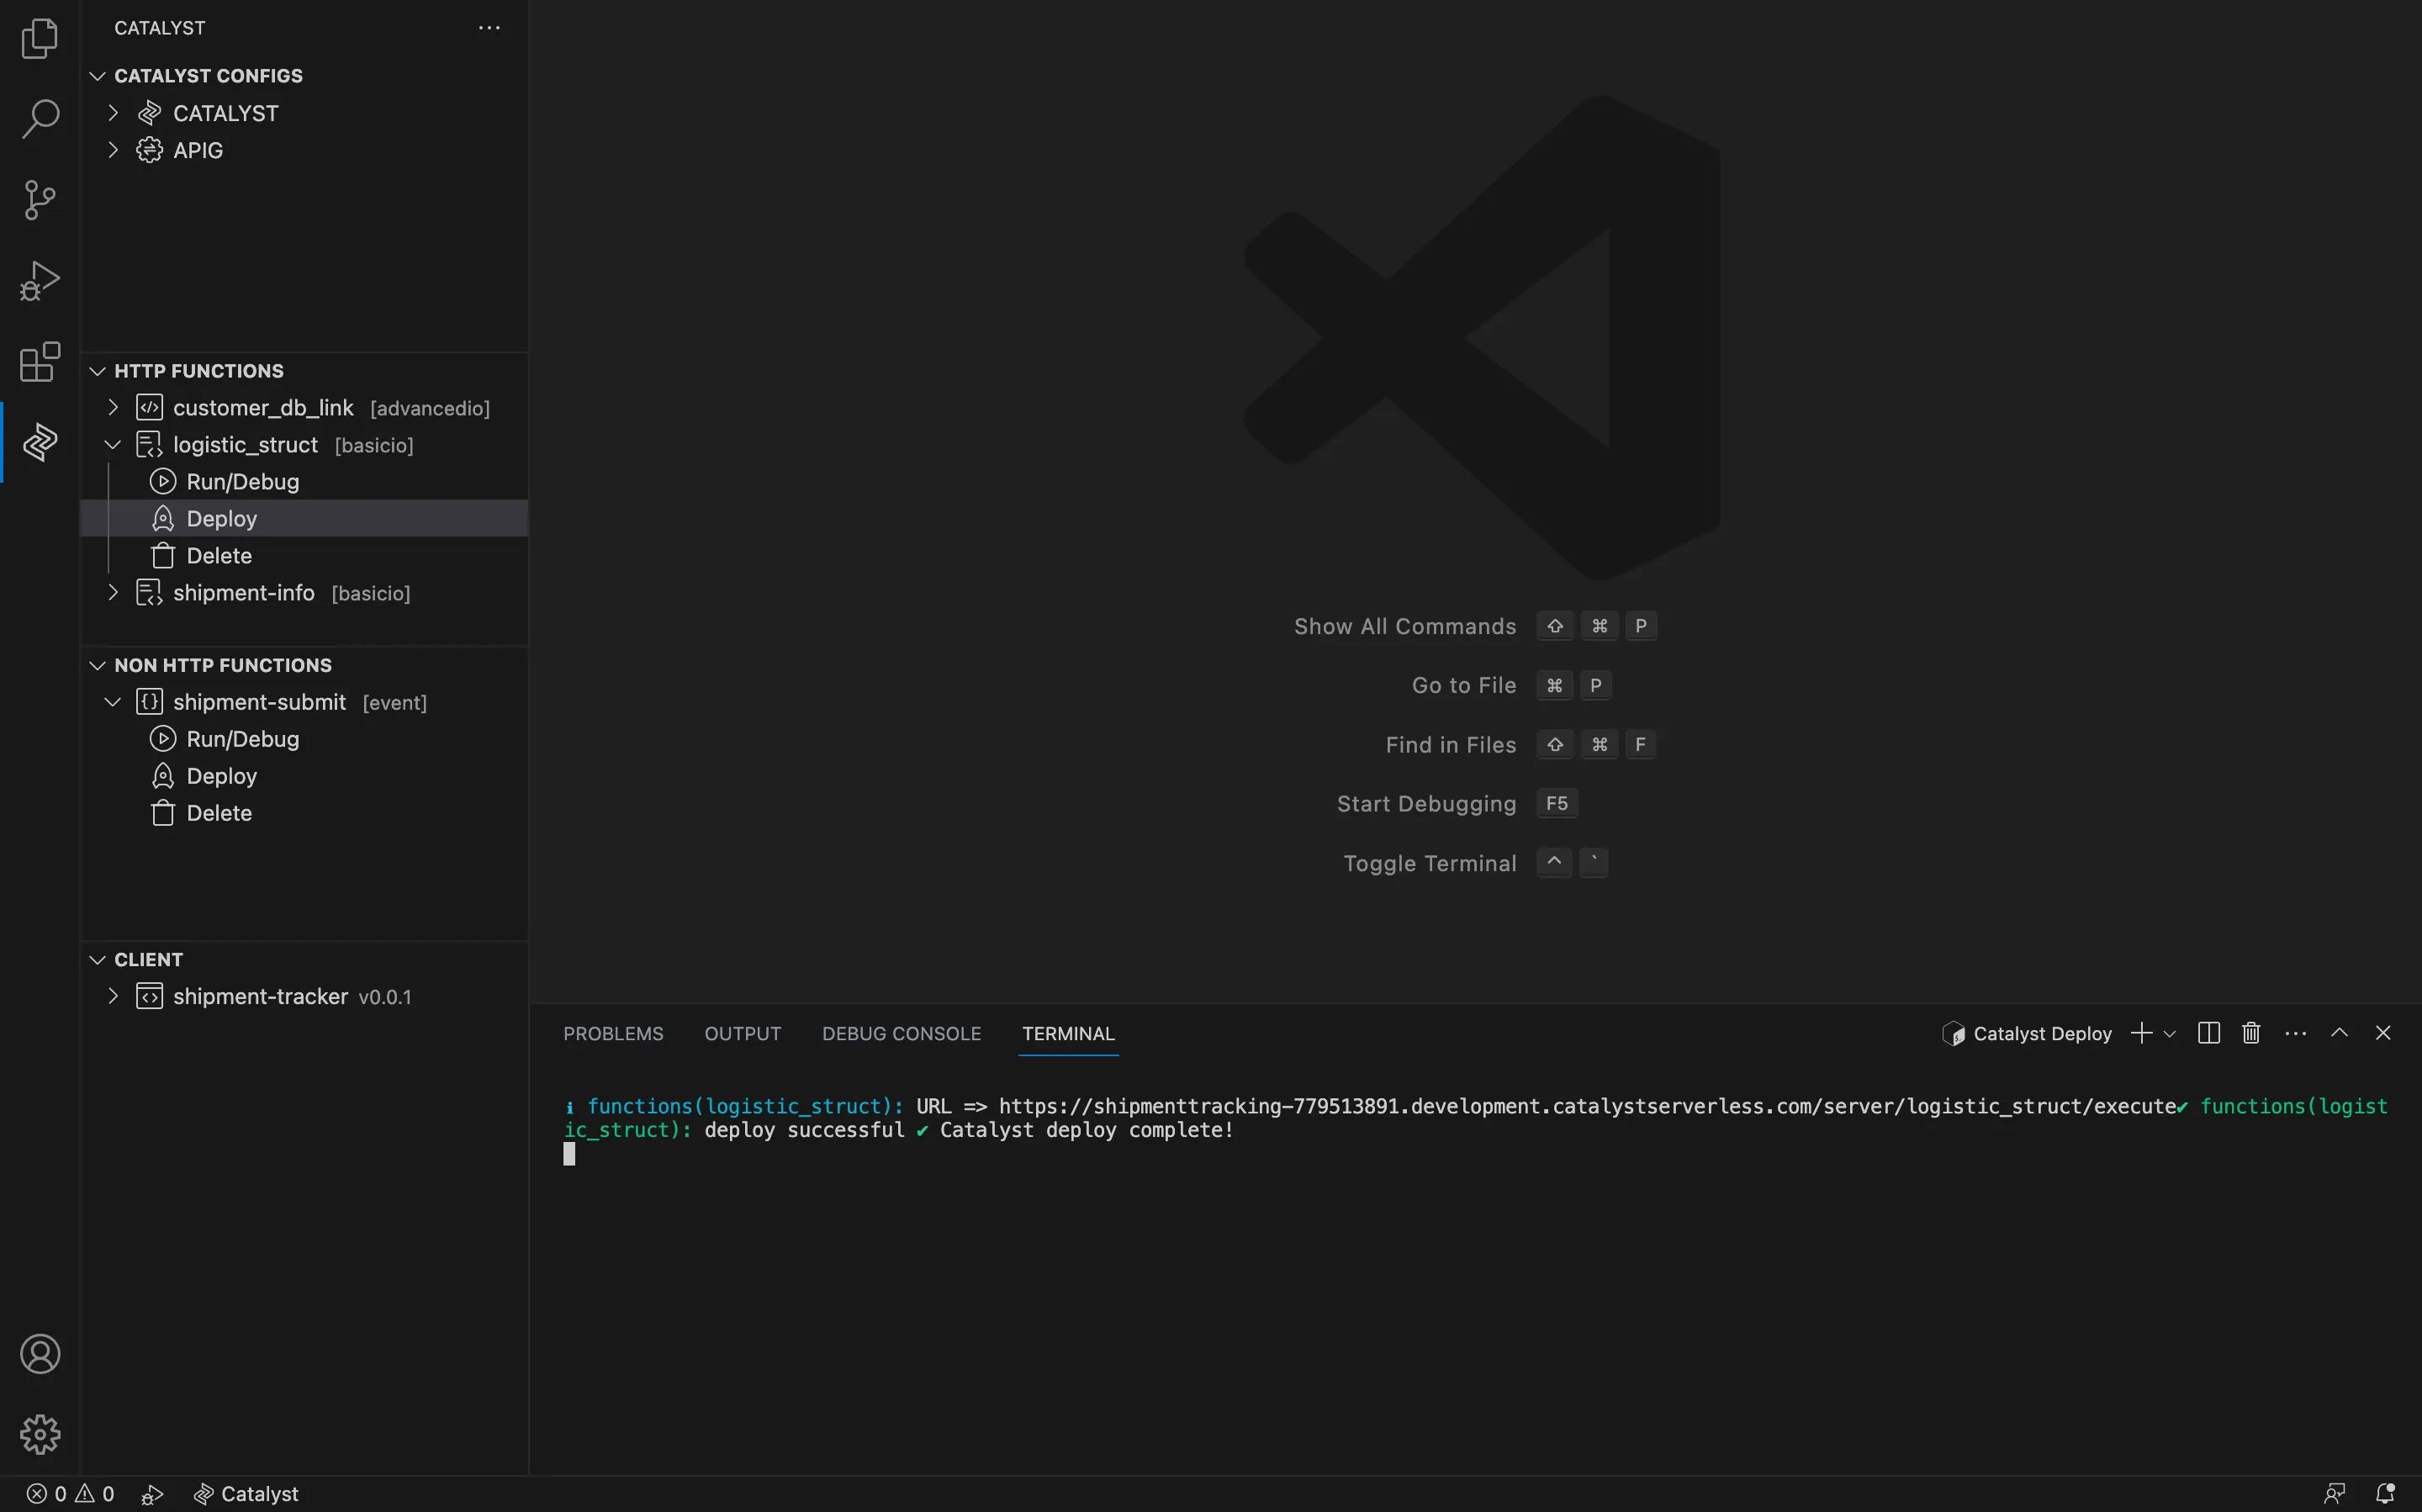
The function will be deployed to the console, and a deployment URL will be generated in the Catalyst Deploy Terminal in VS Code IDE for the function.
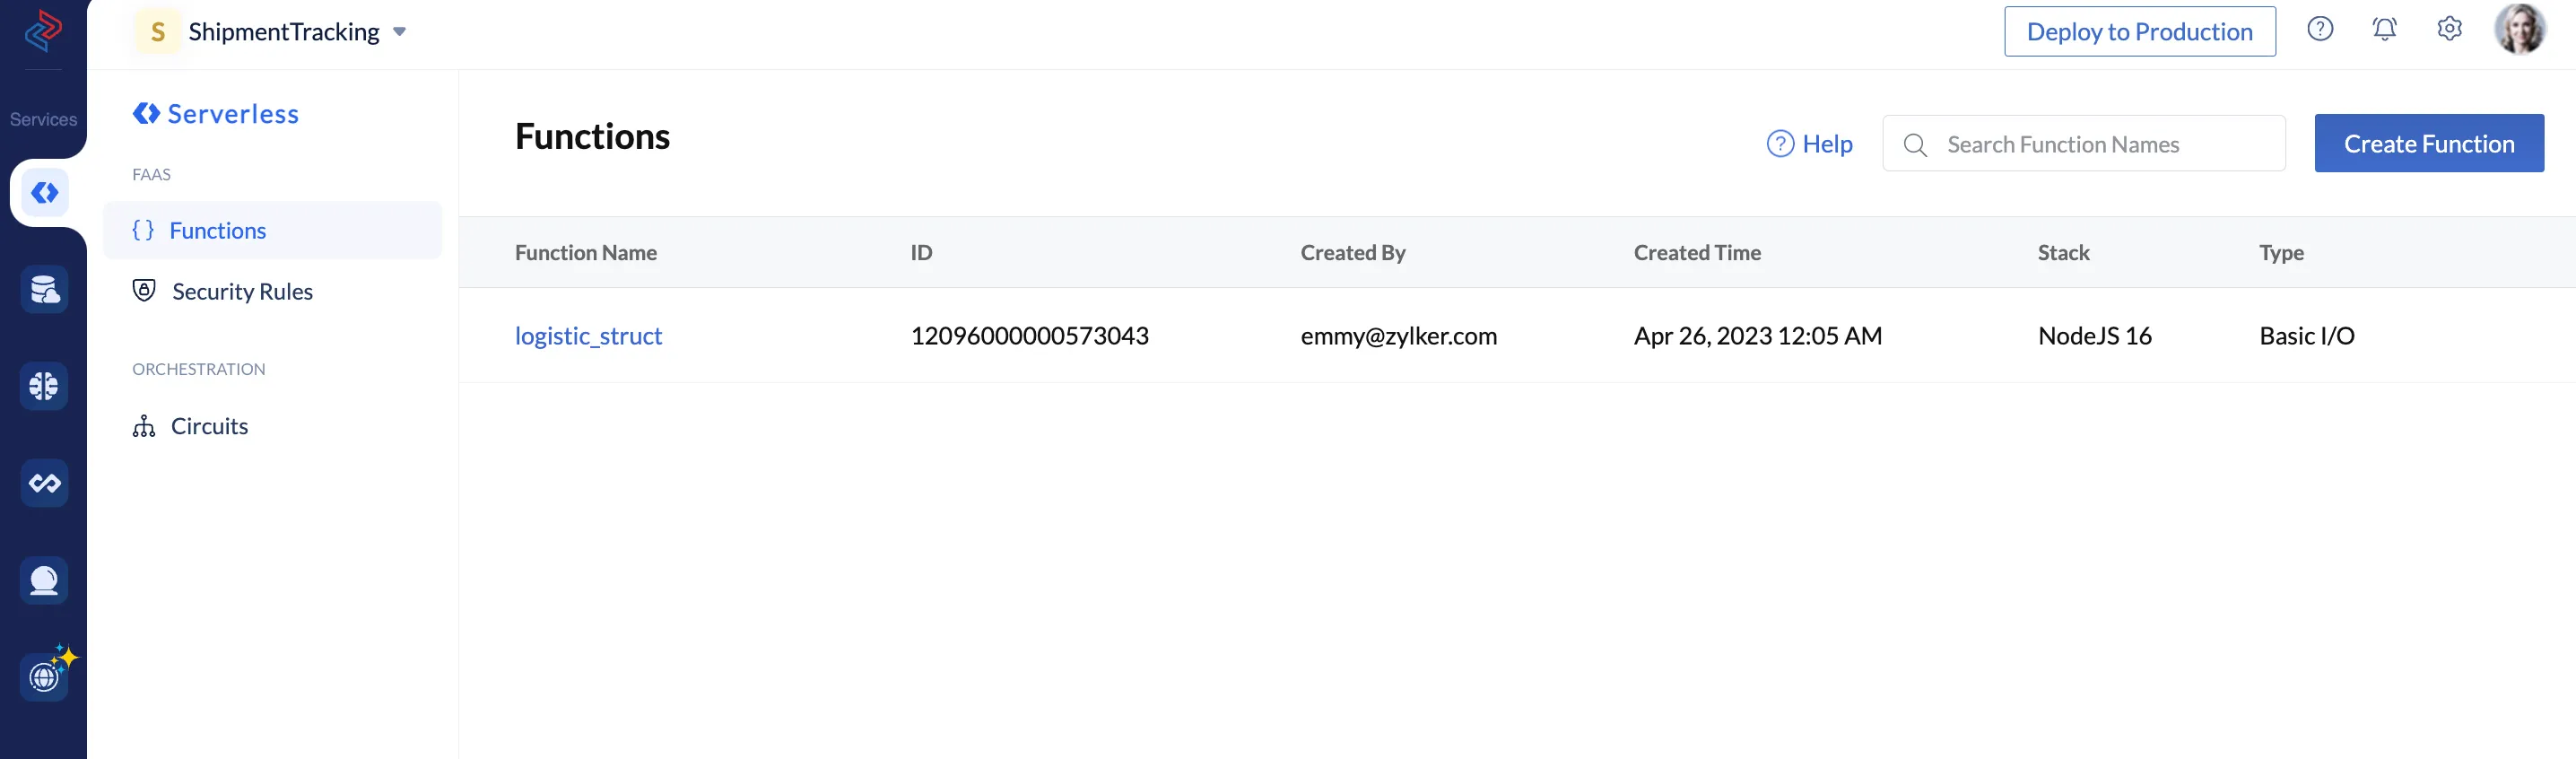
The function can now be accessed from the console from the Functions component present under Catalyst Serverless.
Delete a Function
To delete a function from your local project using Catalyst Tools, follow the steps below:
-
Click the function you would like to delete from the function list present in the HTTP FUNCTIONS or NON HTTP FUNCTIONS section, then click Delete.
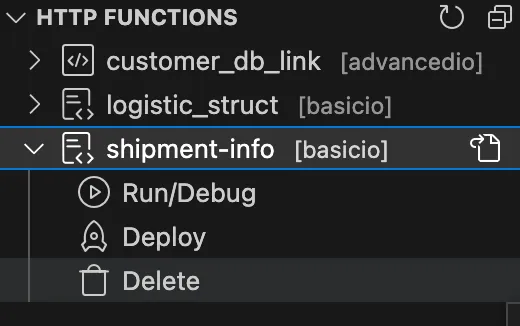
-
Click Yes to proceed.

The function and all the files present in the function directory will be deleted from your local project.
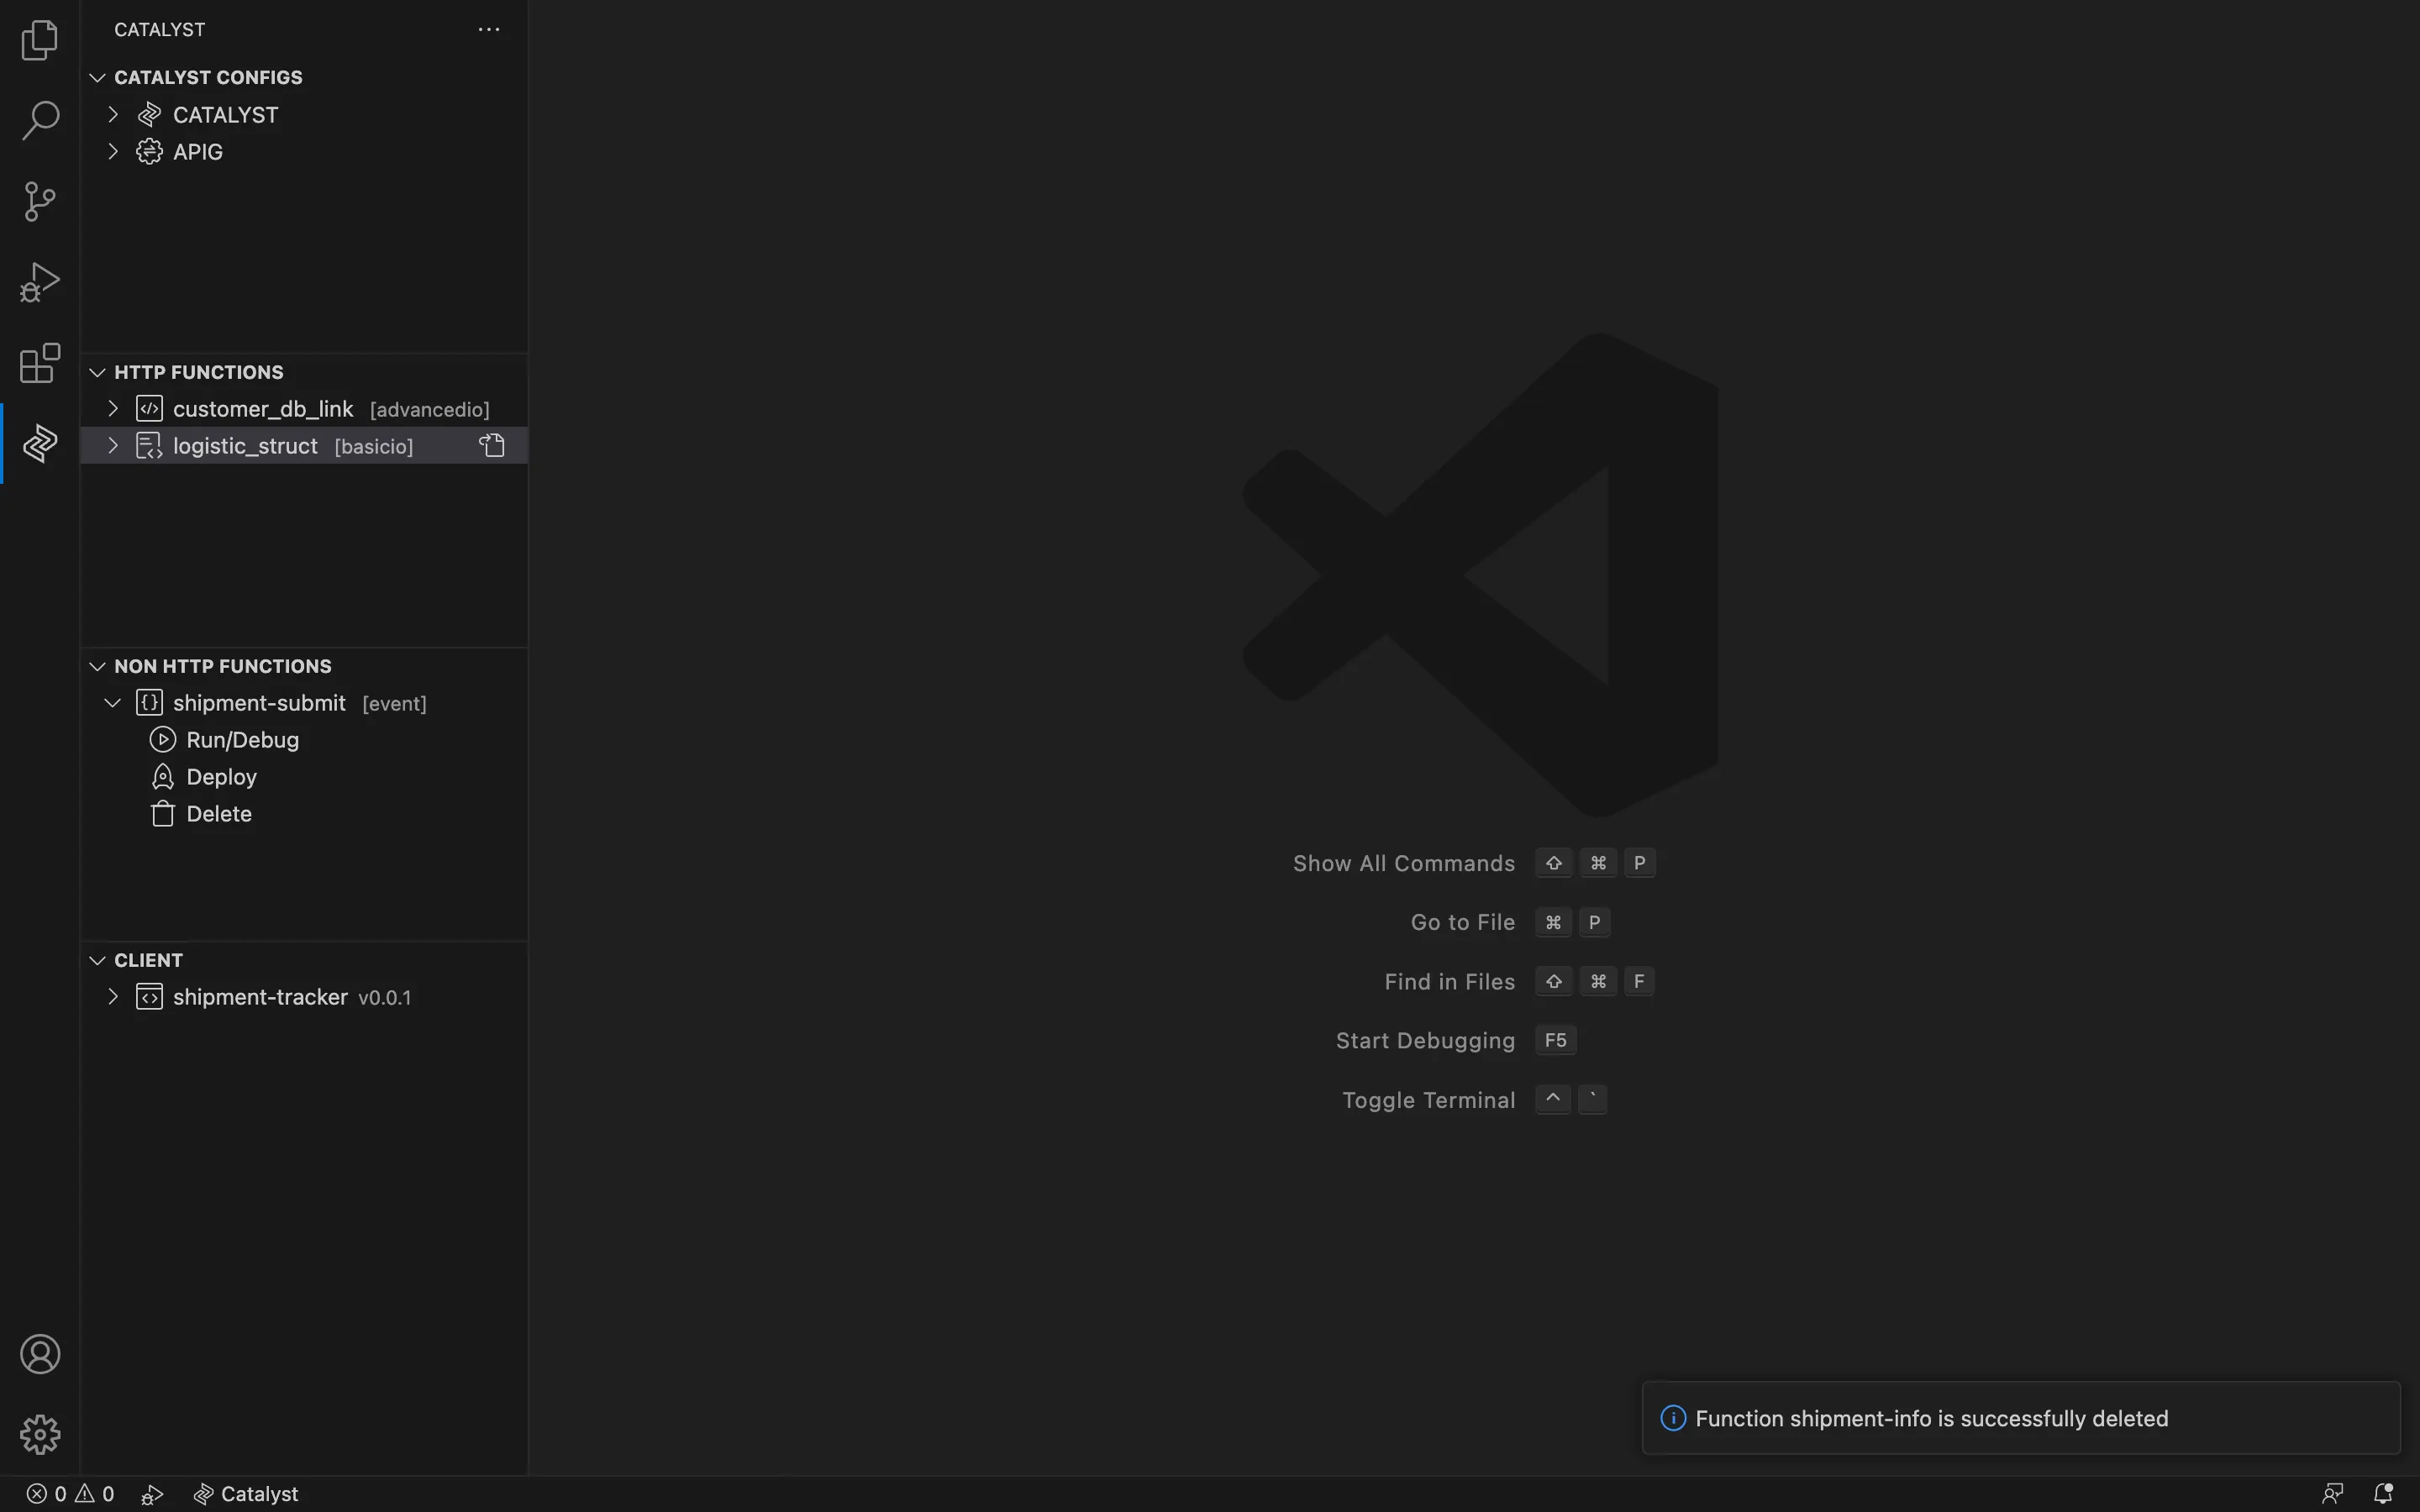
Client
In the Client section of the Catalyst Tools extension, you can perform the following operations on the client components:
- Serve your client resources alone and test their functionality.
- Deploy your client resources alone to the Catalyst console.
- Delete the client component from your local project.
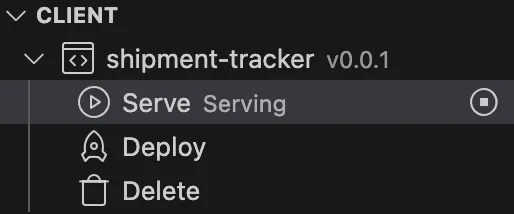
Serve Operation
To serve the client components alone using the Catalyst Tools extension through a localhost:3000, perform the following steps:
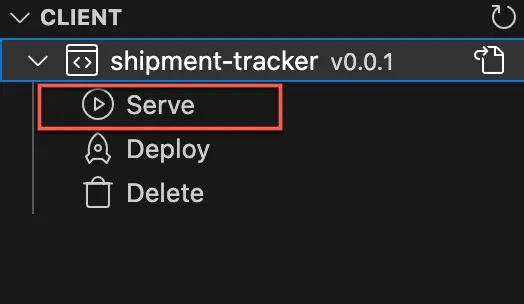
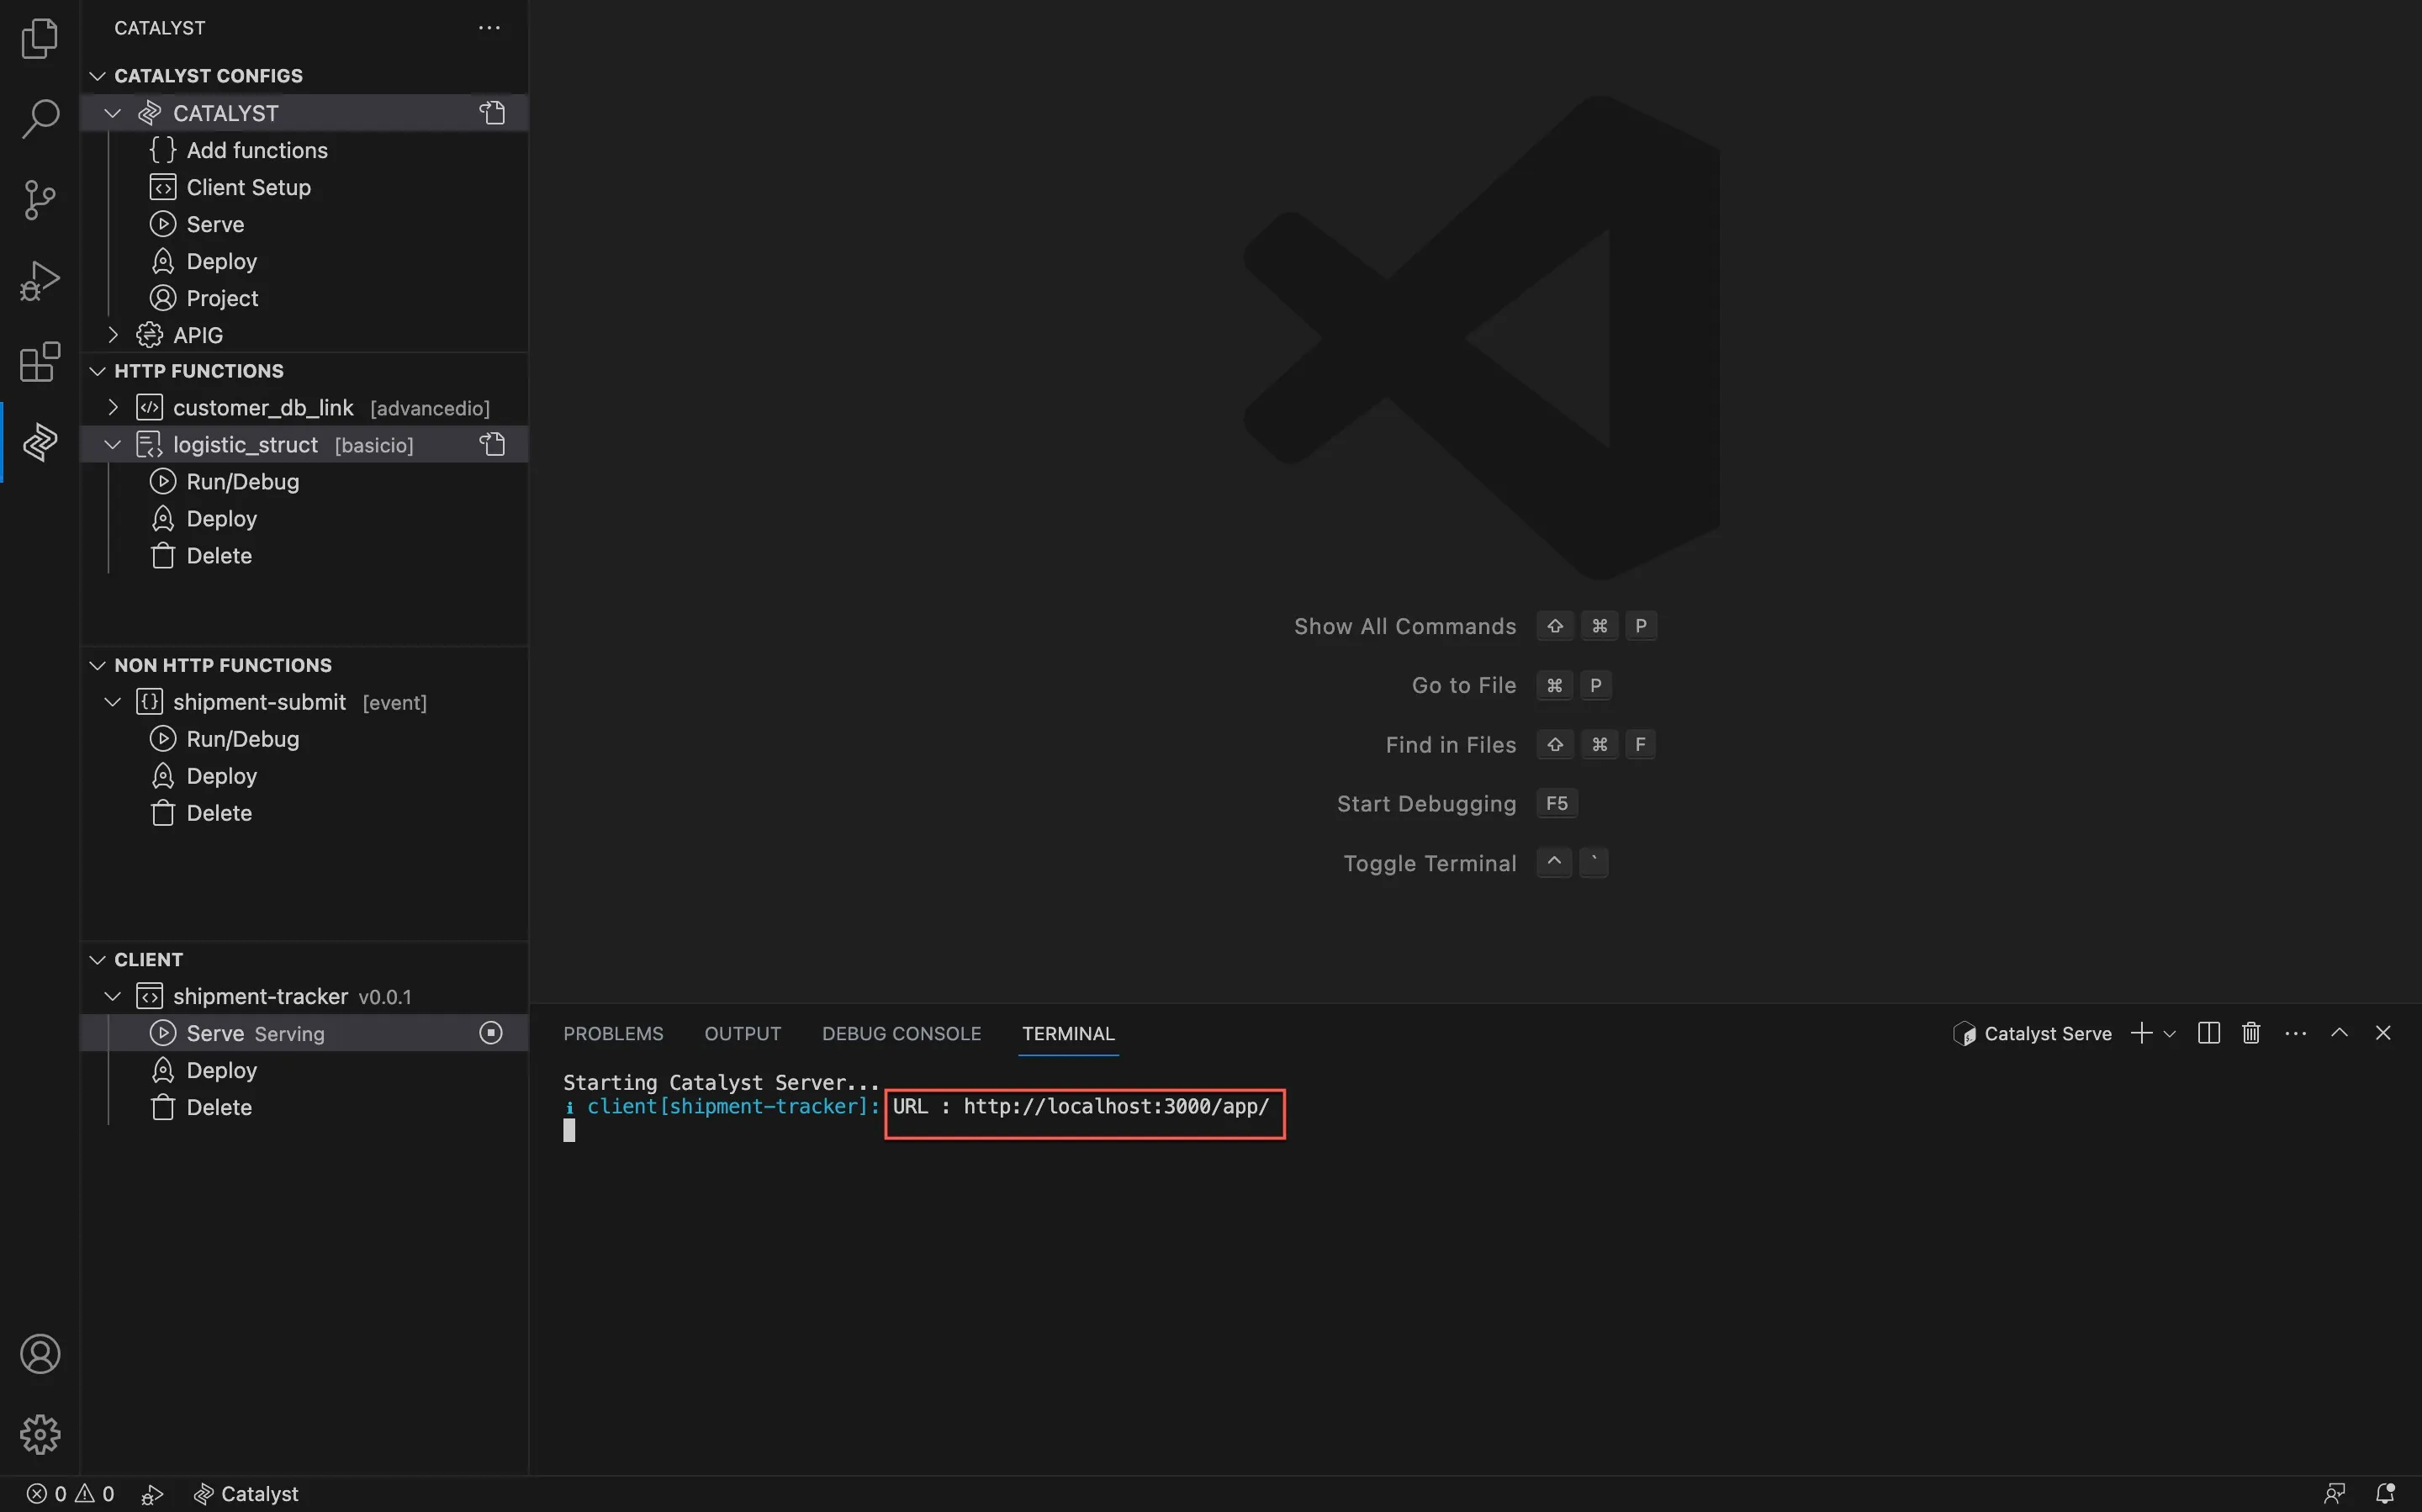
- Navigate to the CLIENT section of the extension, then click Serve.
The client component will be served locally, and a local endpoint URL for your client component will be generated in the Catalyst Serve terminal. Clicking the URL will let you access the web client in your default web browser.
- You can kill the serve process by clicking the stop icon button.
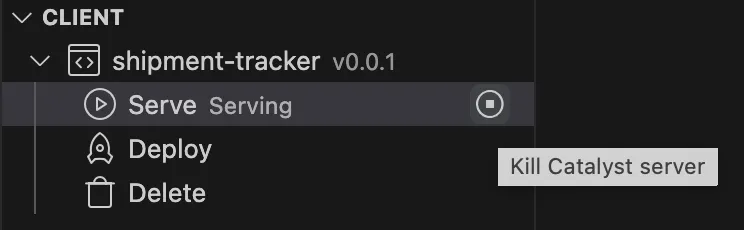
You can also kill the Catalyst Serve Terminal by clicking the delete icon in the IDE console below.
Deploy Operation
To deploy the client component alone to the Catalyst console using the Catalyst Tools extension, perform the following steps:
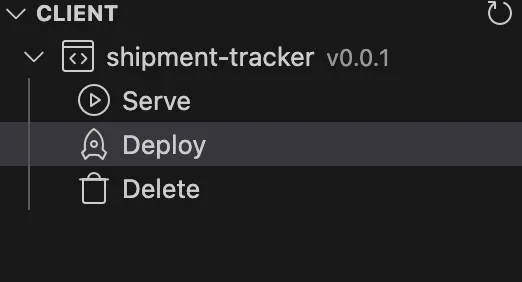
-
Navigate to the CLIENT section of the extension, then click Deploy.
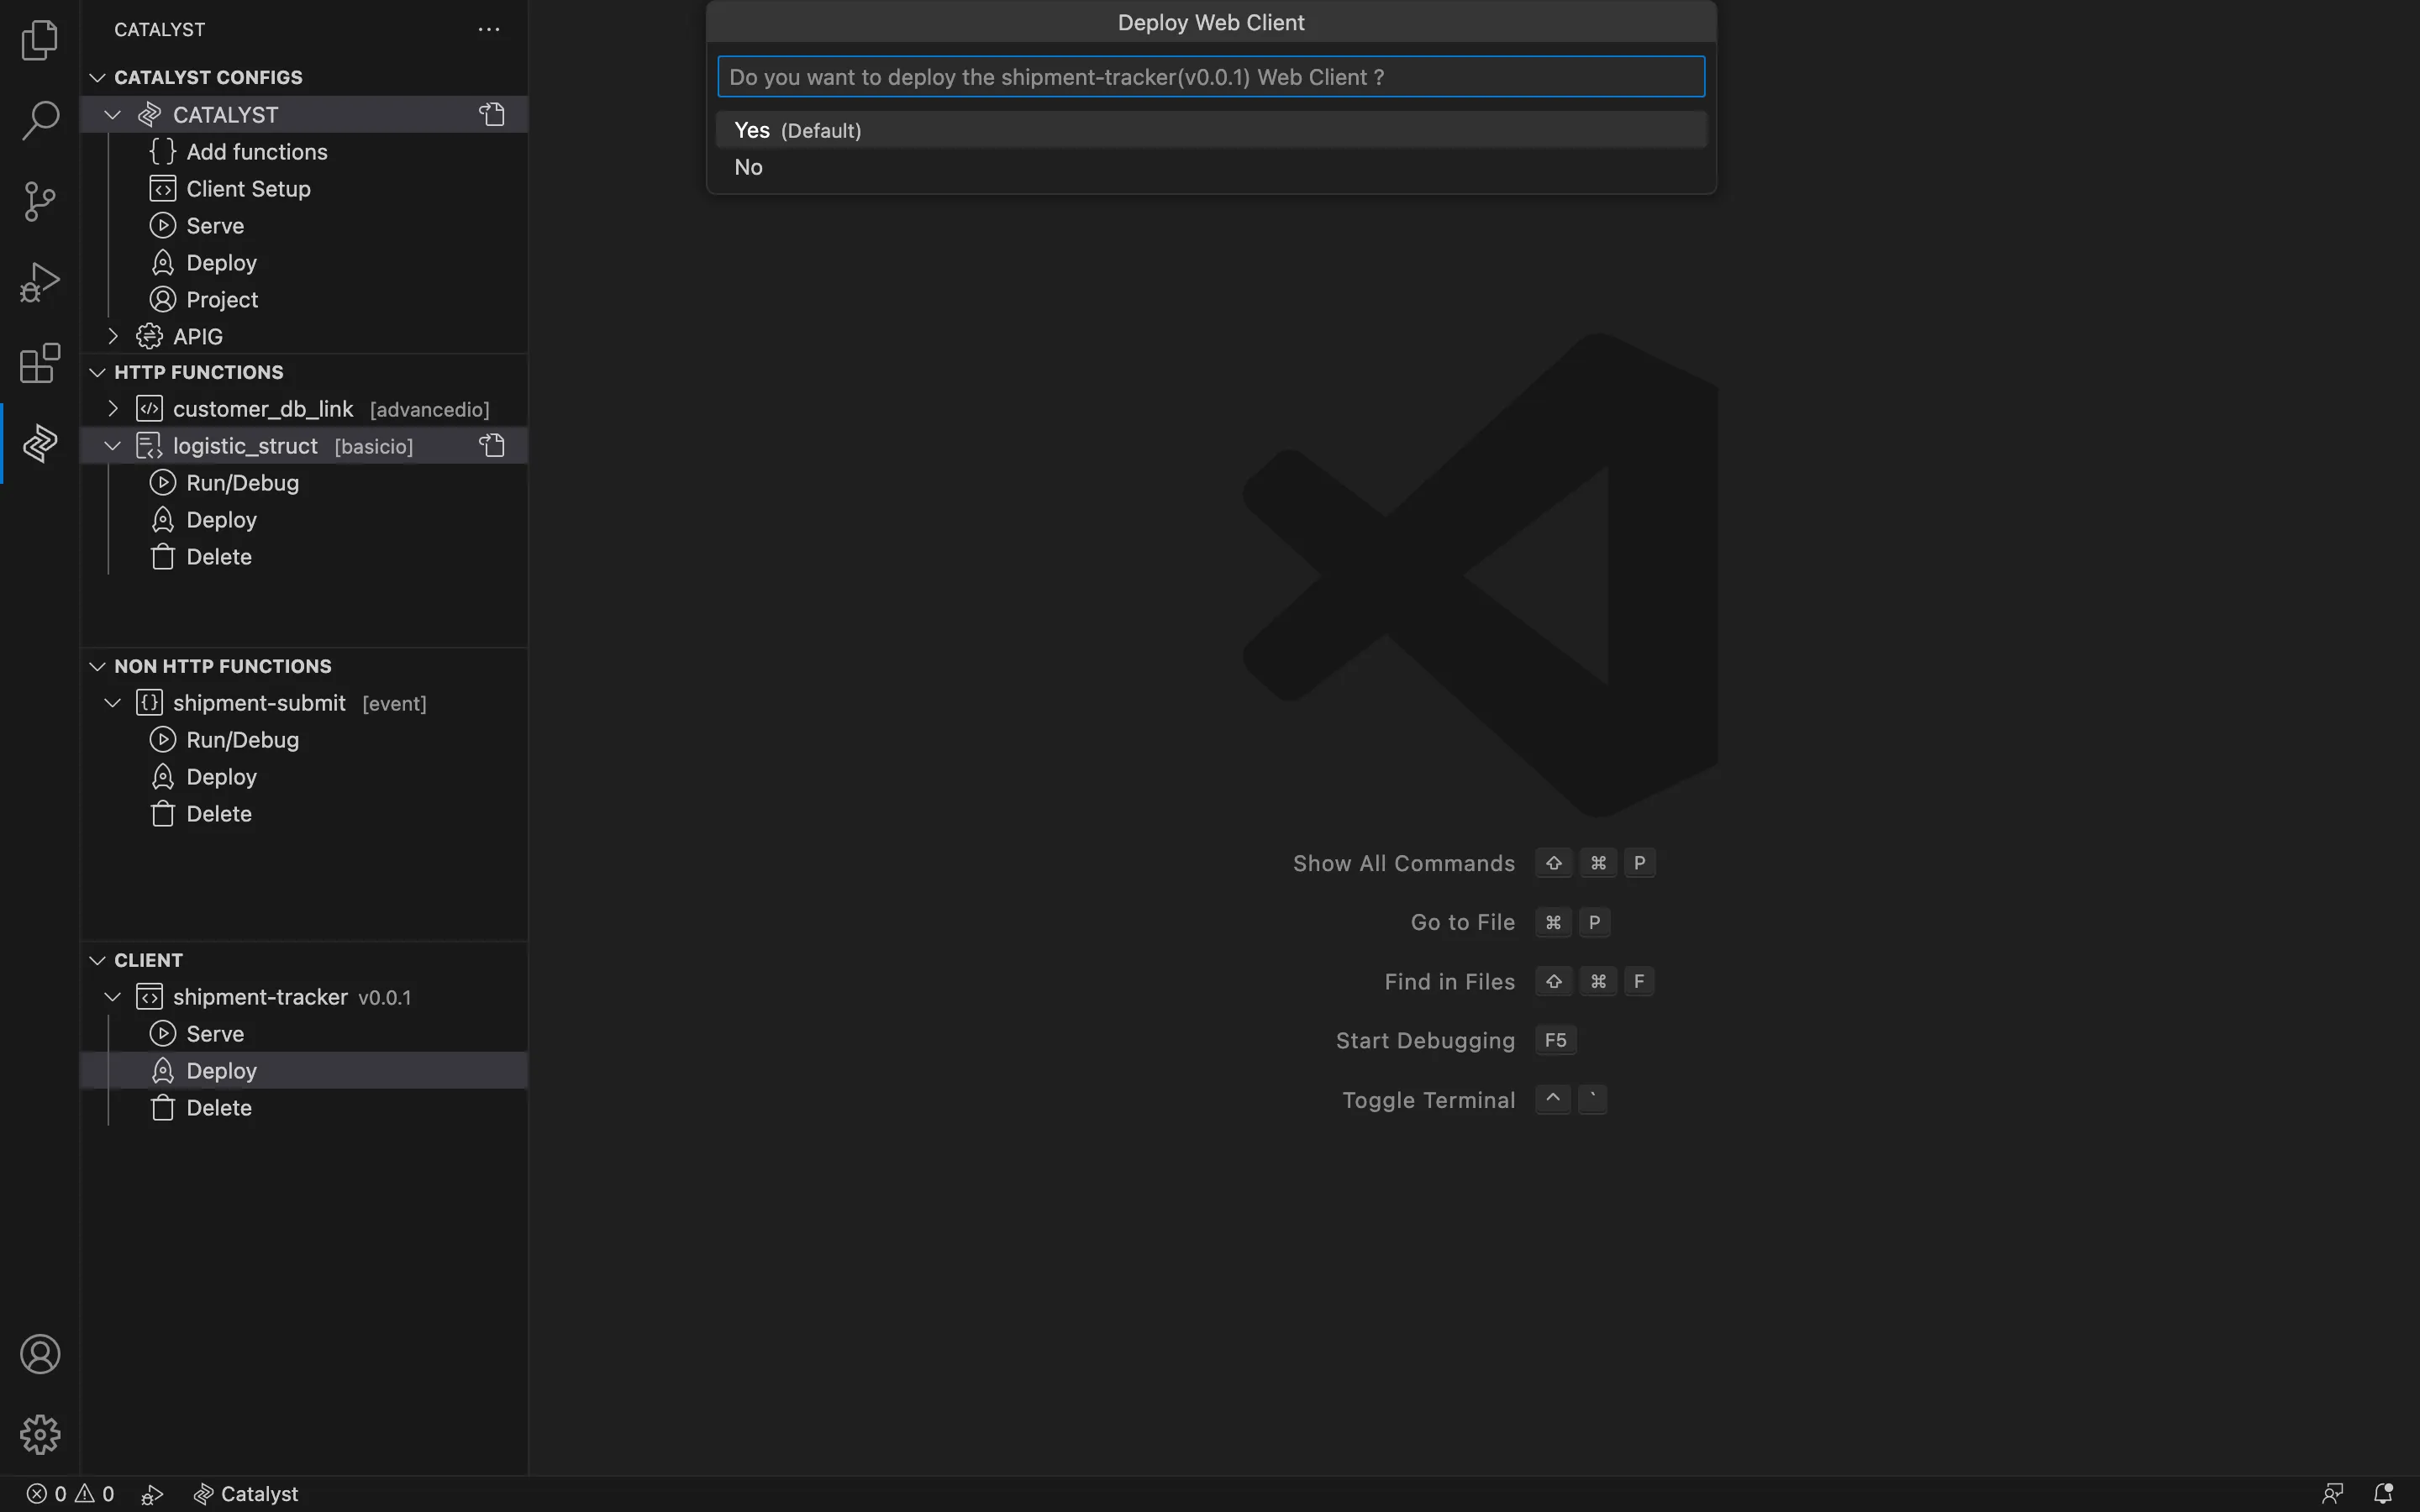
-
Click Yes to proceed with the deploy operation.
The client component will be deployed, and a deployment URL for your client component will be generated in the Catalyst Deploy terminal within VS Code. Clicking the URL will let you access the client in your default web browser.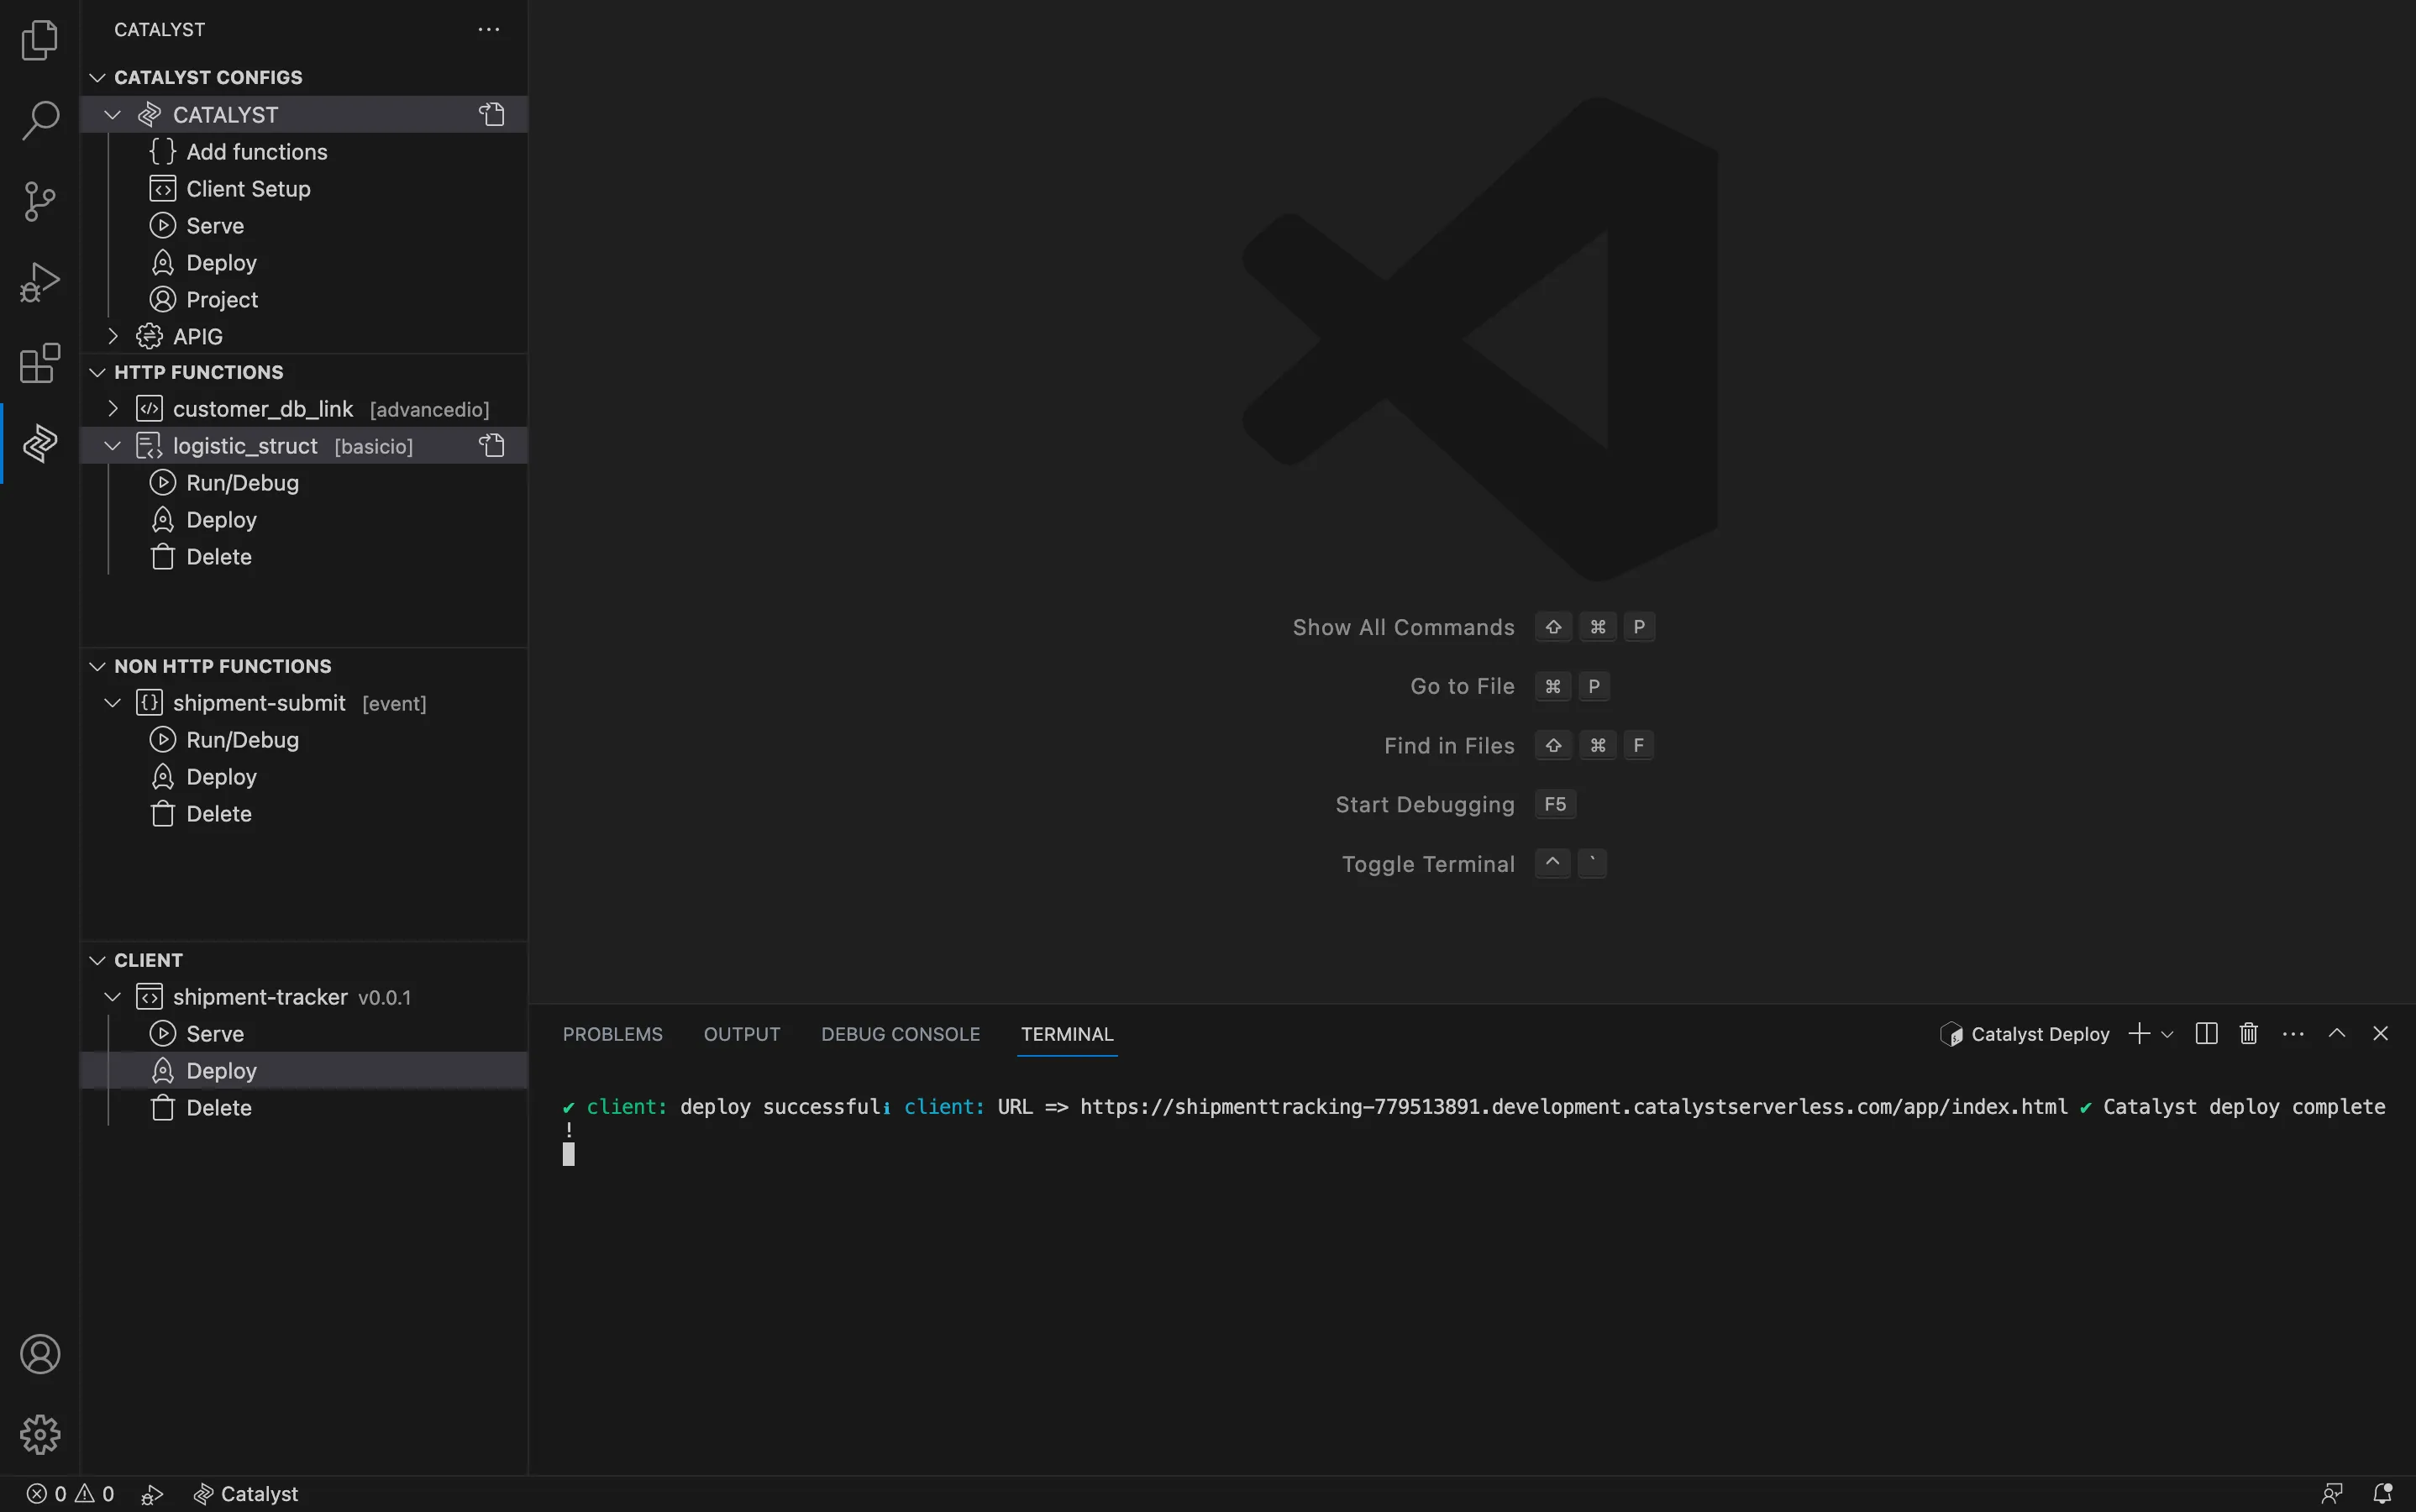
You can also kill the Catalyst Deploy Terminal by clicking the delete icon in the IDE console below.
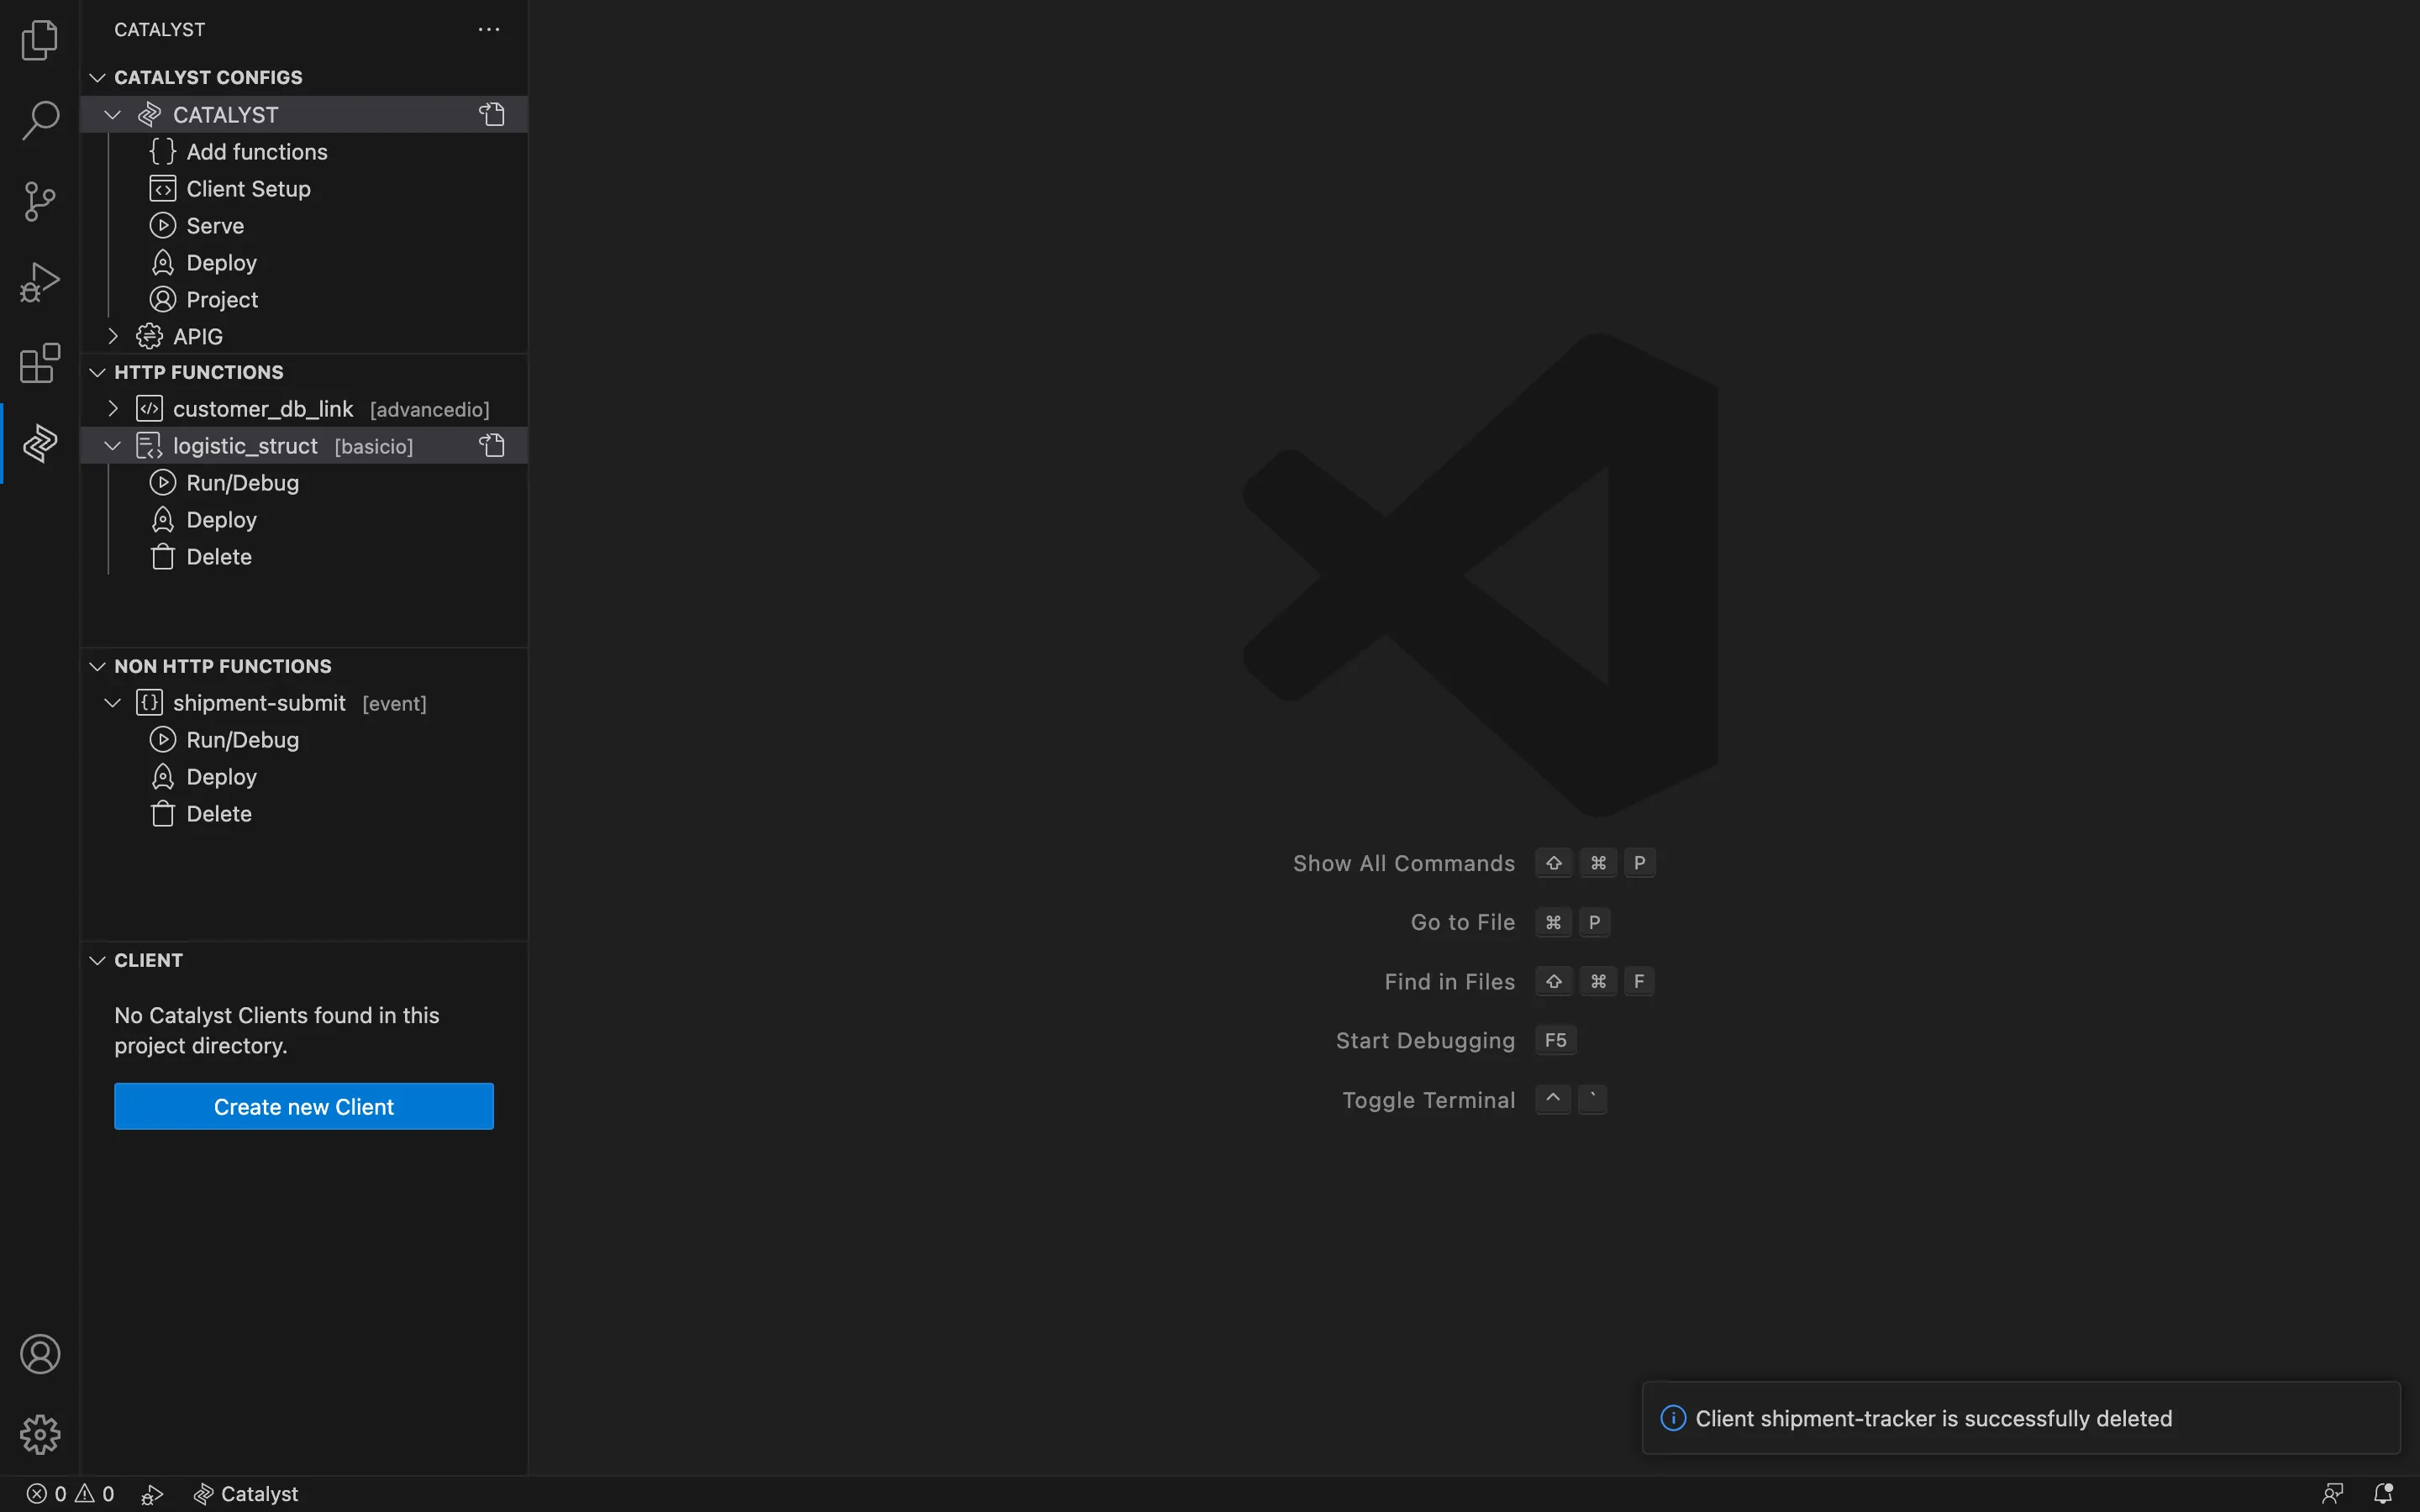
Delete Operation
To delete the client component from your local project using Catalyst Tools, follow the steps below:
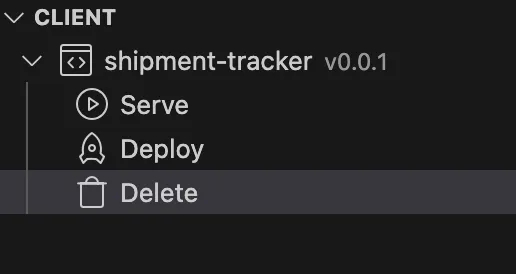
-
Navigate to the CLIENT section, then click Delete.
-
Click Yes to proceed.

The client component will be deleted from your local project.
Last Updated 2026-02-26 14:04:23 +0530 IST
Yes
No
Send your feedback to us