Enable Authentication
For this tutorial, you will be enabling the Hosted Authentication type. This native authentication type will provide us with dedicated pages for each login element.
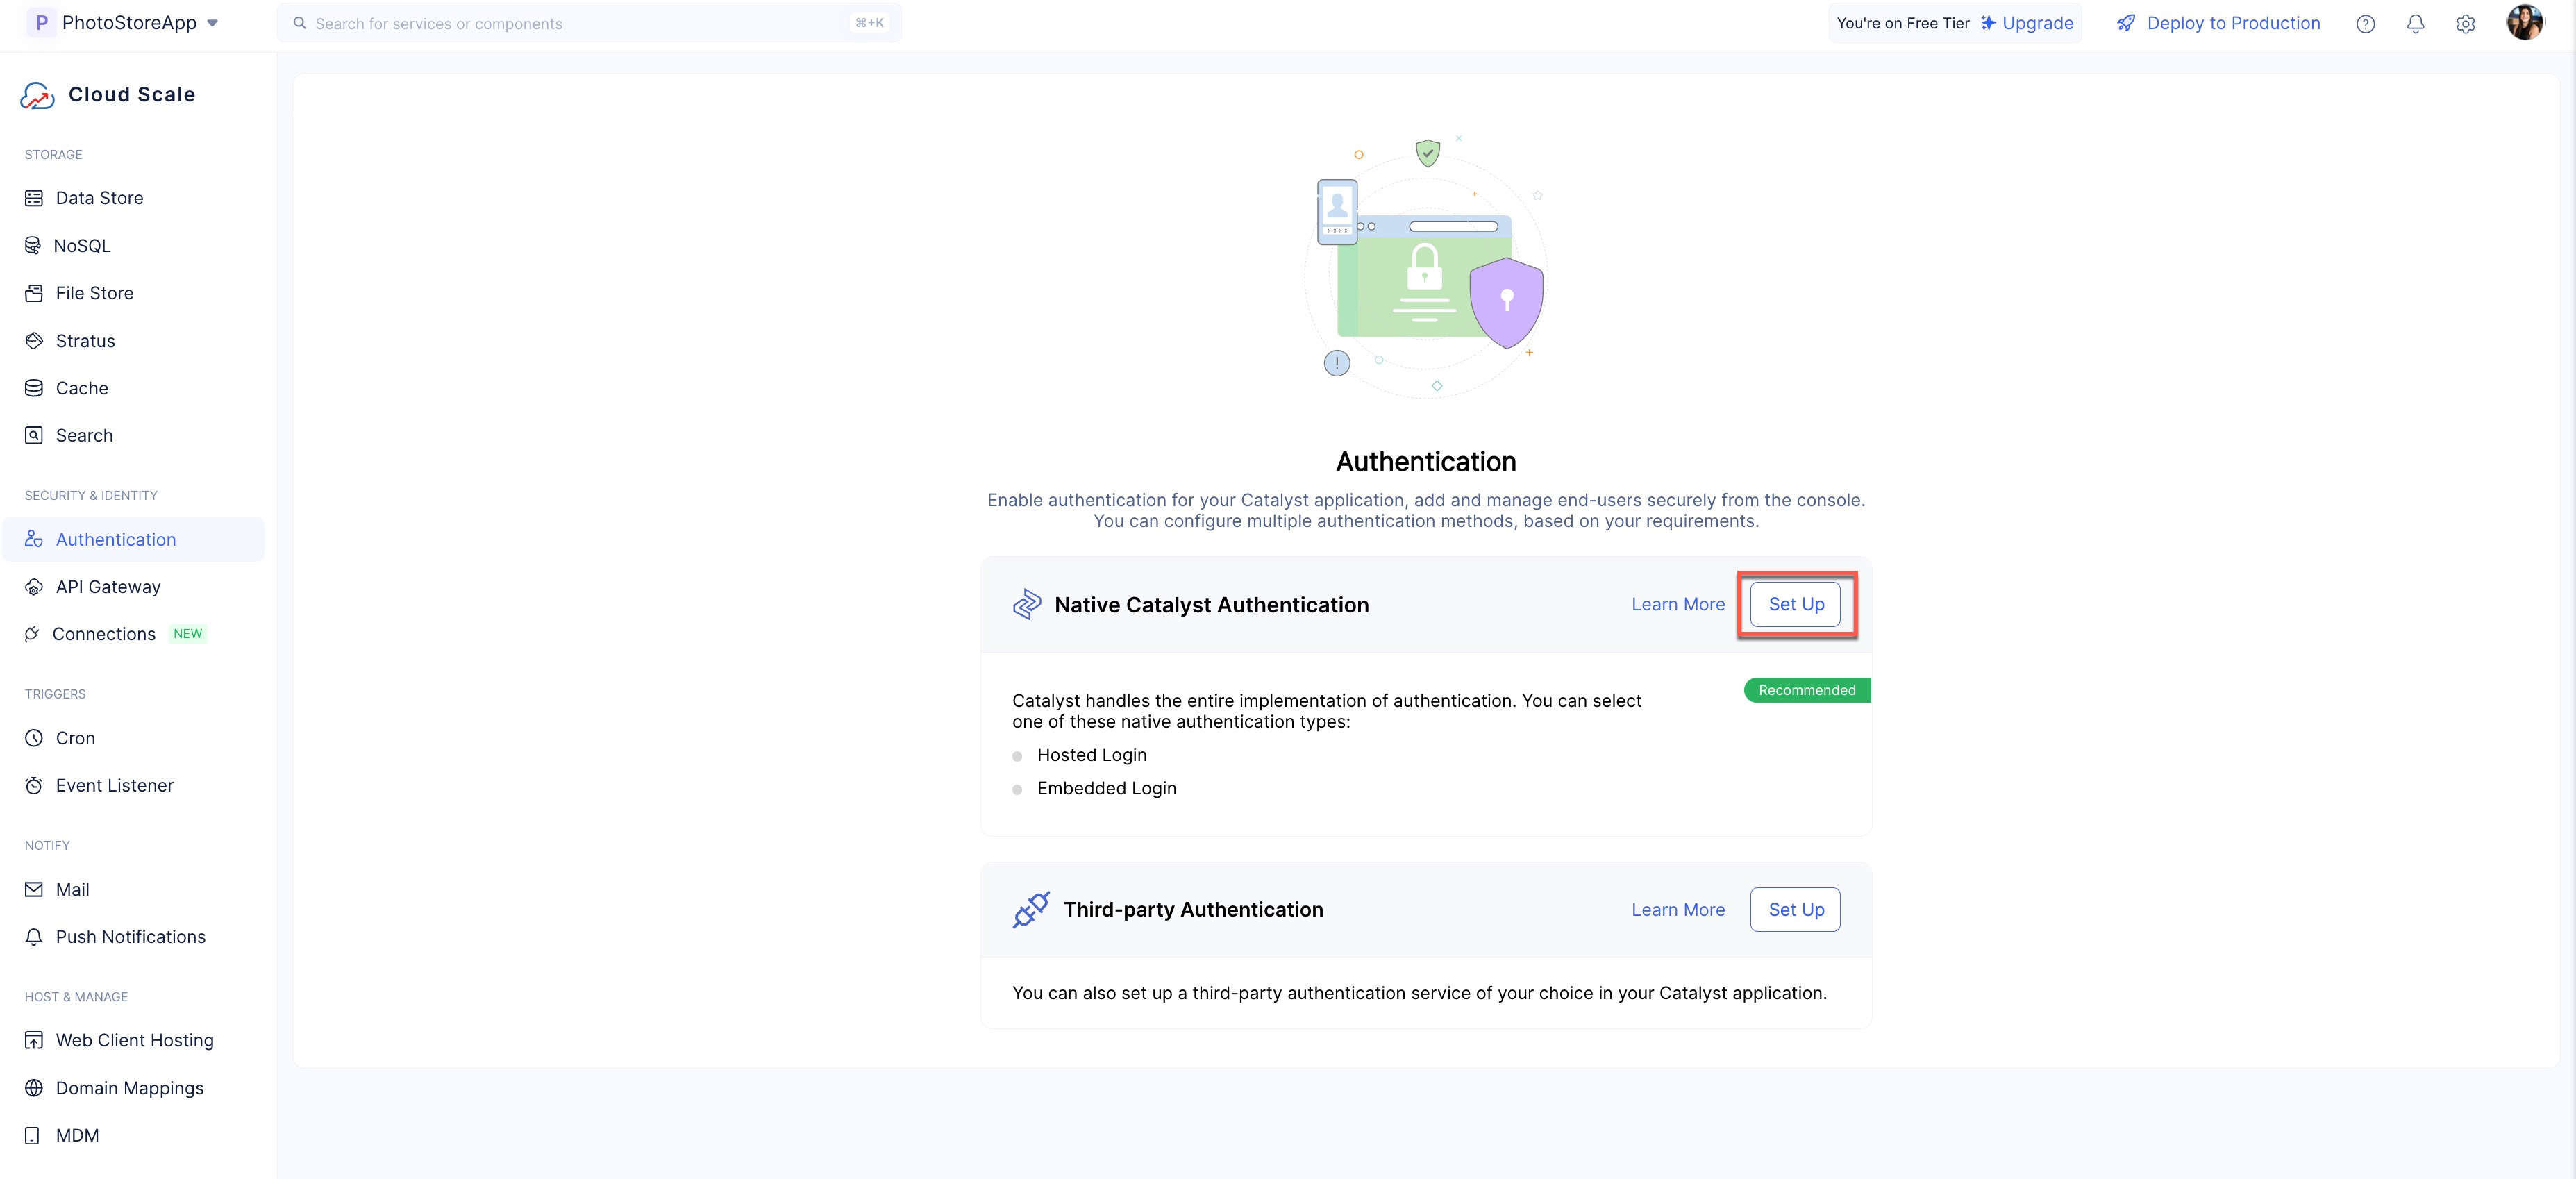
To enable the Hosted Authentication type for your application:
-
Navigate to the Authentication component under Security and Identity and click Set Up in the Native Catalyst Authentication option.
-
Select Hosted Authentication and click Next.

Info:
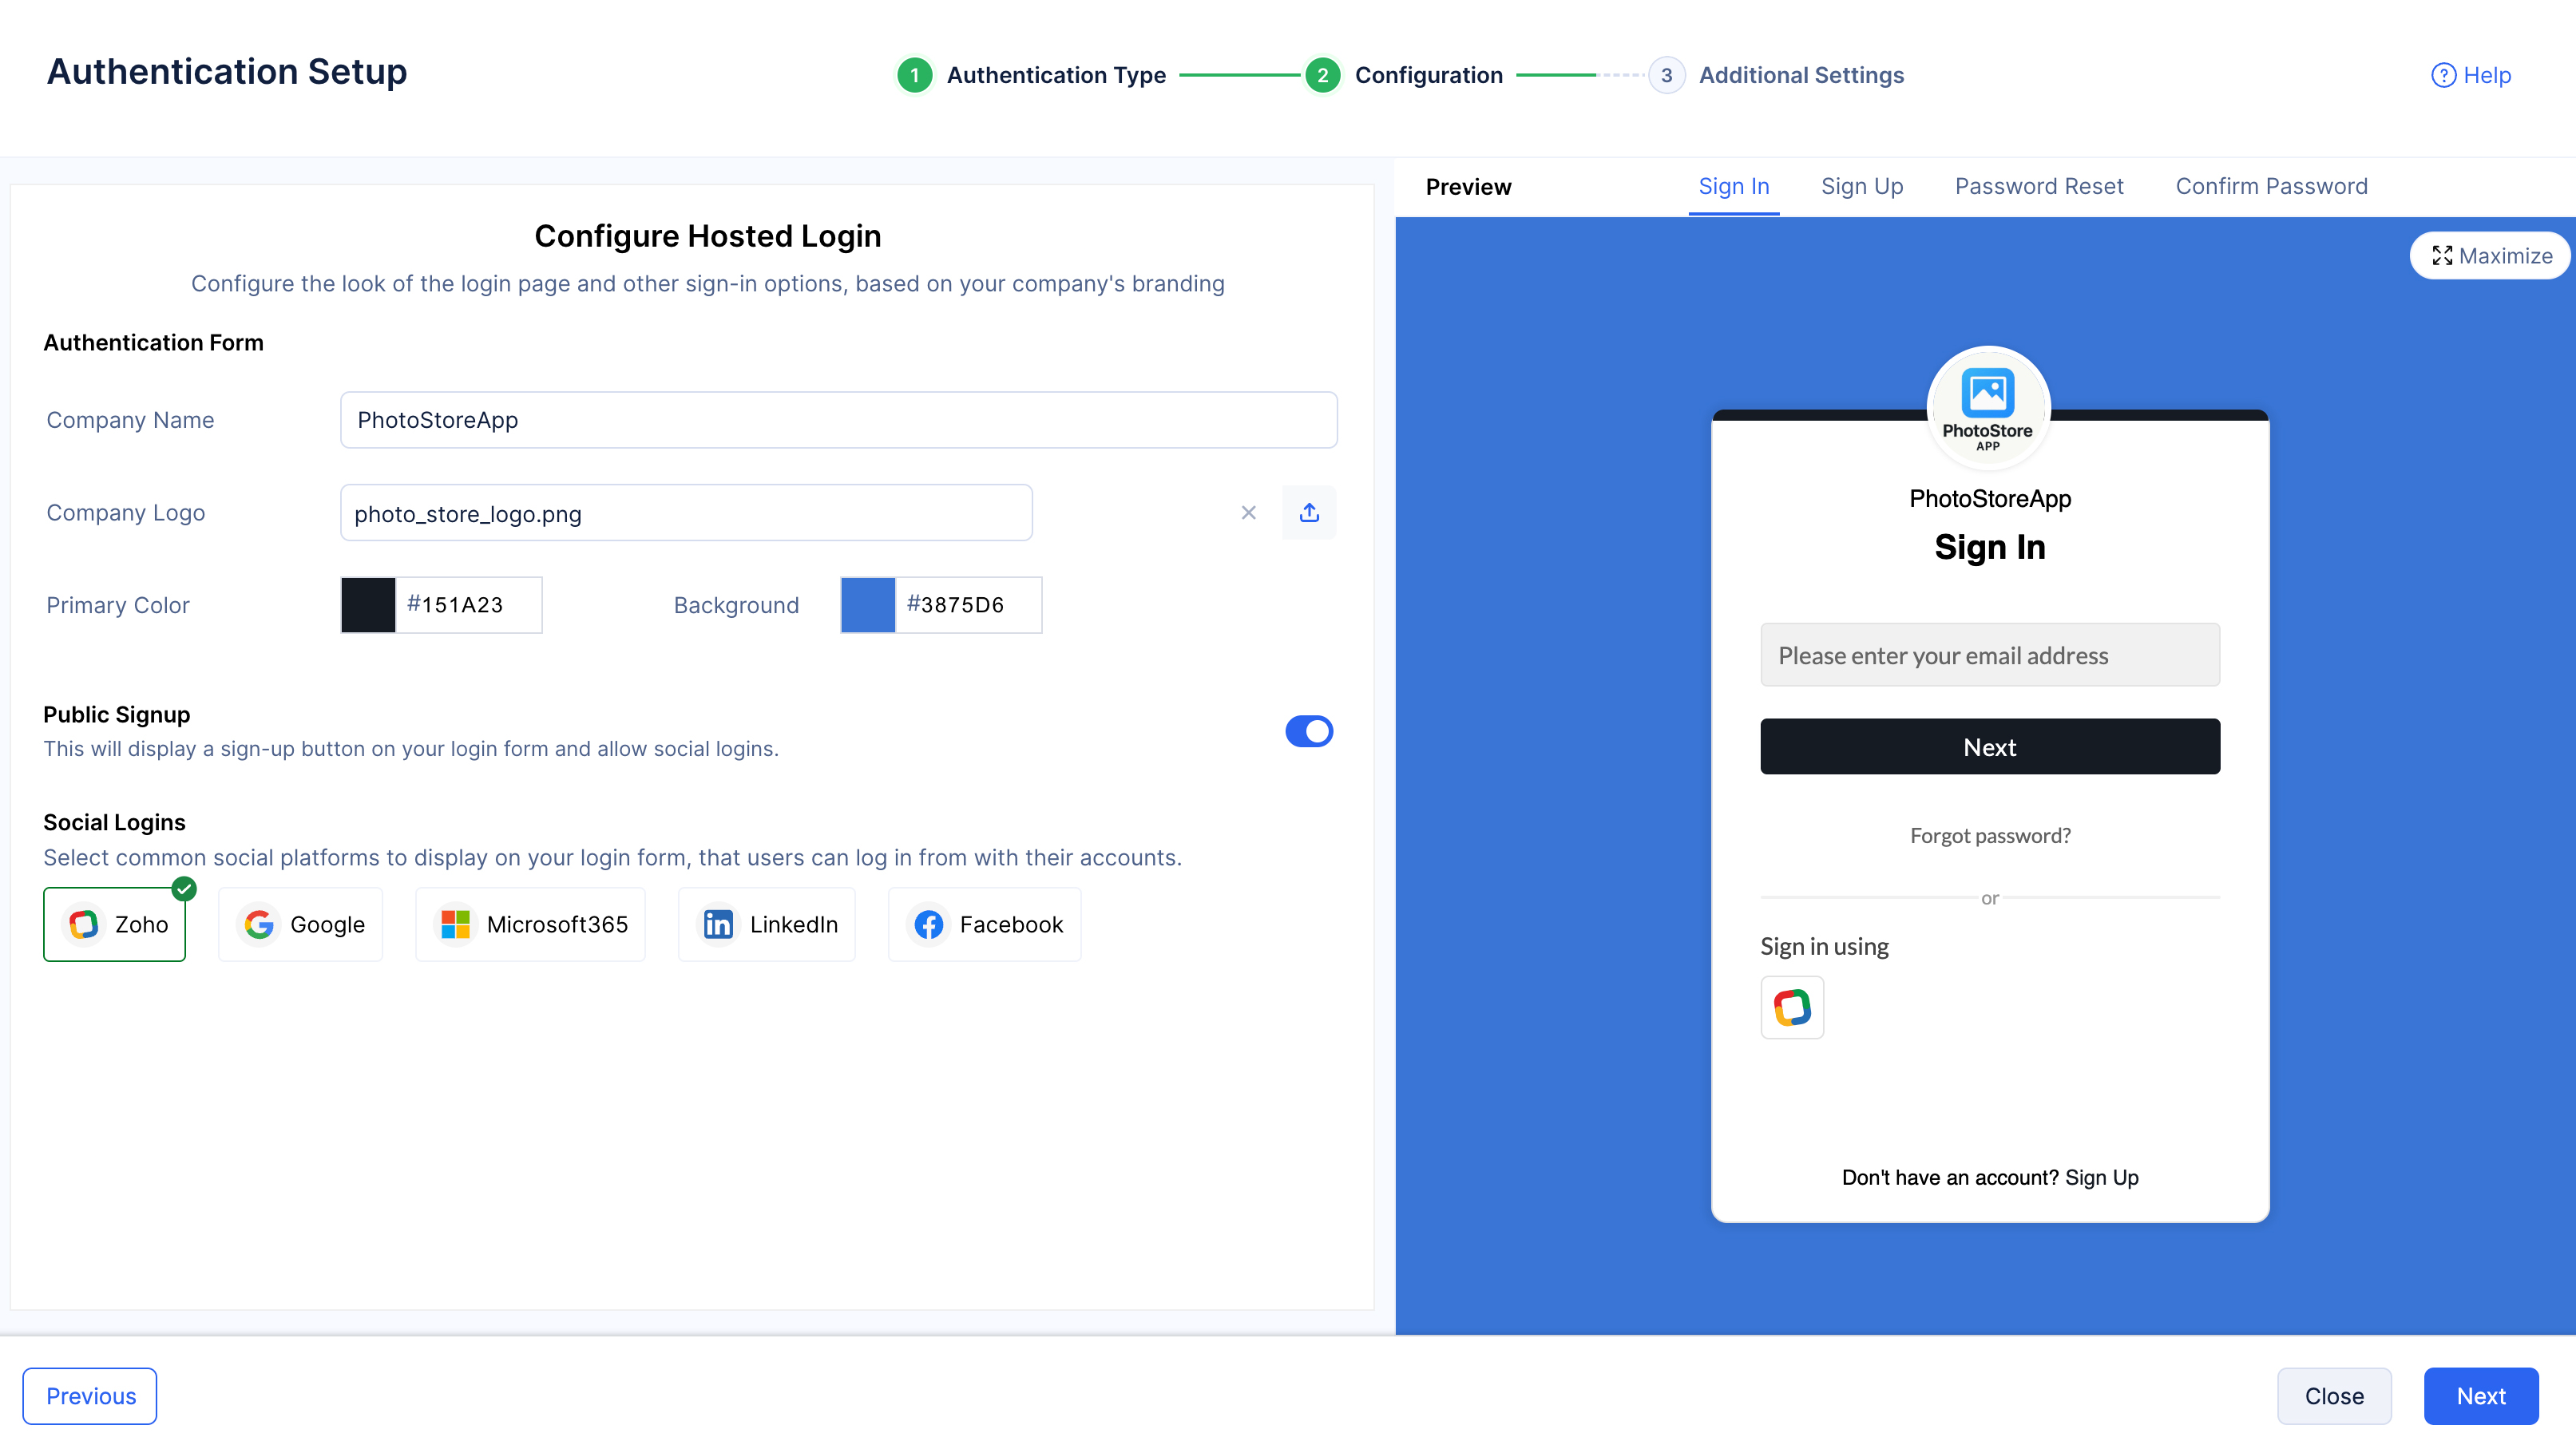
- Provide a name for your brand, and upload your logo as an image. You can use the color palettes in the console to style your login element. Use the Preview section on the right and design the login element to match your preference.
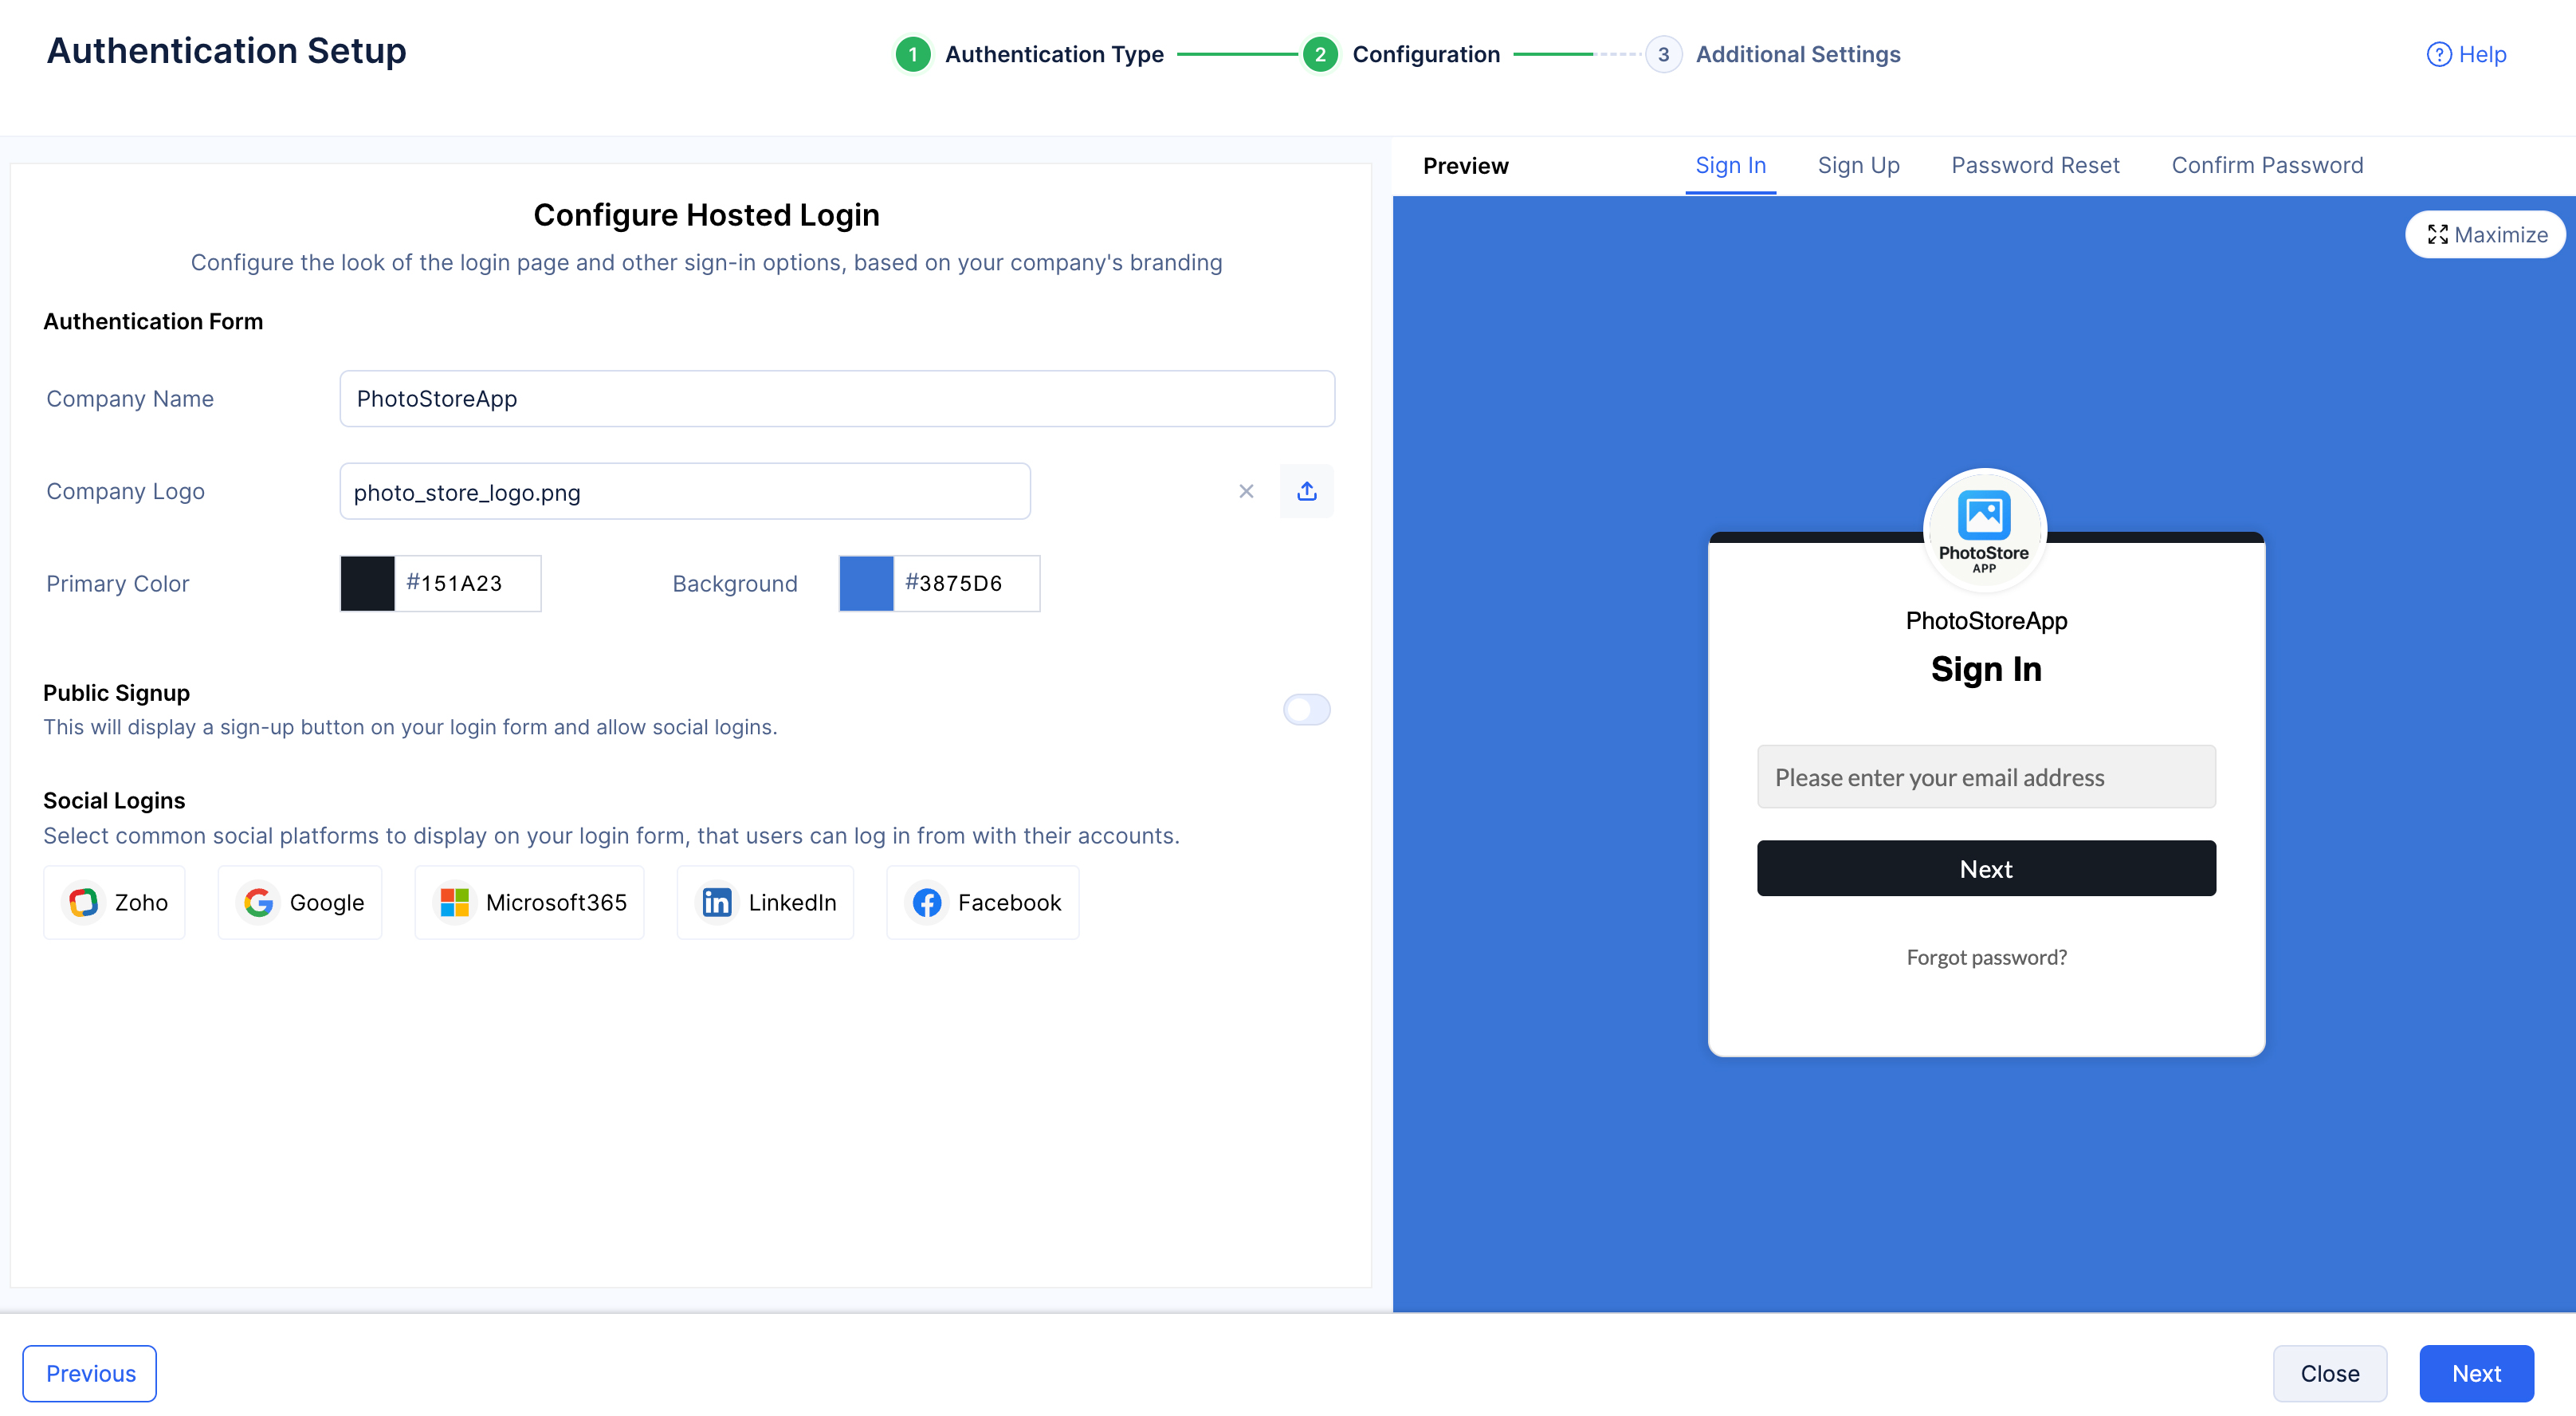
Note: You can use the Preview section to simultaneously view the style of your Sign In, Sign Up, Password Reset, and Confirm Password login elements. However, to view the Sign Up page, you need to enable Public Signup. The steps involved in enabling Public Signup are detailed below.
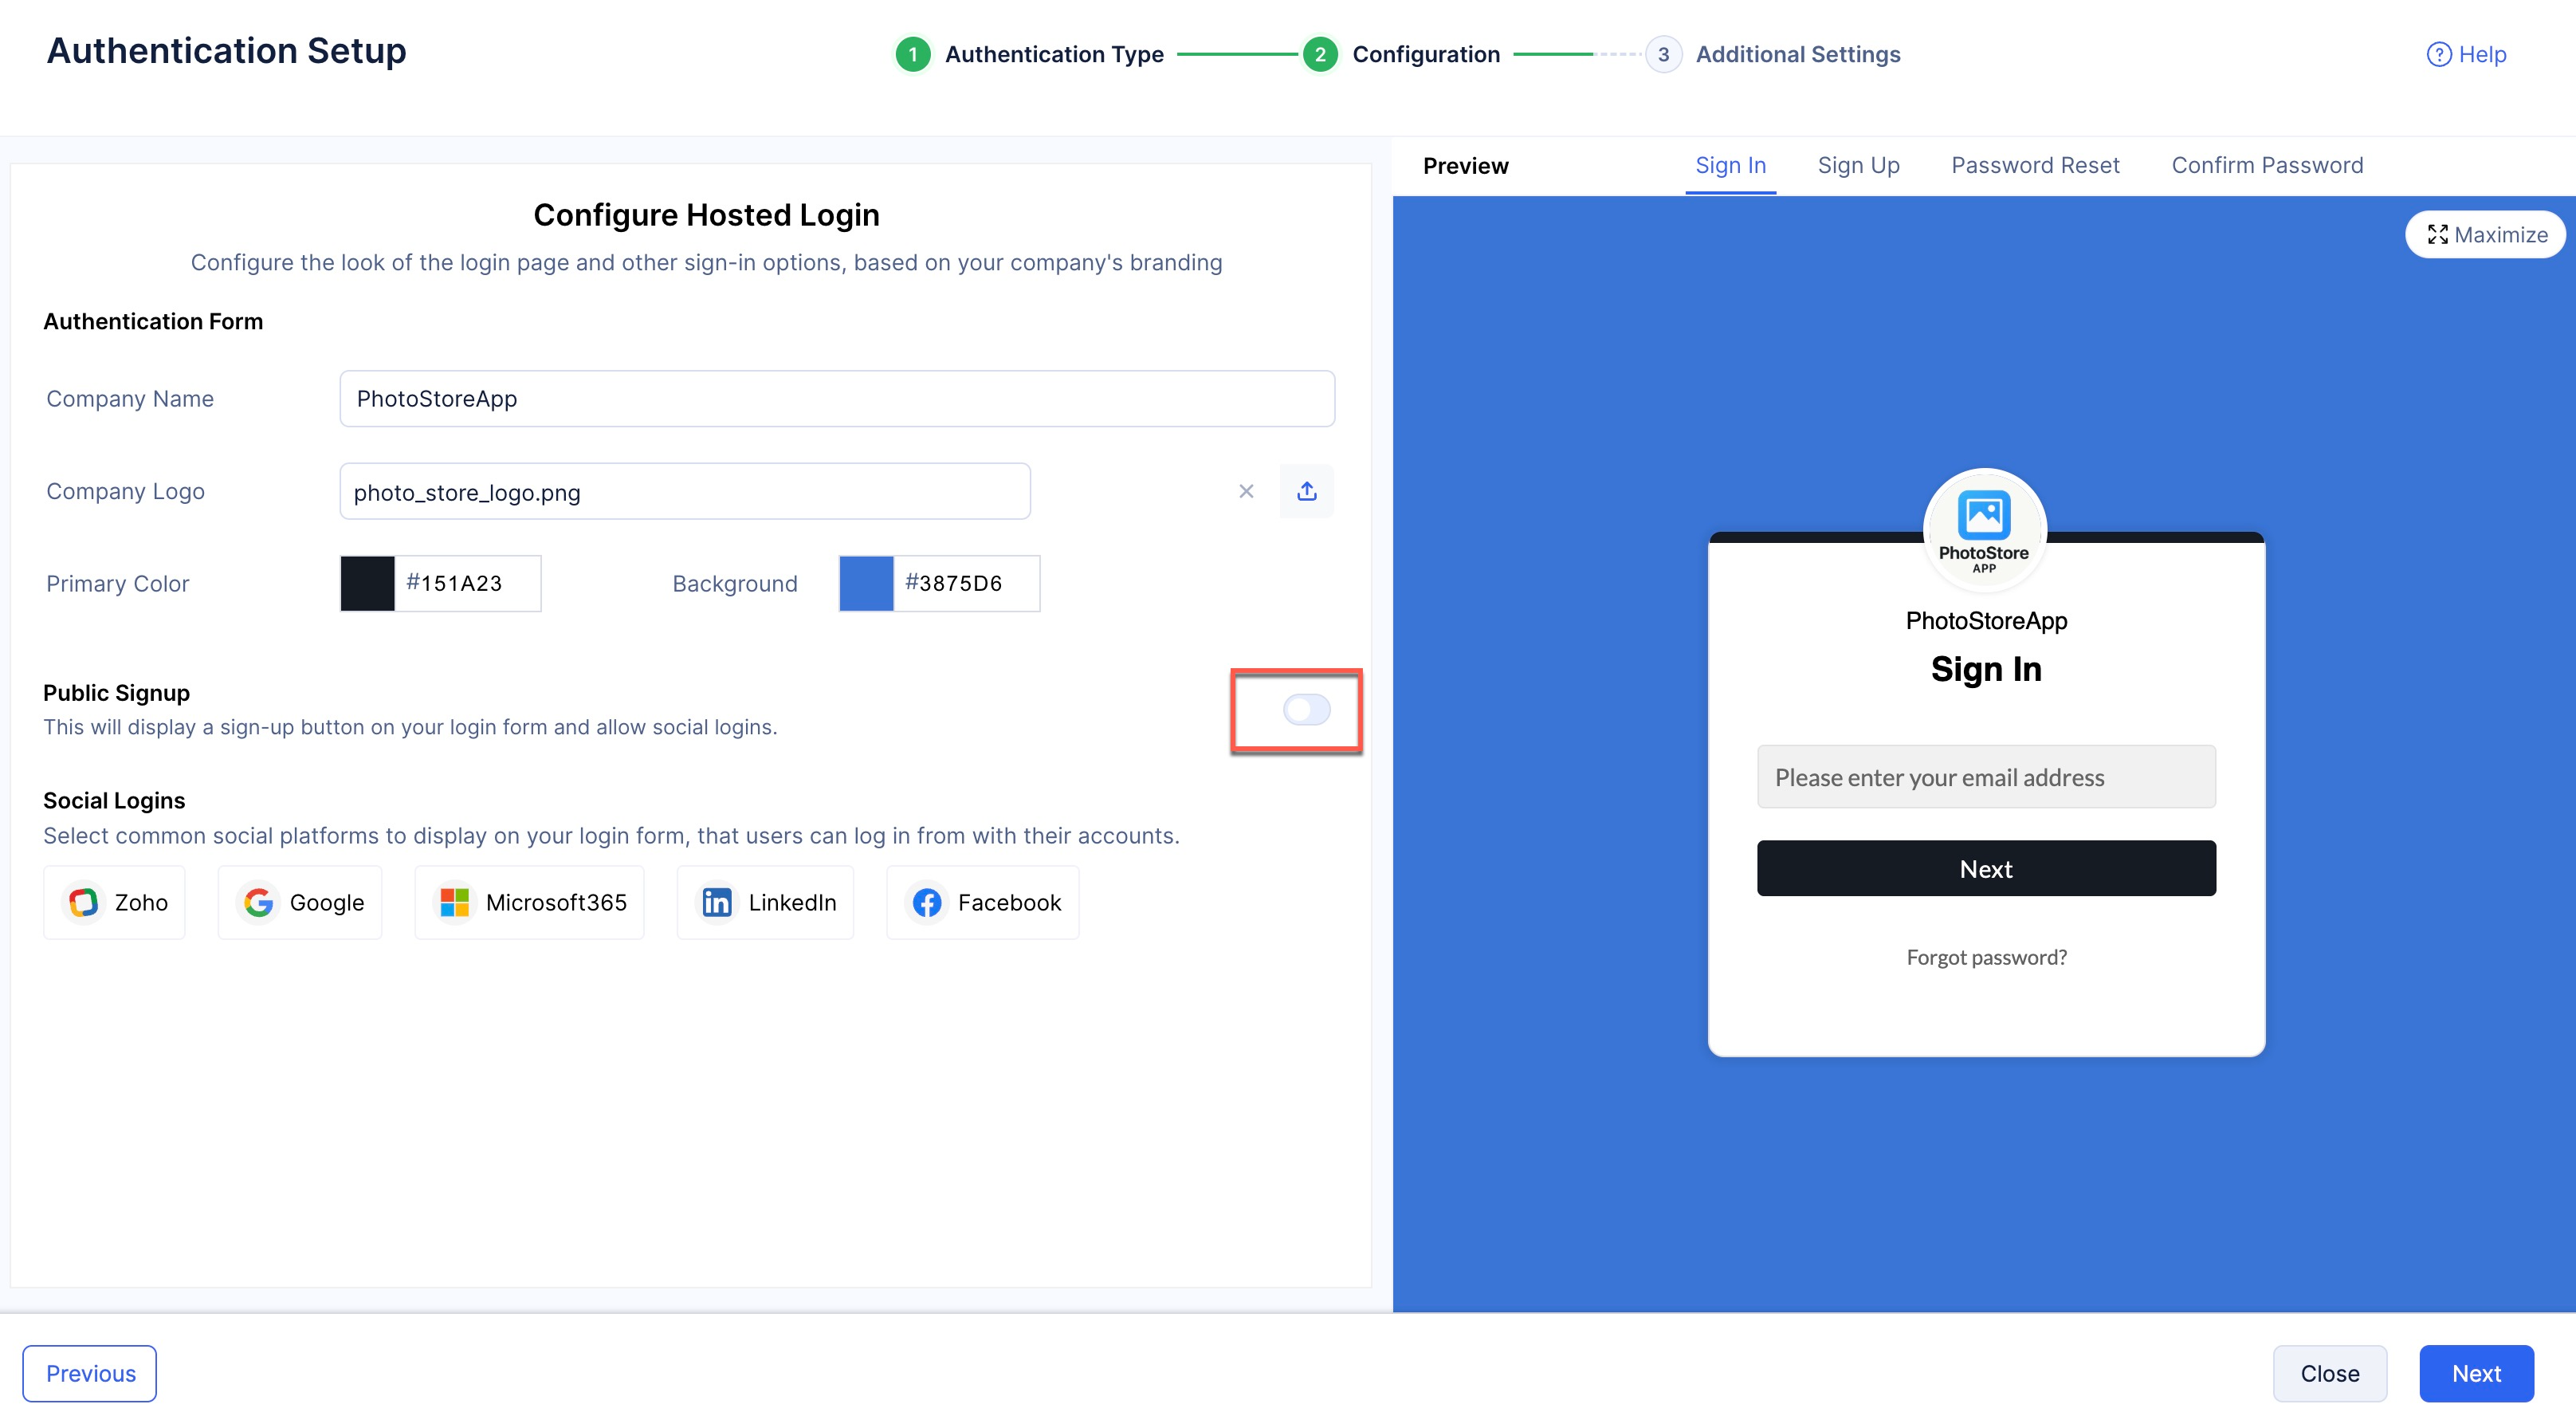
- Click the toggle button to enable Public Signup.
Read the information pop-up and click Yes, Proceed.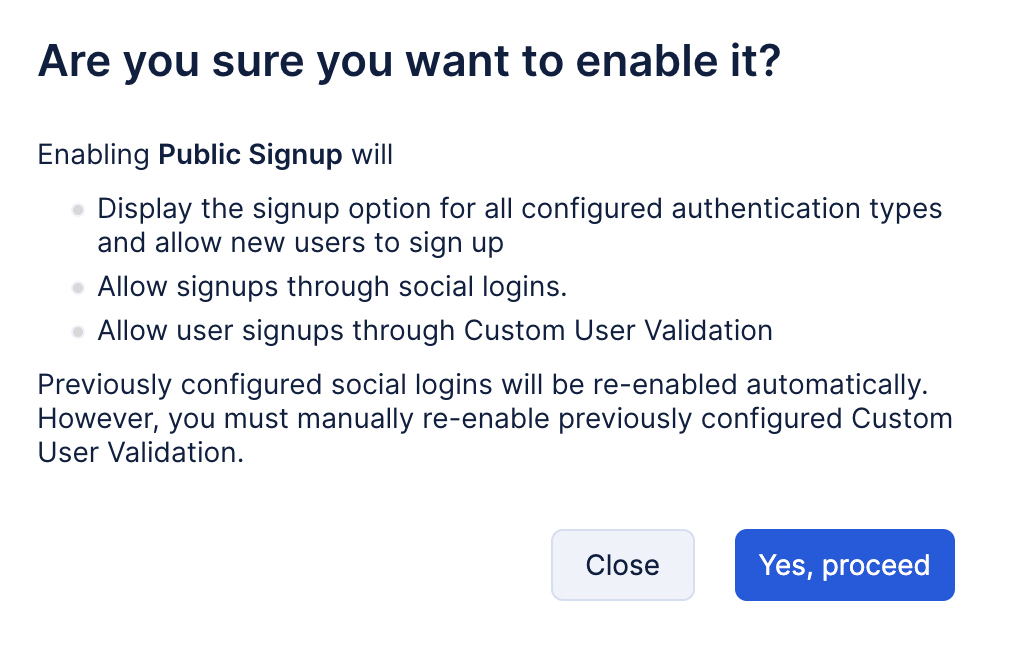
- You can enable any of the Social Logins according to your preferences.
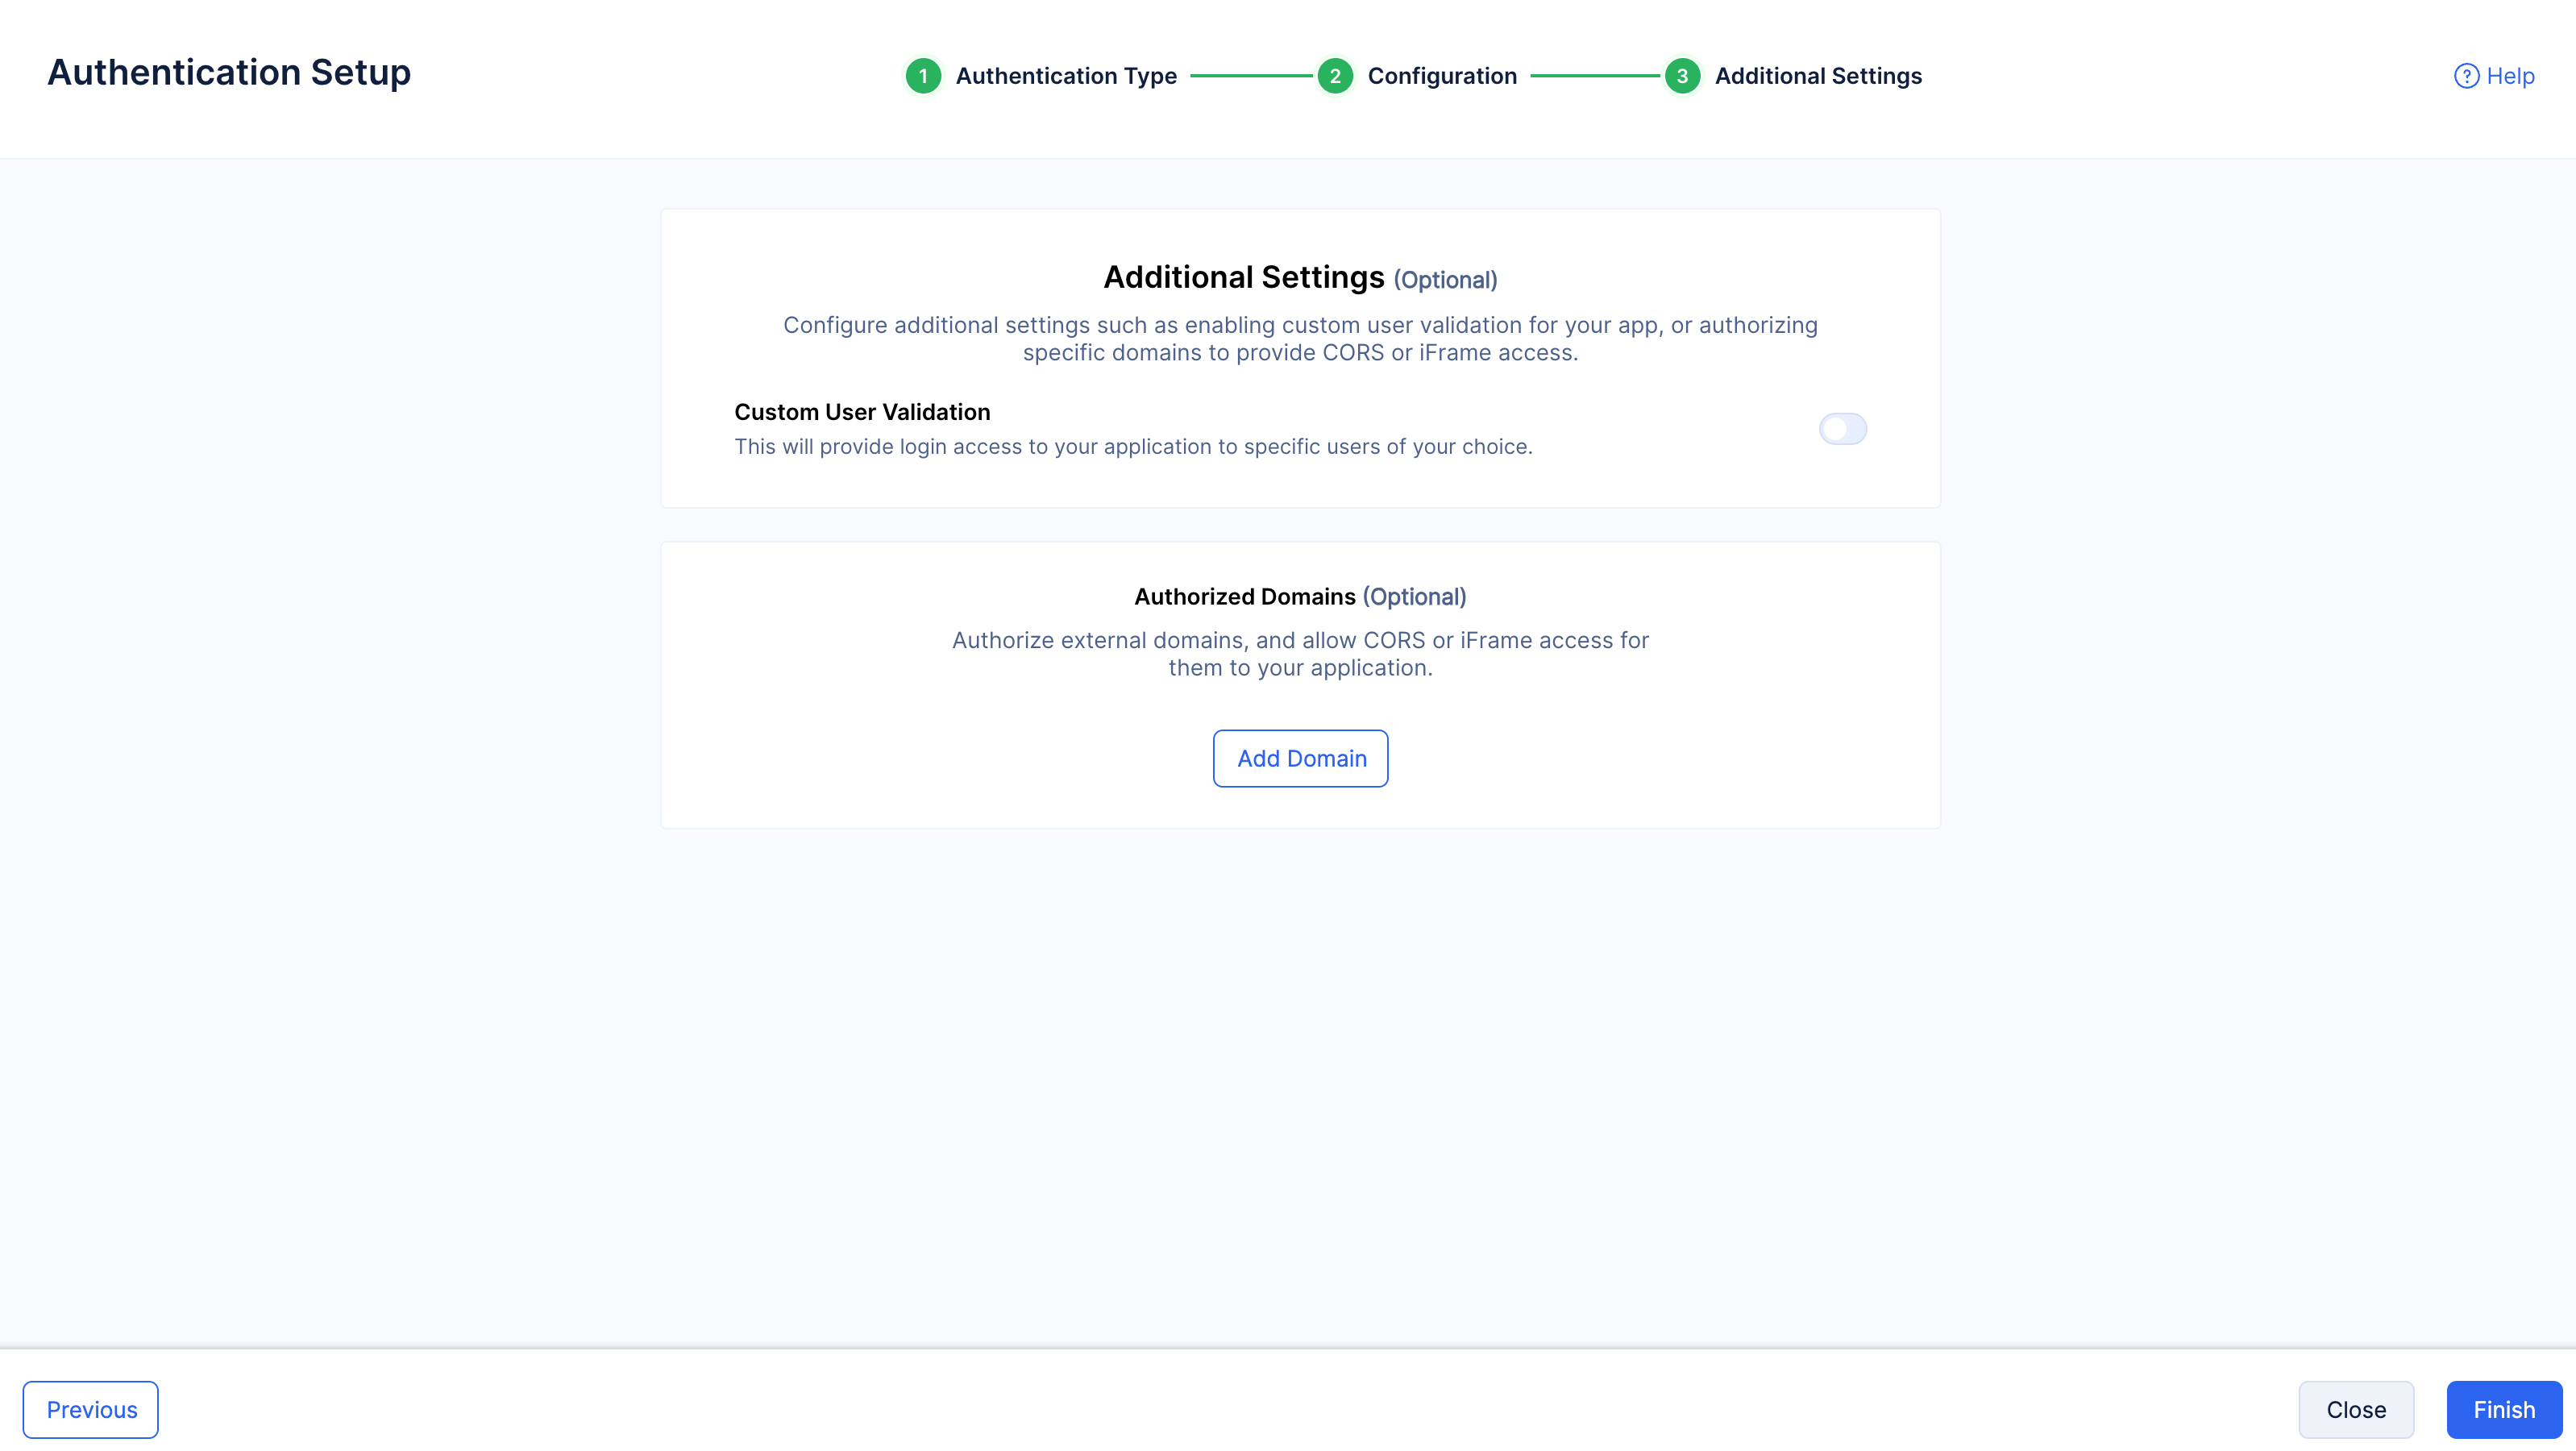
- We will be skipping the Additional Settings section right now. We will revisit the Authorized Domains feature present in this section at a later step. Click Finish.
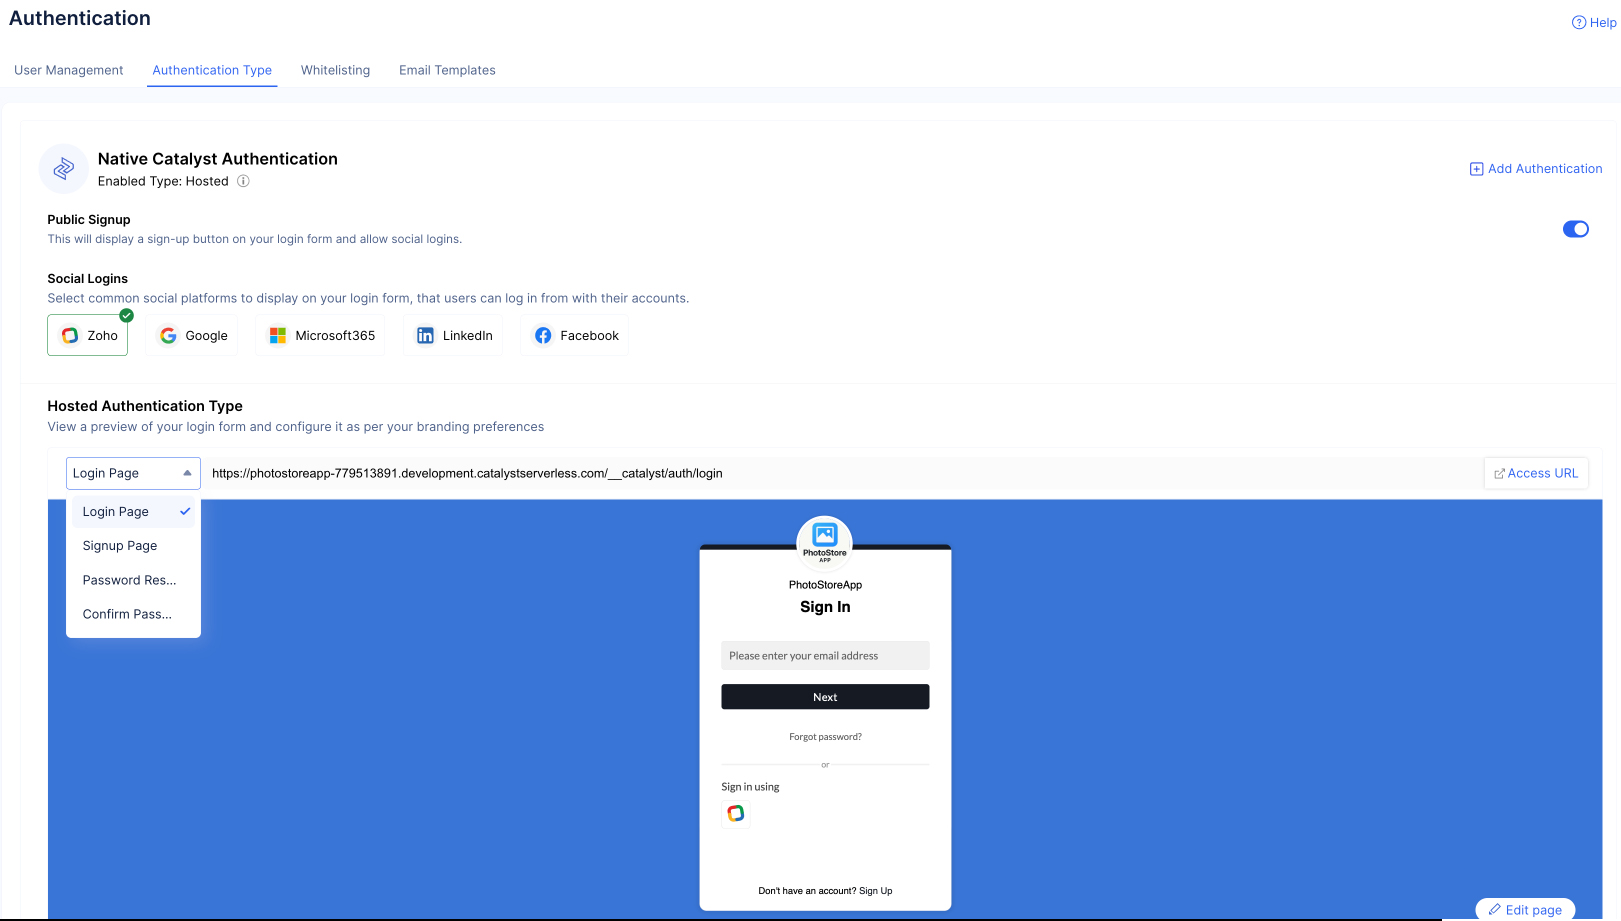
Hosted Authentication will be enabled for your application.
You will be able to view the style and secure access URLs generated for each of your login elements in the Authentication Types section.
Info: The rest of the sections are not required for the functionality of the application. However, you can learn about them through the following links:
Last Updated 2025-10-30 12:36:10 +0530 IST