Upload the Dataset
Let’s begin by uploading the dataset in Catalyst QuickML using the available dataset connectors.
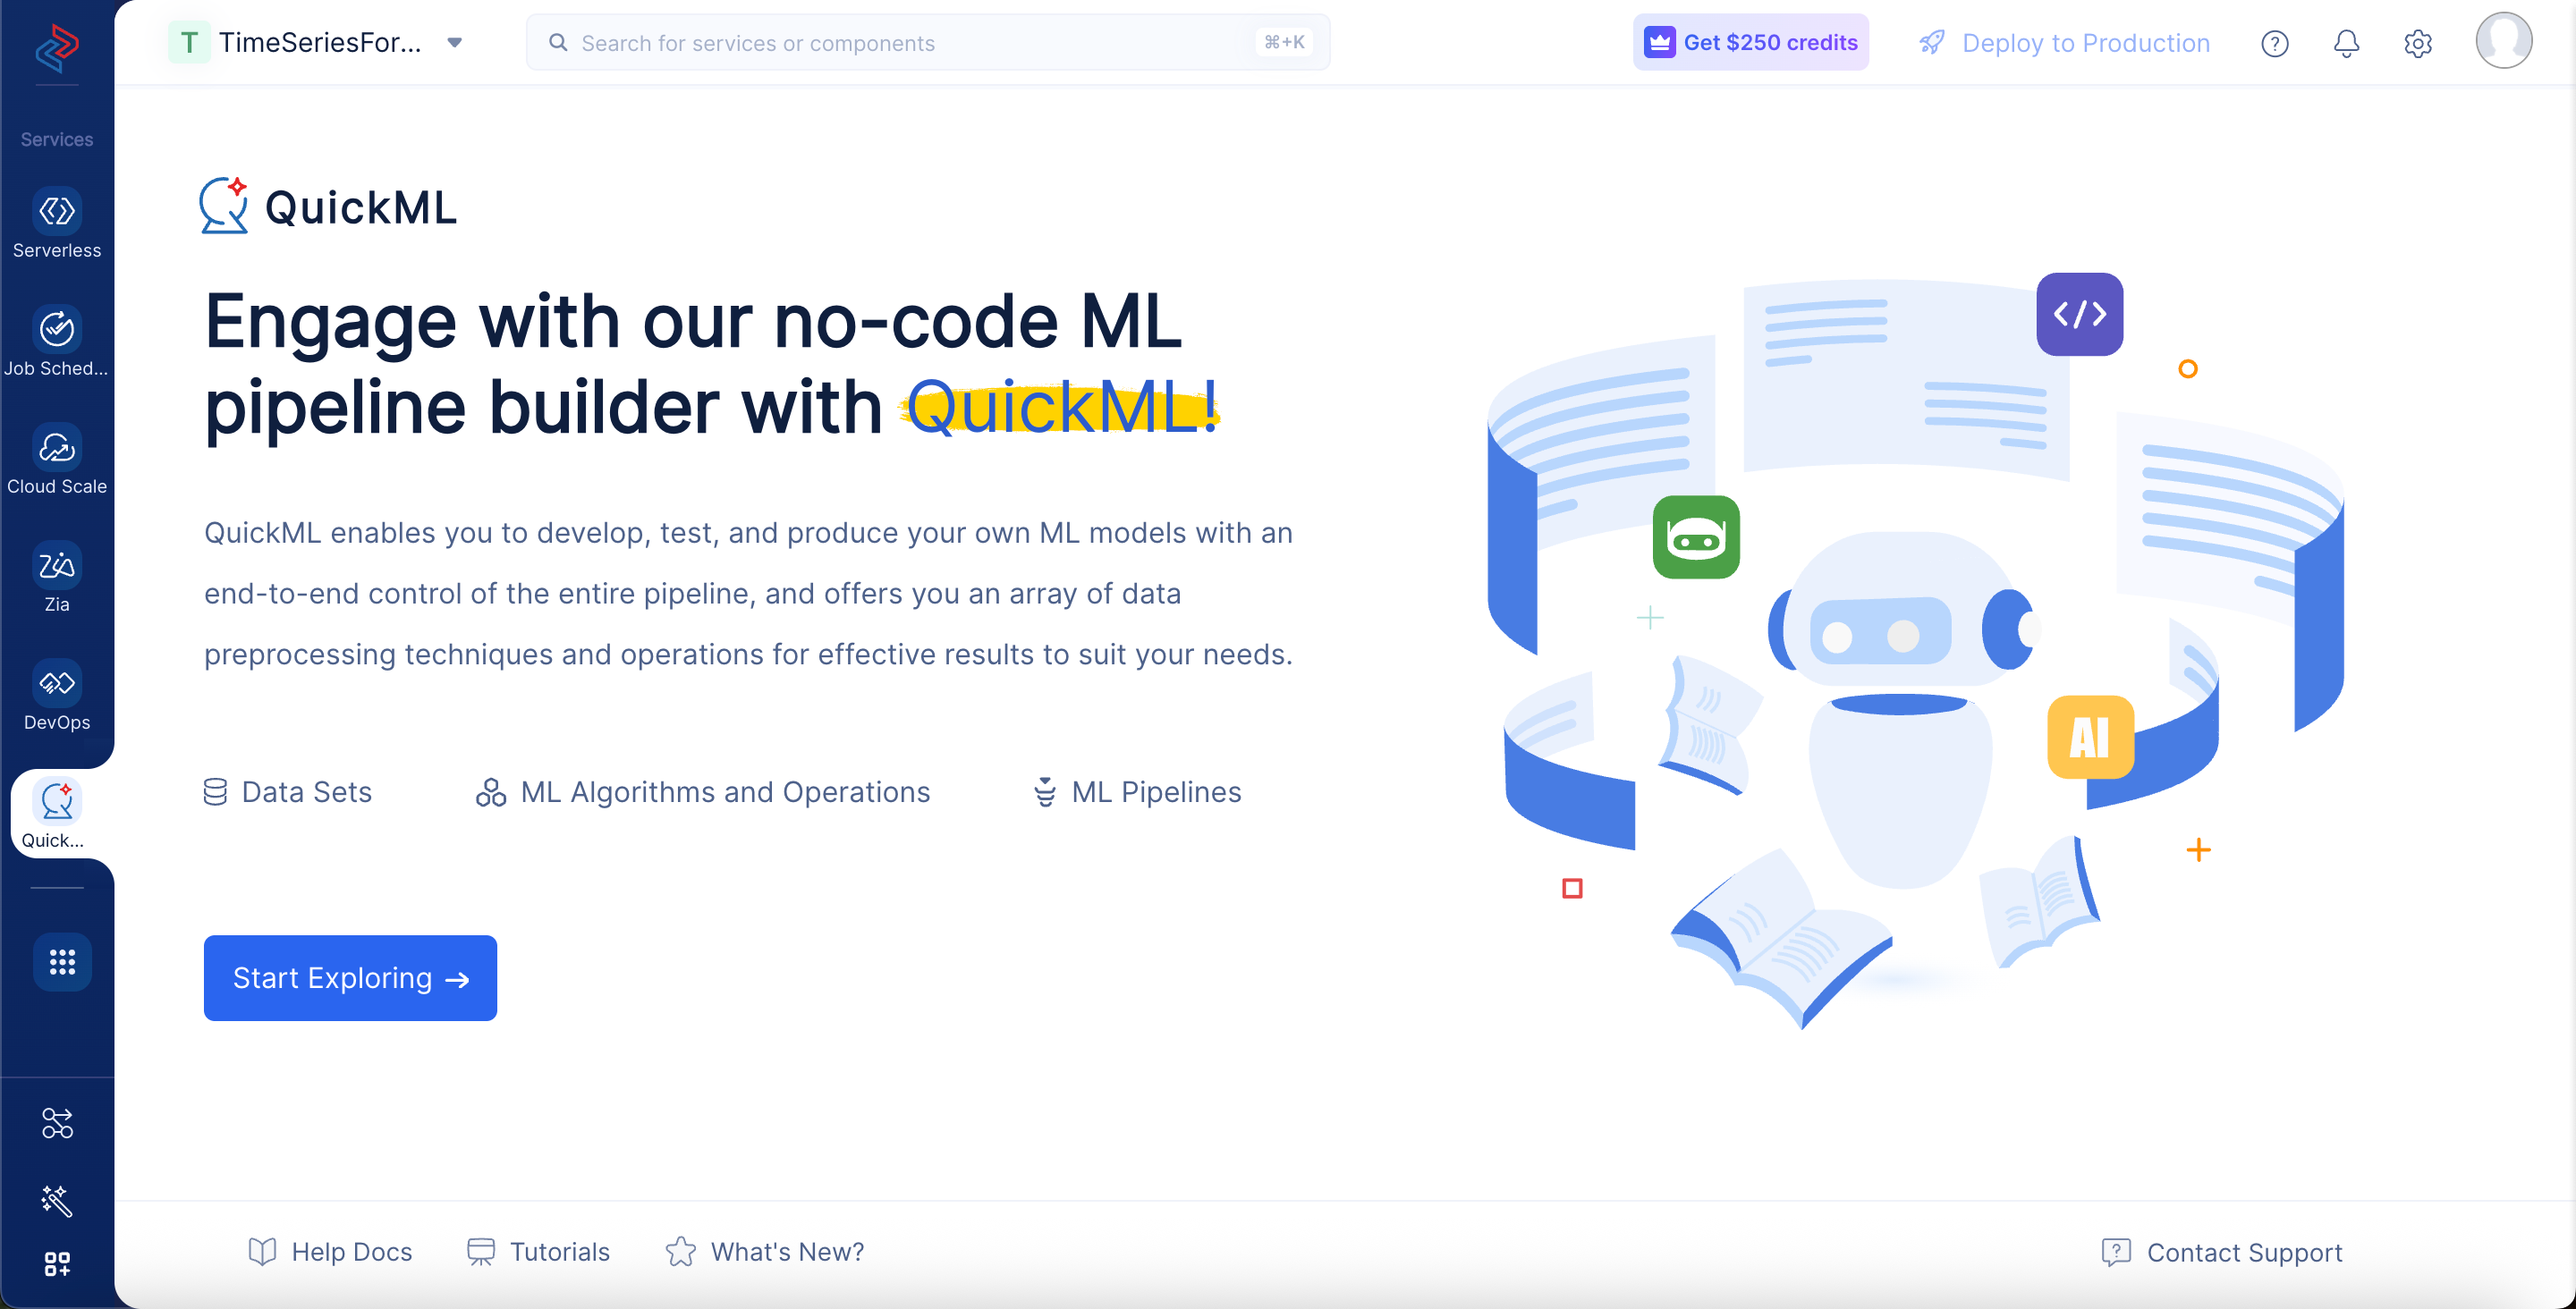
- Navigate to the QuickML service in the Catalyst console and click Start Exploring.
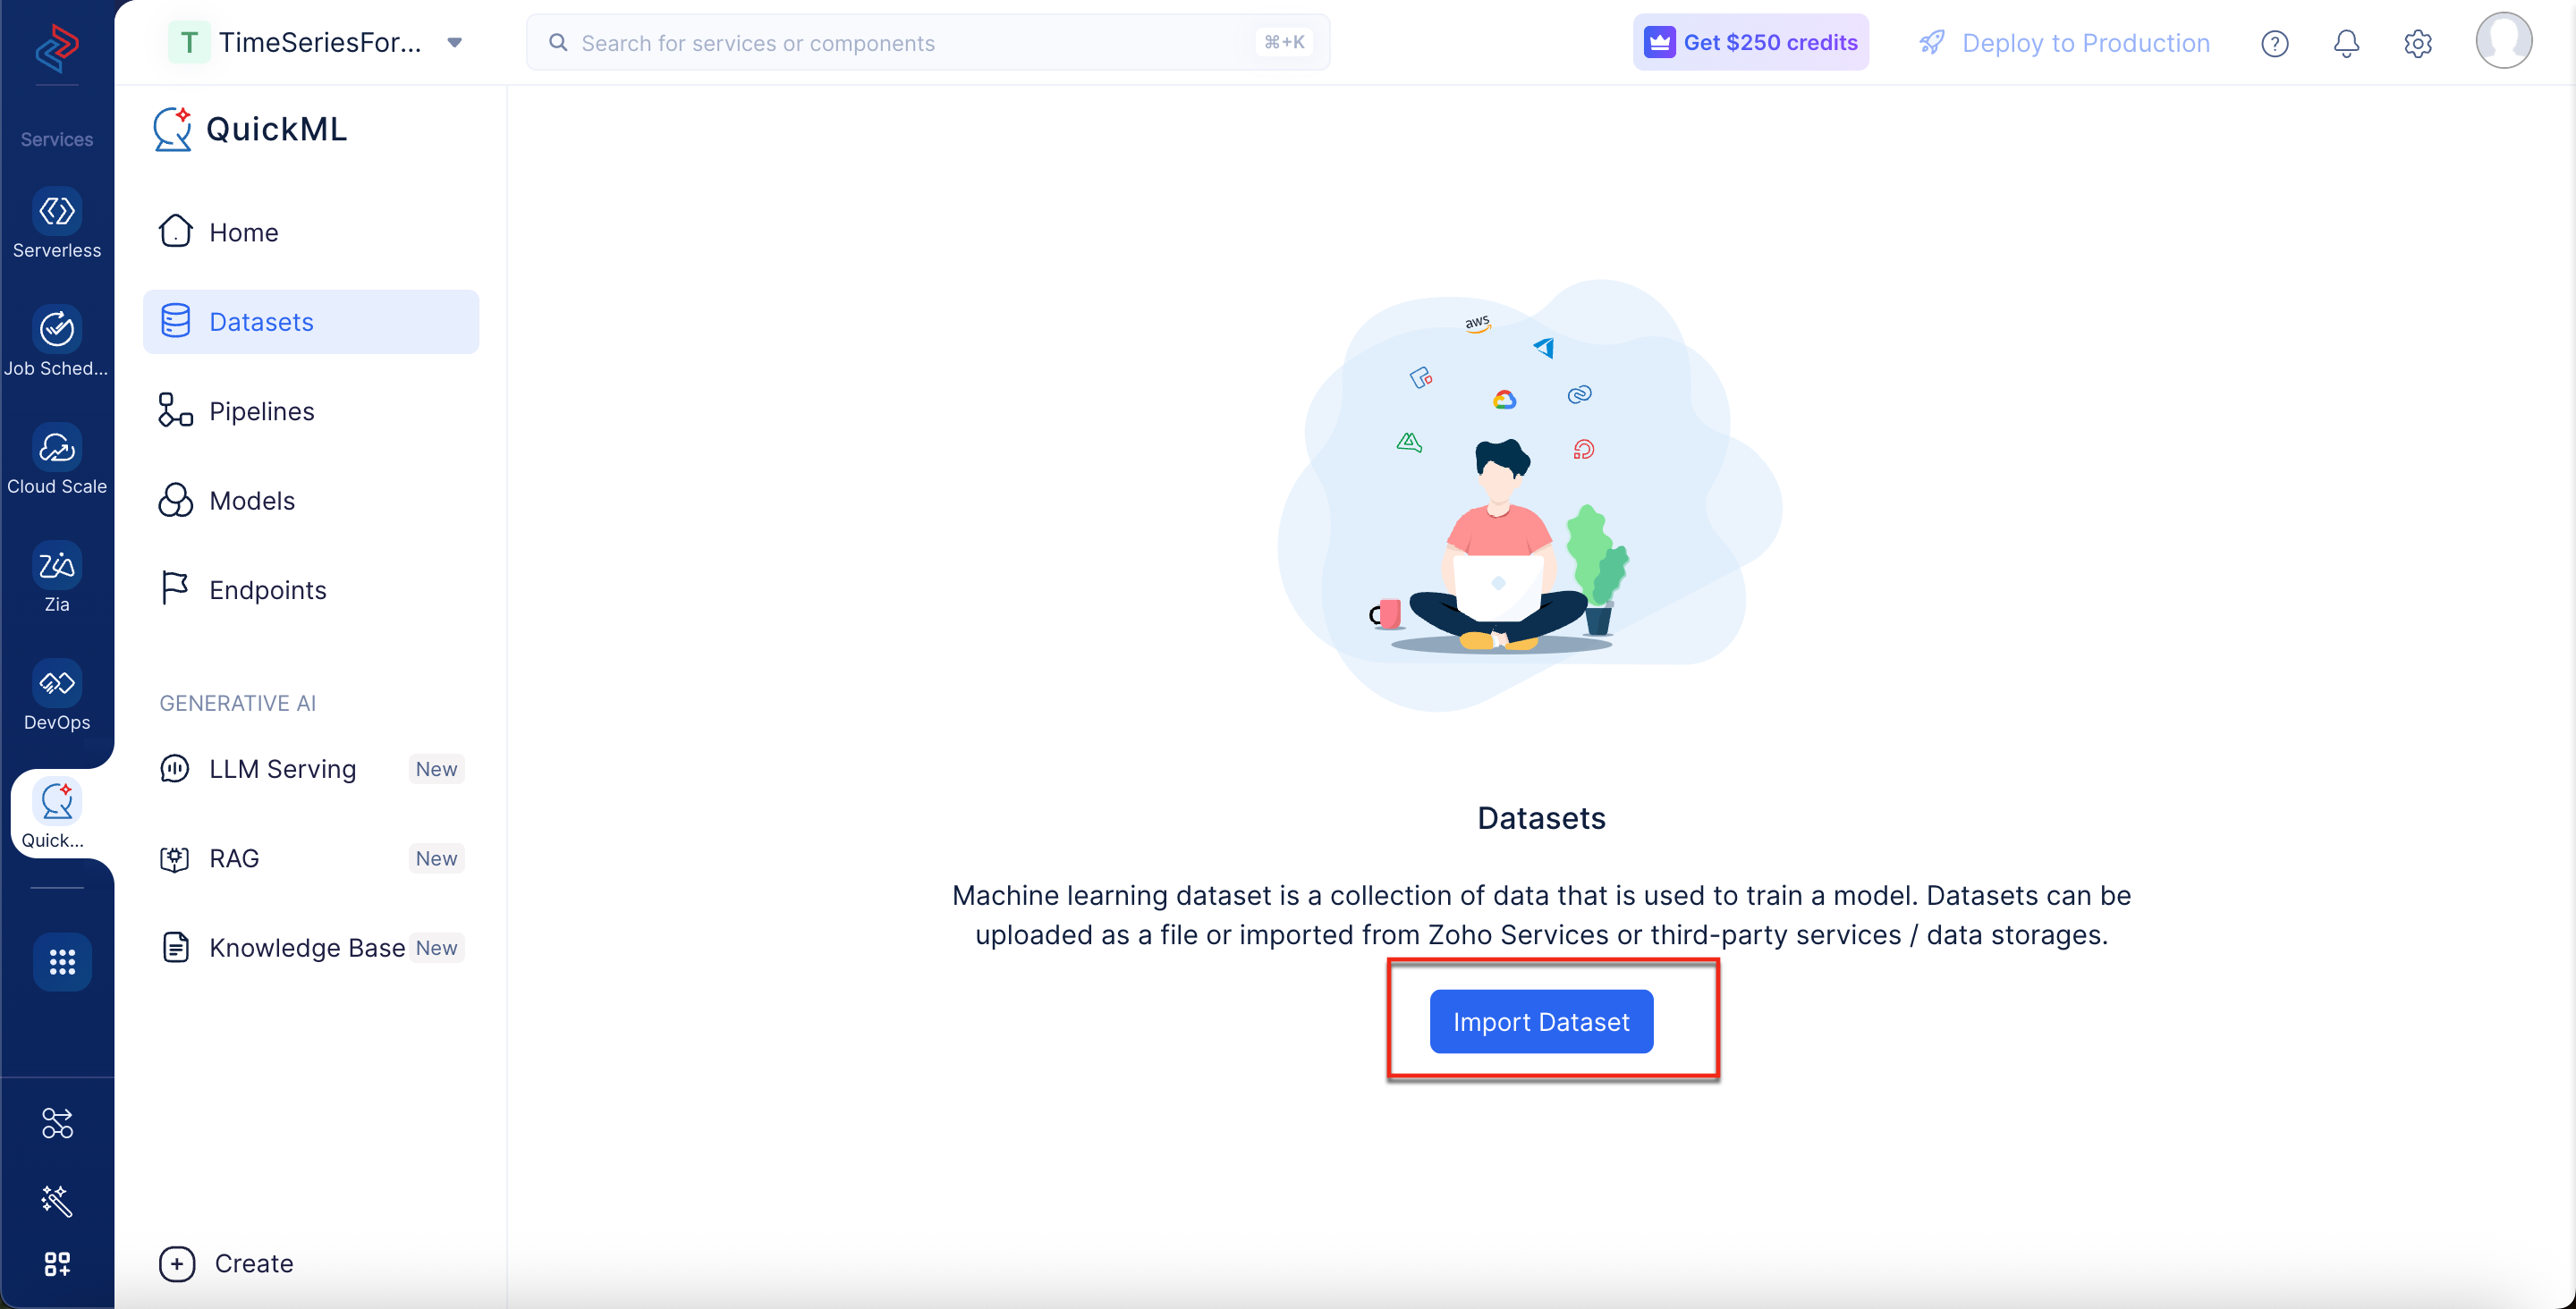
- Navigate to the Datasets component and click Import Dataset. A pop-up will be displayed.
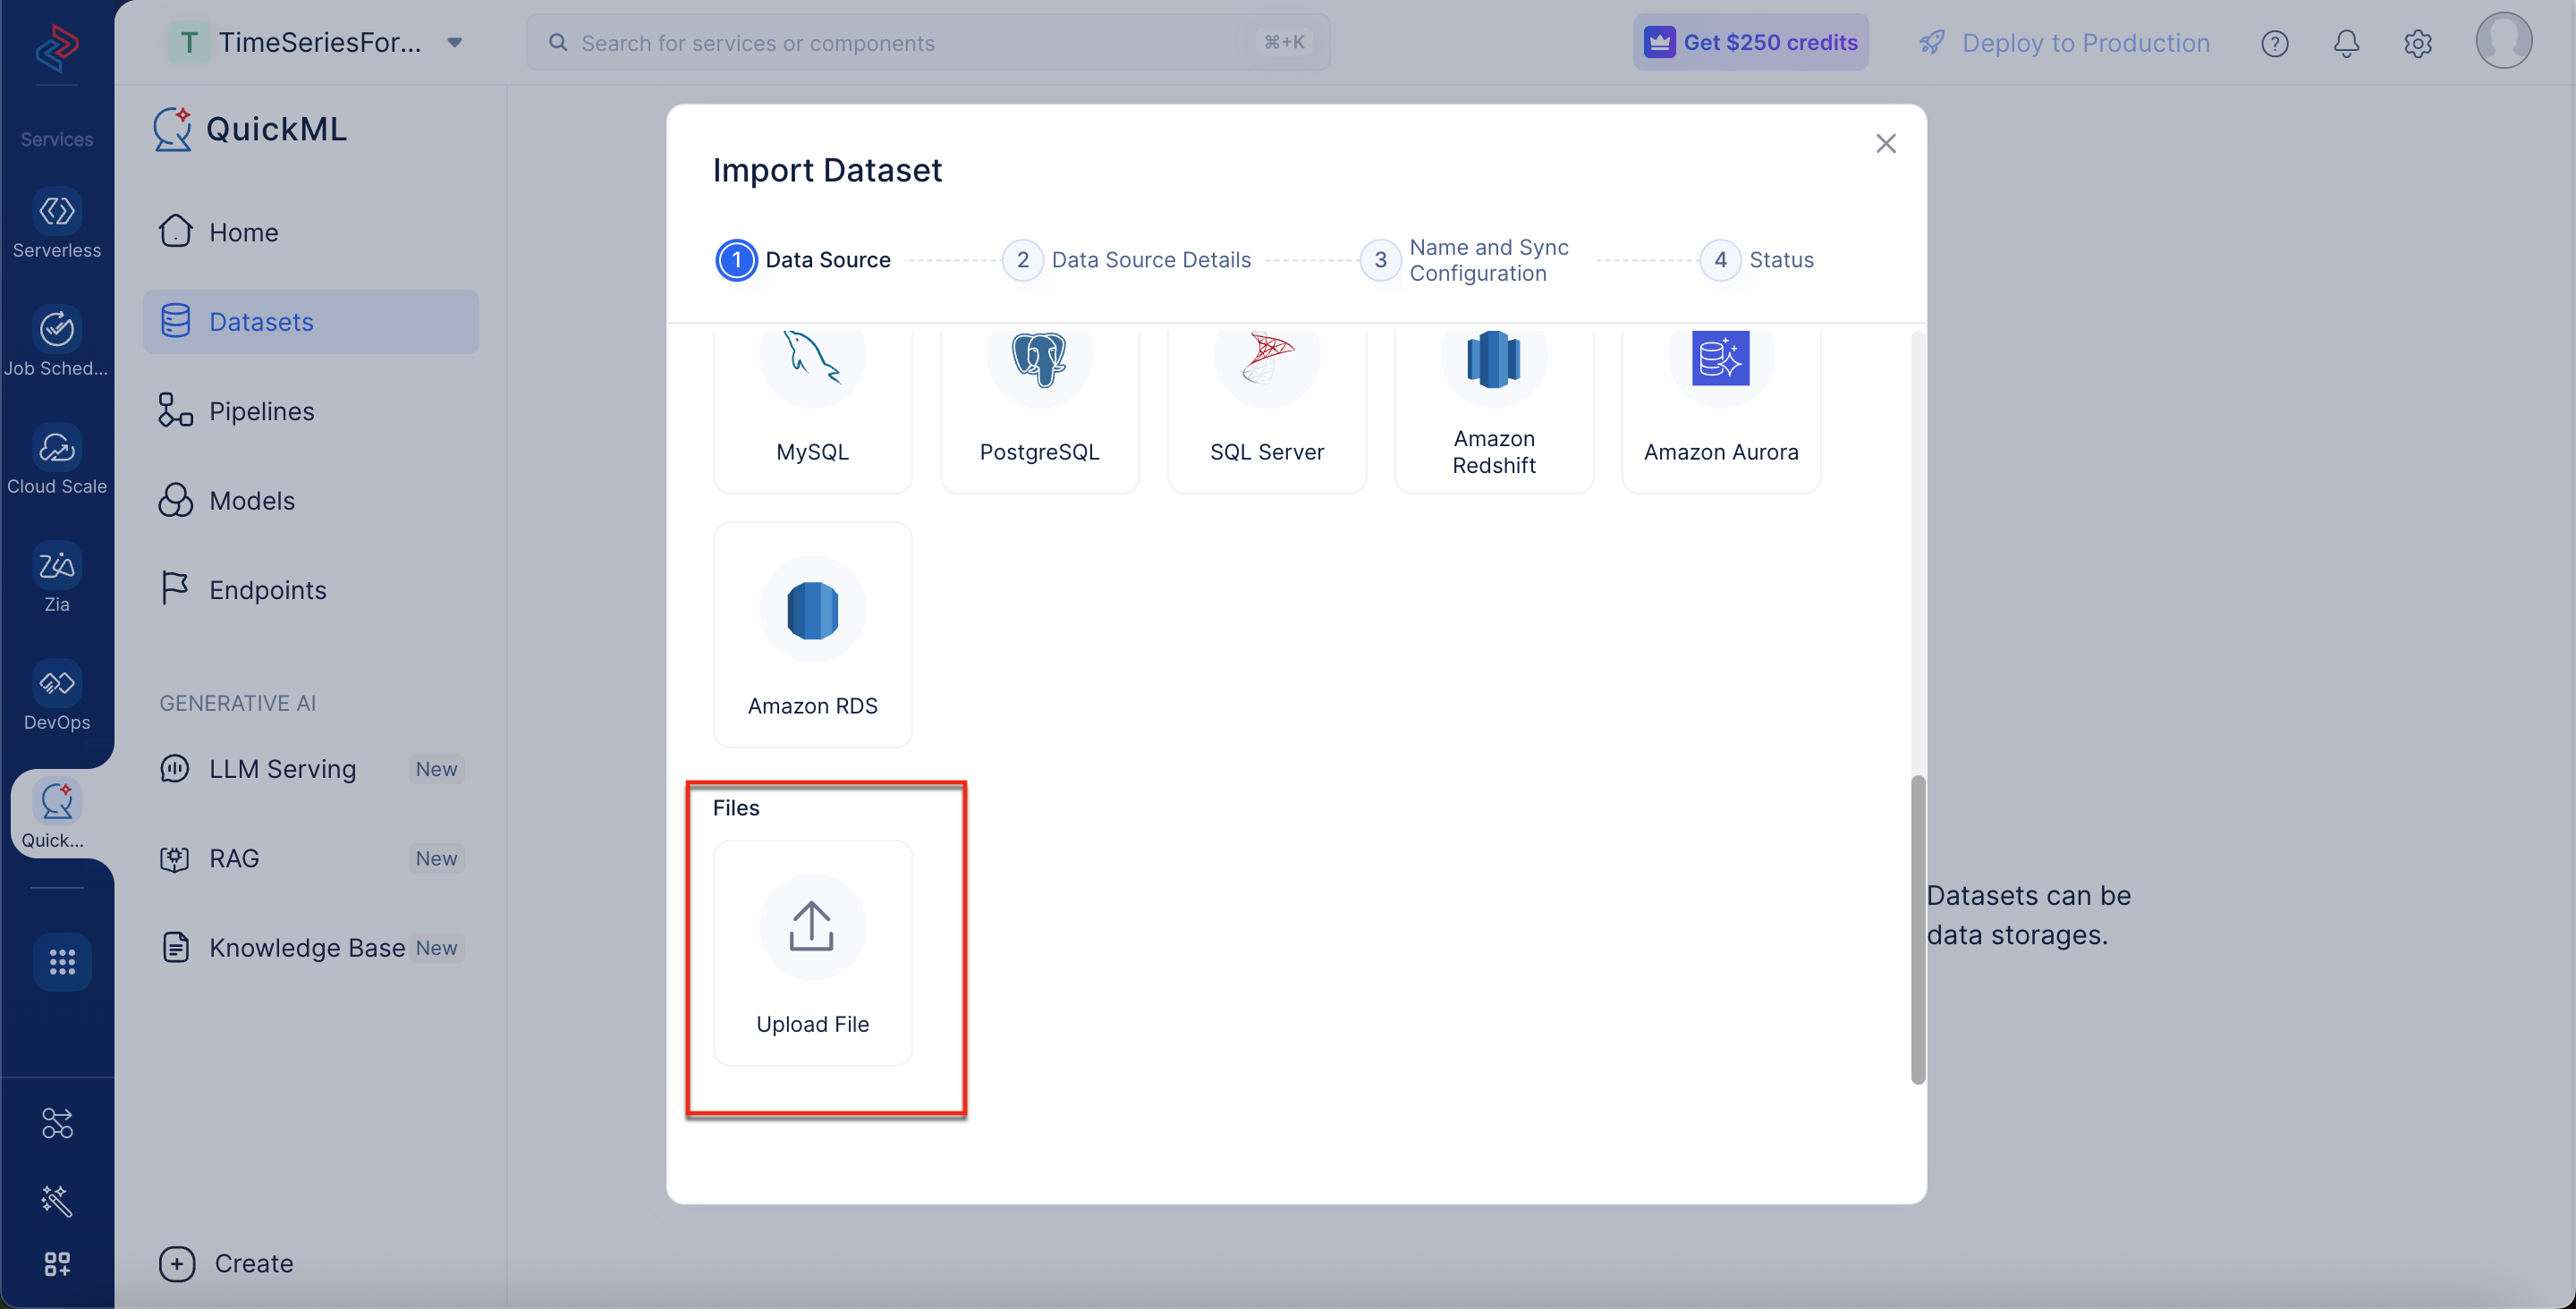
- In the Import Dataset window, navigate to Files and click Upload File.
-
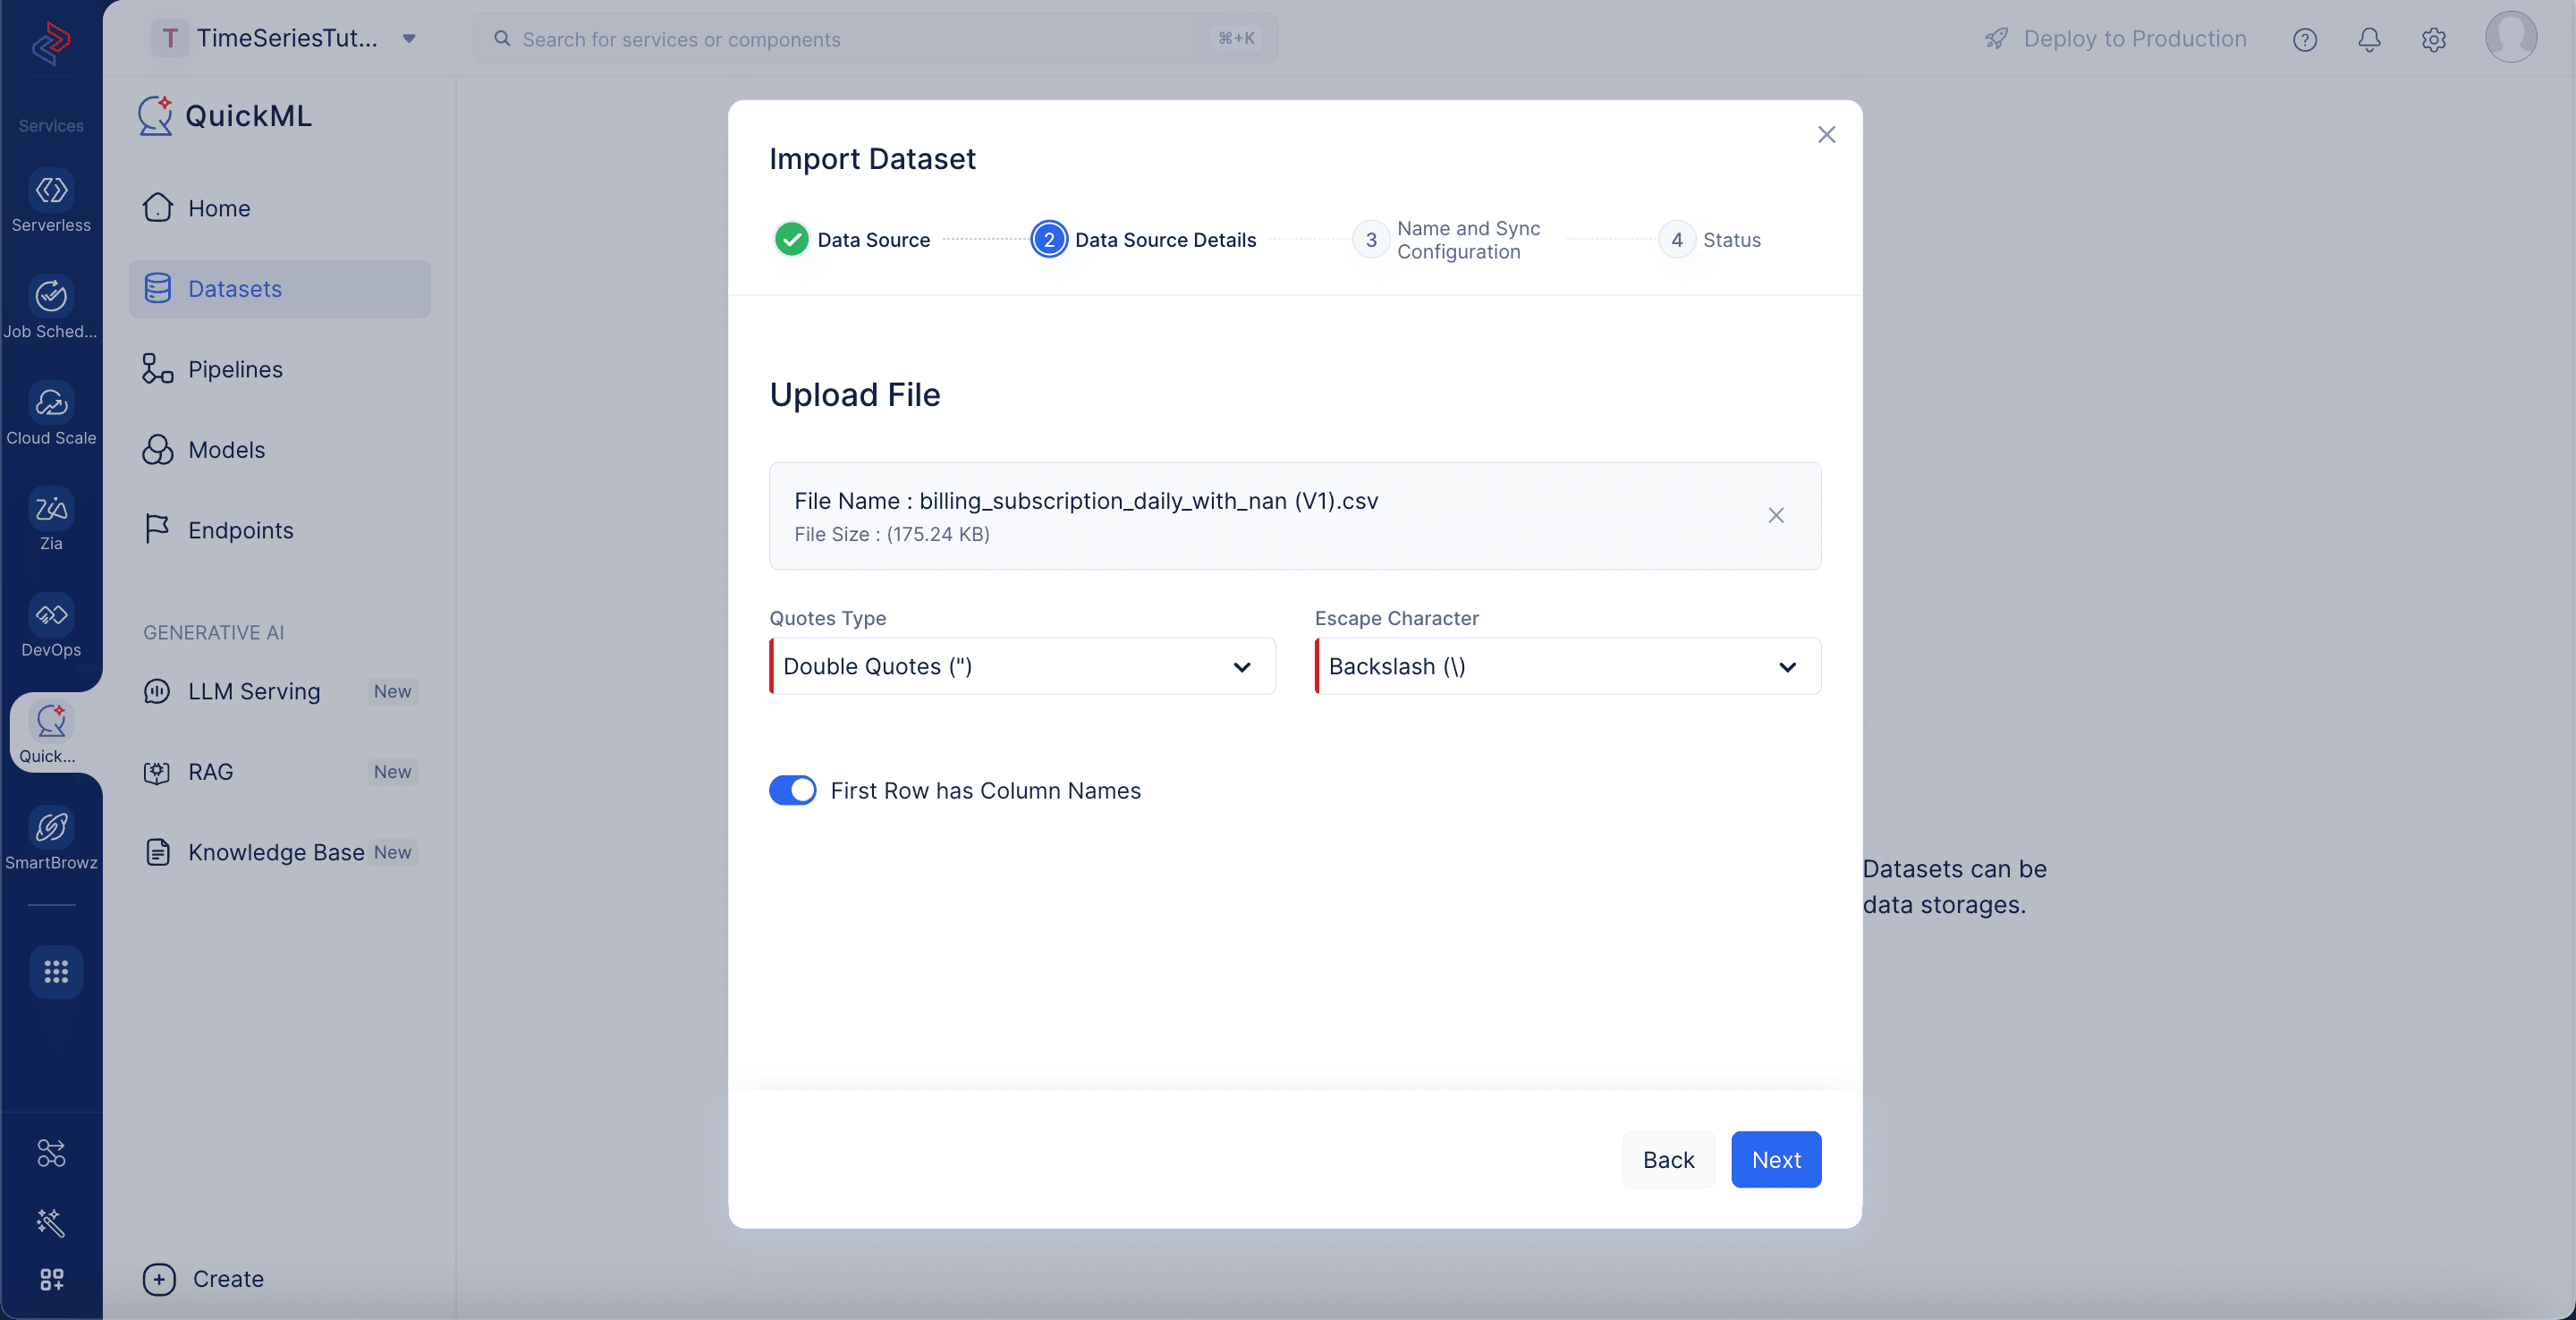
Upload the Billing Subscription Metrics dataset that you have downloaded already.
-
Set the Quotes Type as Double Quotes (") and Escape Character as Backslash (), and click Next.
- The name of the dataset will be auto-populated based on the name of the uploaded file. Edit it if required, and click Upload.
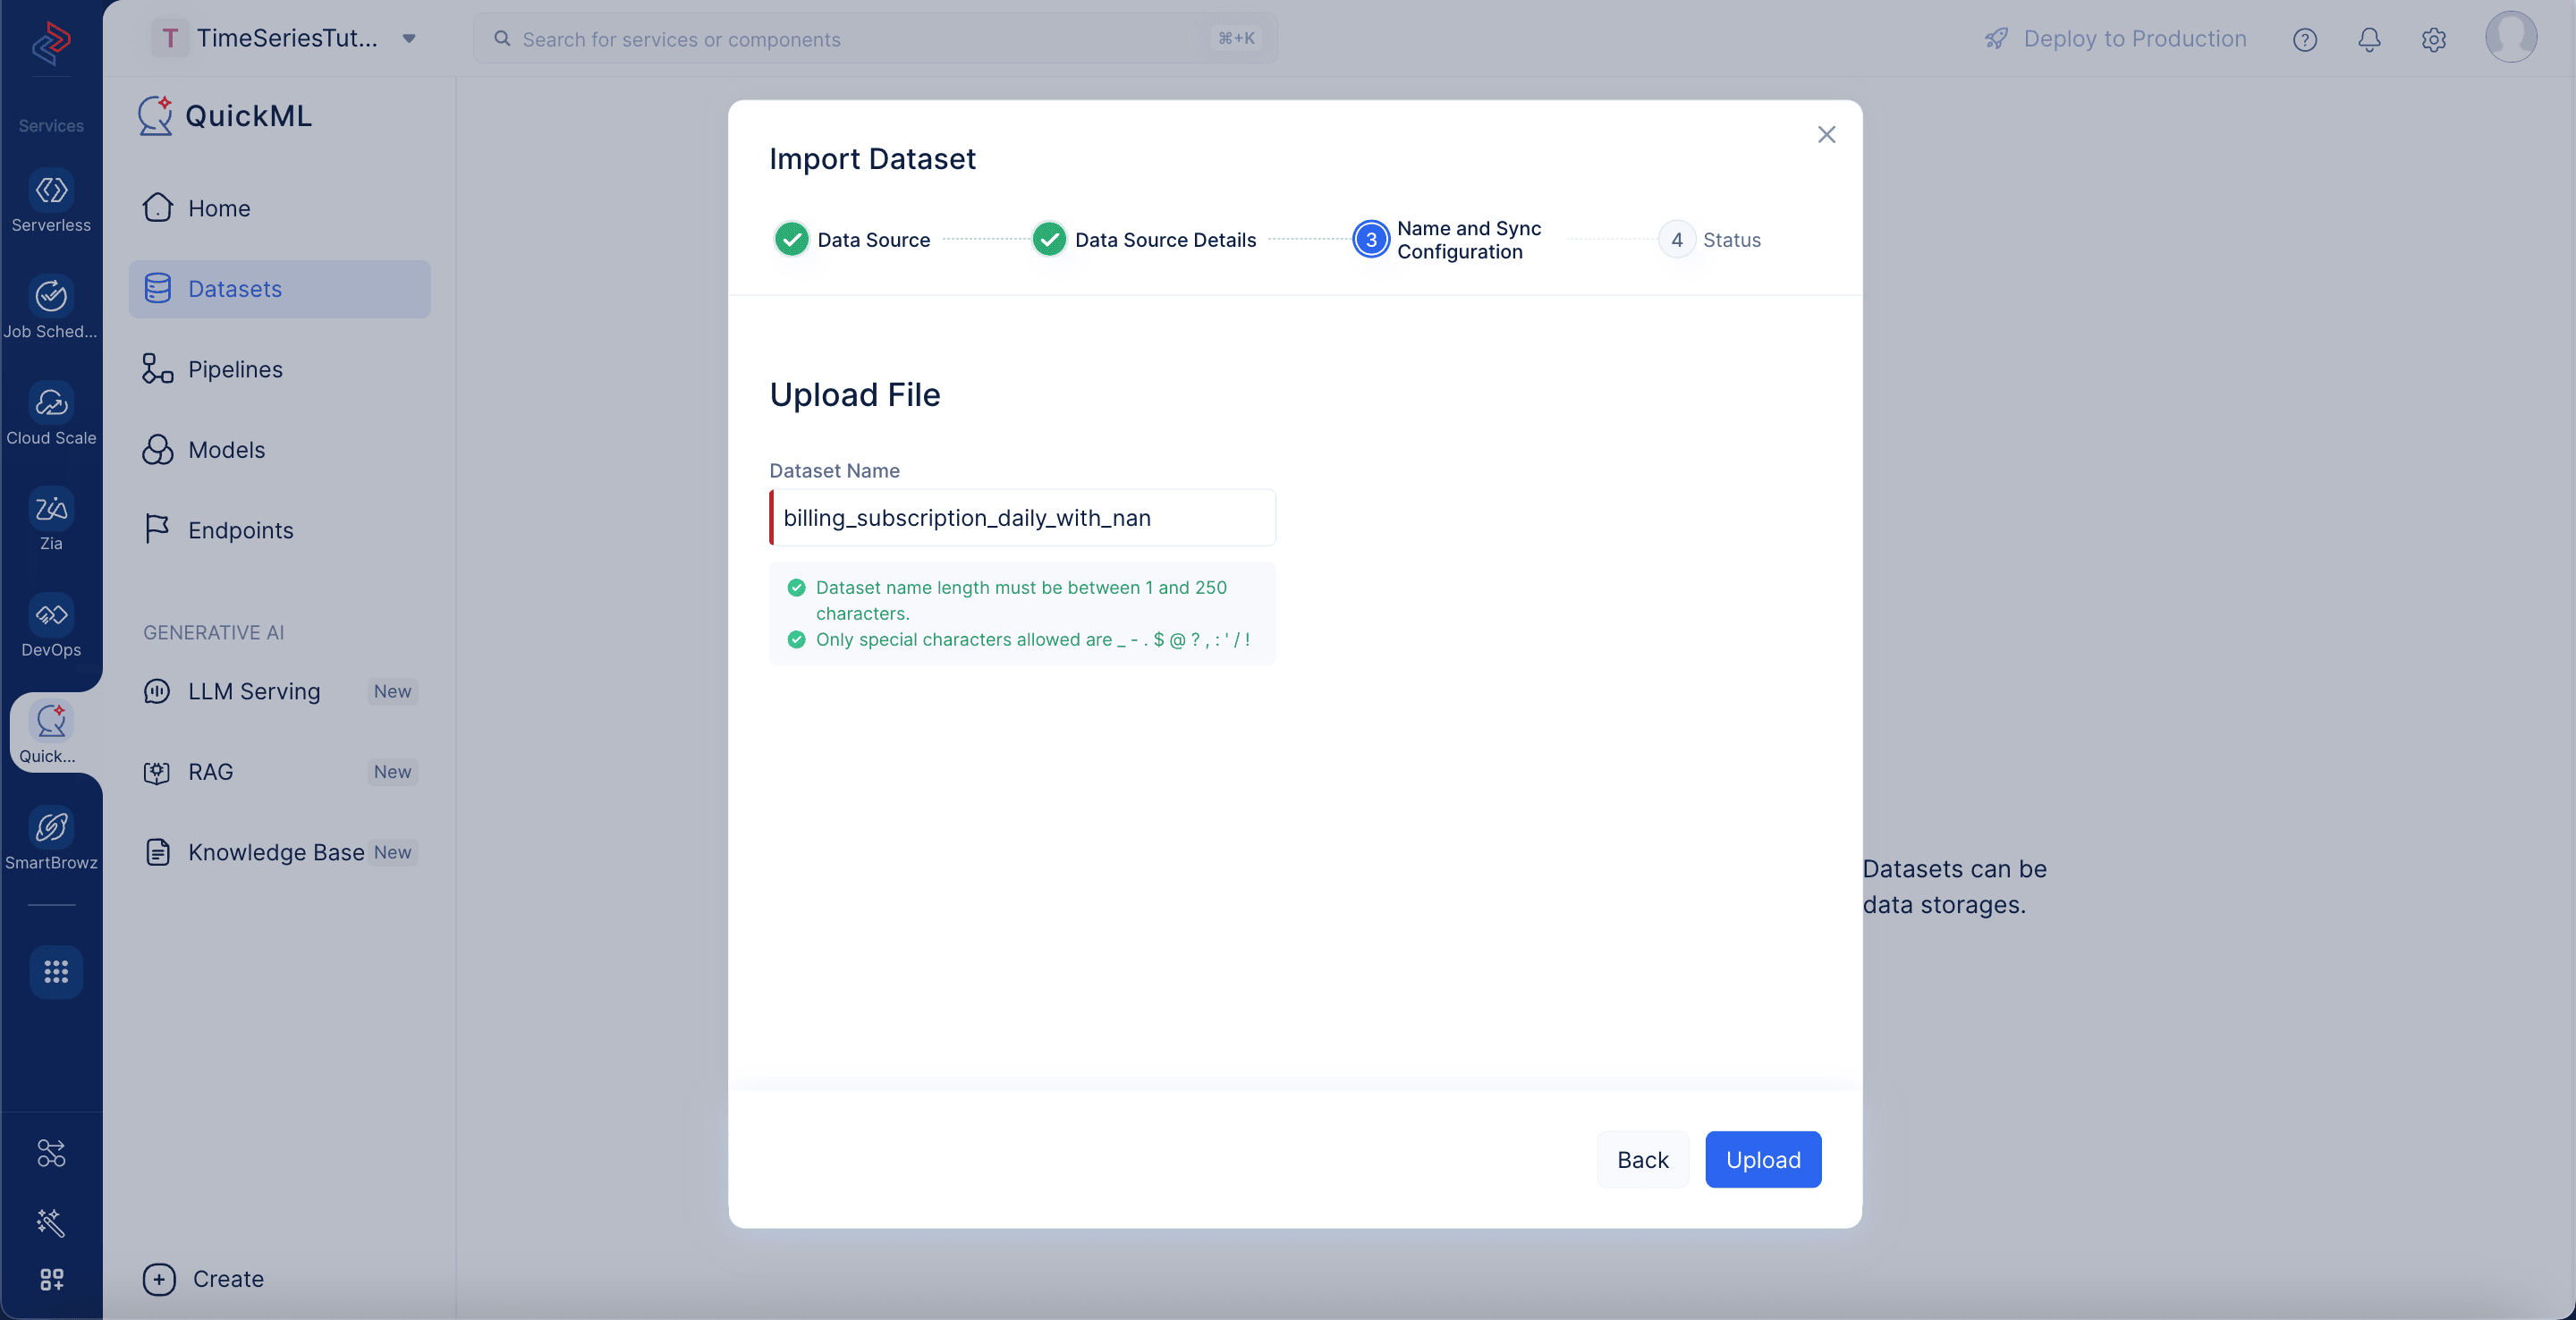
The dataset is now uploaded successfully.
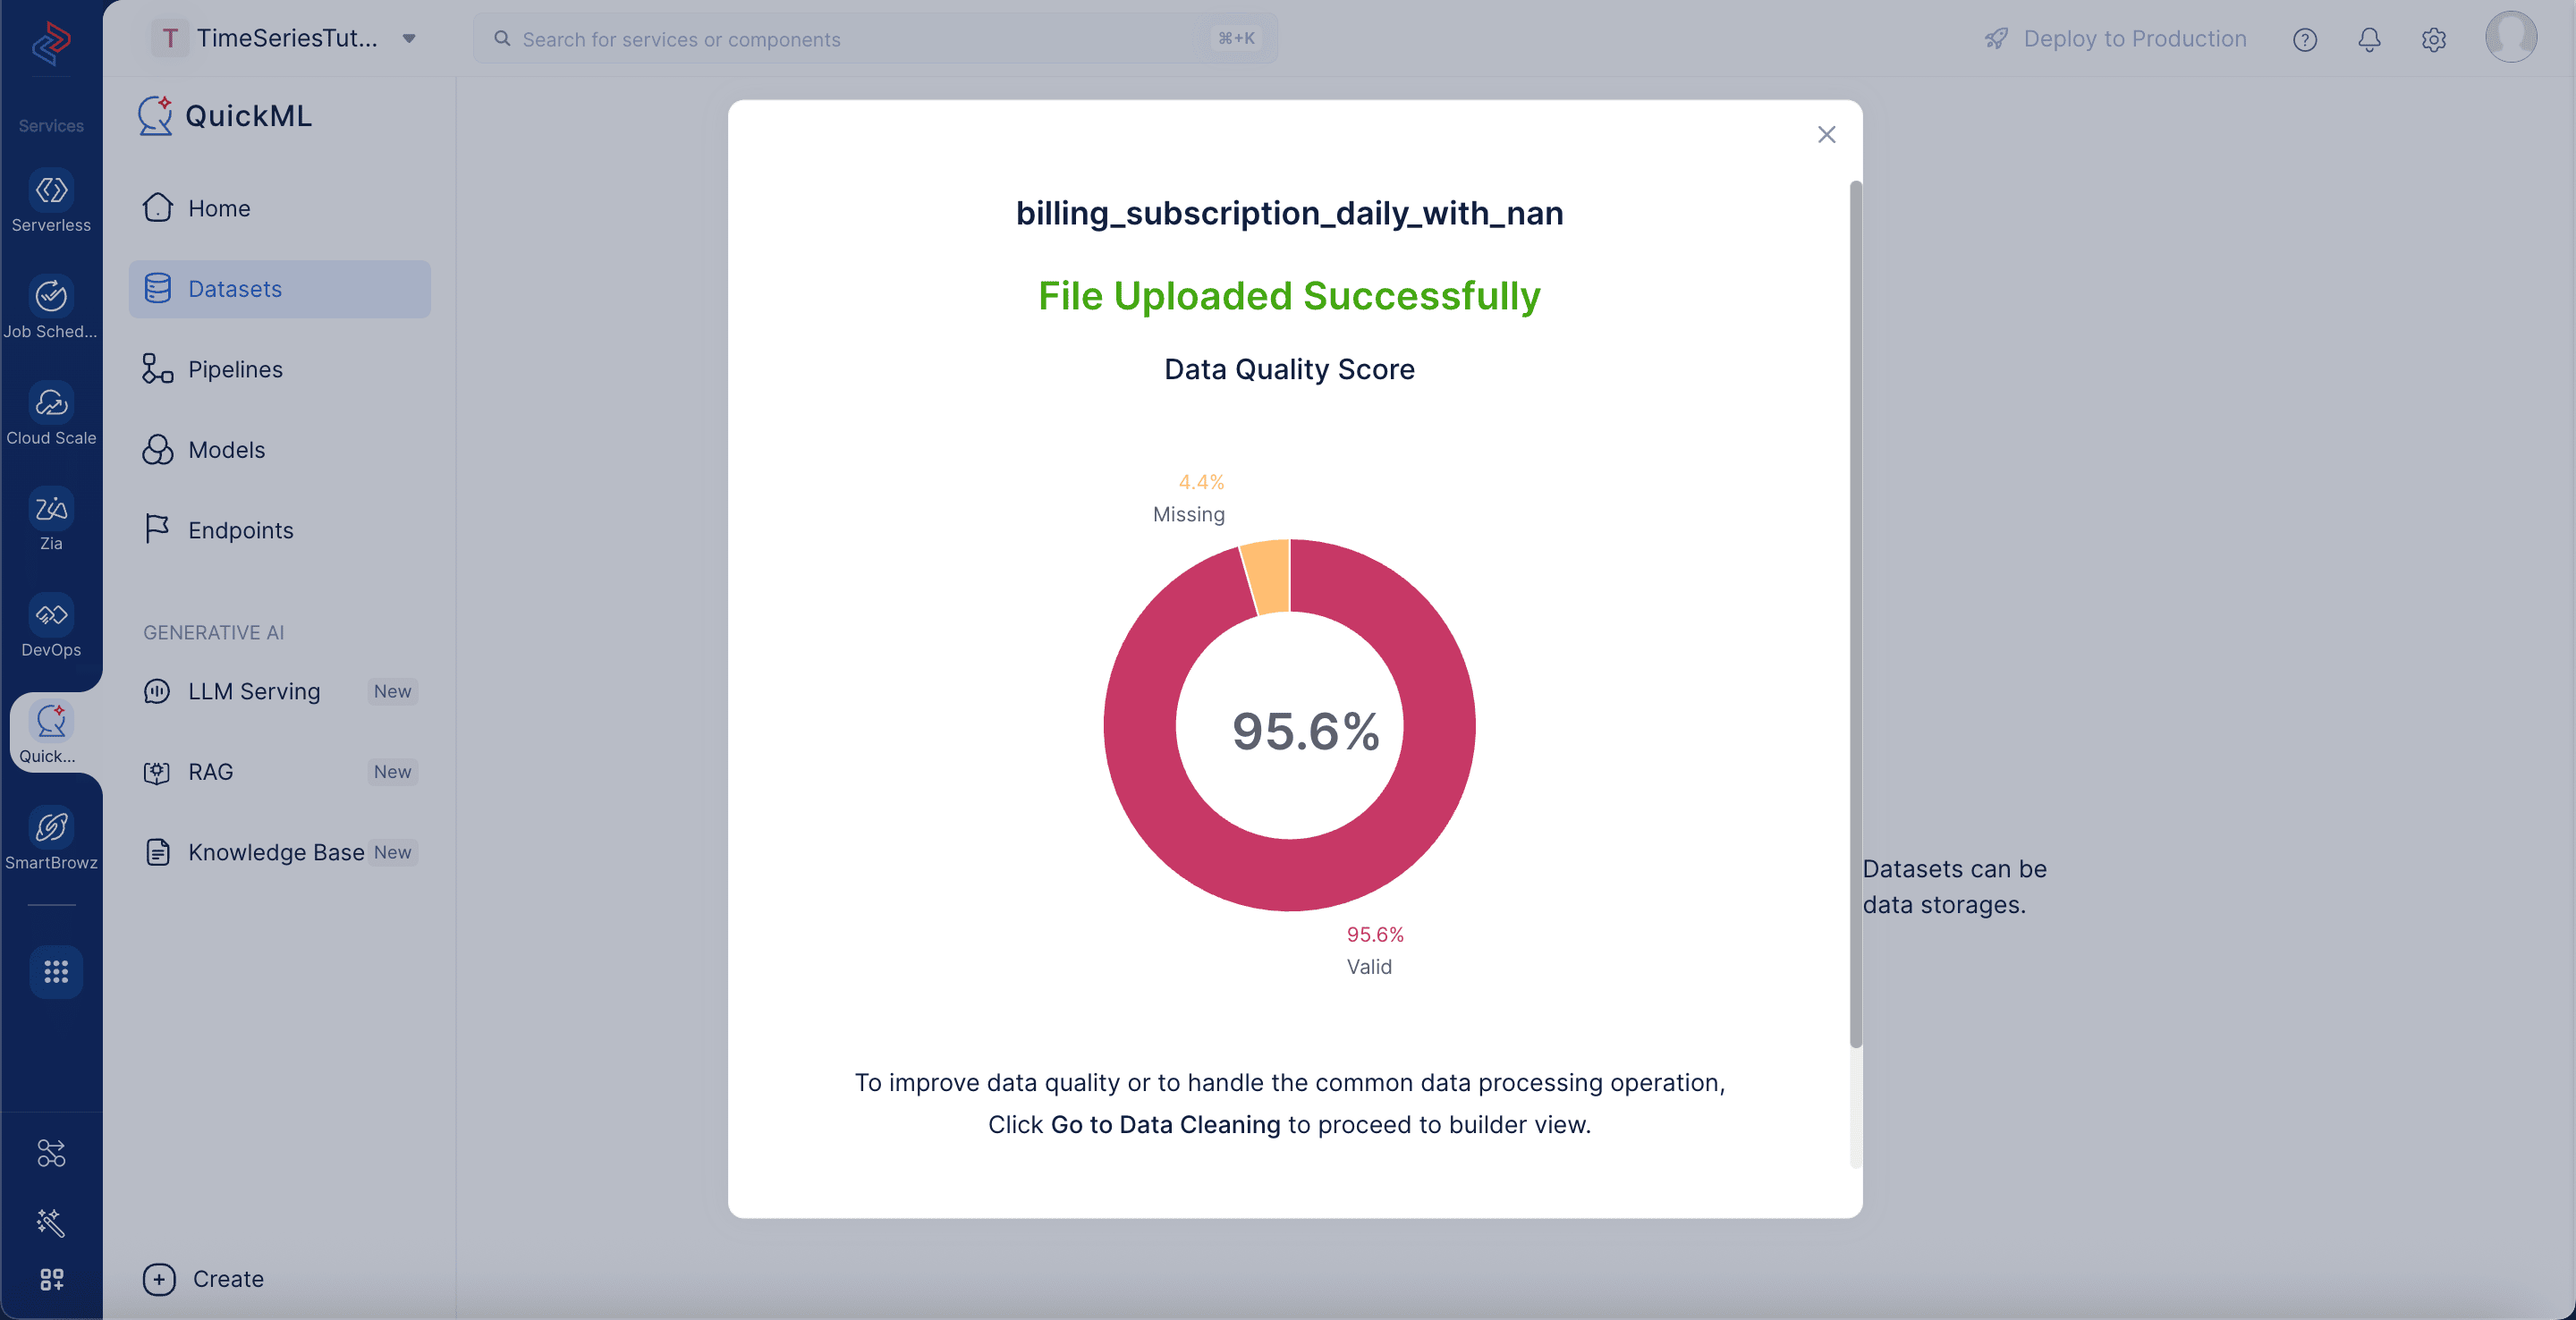
Note: The dataset contains missing values, and these gaps can affect the overall quality score. The score will improve once we address this during the pre-processing configuration step in the tutorial.
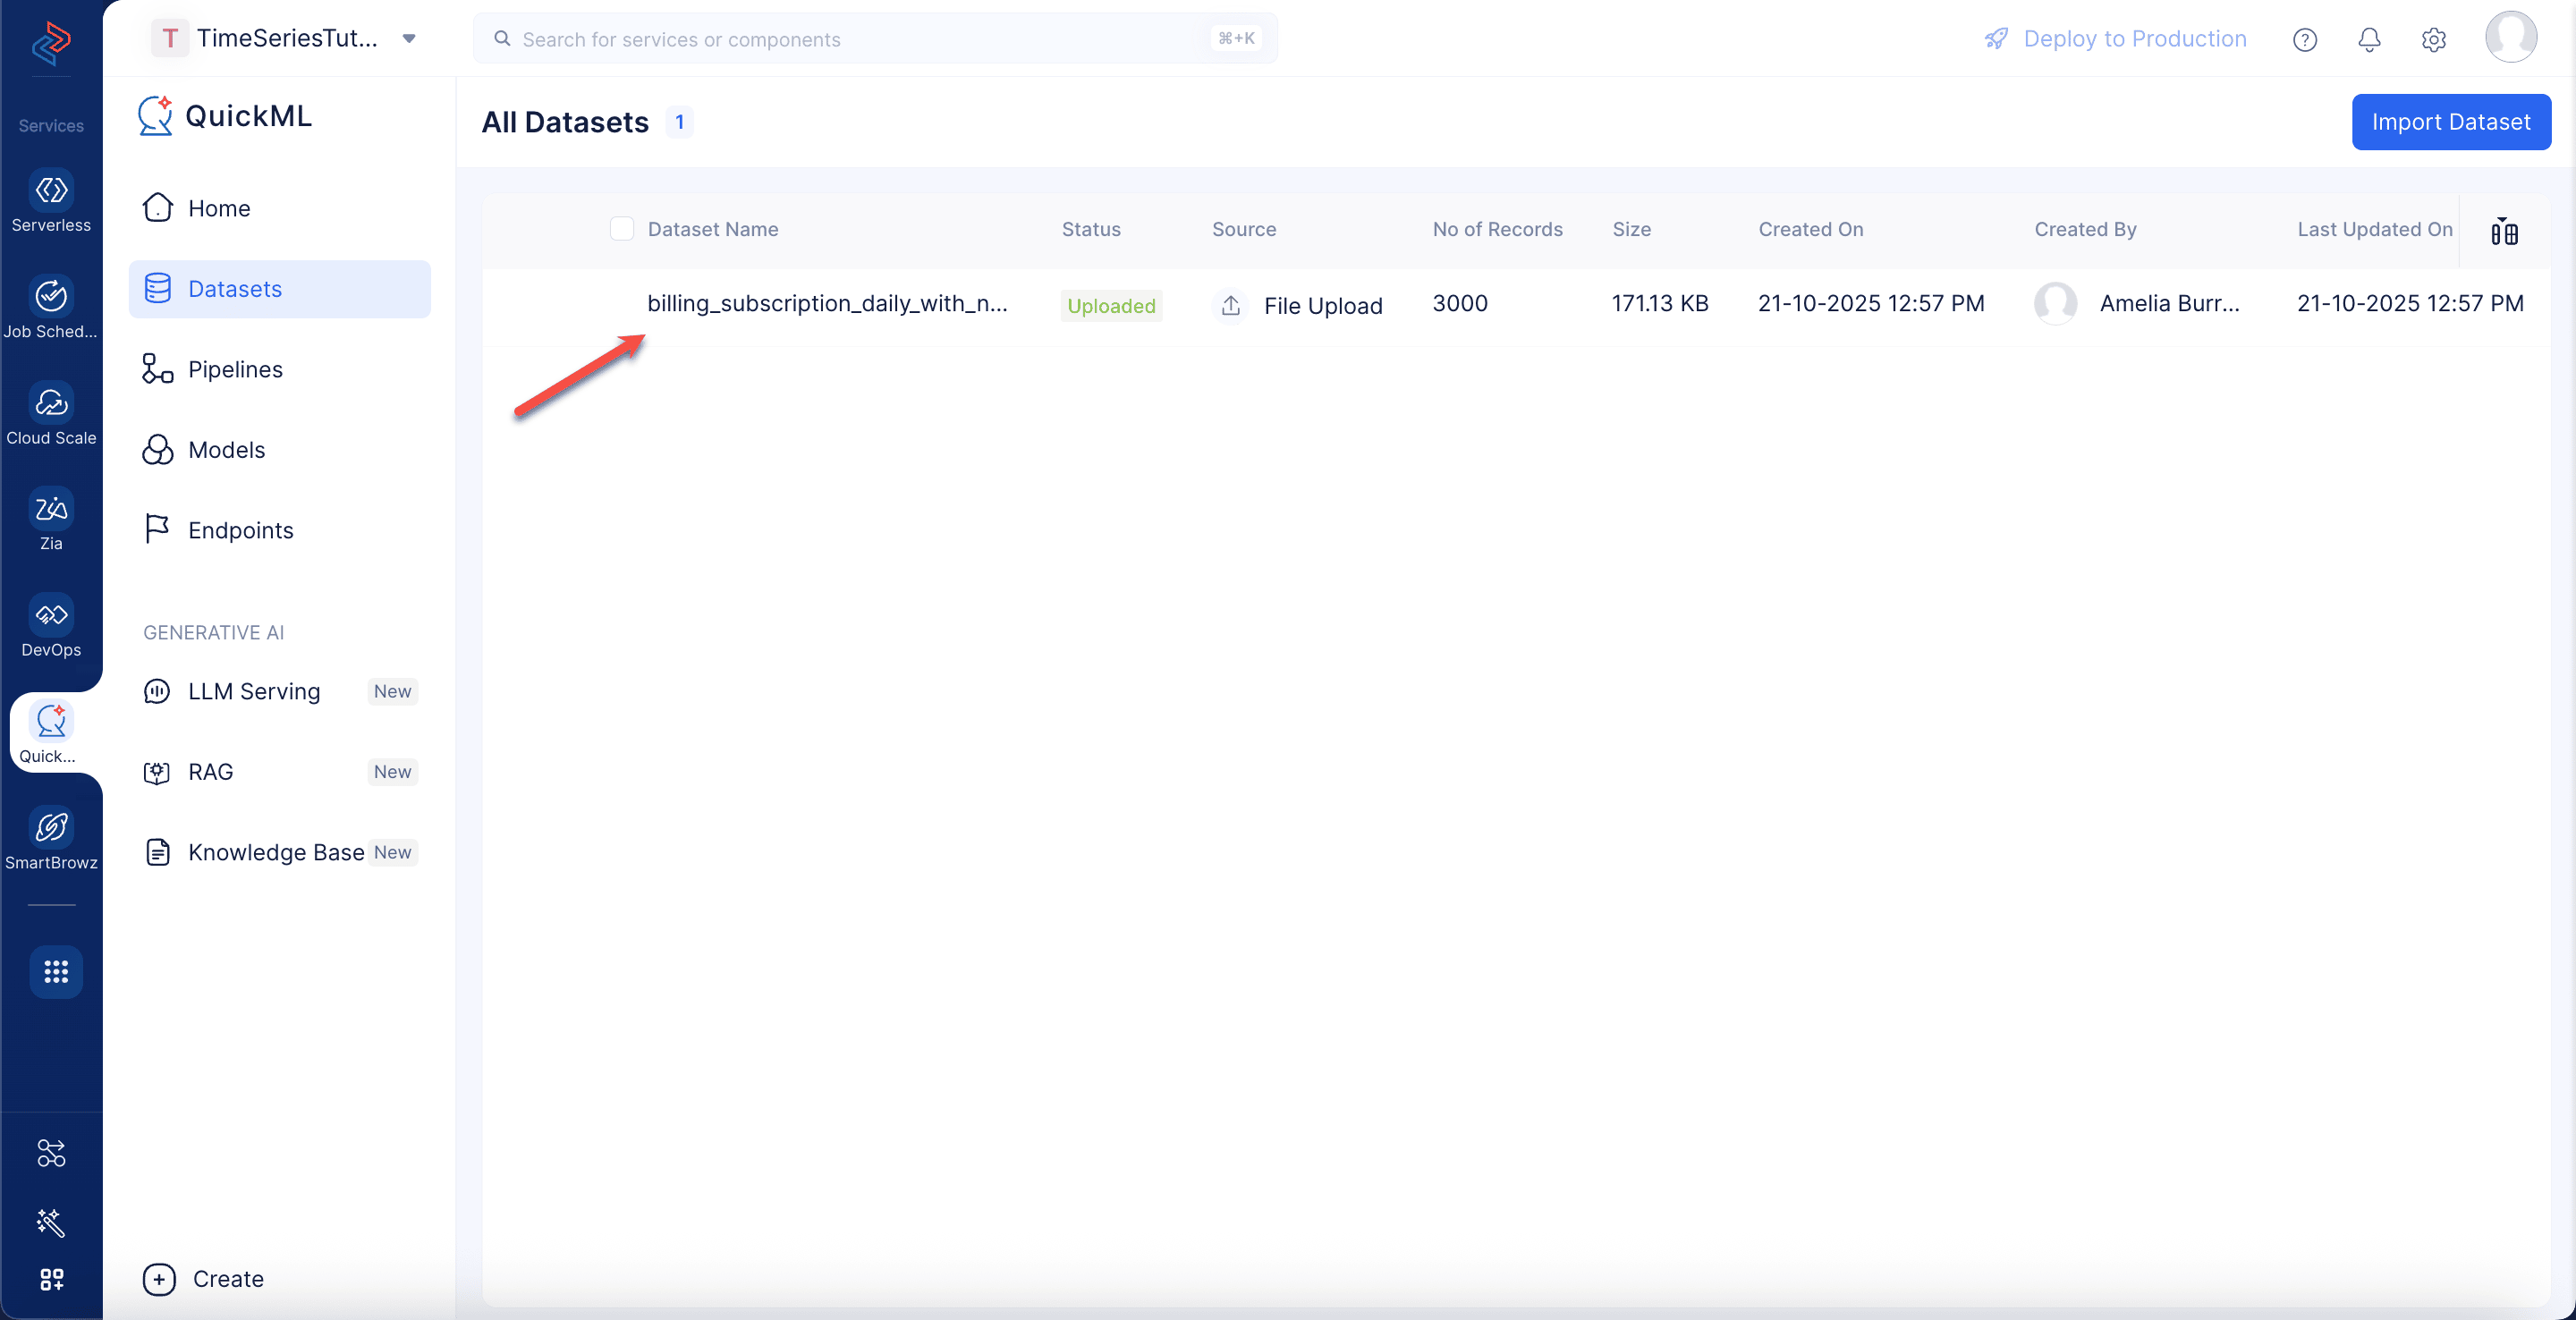
The dataset will be displayed in the All Datasets section. You can click on the desired dataset name to view the dataset’s details
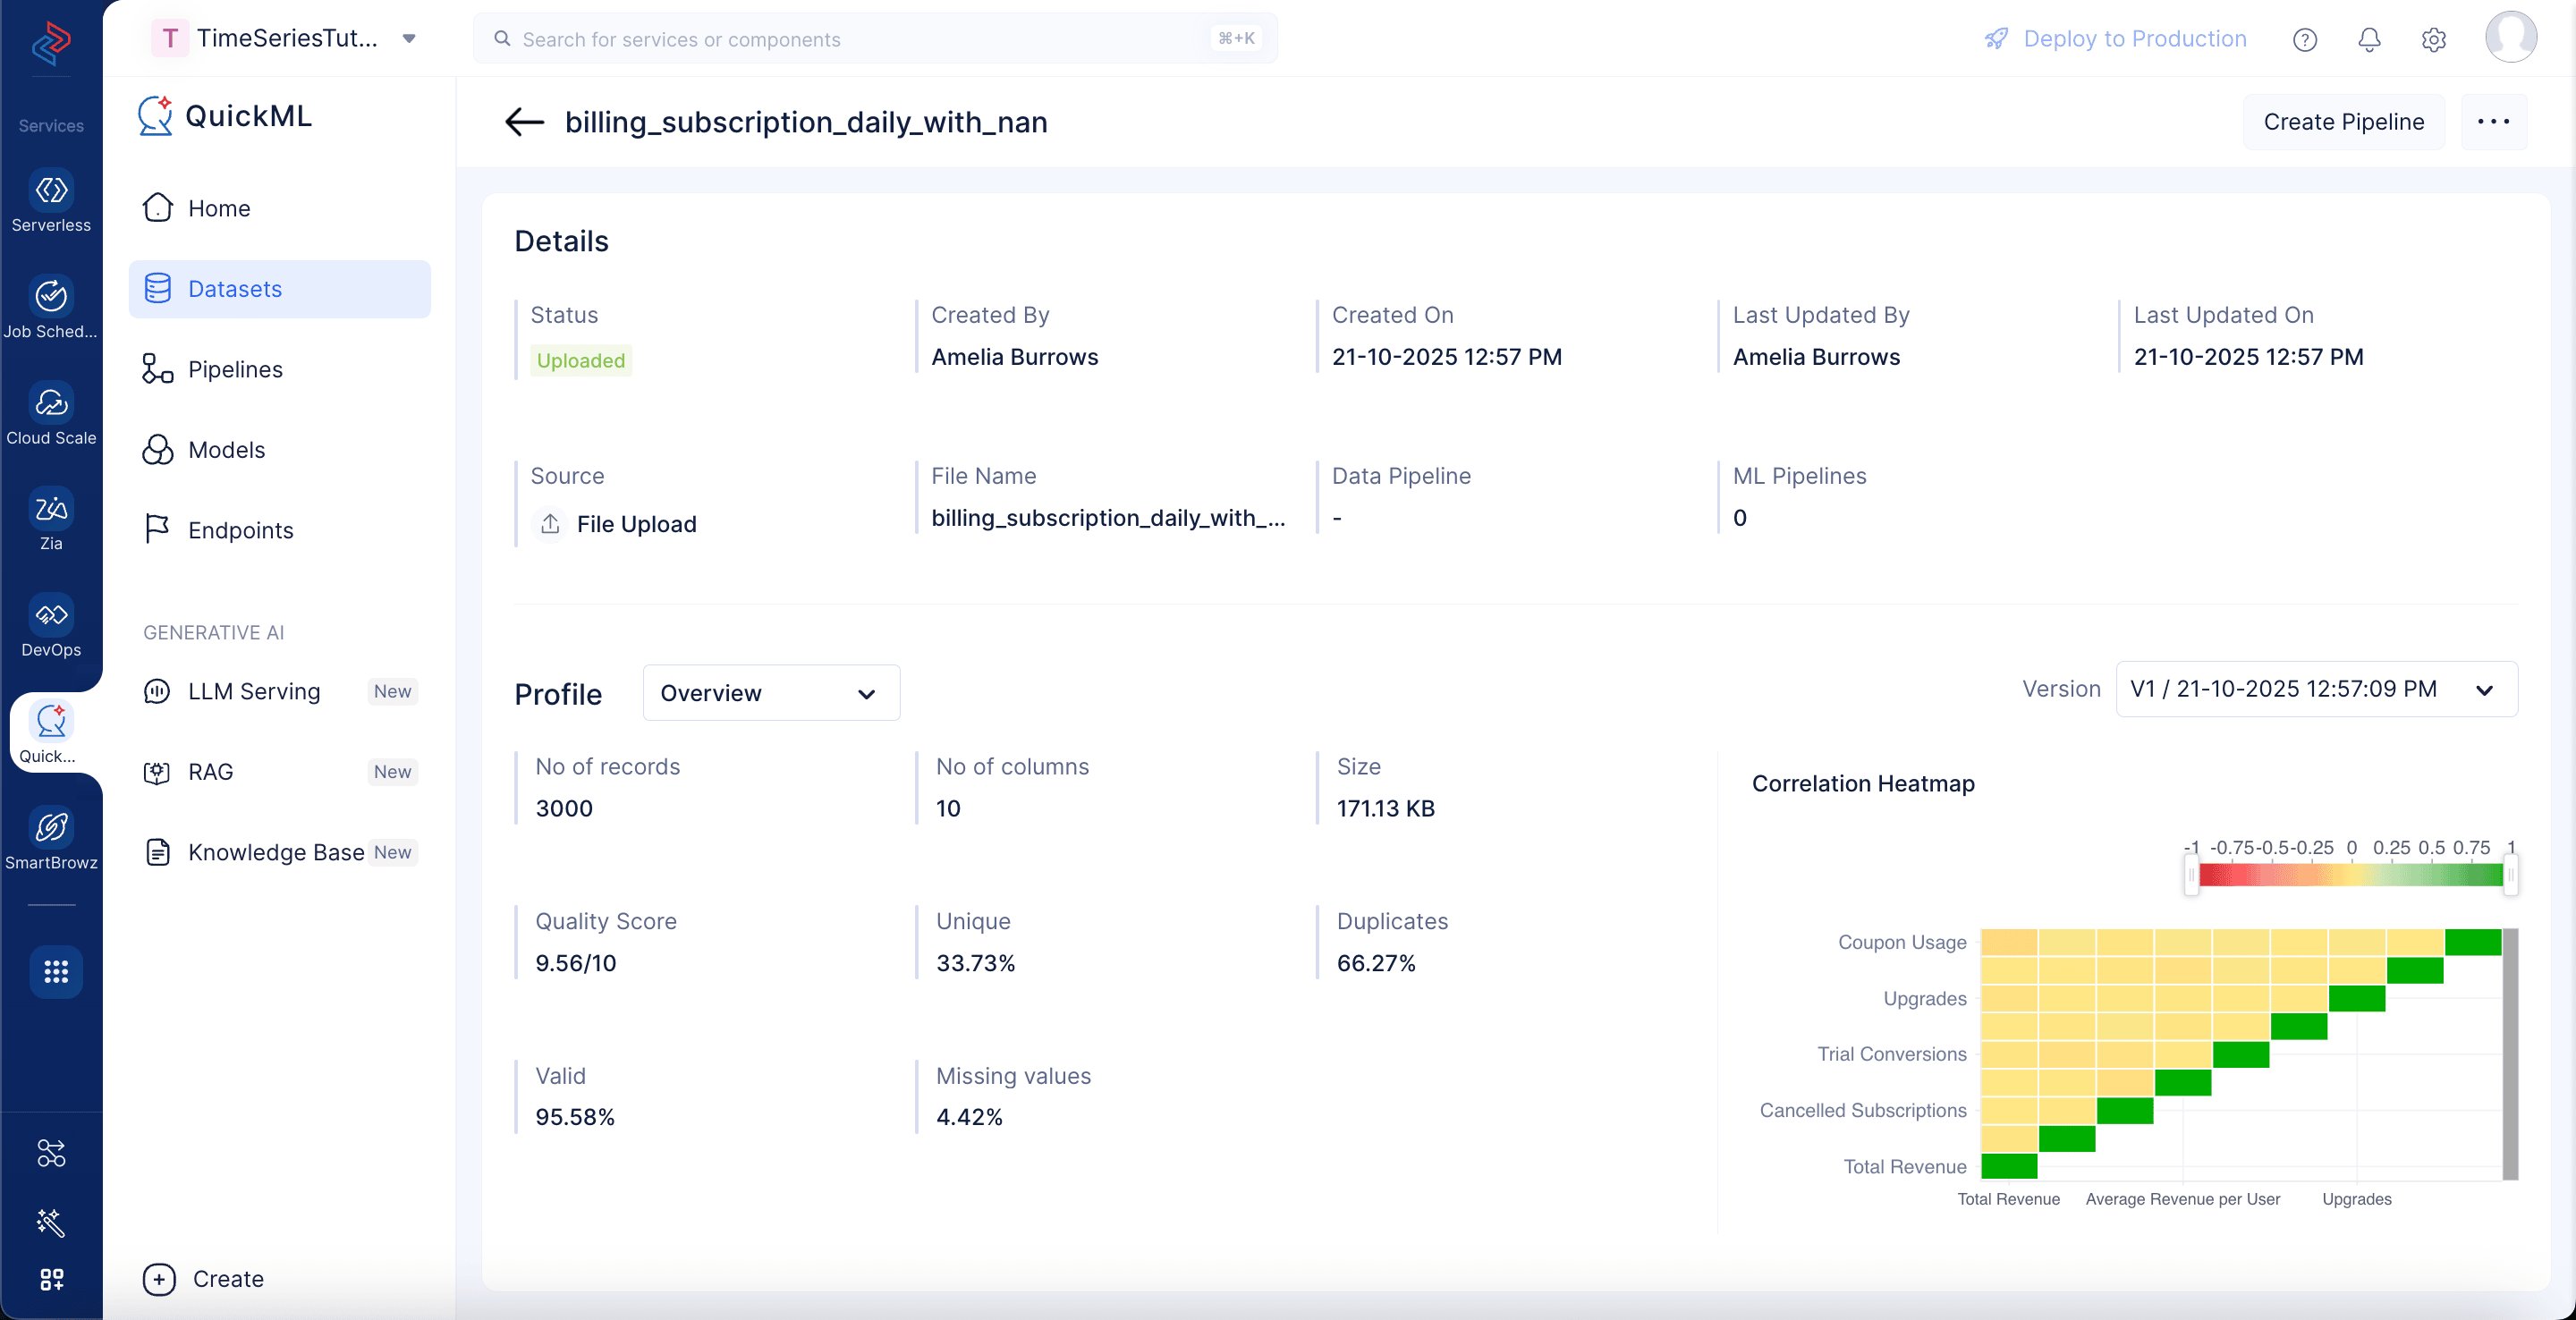
Once you click on the billing subscription dataset in the list, you’ll be redirected to the Dataset Details page. The dataset’s statistical profile overview, sample preview, and visualization chart is shown below.
Last Updated 2026-09-29 11:31:01 +0530 IST