Billing Settings in the Catalyst Console
The Catalyst console enables you to keep track of your Catalyst usage, view billing information and reports, and manage your budgets. These features are available in different sections under Billing in the settings.
Overview
The Overview section provides a brief summary of your Catalyst usage and your payment history.
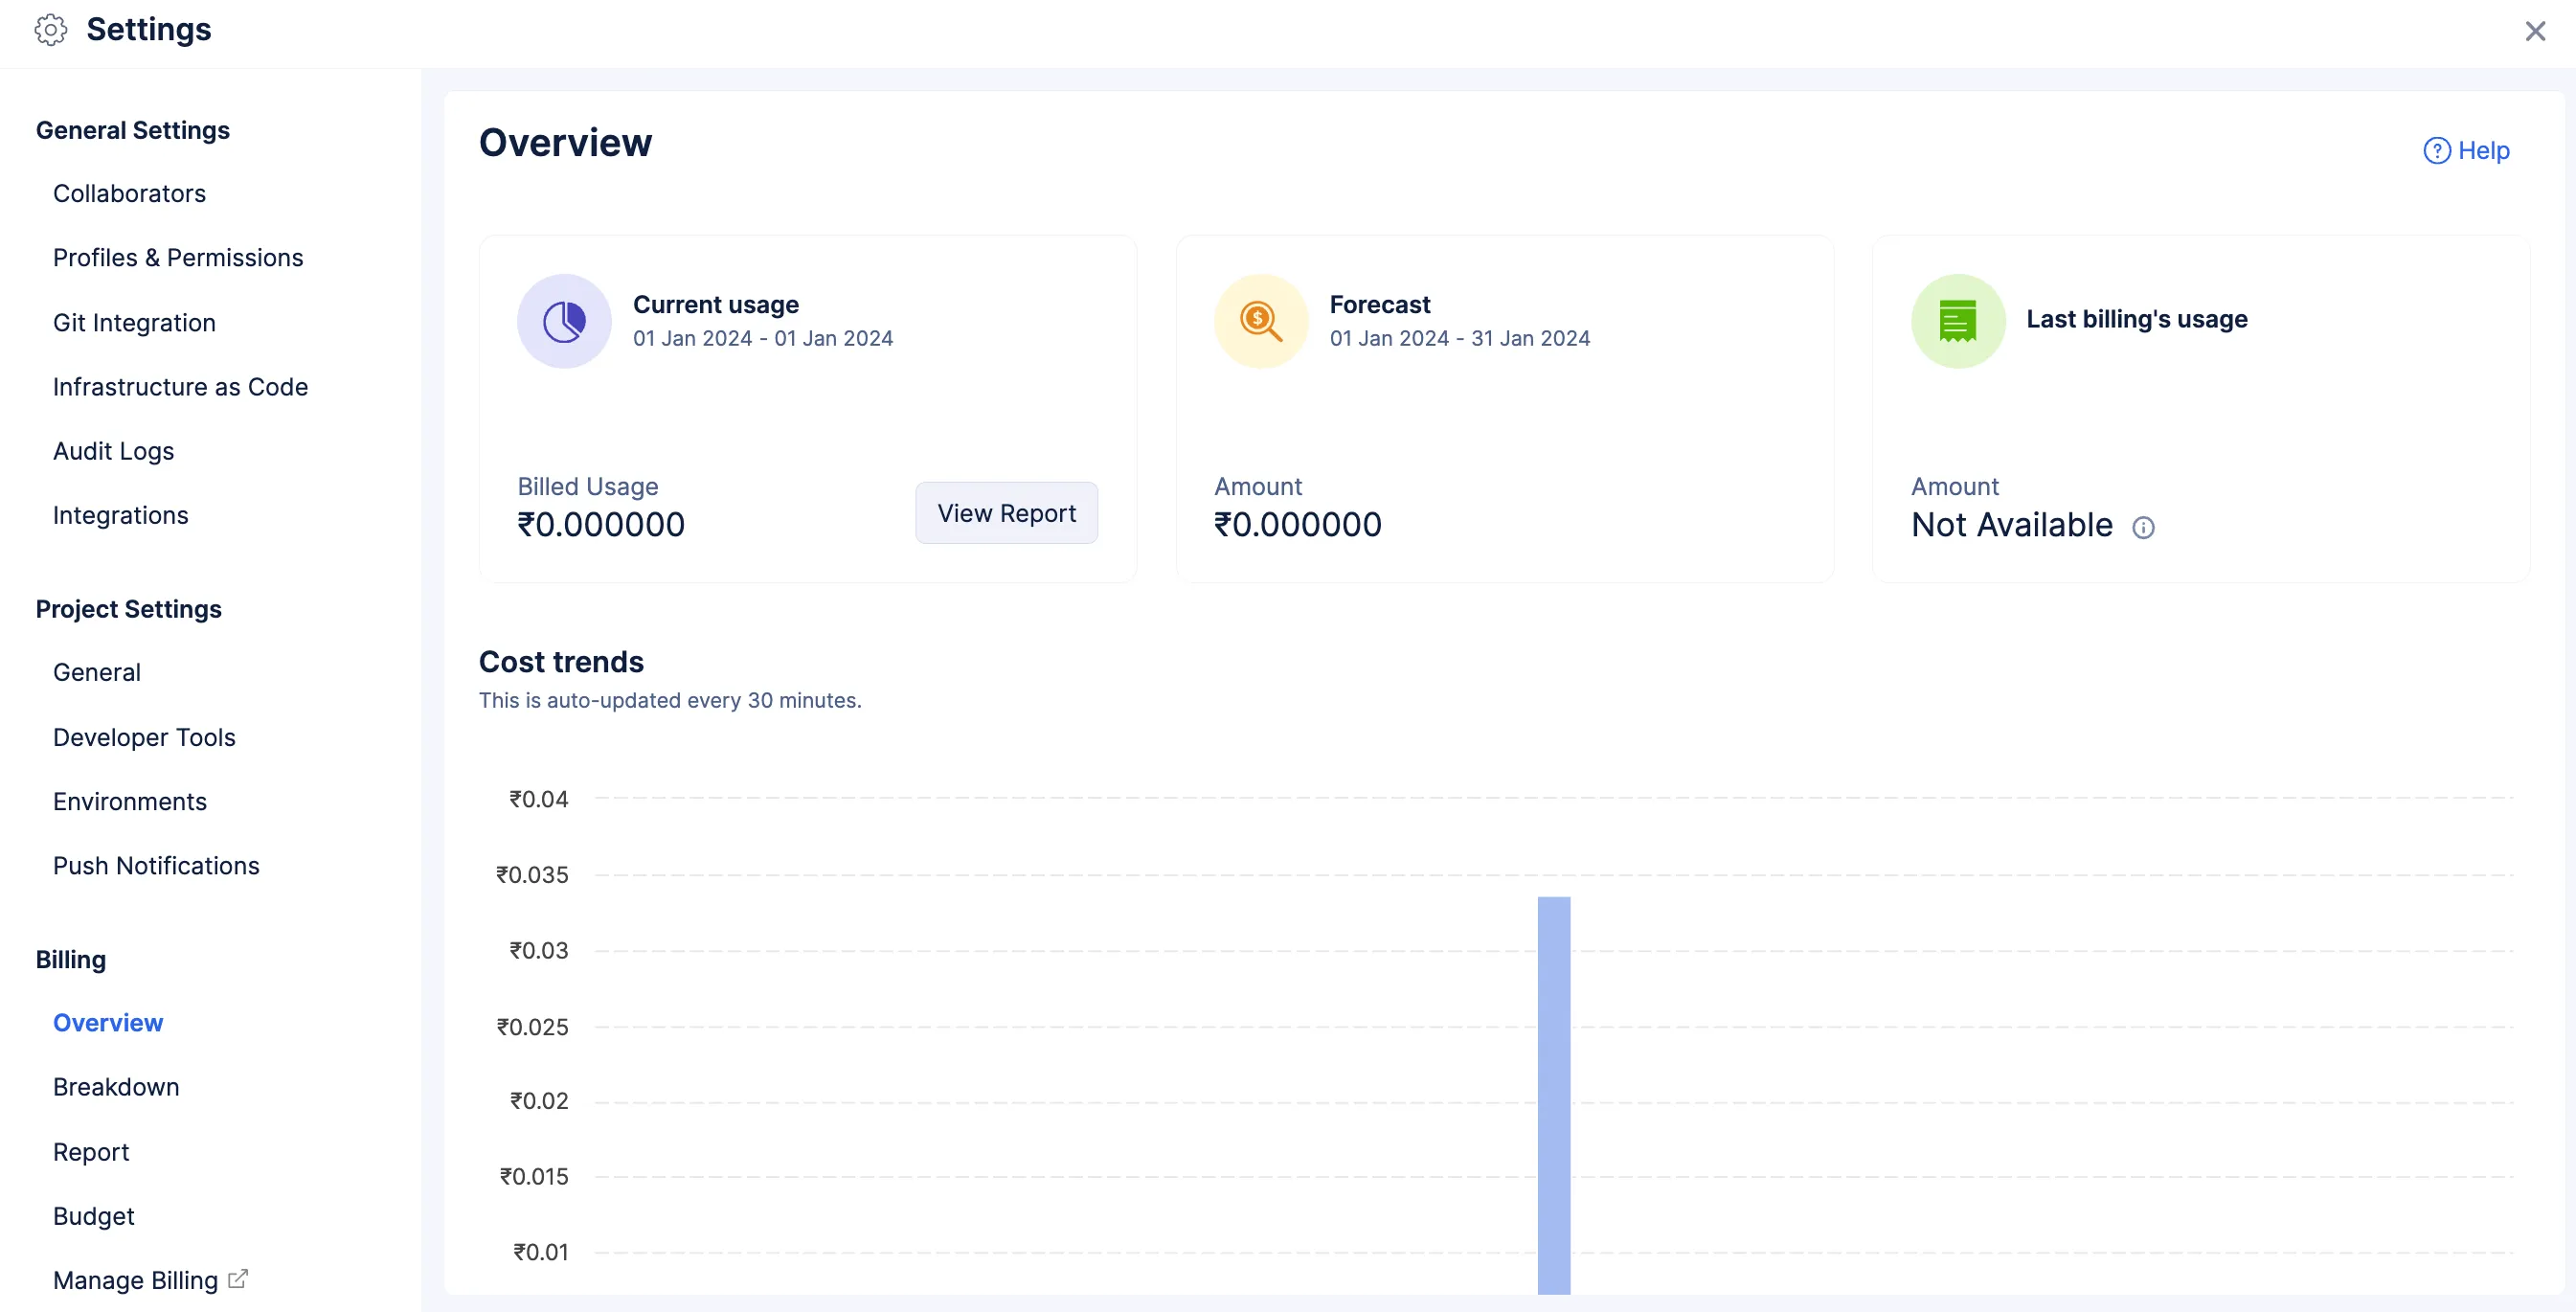
You can check your ongoing bill amount for the current month, in case you had opted for the pay-as-you-go model, under the Current Usage tile. This value is automatically updated instantly, and the latest value based on your usage is displayed. In case of a subscription plan, this tile displays the available amount from your plan, as well as if any plan benefit amount is remaining.
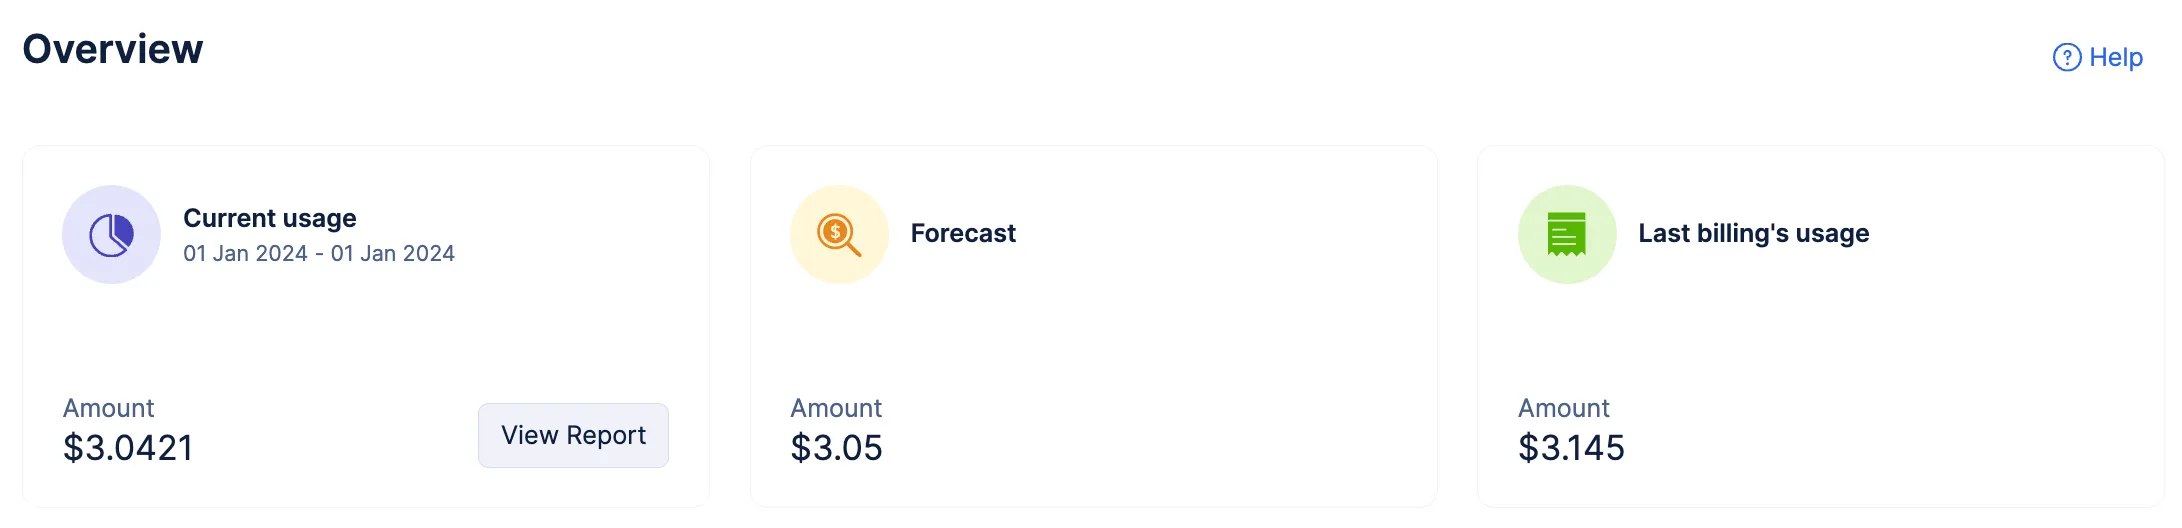
You can view a detailed report of your usage in the graphical format by clicking View Report. This will open the Report section of Billing.
Forecast analyzes the cost that could be incurred for the current month based on your usage information. A forecast can be fairly accurate with as little as two days of data. This usage prediction enables you to get an estimation of your expenditure in Catalyst, and allows you to plan your activities. If the data of the previous month is not available in Catalyst, Forecast will not be able to predict the current month’s usage.
Last Billing’s Usage displays the usage information of the previous billing cycle. In case you are a new user, this will be unavailable.
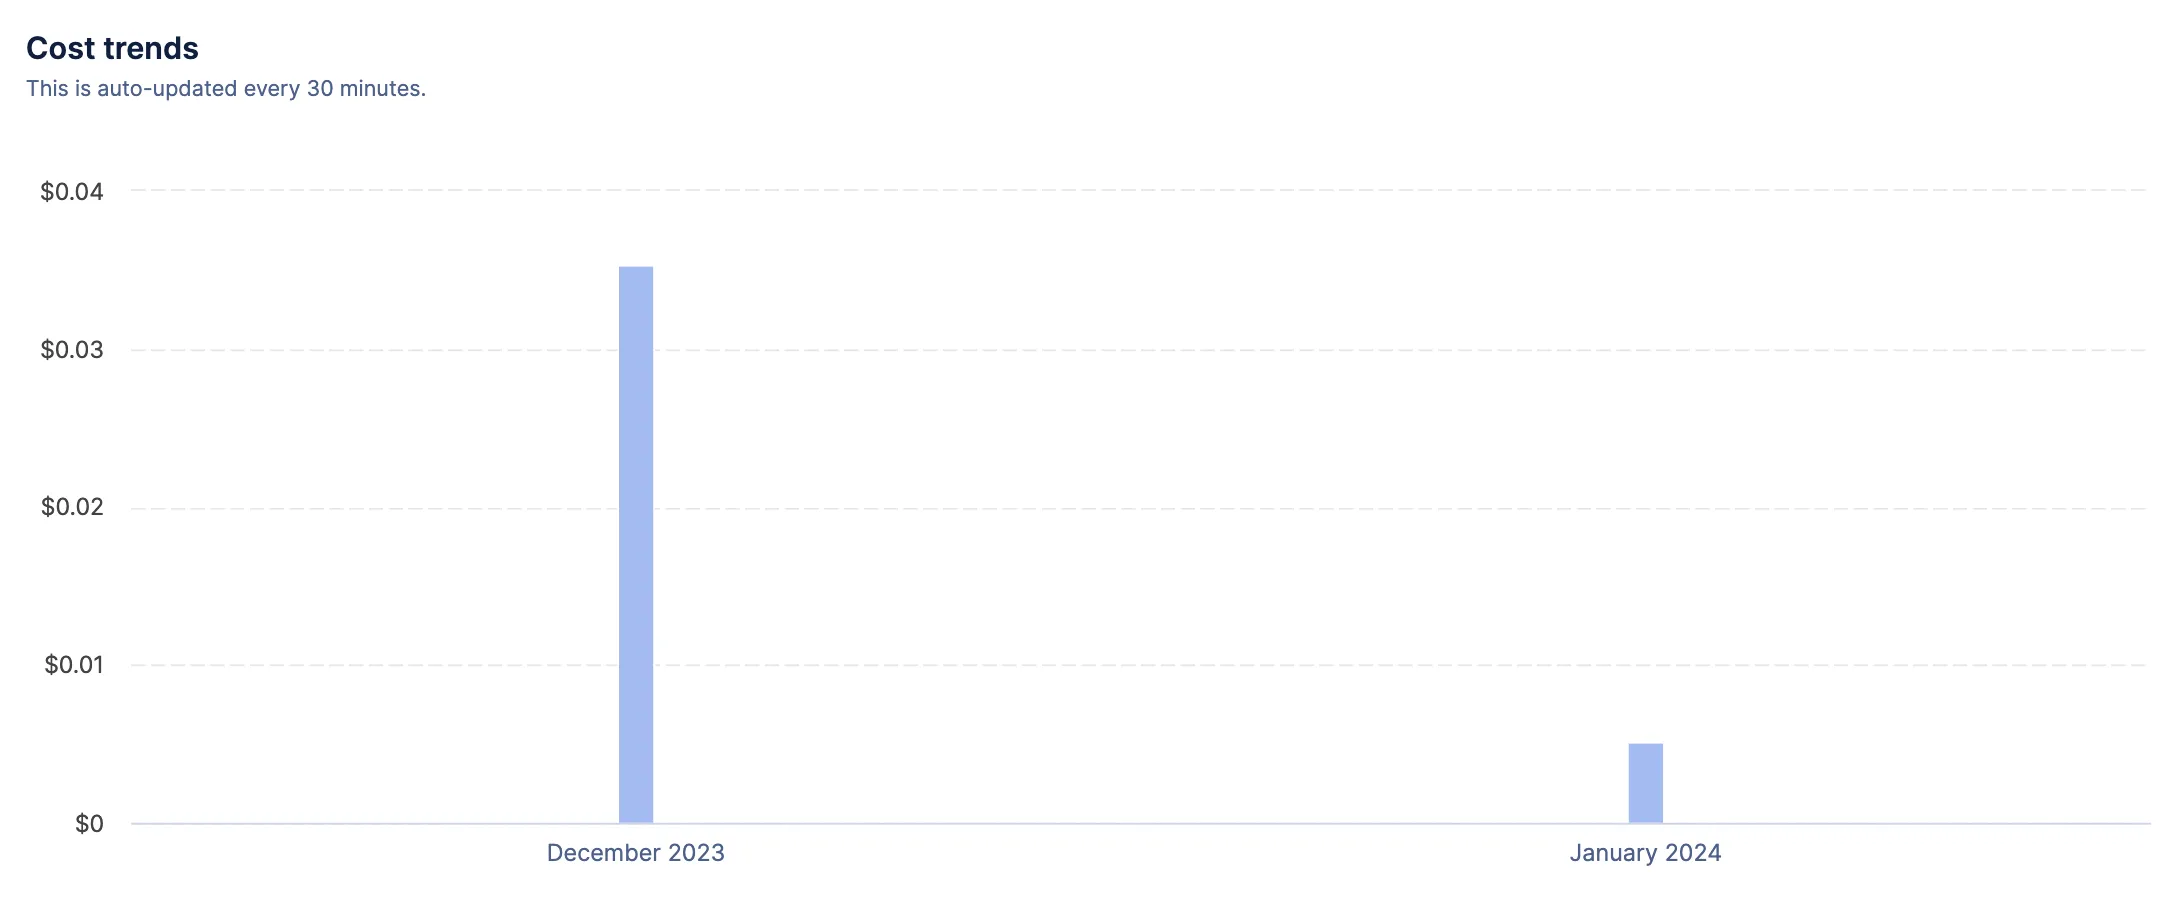
The Cost Trends graph displays the cost information incurred during various time periods in the form of a bar graph. The graph shows the usage for each month of the time period. The usage data shown here also includes the free tier allowance in the pay-as-you-go model, or the plan benefits of the subscription model. This graph is auto-updated every 30 minutes.
Breakdown
The billing calculations for a project will commence after you explore atleast one resource in a project and from the beginning of every bill cycle. The breakdown will include the calculations of each resource usage, both at the project level and the component level.
You can select the Project Usage Stats from the dropdown and select the time for which you need to access the information as well. This displays the usage and cost breakdown for each of your Catalyst projects individually
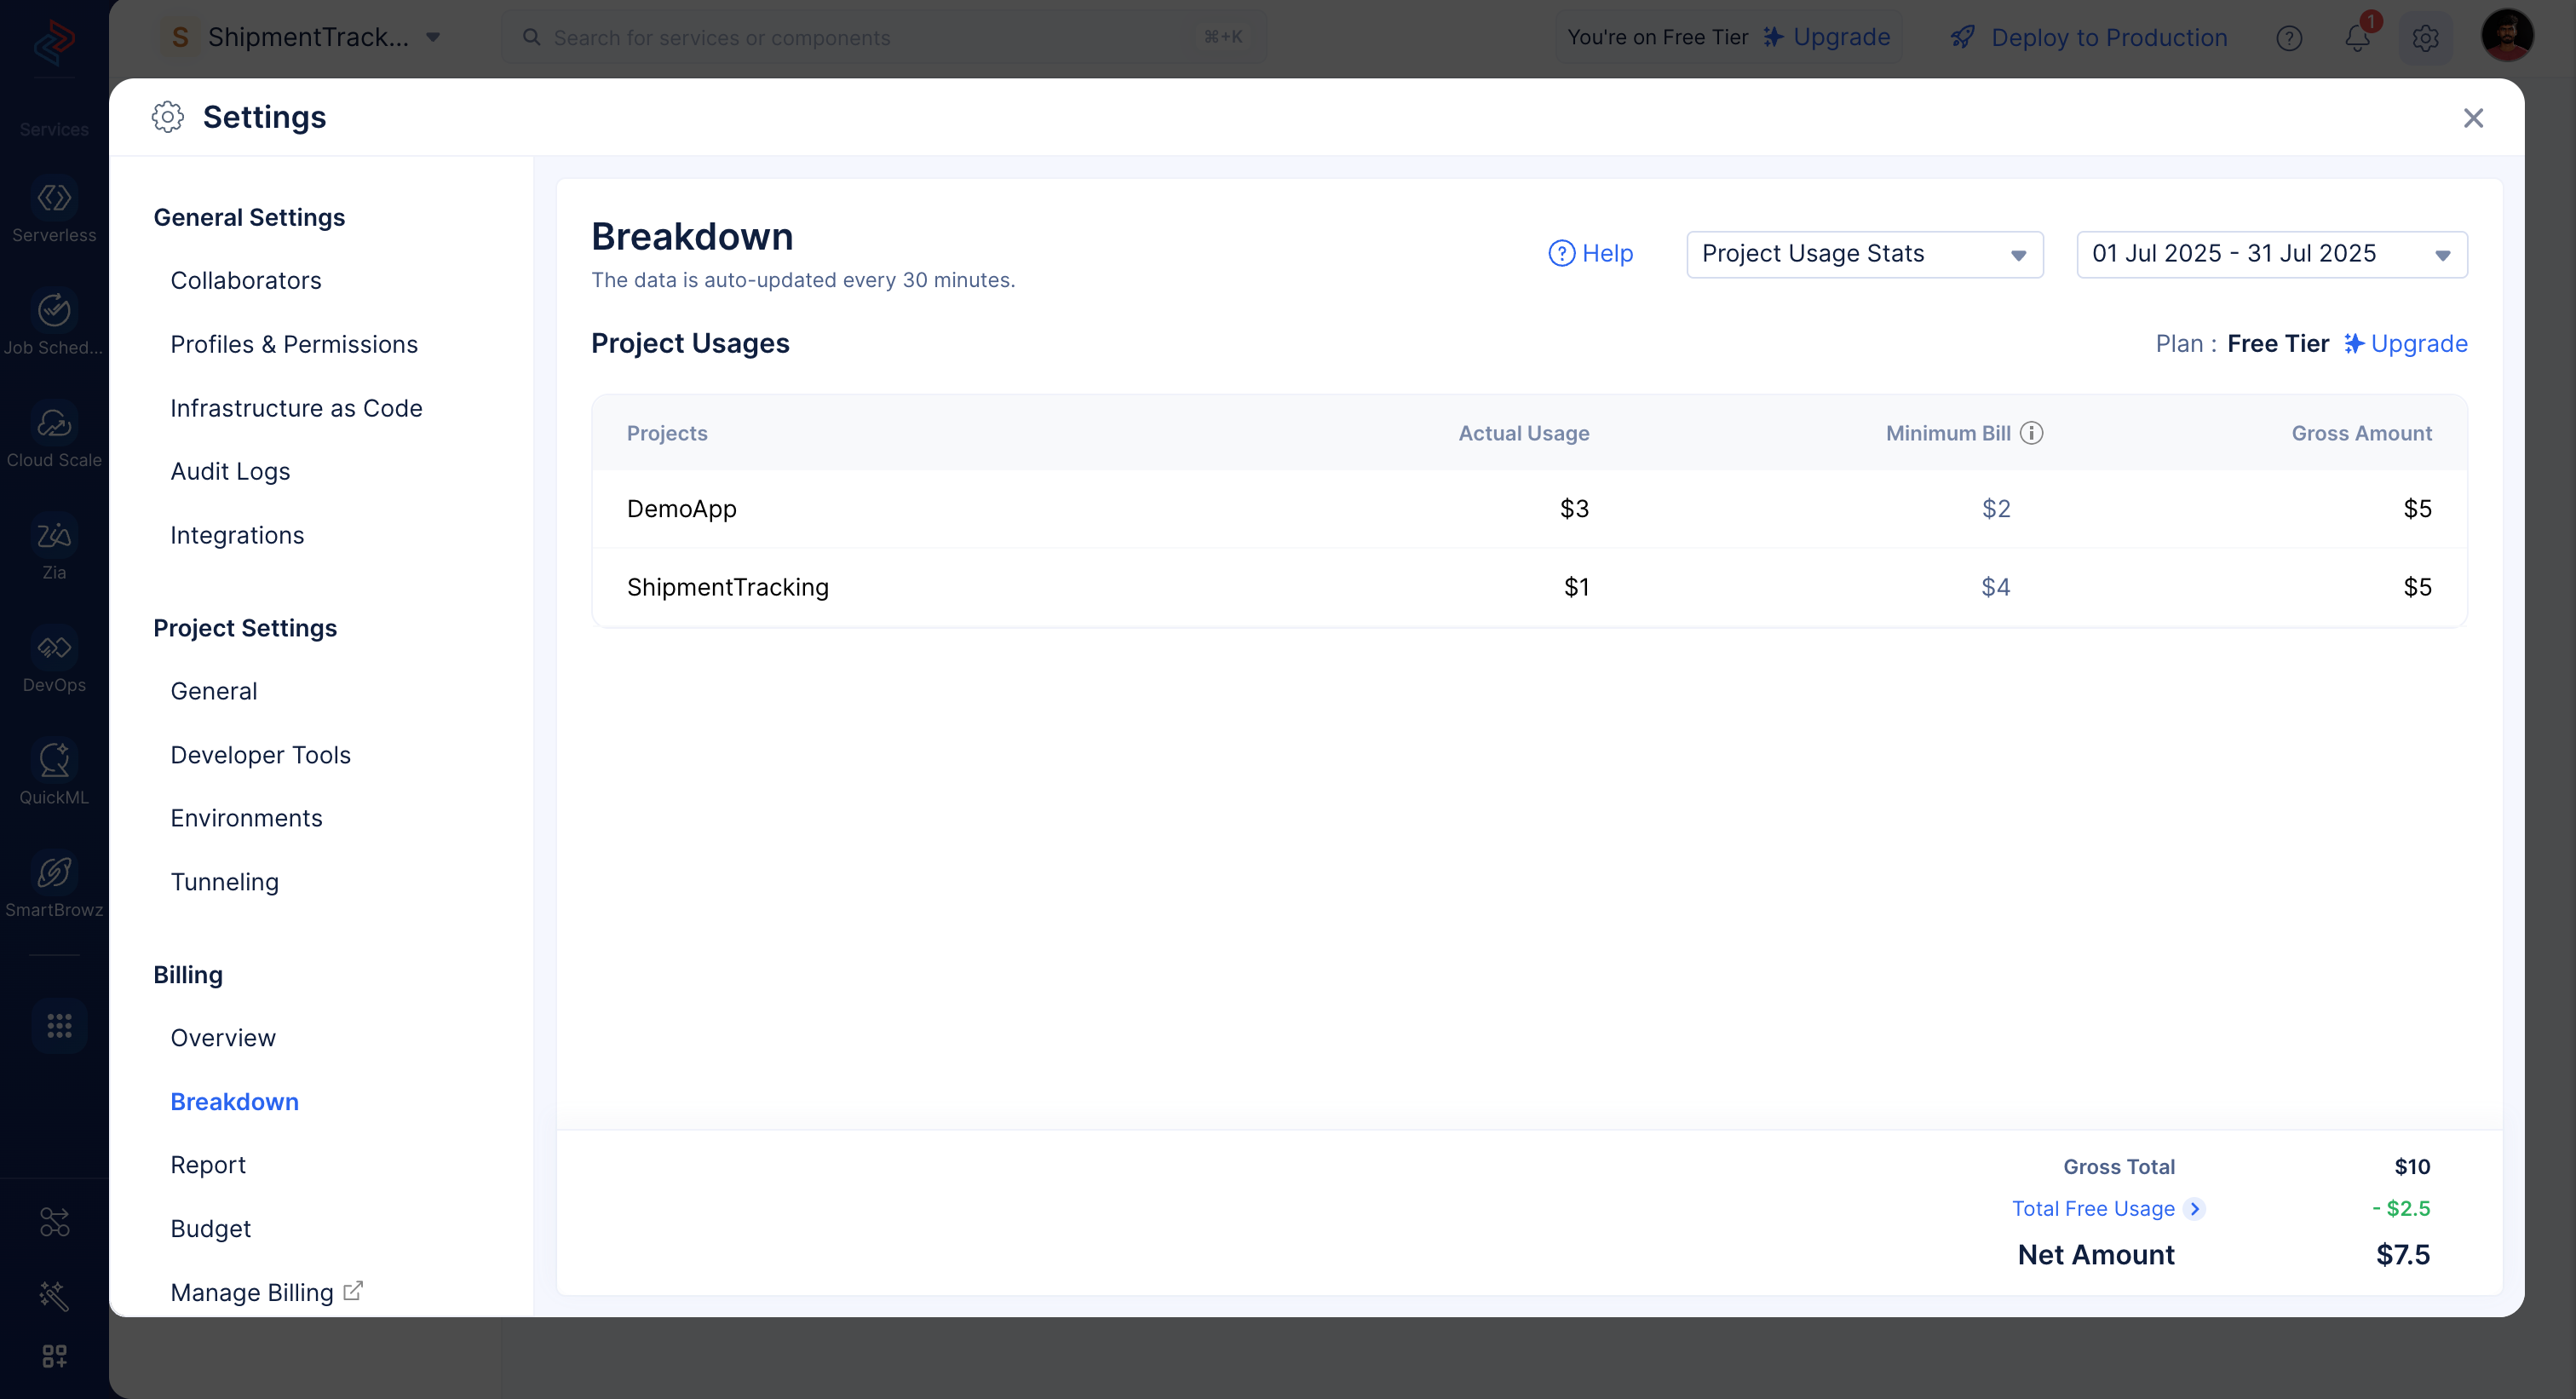
You can click on a project name to open its detailed breakdown.
Depending on the component or feature, you will be priced in terms of various units such as amount/request, amount/execution, or amount/search. You can check the Pricing Calculations section to learn more about this, and the Pricing page for the pricing details of Catalyst resources.
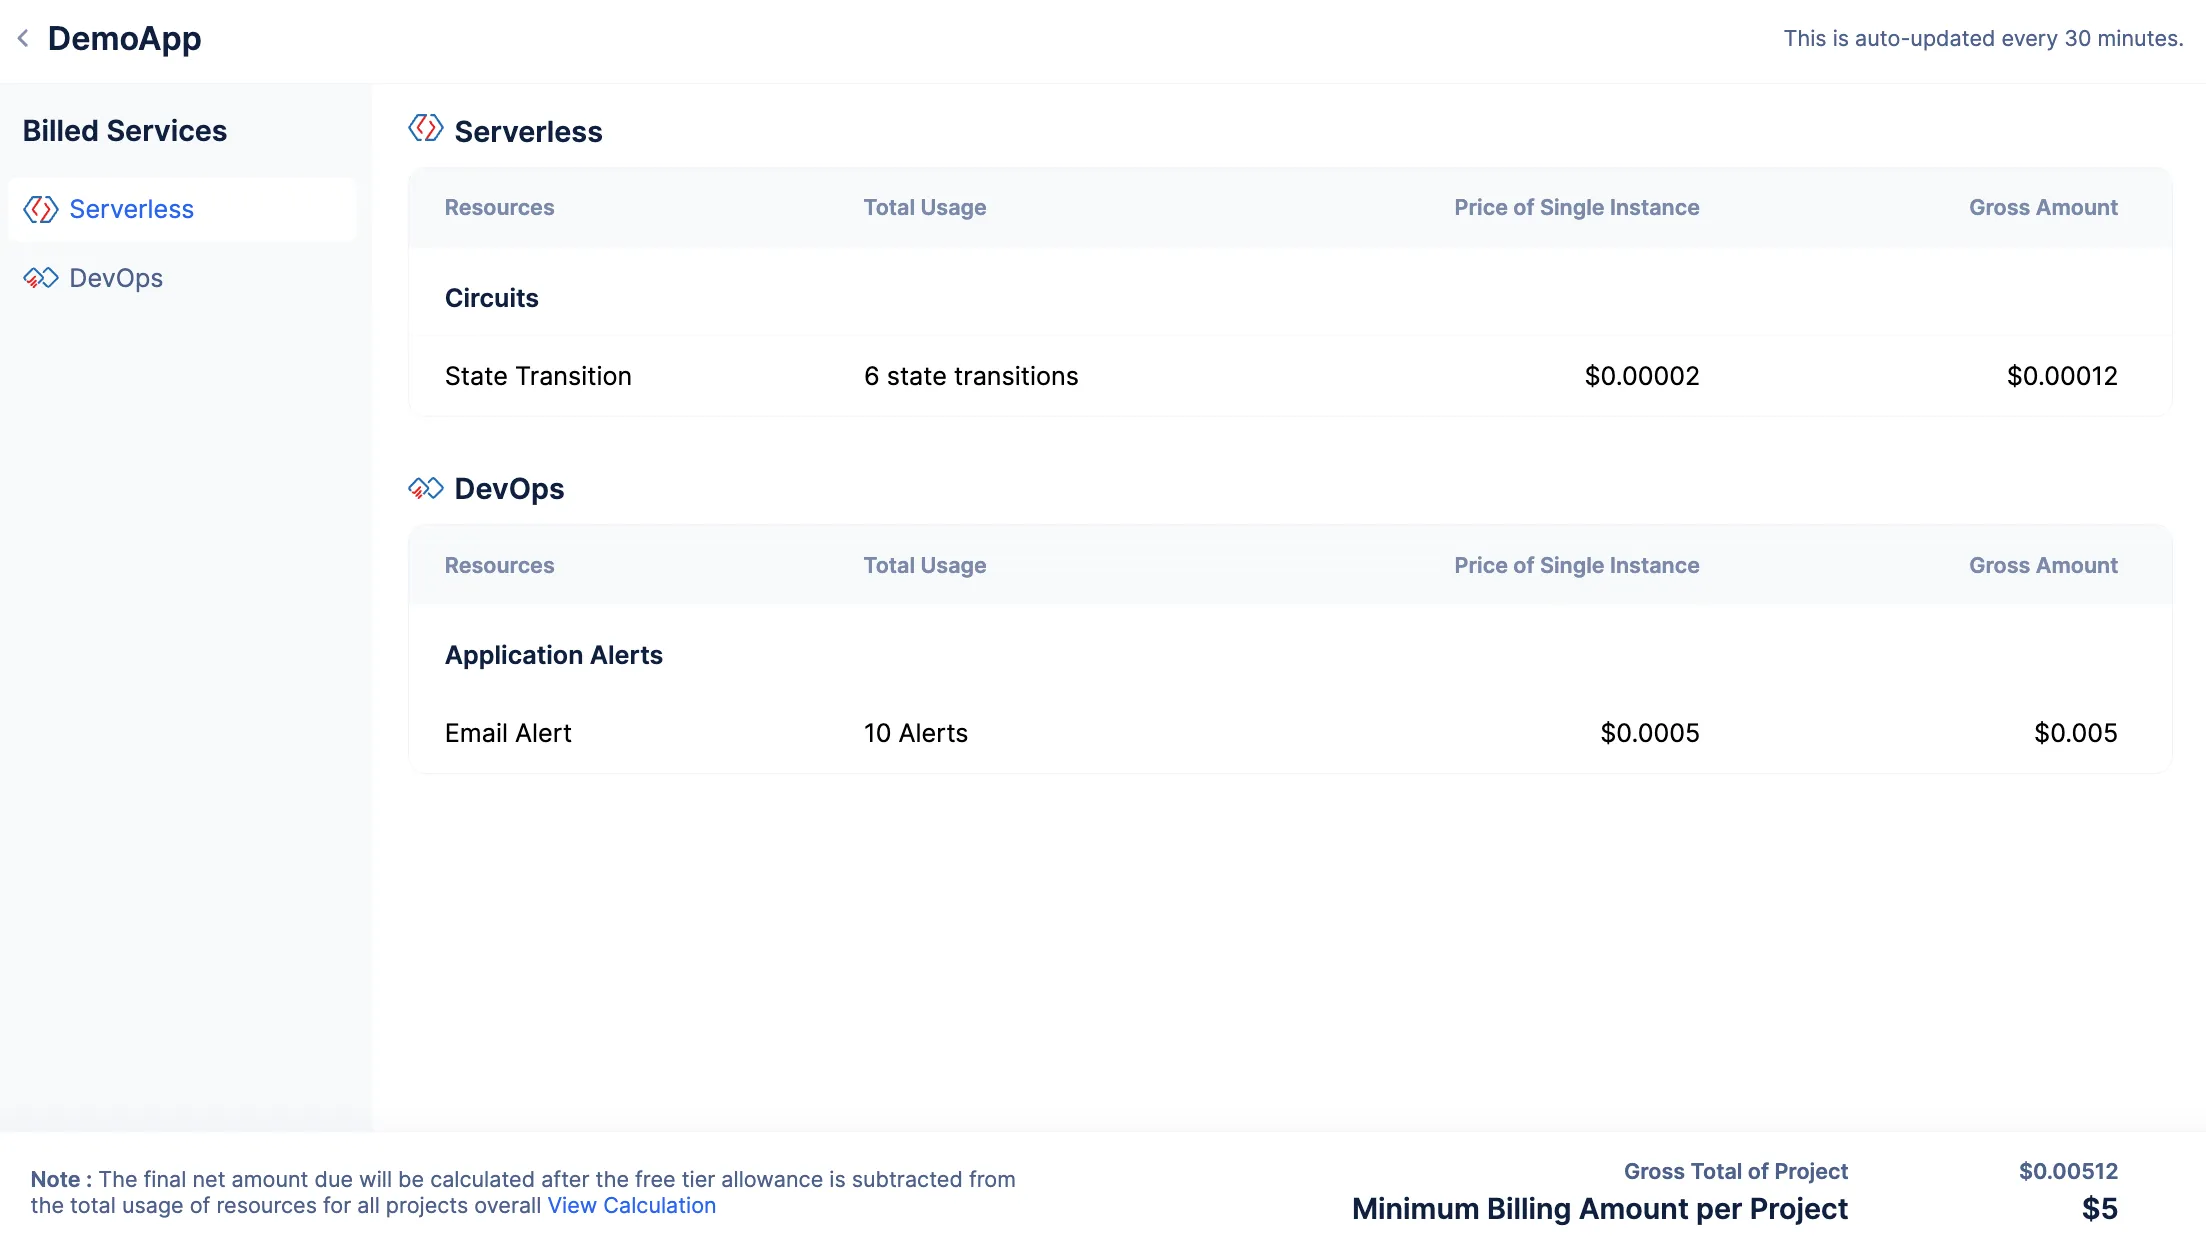
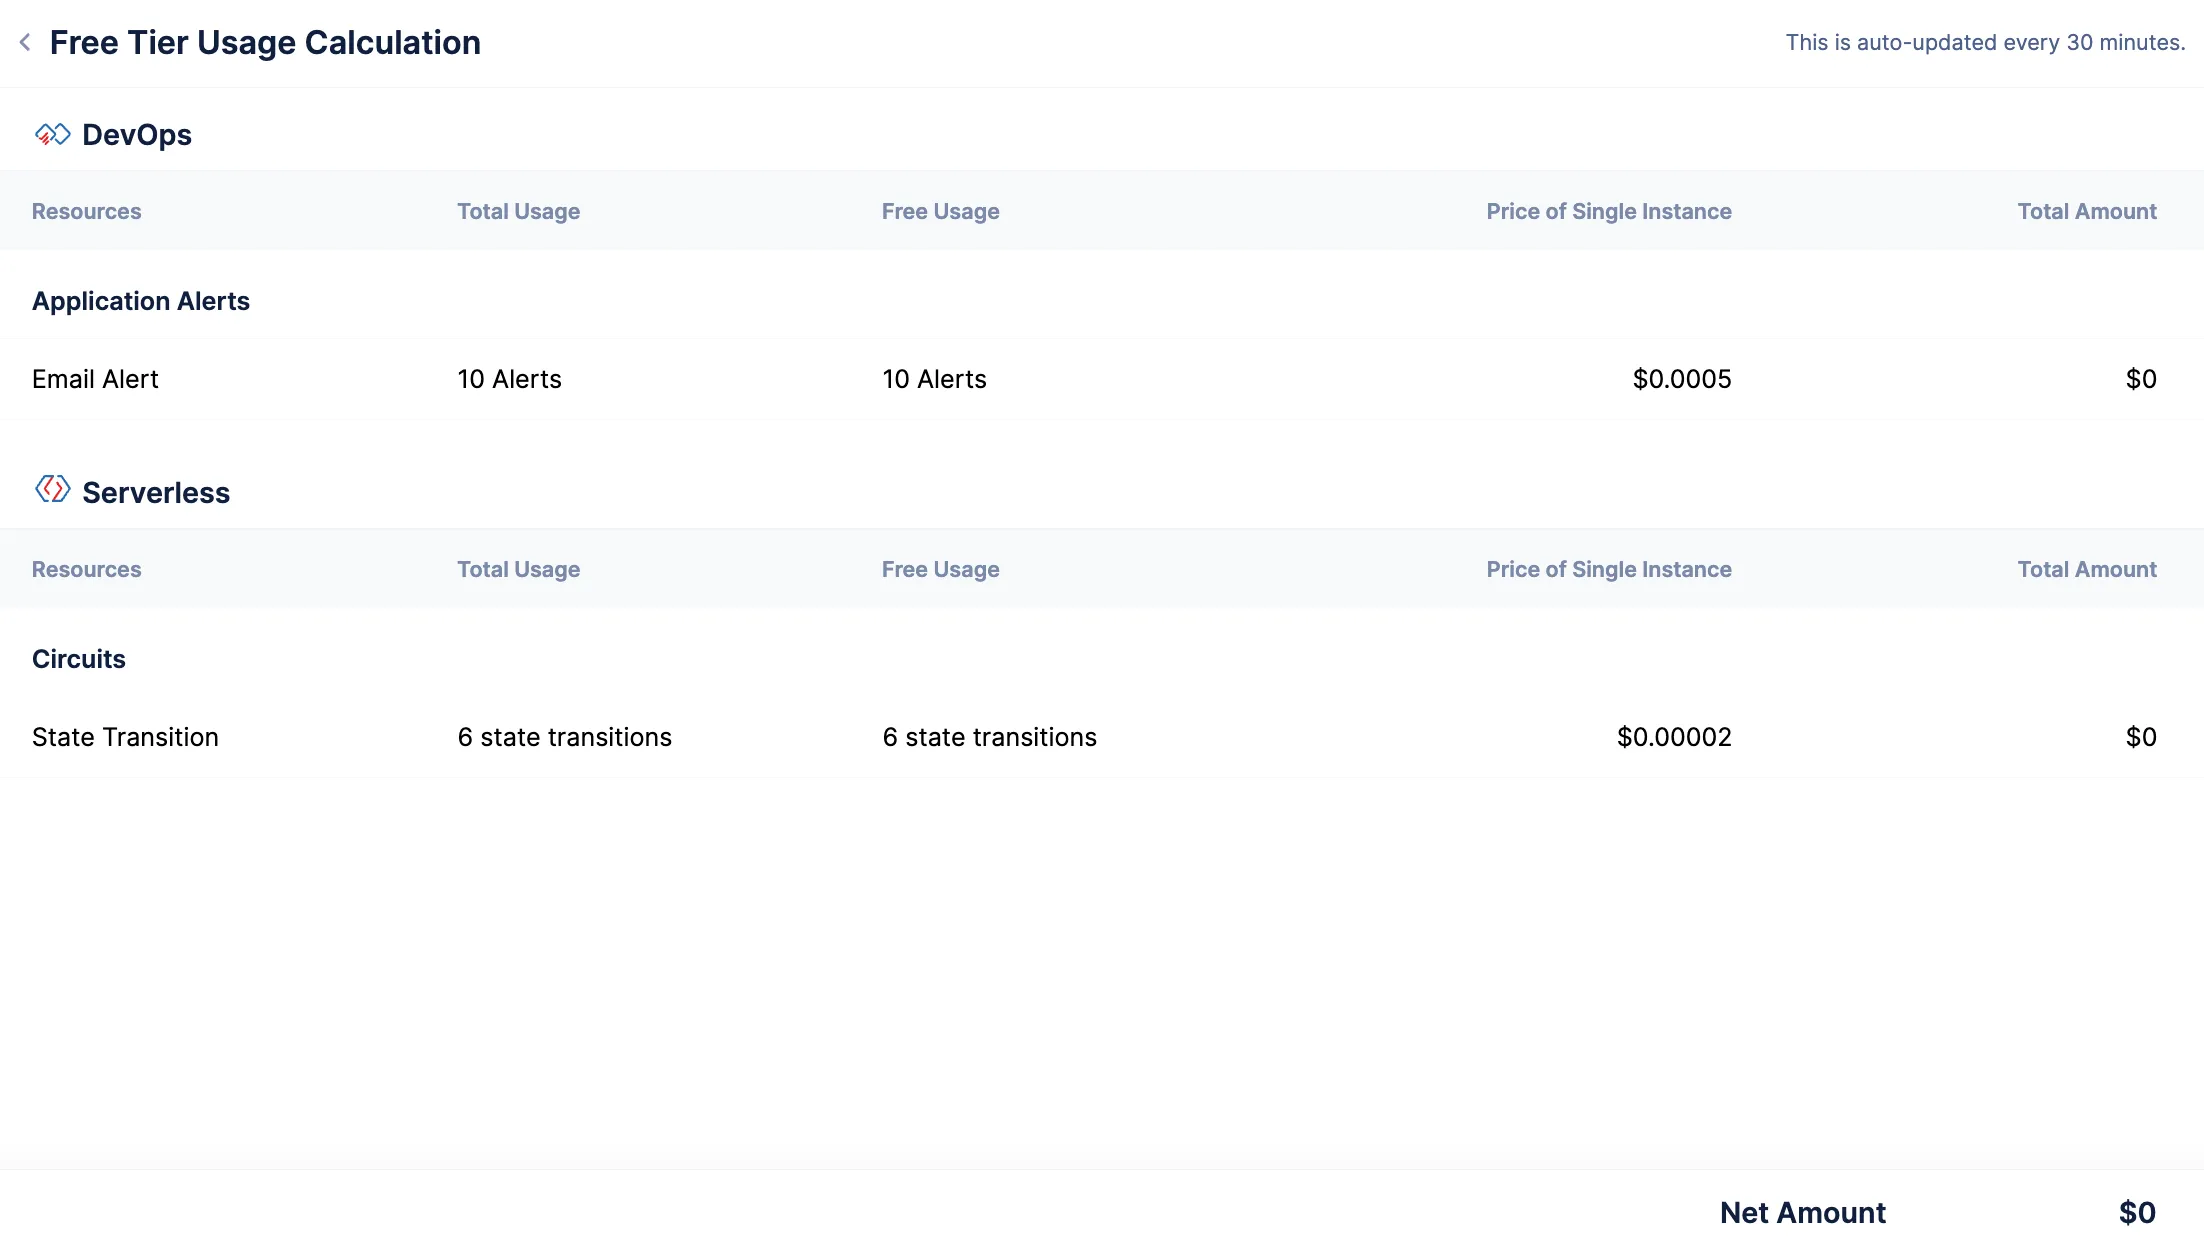
The Breakdown will display the Gross Amount for all usage, including the usage from the free tier allowance or plan benefits, in case of pay-as-you-go or subscription models respectively. In the pay-as-you-go model, the final Net Amount due is calculated after subtracting the free tier allowance from the total usage of resources for all projects overall during billing.
Similarly, if you want to view the cumulative component level breakdown of all the projects, you can switch to Component Usage Stats from the drop-down menu.
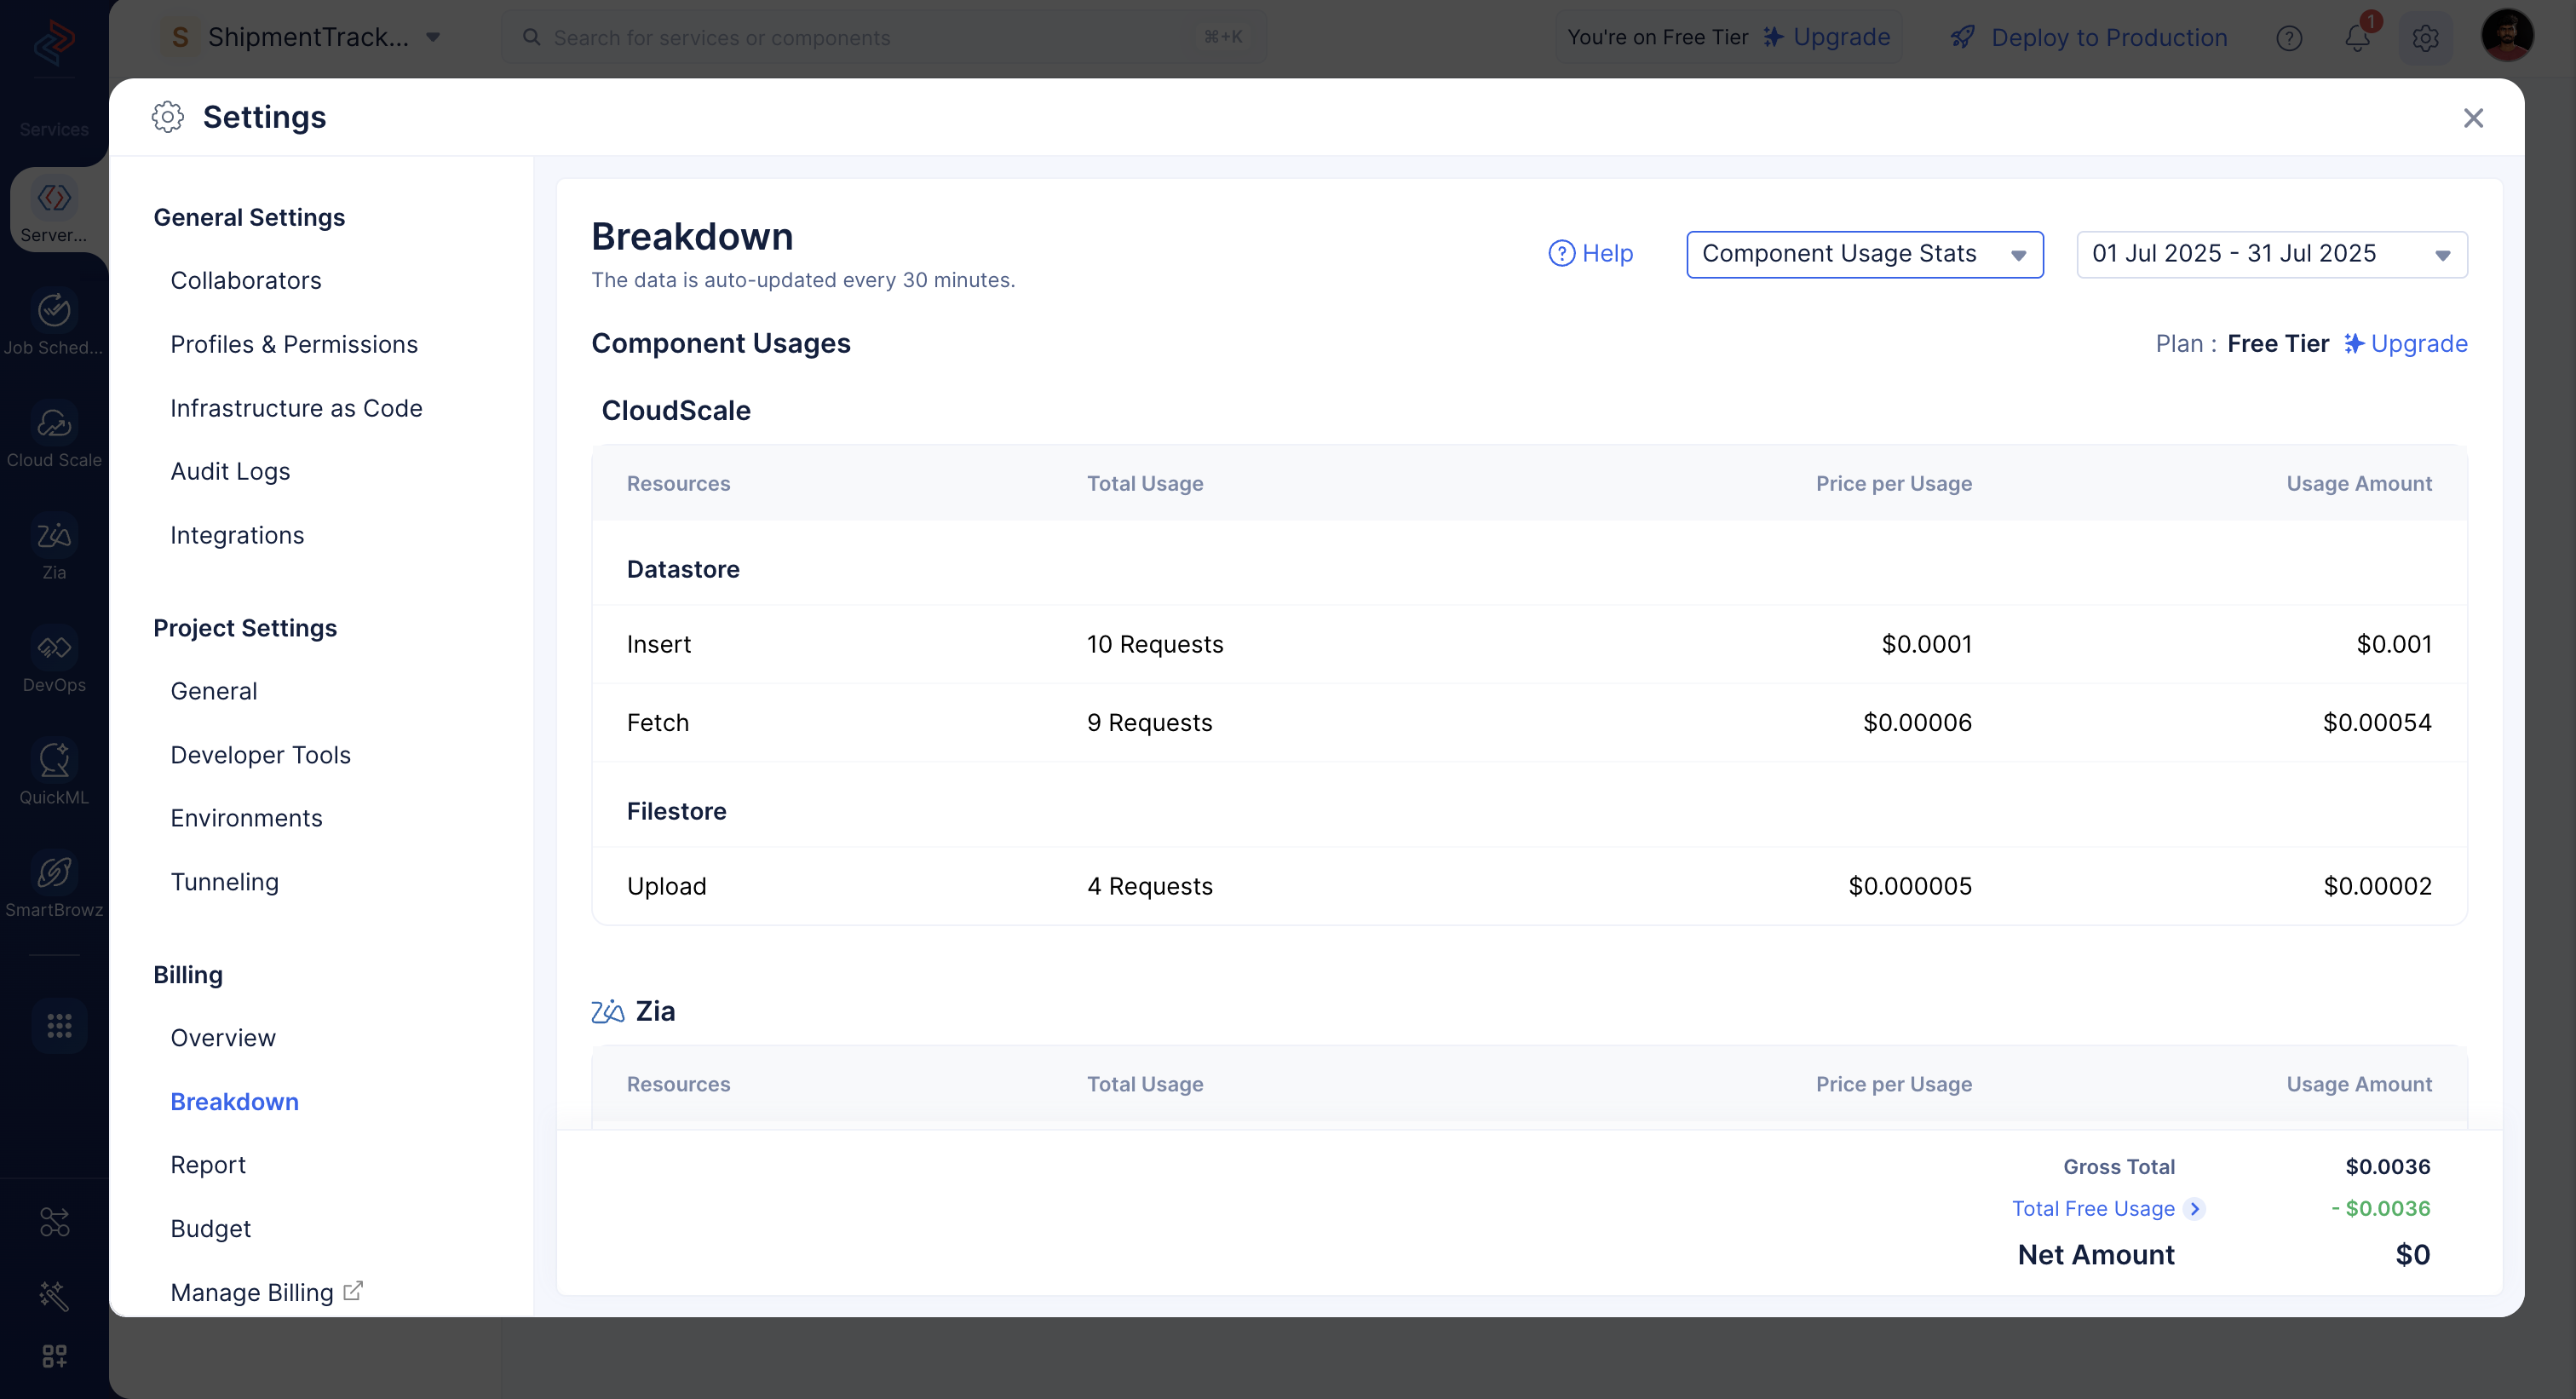
It provides detailed information on the usage of each Catalyst service, the usage of each component or feature in a service, the calls made in each of them, the price of single instance, the total count of usage, and the Gross Amount incurred for each component usage, service, in every project.
Report
The Report section provides detailed insight into your Catalyst usage in a graphical format based on various criteria that you select. You can access information about your usage and expenditure based on the services, individual projects, and time periods that you select, and group them by different categories.
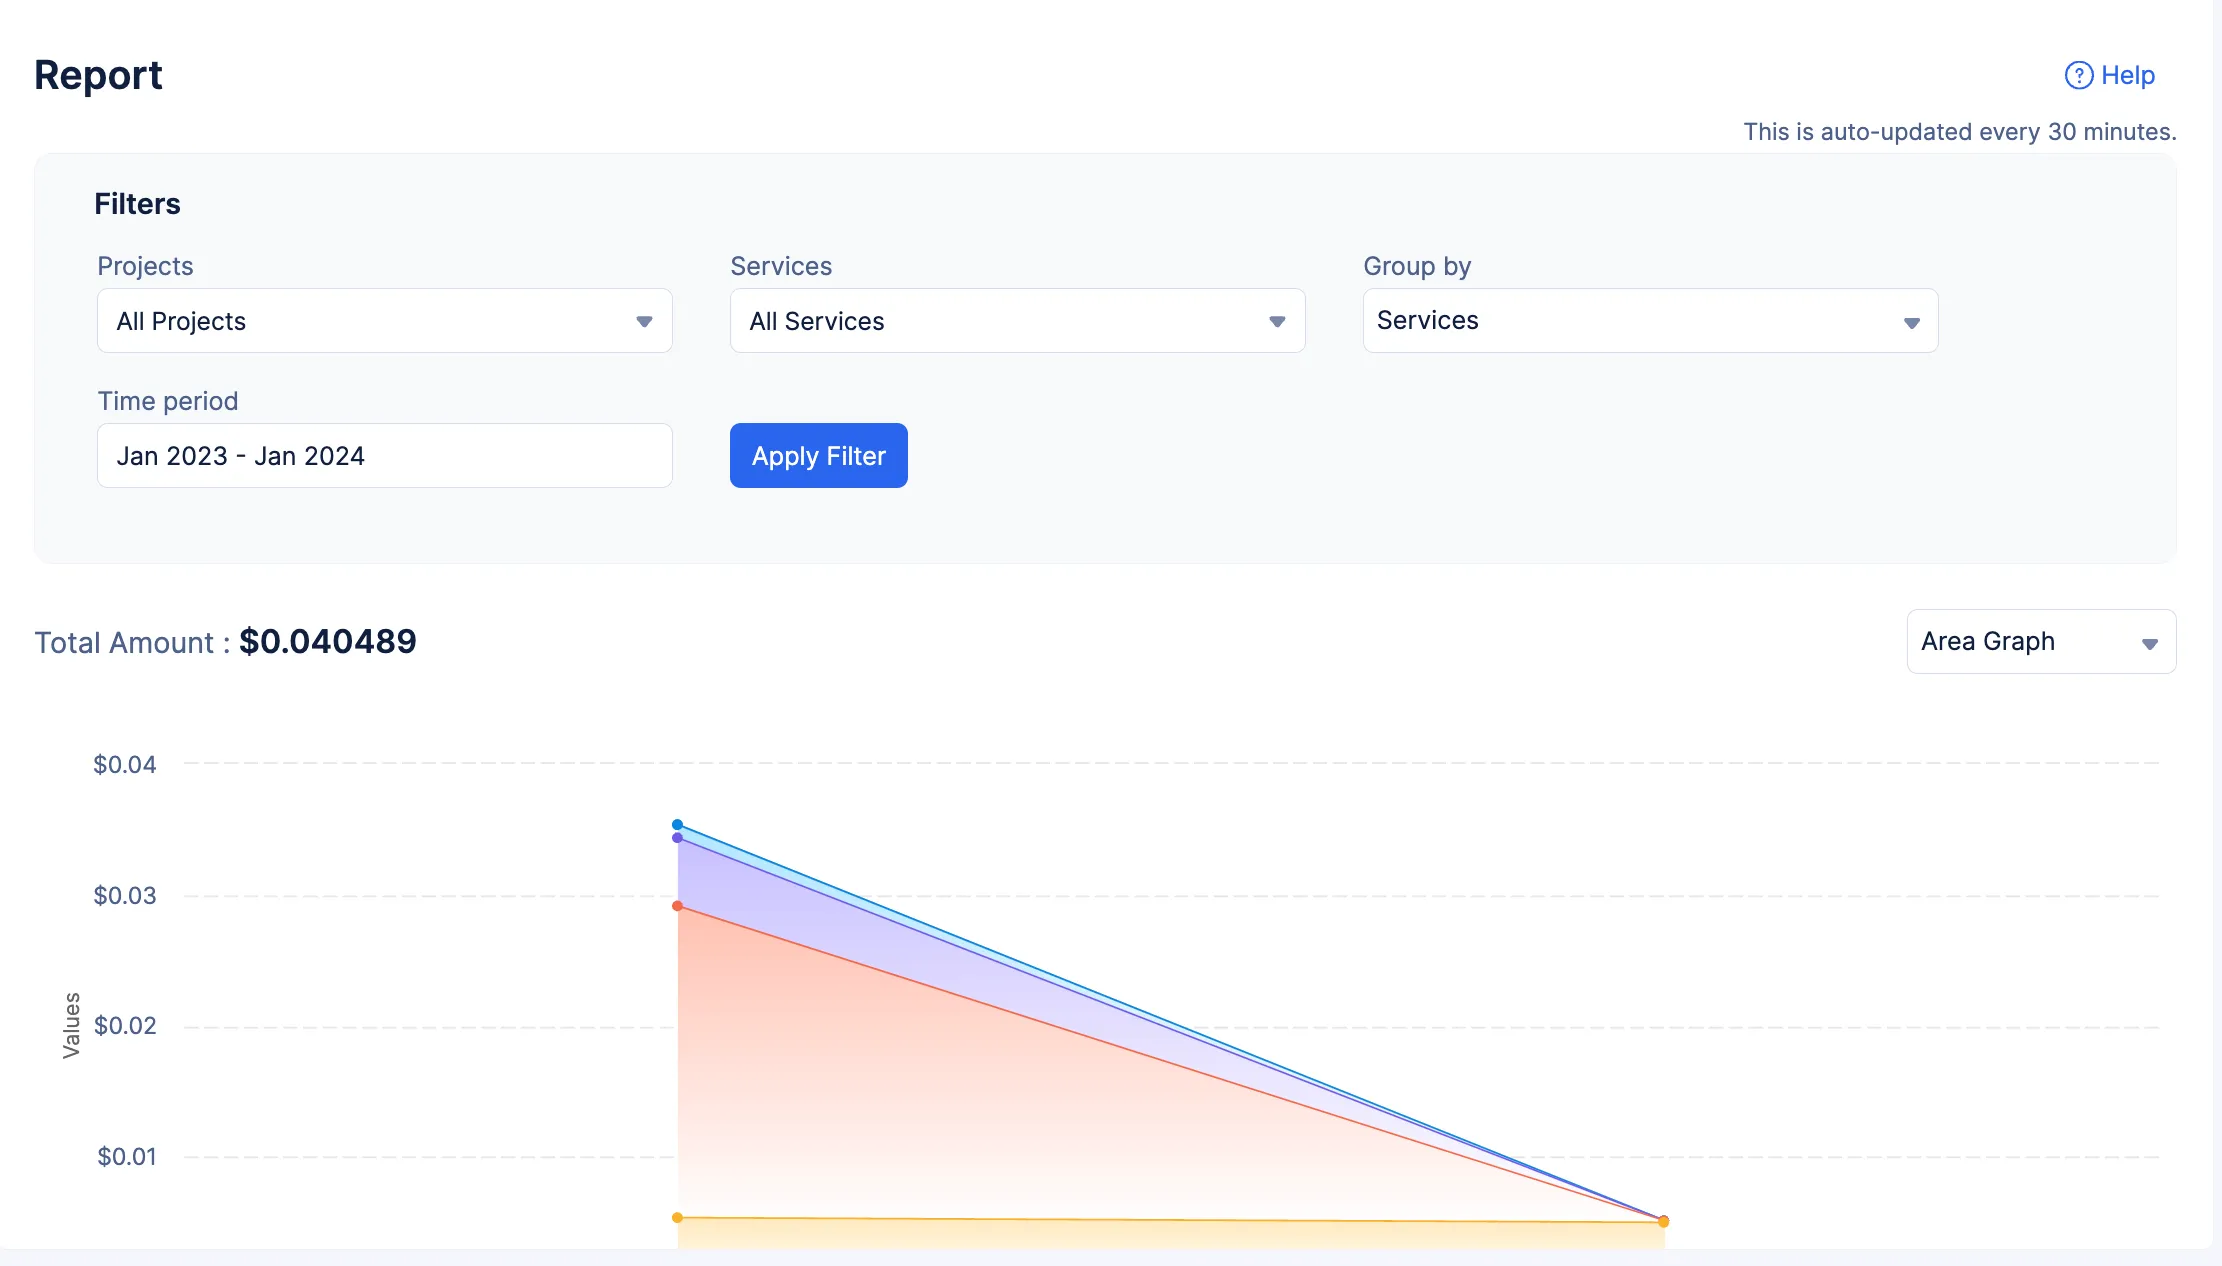
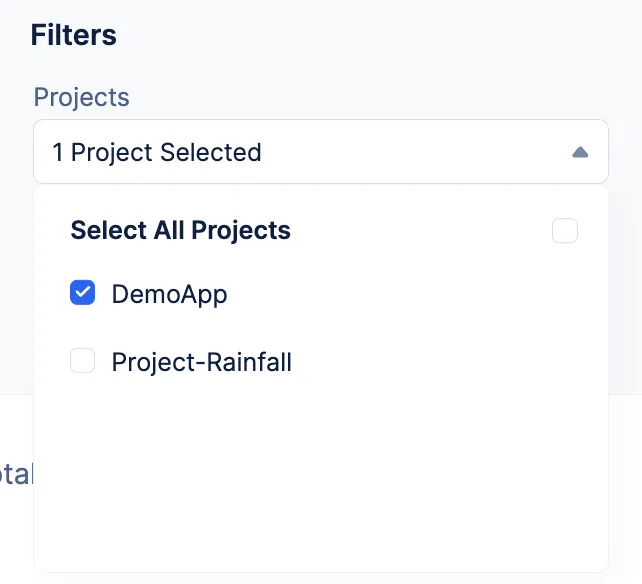
You can select the individual projects for which you need to access the report, using the_Projects_ filter.
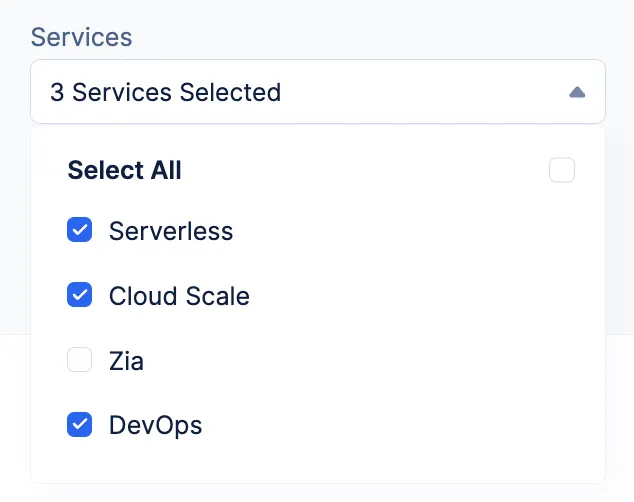
You can also filter the services to generate the report for.
The Group By filter enables you to view the graph grouped by the projects you selected, or the services, or none.

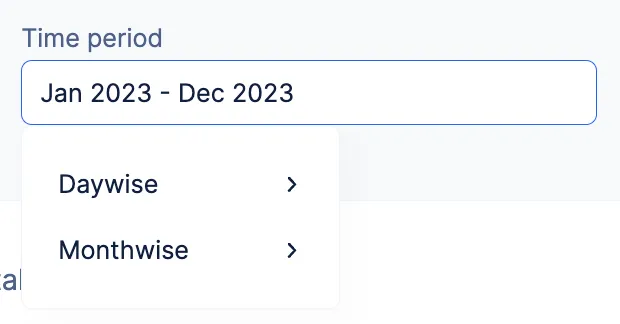
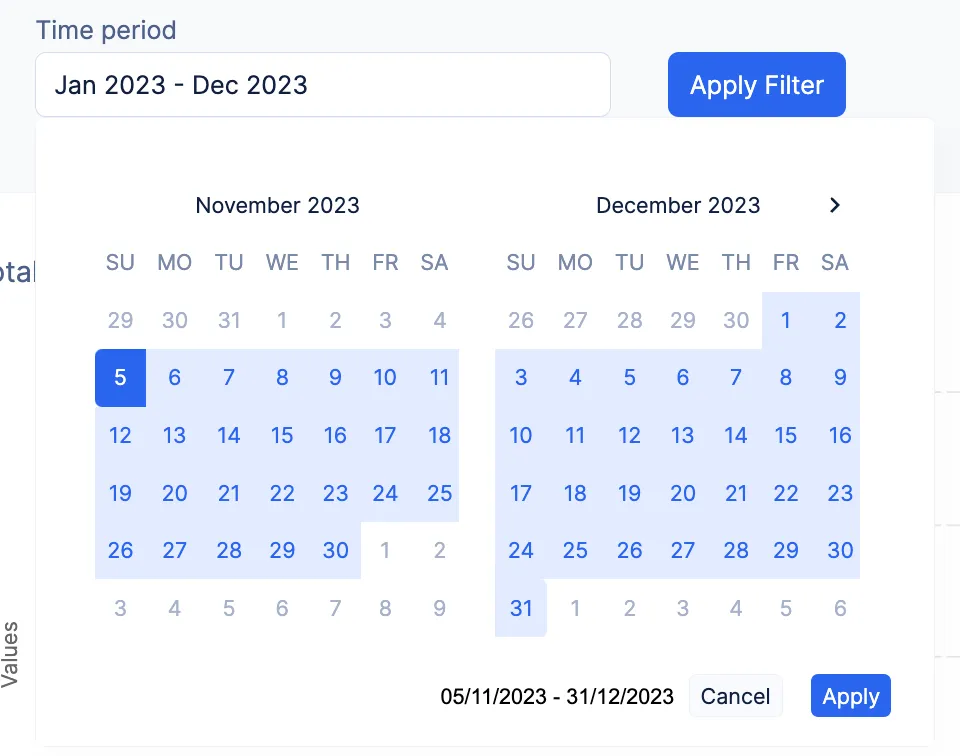
To view the graph for a time period between specific dates, select Daywise from the Time Period filter.
Now, select the dates for which you need to access information from the calender and click Apply.
To view the graph for a time period between specific months, select Monthwise from the dropdown list and select the months. Click Apply.
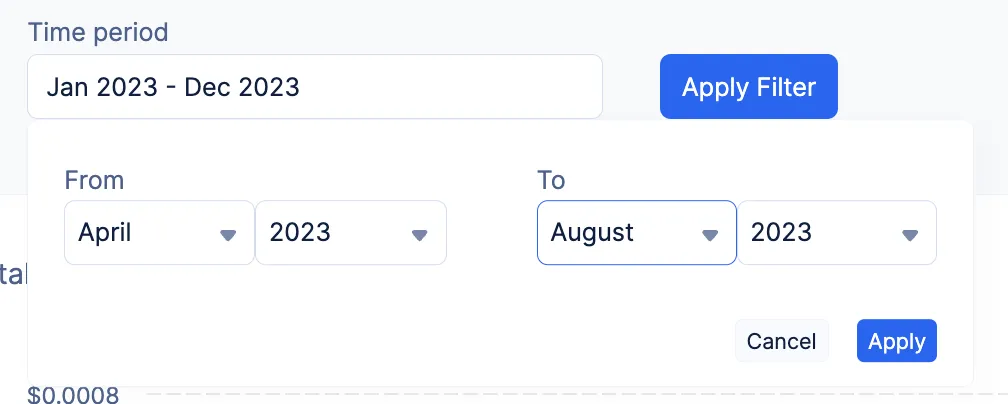
After you apply all the filters, click Apply Filter. The graph displays the report based on these filters.
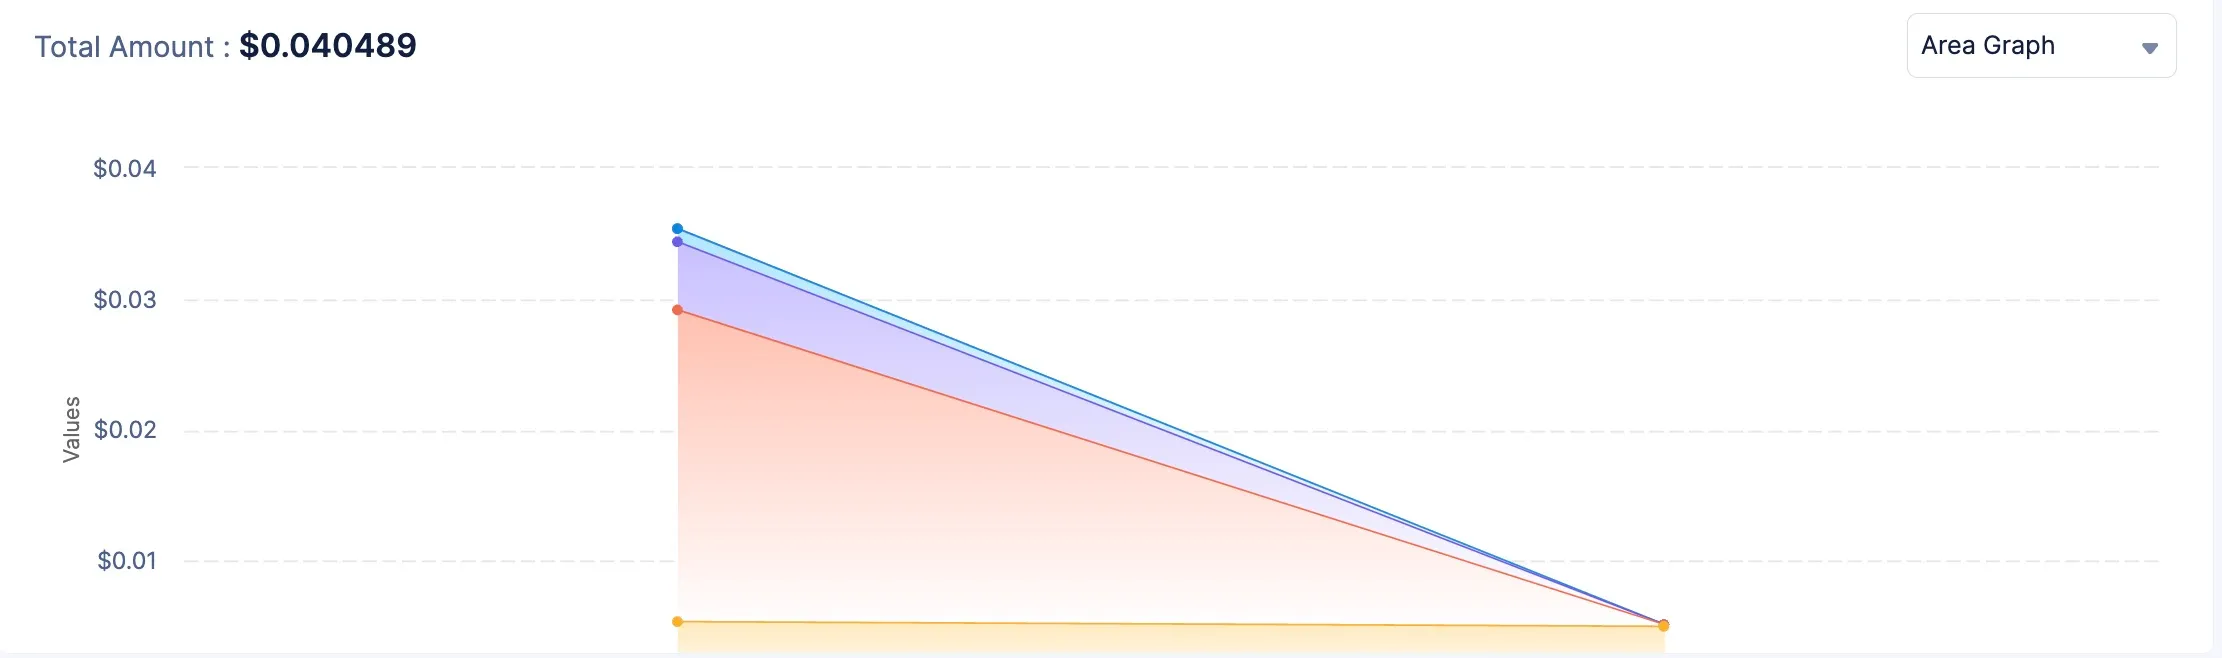
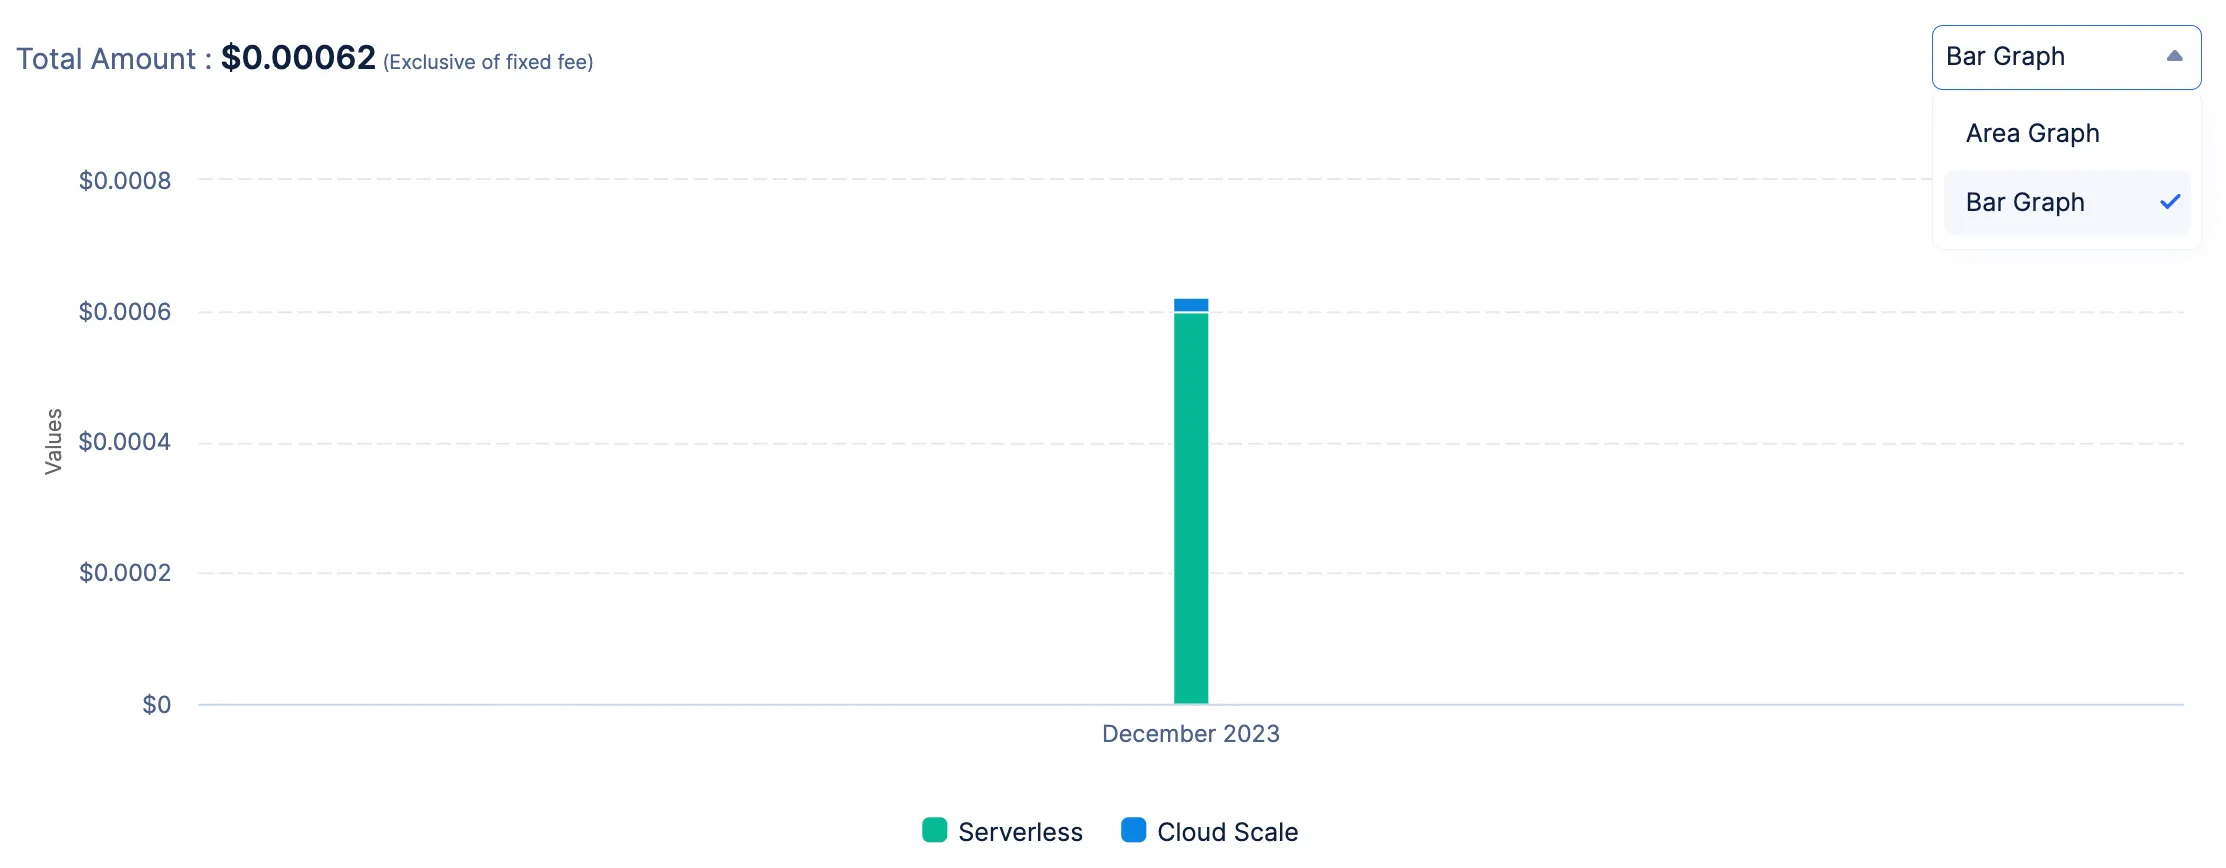
You can view the report in the form of an area graph or a bar graph.
Budgets
You can create budgets in Catalyst to set usage limits of the amount you spend and configure email alerts when your usage crosses a particular threshold value. Budgets help you monitor your activities in Catalyst and allow you to plan your expenses.
Catalyst also enables you to automate the disabling of the production environment of an application when its usage hits a particular threshold value.
Points to remember:
-
When you enable the Disable Production option while setting a threshold value for a budget, Catalyst will automatically disable the production environment of the selected project when the threshold is reached, and will alert you of it through an email.
-
You can re-enable the production environment of a project that was disabled upon reaching a specified threshold. It will not get re-enabled automatically.
-
Catalyst runs a scheduler once every 30 minutes to obtain the current charges of a project. Therefore, the checks for crossing a specified threshold are made only once every 30 minutes. If your project reaches a configured threshold in between these checks, Catalyst will not detect it until the scheduler’s next run.
-
If you re-enable the production environment after it has automatically been disabled because of threshold limits, it will not get disabled again in the next 30 minutes during the next scheduler check. It will only get disabled again after the end of the current month, provided you have not modified the threshold limits.
-
In case you modify the threshold value after the production gets disabled, the next scheduler check will check for threshold limits and will disable the production again in case it is reached.
-
If you have multiple budgets configured for a single project, Catalyst will disable the production environment for all the budgets the Disable Production has been enabled for, after reaching each specified threshold limit.
Create a Budget
To create a budget:
-
Click Create Budget from the Budget section under Billing in settings.
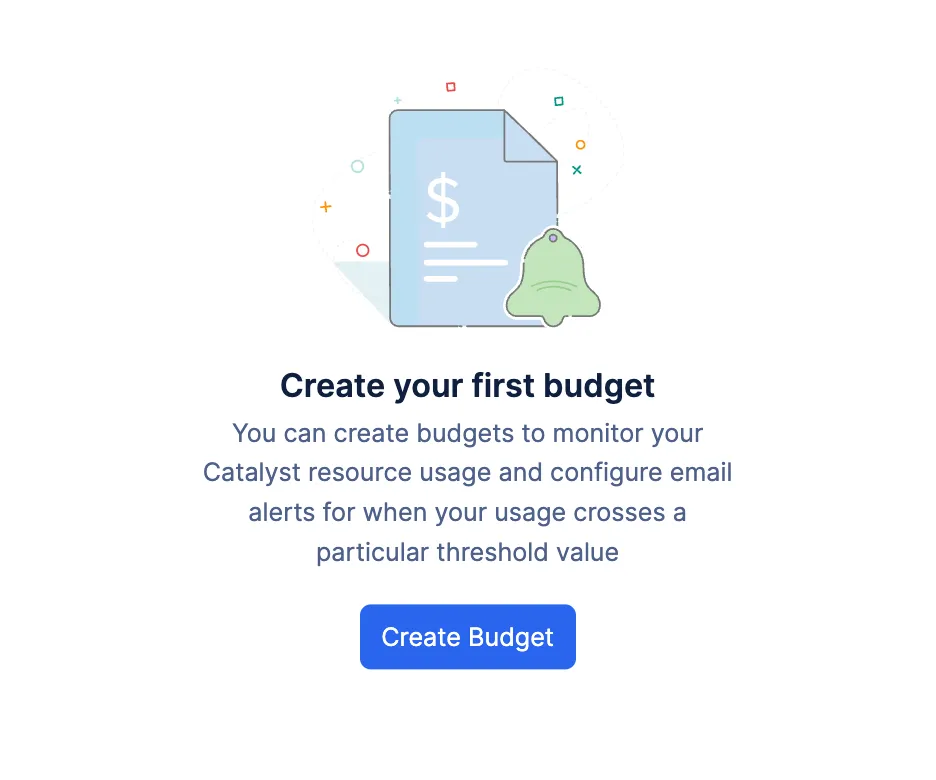
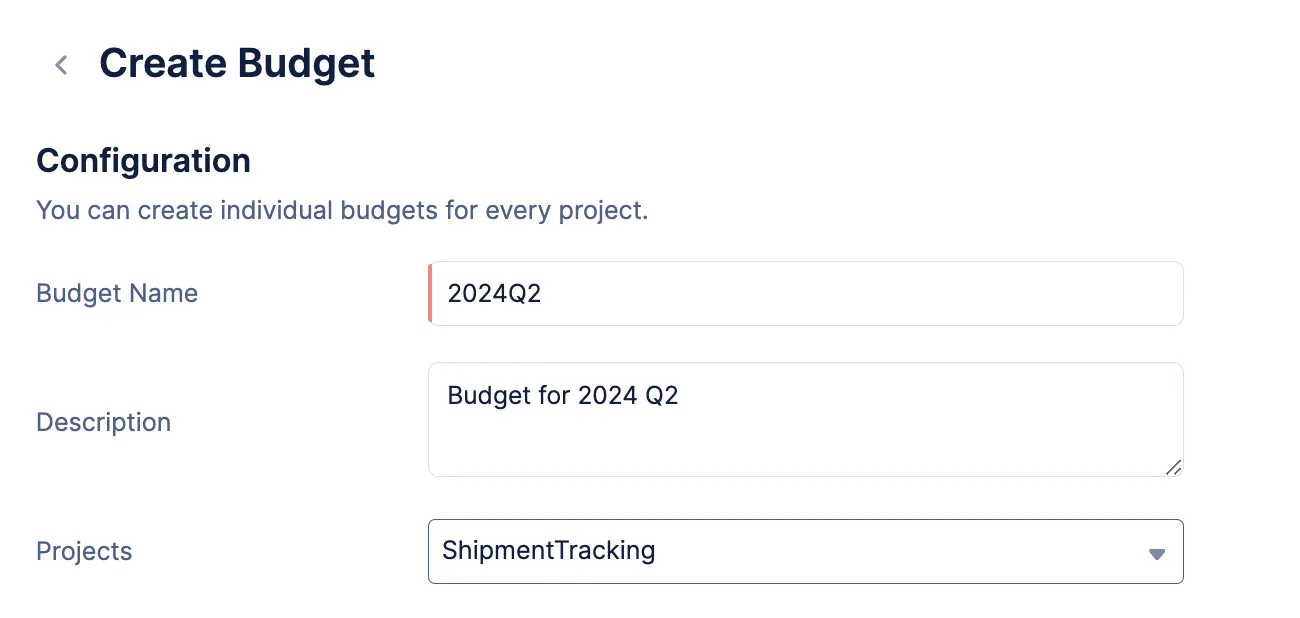
This will open the budget creation page. -
Enter a name and a description for the budget. Select a project that the budget should apply to. You can apply this budget for all projects as well.
-
Enter a threshold value for it. This is the maximum value set for your budget.
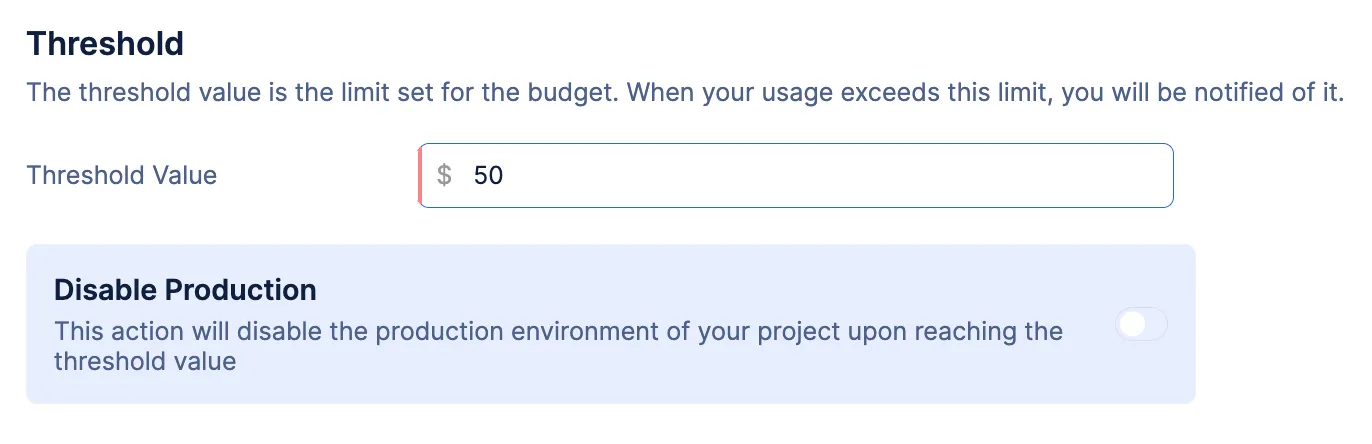
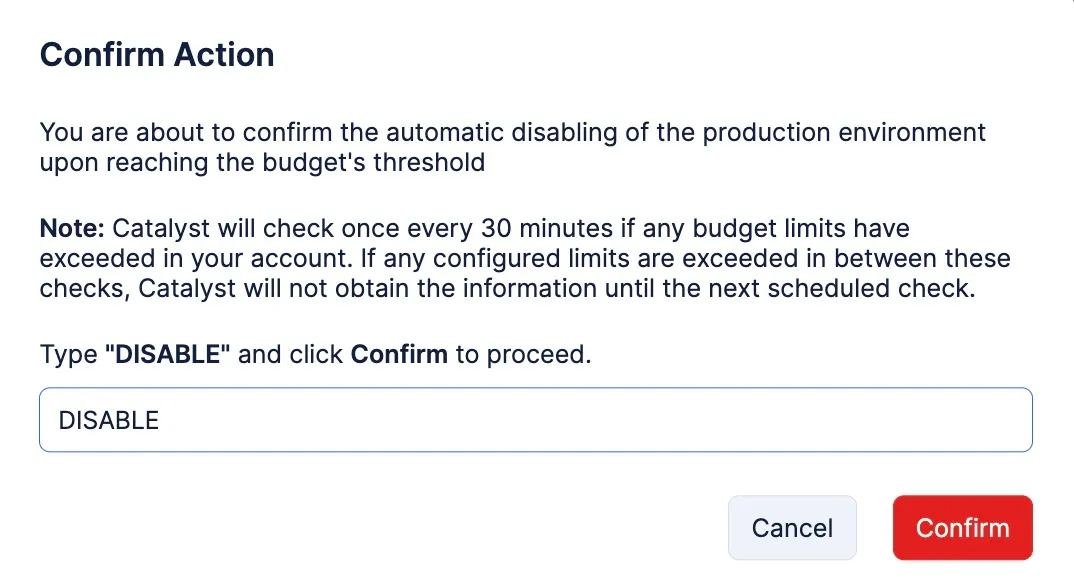
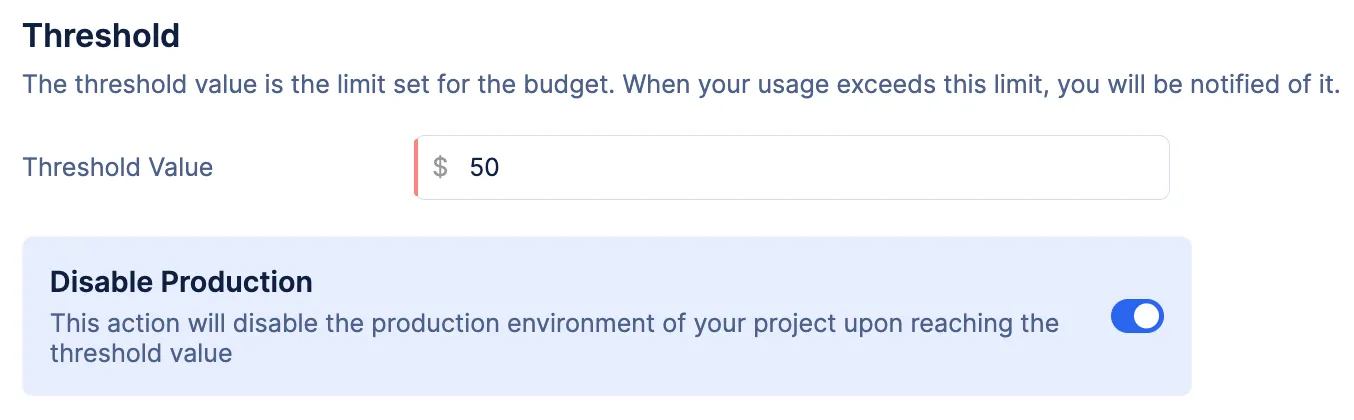
You can enable the Disable Production option to have the production environment automatically disabled upon reaching this threshold. This will open a pop-up. Enter “DISABLE” and click Confirm to confirm the action.
- You can now create rules that enable you to configure email alerts to be sent when your usage reaches a certain percentage of the threshold value.
Enter a percentage for the threshold amount in the text box. The amount value of that percentage is calculated automatically and displayed.
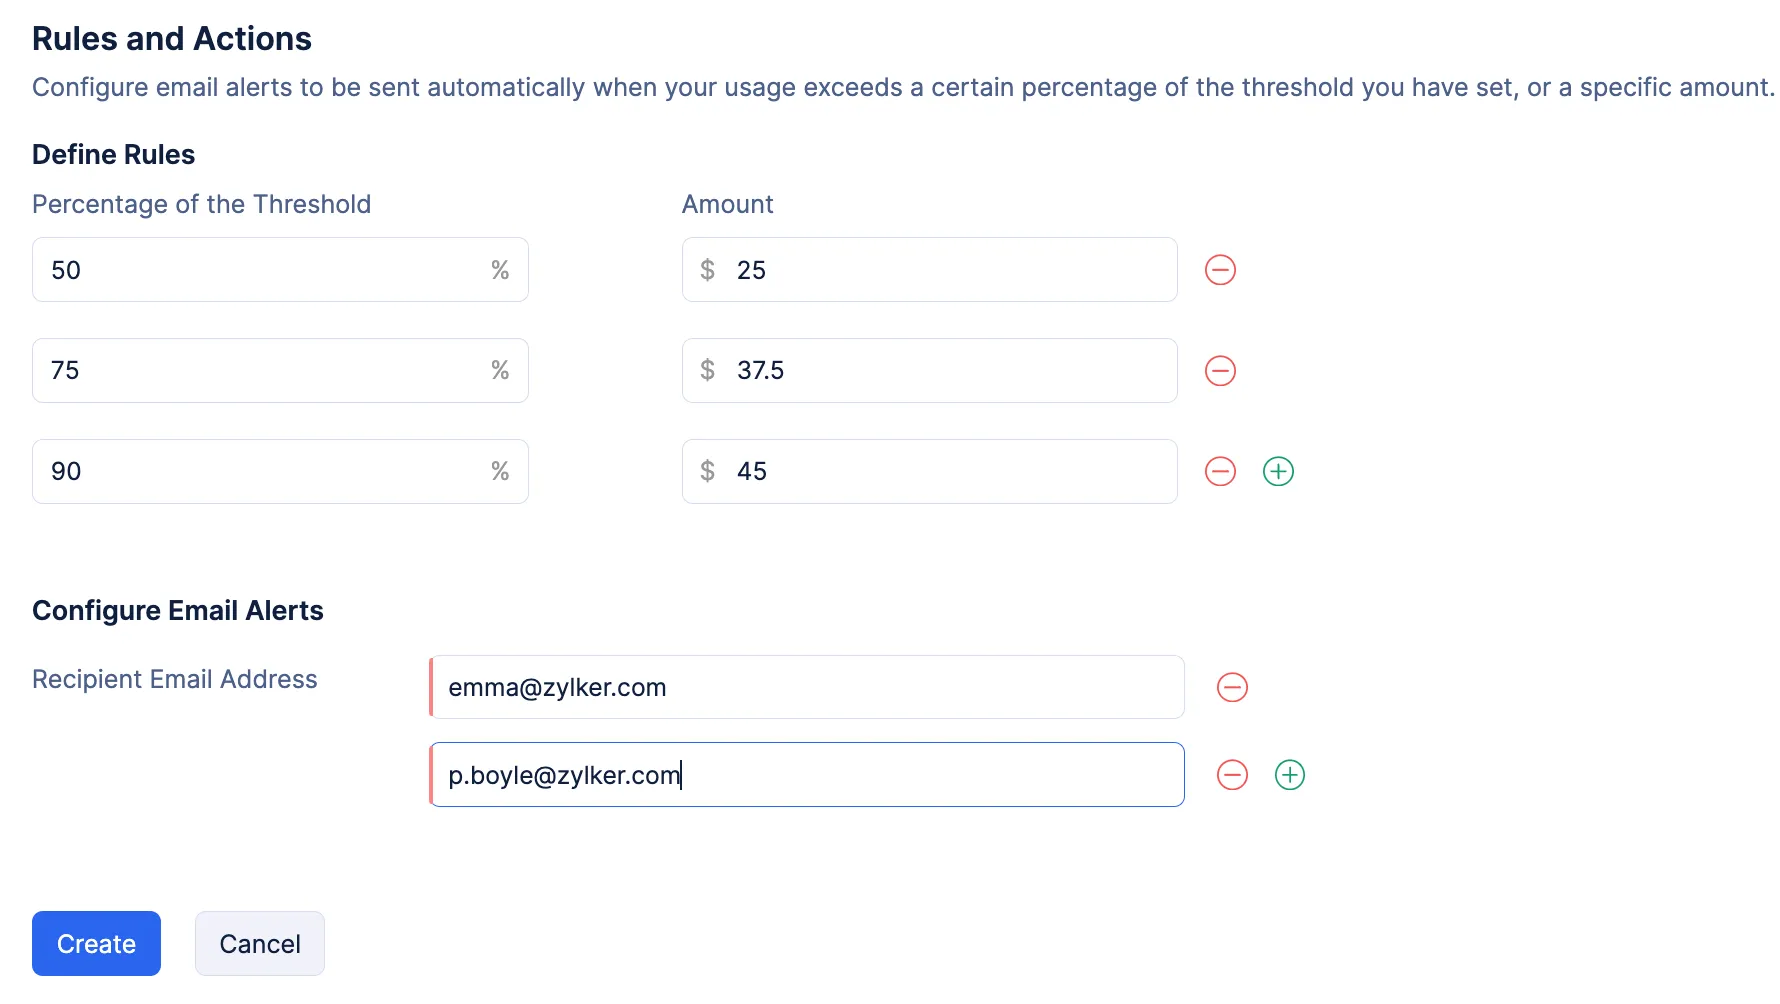
For example, if you require an email alert to be sent when your usage reaches 50% of the threshold limit value of $50, enter “50” under percentage. You will then receive an email alert when you use up $25.
You can create a maximum of five rules. To create another rule, click the (+) icon. To delete a rule, click the (-) icon.
Now, enter the recipient email address that the email alerts should be sent to. You can configure a maximum of three recipients.
- Click Create.
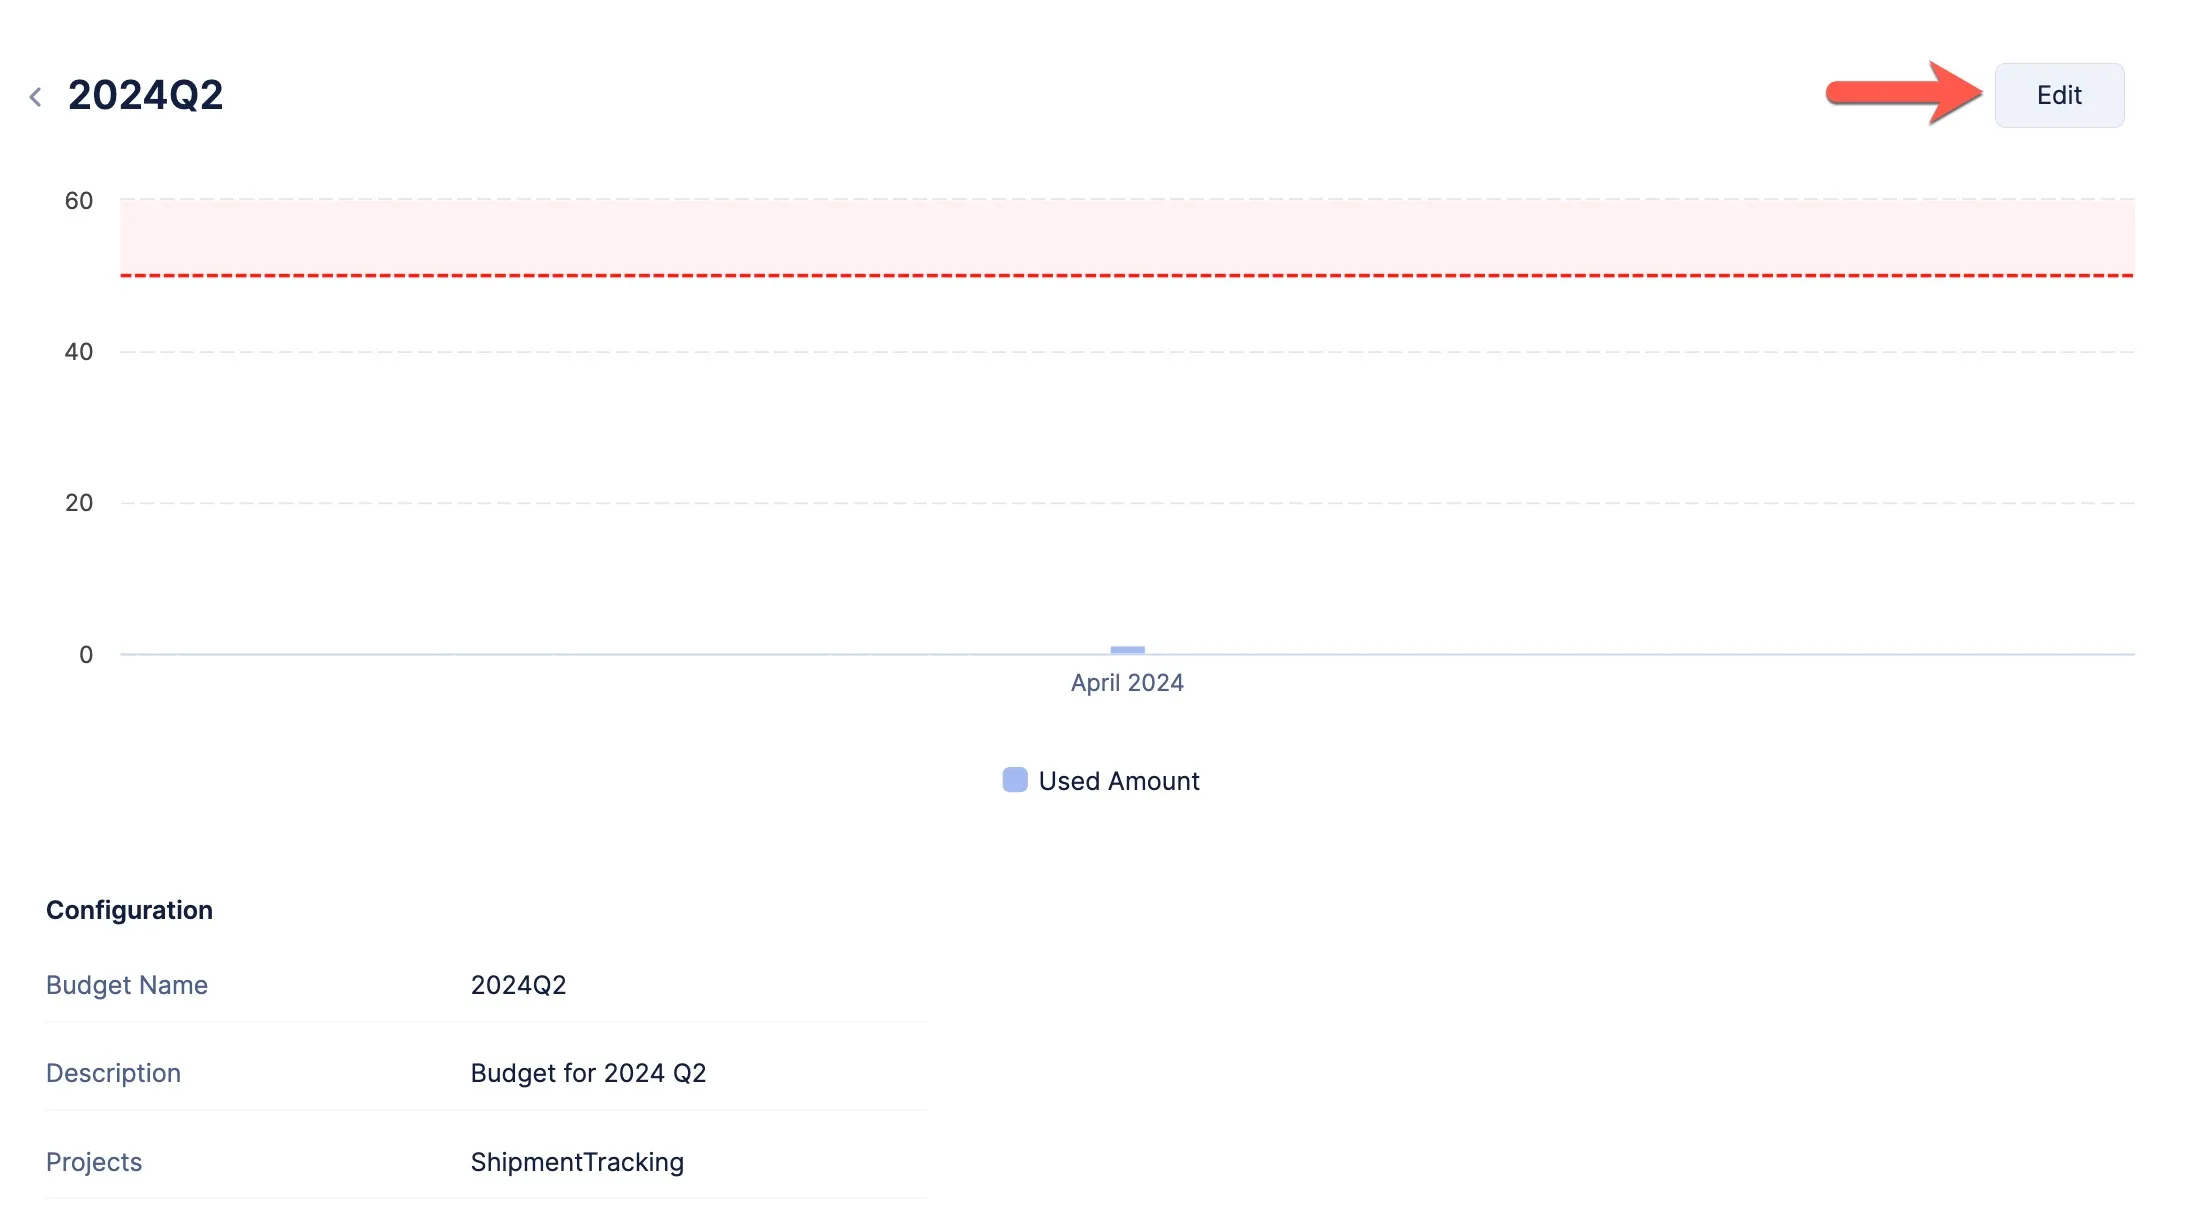
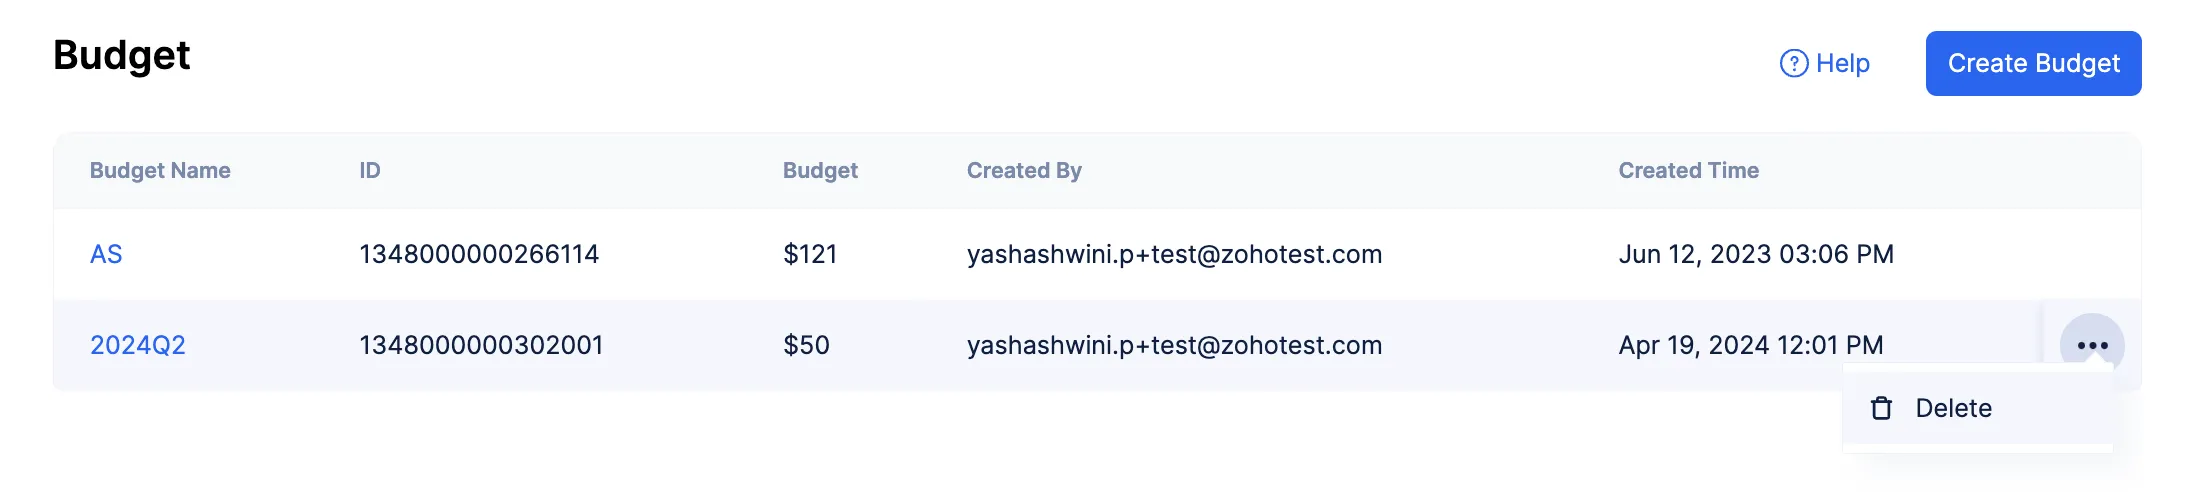
The budget will be created and listed in the Budgets page along with its details. A unique ID is also created for the budget.

You will now receive email alerts based on the rules that you set in the budget.
You can view a budget’s configuration by clicking the budget’s name. To edit the budget, click Edit from the budget view’s page. Modify the details and save the changes.
Delete a Budget
- You can delete a budget by clicking the ellipsis icon and clicking Delete from the Budget page.
- Click Yes, Proceed in the confirmation window.

Last Updated 2025-08-28 12:01:44 +0530 IST
Yes
No
Send your feedback to us