Create a Template
You need to create a custom template using the Catalyst SmartBrowz component, Templates. This template will contain the design and the style of the payslip. This is the template that will be generated as a PDF and emailed to the end-users.
To create a template:
-
Click the Catalyst SmartBrowz service icon in the console, and click Start Exploring.

-
Click Templates under Convert to access the Templates component, and click Create Template.
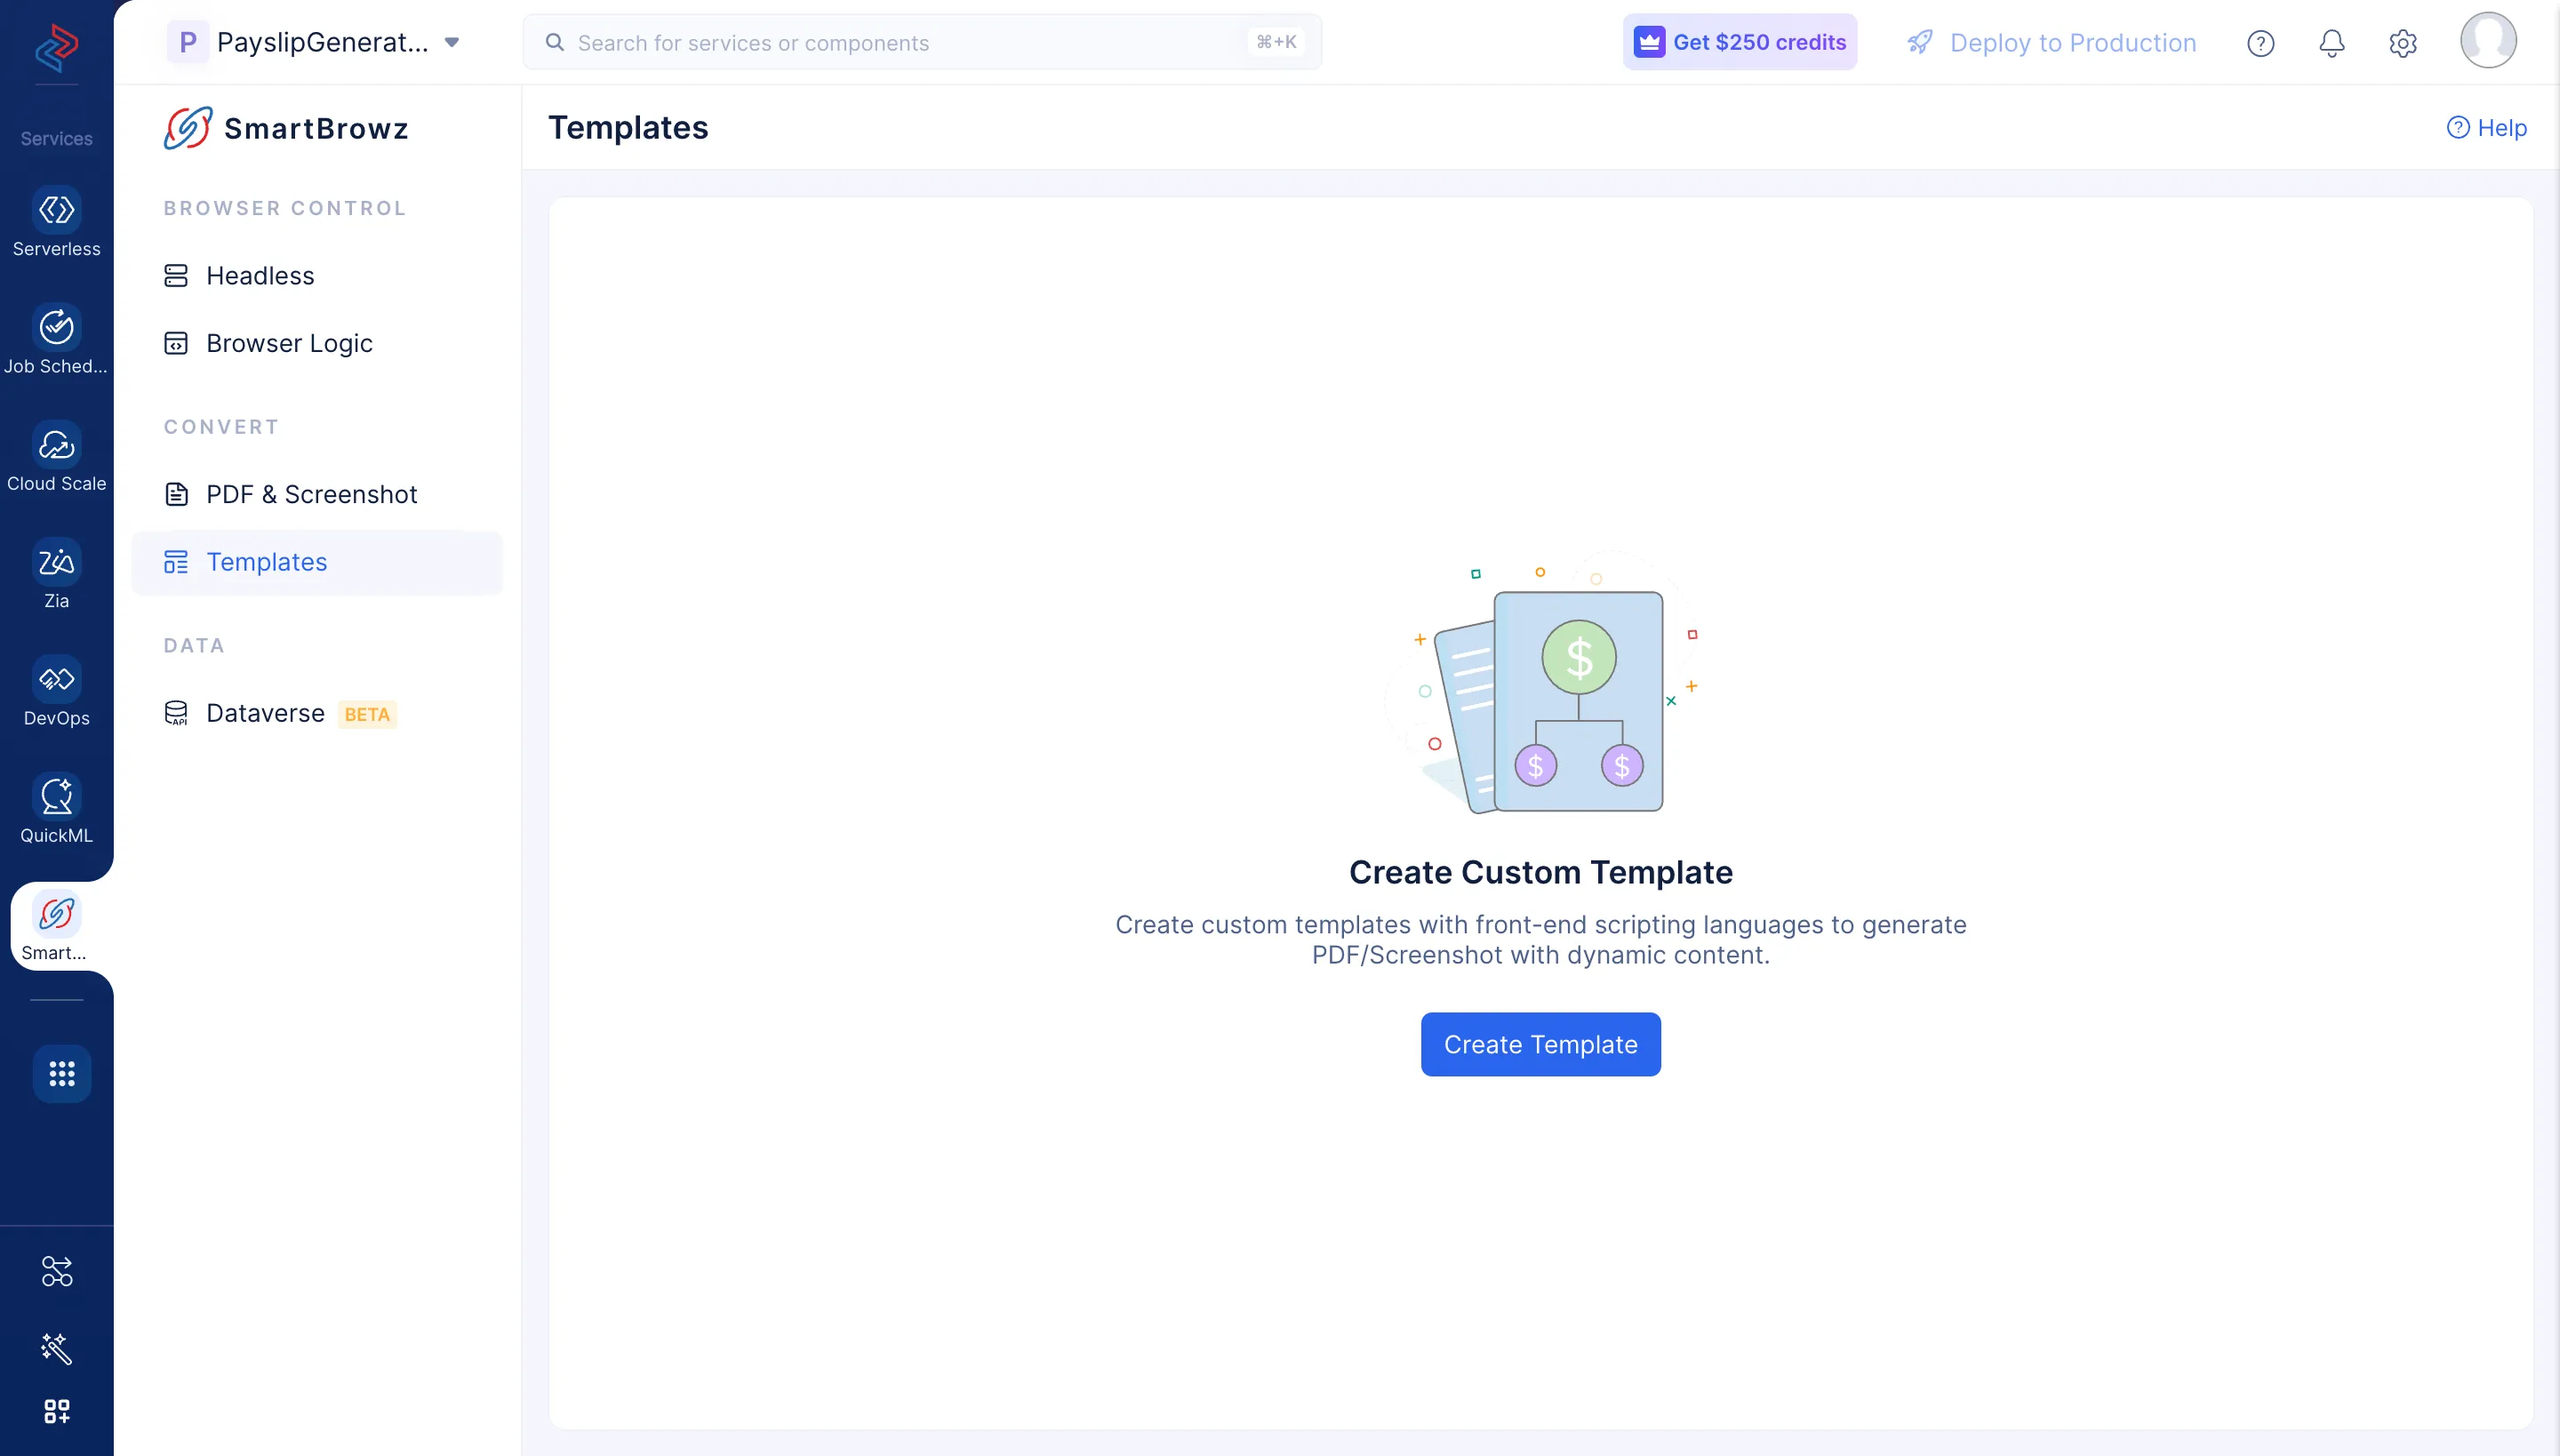
-
Select Custom, enter “Payslip” as the name of the template, and click Create.
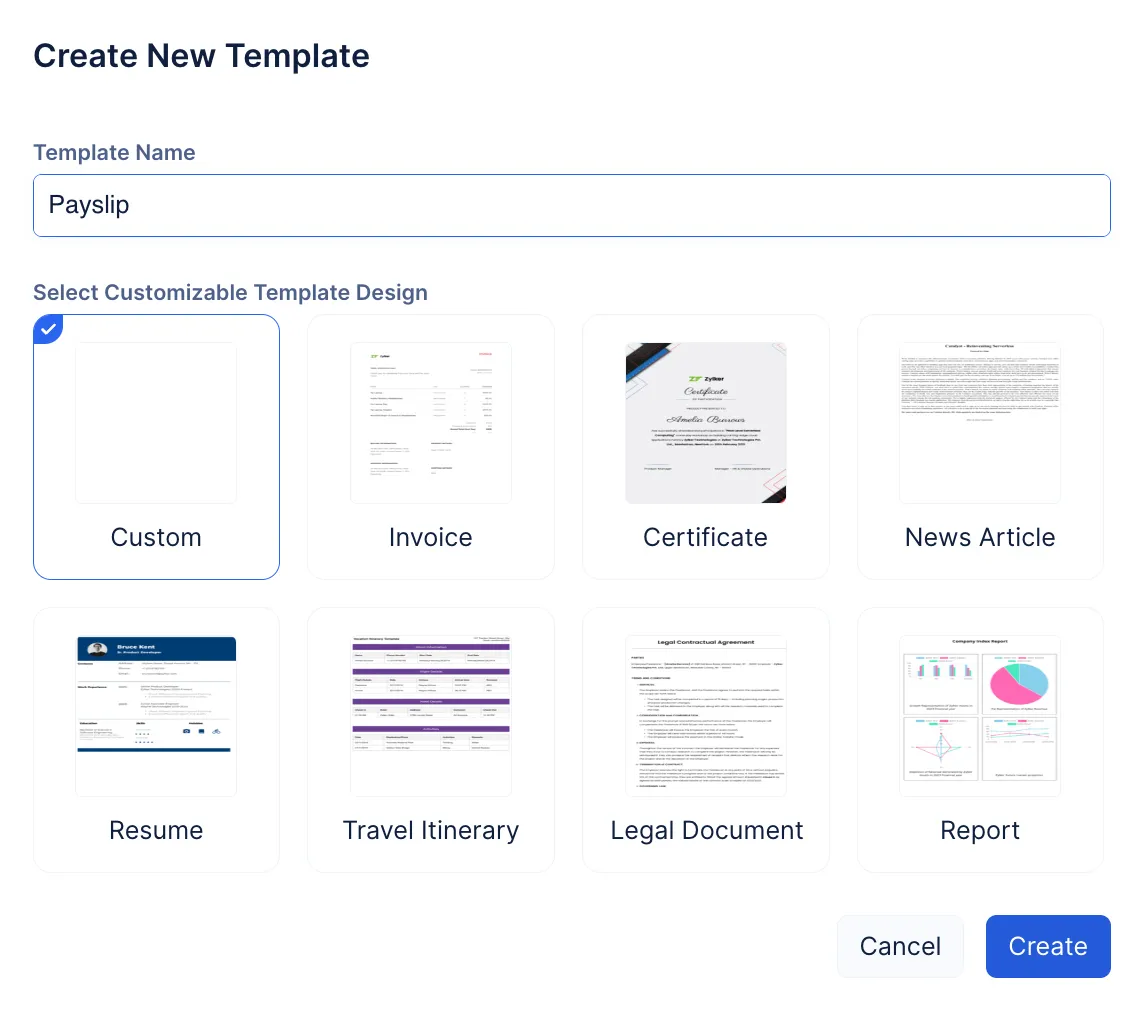
You will be able to view the template editor and the template preview window.
-
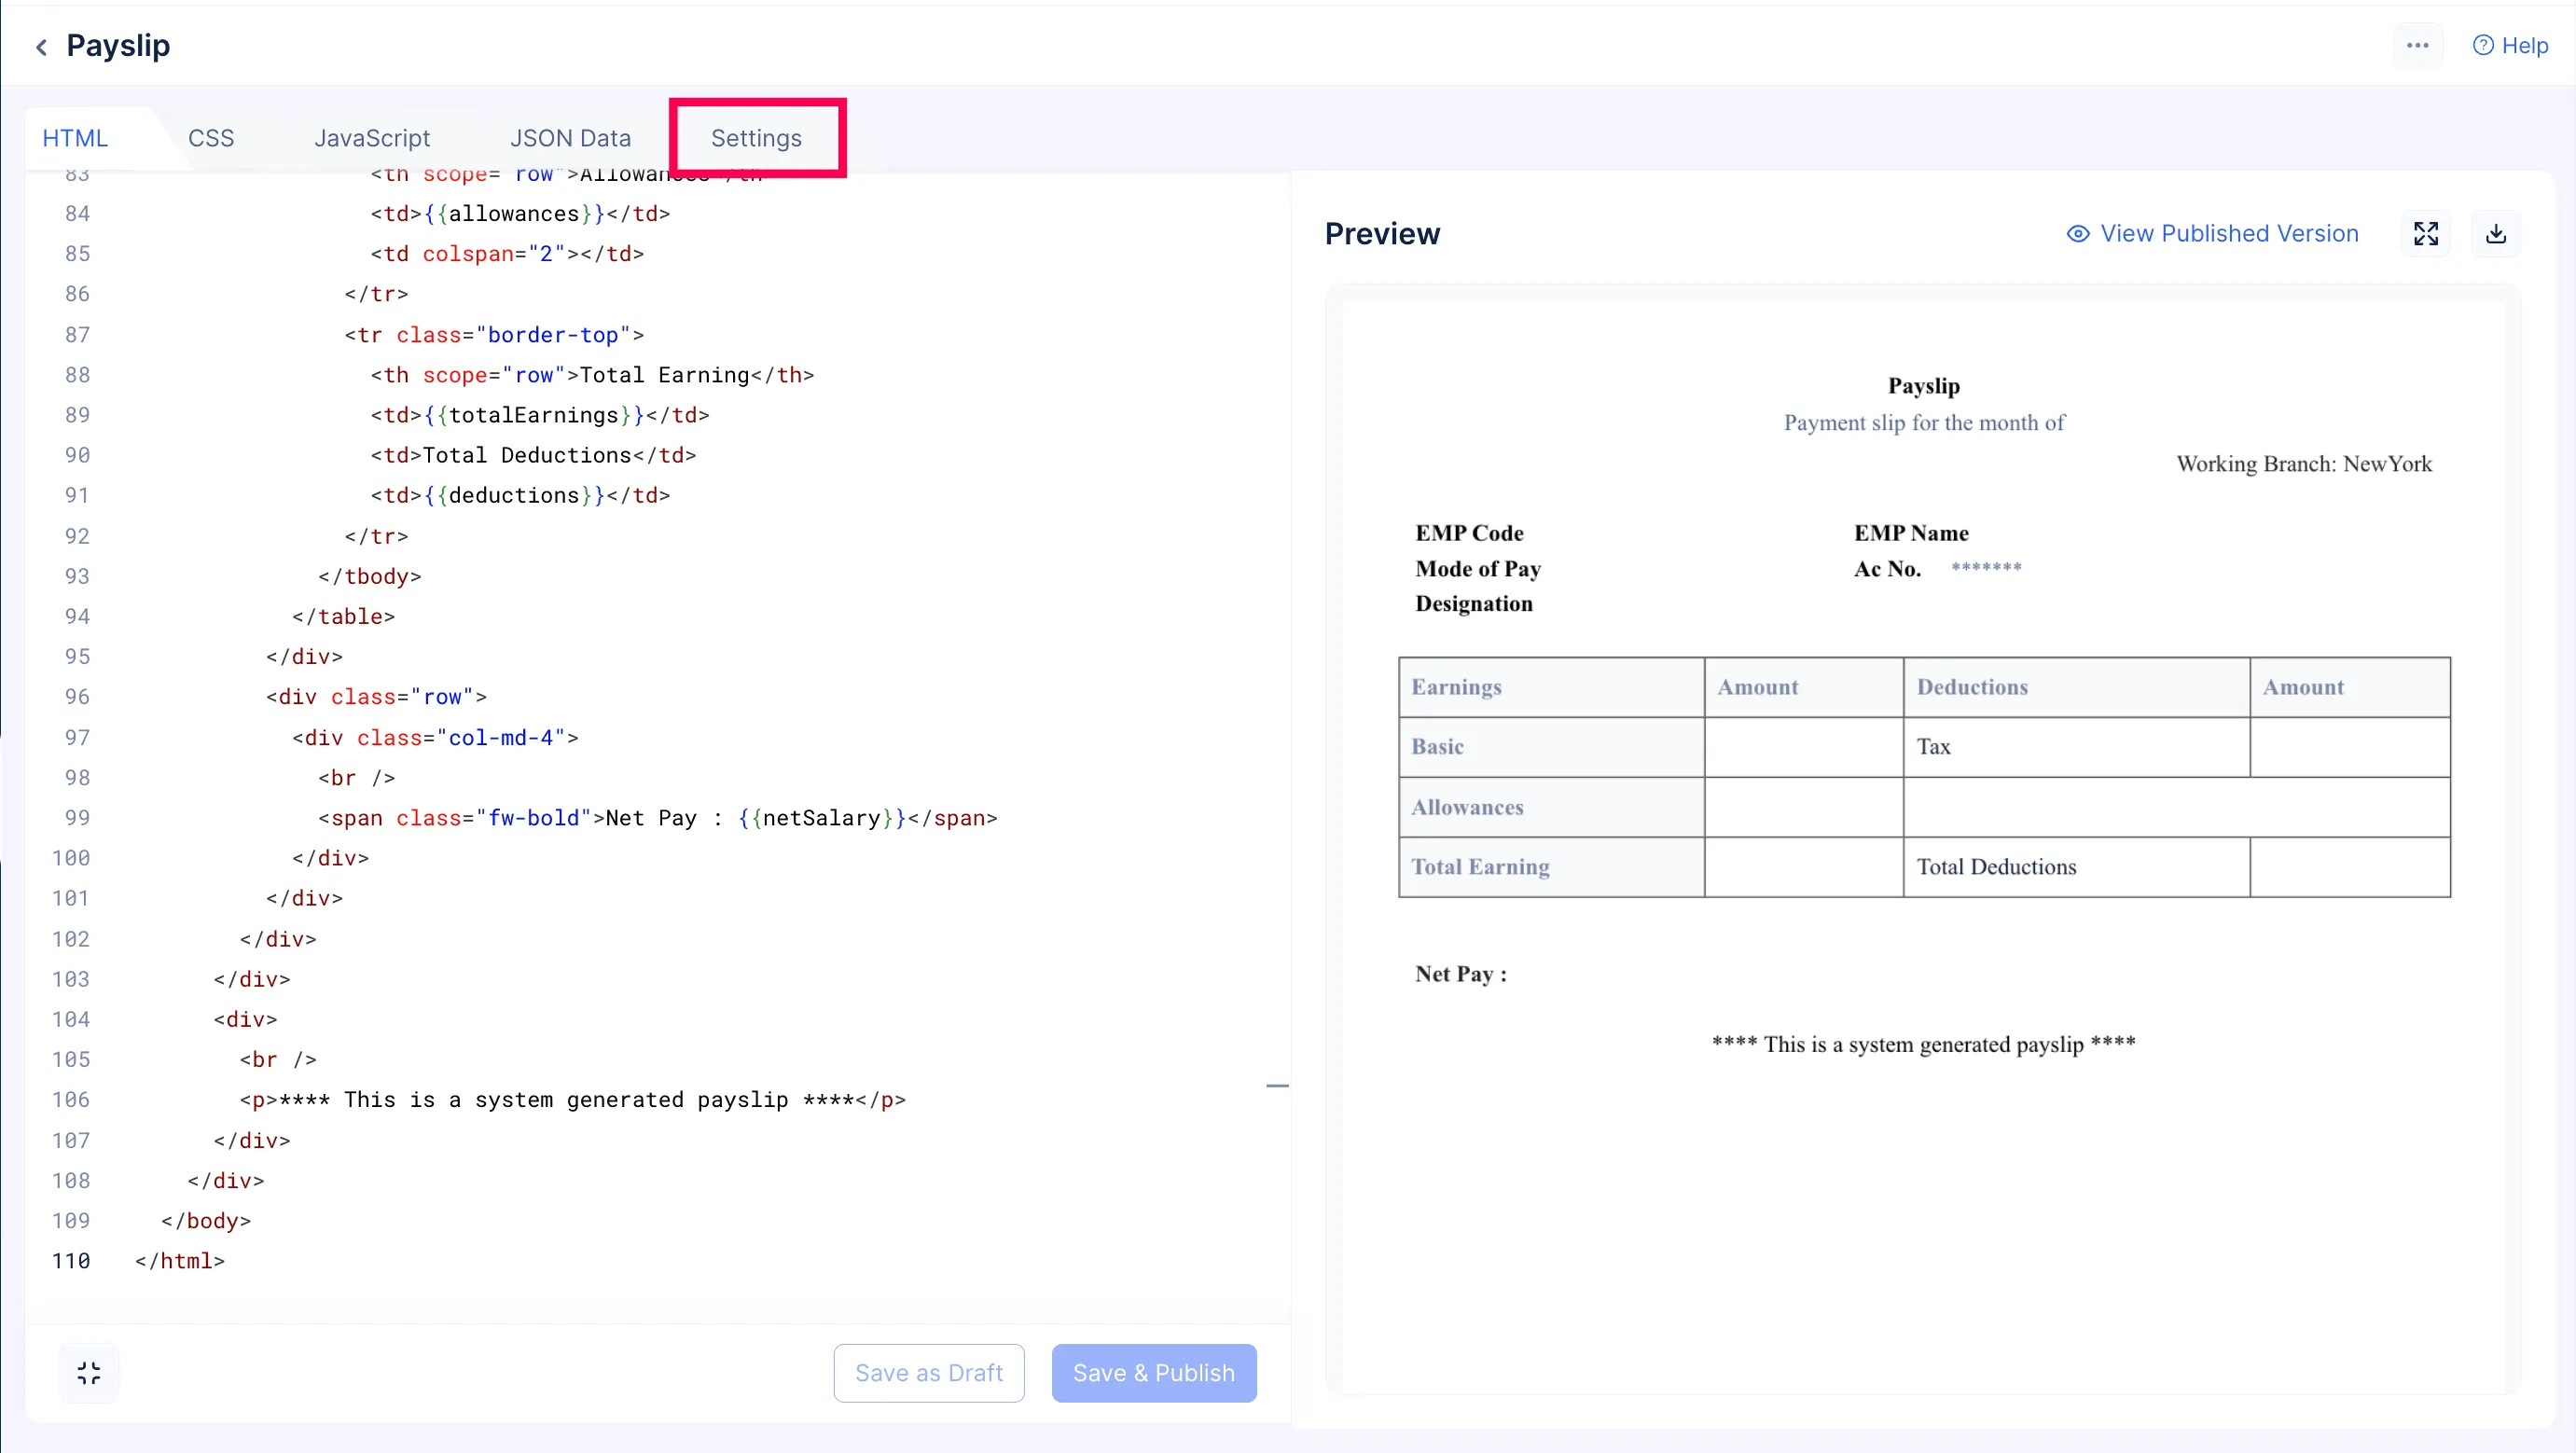
Copy the given code and paste it in the appropriate editors as explained below:
- Paste the following HTML code in the HTML editor
<!DOCTYPE html>
<html>
<head>
<title>Payslip</title>
<link
rel="stylesheet"
type="text/css"
href="https://cdn.jsdelivr.net/npm/bootstrap@5.0.1/dist/css/bootstrap.min.css"
/>
<script src="https://cdn.jsdelivr.net/npm/bootstrap@5.0.1/dist/js/bootstrap.bundle.min.js"></script>
<script src="https://cdnjs.cloudflare.com/ajax/libs/jquery/3.2.1/jquery.min.js"></script>
</head>
<body>
<div class="container mt-5 mb-5">
<div class="row">
<div class="col-md-12">
<div class="text-center lh-1 mb-2">
<h6 class="fw-bold color_primary">{{company}} Payslip</h6>
<span class="fw-normal color_sec"
>Payment slip for the month of {{month}} {{year}}</span
>
</div>
<div class="d-flex justify-content-end">
<span>Working Branch: NewYork</span>
</div>
<br>
<div class="row">
<div class="col-md-10">
<div class="row">
<div class="col-sm-6">
<div>
<span class="fw-bolder color_primary">EMP Code</span>
<small class="ms-3 color_sec">{{employeeId}}</small>
</div>
</div>
<div class="col-sm-6">
<div>
<span class="fw-bolder color_primary">EMP Name</span>
<small class="ms-3 color_sec">{{employeeName}}</small>
</div>
</div>
</div>
<div class="row">
<div class="col-sm-6">
<div>
<span class="fw-bolder color_primary">Mode of Pay</span>
<small class="ms-3 color_sec">{{paymentMethod}}</small>
</div>
</div>
<div class="col-sm-6">
<div>
<span class="fw-bolder color_primary">Ac No.</span>
<small class="ms-3 color_sec">*******</small>
</div>
</div>
</div>
<div class="row">
<div class="col-sm-6">
<div>
<span class="fw-bolder color_primary">Designation</span>
<small class="ms-3 color_sec">{{designation}}</small>
</div>
</div>
</div>
</div>
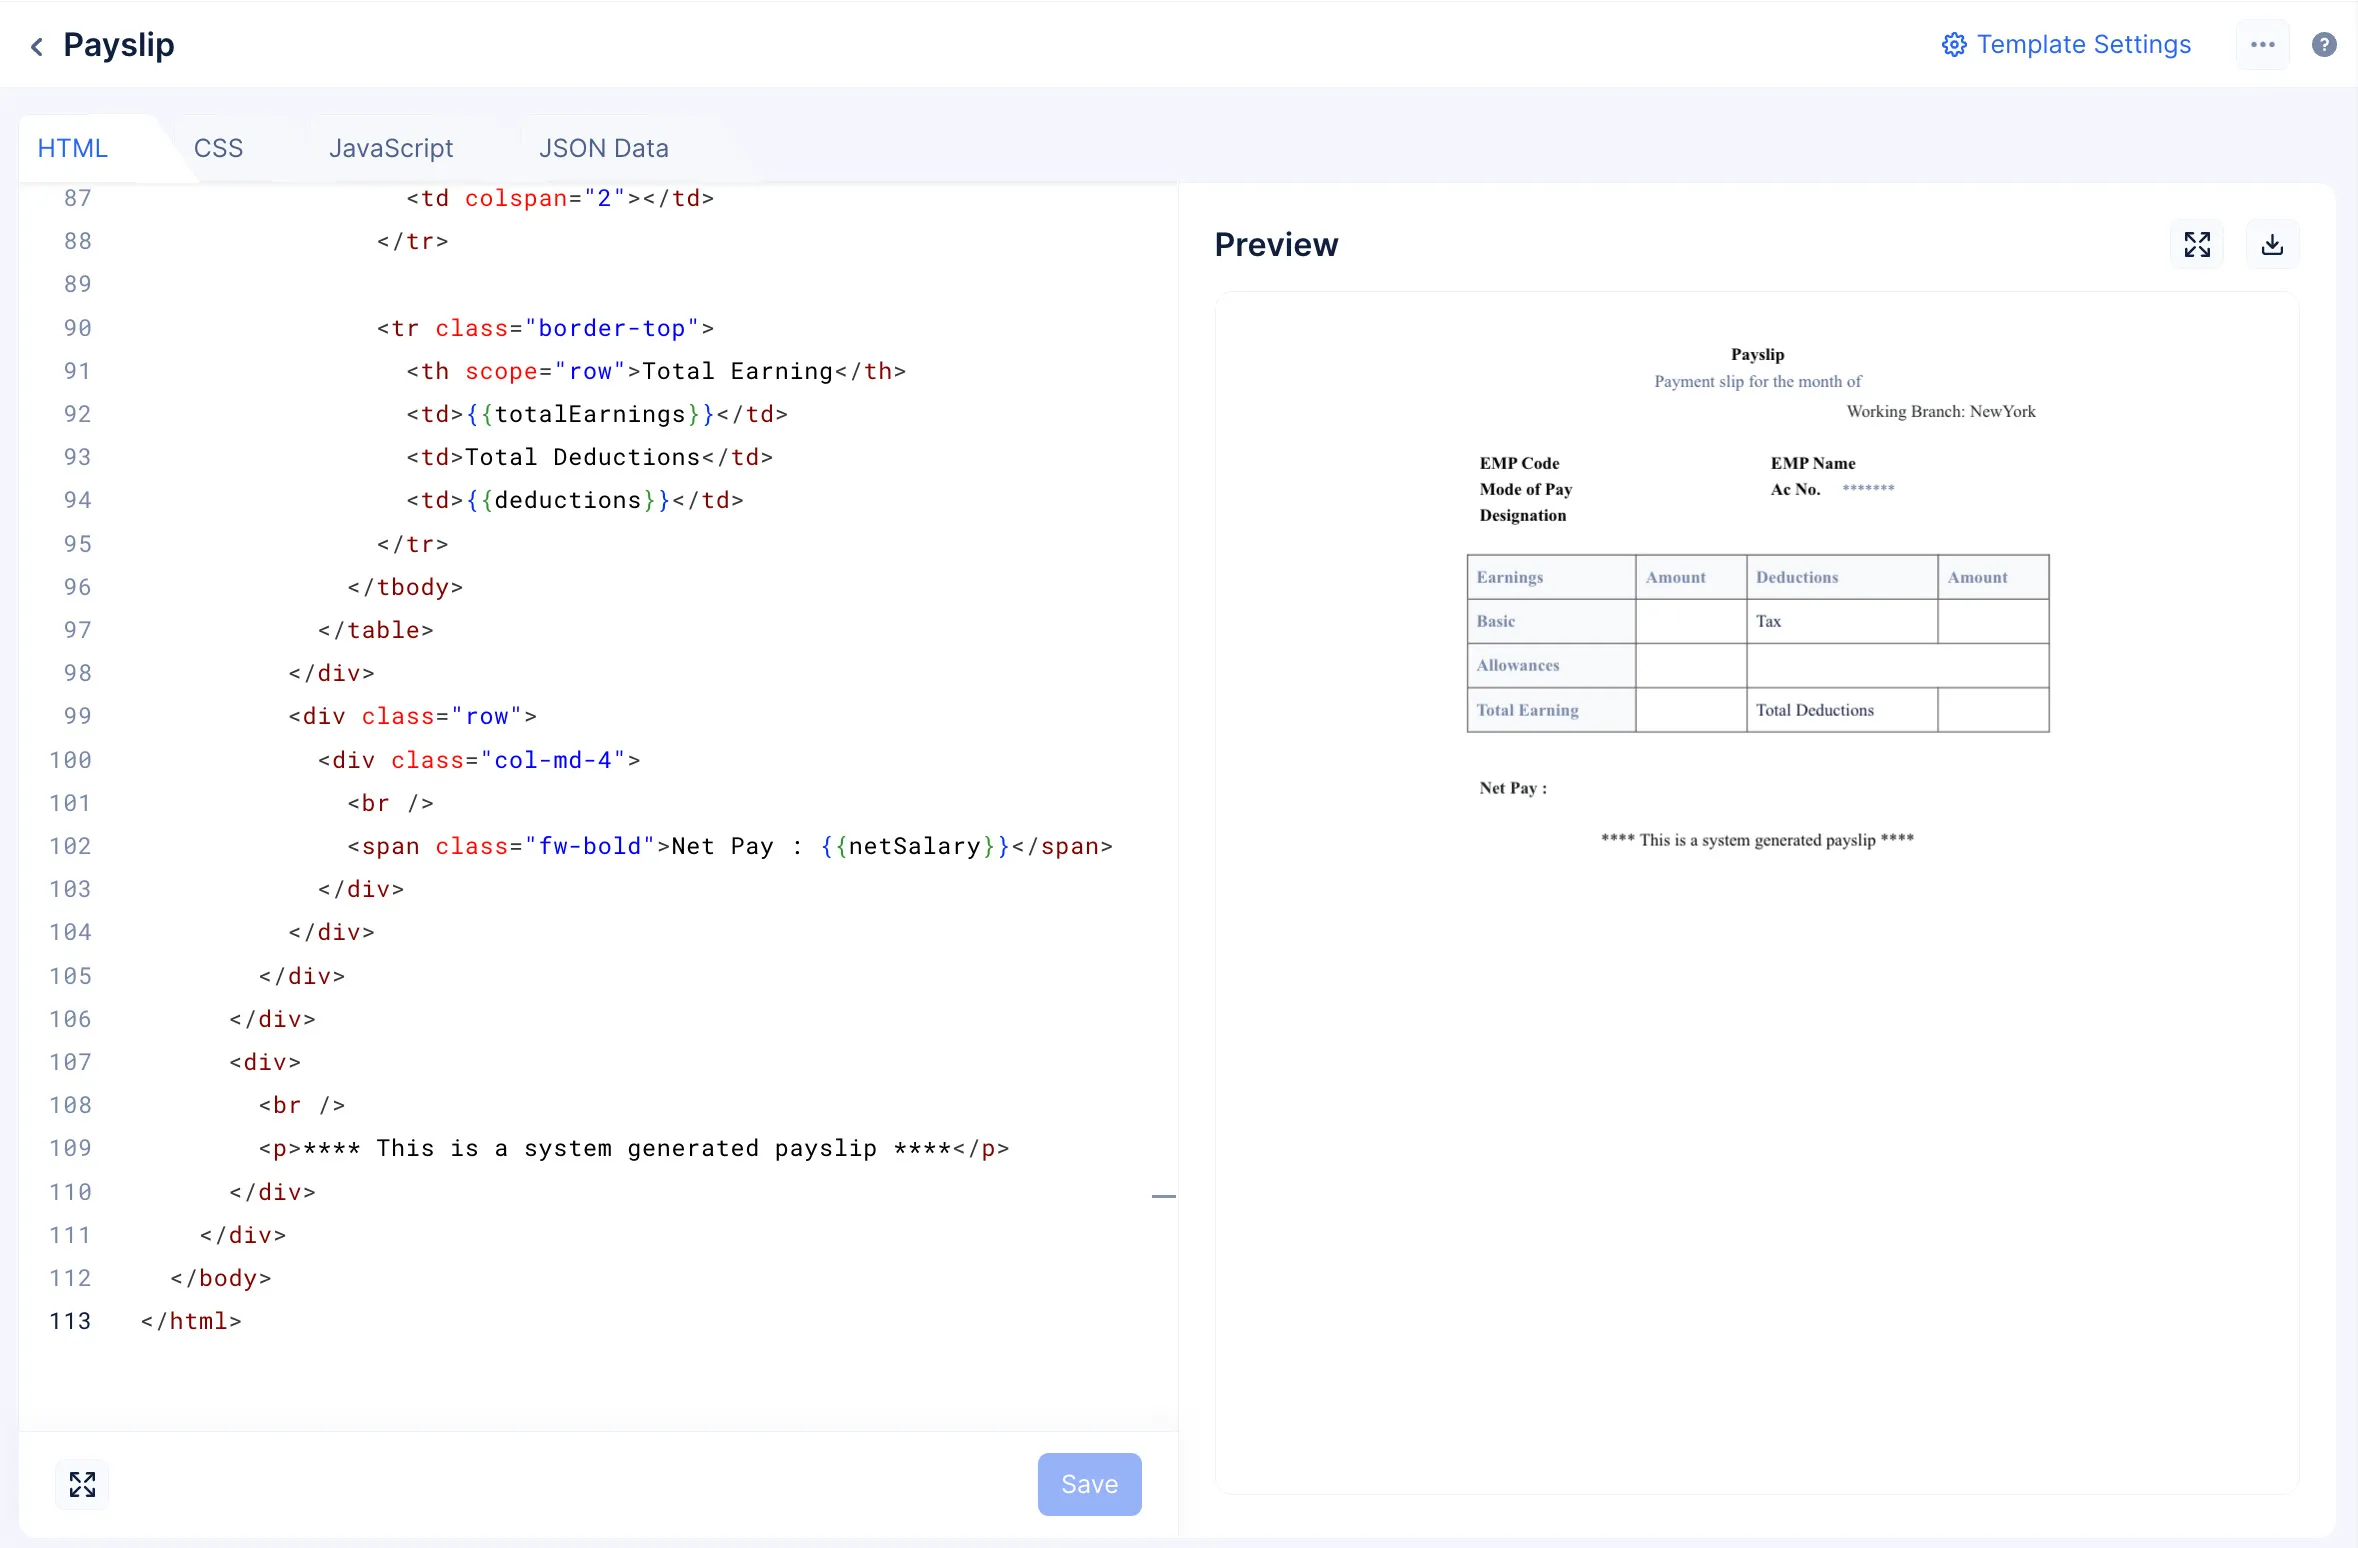
<table class="mt-4 table table-bordered">
<thead class="bg-dark text-white">
<tr>
<th scope="col">Earnings</th>
<th scope="col">Amount</th>
<th scope="col">Deductions</th>
<th scope="col">Amount</th>
</tr>
</thead>
<tbody>
<tr>
<th scope="row">Basic</th>
<td>{{basicSalary}}</td>
<td>Tax</td>
<td>{{deductions}}</td>
</tr>
<tr>
<th scope="row">Allowances</th>
<td>{{allowances}}</td>
<td colspan="2"></td>
</tr>
<tr class="border-top">
<th scope="row">Total Earning</th>
<td>{{totalEarnings}}</td>
<td>Total Deductions</td>
<td>{{deductions}}</td>
</tr>
</tbody>
</table>
</div>
<div class="row">
<div class="col-md-4">
<br />
<span class="fw-bold">Net Pay : {{netSalary}}</span>
</div>
</div>
</div>
</div>
<div>
<br />
<p>**** This is a system generated payslip ****</p>
</div>
</div>
</body>
</html>
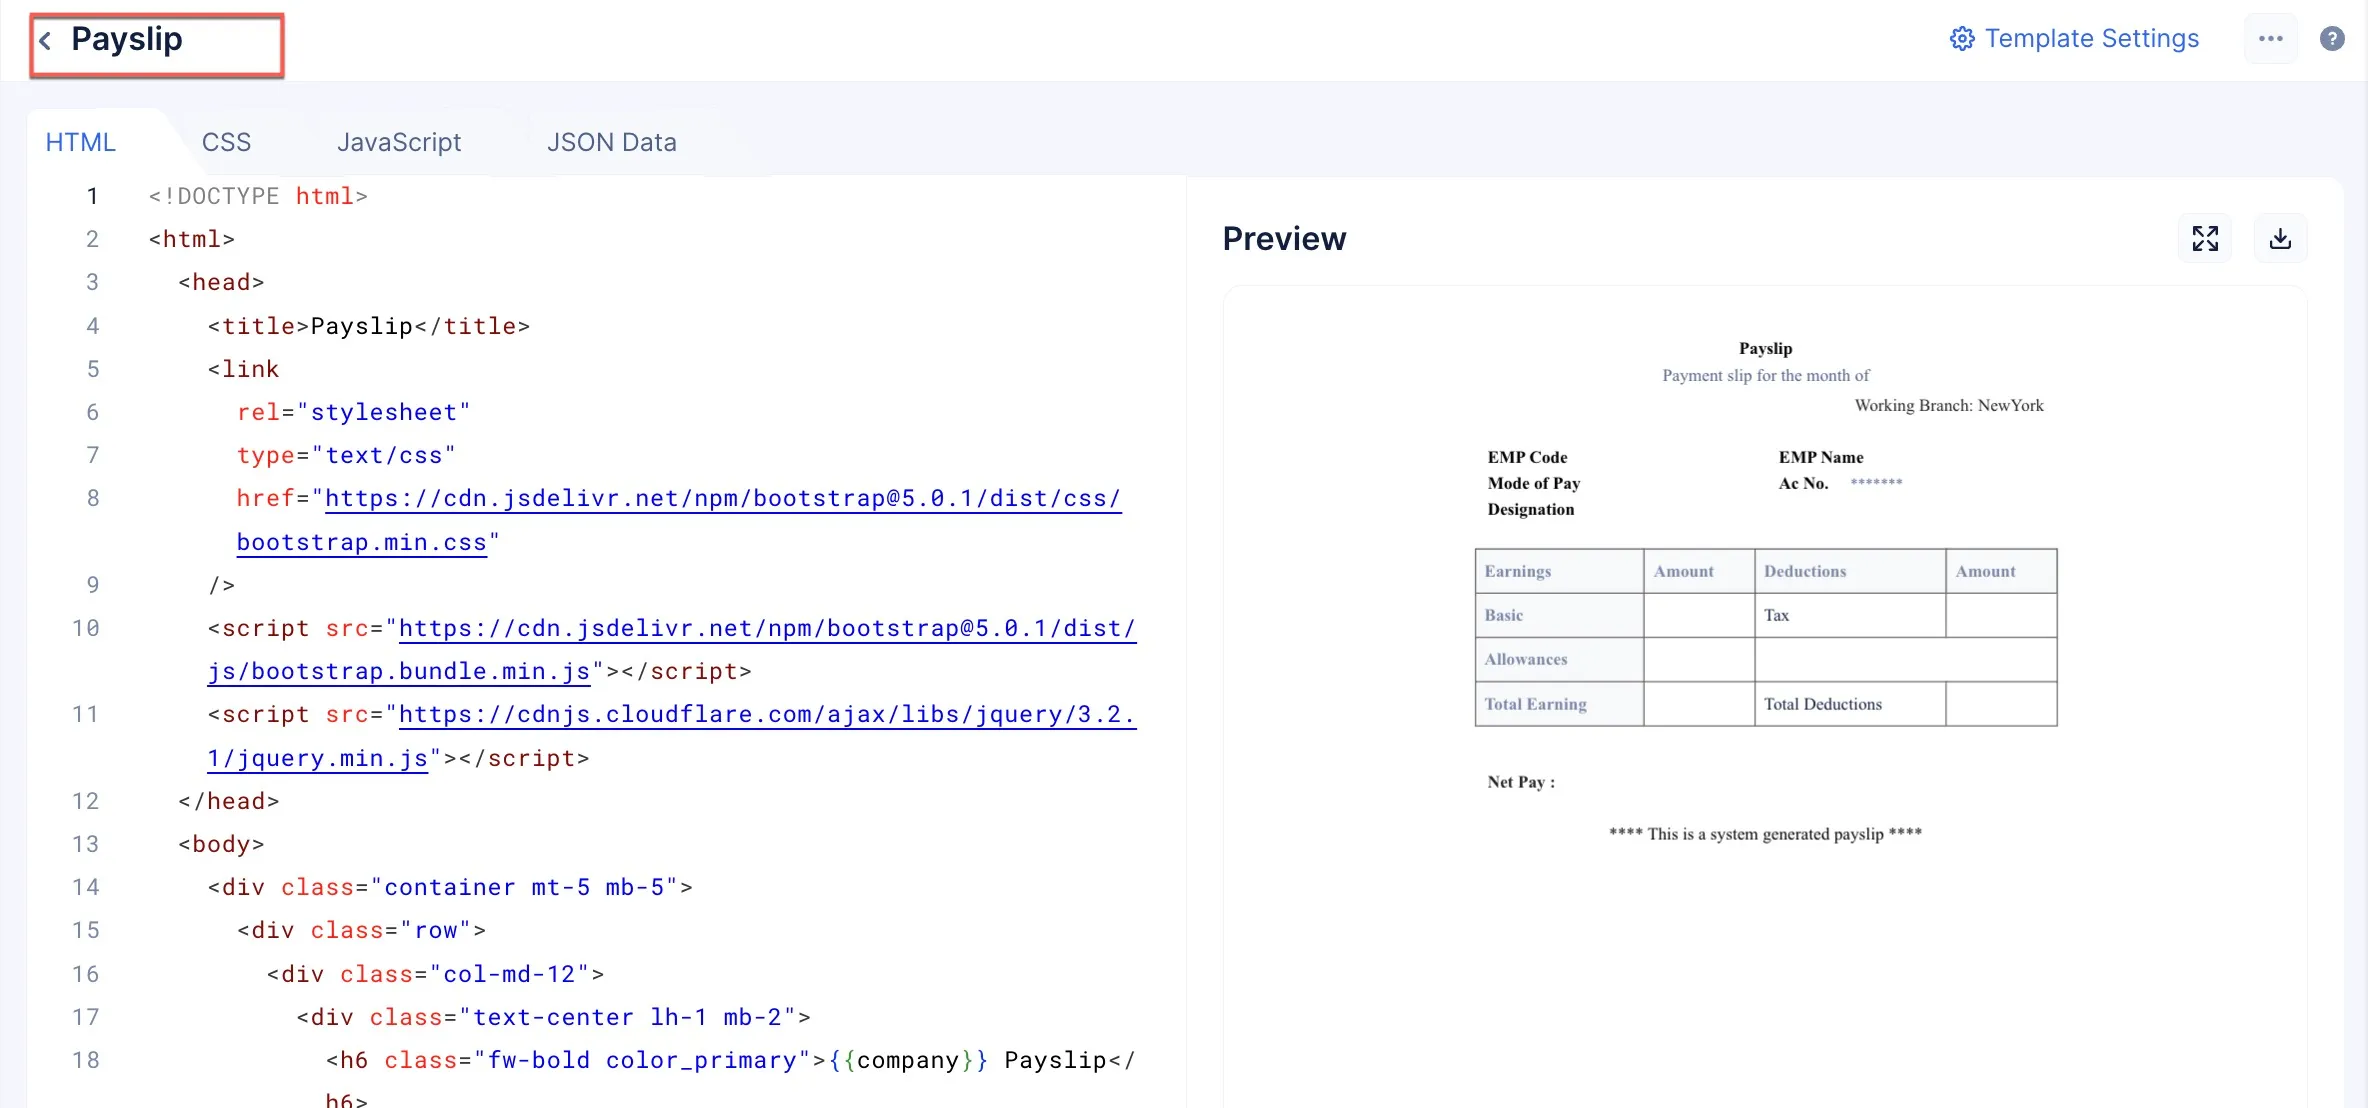
- Click the CSS tab and paste the following code
body {
        font-family: "Times New Roman", Times, serif;
      }
      table {
        width: 100%;
        border-radius: 5px solid;
        border-spacing: 0;
        margin-bottom: 20px;
      }
      tr {
        border: solid 1px #524f4f;
        border-top-color: #524f4f;
      }
      th,
      td {
        padding: 8px;
        text-align: left;
        color: #101f3e;
        background-color: #fff;
      }
      th {
        background-color: #f8f9fb !important;
        color: #7888a8;
      }
      p {
        text-align: center;
        color: black;
      }
      .color_primary {
        color: black;
      }
      .color_sec {
        color: #4d618a;
      }
-
Click Save. You can view the template that will be rendered to the user from the preview section on the right.
-
Click Settings to style and format the template further.
-
We encourage you to explore the various options and style the visual format elements of the template as you prefer. The Live Preview section will render all of your changes in real-time and display the template that will appear to the user.
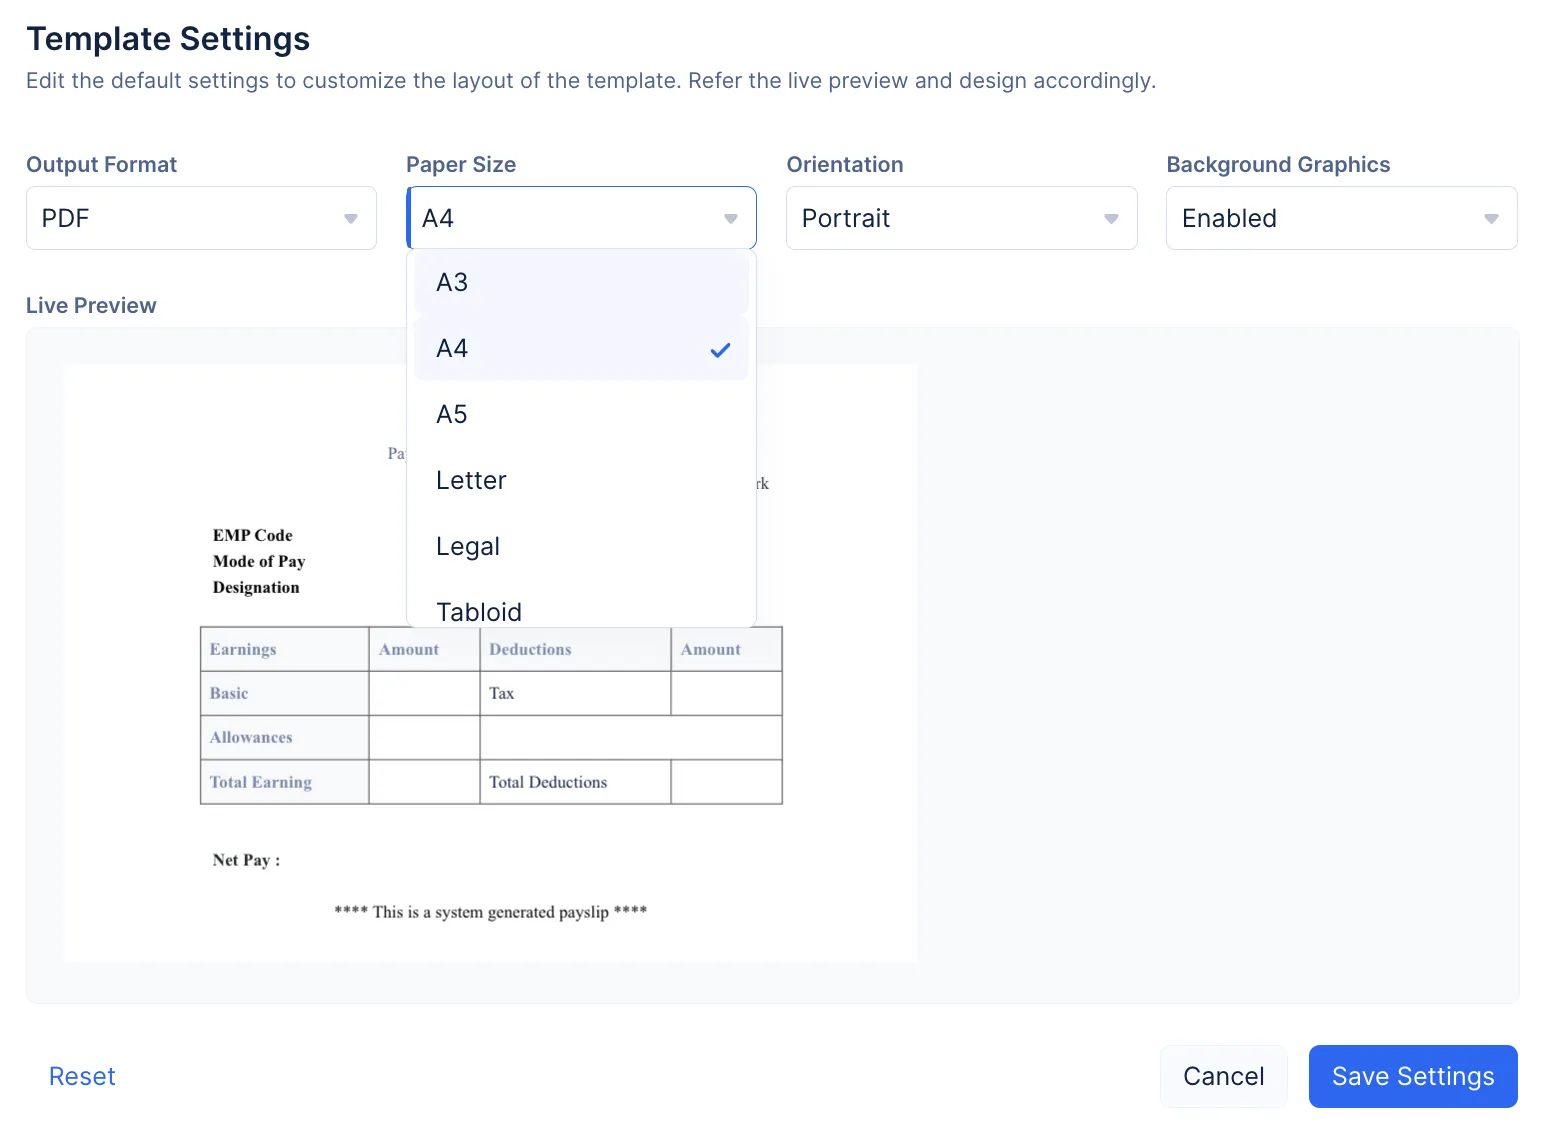
- Click Save Settings to save your preferences. Click the back-arrow icon near the name of the template after you have completed customizing your template.
Your custom template is saved, and you will be able to view the unique Template ID generated by Catalyst. To learn more about the Templates component, visit this help document.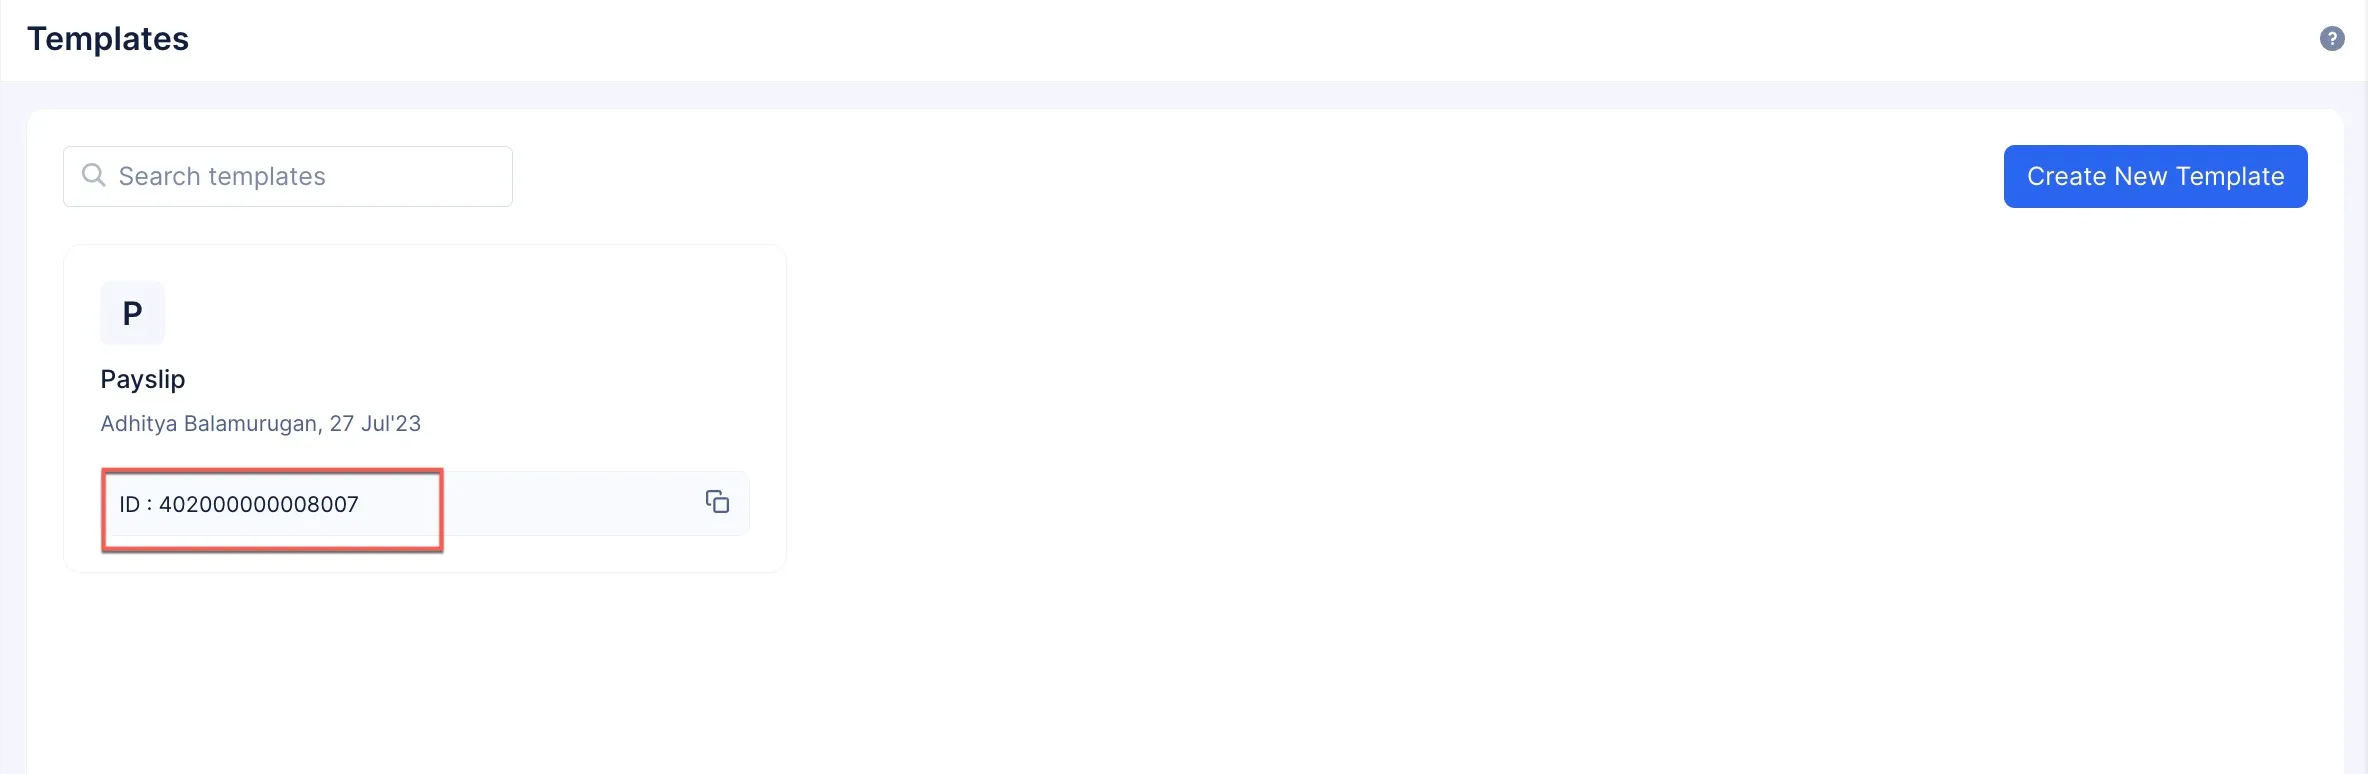
Last Updated 2025-11-19 20:37:41 +0530 IST