Git Integration
Catalyst Slate allows you to integrate with common Git providers and automatically deploy your applications. This enables seamless workflows and deployment management, enhancing developer productivity and deployment scalability to a greater extent.
The supported Git providers include:
You can deploy code built in any Node based client framework of your choice. Additionally, Slate provides native support for a wide range of frameworks as well. Refer to this help page to know the full list of supported frameworks.
We will now delve deeper into each deployment method in detail in the upcoming help sections.
Deploy from Private Repository
Catalyst Slate allows you to integrate with your Git accounts seamlessly, access your private repositories, and directly deploy applications from those repositories.
To deploy your web client application using the private repository integration method, please ensure to follow the below steps:
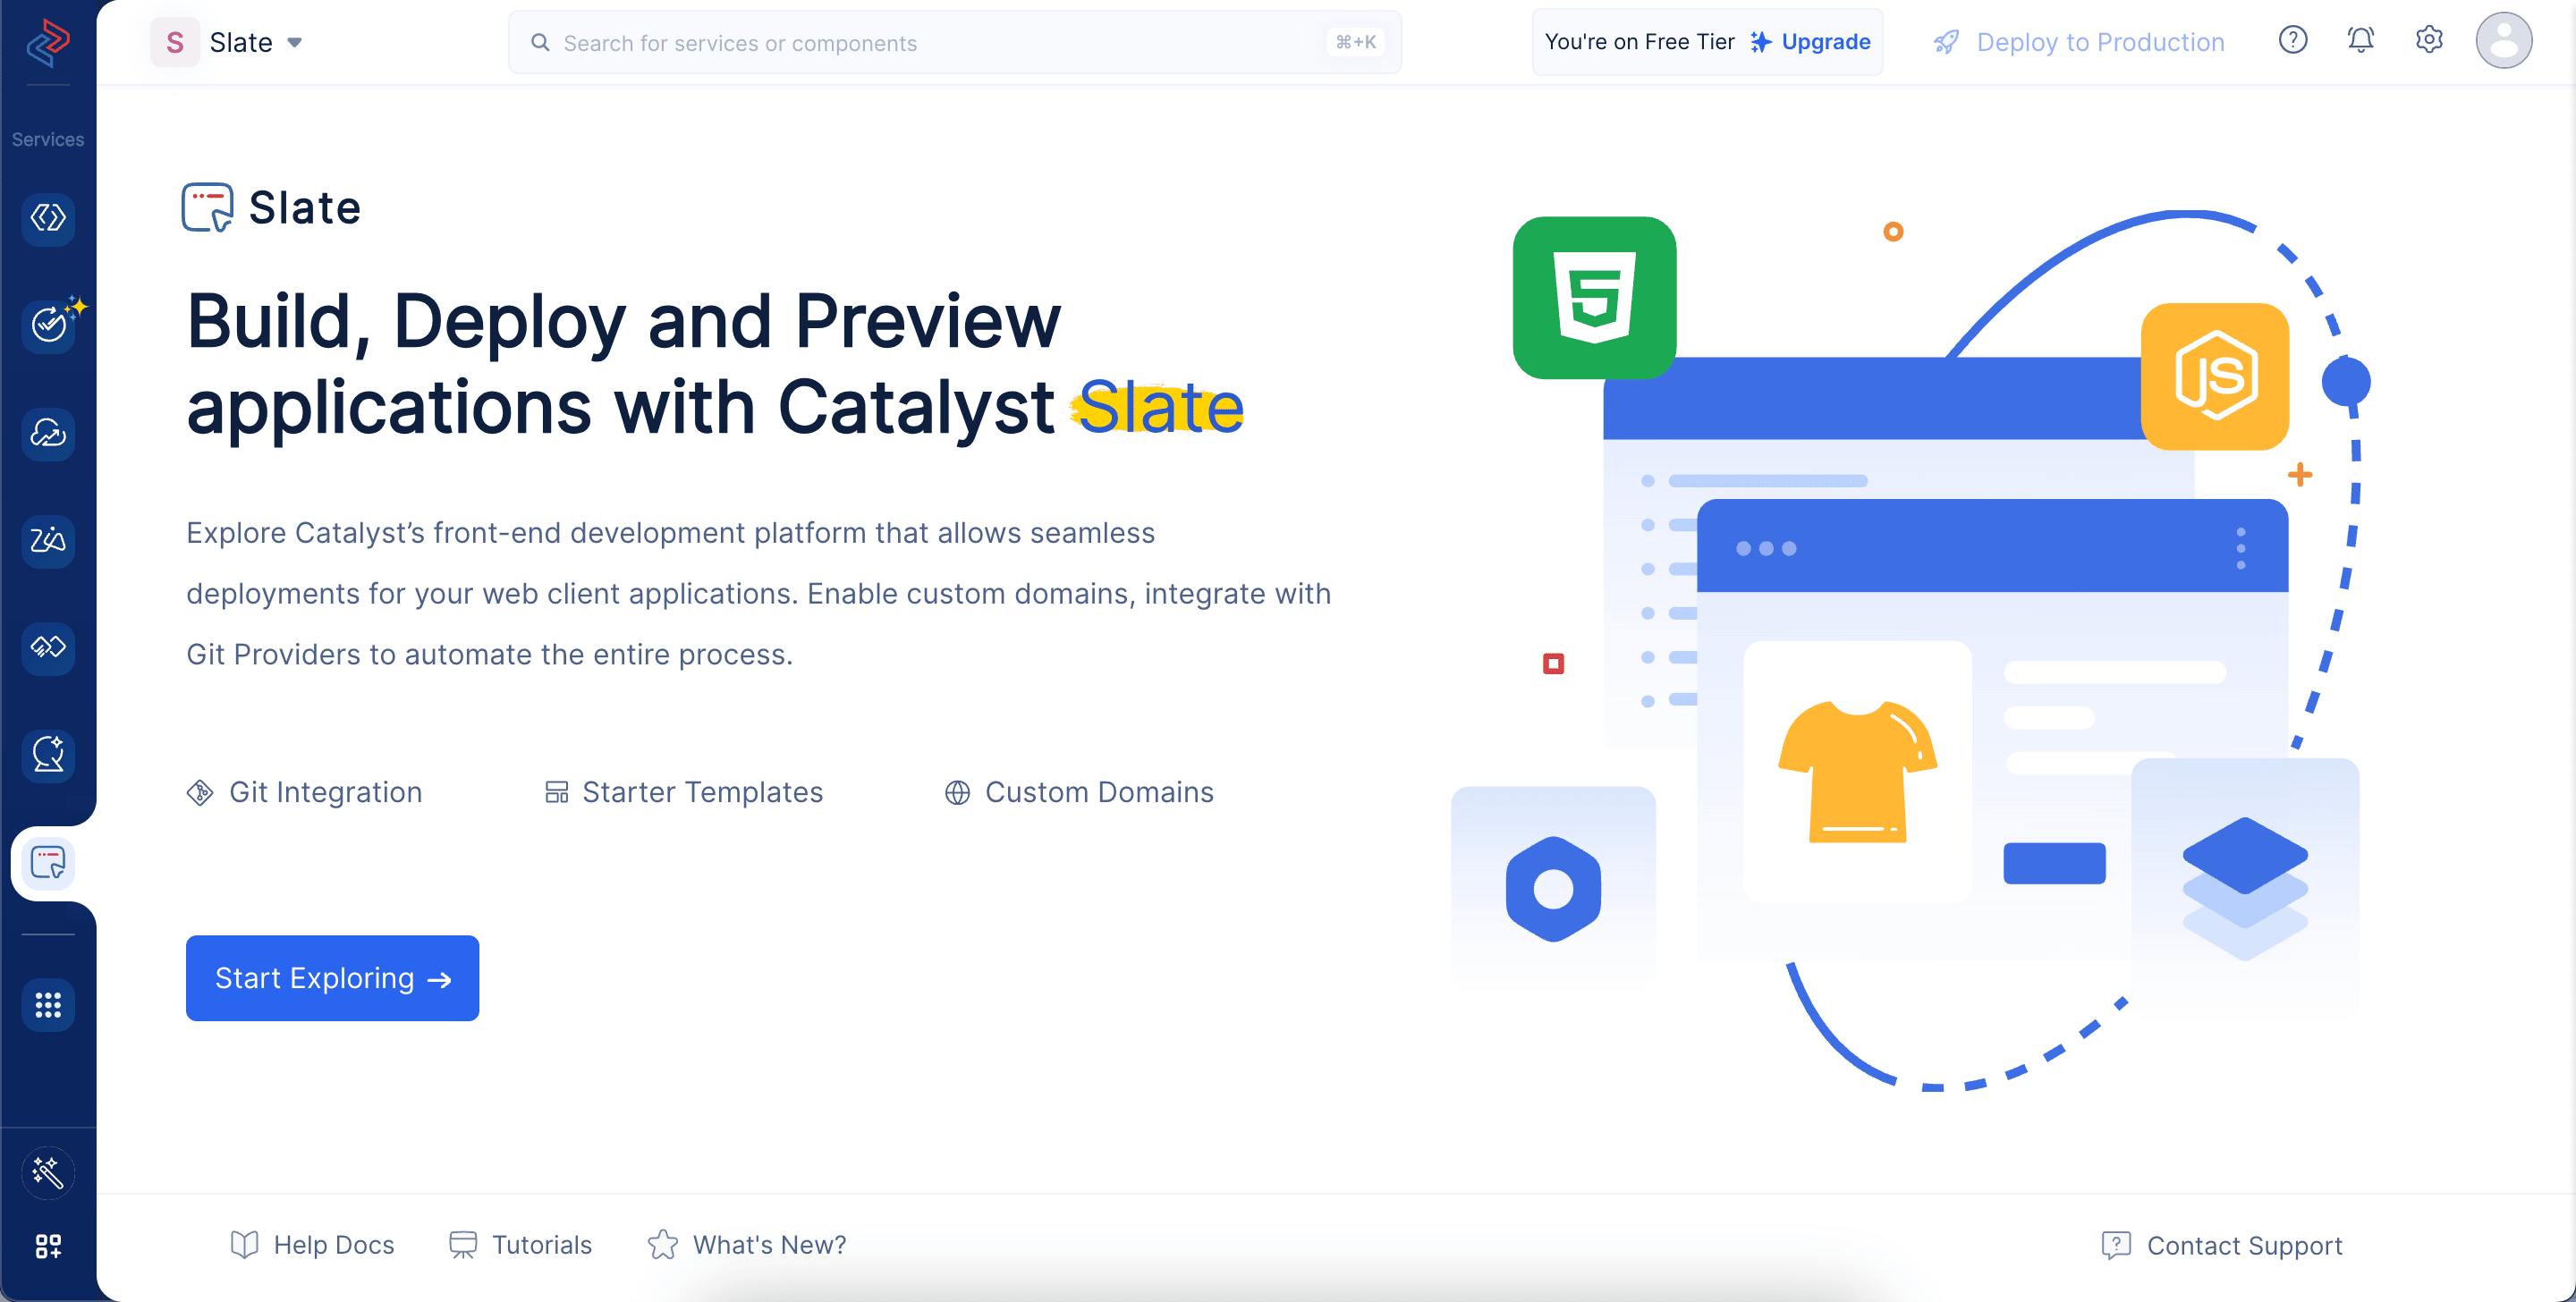
- Navigate to the Catalyst Slate service in the console and click Start Exploring.
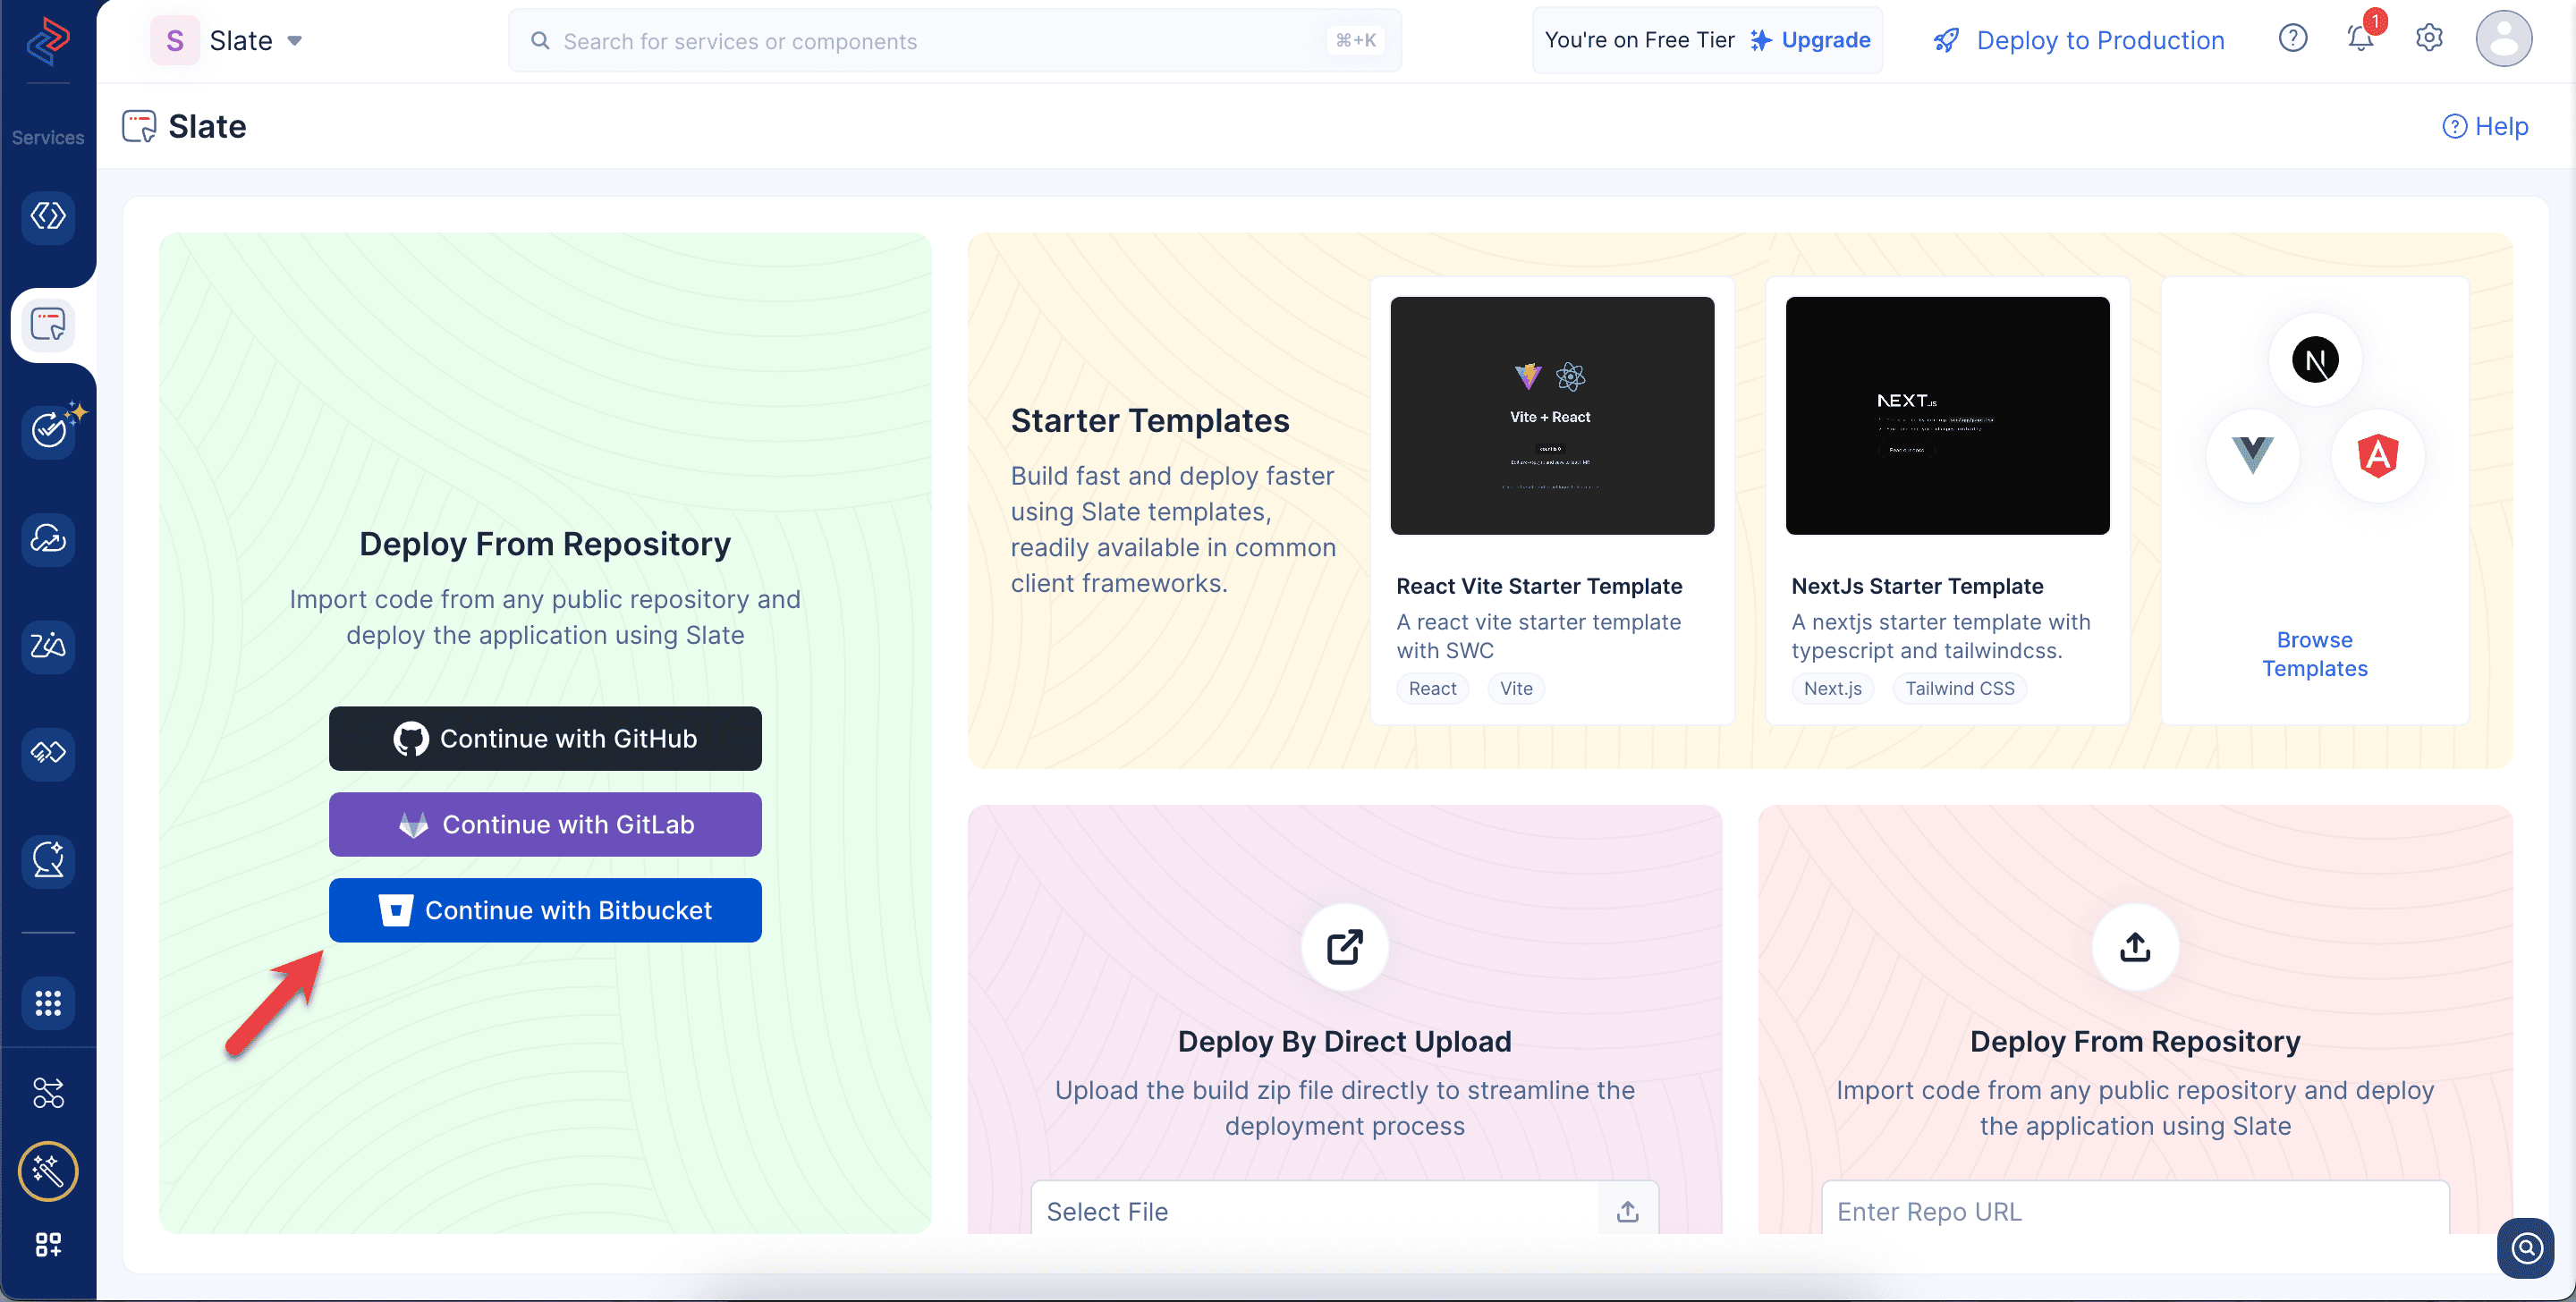
- Select your preferred Git provider to integrate with Slate.
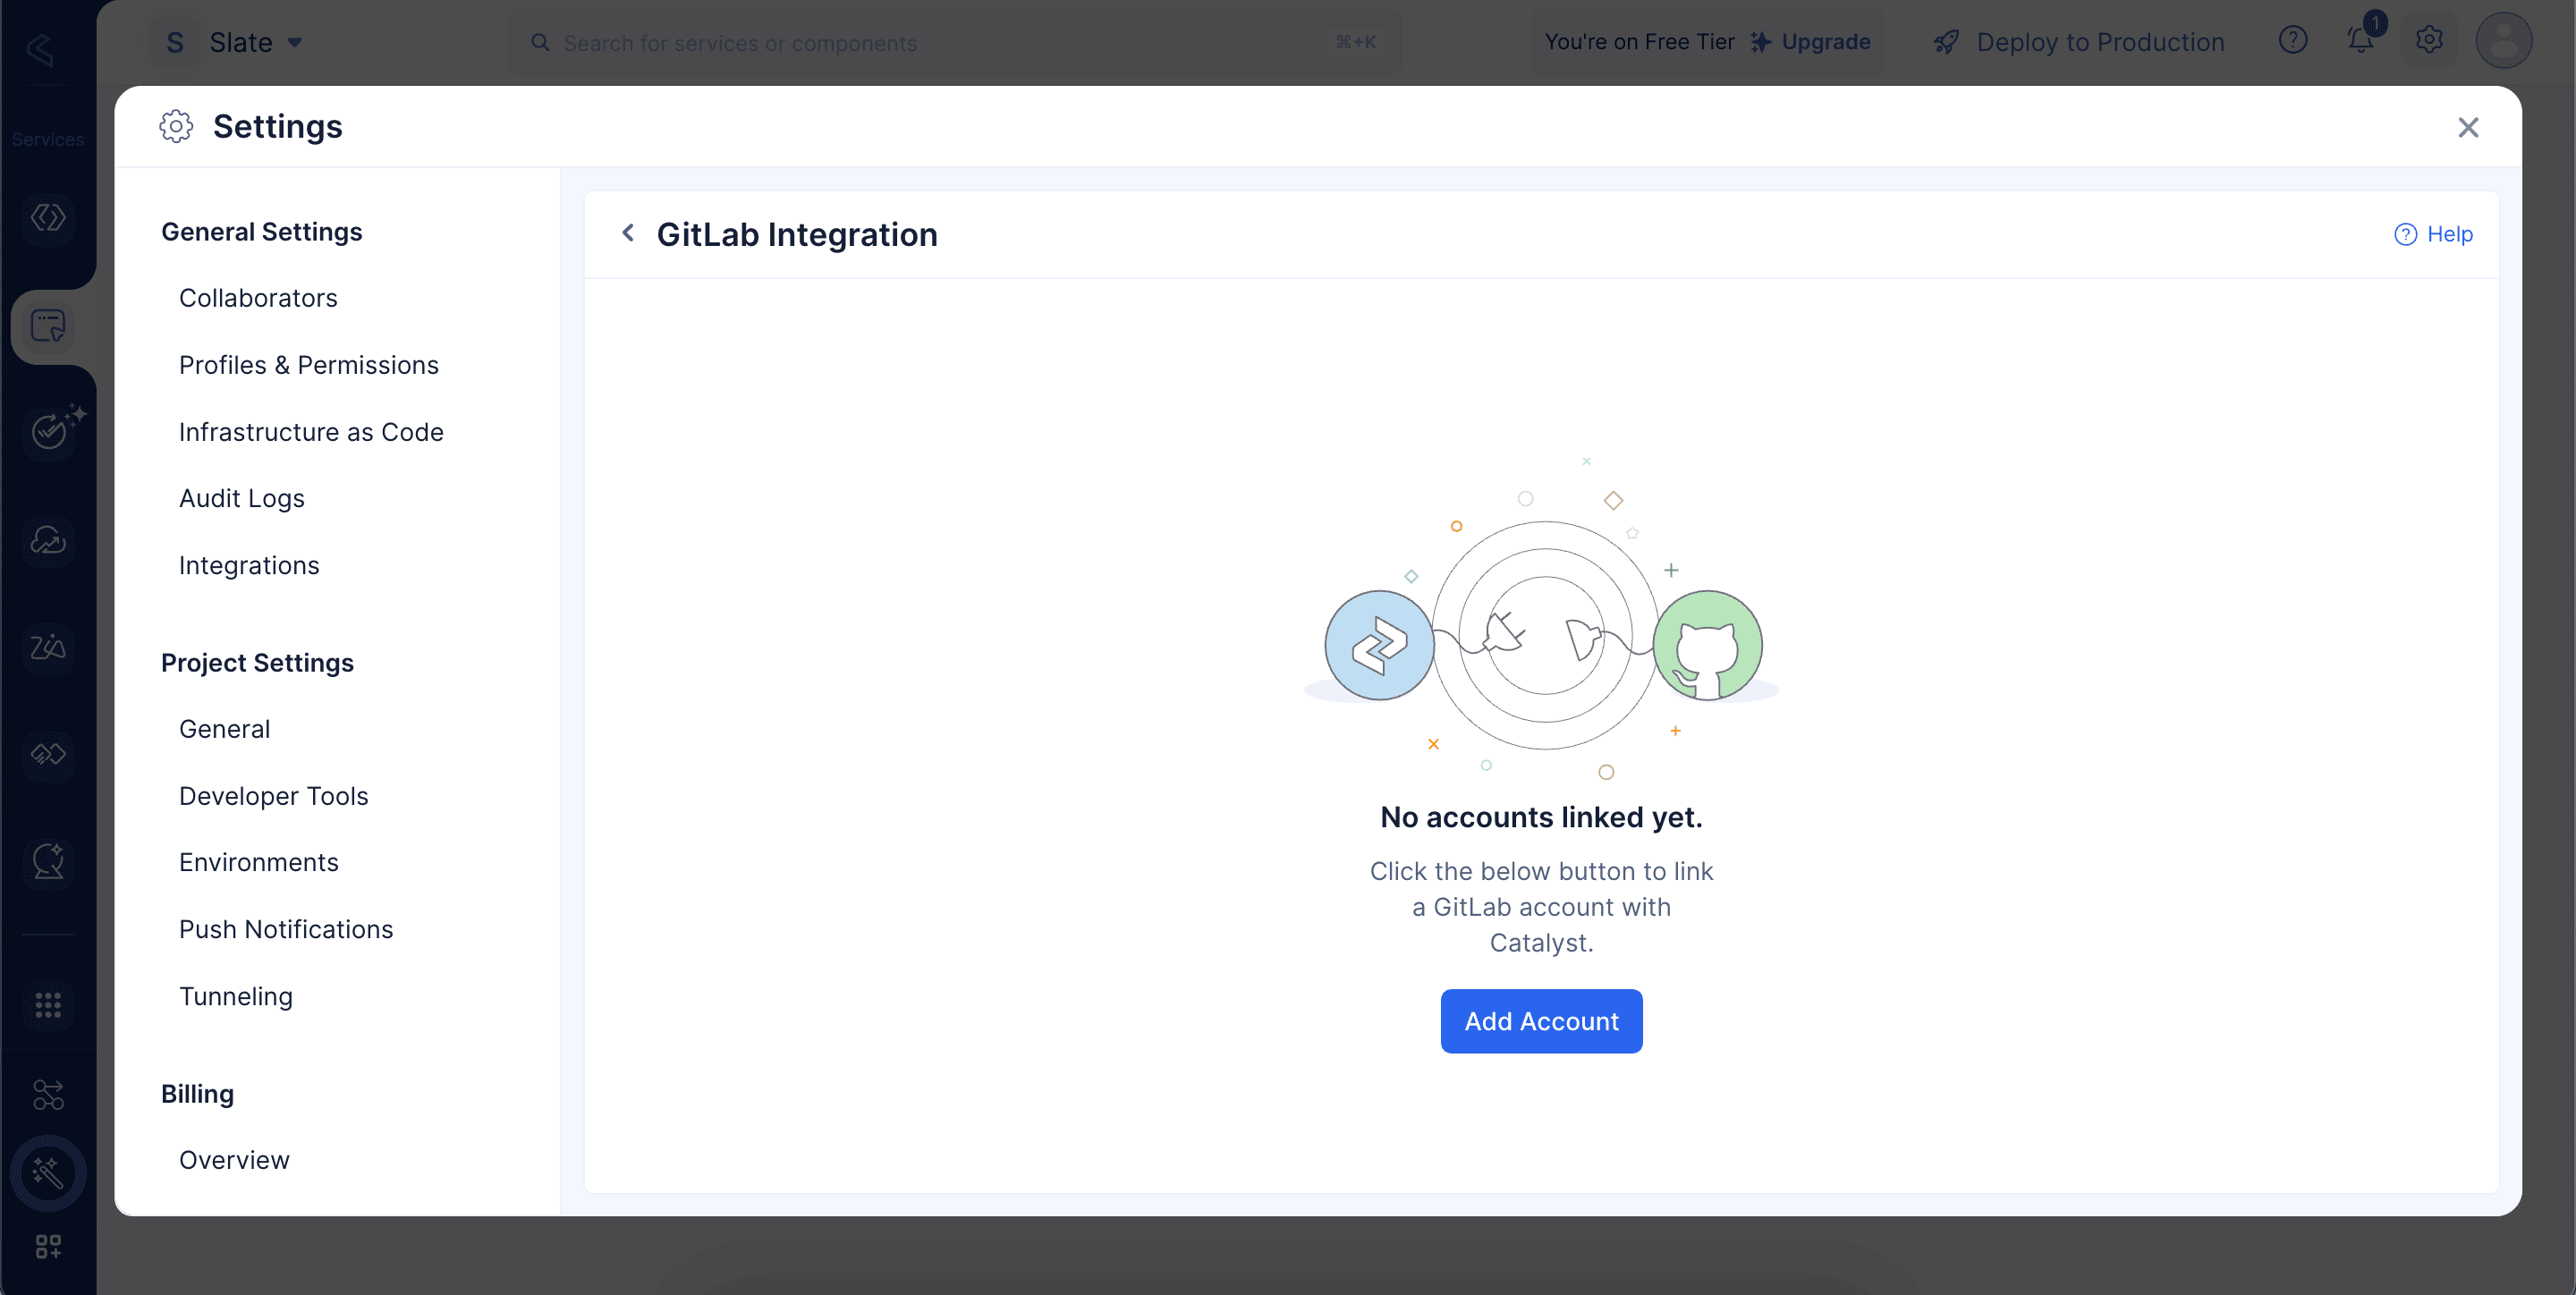
- You will be redirected to Catalyst Settings->Git Integration. Click Add Account.
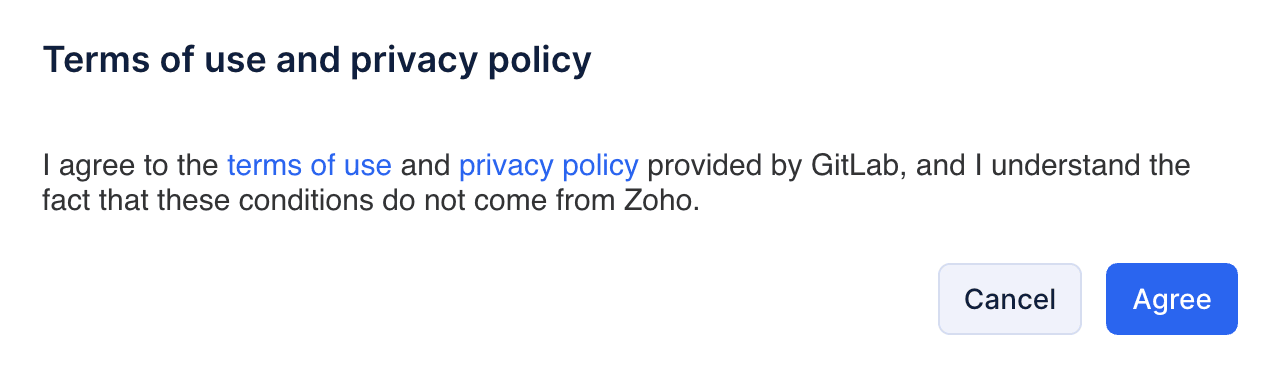
- Click Agree to accept the terms and conditions of the Git provider.
The Git account will now be integrated with Catalyst and listed here.
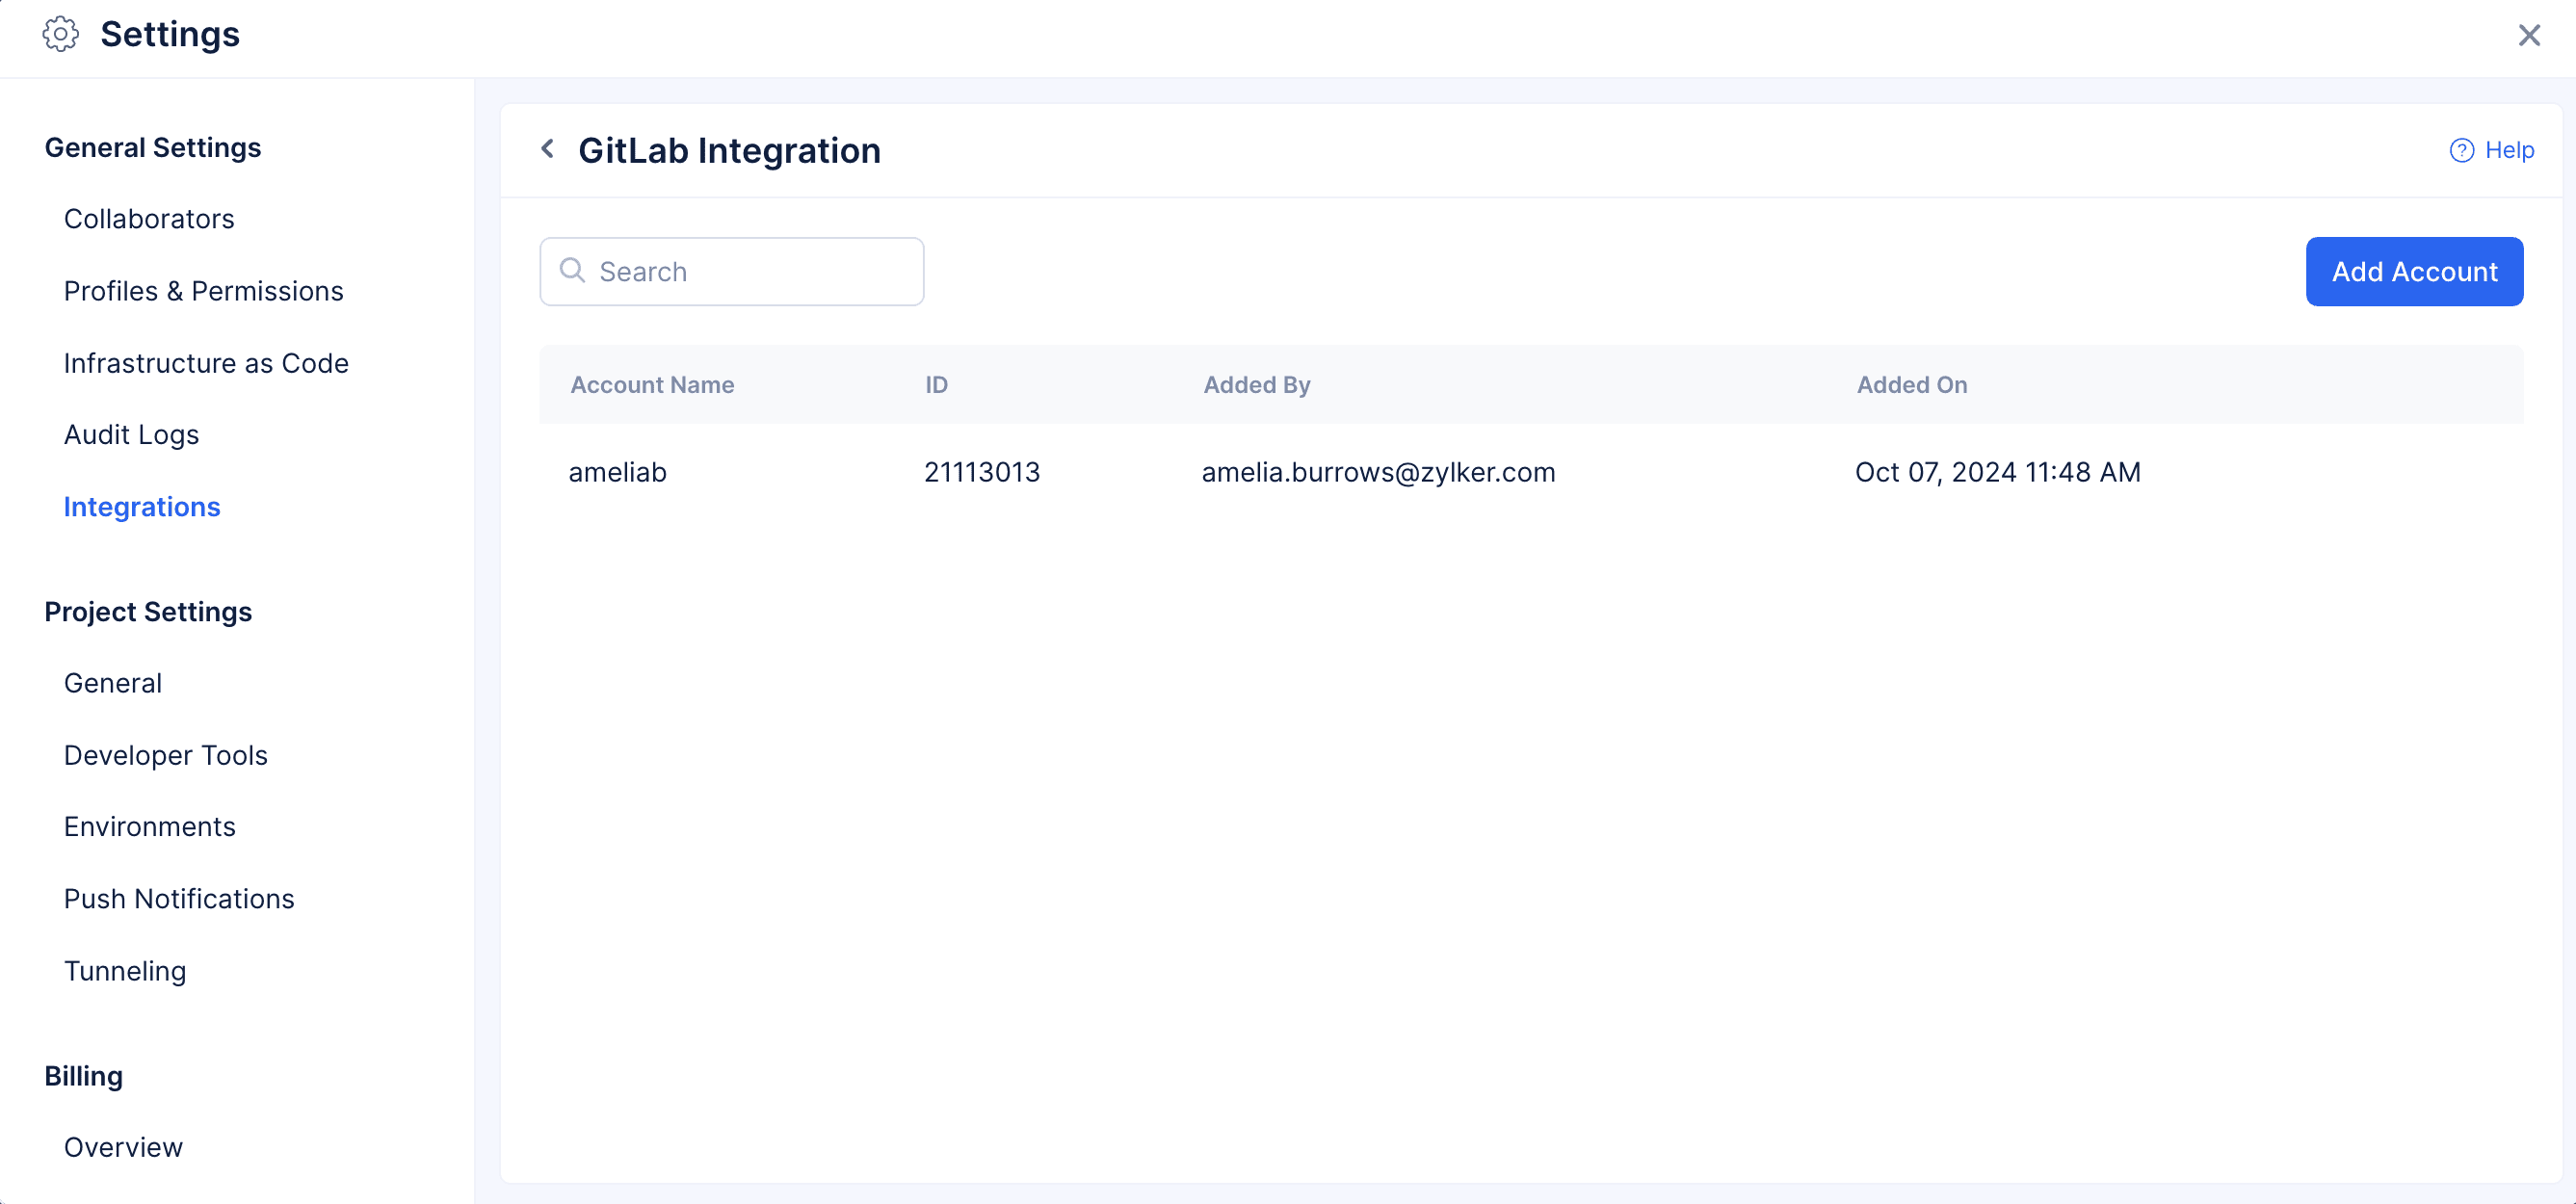
You can simply close this tab and navigate back to Slate. The integrated Git account and its list of repositories will be displayed here.
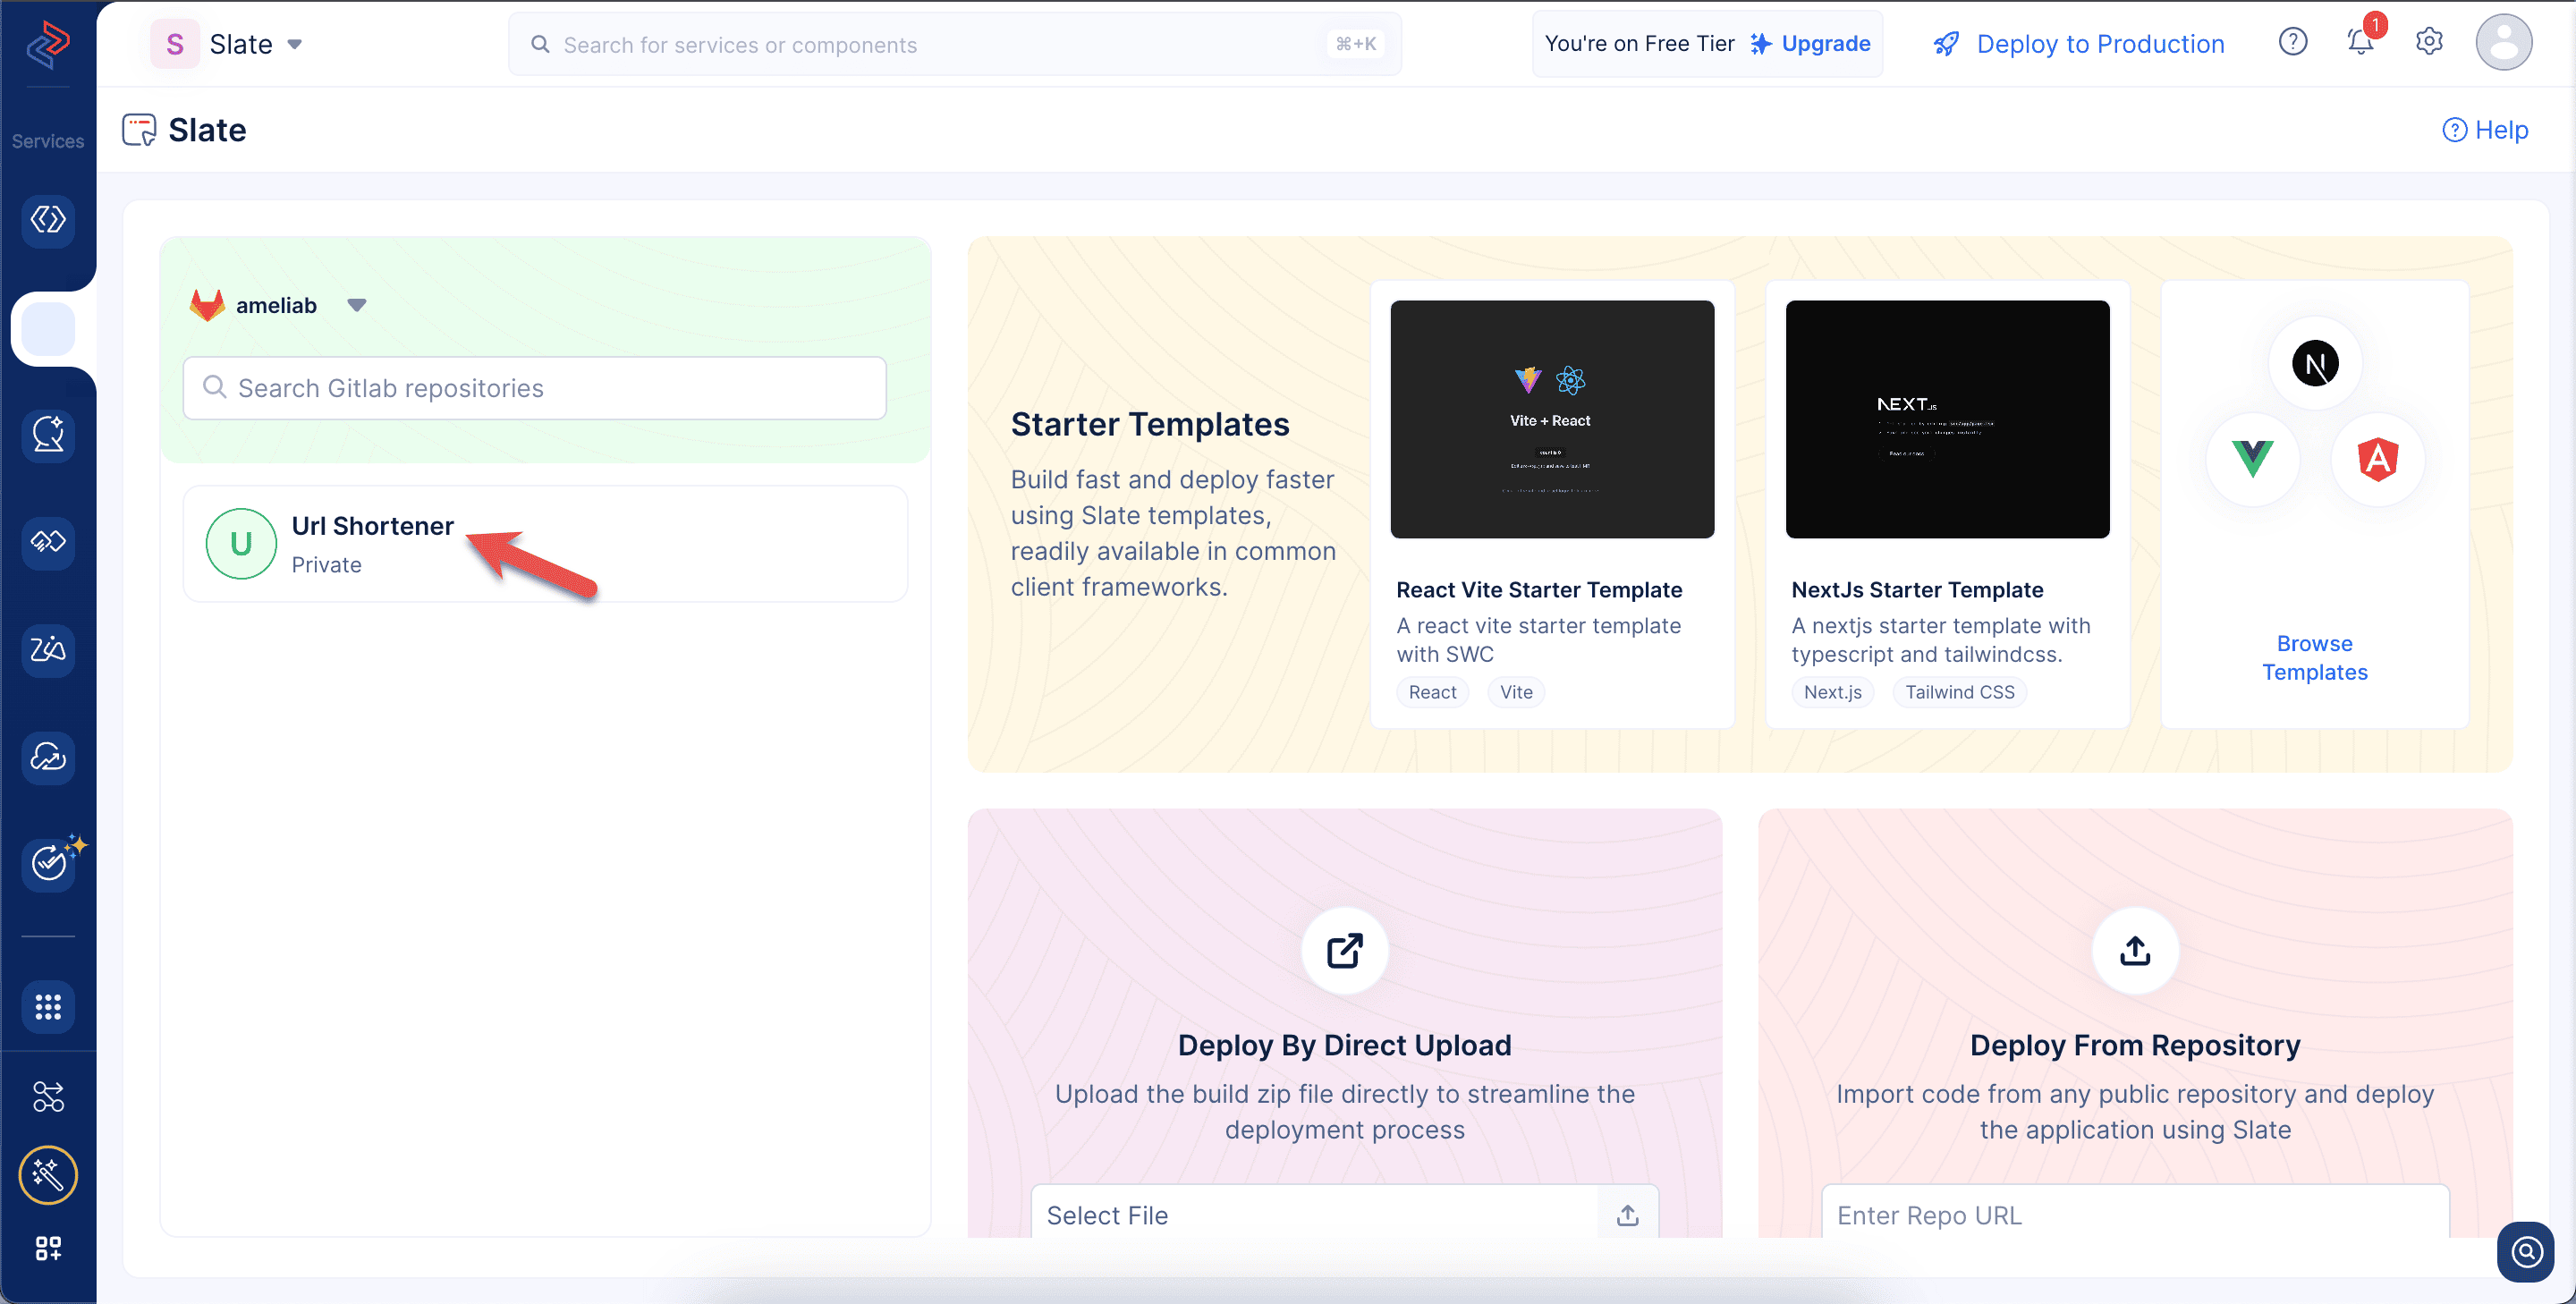
- You can click on the required repository to initiate a Slate deployment. In the Create Deployment pop-up, the repository name will automatically be considered as the application name as shown in the screenshot below.
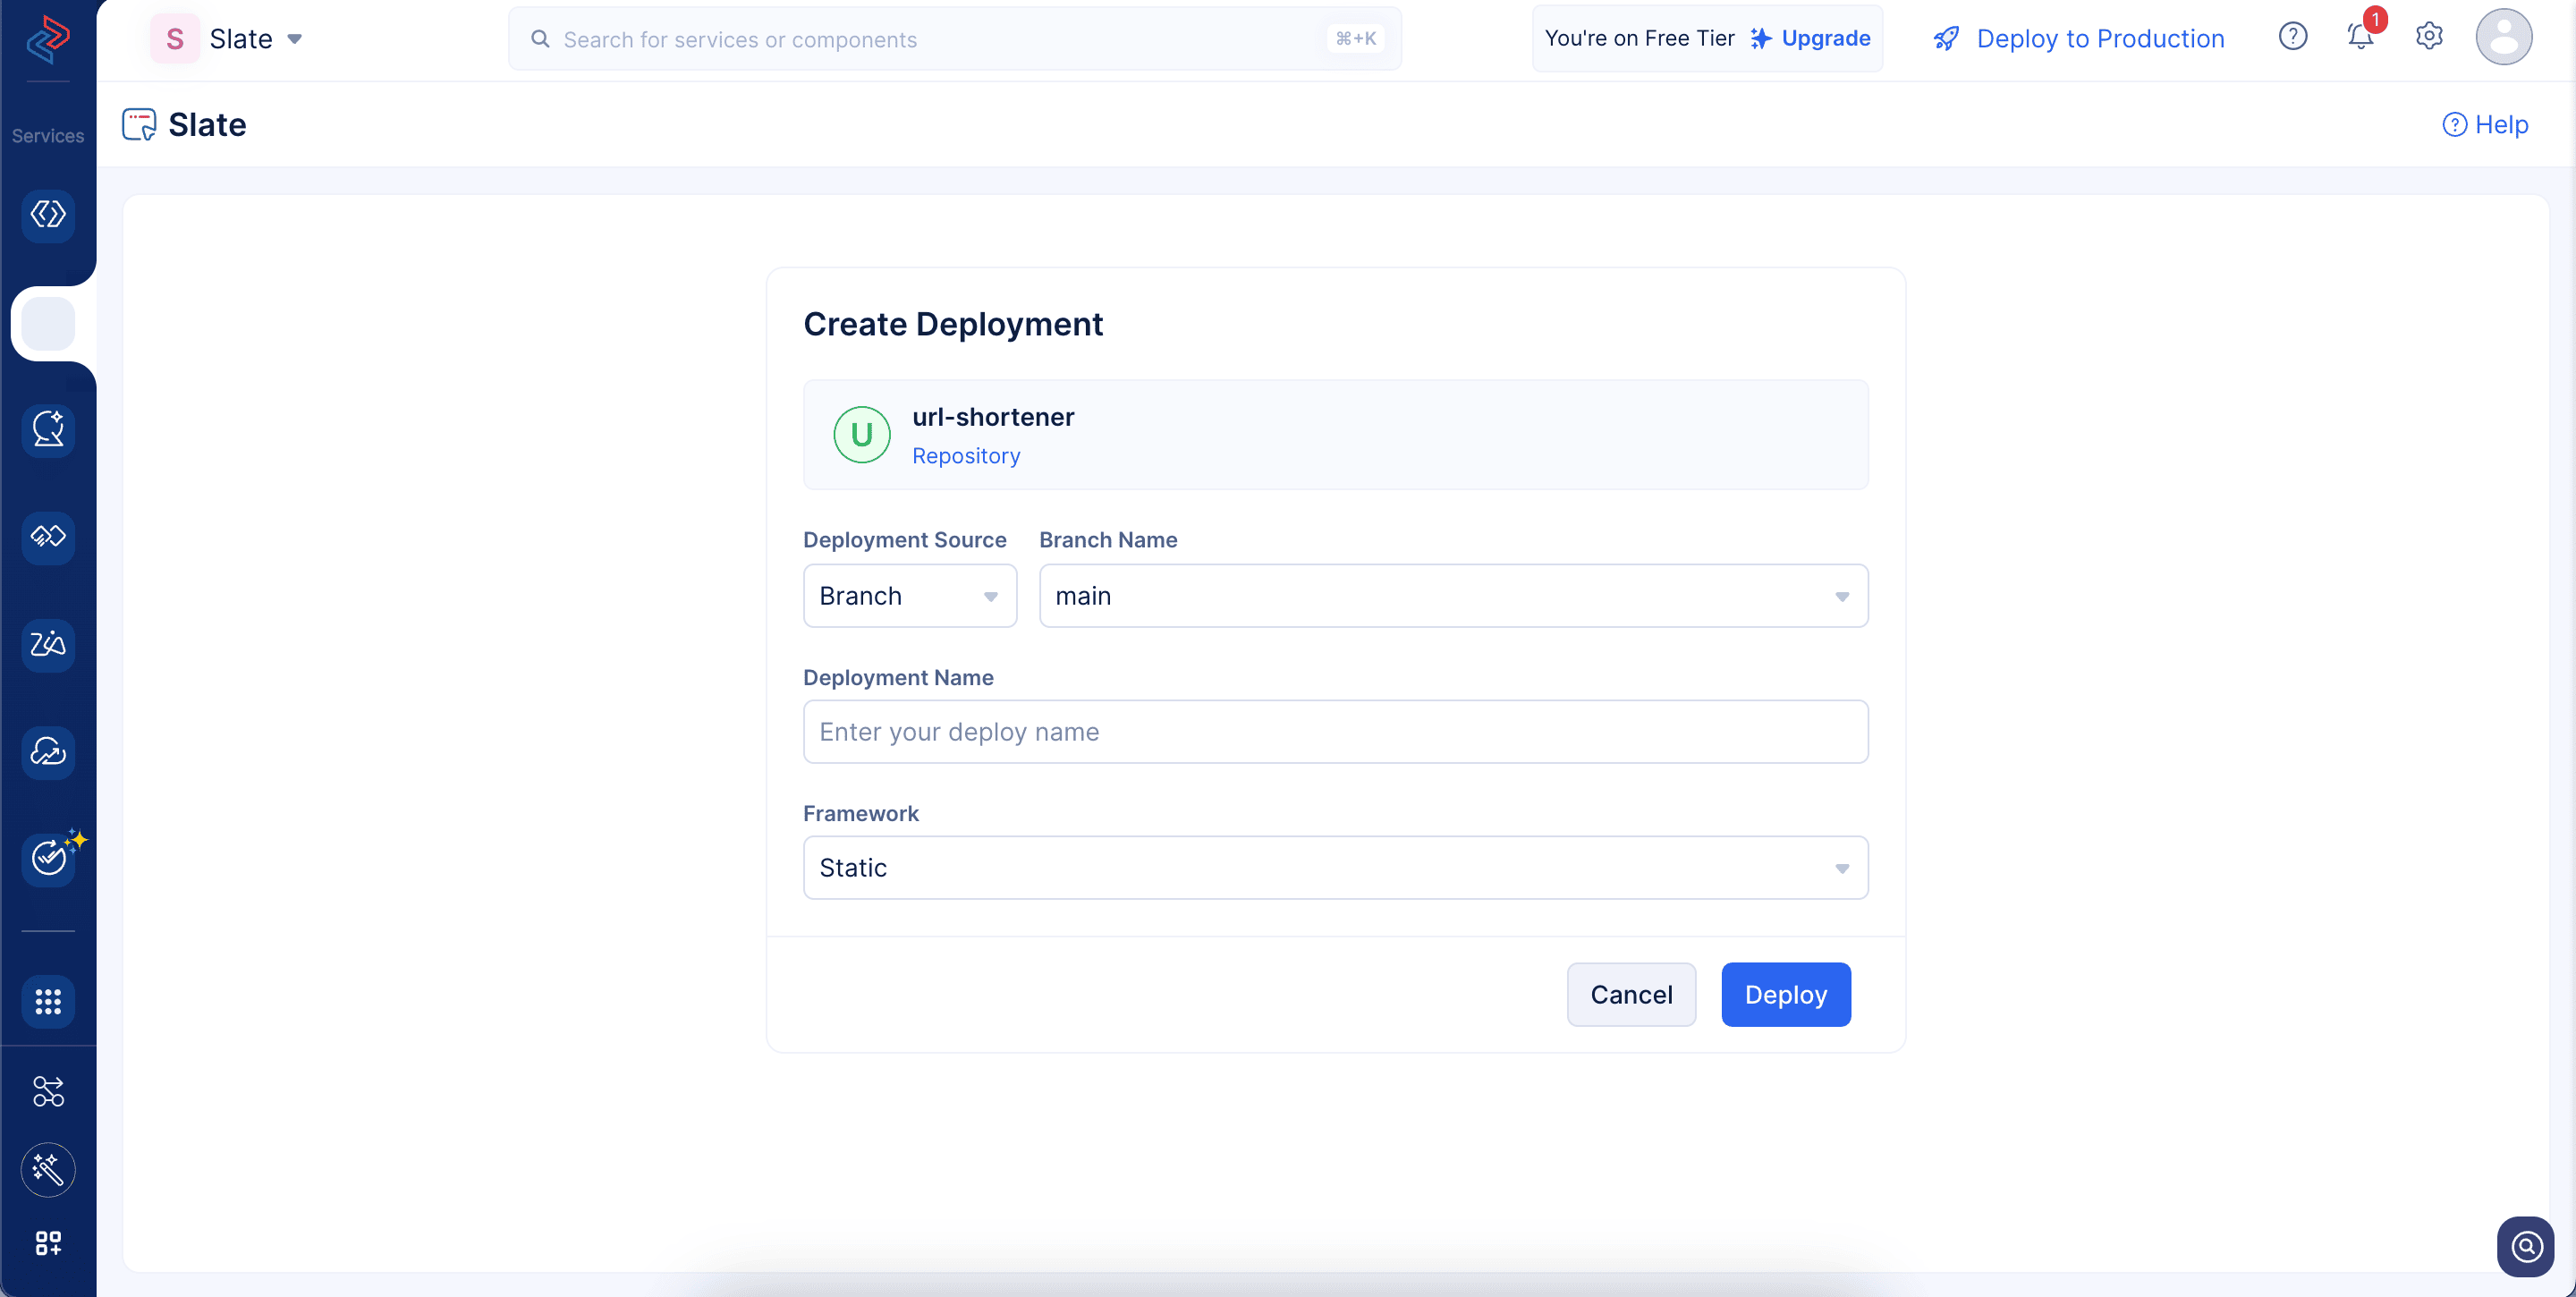
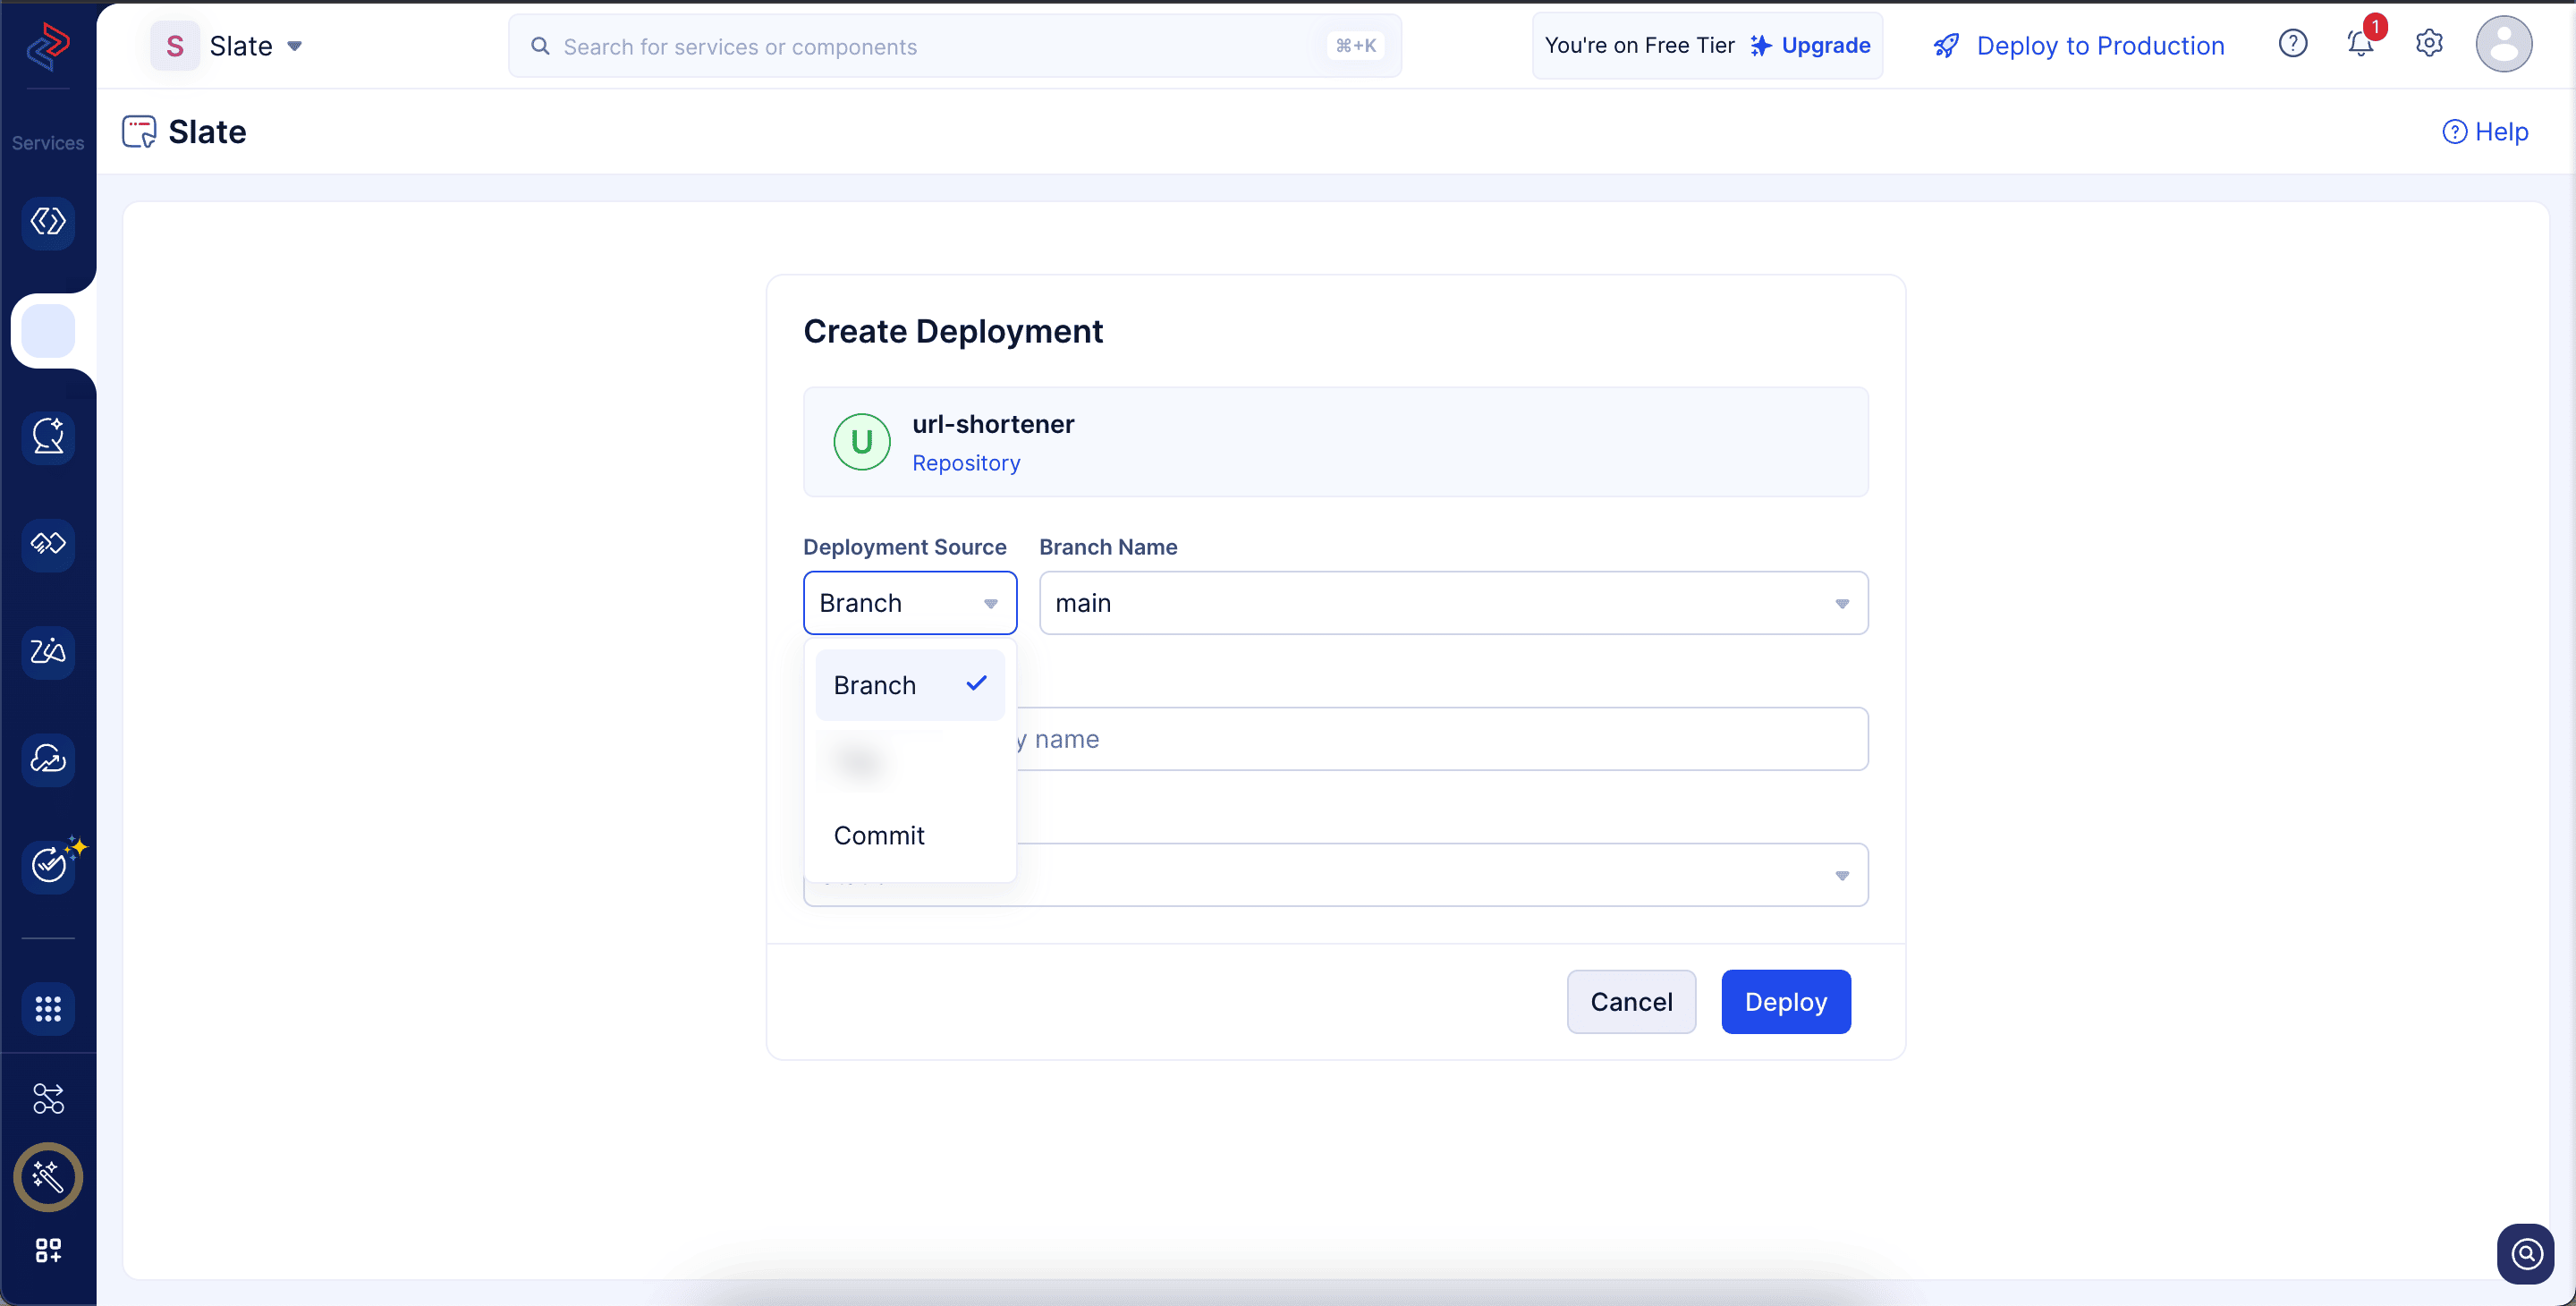
- Select the branch or commit of the repository that has to be deployed using Slate.
- Provide a name for your deployment.
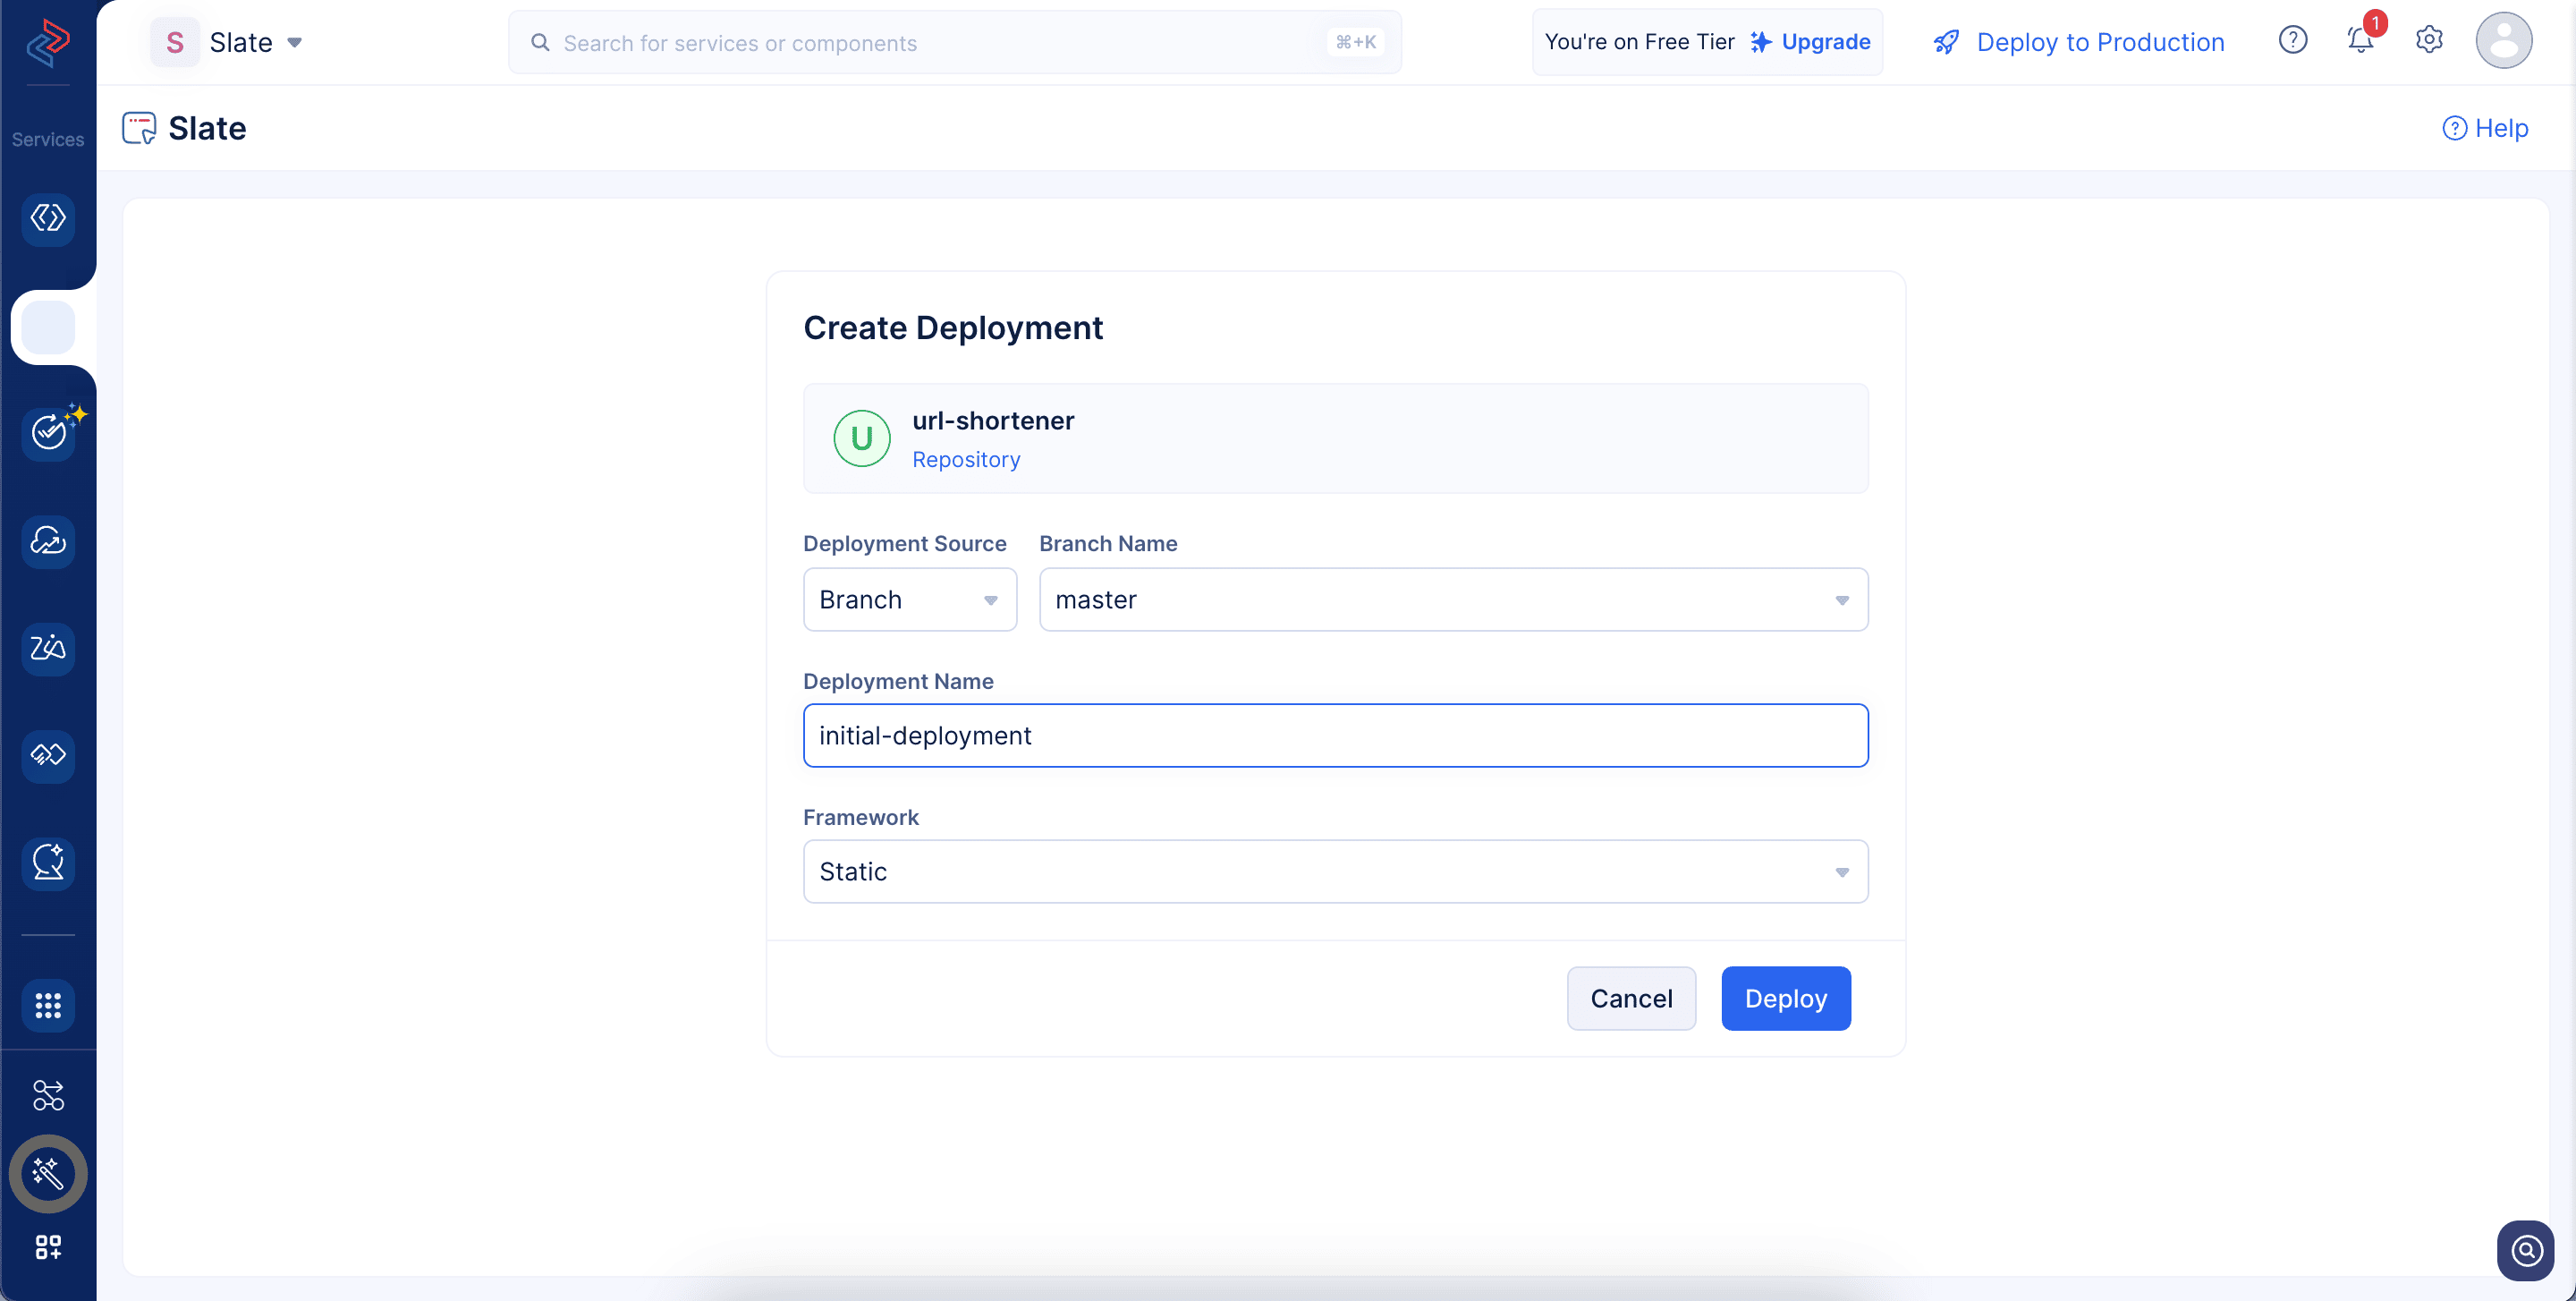
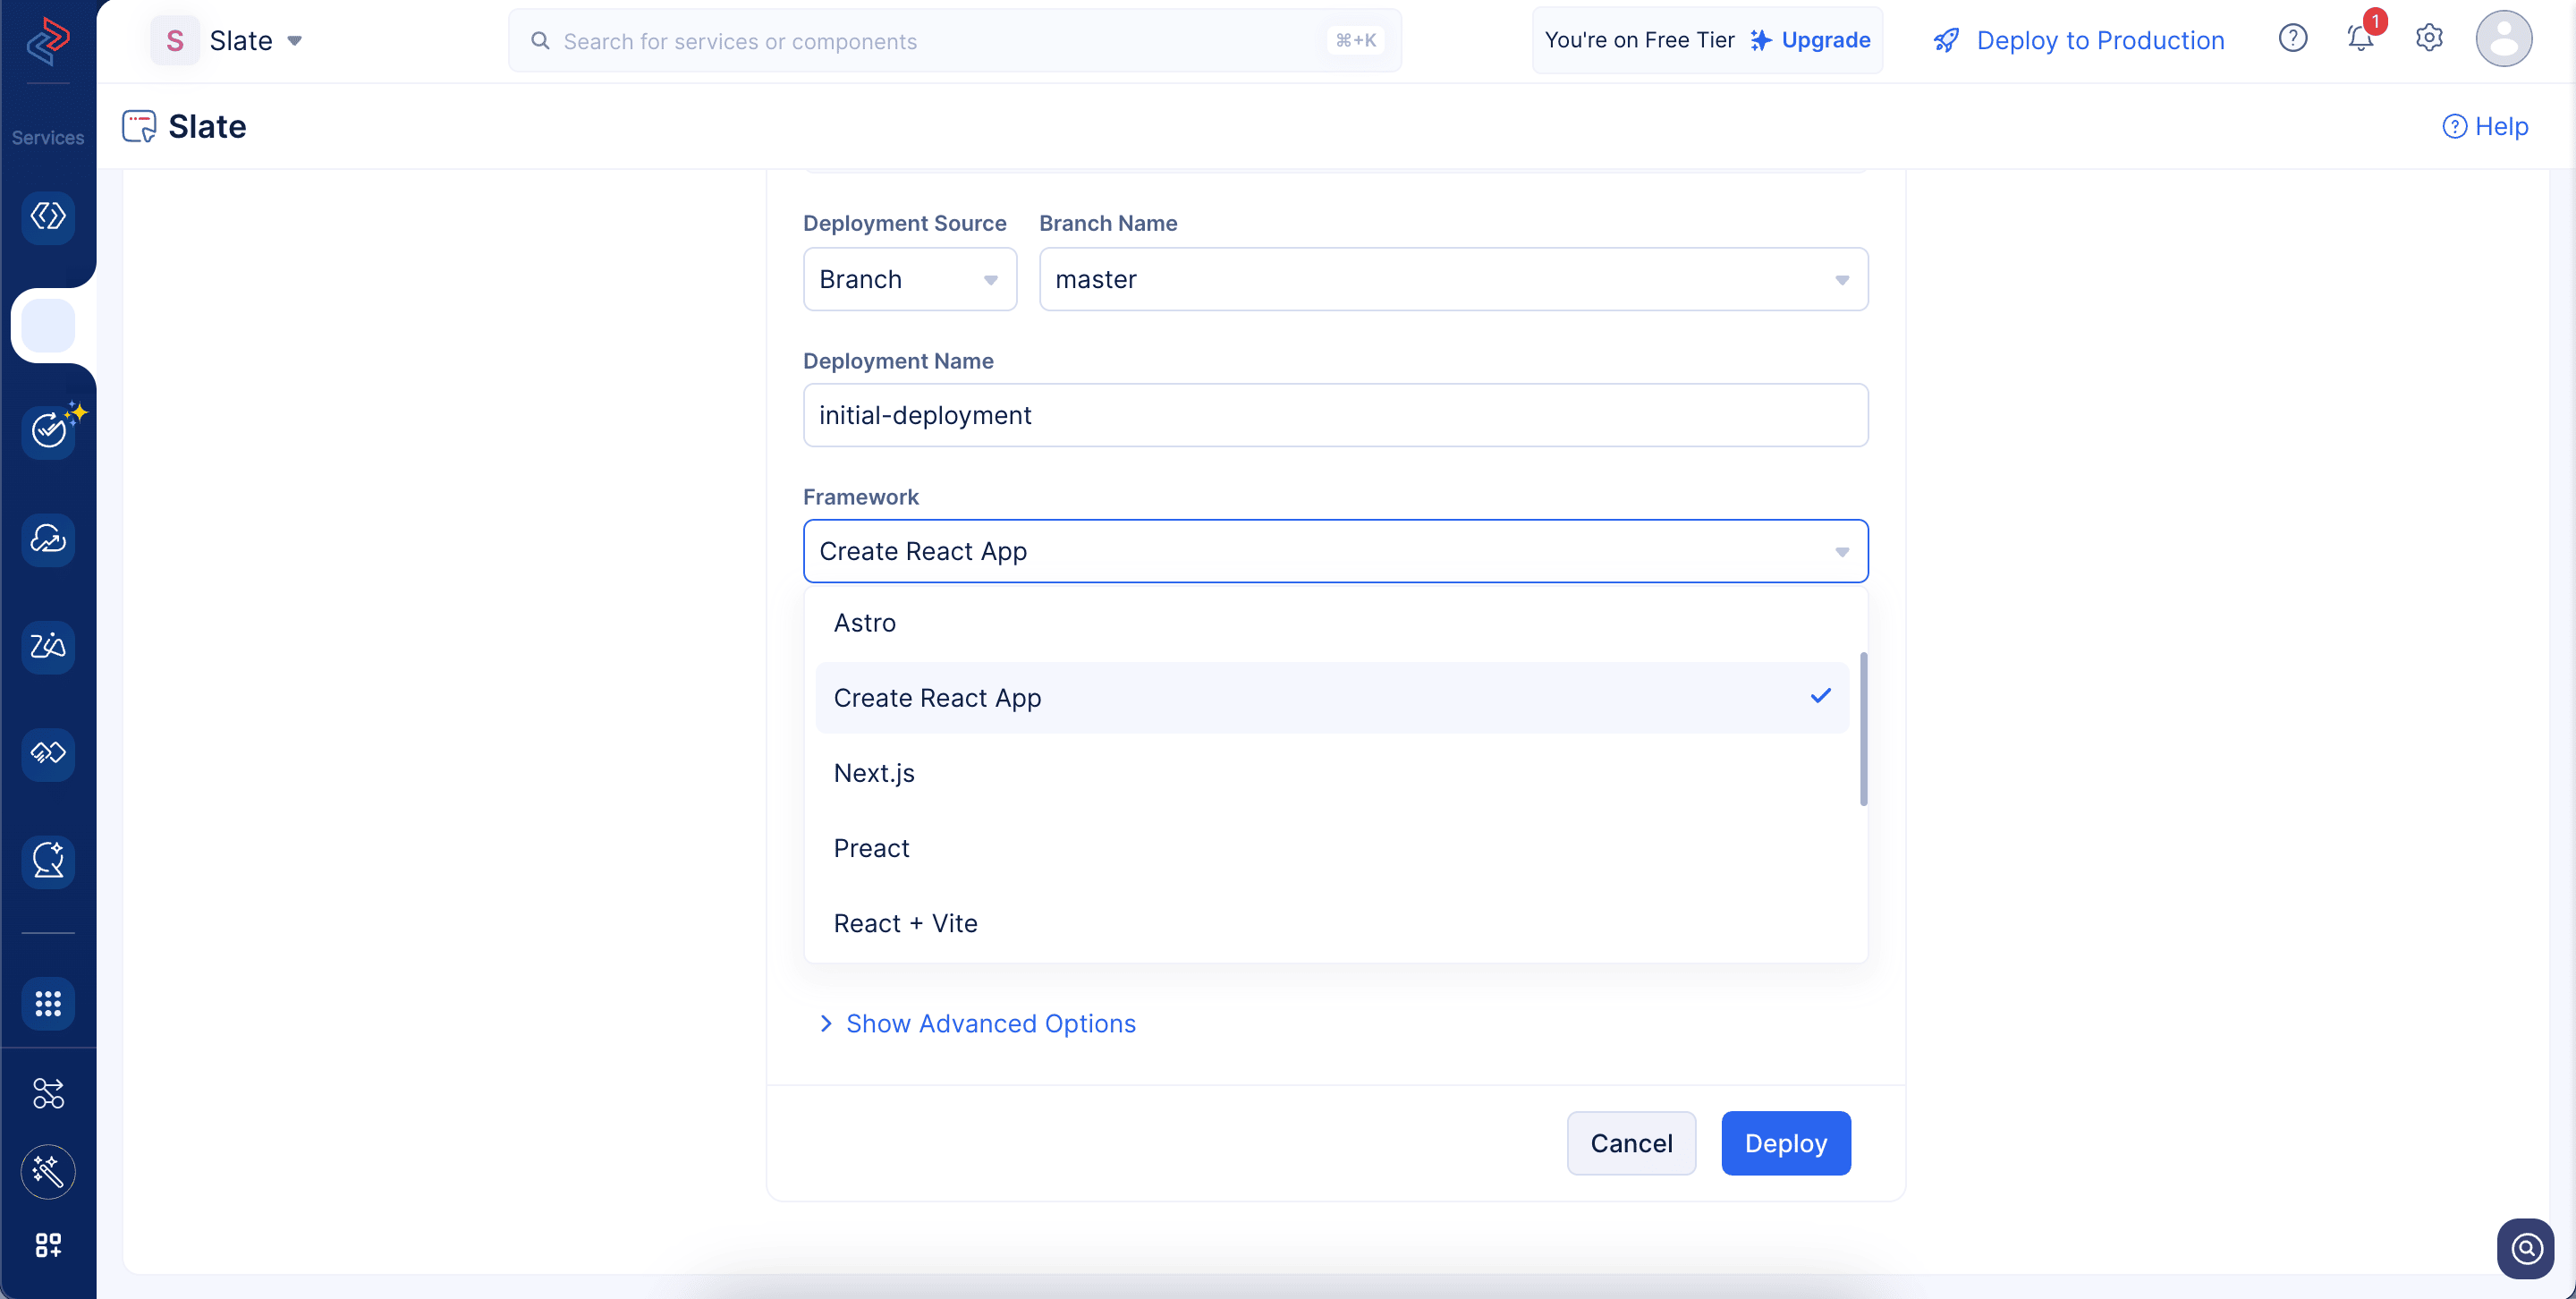
- Choose the front-end framework of your application using the drop-down menu.
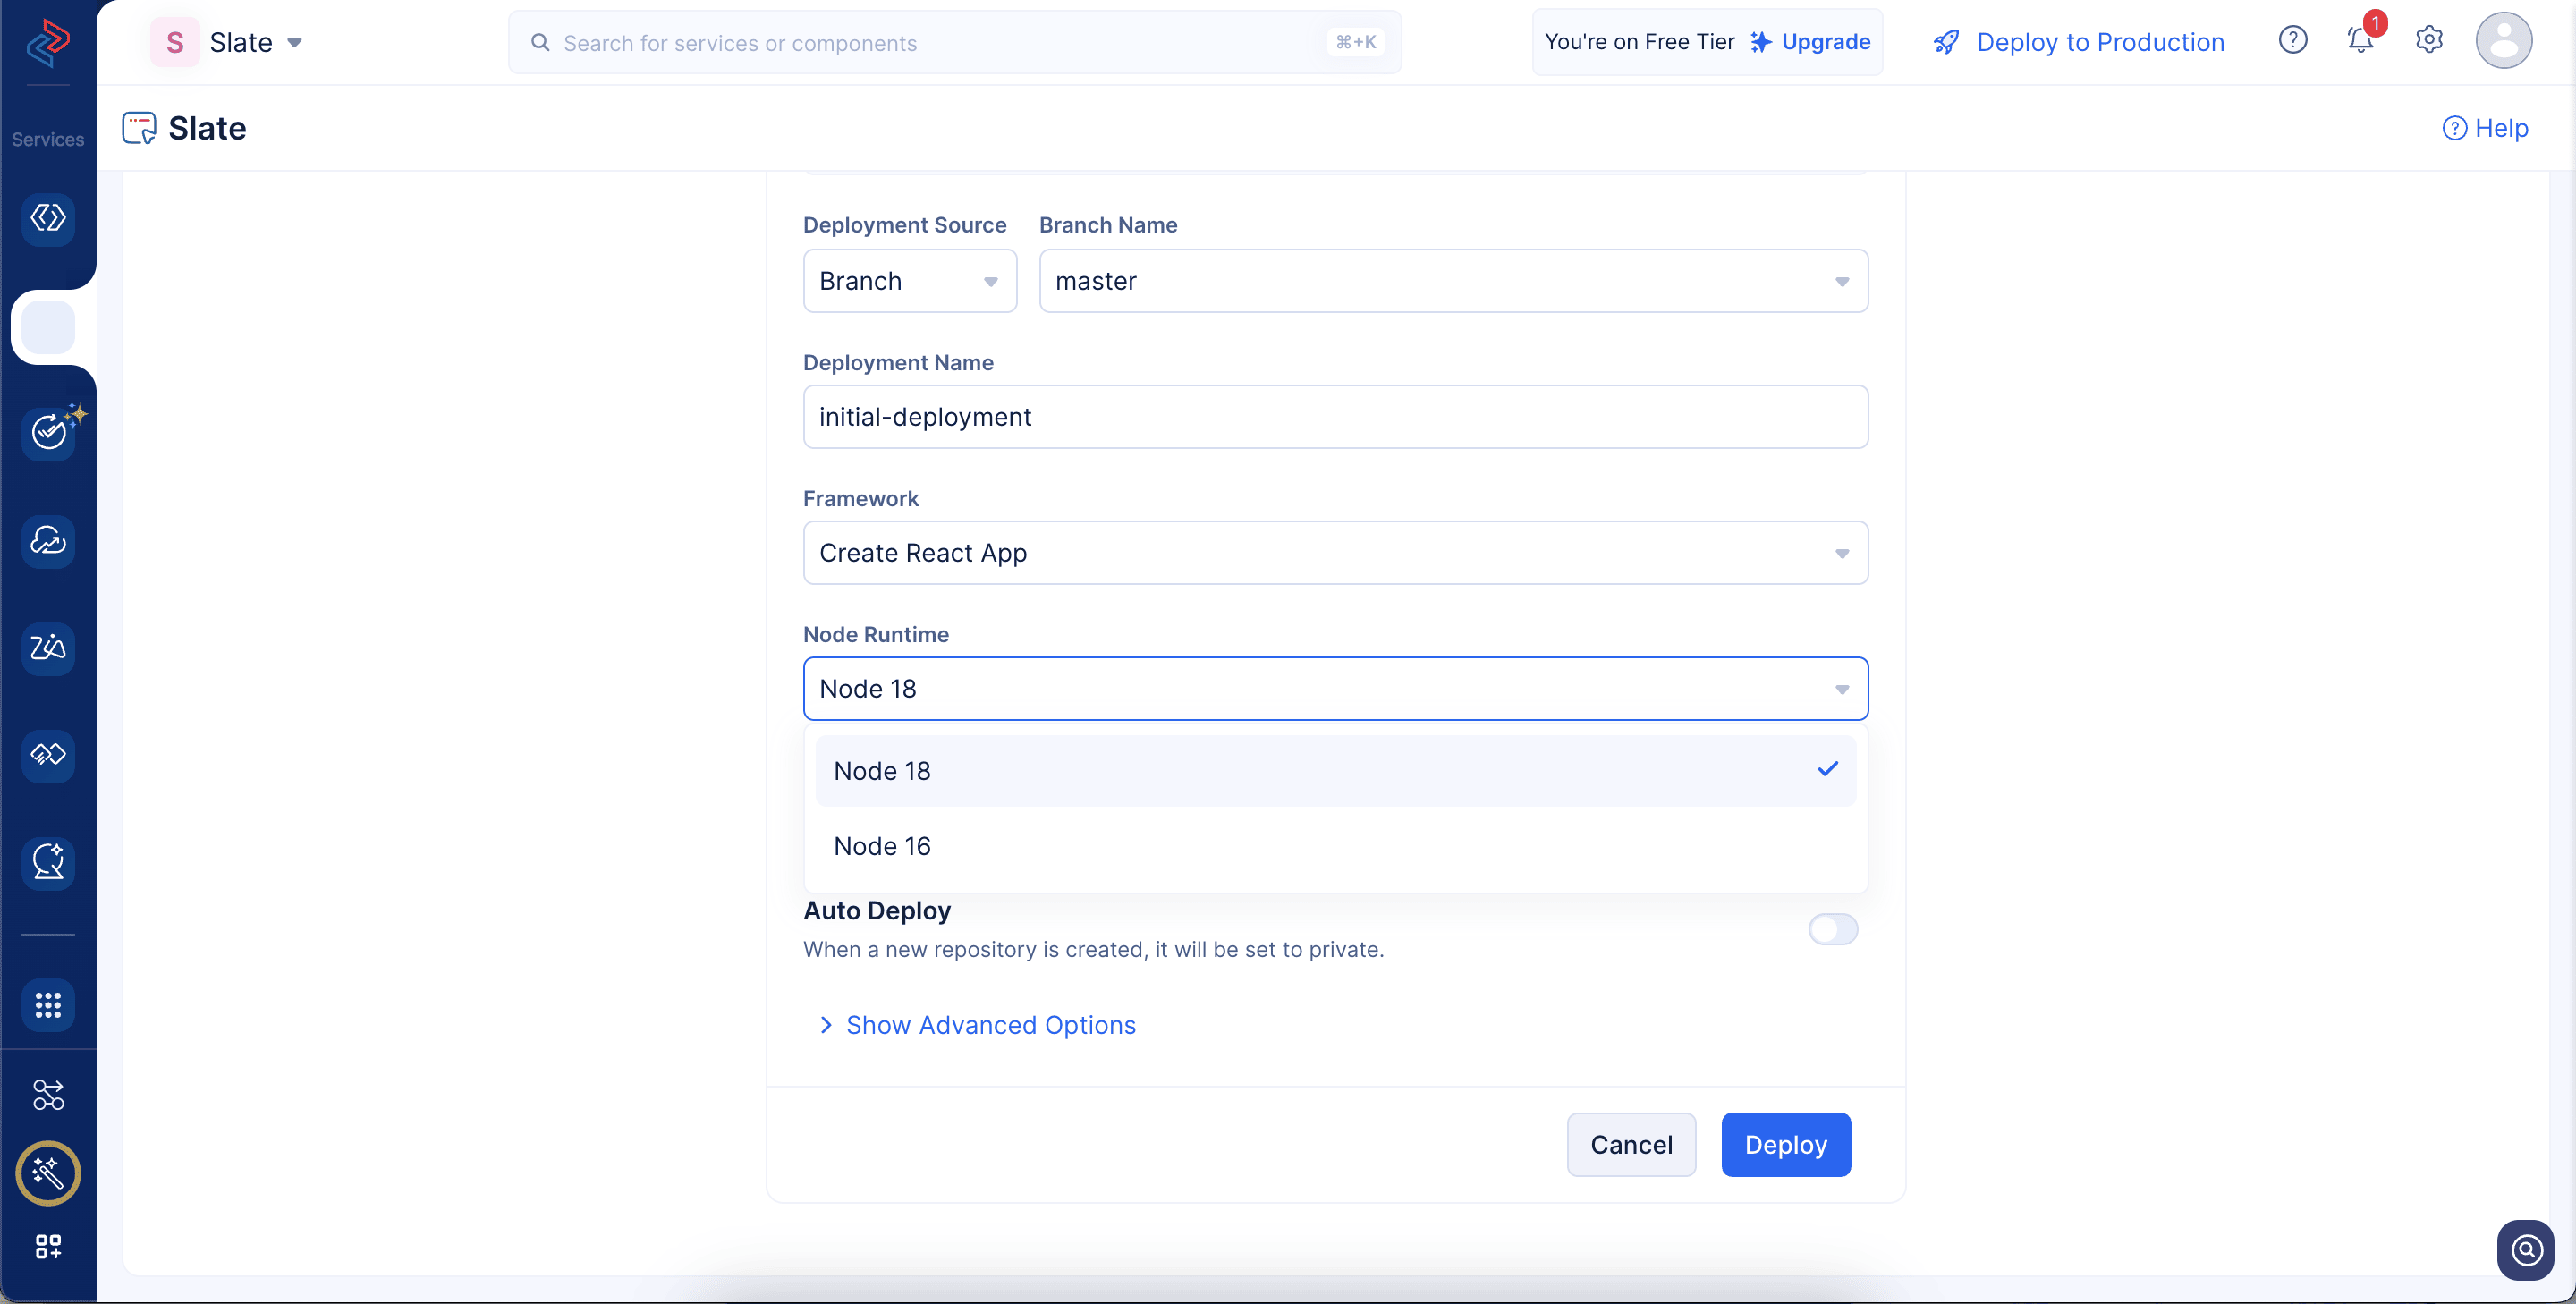
- The Node runtime will be set to Node 18 by default. You can change it if required from the supported runtimes in the drop-down menu.
-
The Node.js runtime lets you run JavaScript code outside a web browser, like on a server or your computer. It helps you build websites and apps by giving JavaScript access to files, networks, and other system tools.
-
You should choose a runtime that matches the Node.js version your application is built with, as specified in your package.json file.
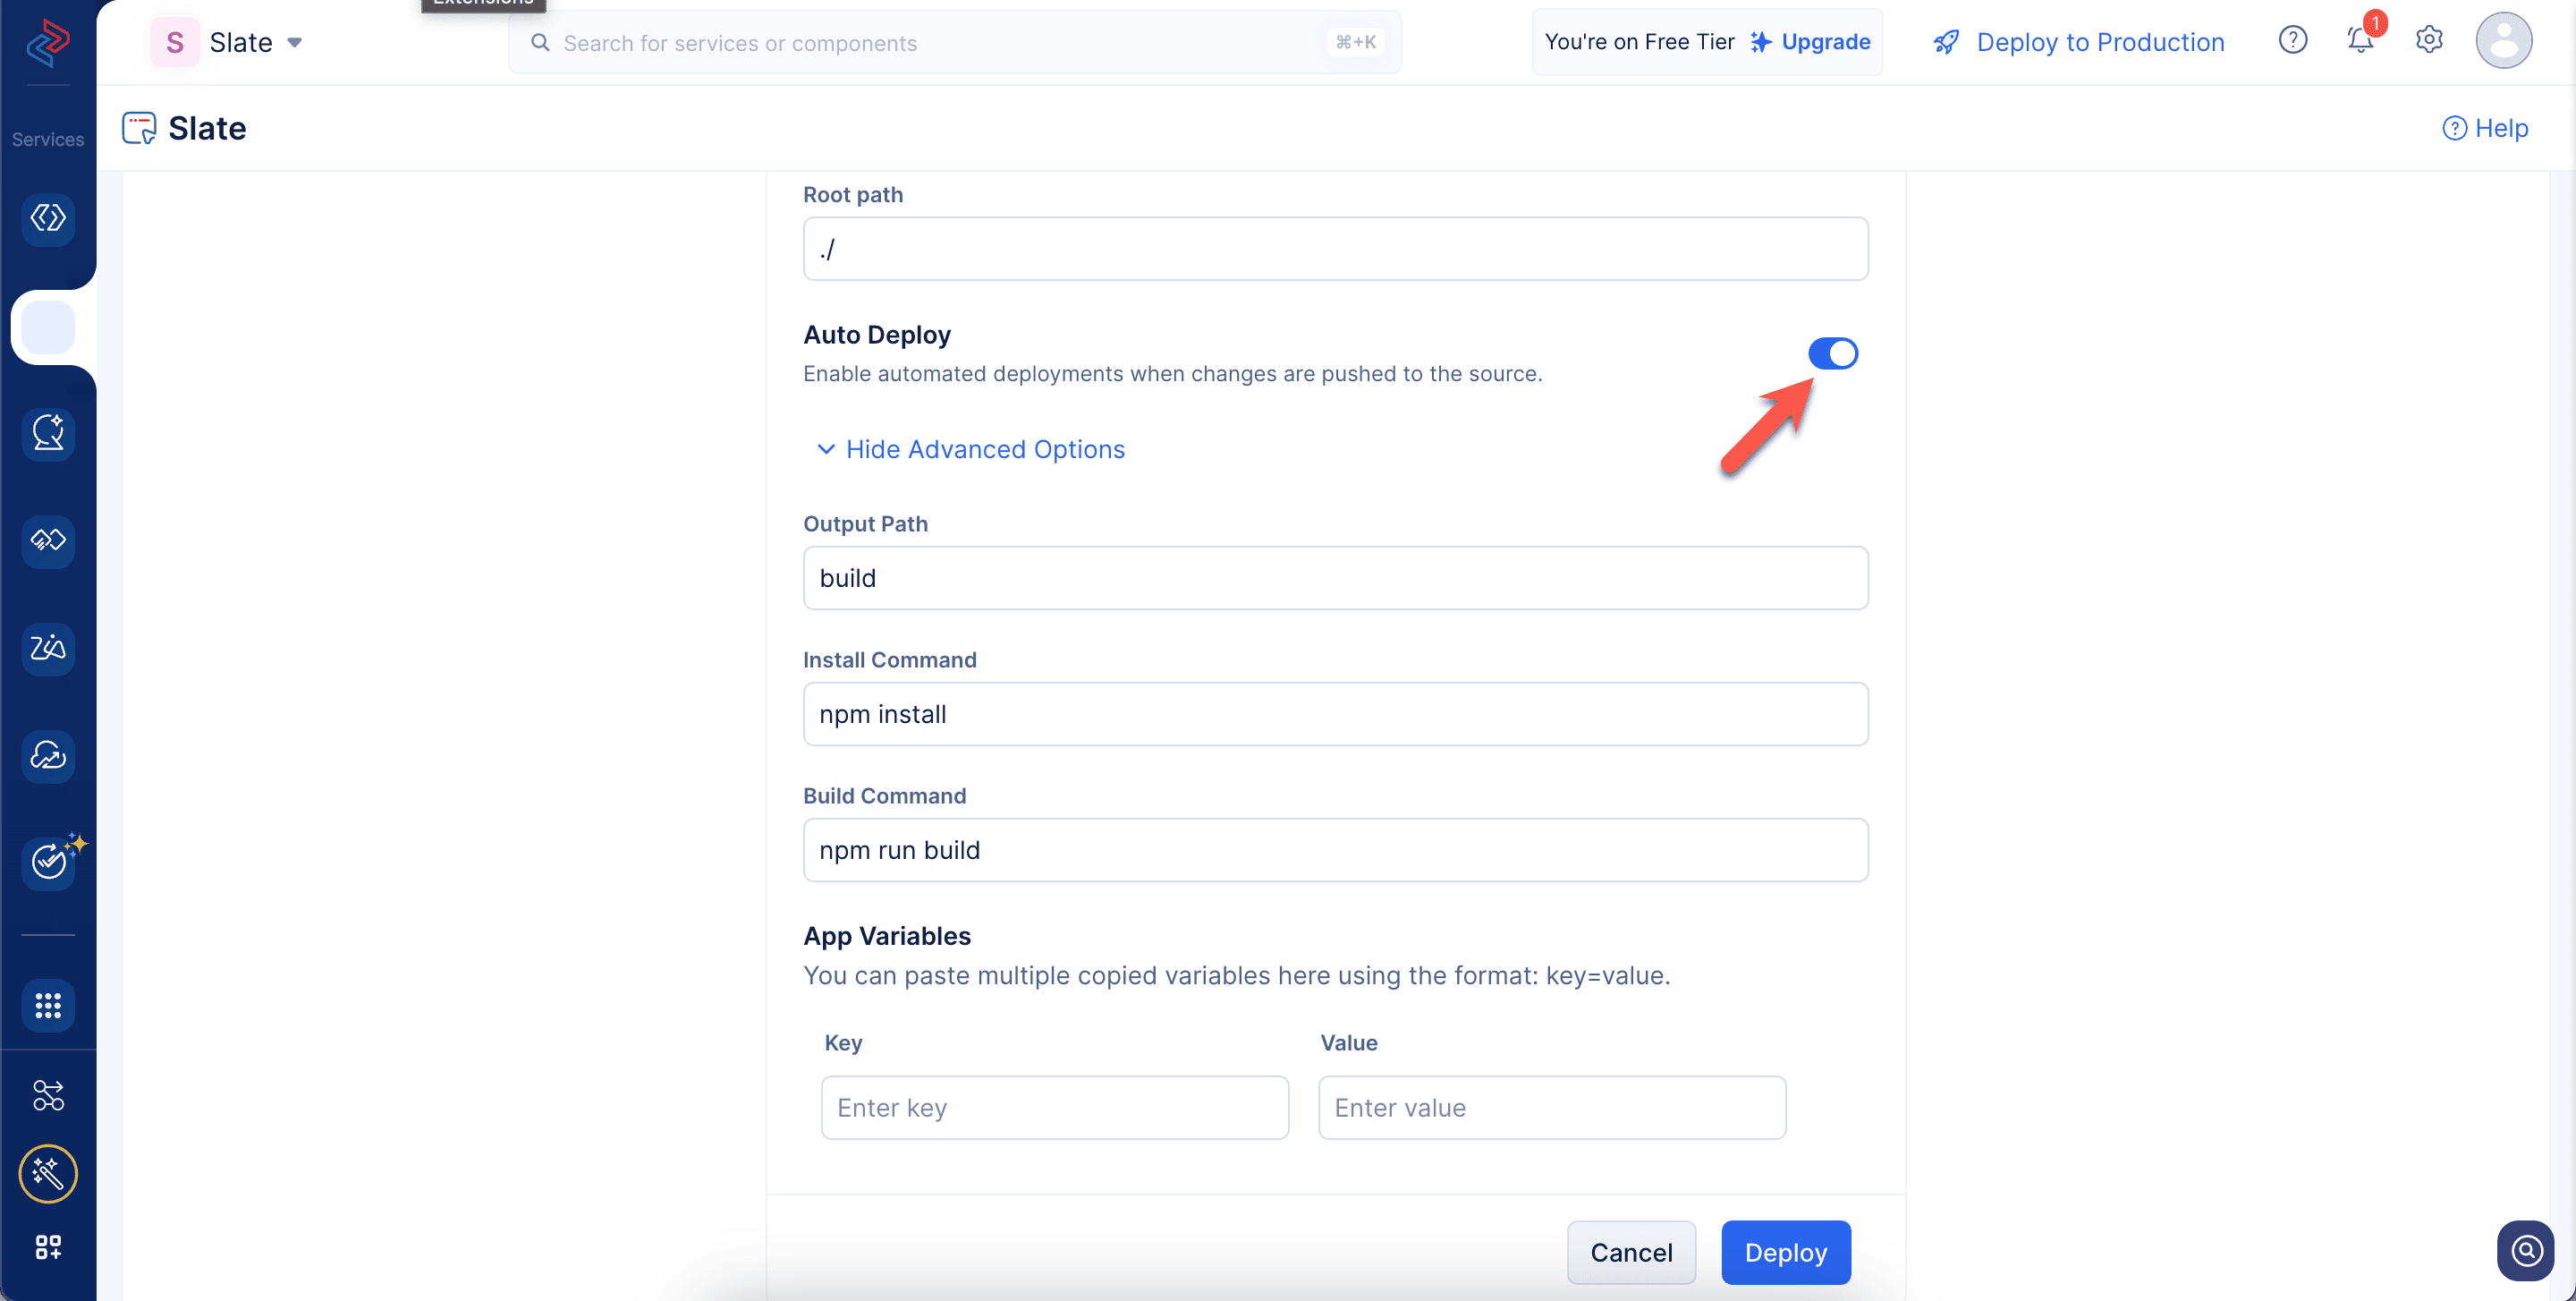
- Set the root path of your application.
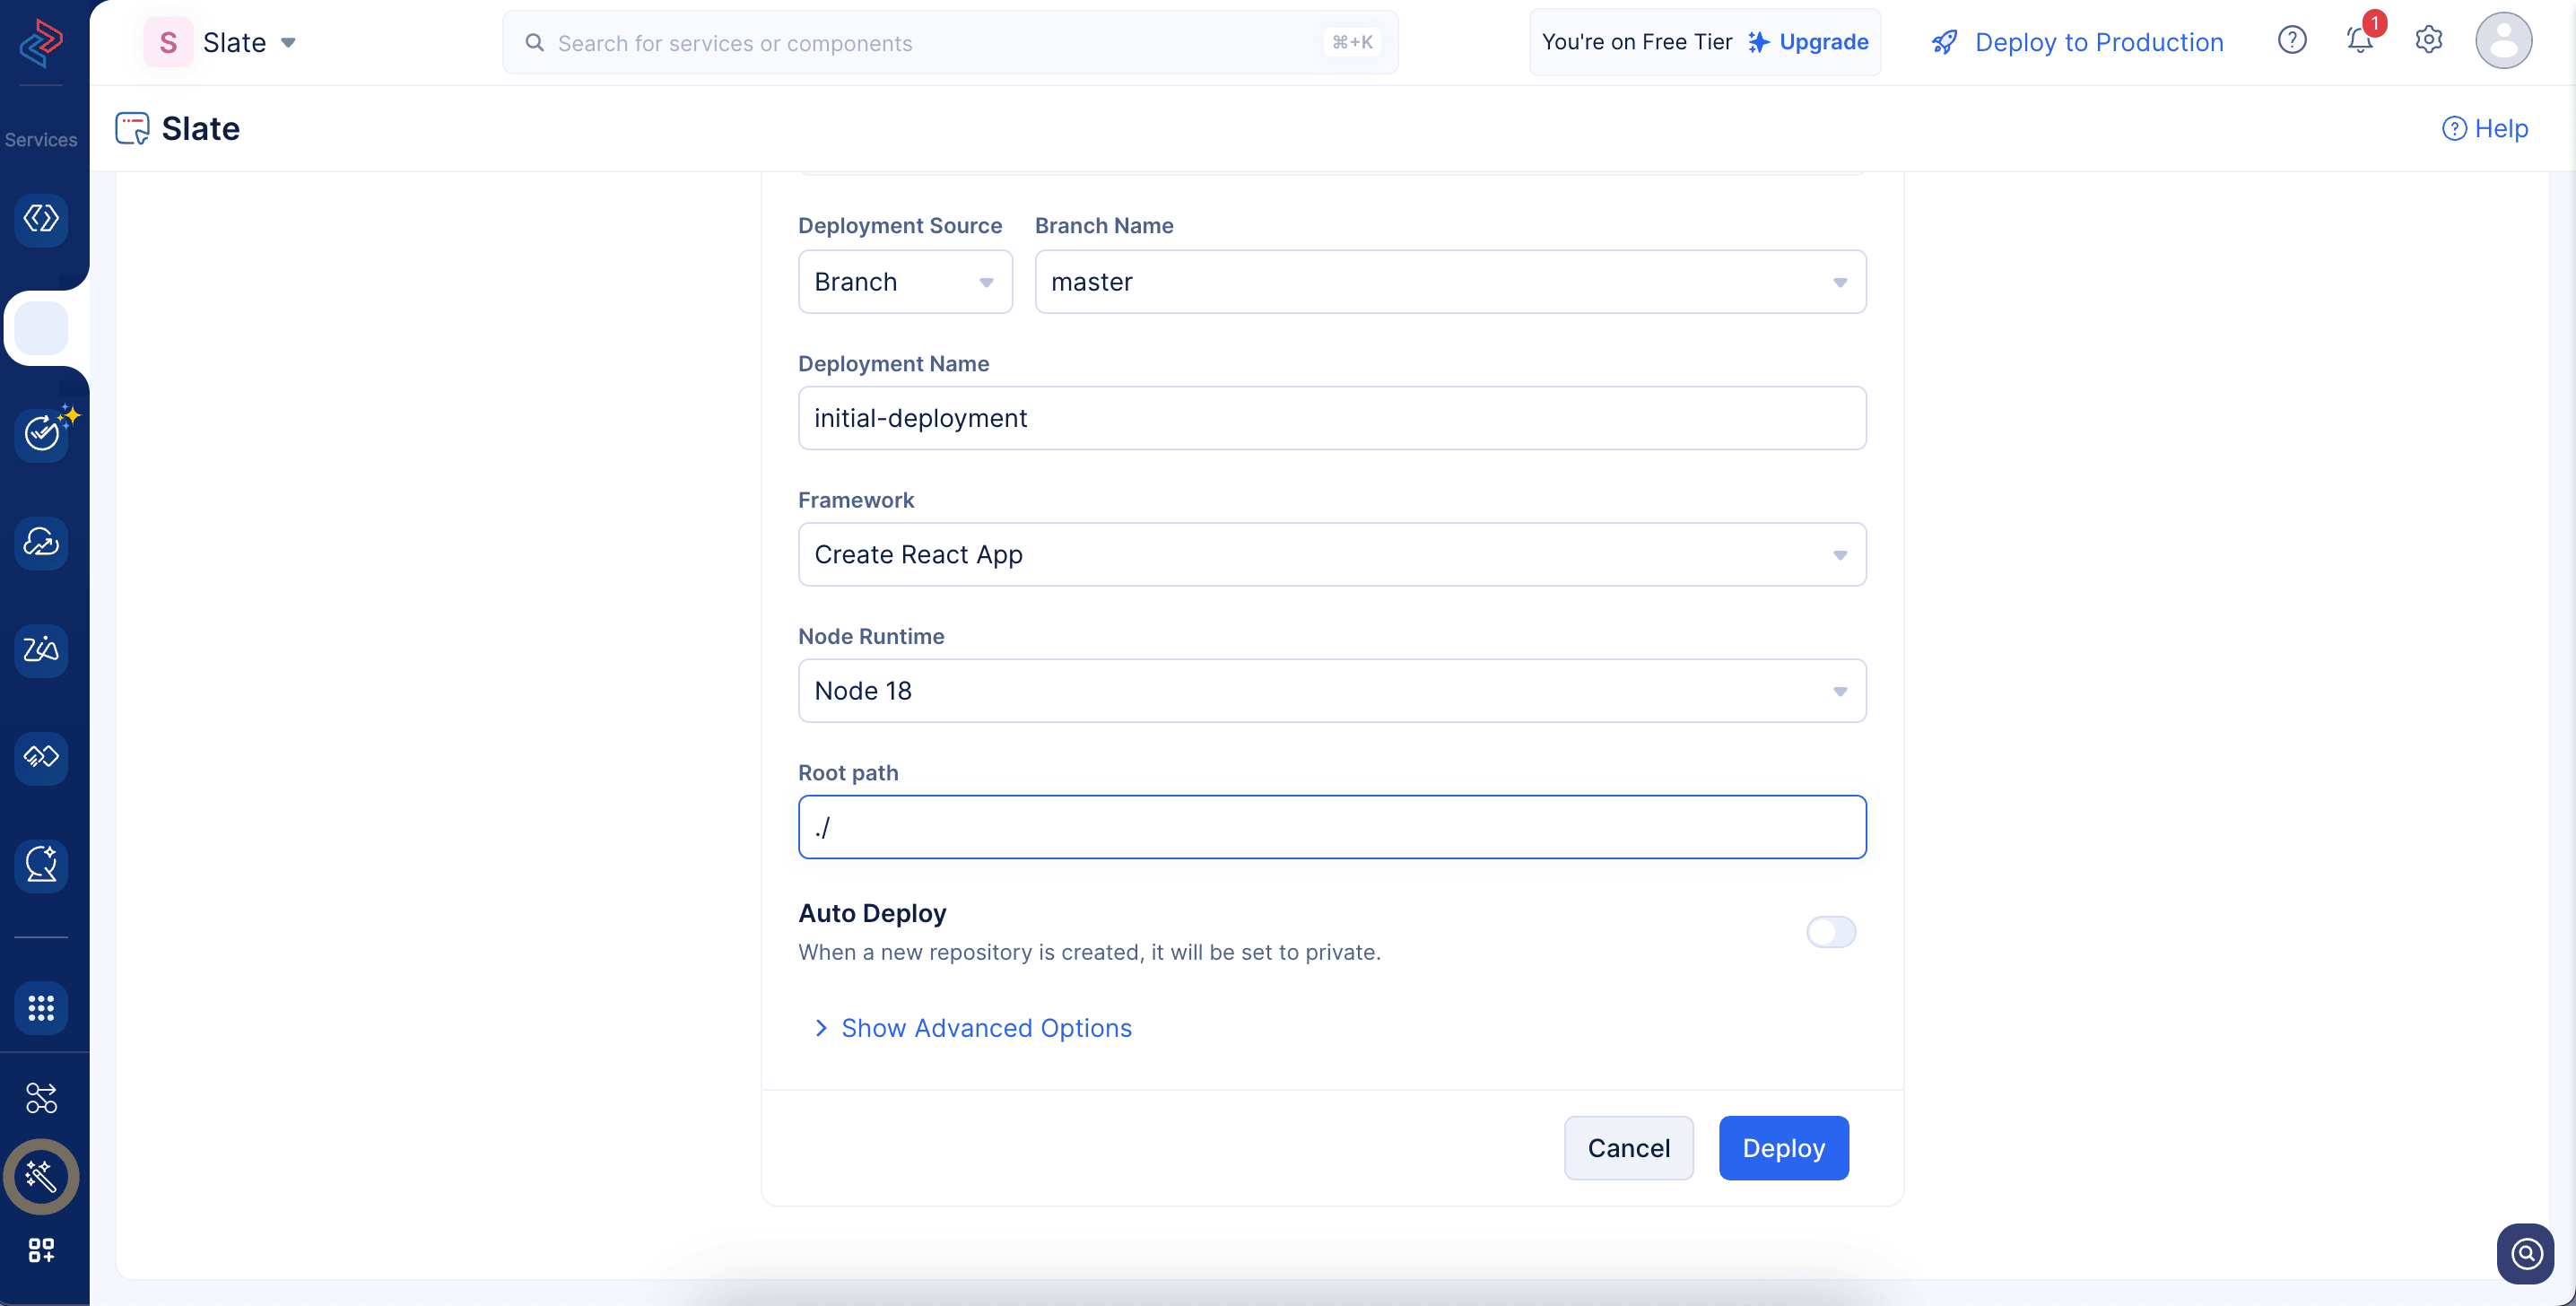
- Enable Auto Deploy, so that any code pushed to the specific branch will get automatically deployed using Slate. This option is not applicable to commits. This step is optional.
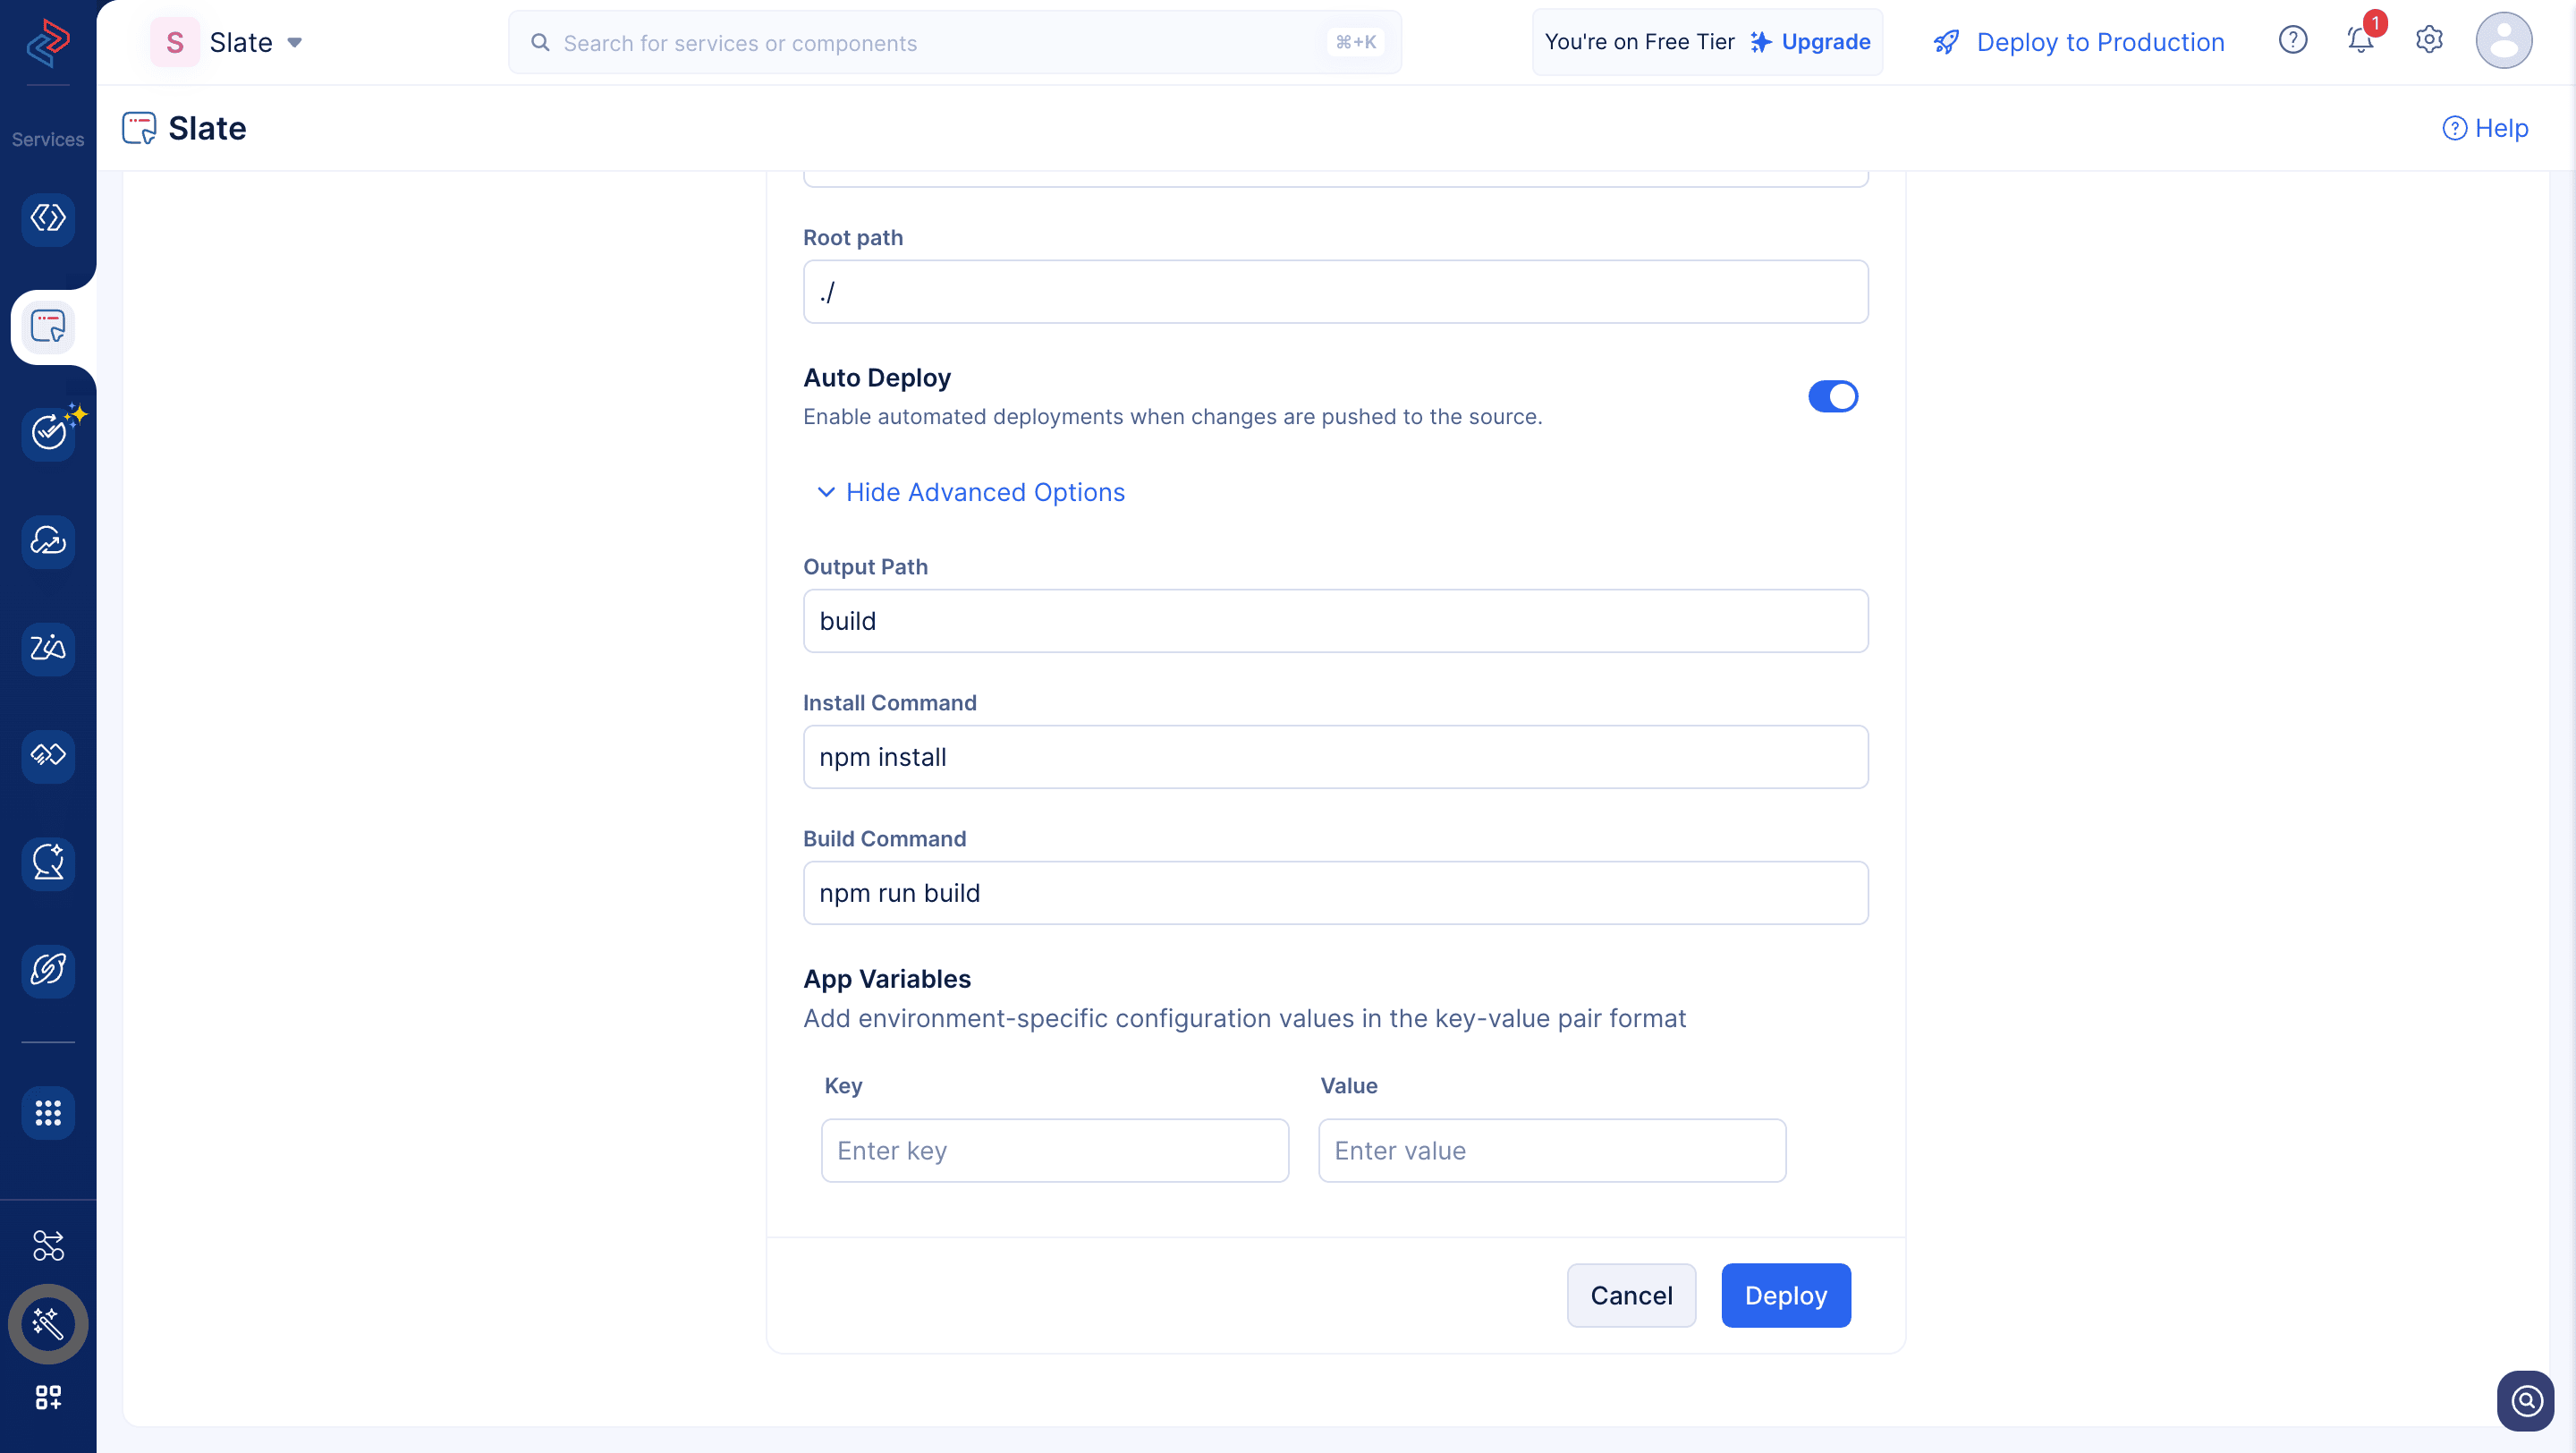
- The output path, build command, and the start command will be auto-populated based on the detected framework. You can edit them, if required.
-
The output path is the directory where your application gets compiled or built for production.
-
The build command is the script that transforms your development code into production code.
-
The install command fetches and installs all dependencies required for your project. For example, the install commands for various client-side frameworks are:
- React, Next.js, Vue, Angular, Svelte → npm install or yarn install
- Astro → npm install or pnpm install
- Vite → npm install or yarn install
- SolidJS → npm install or pnpm install
- Set the required environment variables for the deployment, if required. This step is optional.
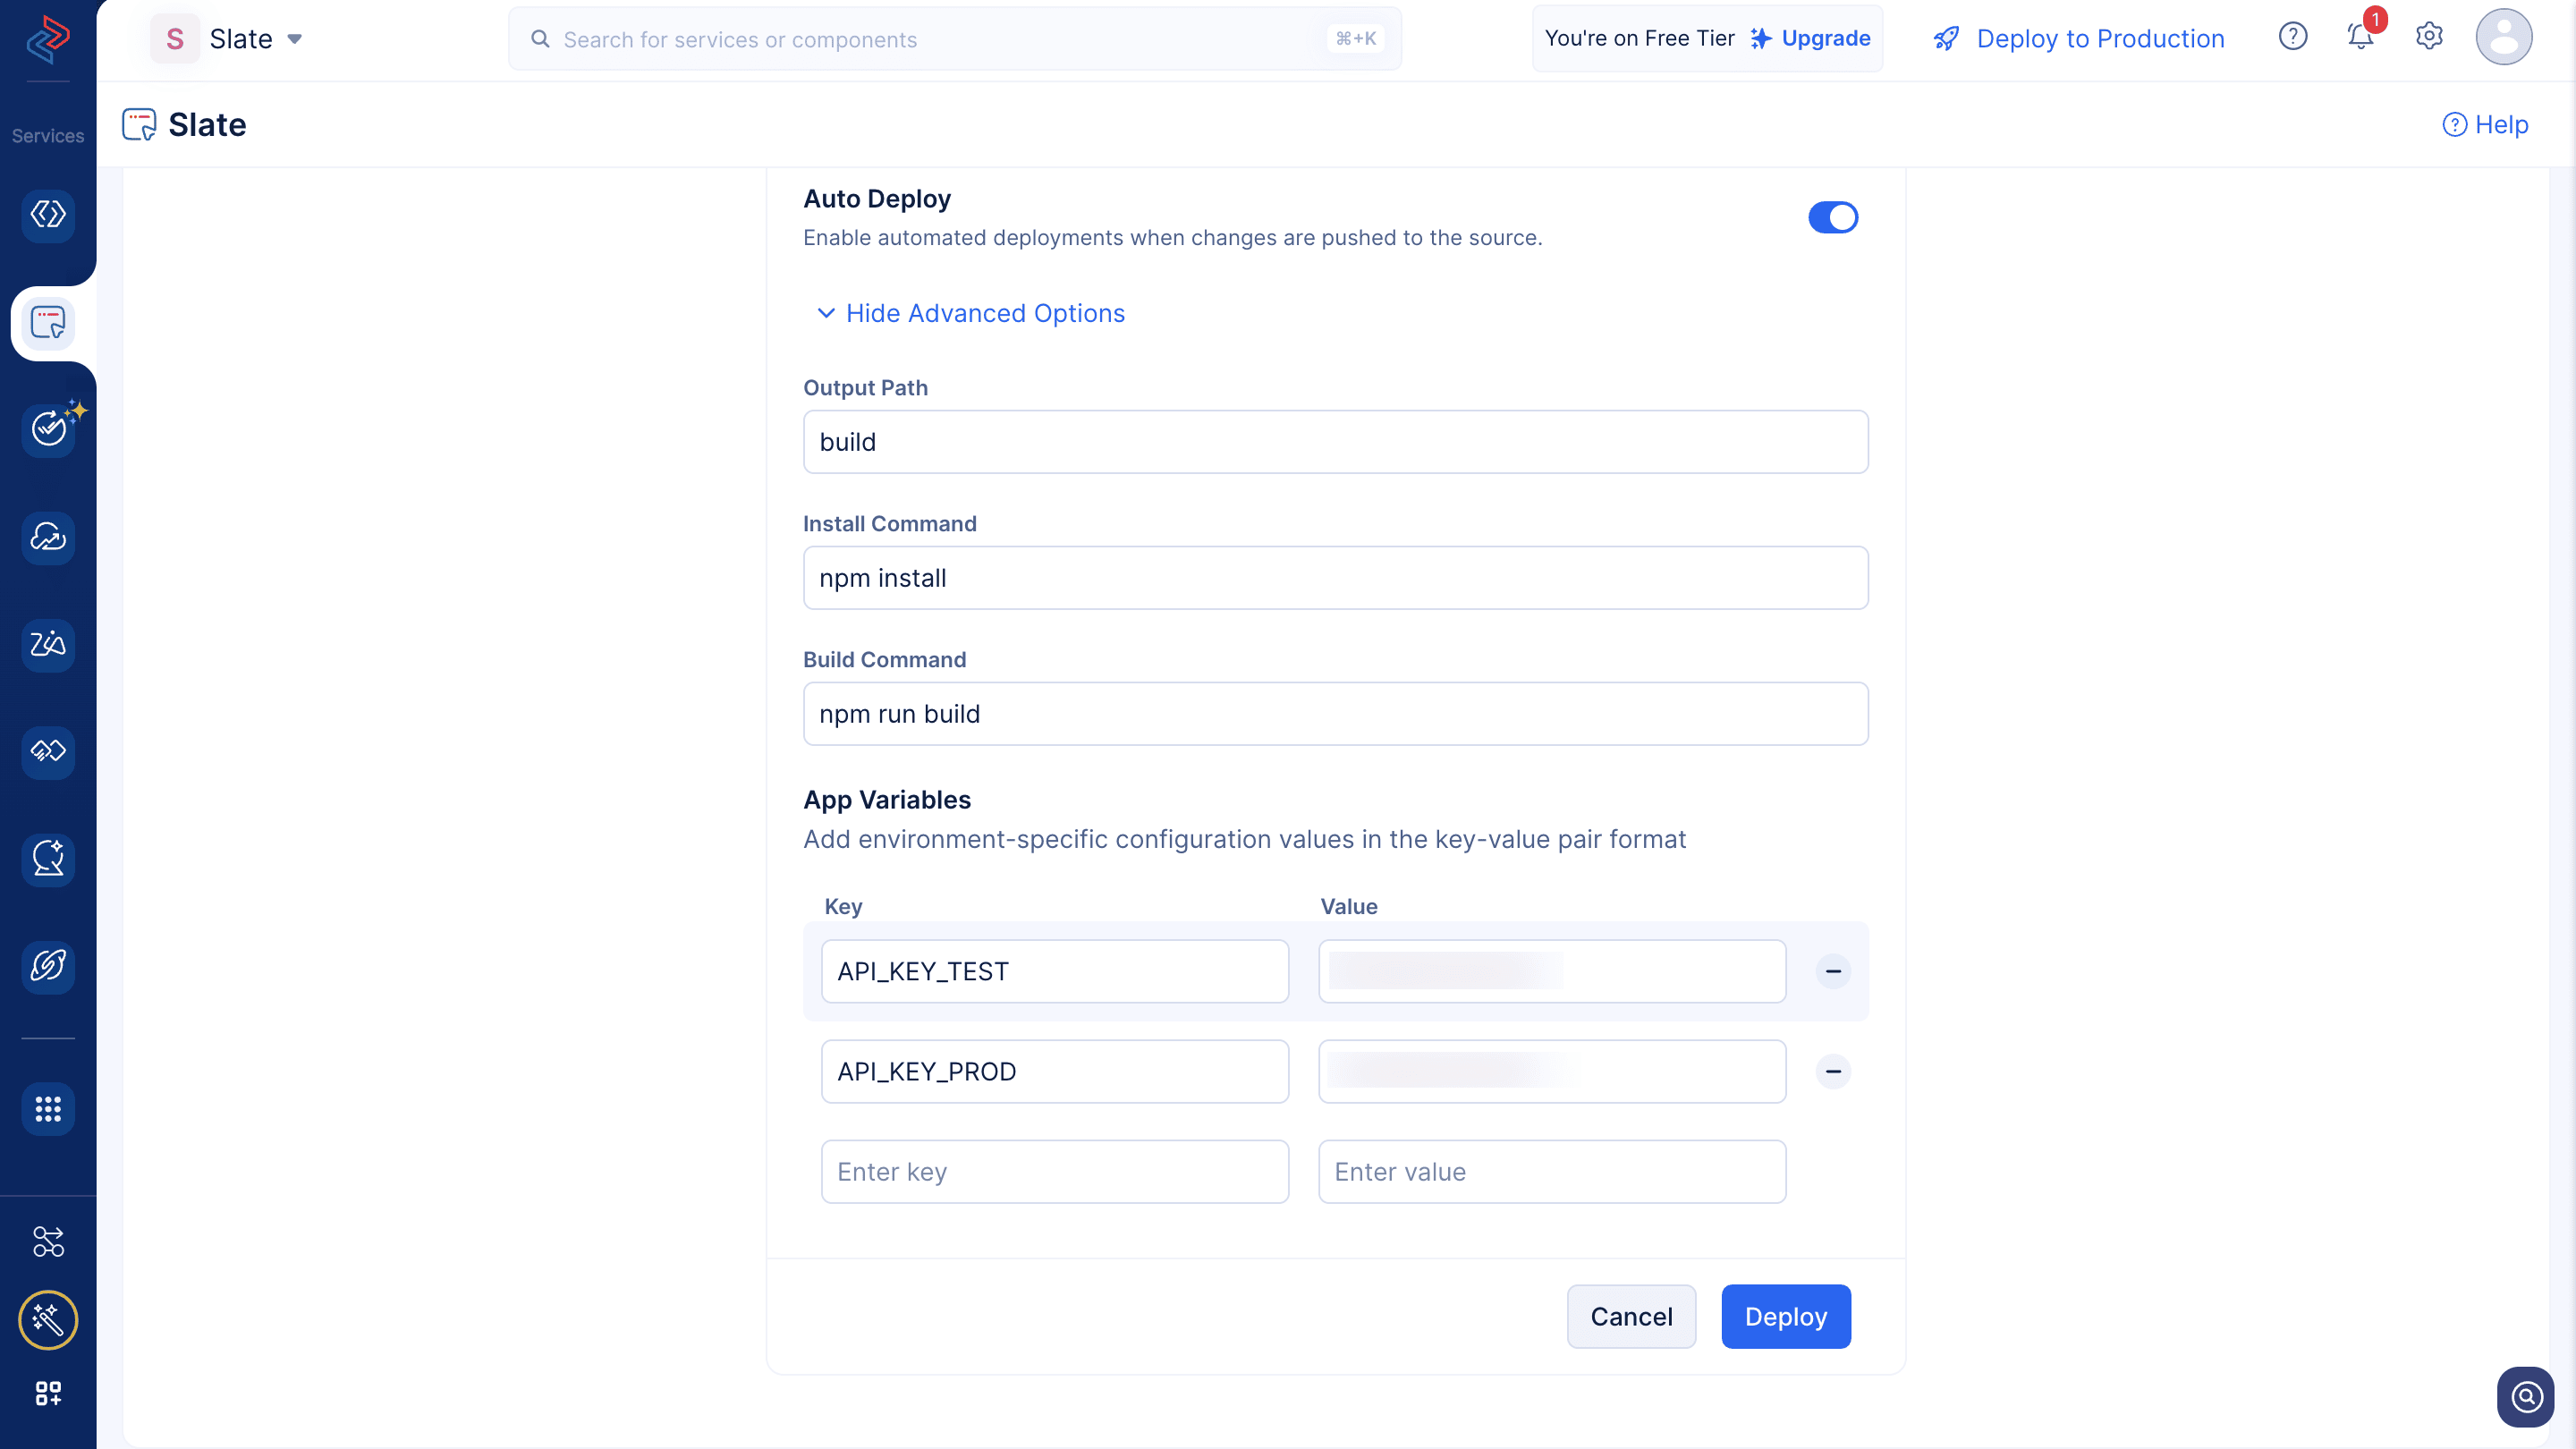
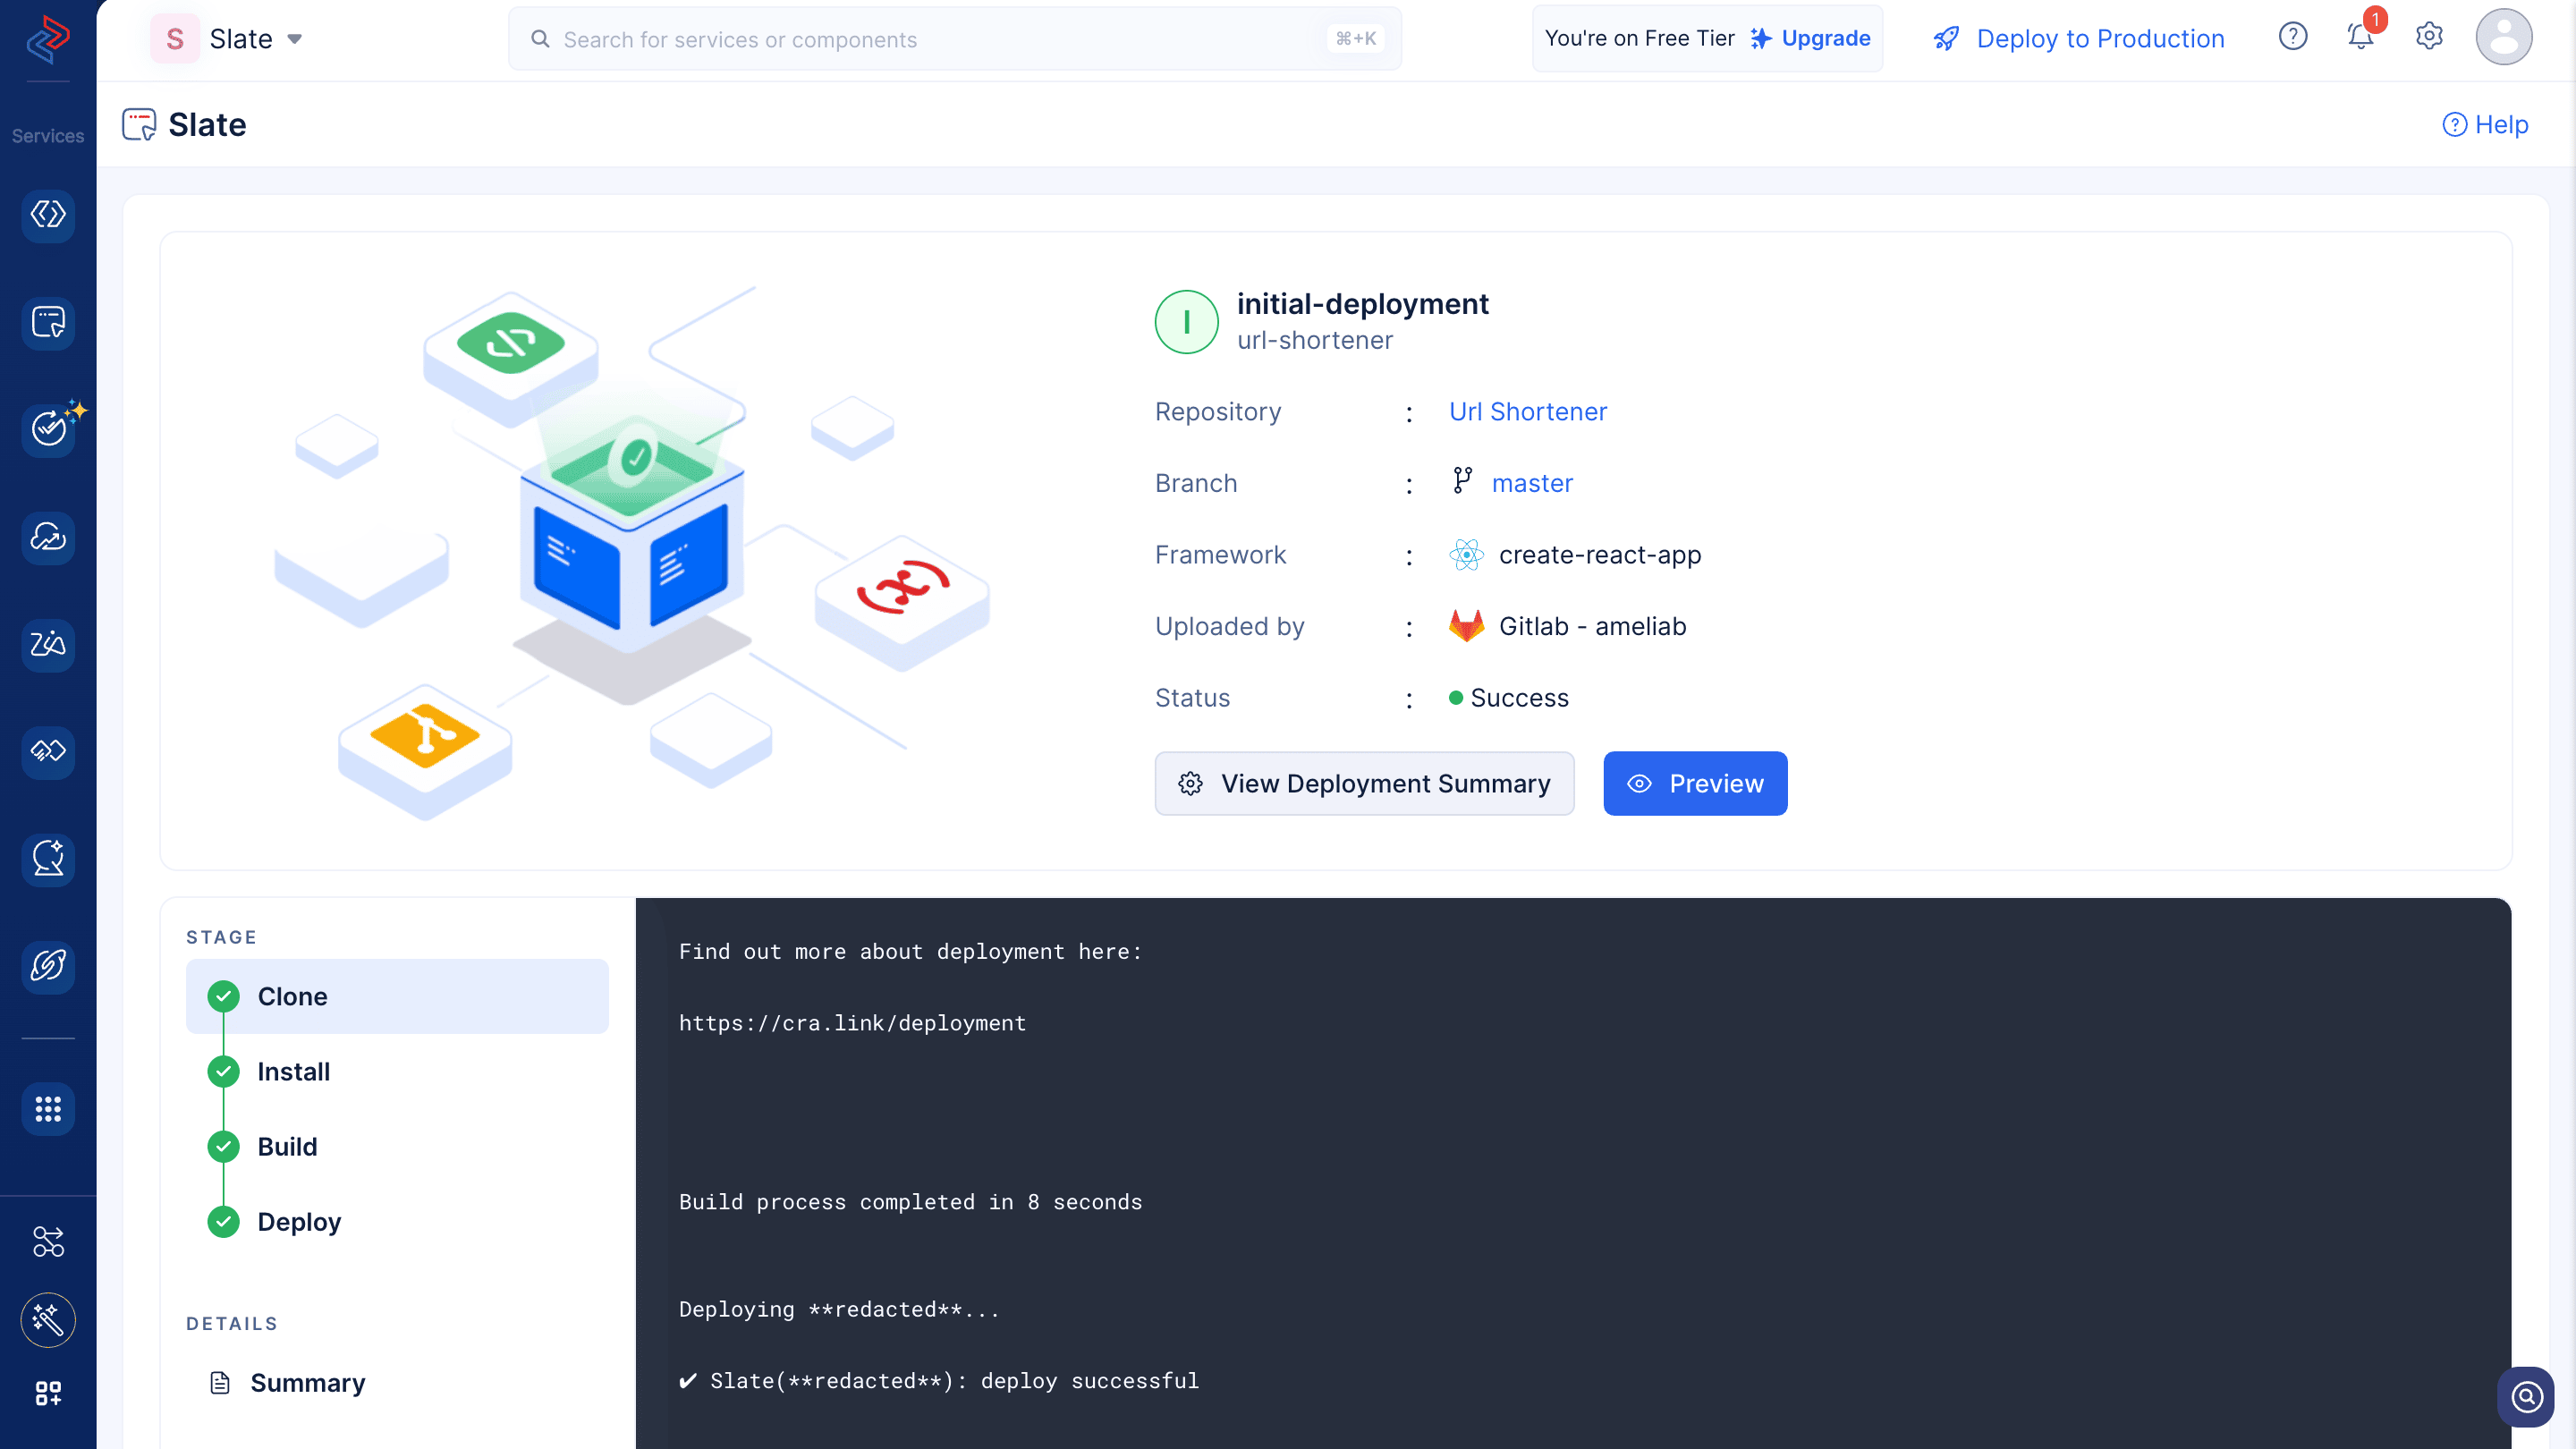
- Click Deploy. You can click on Preview to view your live application. Click on View Deployment Summary for more details and configurations about the deployment.
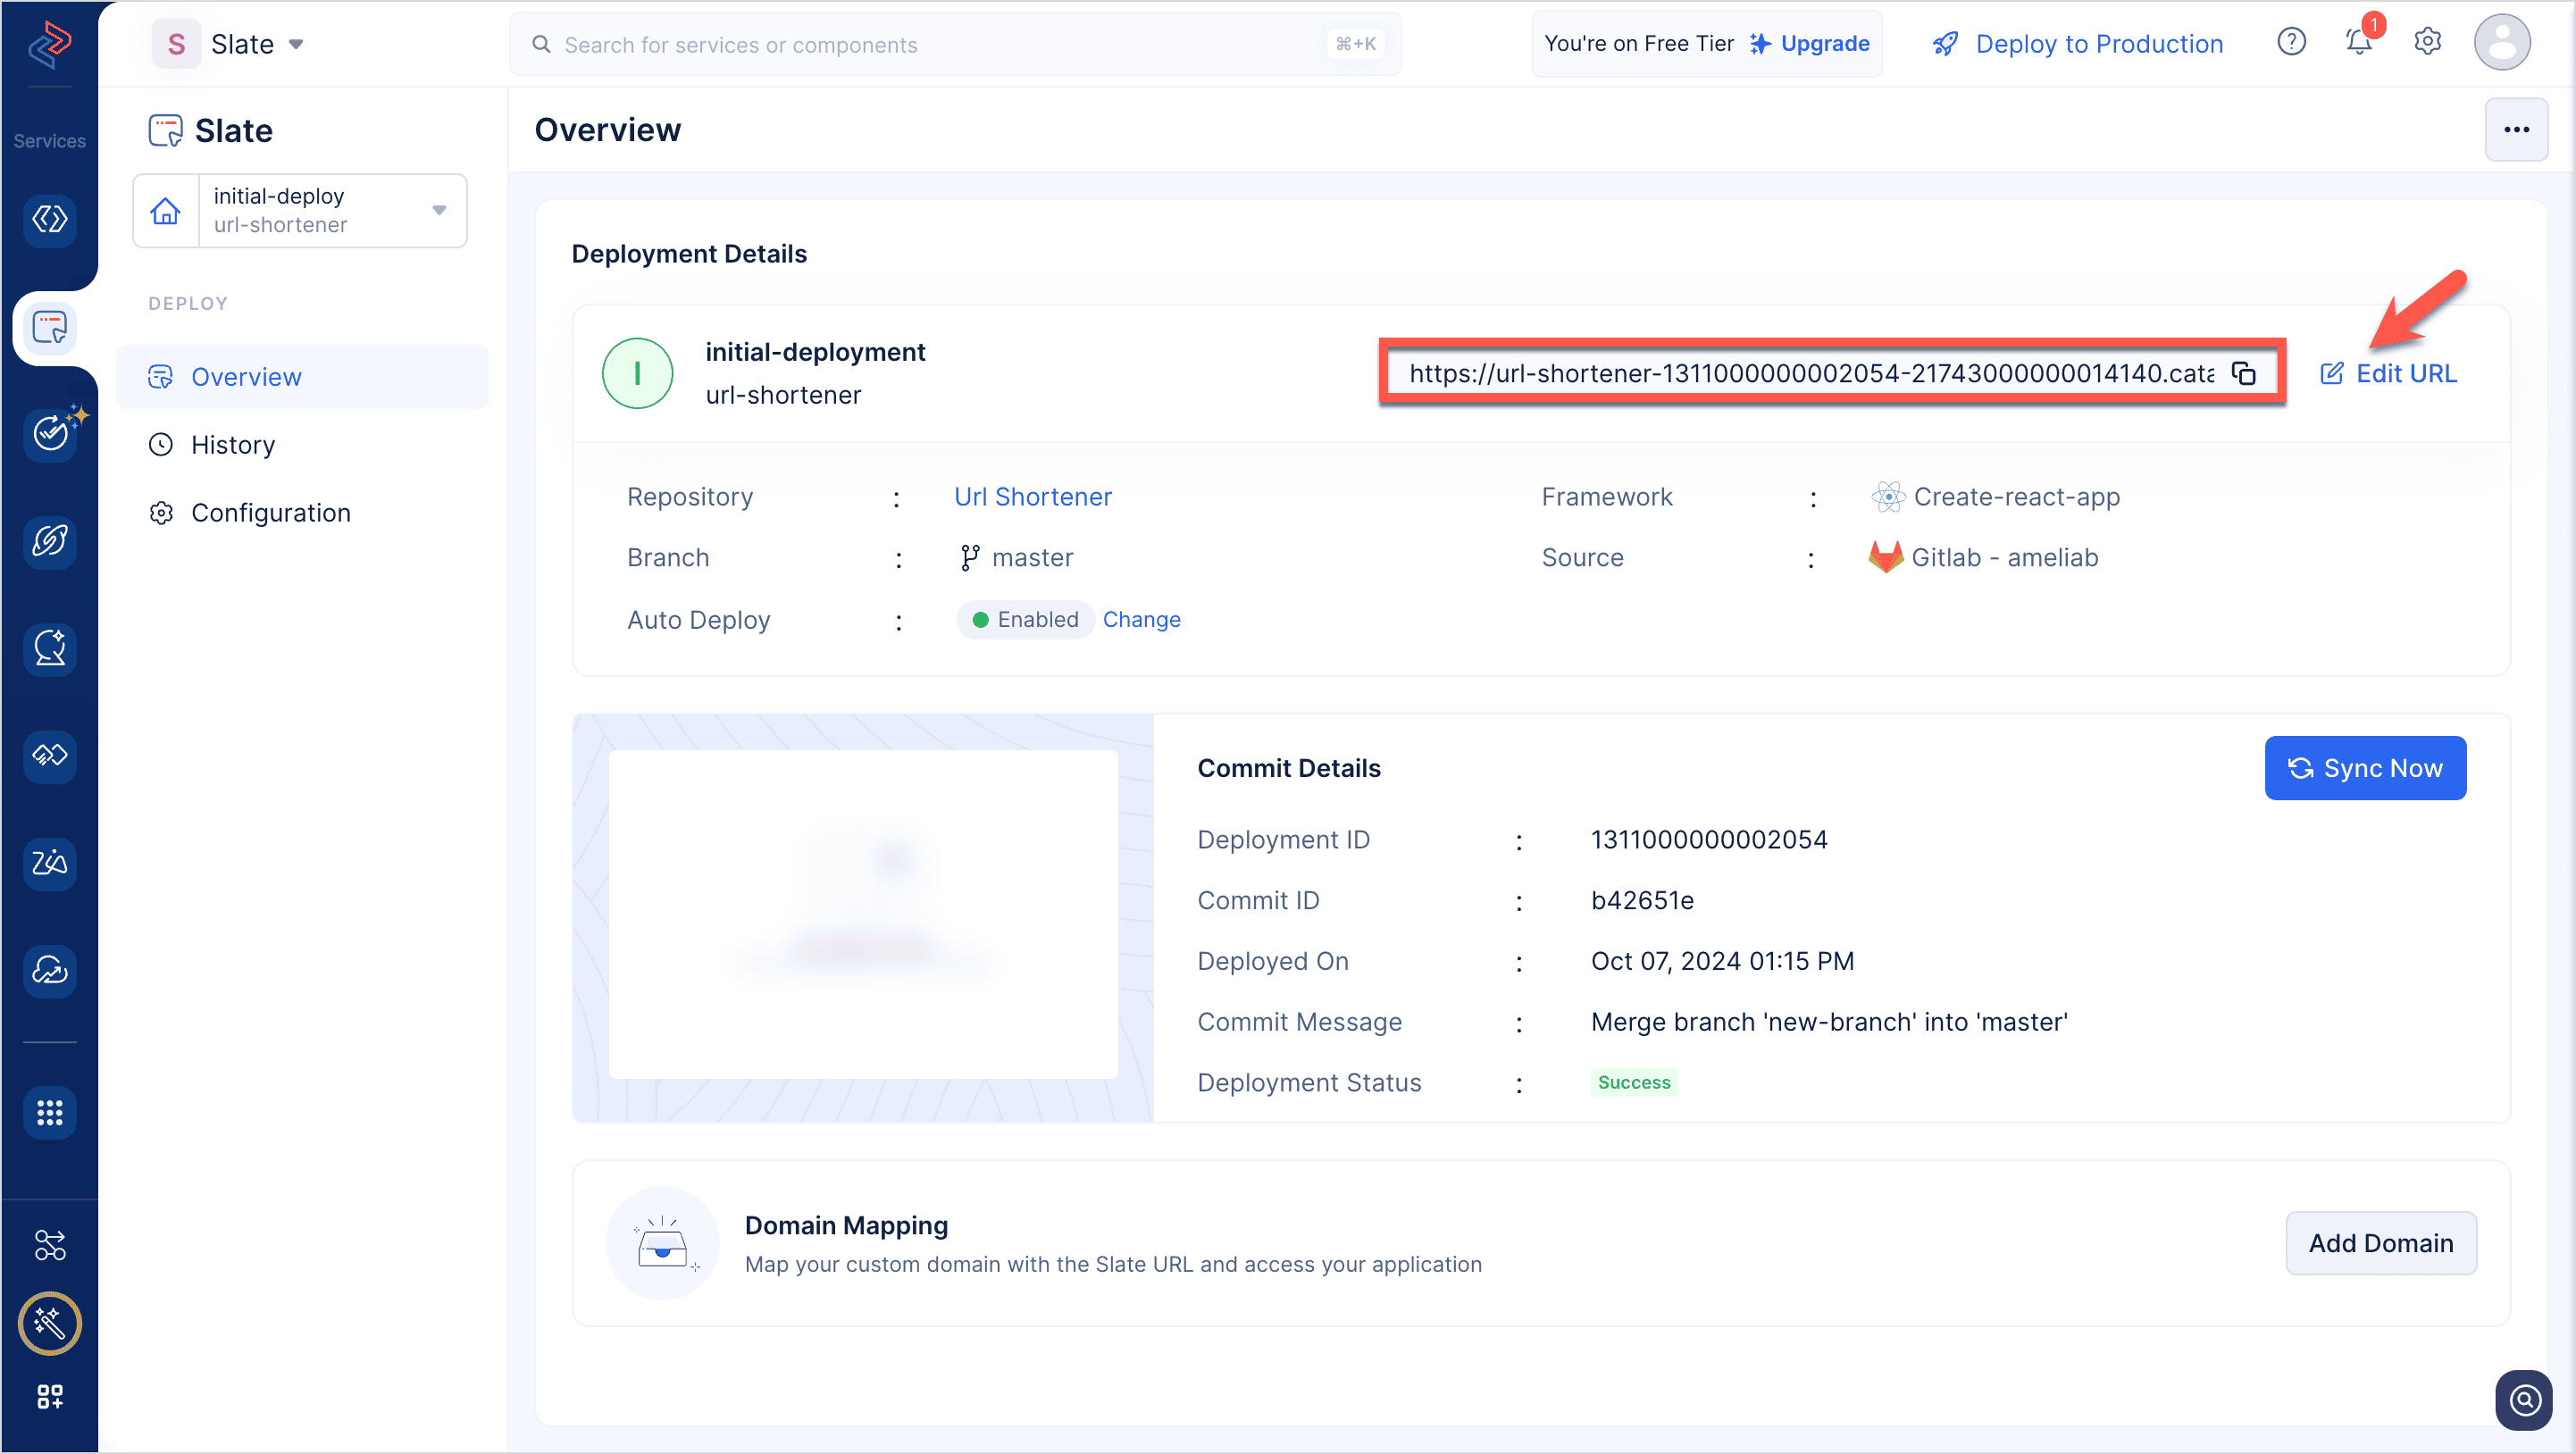
You can fetch the generated access URL of your application as shown in the screenshot below. You can edit the subdomain part of the URL by clicking on Edit URL.
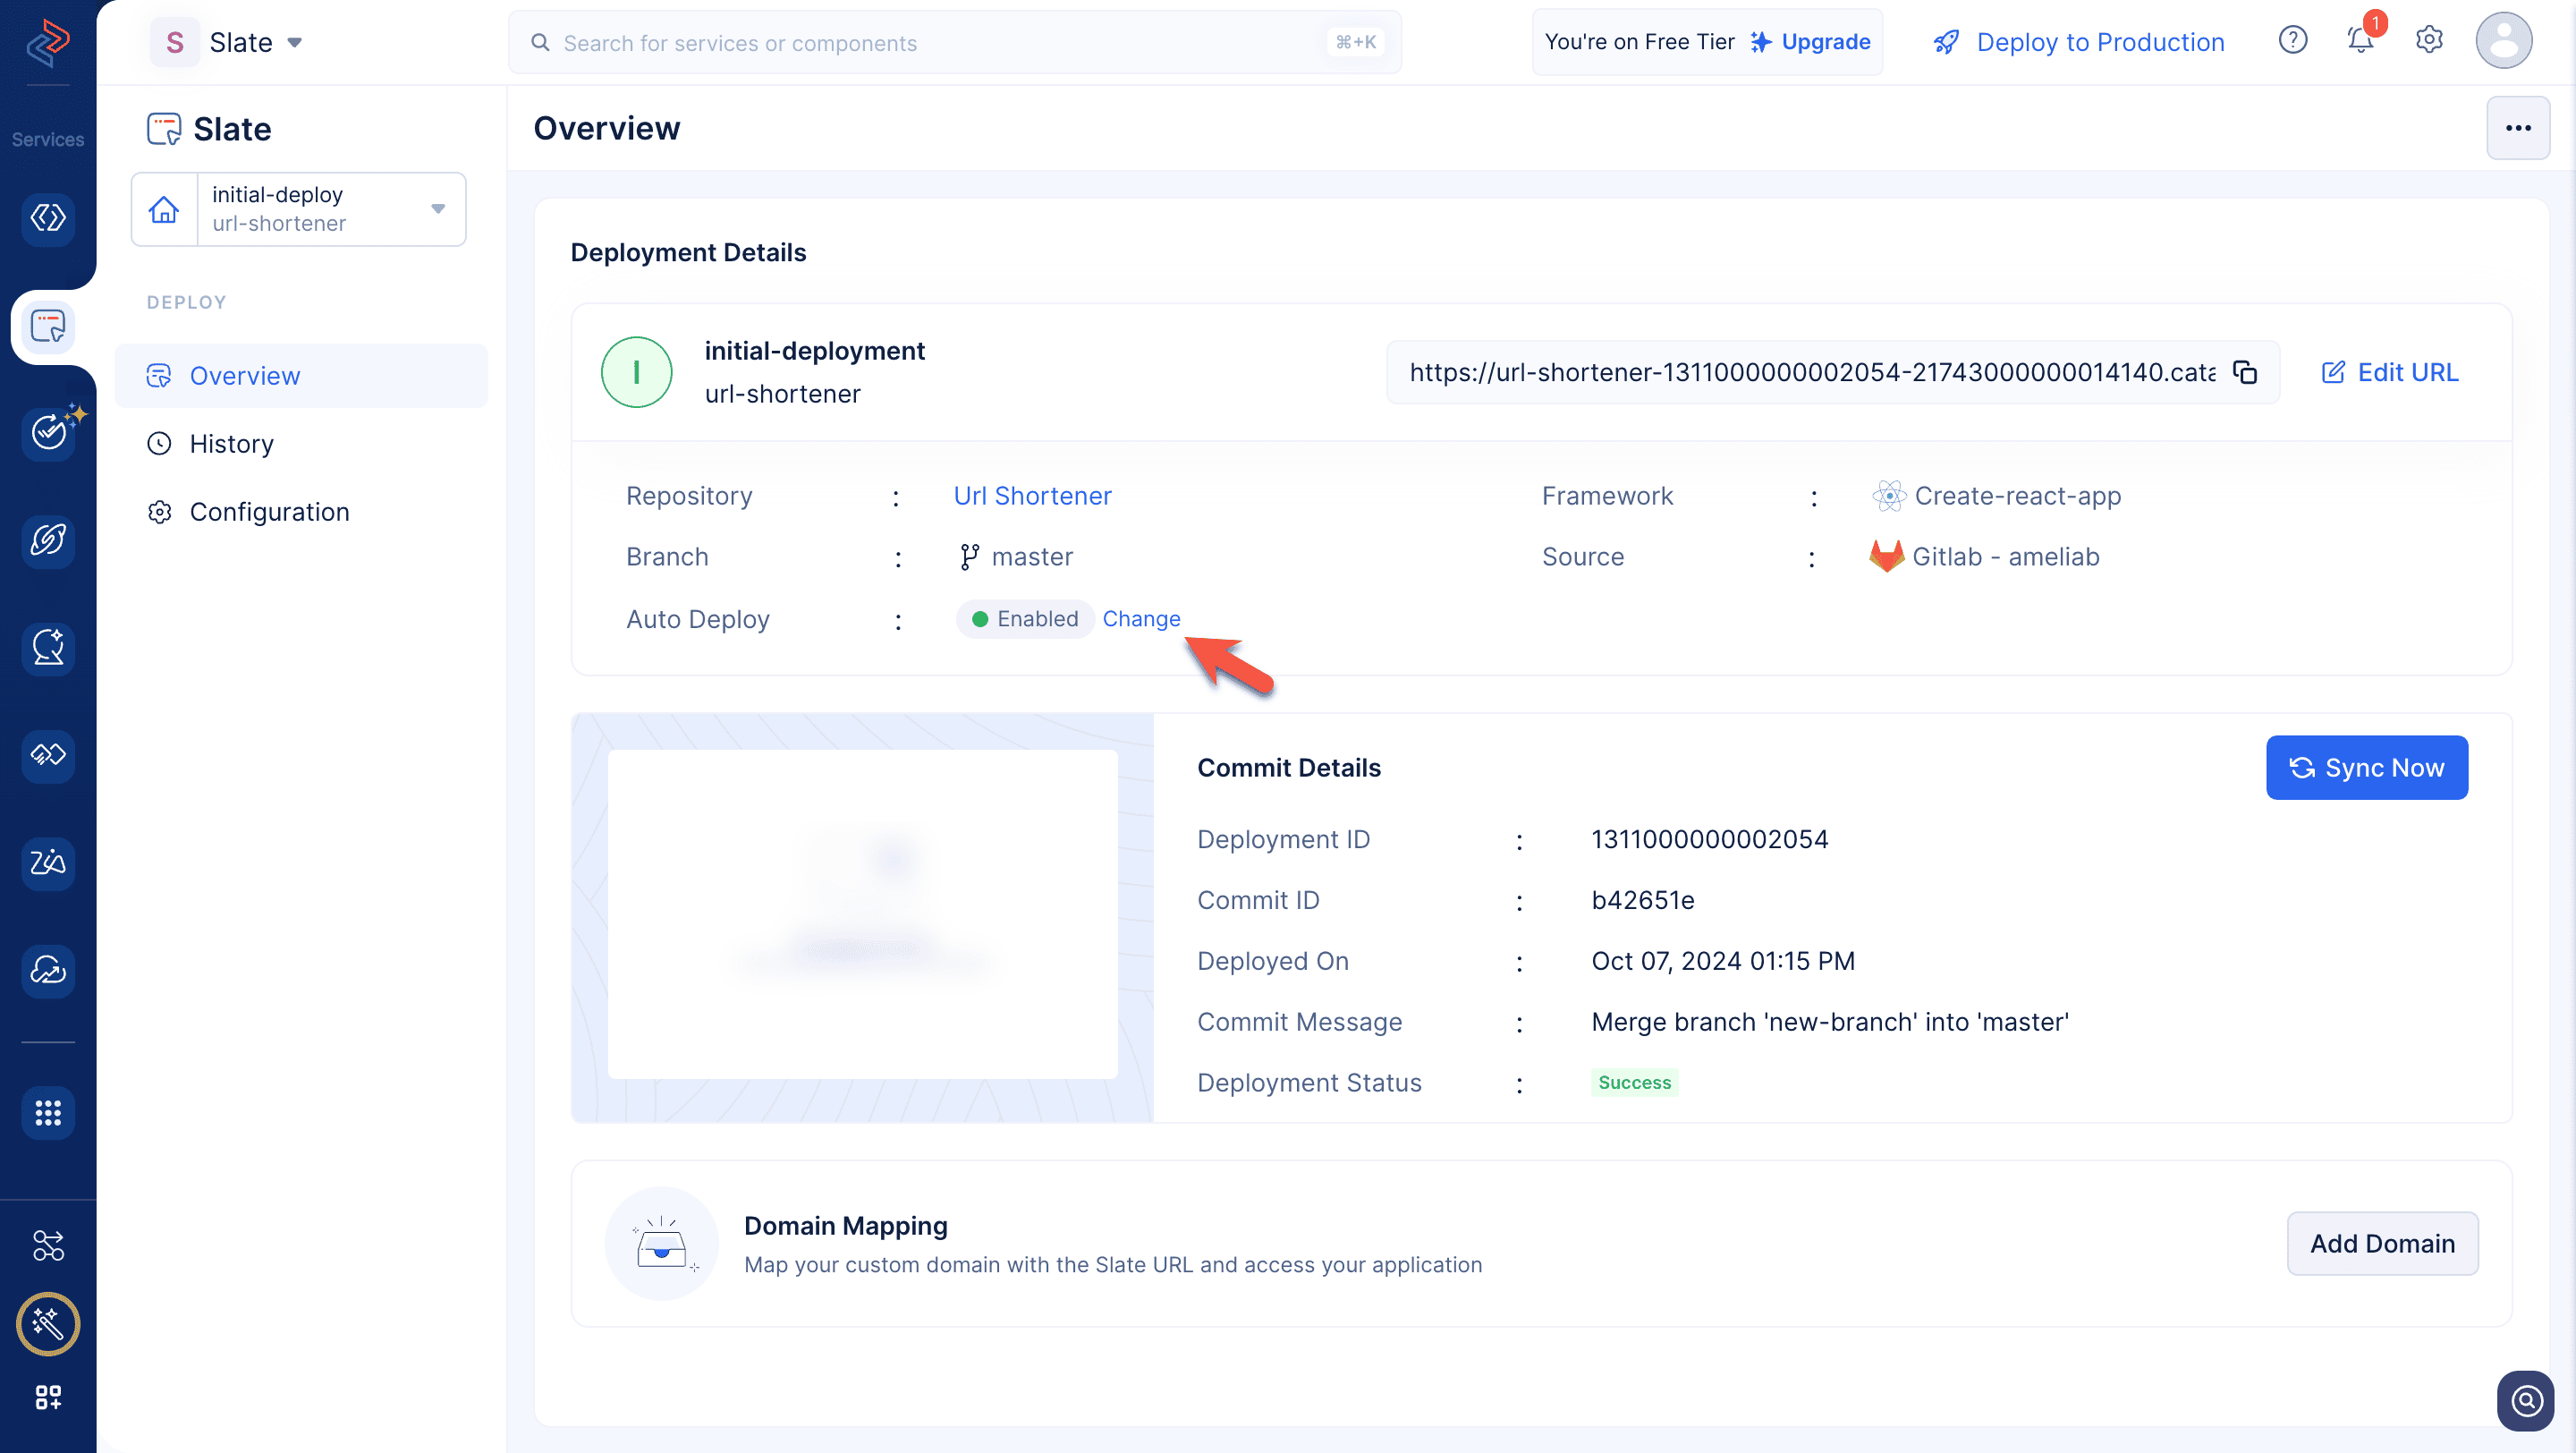
You can disable Auto-Deploy for this deployment by clicking on Change.
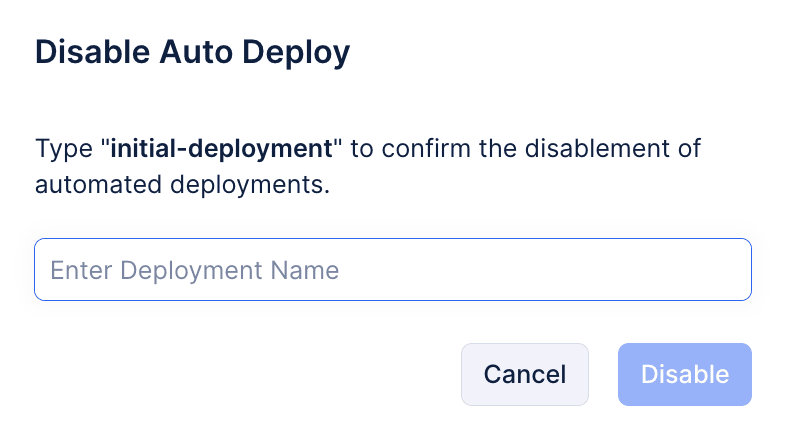
- Enter the deployment name and click Disable.
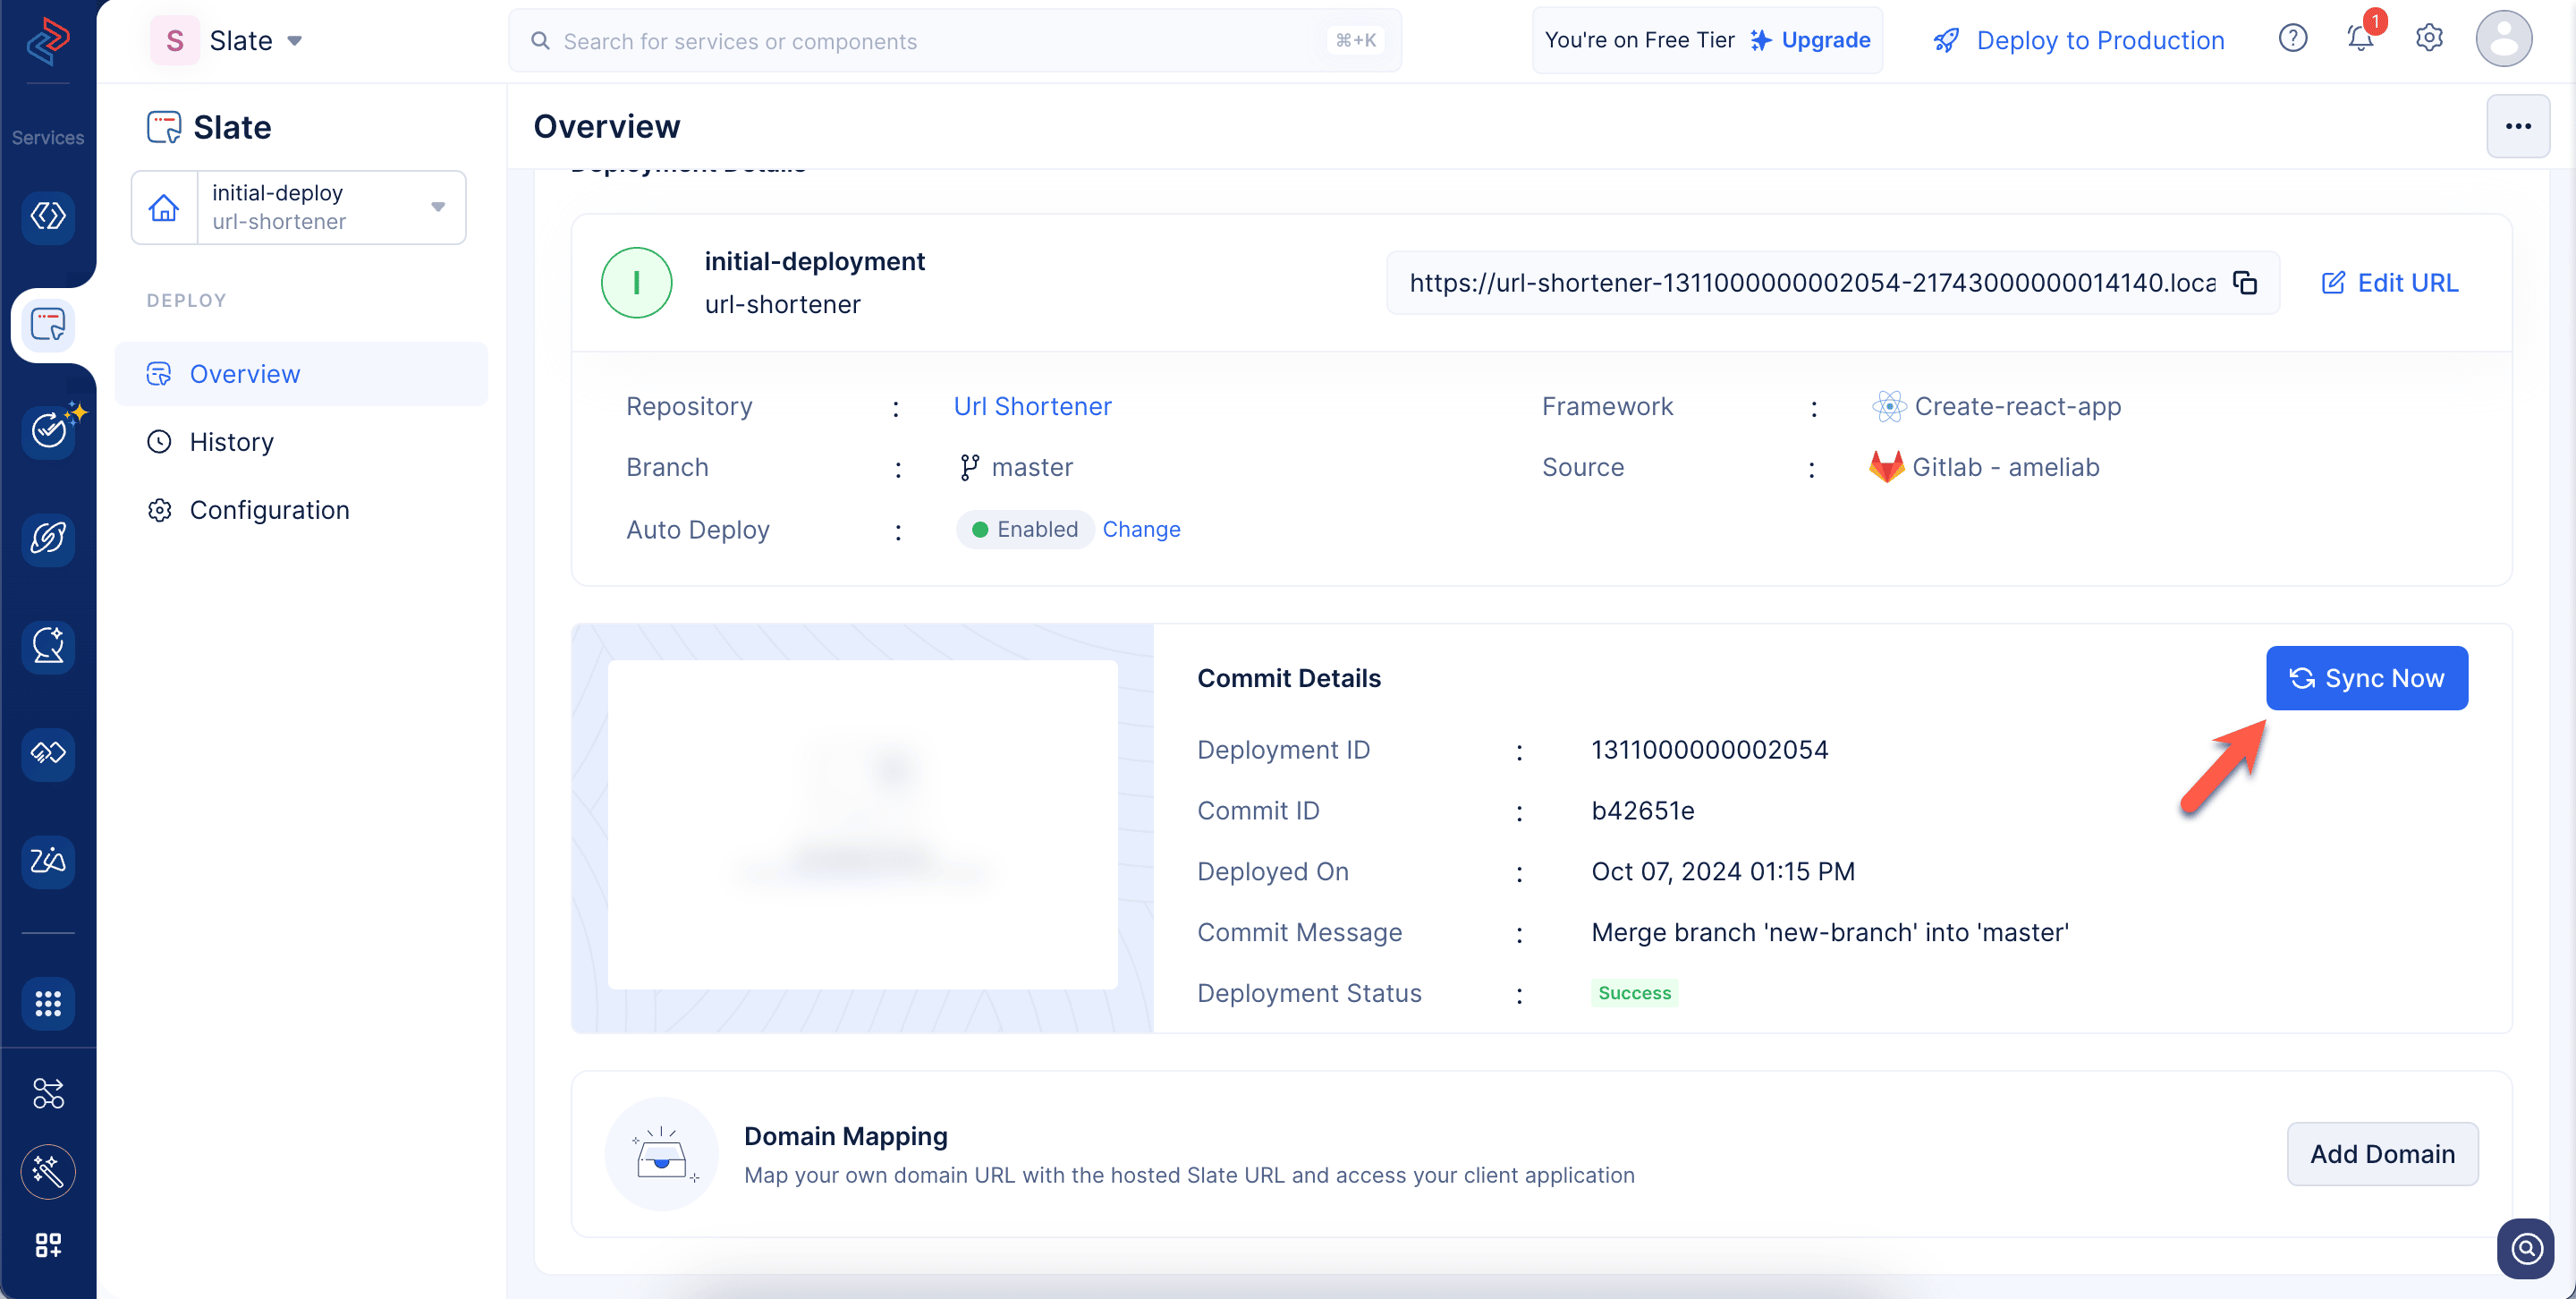
You can sync the latest commit with the current deployment by clicking on the Sync Now button.
You can also map the generated Slate URL with your custom domain if required.
You can view the list of deployments made to your application by switching to the History tab in the left pane. Refer to this help section to learn more about it. You can enable cache for your deployment by navigating to the Configuration tab in the left pane. You also have the option to configure environment variables required for your deployment, if required.
In the next section, we will discuss how to deploy an application directly from a public repository using Slate.
Last Updated 2025-07-18 12:42:05 +0530 IST
Yes
No
Send your feedback to us