Initialize the Client
Now, let’s initialize the client.
You can initialize the client in one of the three types supported by Catalyst:
-
Basic web app: The basic client application is a simple version of the Catalyst client that is created without any external frameworks or libraries.
-
Angular web app: You can choose this client type if you prefer to create the To-Do List app using the Angular framework.
-
React web app: You can choose this client type if you prefer to create the To-Do List app using the React framework.
Since, you are initializing the client after the project has already been initialized, you can set it up independently by executing the following command from your project directory:
Use the arrow keys and select your preference by pressing Enter.
Based on your choice, navigate to the relevant section for the steps to initialize the web app:
Initialize the client as a Basic web app
If you chose Basic web app while setting up the client using the Catalyst command catalyst client:setup, Catalyst will initialize the client accordingly.
Enter “ToDoApp” as the name for the client package and press
Enter.

The client is now successfully initialized as a Basic web application.
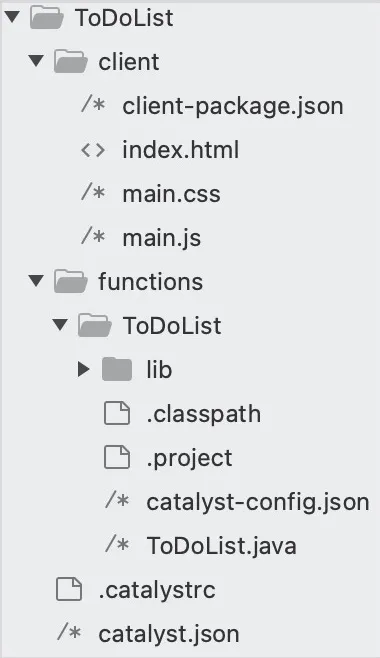
The client directory will be created in the standard structure in the project directory.
This is the structure of the ToDoList project’s directory if the client is initialized as a basic web app.
Initialize the client as an Angular web app
If you chose to set up the client as an Angular app, Catalyst will initialize it using the Catalyst Angular plugin (zcatalyst-cli-plugin-angular).
- Name your Angular app as “app”, then type “Y” and press the
Enter key to enable the auto-completion feature. This will provide auto-completion for your Angular
terminal commands.

- You can choose to share your application data with the Angular by entering “Y” or opt out of it by entering “N”, then press Enter. Since the application does not require Angular routing, type “N” and press Enter.

- For this application we will be using CSS style sheet. Press the Enter key after choosing CSS.
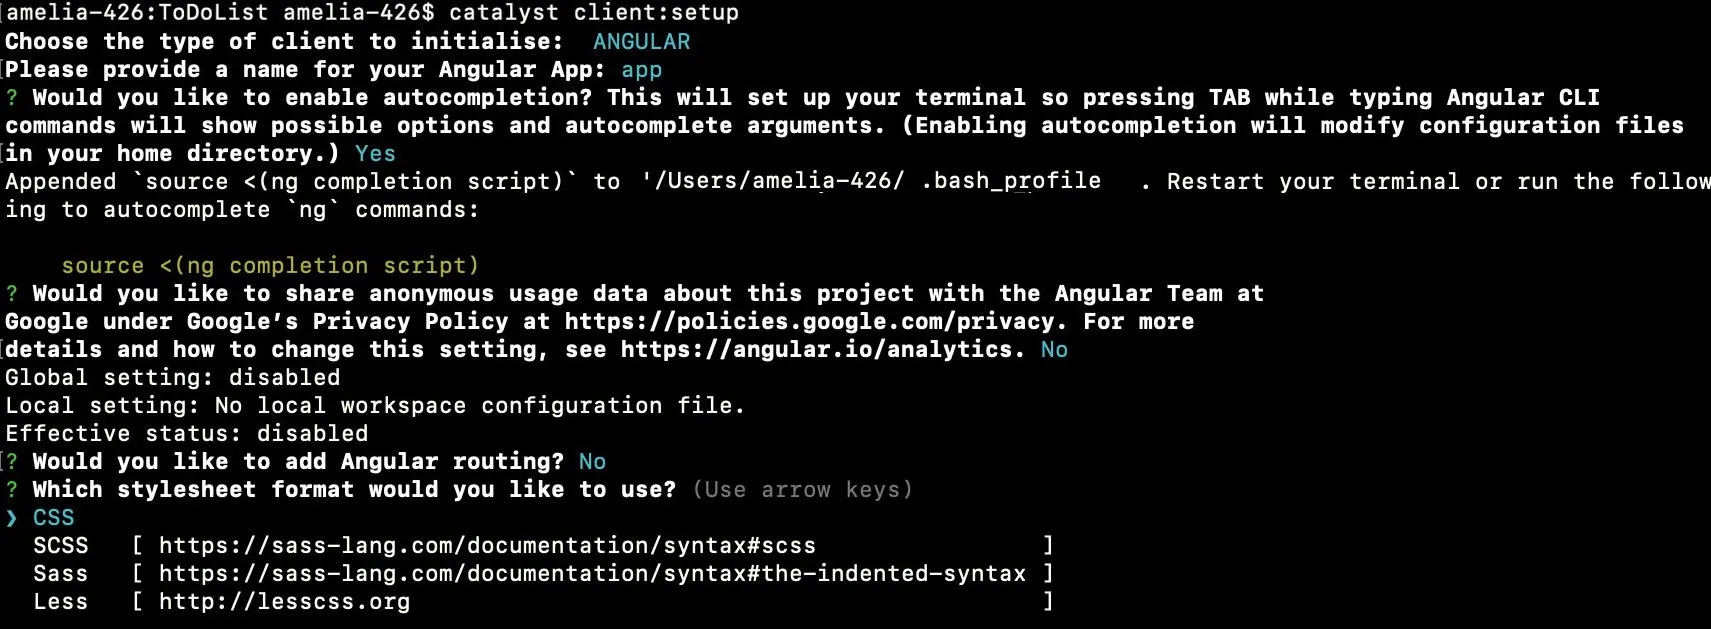
- Now all the required Angular application files, configuration files, and dependencies will be installed through the Catalyst Angular plugin.
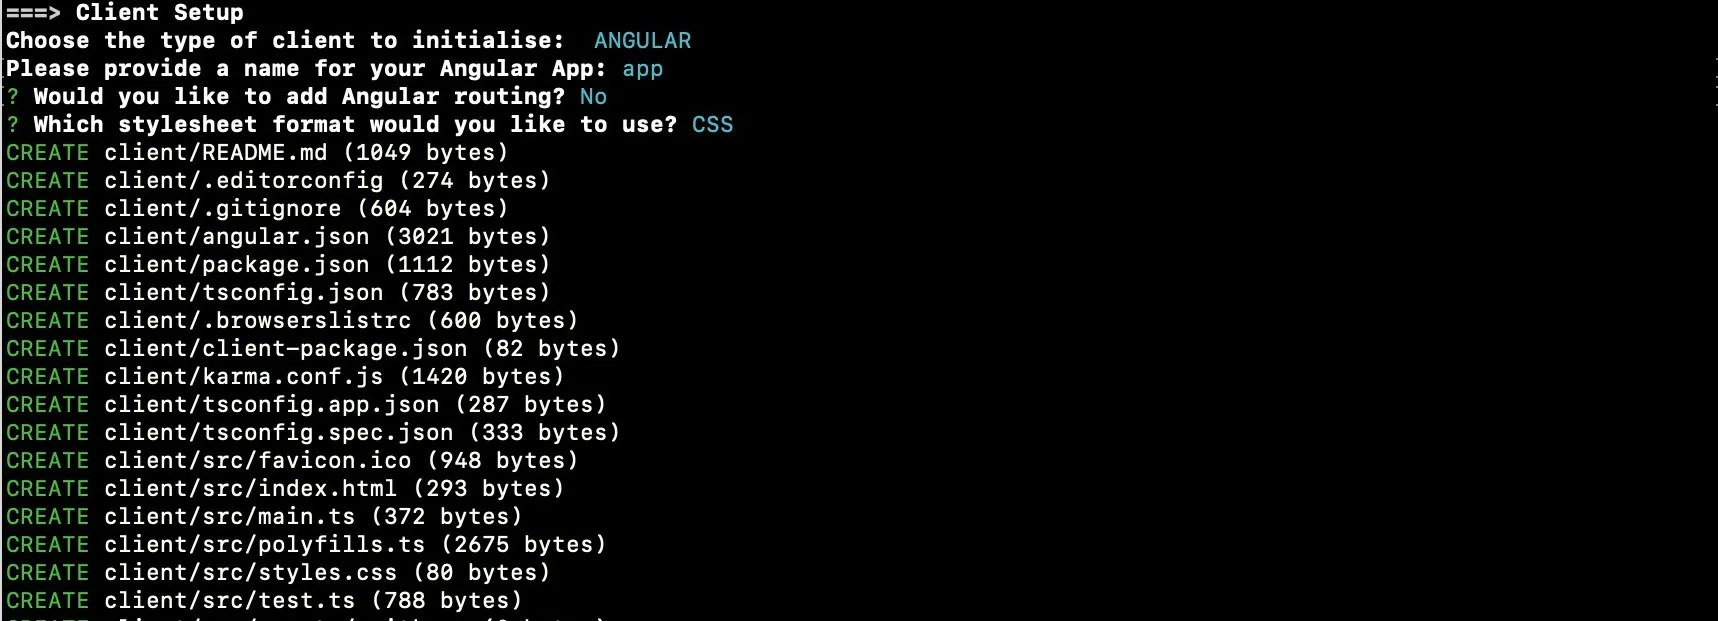
- The client is now successfully initialized as an Angular web application.
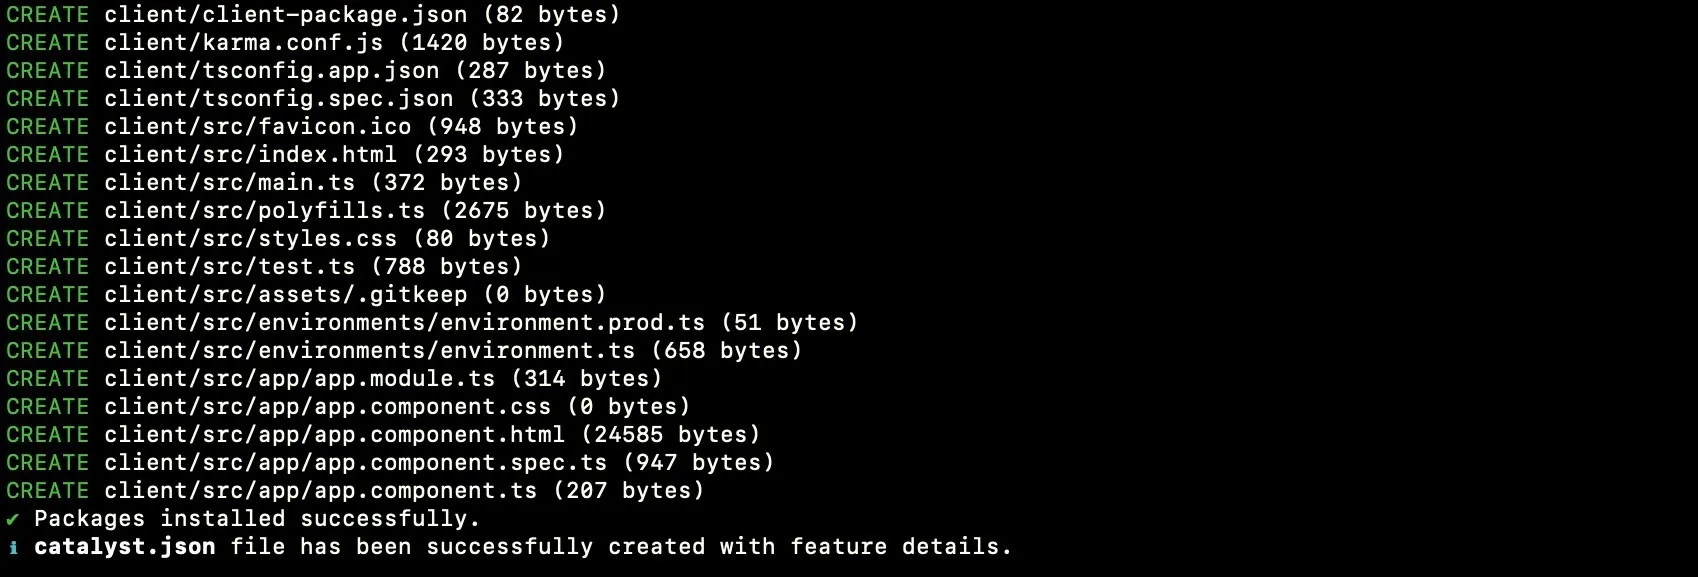
The client directory will be created in the standard structure in the project directory.
This is the structure of the ToDoList project’s directory if the client is initialized as an Angular app.
Initialize the client as a React web app
If you chose to set up the client as a React app, Catalyst will initialize the React app using the Catalyst React plugin (zcatalyst-cli-plugin-react).
- Next you will be prompted to choose the type of React application. Choose “JavaScript” as the type for this tutorial.

- Name your React application as “app,” and press Enter. All the required React packages such as react, react-dom, and react-scripts will be installed through the Catalyst React plugin.

The client is now successfully initialized as a React web application.
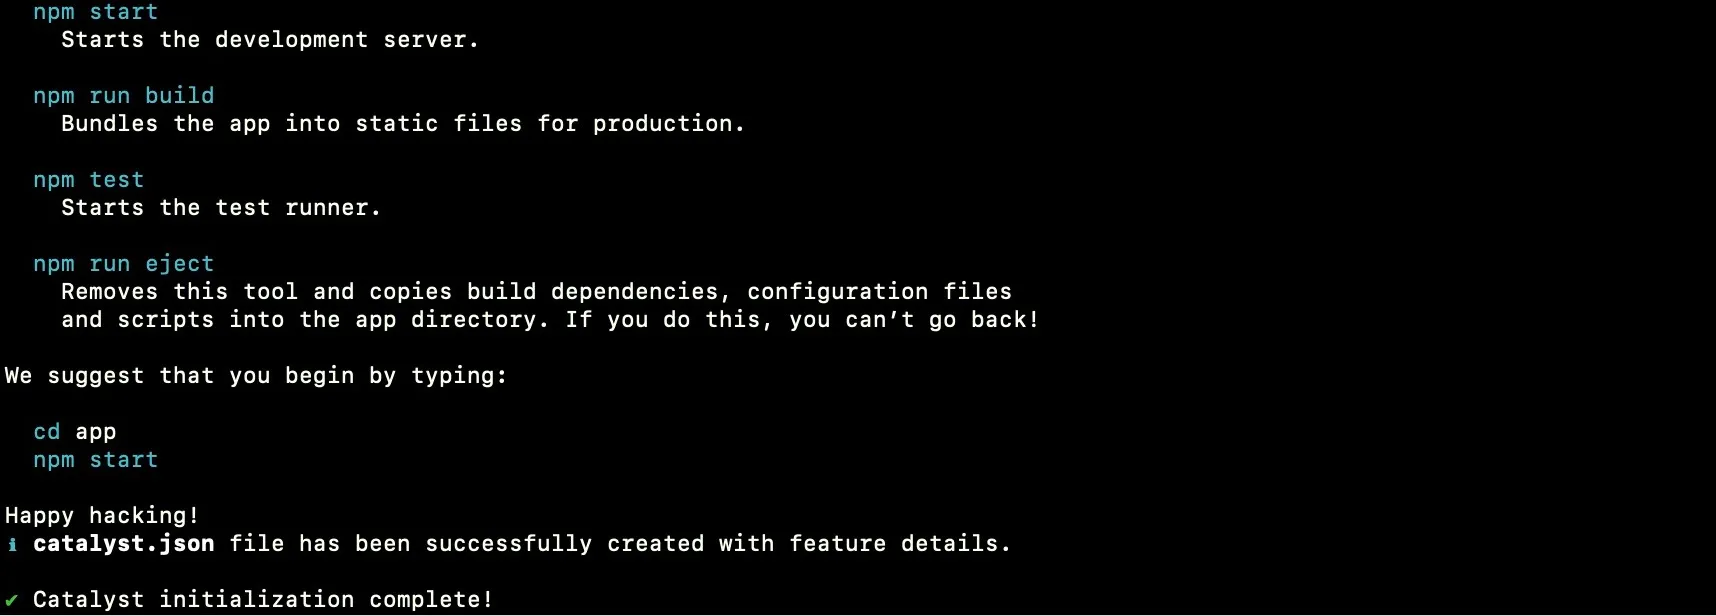
The client directory will be created in the standard structure in the project directory.
This is the structure of the ToDoList project’s directory if the client is initialized as a React app.
Last Updated 2025-09-30 20:52:31 +0530 IST

