Create ML Pipeline
In this section, we will be building a prediction ML model using the preprocessed datasets in the previous section. The datasets will be the input to the ML Pipeline Builder which enables you to define the model’s architecture and select a target column for prediction.
To create a ML pipeline:
-
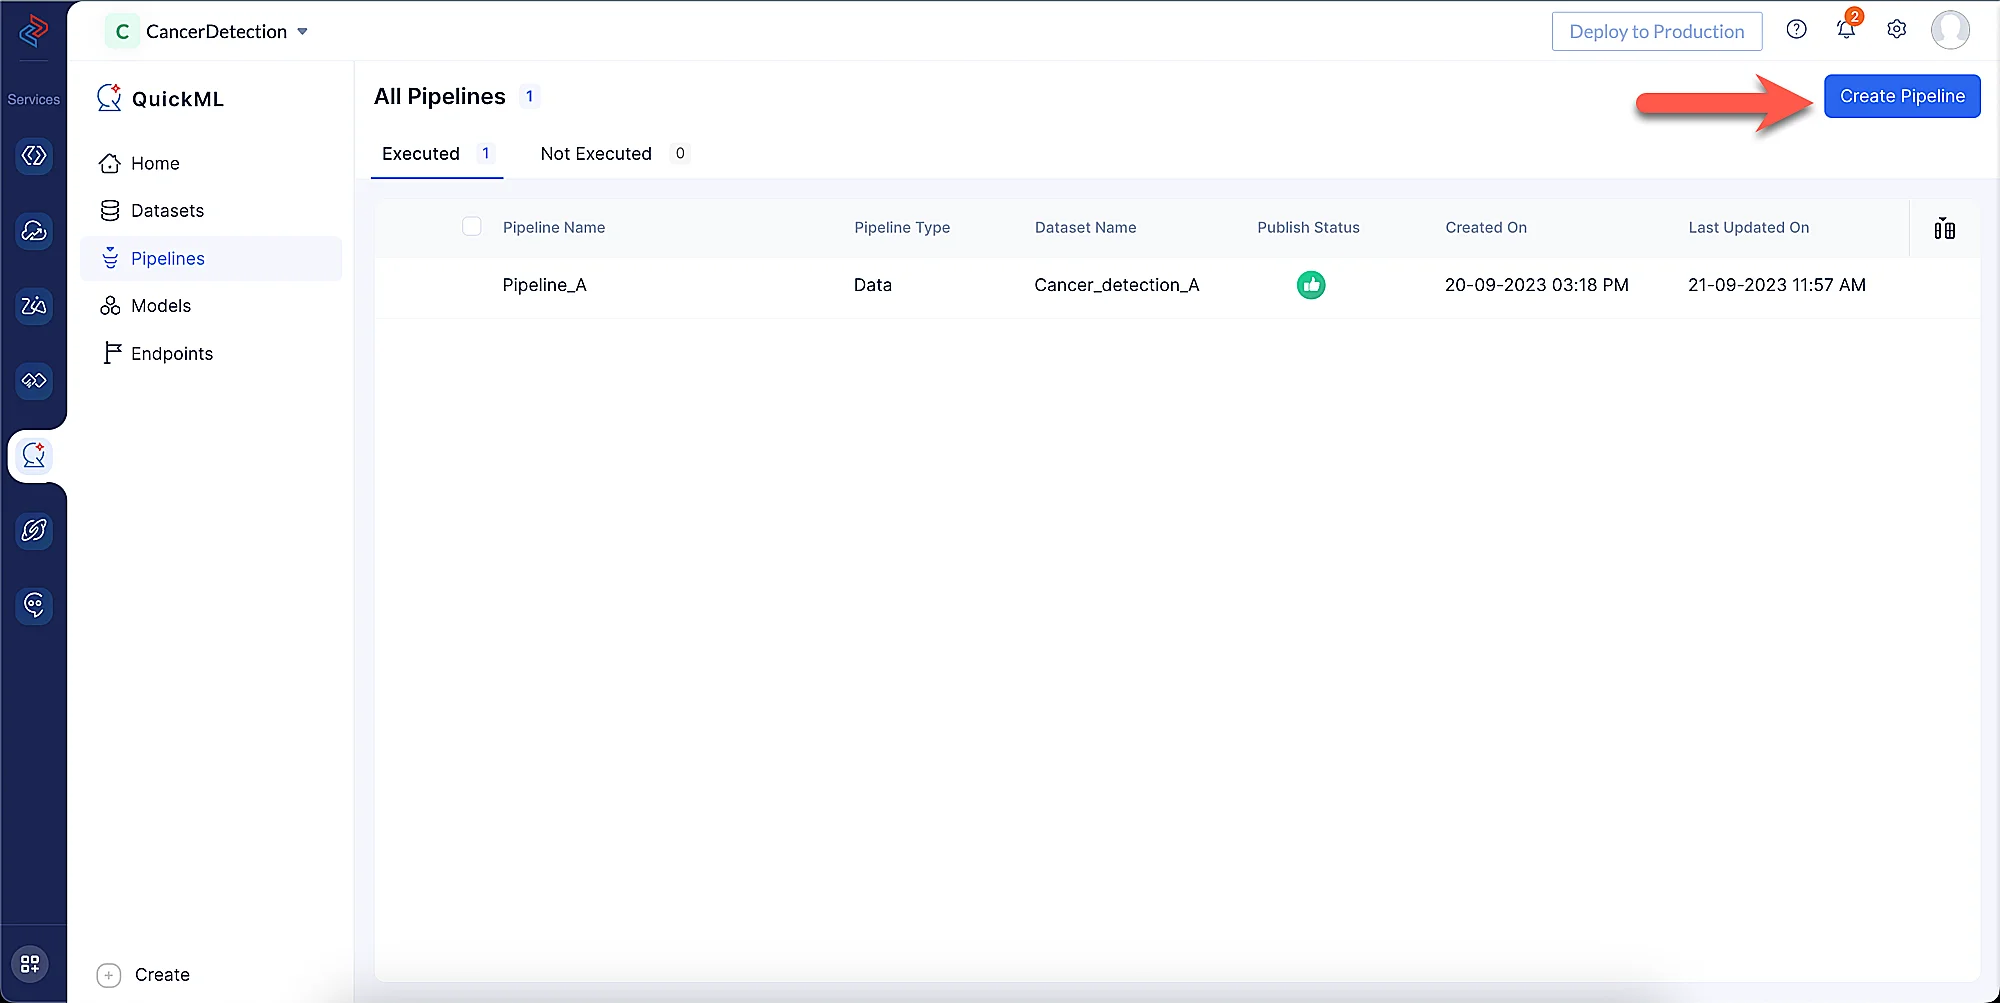
Navigate to the Pipelines component in the left menu and click Create Pipeline.
-
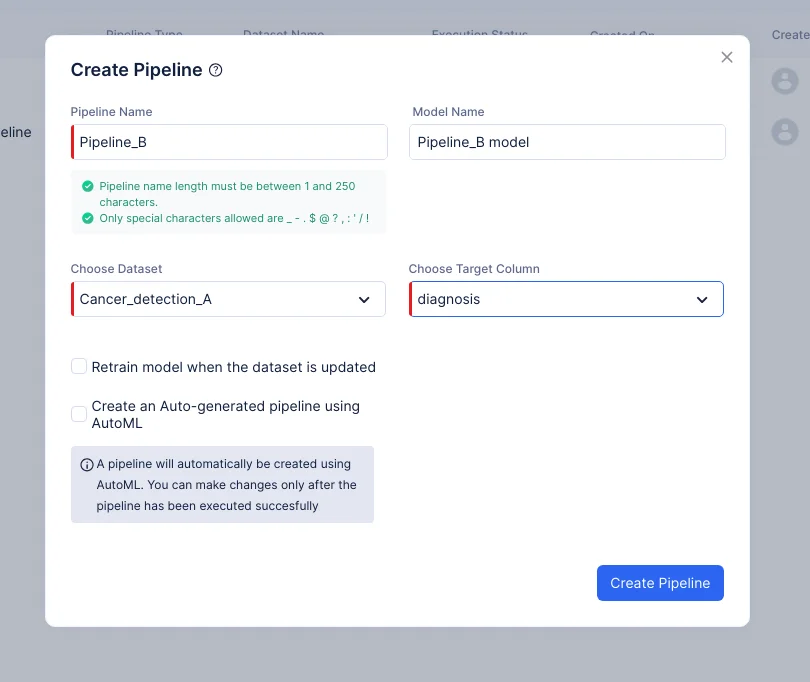
In the pop-up that appears, select Prediction as pipeline type and provide the name of the pipeline as “Pipeline_B” and choose the input dataset as Cancer_detection_A. In our case, the target column should be “diagnosis”. The model name will be auto-populated based on the pipeline name. Click Create Pipeline.
-
The pipeline details page will be displayed, as shown in the screenshot below.
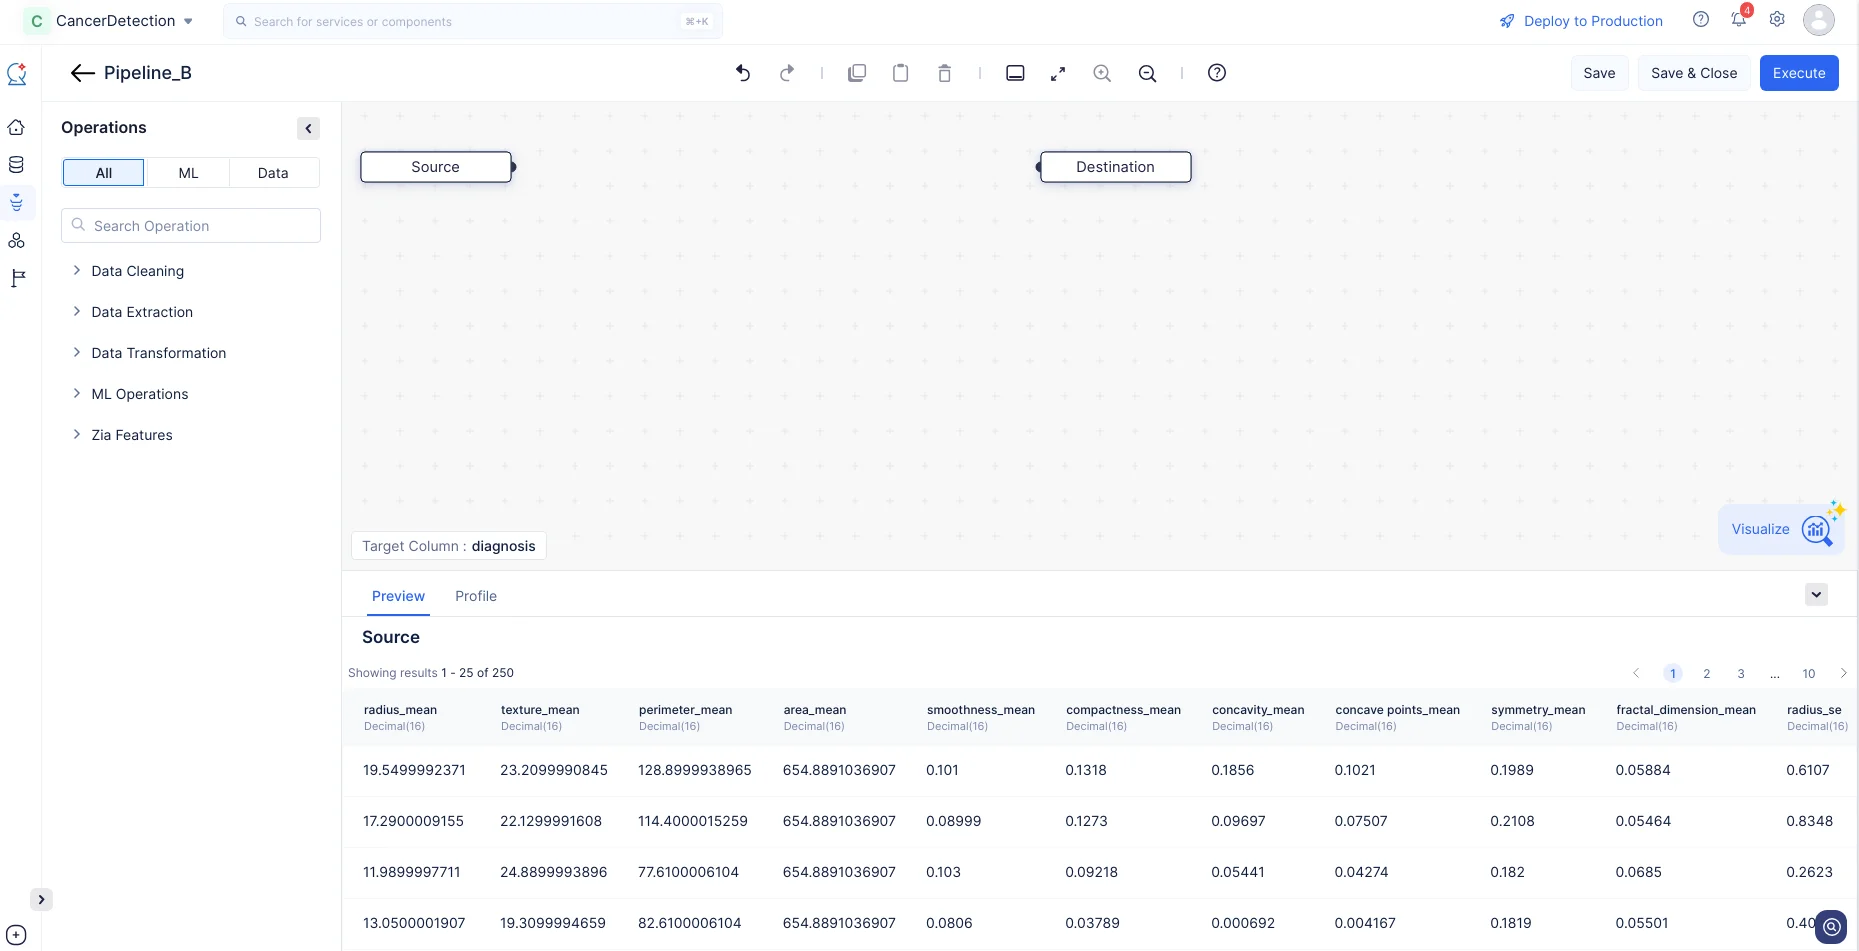
Now that we have created our ML pipeline, we will proceed to configure the pipeline by defining the nodes in the ML Pipeline Builder interface.
Data Type Conversion
Since our target column “diagnosis” contains categorical data of type String, we will encode it for further ML training standards.
- In the Operations menu, navigate to ML operations->Encoding->Label Encoder. Drag and drop the Label Encoder node to the ML Pipeline Builder Interface. Label encoding can only be applied to the target column. Hence, it is executed automatically.
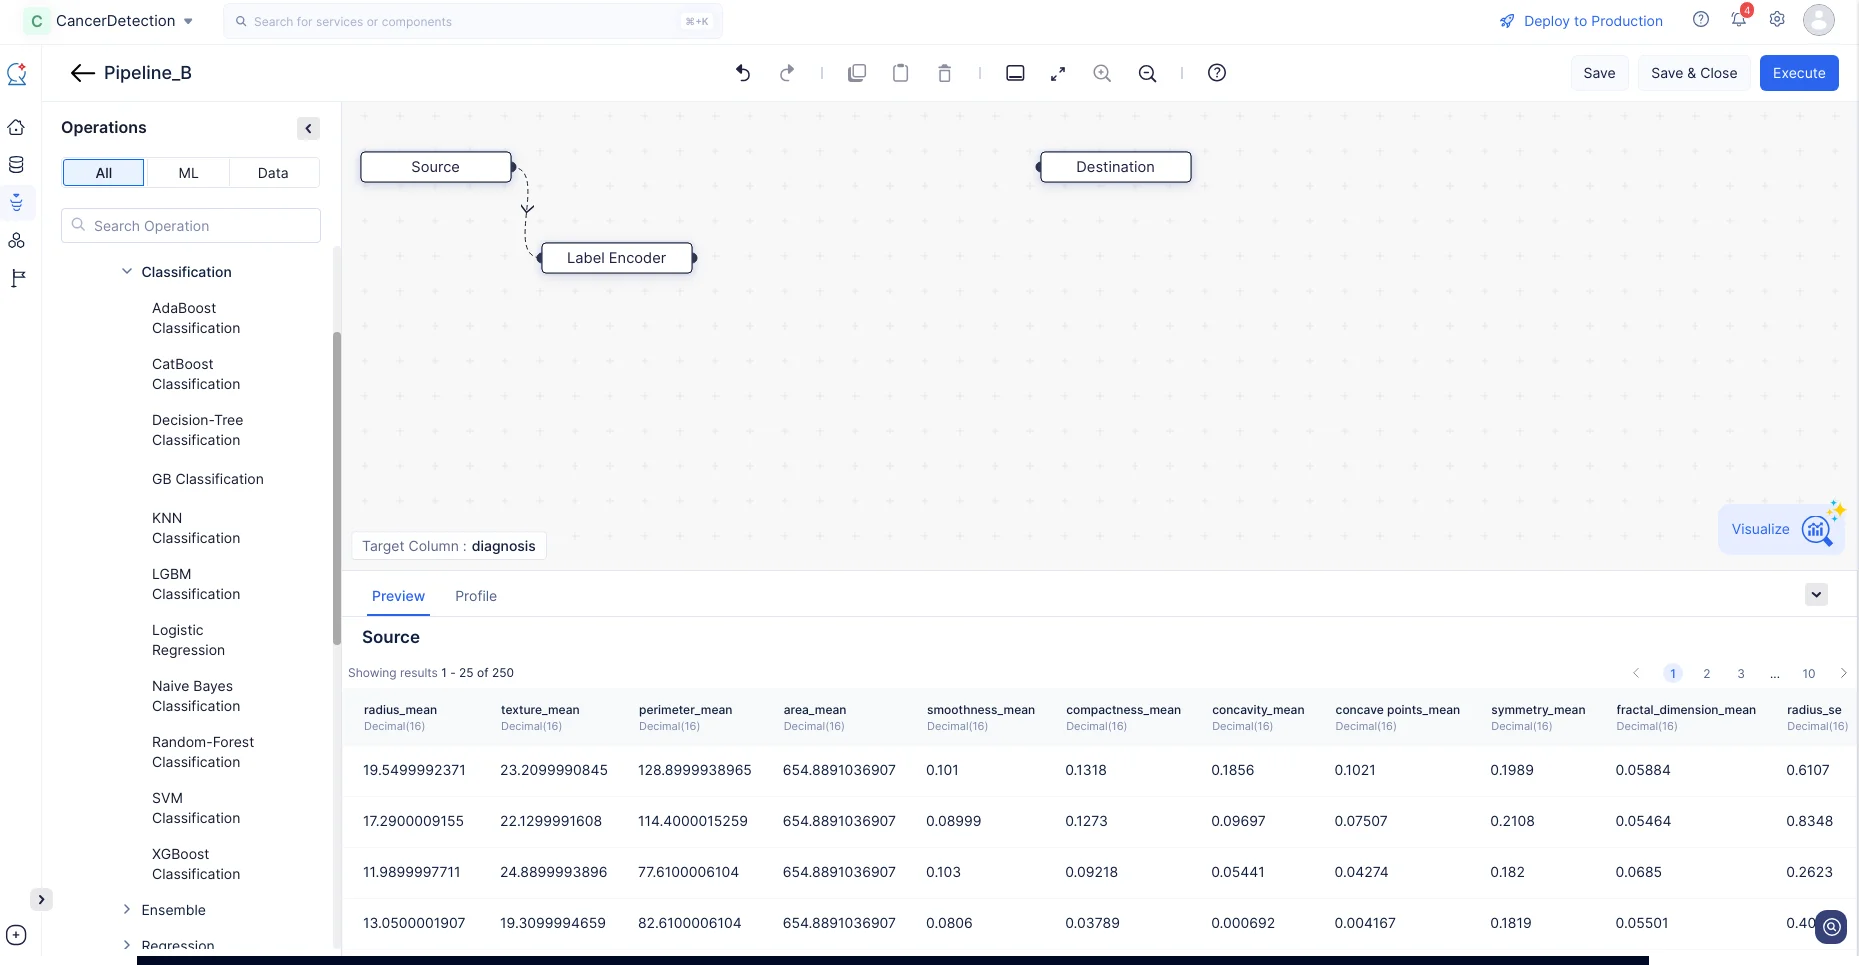
This operation will convert the column values of type String to Integer, while maintaining the order and preserving data accuracy.
Hyperparameter Tuning
For any ML model, it’s mandatory to implement an ML algorithm based on which the model will be trained. In this tutorial, we will be implementing the logistic classification algorithm to configure the tuning parameters for the ML model to ensure it is optimized for our preprocessed dataset.
-
In the Operations menu, expand ML operations->Algorithm->Classification->Logistic Regression. Drag and drop the Logistic Regression node in the Pipeline Builder. The node will be connected to the Destination node automatically. Make a connection with the Label Encoder and the Logistic Regression node.
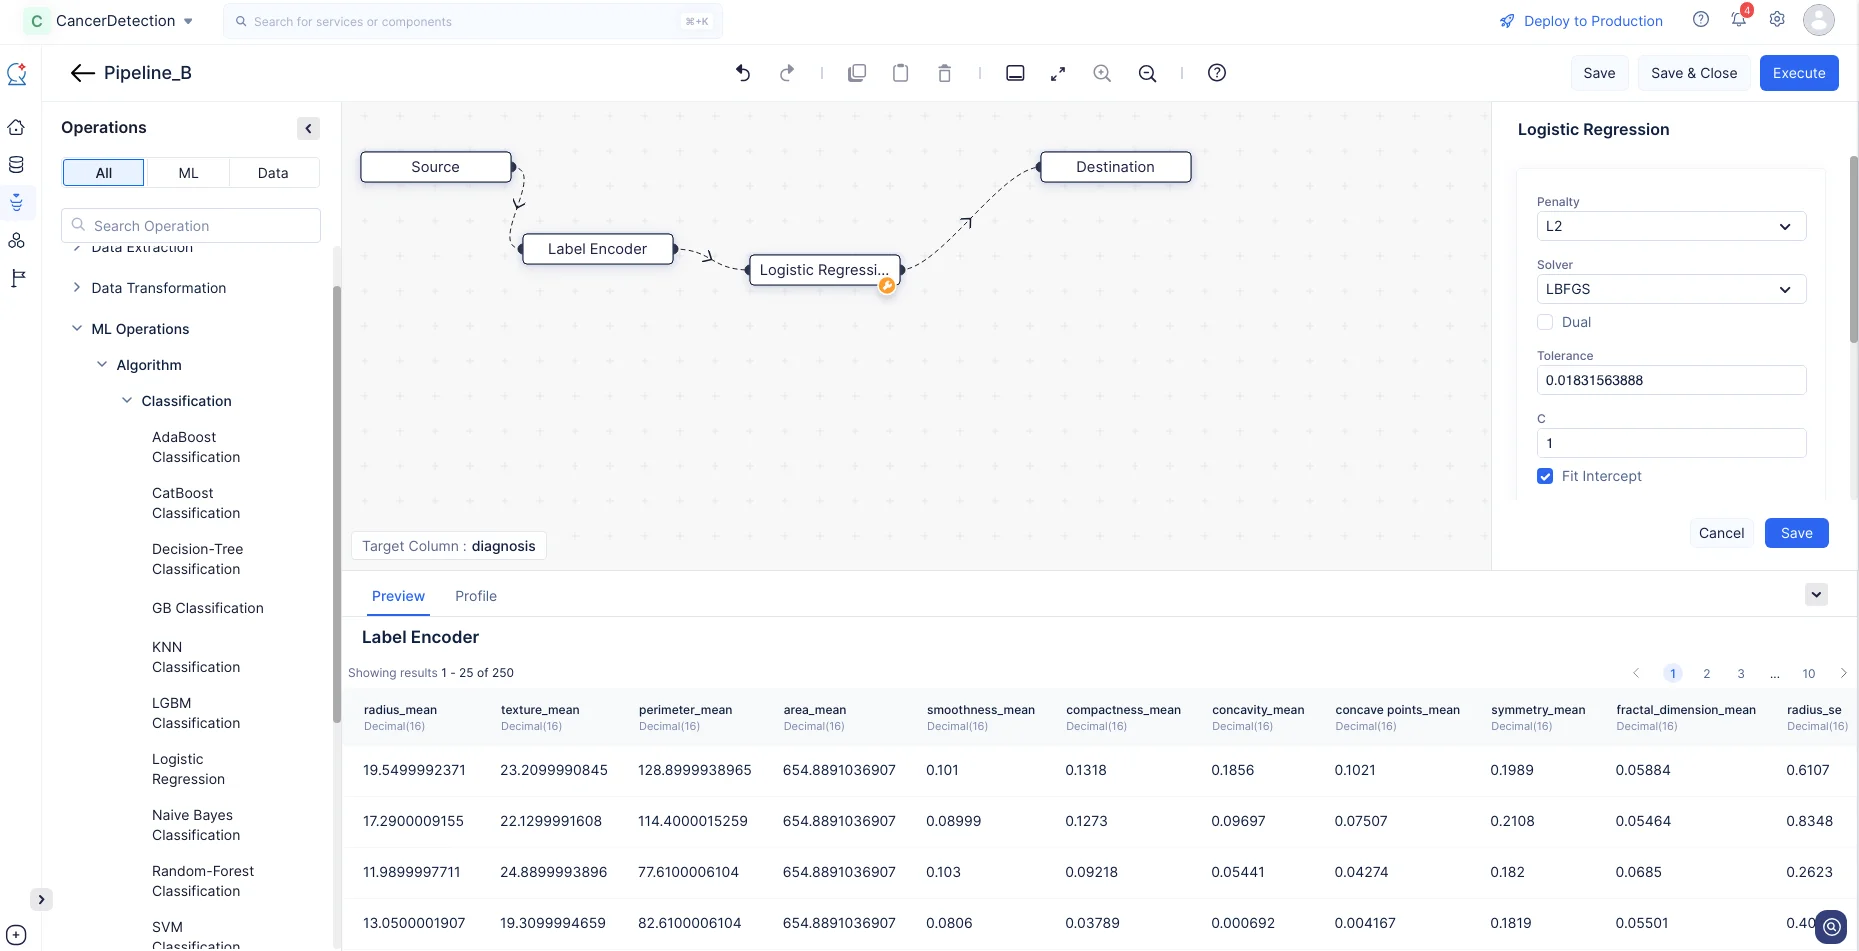
-
For the Logistic Regression node, we will go with the default configuration and click Save.
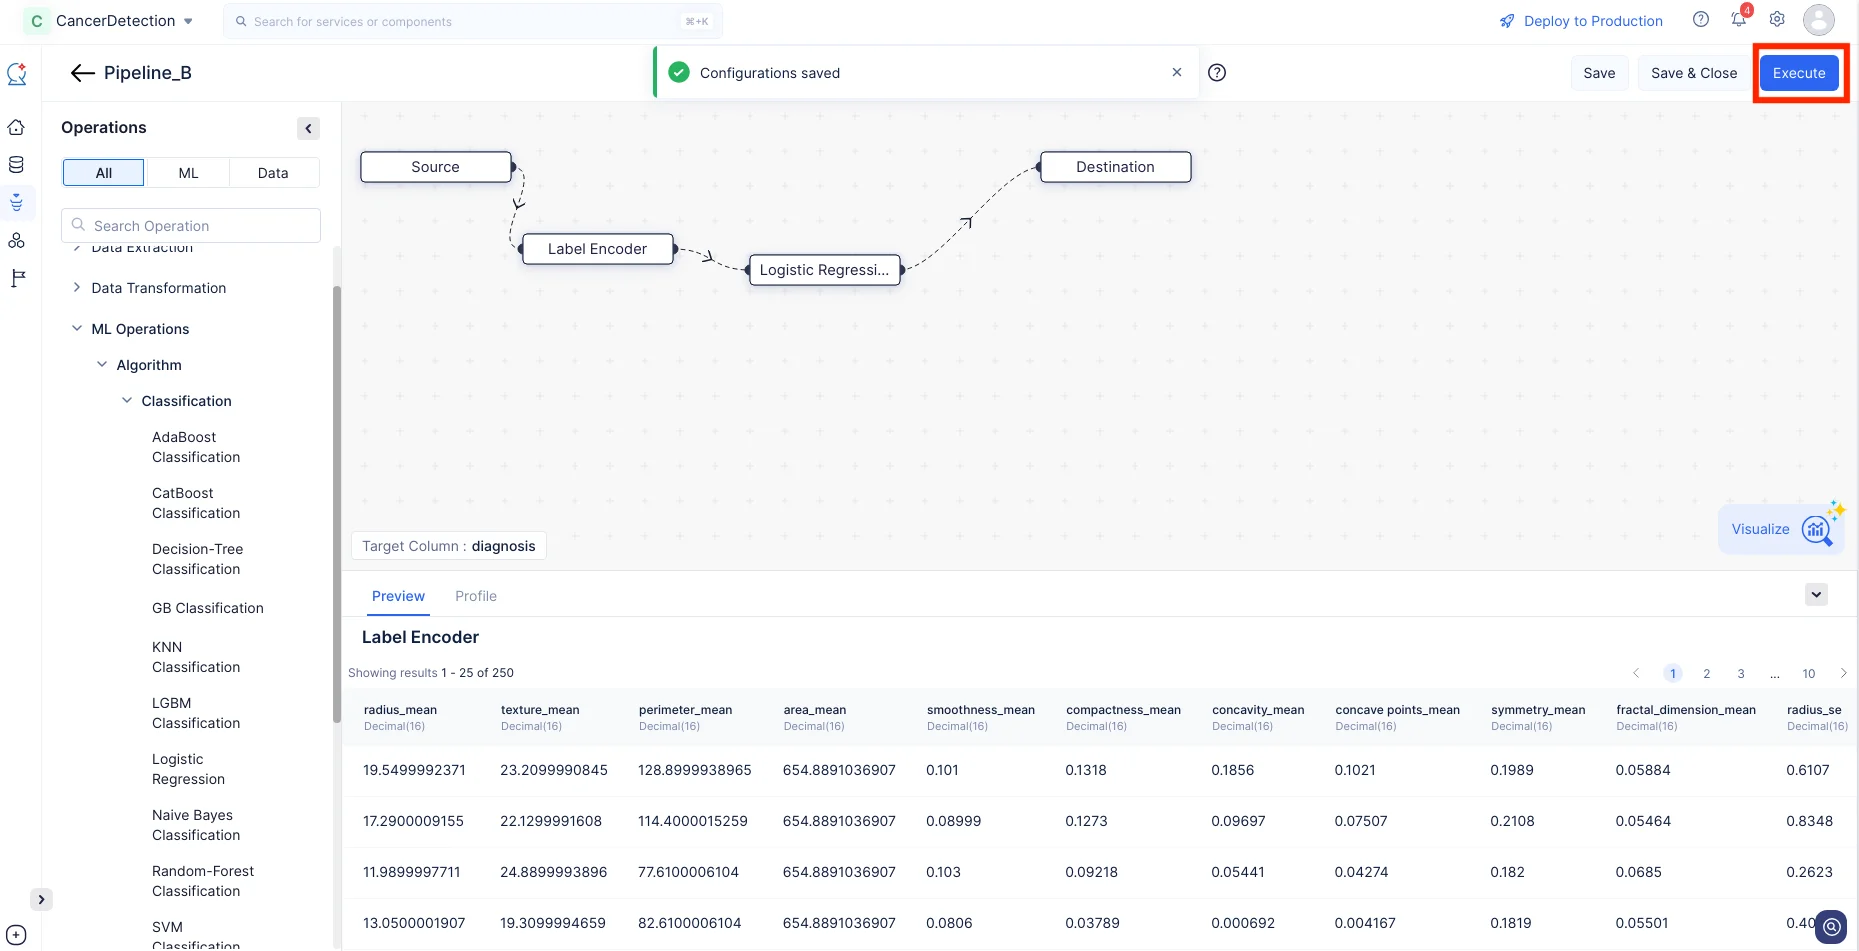
We have now completed making the required node connections and configurations. We can proceed to execute the pipeline by clicking on Execute for further evaluation and deployment.
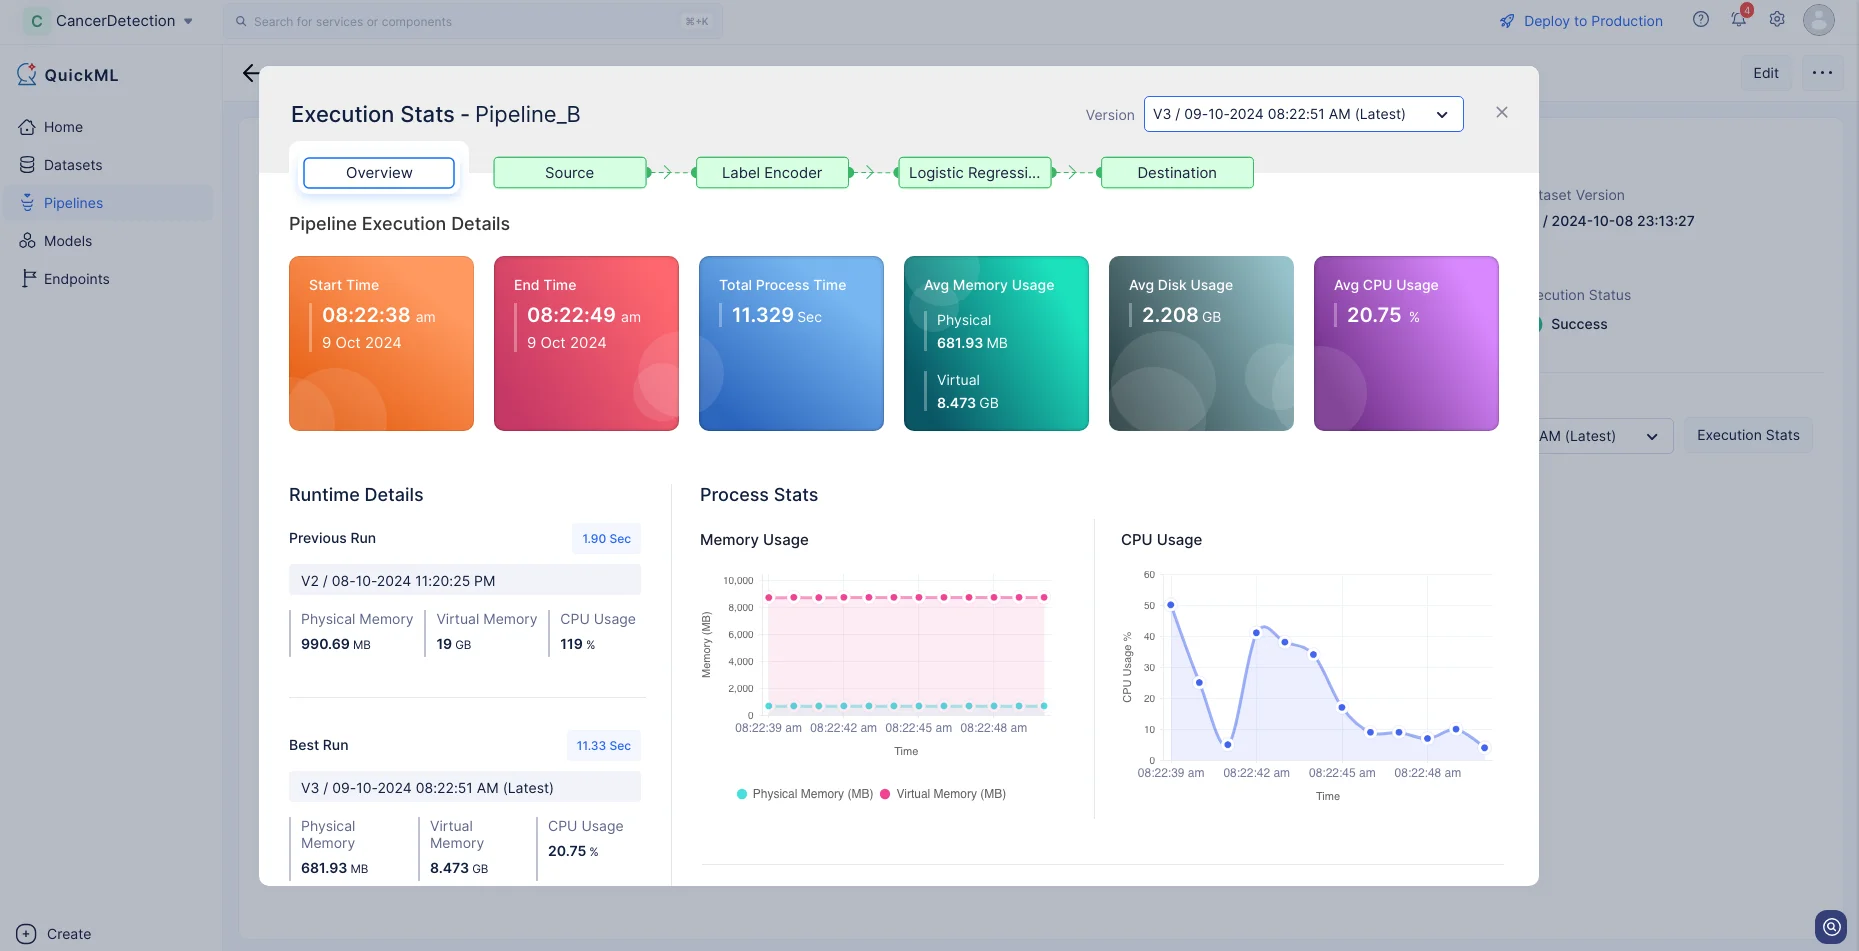
Click Execution Stats to view more details about each stage of the execution in detail.
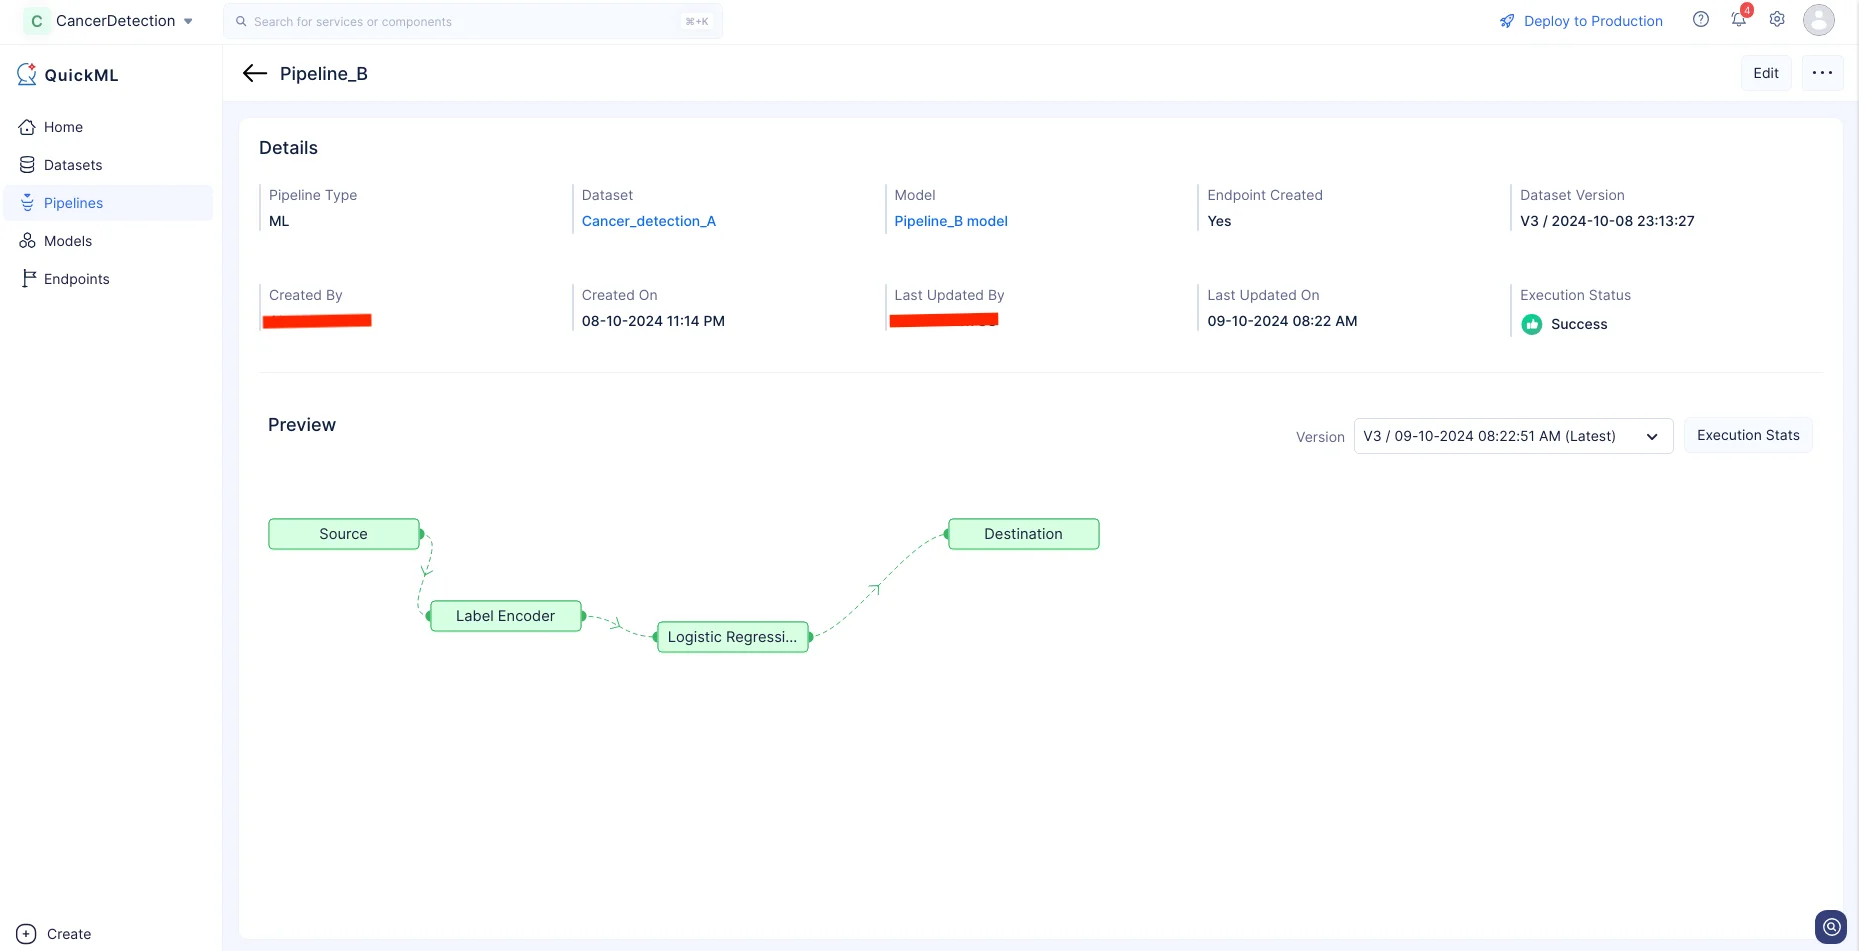
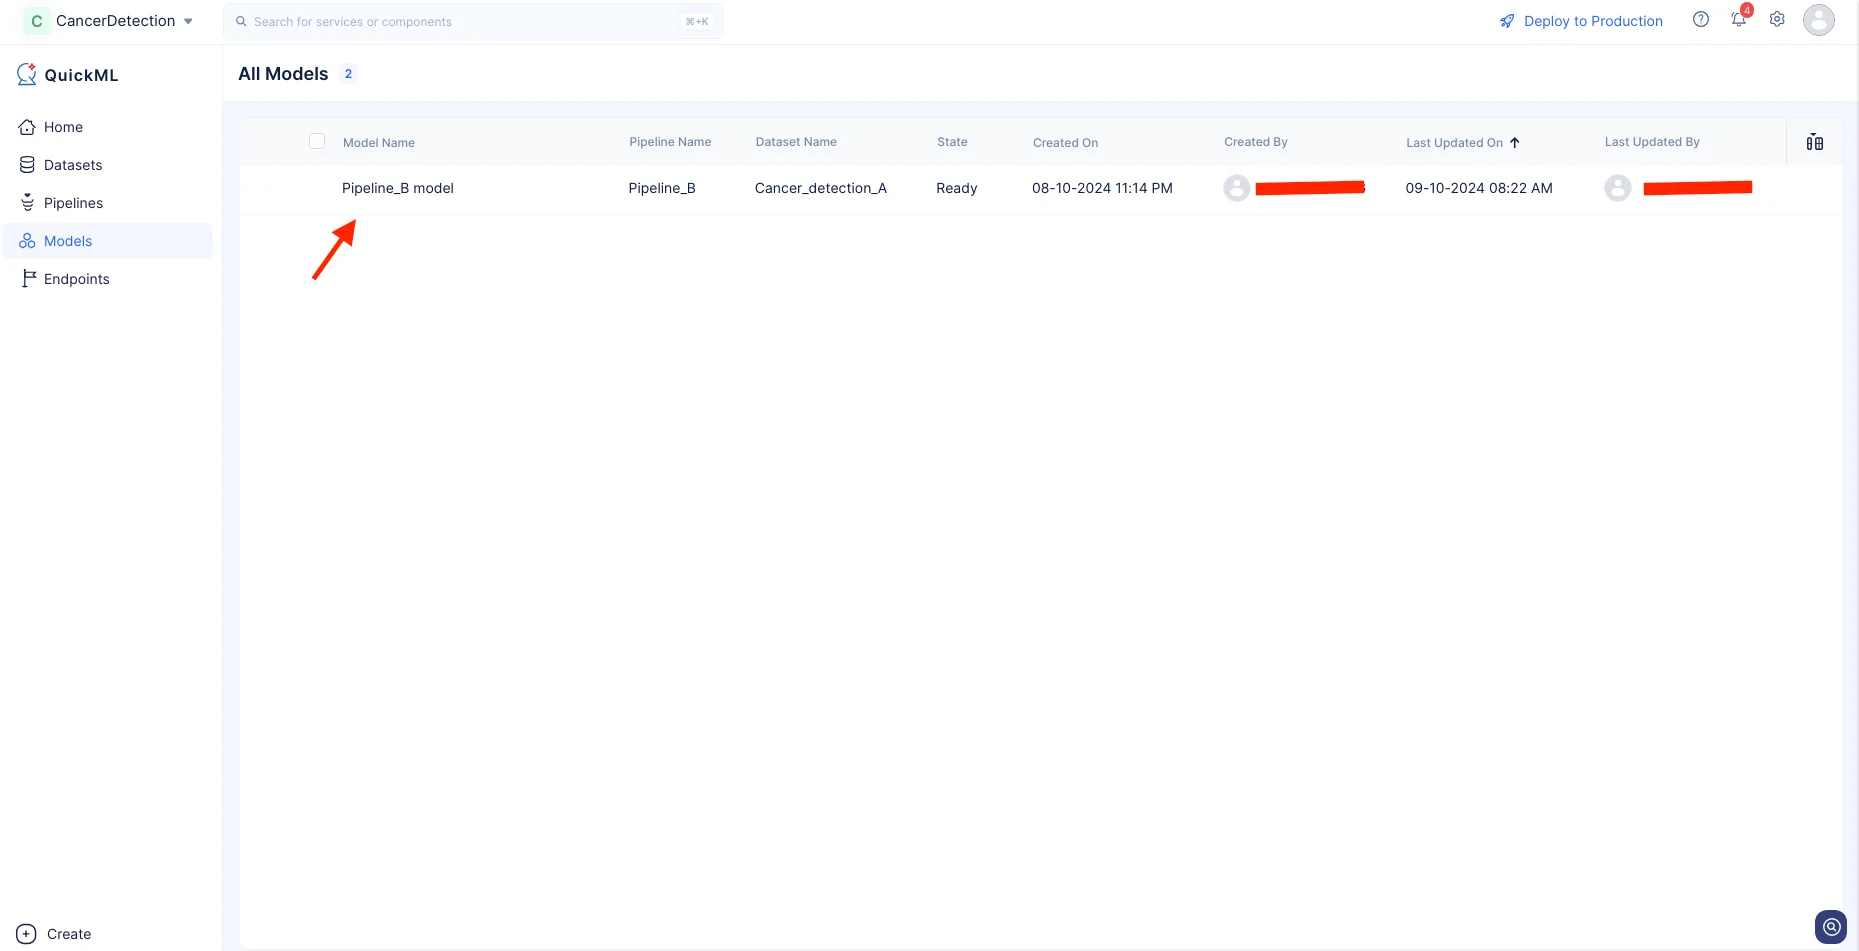
Upon successful execution of the ML Pipeline, the prediction model is created and will be displayed under the Models section.
You can view the details of the model in the Models details page by clicking on the model name.
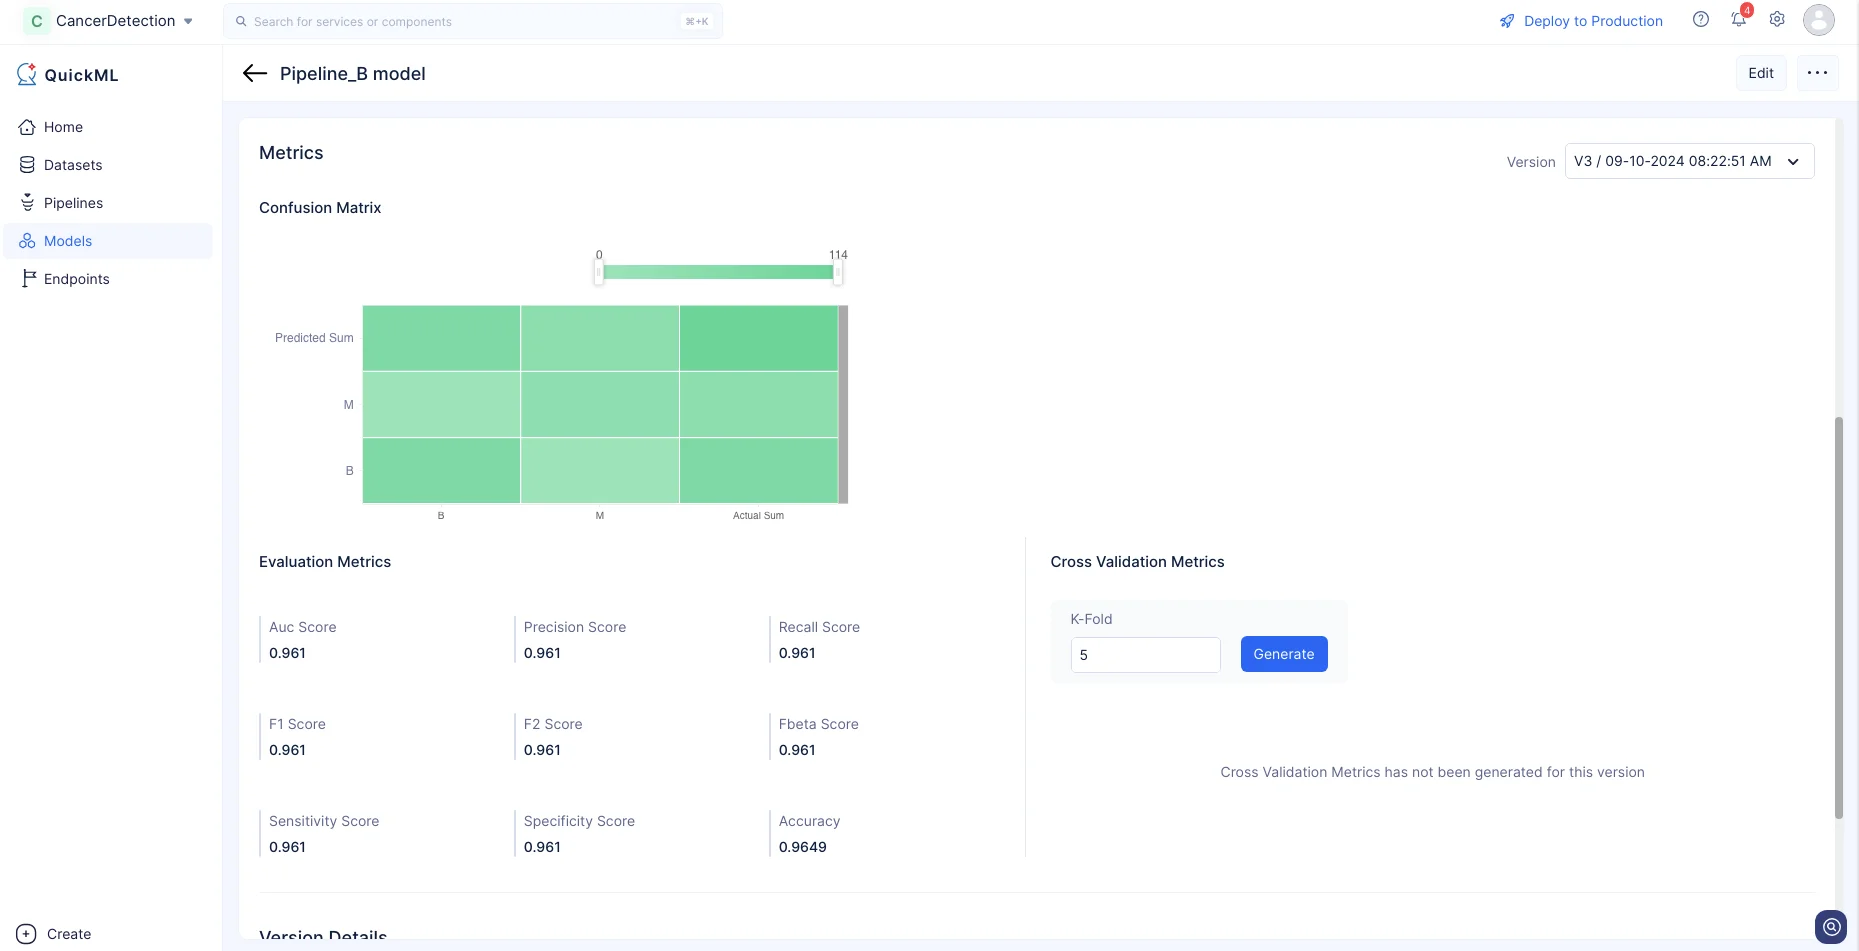
Additionally, the accuracy of the generated model can be evaluated and viewed in the Metrics section of the Models details page. This provides valuable insights on the performance and effectiveness of the model in making predictions on the data.
Last Updated 2025-10-29 12:32:36 +0530 IST