Test the Application
Before you deploy the application to the remote console, you can test the application on a local server and check if everything works fine using the Catalyst CLI.
To serve the Catalyst project locally, execute the following command from your project directory:
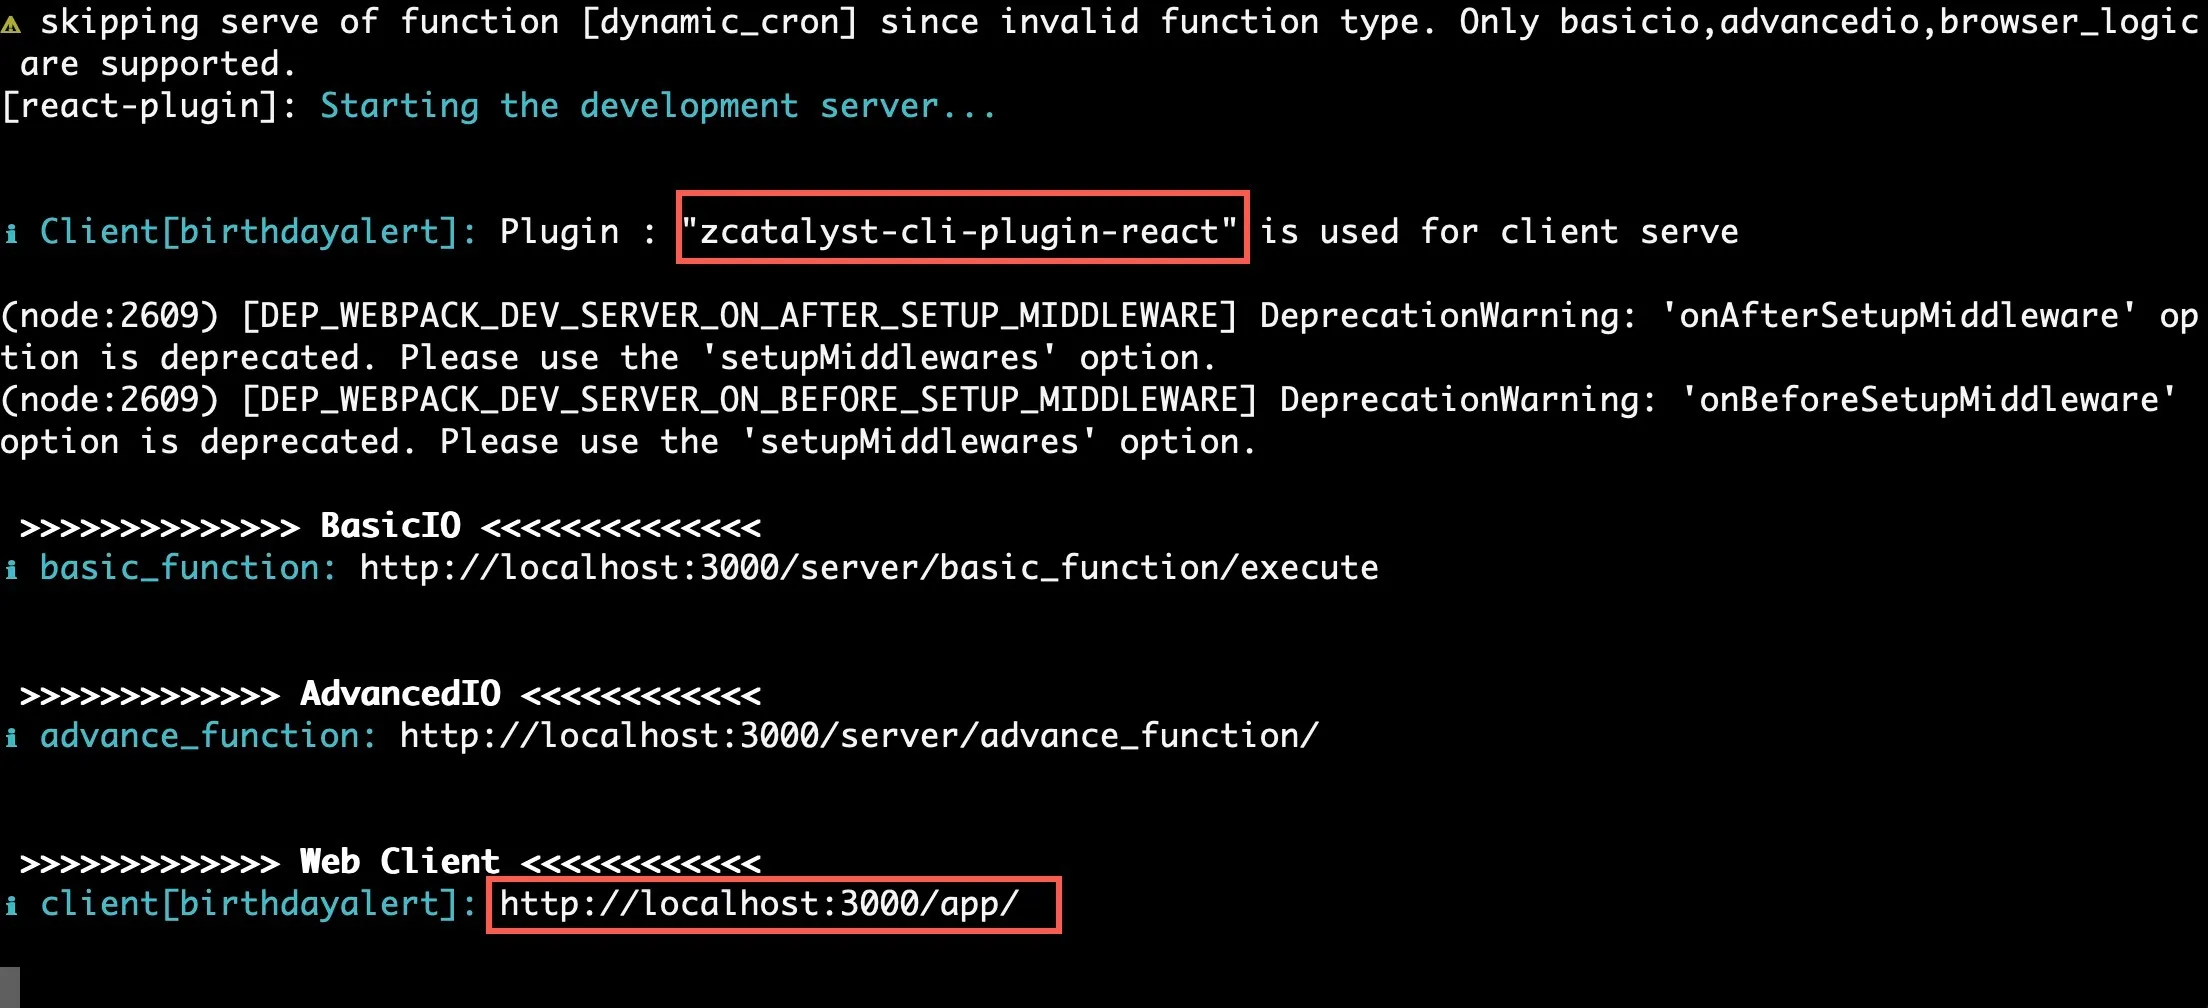
The Birthday Greetings application will now be served at default port 3000. The local endpoint URLs of the components are displayed.
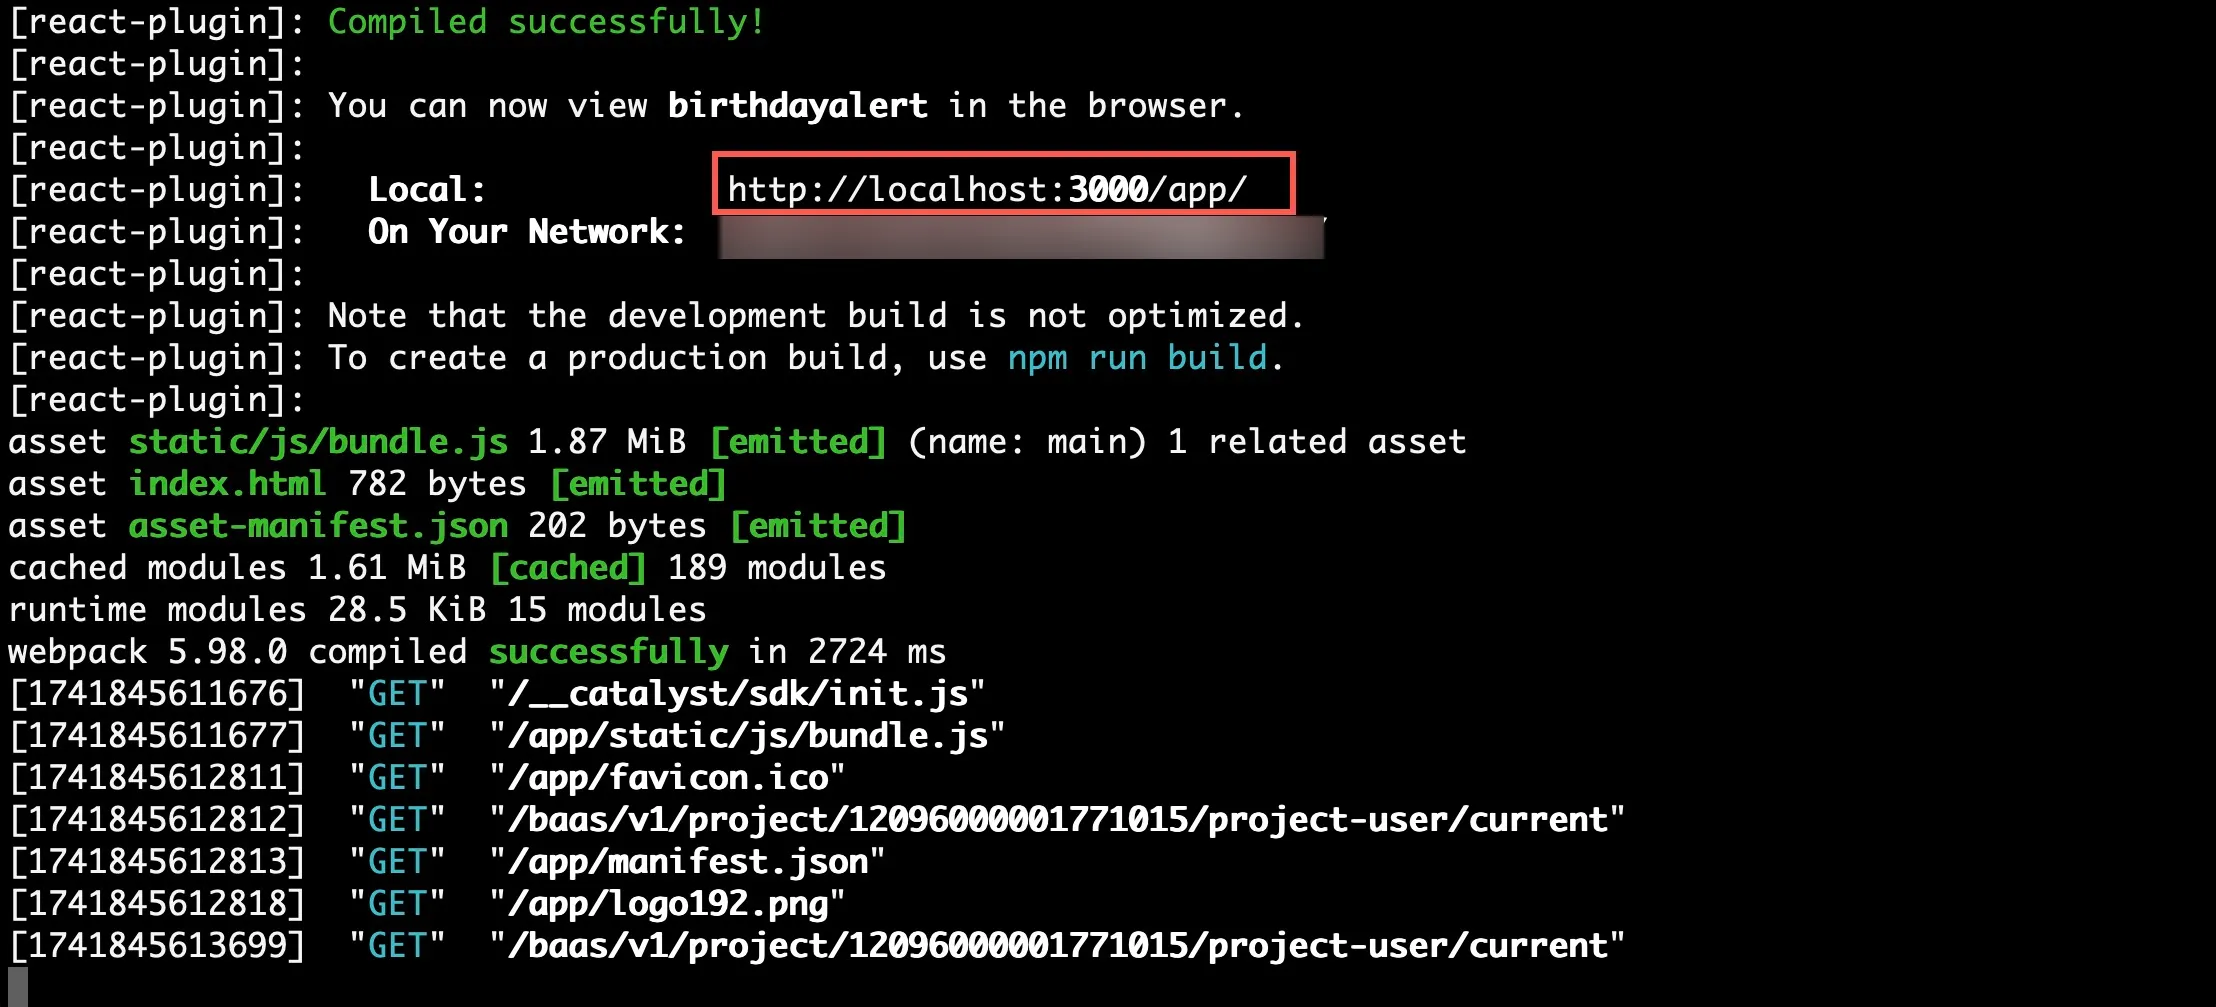
You can now open the application in a browser using the local URL of the client displayed in the CLI.
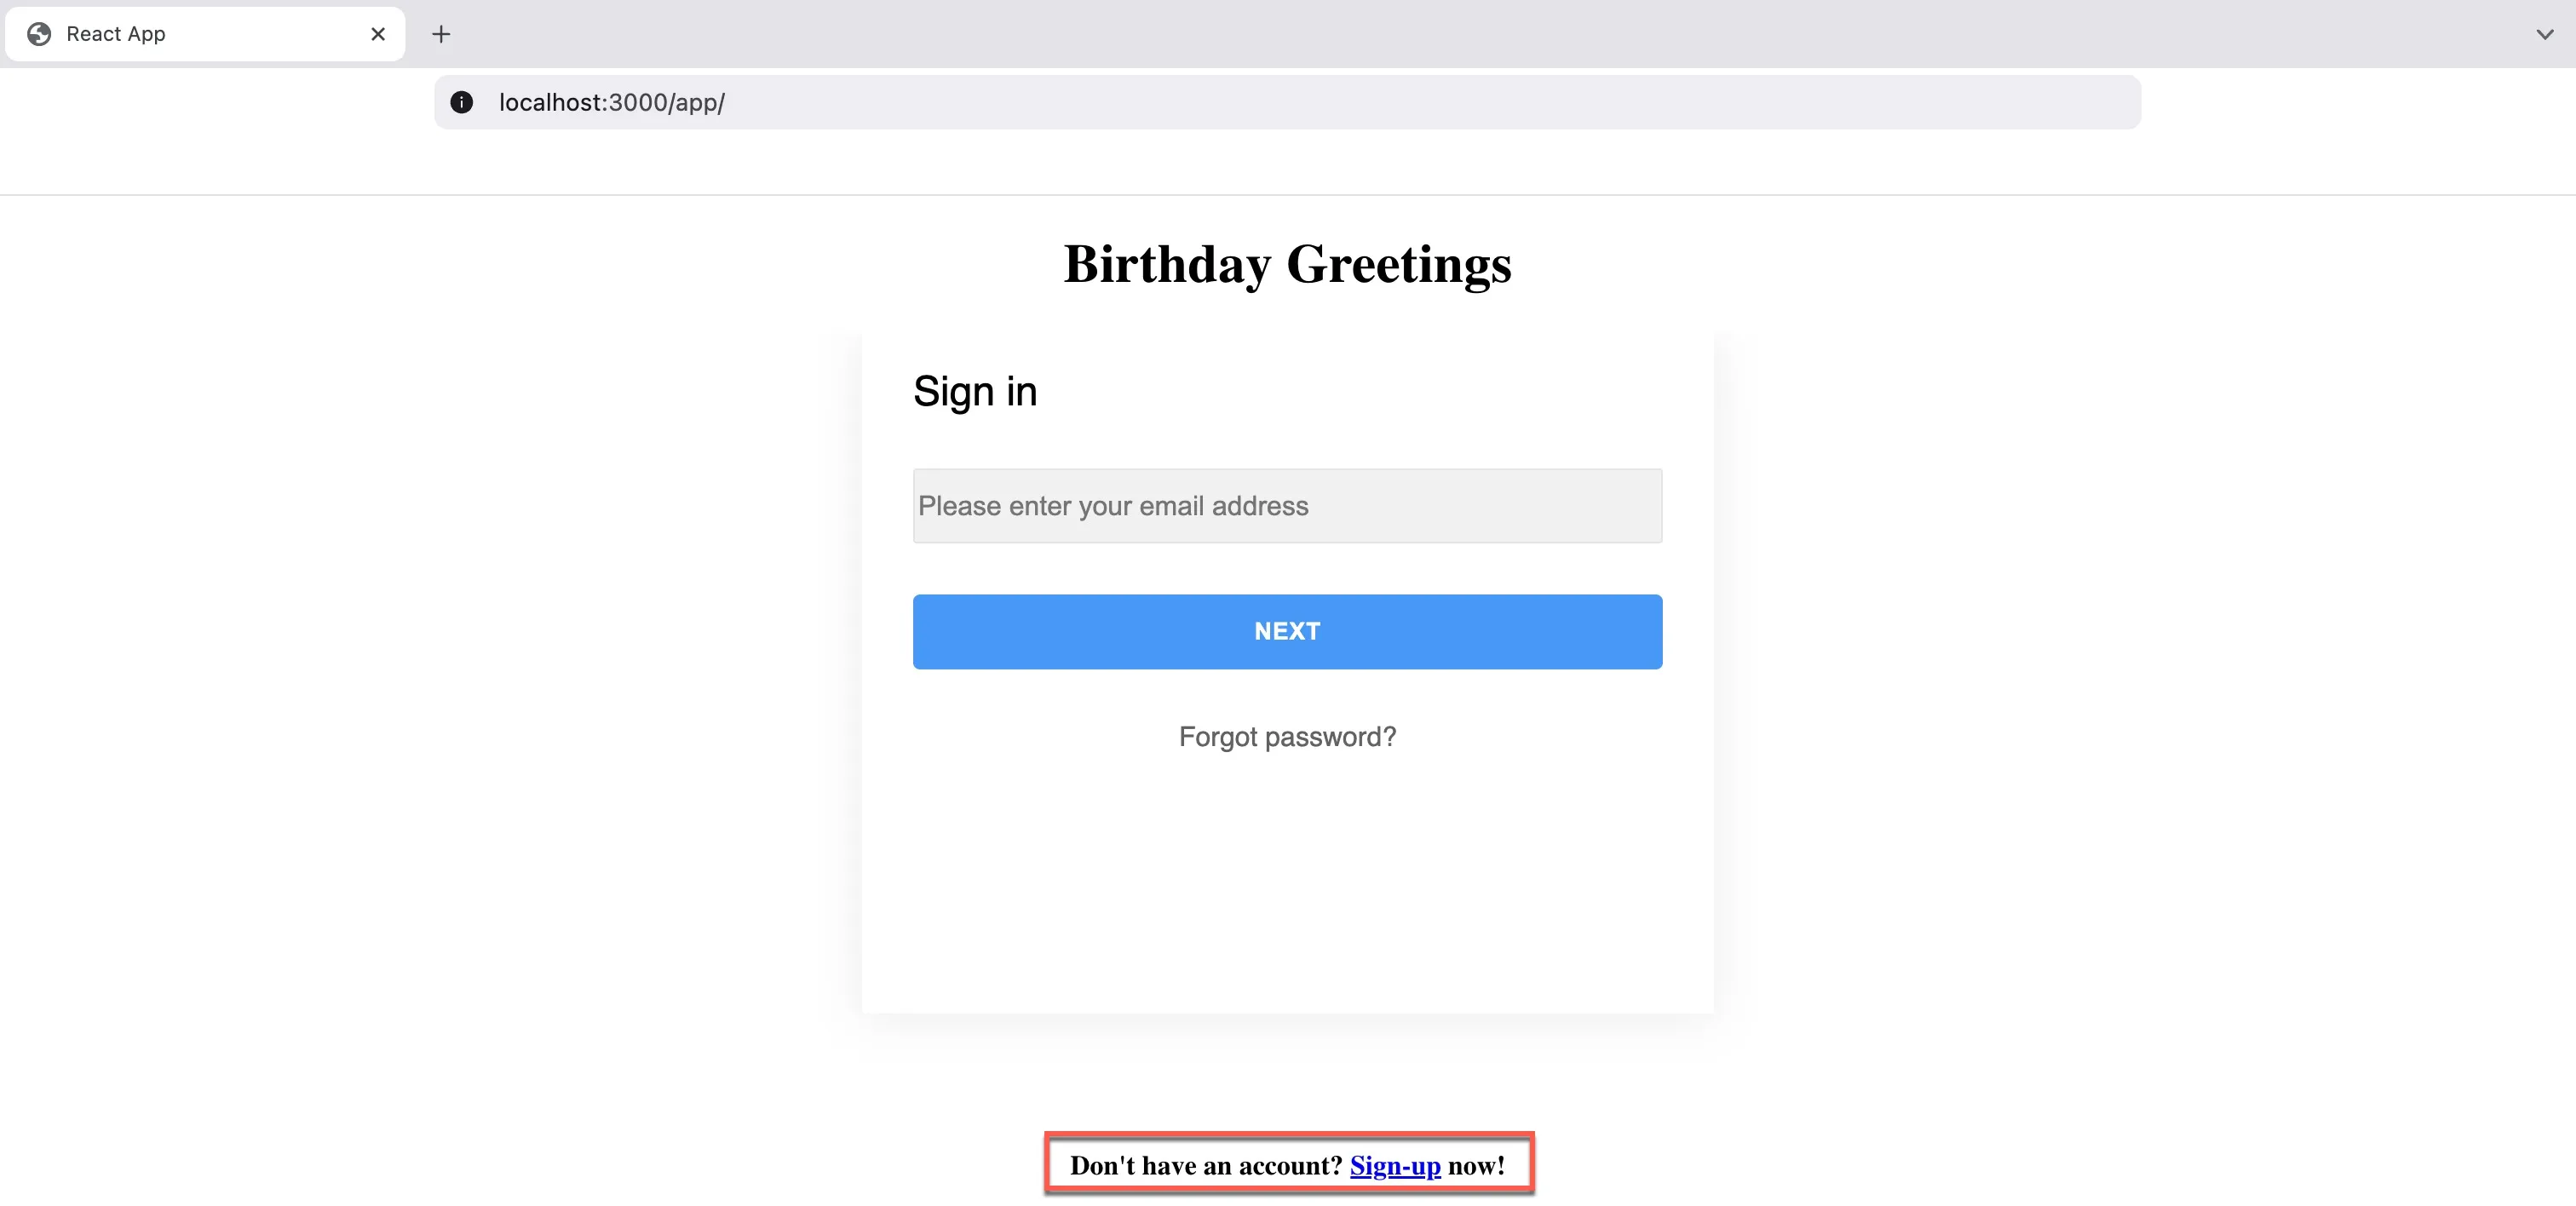
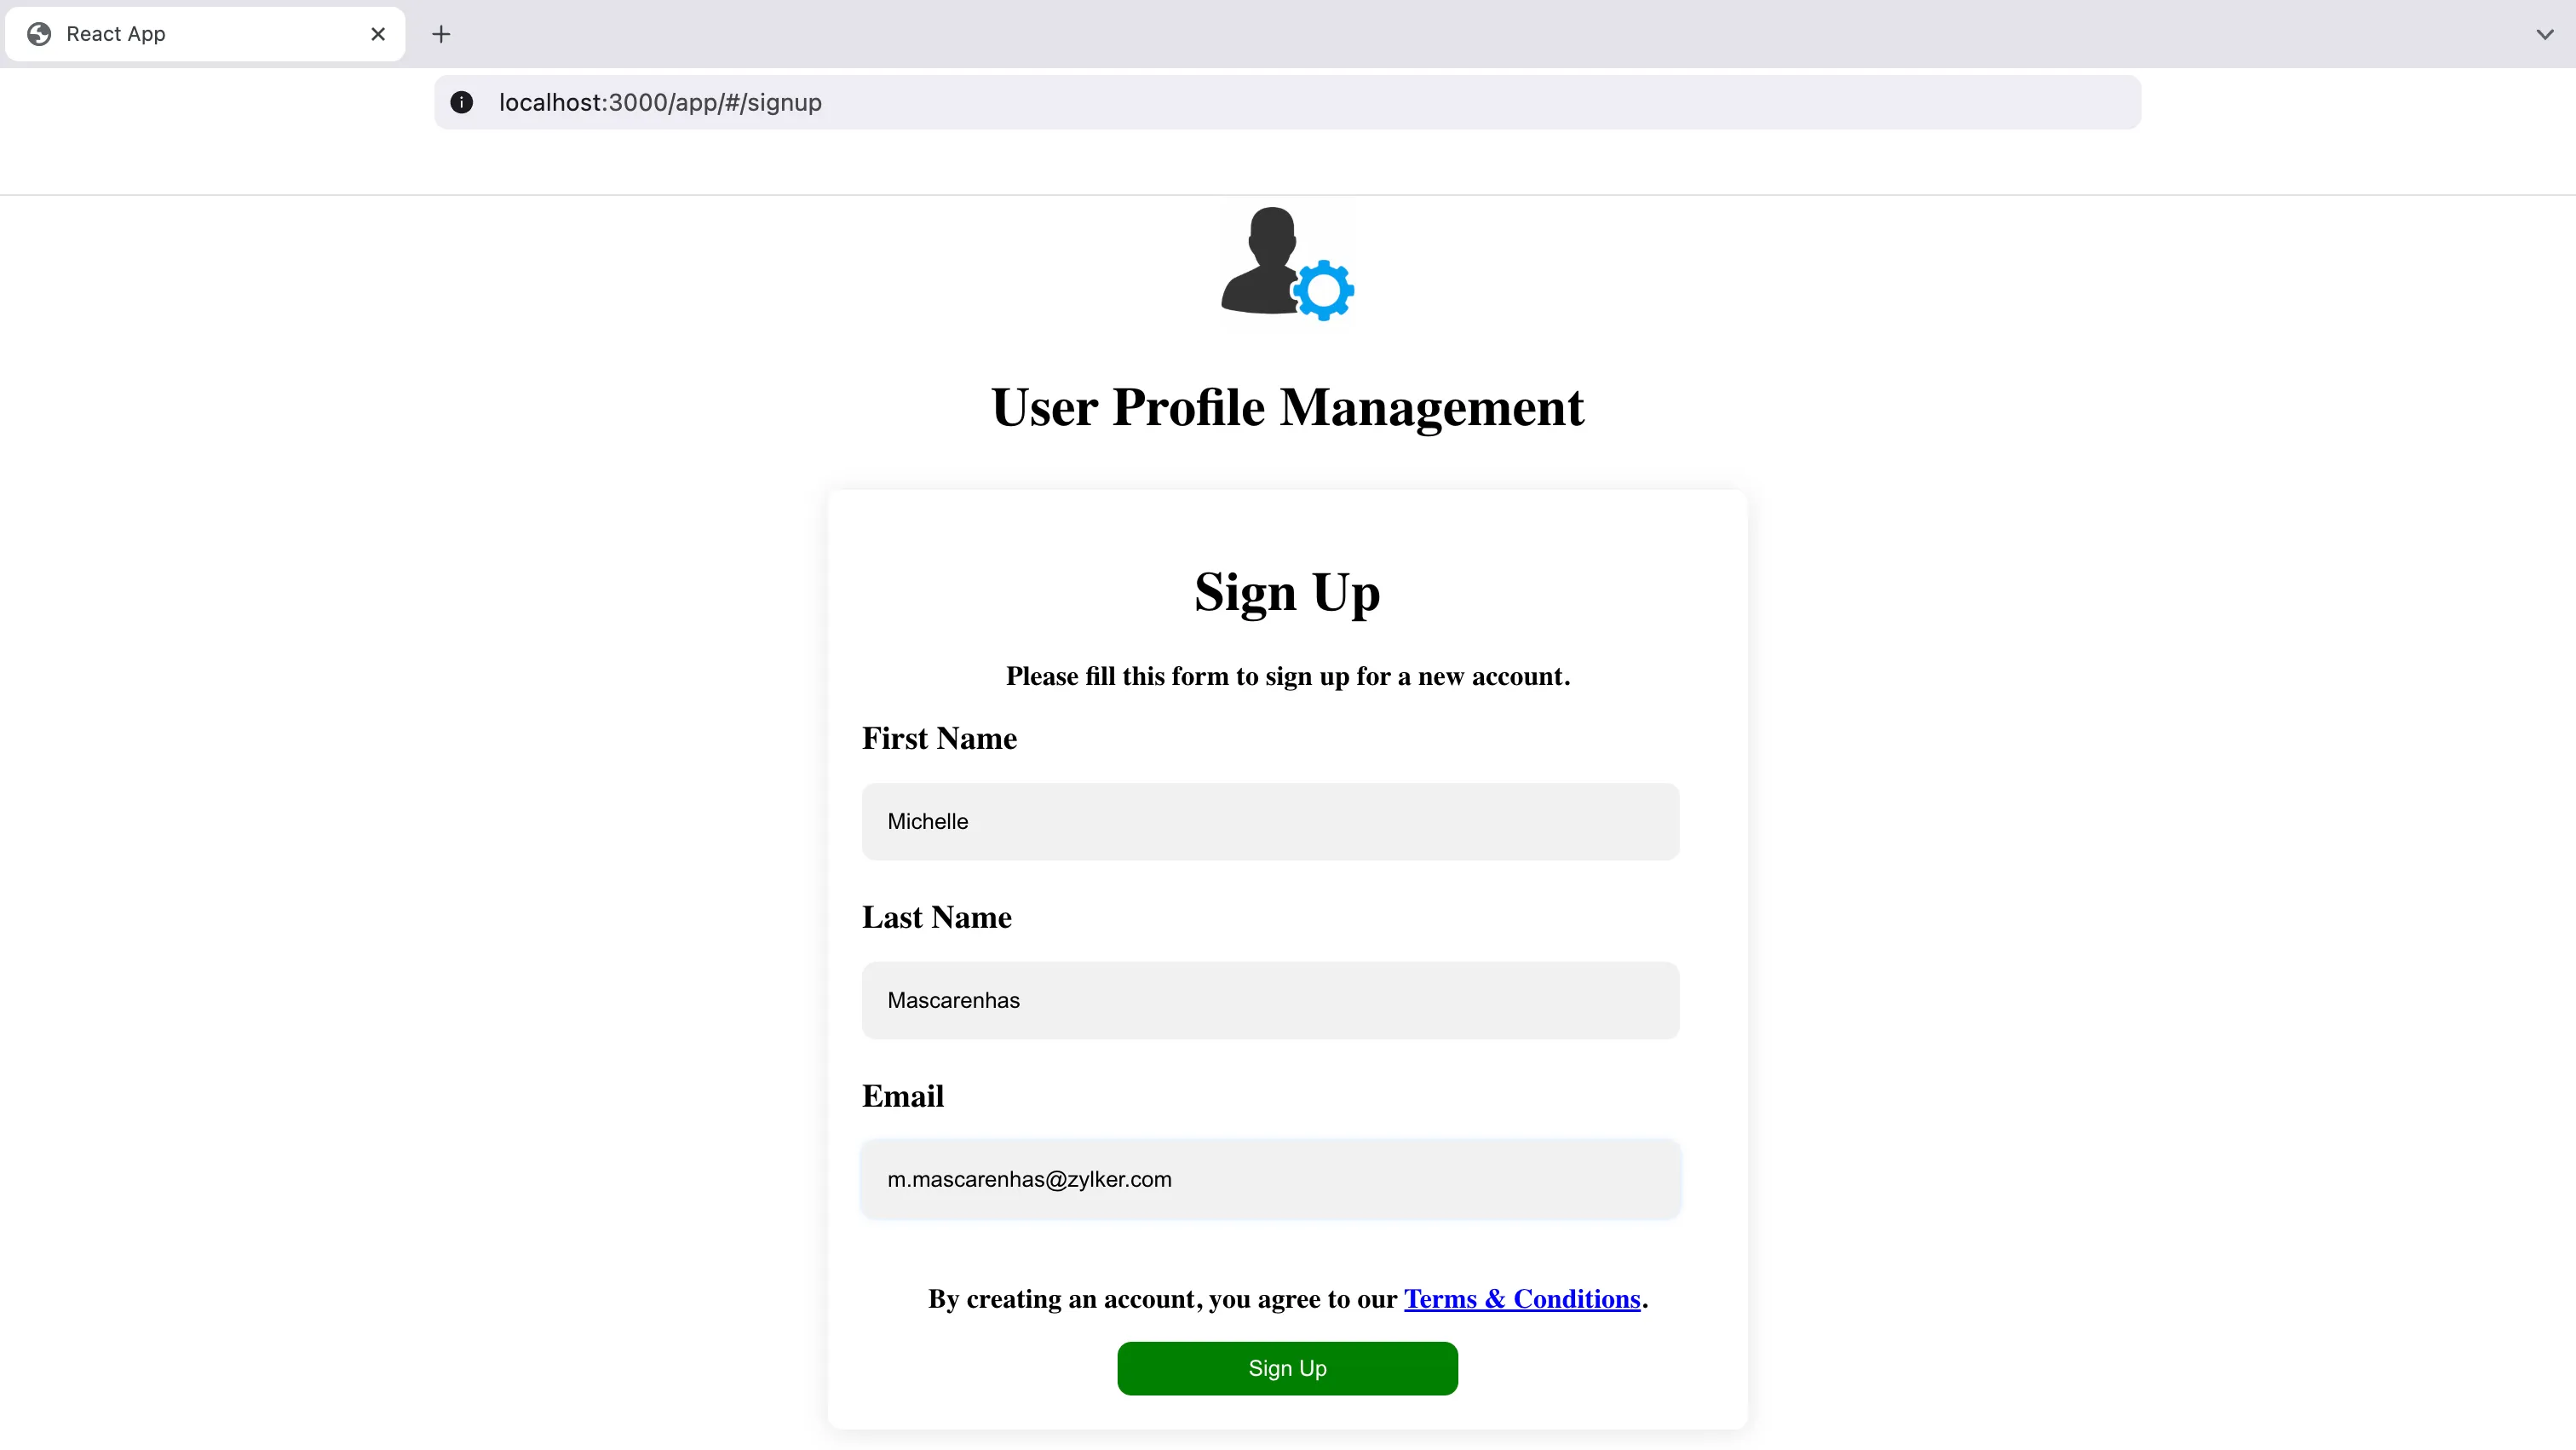
Sign Up/Sign In
When you serve the application, the first page you will encounter is the Sign In page. Since you have not signed up for the application, click the Sign Up option.
Provide the required details and click the Sign Up button.
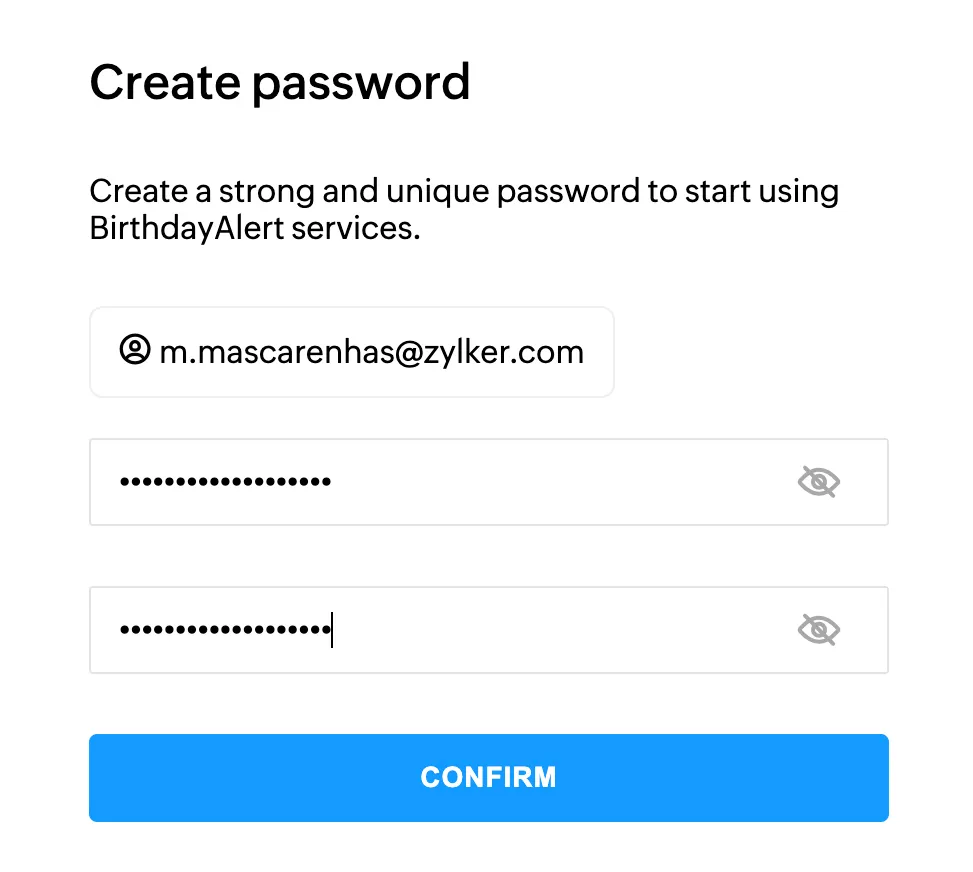
You will have to verify your account using the link sent to you via email. The content of the email will be the one you configured using the Email Templates feature.

Once you click the link, you will be asked to create a password.
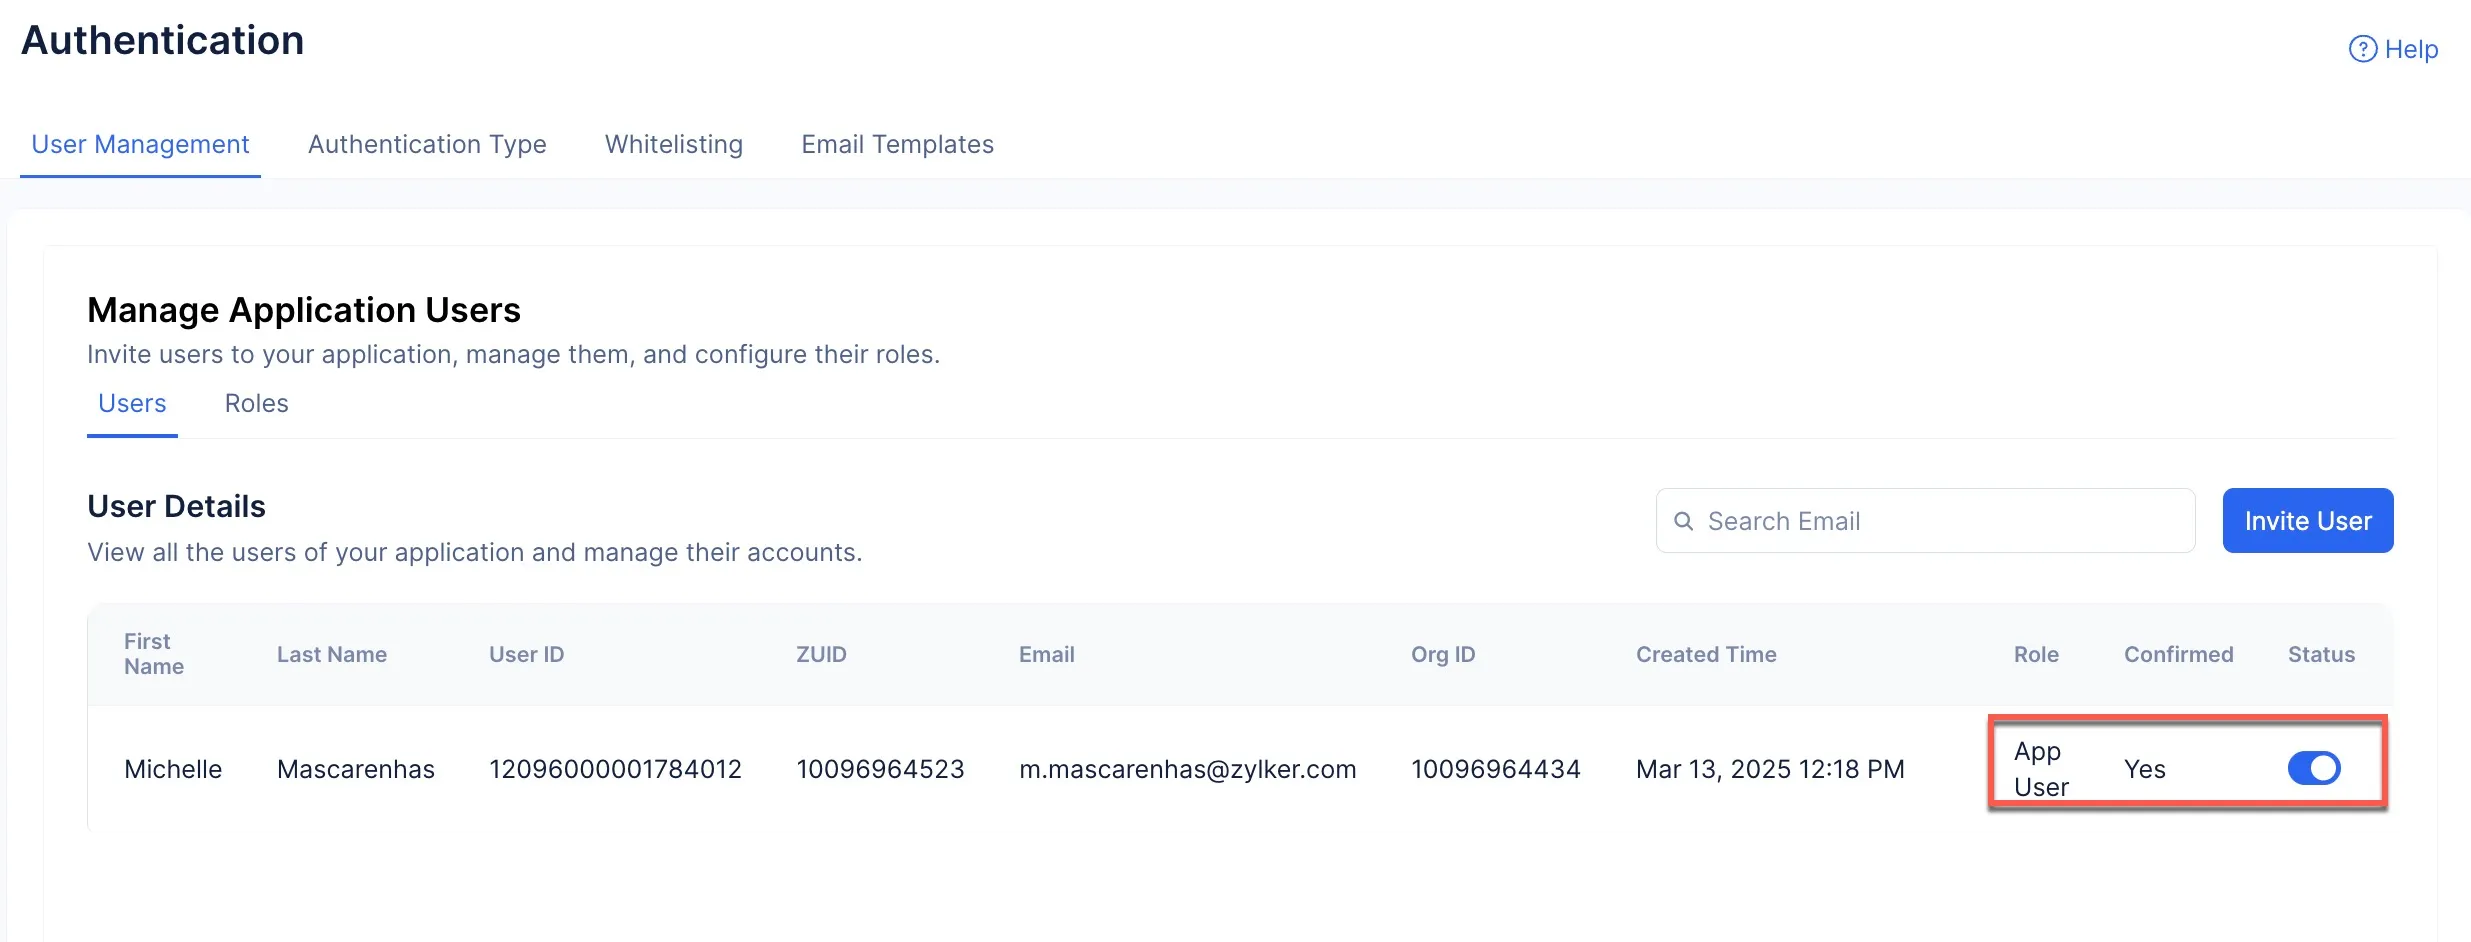
Your account will be registered to the application, and this can be confirmed in the User Management section in the Authentication component. You will also be able to see that the App User role will be assigned to the account.
You will now be able to access the application.
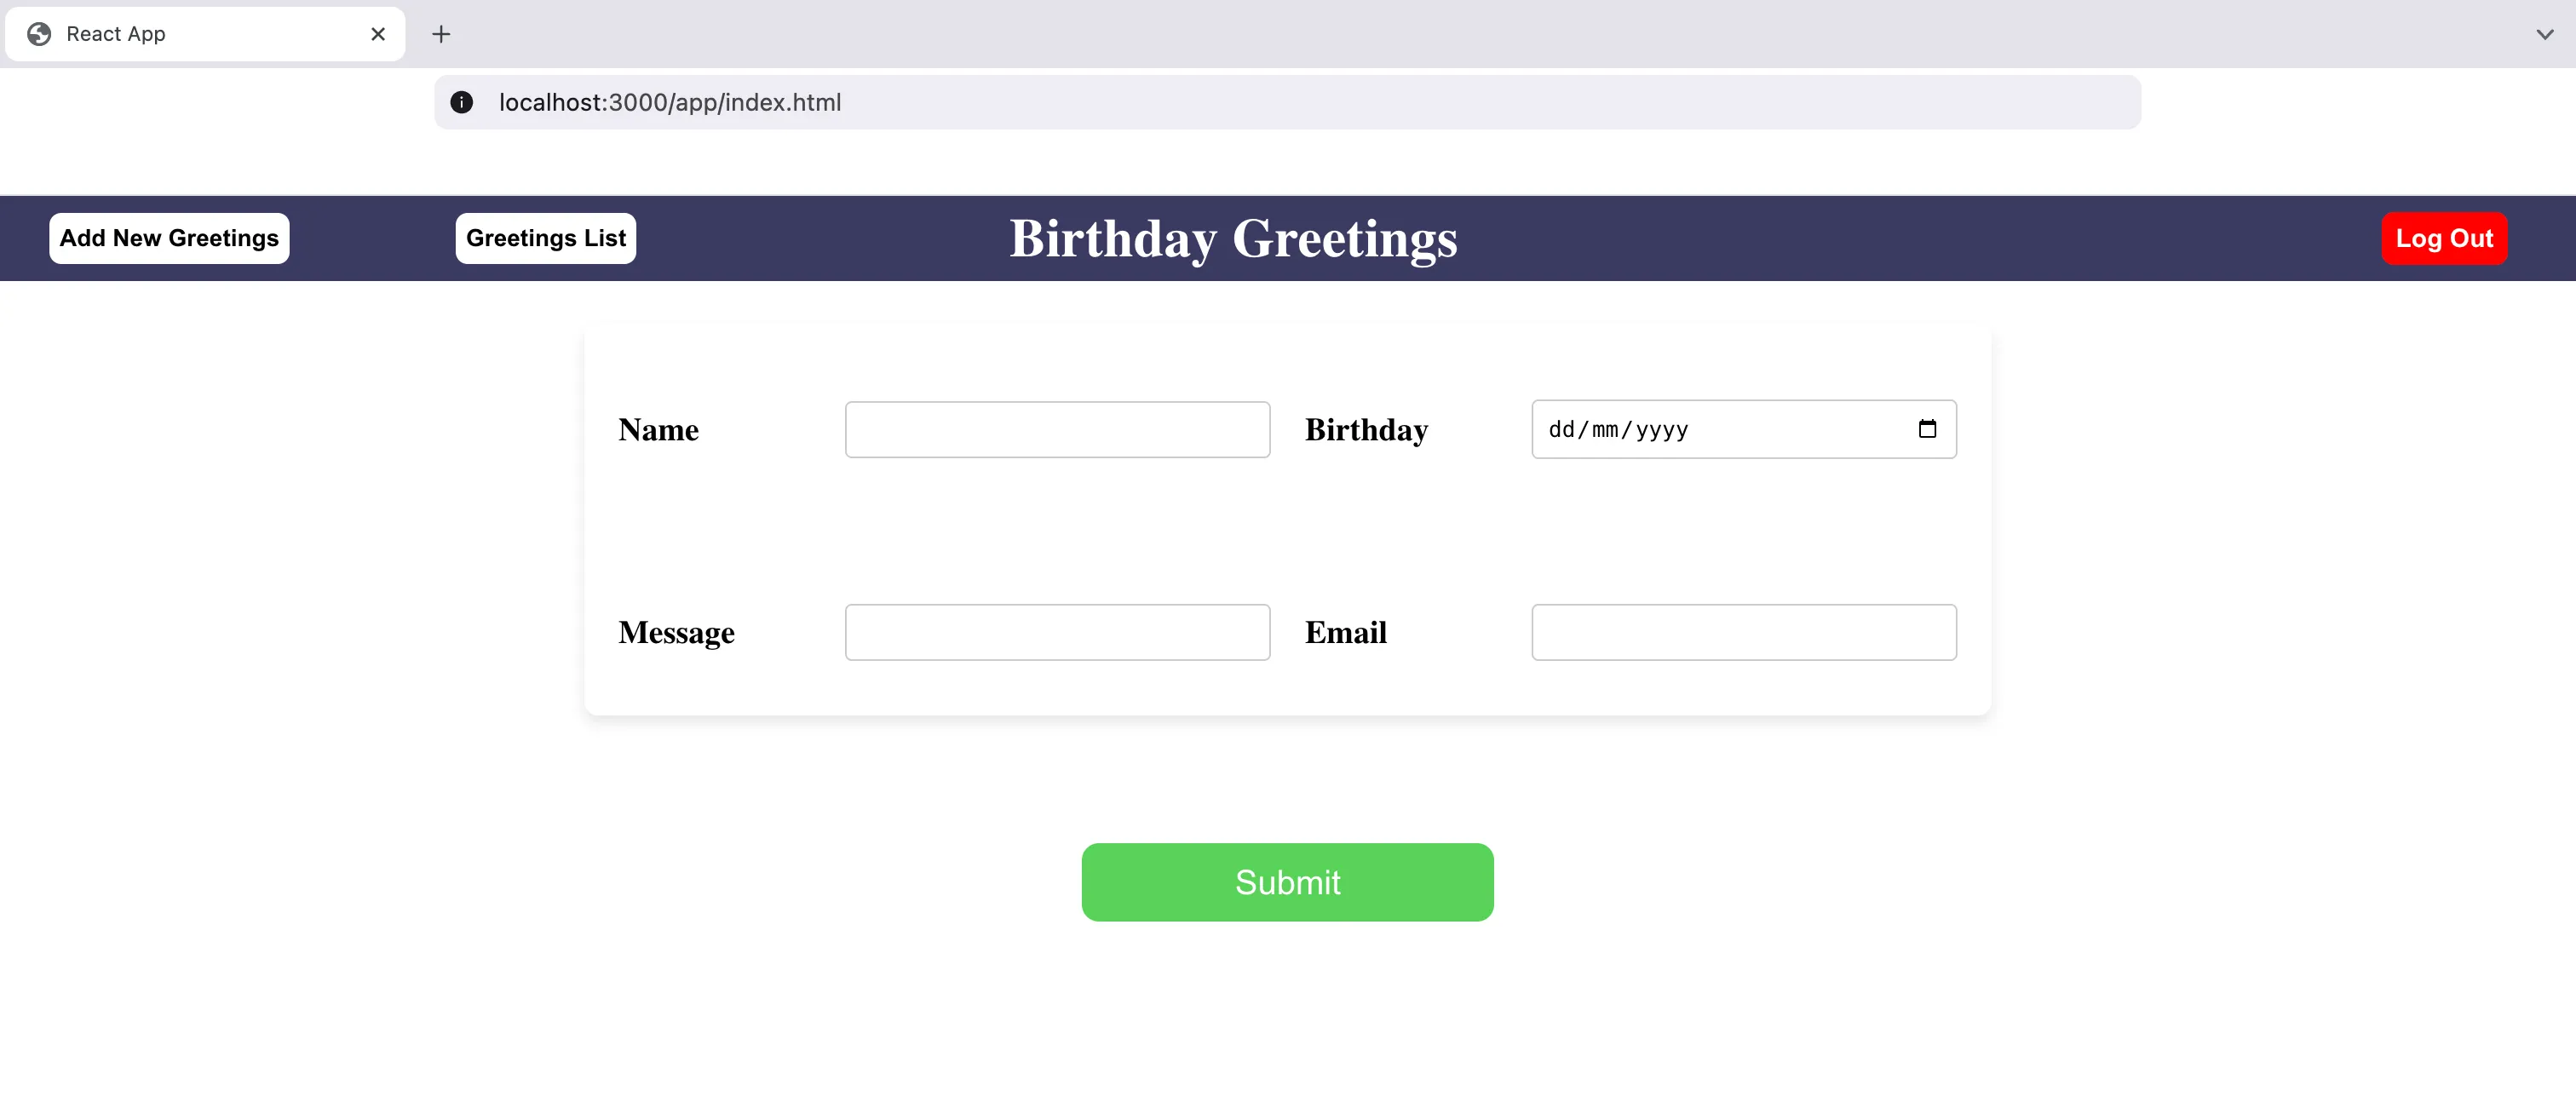
Create Greetings
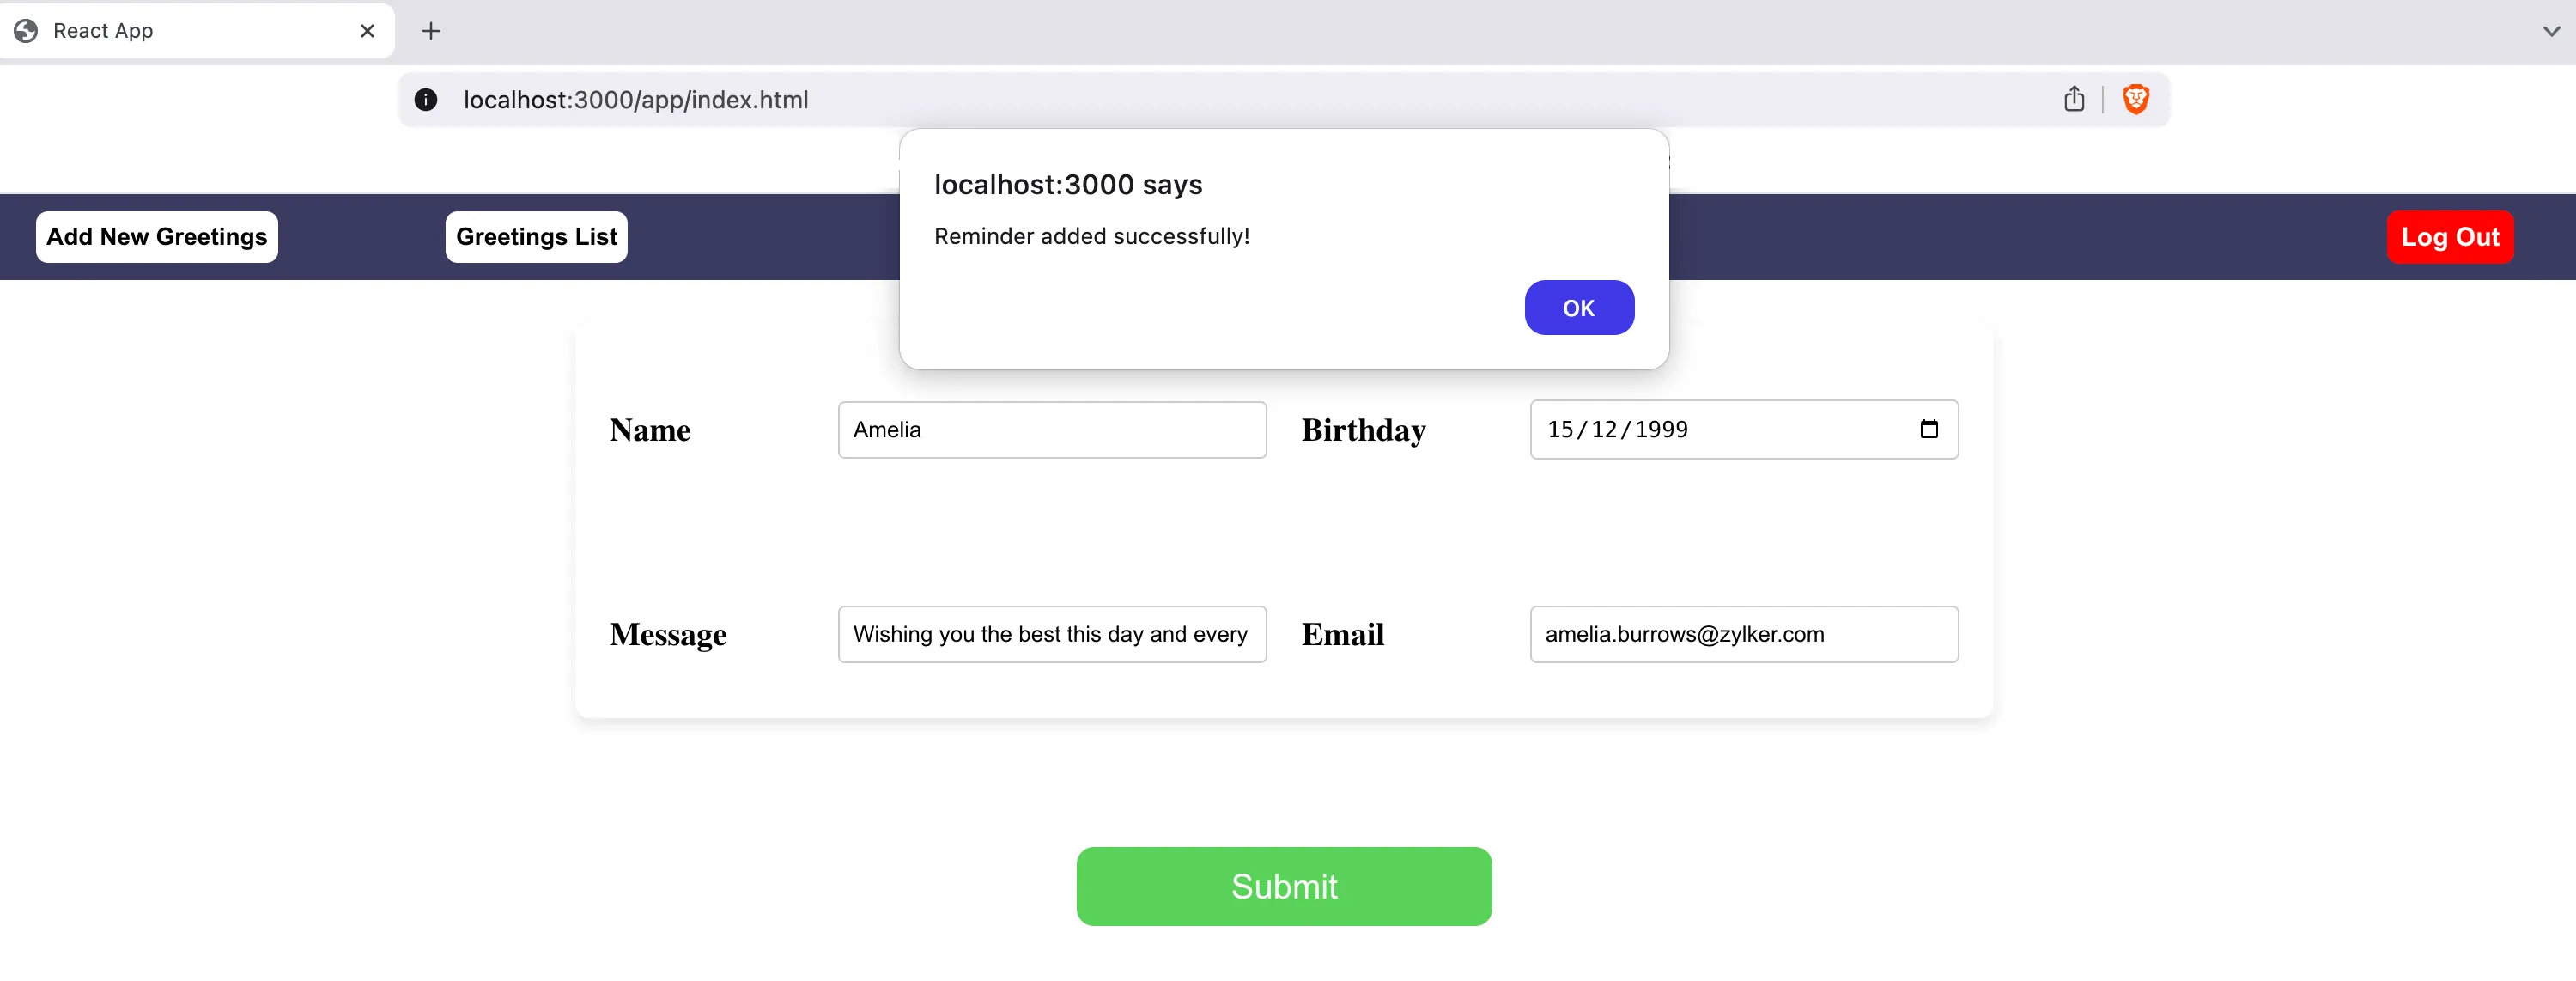
Enter the required details in the client app and click Submit to create the required greeting.
This action will have created a Dynamic Cron in the Job Scheduling service. Navigate to the cron component present in the Job Scheduling service to view the cron details.

Click the cron to view its details.
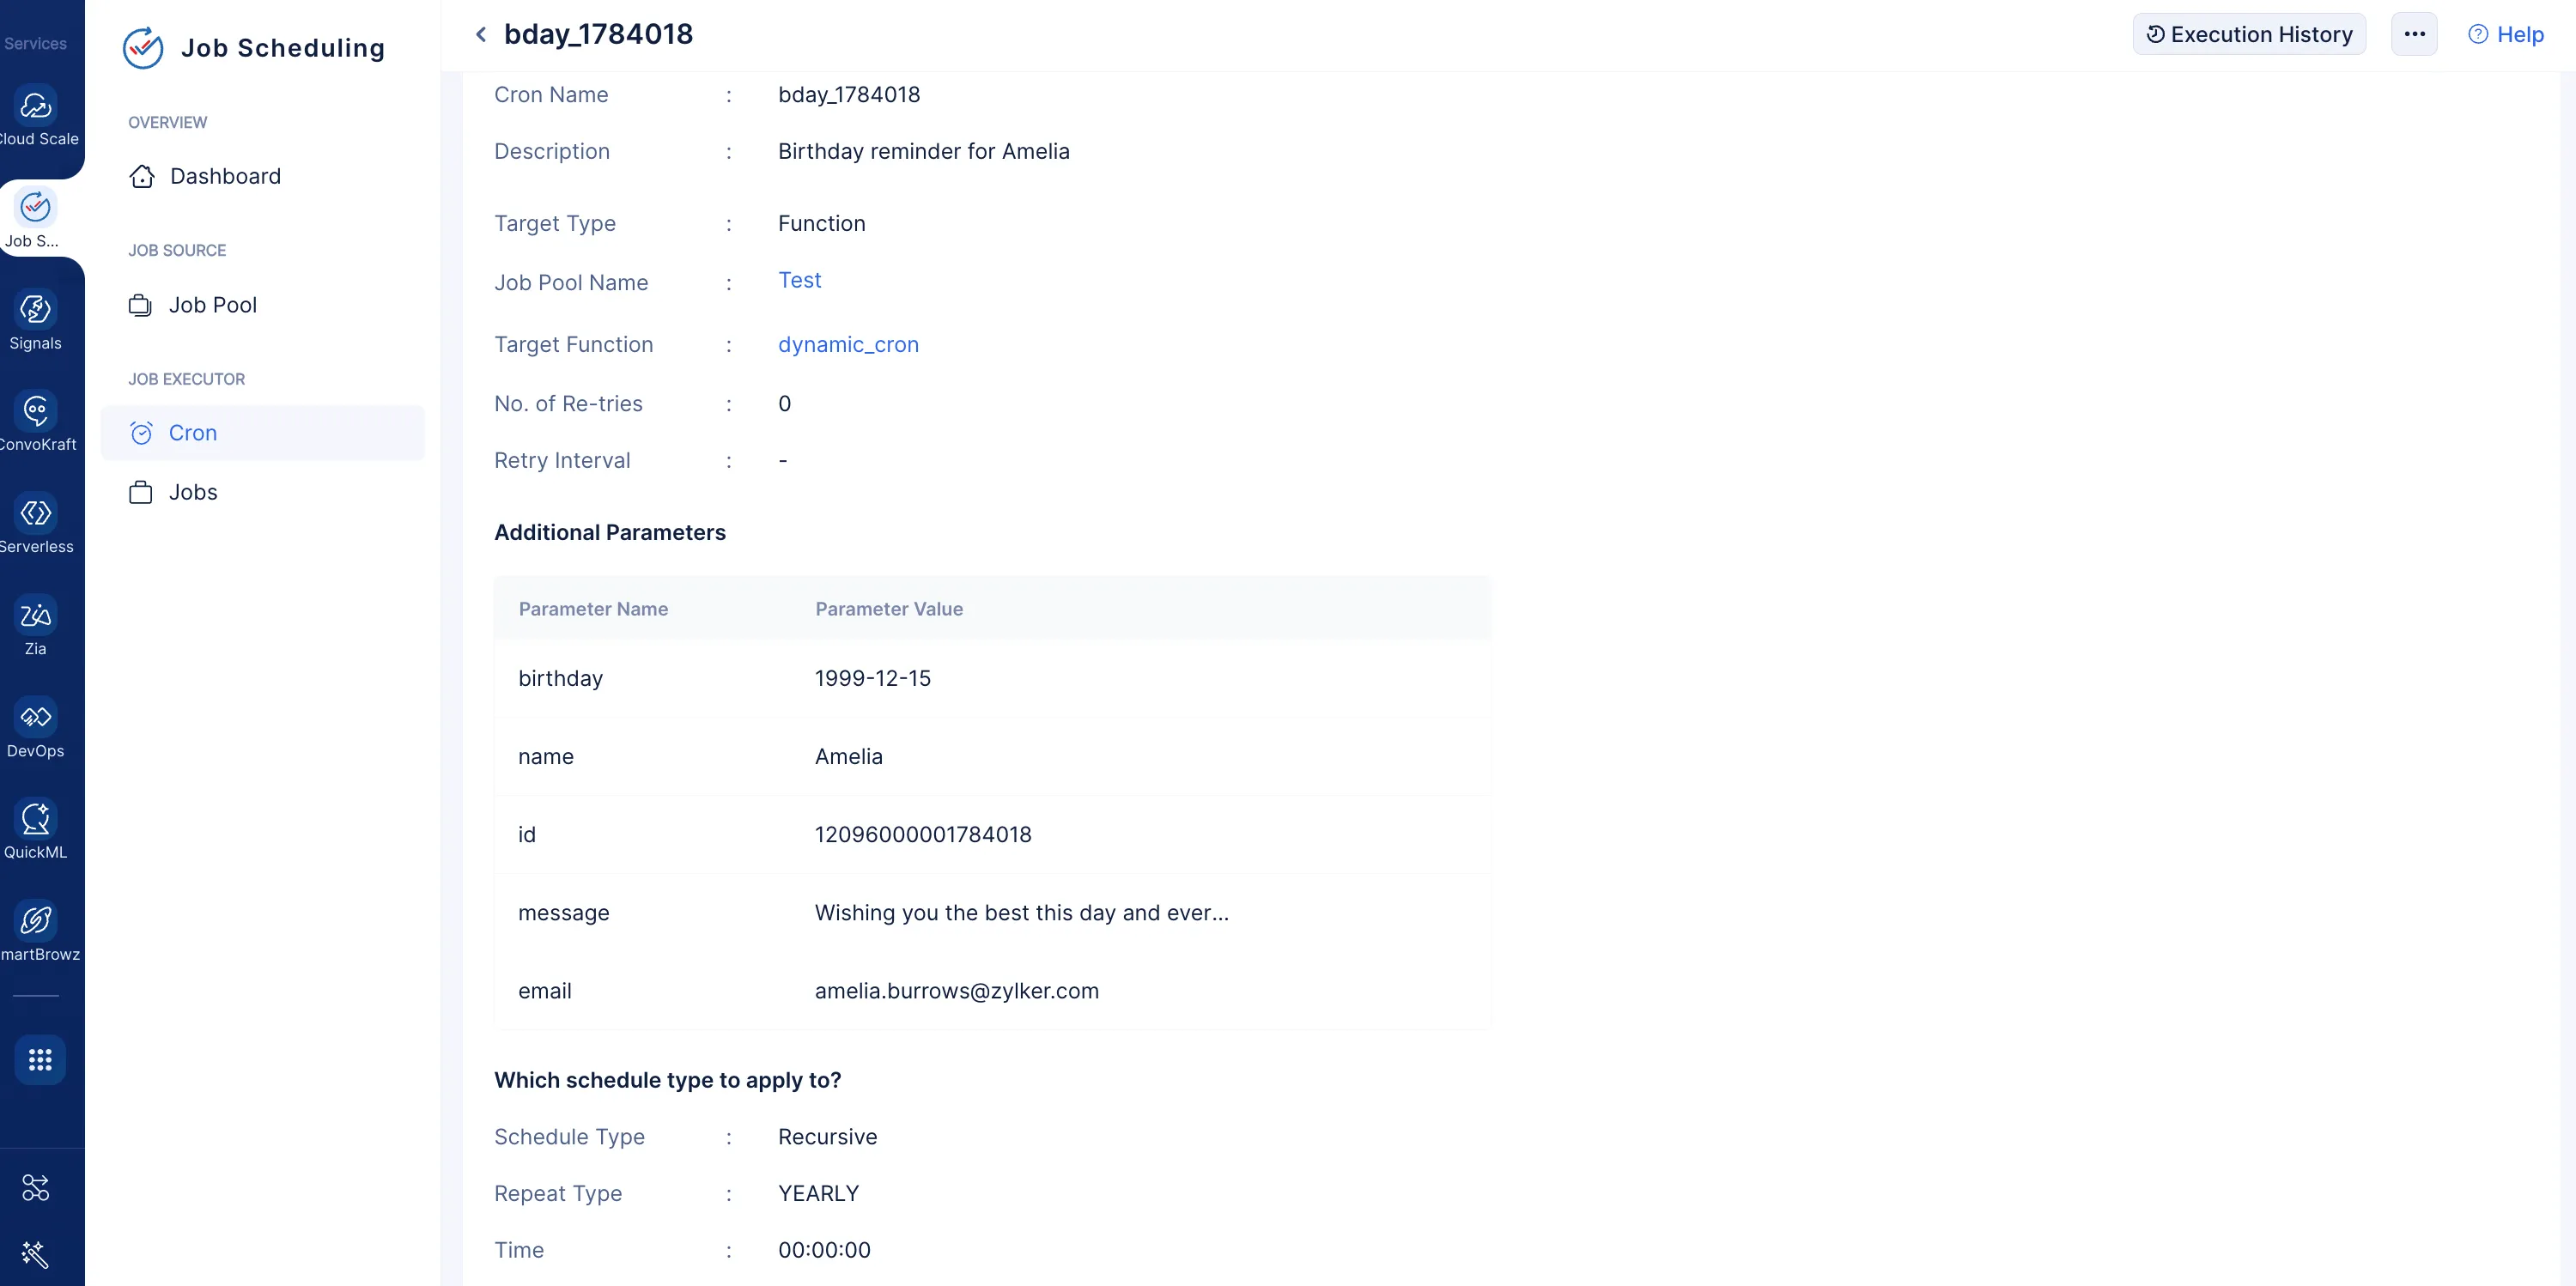
From these details, we can understand that the cron has been scheduled to submit a job to the job pool at 12 AM on the date of the birthday. However, for our testing purposes, you can click the Submit Job button to submit a job to the job pool instantly.
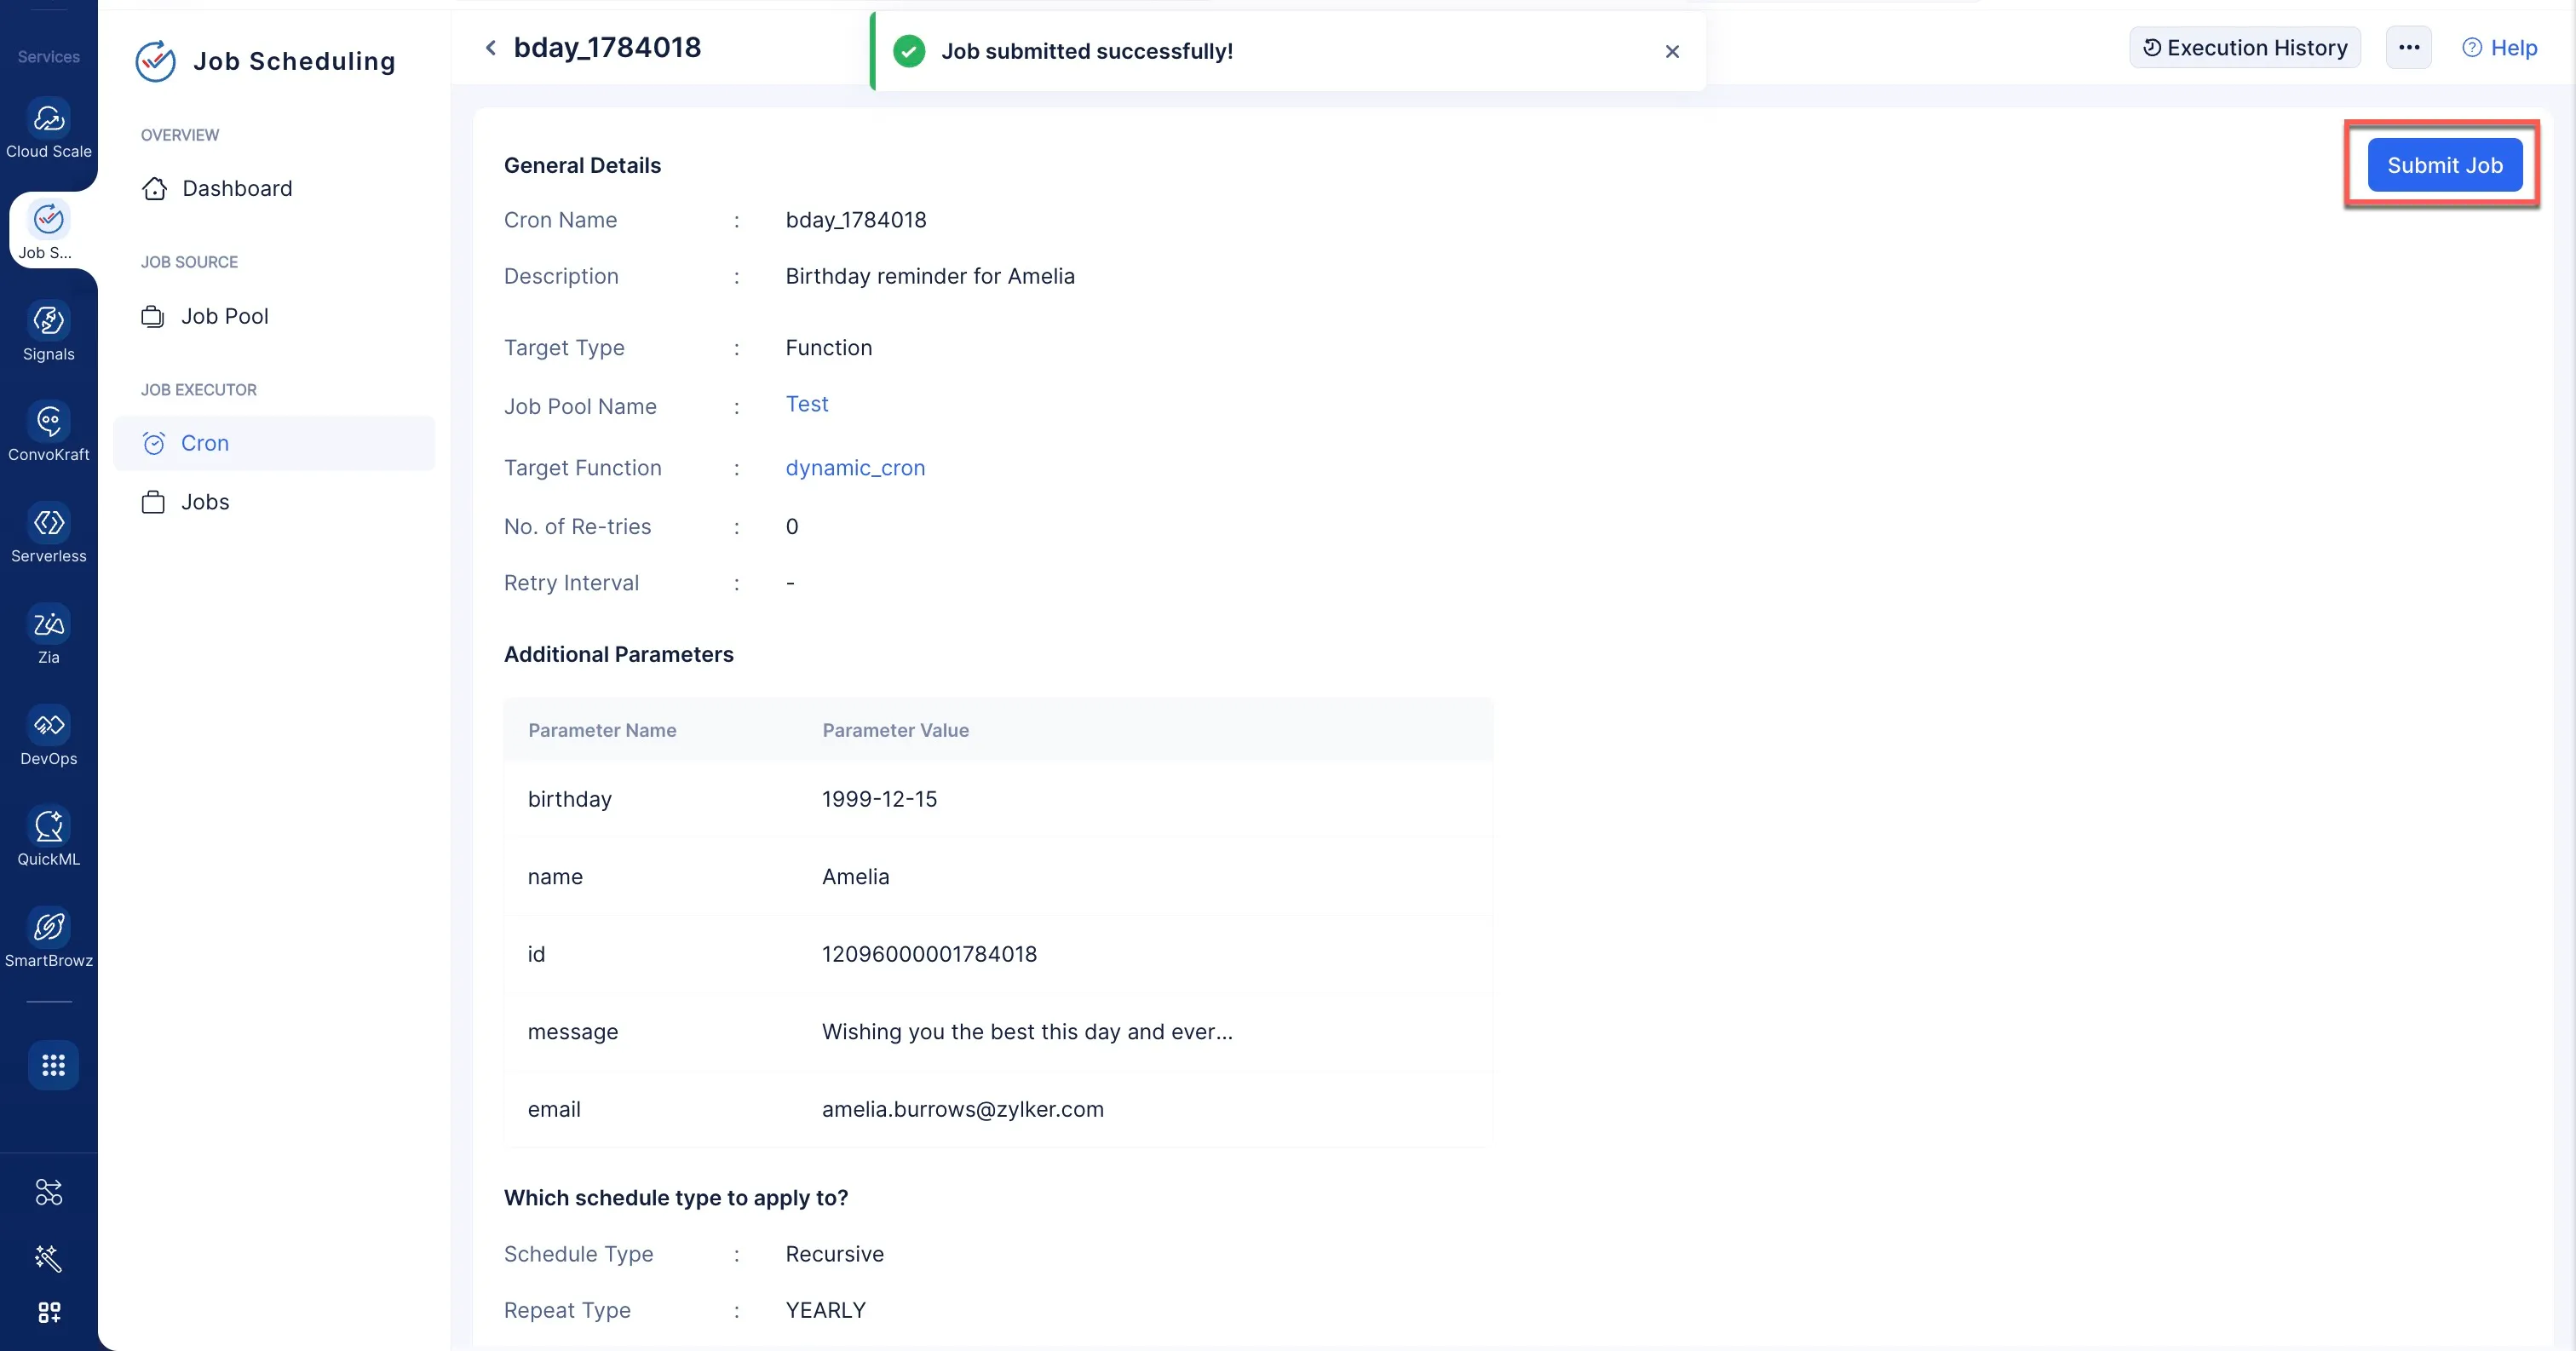
You can check the status of the job by clicking the Execution History button.

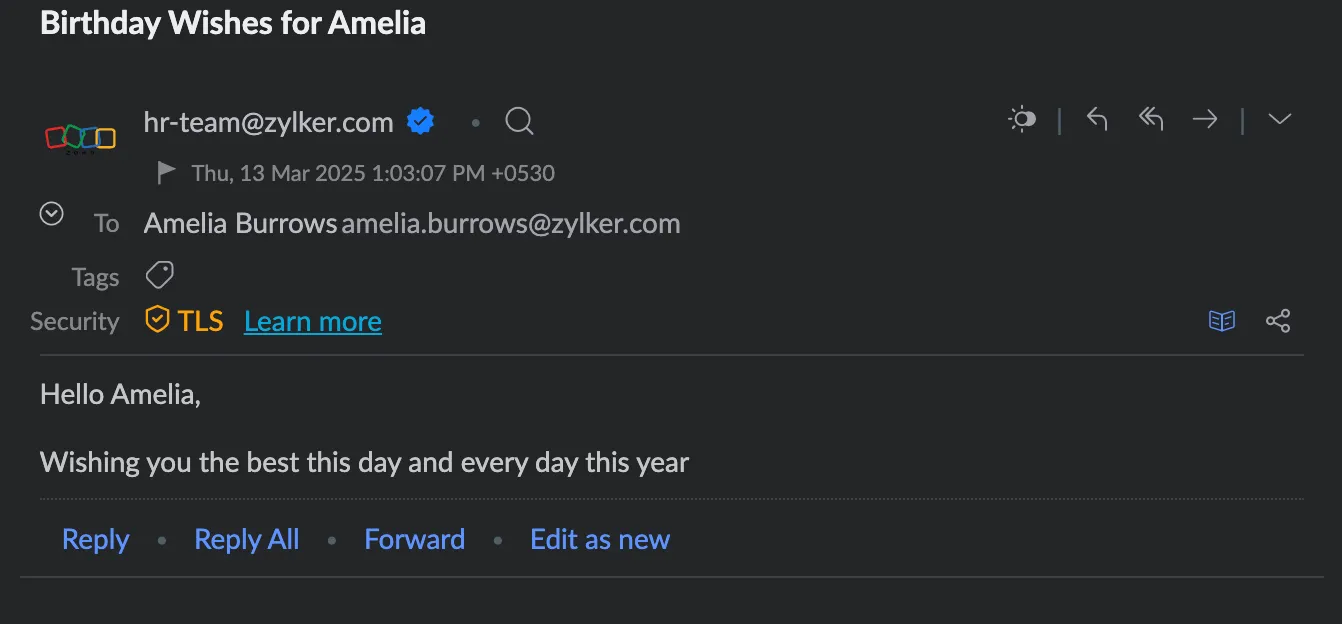
Now if you check the email configured as the receiver, you will have received the birthday wish from the sender email address you configured using the Mail component.
Manage Reminders
You can click the Greetings List button to view the list of reminders you have configured.

You can edit the reminders by clicking the Edit button.
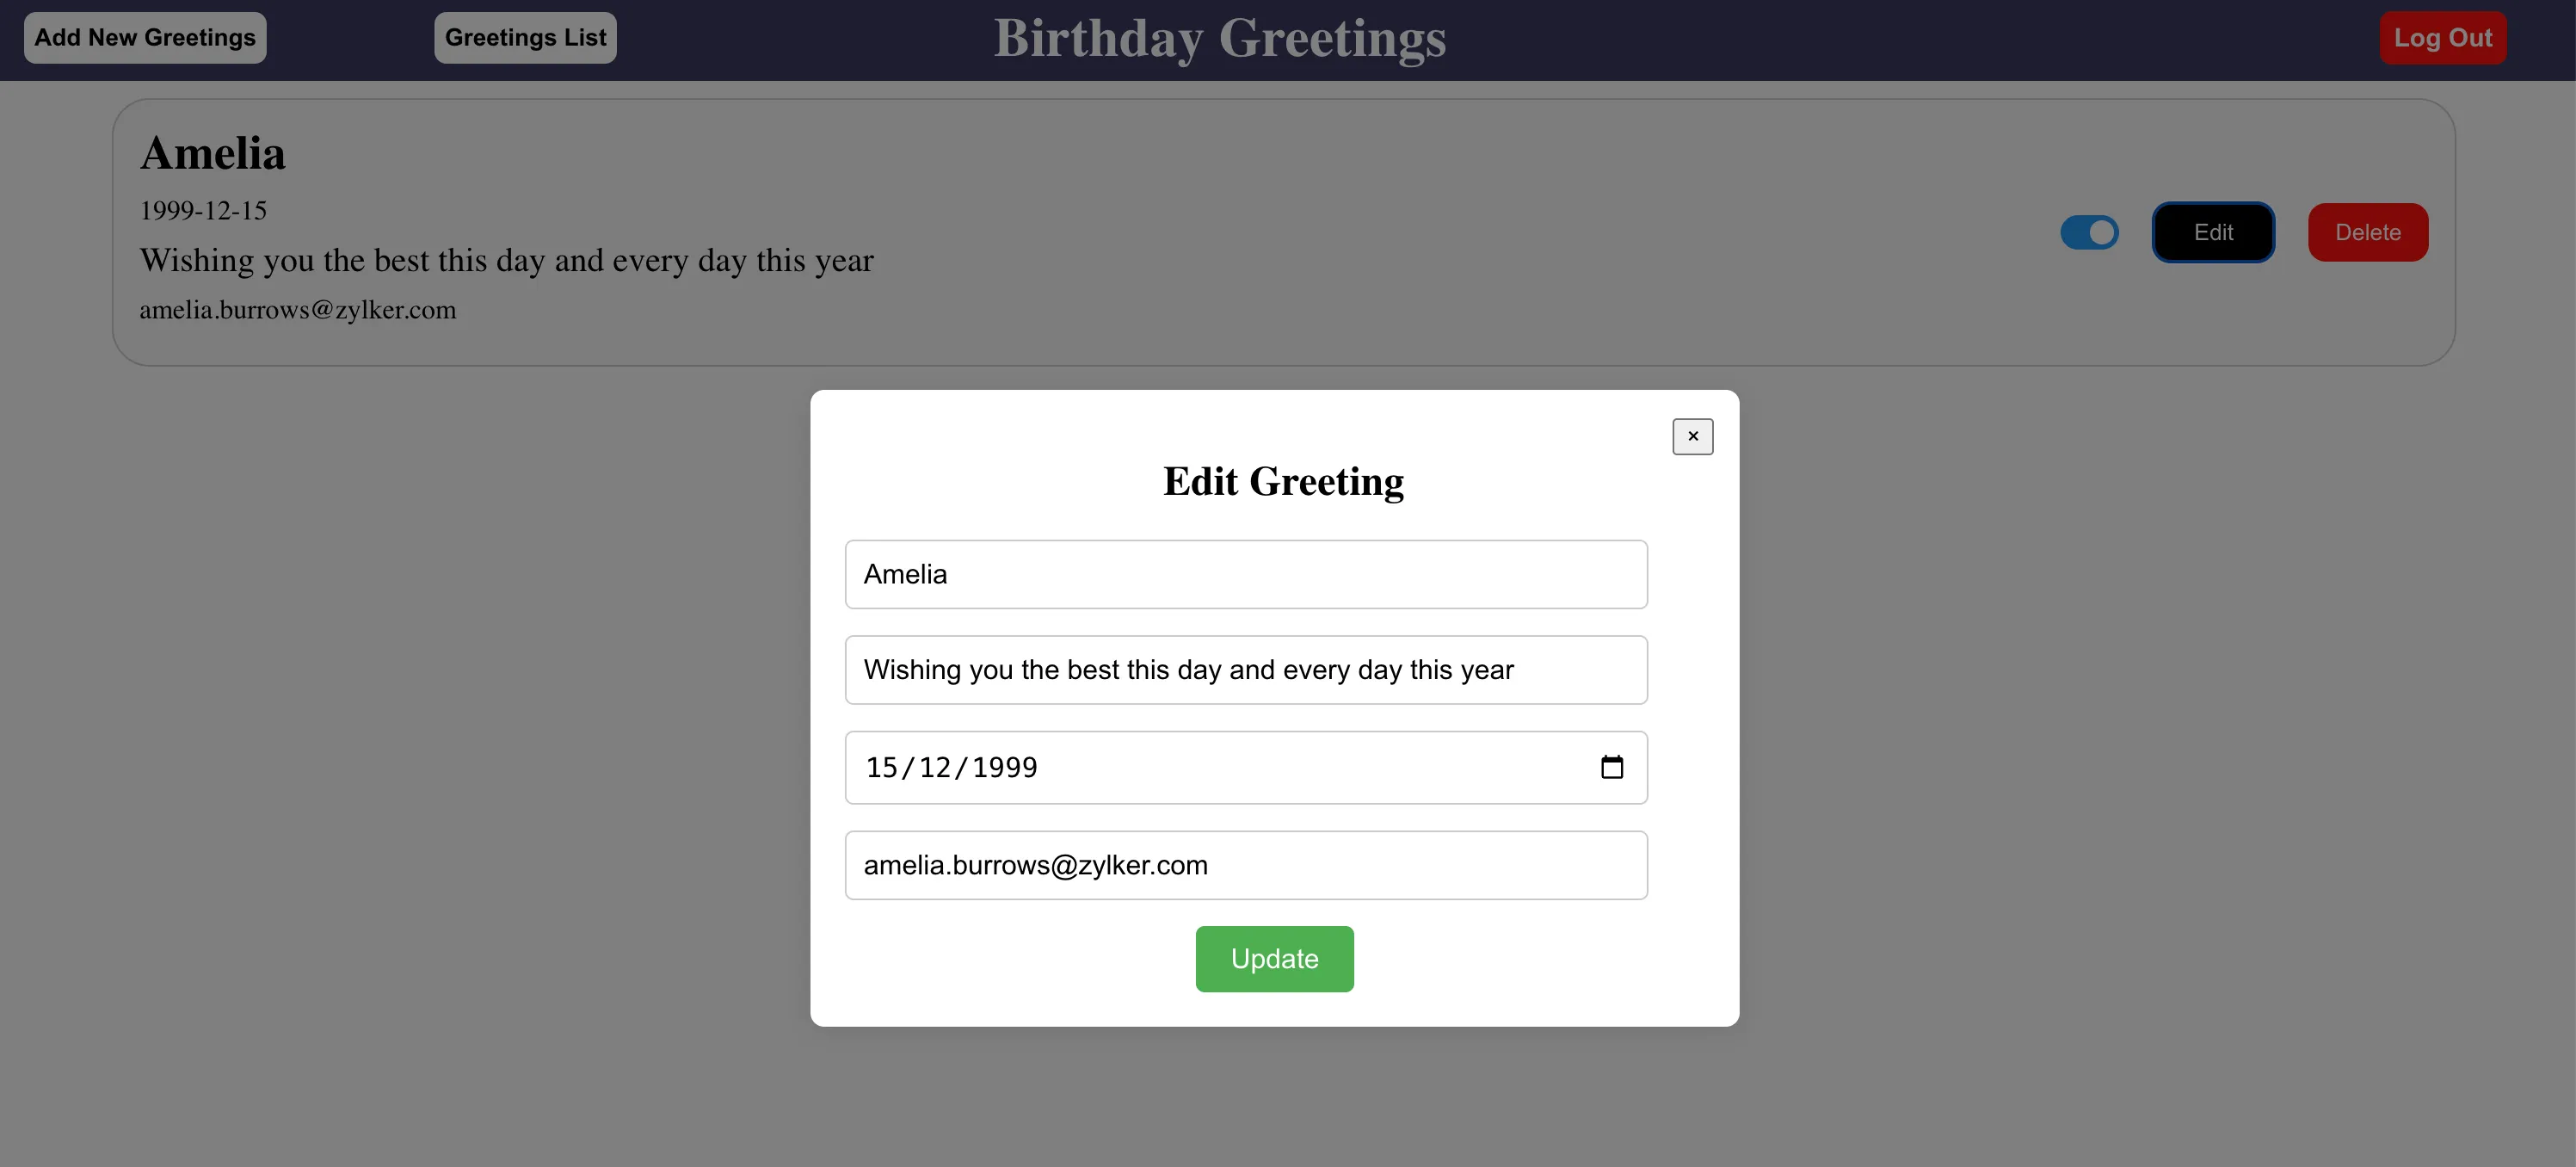
Click Update to apply the required changes.
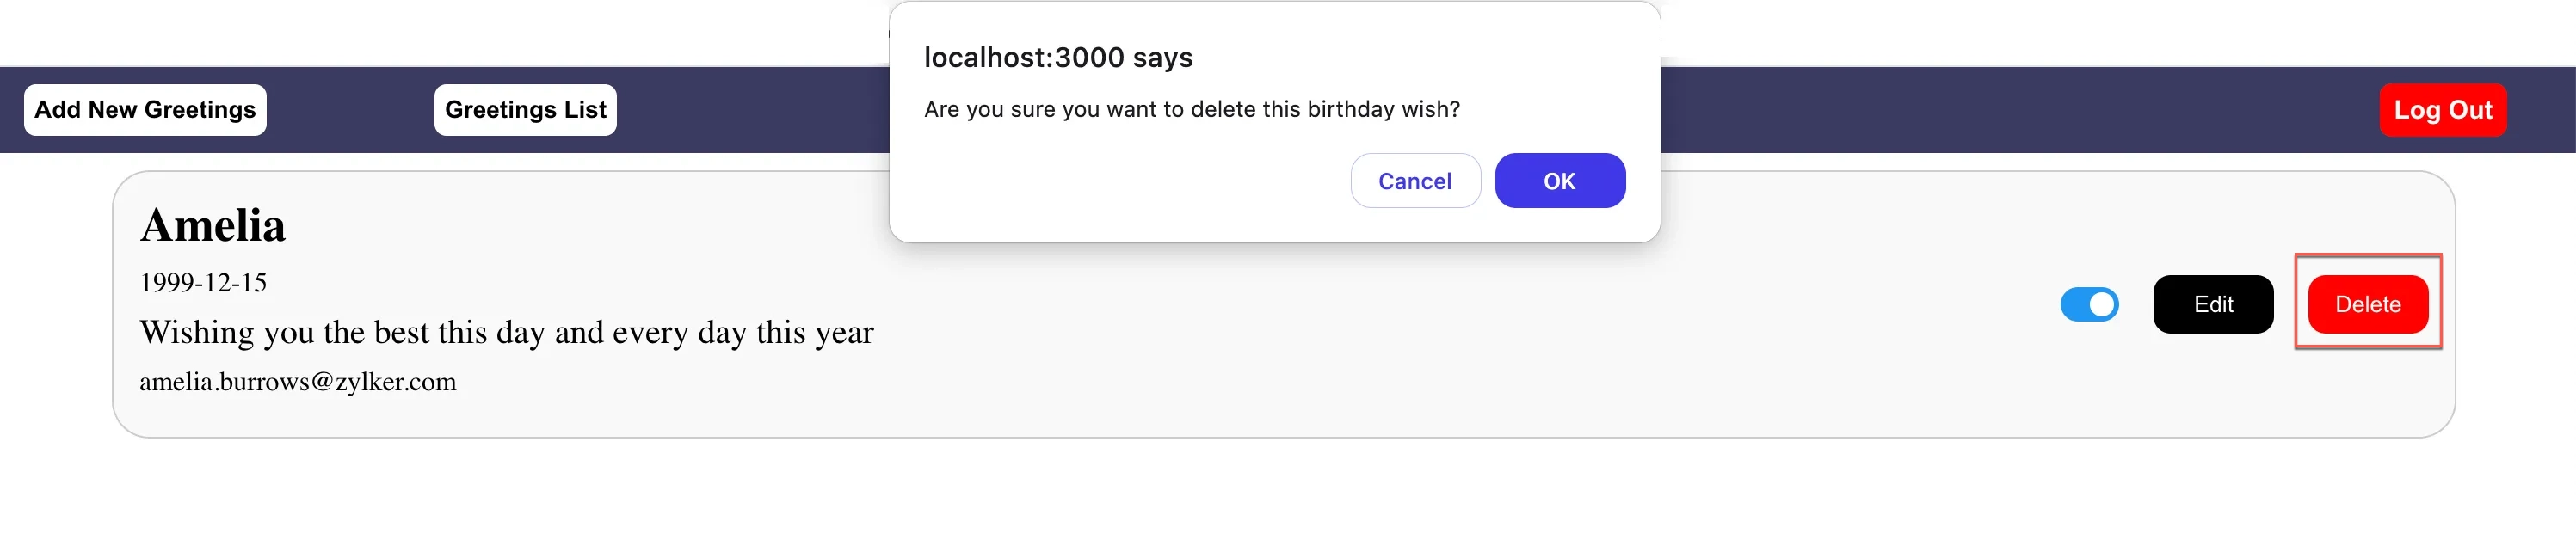
You can disable the cron by clicking the toggle to disable the wish from being sent out. You can also delete the greeting by clicking the Delete button.
All the changes made in the application will be reflected in the Data Store, and the cron will be adjusted accordingly.
The application is now working as intended.
Last Updated 2025-09-29 16:32:42 +0530 IST