Set up Sender Email Address
We will be using Mail, a Catalyst Cloud Scale component, to set up the sender email address. This is the address from which the birthday wishes will be sent to the required people.
To configure the sender’s email address:
-
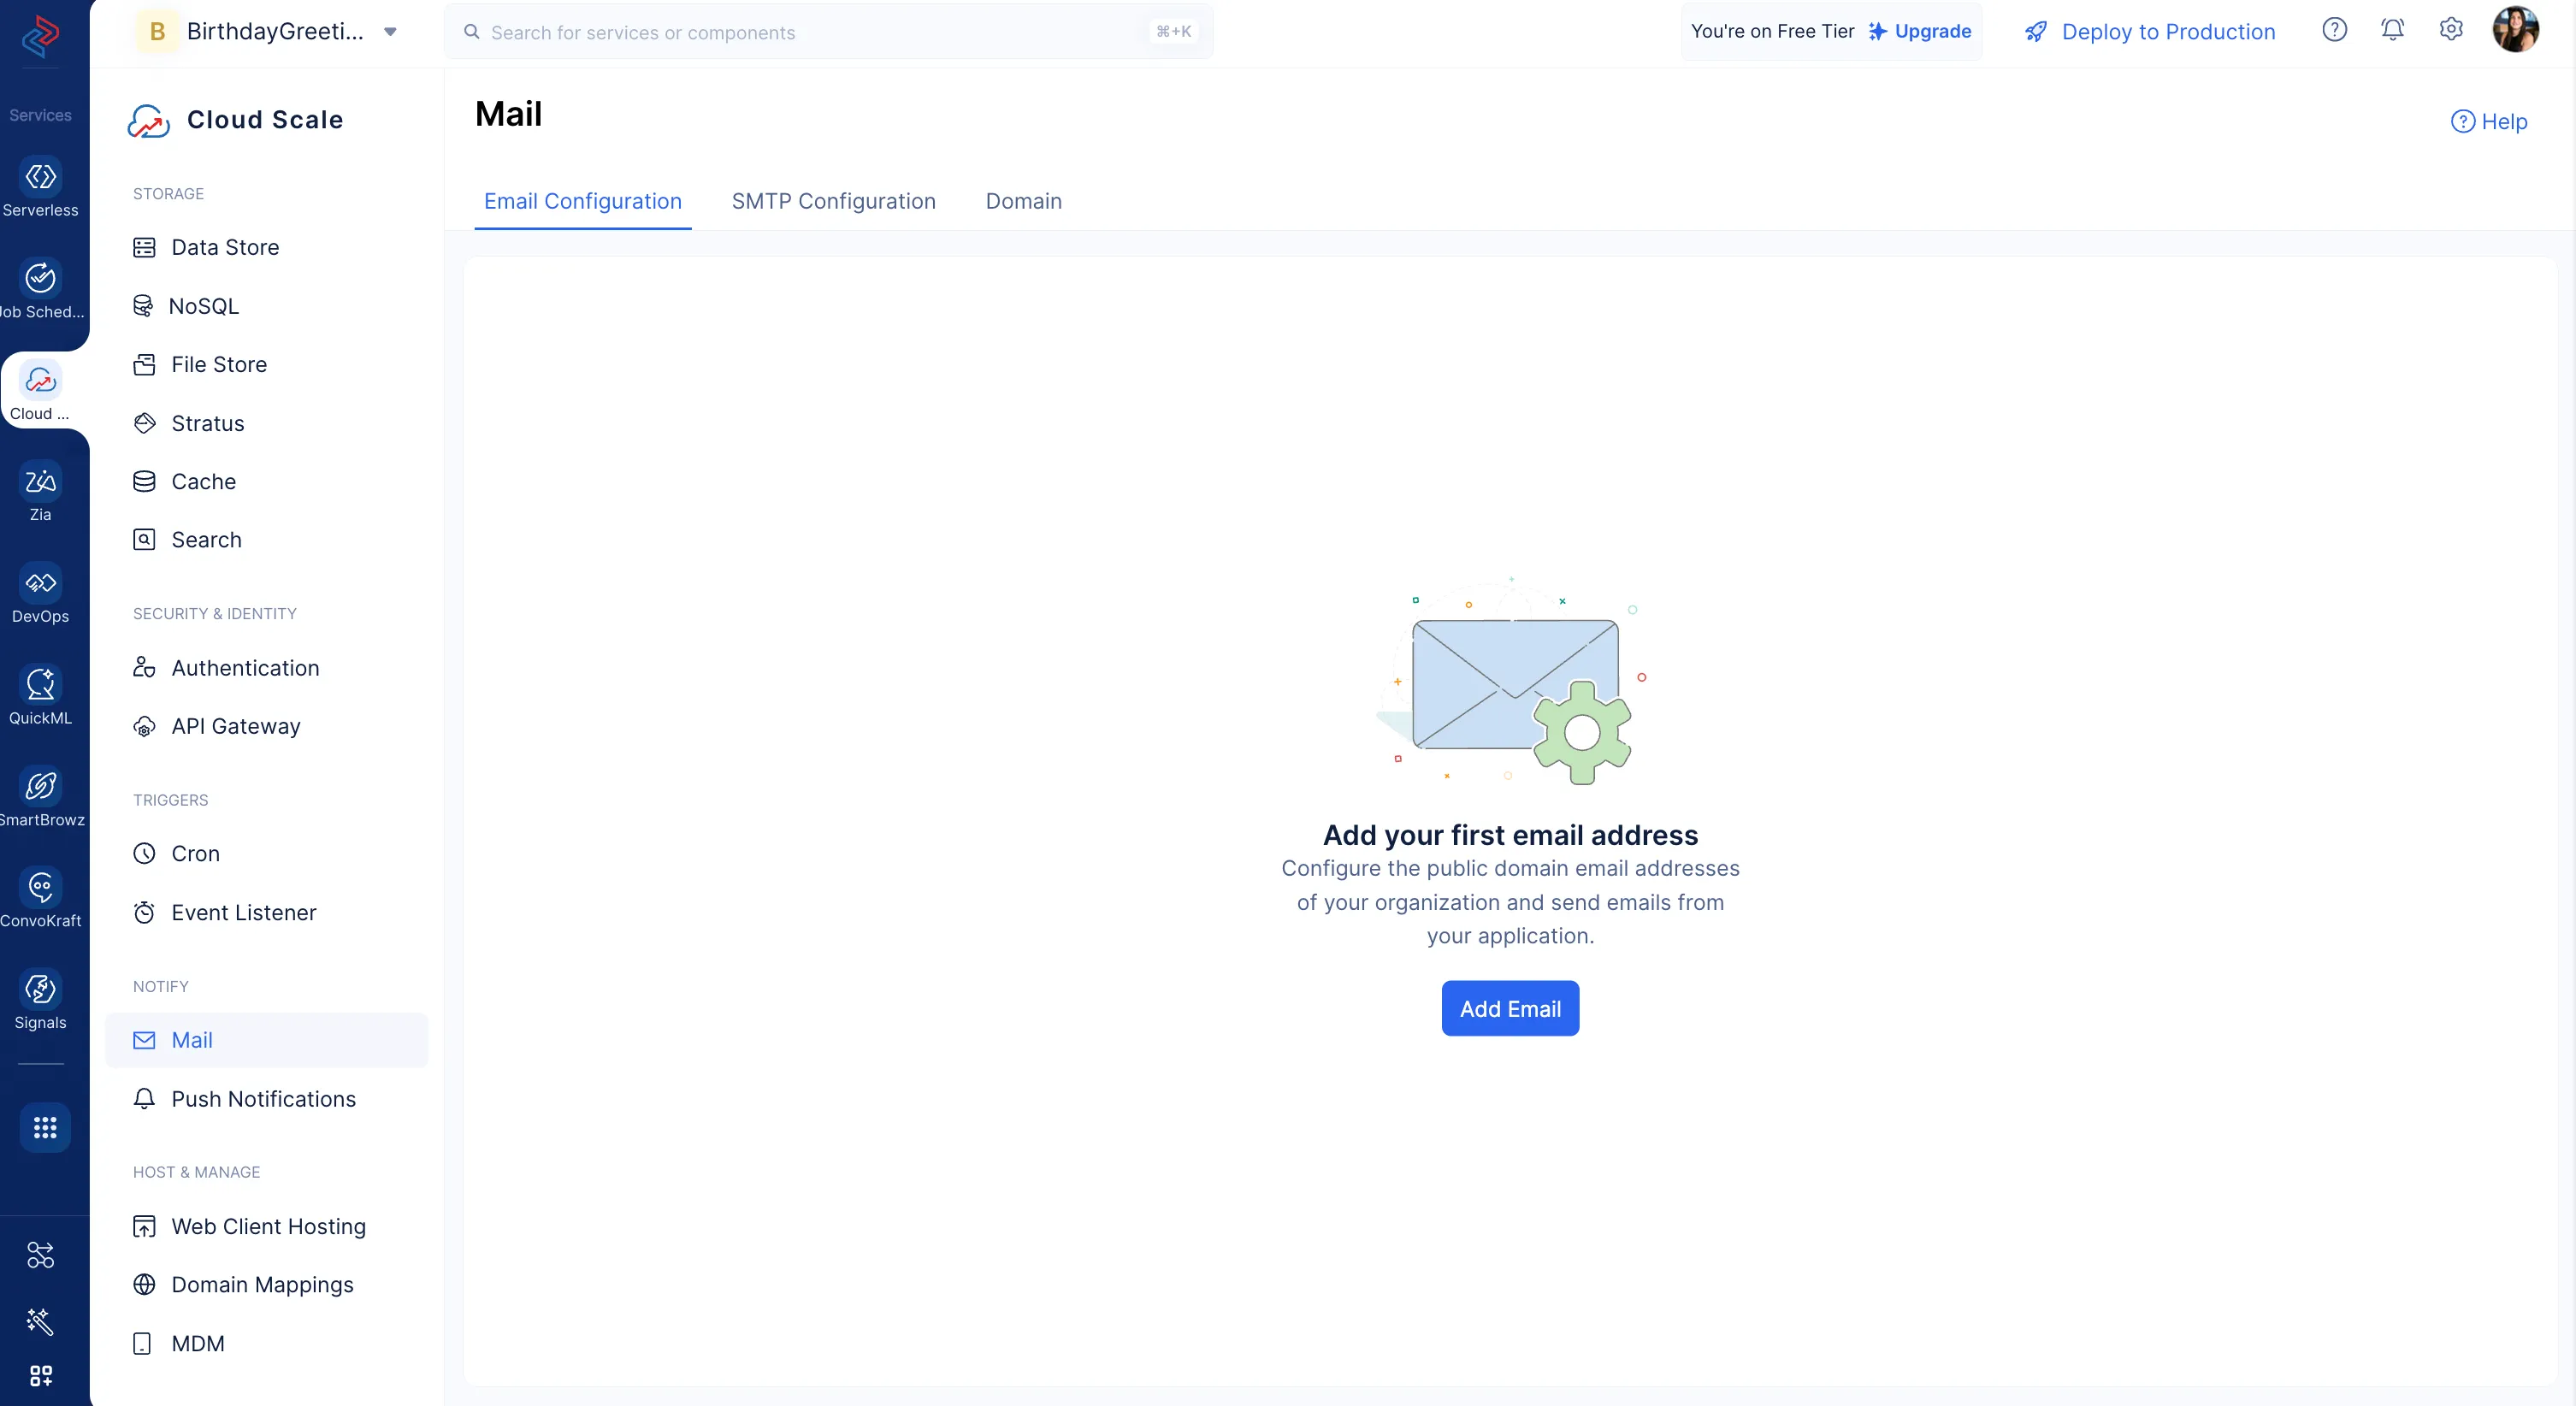
Navigate to the Mail component under the NOTIFY section in the Cloud Scale console, and click Add Email.
-
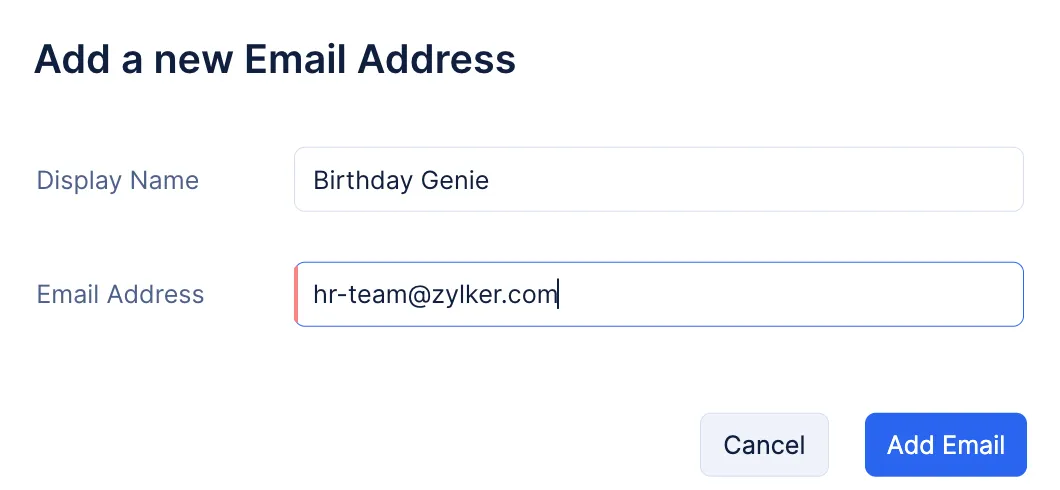
Provide the required details for your sender email address, and click Add Email. You can provide an email address that you use.
-
The email address will be listed in the Email Configuration section.
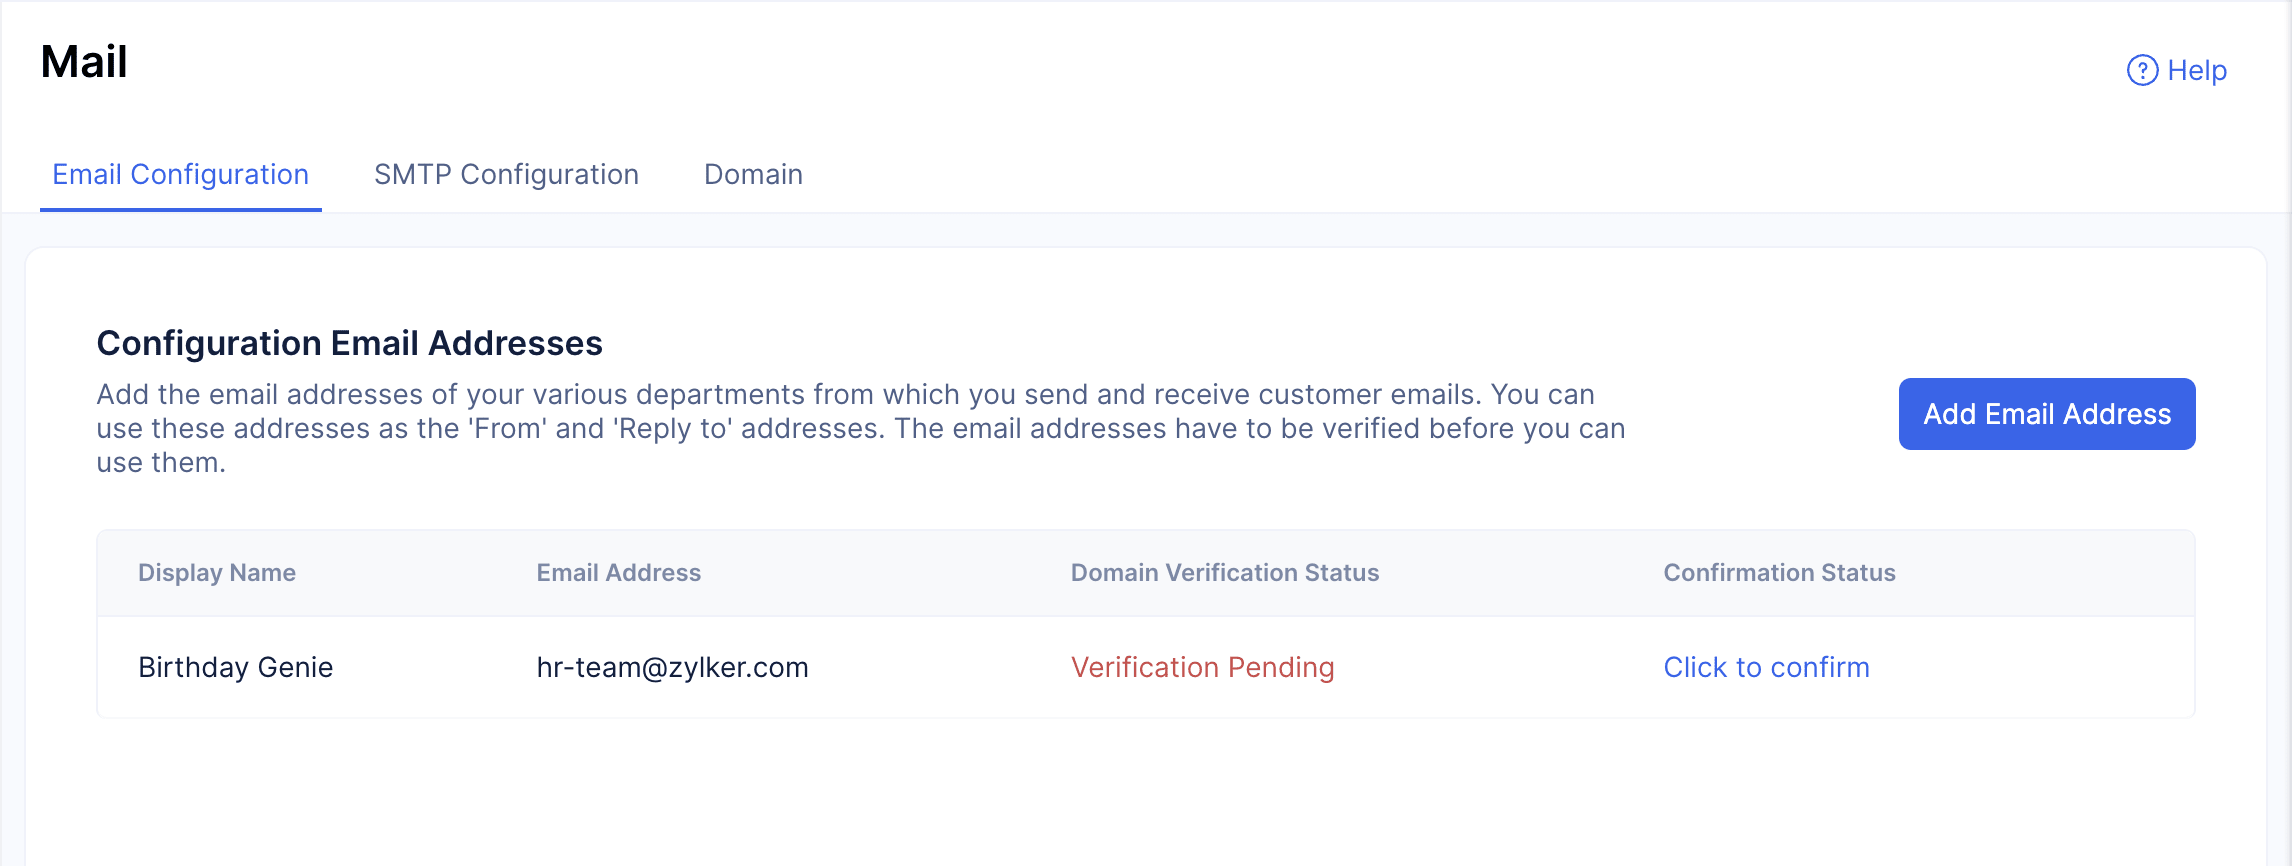
- Click on Click to confirm to verify the email address provided.
This action will have automatically sent a Catalyst-generated confirmation code to the email address you provided.
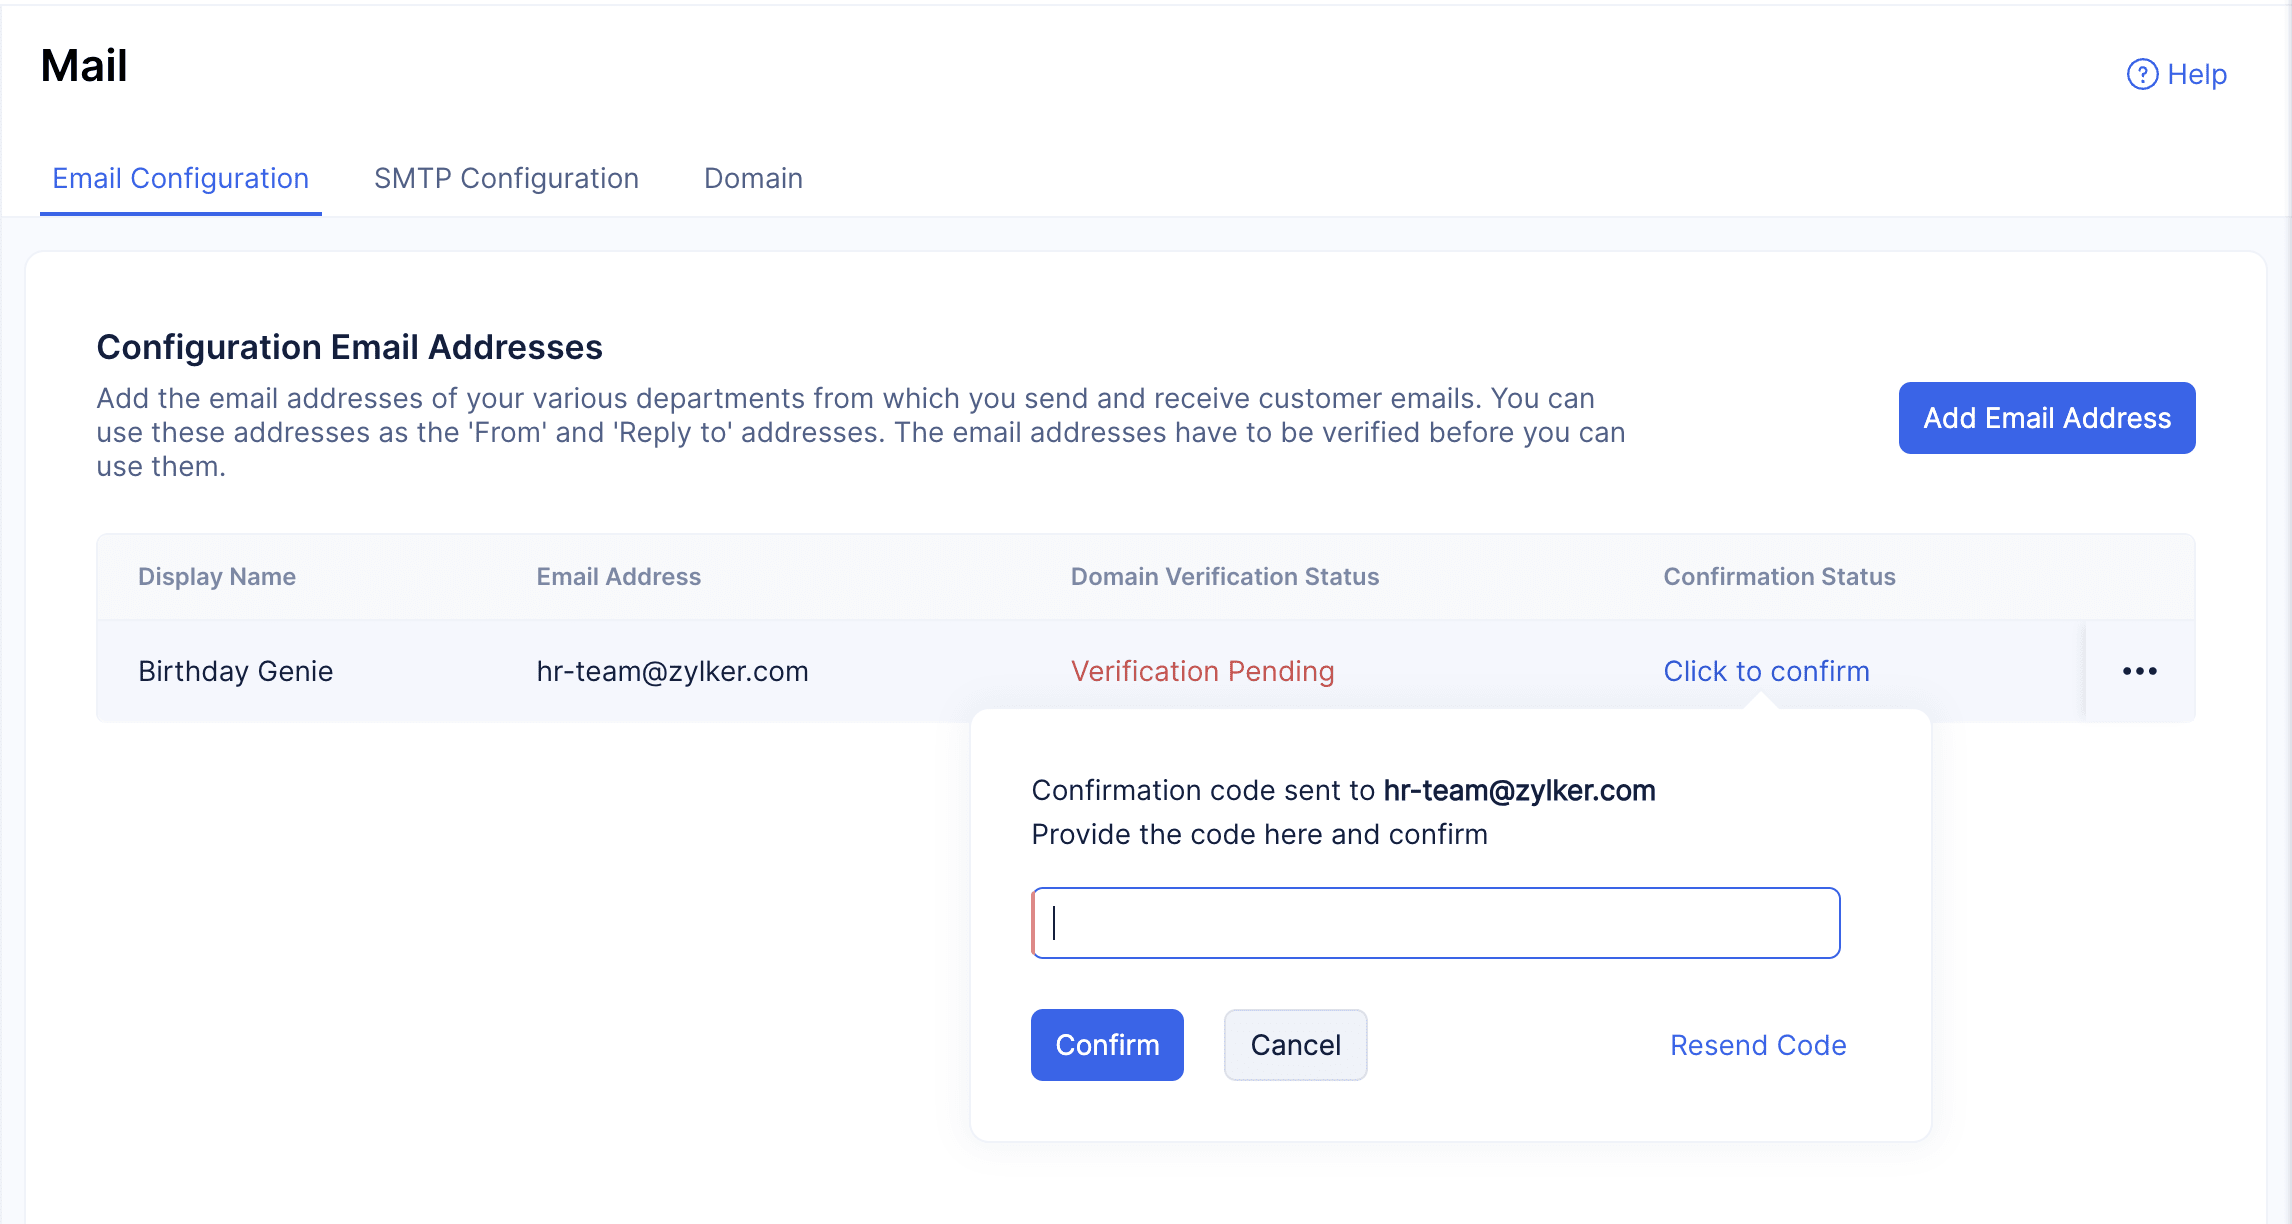
- Copy the confirmation code from your email, paste it in the space provided, and click Confirm. The email ID will be verified, and the Verified status will be indicated under the Confirmation Status column.

The sender email address has now been configured.
Configure the Domain
Next, we need to verify the domain we are using to send emails from the application. This verification will ensure that your emails reach your required inbox securely and not in their spam folder.
To verify the domain:
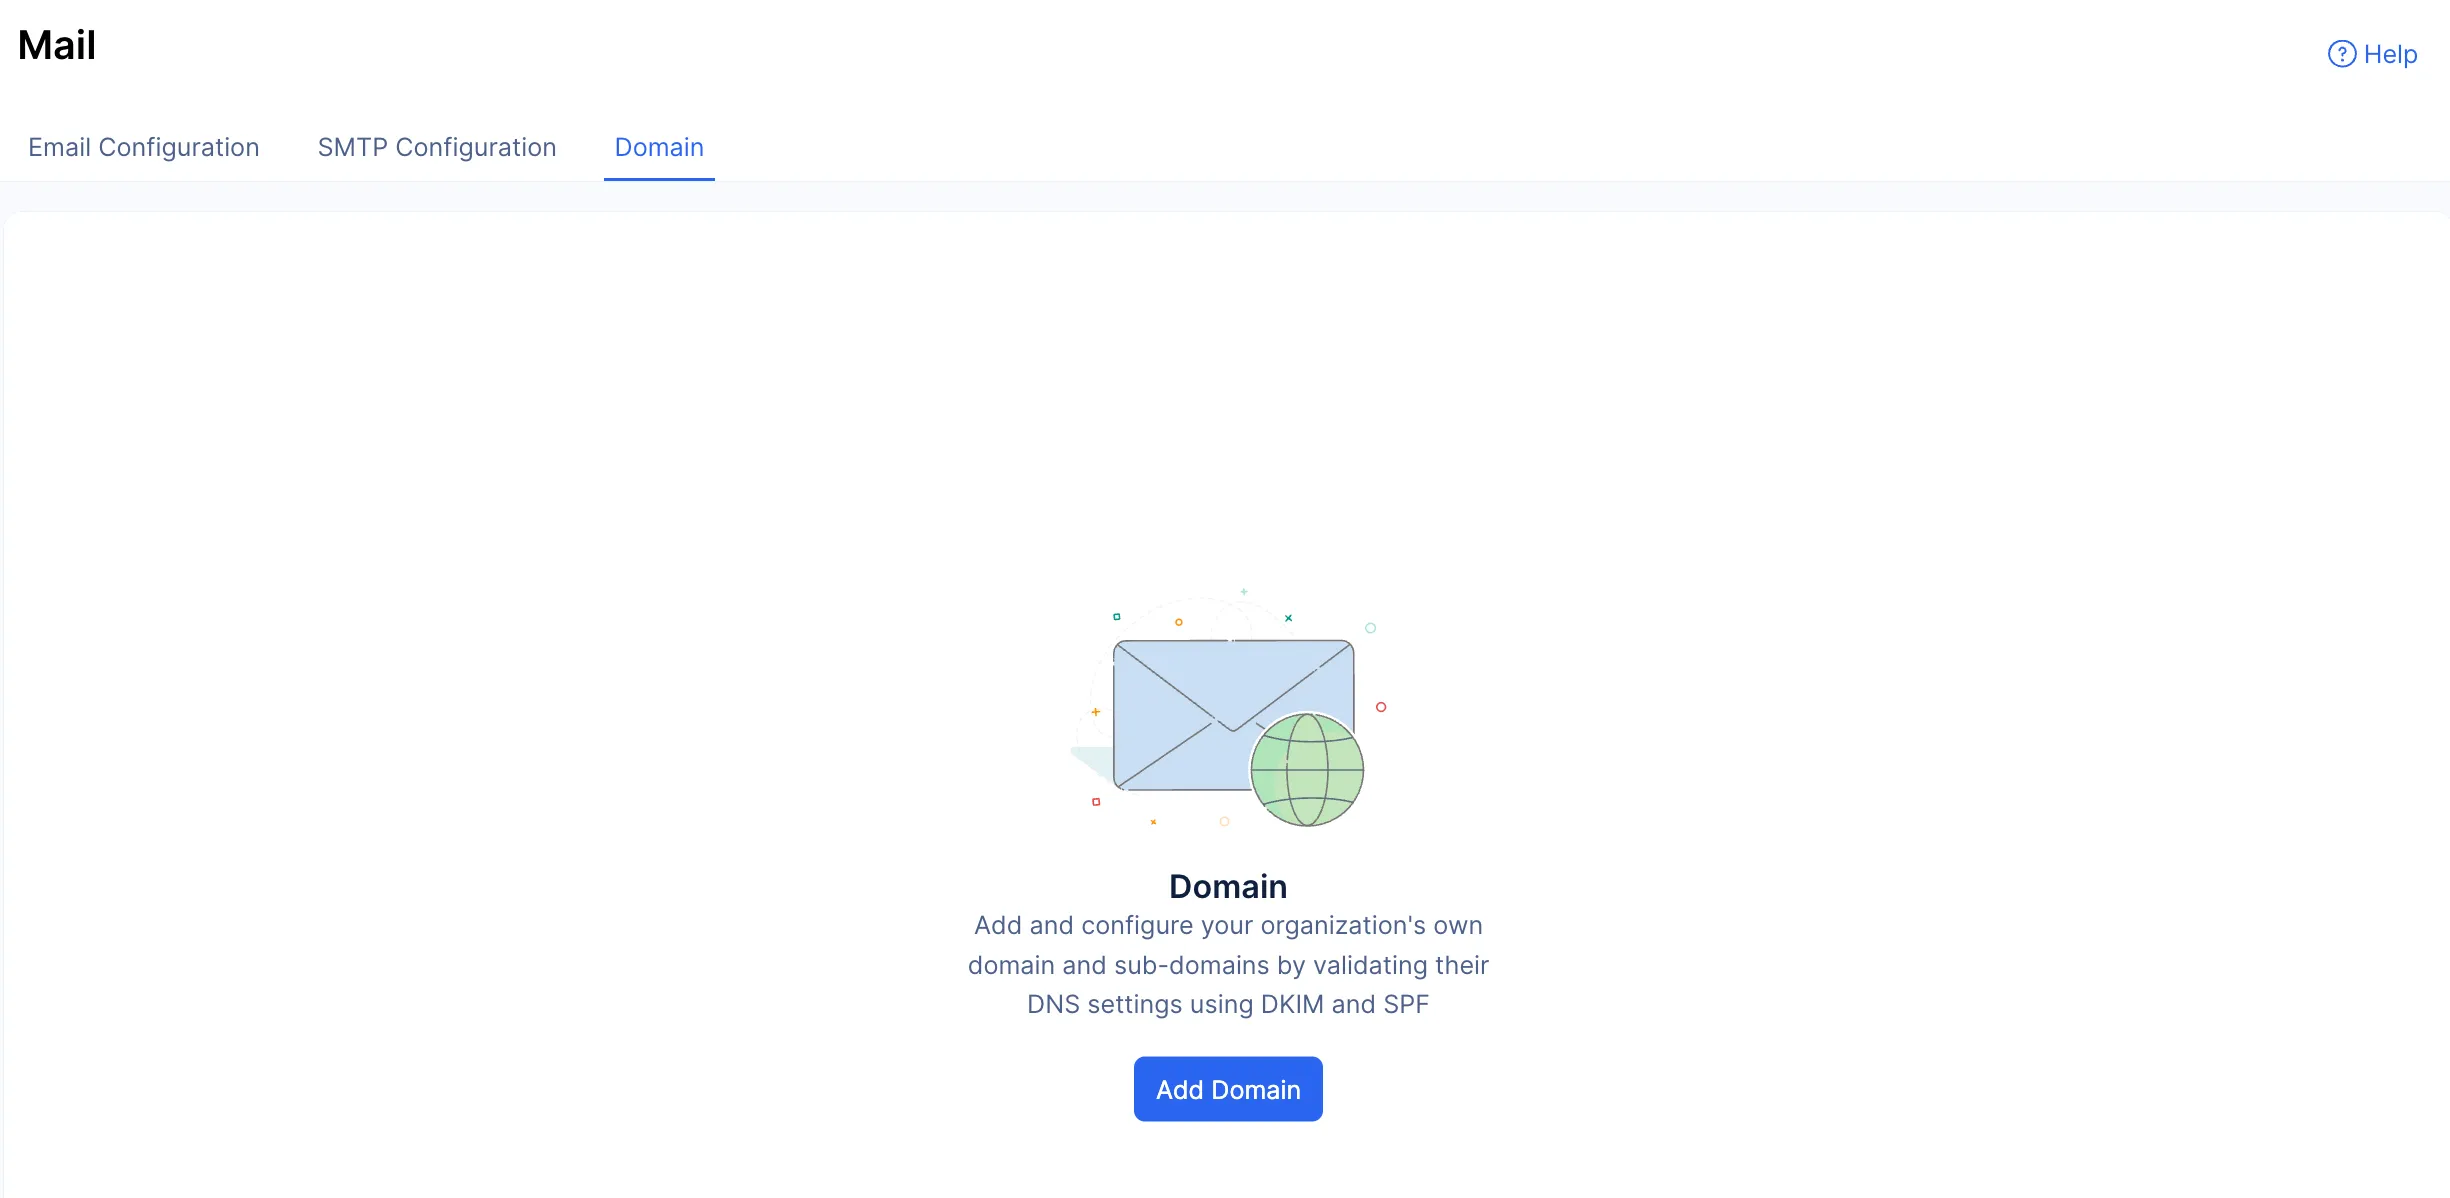
-
Navigate to the Domain tab and click Add Domain.
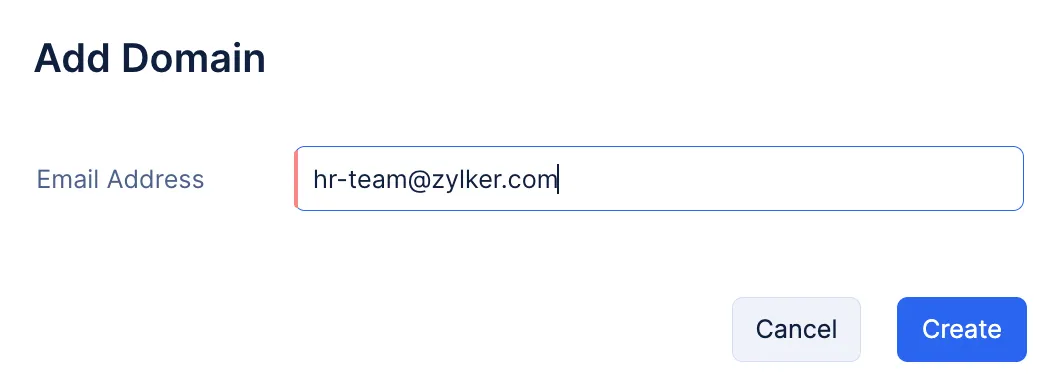
-
Enter the sender email address that you wish to configure and click Create.
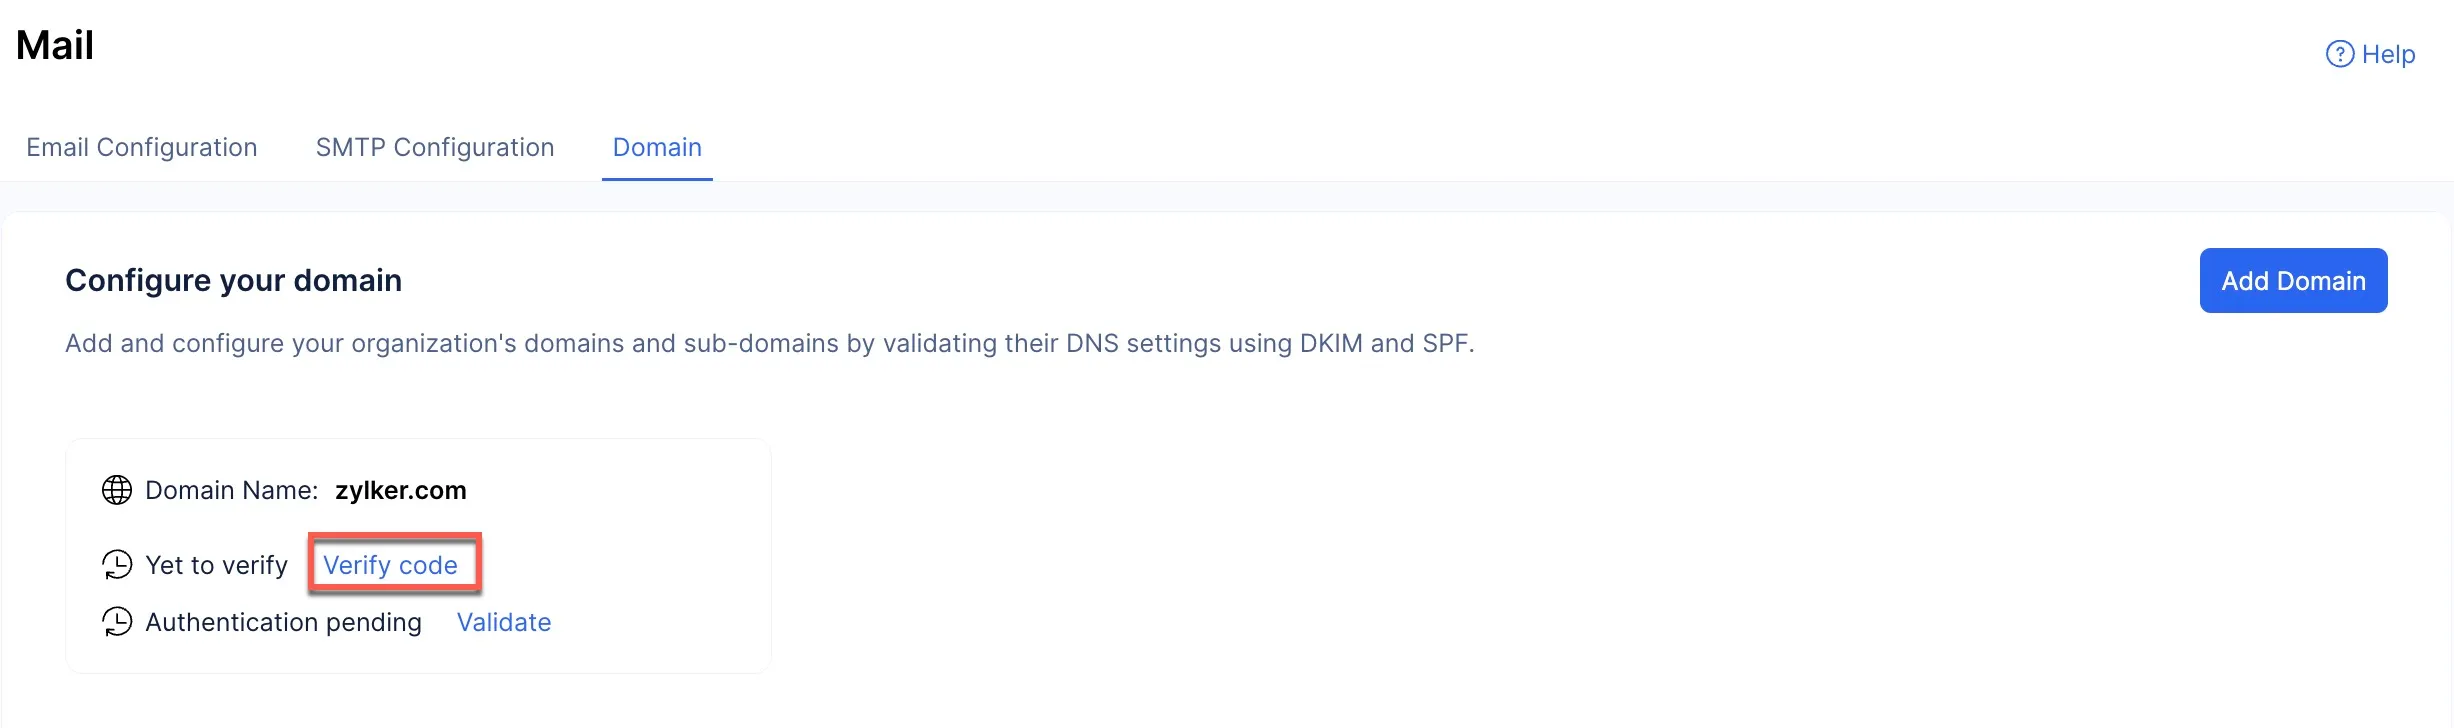
-
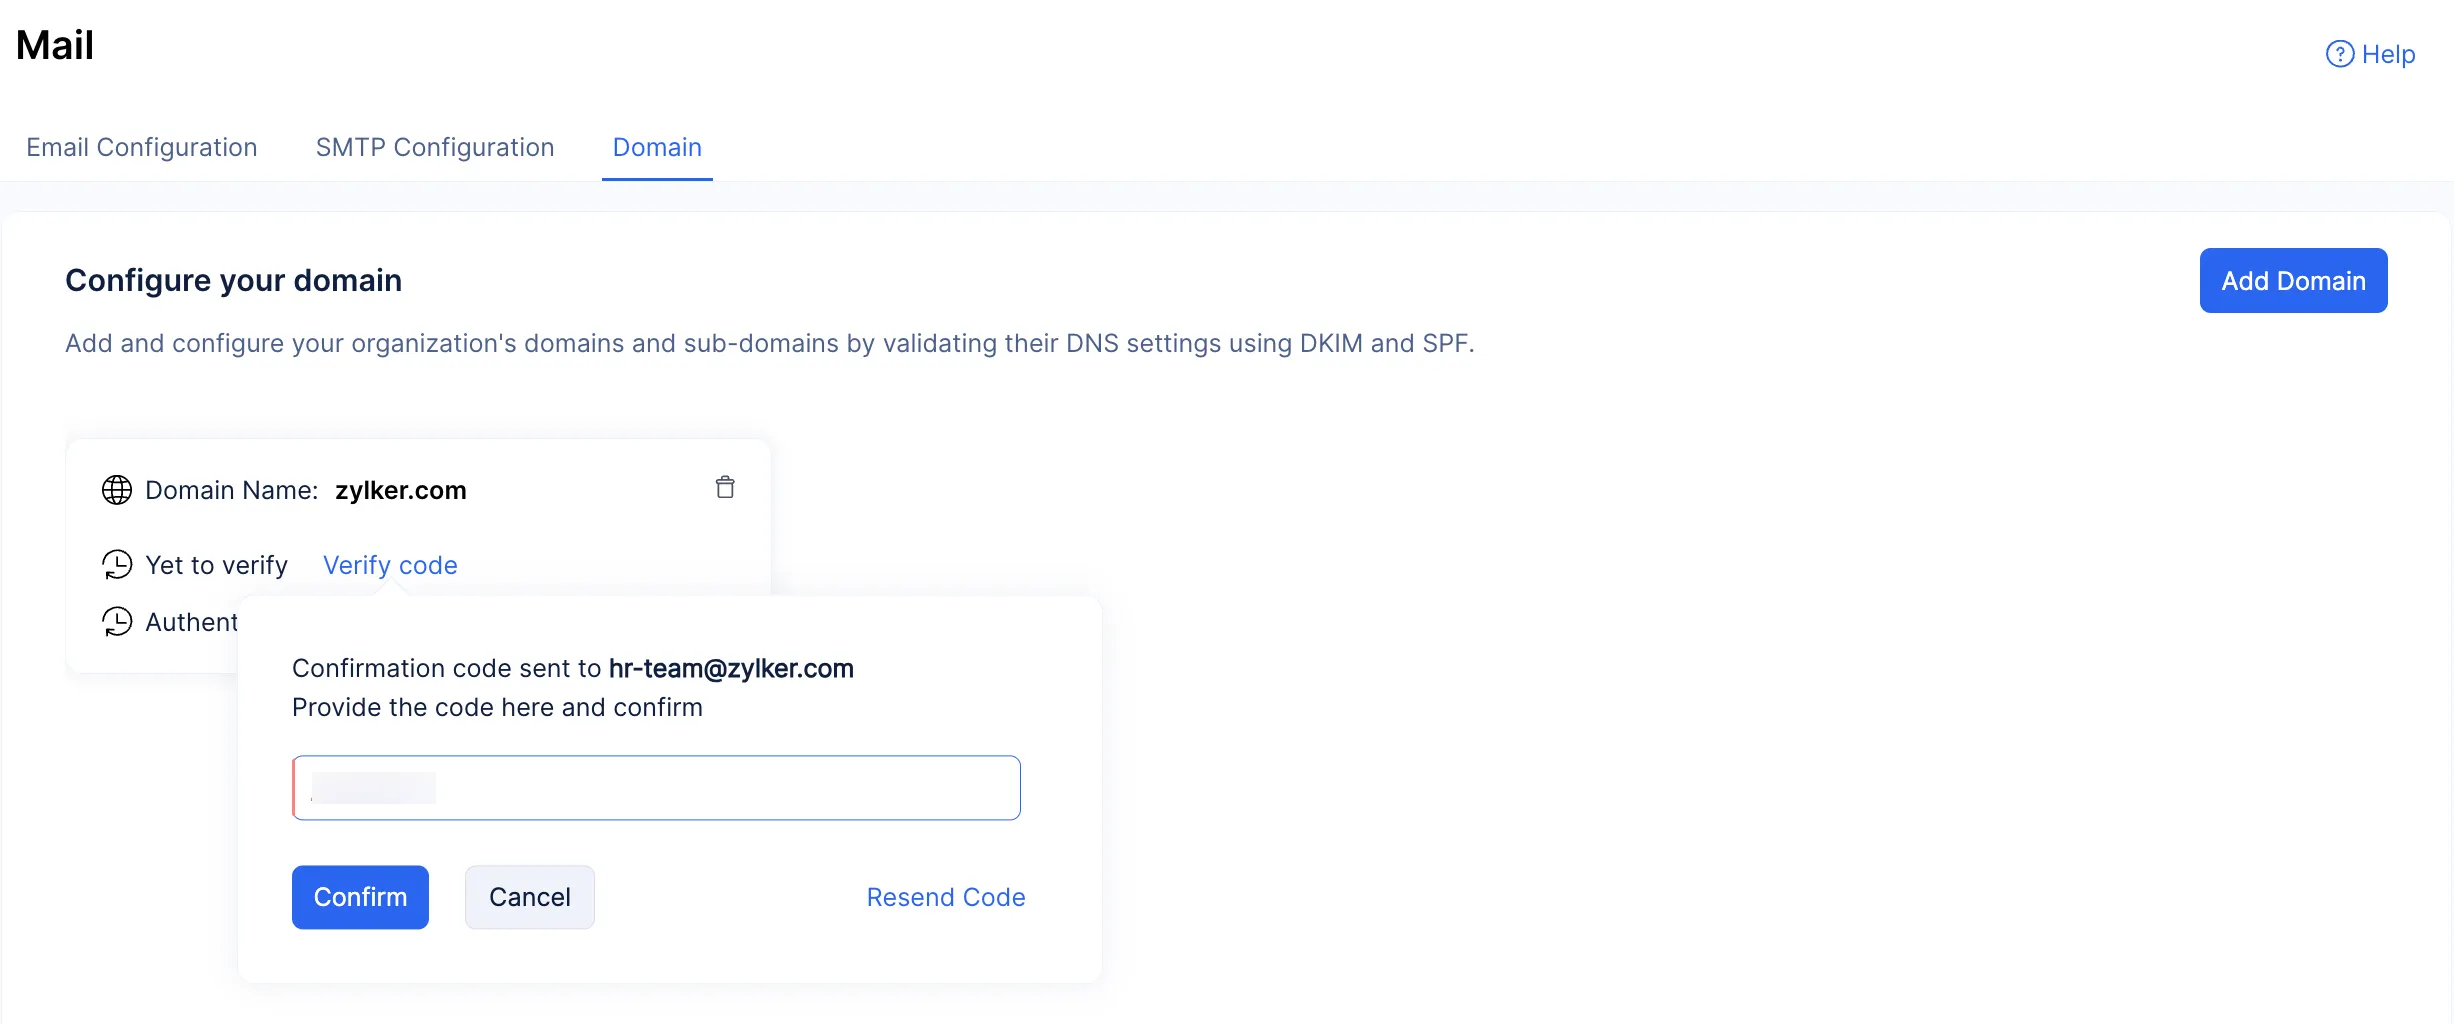
The domain will be listed in the Domain tab. Click the Verify code button next to the Yet to verify option.
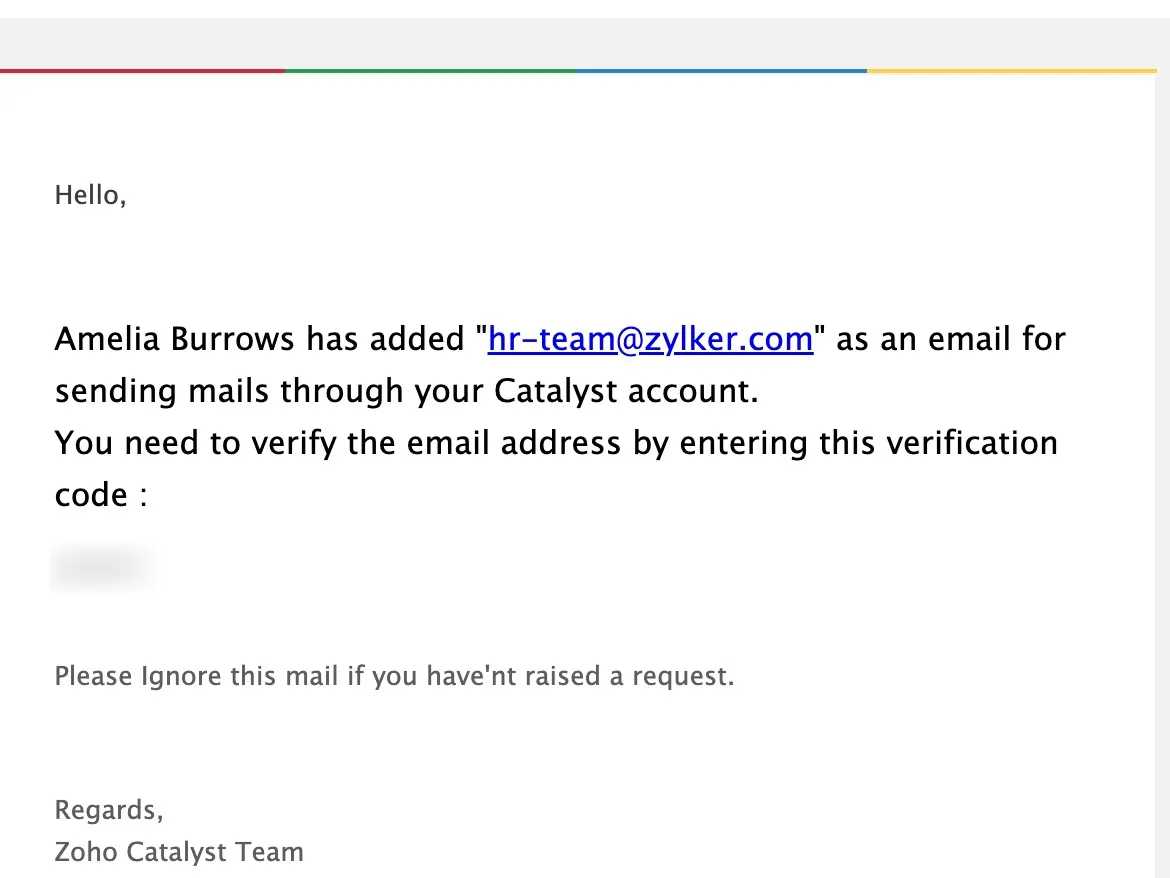
This action will have automatically emailed you a verification code generated by Catalyst.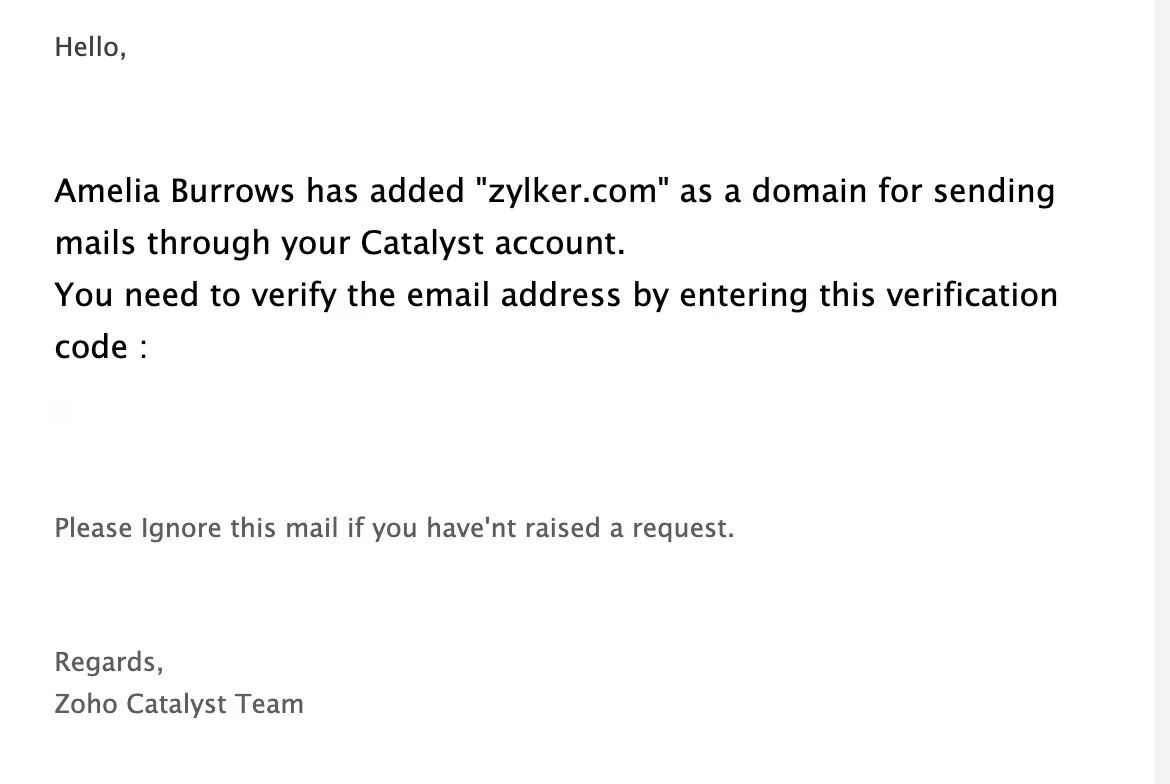
-
Copy the confirmation code from your email, paste it in the space provided, and click Confirm.
The domain will be verified, and the Email Verified badge will be added to the domain.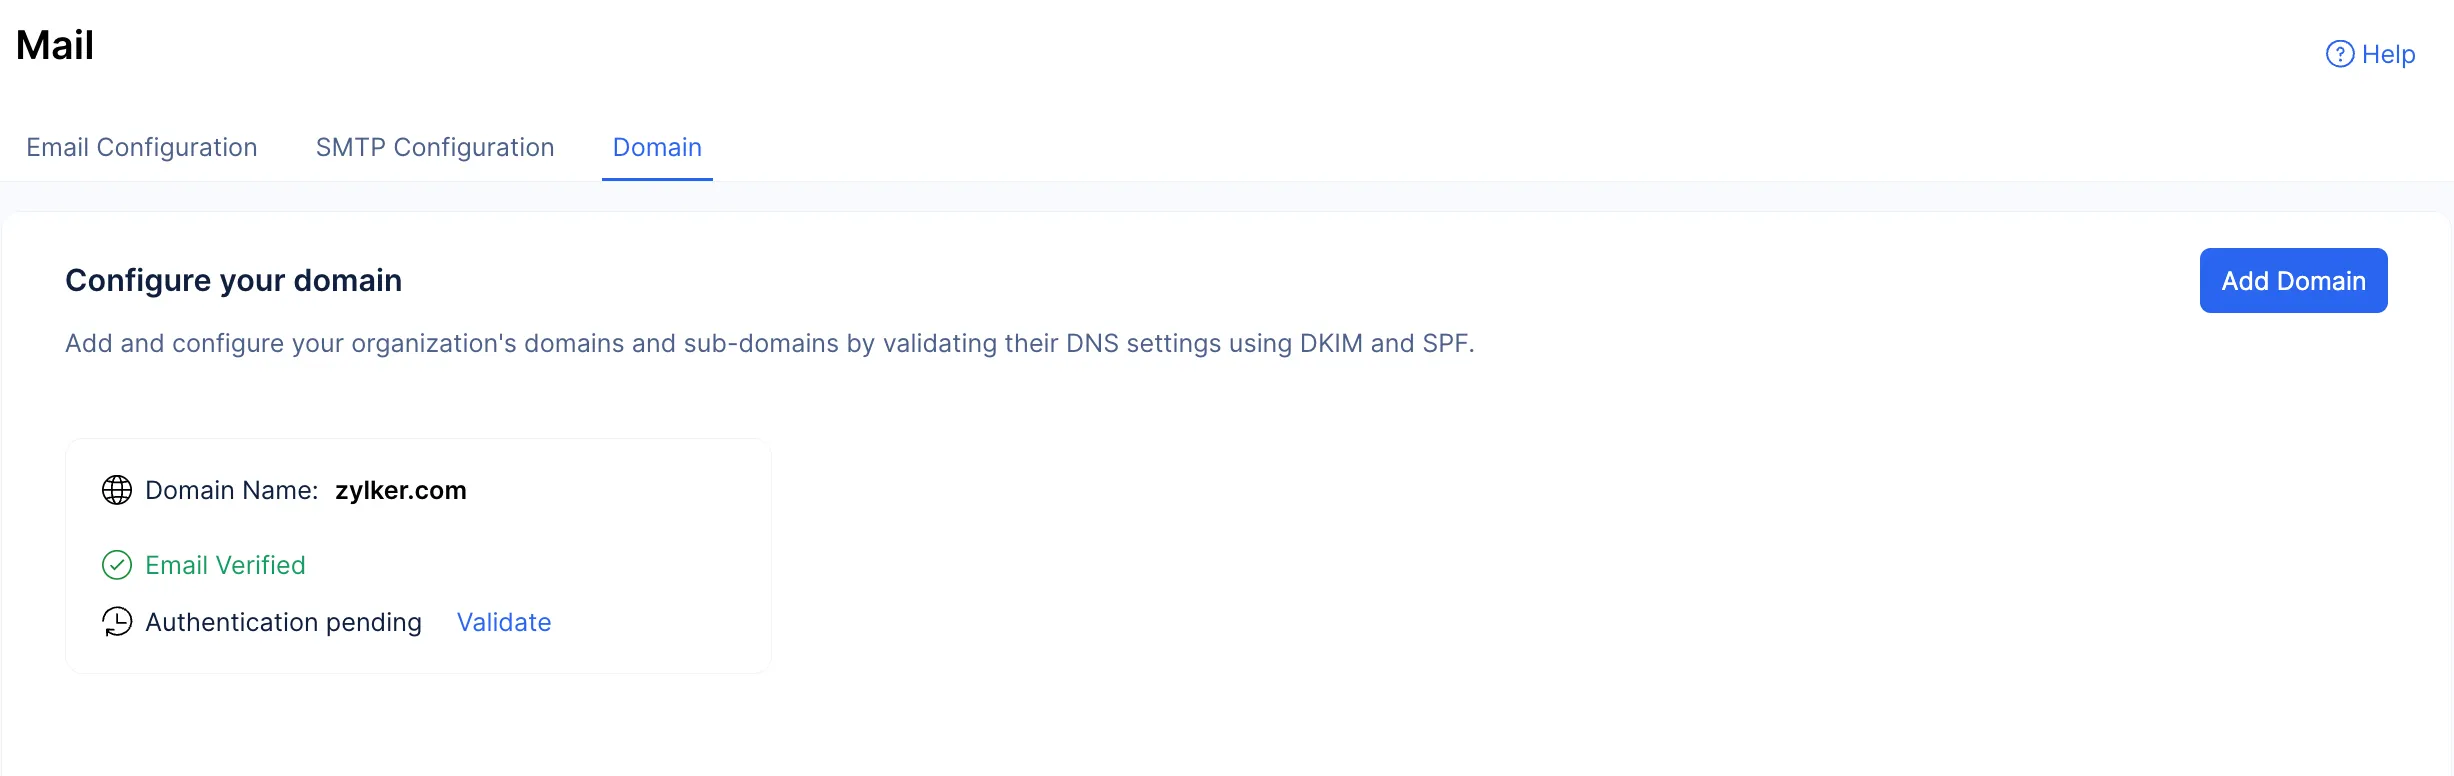
The Mail component has now been configured for your application.
Last Updated 2025-10-08 16:27:14 +0530 IST