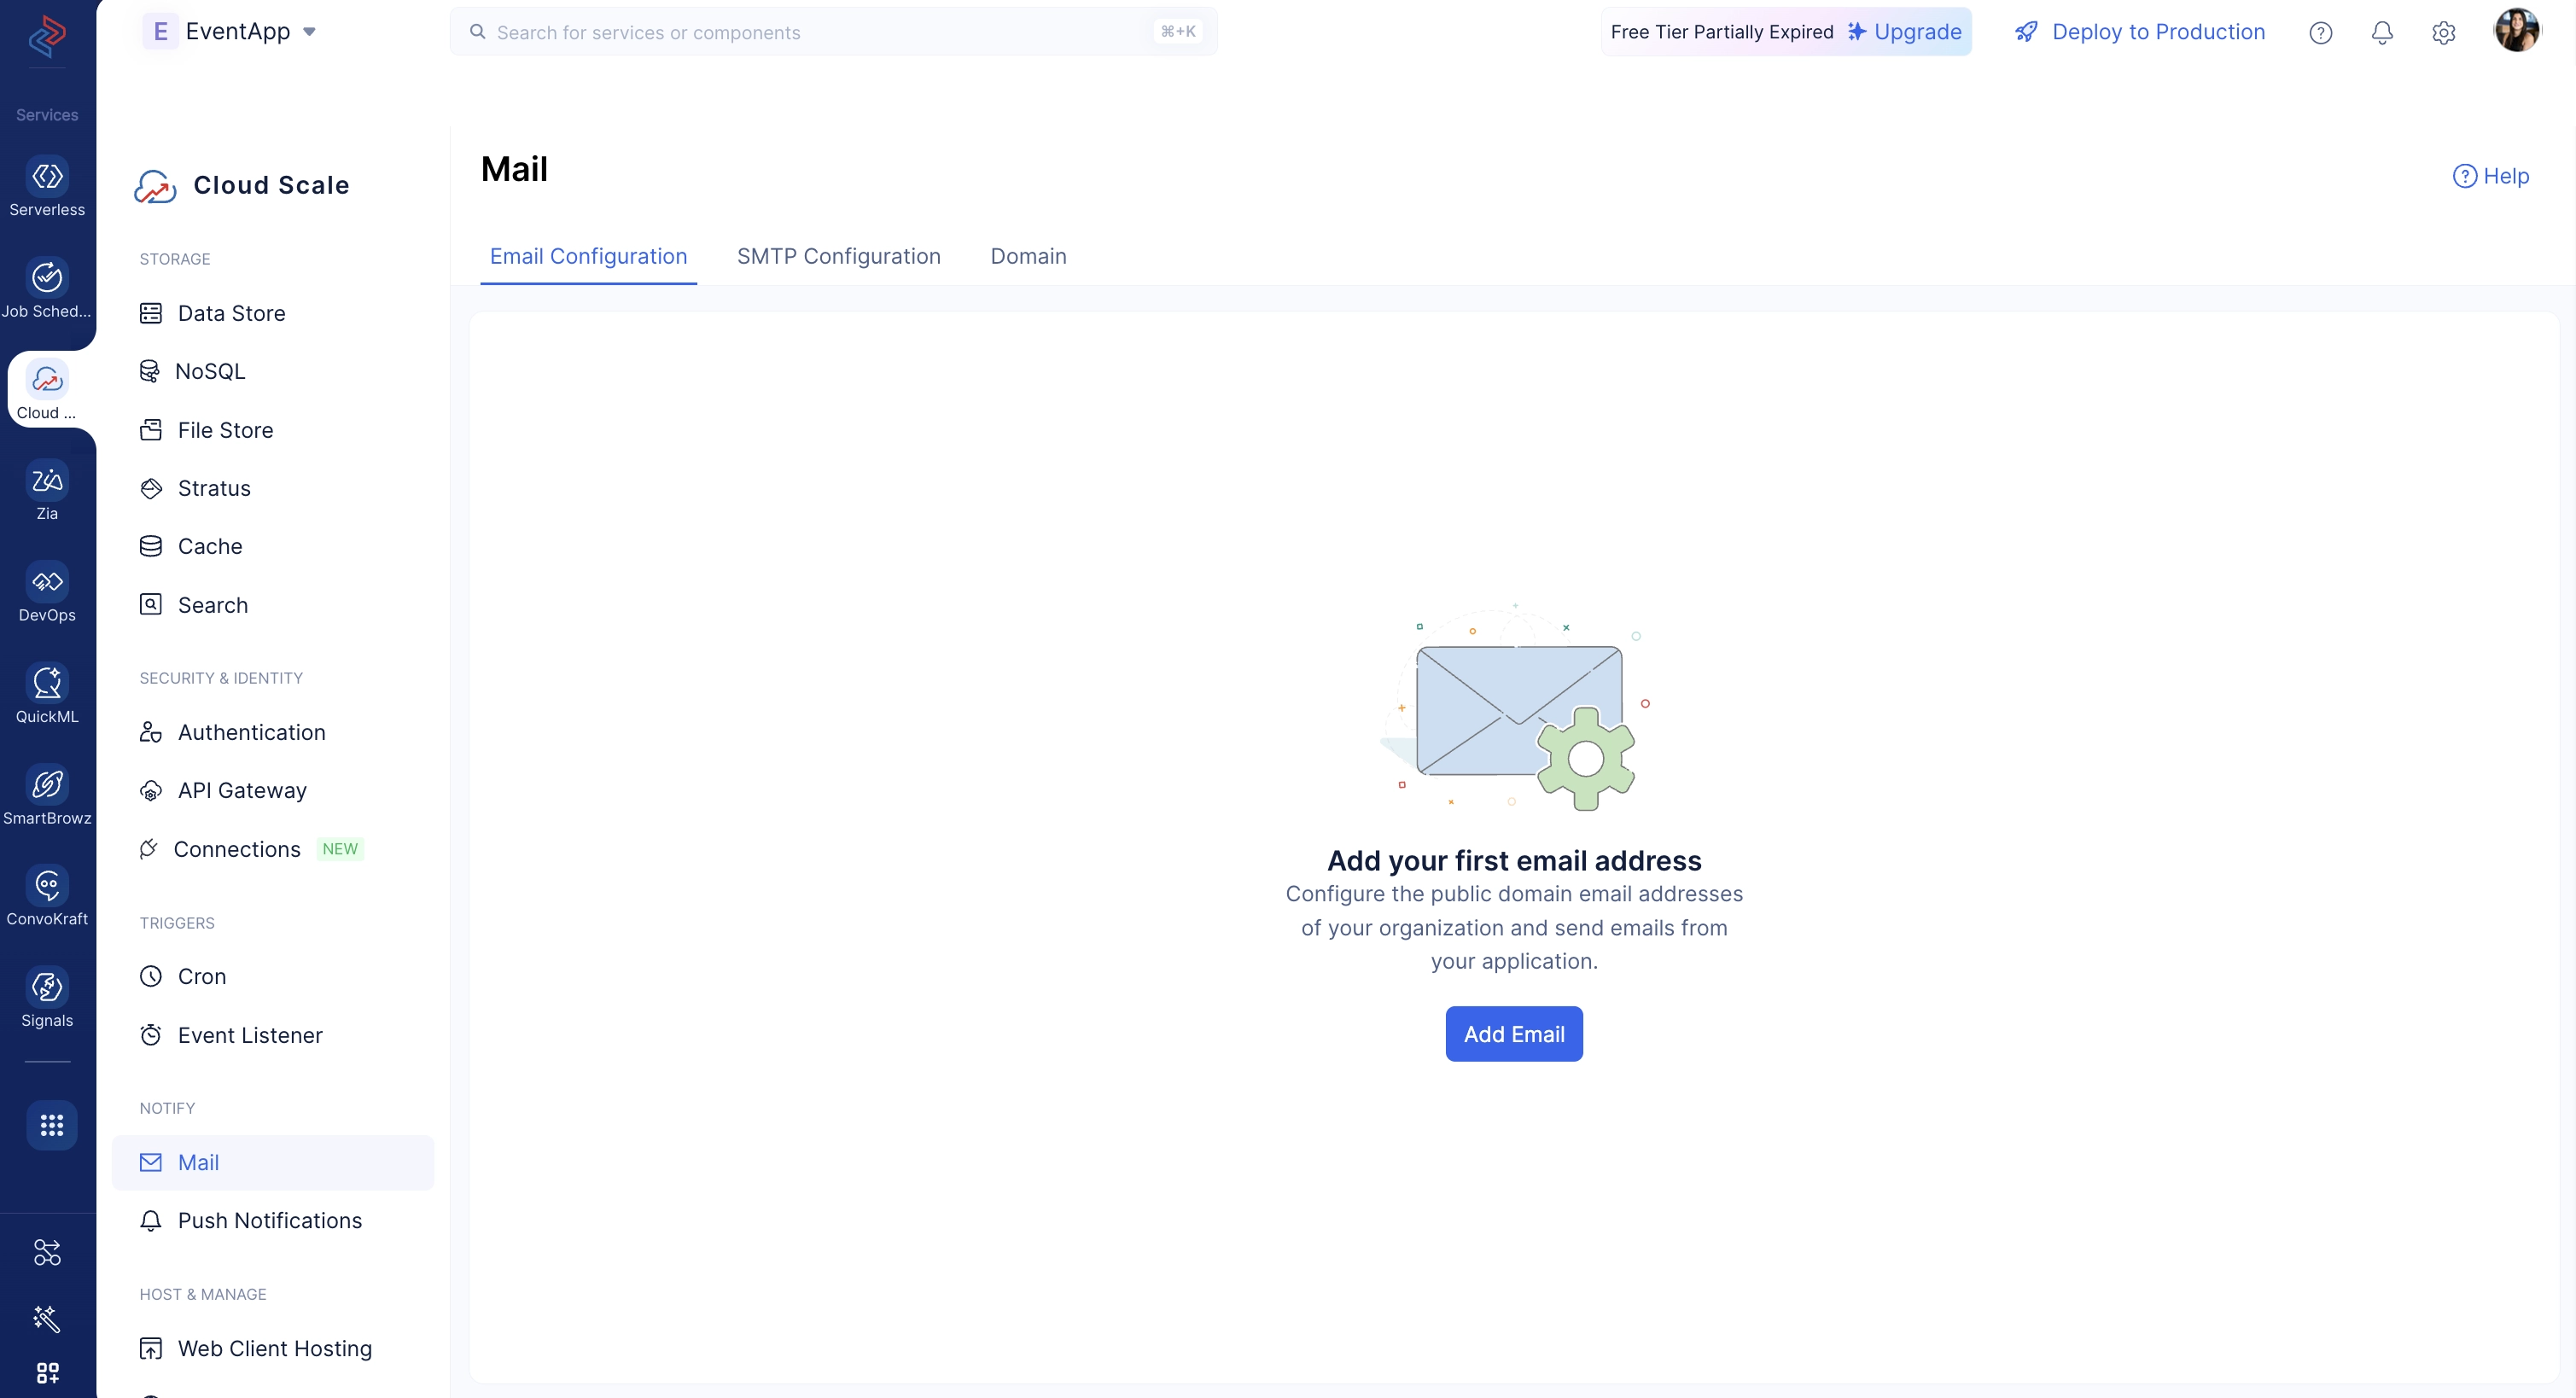
Configure Sender Email Address
In this application, we are going to be sending the product tour emails from within the application to the end-user using the Catalyst Cloud Scale Mail component. You can configure the email address as follows:
To configure an appropriate sender email address:
-
Navigate to the Mail component present under the Notify section in the Cloud Scale section of the console.
-
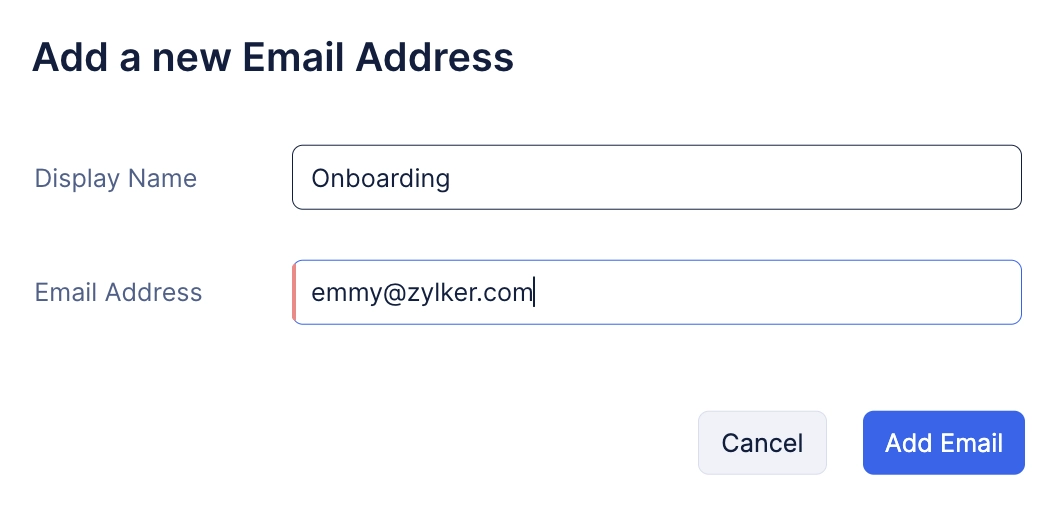
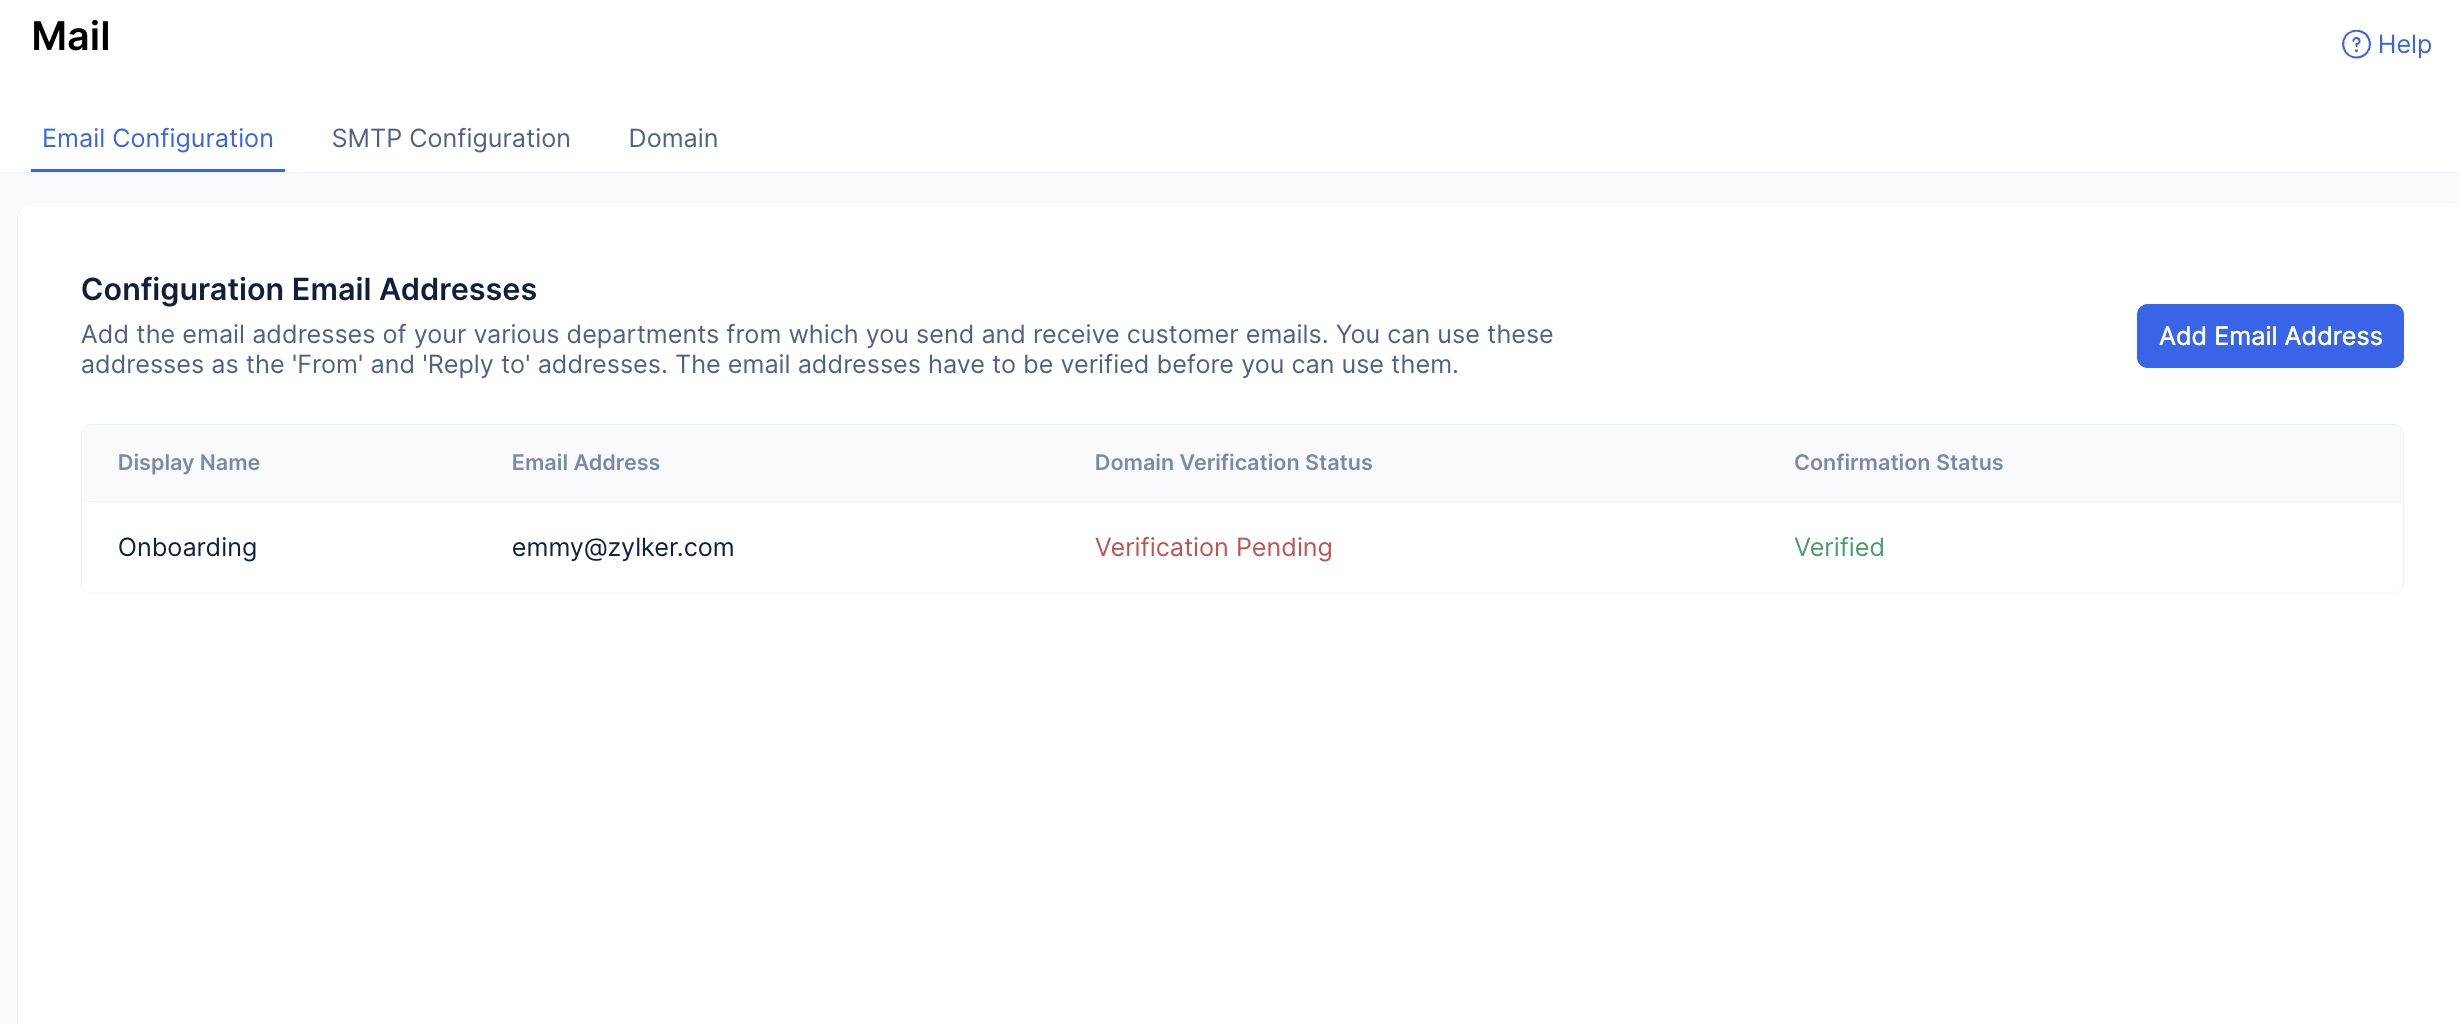
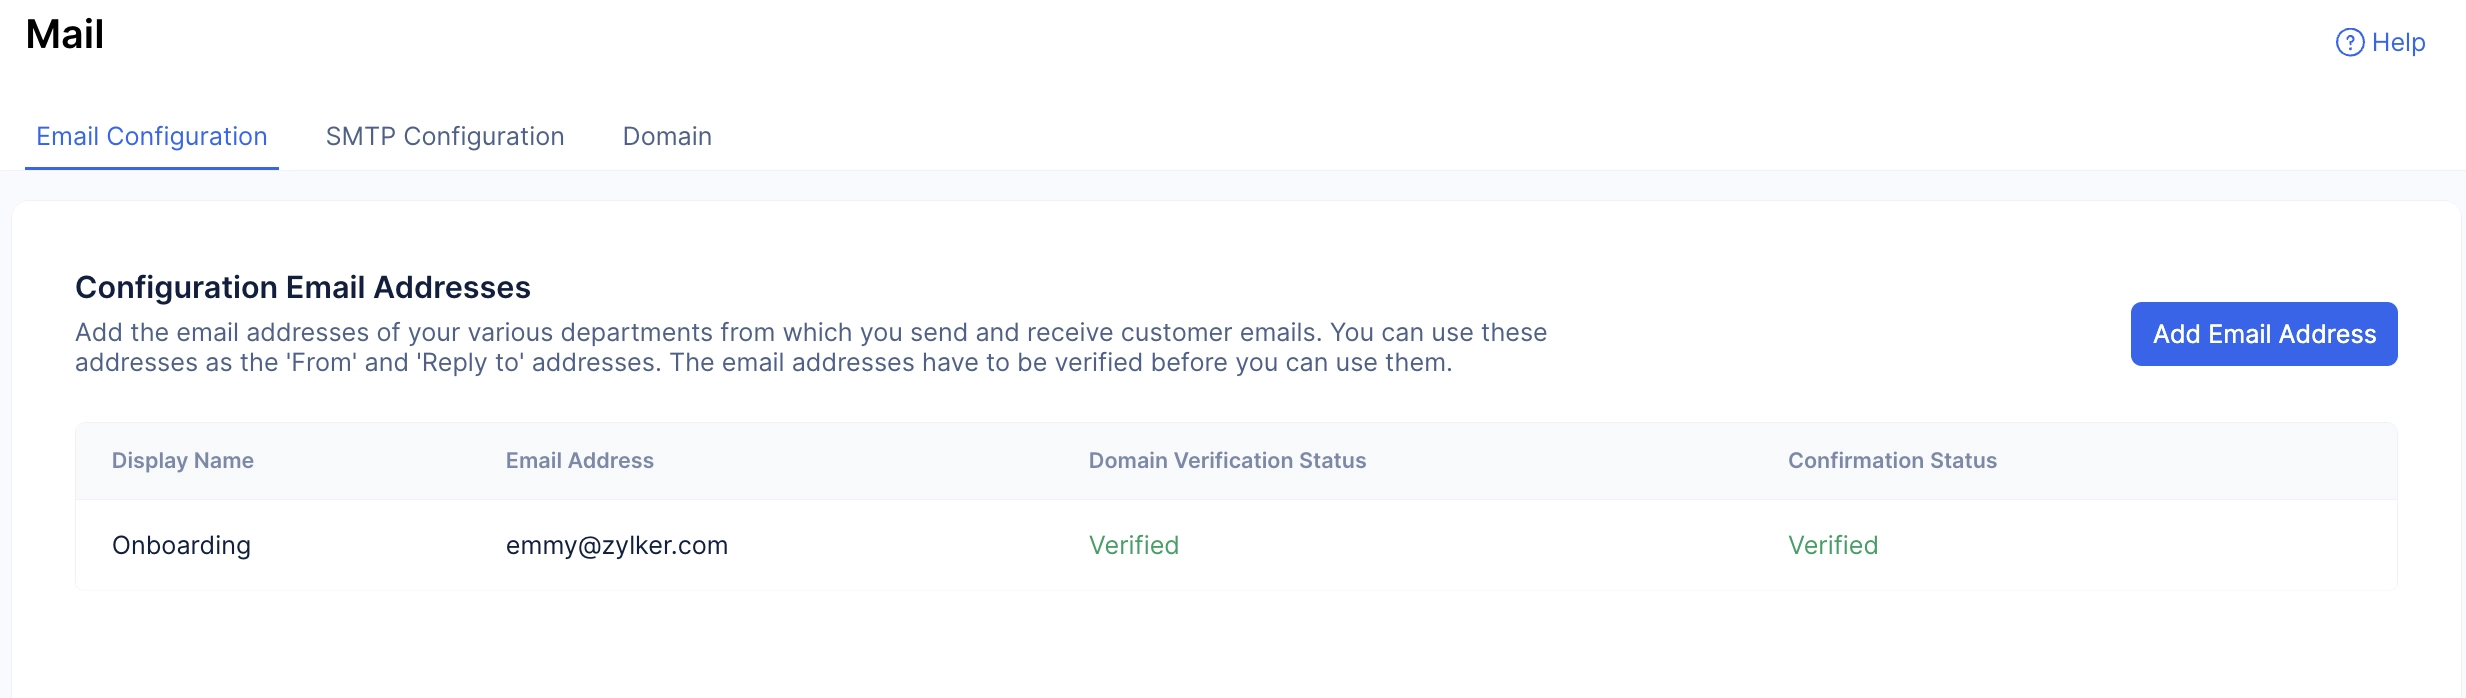
Enter the Display Name as Onboarding, and enter the email address you are going to use to send out emails to your end-users. Click Add Email.
The email address will be added.
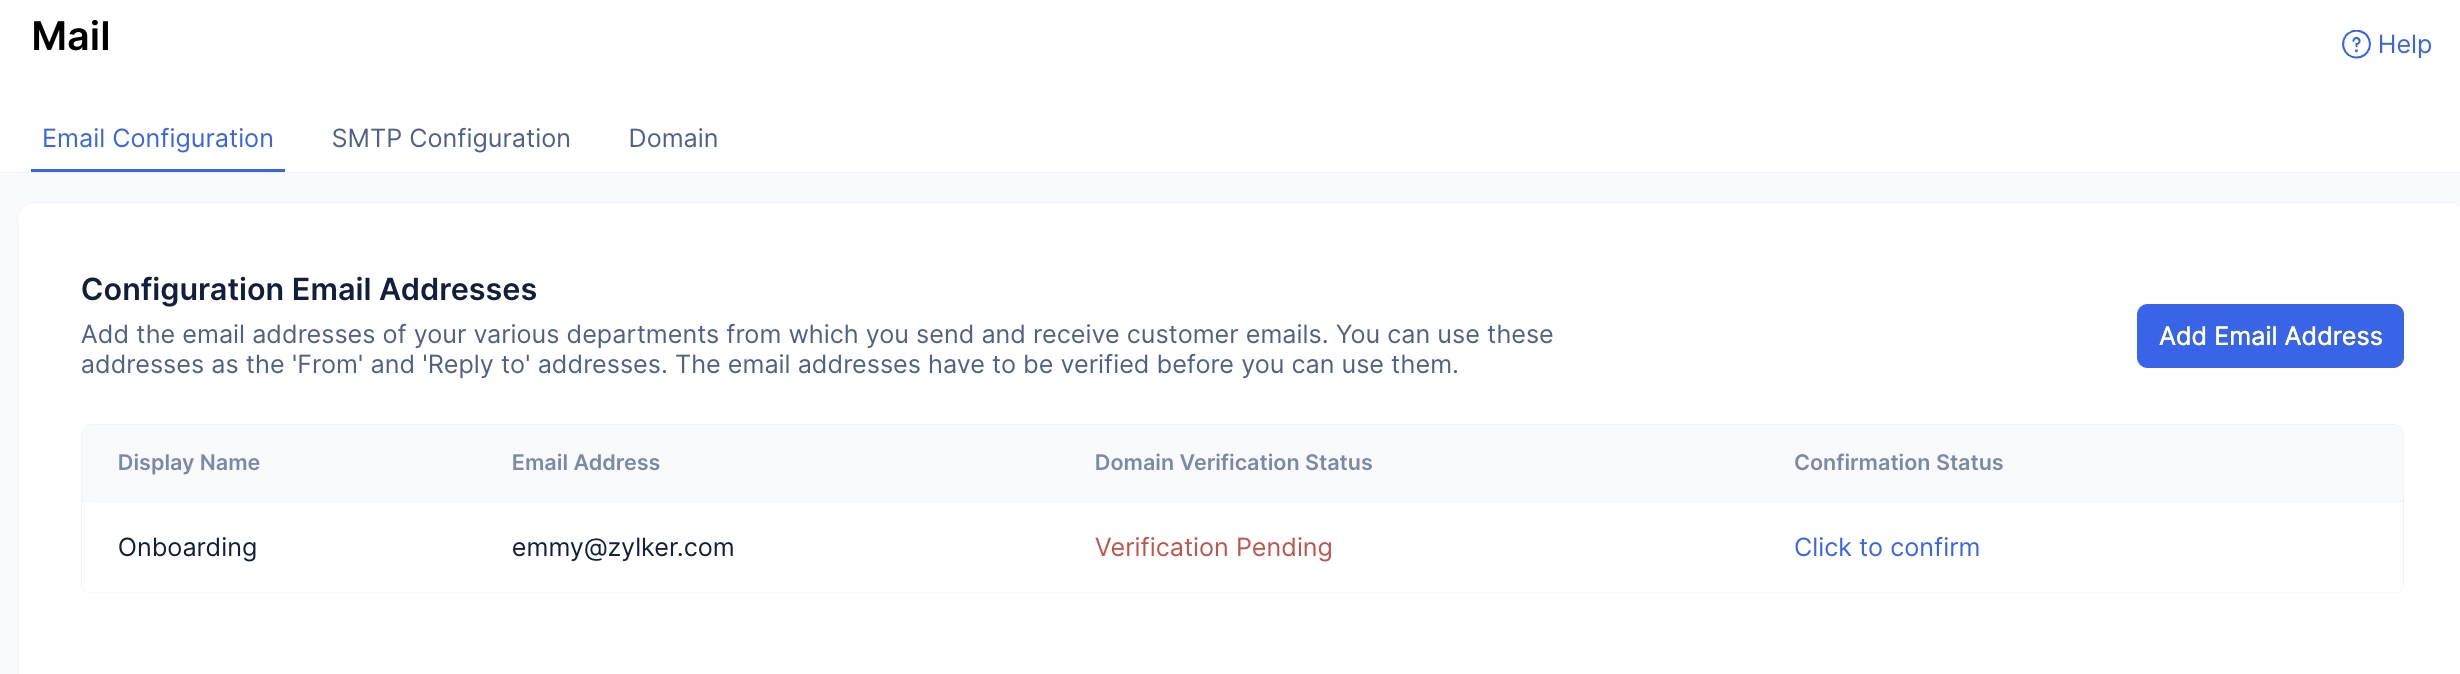
But, to use it and to ensure that the email address used is secure and valid, you will need to verify it.
- Click the Click to confirm button, and enter the code sent to the entered email address.
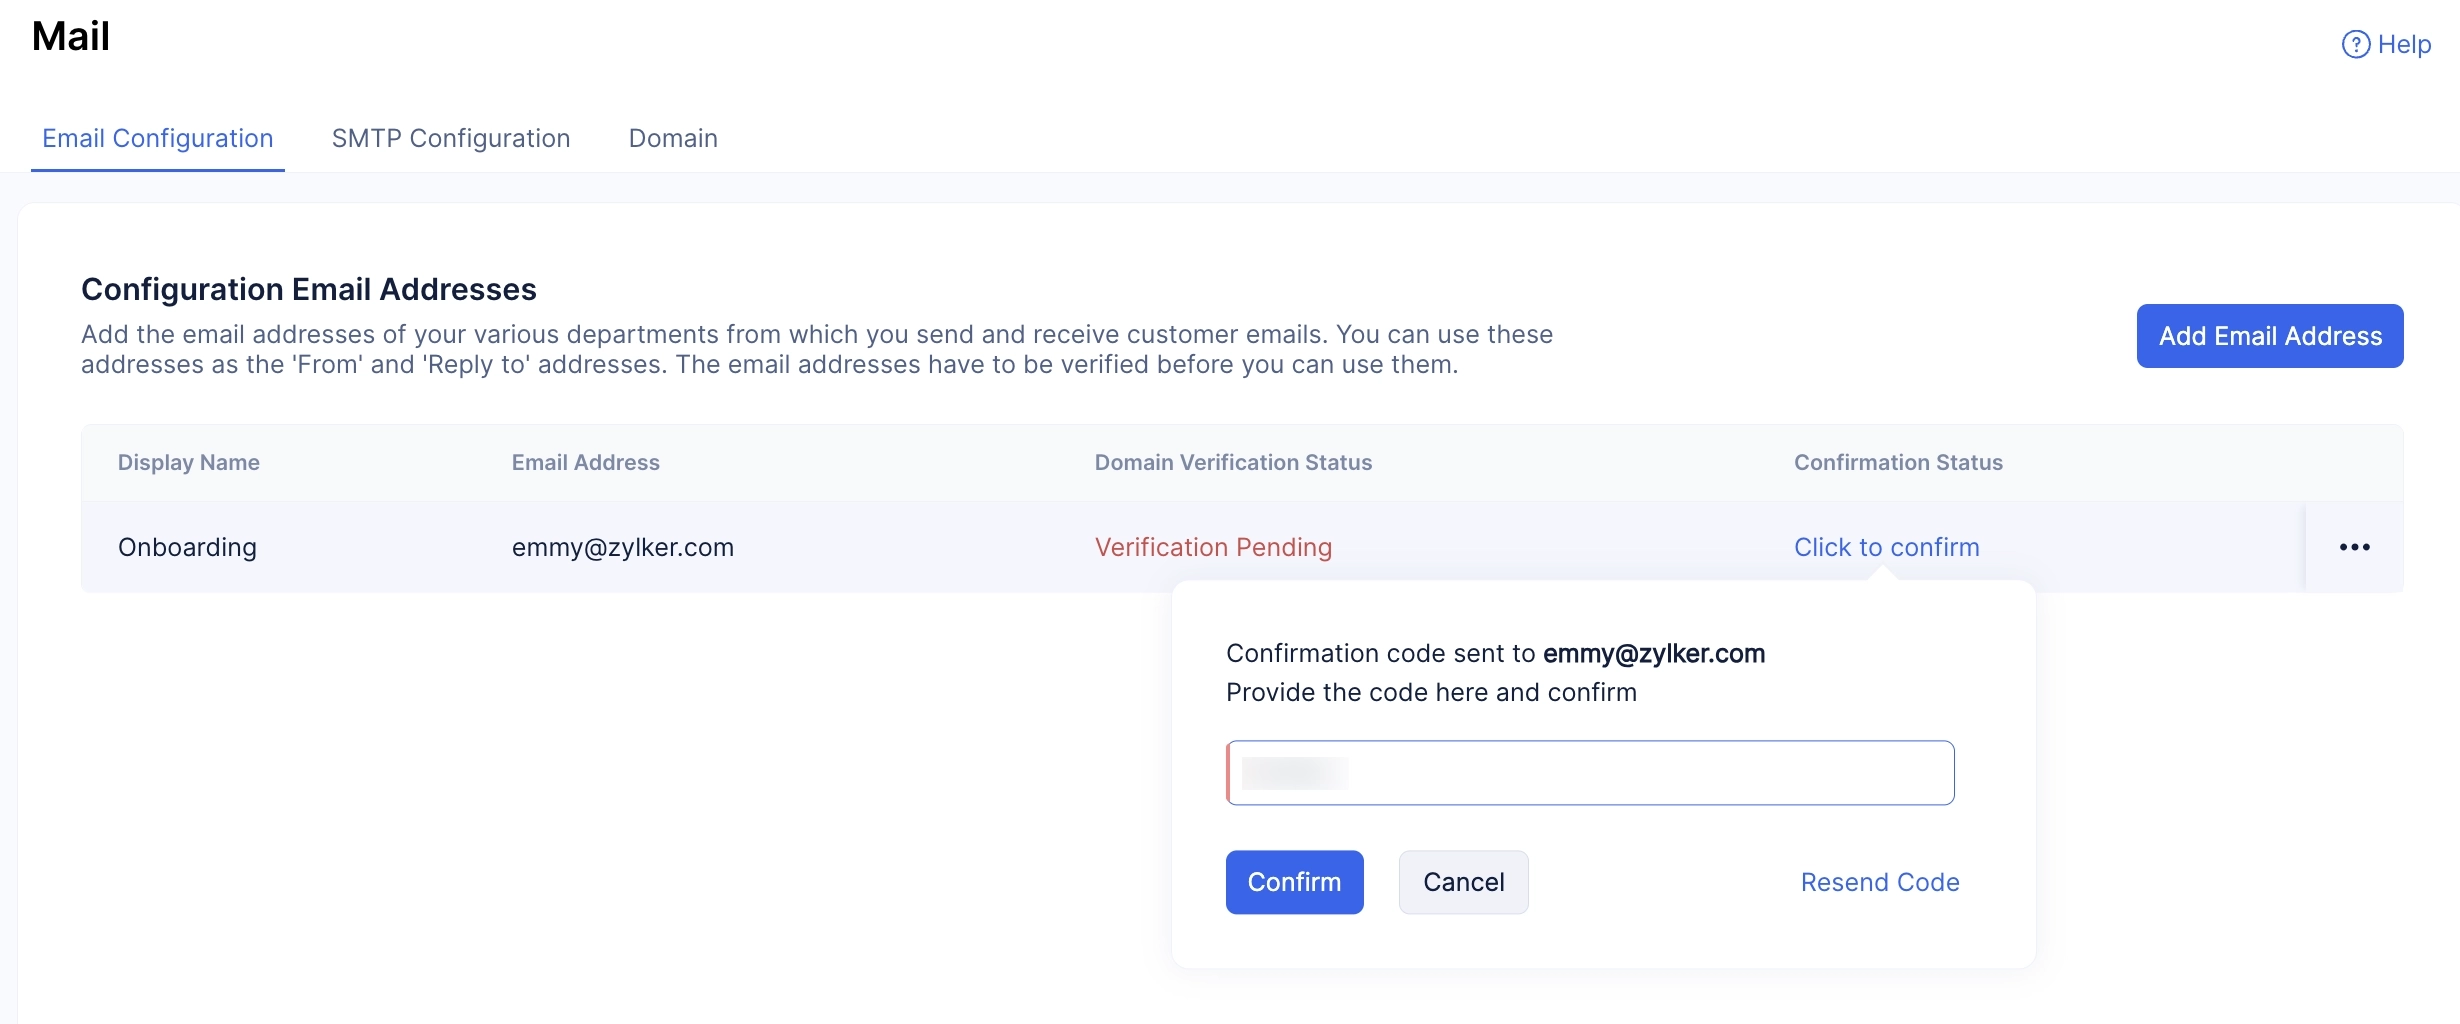
The email address will be confirmed.
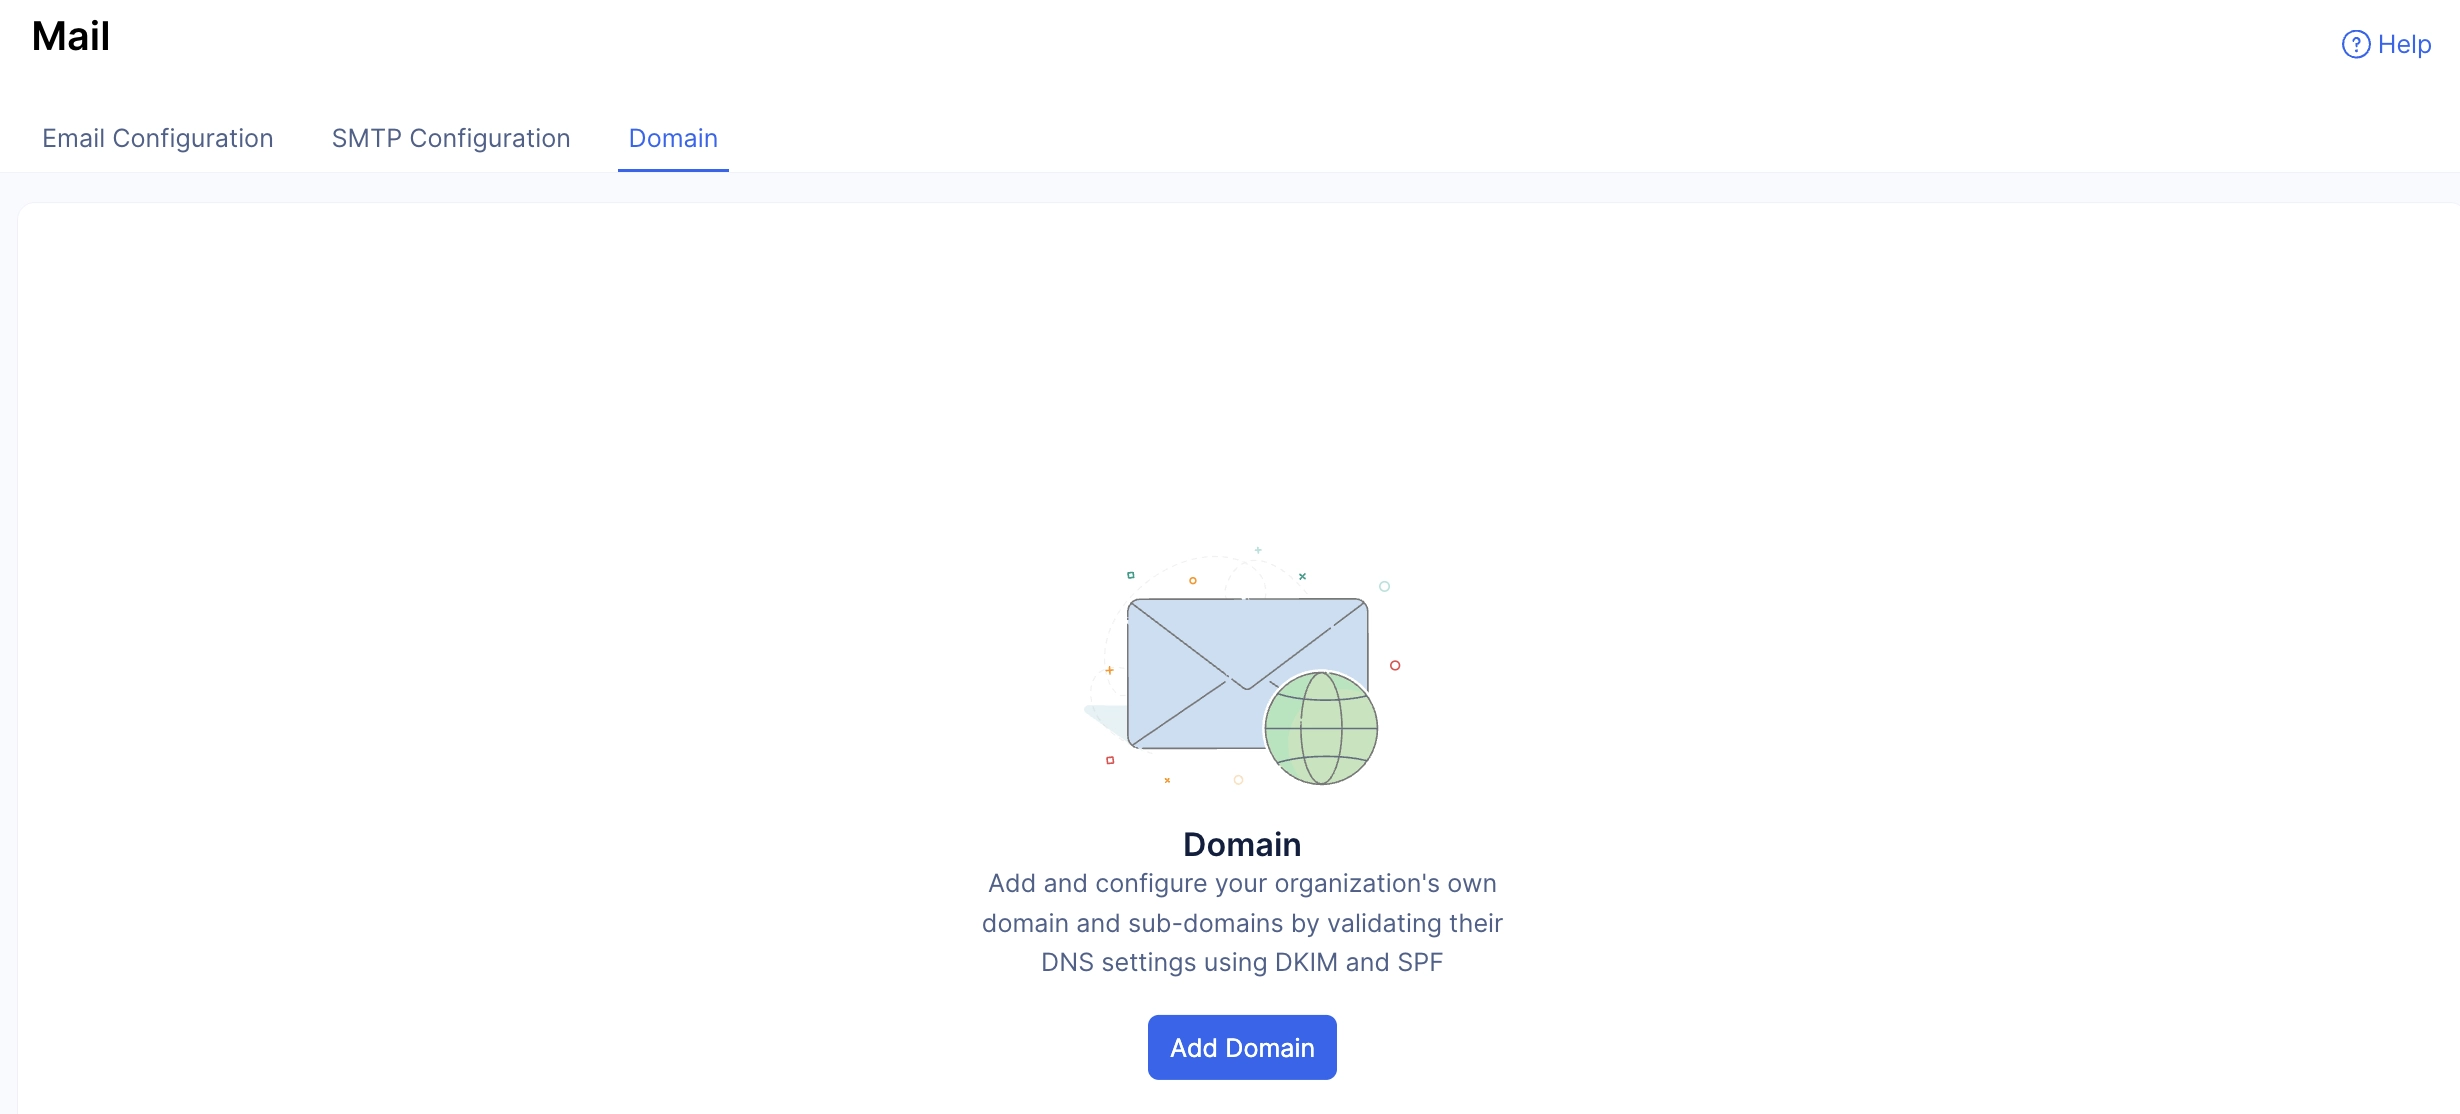
Next step is to verify the domain.
- Click the Domain tab, and click Add Domain.
- Re-enter the email address you are going to be using to send out emails and click Create.
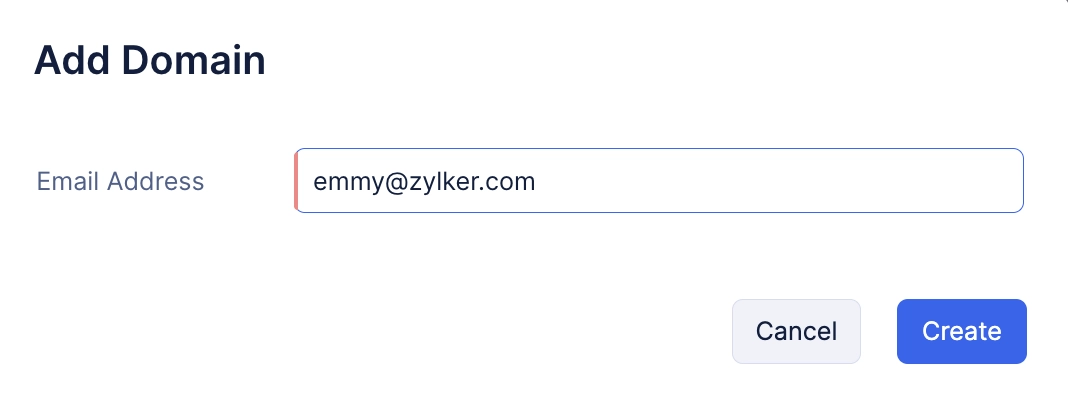
Since the email address has already been confirmed, it will be automatically verified.
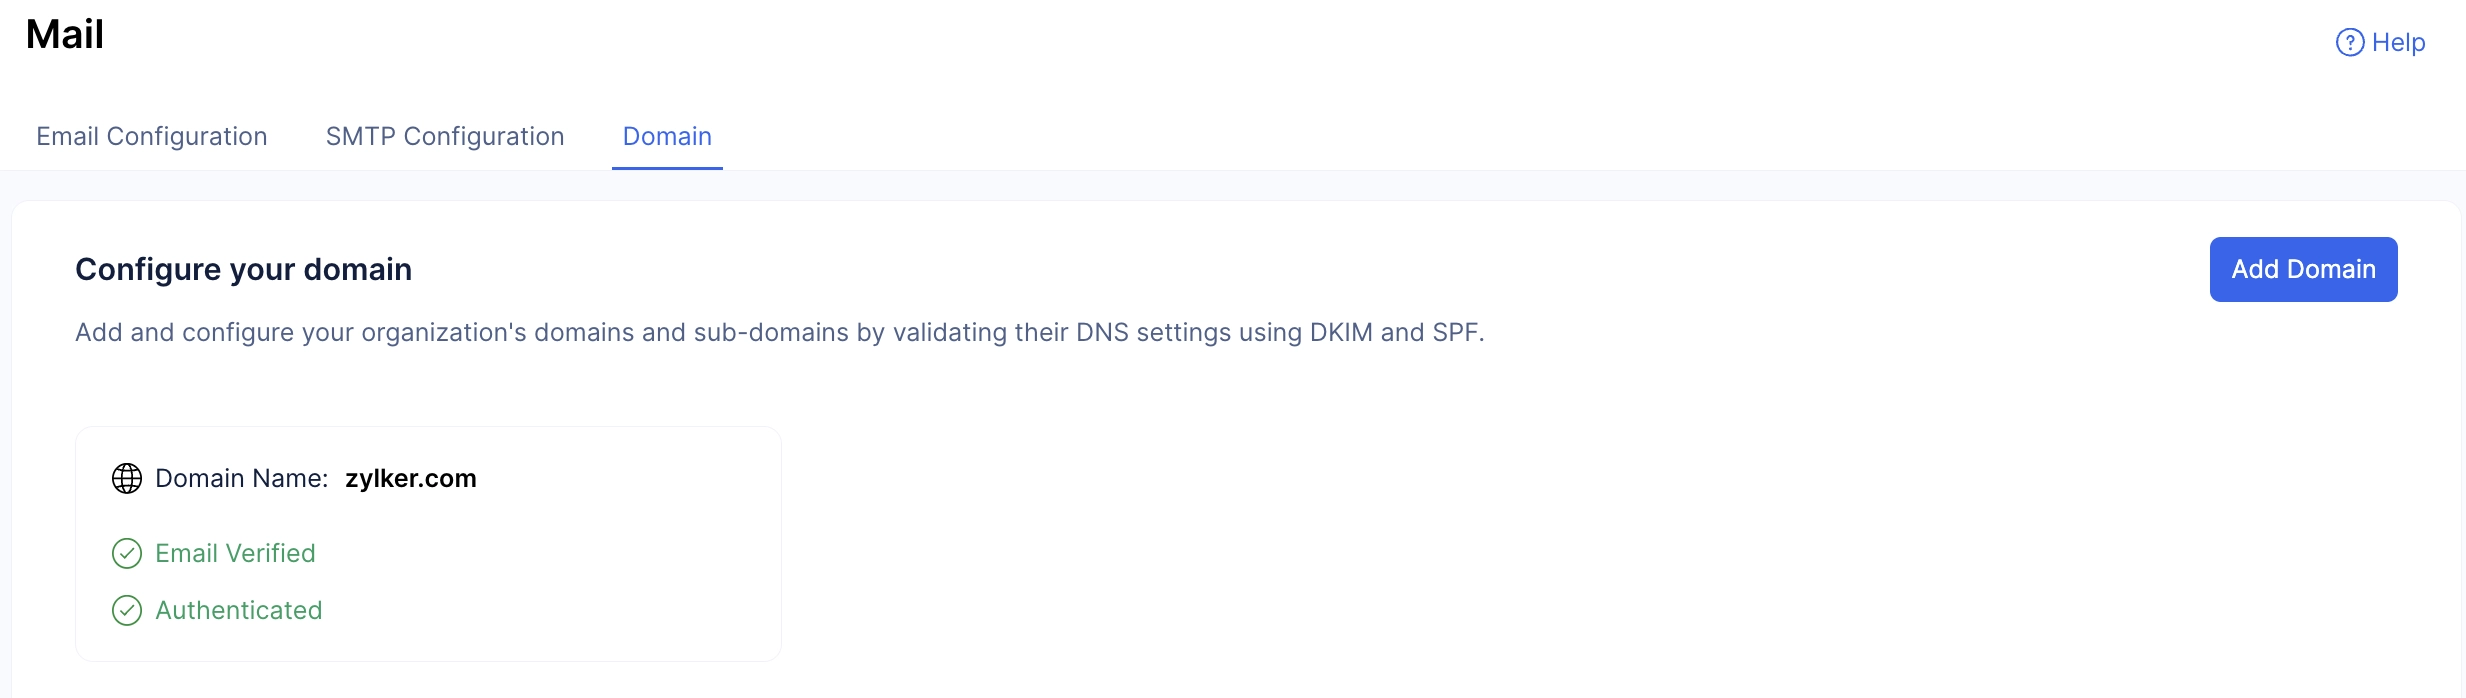
With the email address confirmed and the domain verified, the Mail component has been successfully configured for this application.
This email can now be used to send out the required mails to the end-users of your application.
Last Updated 2025-10-21 12:04:01 +0530 IST