Configure the Advanced I/O Function
The Advanced I/O function contains the logic that will shorten the URL that the user provides and handles the routing in the application. You can learn more about this function type from this help page.
We have already provided the entire code of this application hosted in our GitHub repository in the Introduction section of the tutorial. In case you have missed it, you can now download the code from this link.
We will be adding files from this downloaded repository to our project directory.
Let us first discuss the function component in detail.
-
The urlshorten.js in /catly/routers performs the major routing and shortening operations. There are two npm packages that are included in this file to perform the required tasks:
- valid-url: The valid URL module is used to check the validity of the original URL entered by the user. If the URL is found to be invalid, it will not be shortened.
- shortid: The shortid module is used to generate a short browser-friendly unique ID for the original URL entered by the user.
There are three routes defined in this file for the client component to pursue:
- /item/all: To fetch all data from the Data Store.
- /:code: To redirect to the original URL for a particular shortened URL
- /item: To insert the original URL and generate its short ID We access the cache when we use /:code and /item to retrieve data, for faster processing. However, a new URL entered by the user is persisted to the Data Store first.
-
The helper.js file in /catly/utils defines the procedures to access the Data Store and the cache, to fetch data from them or to persist data in them. It executes ZCQL queries to fetch data from the table in the Data Store.
-
The constants.js file in /catly/utils is used to store the constant values used by the other files, such as the ID of the cache segment and the name of the table that stores the original URLs and their short IDs. It also defines the error page to load when the URL is found to be invalid from the client directory.
-
The index.js is the main file of the server which defines the request and response parameters, and imports the Node.js express framework and the npm body-parser middleware.
-
Besides these files, the functions directory contains package.json and package-lock.json in the catly folder. The catalyst-config.json file in the function’s root contains the configuration of the function. You can learn more about these files from the project directory structure help page.
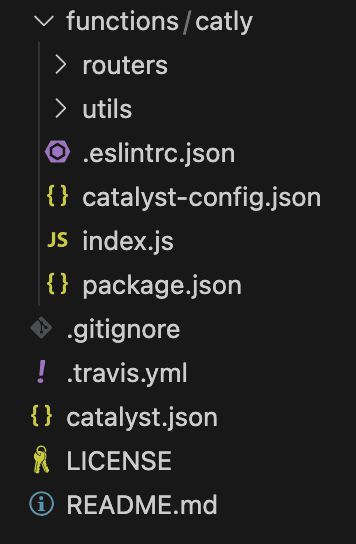
Now we will replace the functions folder in the root of the project directory functions folder in the downloaded repository.
Your project directory should now contain the following structure:
Please follow the below steps to complete the function configuration process :
The repository you downloaded does not contain the node modules required for the application. Therefore, you must install NPM in the catly folder.
- Navigate to functions/catly from your CLI and execute the following command:
This will install the node modules required for the application and update the dependency files.
- Now, open the package.json file using any IDE and replace the value of author (which is emma@zylker.com) with your email address.
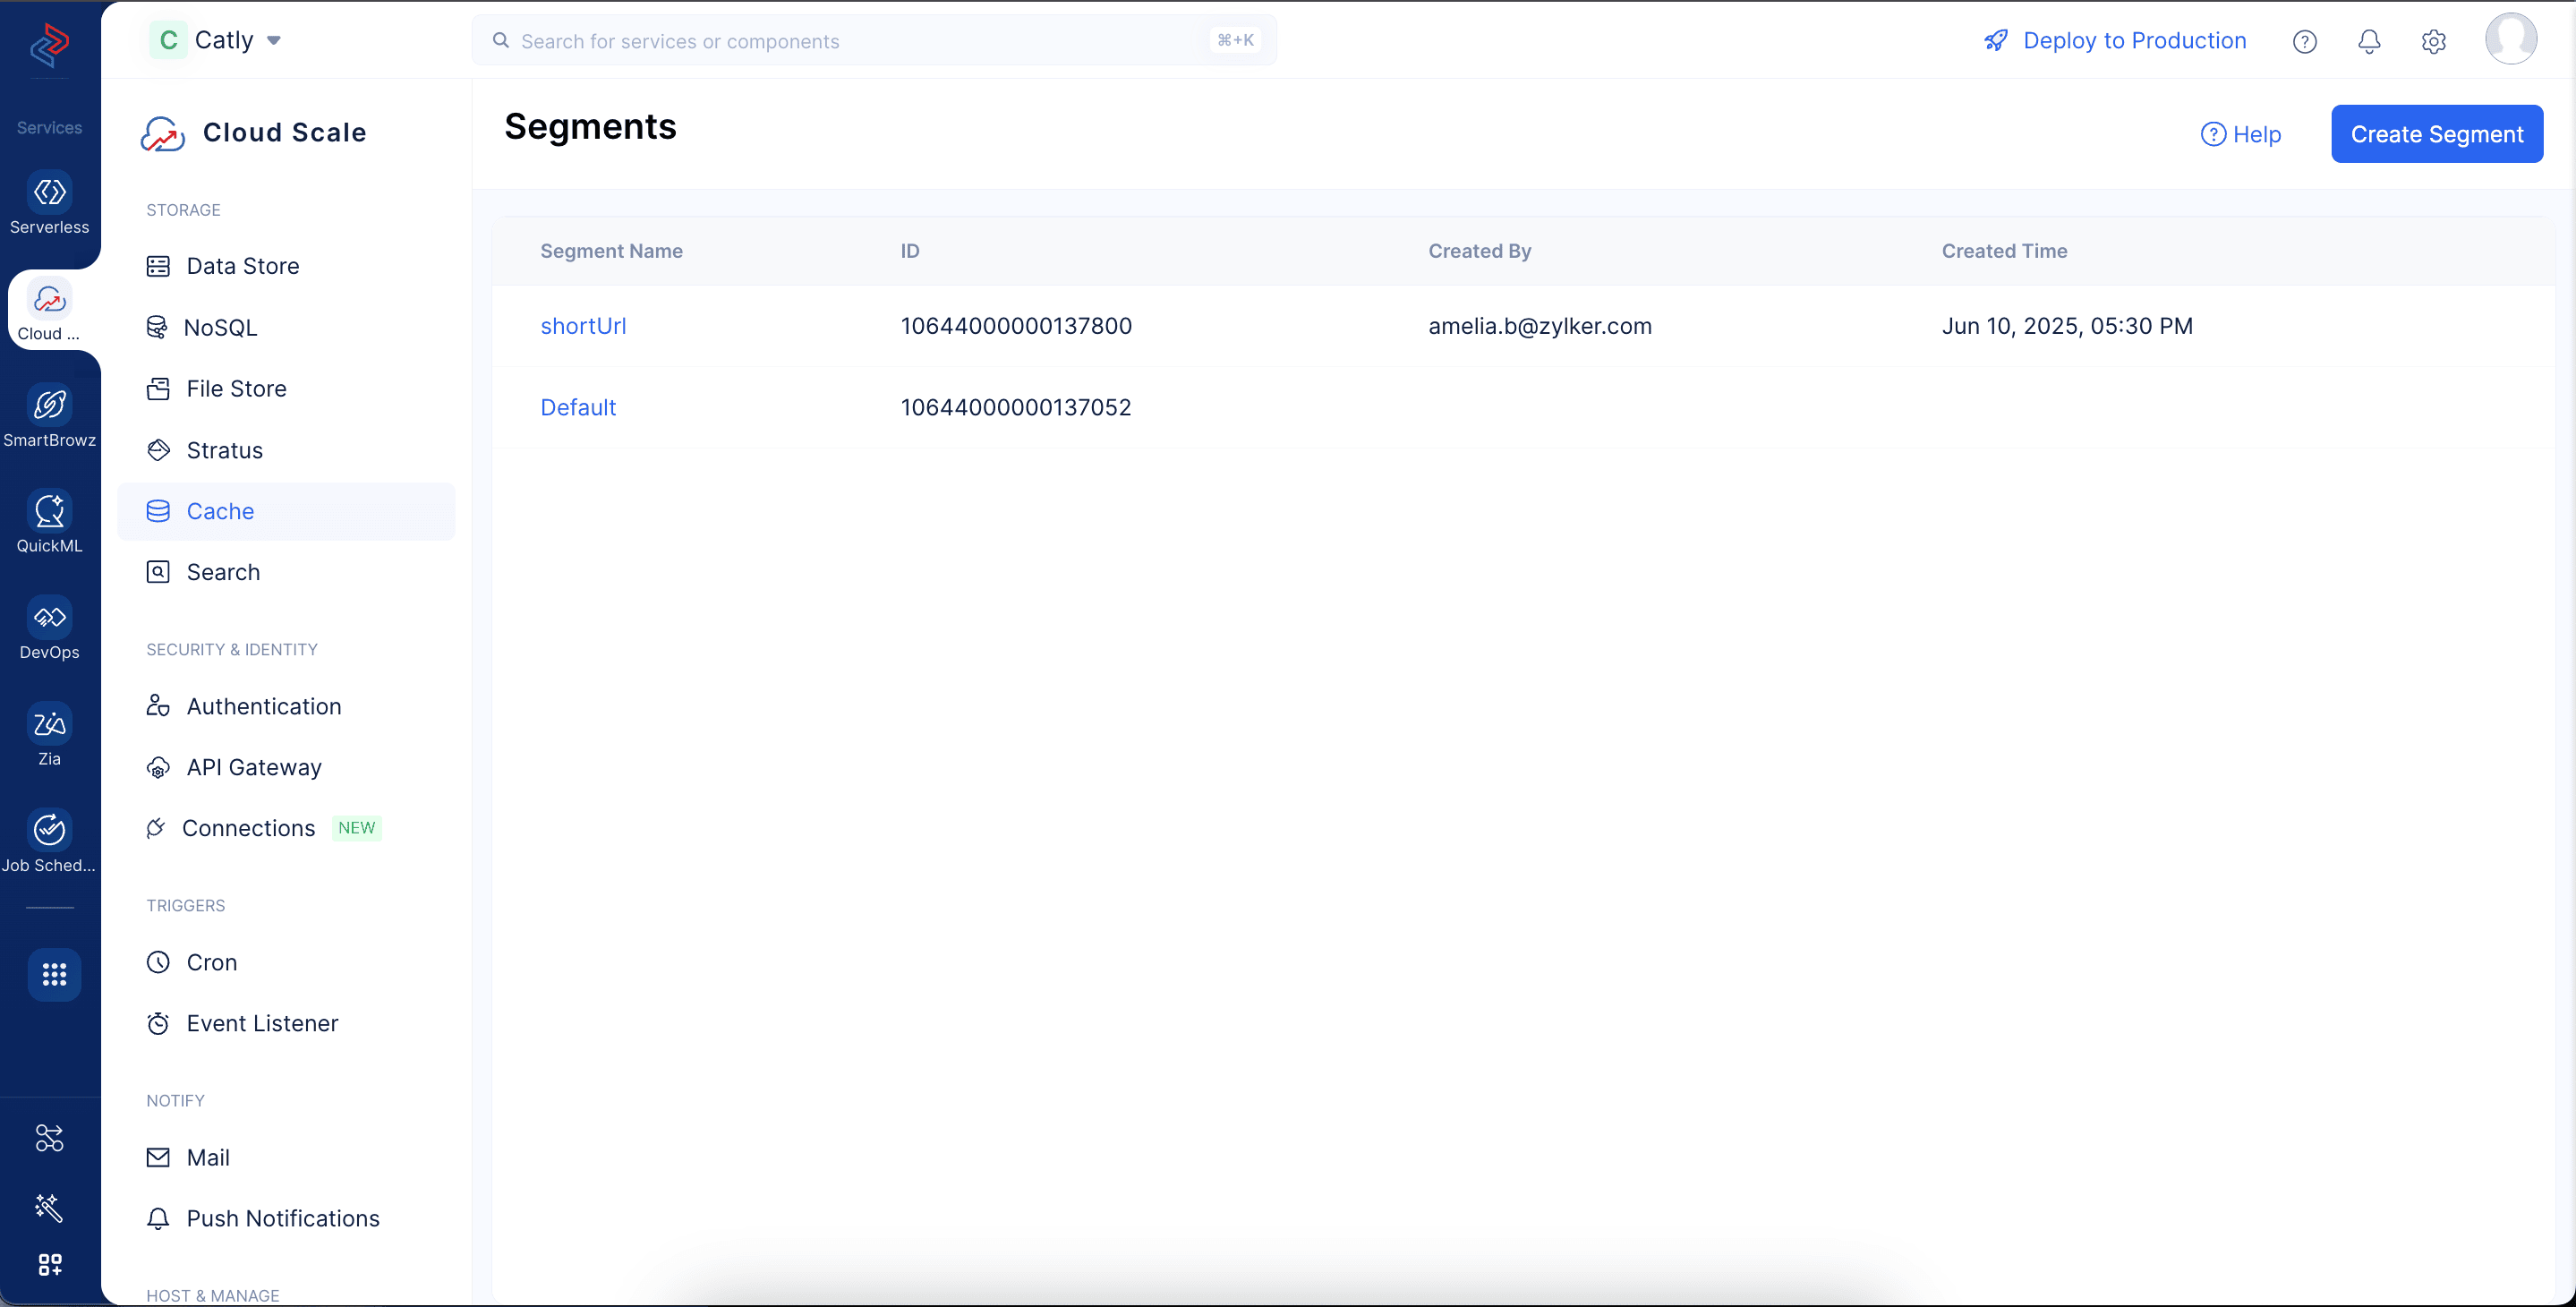
- Open utils/constants.js and replace the value of short_url_segment with the Segment ID of the cache segment you created in the Catly project.
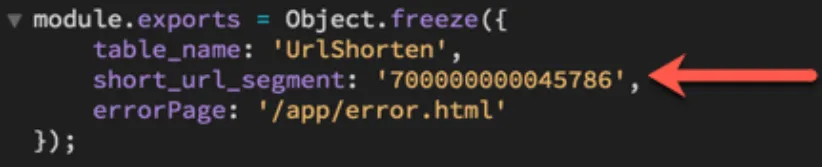
You can find the Segment ID of your cache segment from the Segments page by navigating to the Cache component in your Catalyst console.
This is essential, since the original URL and the short ID received from the Cat.ly application must get stored in, or be fetched from, a valid cache segment.
The functions directory is now properly configured.
Last Updated 2025-10-29 12:32:36 +0530 IST