Create a Pipeline
To create a pipeline in the Catalyst console, please ensure to follow the below steps:
-
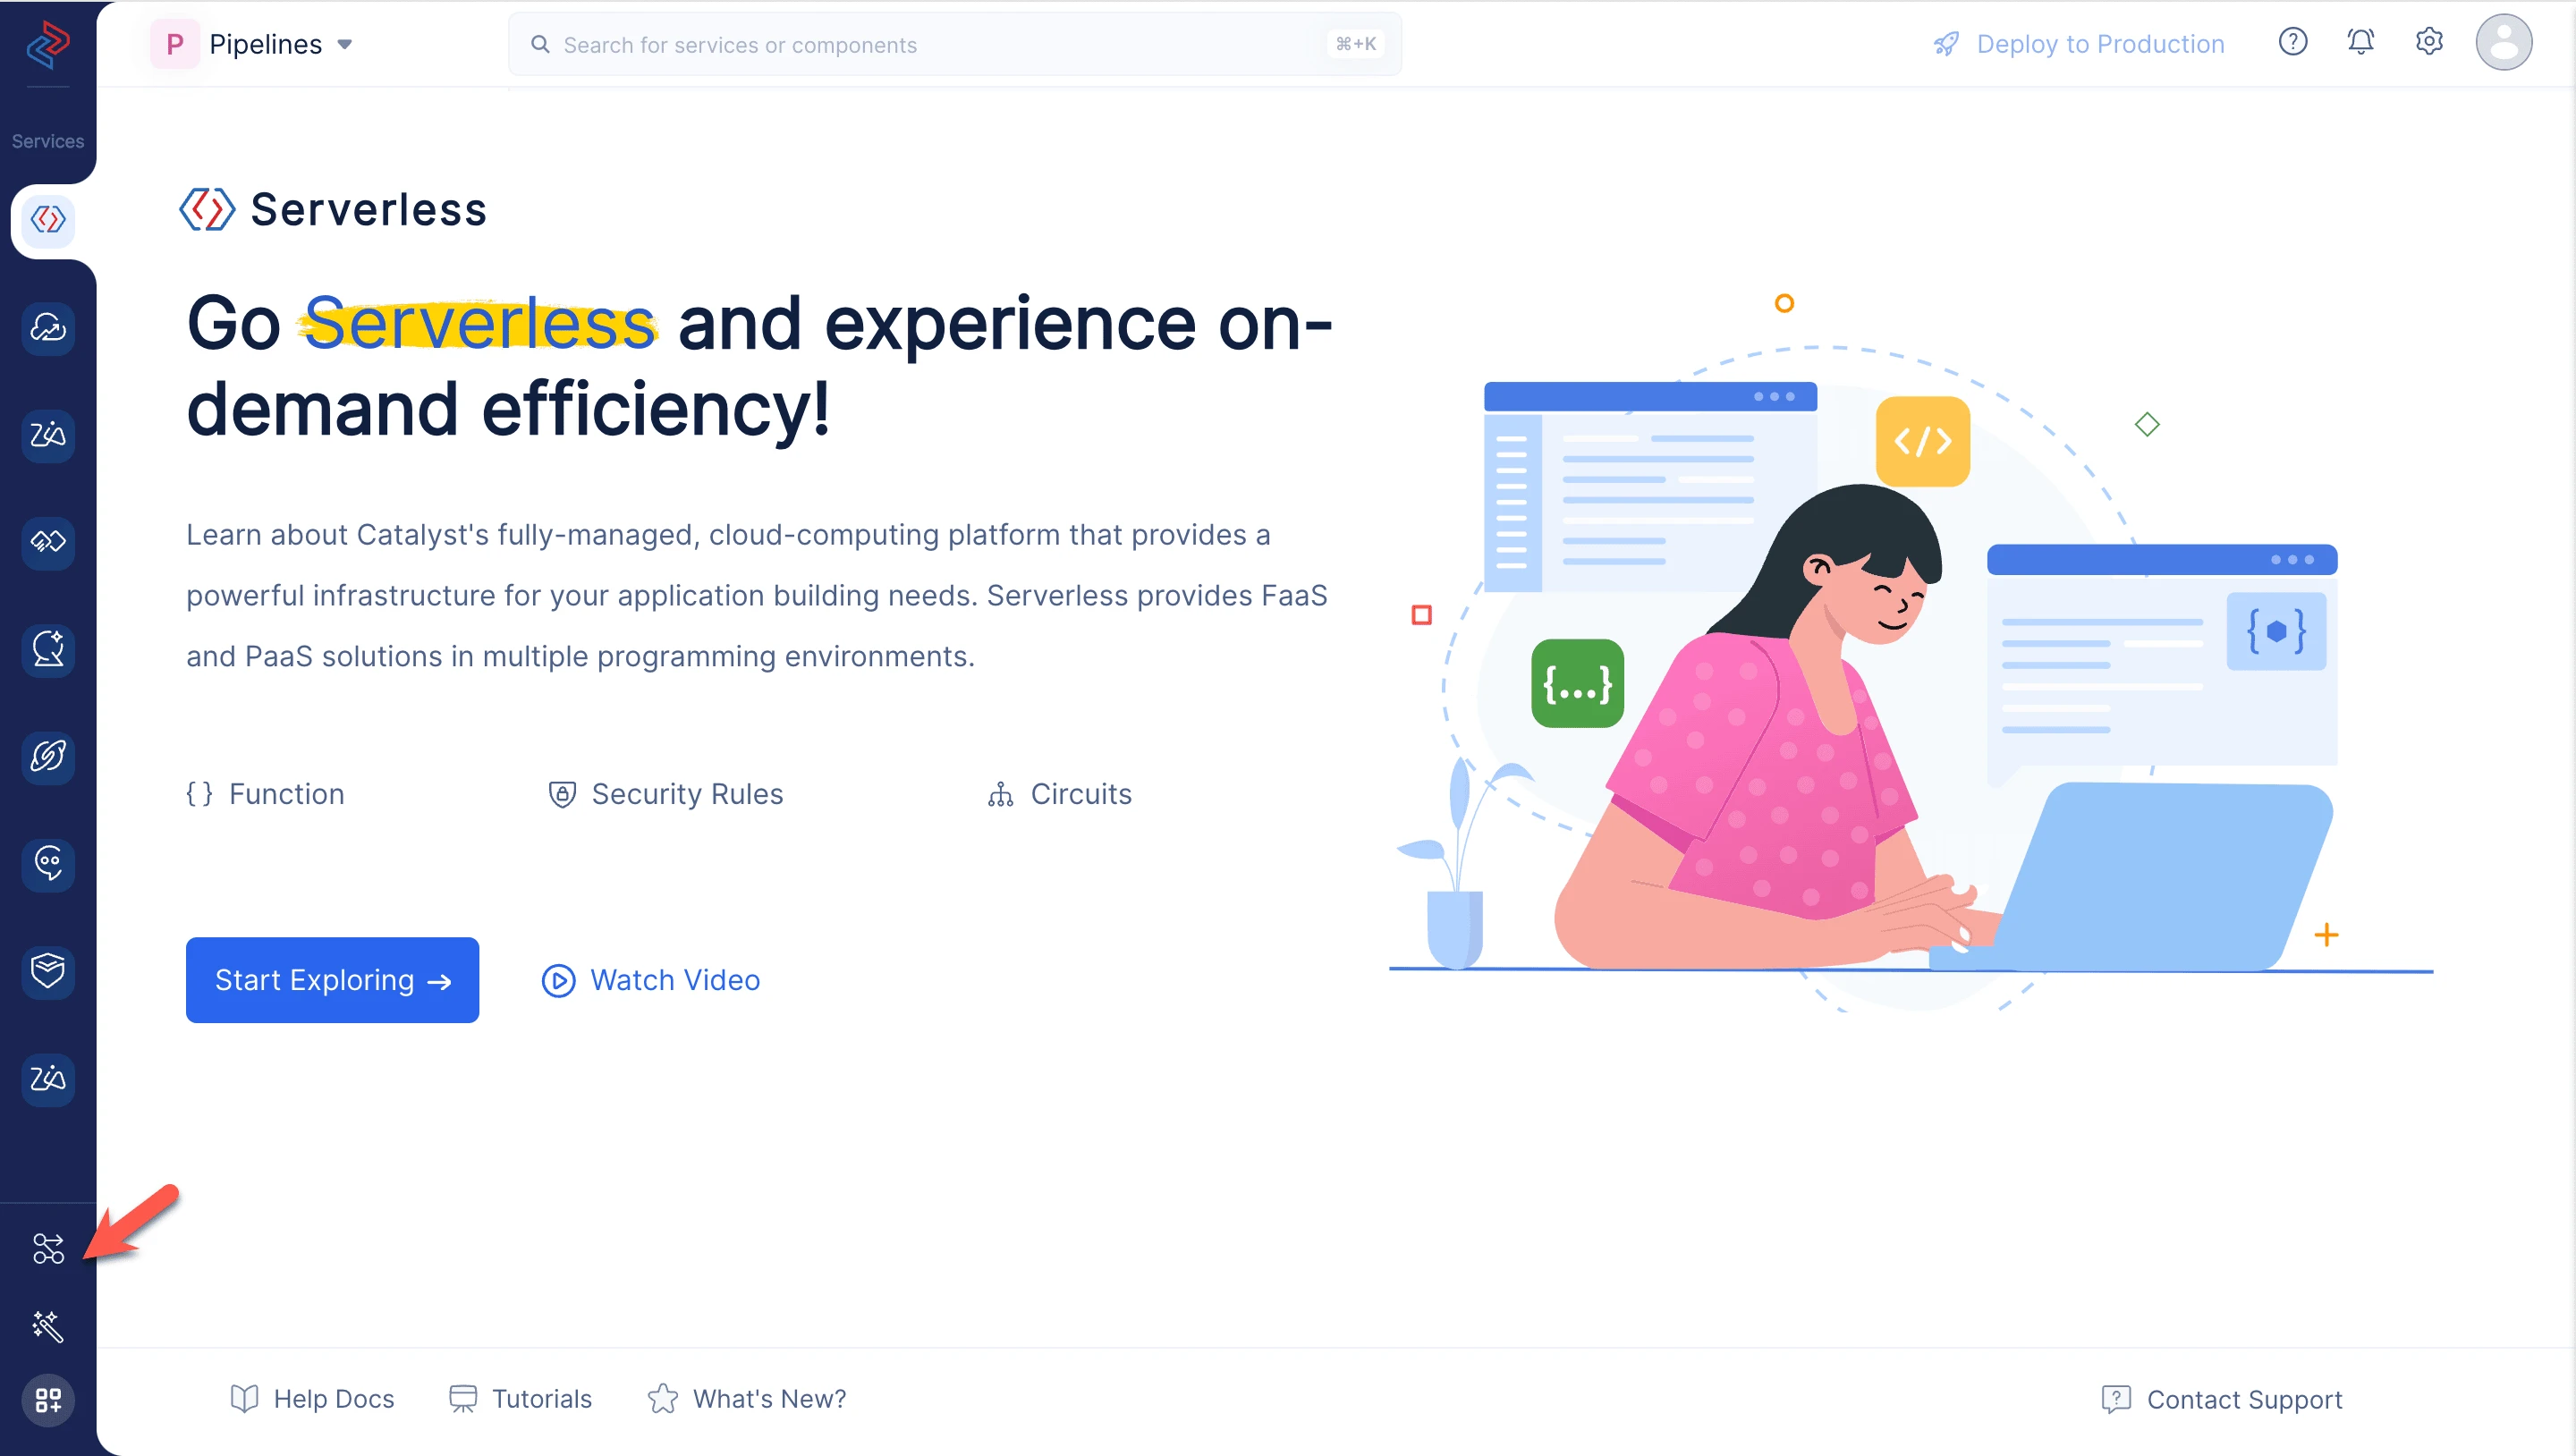
Click the Pipelines service icon from the left menu in the Catalyst console.
-
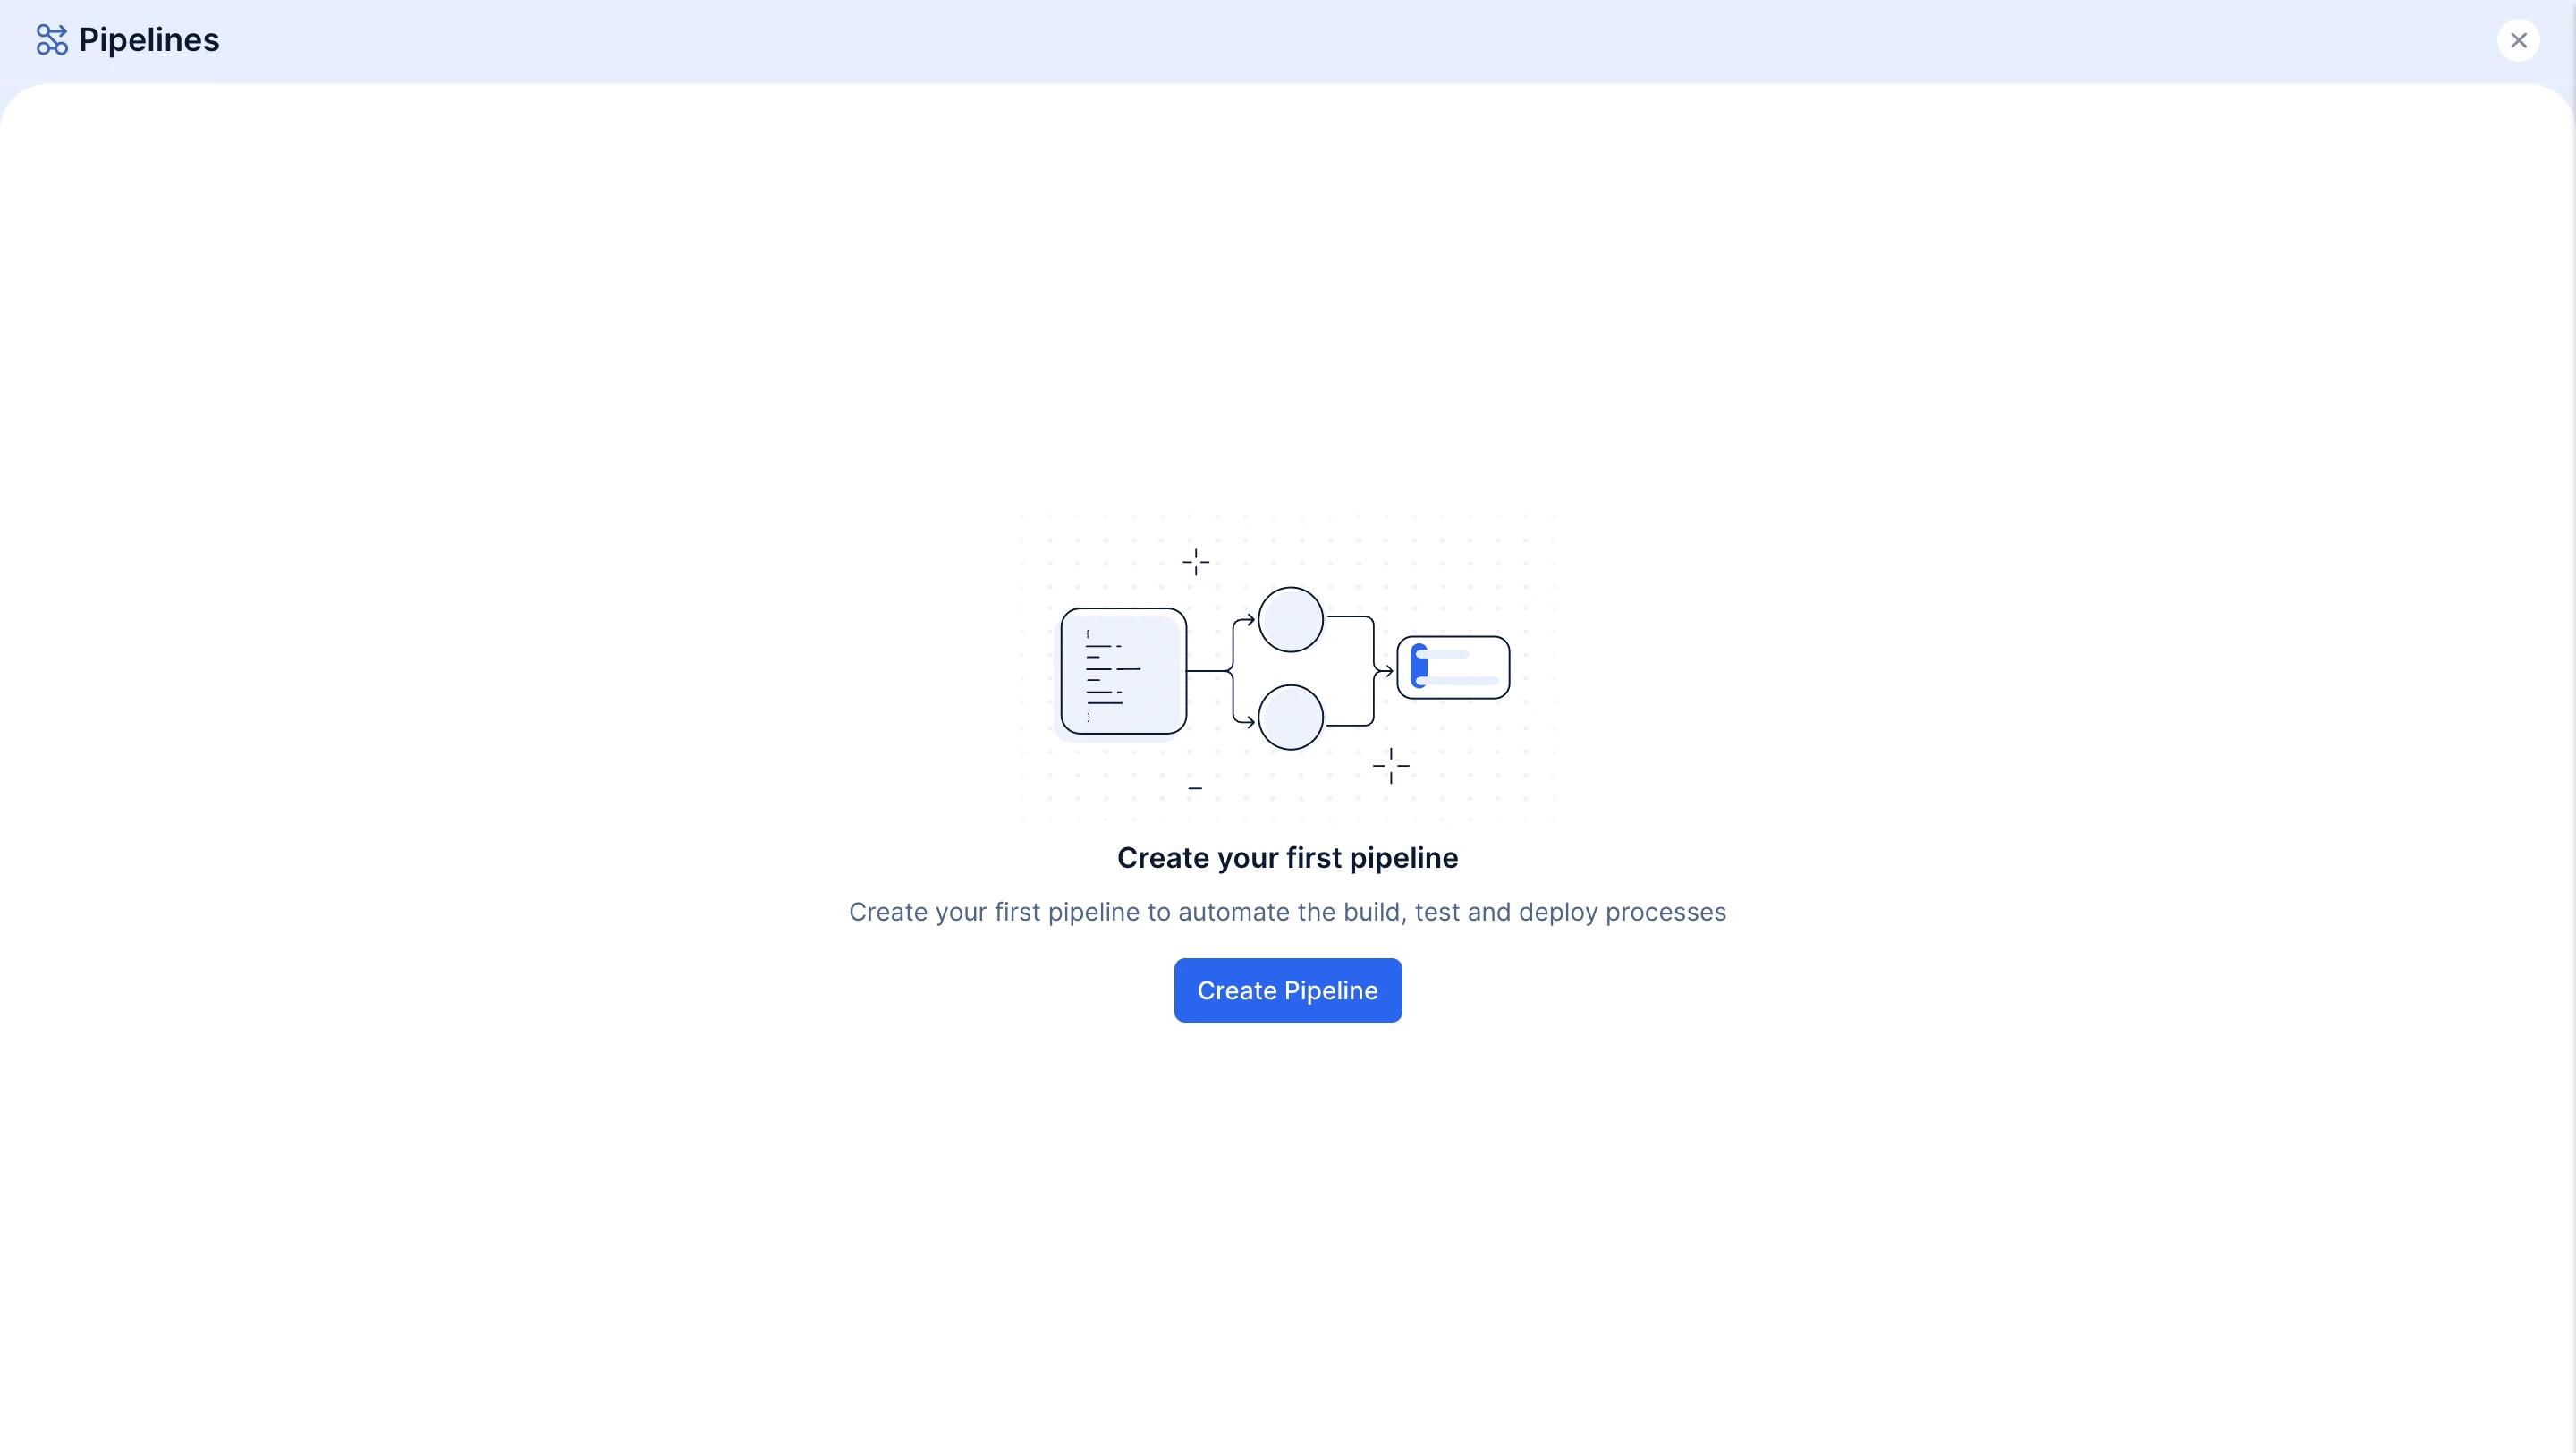
Click Create Pipeline.
-
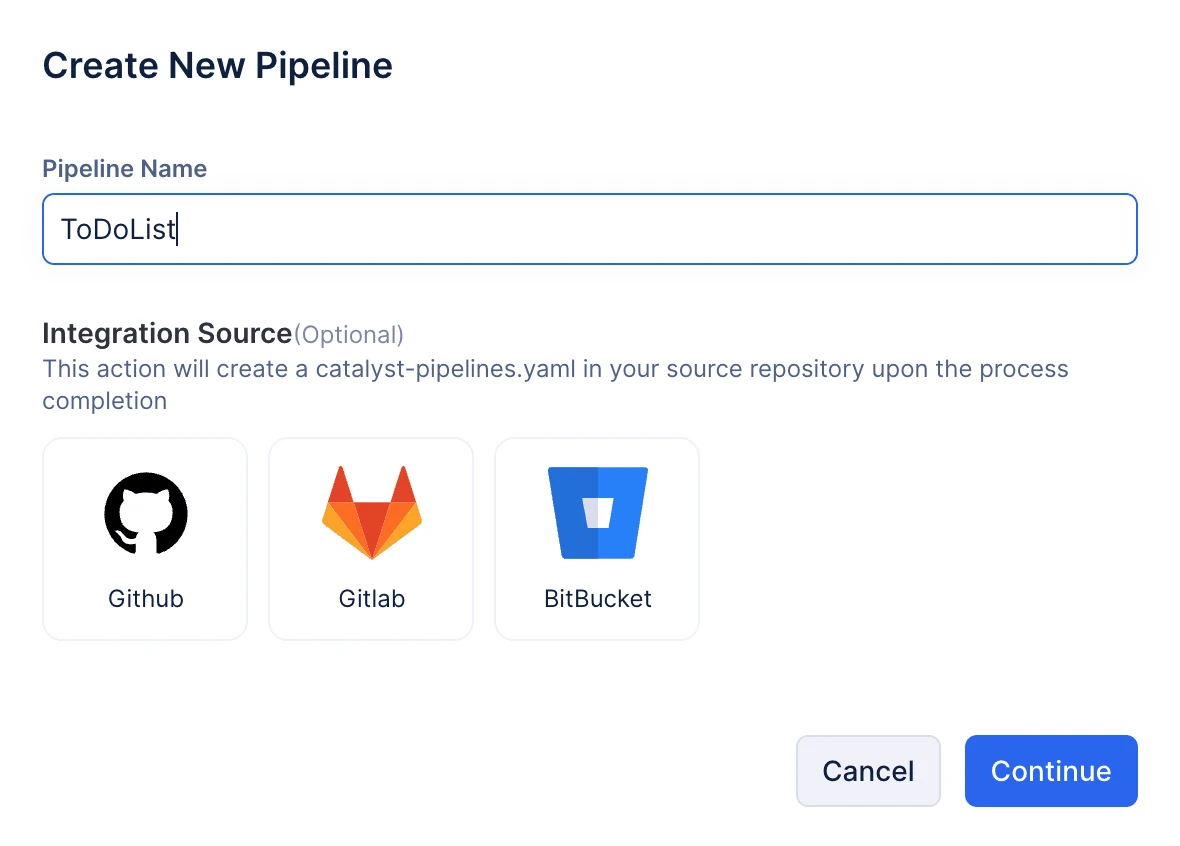
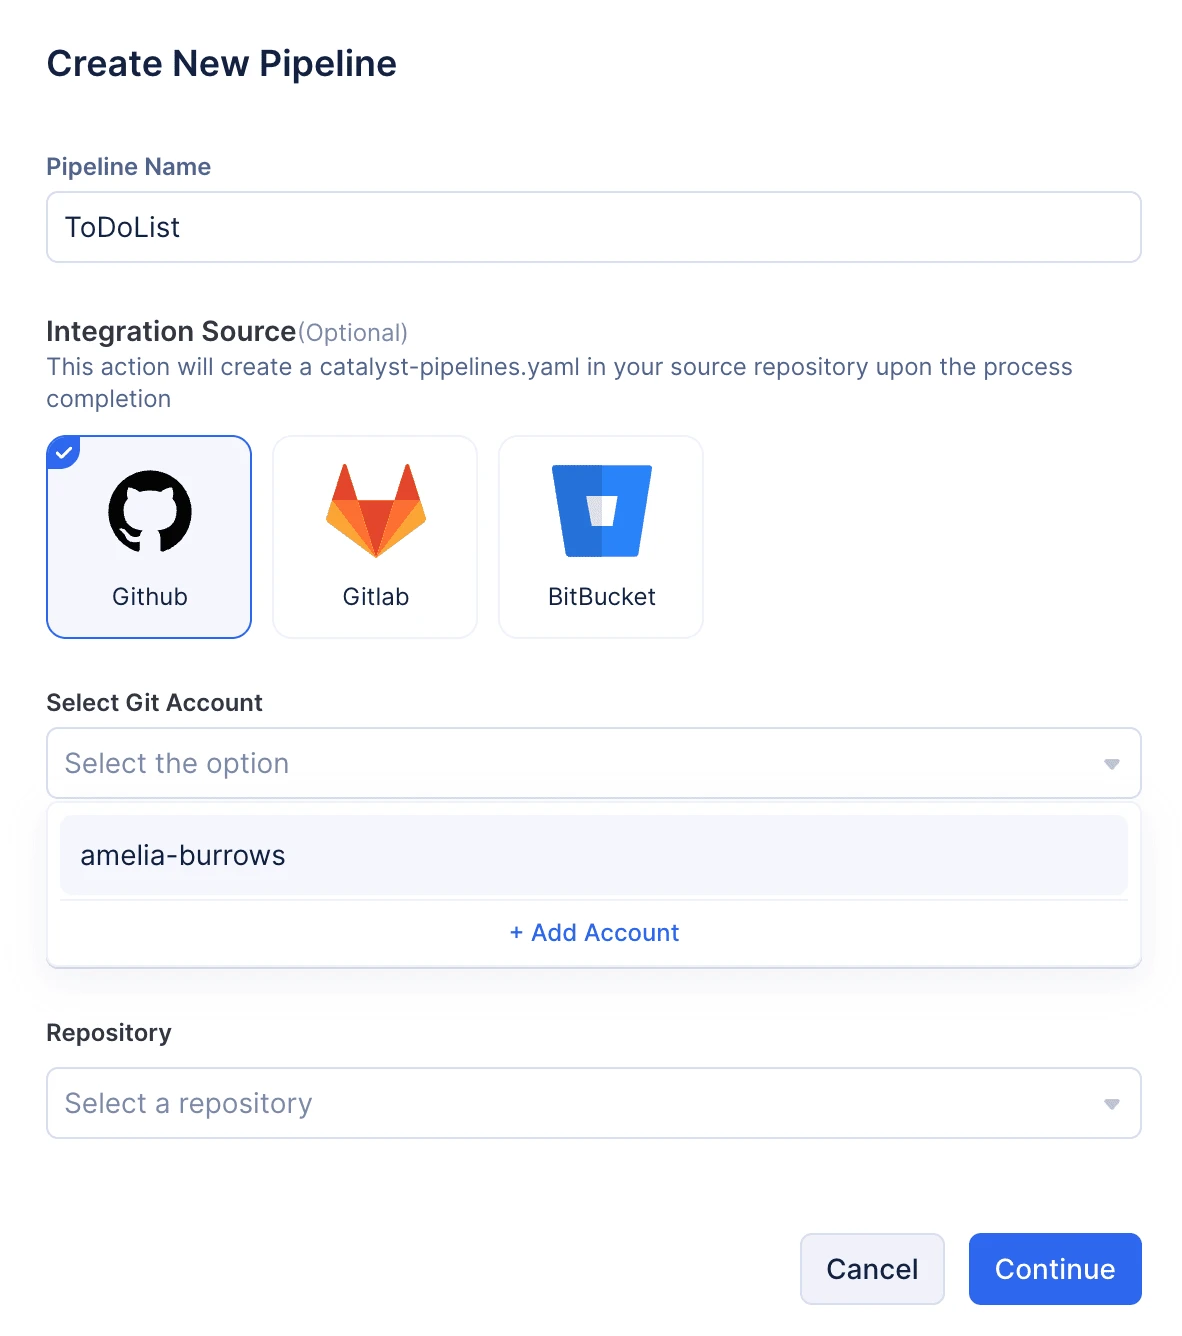
In the pop-up that appears, provide a name for the pipeline.
-
Select your preferred integration source.
-
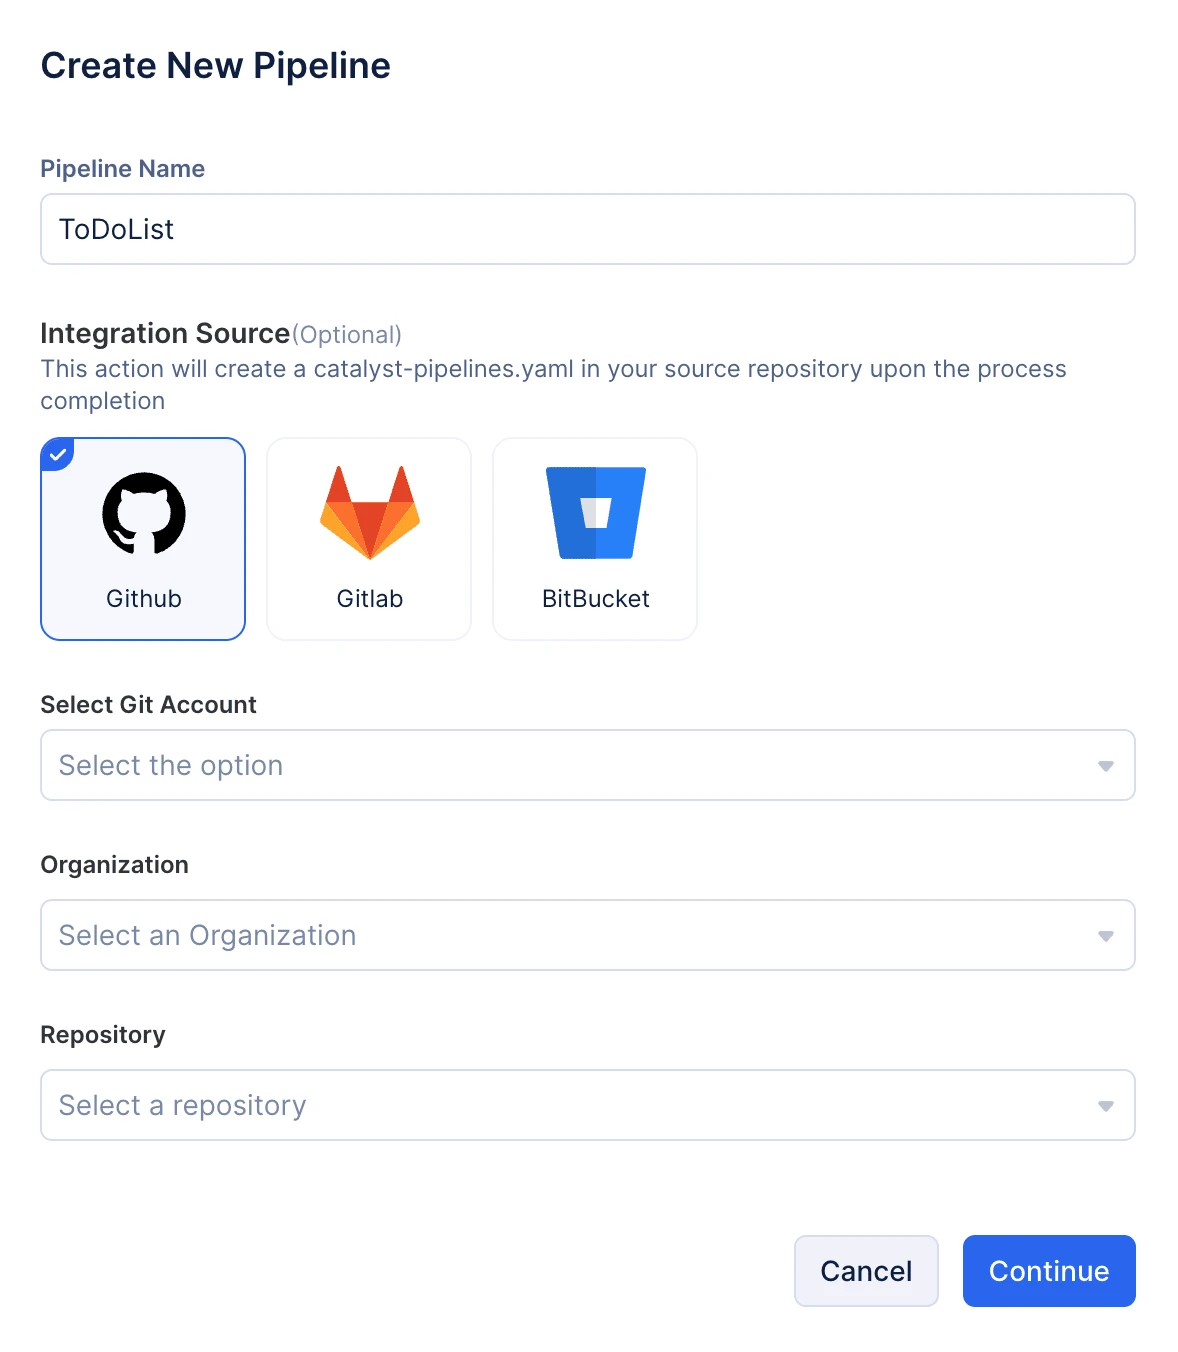
Add a new Git account by clicking the +Add account option. If you have any Git accounts integrated with your Catalyst project previously, they will be listed in the dropdown. Simply choose the account and proceed.
-
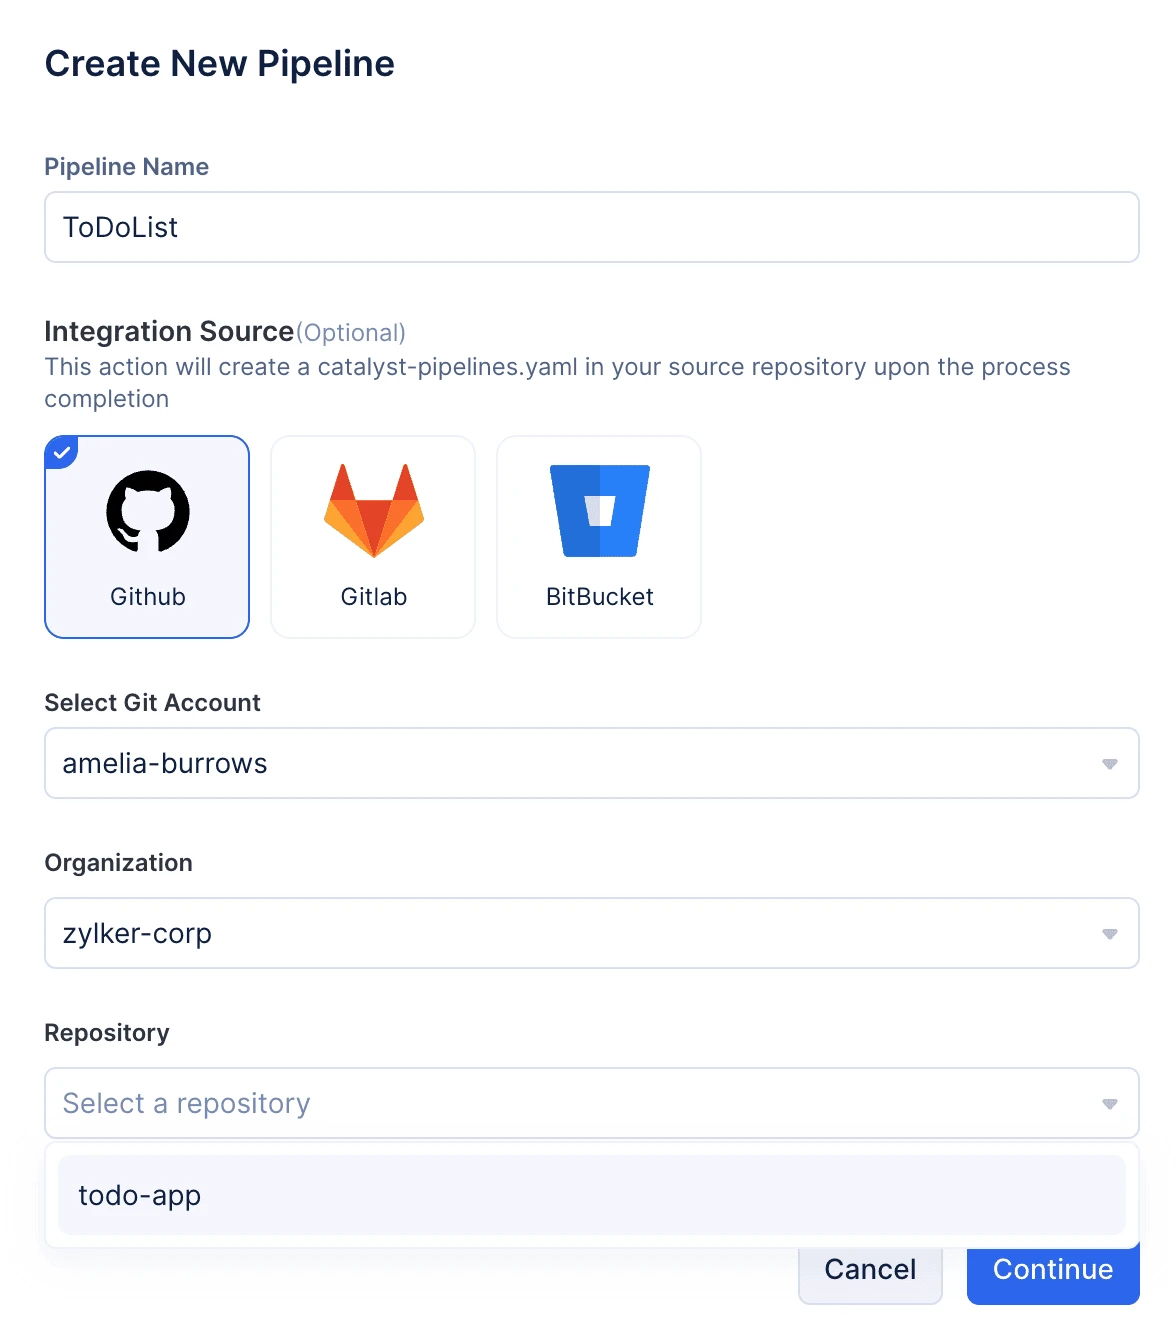
Select the organization your chosen account belongs to.

-
Select the repository where you want to commit the new catalyst-pipelines.yaml file. Click Continue.
-
The code editor is now opened. You can proceed to configure the pipeline by adding the required pipeline components in the editor. Also, you can select the branch in which the file has to be committed, as shown in the screenshot below.
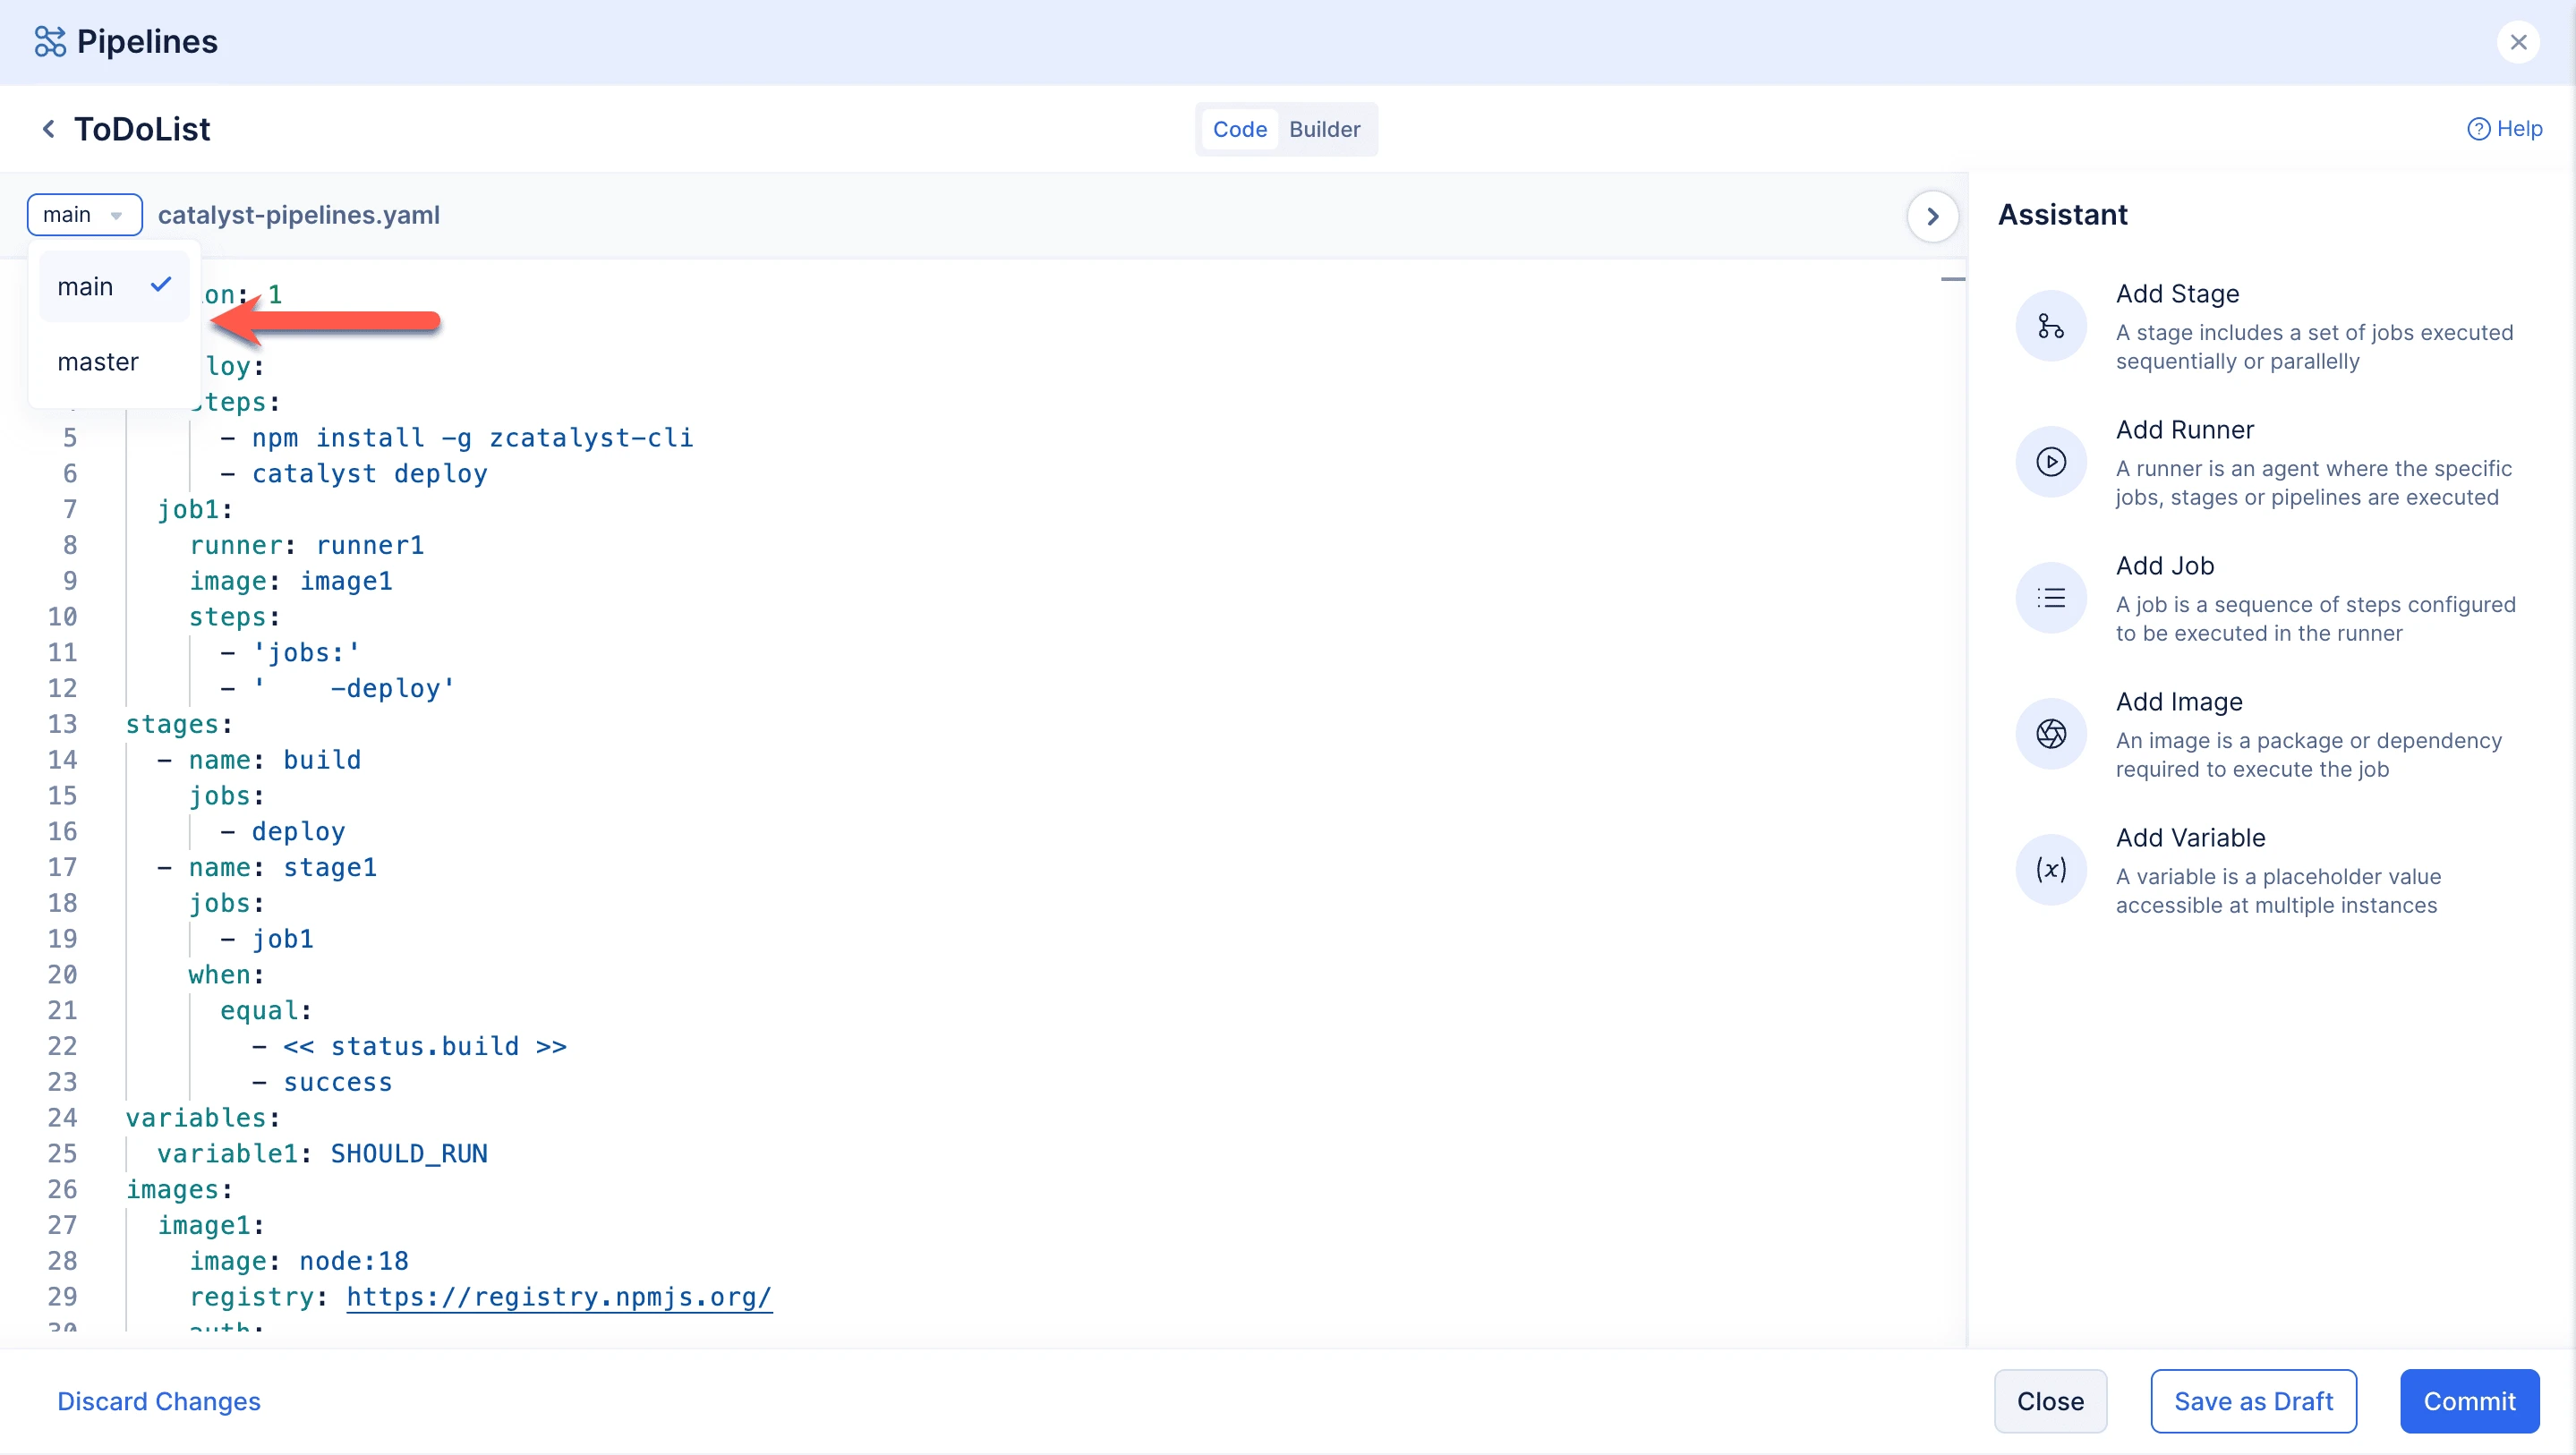
After you have defined the pipeline execution flow, click Commit. You can also save as a draft and work on the logic later, if required.
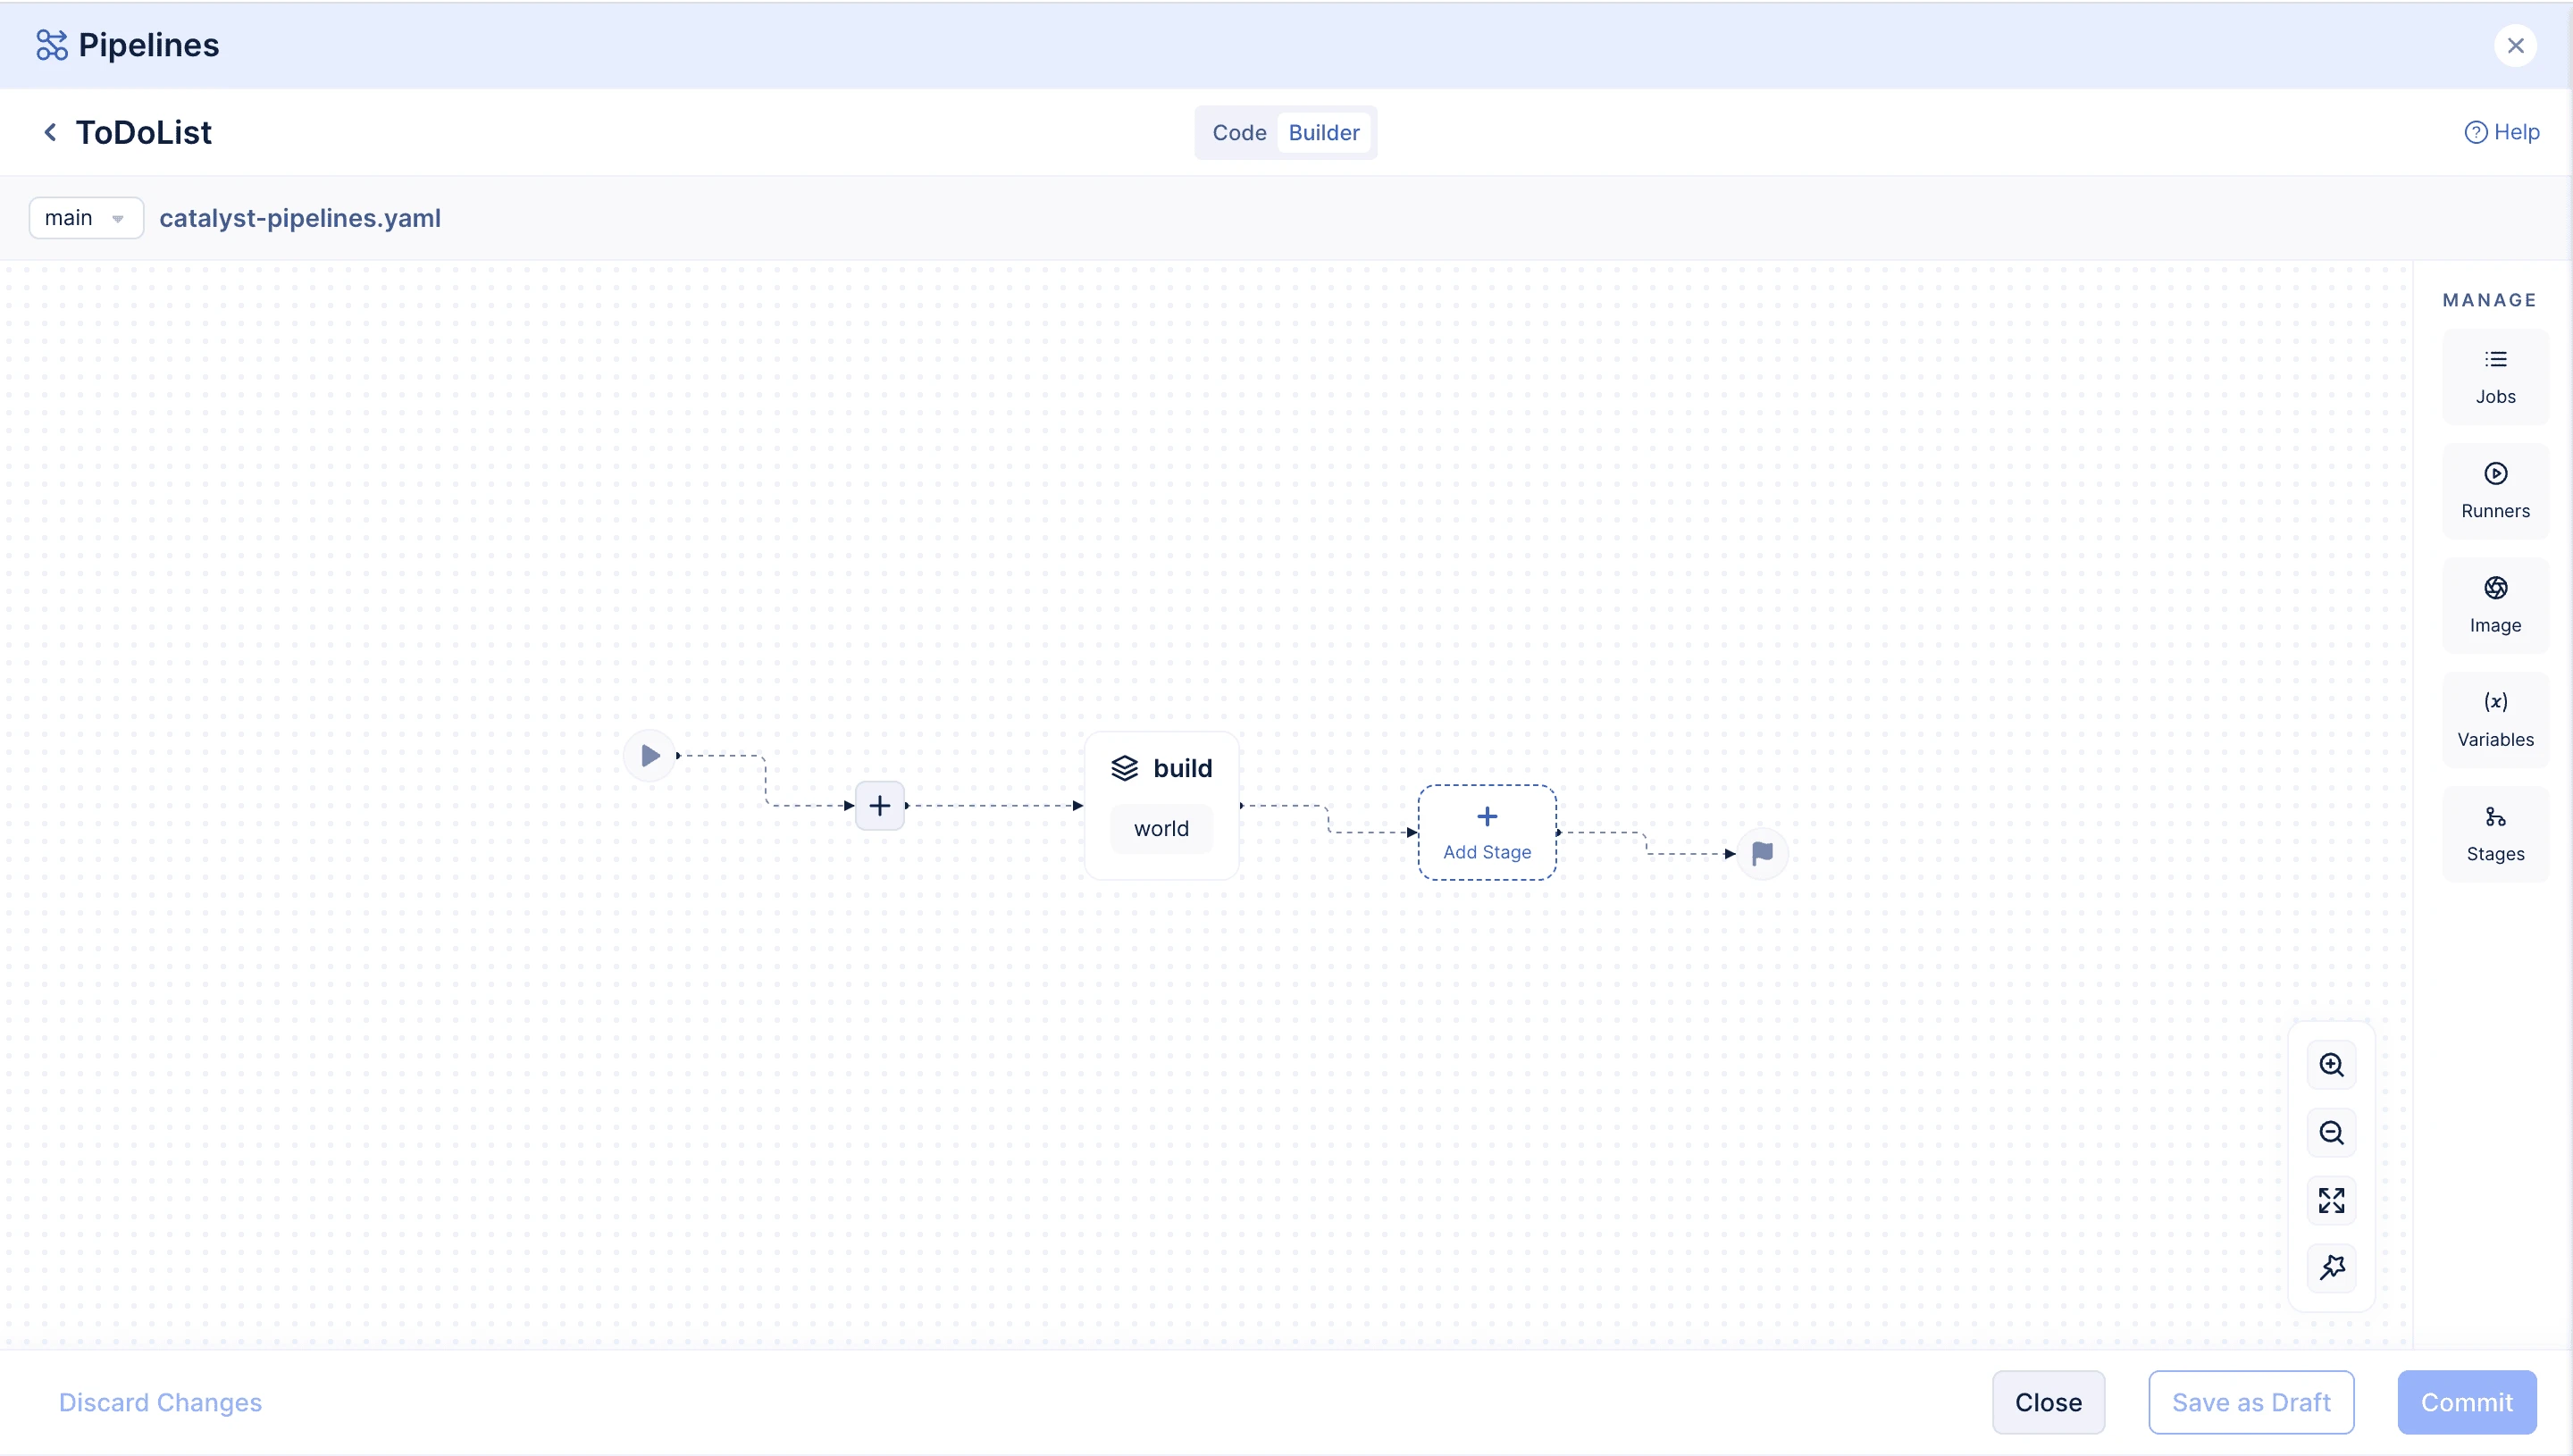
You can choose to configure the pipeline in Builder mode by switching the tabs, as shown in the screenshot below.
We will be discussing more about configuring the pipeline in this help page.
Last Updated 2026-03-12 19:42:02 +0530 IST
Yes
No
Send your feedback to us