Implementation
You can build a pipeline using the built-in visual builder or code editor directly from the Catalyst console. Please ensure to follow the below listed steps:
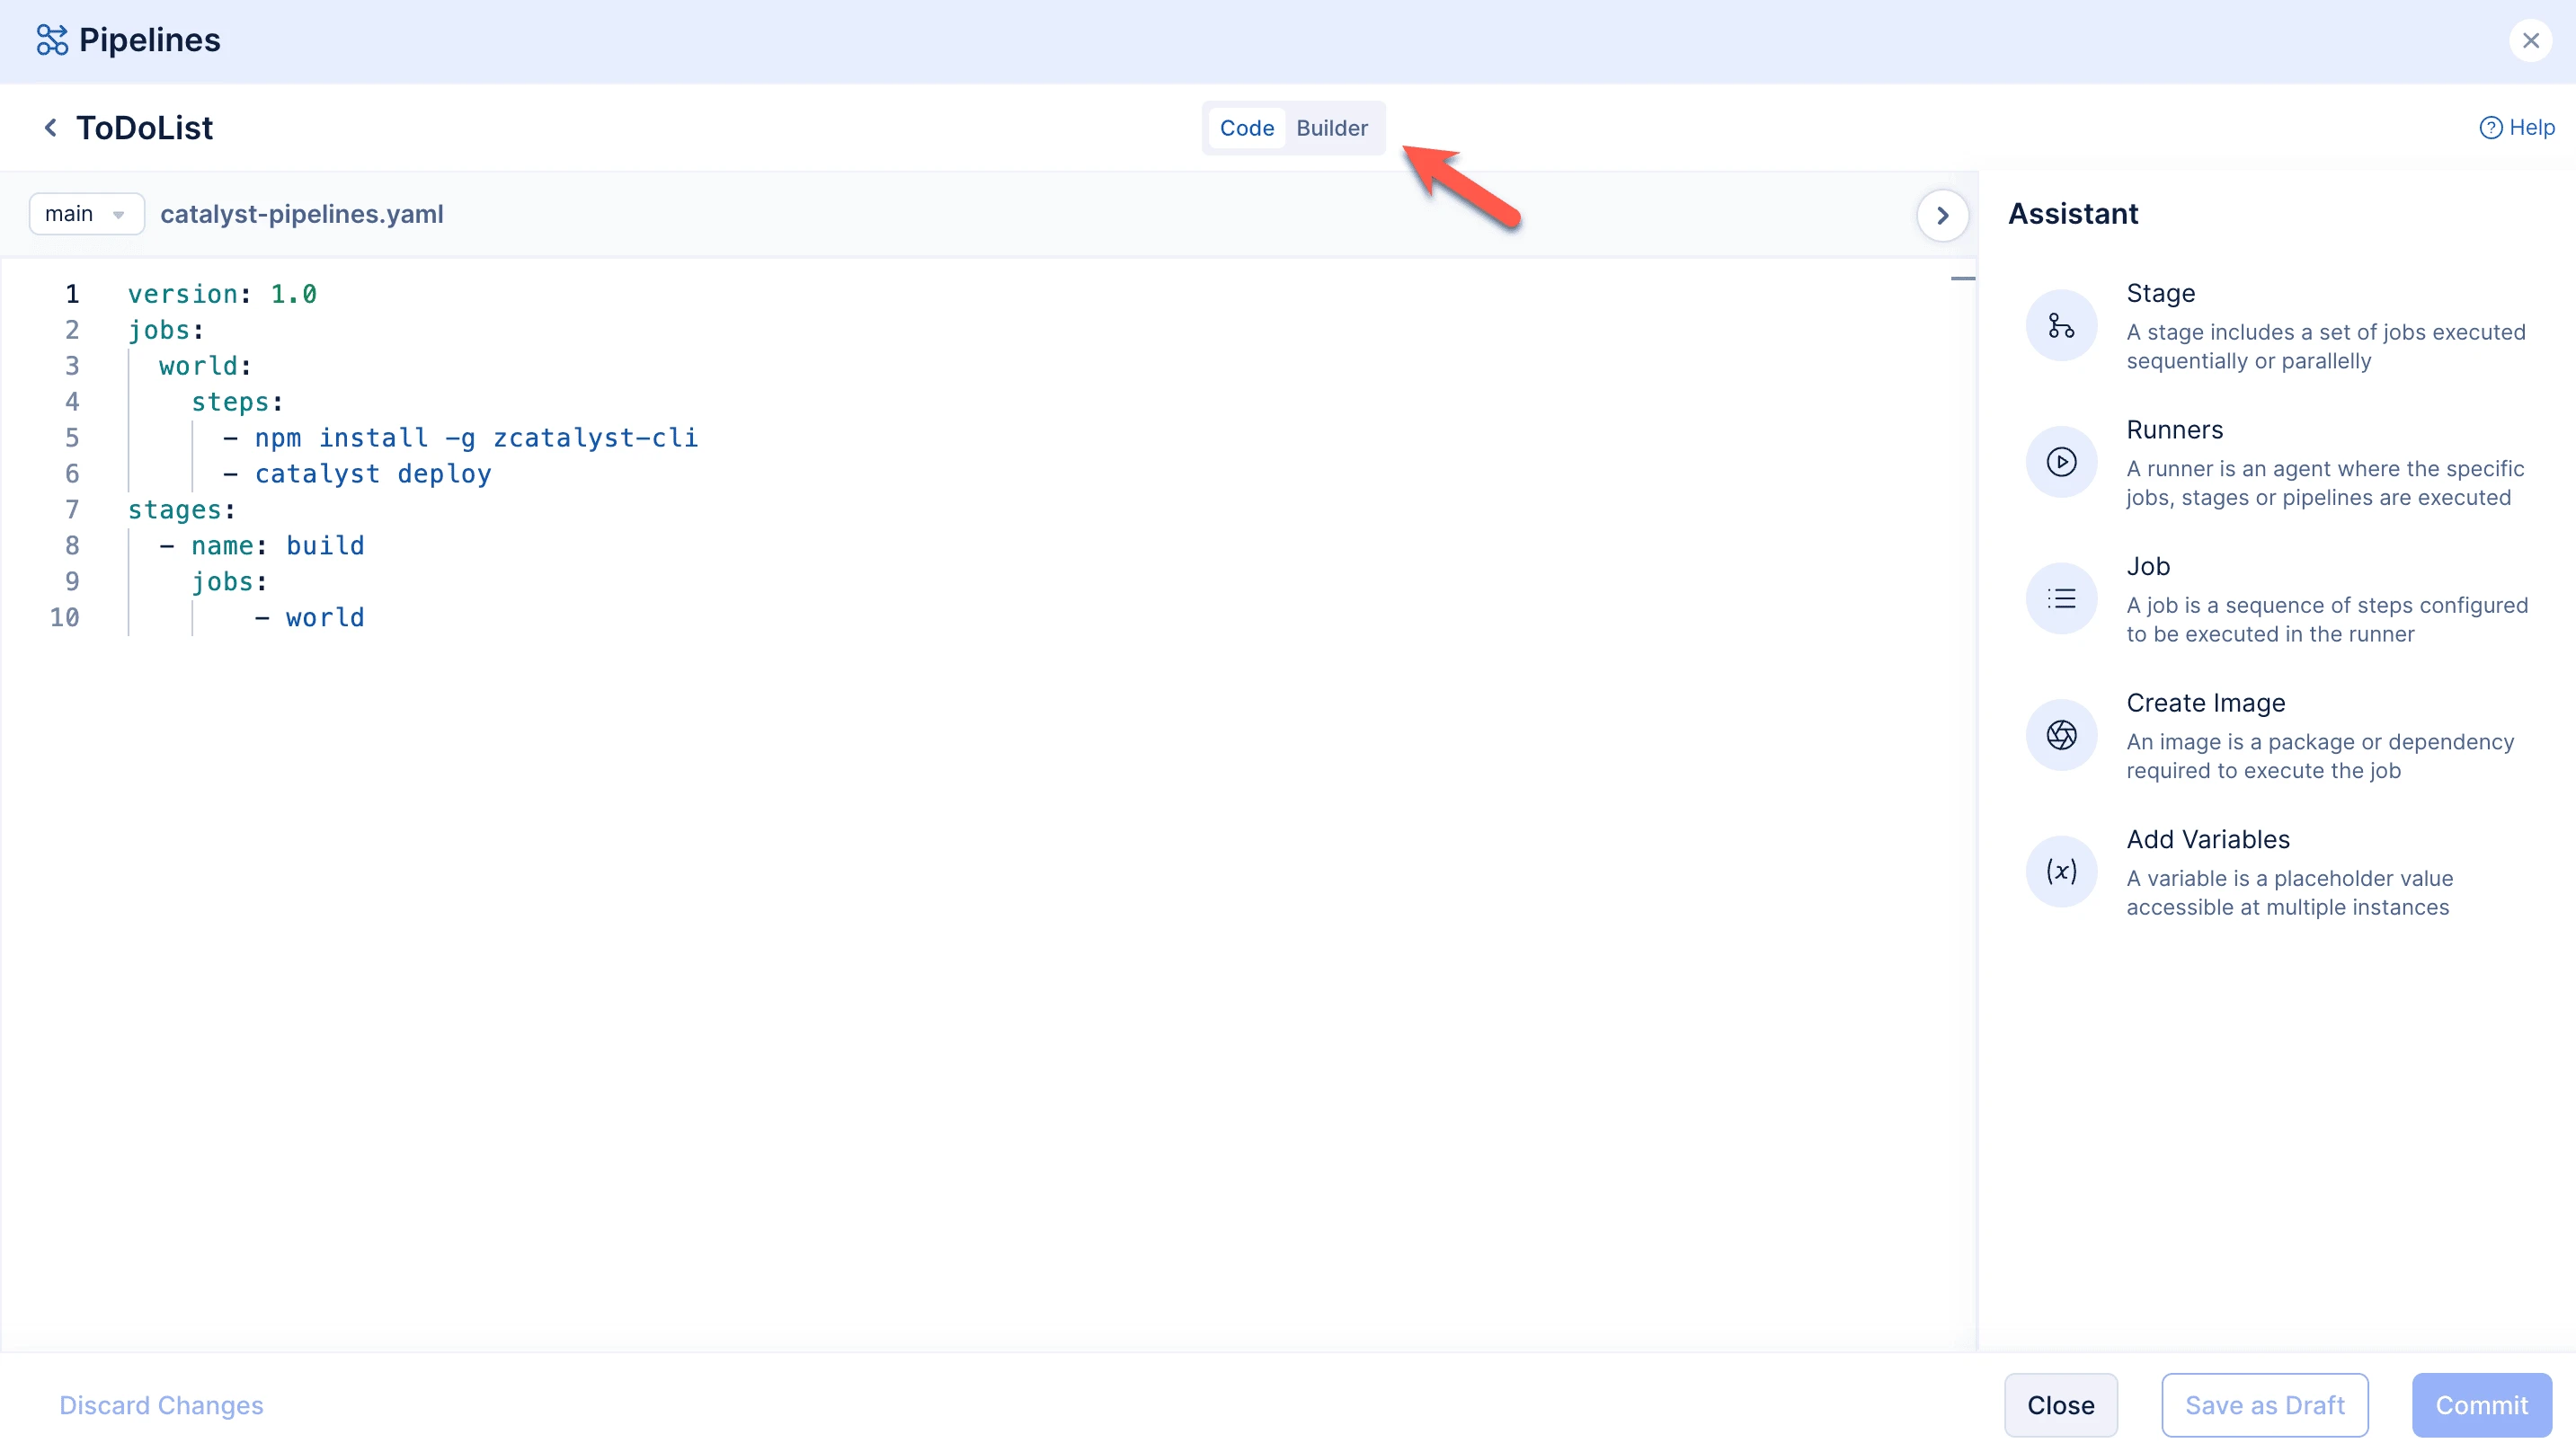
Let us begin by configuring the pipeline using the code editor.
-
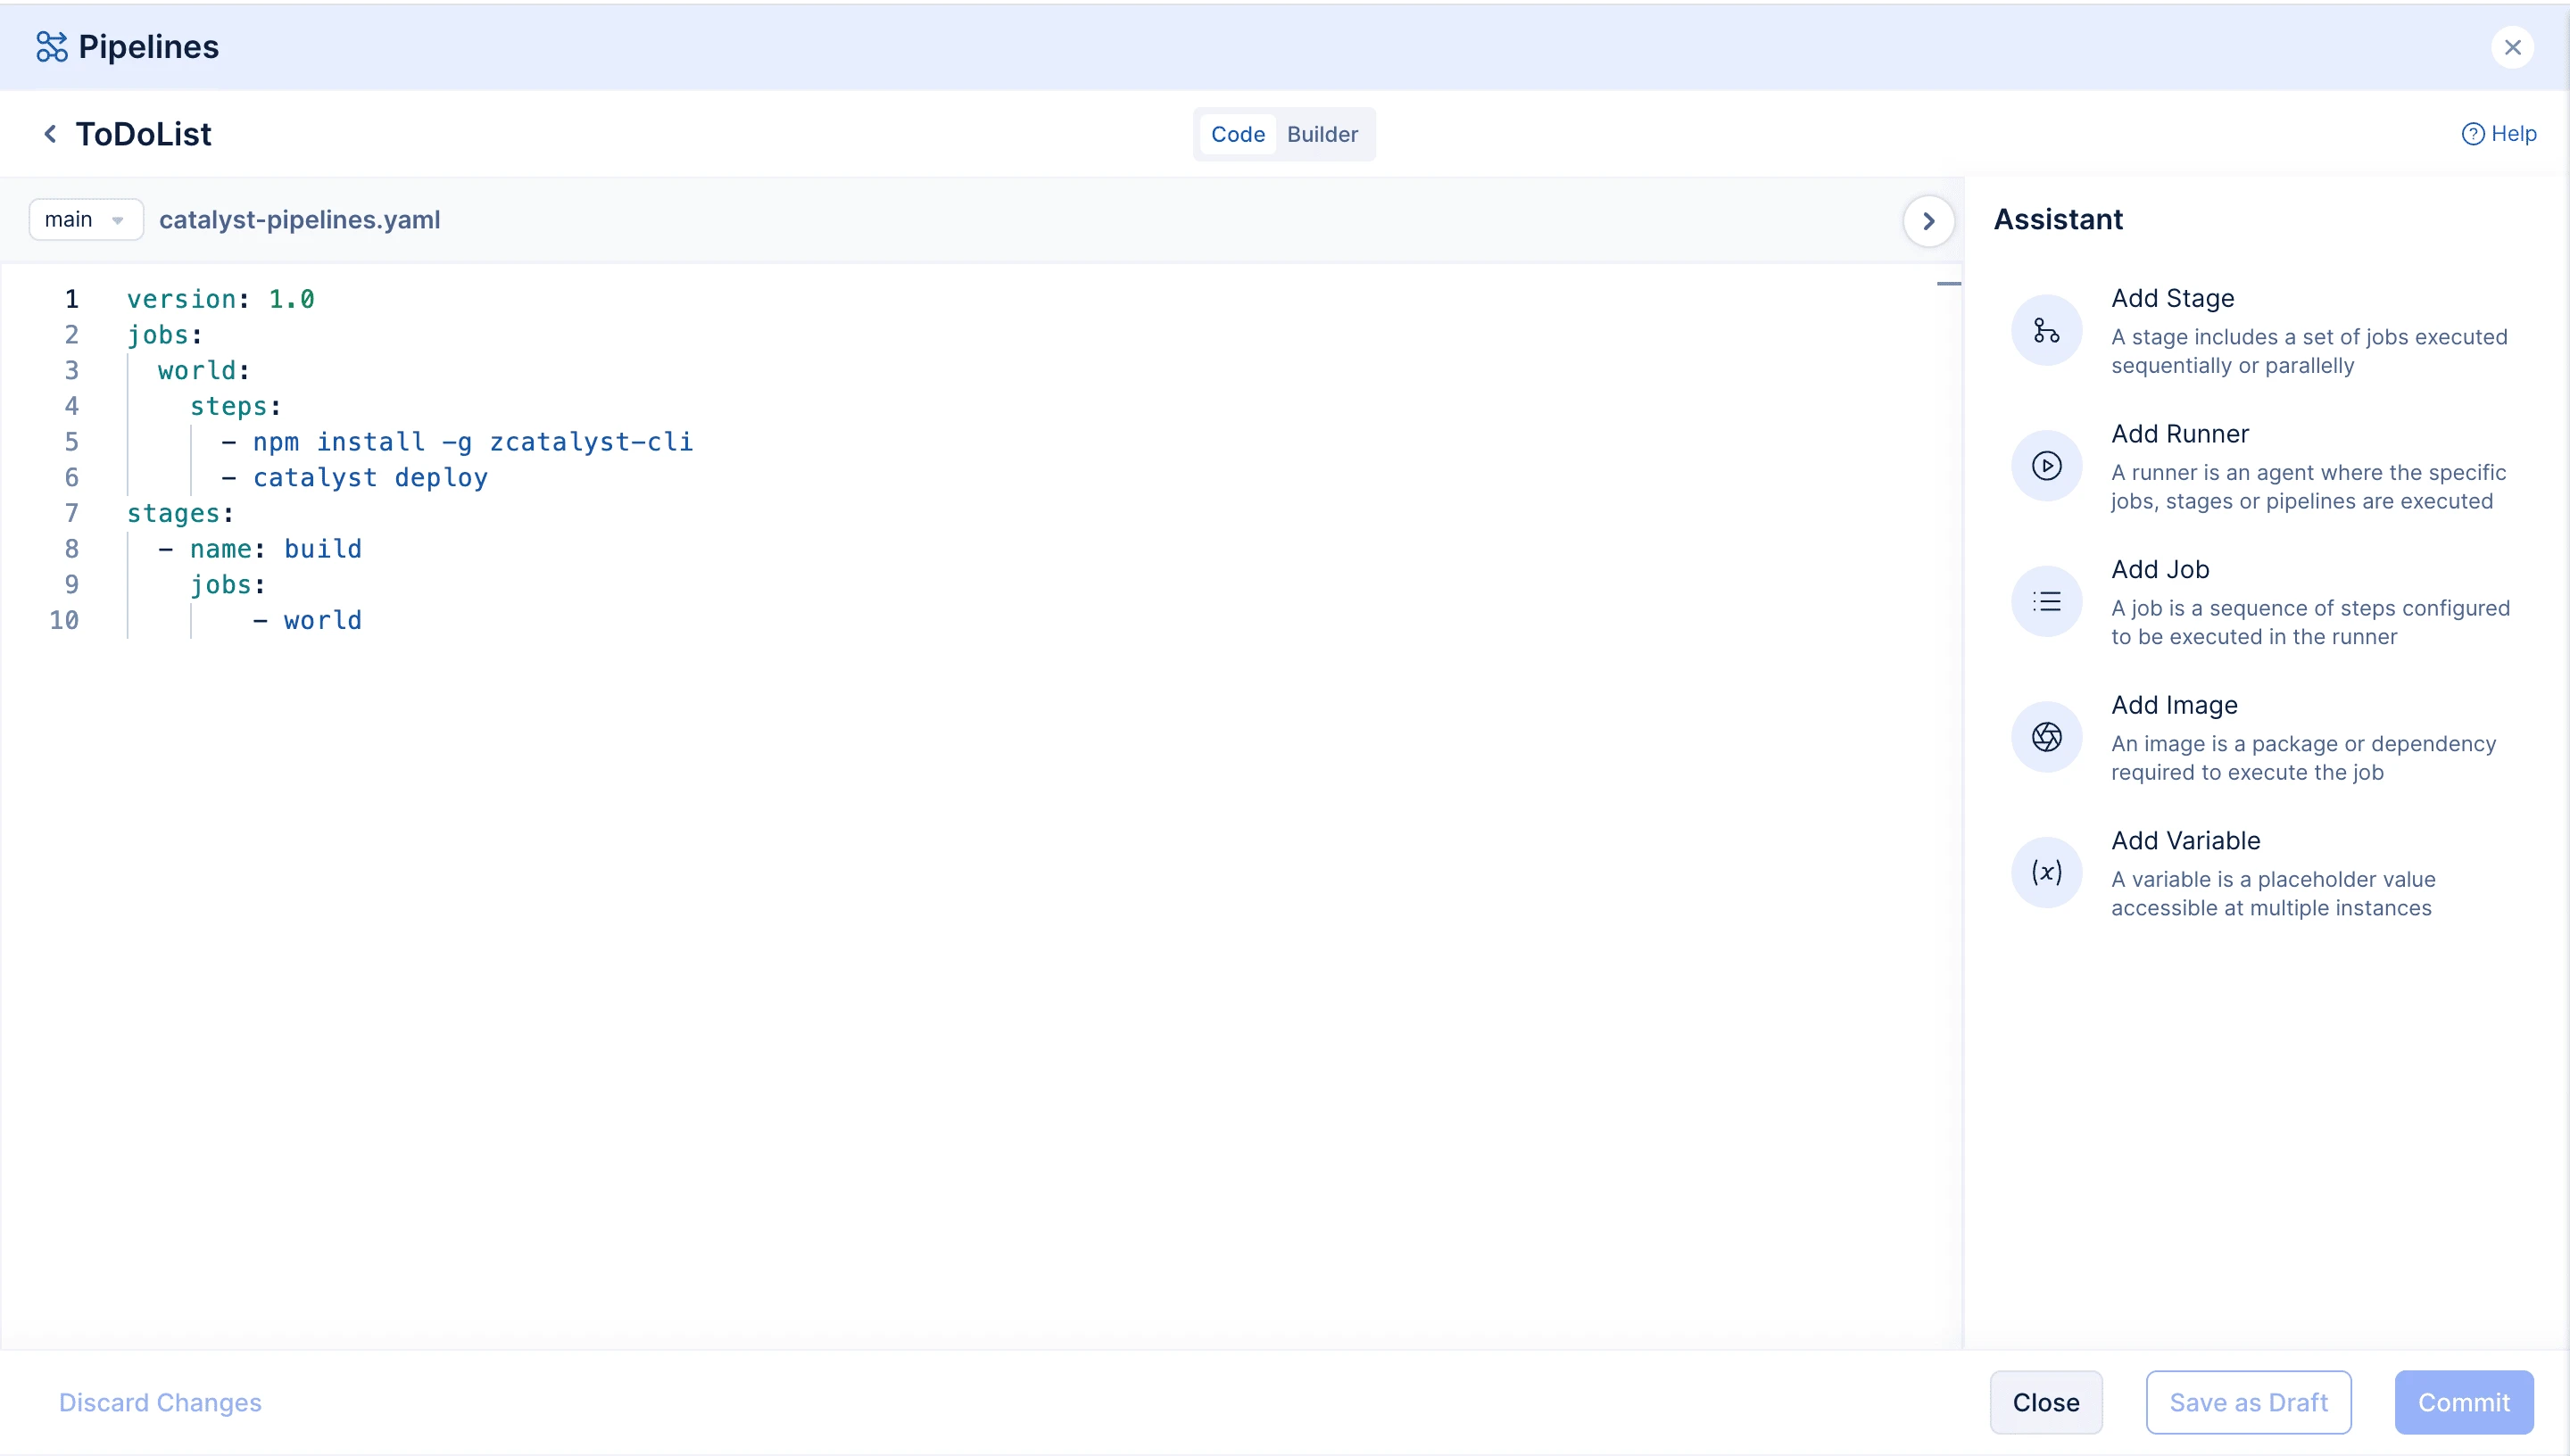
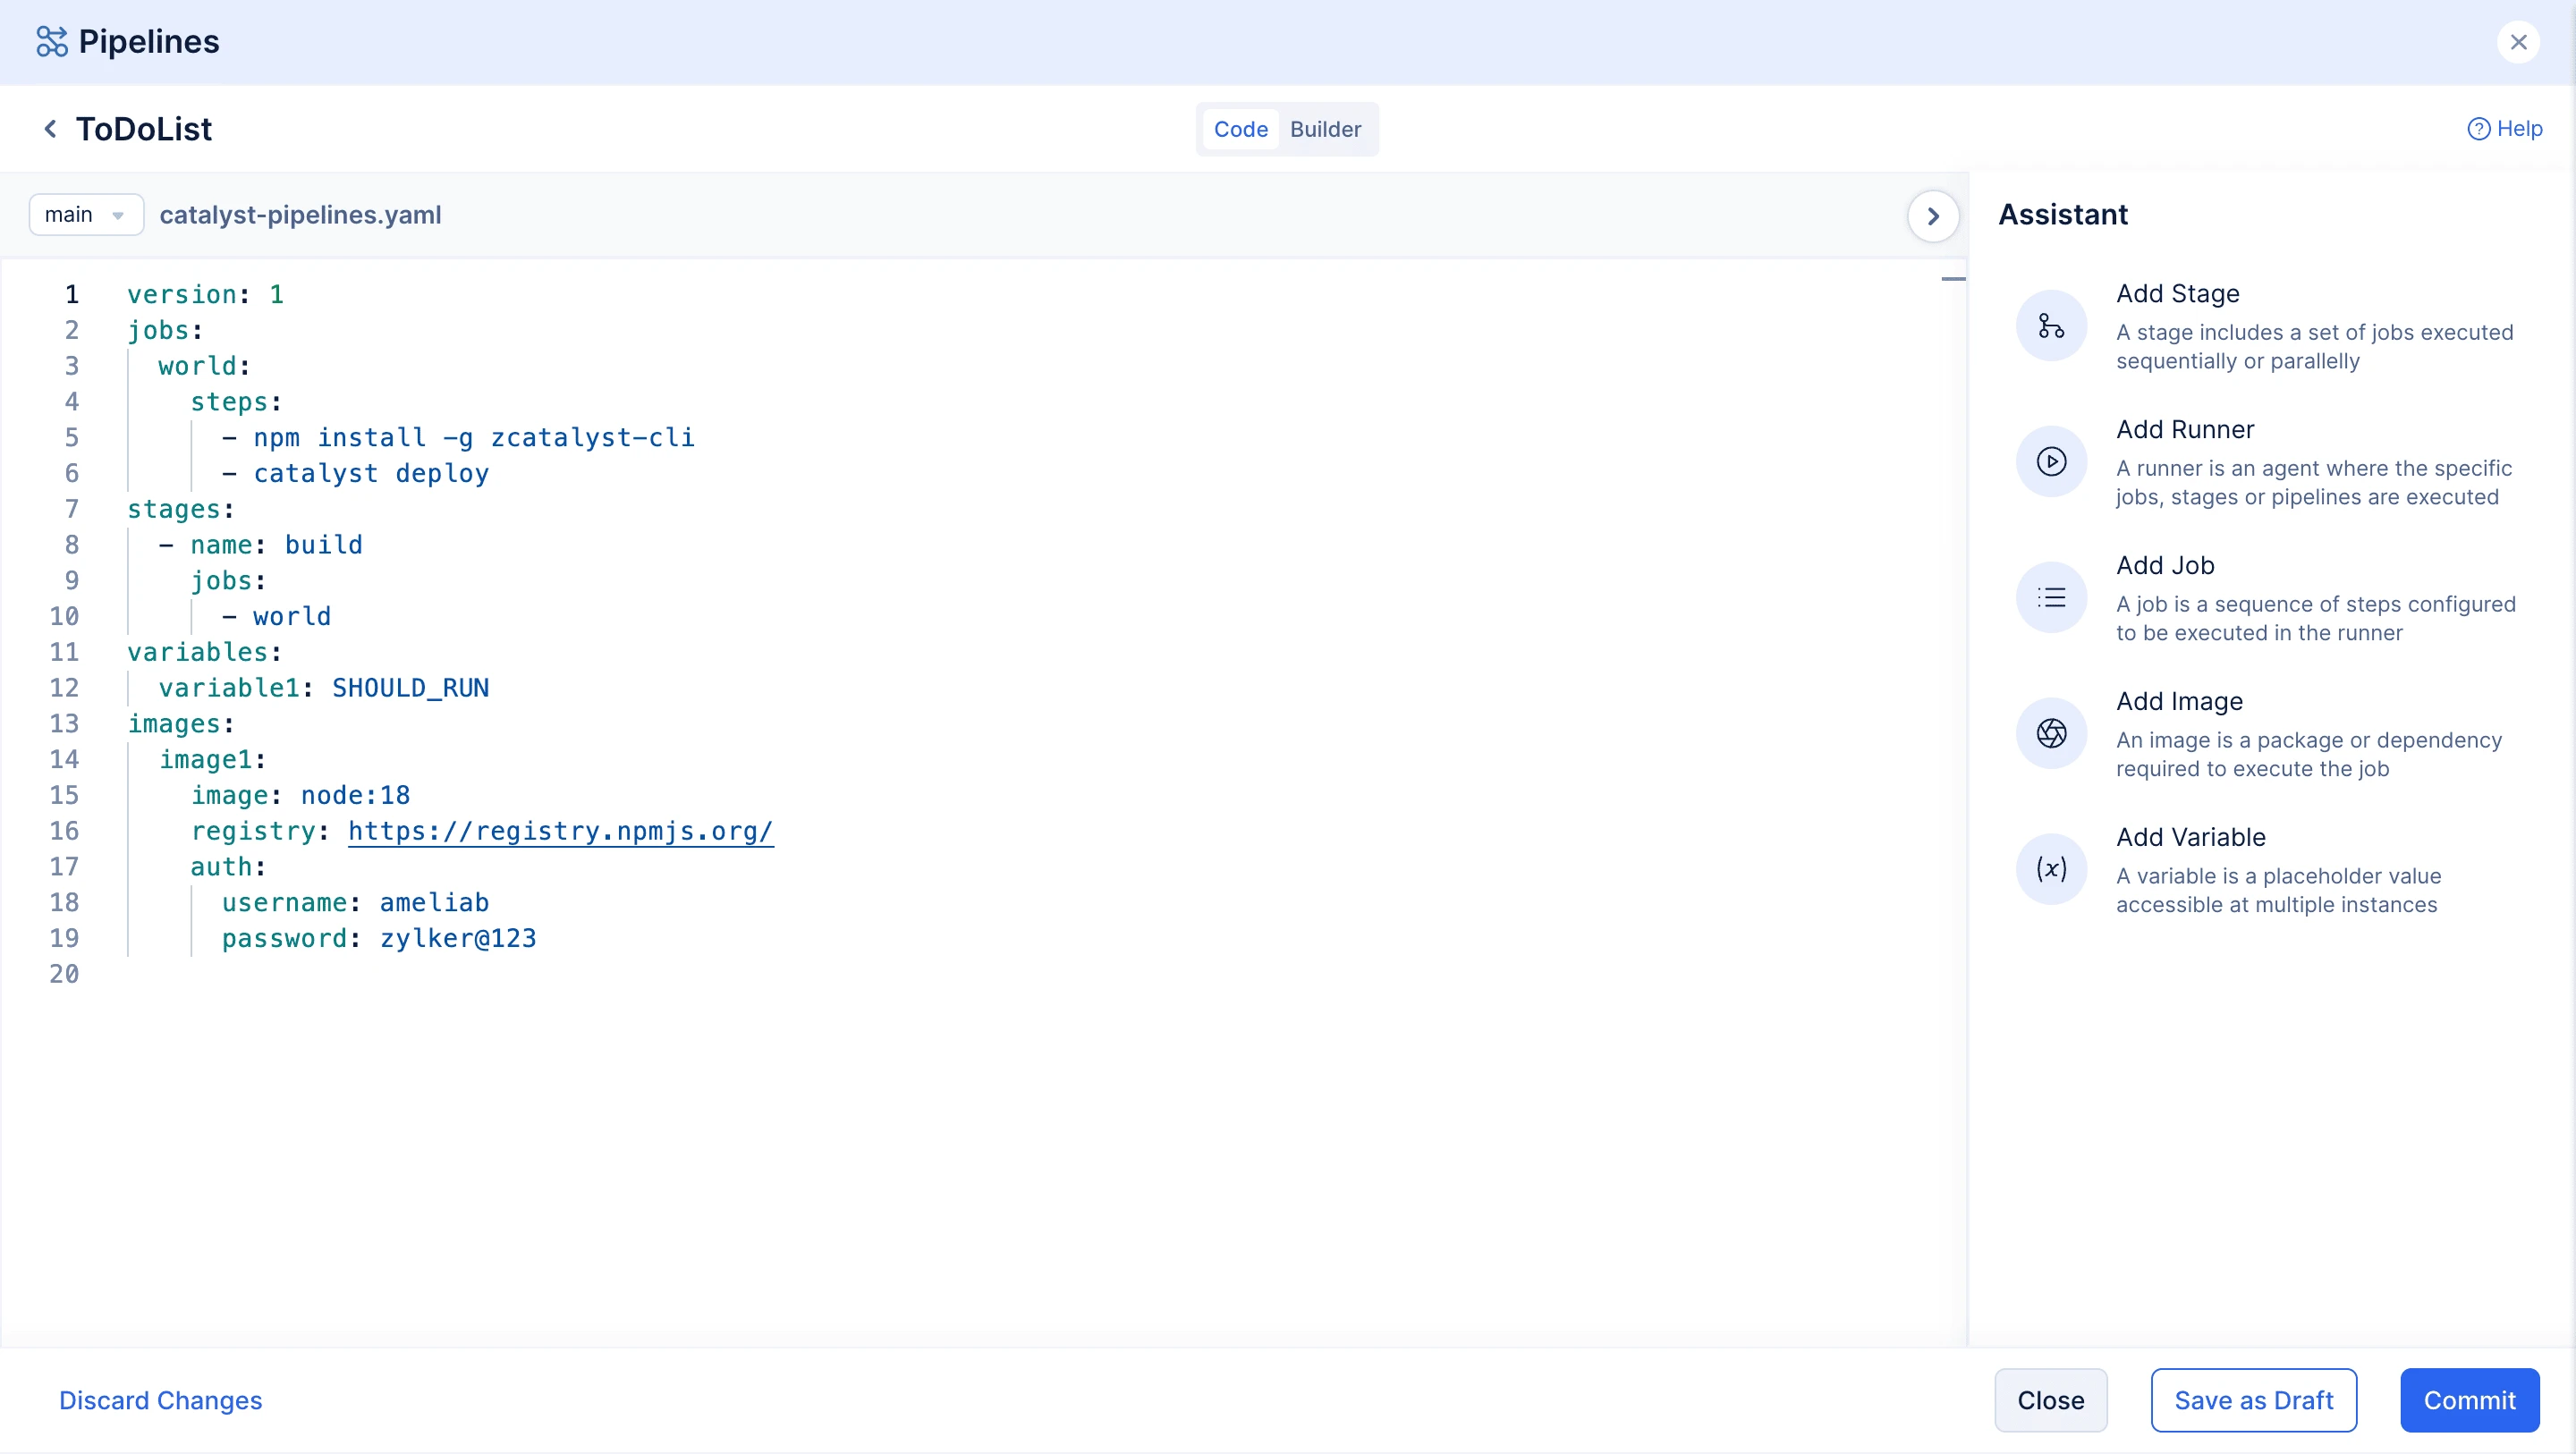
After you create the pipeline, the code editor opens automatically. A basic YAML code will be pre-defined in this file, you can start updating it as required.
-
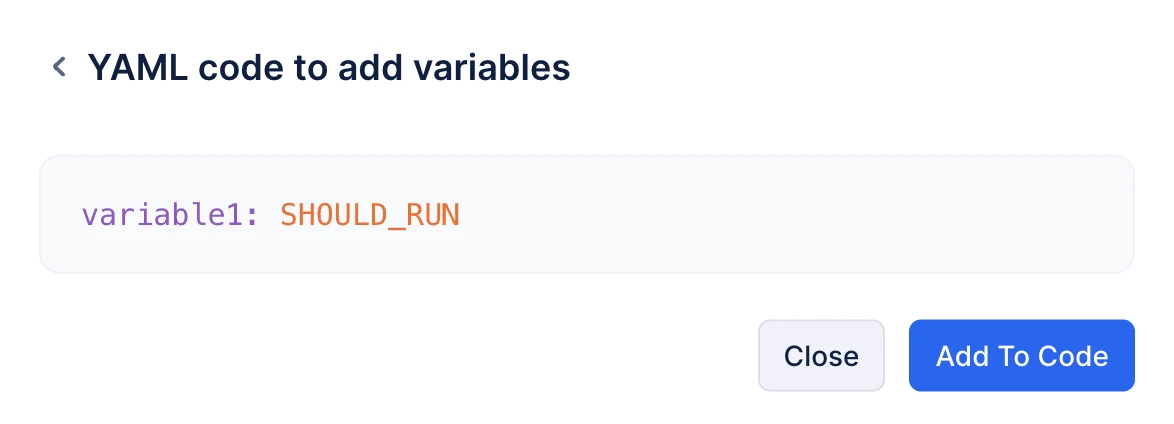
In the Assistant panel on the right, click Add Variable. Enter the key-value pairs and click Generate.

-
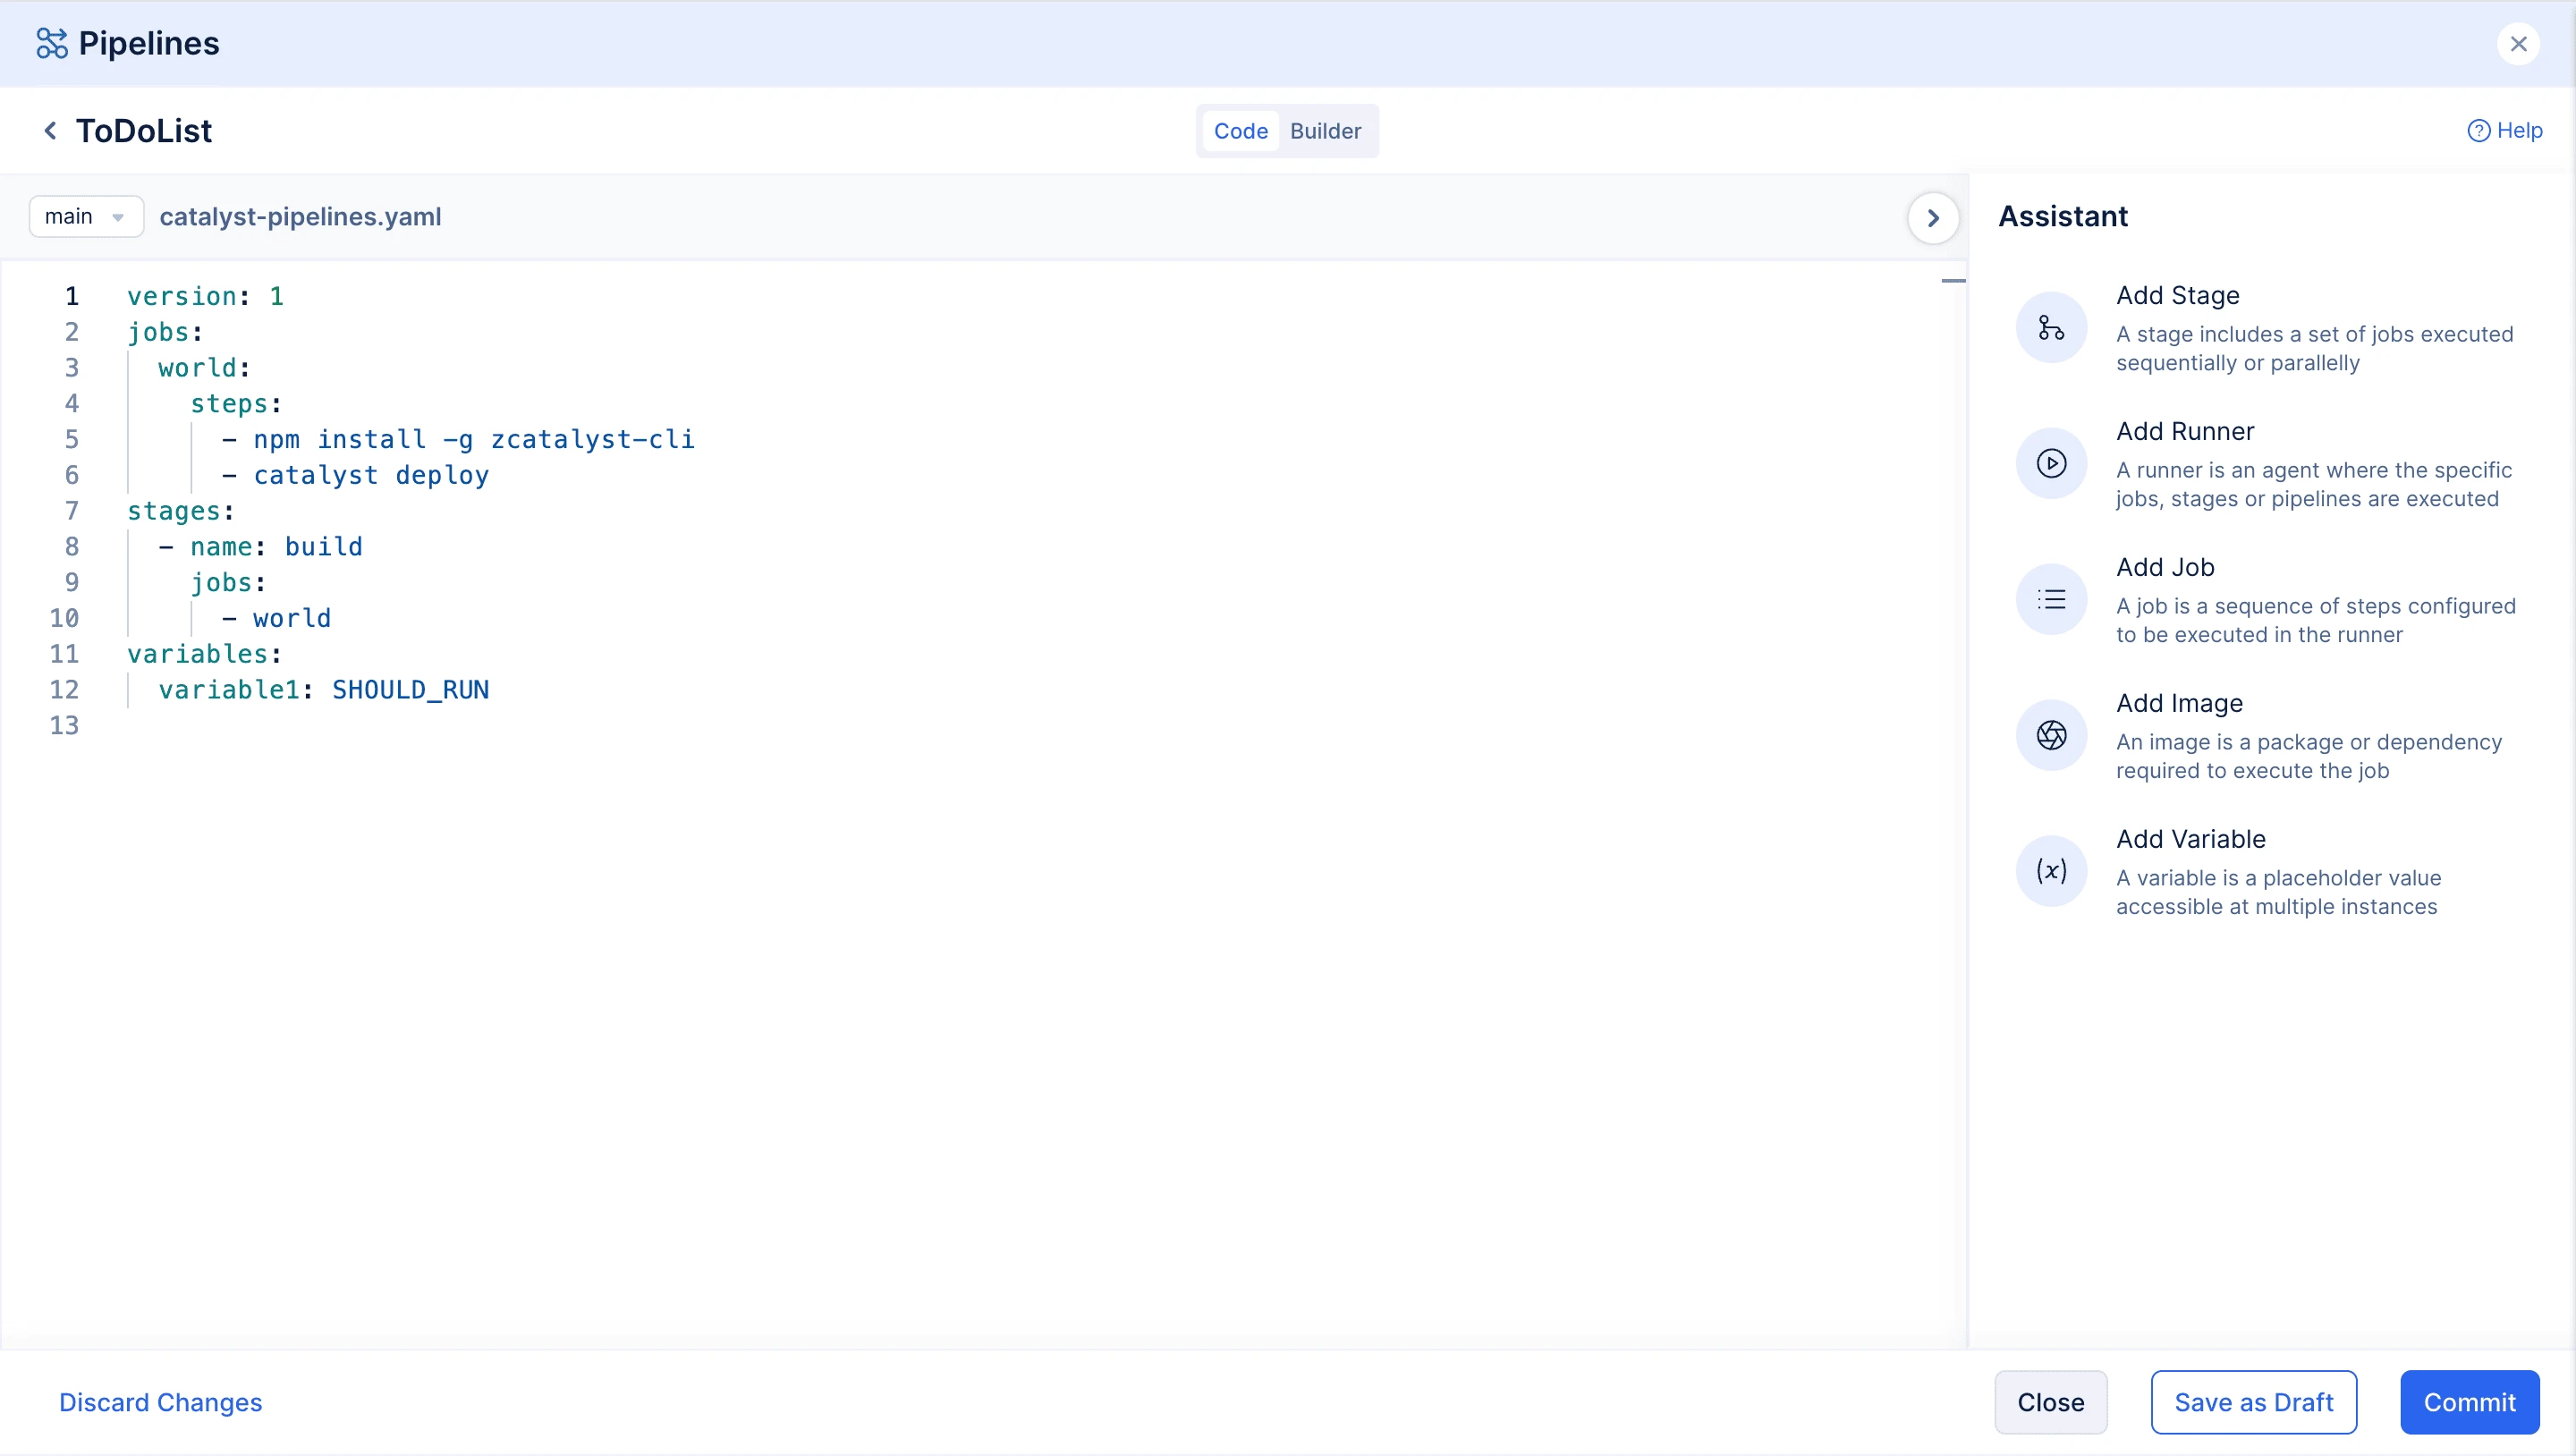
Click Add to Code.
The variables are now added in the YAML code.
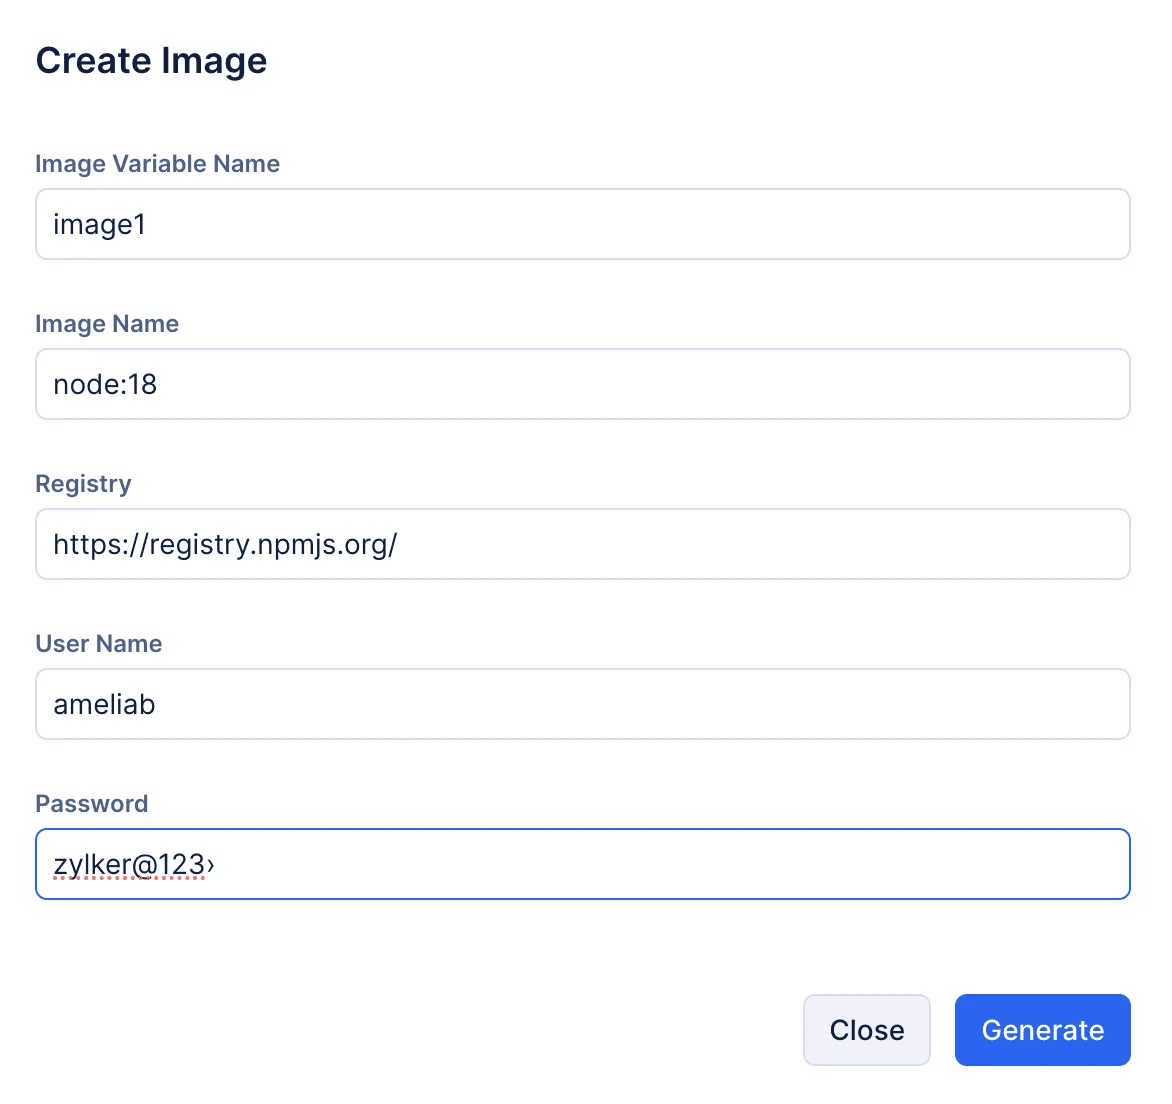
- Now, let us add the required images for the pipeline execution. Click Create Image.
In the Create Image pop-up, enter the Image Variable name, image name, the registry URL, the username and password of the registry. Click Generate.
Click Add to Code.
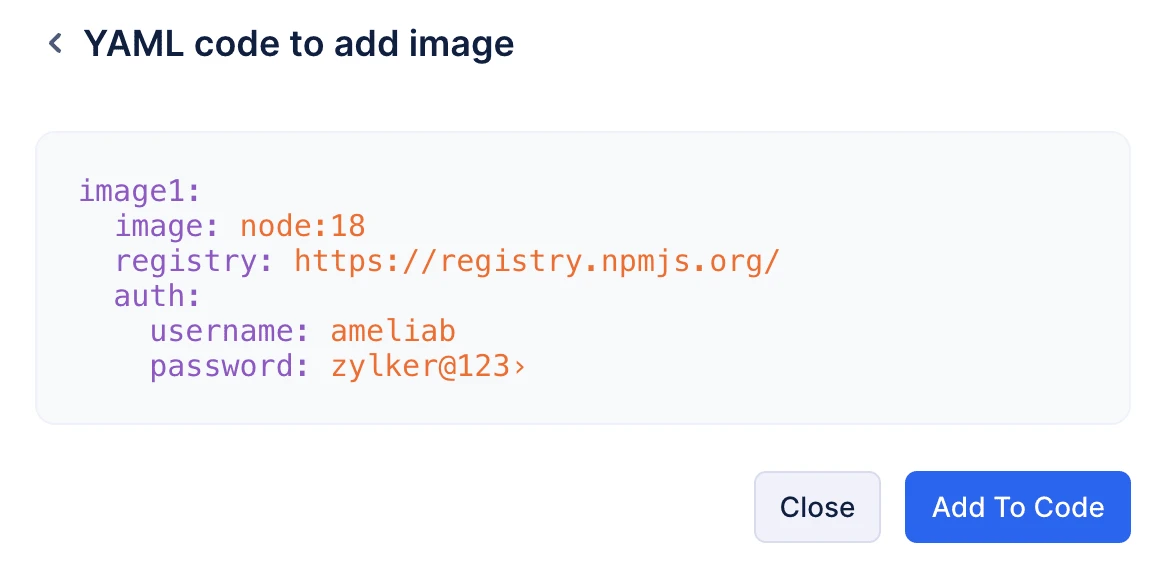
The image is now added in the YAML code.
-
Click Add Runners. Enter the runner name and choose the runner configuration. You can learn more about runner configurations from this help page.

Click Generate.
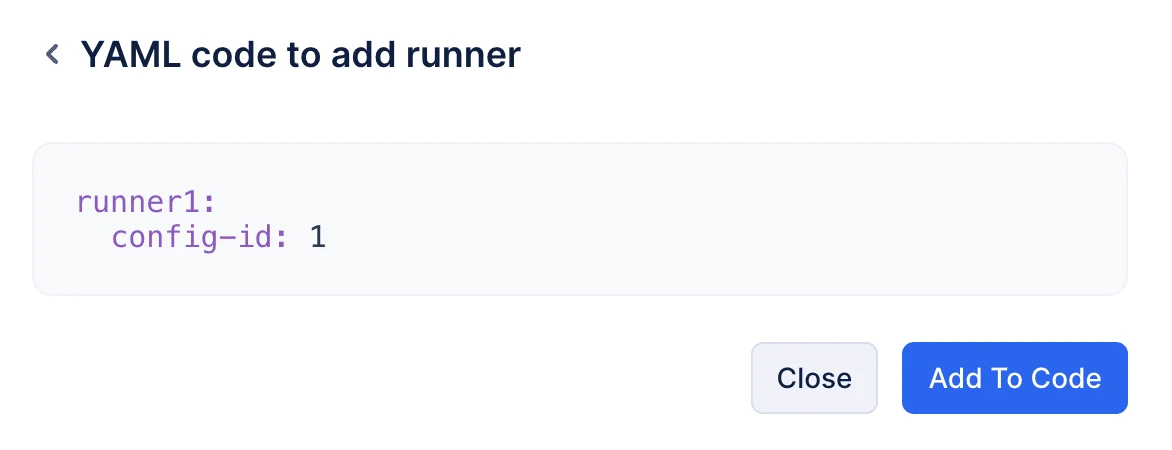
Click Add to Code. The runner is now added in the YAML code.

-
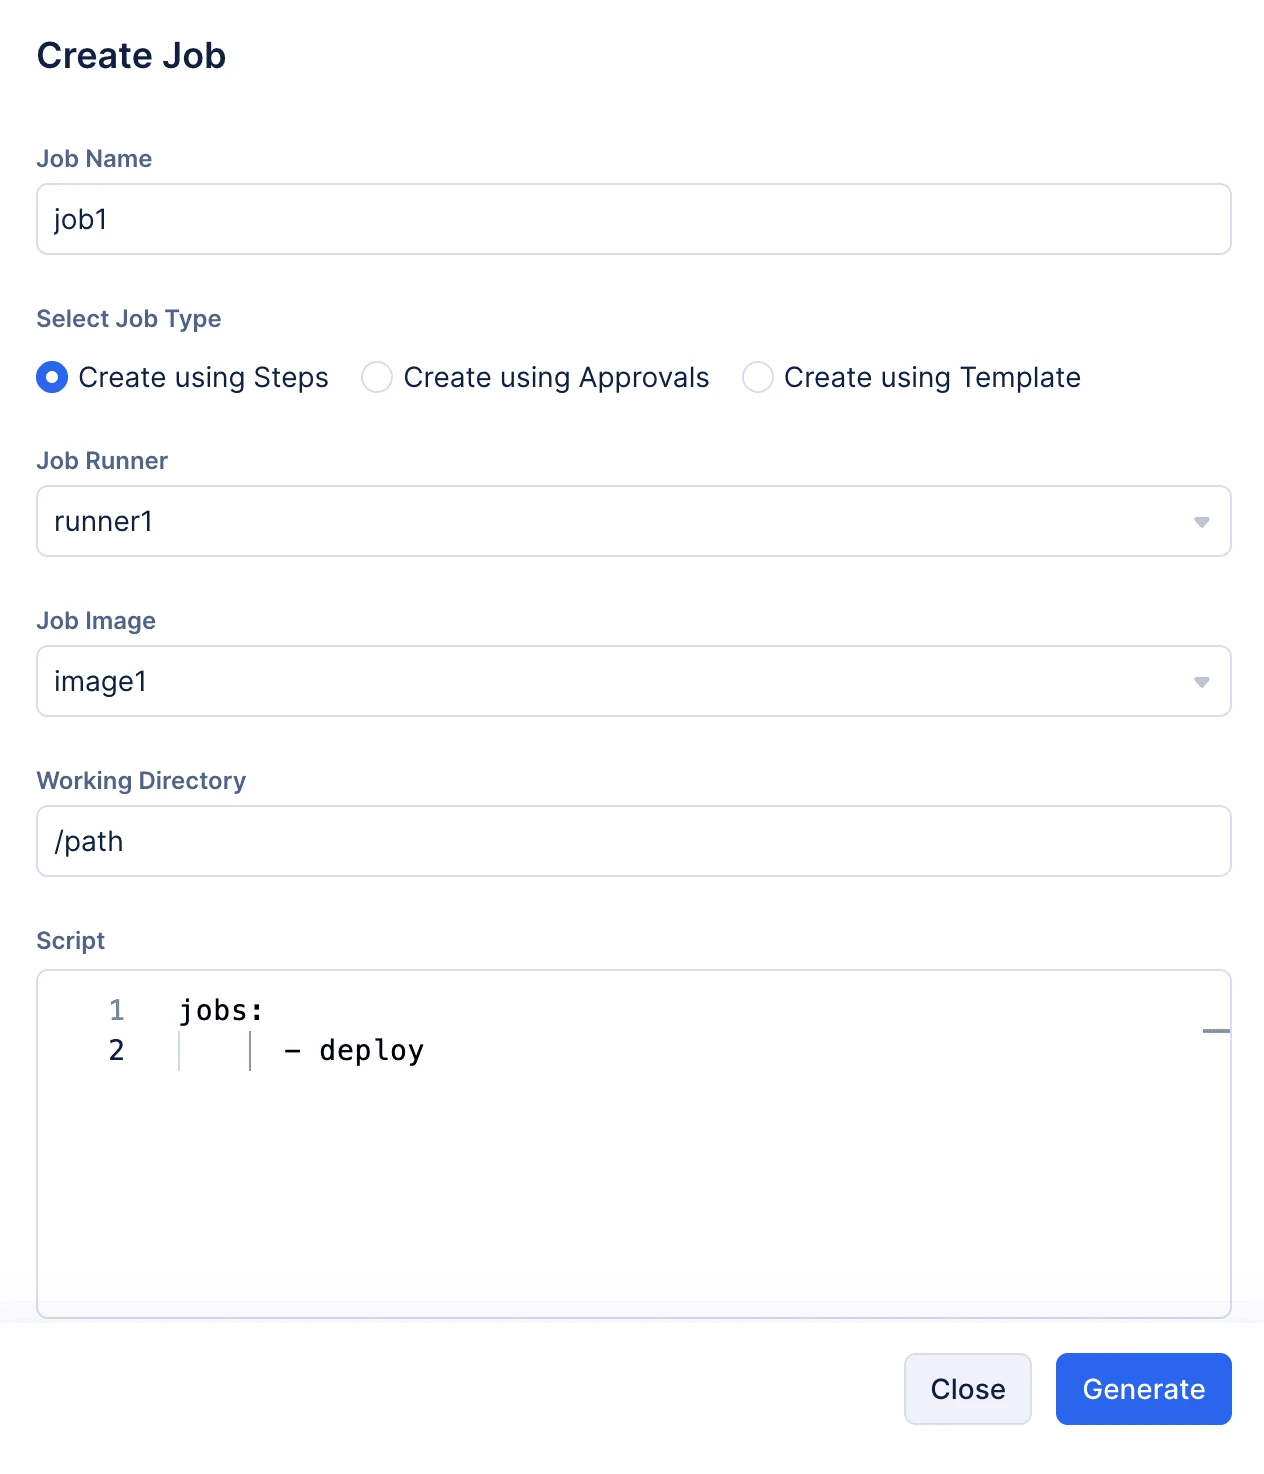
Let us now add the required jobs for the pipeline. Click Add Job. Provide a name for the job.
You can create the job using any one of the following options:
-
Create using Steps : This option allows you to define your own set of commands in the script editor below. You can select the required runner and image configurations for the job. Add the path of the current working directory as shown below. Click Generate.
-
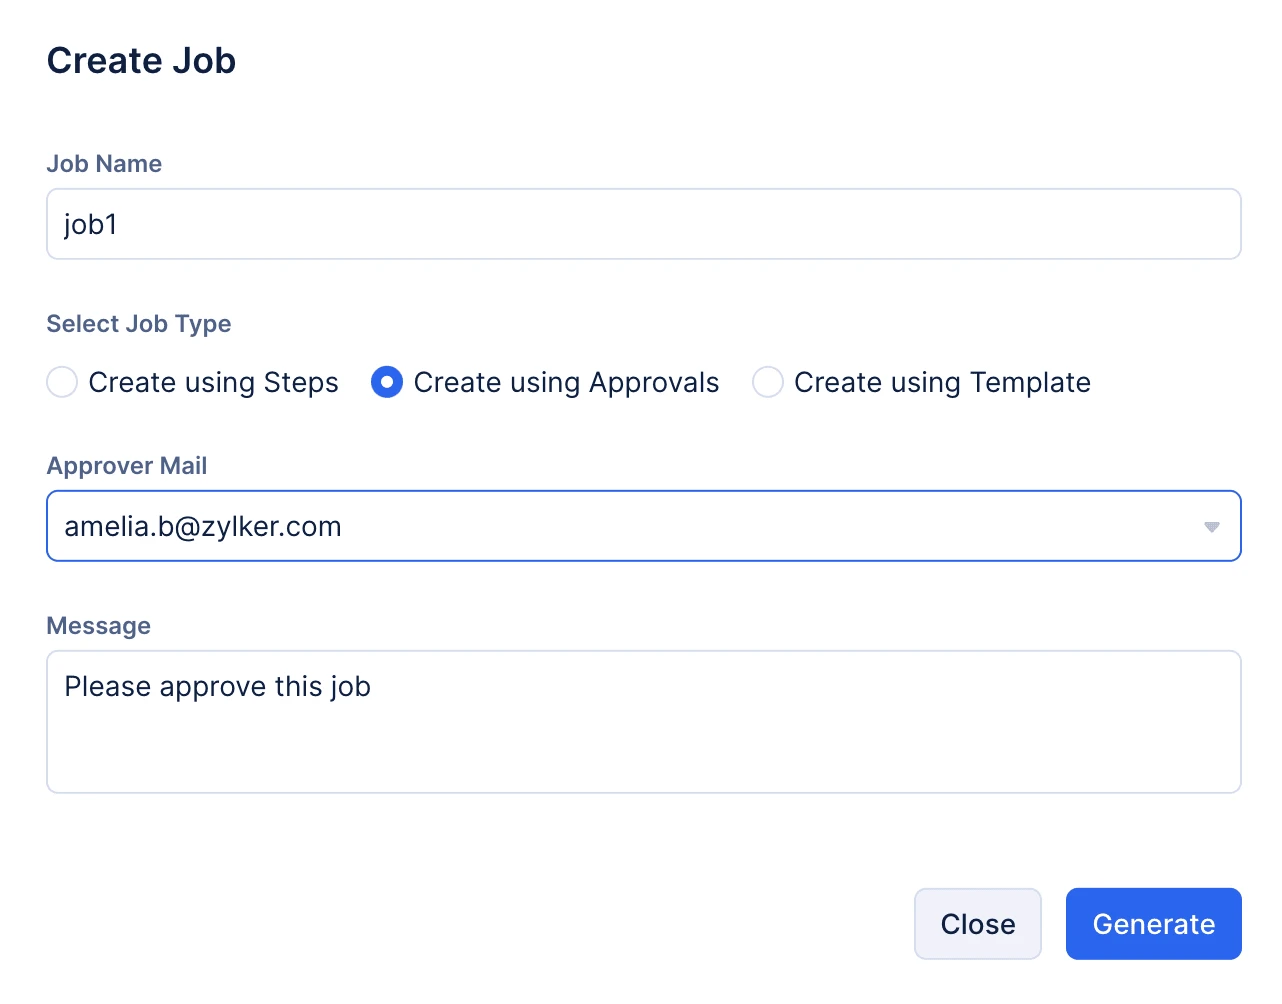
Create using Approvals : This creates an approval job for the pipeline. Select the required approver email address and enter a message as shown below. Click Generate.
-
Create using Templates : This creates the jobs using the pre-defined templates available in Catalyst. If your use case fits into any of these operations, you can directly choose the template.
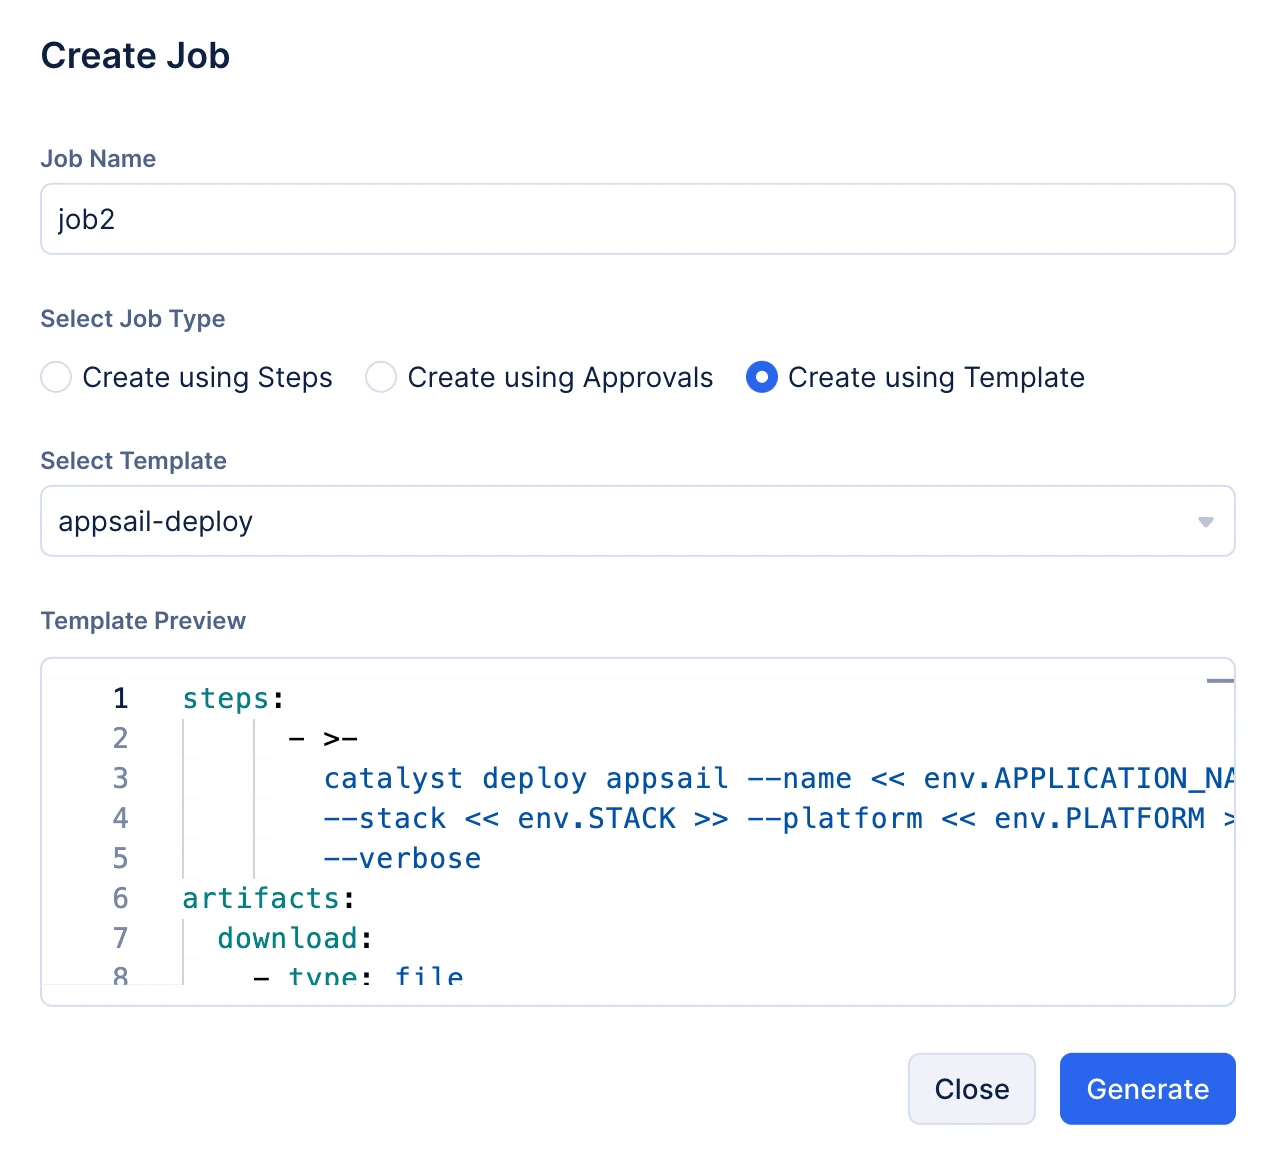
Click Generate.
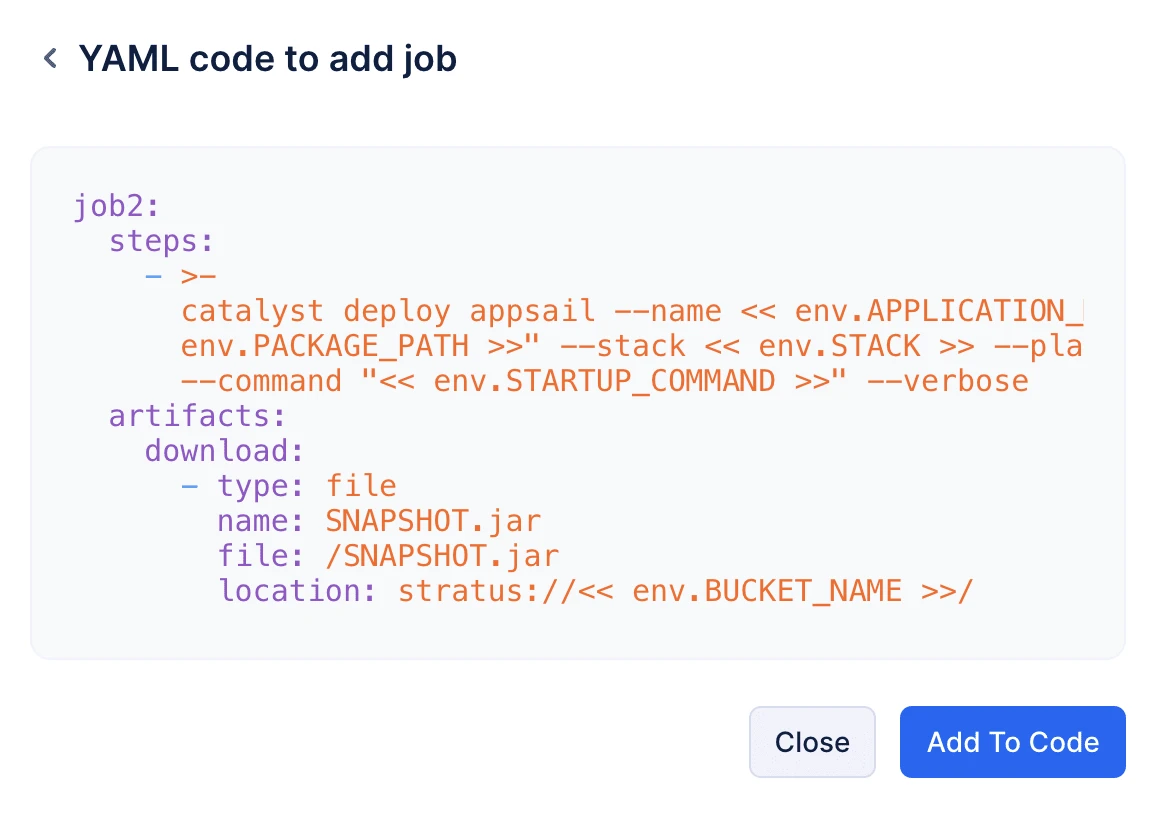
Click Add to Code and the job will be added to the YAML.
- Now, let us define the stages of the pipeline. Click Add Stage. Provide the stage name and select the required jobs for the stage.
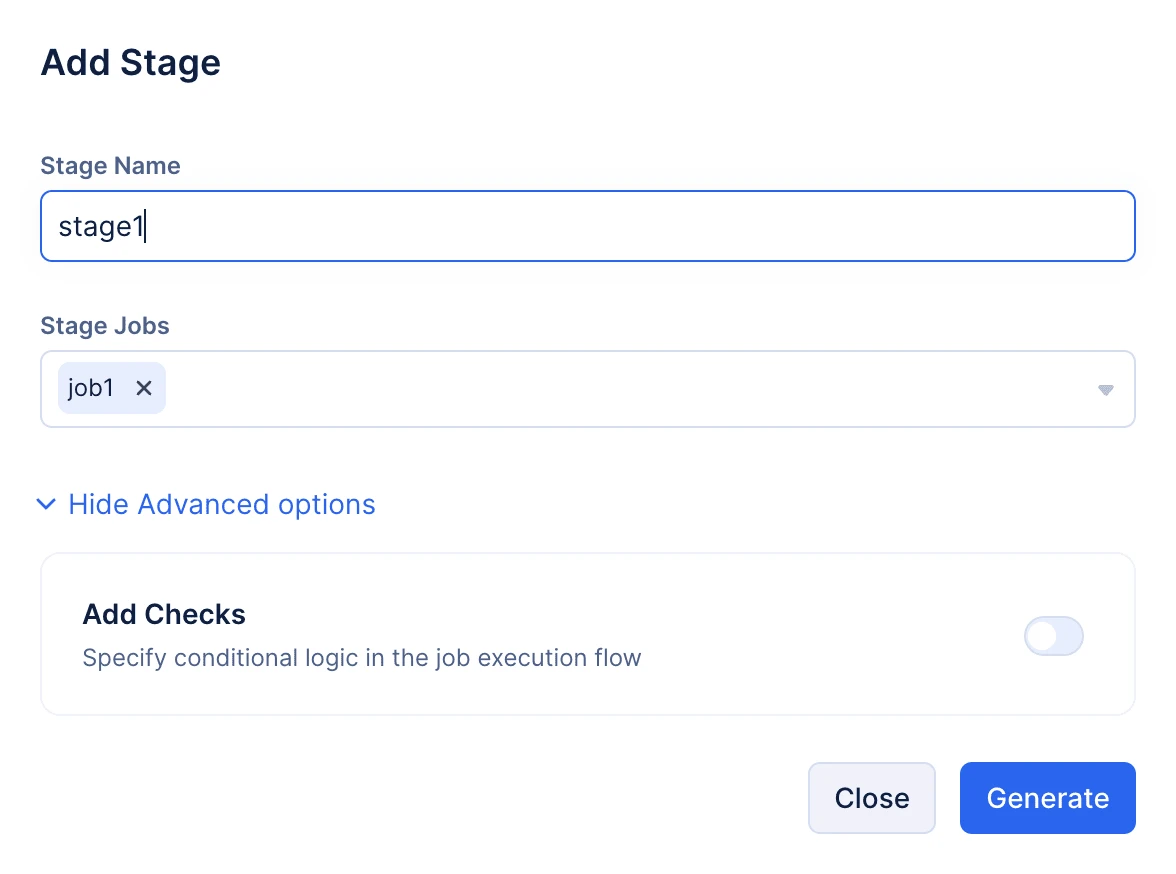
Click Show Advanced Options and enable Checks if you need to add any conditional logic within the stage execution.
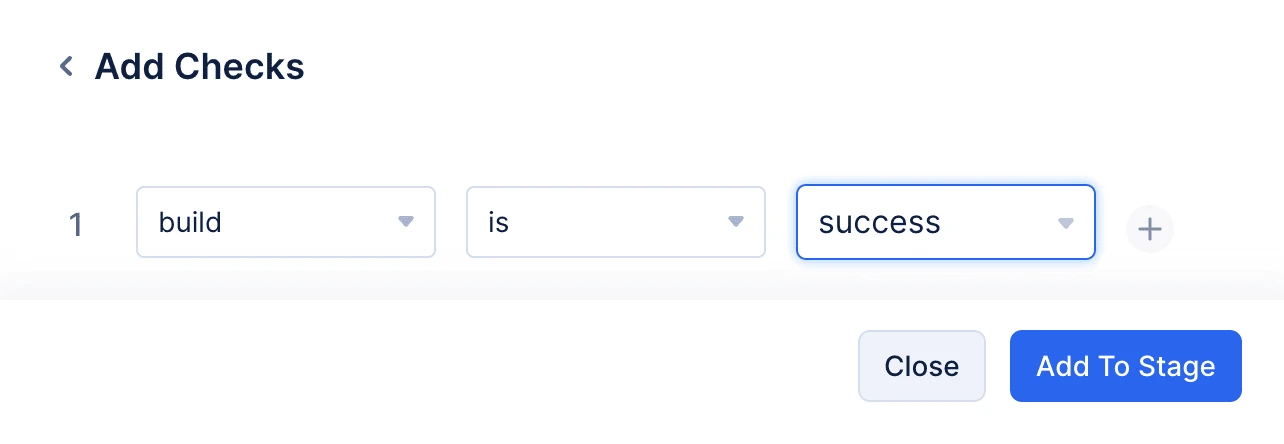
You can add checks as shown below and click Add to Stage.
Click Generate and click Add to Code.
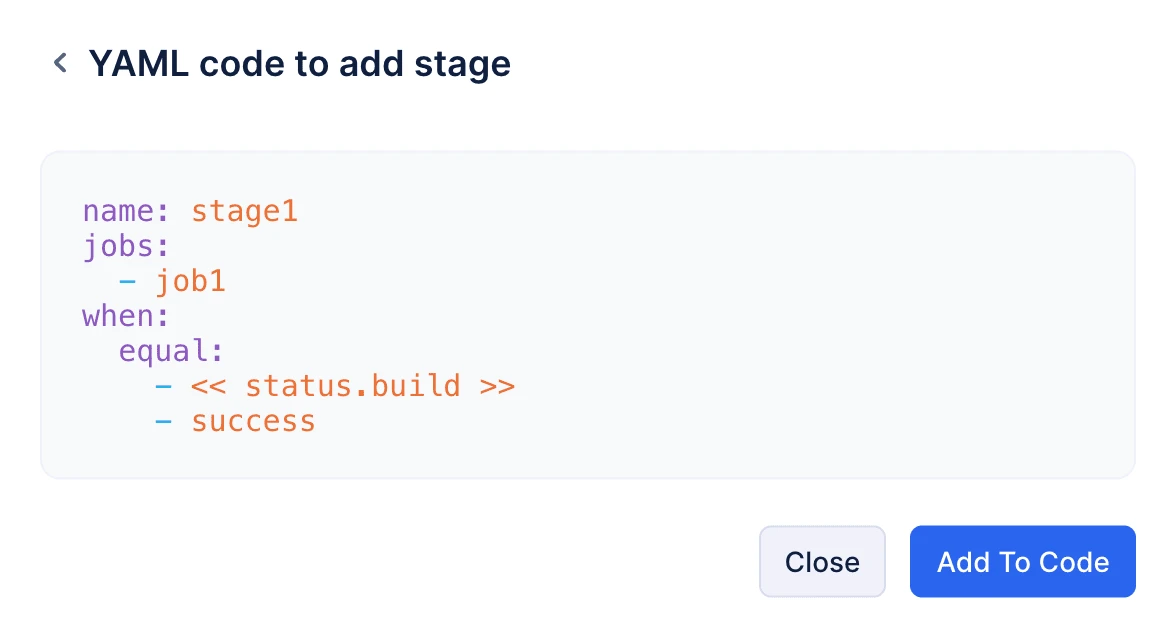
The stage is now added in the YAML code.
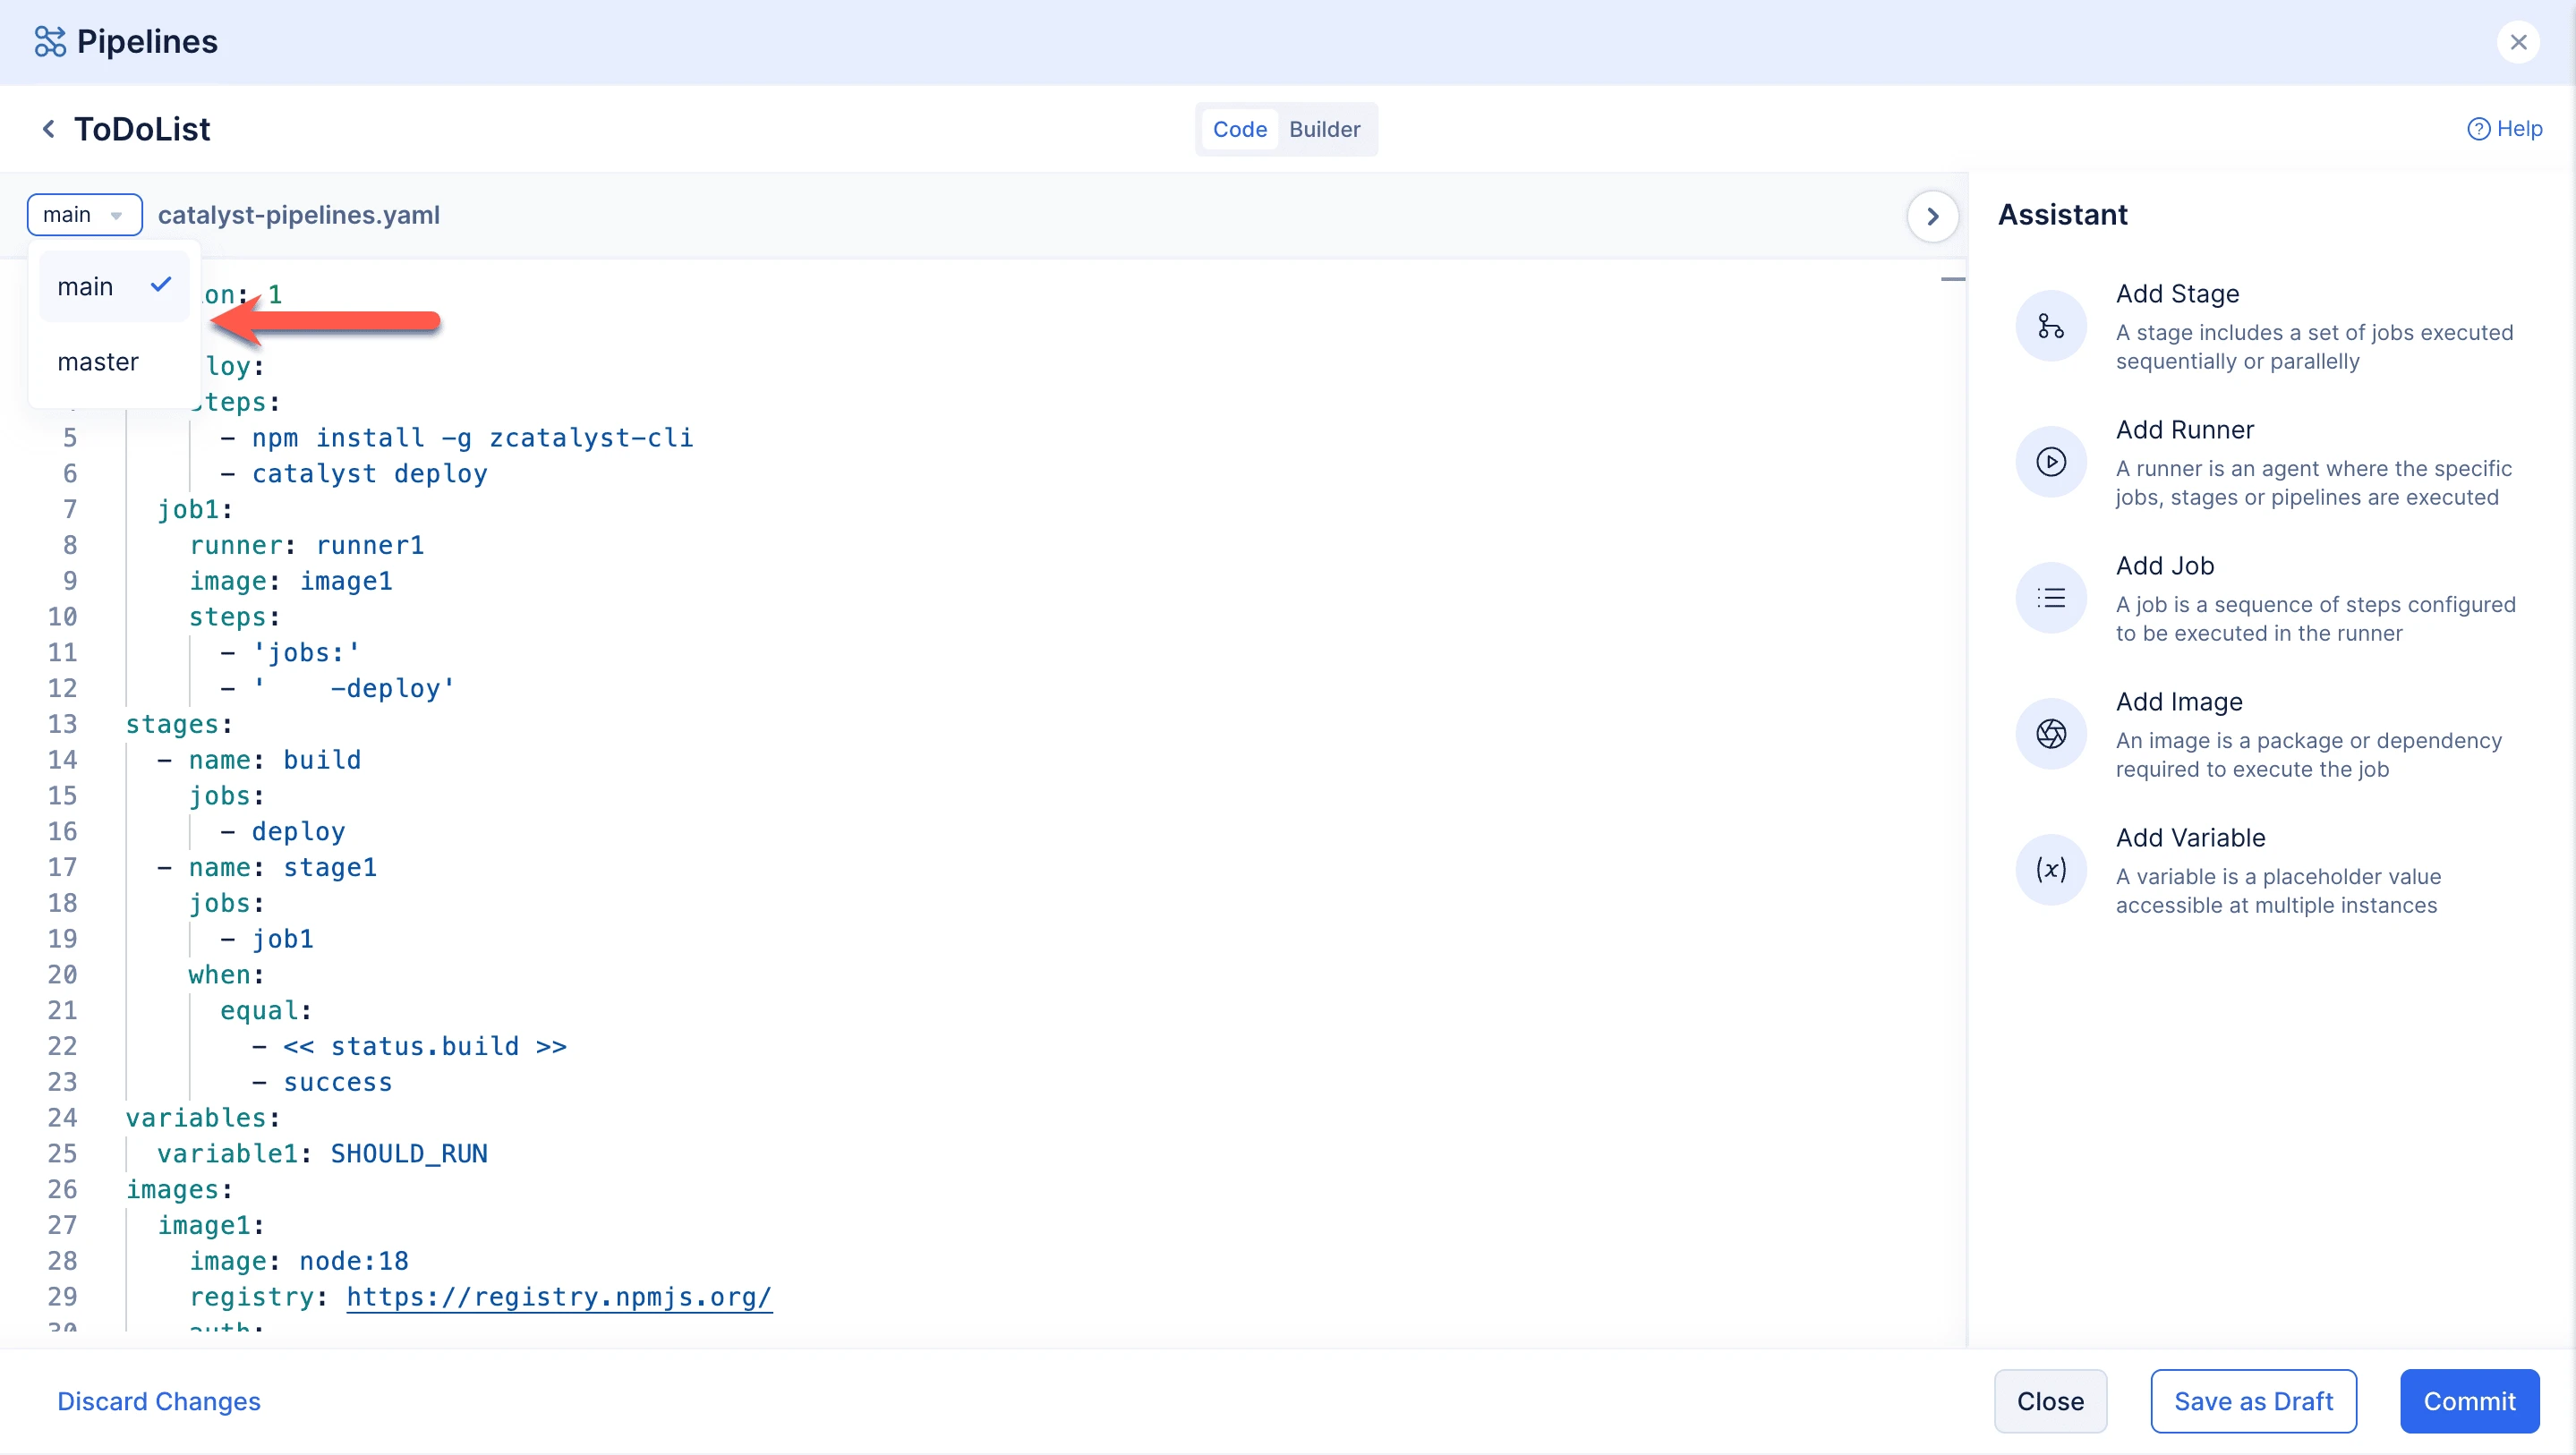
Once you have completed configuring the YAML, you can click Save. When you need to save your configurations partially and continue editing them later, you can click Save as Draft.
You can choose the branch in which the YAML file has to be committed as shown in the screenshot below and click Commit.
Enter the commit message and click Commit.
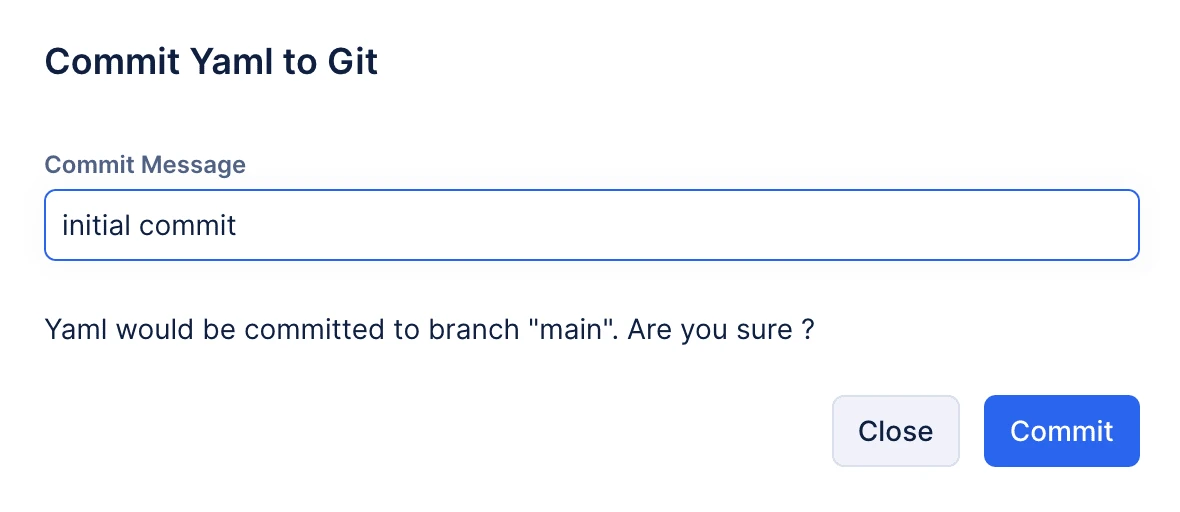
The catalyst-pipelines.yaml file will be updated in your Git repository.
Similarly, you can configure the same pipeline using the visual builder.
First, switch to the Builder tab as shown in the screenshot below.
The drag-and-drop builder interface will open automatically.
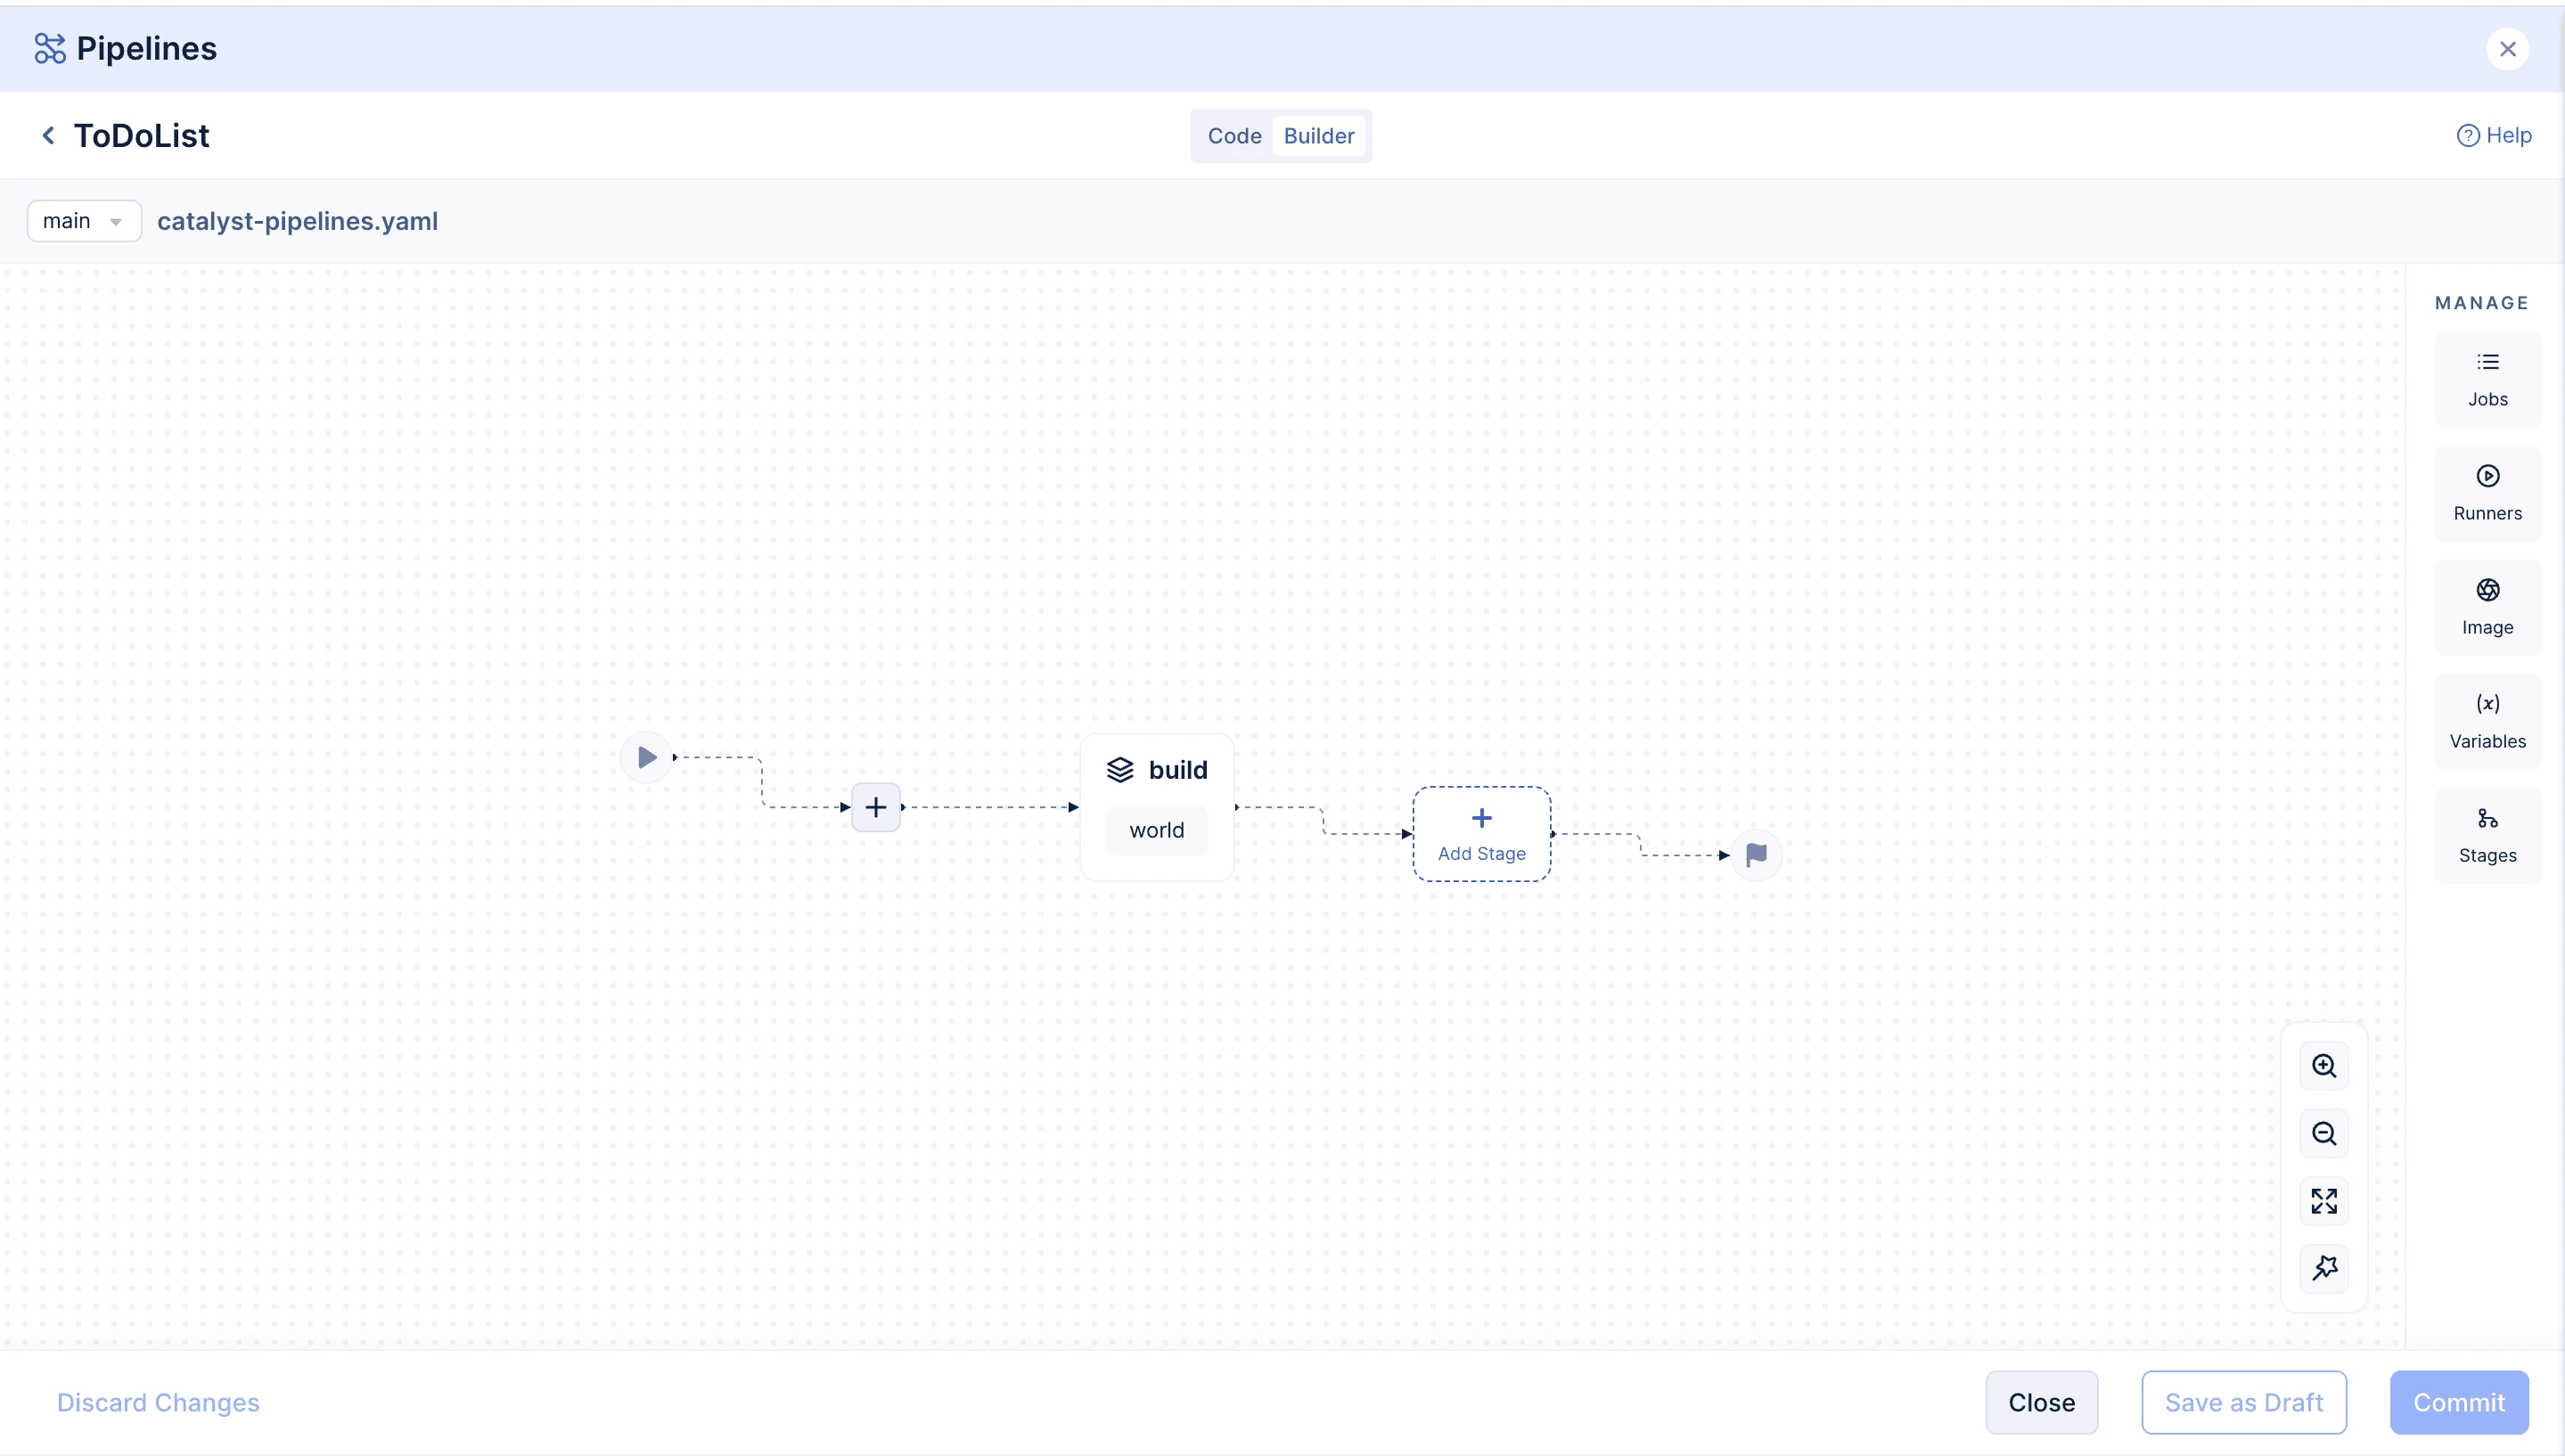
Here, you can simply drag and drop the components and follow the same steps as mentioned above.
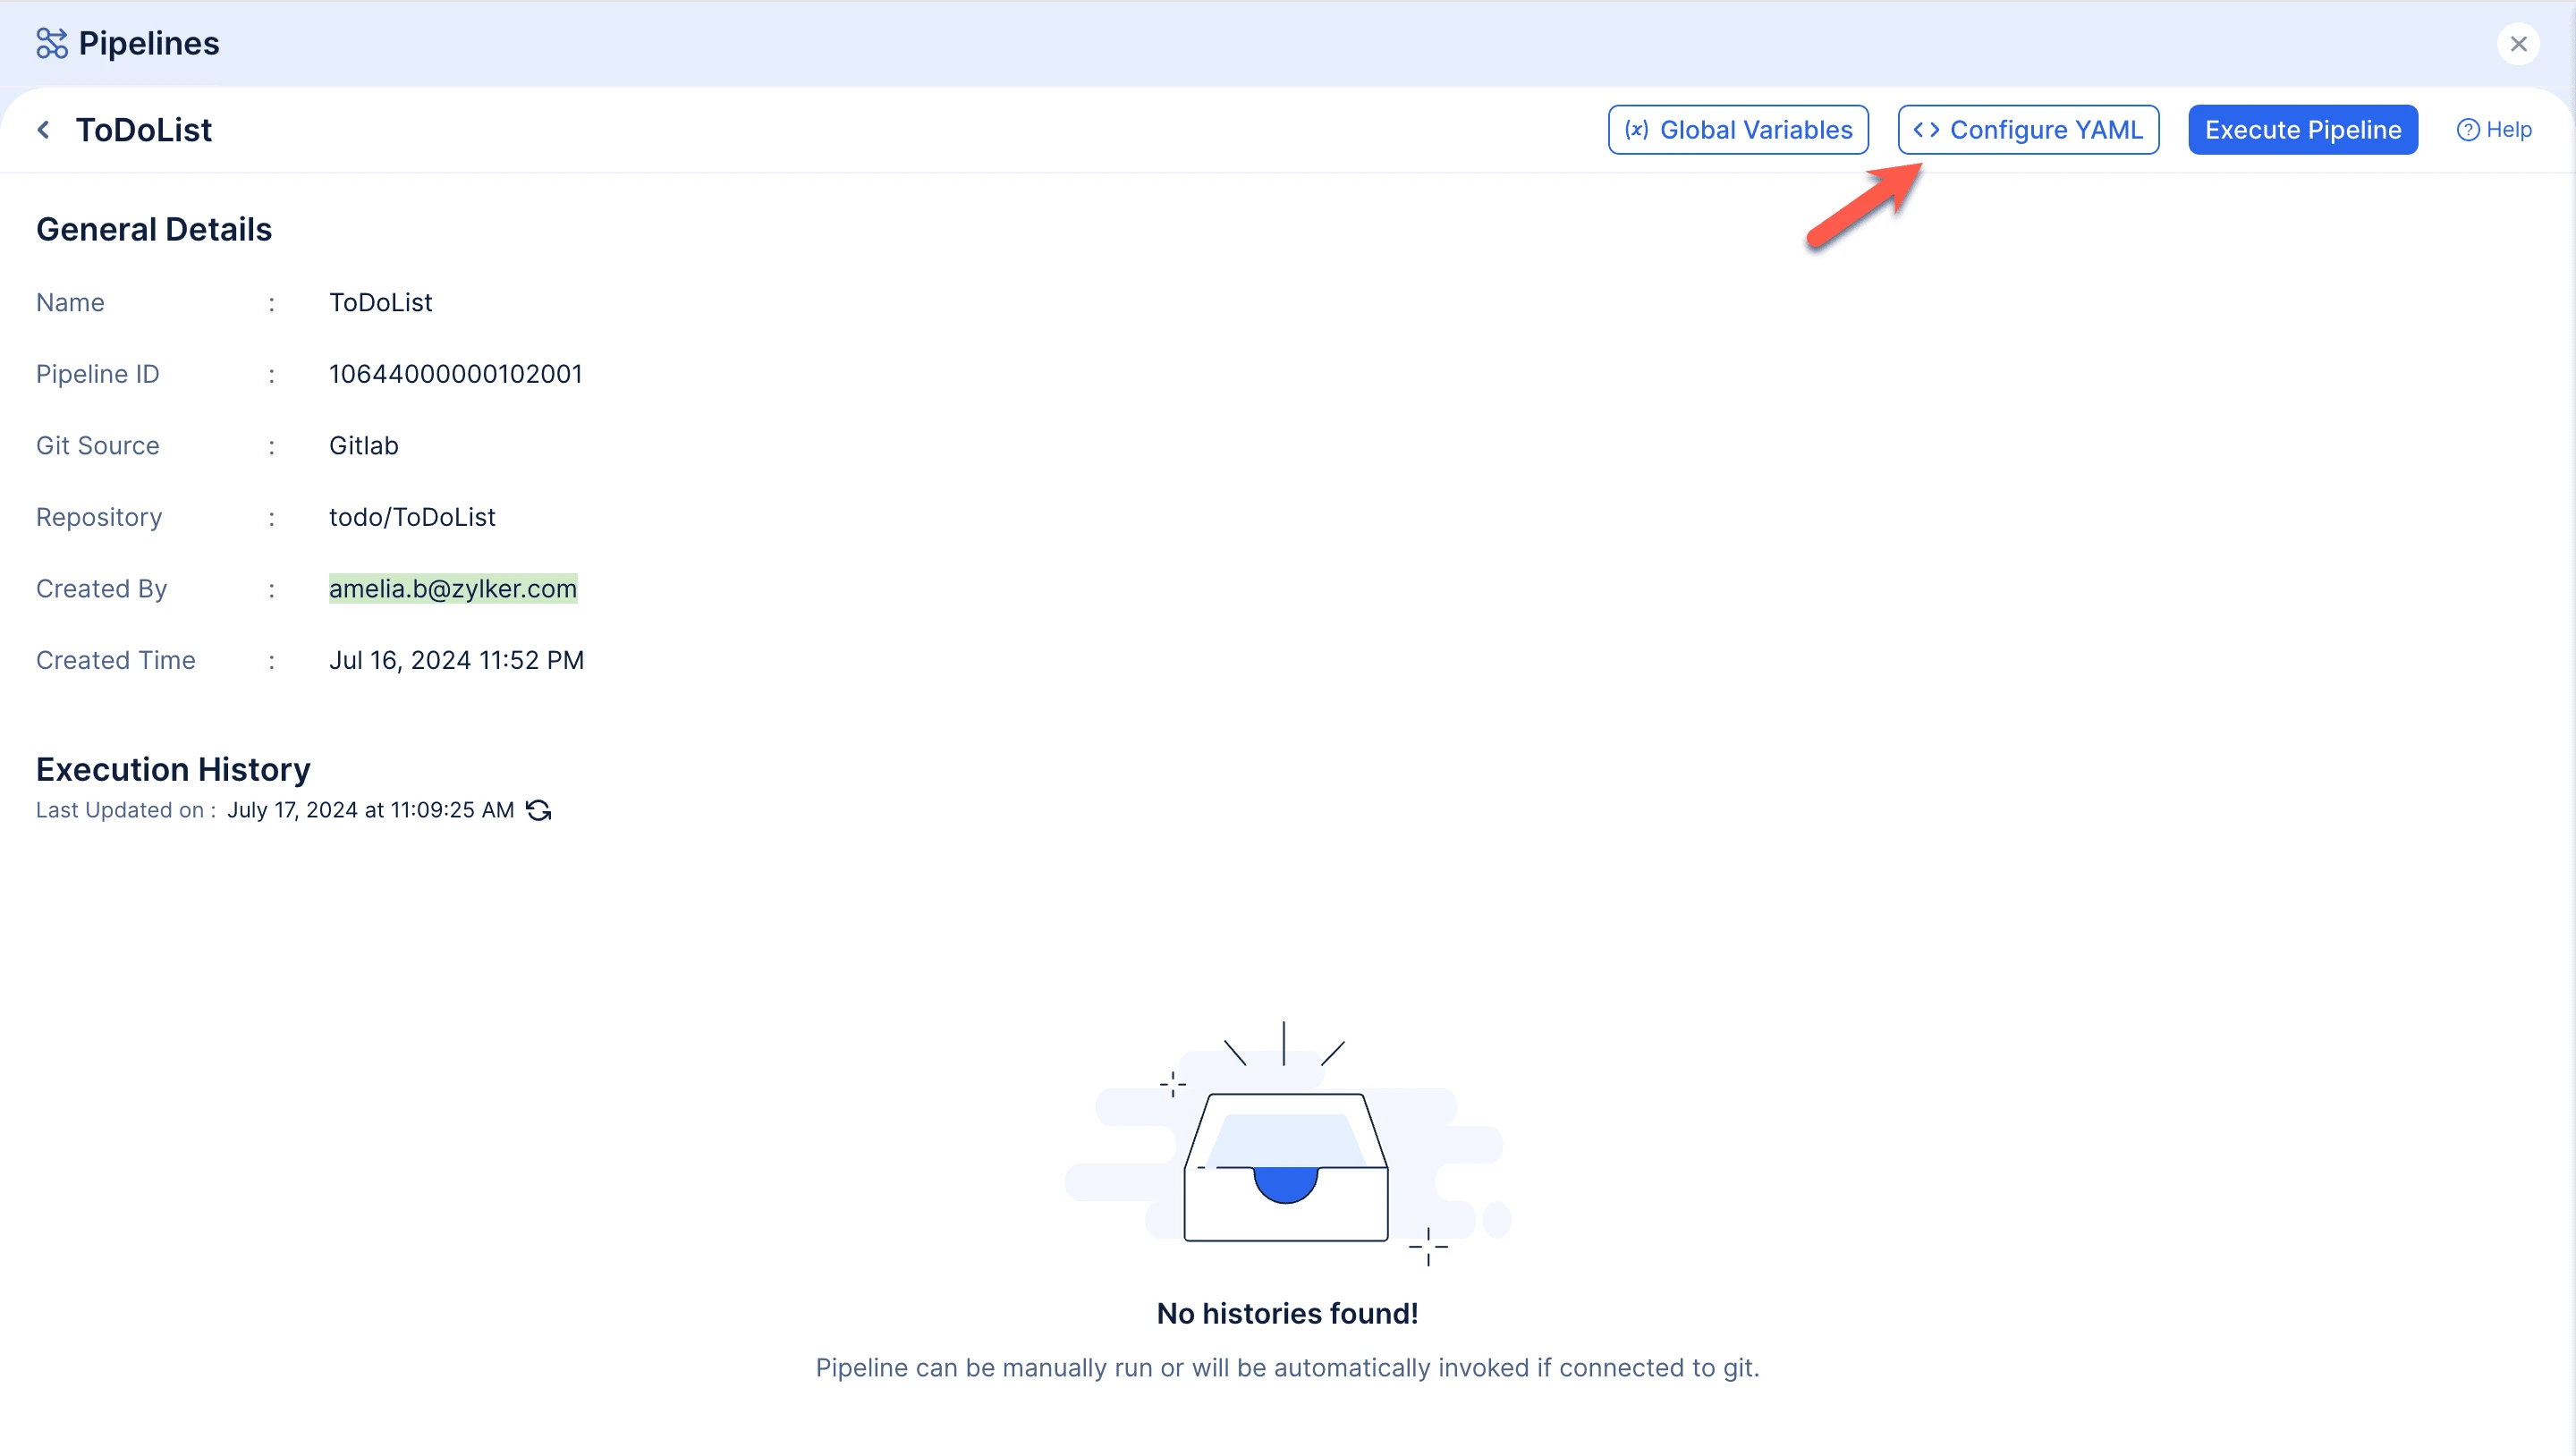
After configuring the YAML for the first time, you can make changes anytime by clicking on Configure YAML.
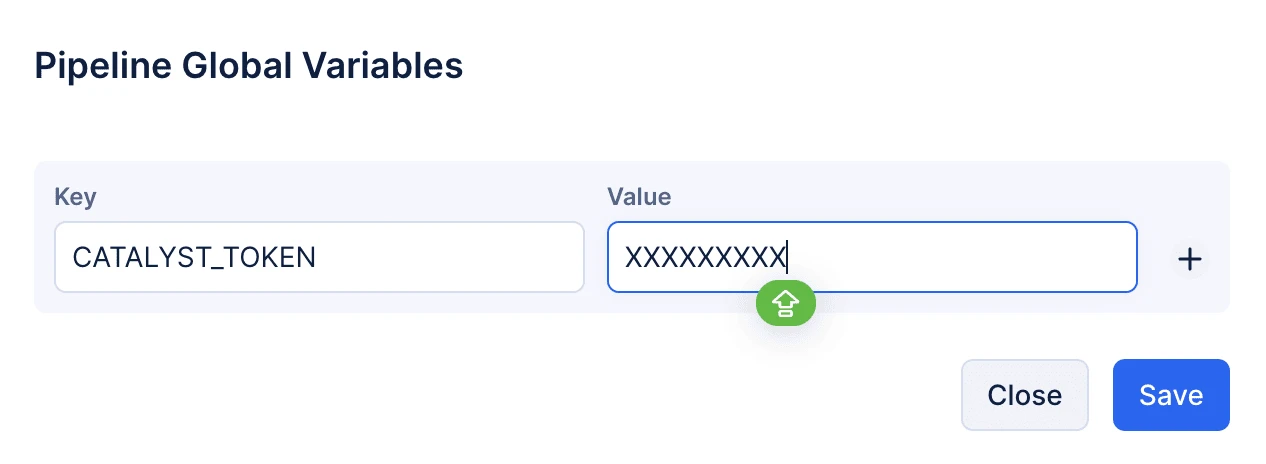
You can also add global variables that are accessible throughout the pipeline by simply clicking on Global Variables.
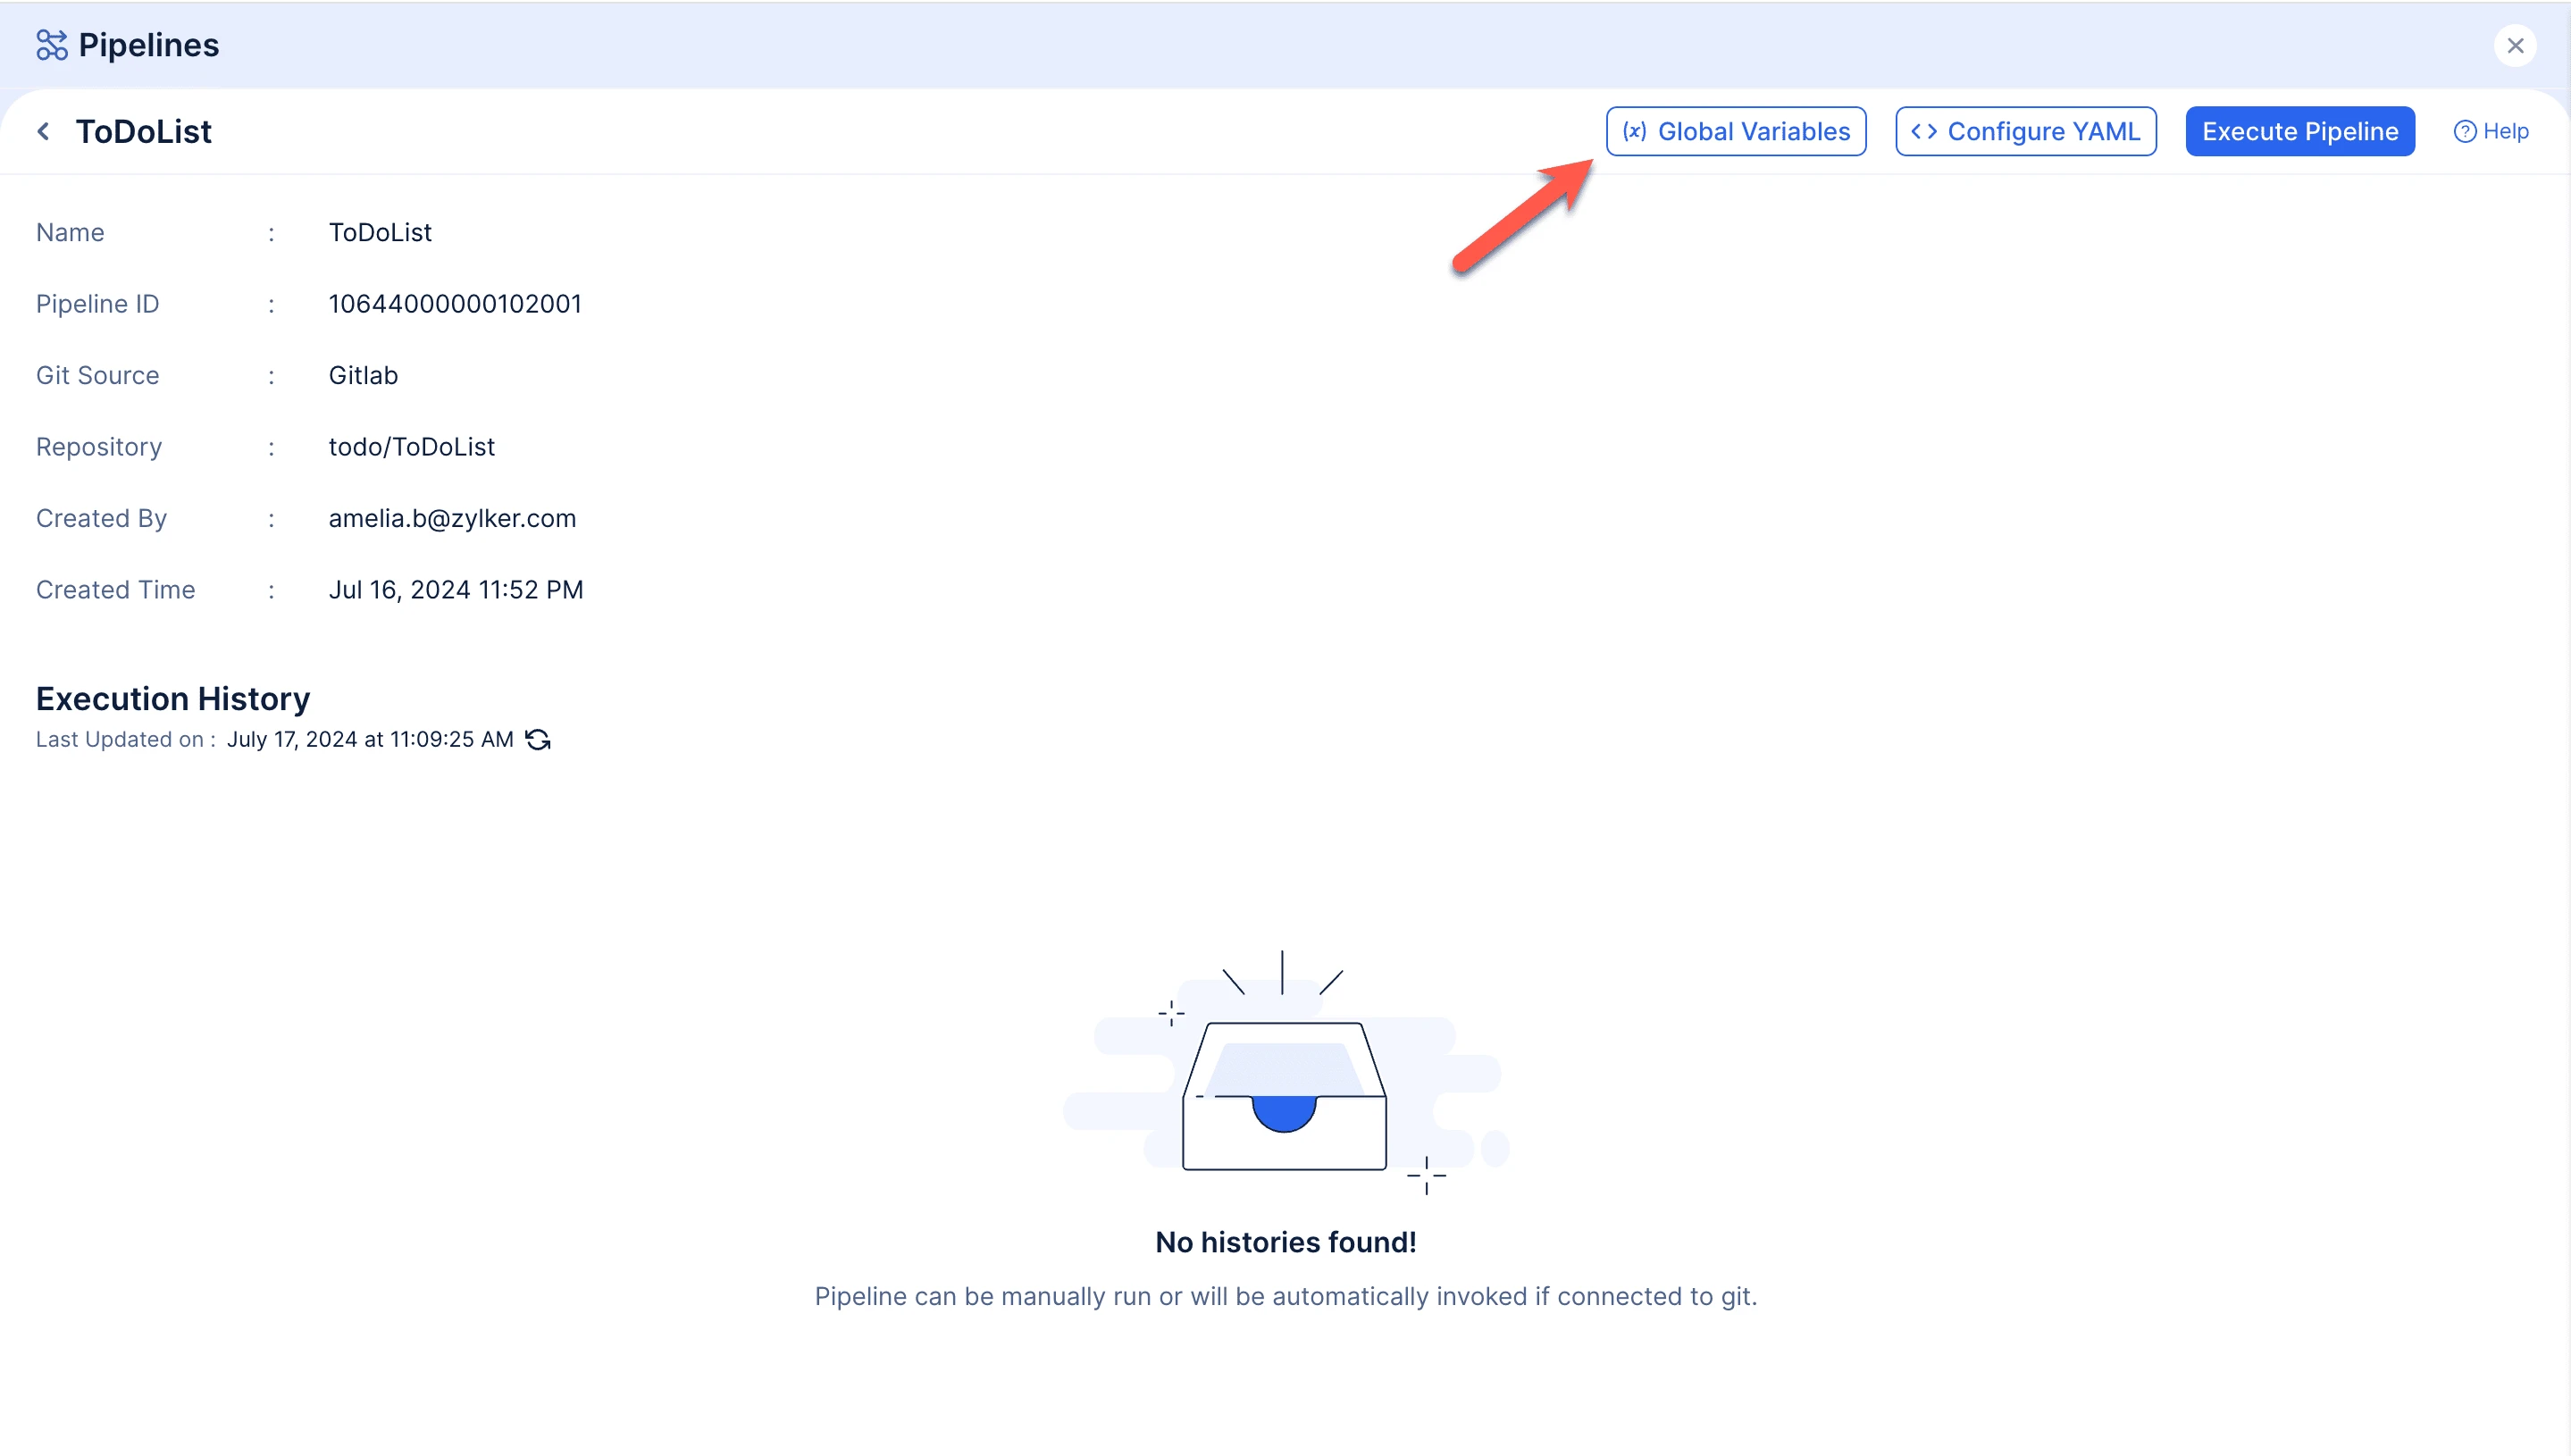
Add the variable name as key and its corresponding value. Click Save.
We will be discussing executing the pipeline in the next section.
Last Updated 2025-06-03 18:19:55 +0530 IST
Yes
No
Send your feedback to us