Create a Job Pool
To create a Job Pool:
-
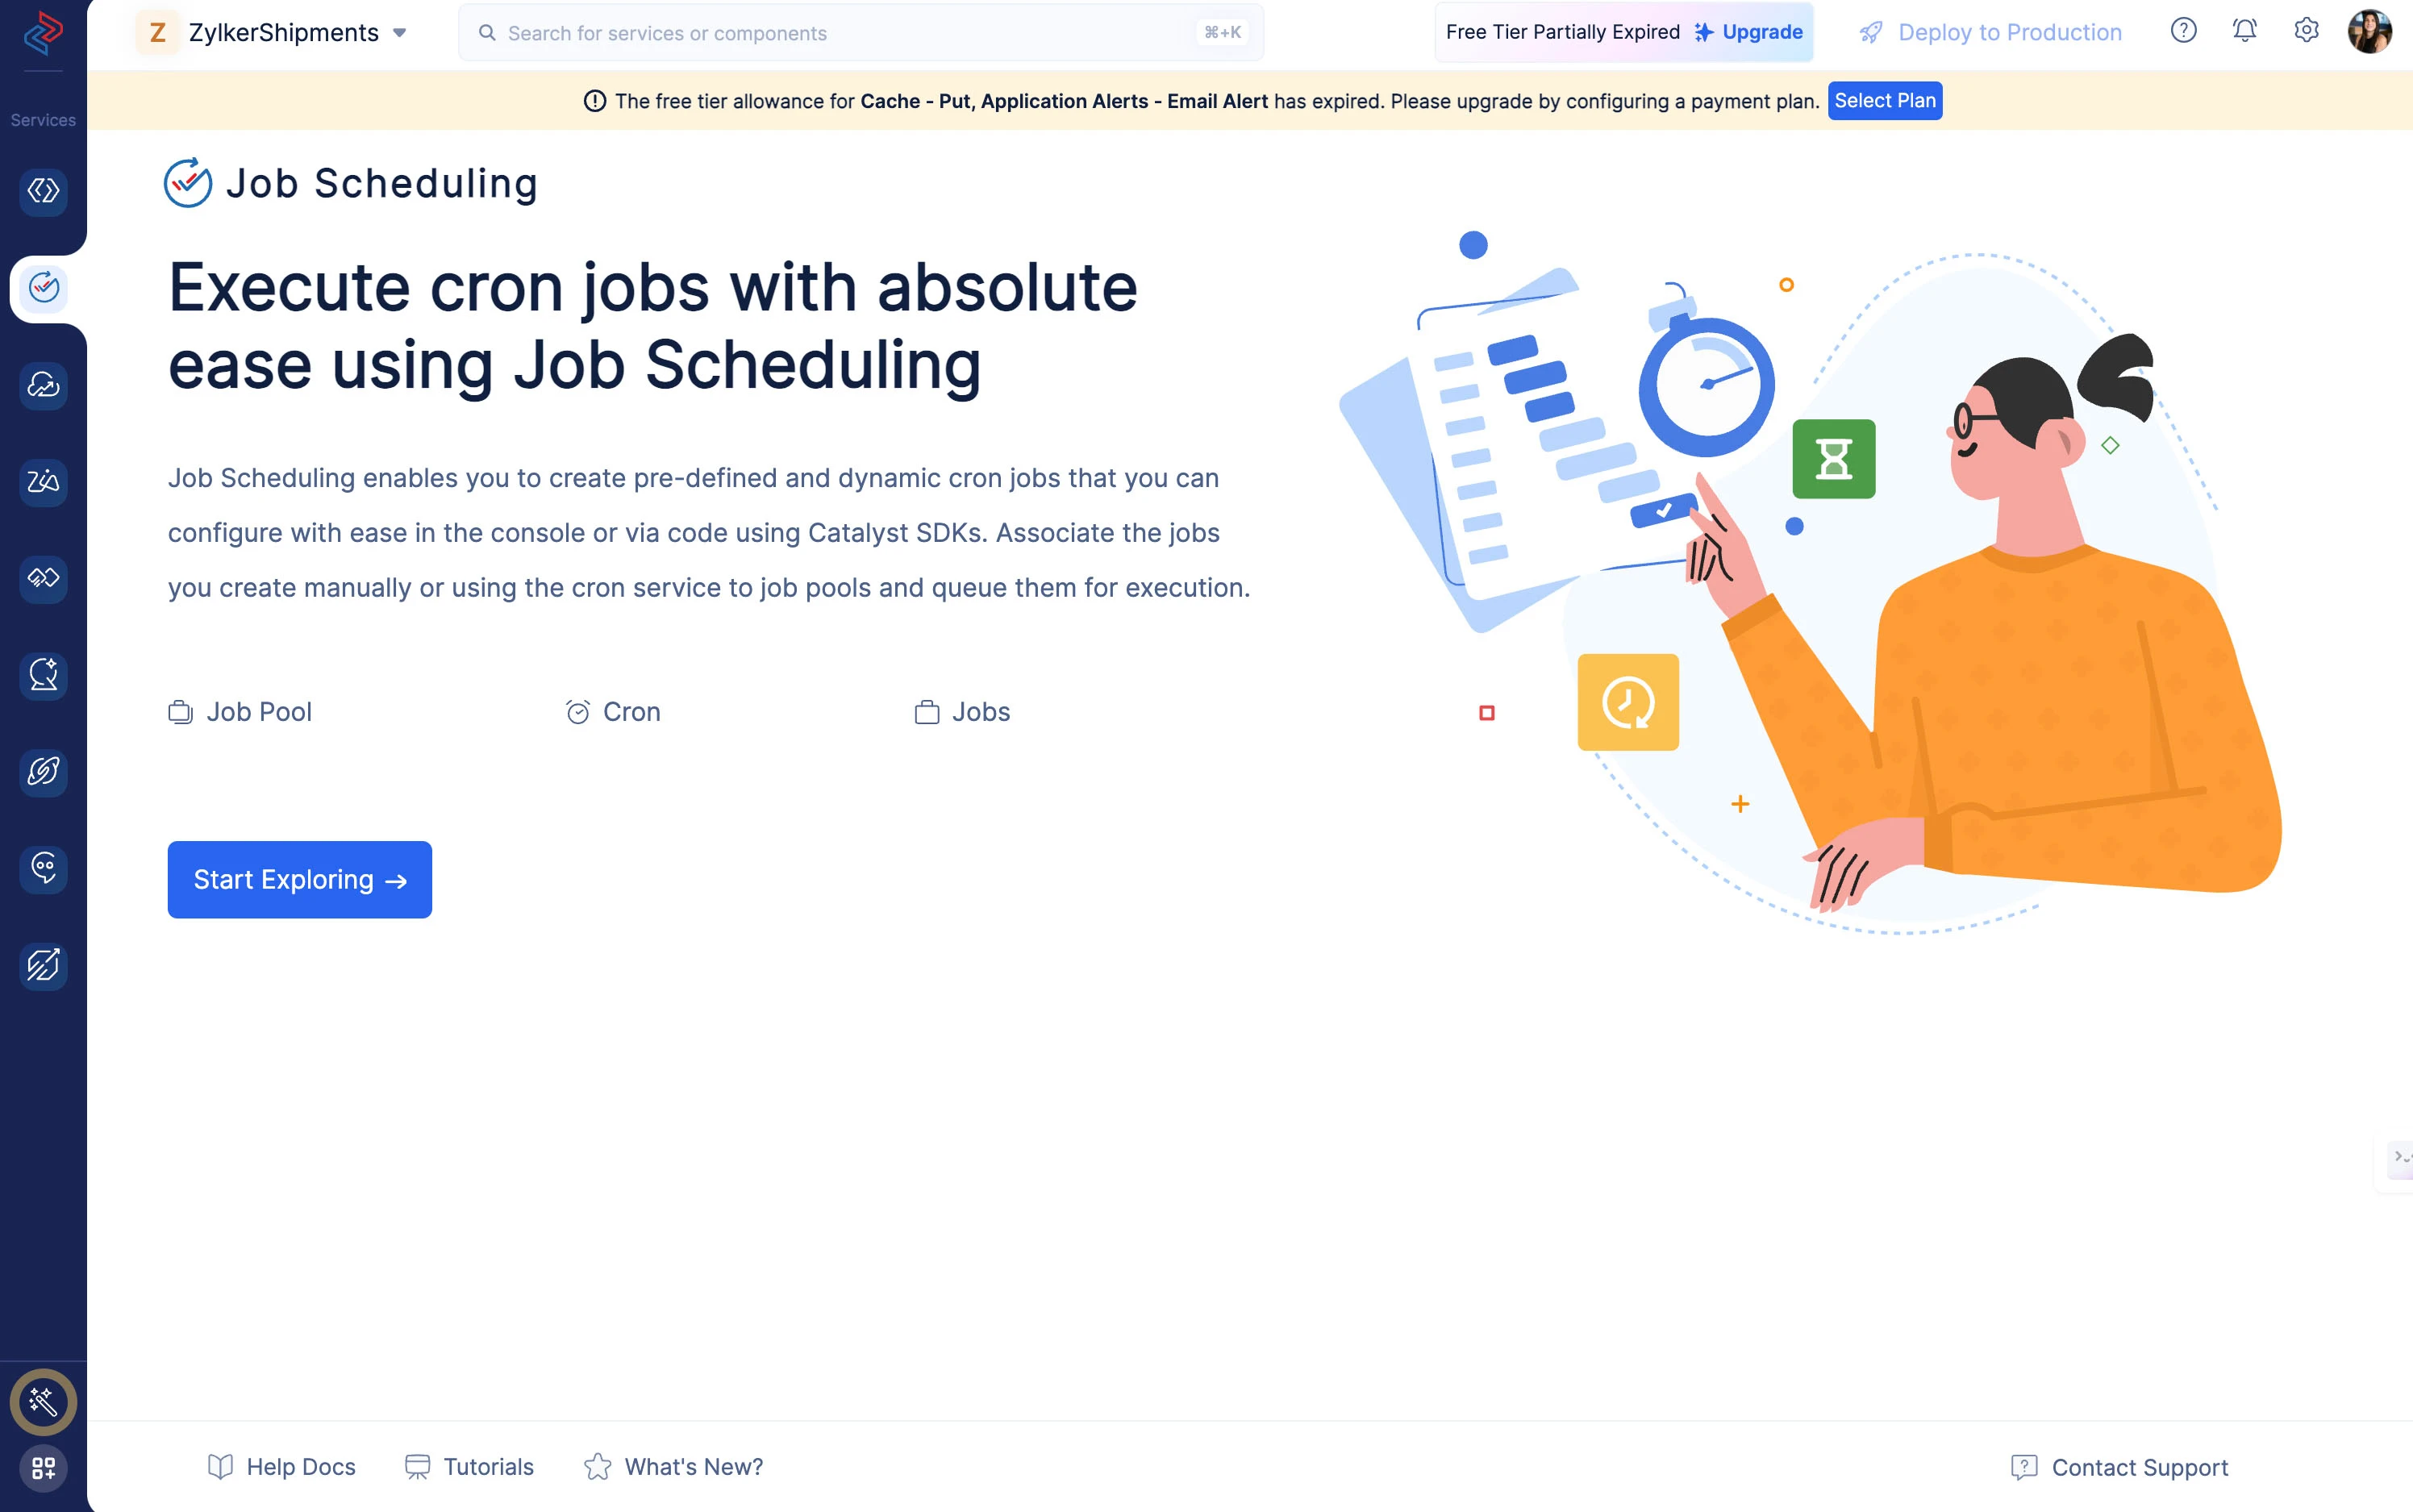
Access the Catalyst Job Scheduling service from the service menu and click Start Exploring.
-
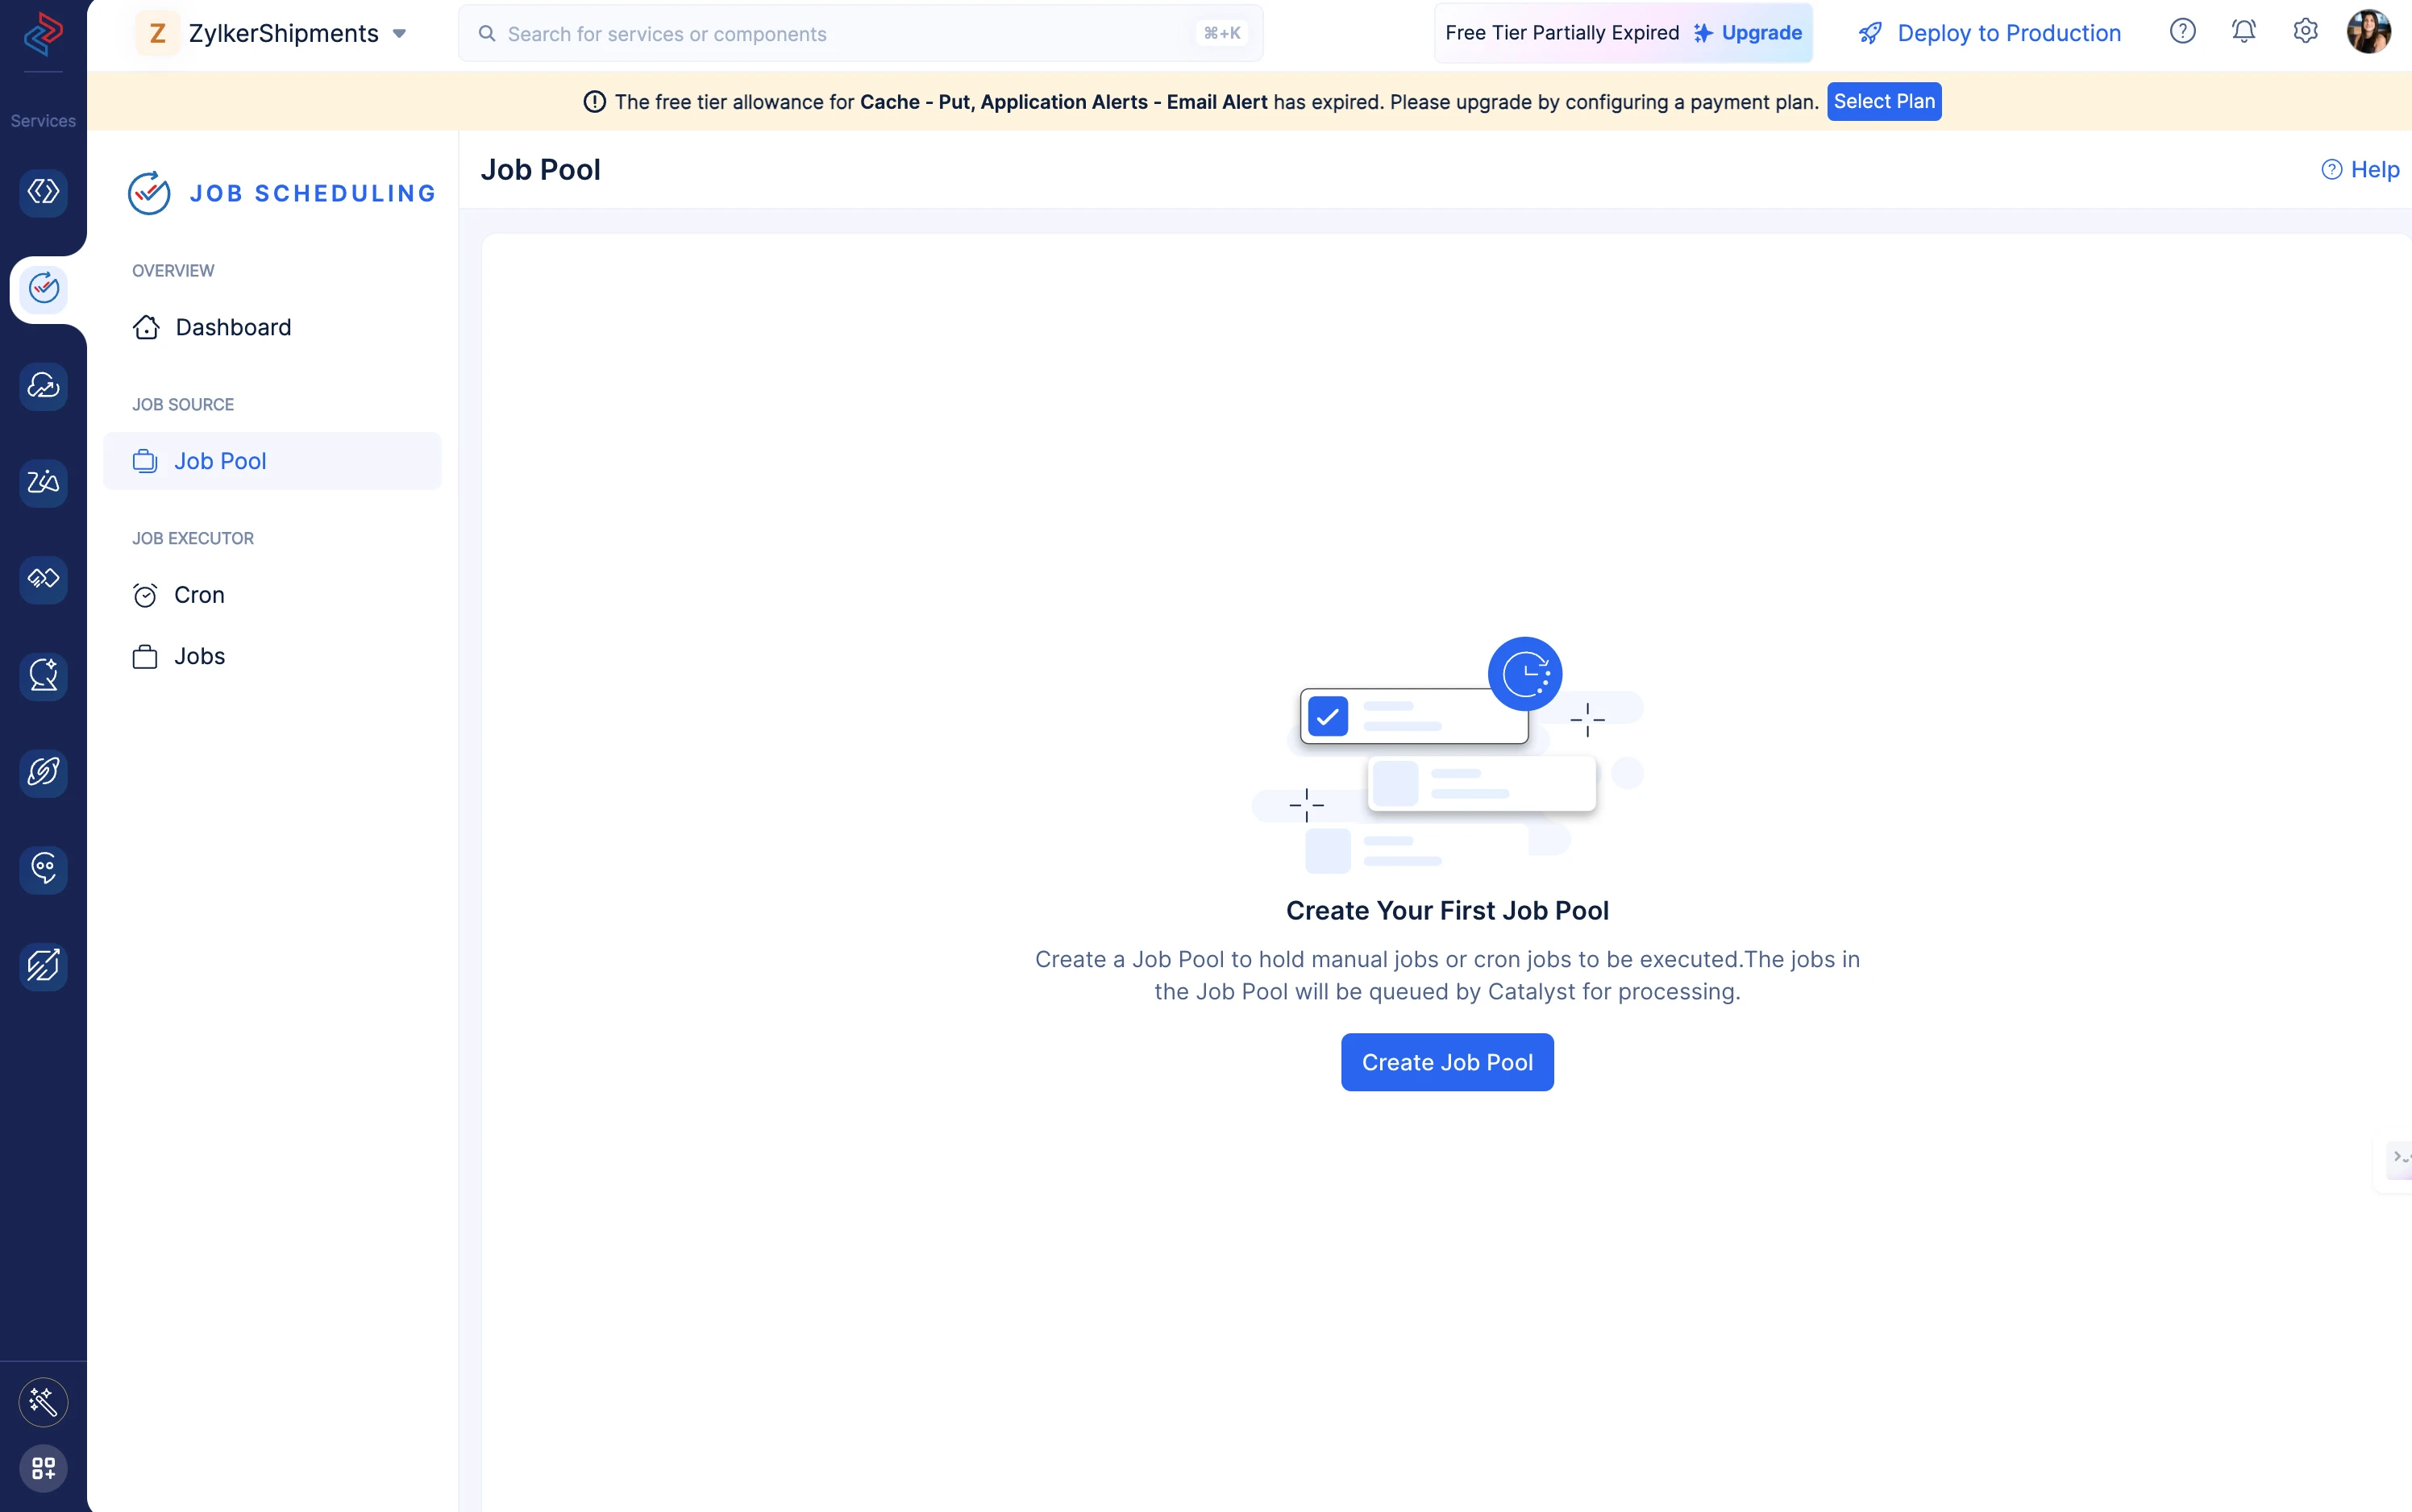
Click the Job Pool component under JOB SOURCE to access the Job Pool. Click the Create Job Pool button.
-
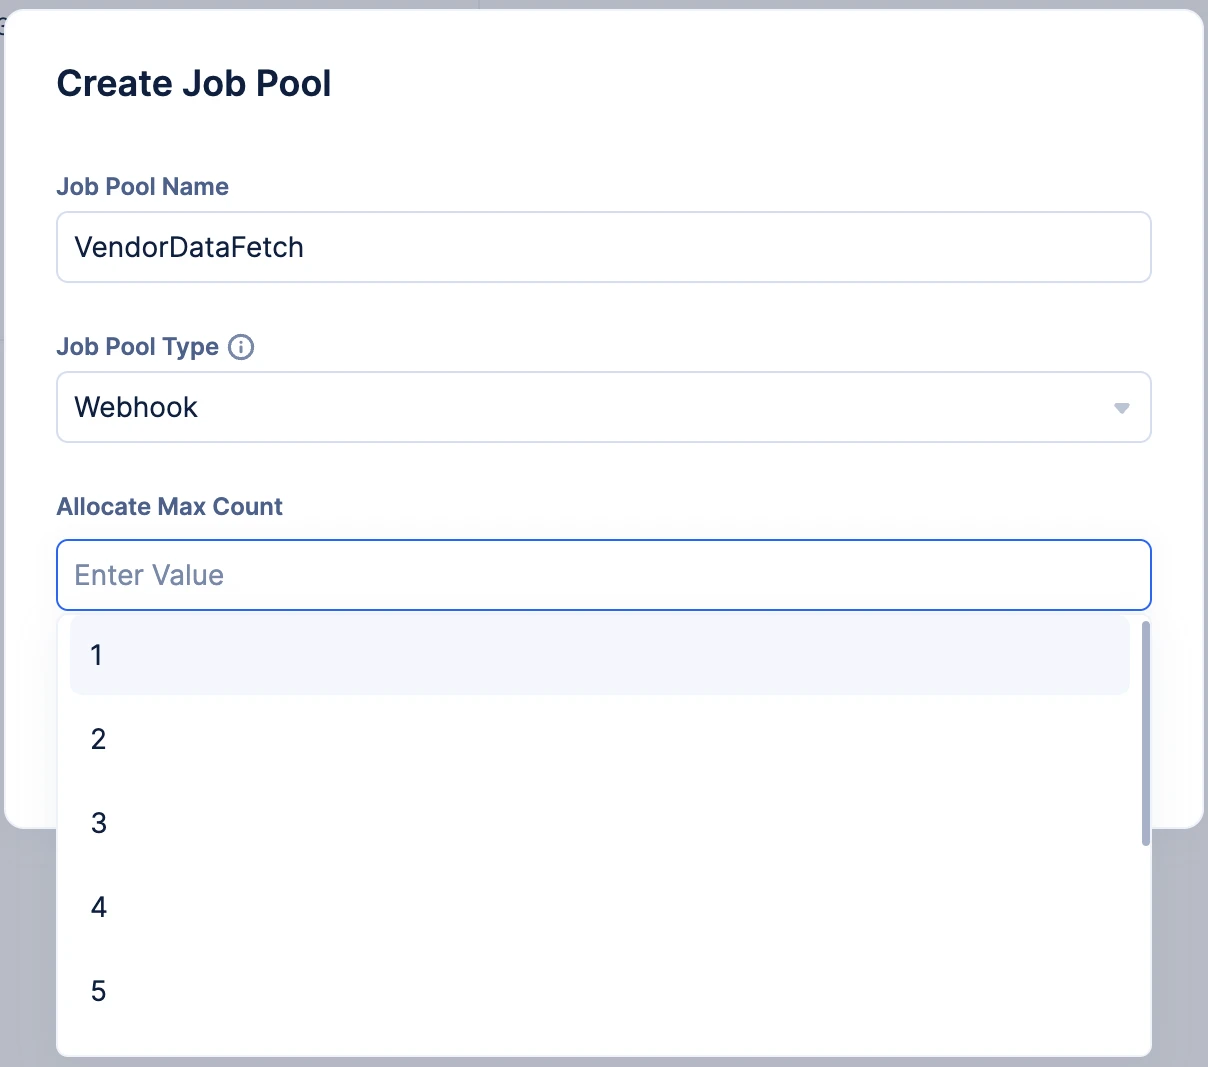
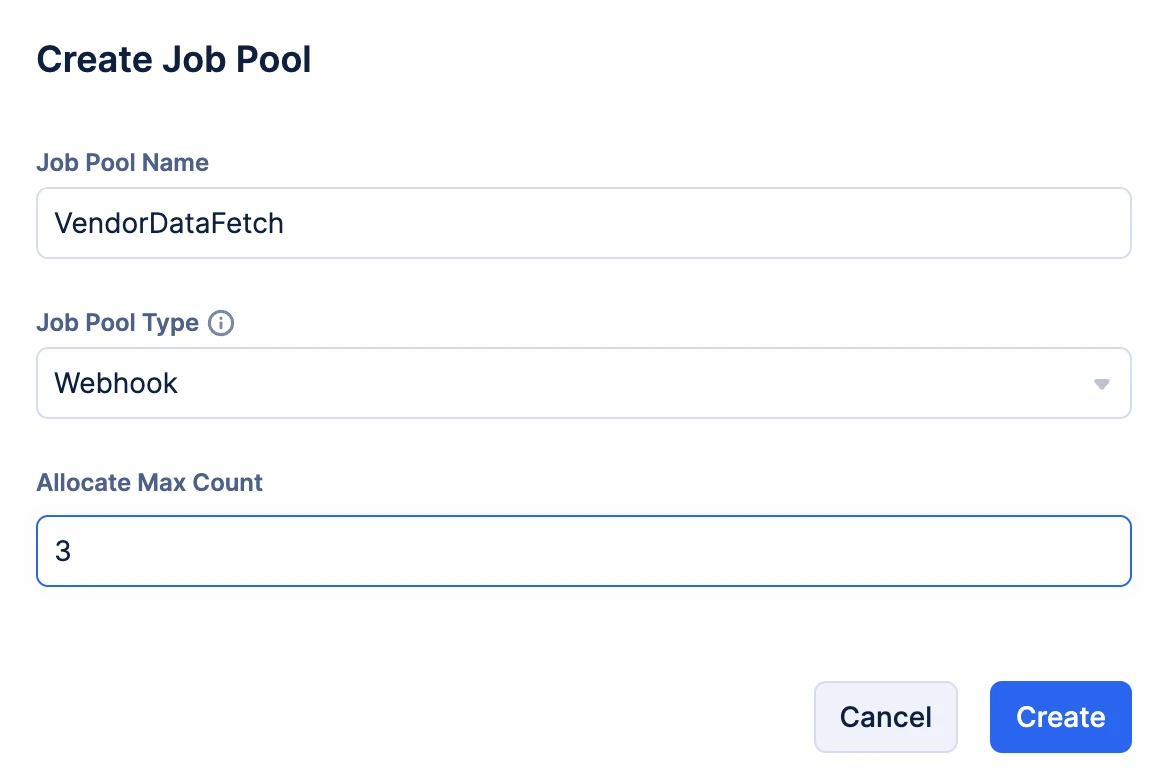
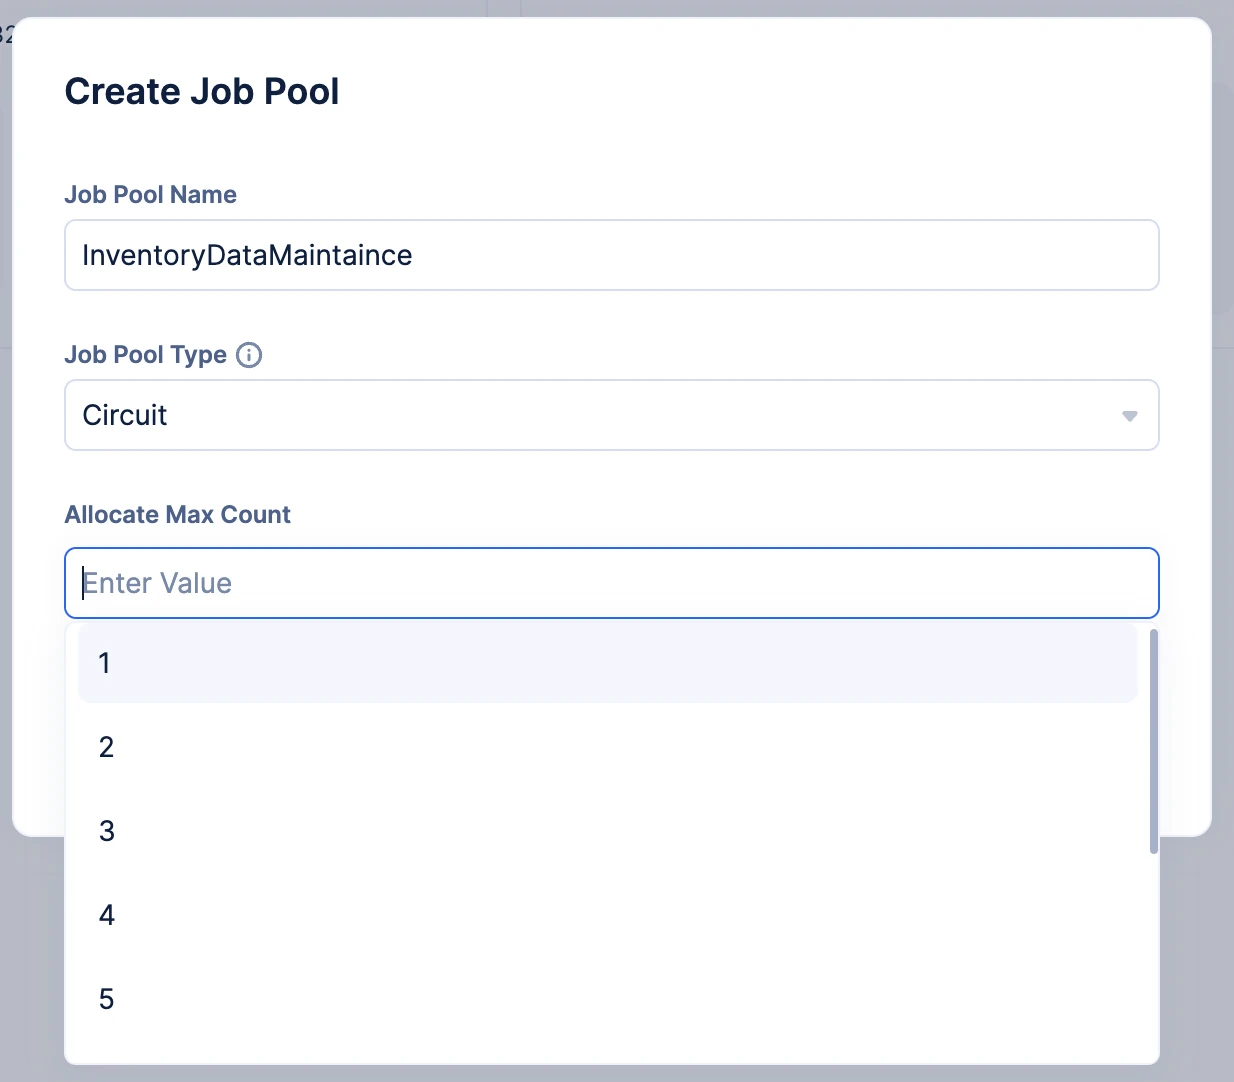
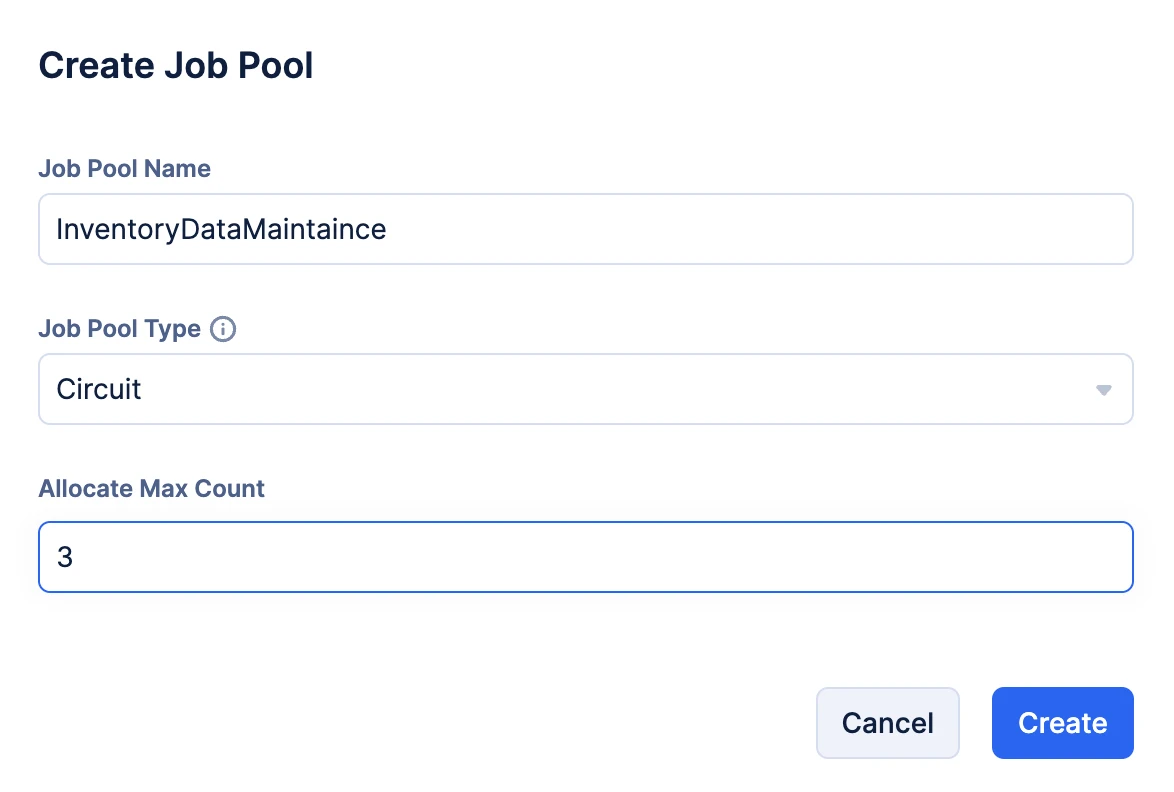
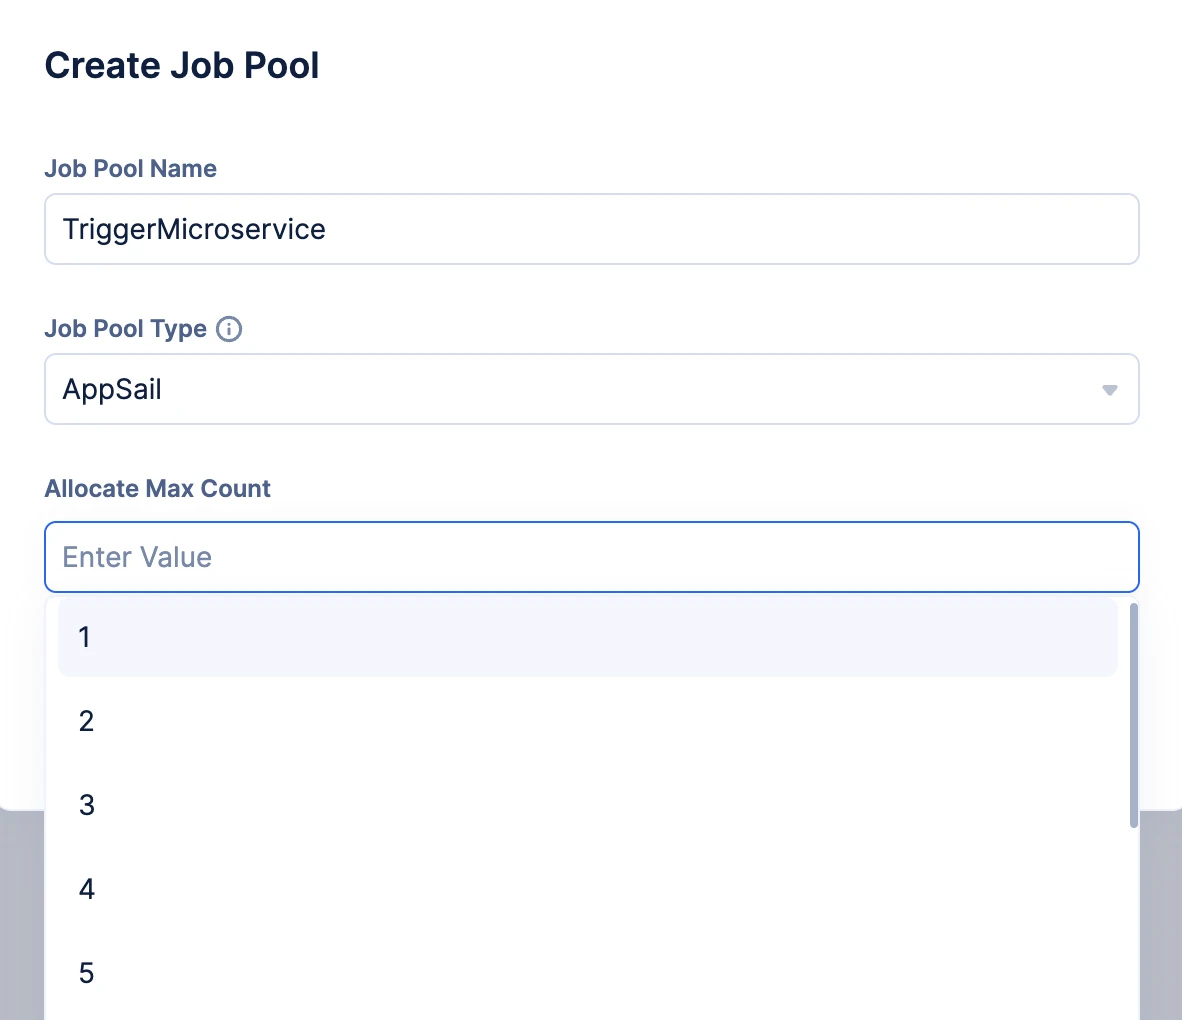
Provide a name for your Job Pool and choose your required Job Pool type from the drop-down.
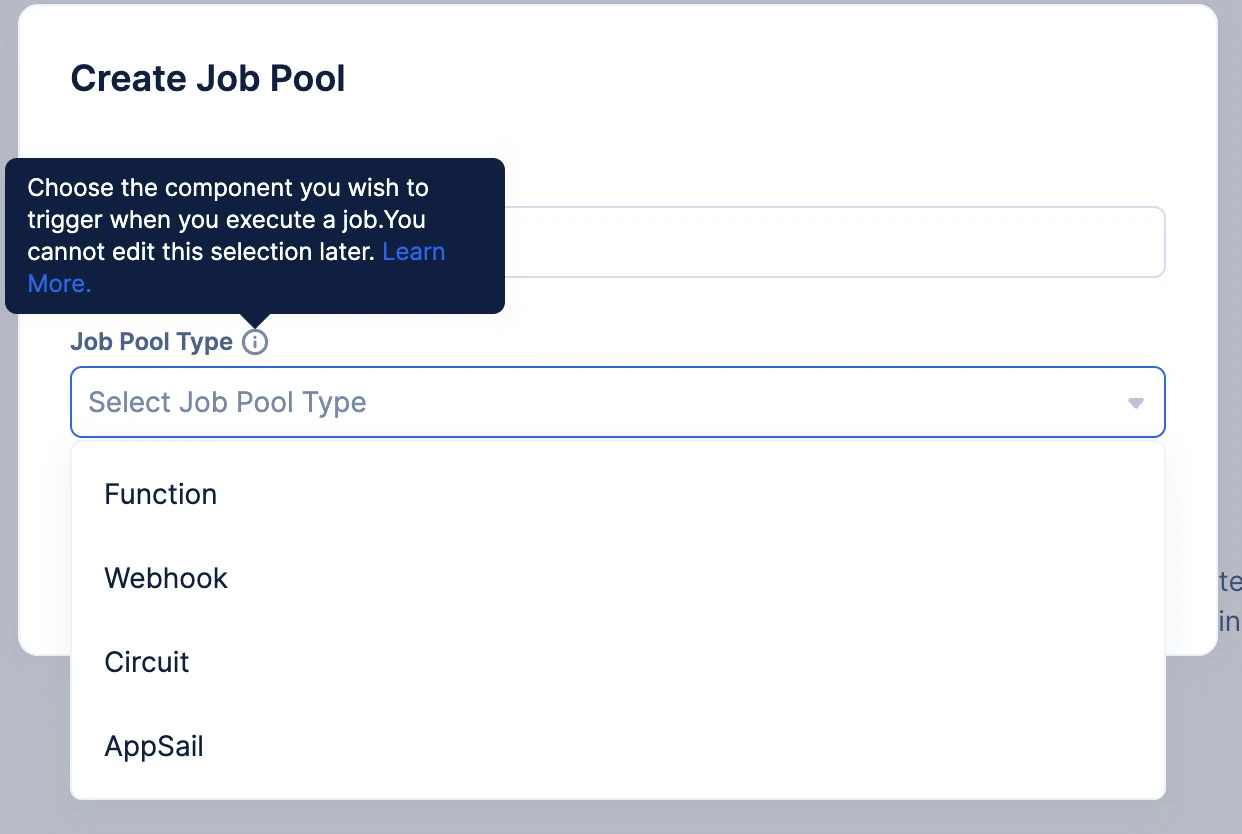
Follow along with the rest of the implementation steps according to your Job Pool type selection.
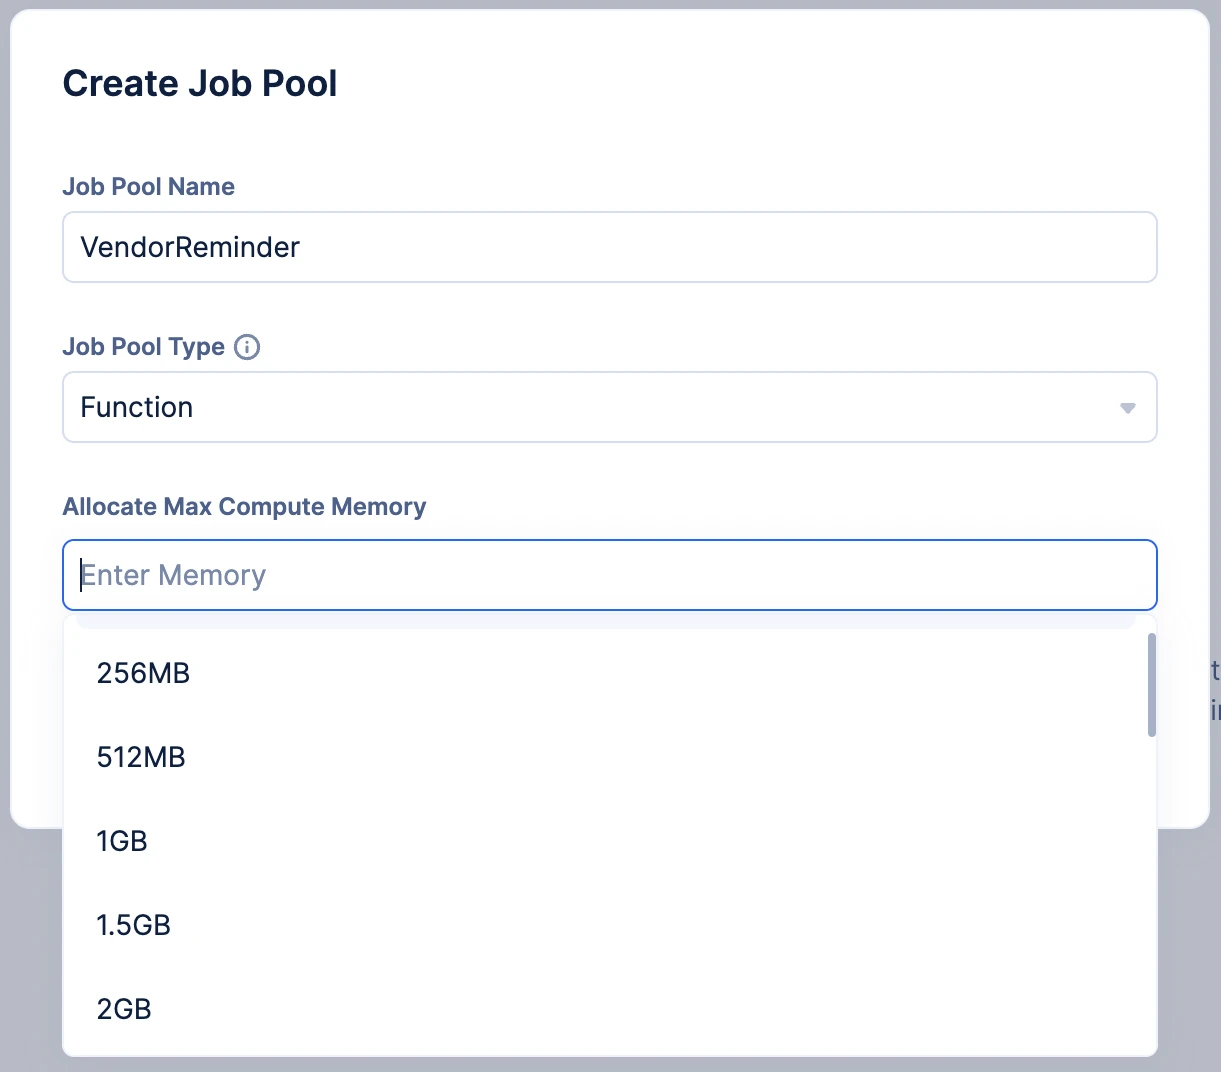
Create a Function Job Pool
- Select an appropriate memory allocation from the Memory Allocation drop-down, and Click Create.
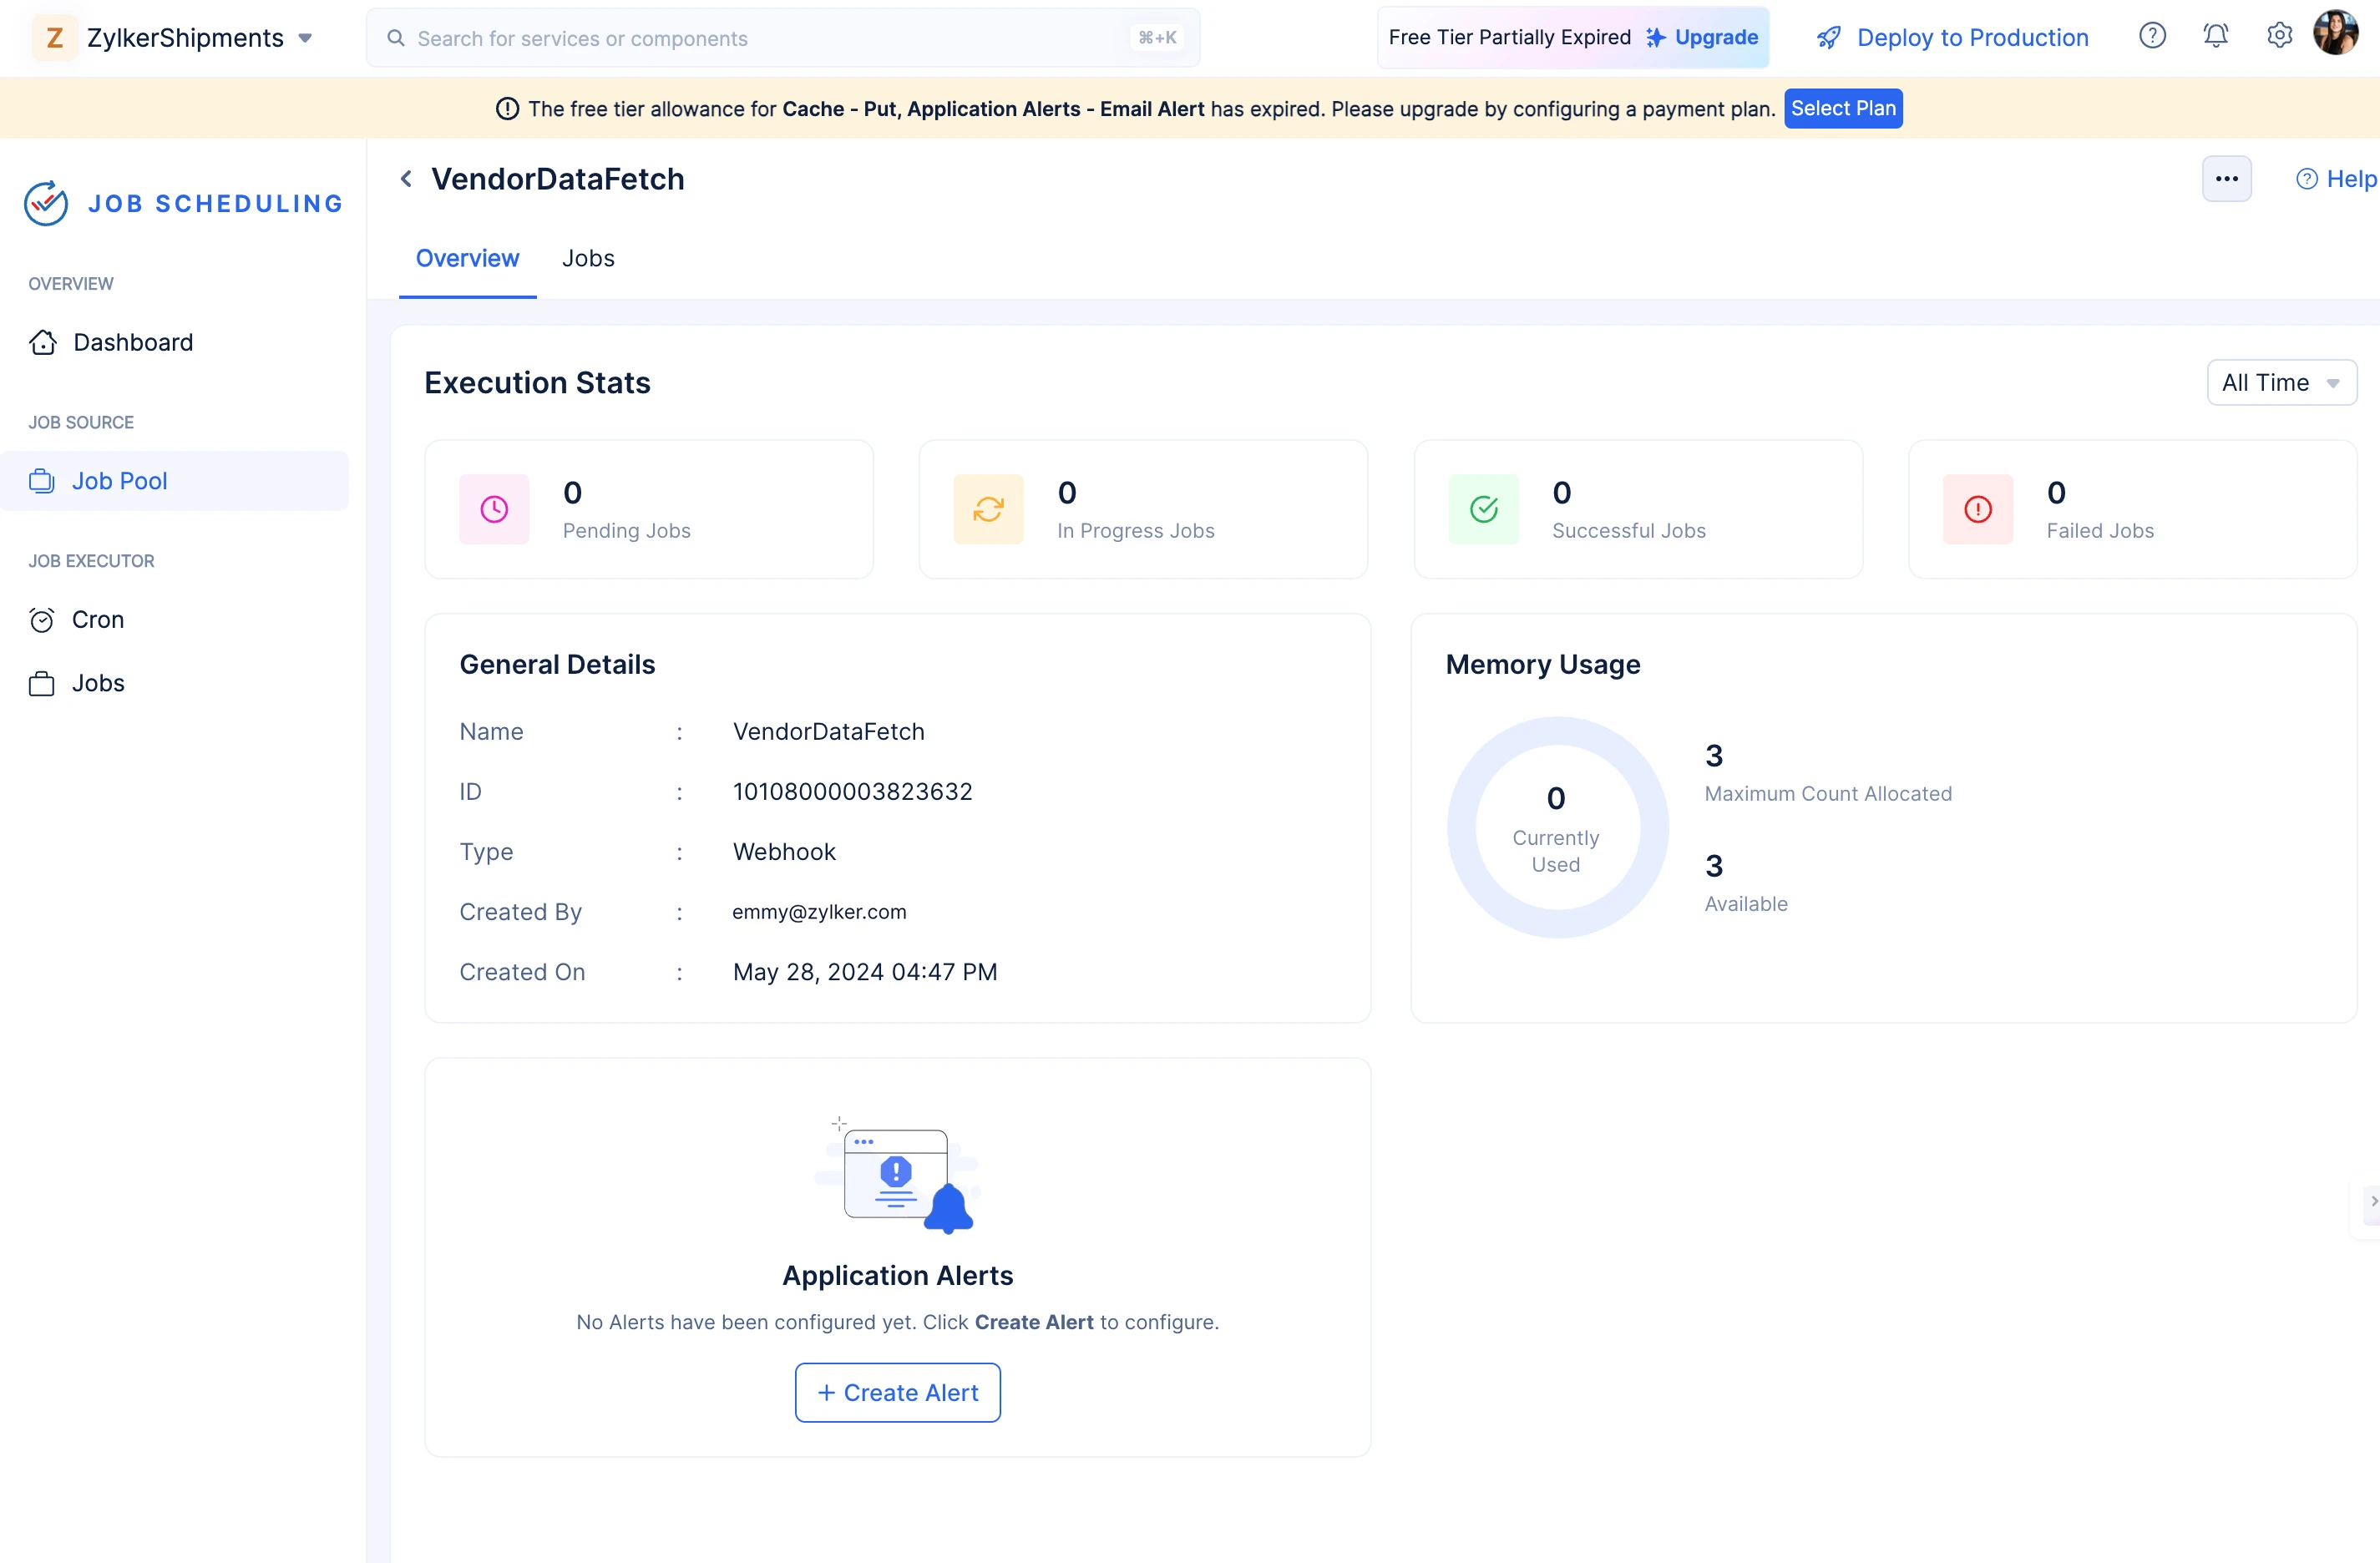
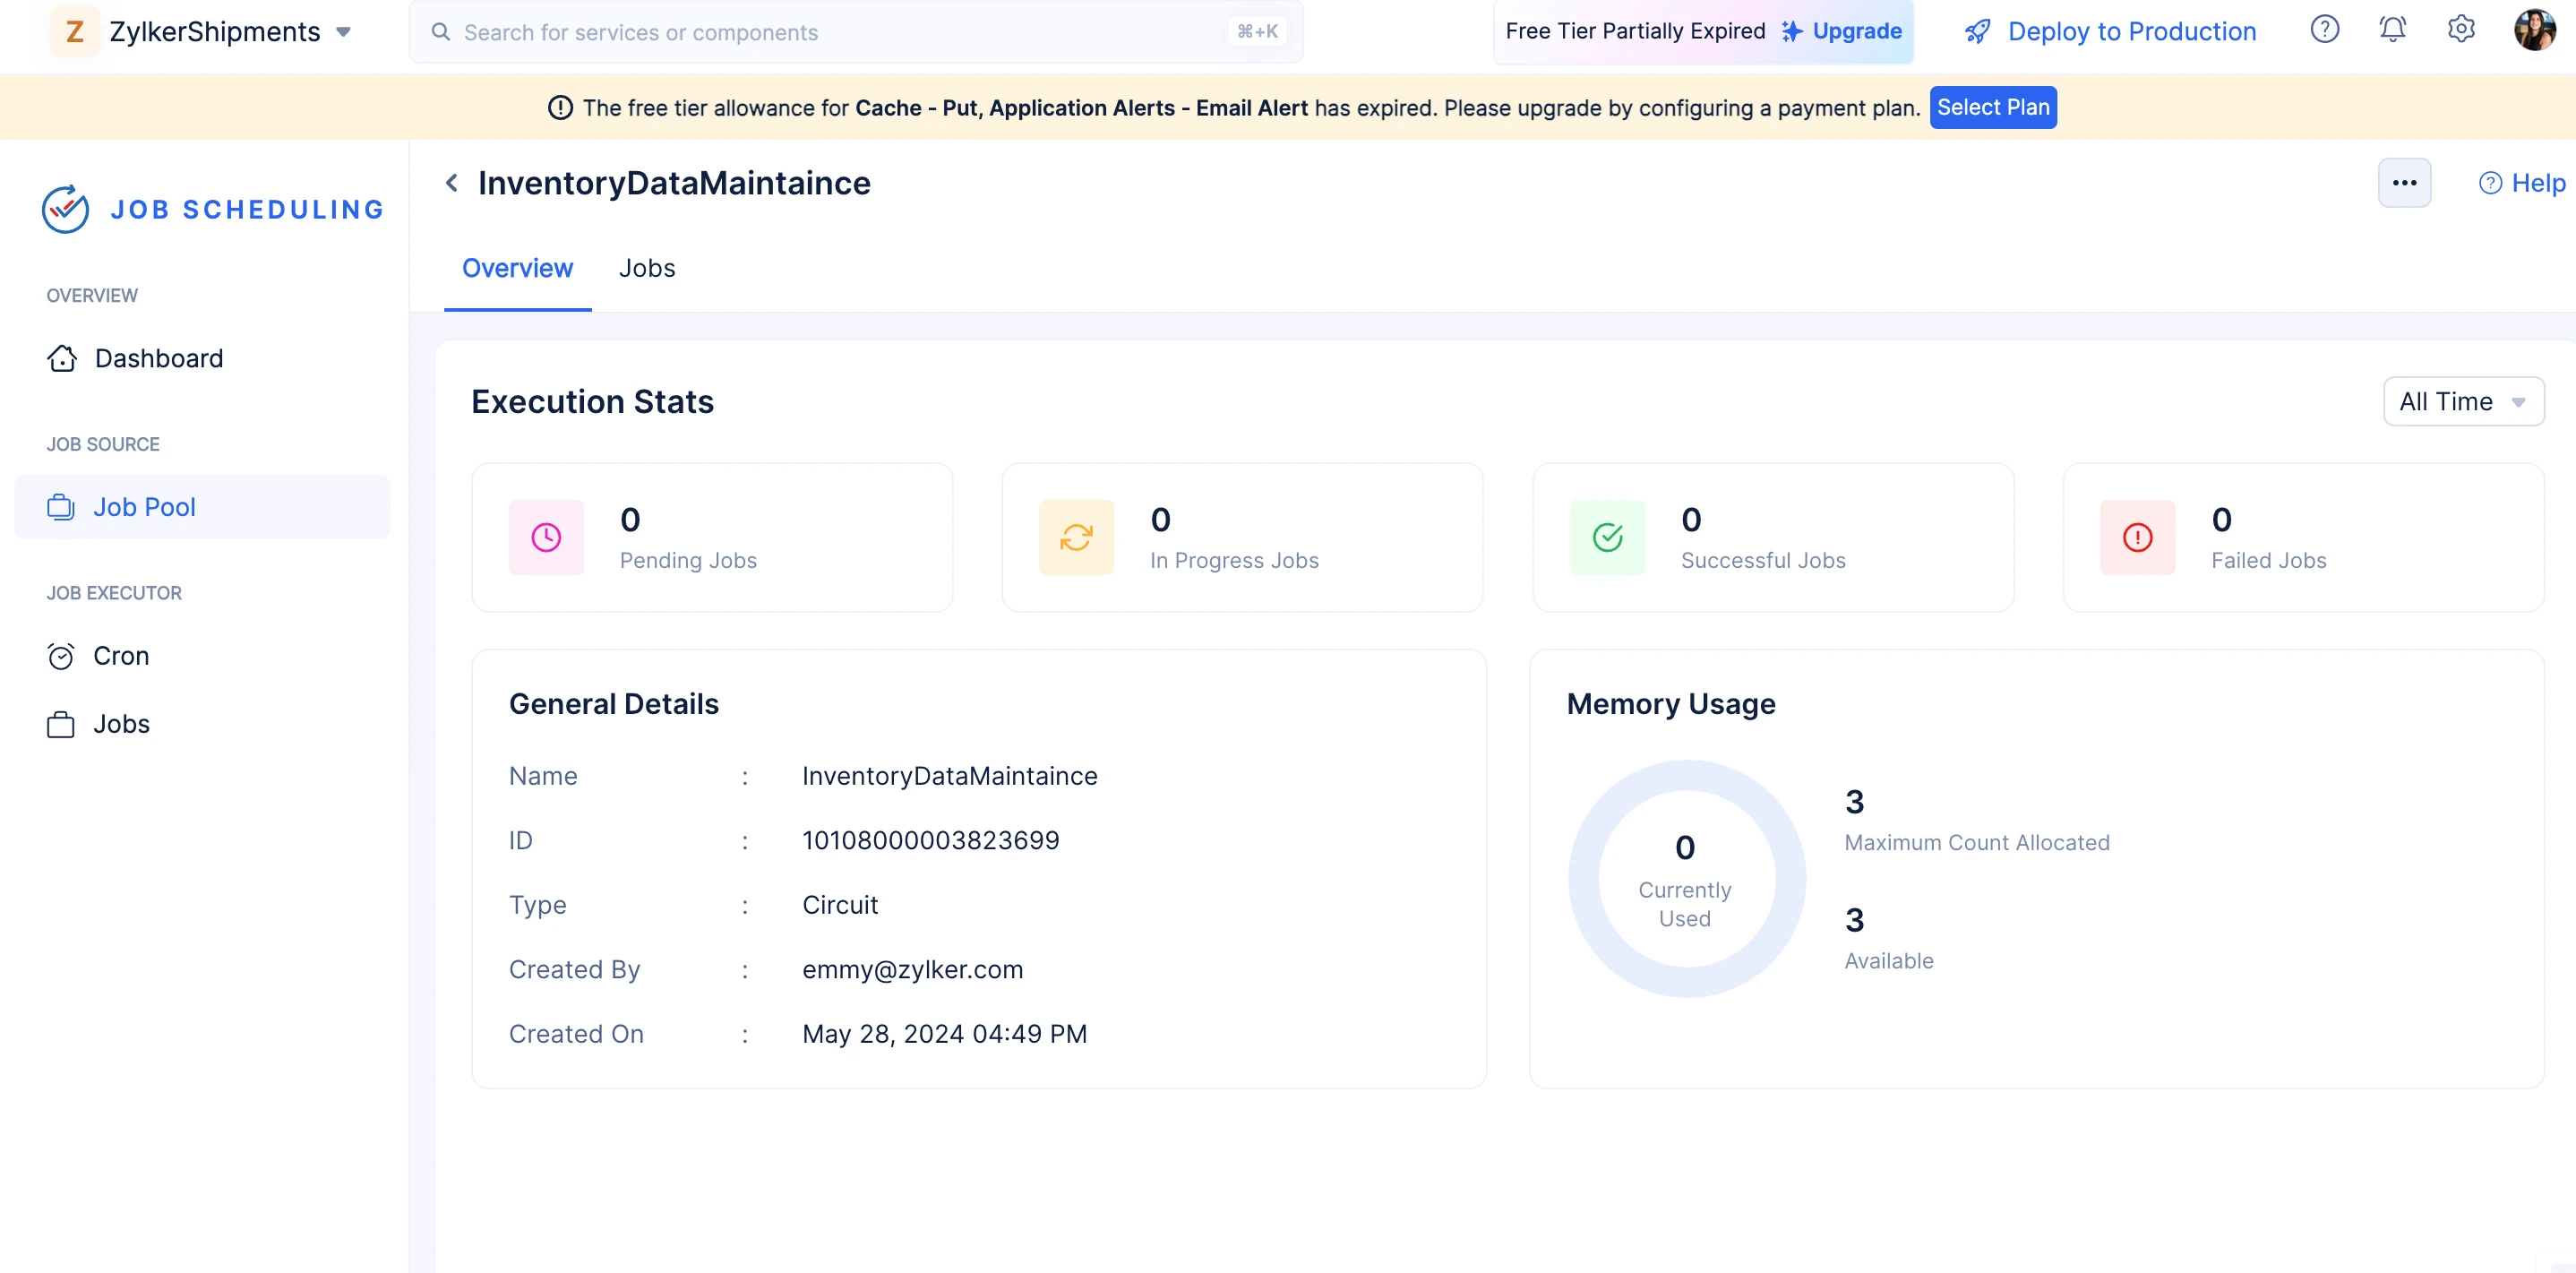
Your Job Pool will be created, and you will be directed to the Overview section of the job pool.
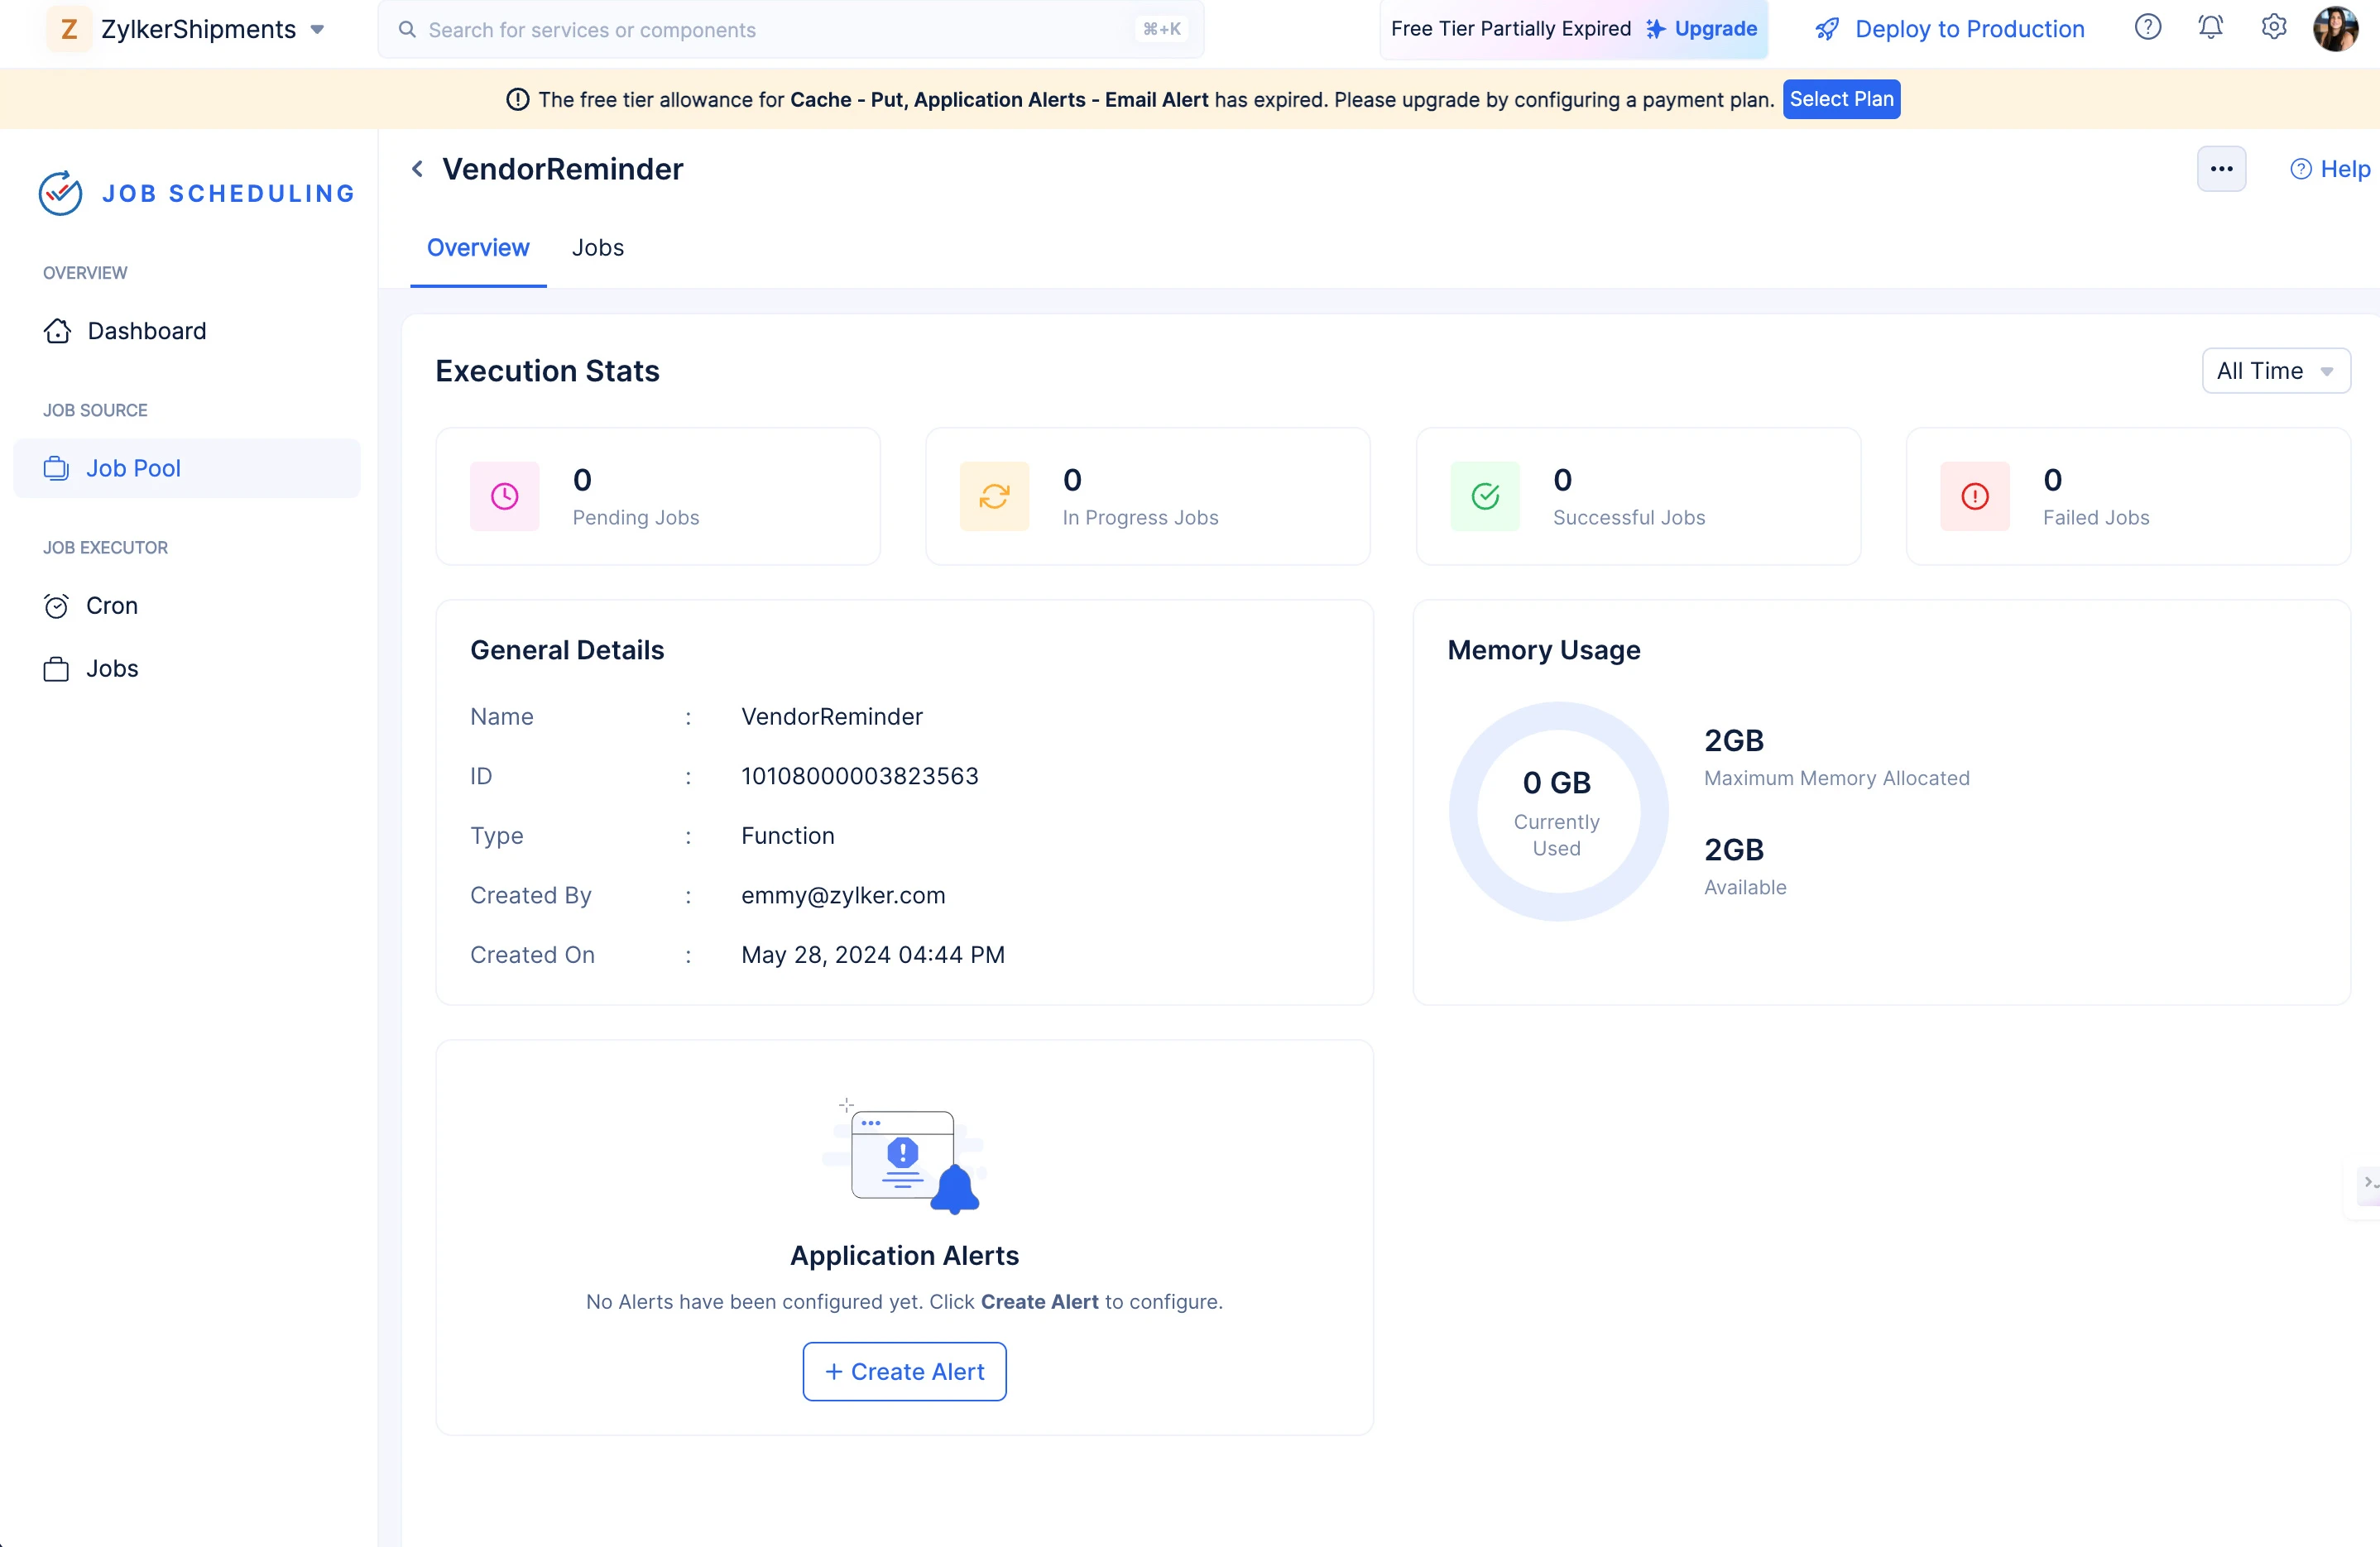
In the Overview section, you will be able to view:
-
General details about the Job Pool; Name, ID, Type, when and by whom the Job Pool had been created.
-
The Execution Stats (Count of Pending, In Progress, Successful, and Failed Jobs)of the jobs being executed in the job pool.
-
The memory usage of the job pool.
All of these stats and values are provided to ensure you are aware of each of your jobs’ performance in the job pool and to provide you with insights on possible optimization.
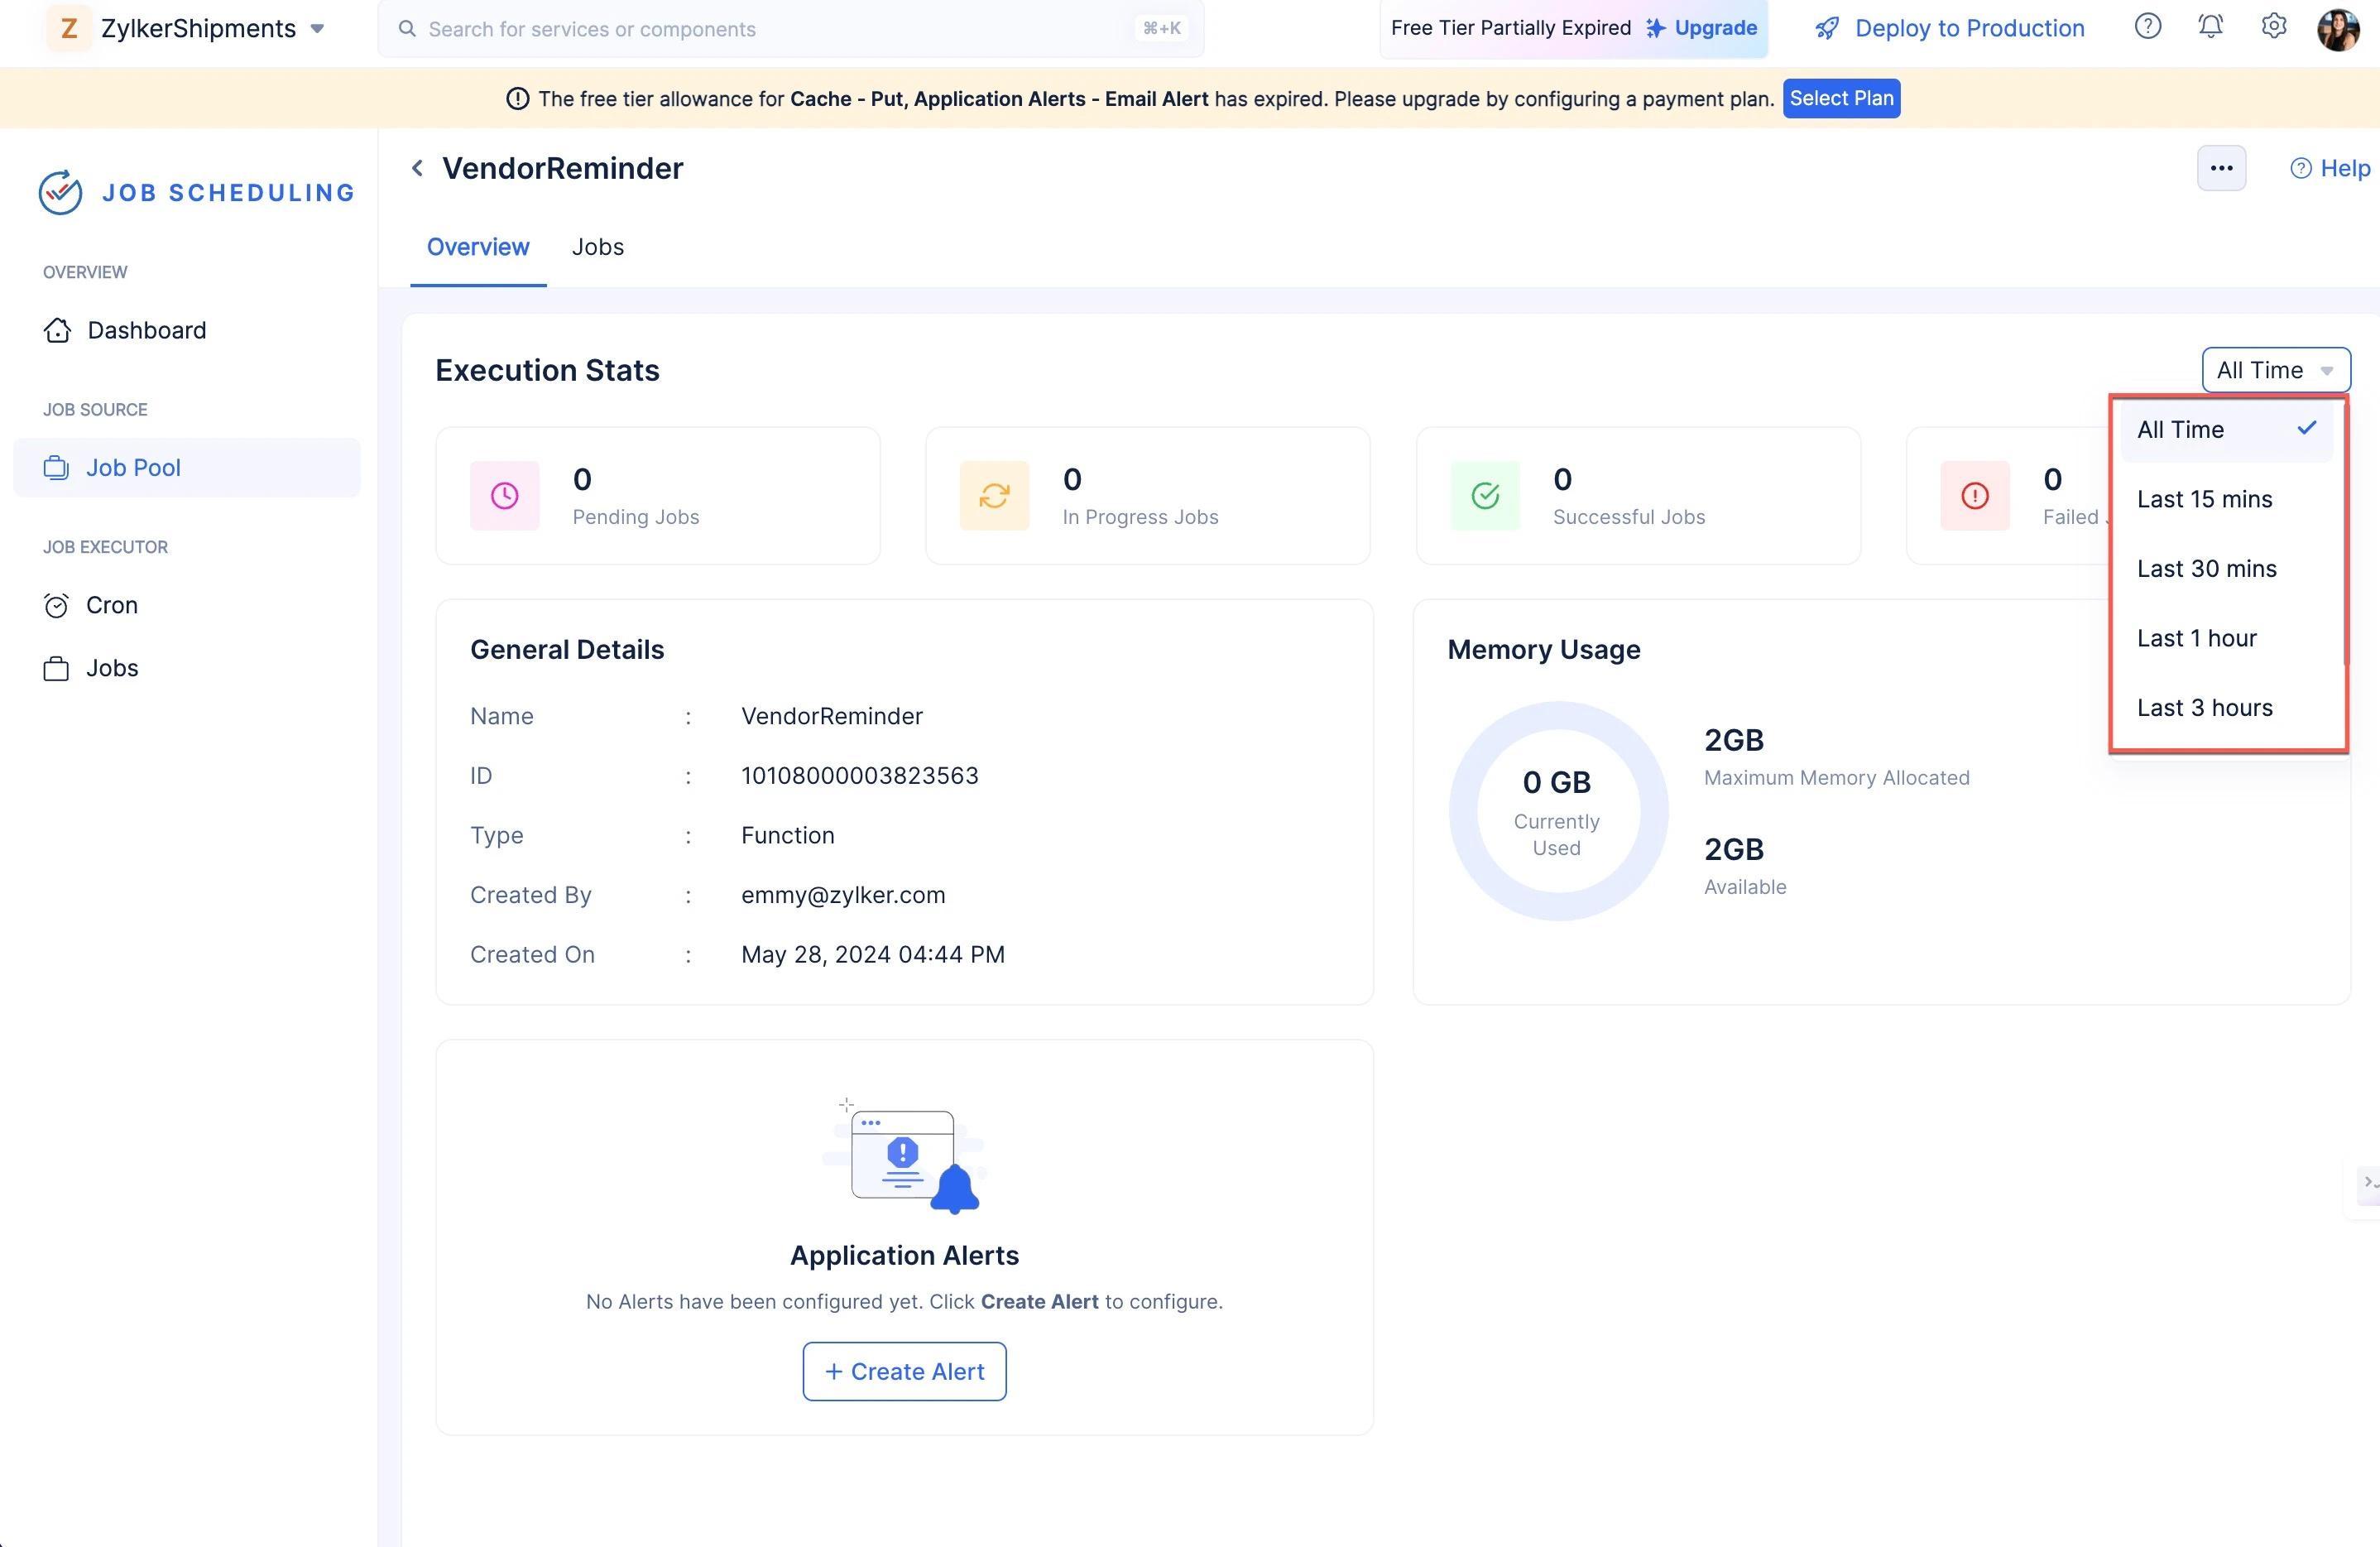
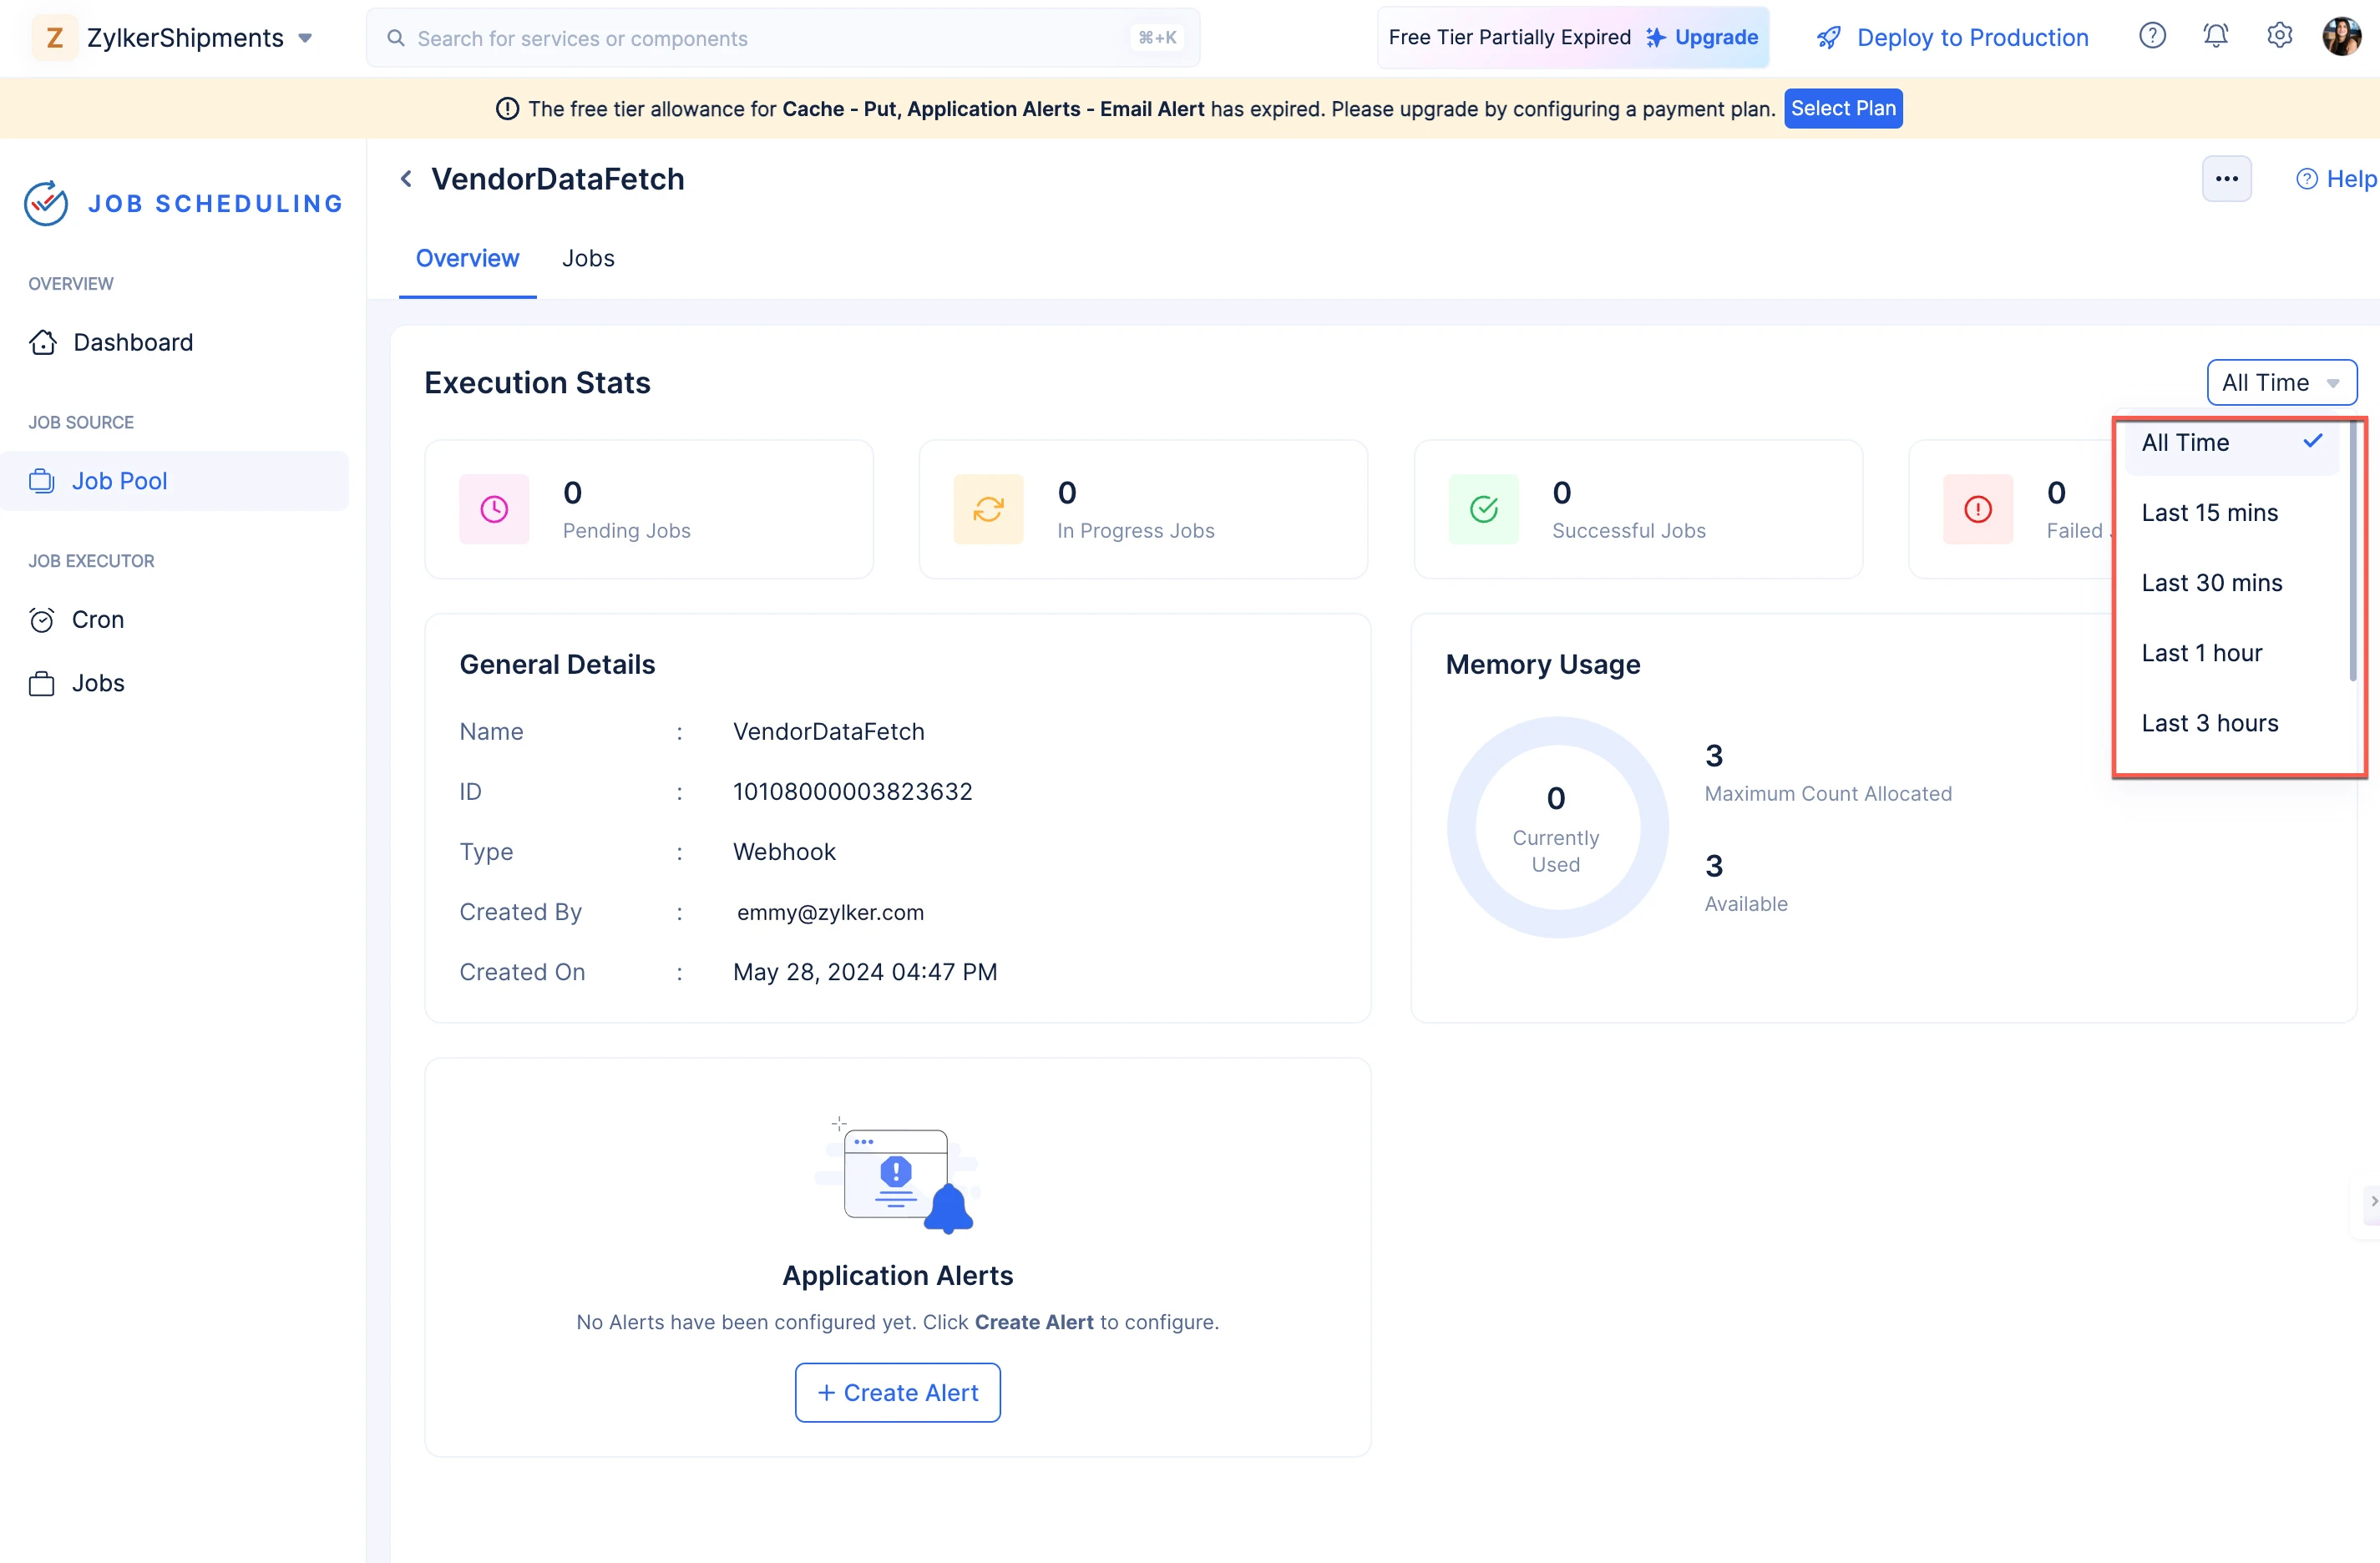
You can also view all time stats or stats for a particular time period by accessing the drop-down filter in the right.
Create a Webhook Job Pool
-
Select the count of the number of times you intend to trigger the required webhook (any third-party URL) in parallel from the Allocate Max Count drop-down.
-
Click Create.
Your Job Pool will be created, and you will be directed to the Overview section of the job pool.
In the Overview section, you will be able to view:
-
General details about the Job Pool; Name, ID, Type, when and by whom the Job Pool had been created.
-
The Execution Stats (Count of Pending, In Progress, Successful, and Failed Jobs)of the jobs being executed in the job pool.
-
The memory usage of the job pool.
All of these stats and values are provided to ensure you are aware of each of your jobs’ performance in the job pool and to provide you with insights on possible optimization.
You can also view all time stats or stats for a particular time period by accessing the drop-down filter in the right.
Create a Circuit Job Pool
-
Select the count of Circuits you wish to trigger in parallel from the Allocate Max Count drop-down.
-
Click Create.
Your Job Pool will be created, and you will be directed to the Overview section of the job pool.
In the Overview section, you will be able to view:
-
General details about the Job Pool; Name, ID, Type, when and by whom the Job Pool had been created.
-
The Execution Stats (Count of Pending, In Progress, Successful, and Failed Jobs)of the jobs being executed in the job pool.
-
The memory usage of the job pool.
All of these stats and values are provided to ensure you are aware of each of your jobs’ performance in the job pool and to provide you with insights on possible optimization.
You can also view all time stats or stats for a particular time period by accessing the drop-down filter in the right.

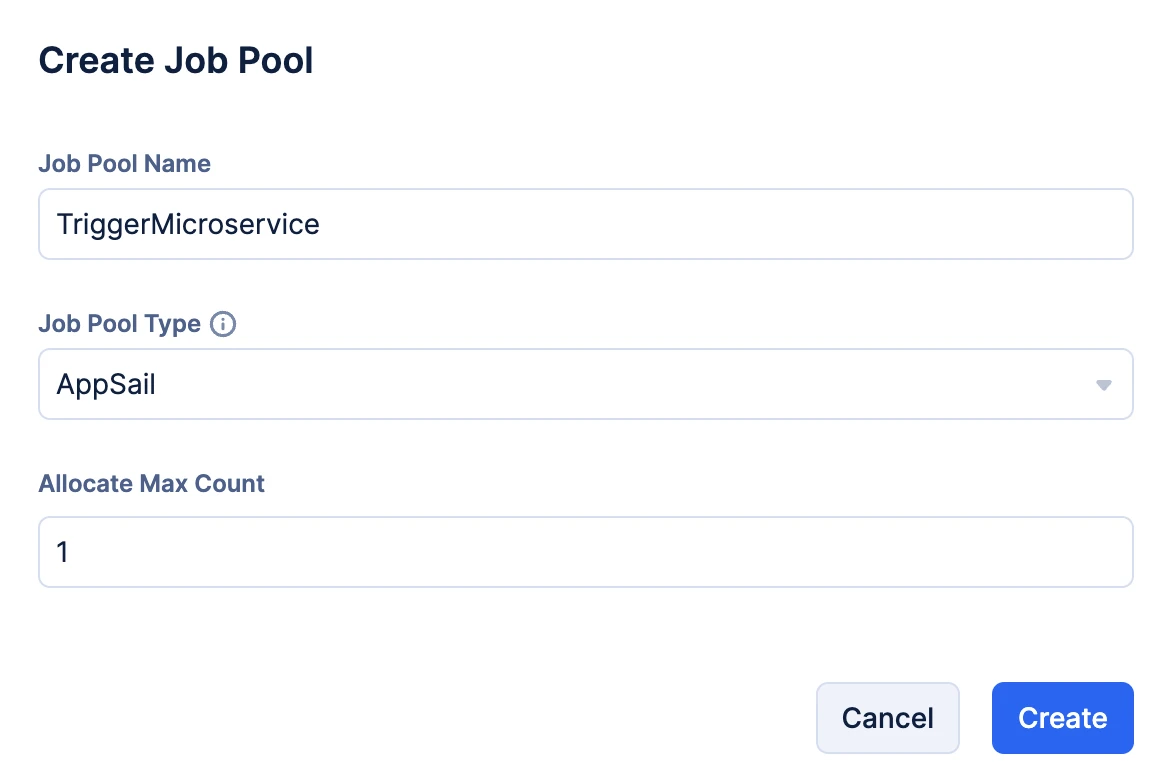
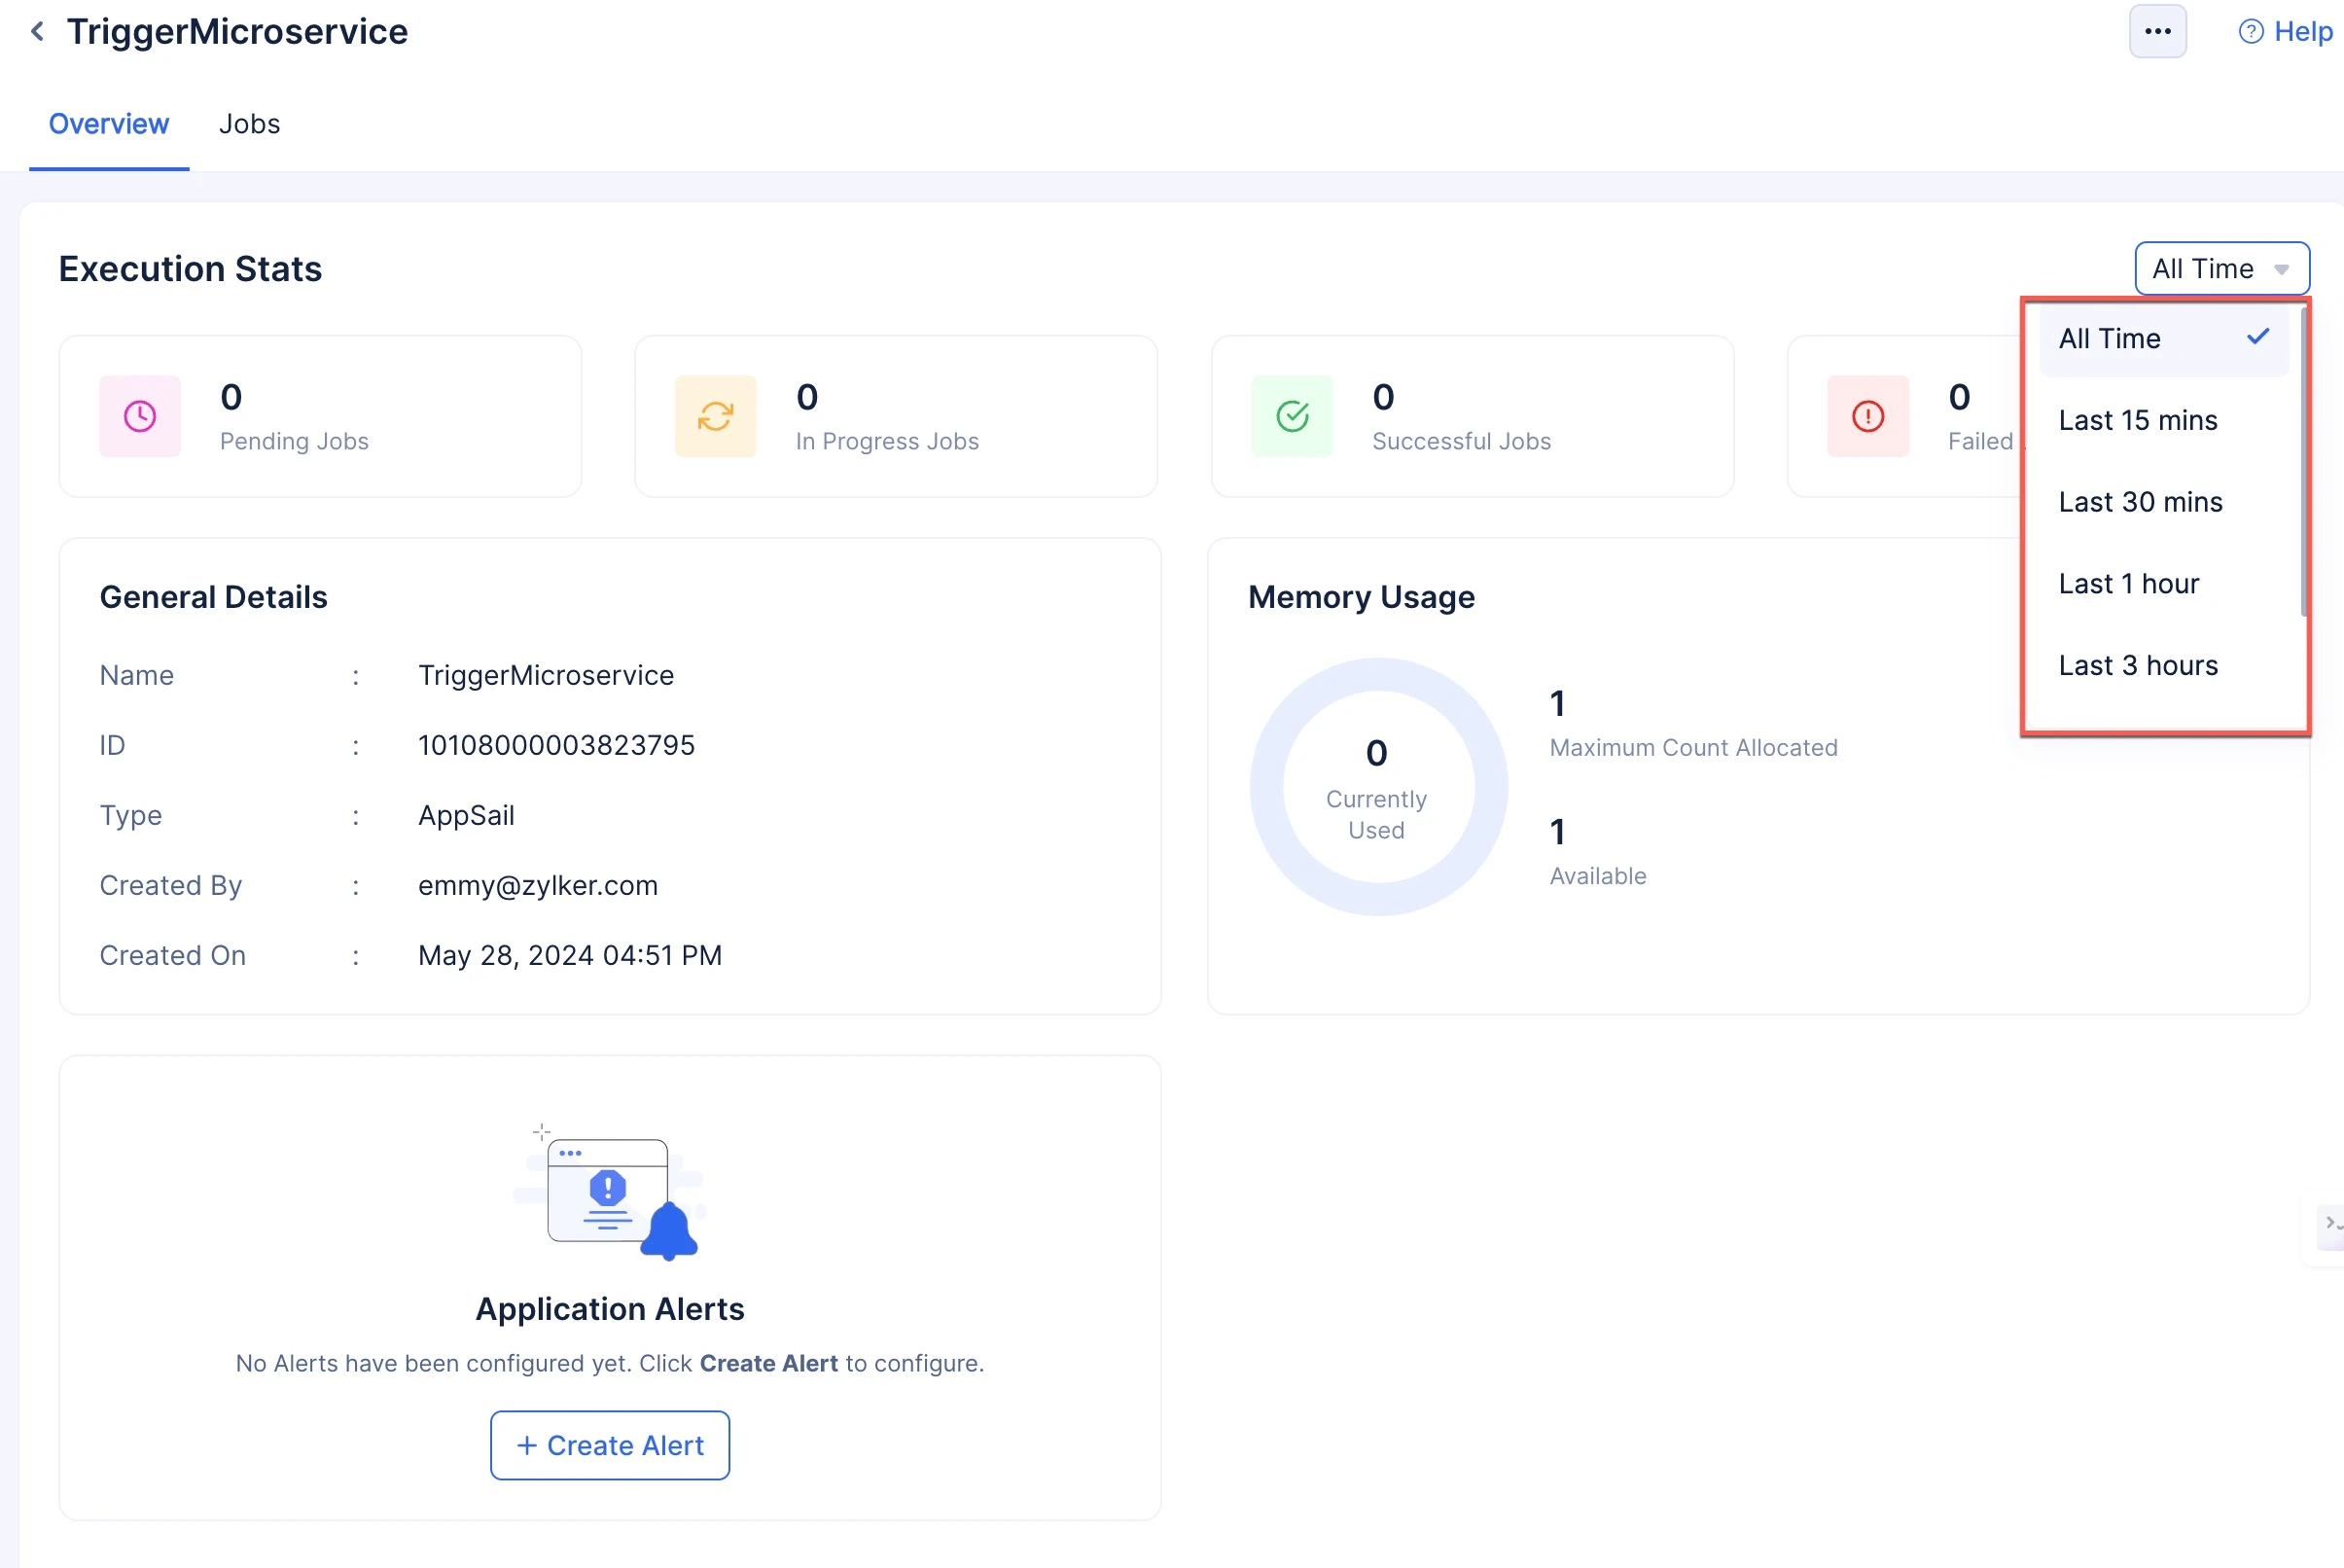
Create a AppSail Job Pool
-
Select the count of AppSail services you wish to trigger in parallel from the Allocate Max Count drop-down.
-
Click Create.
Your Job Pool will be created, and you will be directed to the Overview section of the job pool.
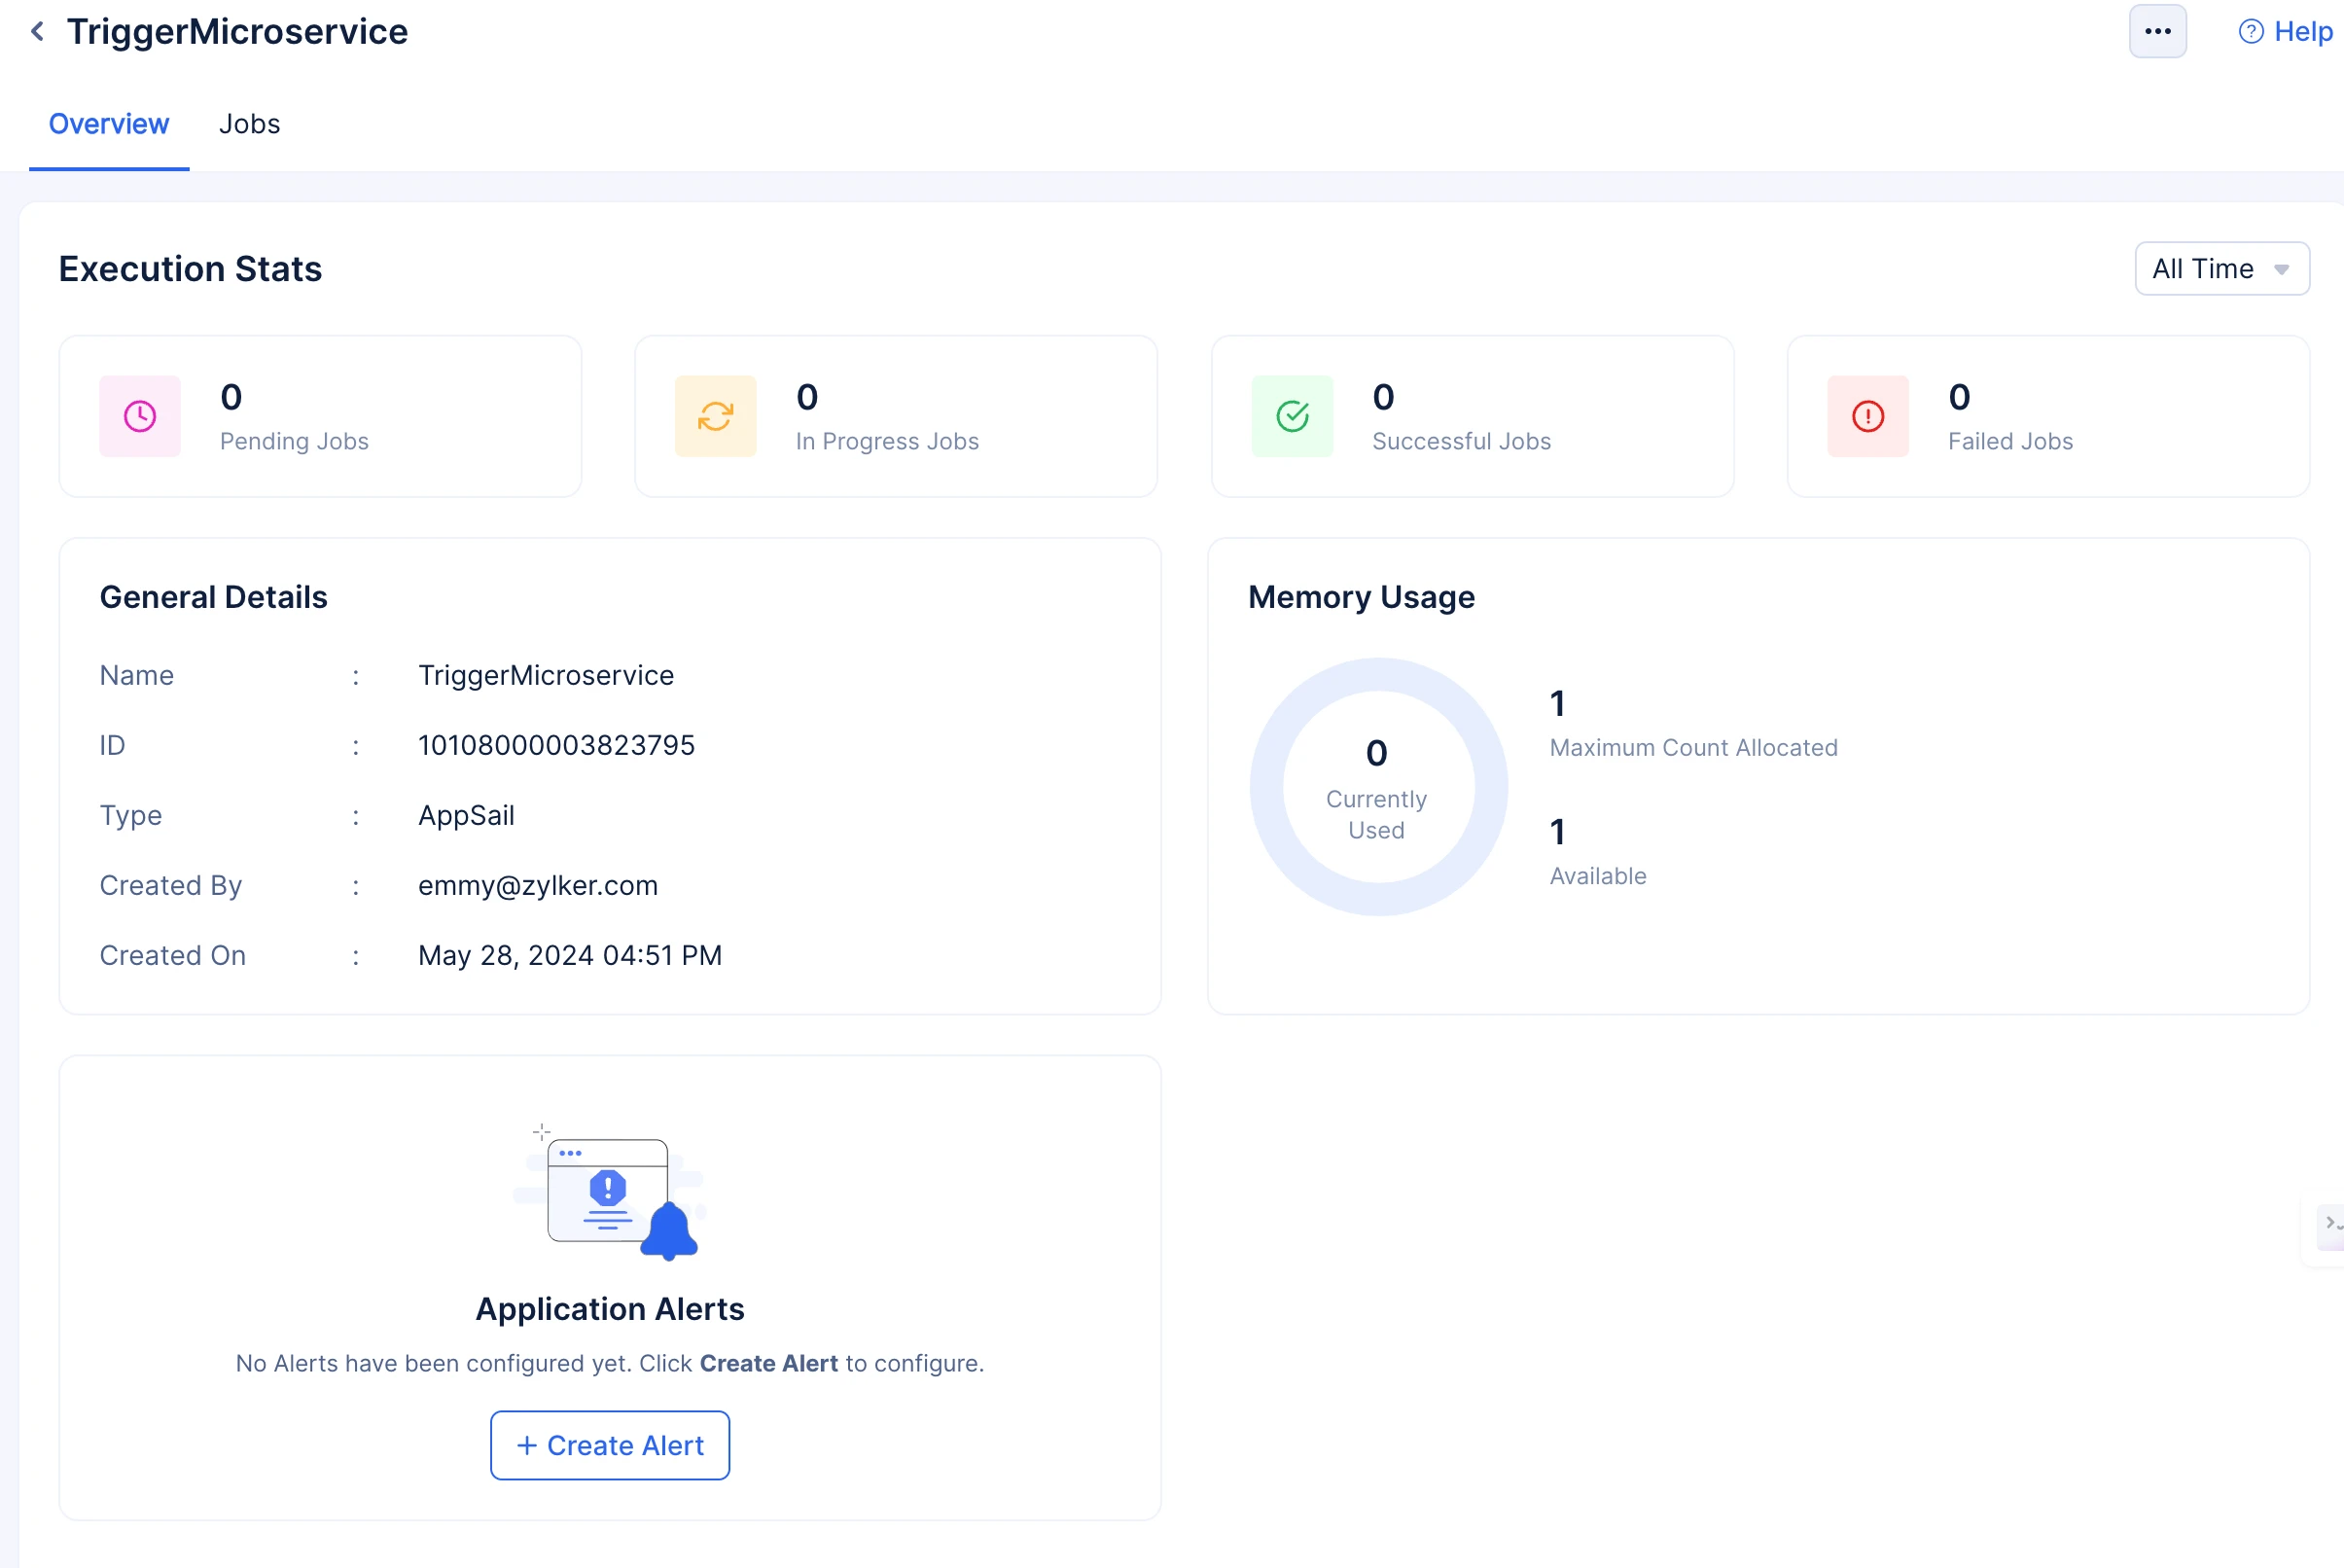
In the Overview section, you will be able to view:
-
General details about the Job Pool; Name, ID, Type, when and by whom the Job Pool had been created.
-
The Execution Stats (Count of Pending, In Progress, Successful, and Failed Jobs)of the jobs being executed in the job pool.
-
The memory usage of the job pool.
All of these stats and values are provided to ensure you are aware of each of your jobs’ performance in the job pool and to provide you with insights on possible optimization.
You can also view all time stats or stats for a particular time period by accessing the drop-down filter in the right.
Last Updated 2025-06-03 18:19:55 +0530 IST
Yes
No
Send your feedback to us