Test the App in the AVD
Let’s now test the app by launching it on the virtual device. You can also debug your app through the default debugger attached to the configured virtual device, or perform advanced tests on the app. However, we will simply run the app on the Emulator and test its functionalities manually as an end-user.
When you run the app, the build process will be initiated and it will convert the Android project into a debug version of an APK that you can test. A build version of the app’s source code and resource files will be generated. You will find the compiled source files and resource files in the app > build directory, along with the other components of the APK and compiled Kotlin class files.
The APK will get installed on the virtual device automatically, enabling you to simply open the app after the device is powered on.
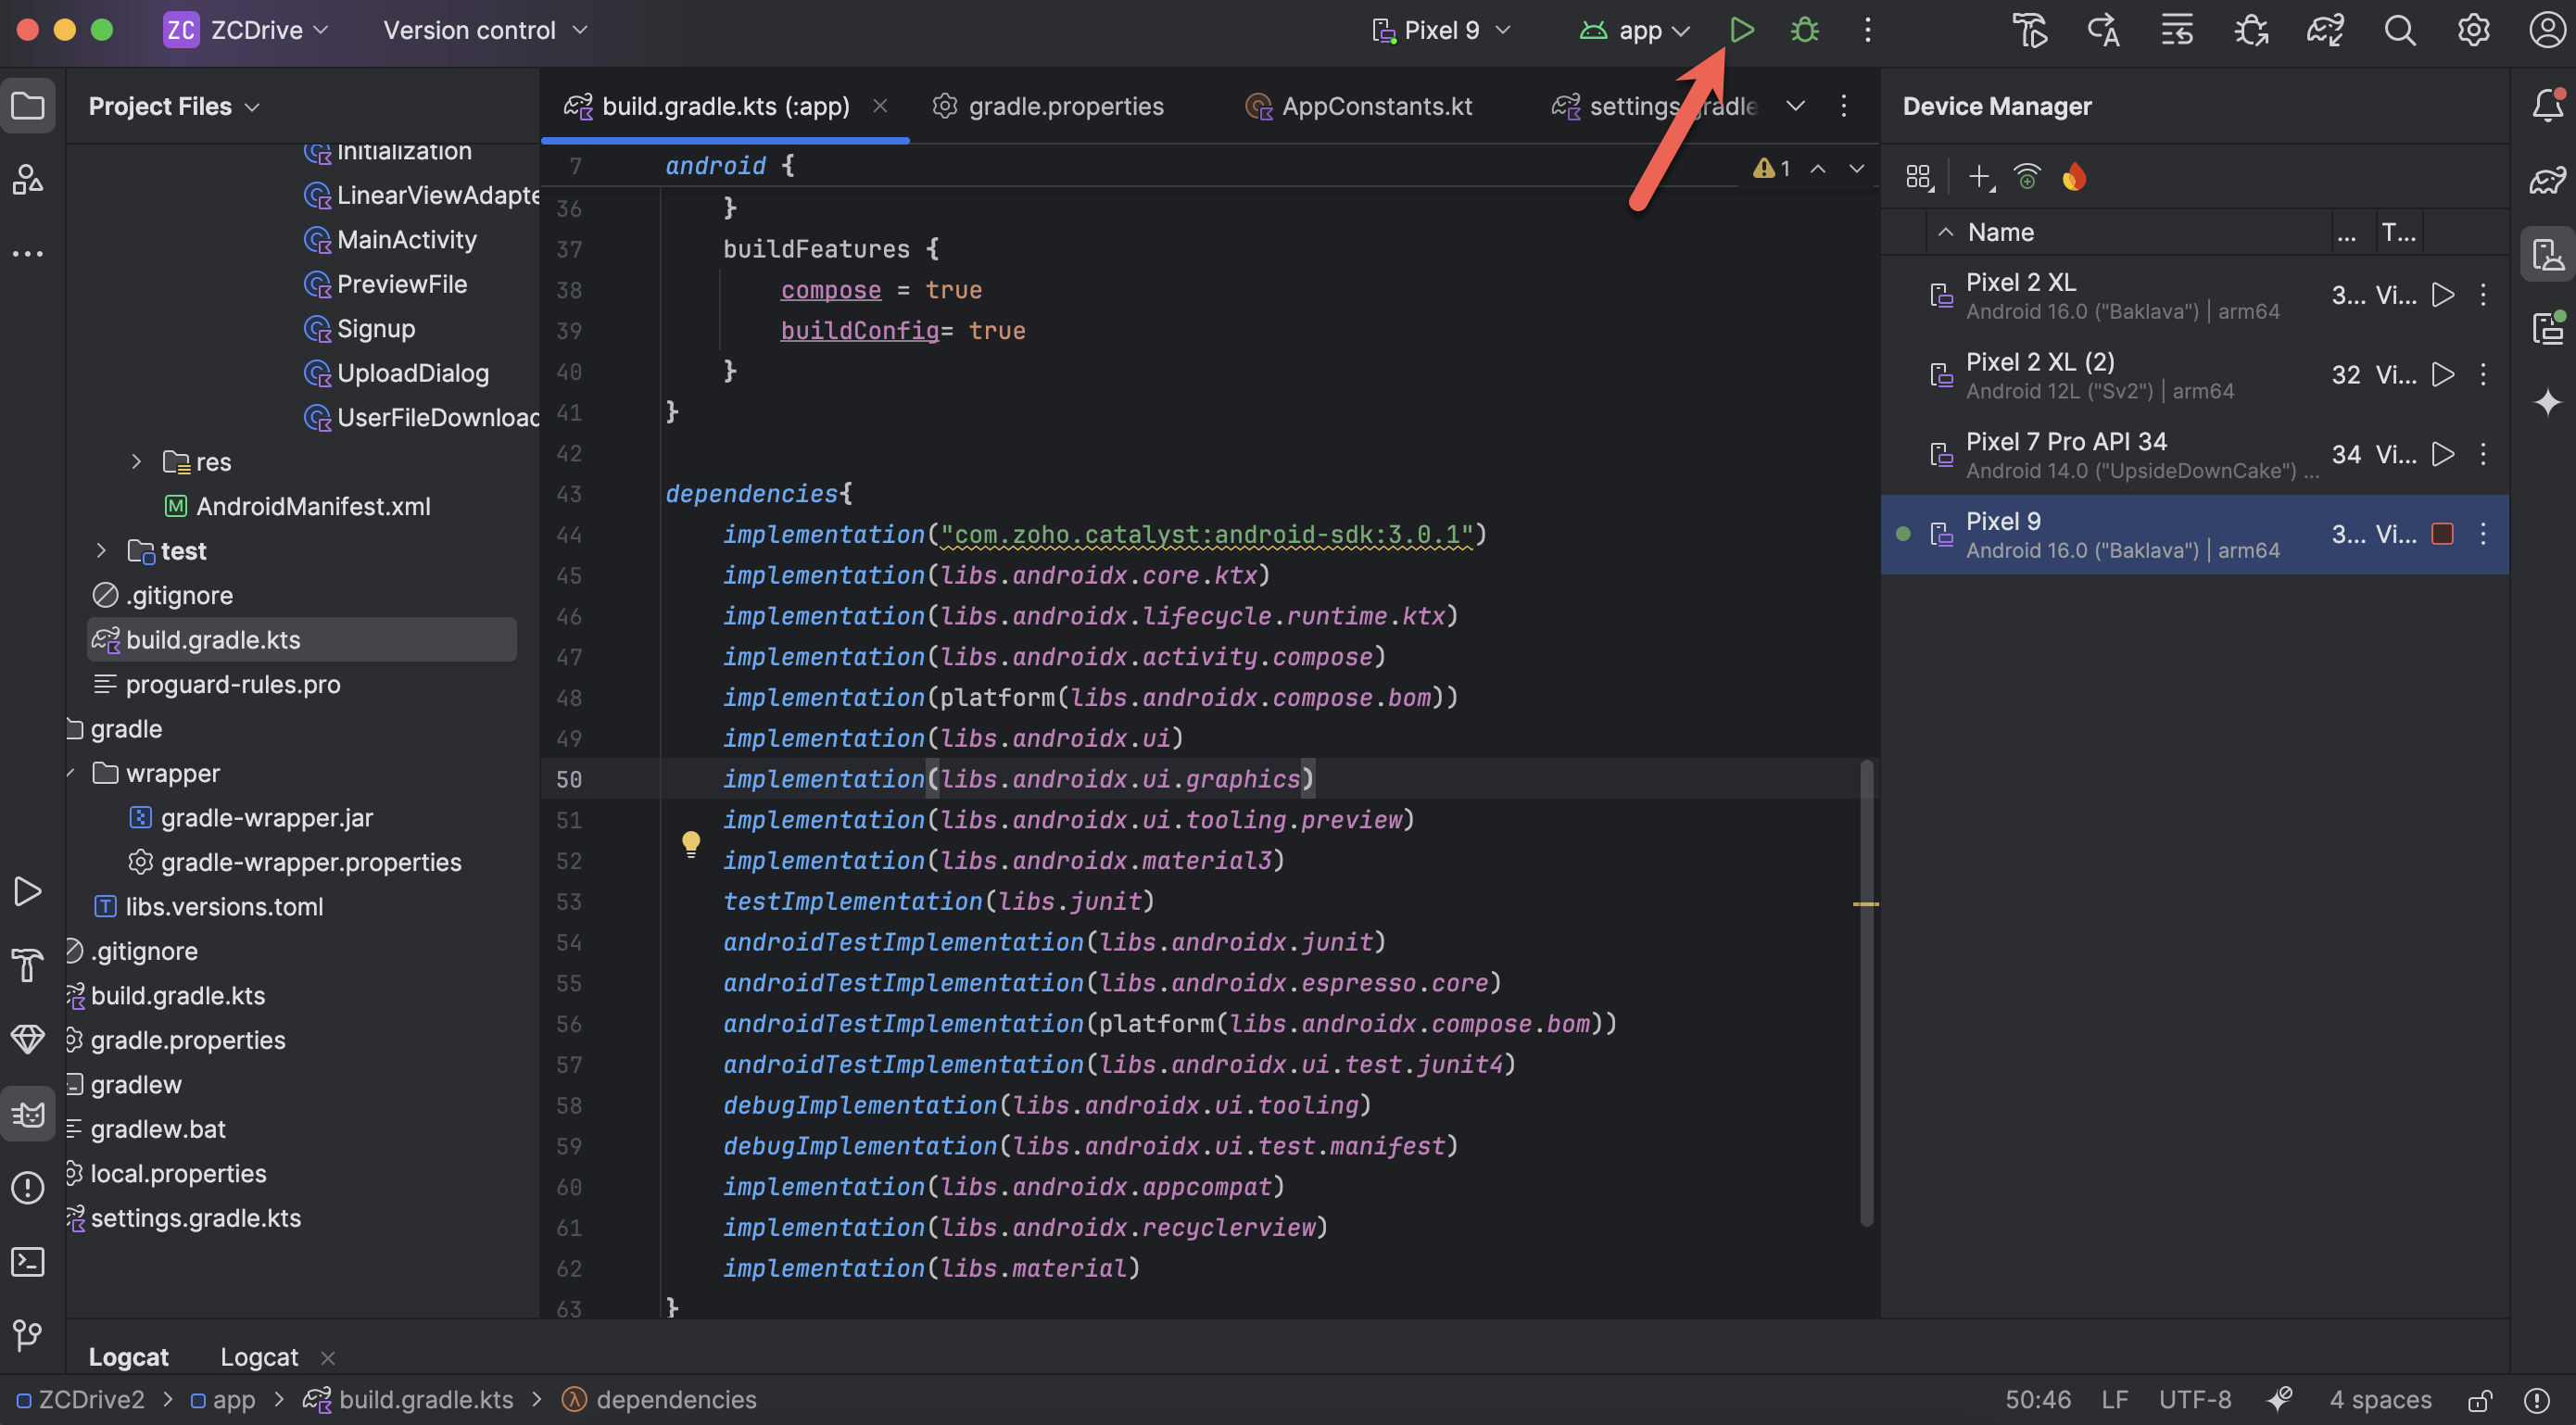
Launch the App:
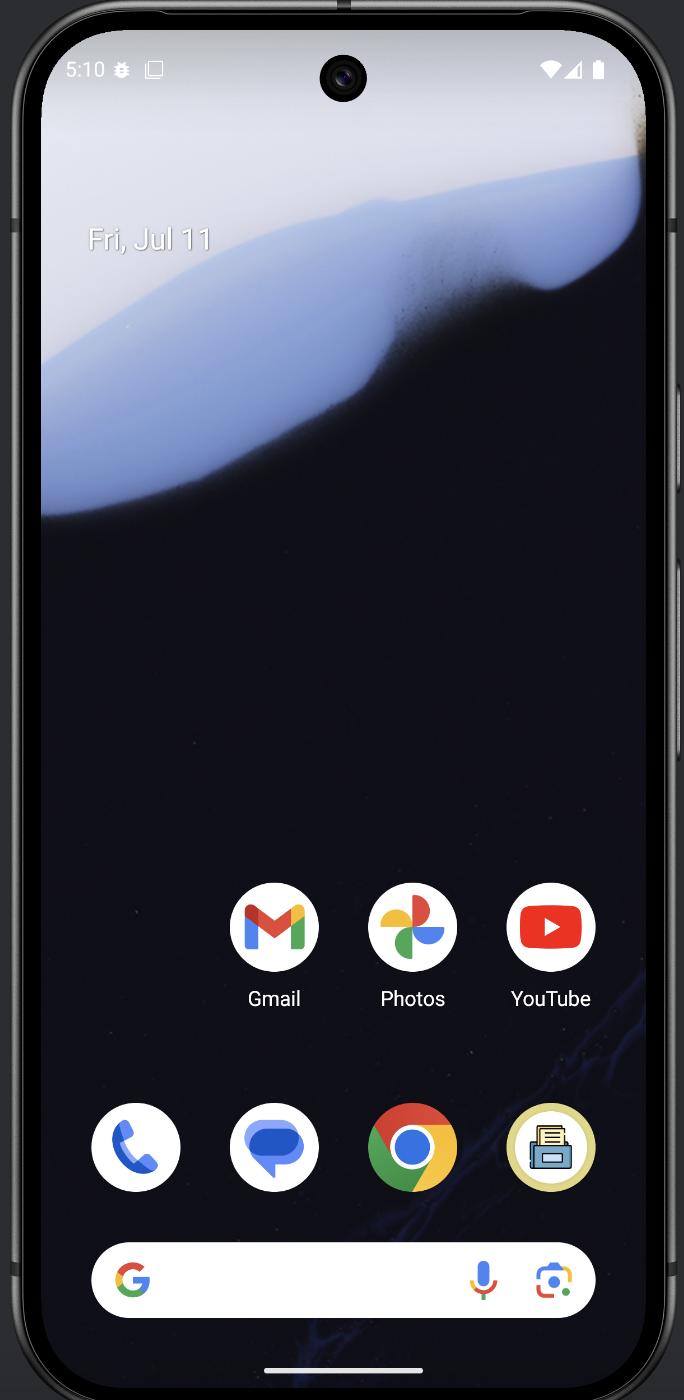
This will launch the Android Emulator and your virtual device will be powered on. You might be prompted to perform some initial set up on the virtual device. Locate the ZCDrive app on the virtual device and double-click it to open it.
Sign Up for an account:
-
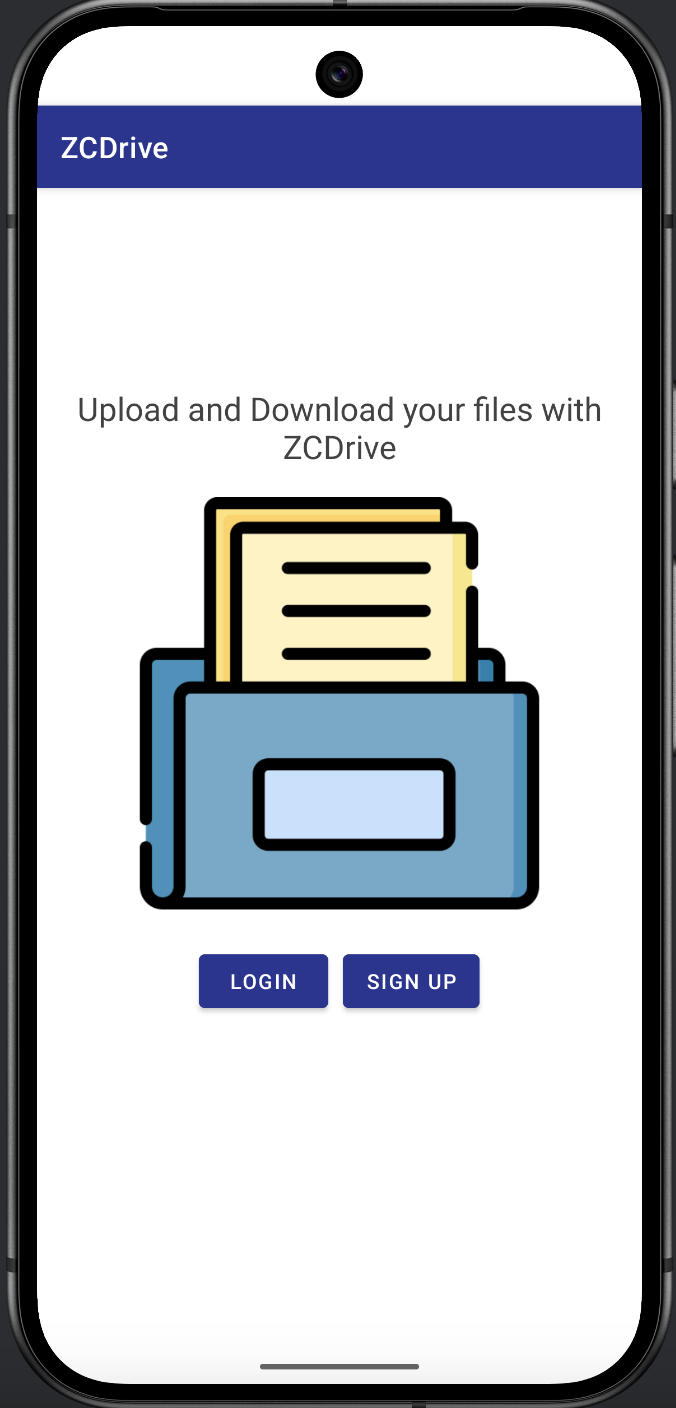
You must perform an initial sign-up on the app to create your account in it. Click Sign Up.
-
Enter your name and email address to create an account, then click Sign Up.
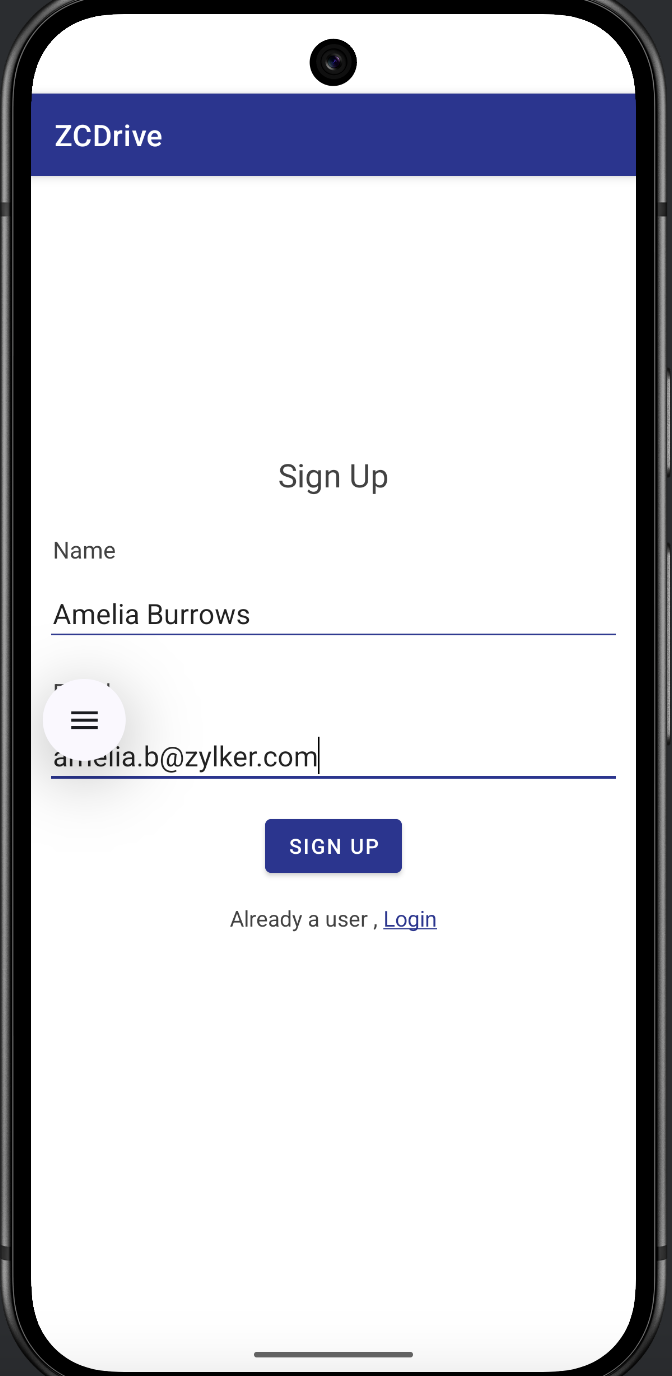
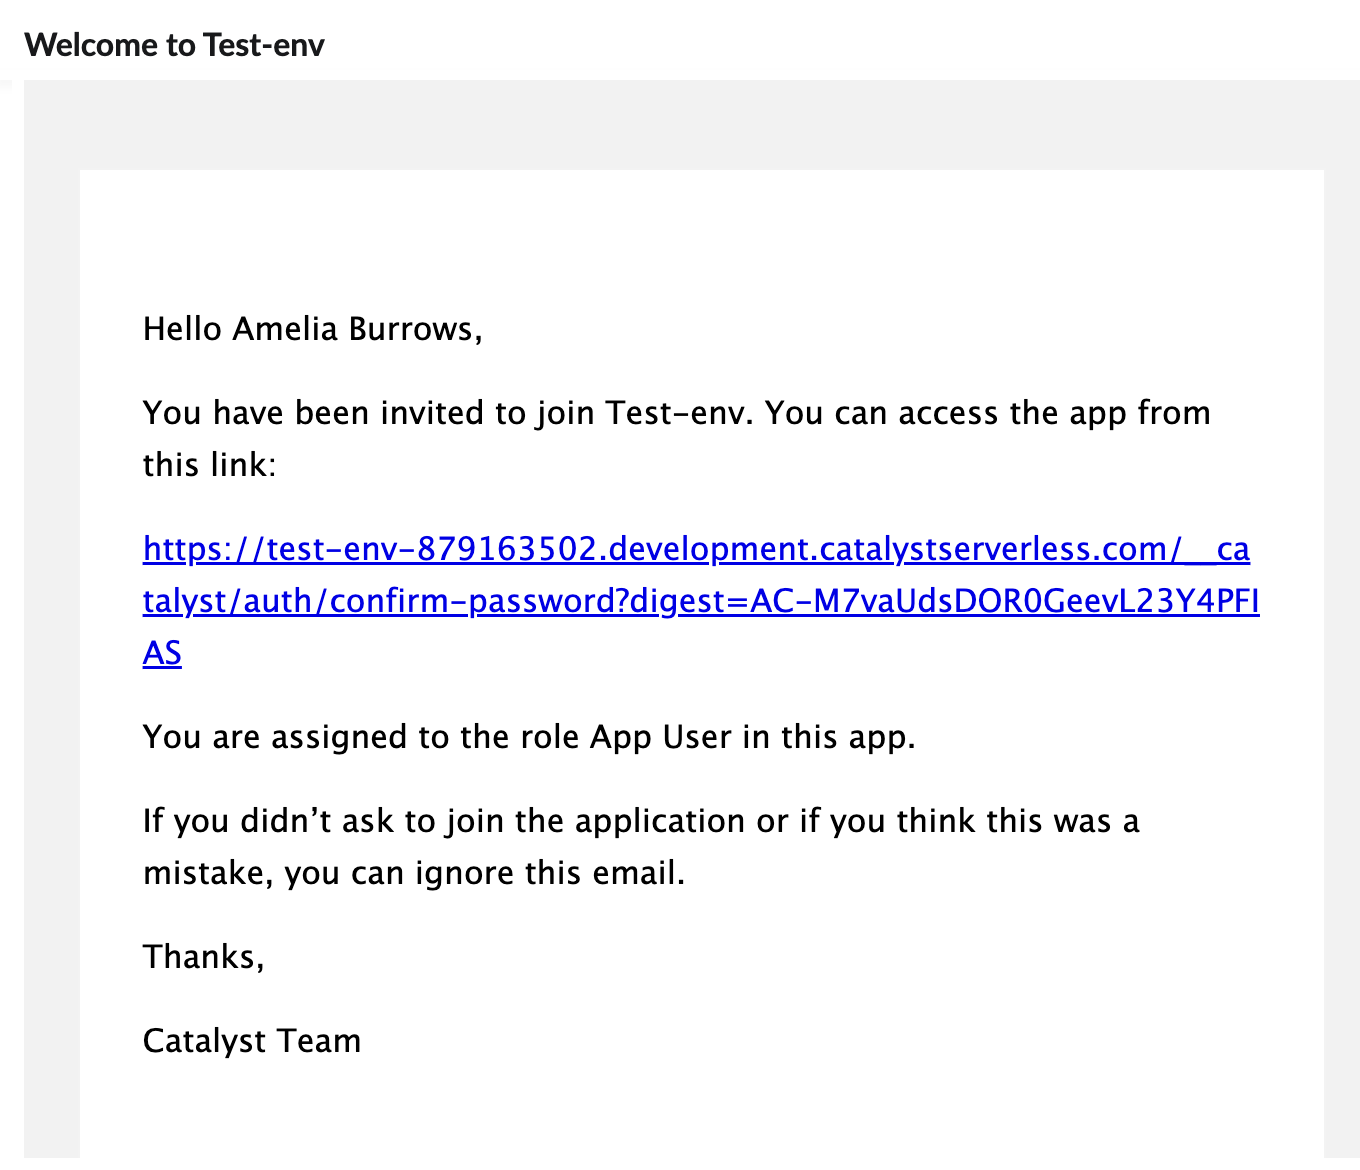
You will receive a toast in the app informing you that an email with an invitation link to set a password has been sent to the email address.
You can set a password for the app. Confirm the password, then click Update.
Change User’s Permissions:
Before you log into the app, you must configure some user permissions in the Catalyst console.
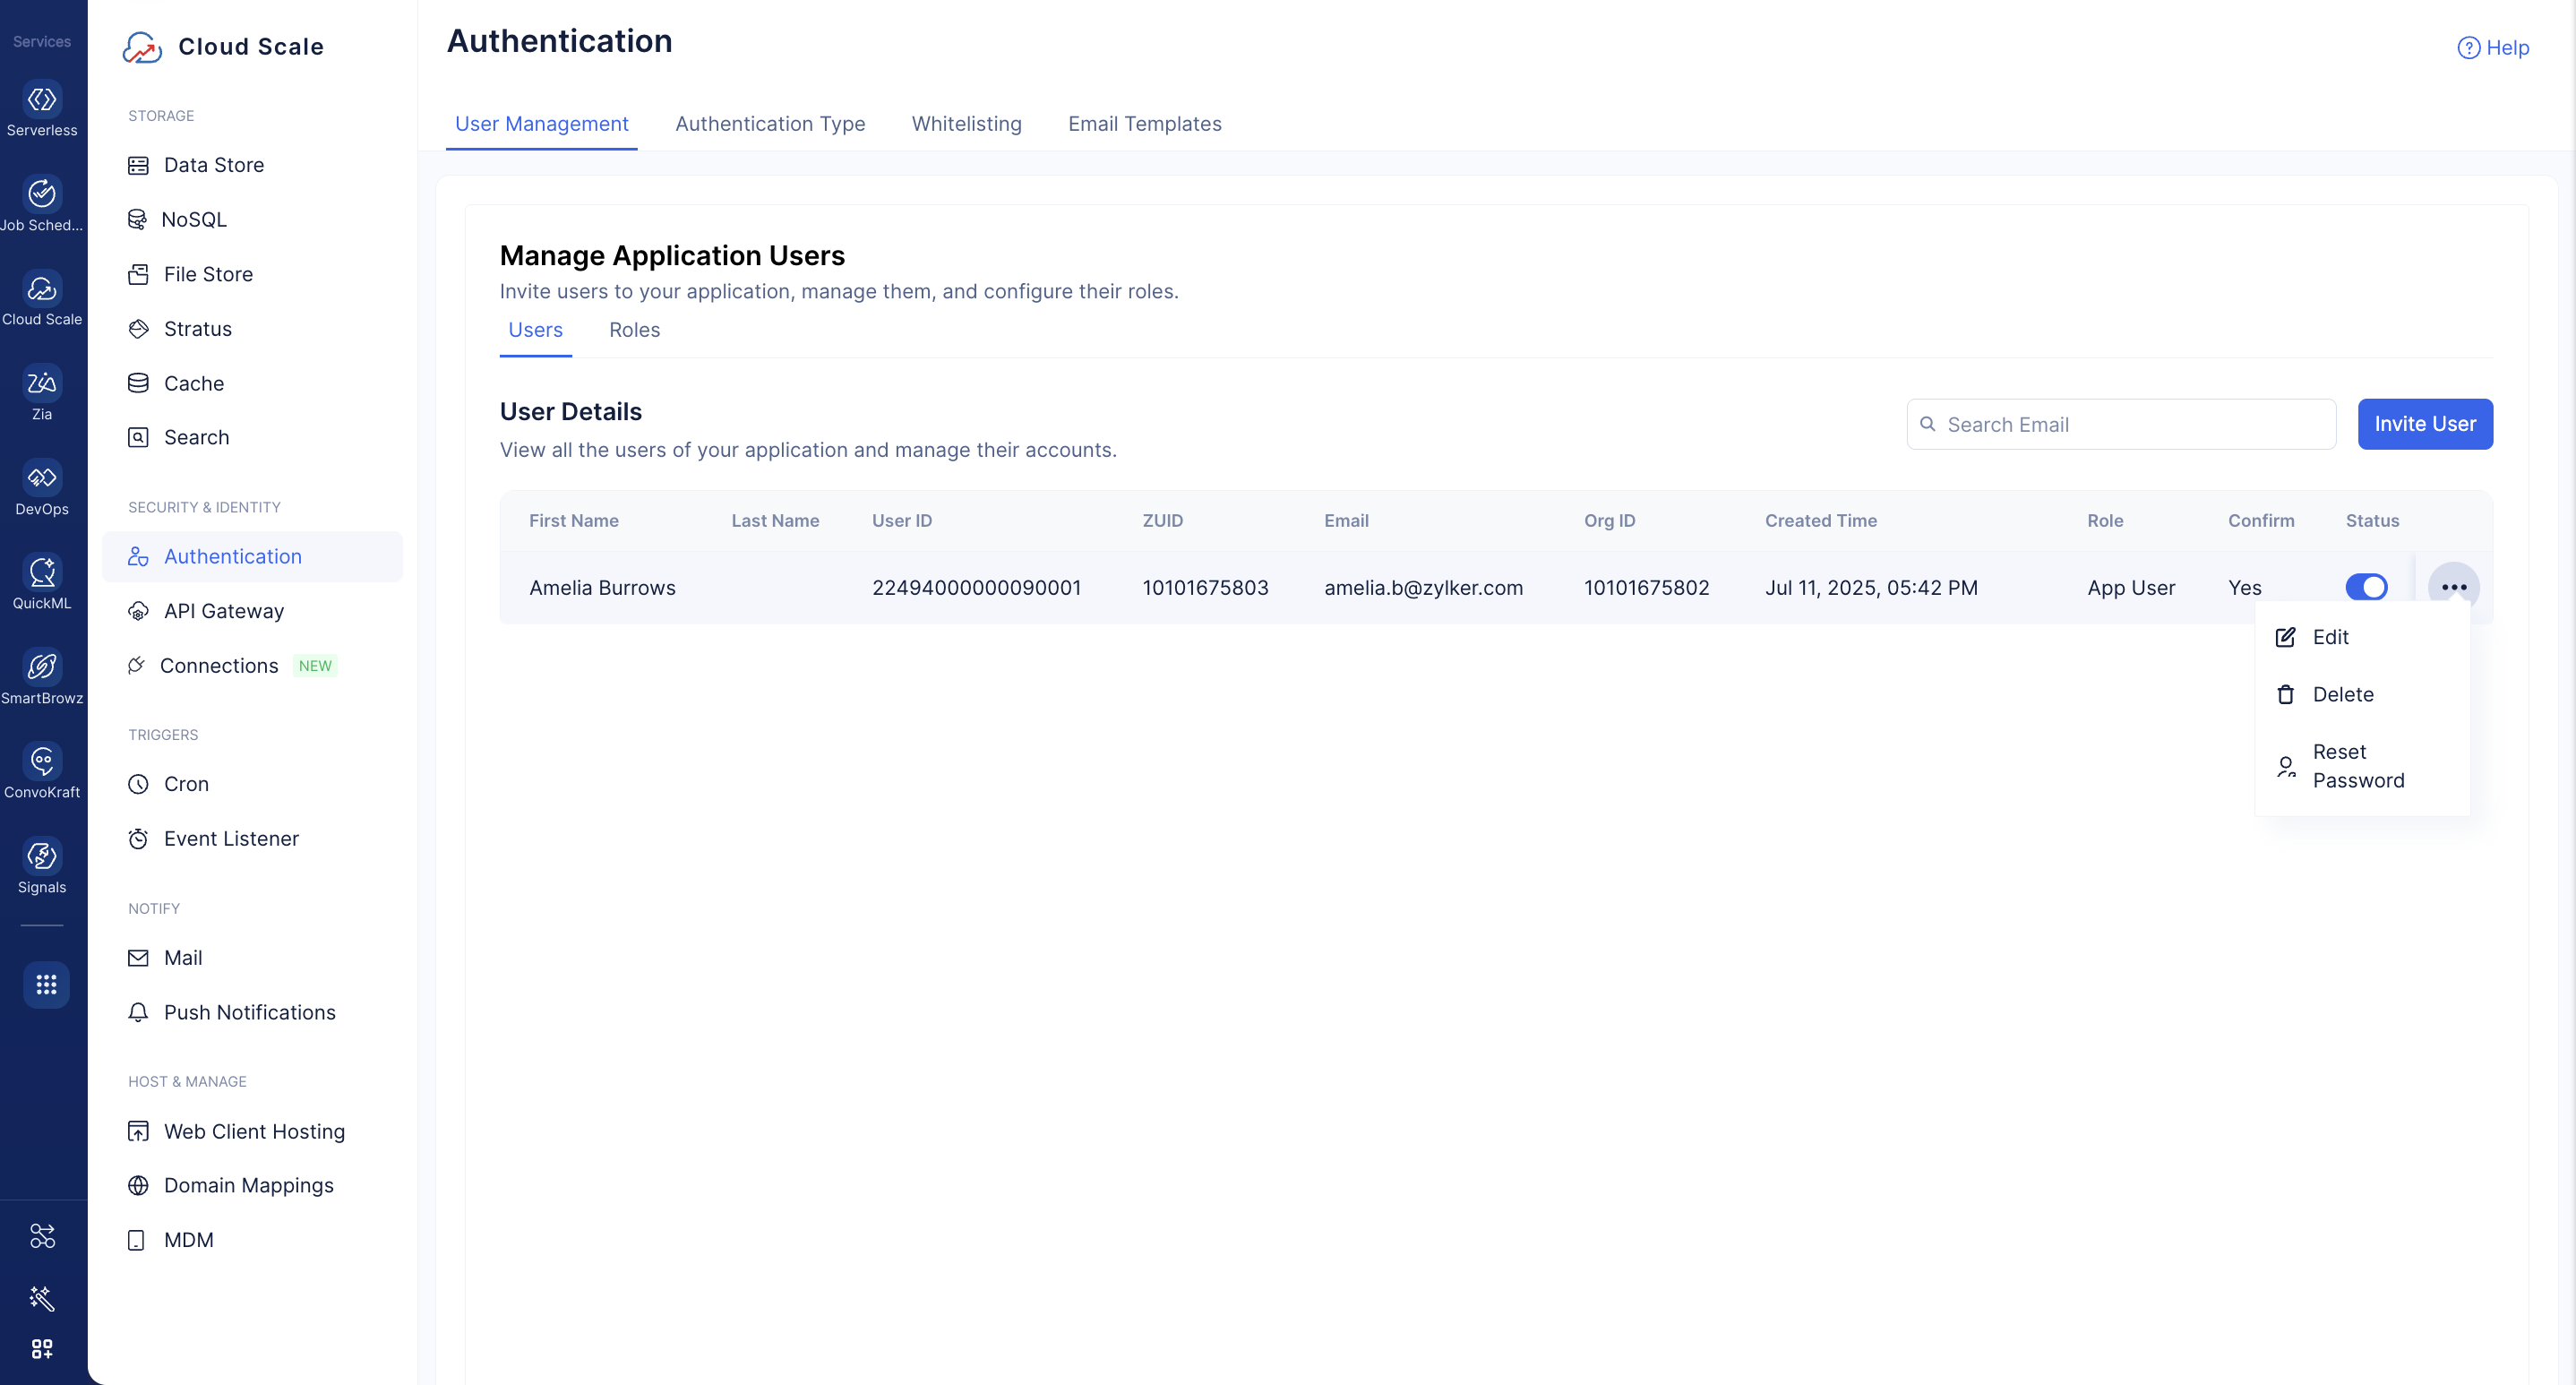
The account you signed up for the app with will be added to the role of an App User by default in Catalyst Authentication. However, an App User will not have permissions to upload and delete files in the Stratus bucket, or insert and delete rows in the Data Store.
We will therefore change the signed up user’s role to App Admin in the following way:
-
Open Authentication in the Catalyst console for your project.
You will find the account you signed up with added as a new user in the User Management section. Click the ellipsis icon for the user, then click Edit.
-
Select the user’s role as App Administrator from the drop-down list, then click Update.
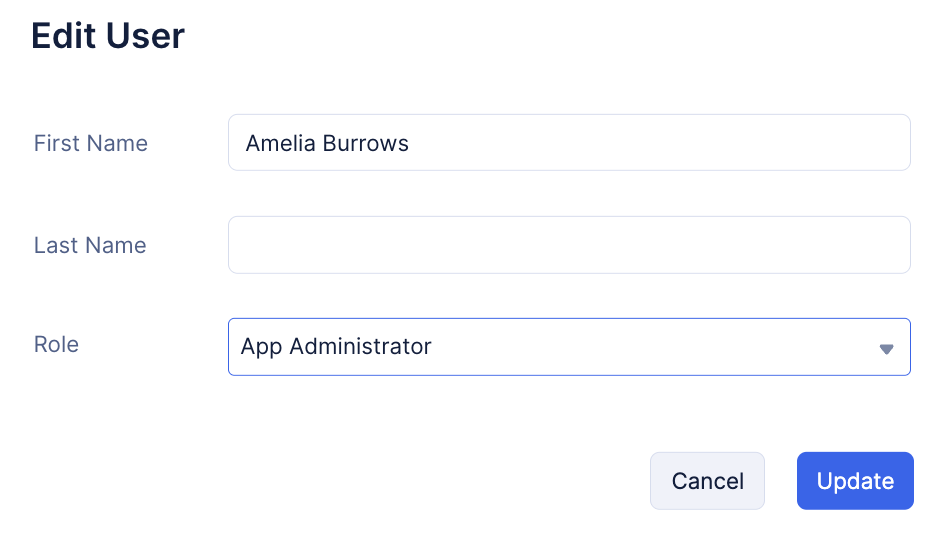
You will now be able to perform all available operations in the Data Store and File Store. This will enable you to upload and delete files from the app.
Log into the App:
-
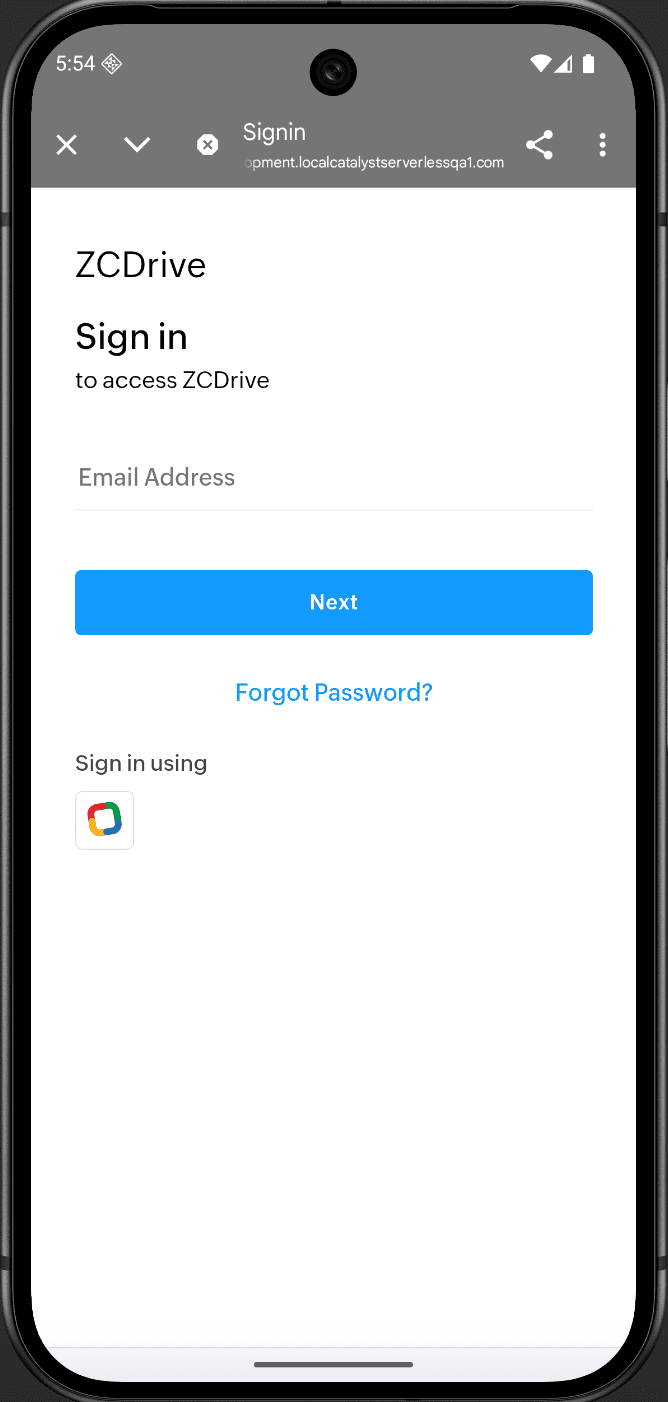
Navigate back to the app in the Android Emulator and click Login. Enter the email address you signed up with and the password you set on the login screen, then click Sign In.
Upload a file in the app:
- You can now upload a file in the app by clicking the (+) icon. The app will ask permission to access the files on your virtual device. Click Allow and select a file.
- Click Yes in the confirmation pop-up.
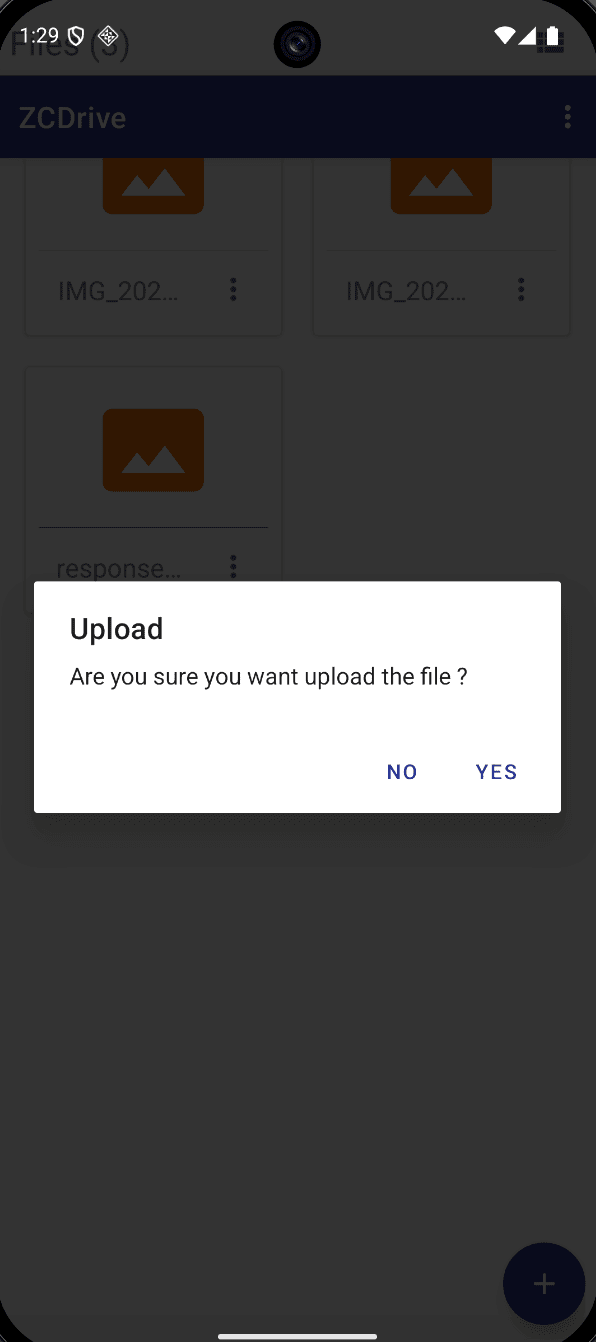
The file will be uploaded to the app. Depending on the type of file, you will see an icon for it.
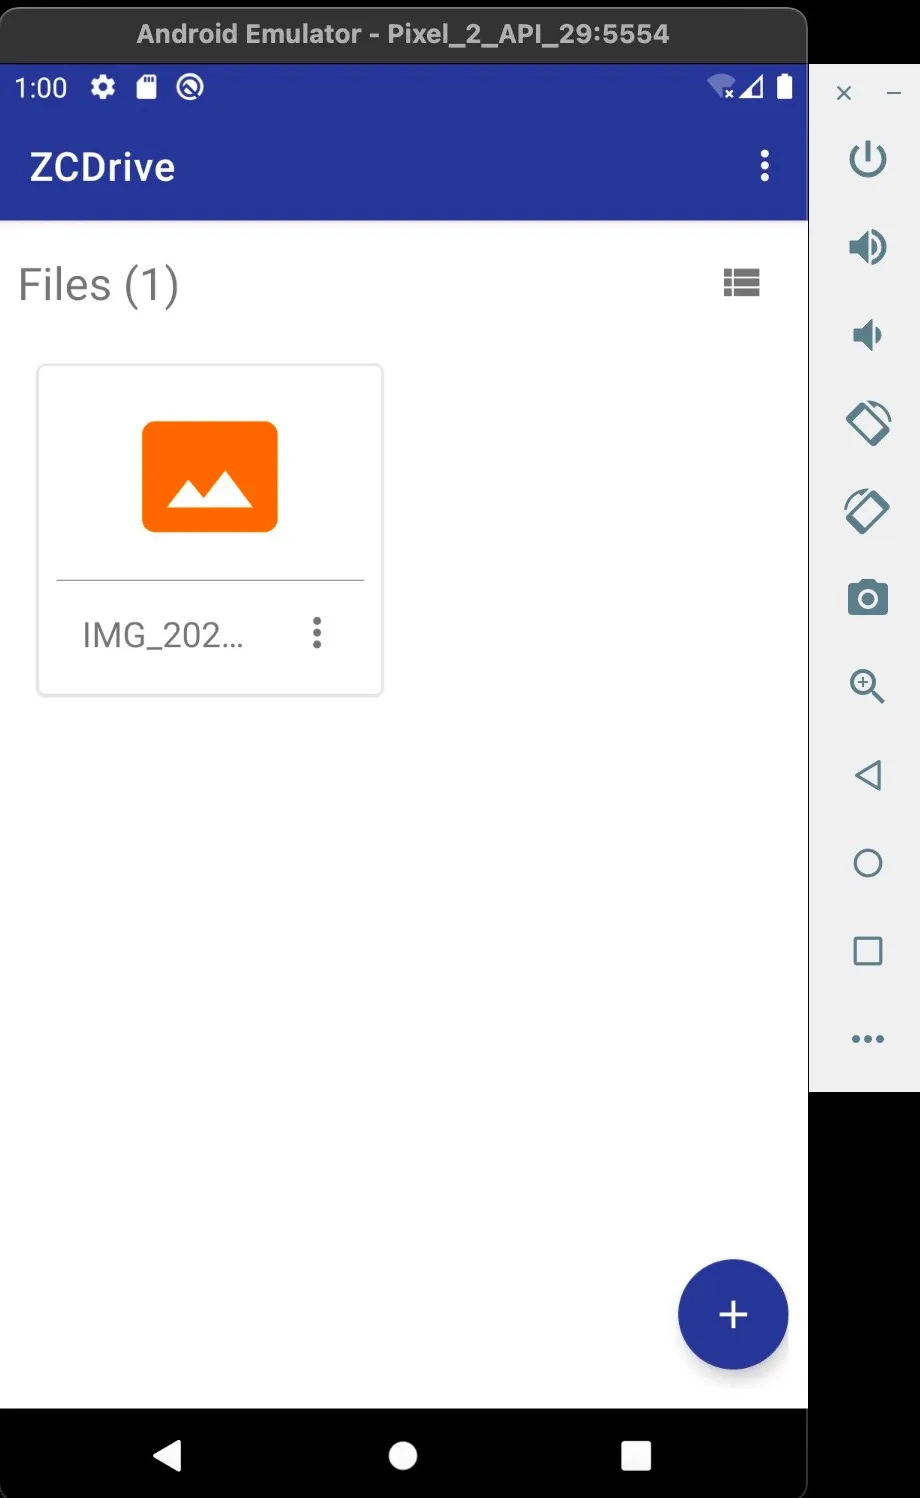
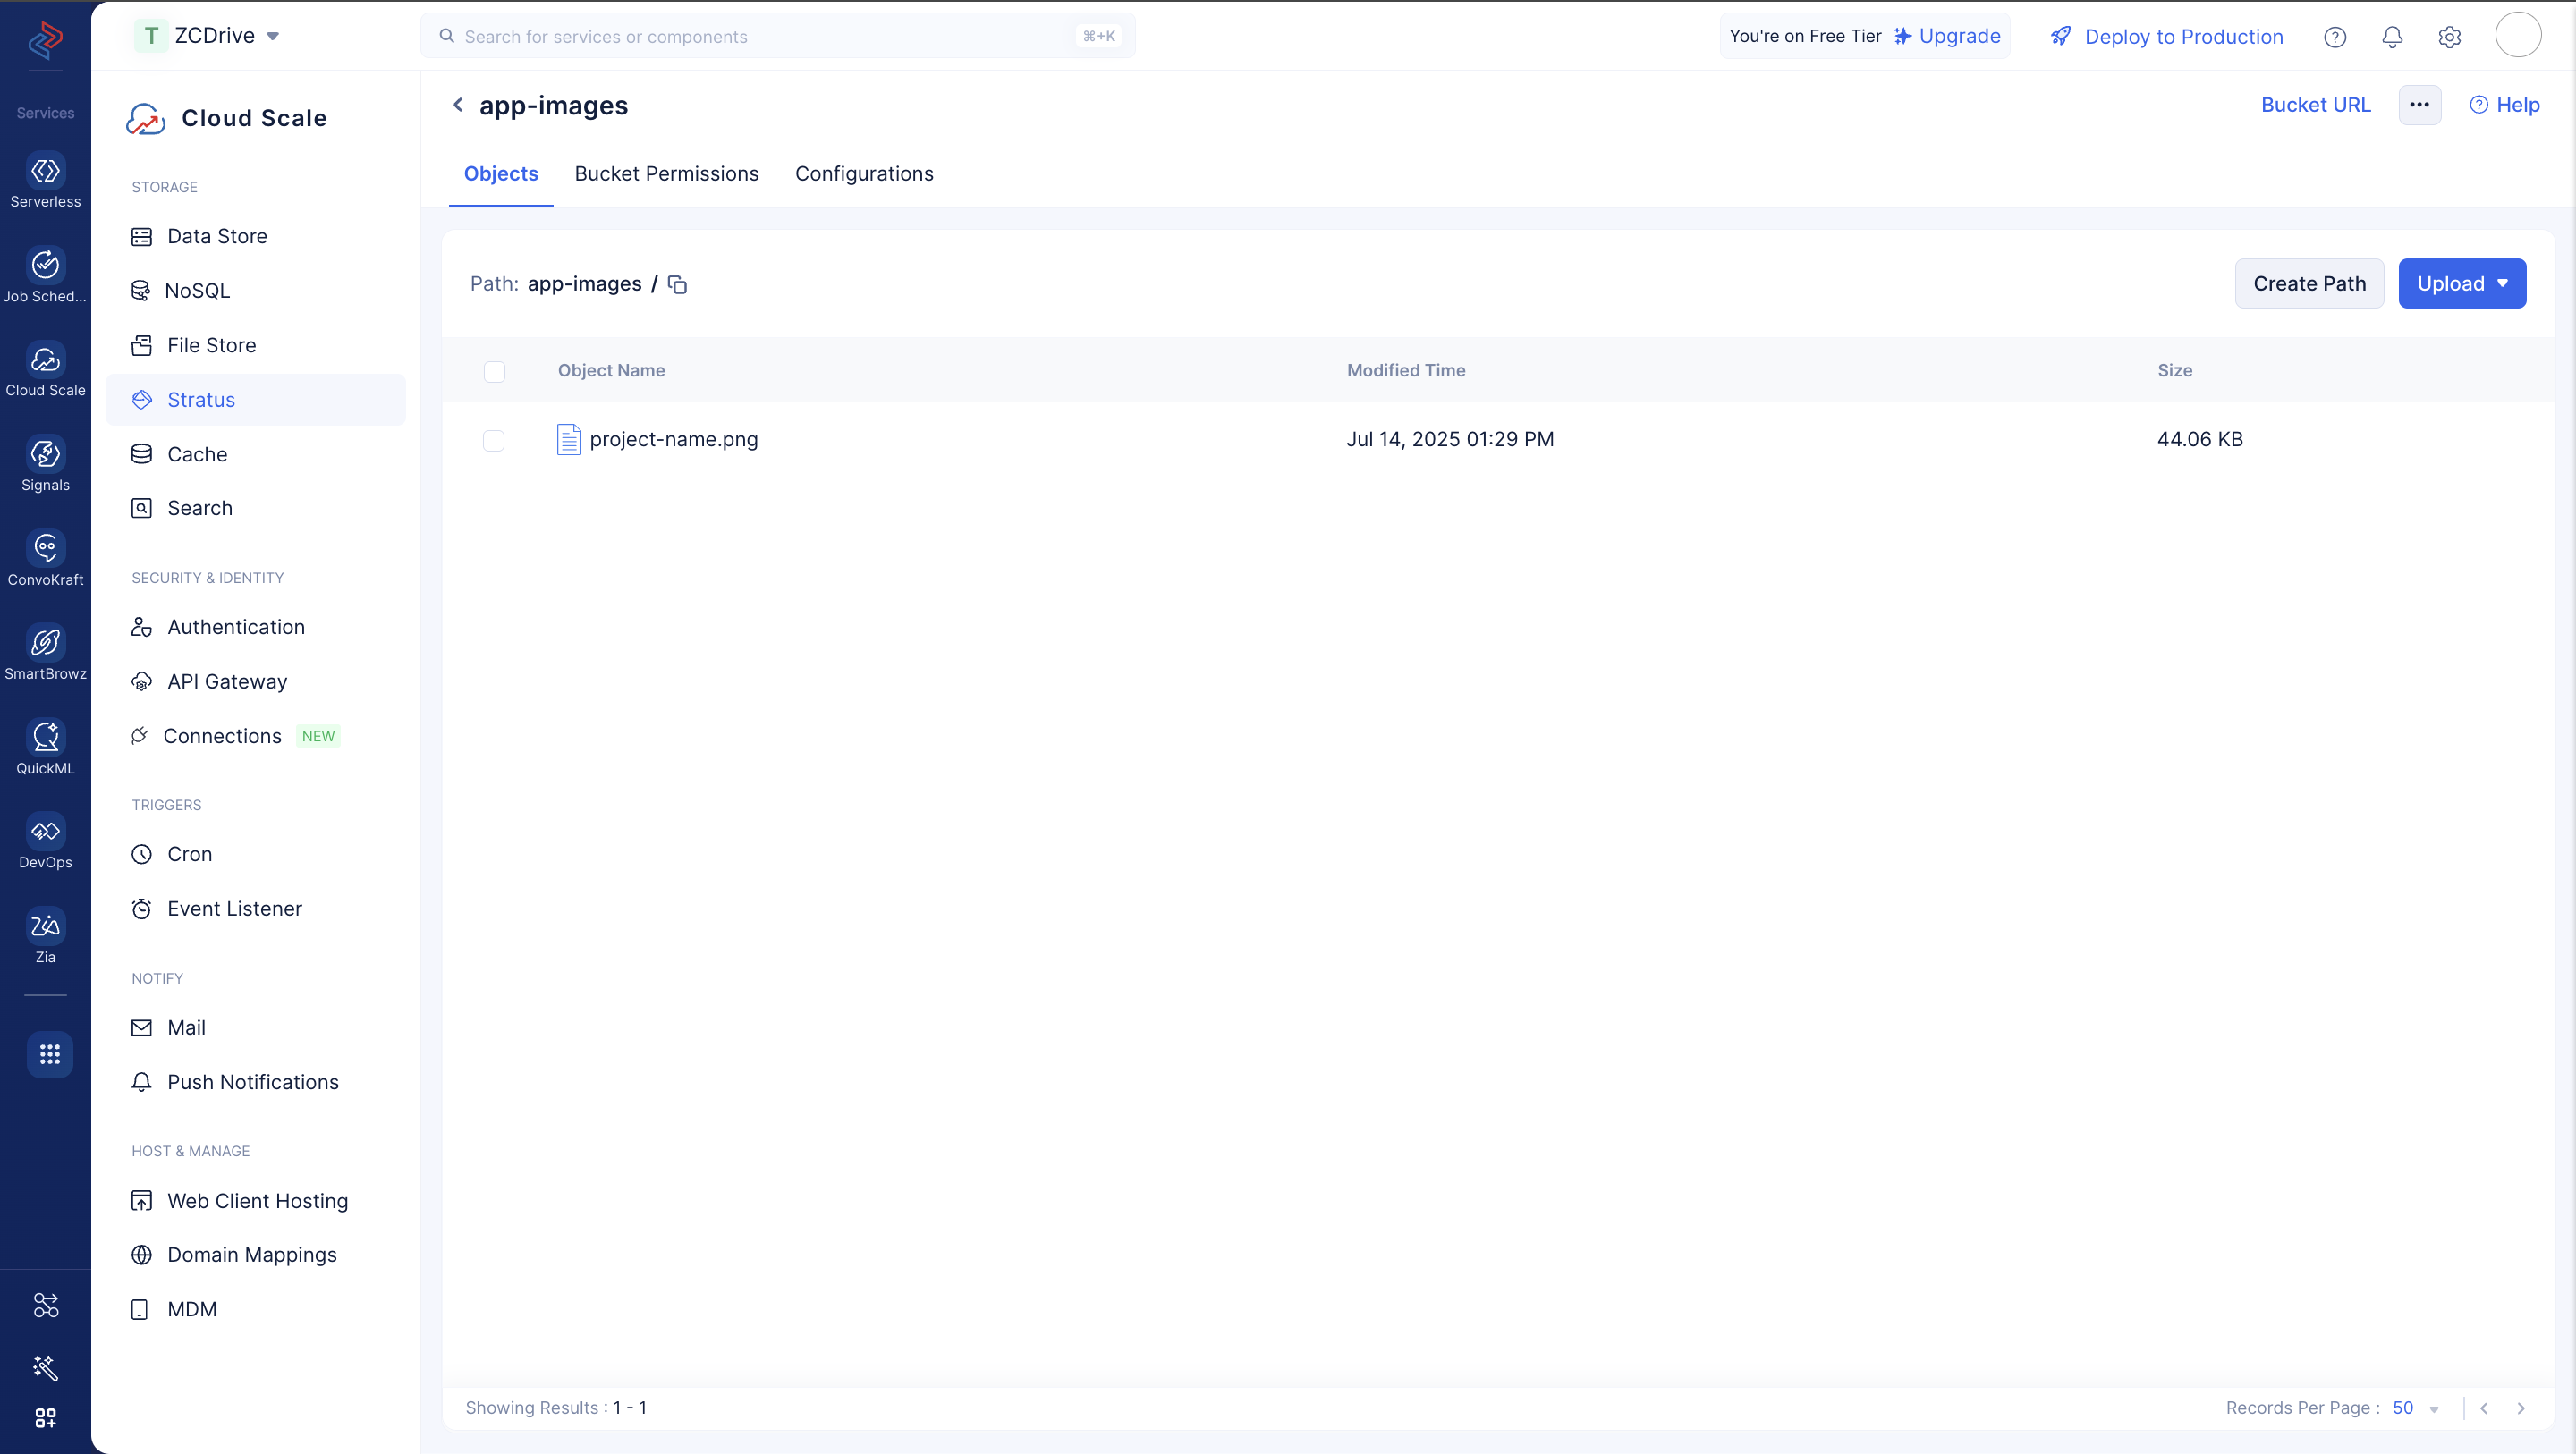
The uploaded file will be present in the Stratus bucket of your Catalyst project.
You will also find a new row created in the Files table in the Data Store, that stores the metadata of the uploaded file.
View or Download a file in the app:
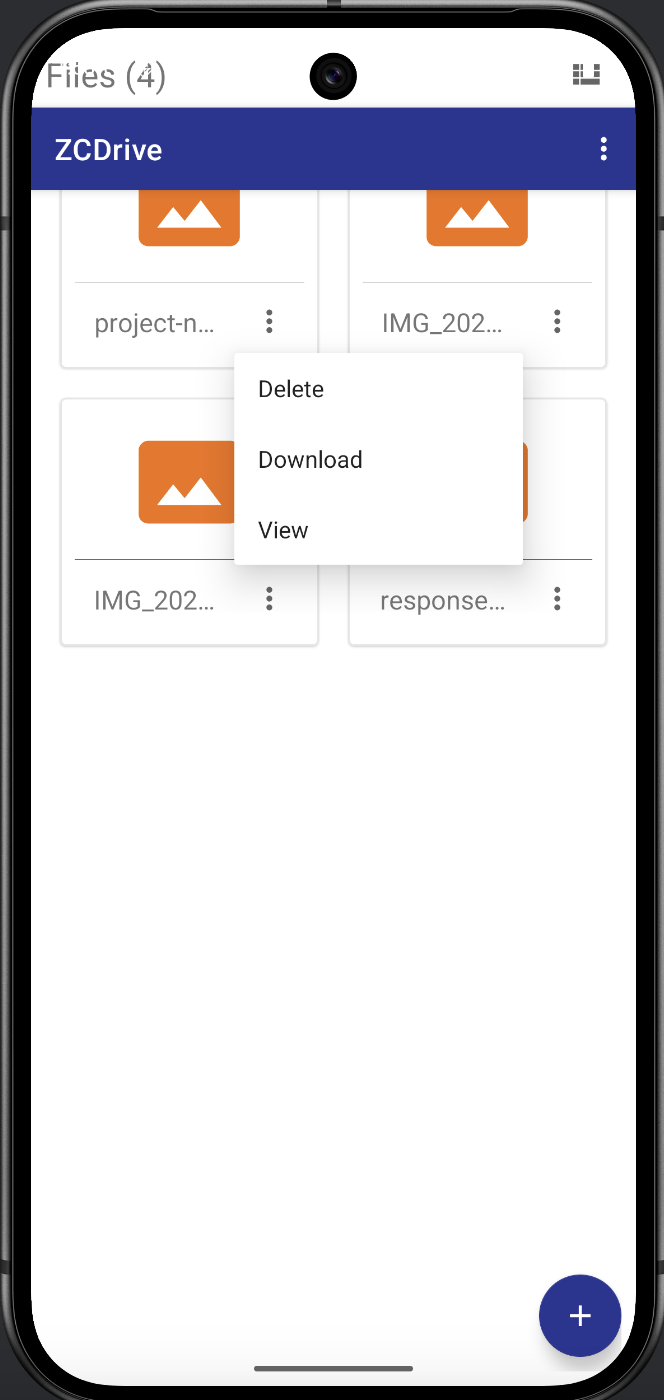
You can preview or download the file from the emulated device by clicking the ellipsis icon for it in the app, then clicking View or Download. The file will be downloaded to the virtual device’s storage when you click the Download option.
Delete a file in the app:
- You can delete an uploaded file from the app by clicking the ellipsis icon, then clicking Delete.
- Click Yes to confirm.
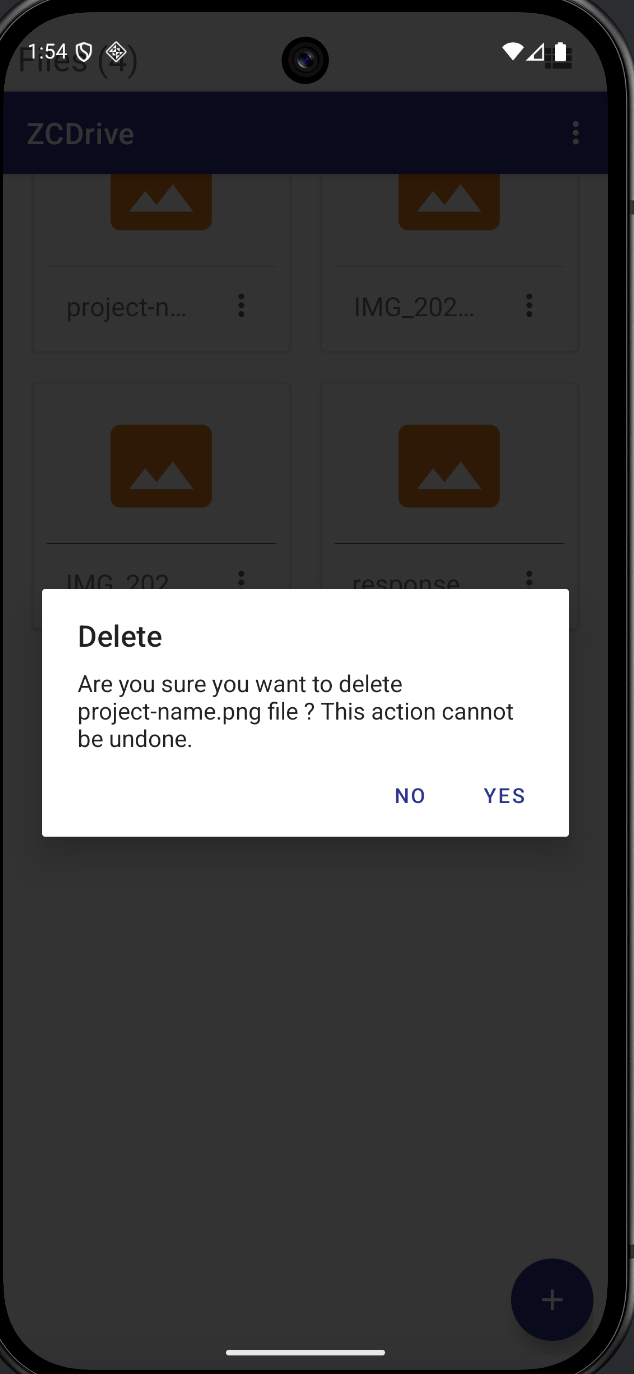
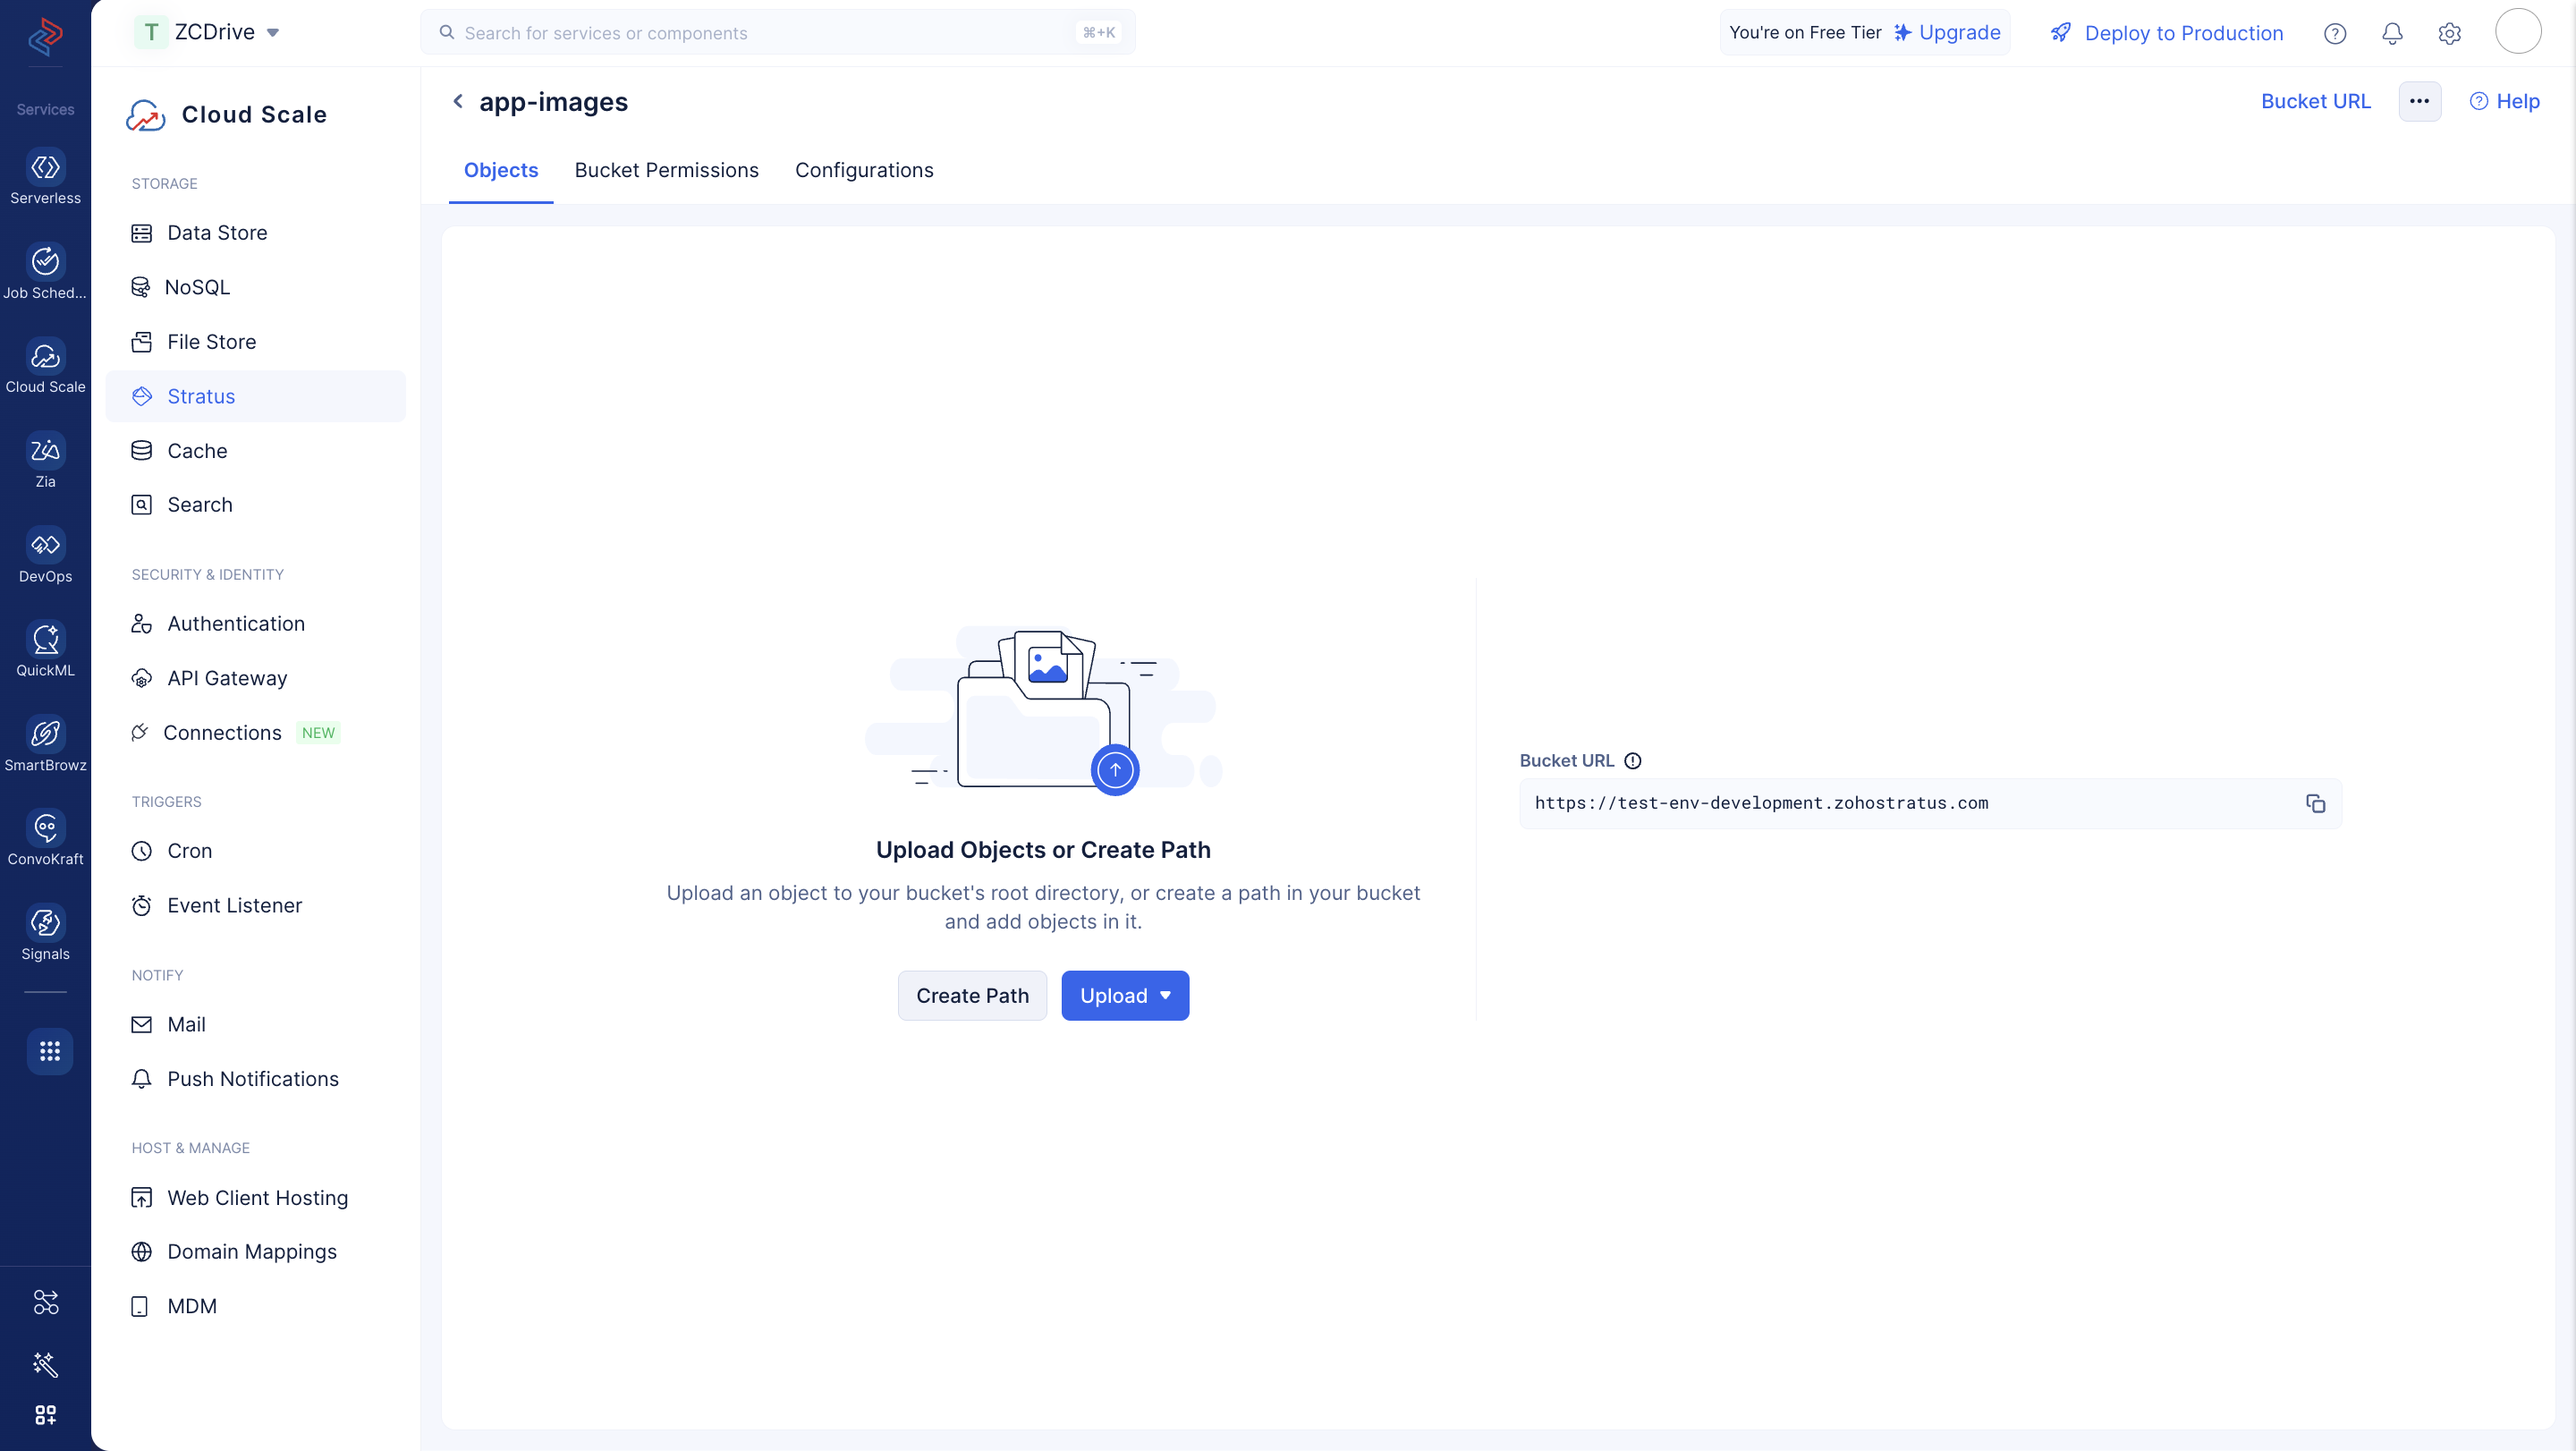
The file will be deleted from the app and the action will be synchronized with Stratus. The file will no longer be present in the Stratus bucket.
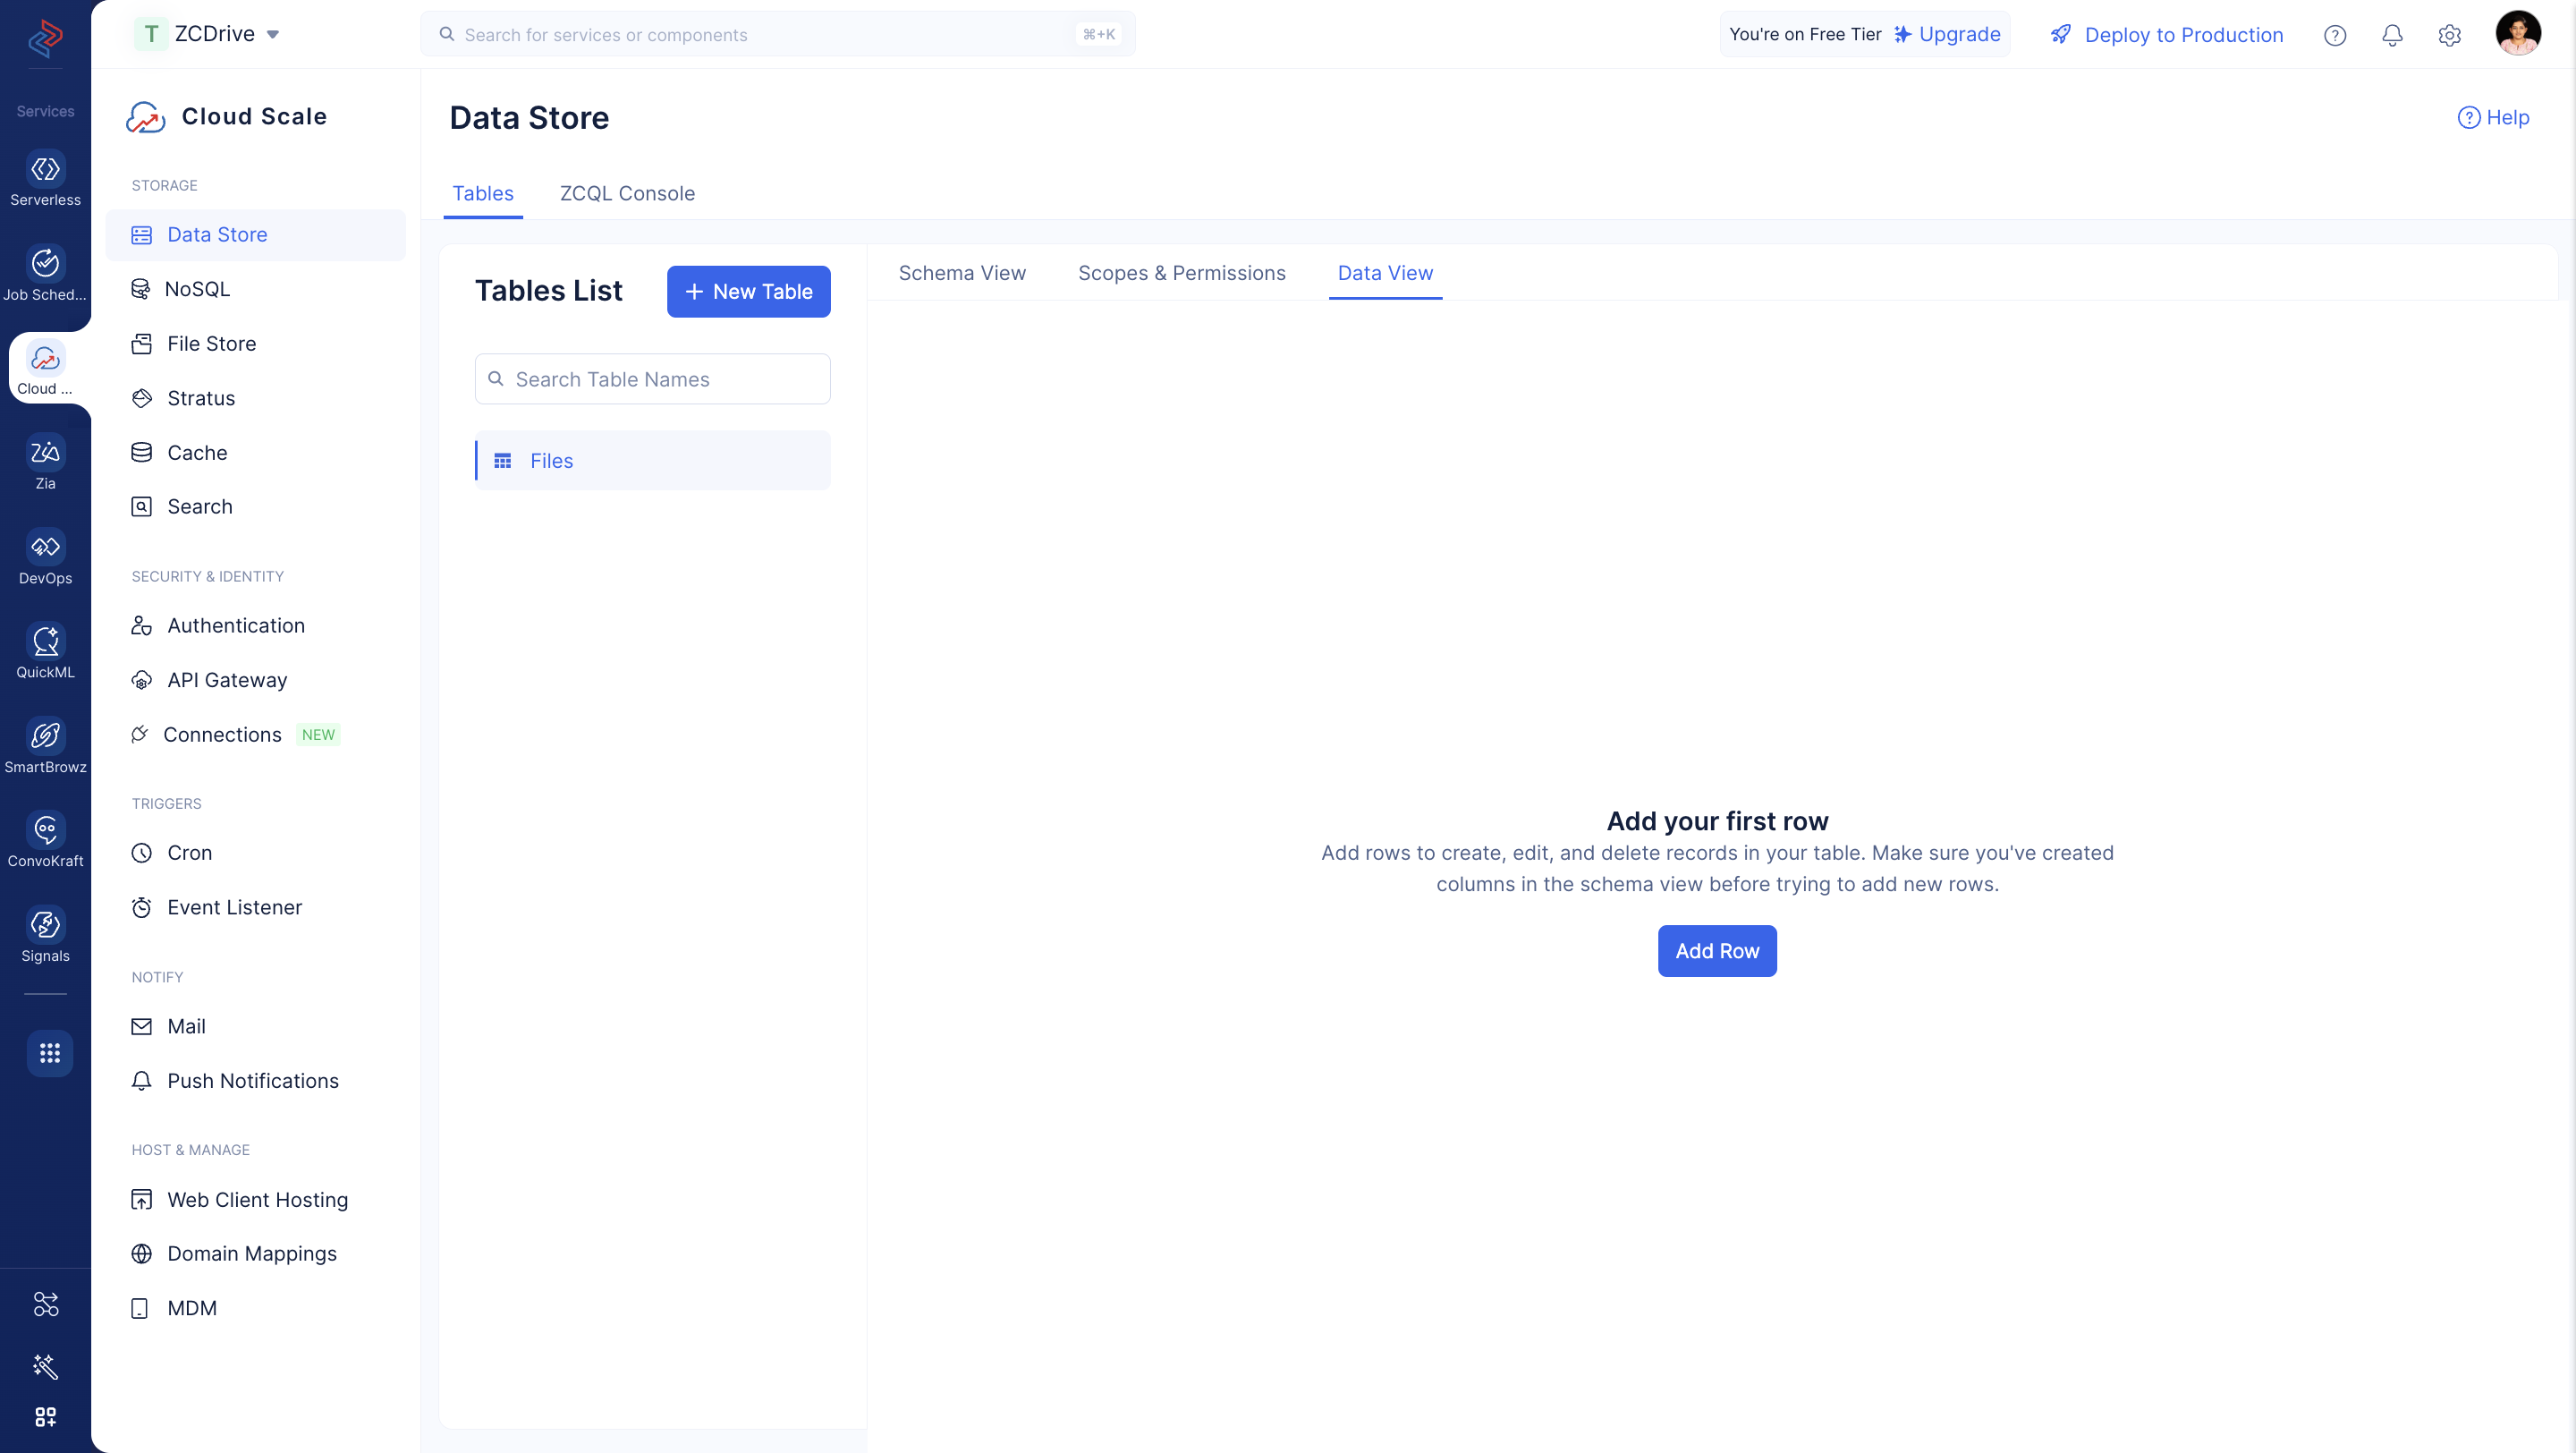
The row containing the metadata of the file will also be deleted from the Files table in the Data Store.
You can also locate the APK of the ZCDrive app in the Android Studio and install it in any test device, to test its UI or functioning in a variety of hardware configurations or Android API levels.
The app’s APK can be found in this path of your Android project’s directory:app > build > outputs > apk > debug > app-debug.apk
If all these actions work without any errors in the Emulator, the app has been configured properly.
Last Updated 2025-10-29 12:32:36 +0530 IST
