Create a Project in Android Studio
Let’s now create a project in Android Studio. The project you create will contain the source code and the resource files of the app in a specific structure, based on the type of activity, language, and other configurations you initialize it with.
You can learn more about an Android’s project structure, Android Studio’s UI and tools, the build system, and more from the Android Studio User Guide.
-
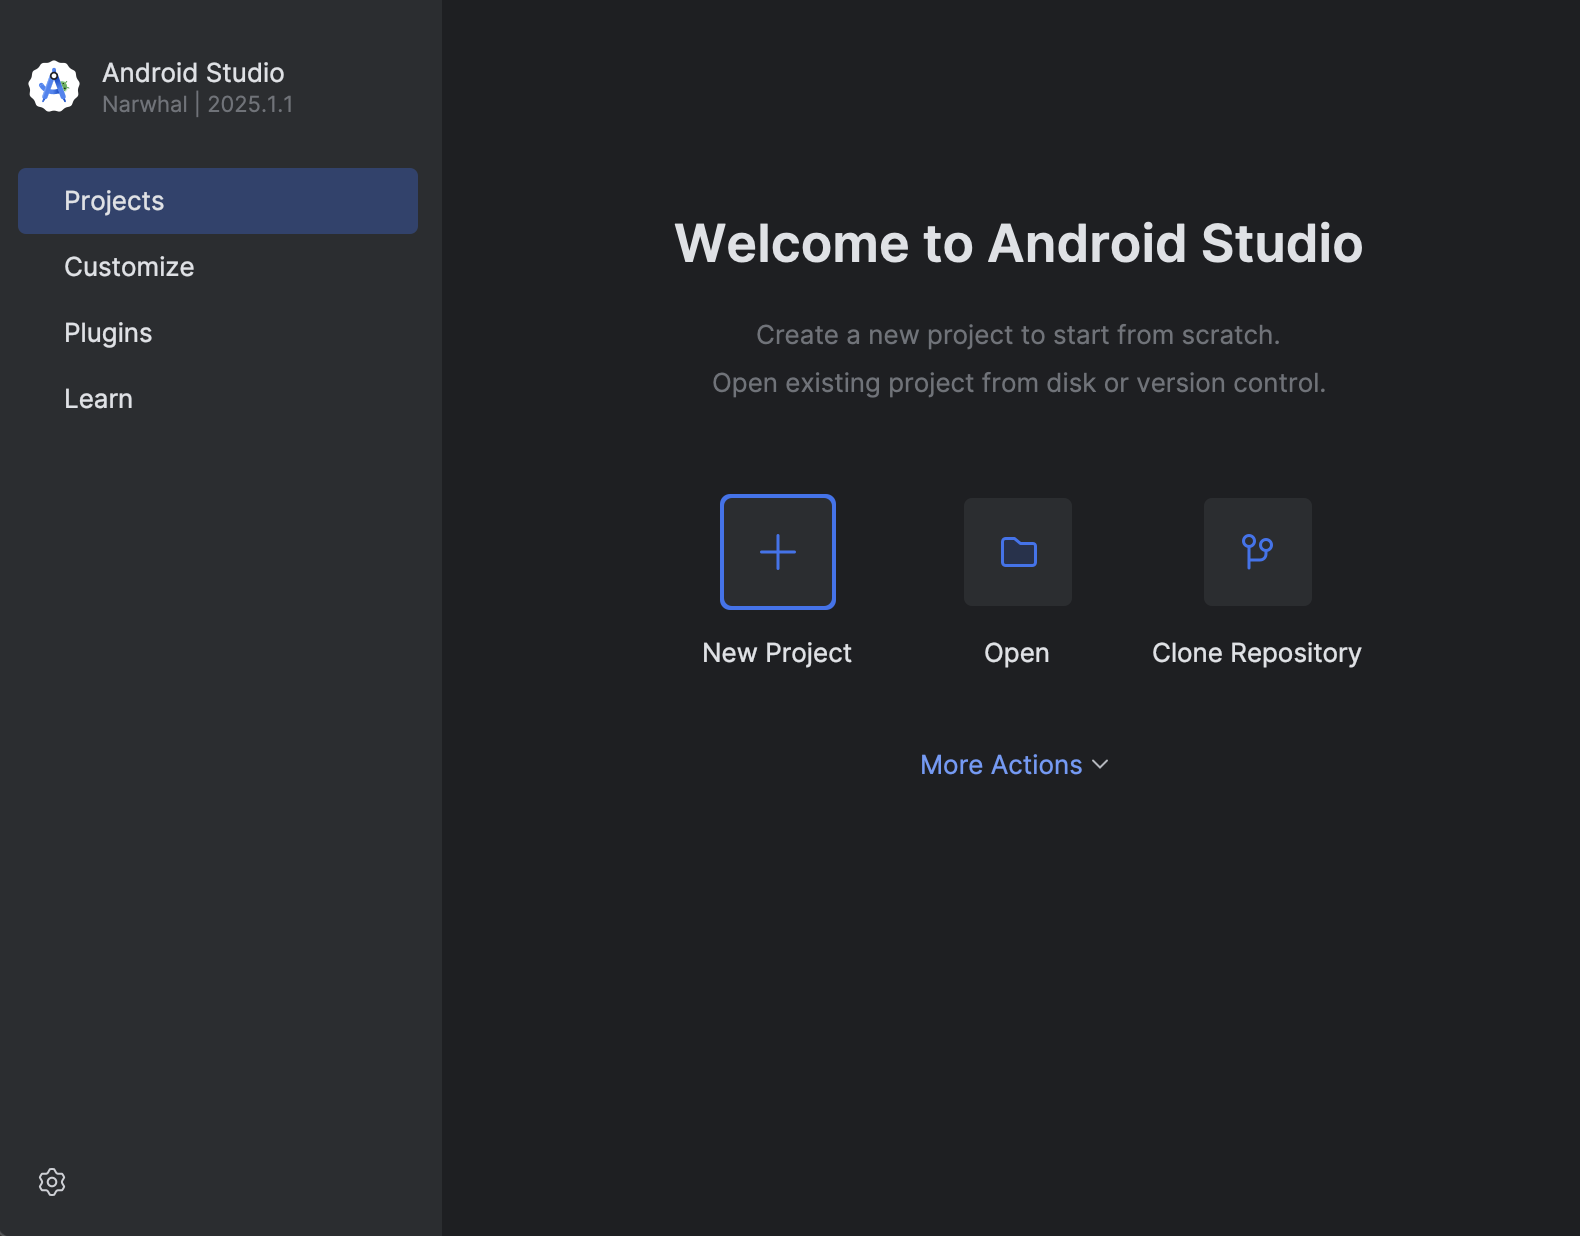
Open the Android Studio installed on your system and find the option to create a new project. Click New Project.

-
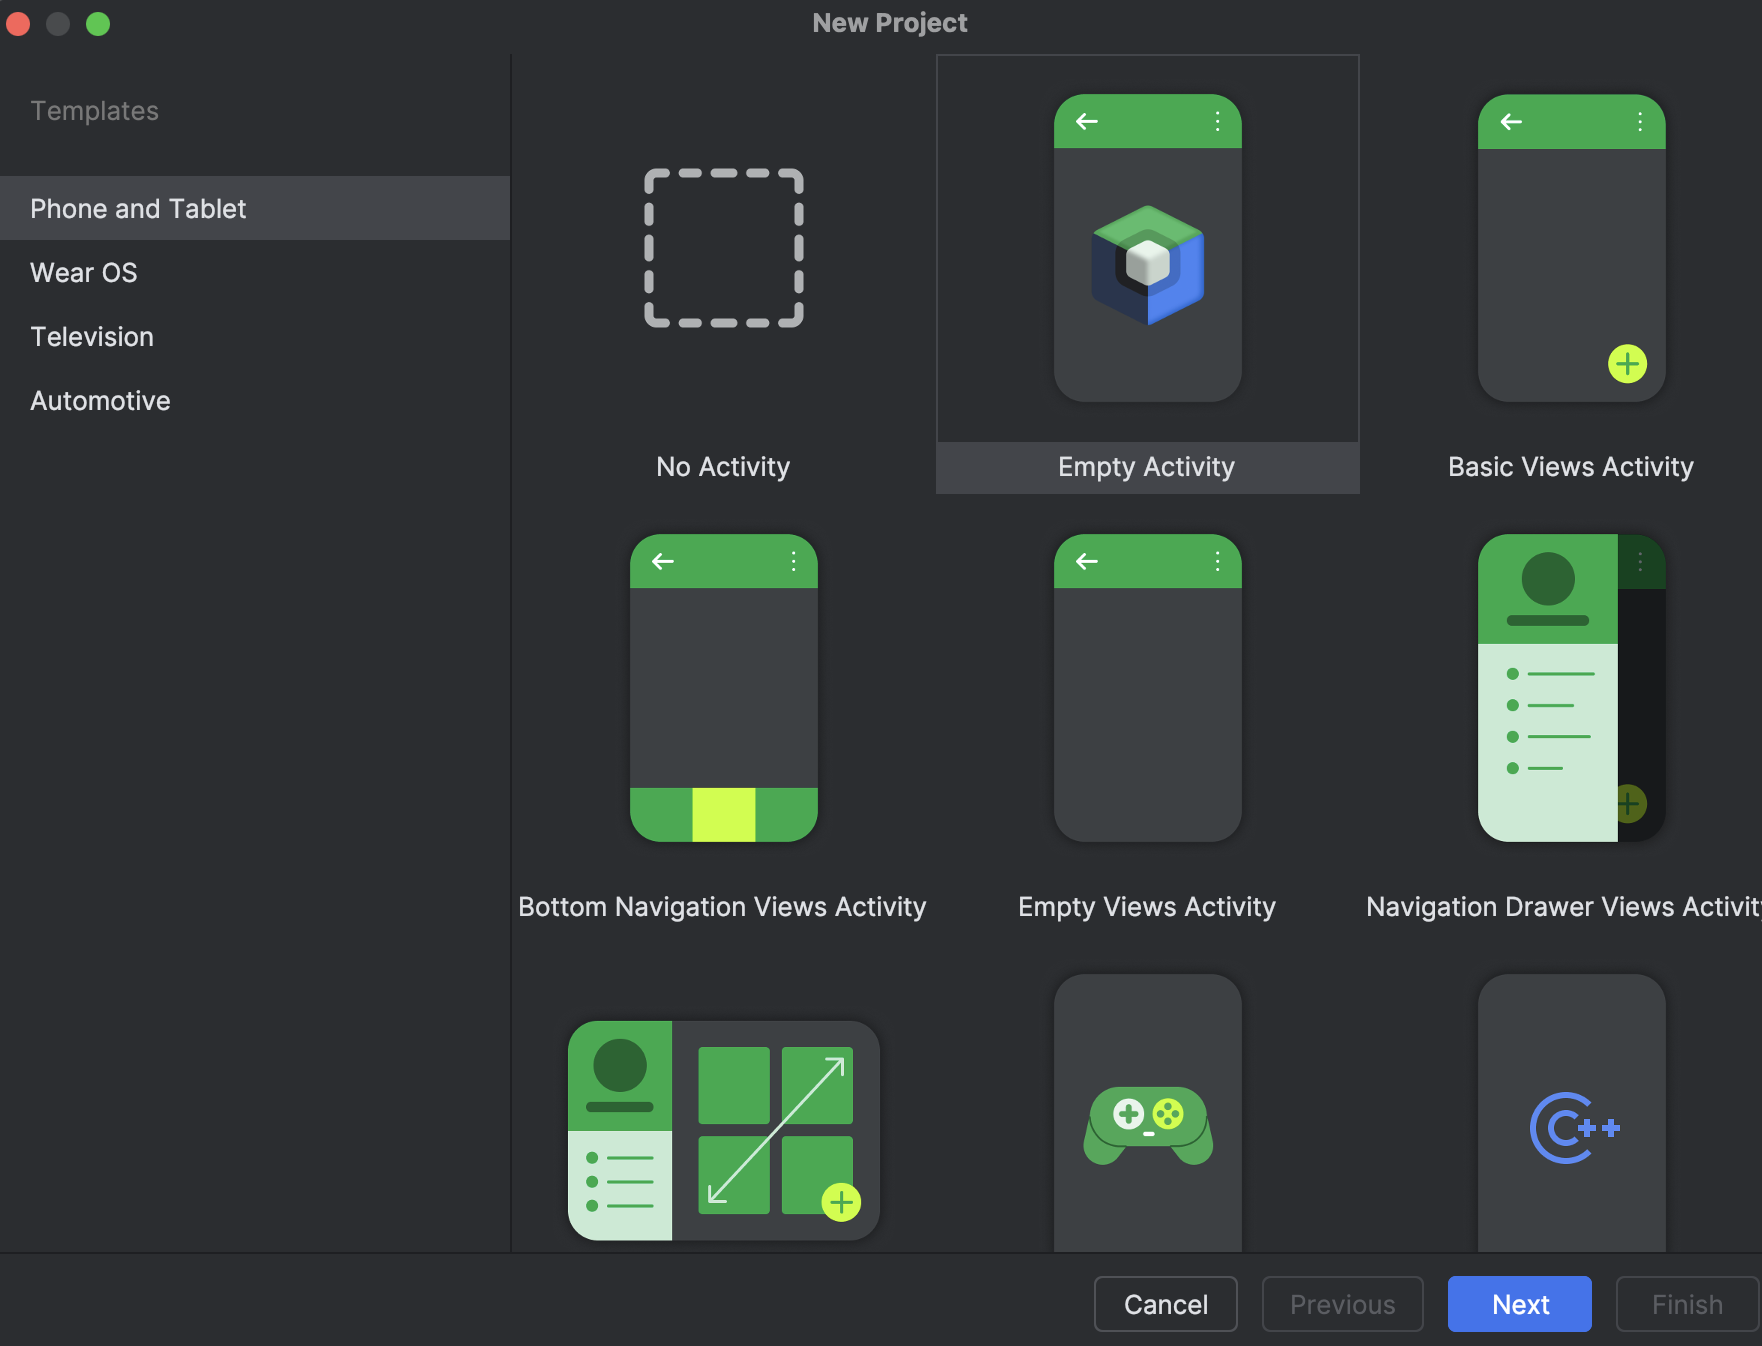
Select the type of the project as Empty Activity, then click Next.

-
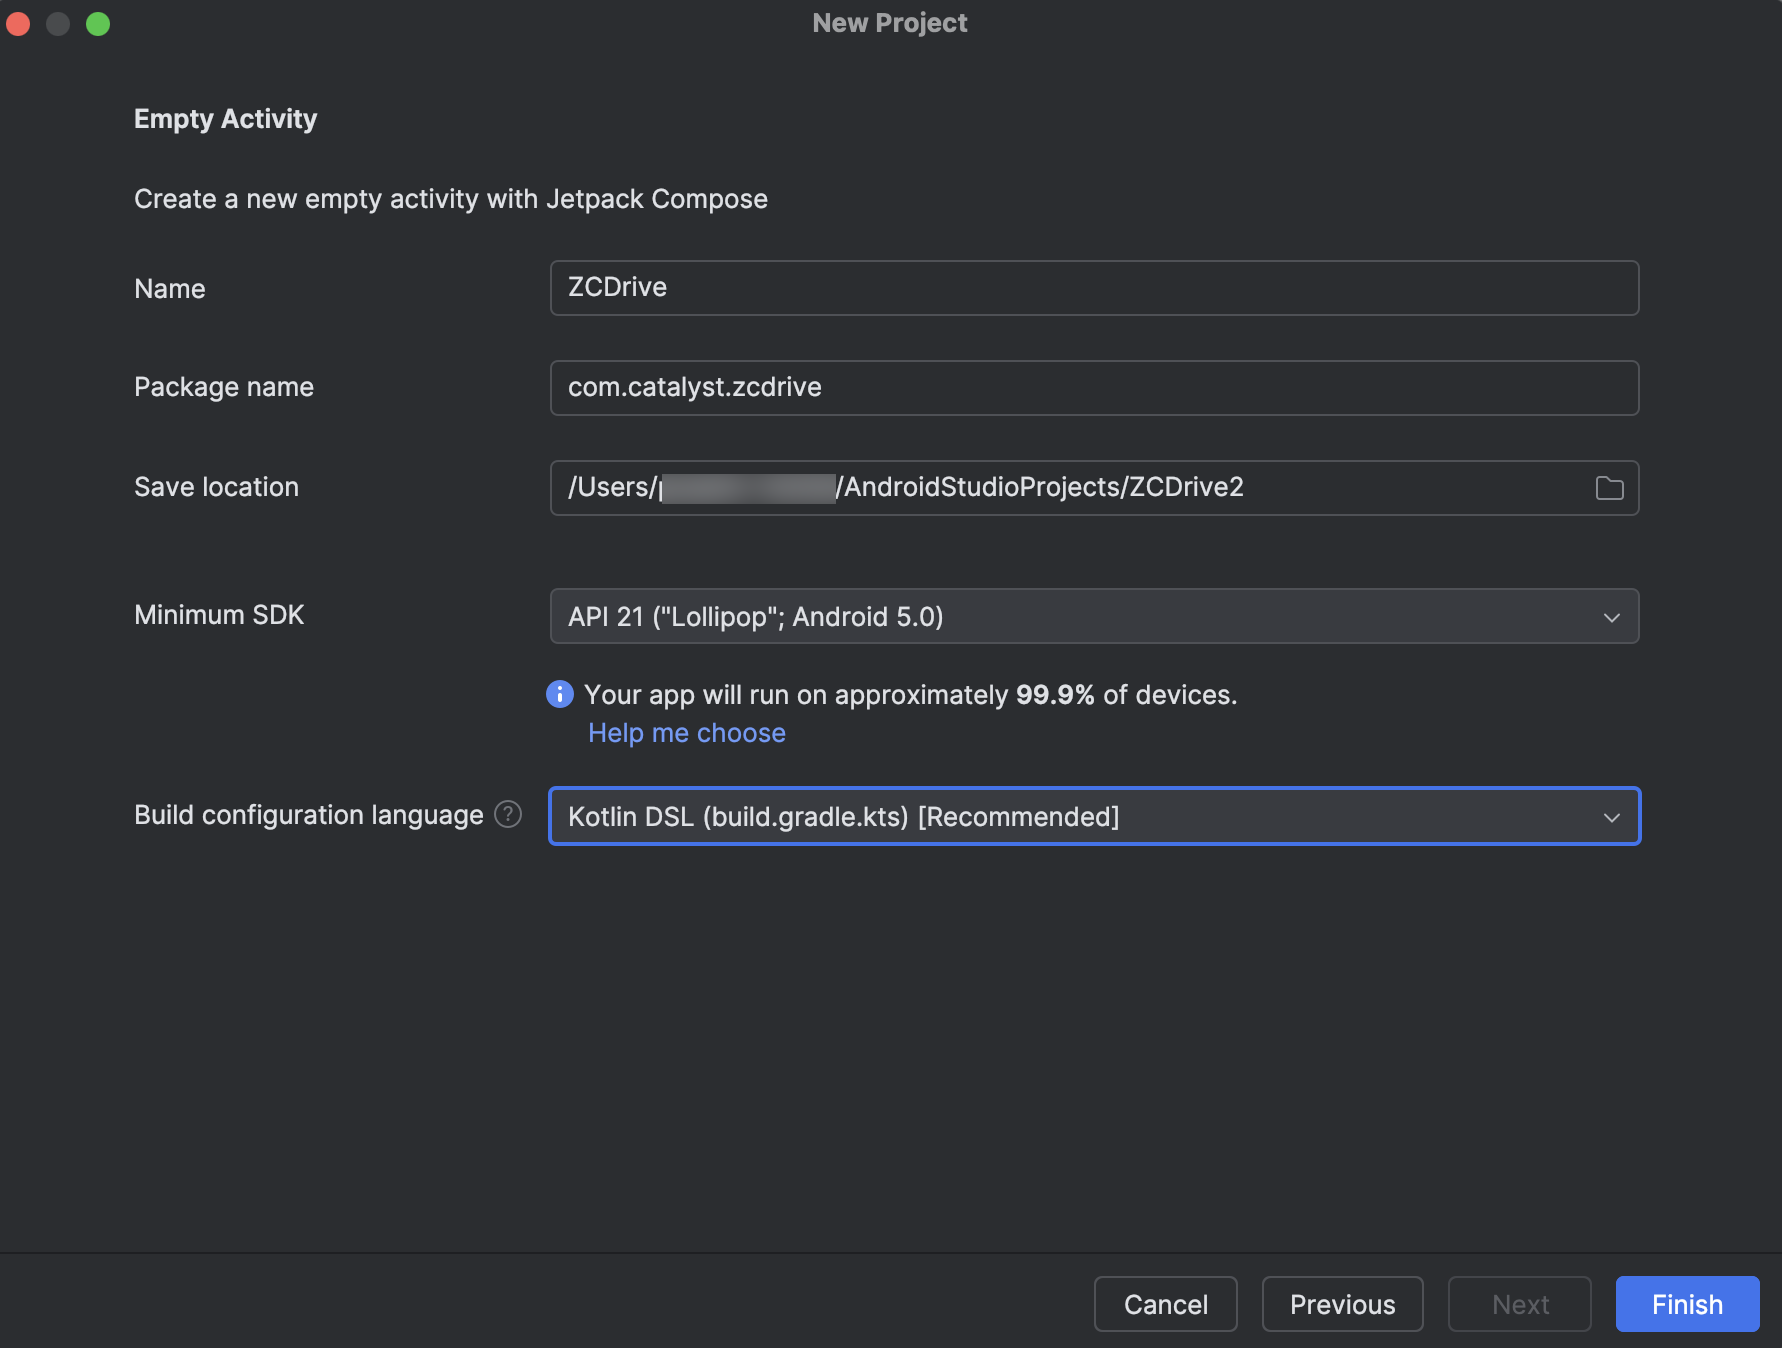
Configure the project with these values:
- Project name: “ZCDrive"
- Package name: “com.catalyst.zcdrive"
- Minimum SDK: API 21: Android 5.0 (Lollipop)
- Language: Kotlin DSL
- Project name: “ZCDrive"
This will populate the app with the Kotlin sample code for that API level.

4. Click Finish.
Android Studio will finish creating your project, and Gradle will synchronize the build.
After the project is synchronized, you will be able to see the boilerplate code and resources created for it from the directory on the left. However, before we code the ZCDrive application, we must set up and integrate the Catalyst Android SDK package with the app.
Last Updated 2025-10-29 12:32:36 +0530 IST