Initialize the Project from the CLI
You can now begin working on your Catalyst project from the CLI. The first step is to initialize the project in an empty directory. This will be the home directory of your project, where all of your project files are saved.
You can learn more about this from the Project Directory Structure help page. You can learn about initializing a project in detail from the CLI help documentation.
For the Lead Manager application, we will initialize the Advanced I/O function in the Java or Node.js environment, and the client component.
-
Create a folder for the project on your local machine and navigate to it from the terminal.
-
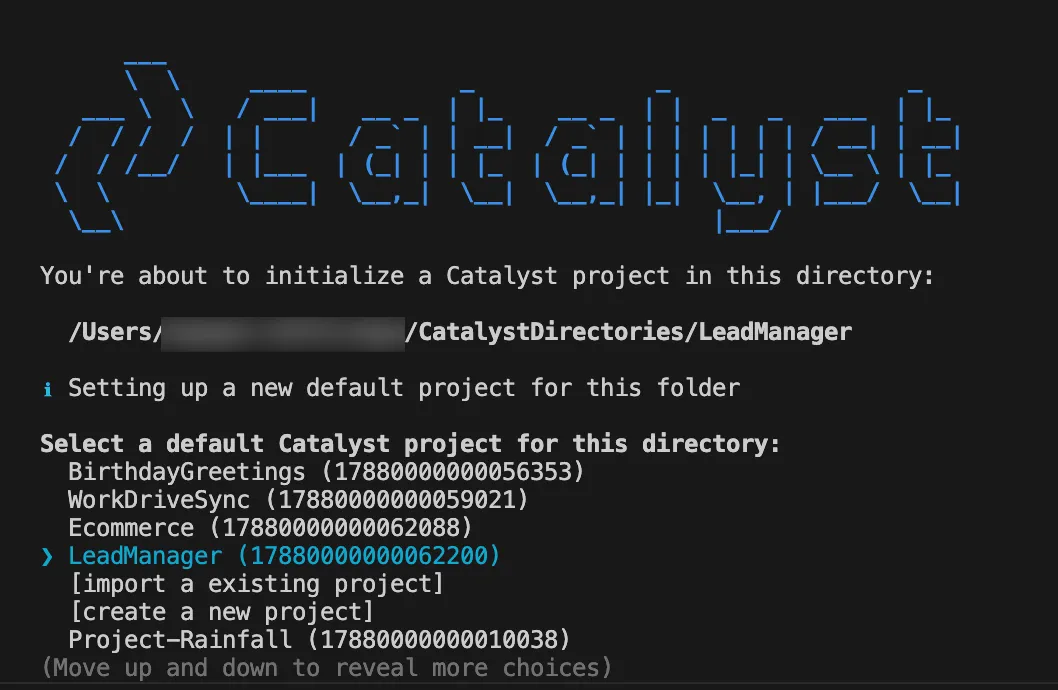
Initialize a project by executing the following command from that directory:
-
The CLI will now ask you to associate a Catalyst project with the directory. Associate it with the project that we created earlier from the console. Select Lead Manager from the list and click Enter.
-
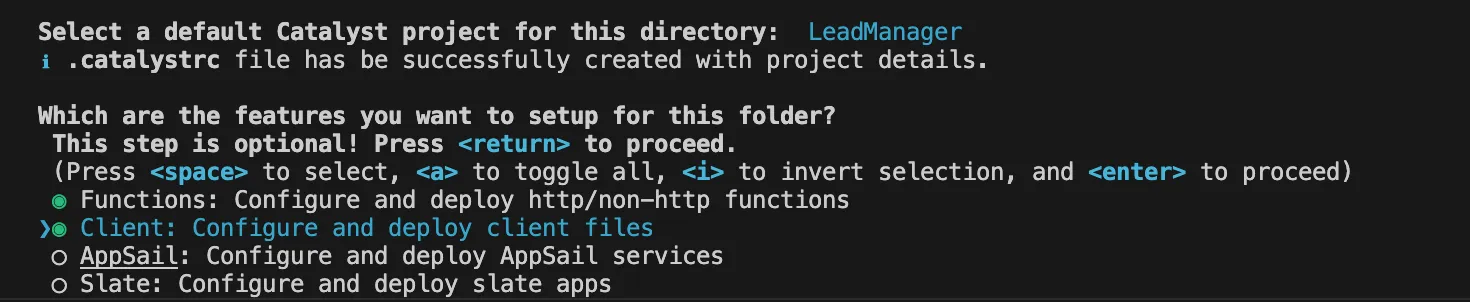
Select Functions and Client using the space bar. Press the Enter key to initialize.
-
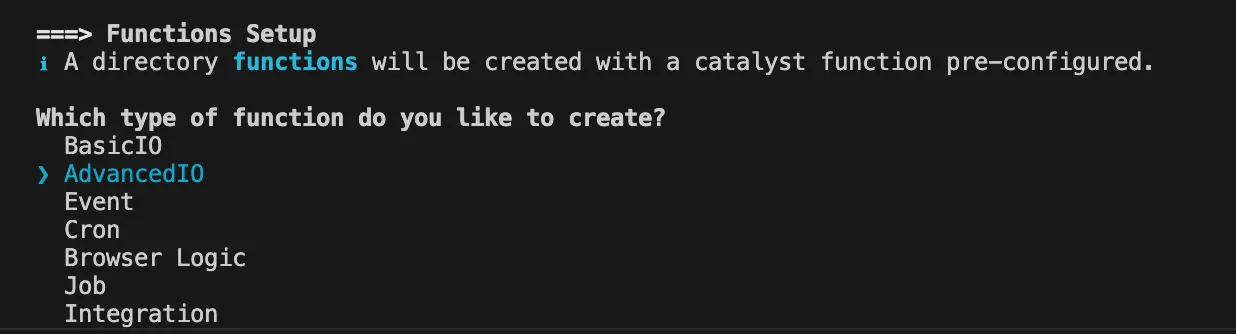
The CLI will initiate the function setup. Select AdvancedIO as the function type.
-
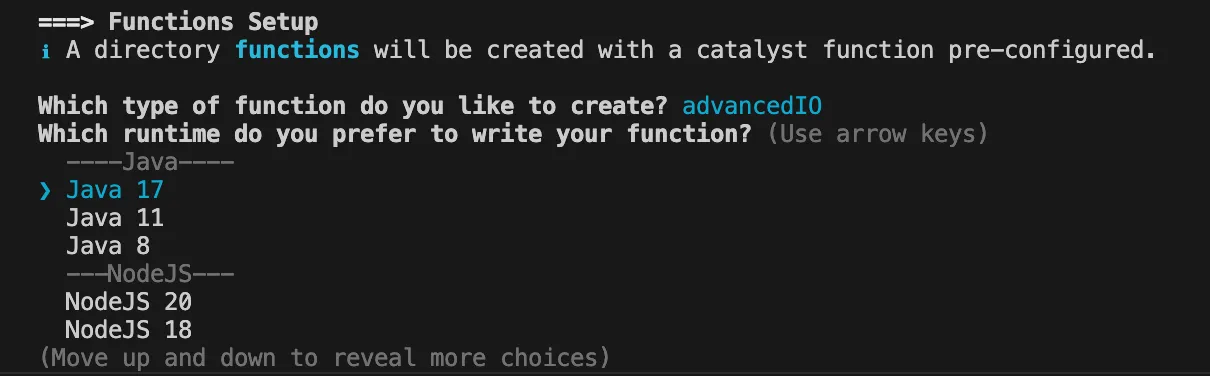
Select the latest runtime of Java as the function stack, and press Enter.
-
Enter “crmCRUD” as the folder name and “CRMCRUD” as the class name. Press Enter each time.

The CLI will download and install the latest Catalyst Java SDK package on your local system.
-
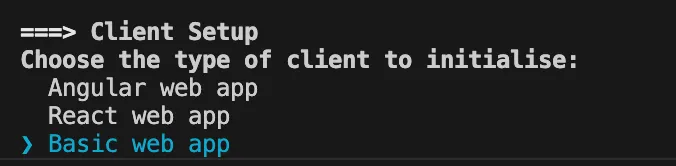
The CLI will initiate the client set up next. Select Basic web app as your client type.
-
Enter “LeadManagerApp” as the name for the client package and press Enter.

You can enter any name you need. However, you can use the same name that you used while enabling Zoho sign-in to maintain standardization.
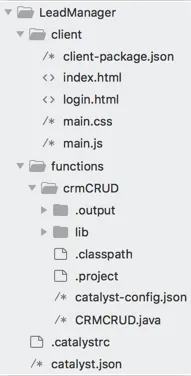
The client directory will be created in the standard structure. Catalyst initialization is now complete.
Your project directory (CATALYST_PROJECT_HOME) is now set up with the client directory (CATALYST_CLIENT_HOME) and the functions directory (CATALYST_FUNCTIONS_HOME) along with configuration files and dependencies. The project directory also contains the catalyst.json configuration file and a hidden .catalystrc file.
This is the structure of your project directory.
Last Updated 2025-10-29 12:32:36 +0530 IST