Test the Application
Before you deploy the application to the remote console, you can test the application on a local server and check if everything works fine using the Catalyst CLI.
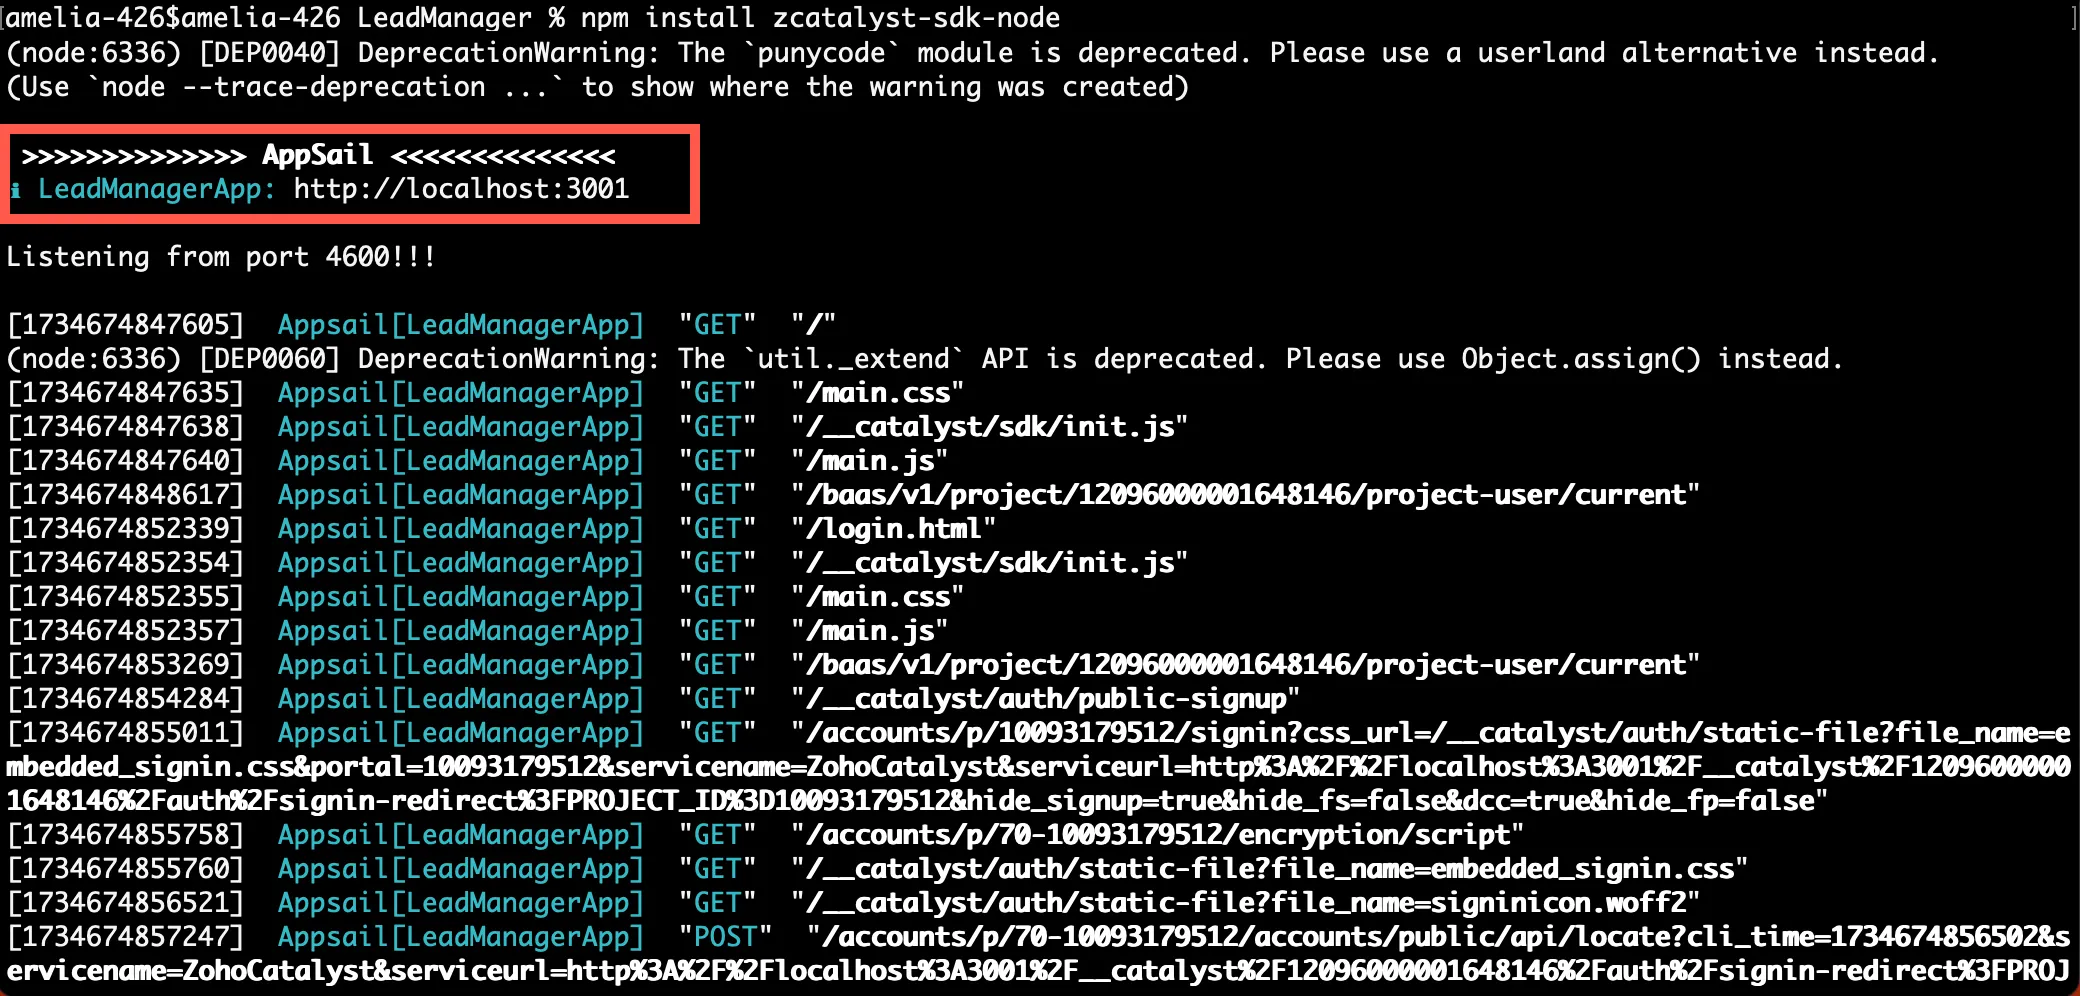
To serve the Catalyst project locally, execute the following command from your project directory:
The Lead Manager application will now be served at default port 3000. The local endpoint URLs of the components are displayed.
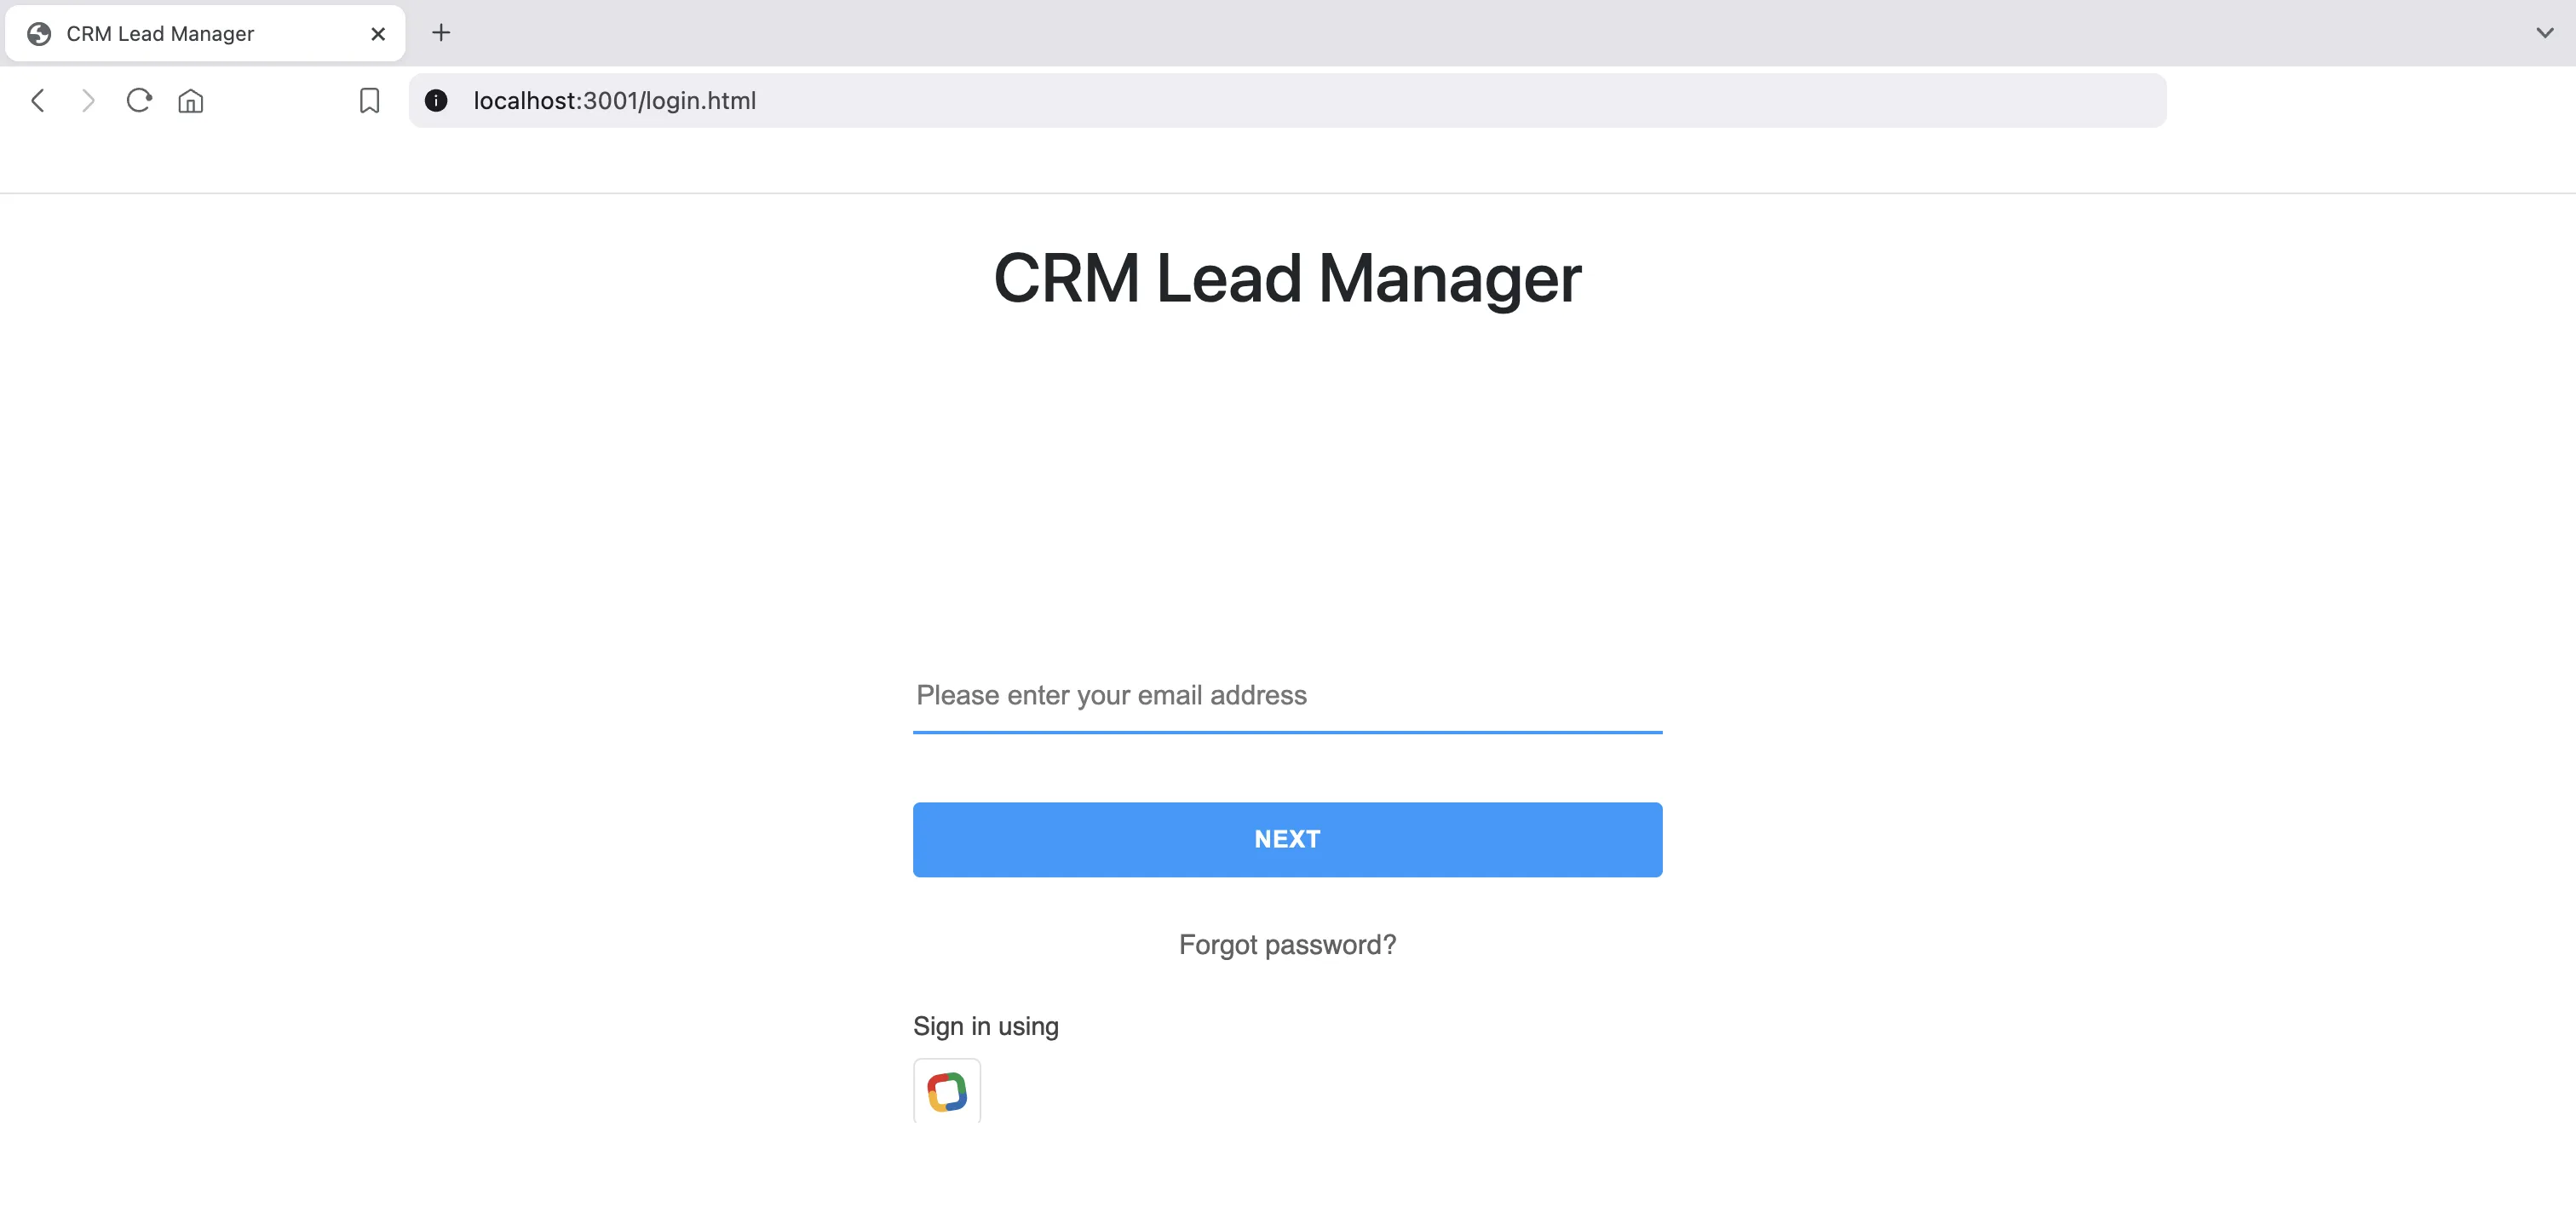
You can now open the application in a browser using the local URL of the client displayed in the CLI.
You will initially be redirected to the login page. If you configure a sign-up action on your own, you can sign up first, then log in to the application. Alternatively, you can also log in using the Zoho Social Login.
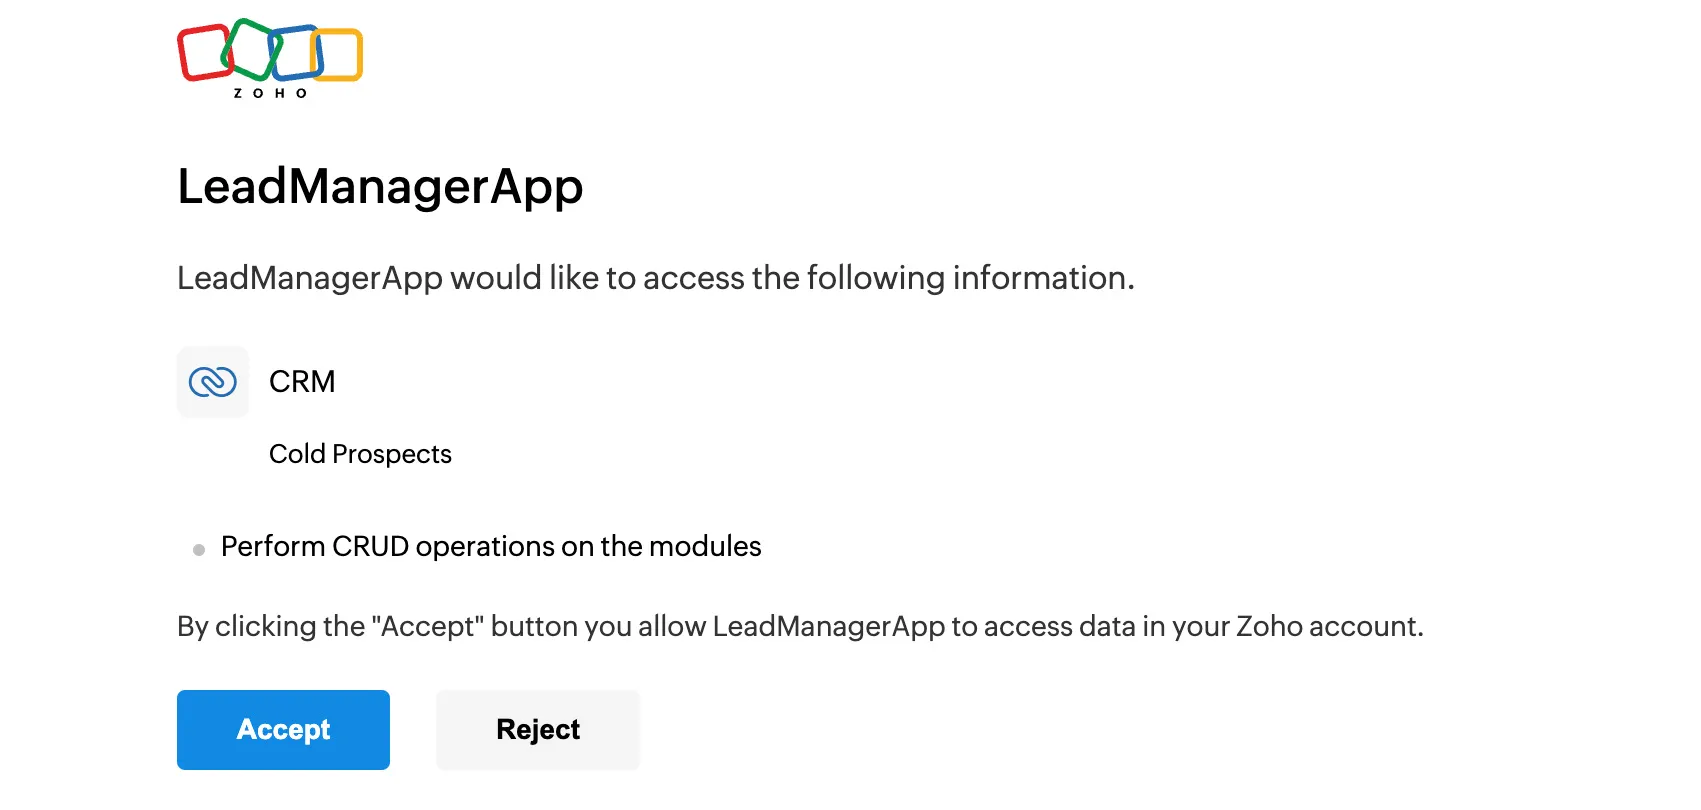
You will be redirected to the permissions page. Accept the permissions requested by the app to access your Zoho account details. You will then be redirected back to the application. Click the Zoho CRM icon in this page to connect to Zoho CRM.
![]()
You must now choose the CRM account that you wish to connect with the Lead Manager app, then click Submit.
All your existing developer, sandbox, and production accounts will be listed. Click Accept to allow the Lead Manager app to access your Zoho CRM modules.
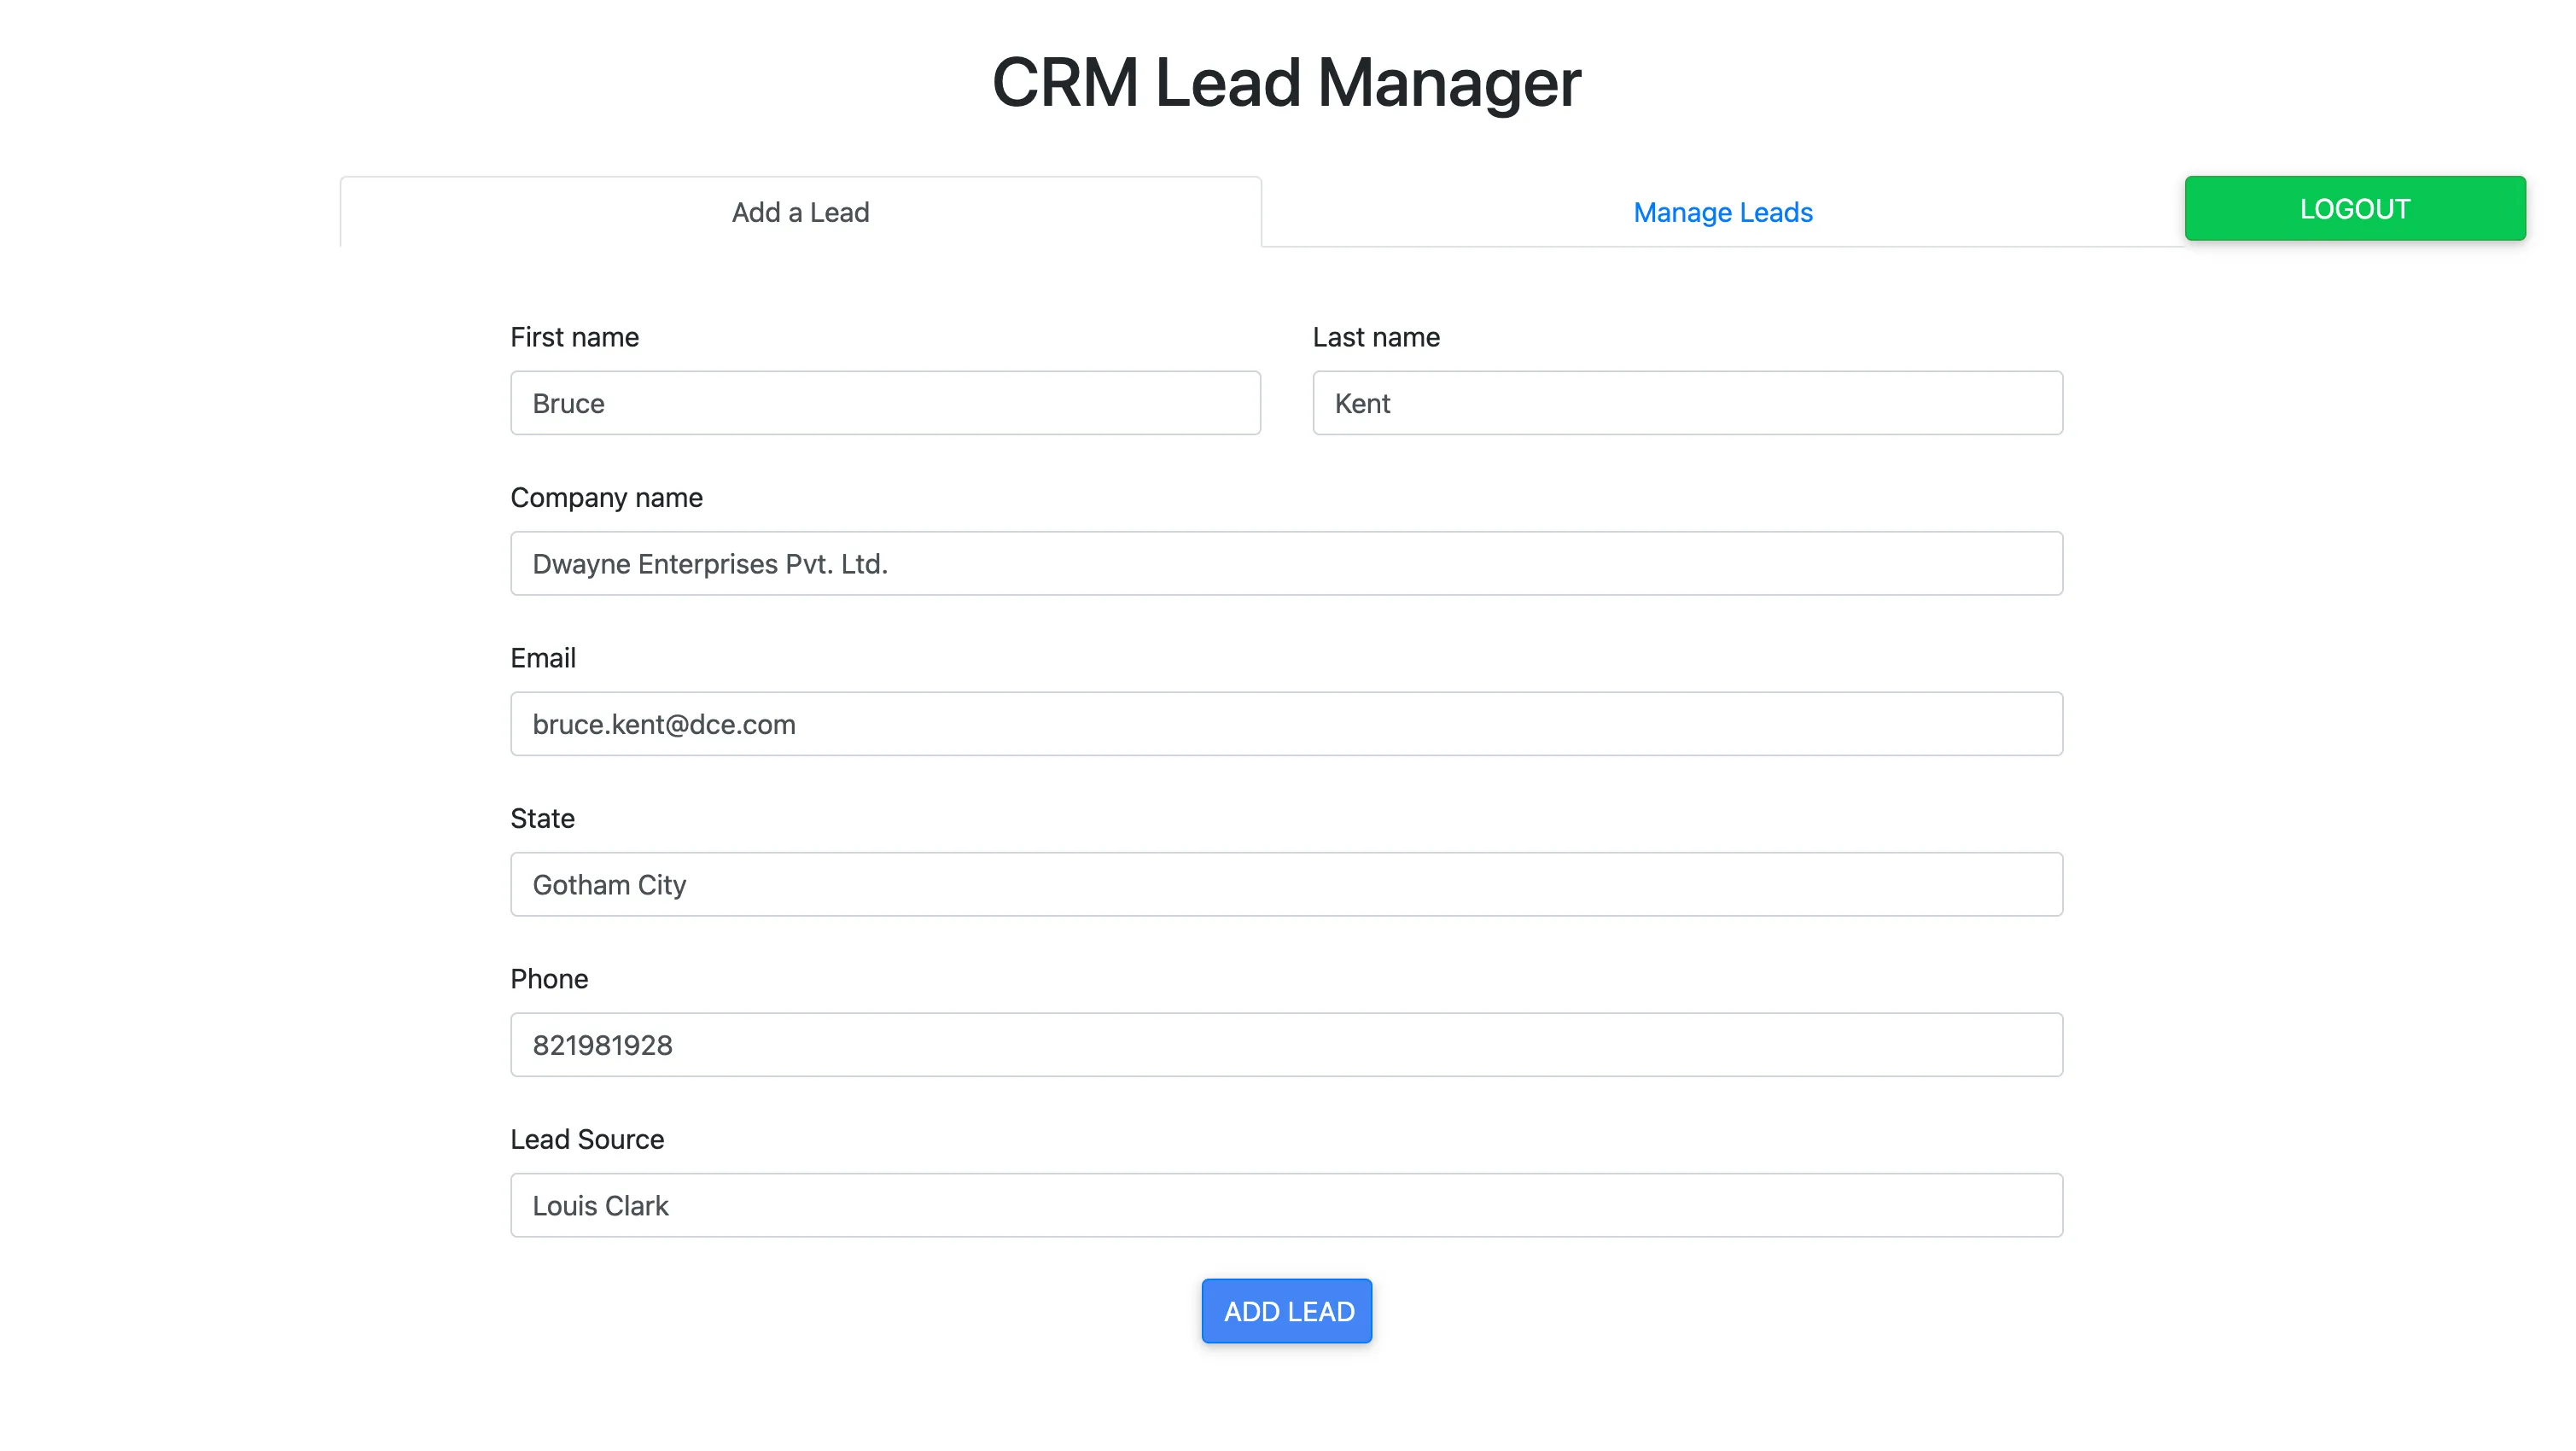
You will be redirected back to the application. You can now create and manage leads in your configured Zoho CRM account directly from this application.
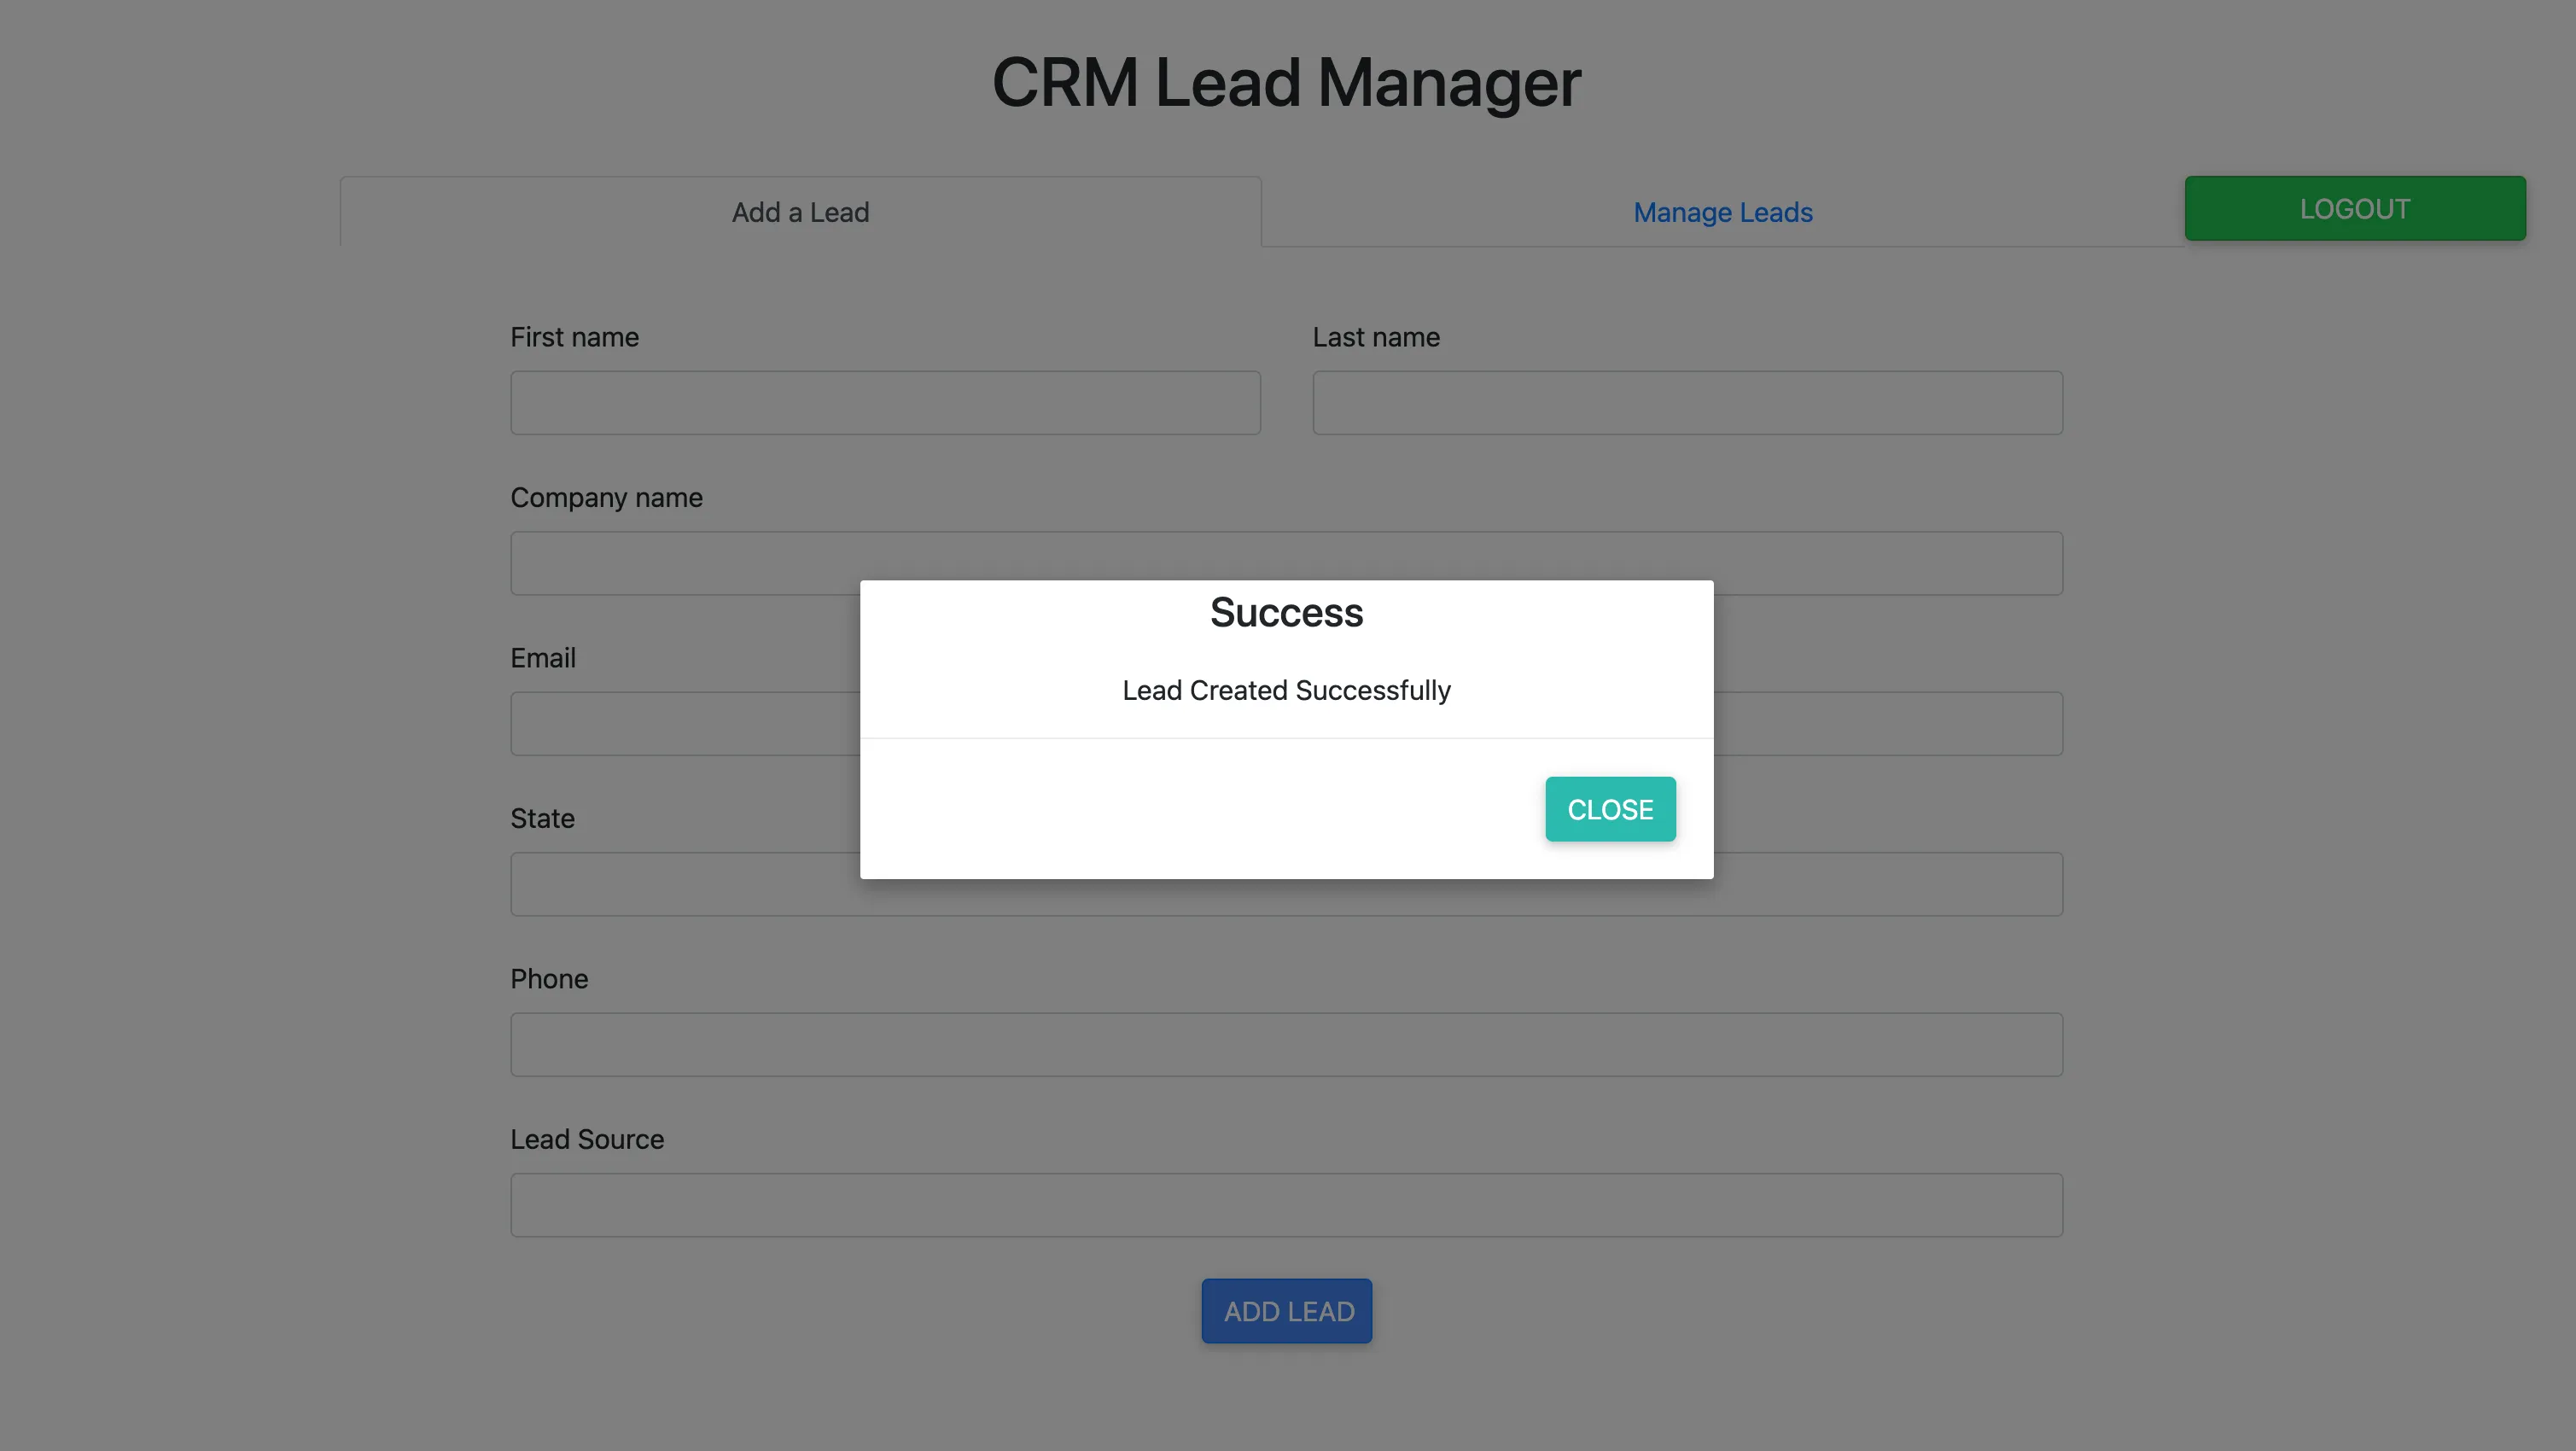
To add a lead, enter the details of the lead in the Add a Lead section and click Add Lead.
A confirmation pop-up will display the status every time you add, edit, or delete a lead.
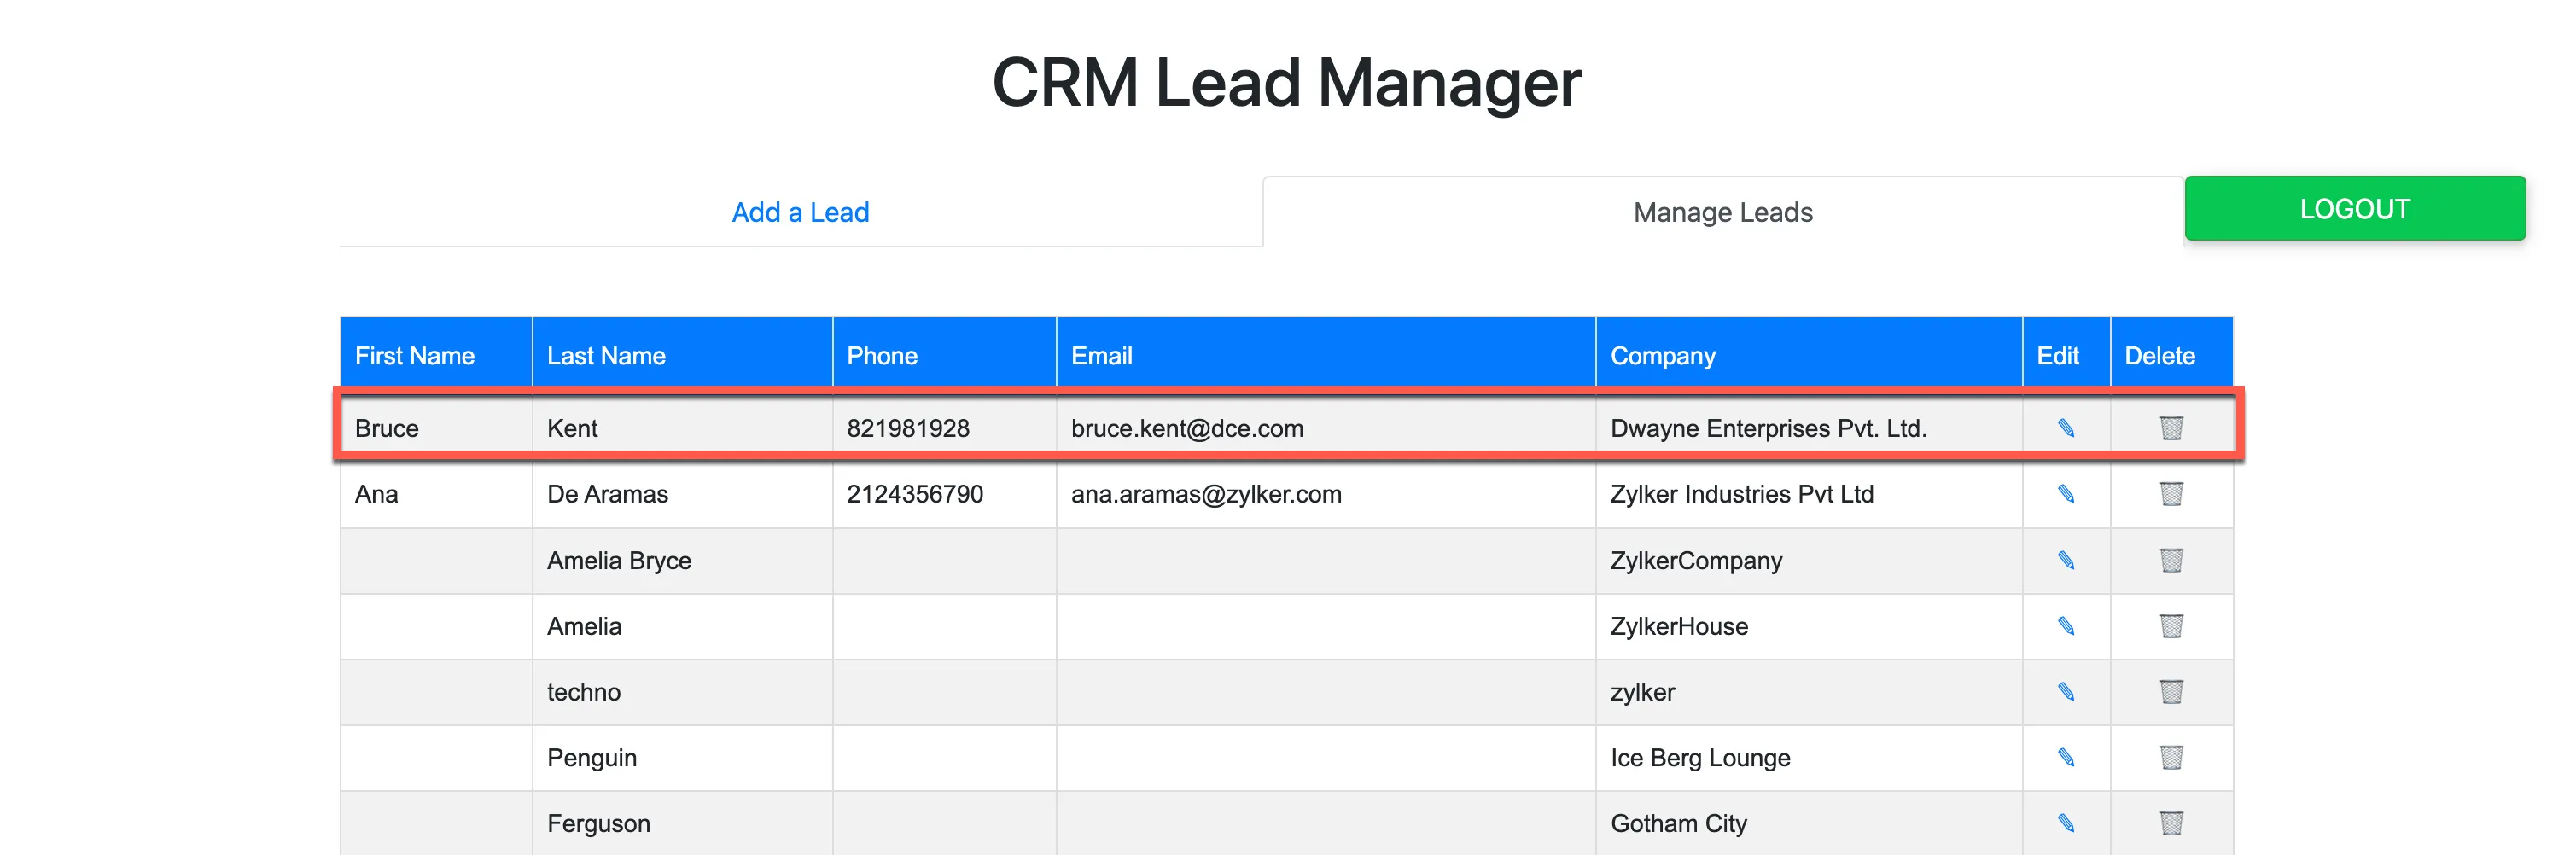
You can click the Manage Leads tab to view all your leads from the Leads module. You can edit or delete any of them by clicking their respective icons in the table.
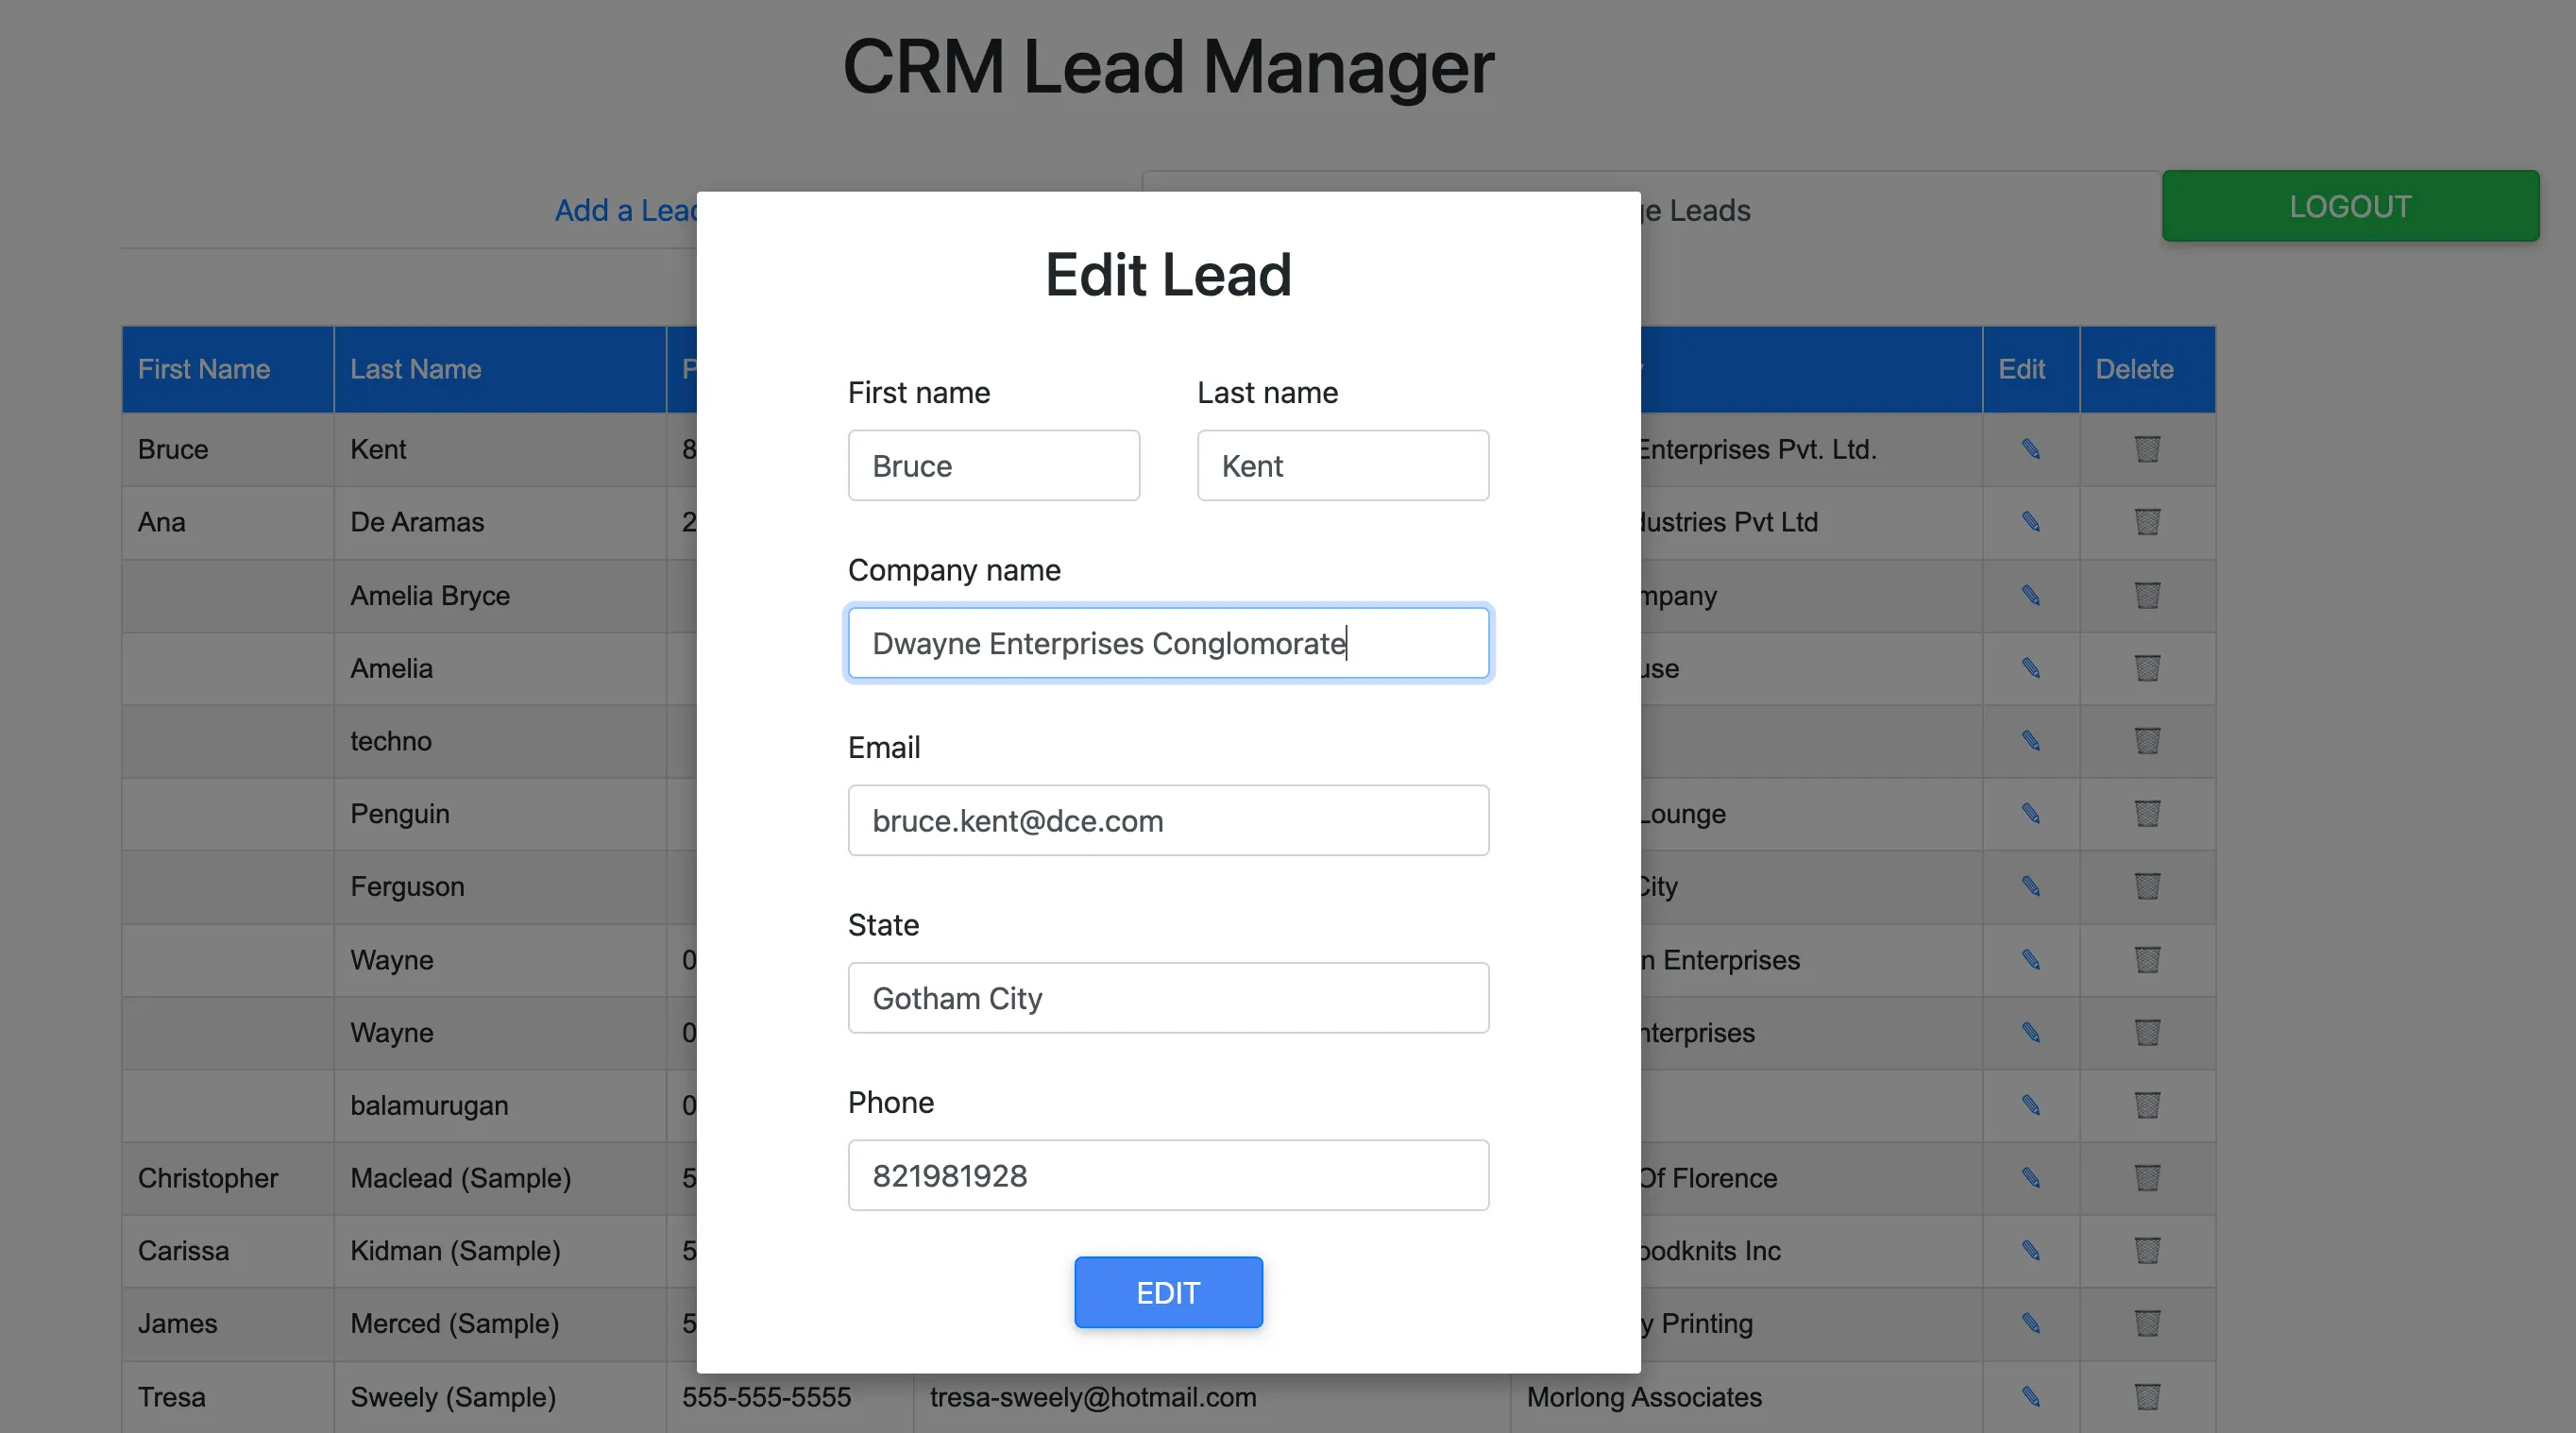
You can update a lead’s information, then click Edit.
If you click the delete icon, you must confirm the action in the confirmation pop-up.

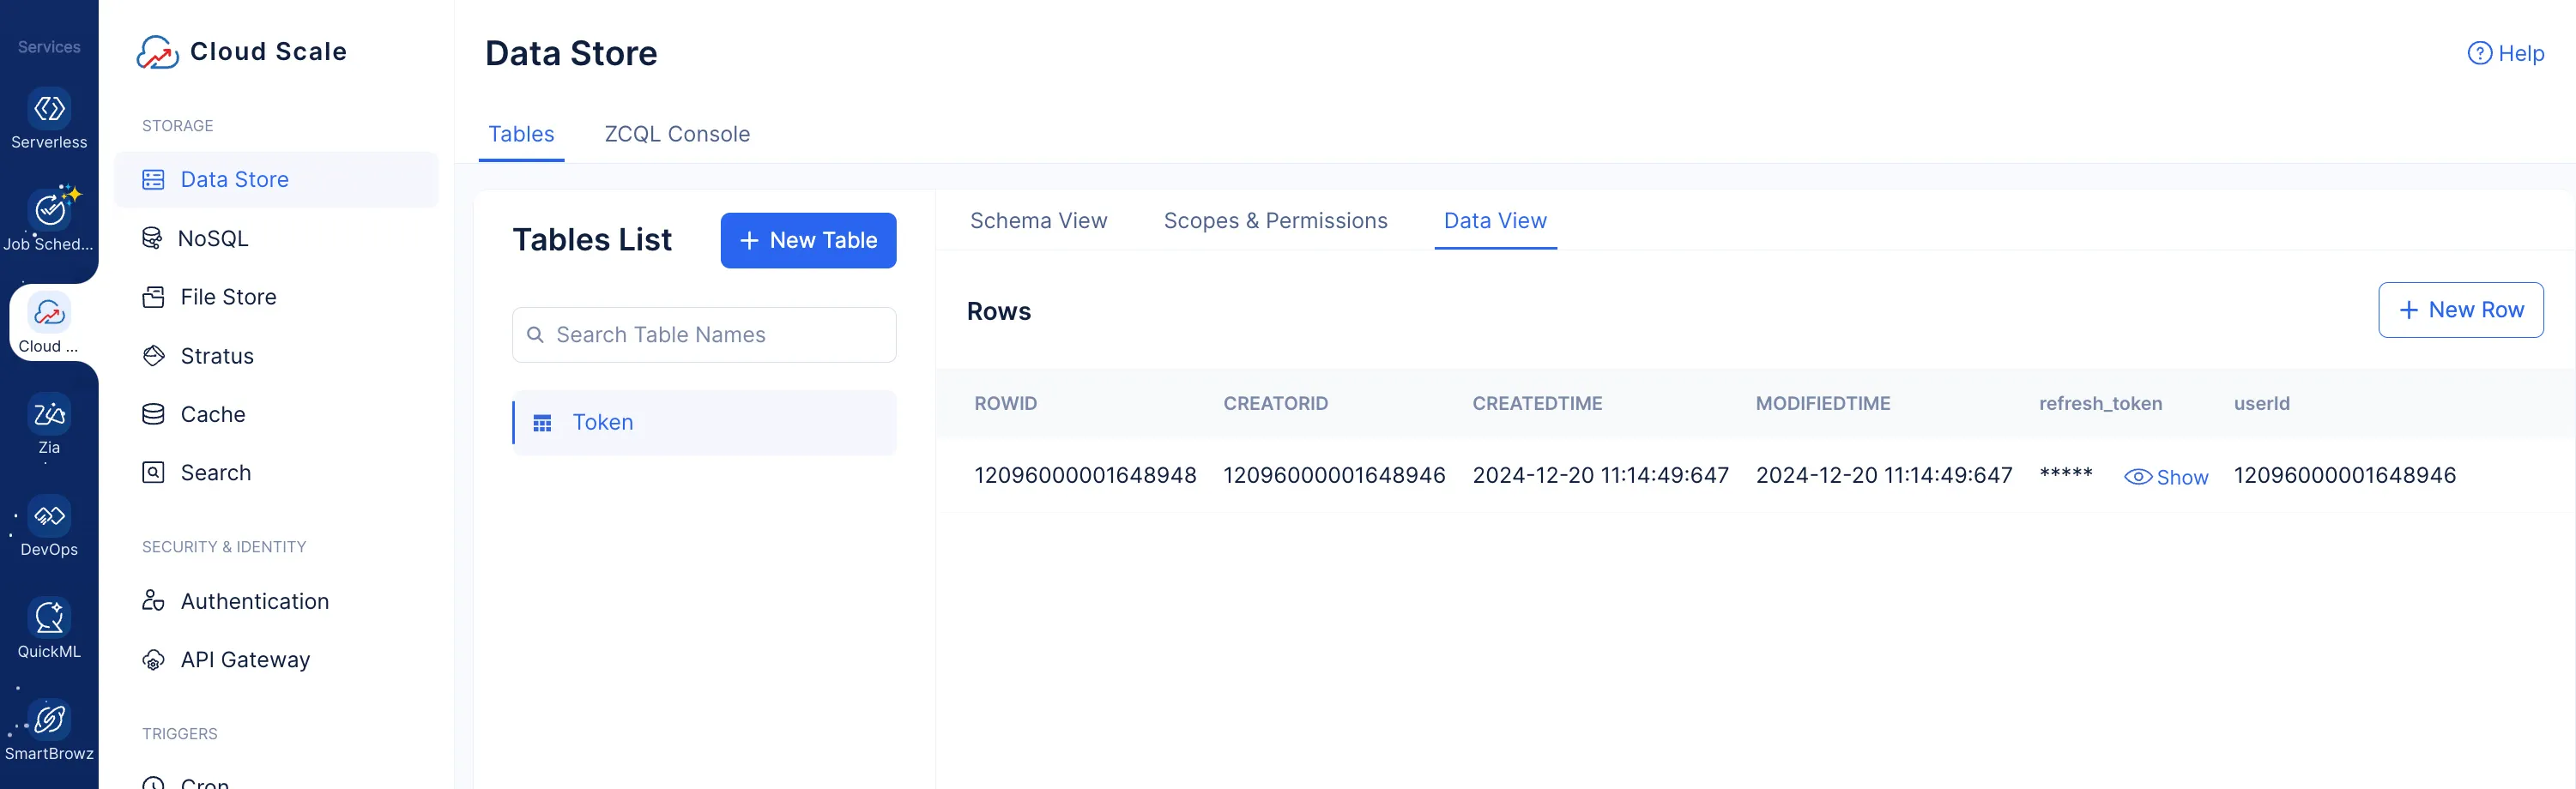
You can also check the Refresh Token and userID values populated in the Data Store from your Catalyst console.
Navigate to the Data View section of the Token table to view the record that was added.
If you delete this entry, you will have to authenticate your credentials in the client application and establish a connection to your CRM account again.
You can log out of the application by clicking Logout.
You can quit the serve session in your terminal by executing the command to kill a running process, based on your OS.
If this setup is working correctly, we can deploy the application to production.
Last Updated 2025-11-07 17:21:15 +0530 IST