Configure the Client
Next, let’s configure the client component. The client directory (/app) you initialized will contain:
- Application source files in the /src directory
- Public files in the /public directory
- Node modules
- The client-package.json configuration file
- package.json and package-lock.json dependency files
You can fetch the entire client directory with configured code this git repo that you downloaded earlier.
Replace the src folder in this directory with the one in the extracted zip using an IDE and save the files.
Install React packages
We will be installing the following additional React modules for the Document Processor application:
-
react-hot-toast: This library is used to display toast messages as status notifications in the client application.
-
react-router-dom: This package is used for routing purposes to load the content in the client application dynamically based on the URL.
-
axios: This client library is used to make HTTP requests from the client end to communicate with the APIs in the server side.
-
classnames: This attribute is used to set or return the value of an element’s class attribute in React.
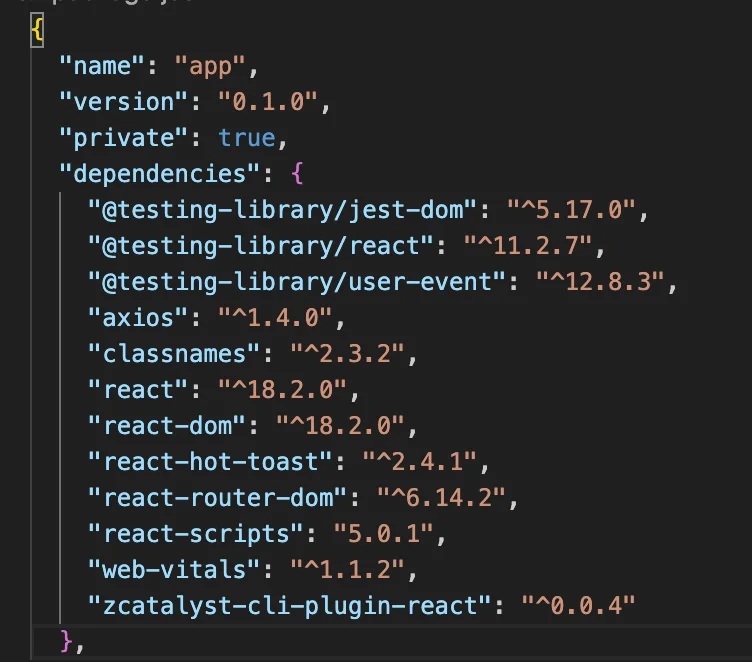
To install these react packages, navigate to the project’s client directory (/app) in your terminal and execute the following command:

This will install the modules and save all their dependencies.
The following information will also be updated in the package.json file.
Install Tailwind CSS
We have use the Tailwind framework to implement the pre-built CSS classes that scan all your html files and JS components, and generates a static CSS file for your project.
Navigate to the project’s client directory (/app) in your terminal and to install and initialize this framework, you will need to execute these two commands in your terminal:
- To install Tailwind CSS:

- To initialize the tailwind.config.js file in your project:

This will create the tailwind.config.js file in your client directory. Open the file, paste the code below , and save the file. You can learn more about tailwind installation from this page.
/** @type {import('tailwindcss').Config} */
module.exports = {
  content: [
    "./src/**/*.{js,jsx,ts,tsx}",
  ],
  theme: {
    extend: {},
  },
  plugins: [],
}
The client directory is now configured.
Let us quickly go through the working of the function and client components of the application:
The user enters an input image or a digital document to be processed in the client application.
The /:model API in the index.js file is triggered and it defines which model to invoke. Based on the type of the input document, the corresponding logic of the model (pan, cheque, ocr, barcode or passbook) will get executed.
All the listed below models (except barcode) use the zia.extractOpticalCharacters() method in the Catalyst Zia Services Node.js SDK package to extract the data from the input document or image and provides the response in the JSON format.
-
/pan: For this document, the modelType is configured as PAN. The user provides a scanned copy of the PAN card as the input and response includes the card holder’s first name, last name, data of birth and the PAN card number.
-
/ocr: The modelType is configured as OCR for general OCR processing. The extracted text from the input document and a confidence score will be sent as a response. The confidence score is a percentage value depicting the accuracy of the text recognition and prediction in the given input document.
-
/cheque: For this document, the modelType is configured as CHEQUE.The user provides a cheque leaflet(only in the CTS-2010 format) and response includes the cheque number, bank details such as the bank name, branch, IFSC code, account number, amount and the date of issuance.
-
/barcode: The user provides either 1D or 2D barcodes as input and returns the encoded information it as response. We have used the zia.scanBarcode() method in the Catalyst Zia Services Node.js SDK to perform this operation. To learn more about the supported barcode formats, please refer to this page.
-
/passbook: The user provides a passbook document as an input and the response includes information such as the account number, bank name, its branch and address.
- The /aadhaar API in the index.js file is triggered when the user choose to process an aadhaar card in the client application. The user needs to provide both the front and back side images of the card separately, which will both be processed. This model recognizes the language of the document automatically and processes it. This API implements the zia.extractAadhaarCharacters() method in the SDK package that extracts the parameters recognized in the aadhaar card such as the card holder’s name, address, gender and aadhaar card number.
Let’s have a look at the client components in detail:
-
The root directory of the client contains the Catalyst-specific client-package.json file, which contains the default configurations of the client.
-
The src folder contains the application’s source files including the JavaScript and CSS files that will be included in the build folder when we compile the React app. The App.jsx facilitates the behaviour of the front end of the application. It handles the change and shrink events, and posts and obtains data using the APIs defined earlier. The files within the views folder are responsible for rendering the response as output in the client application.
-
The public folder is used to hold files that can be openly accessed by browsers through public URLs. It includes the following files:
-
index.html: The default entry point of application.
-
manifest.json: Contains information about the web application including the start_url which is set to “.”. This enables every shortened version of the URL the user enters to originate from the base URL Catalyst_web_app_URL/app/ when the app is hosted.
-
-
tailwind.config.js: This file contains all the client side customizations of your application such as the CSS styles implemented in your project.
Last Updated 2025-11-07 17:21:15 +0530 IST