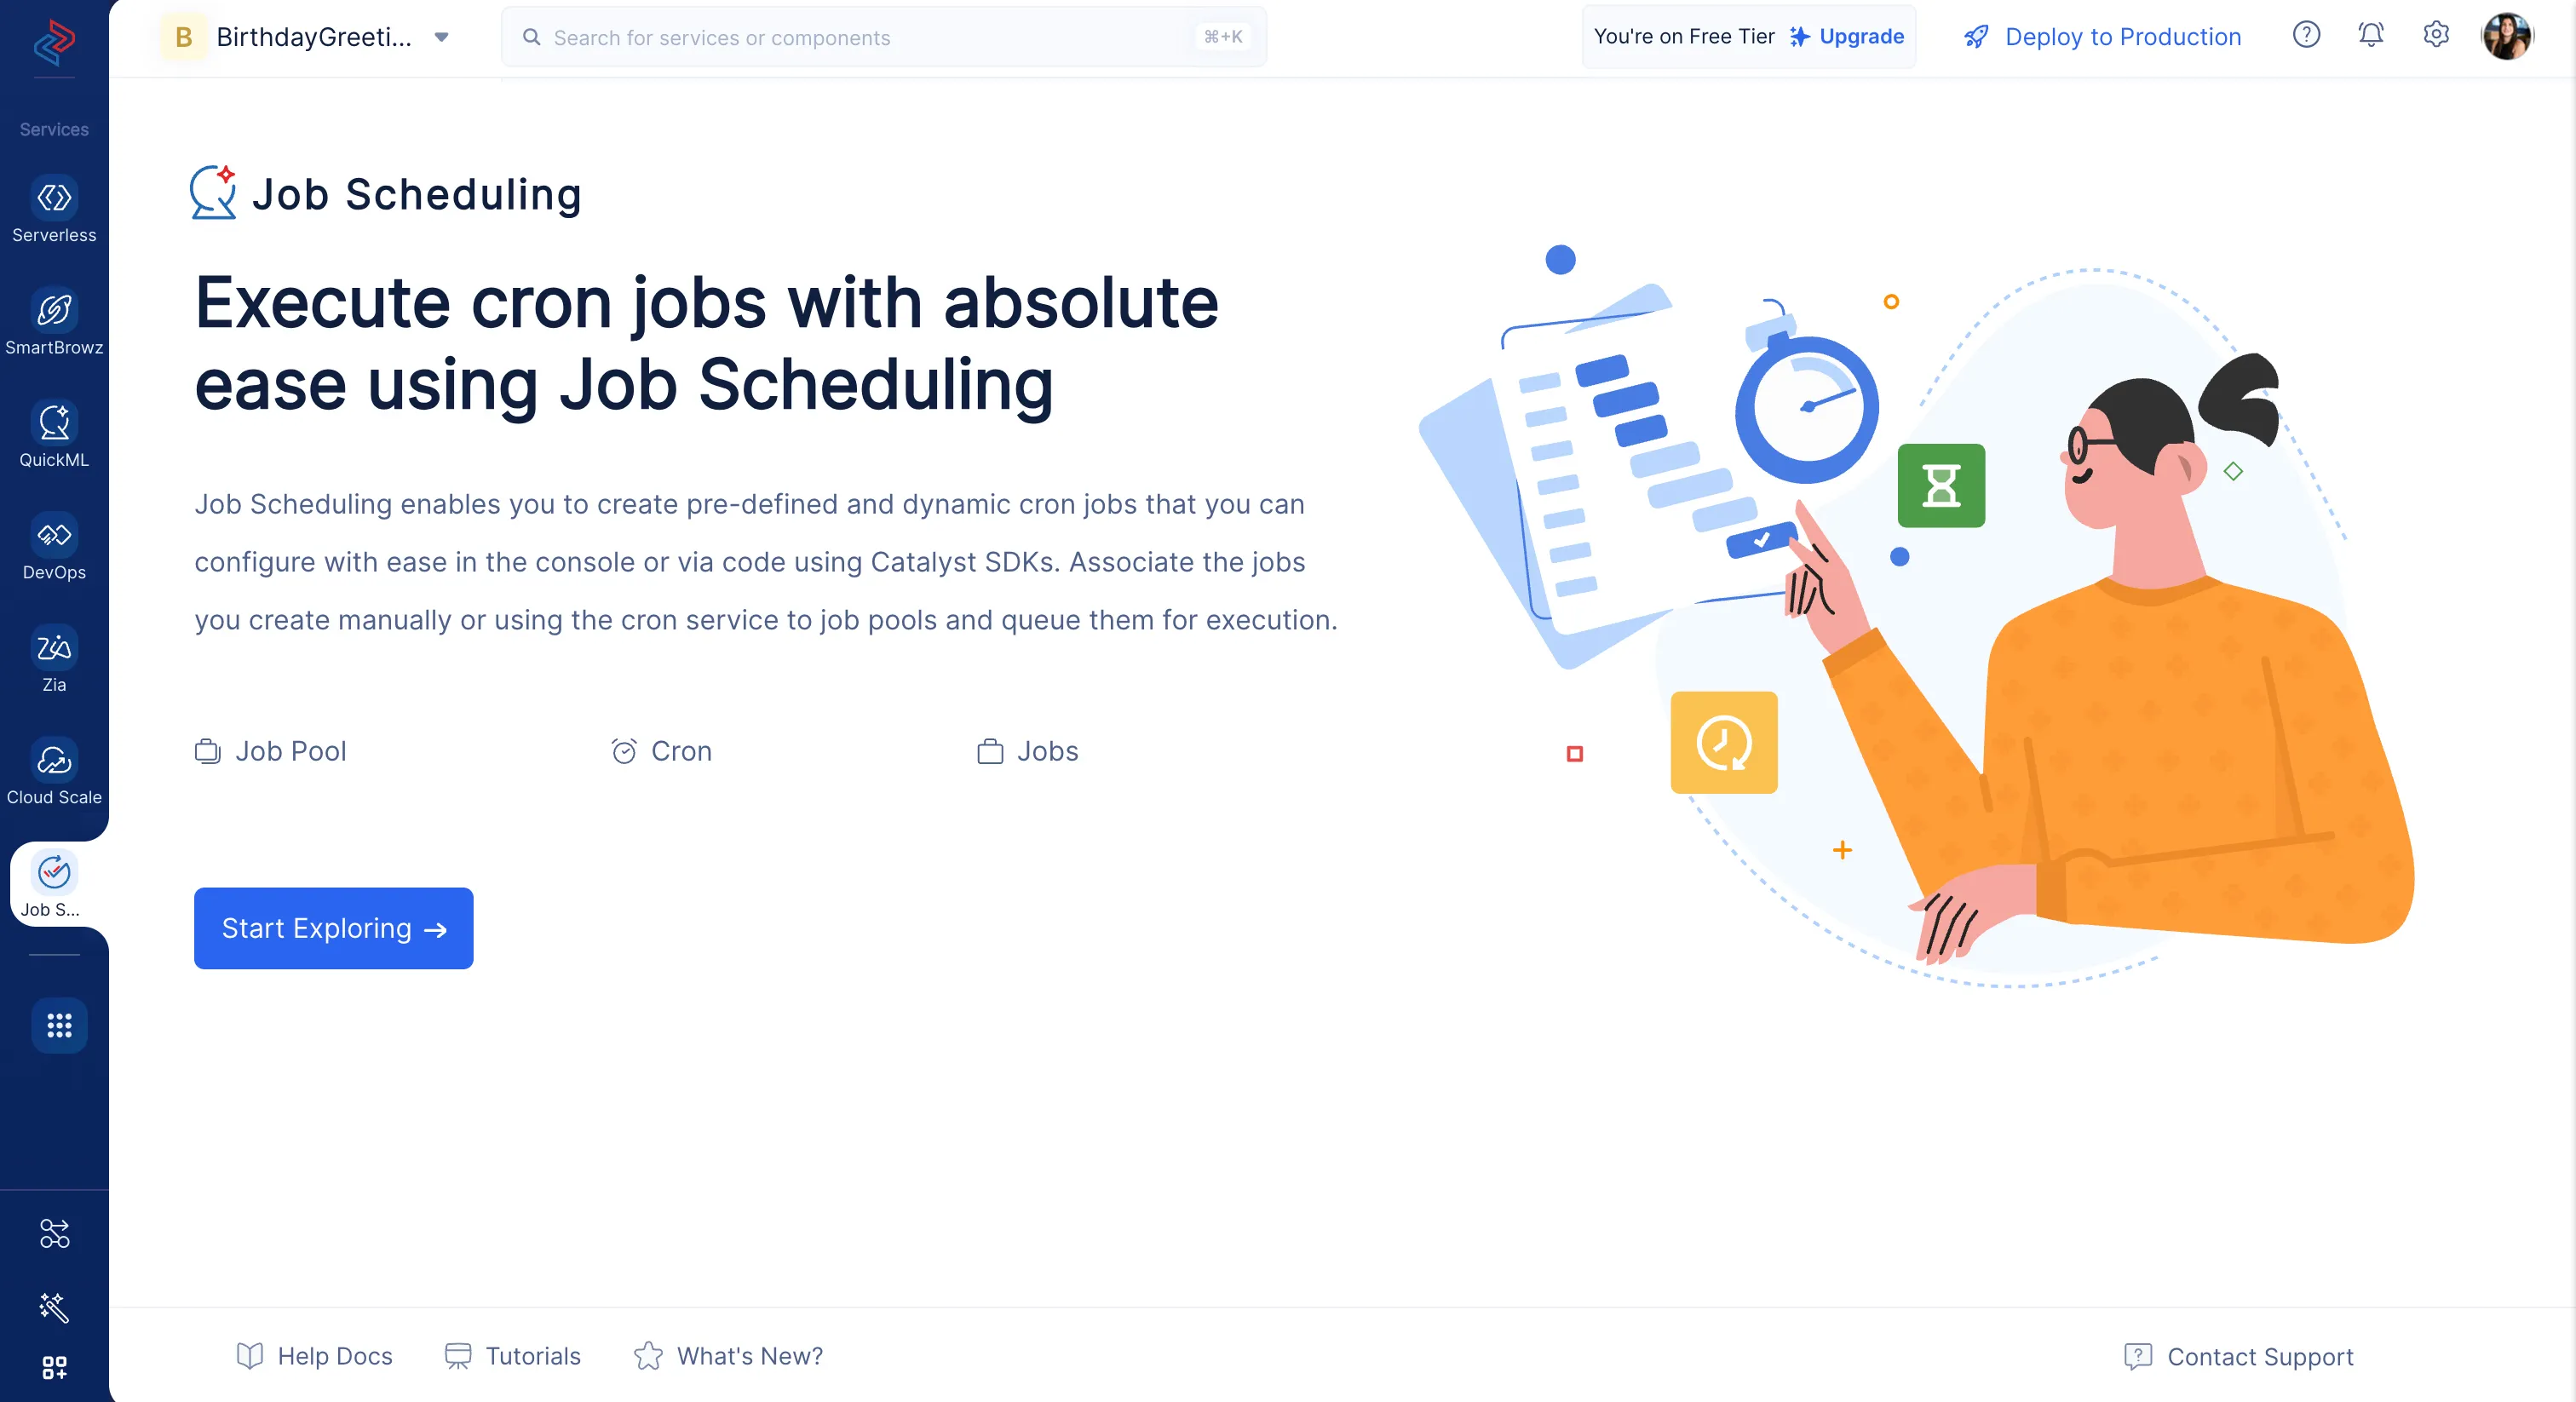
Configure the Job Scheduling Service
Now, we are going to configure the components of the Job Scheduling service to ensure that the required birthday greetings are sent out at the precise moment.
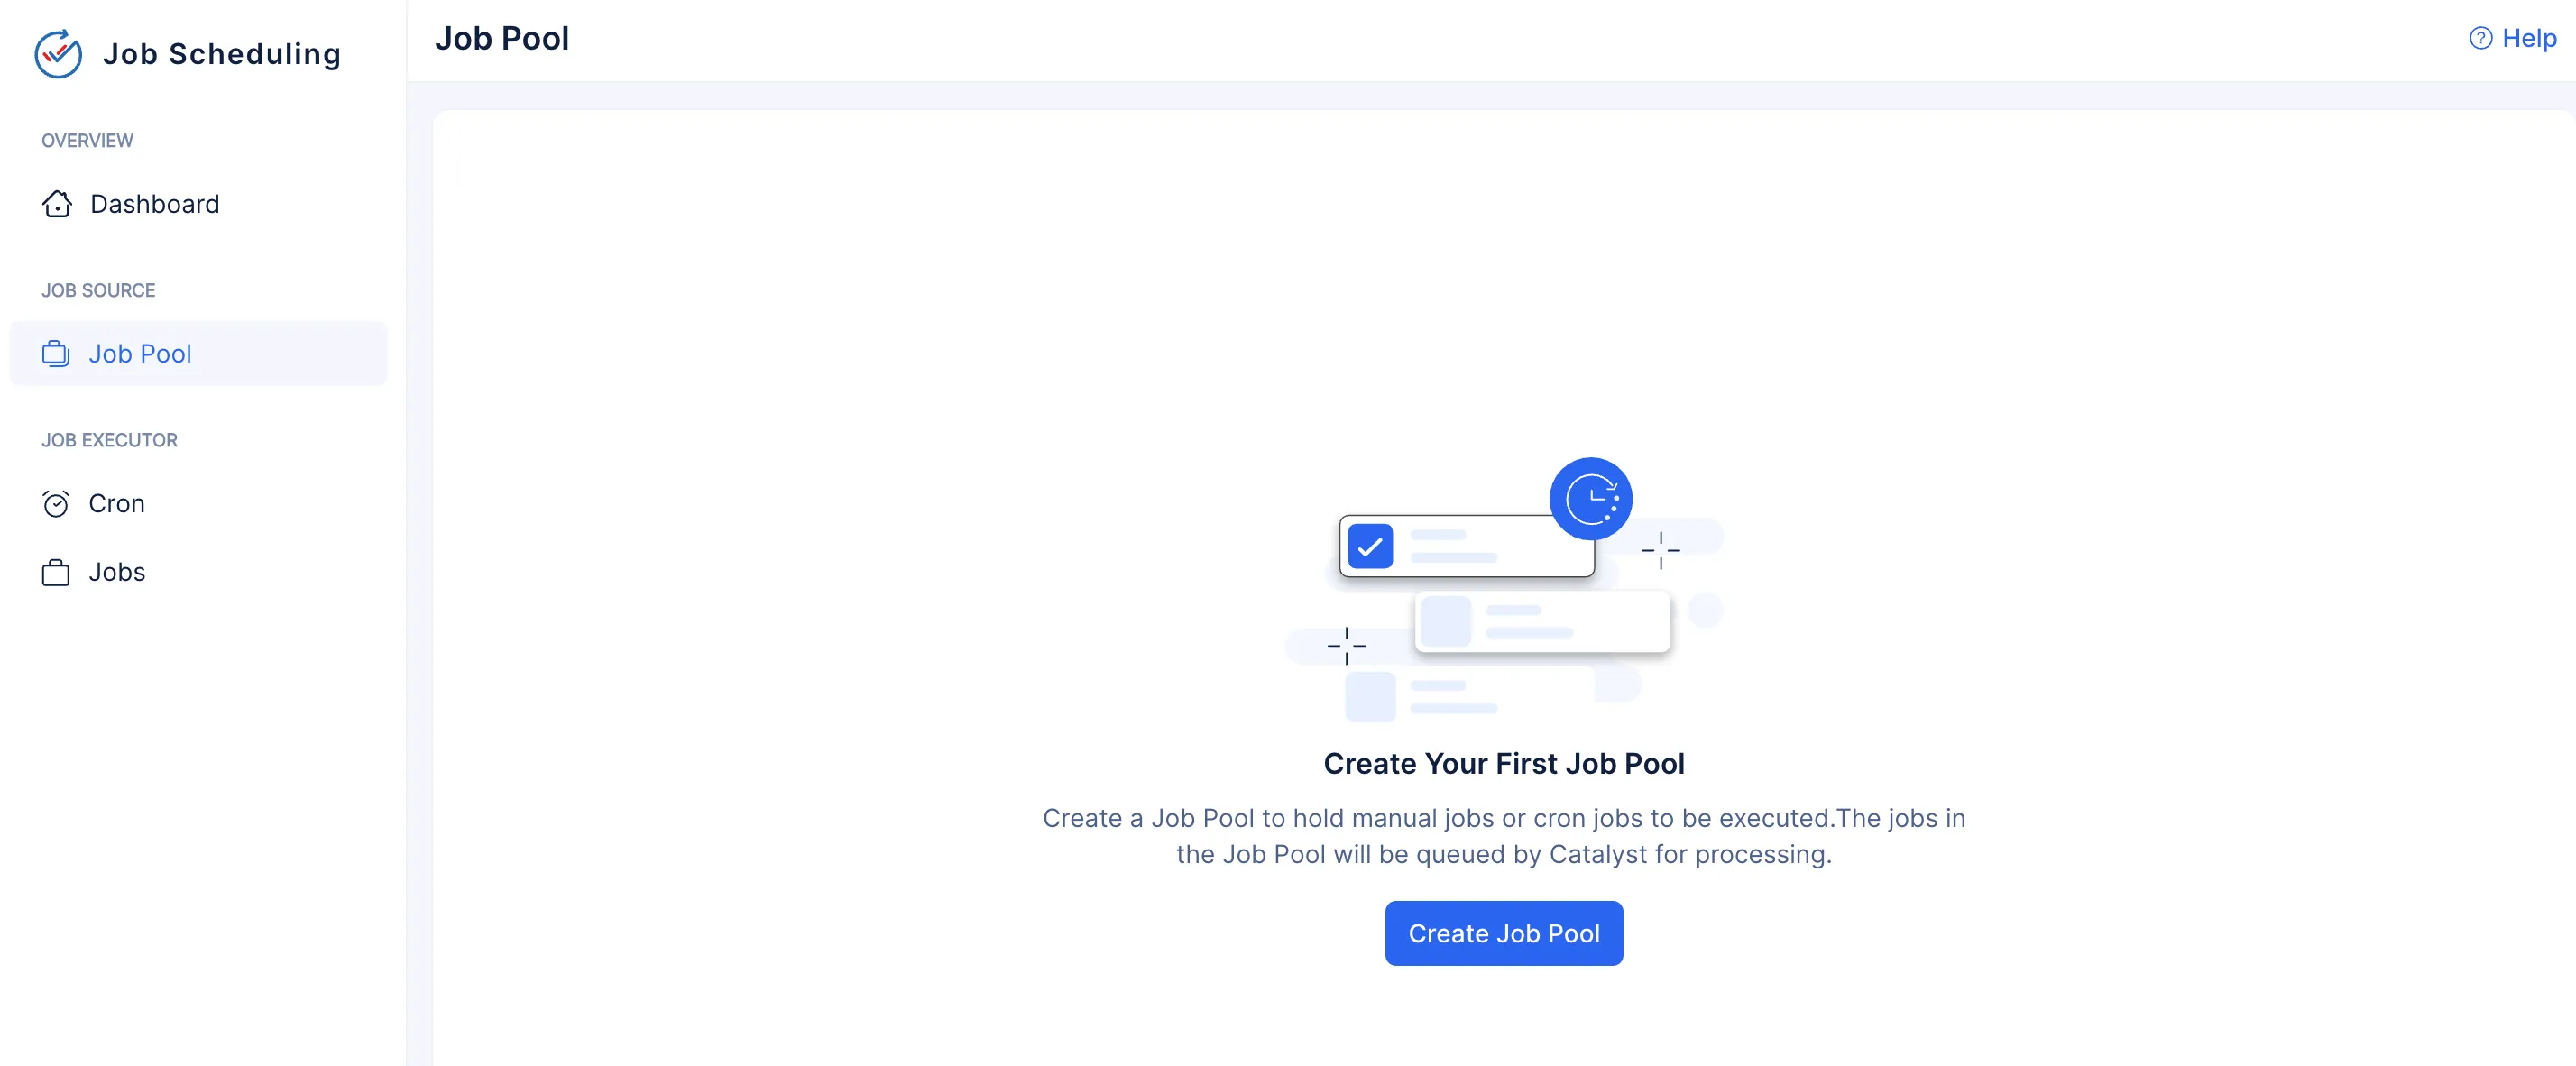
First, we are going to create a Job Pool to execute our Jobs from.
To create a Job Pool:
-
Navigate to the Job Scheduling section of the console and click Start Exploring.
-
Navigate to the Job Pool component and click Create Job Pool.
-
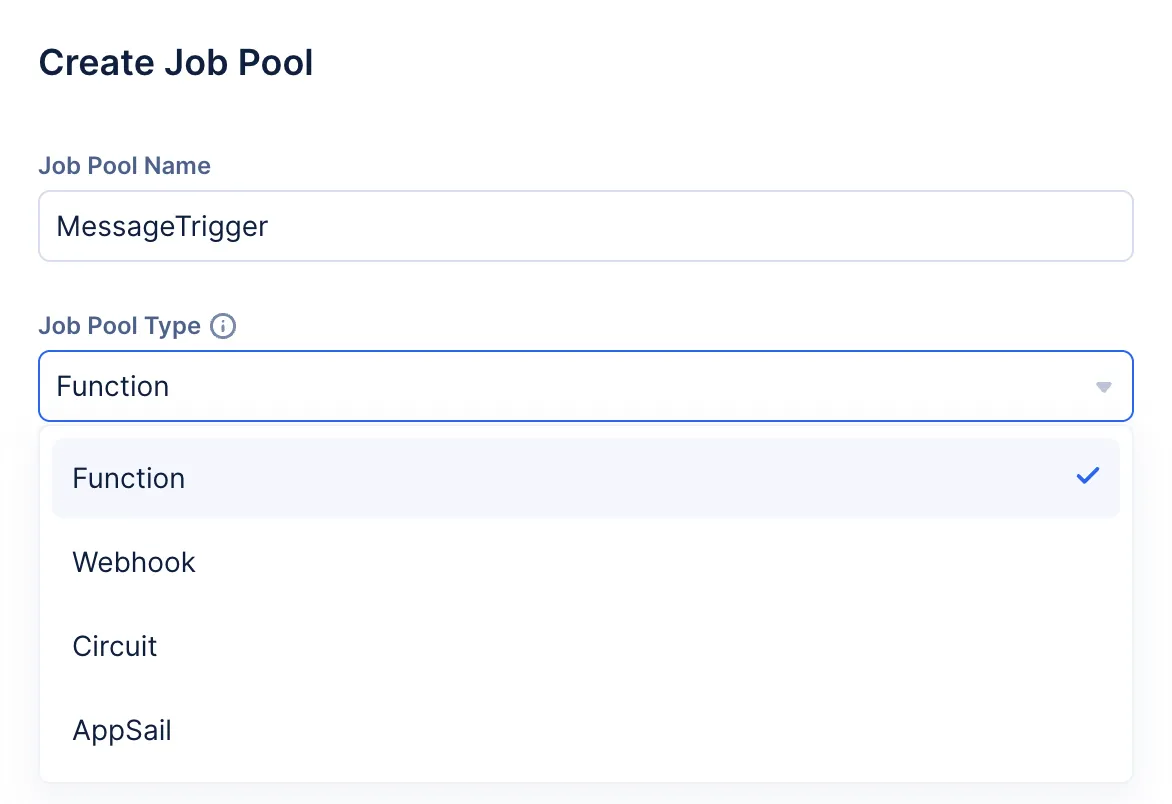
Enter the name of the Job Pool as “MessageTrigger” and select Function as the Job Pool type from the drop-down.
-
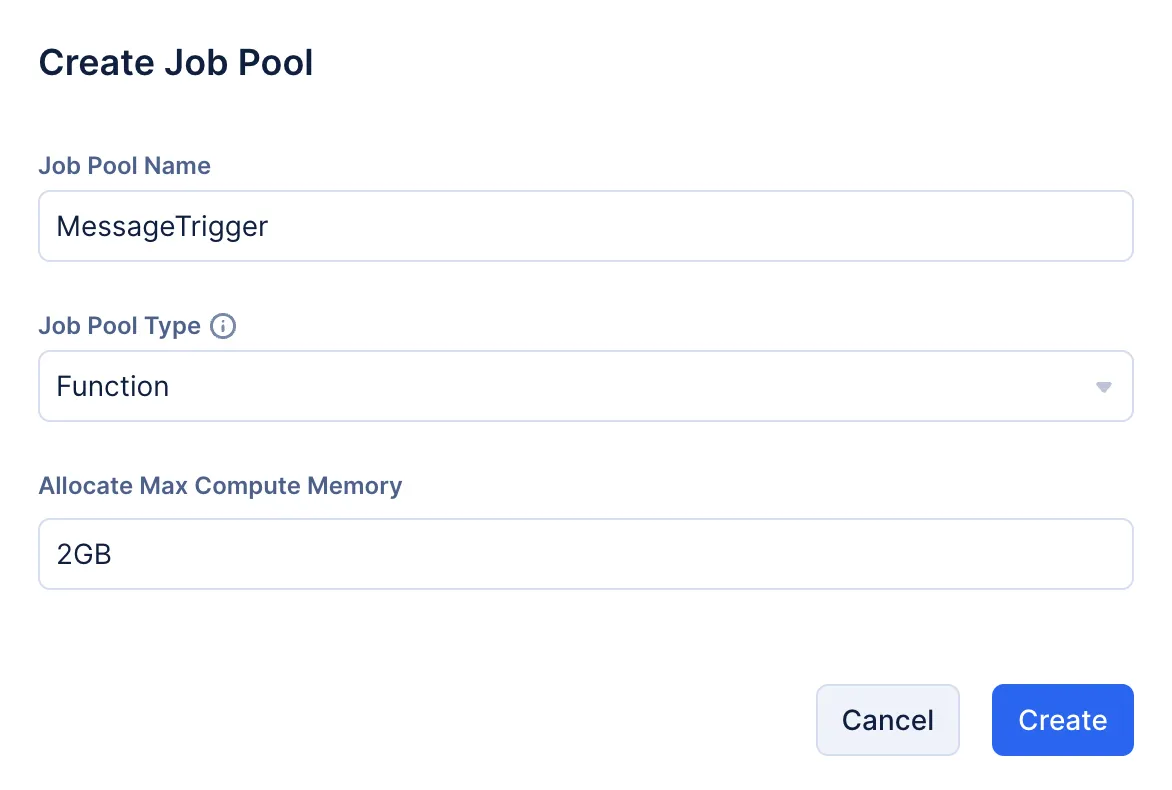
Select 2GB as the Max Allocated Memory from the drop-down, and click Create.
The Job Pool has been created.
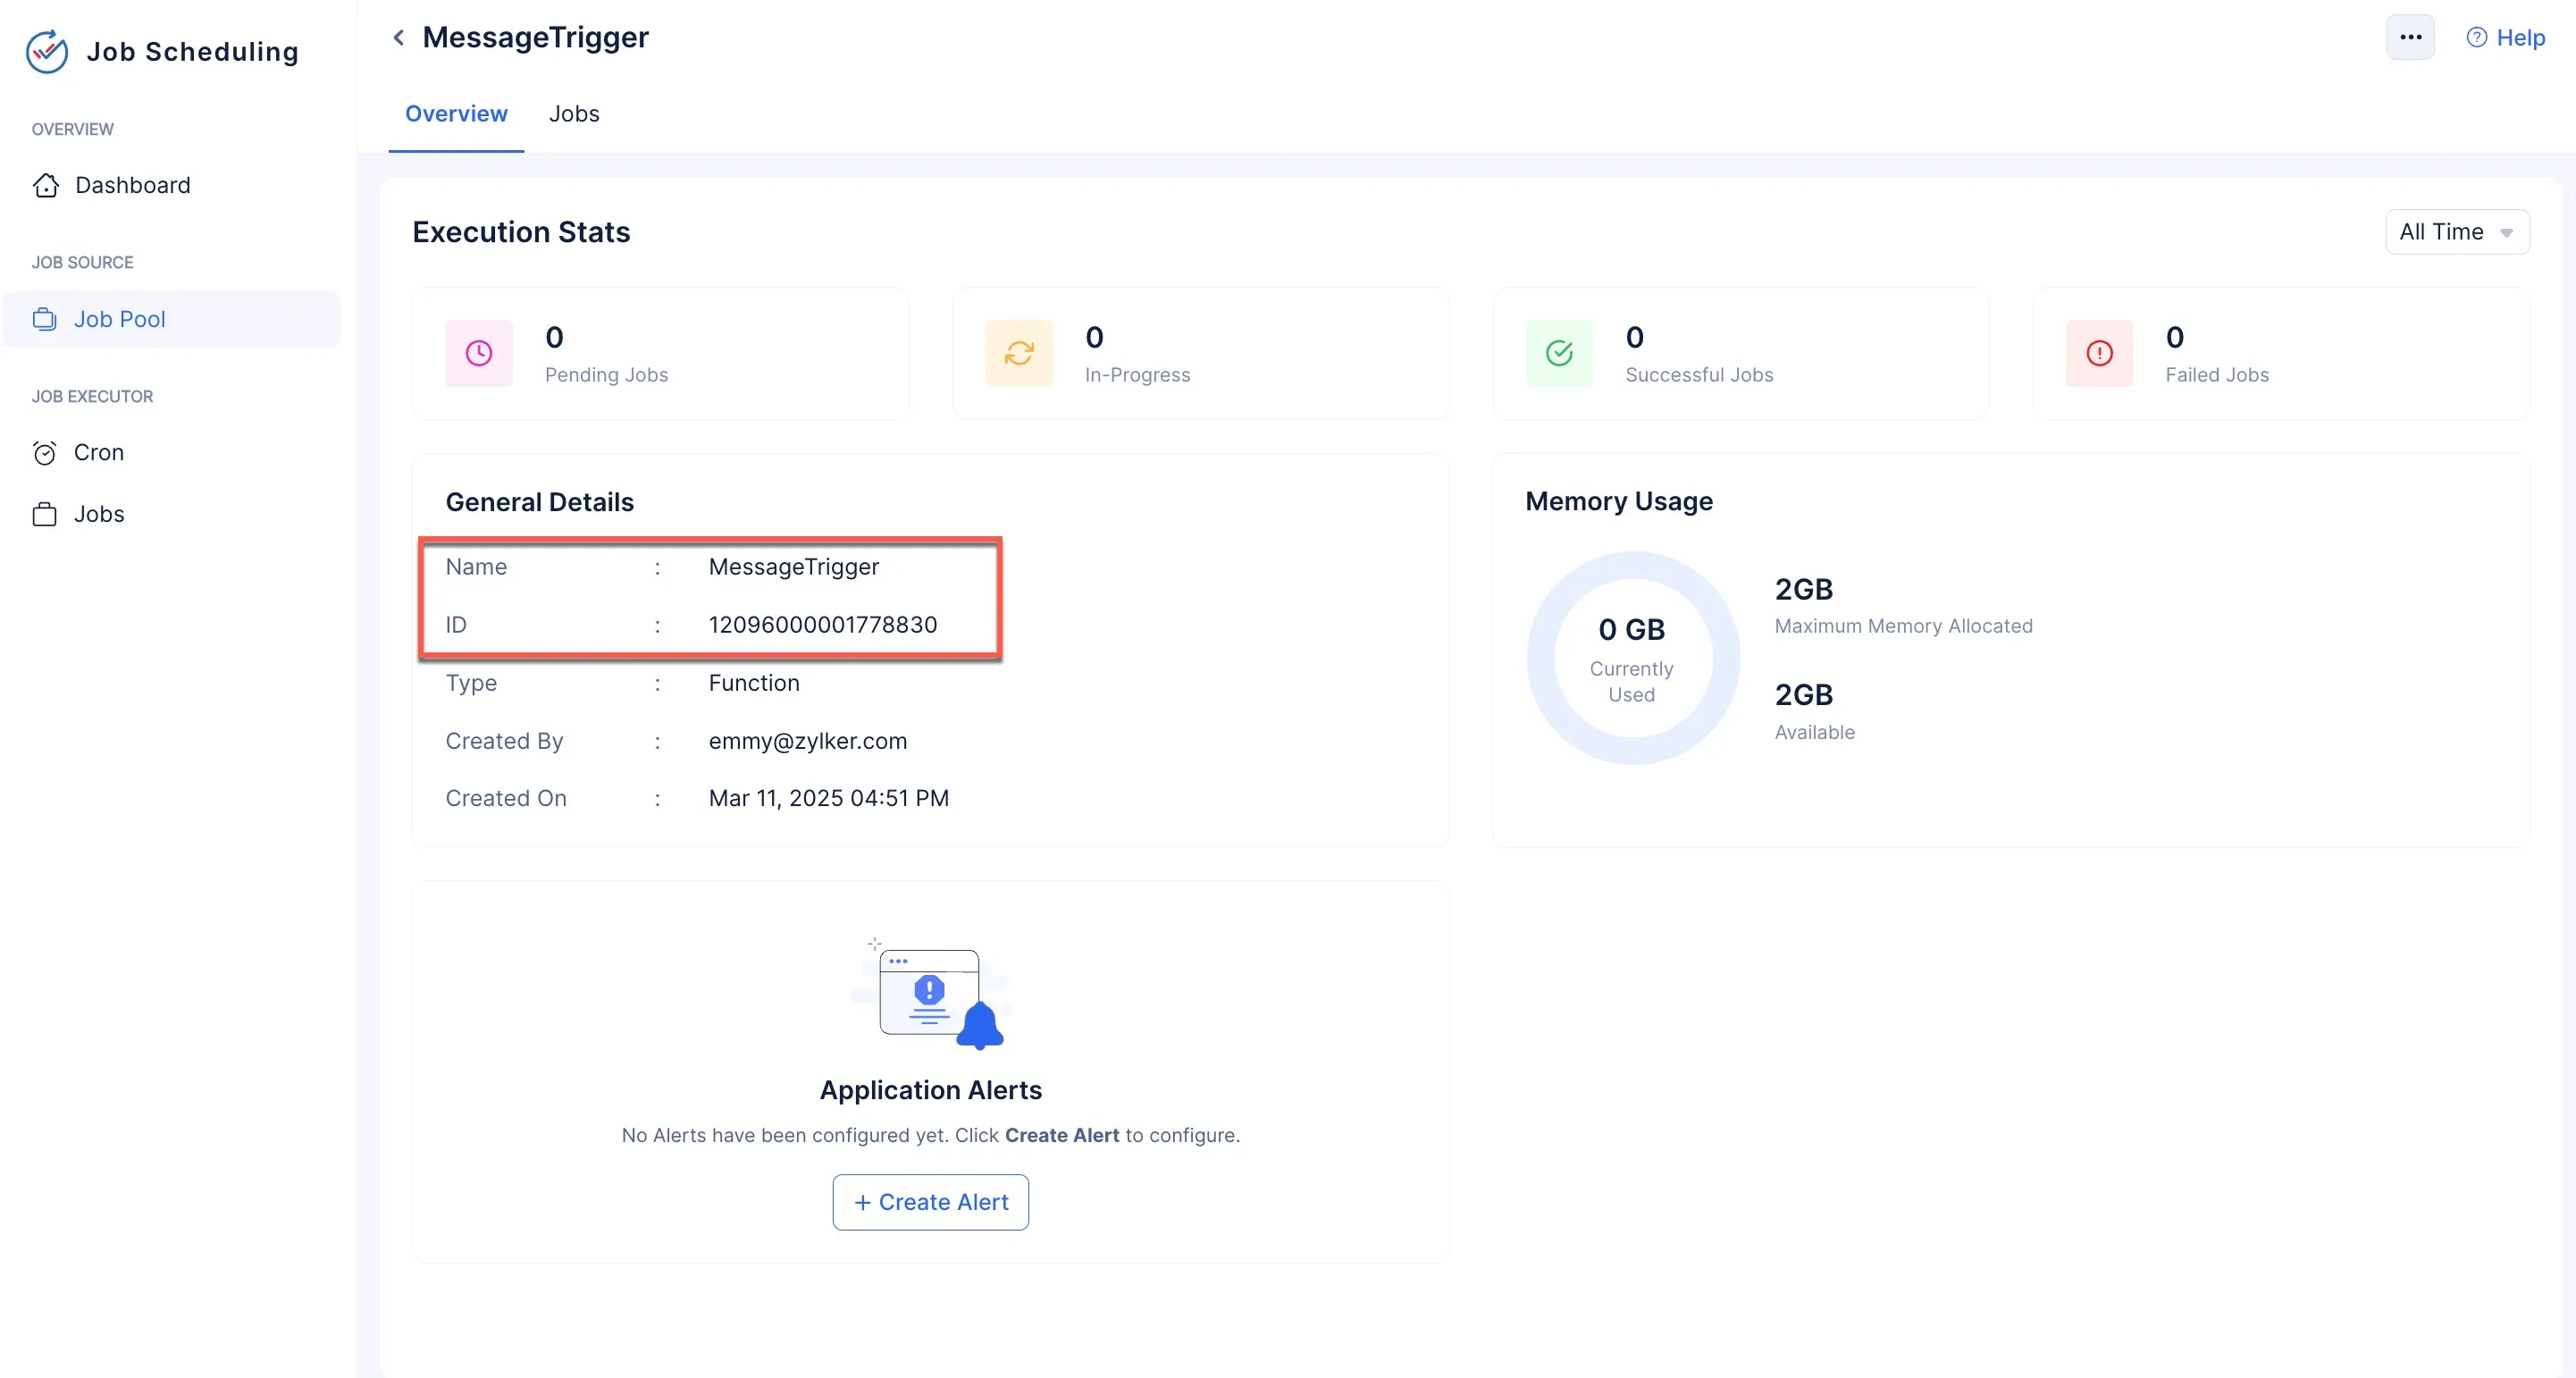
The Job Pool can now be referred to by its name and its ID.
The Job Pool is now ready to execute Function Jobs that will trigger the required Job Function.
Last Updated 2025-09-29 16:32:42 +0530 IST