Manage Cron Using the Console
Once you have created your required cron, you can perform Edit and Delete operations on it.
Access your list of crons by clicking Cron under JOB Executor in the Job Scheduling console.
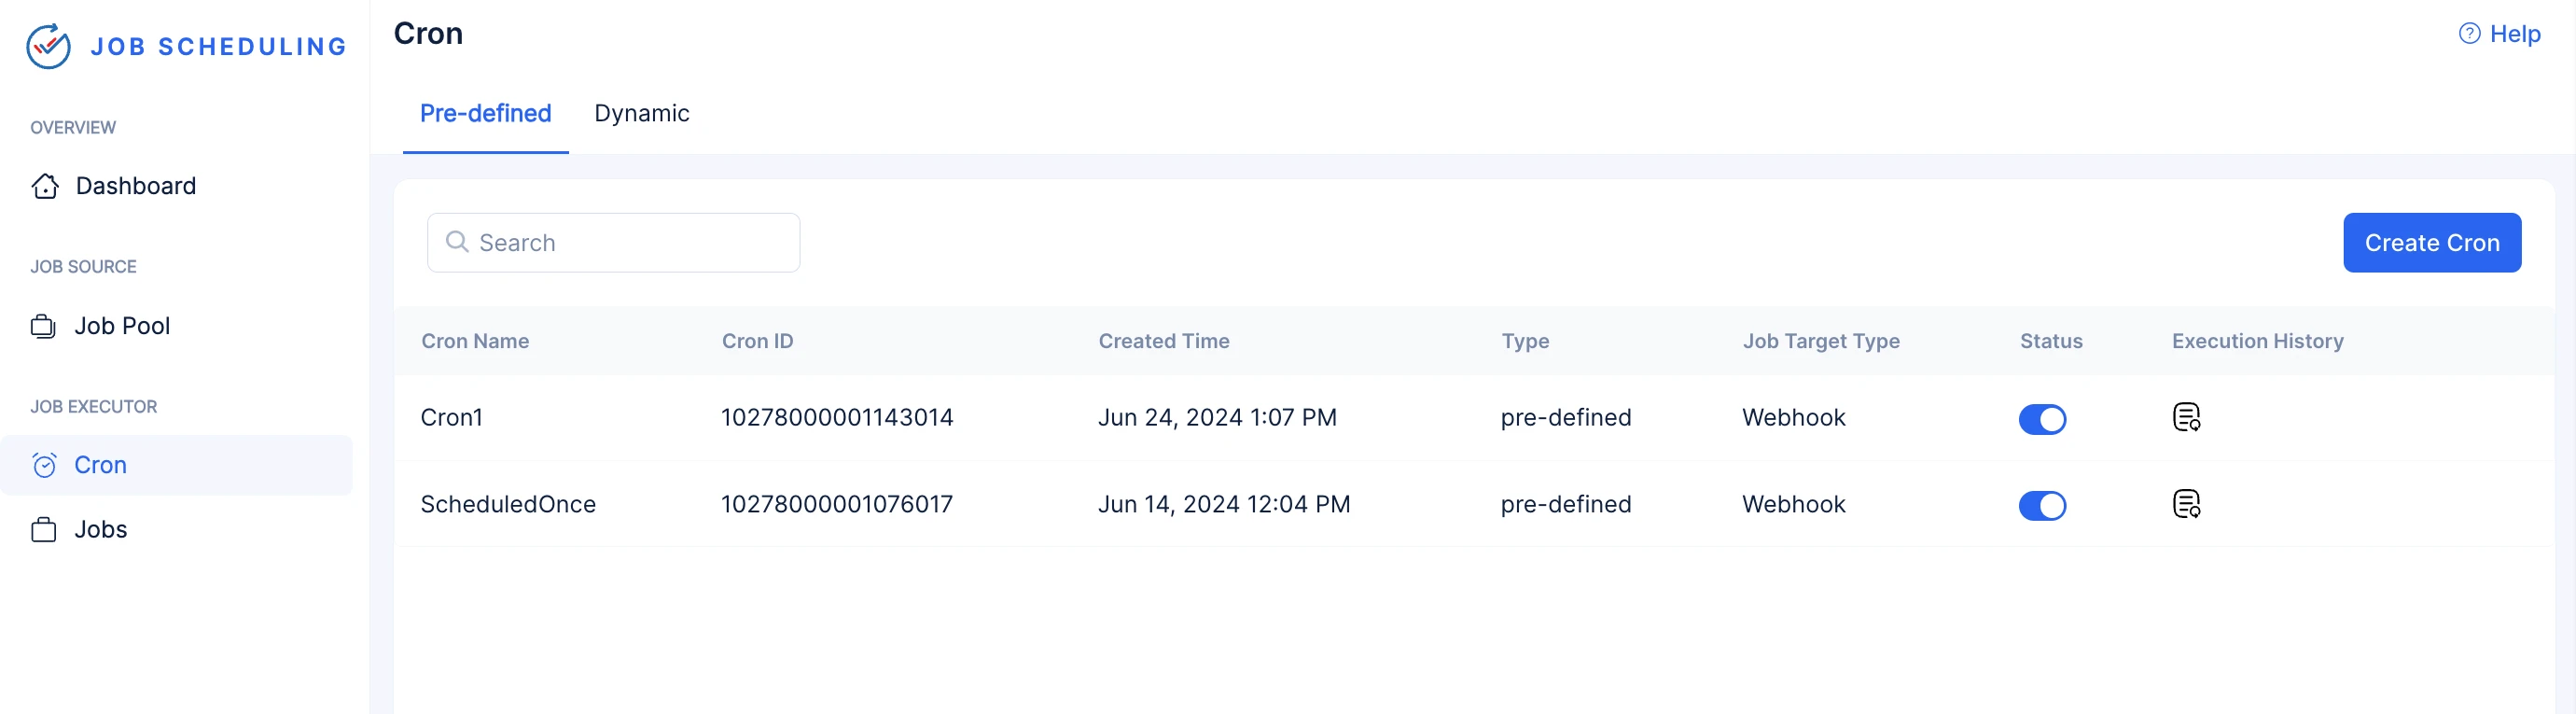
In addition to edit and delete , in this section, you can also perform the following operations:
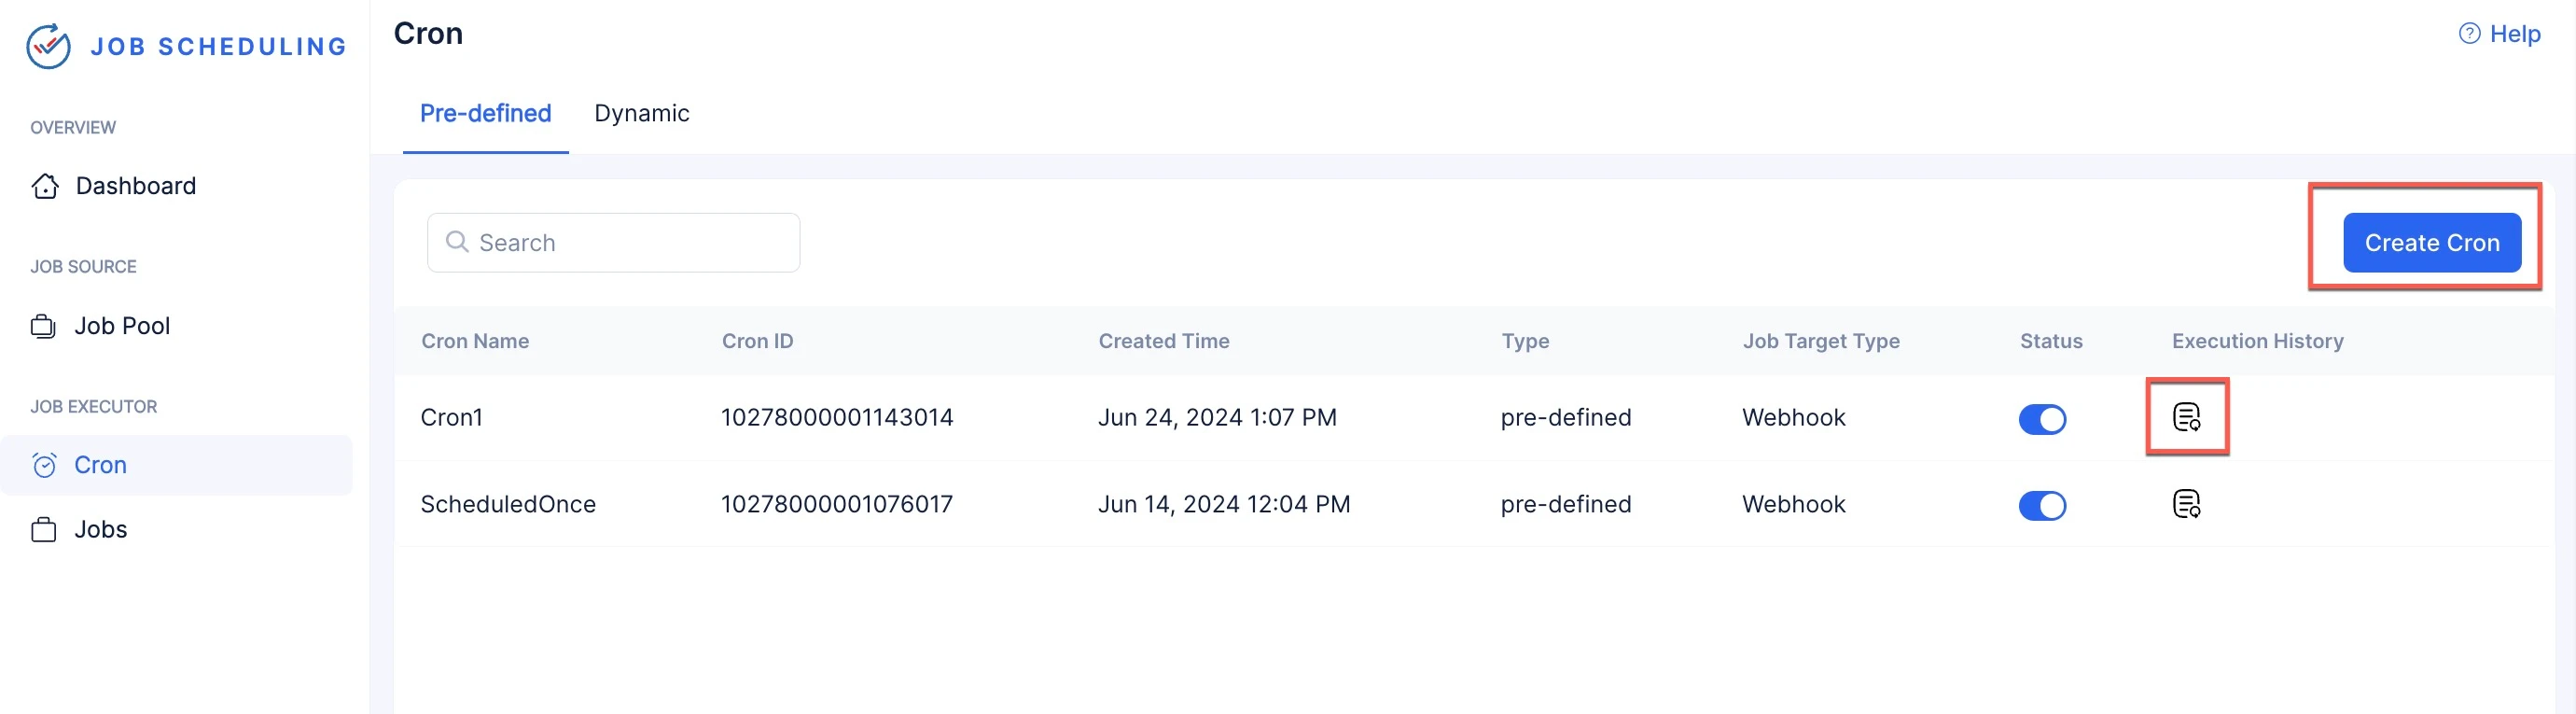
- Click the Create Cron button to create a new cron.
- Perform search operations on the list of crons.
- Click the logs-icon present next to each cron under the Execution History column to view the execution status of all the jobs that were submitted by a particular cron.
You can perform Edit and Delete operations on your cron in two places:
-
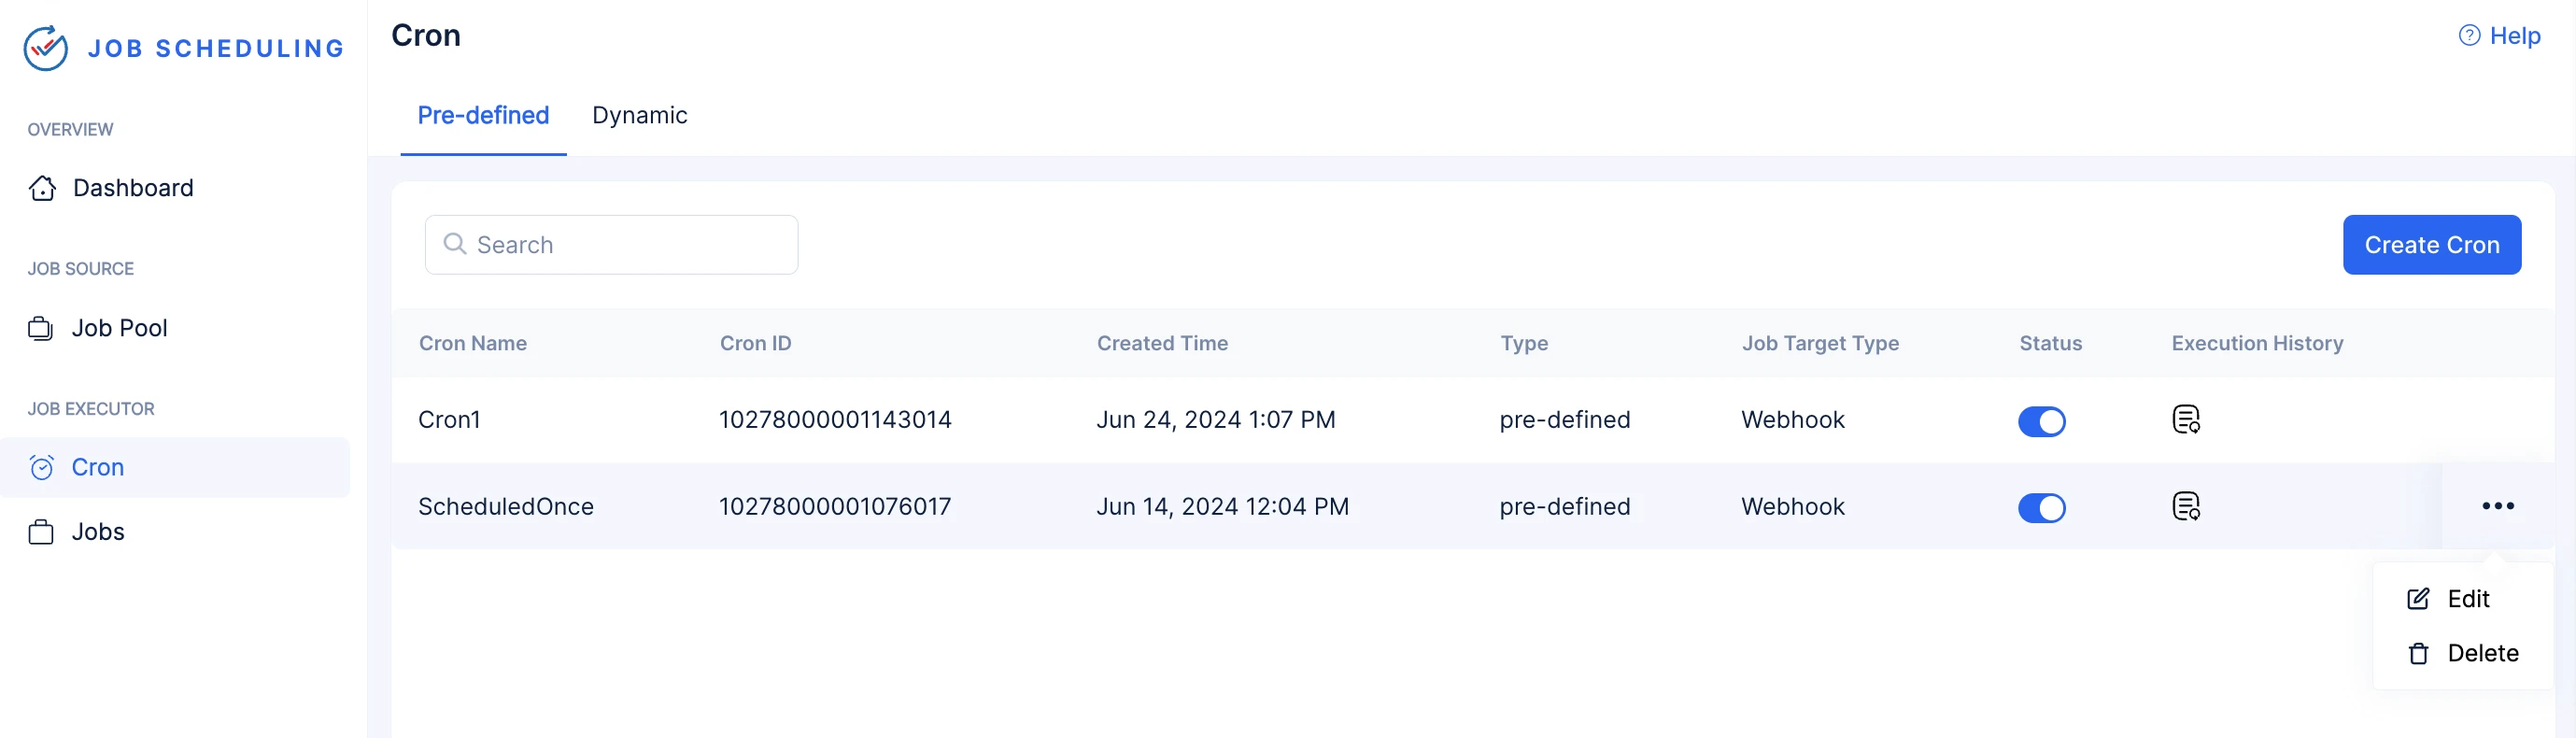
In the Cron component section with all the crons listed:
-
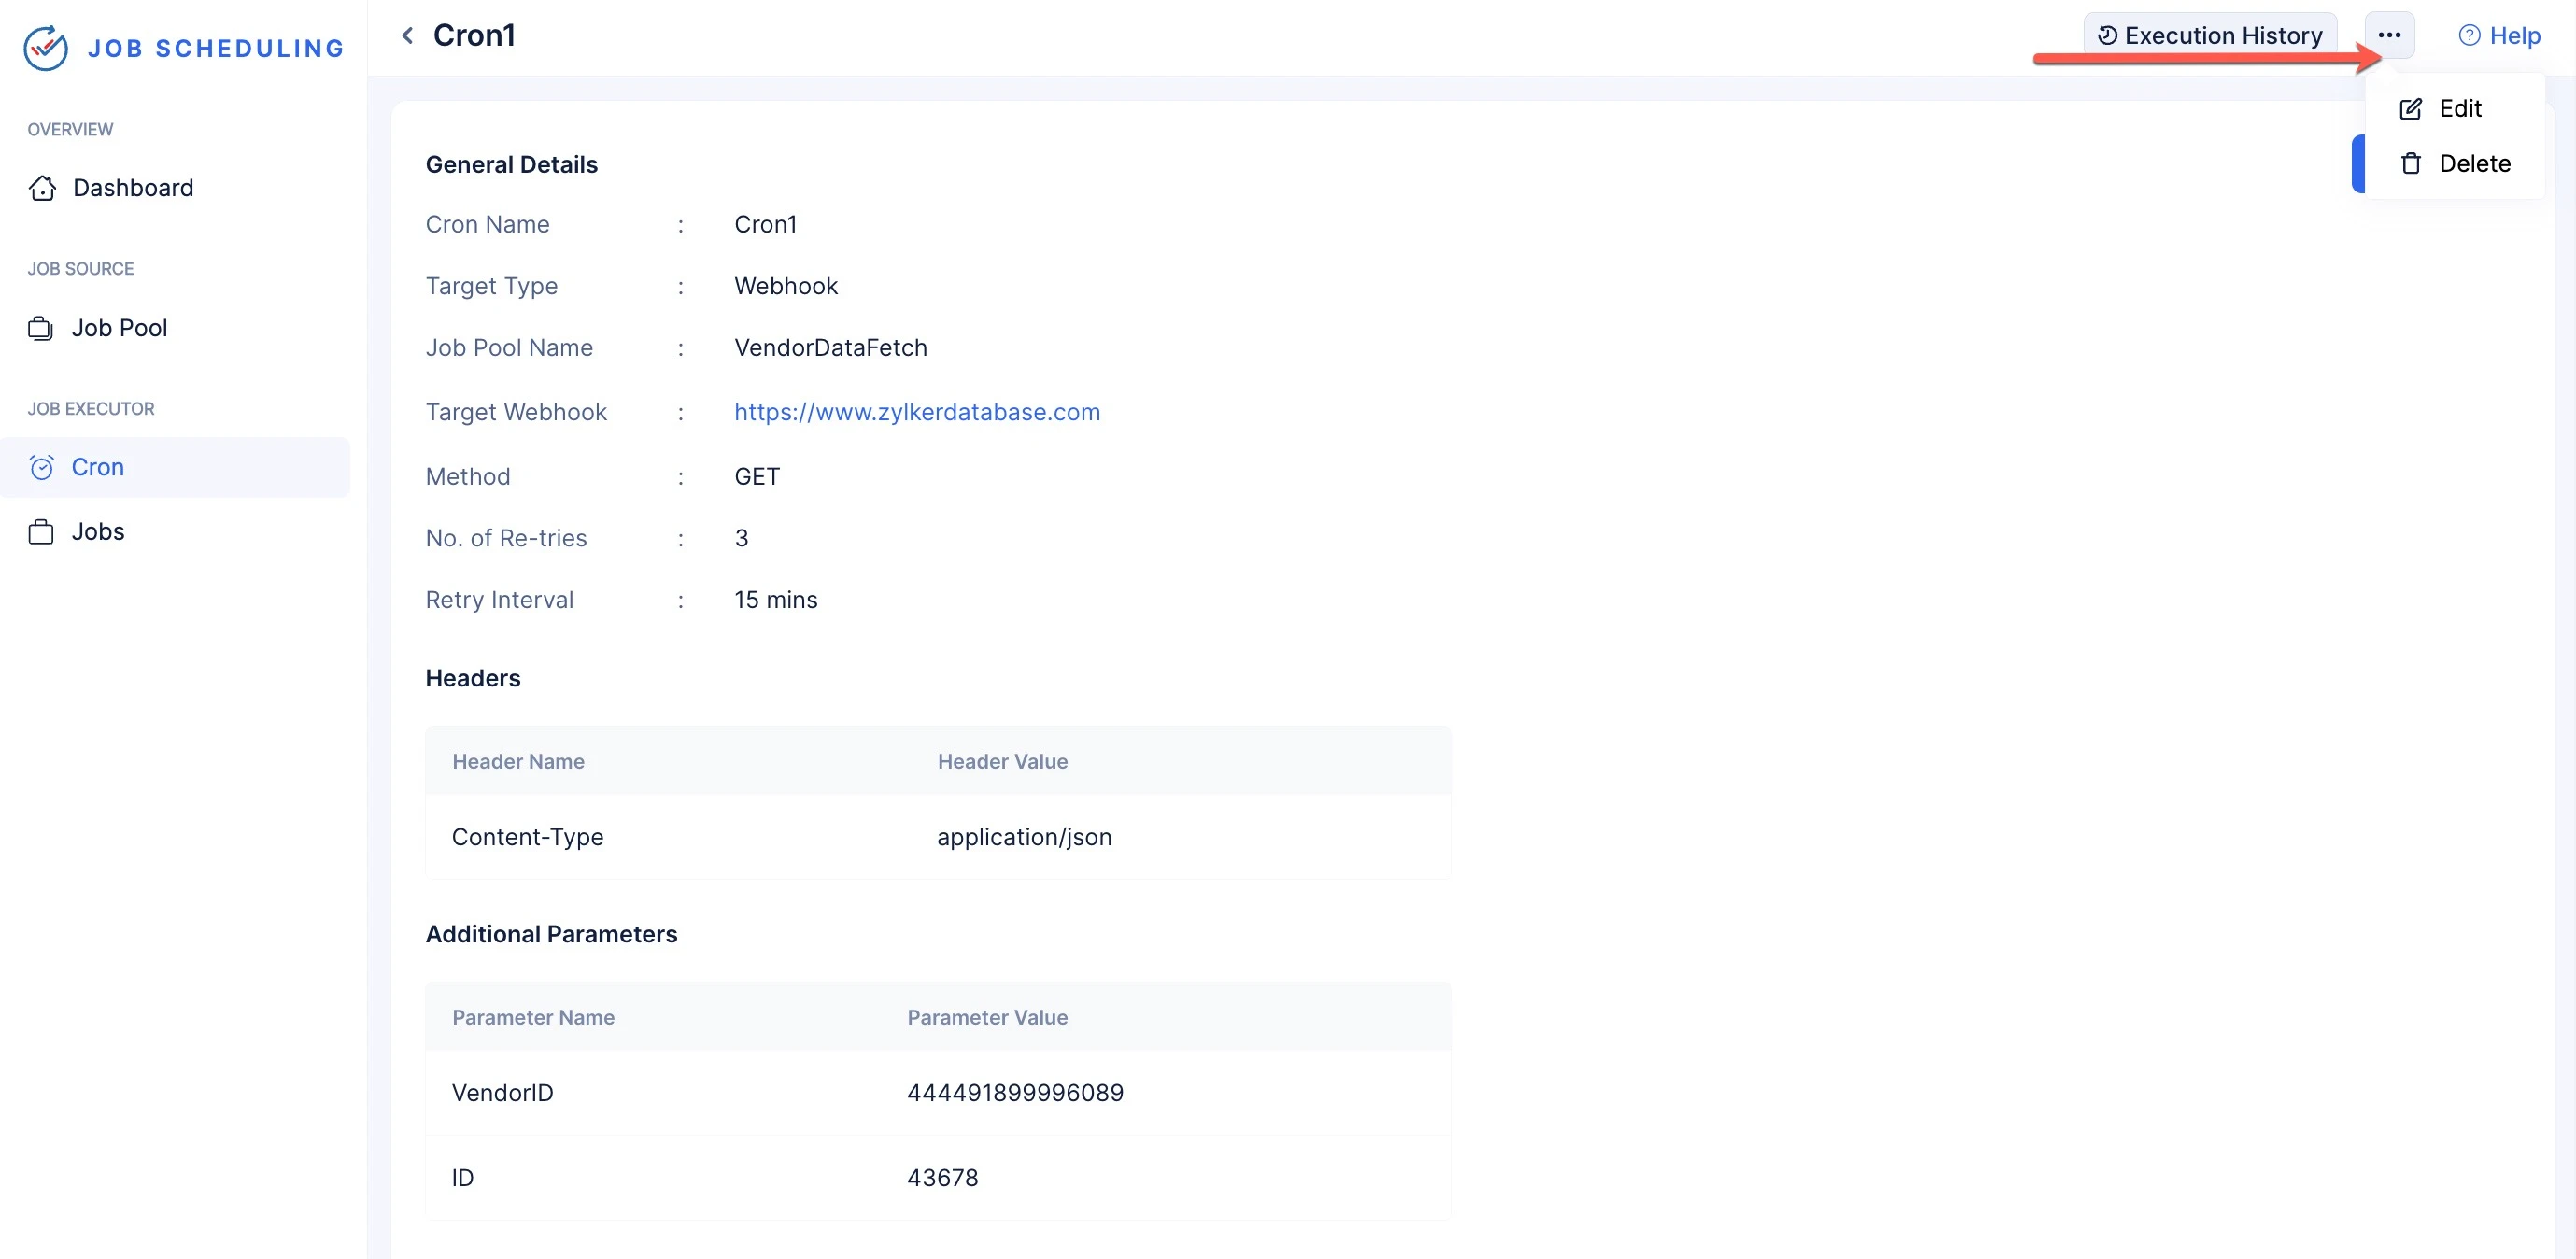
After you click on your required cron and directed to the page listing cron details and configurations.
Edit a Cron
To edit a cron:
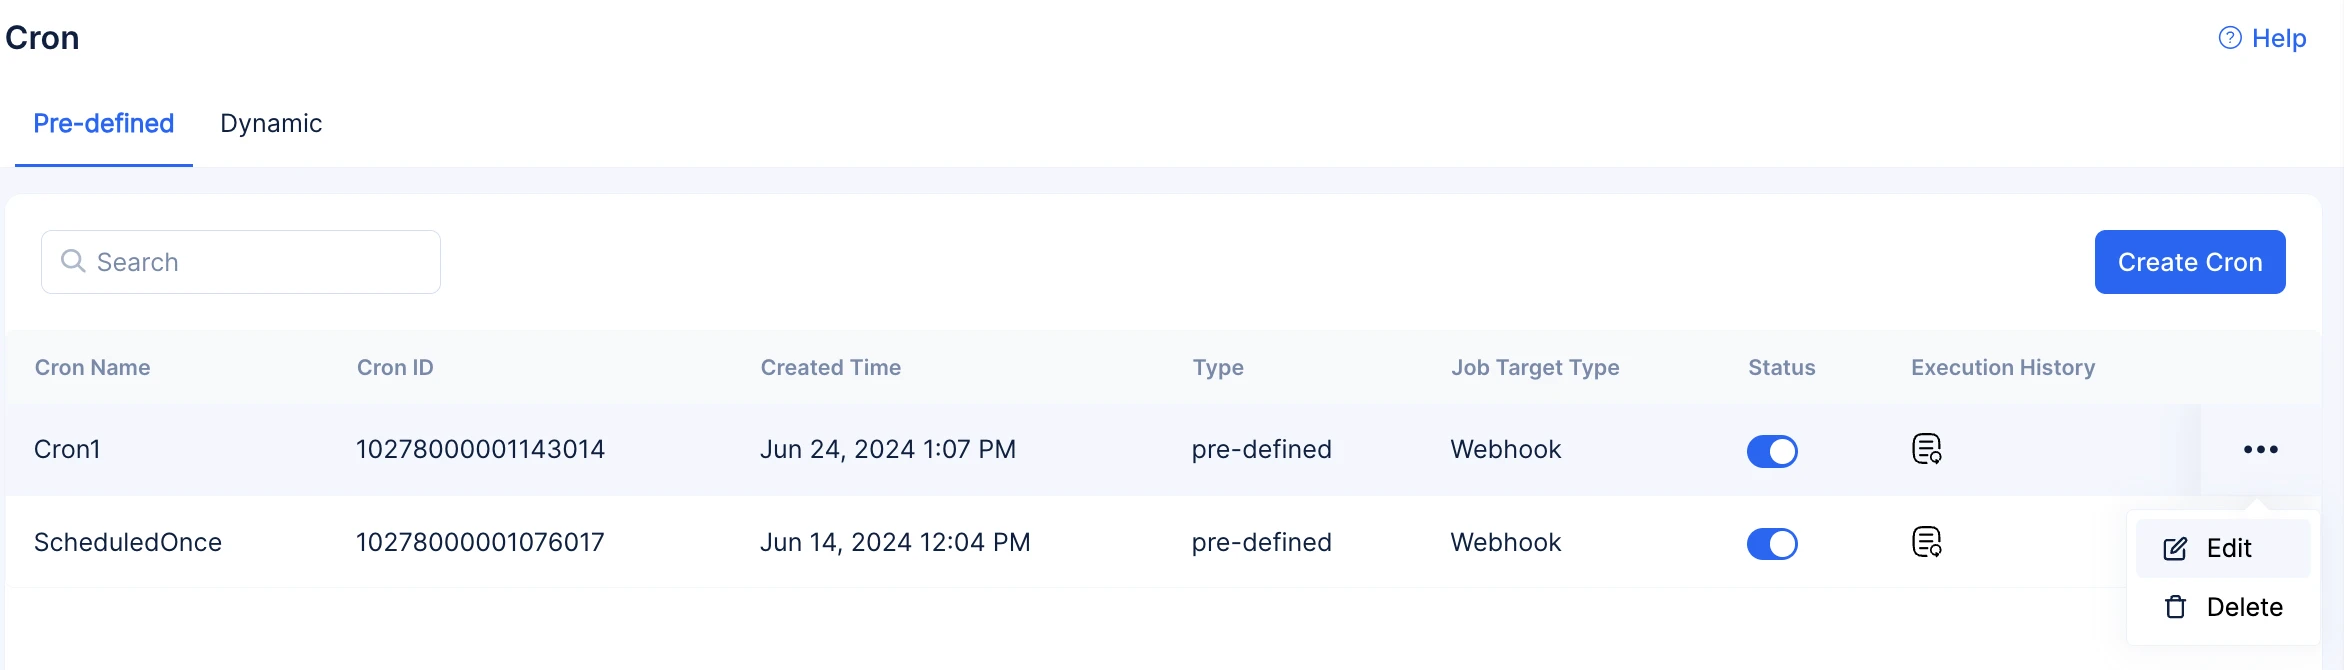
-
Click the ellipsis icon next to the cron, then select Edit.
- You can edit every input selection of the cron.

- You can also edit the configurations of the job the cron is going to submit to the job pool.
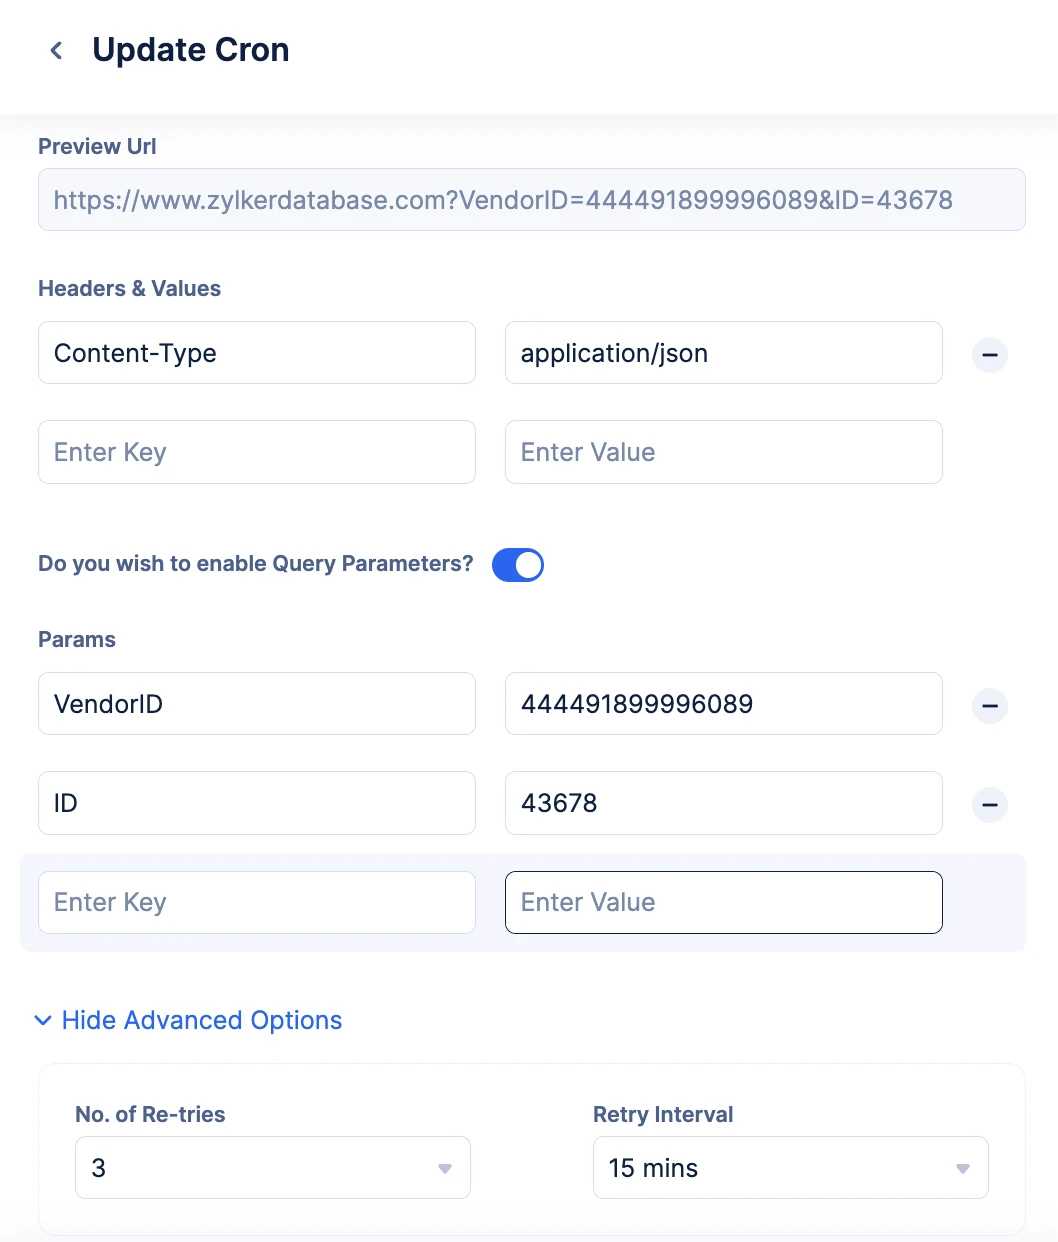
- You can edit every input selection of the cron.
-
Click Update, once you complete your edits.
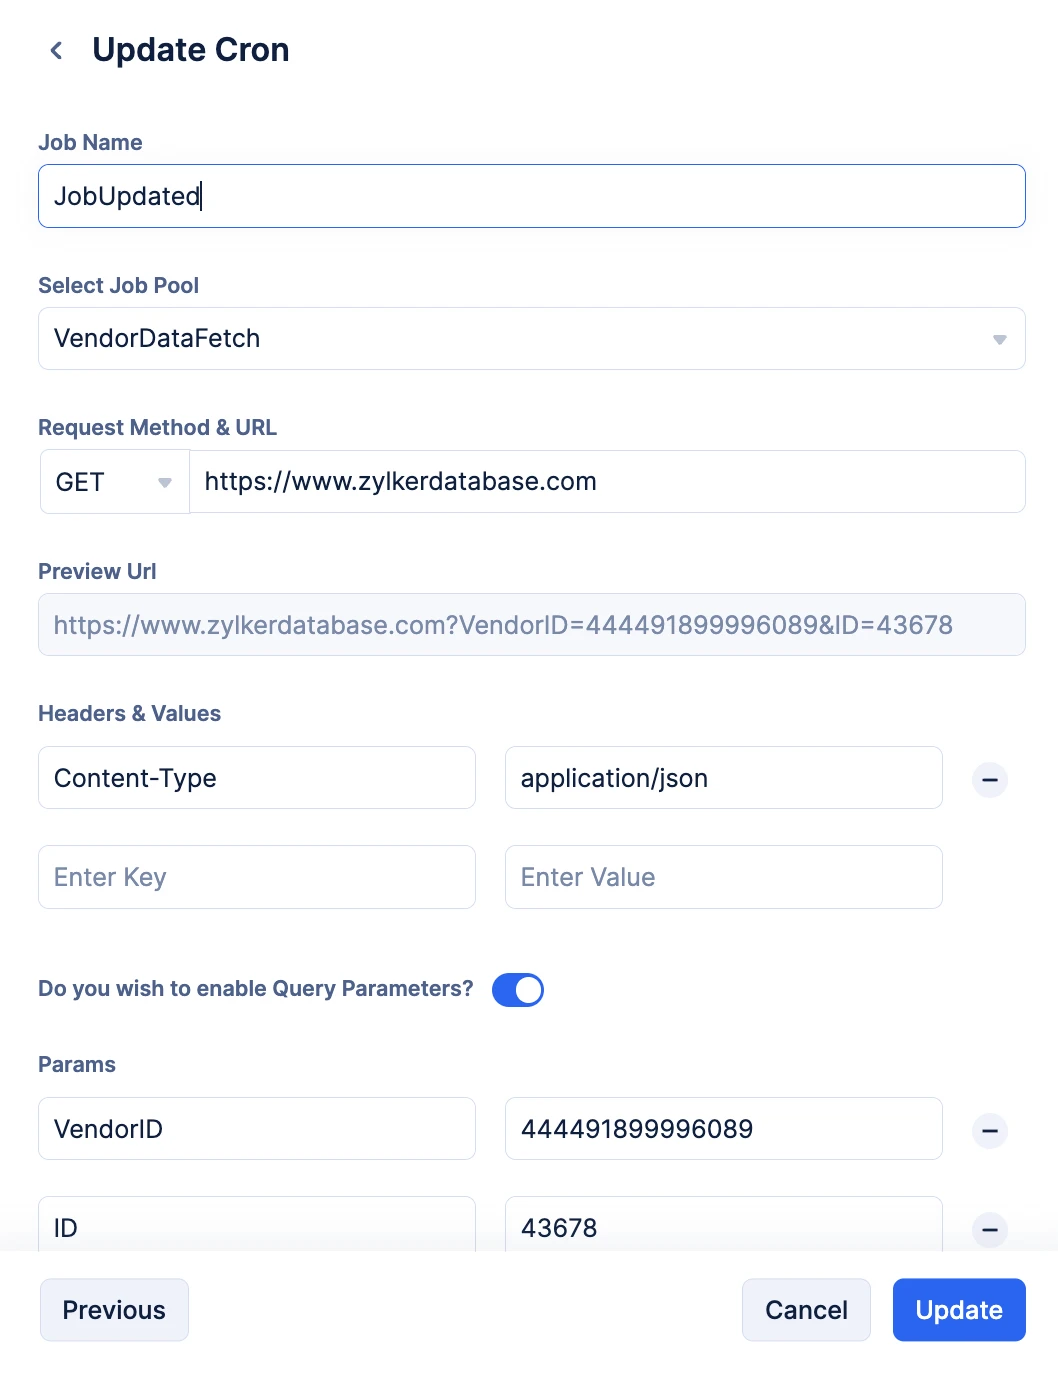
The cron will be edited.
Delete a Cron
To delete a cron:
-
Click the ellipsis icon next to the cron, then select Delete.
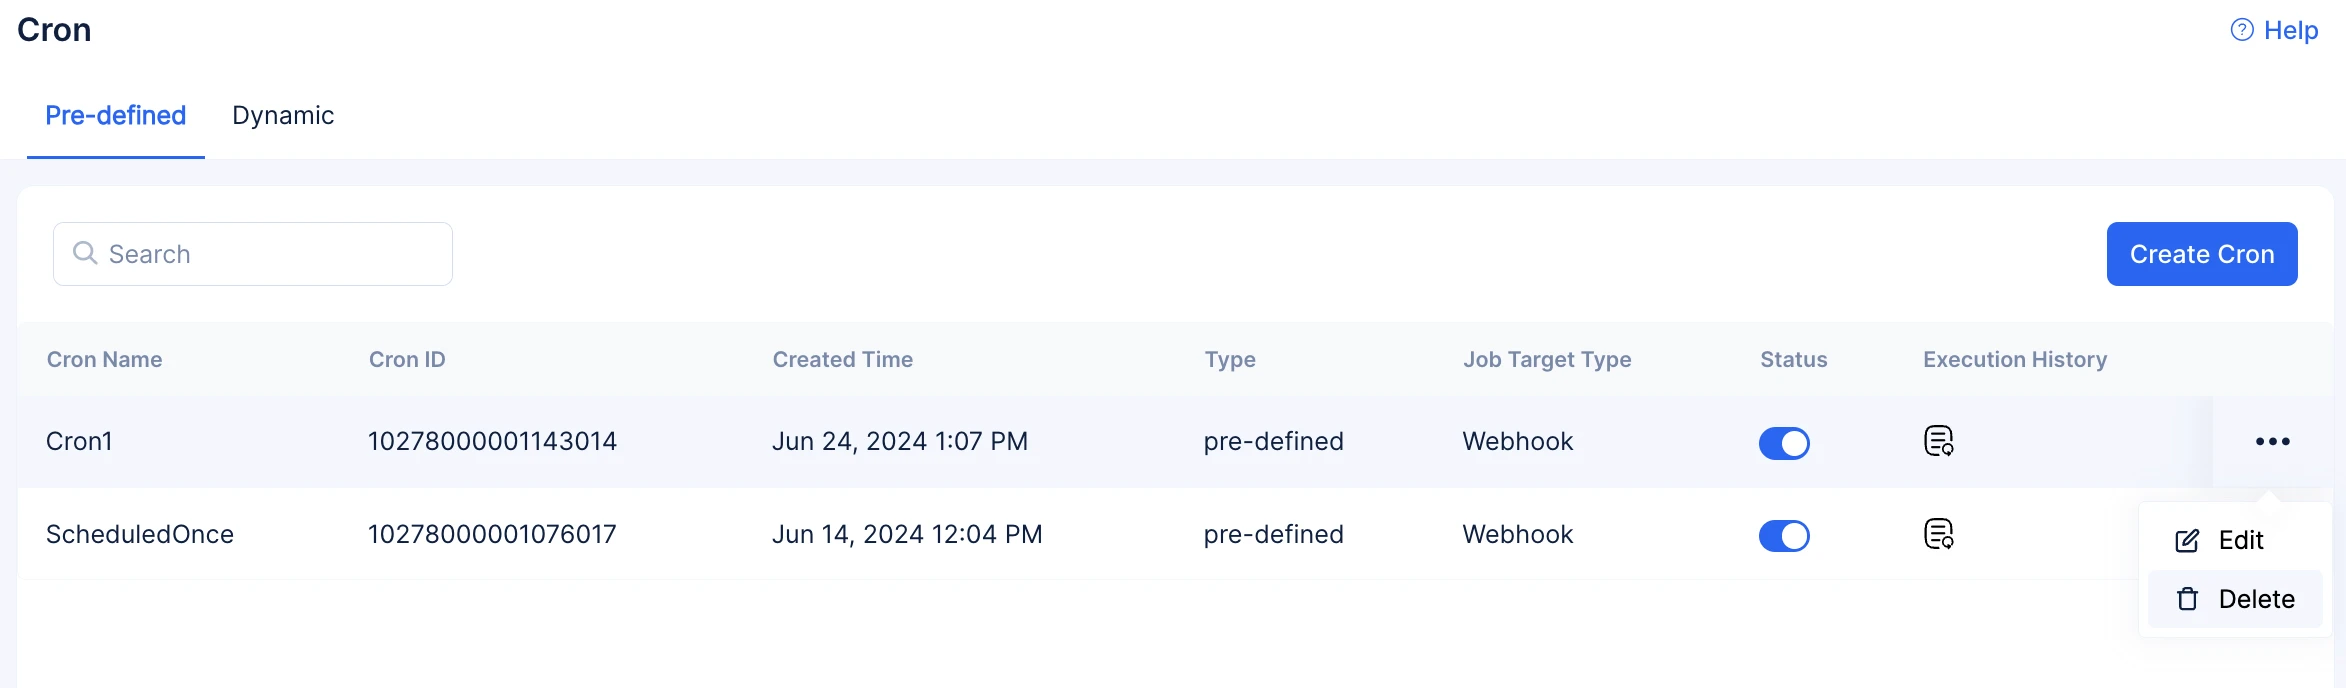
-
Click Delete in the prompt to confirm your selection.
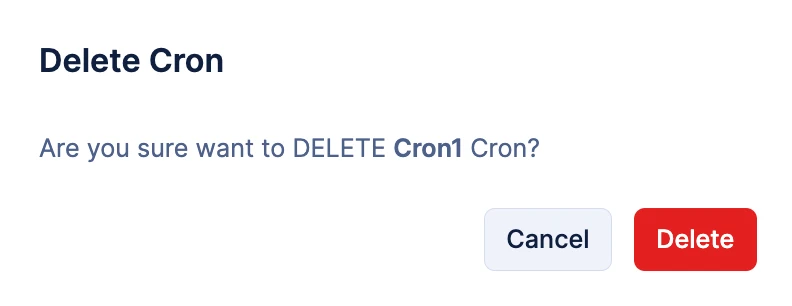
The cron will be deleted.
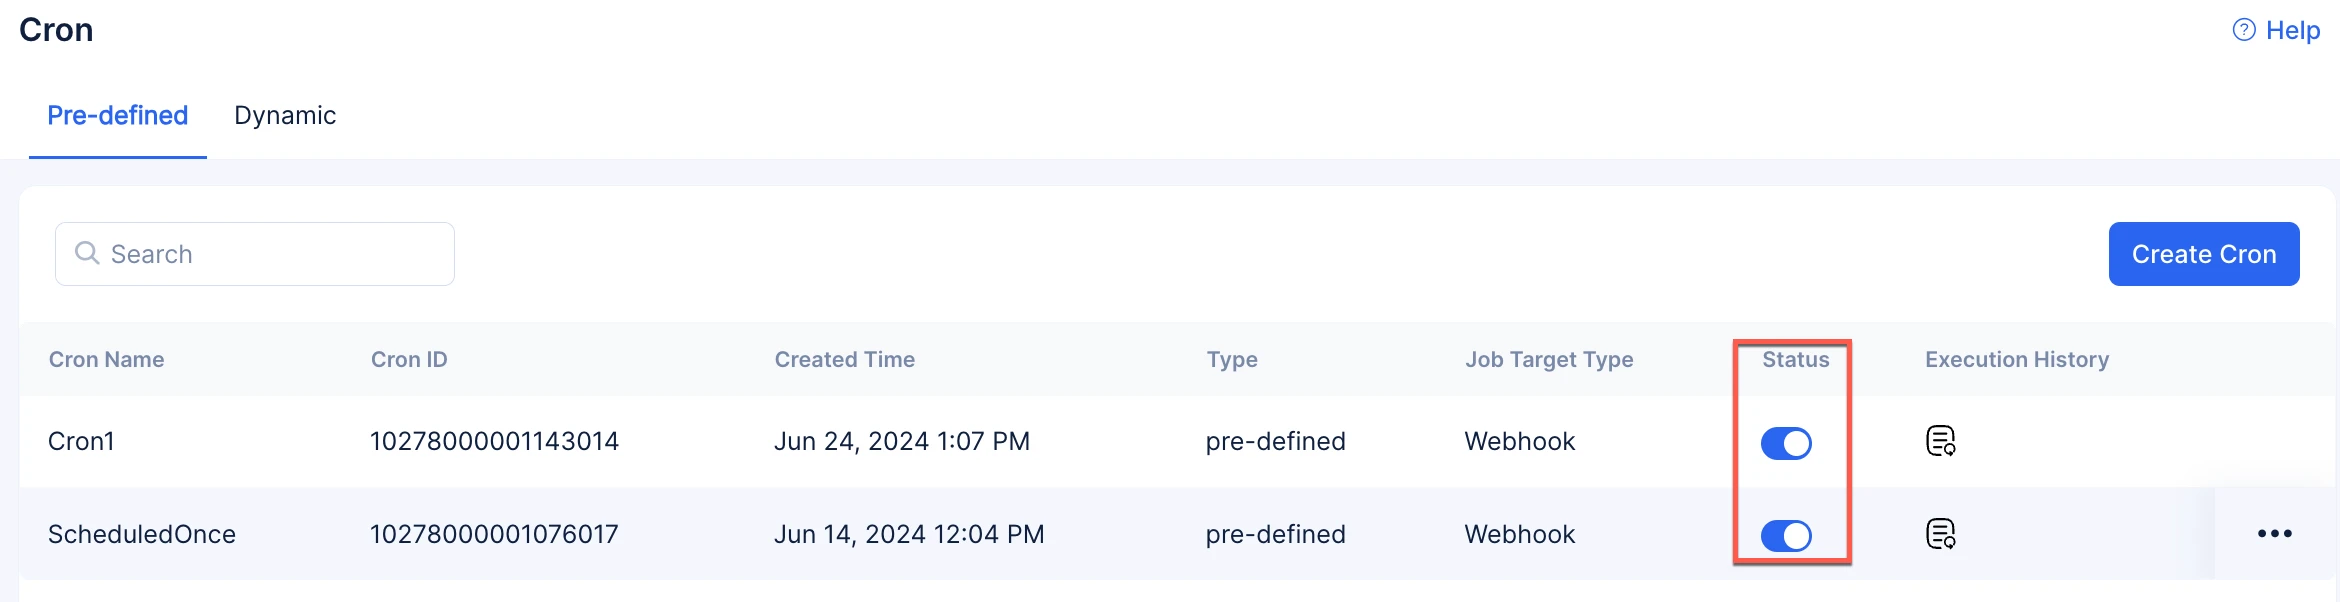
Enable or Disable a Cron
To enable or disable a cron click the toggle present under Status column in the list of crons.
Last Updated 2025-06-03 18:19:55 +0530 IST
Yes
No
Send your feedback to us