Create a Table in the Data Store
Let’s now create a table in the Data Store in the WorkDriveSync project. This table stores the details of the files that are uploaded through the client application. This data is fetched to be displayed in the client, and is updated or deleted whenever the corresponding actions are performed.
To create a table:
-
Navigate to Catalyst Cloud Scale service in the console.
-
Navigate to the Catalyst Cloud Scale DataStore component and click Create a new Table.

-
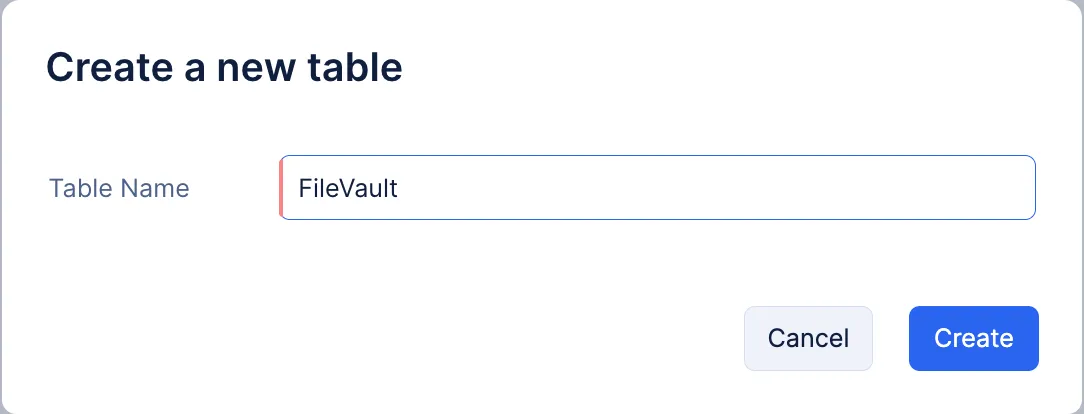
Enter the table’s name as “FileVault” and click Create.
Create Columns
Next, let’s create columns in the table to store the metadata of the files.
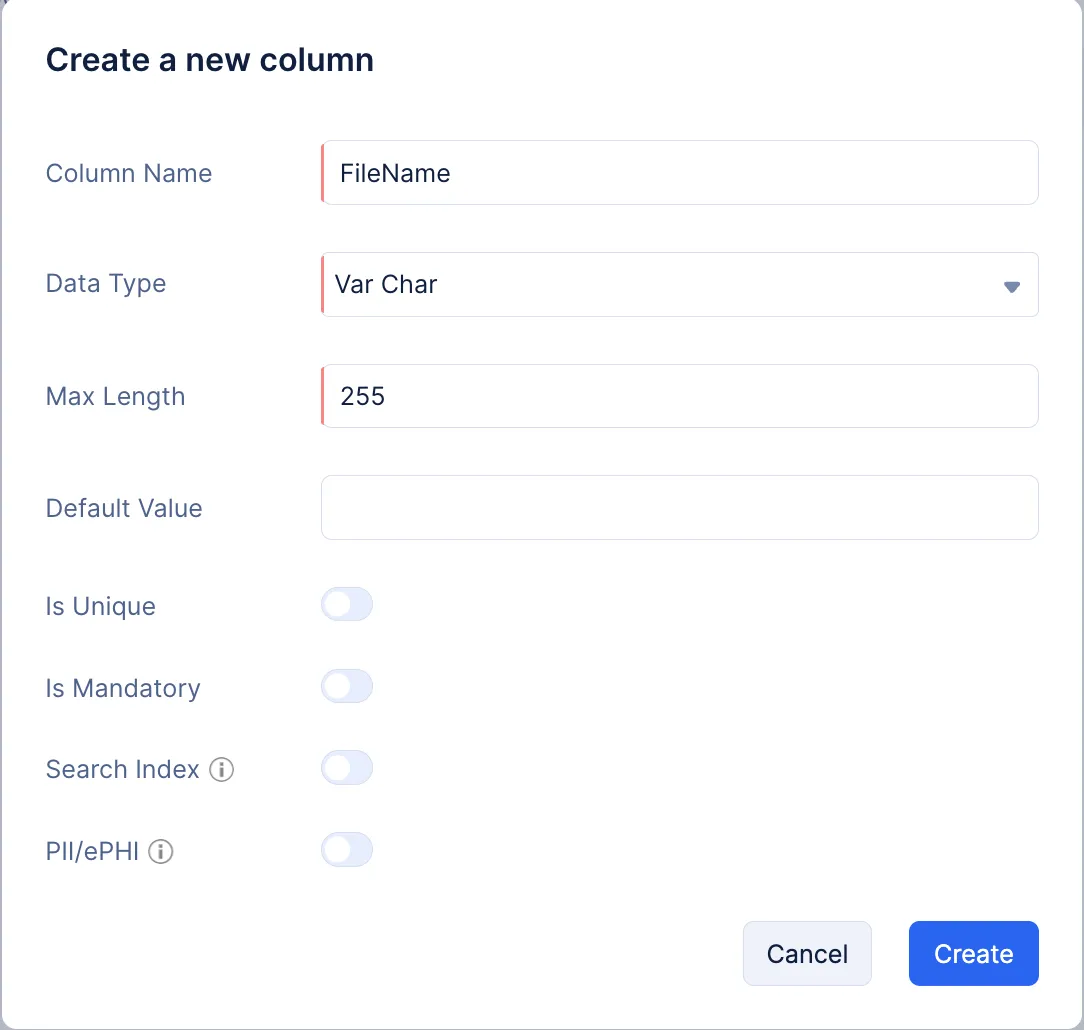
- Click New Column in the Schema View section for the table.
- Enter the column’s name as “FileName”. Select the data type as Var Char with maximum size of 255.
You can learn about the various data types supported by Catalyst and the other properties of a column from the Data Store help page.
- Click Create.
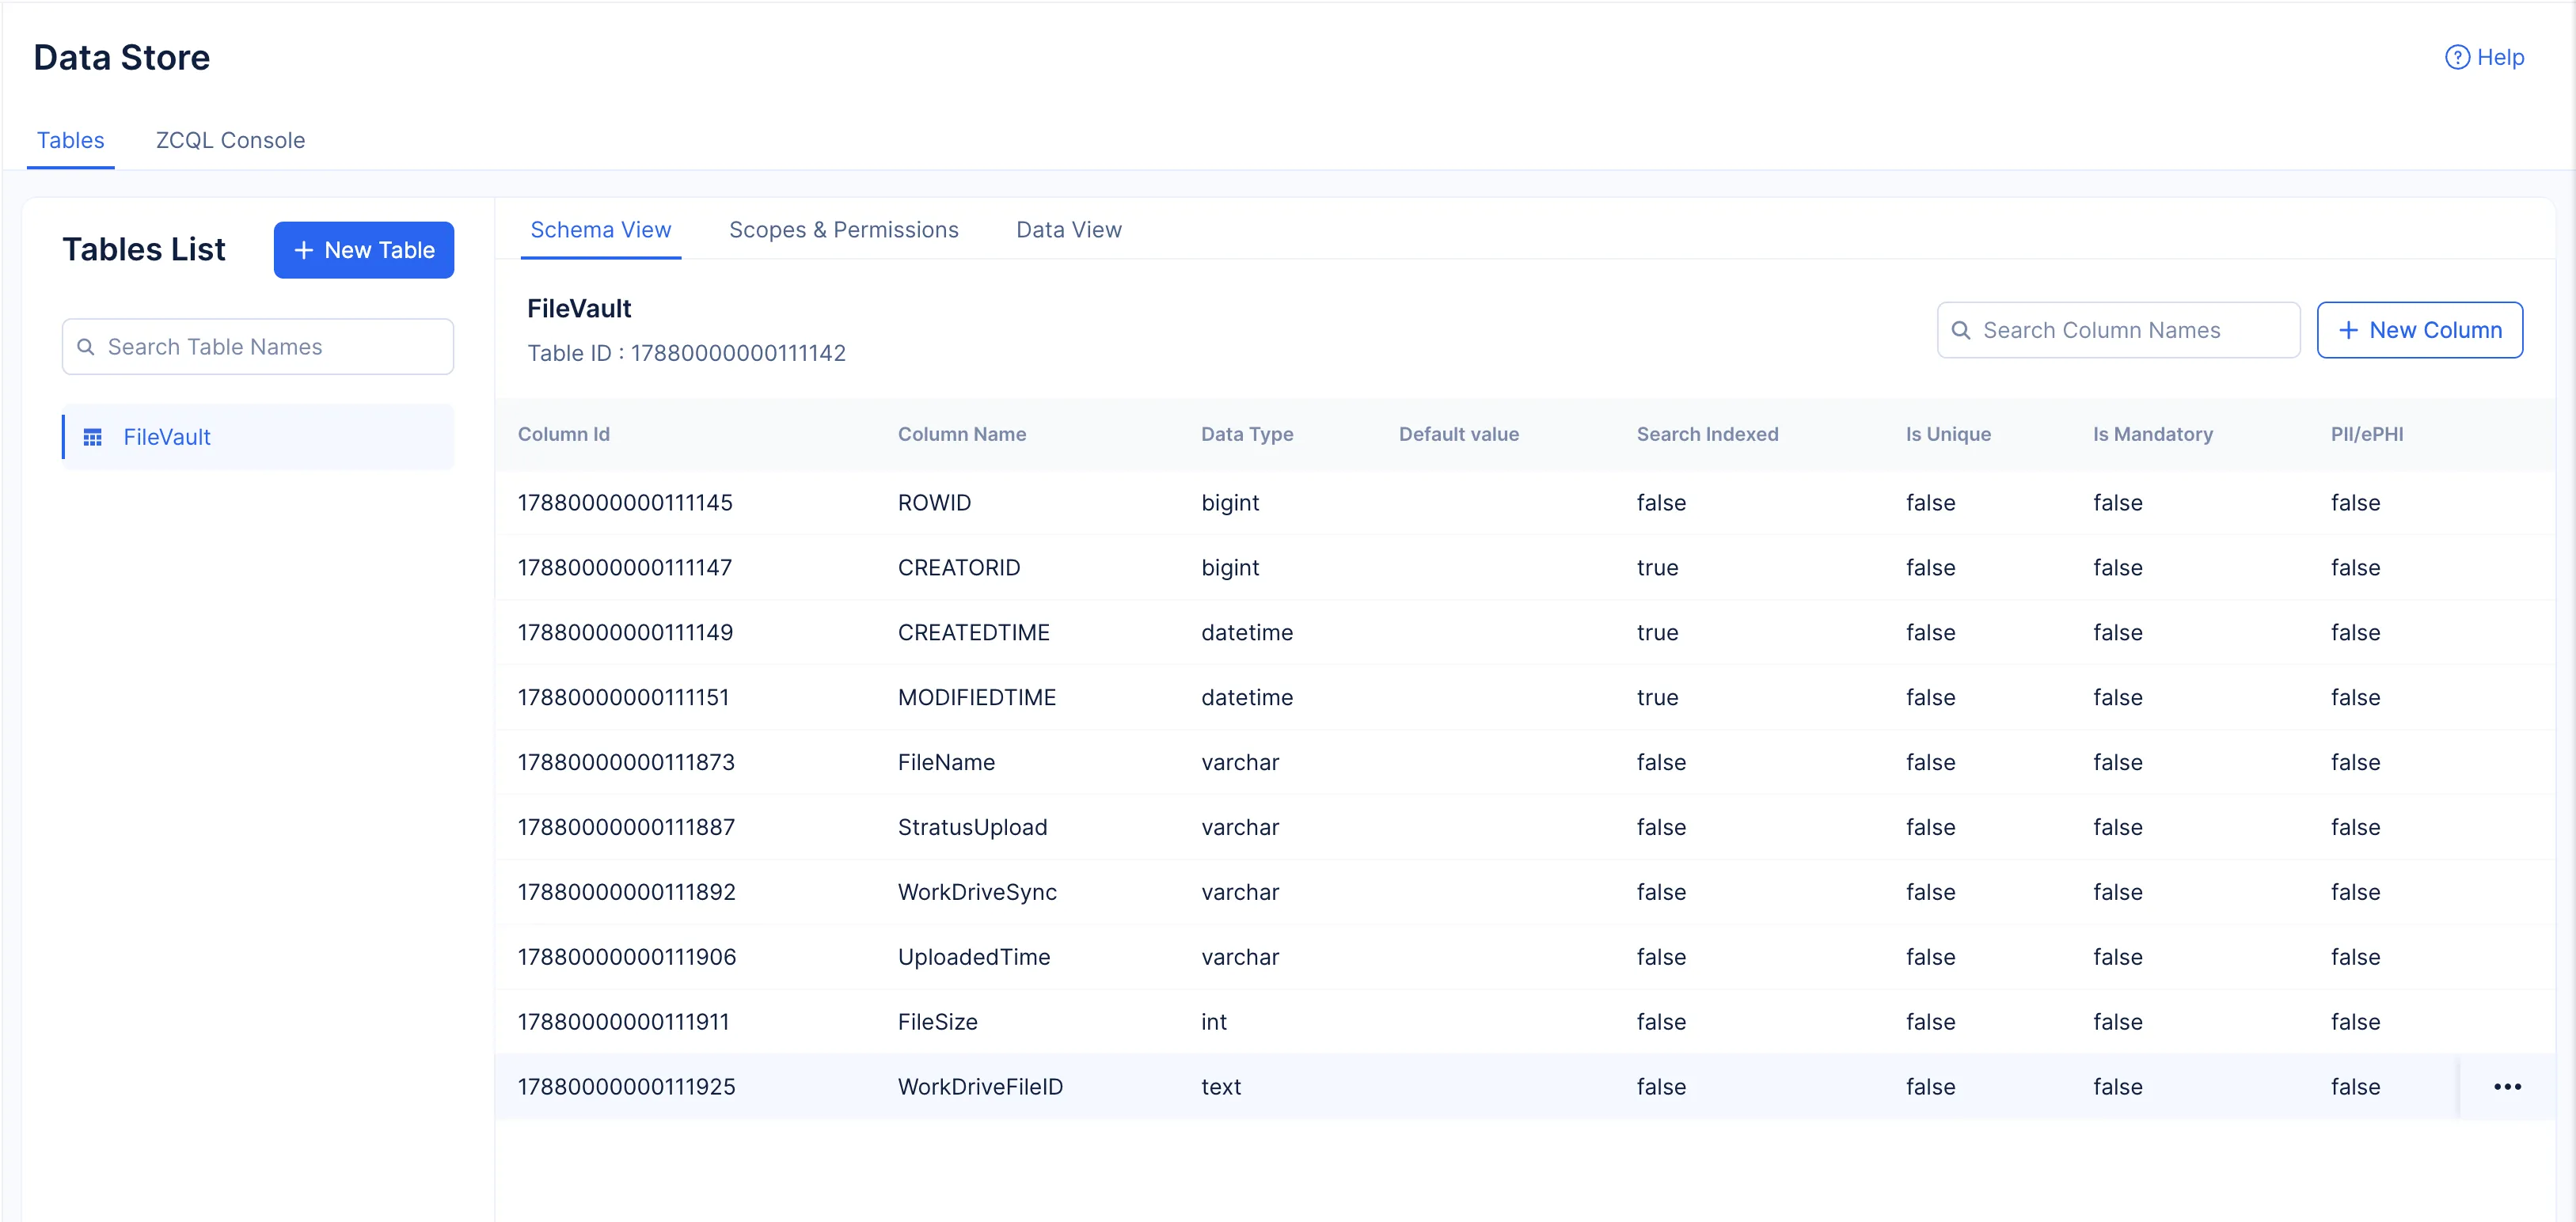
You must now create 5 other columns in the same way. The table must contain 6 columns in total with the following mandatory properties:
| Column Name | Data Type | Max Length |
|---|---|---|
| StratusUpload | Var Char | 255 |
| WorkDriveSync | Var Char | 255 |
| UploadedTime | Var Char | 255 |
| FileSize | Int | - |
| WorkDriveFileID | Text | - |
Create these columns and configure the specified values. You can ignore the other properties of the columns.
The columns will be created and listed in the Schema View section.
Configure Scopes and Permissions
Catalyst Data Store enables you to configure scopes and permissions for accessing each table by end users based on their user roles.
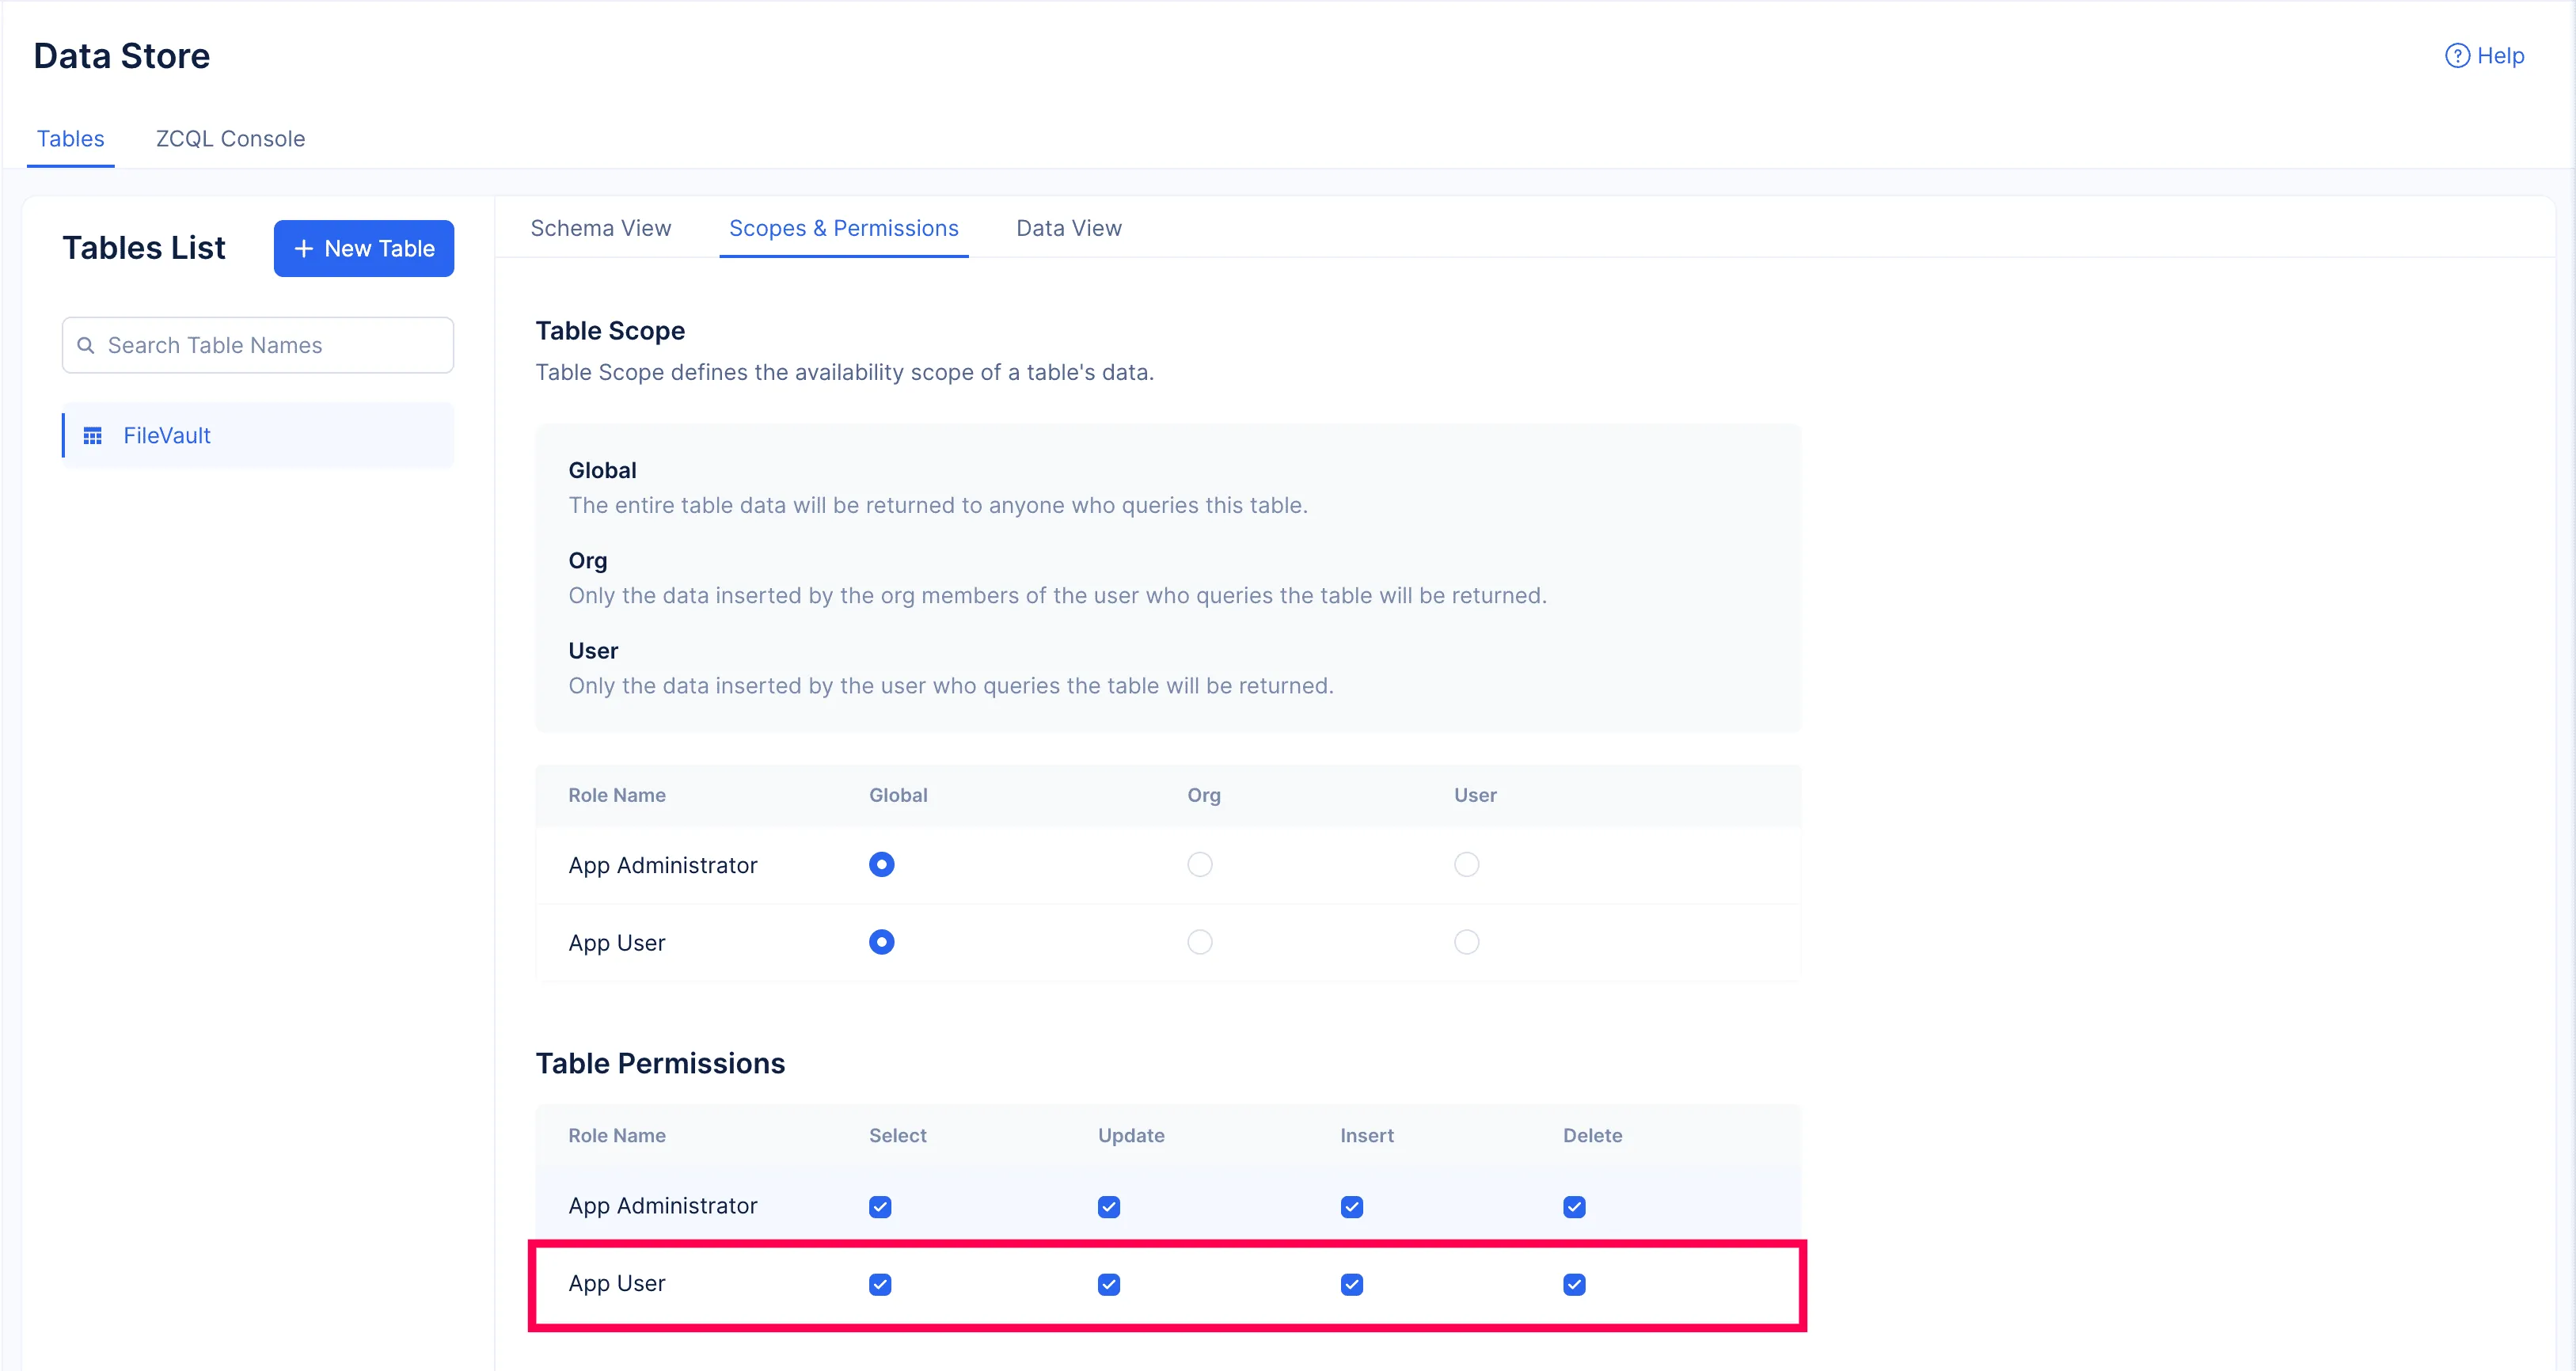
Because this application involves viewing, inserting, updating, and deleting rows from this table, we must enable all these permissions for the role App User. This will enable all authenticated users to perform these actions through the client application. They will be enabled for the role App Administrator by default.
Click the Scopes & Permissions tab, then enable all permissions for App User.
Last Updated 2025-10-29 12:32:36 +0530 IST