Test Your Application
Before you deploy the application to the remote console, you can test the application on a local server and check if everything works using the Catalyst CLI.
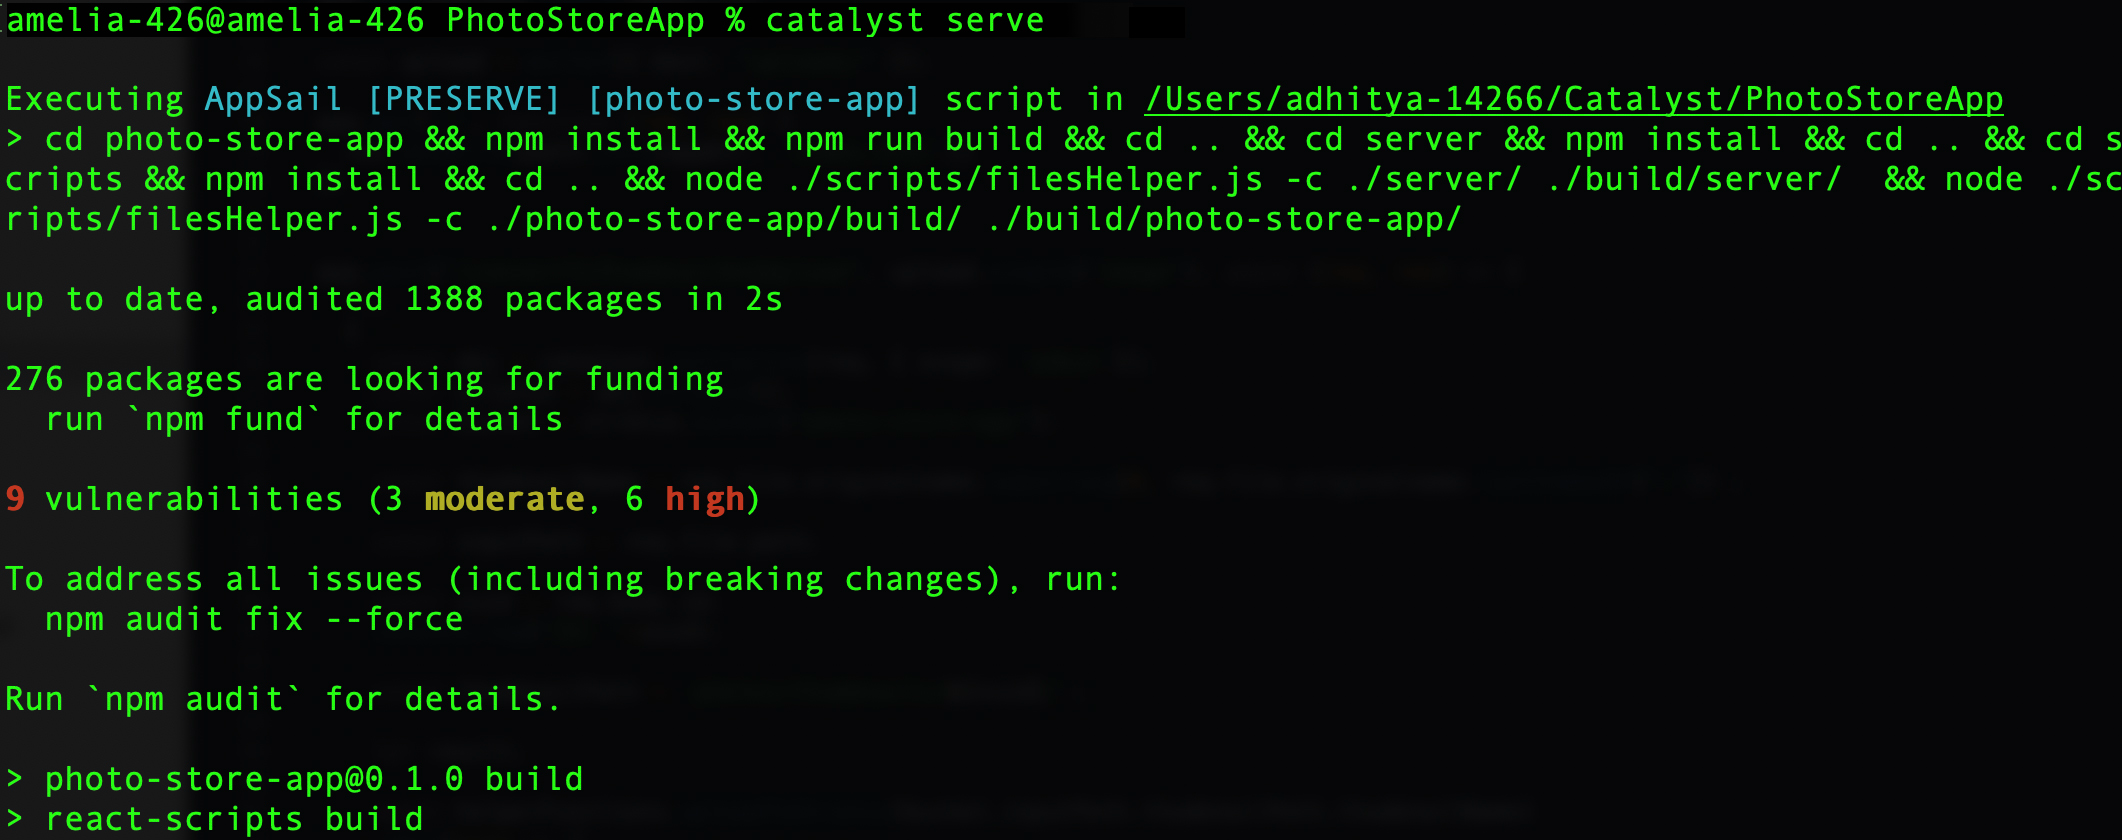
To serve the Catalyst project locally, execute the following command from your project directory:
The application will be ideally served on the default port 3001.
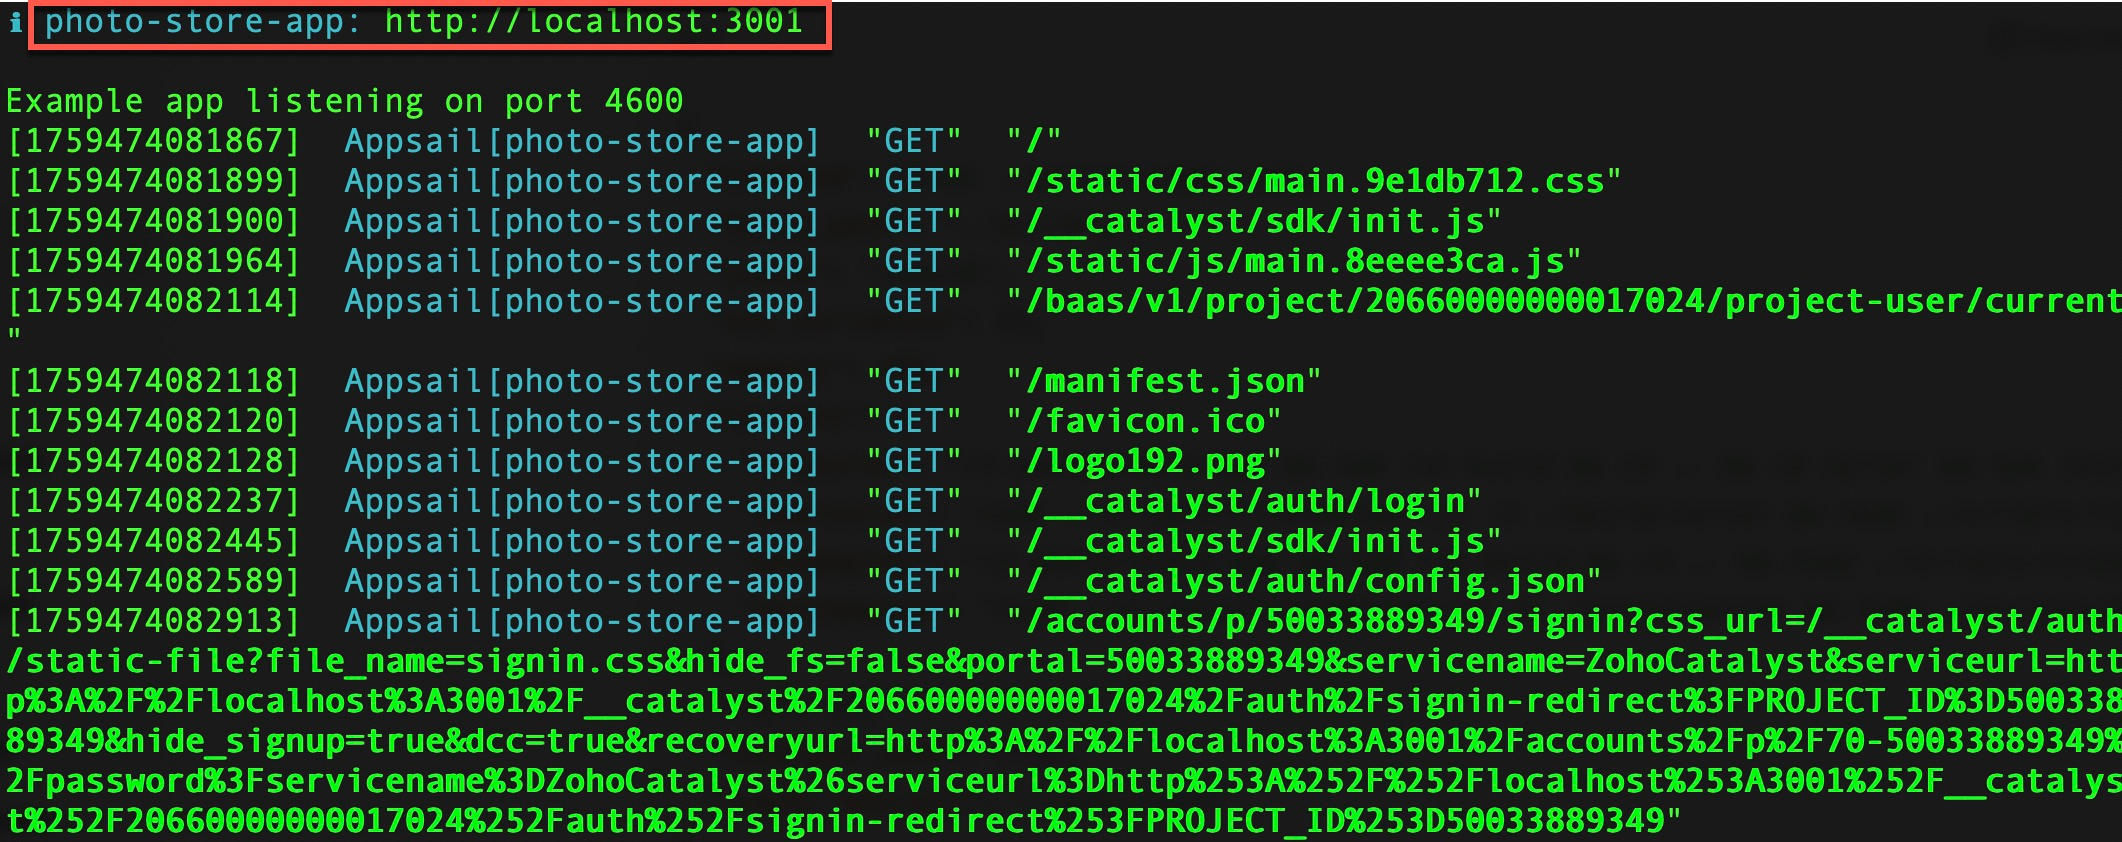
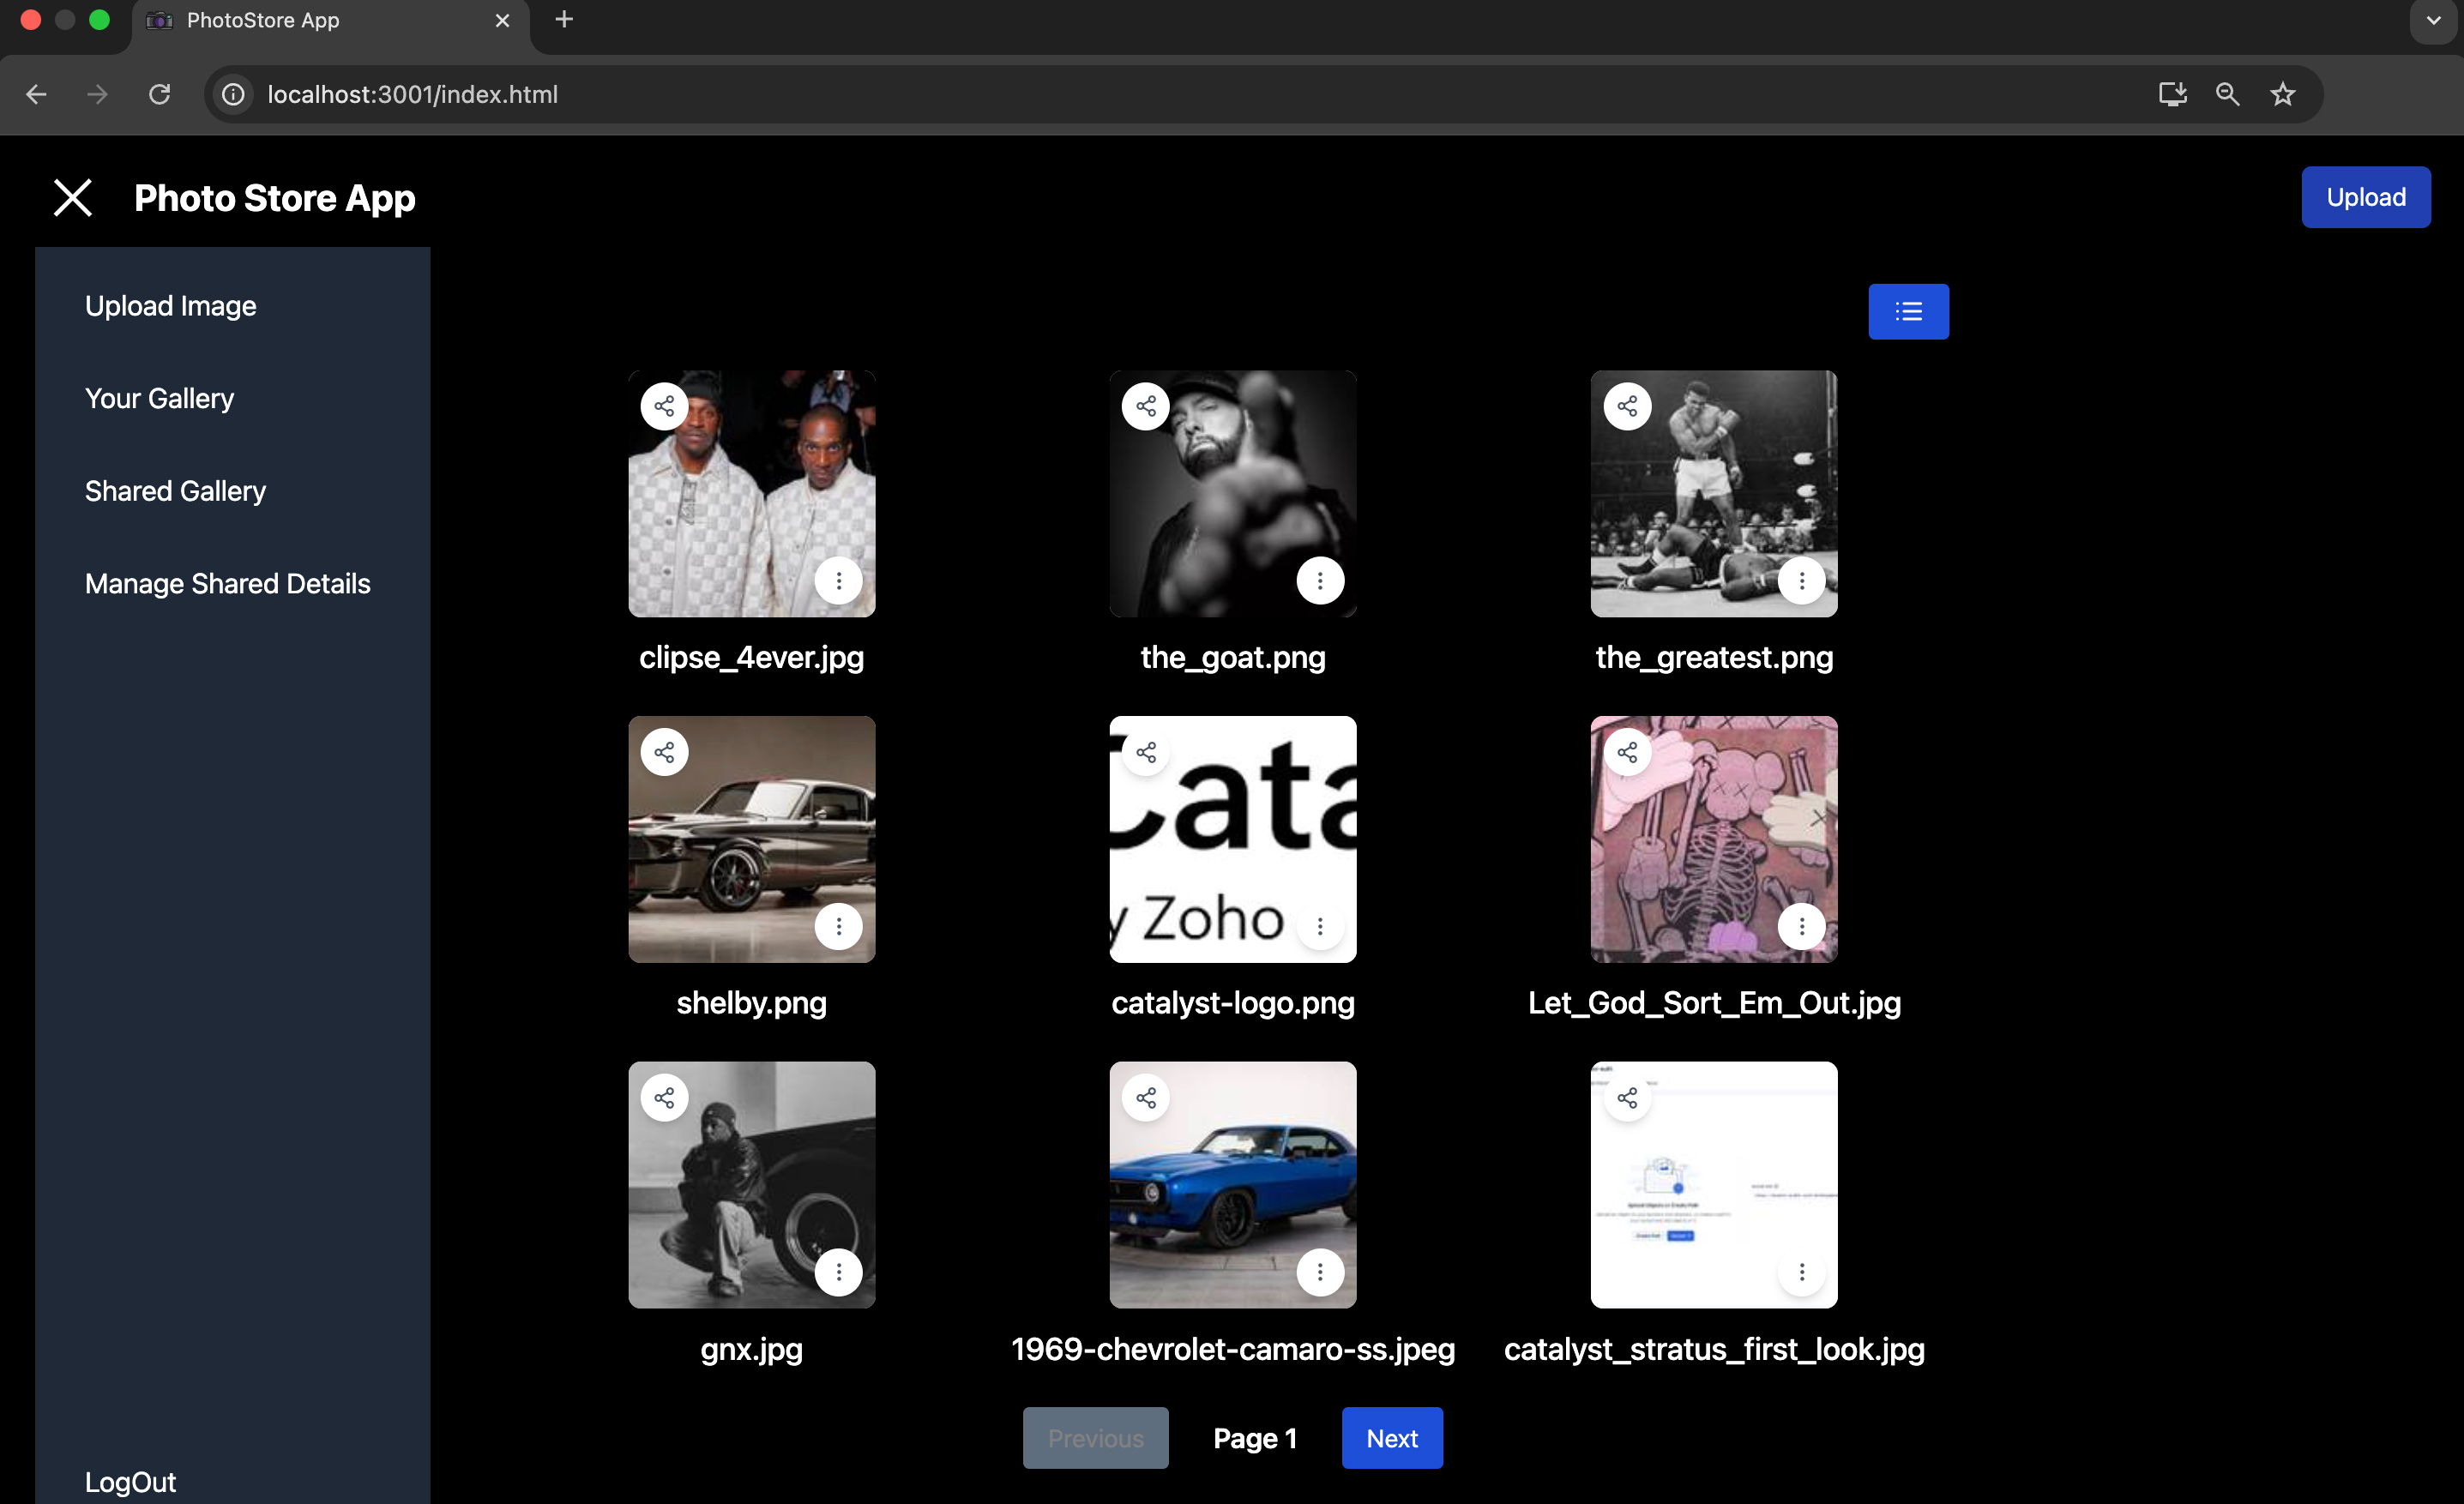
You can now open the application’s localhost URL in a browser to access the PhotoStoreApp application.
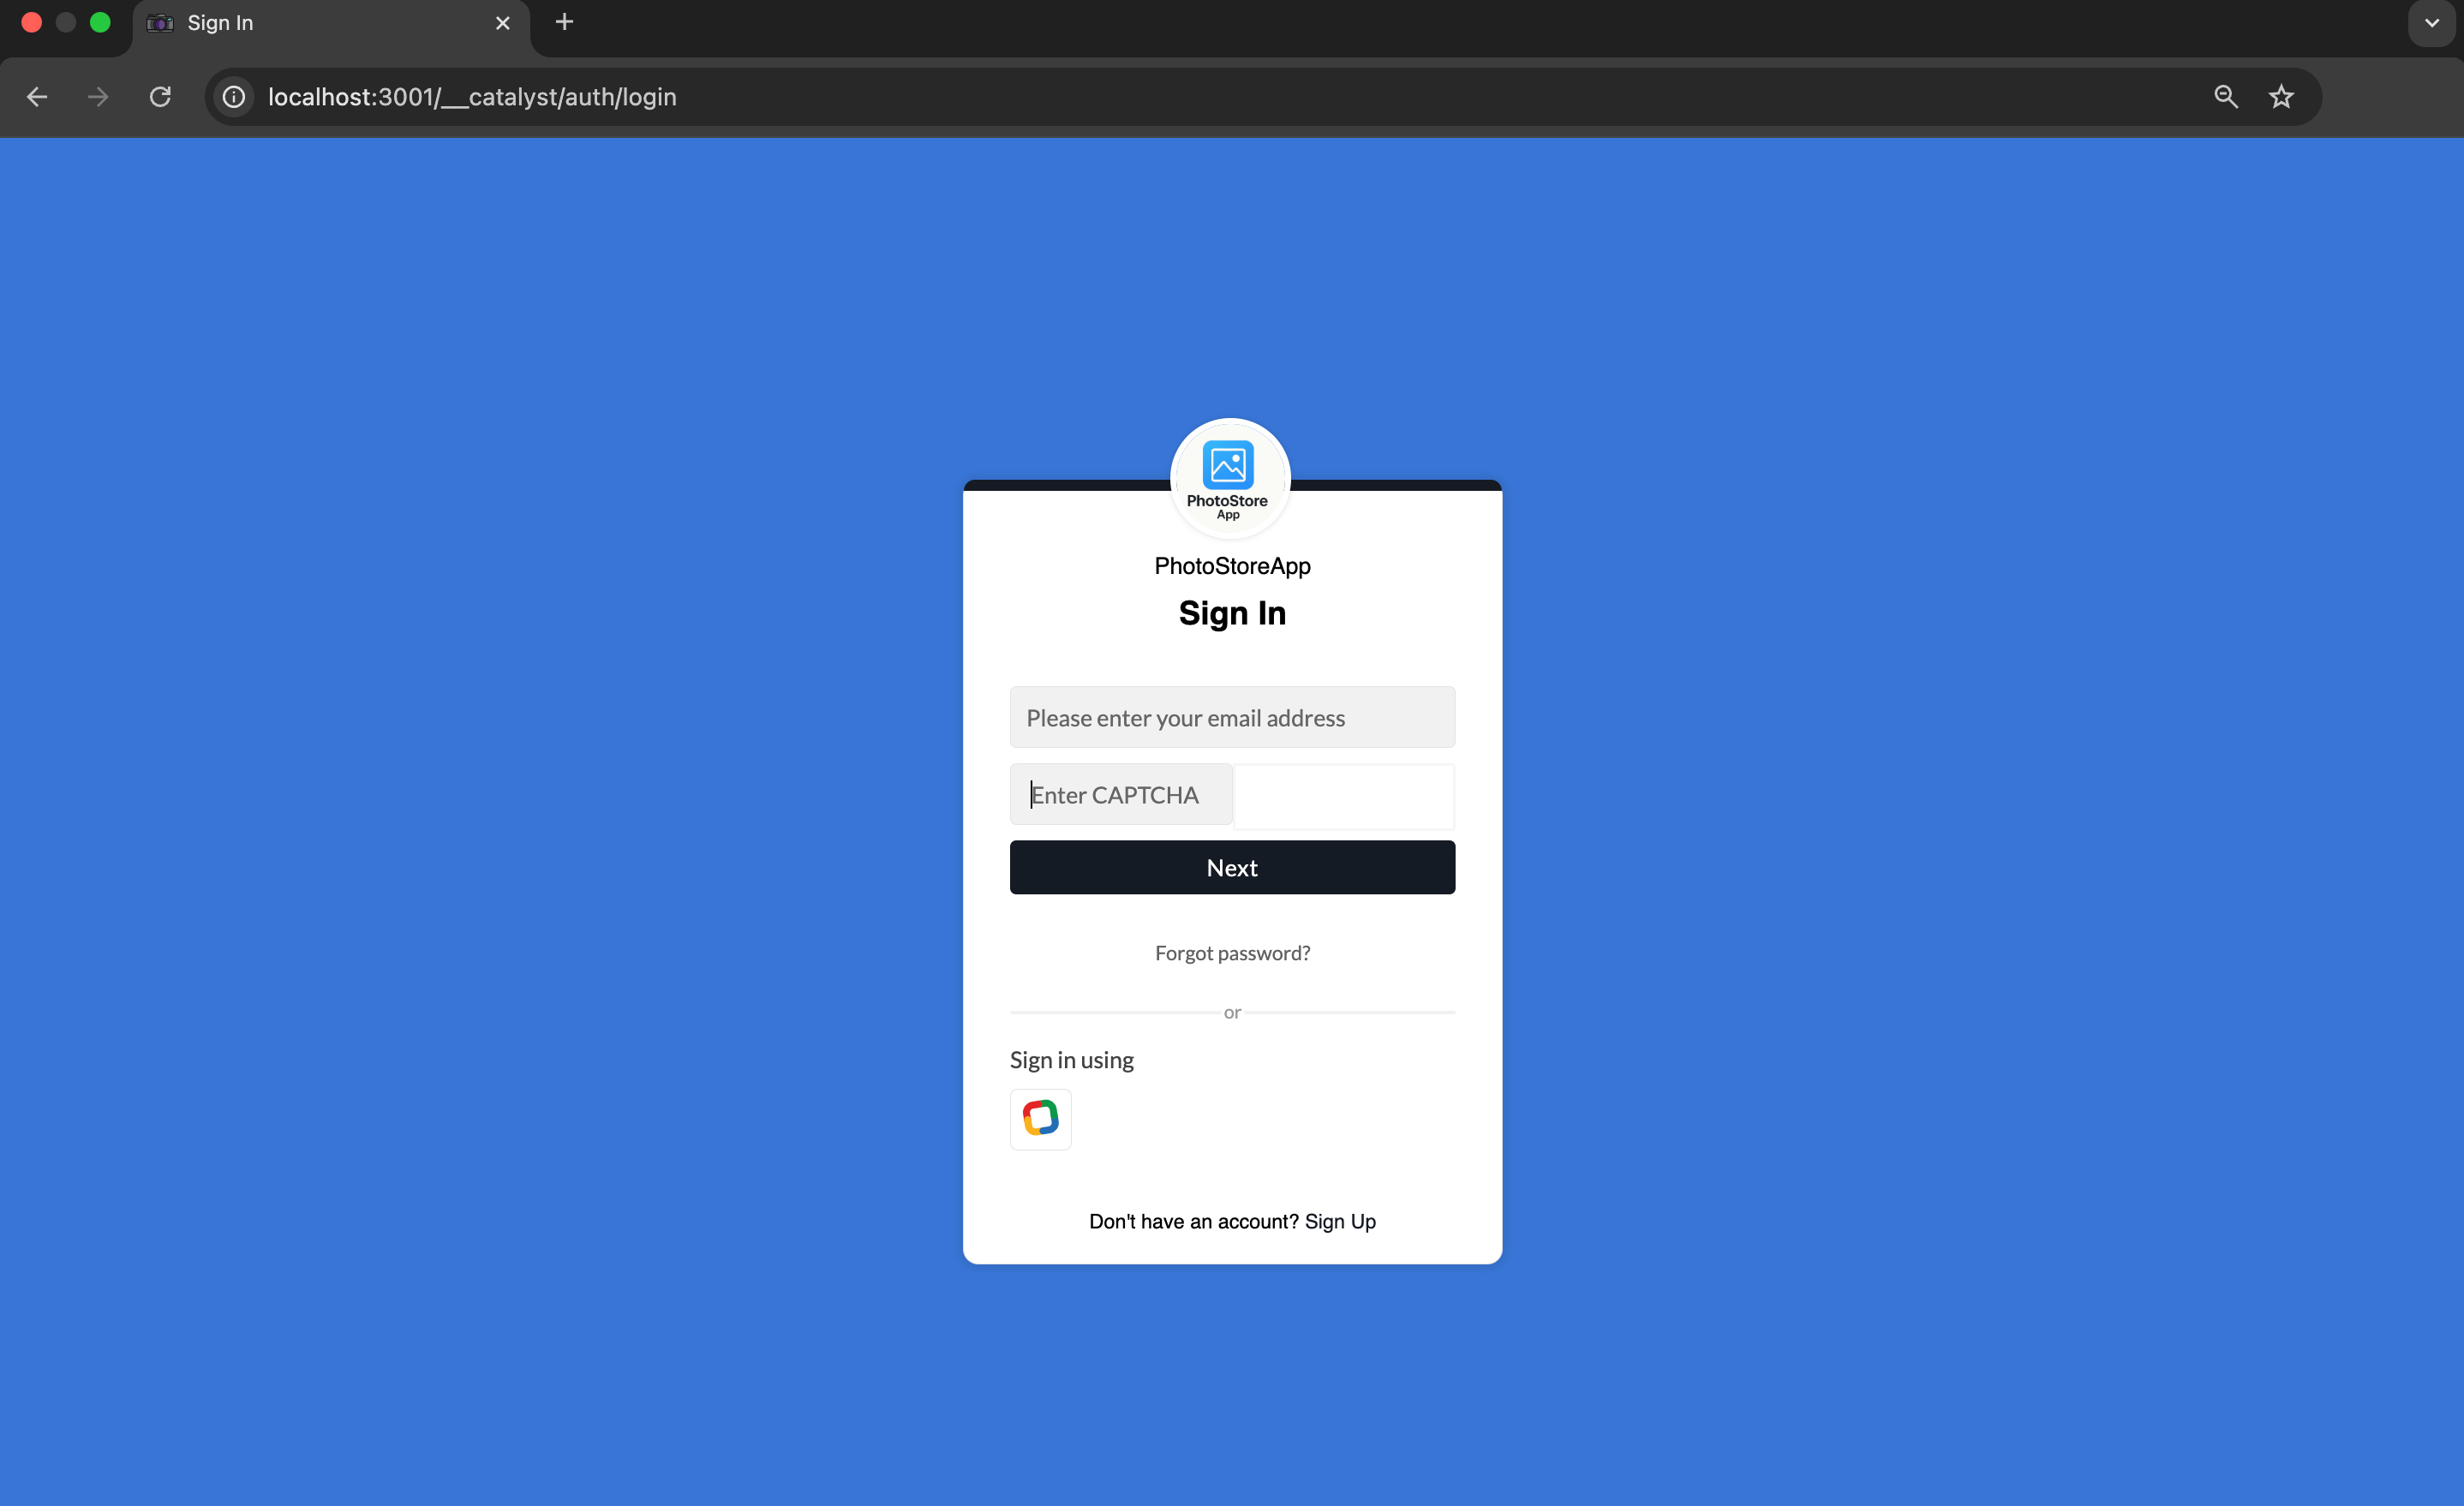
Test Case 1: Login Functionality
The first page of the application will be the Login screen.
Once you complete the login process, you will be added to the application, and be able to access all the applications’ functionality.
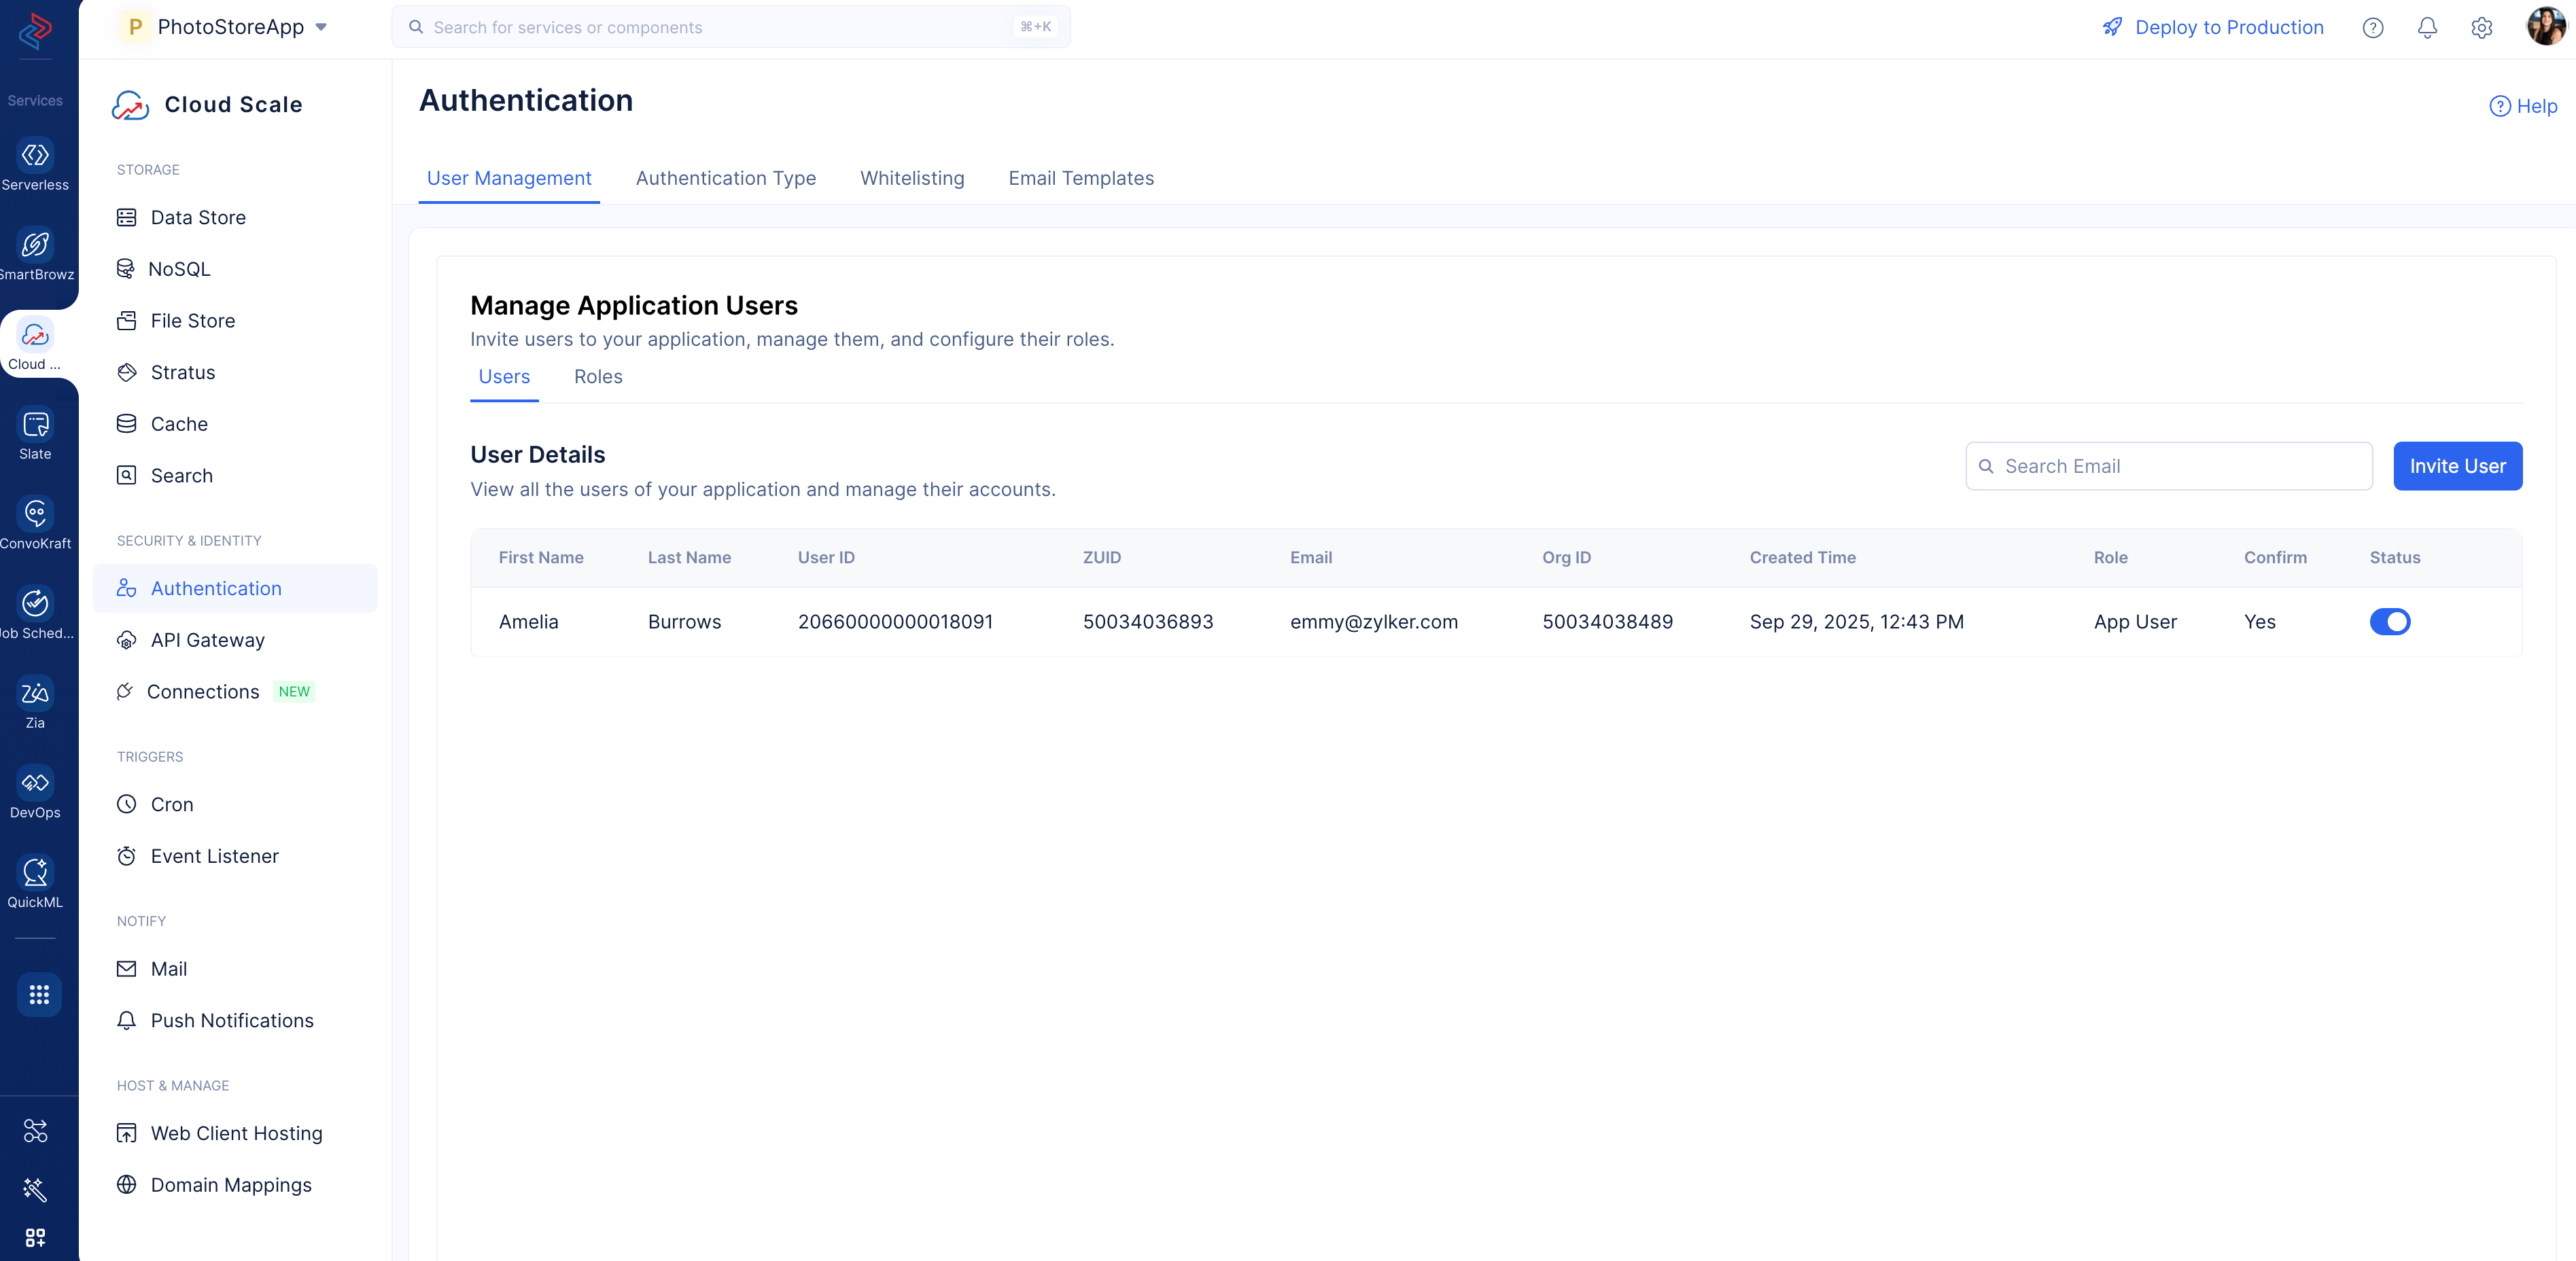
You can manage end-user sign ups using the User Management feature present in the Authentication component.
Test Case 2: Upload Functionality
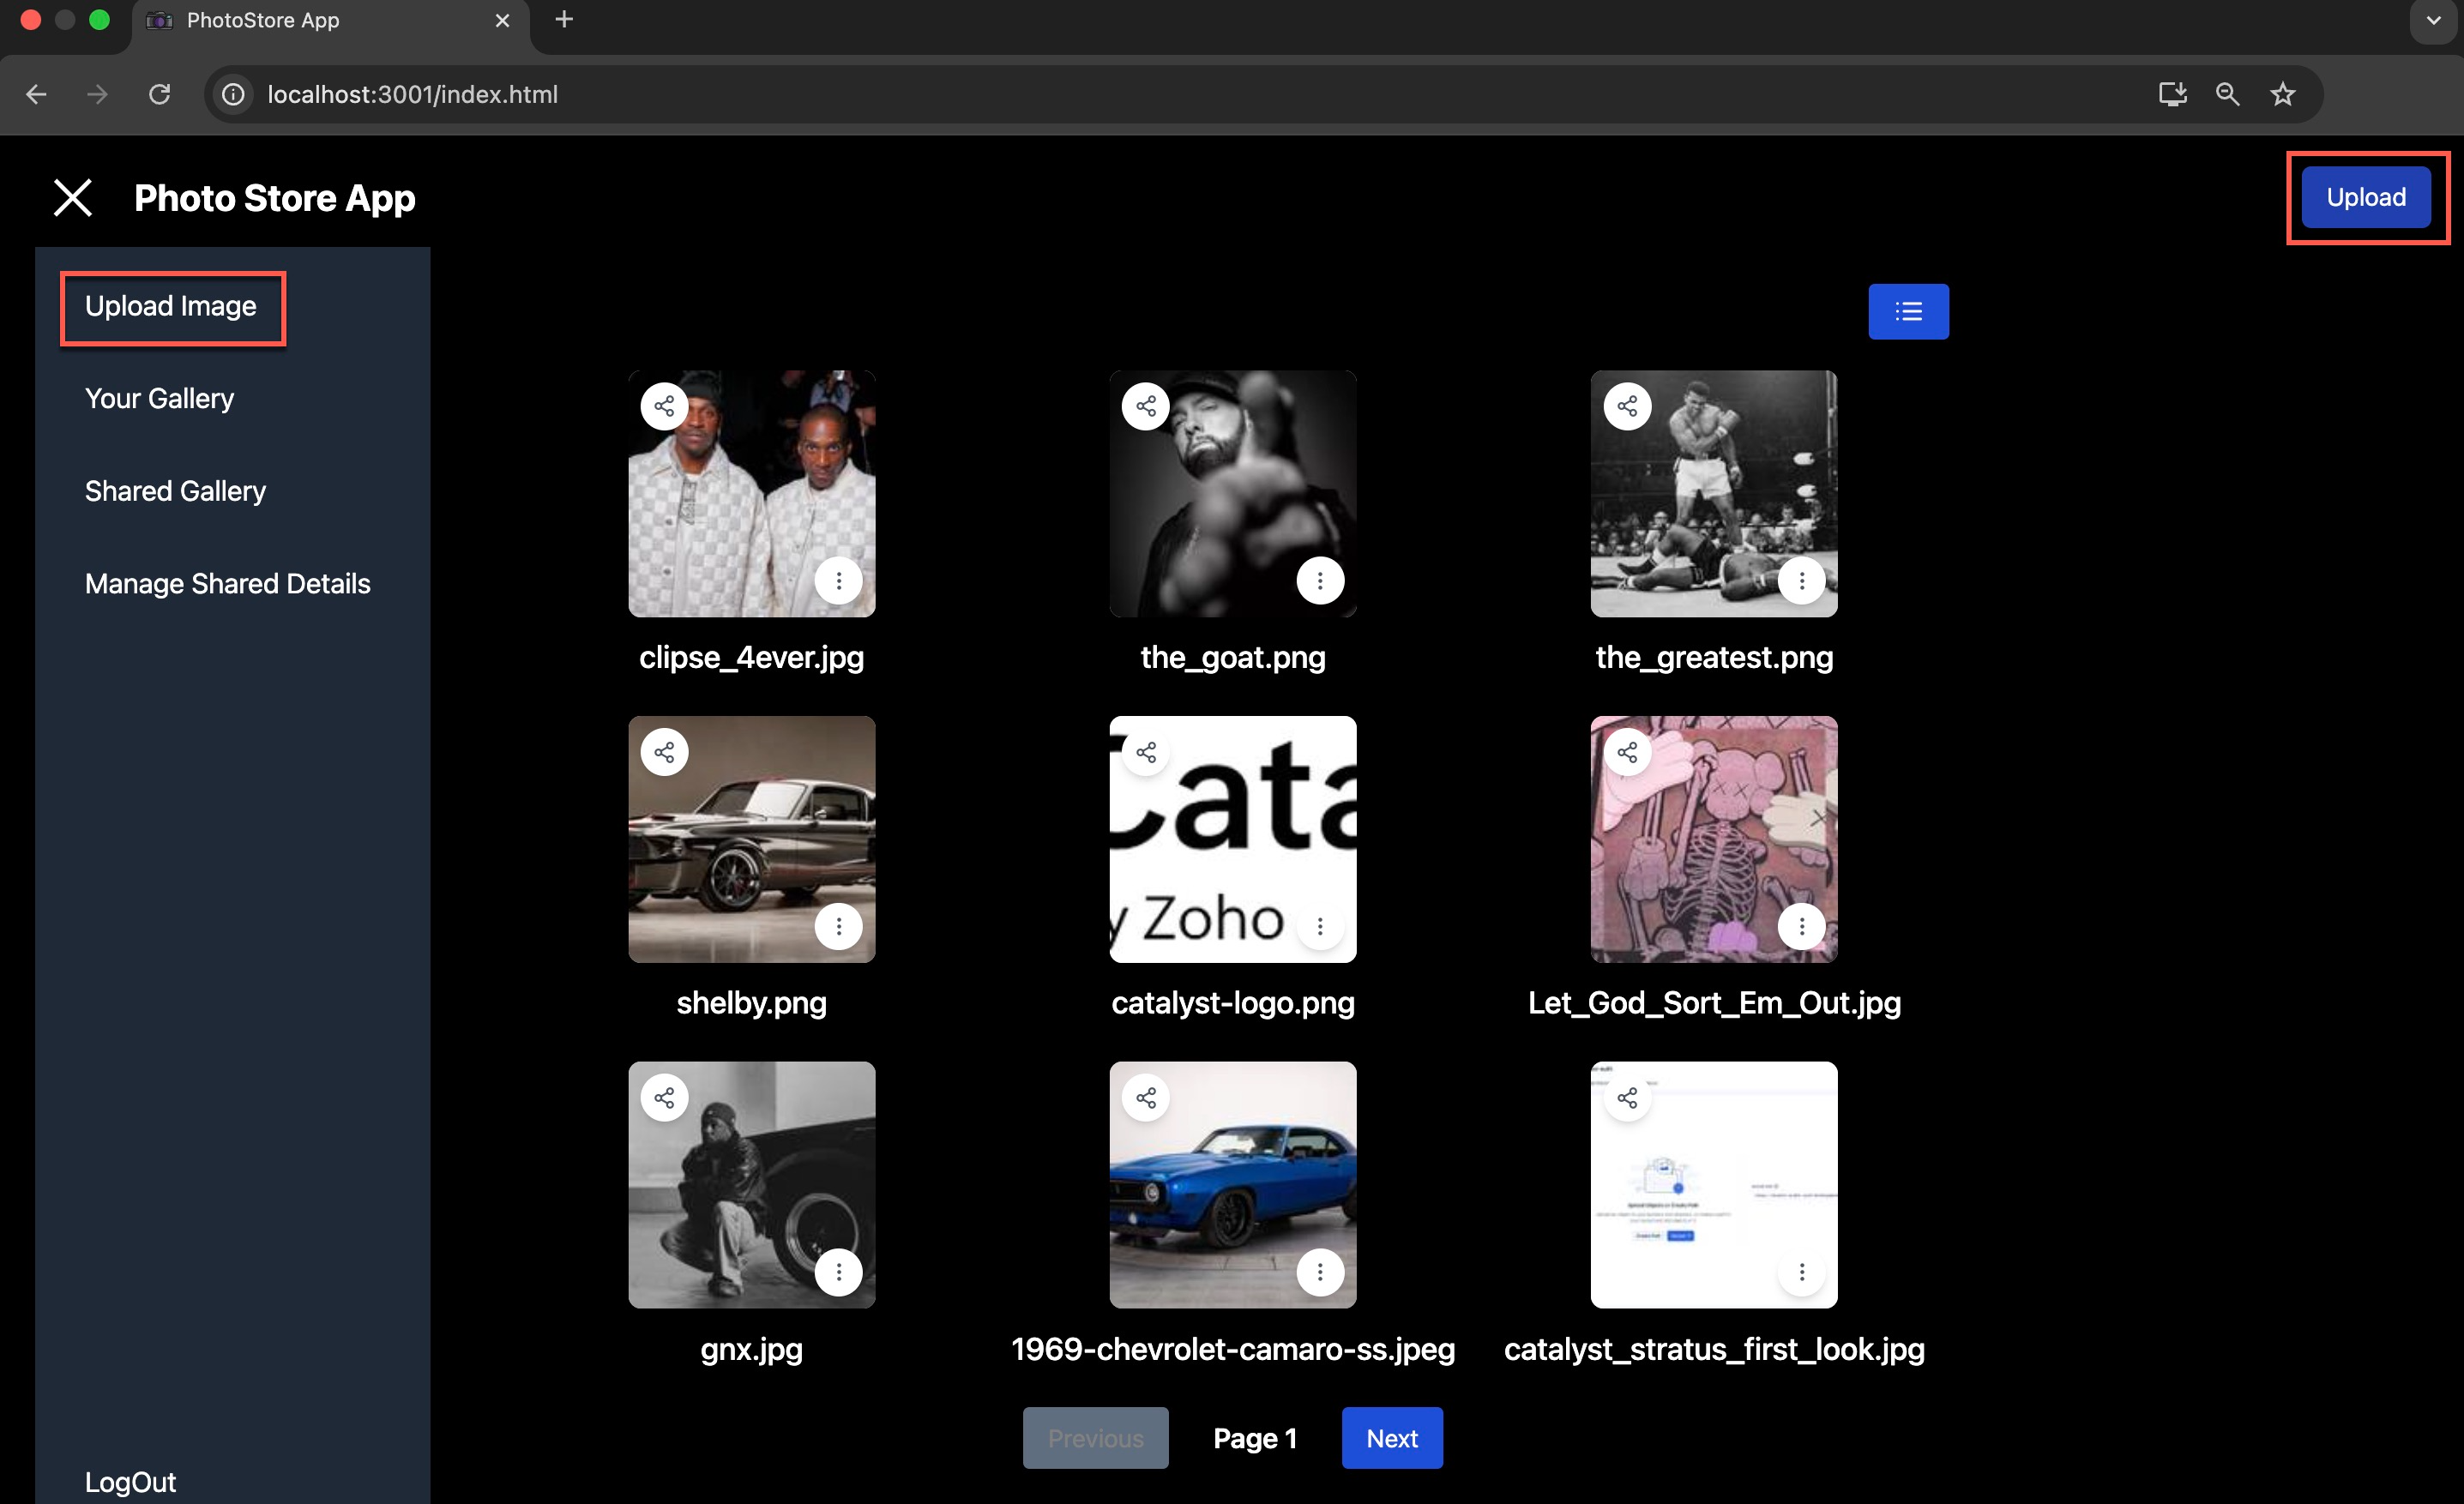
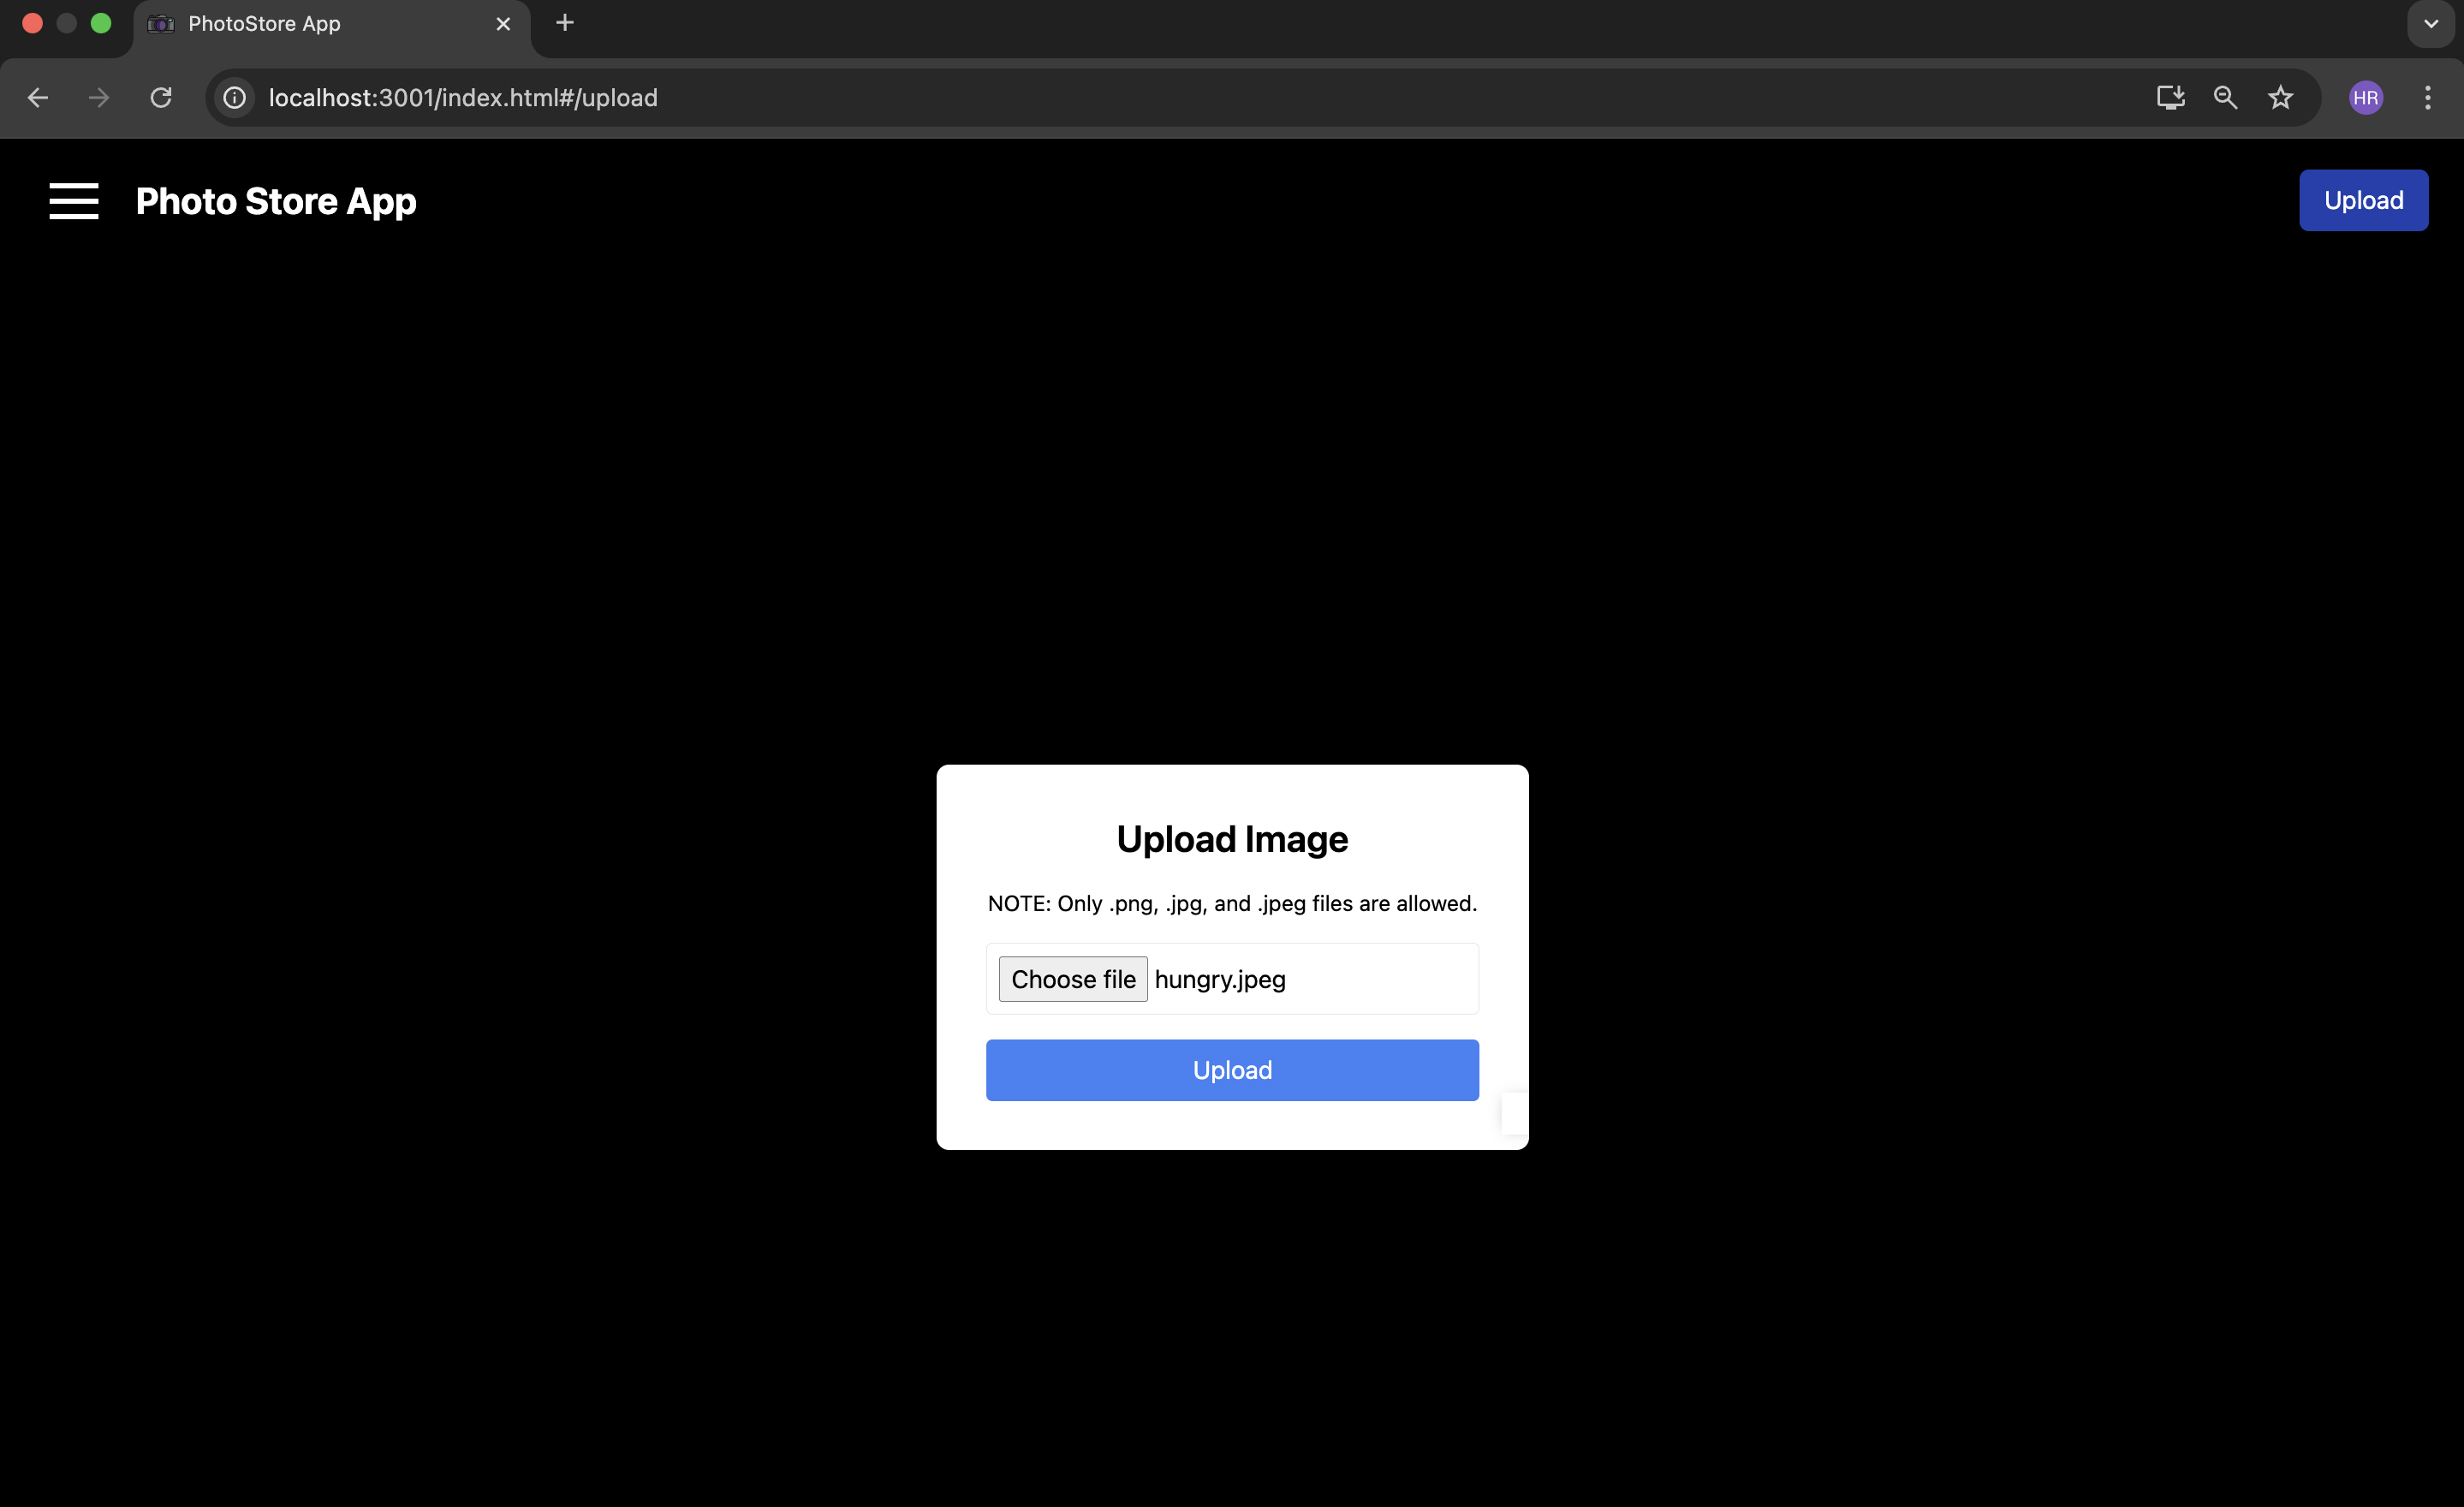
You can try uploading an image from your local system to the application by clicking the Upload button.
Click Upload once you’ve chosen a file from your local system.
The image will be uploaded to the bucket and rendered in the application.
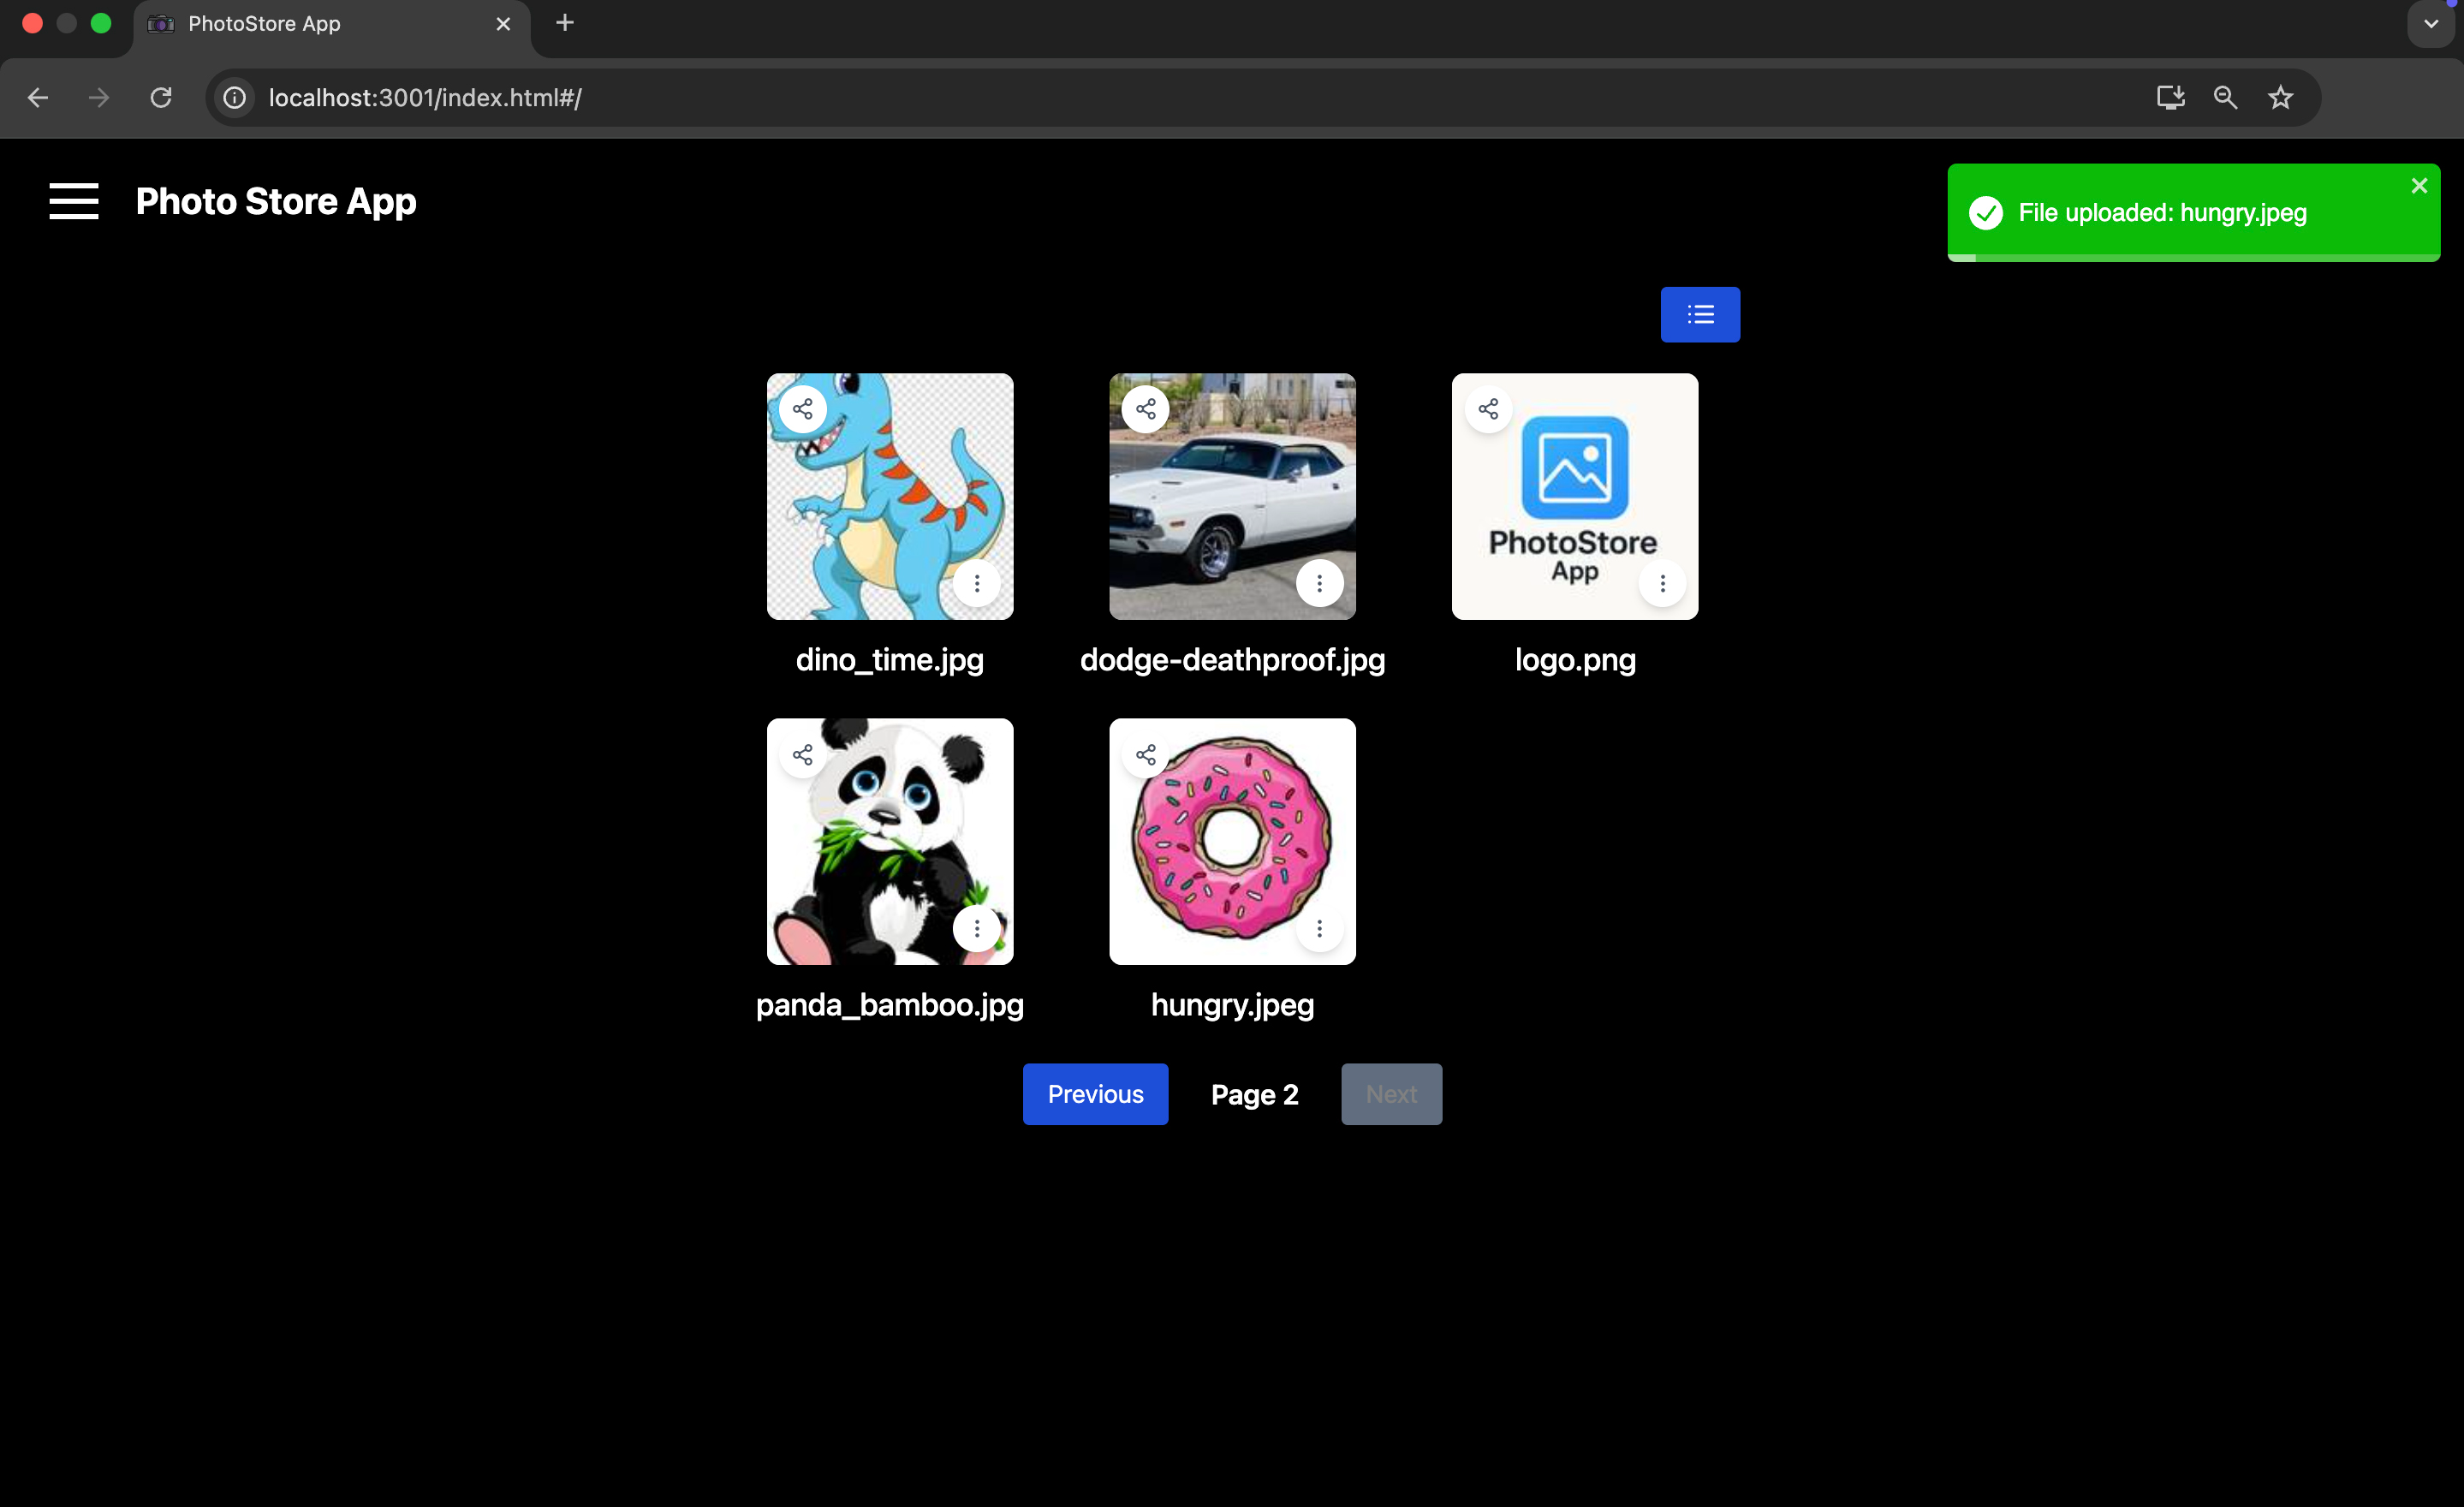
You can verify the upload in the bucket.
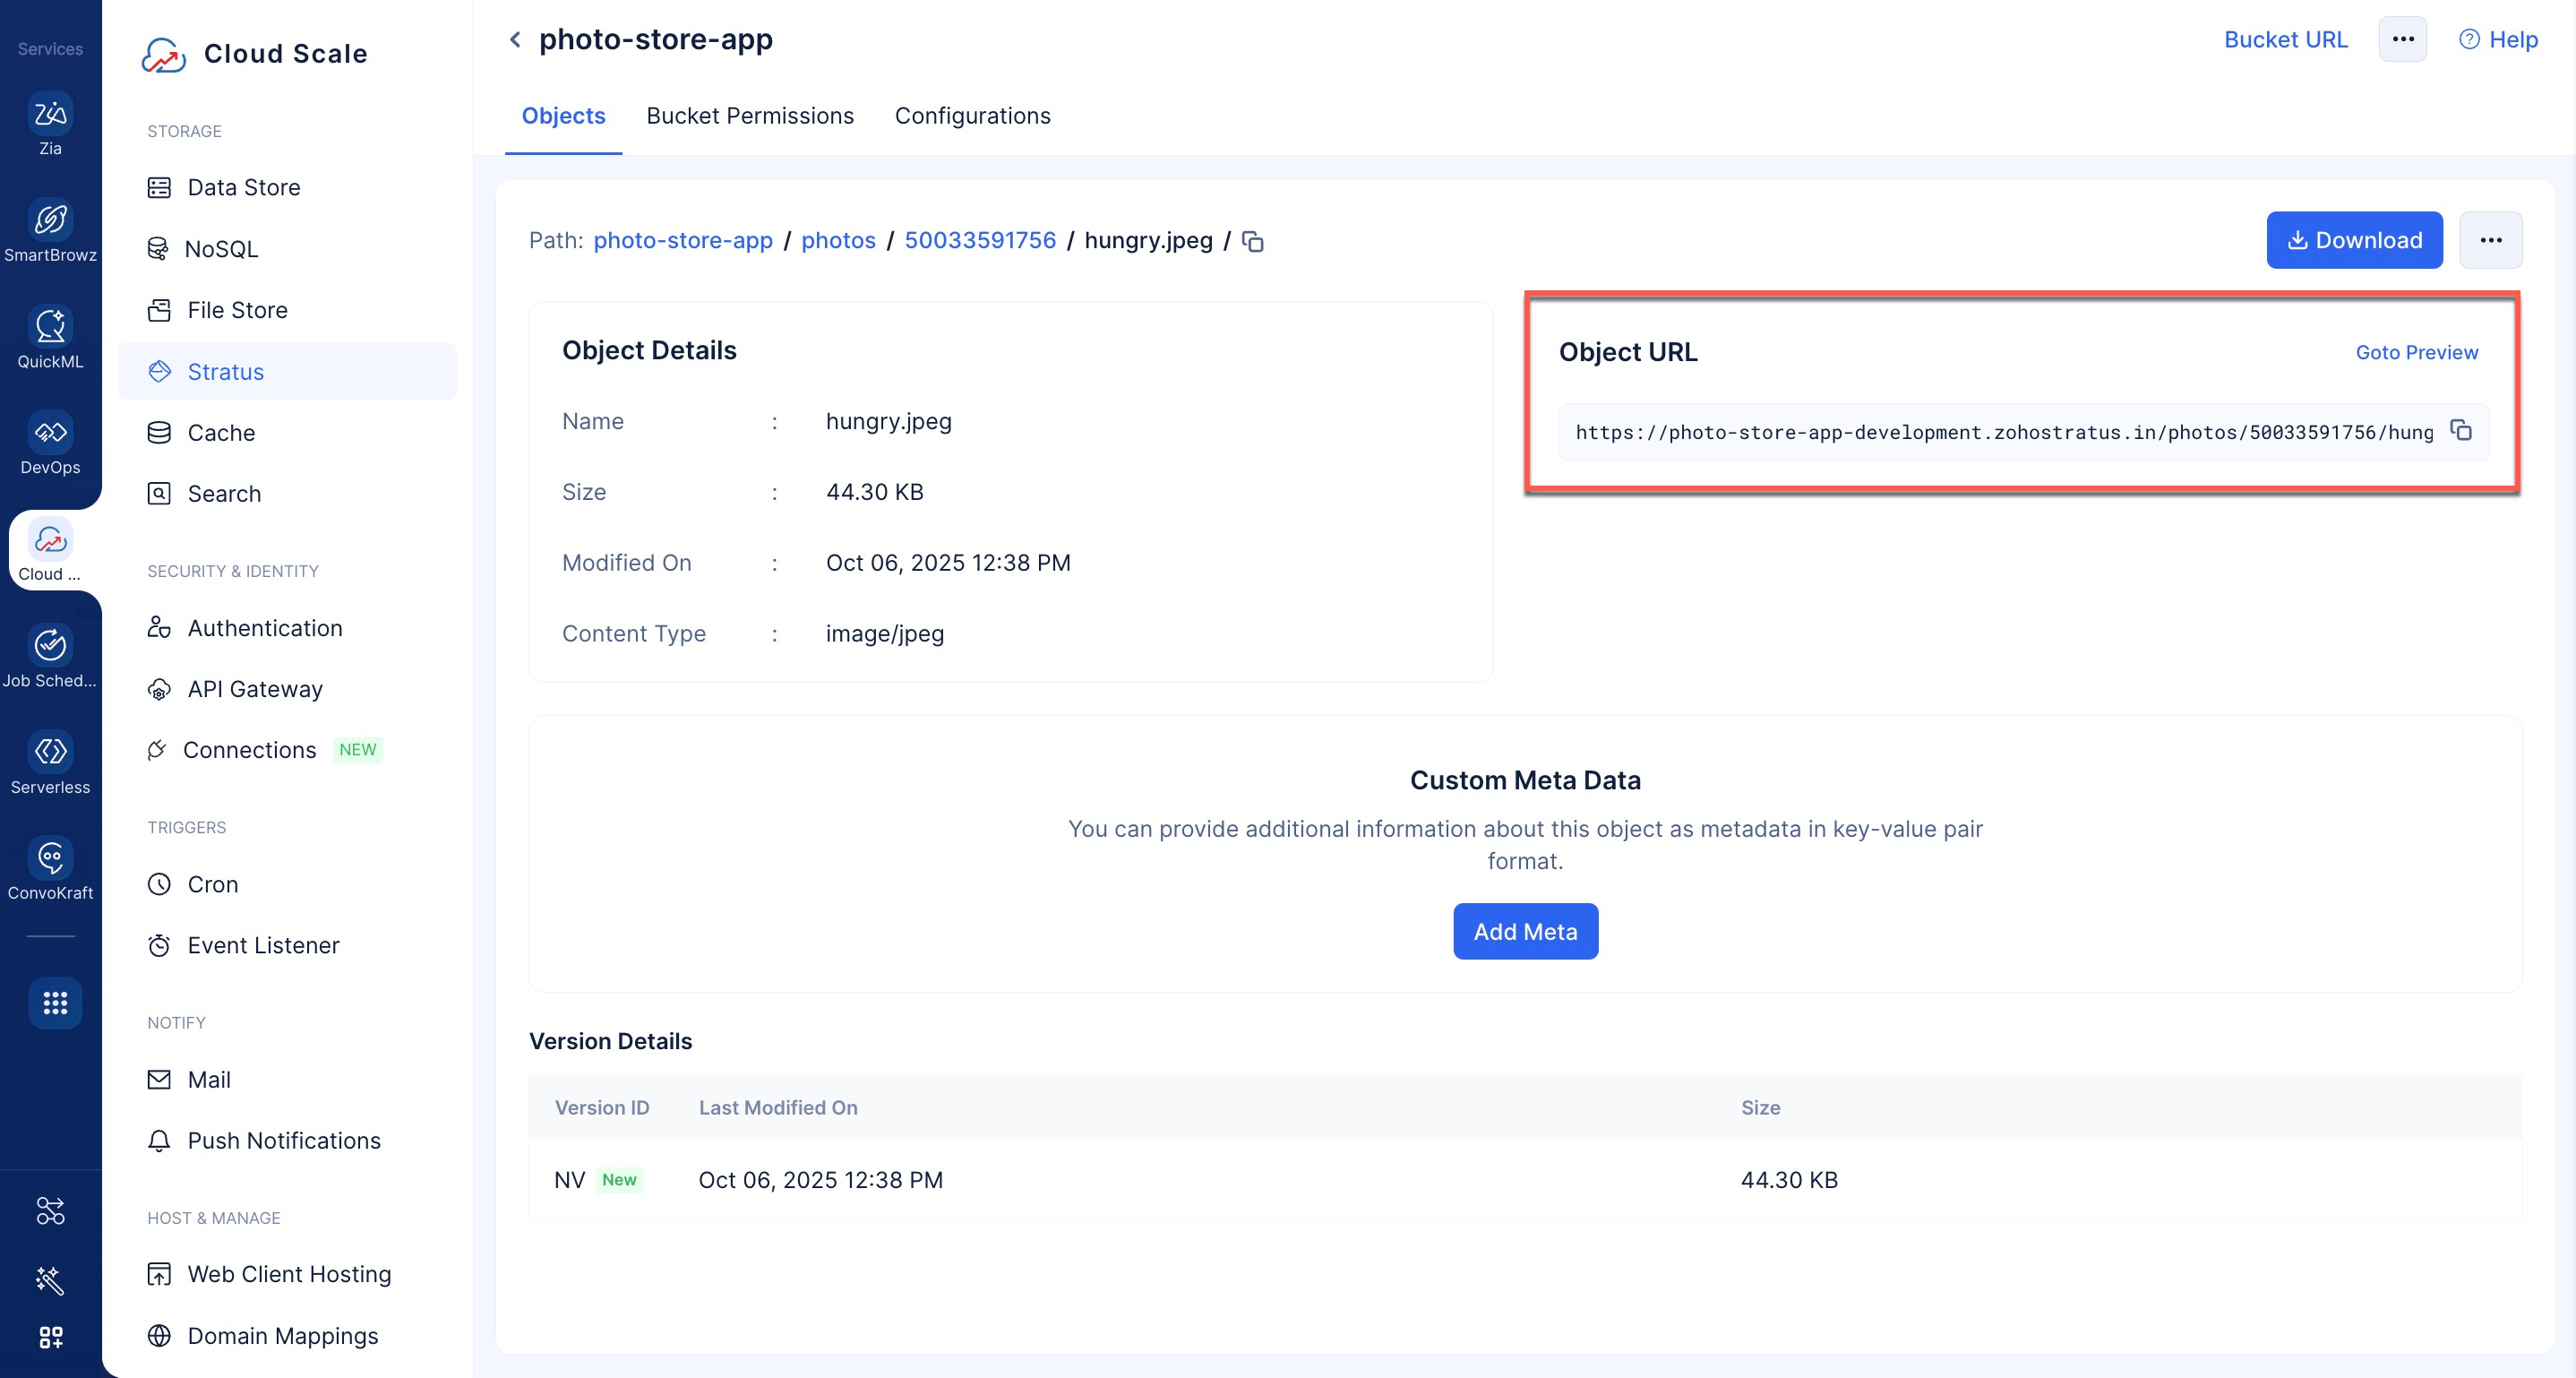
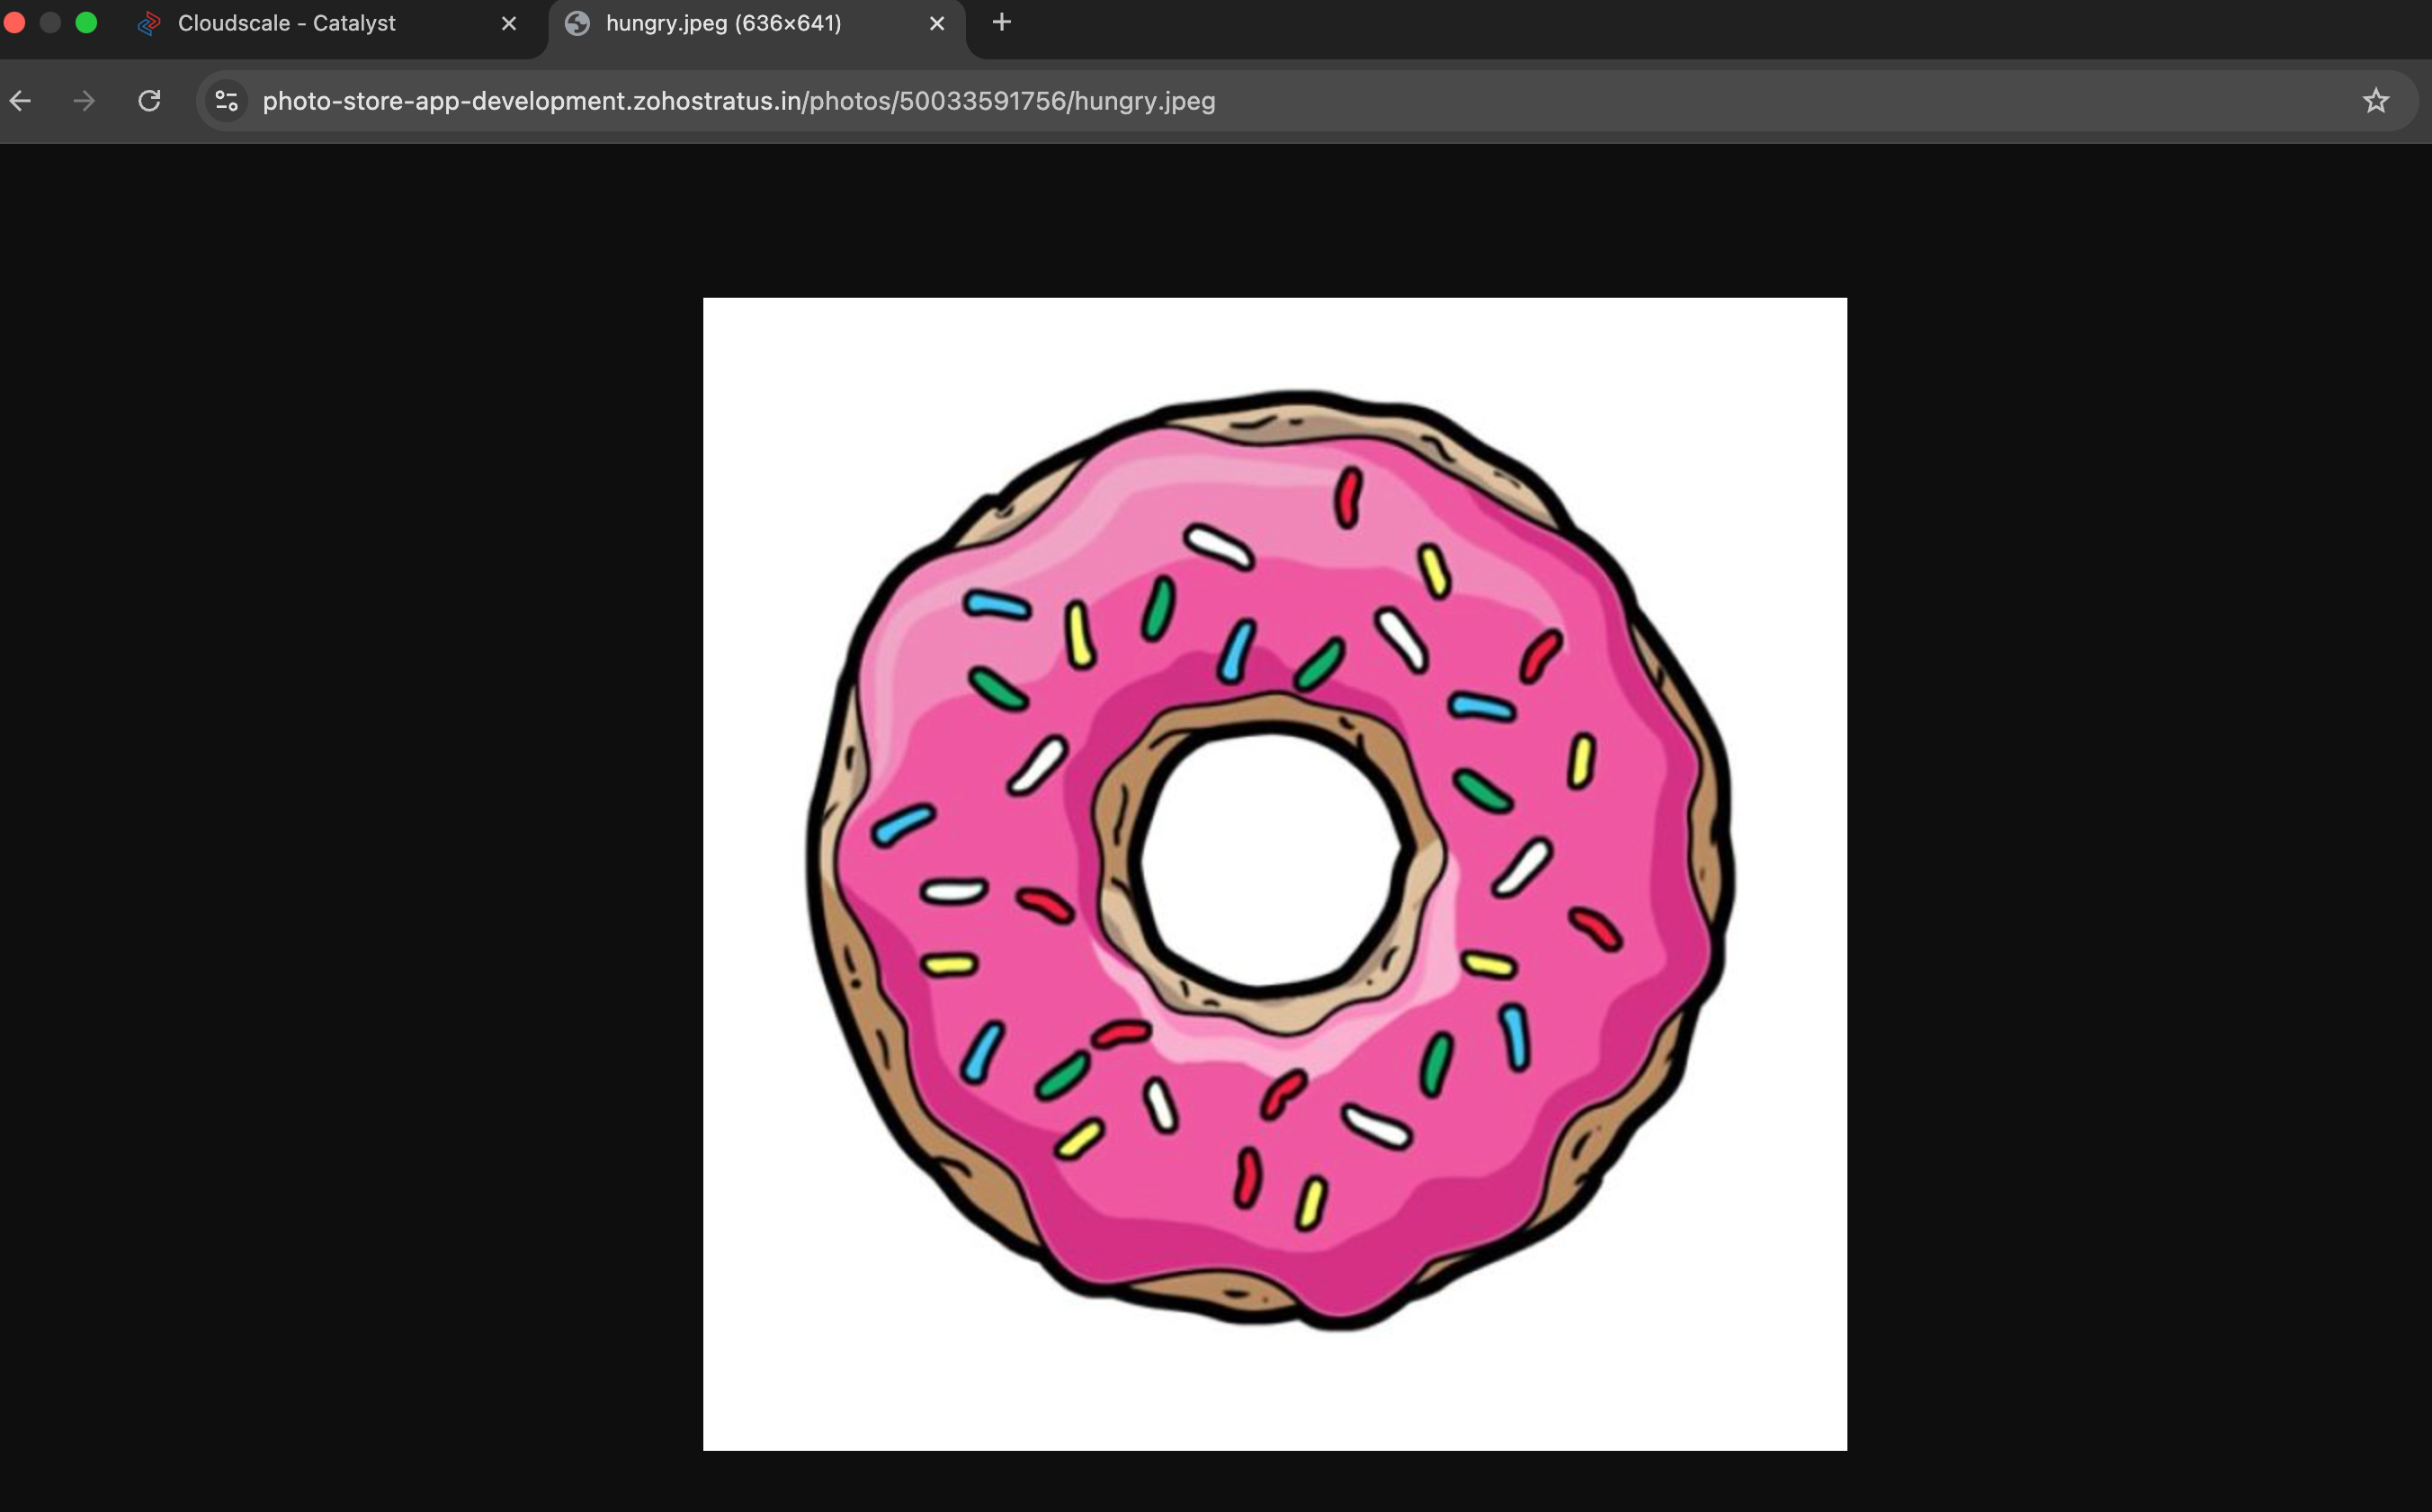
To view the object, you can either click the Goto Preview button or you can execute Object URL to view the object.
Test Case 3: View Functionality
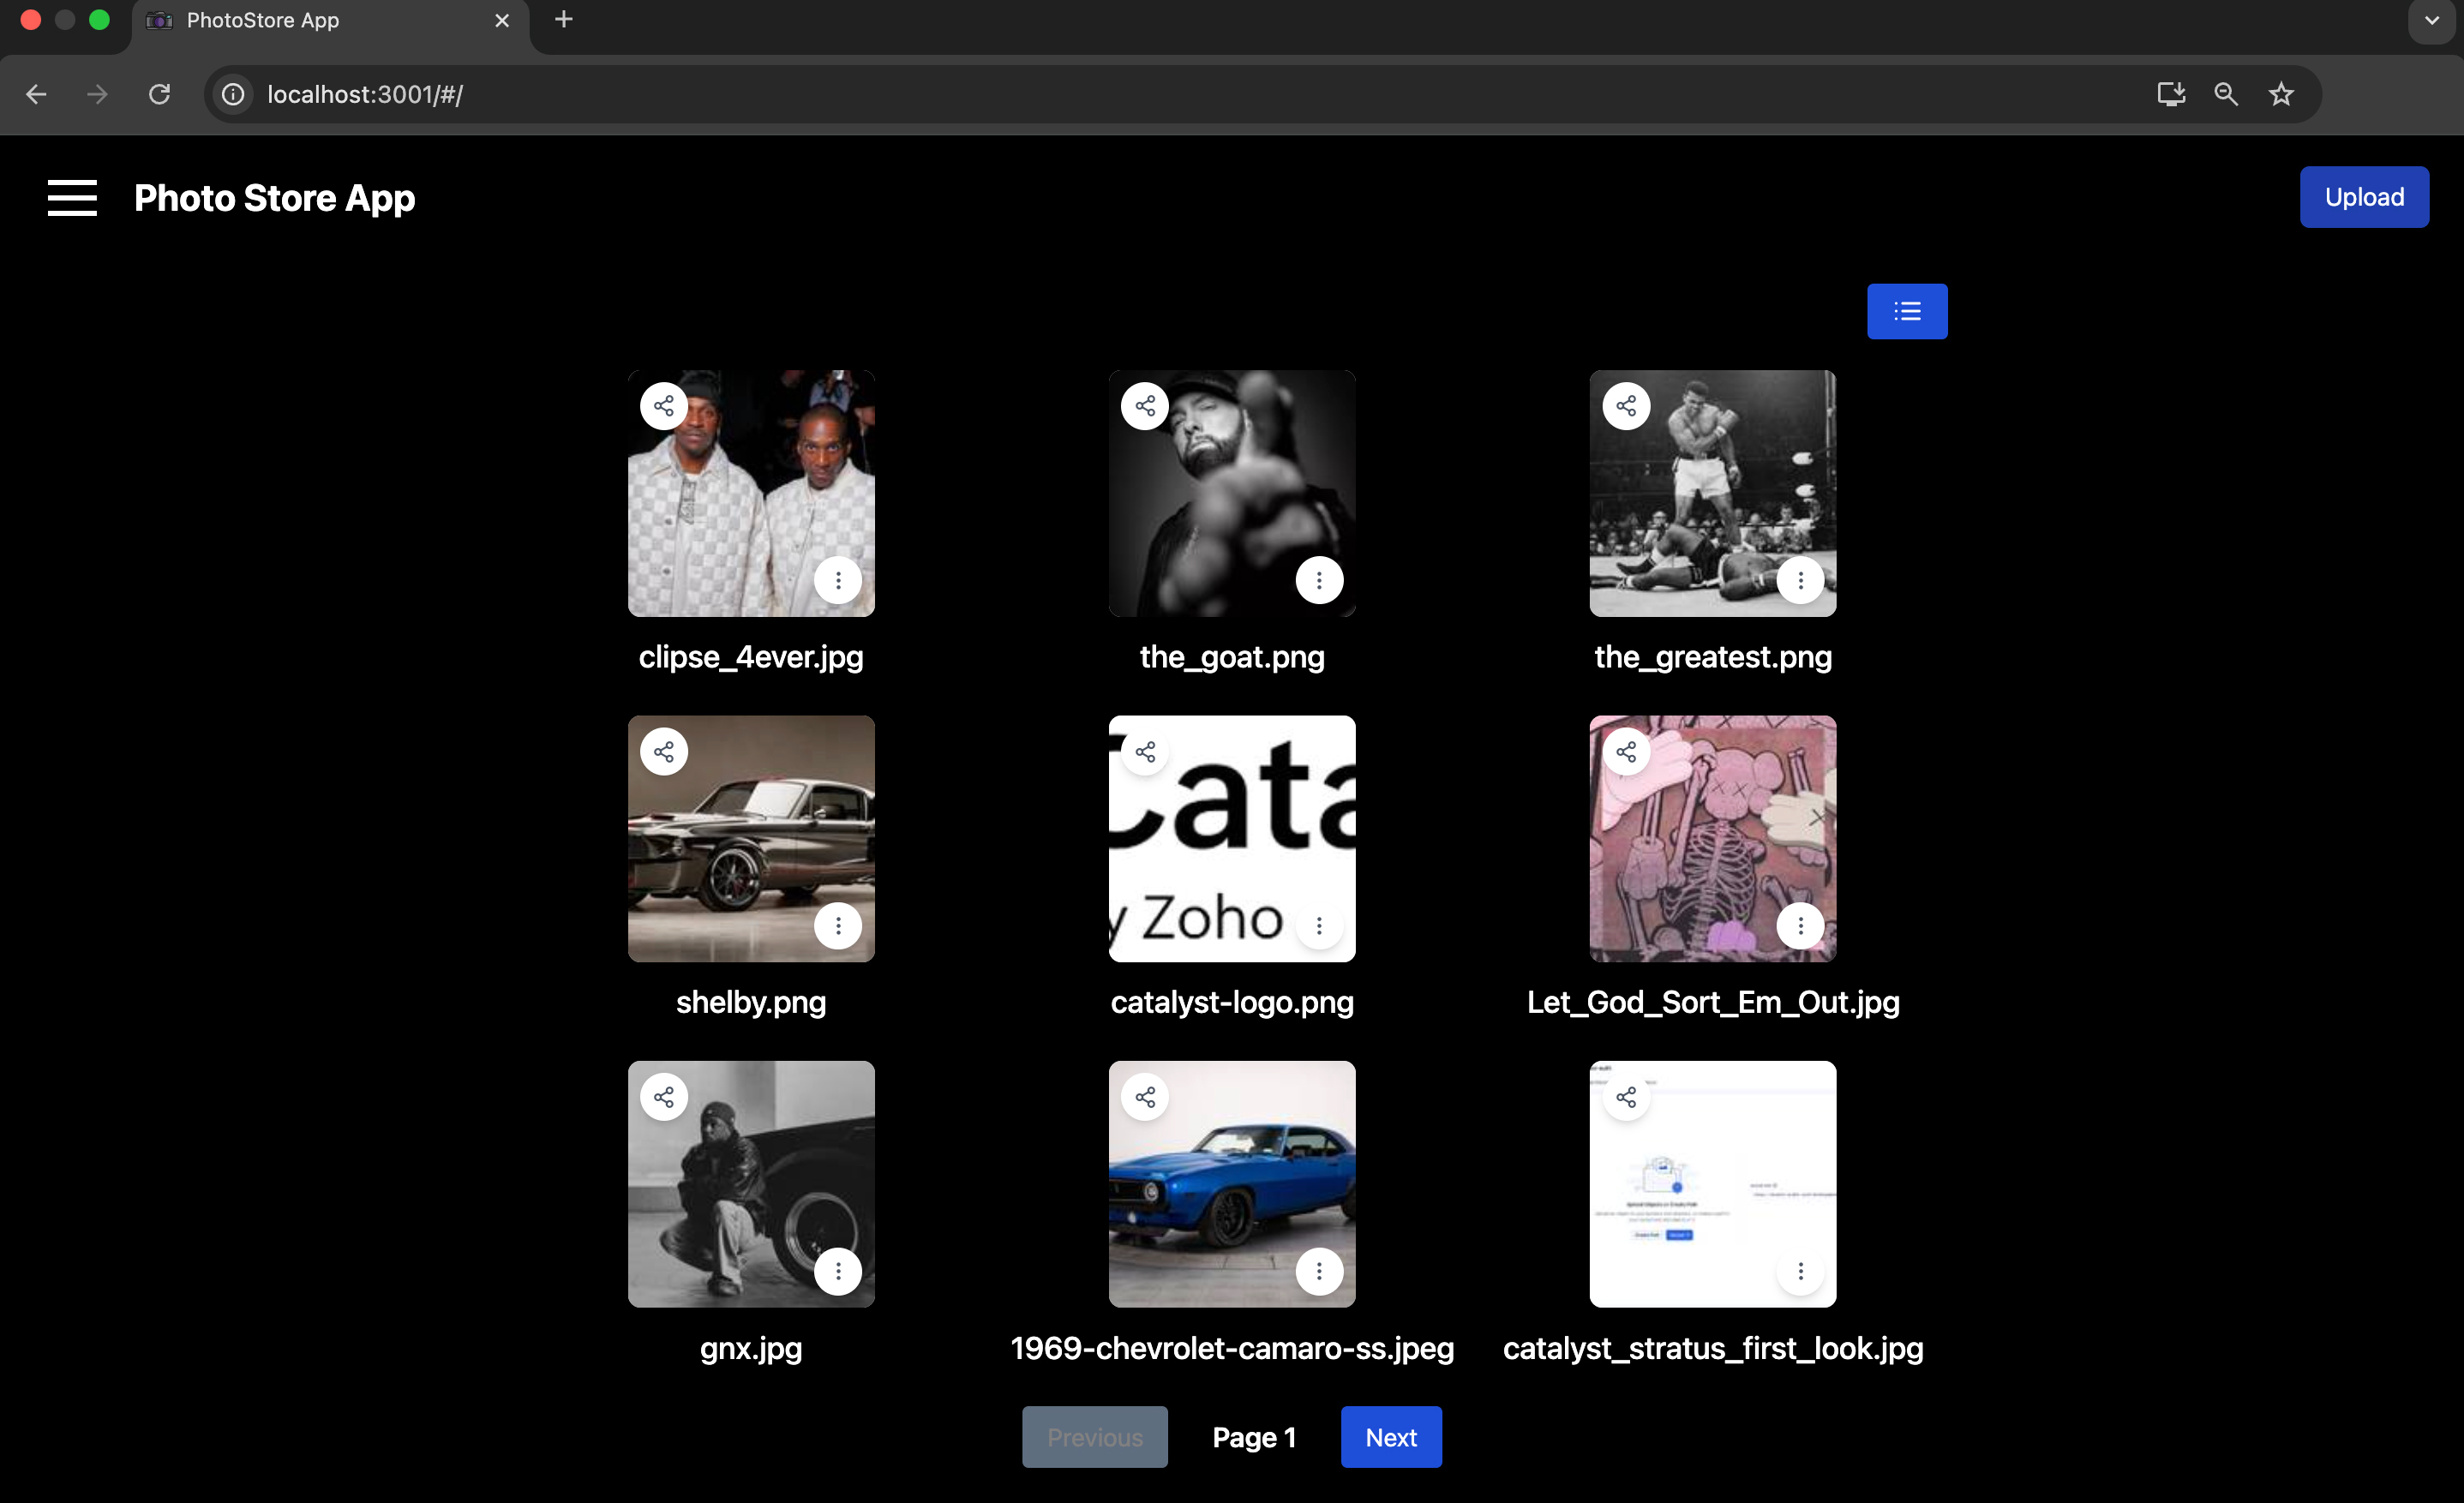
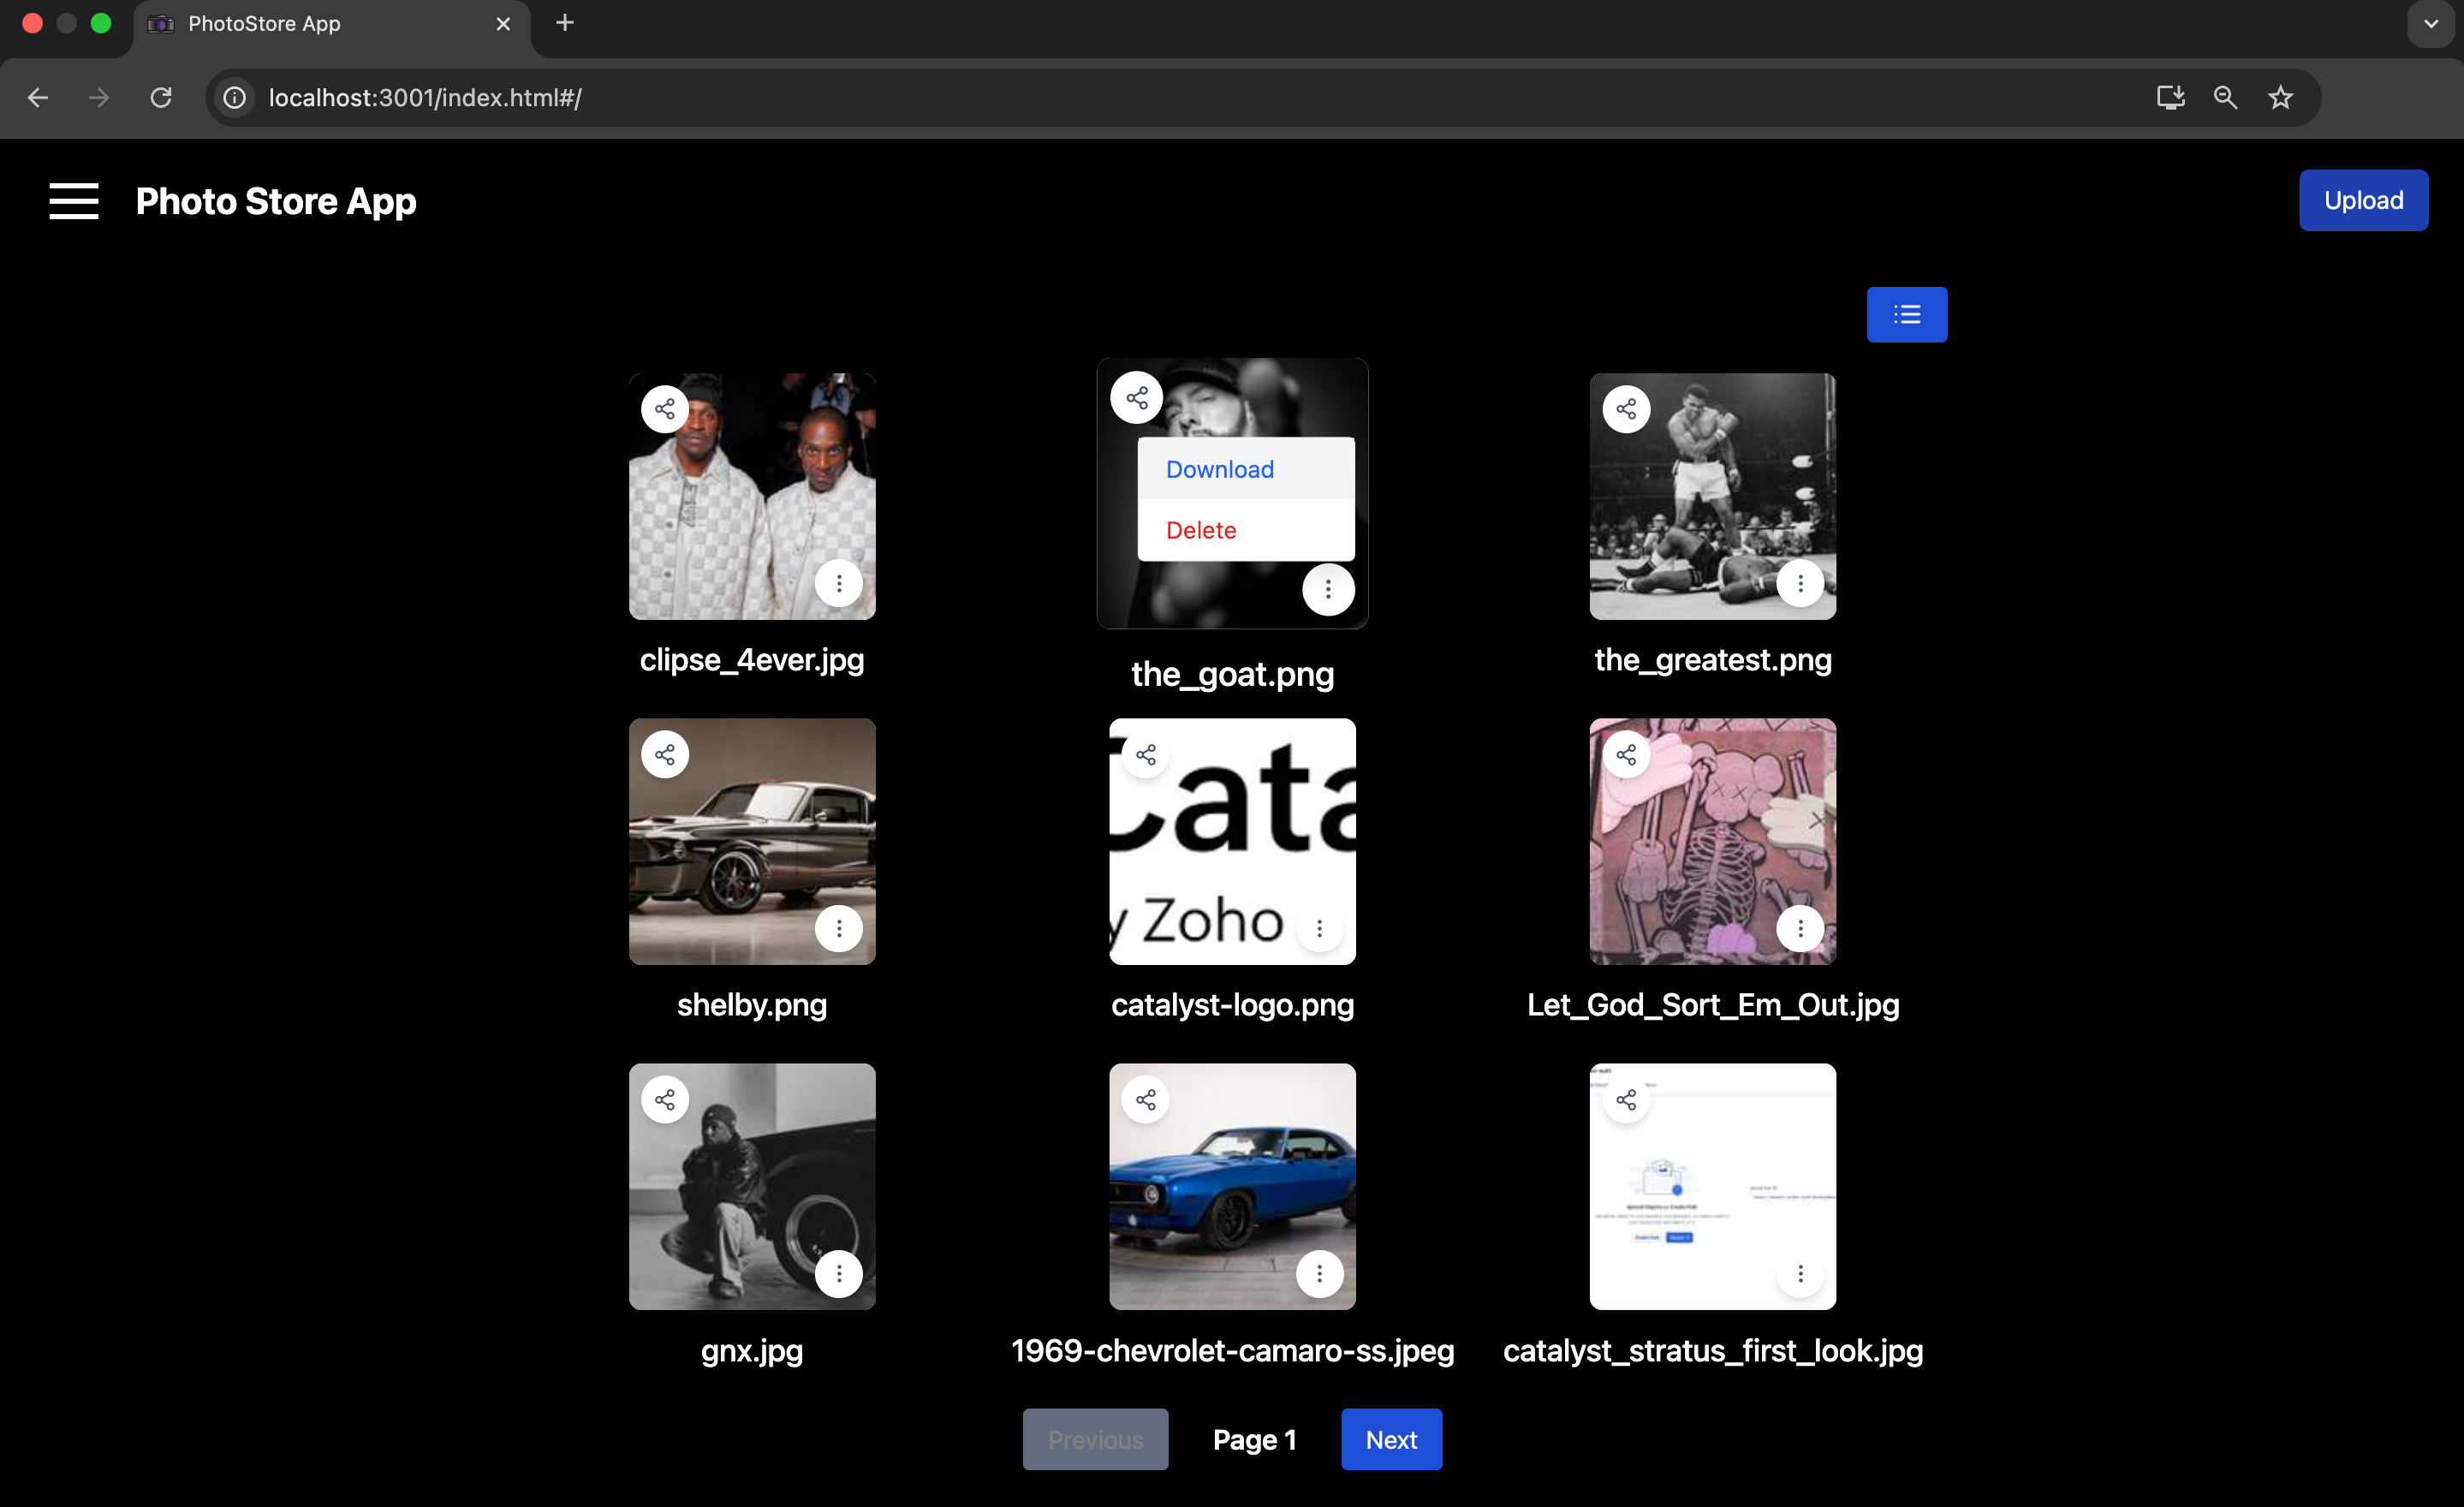
You can click the hamburger menu icon to view the uploaded images in the list view.
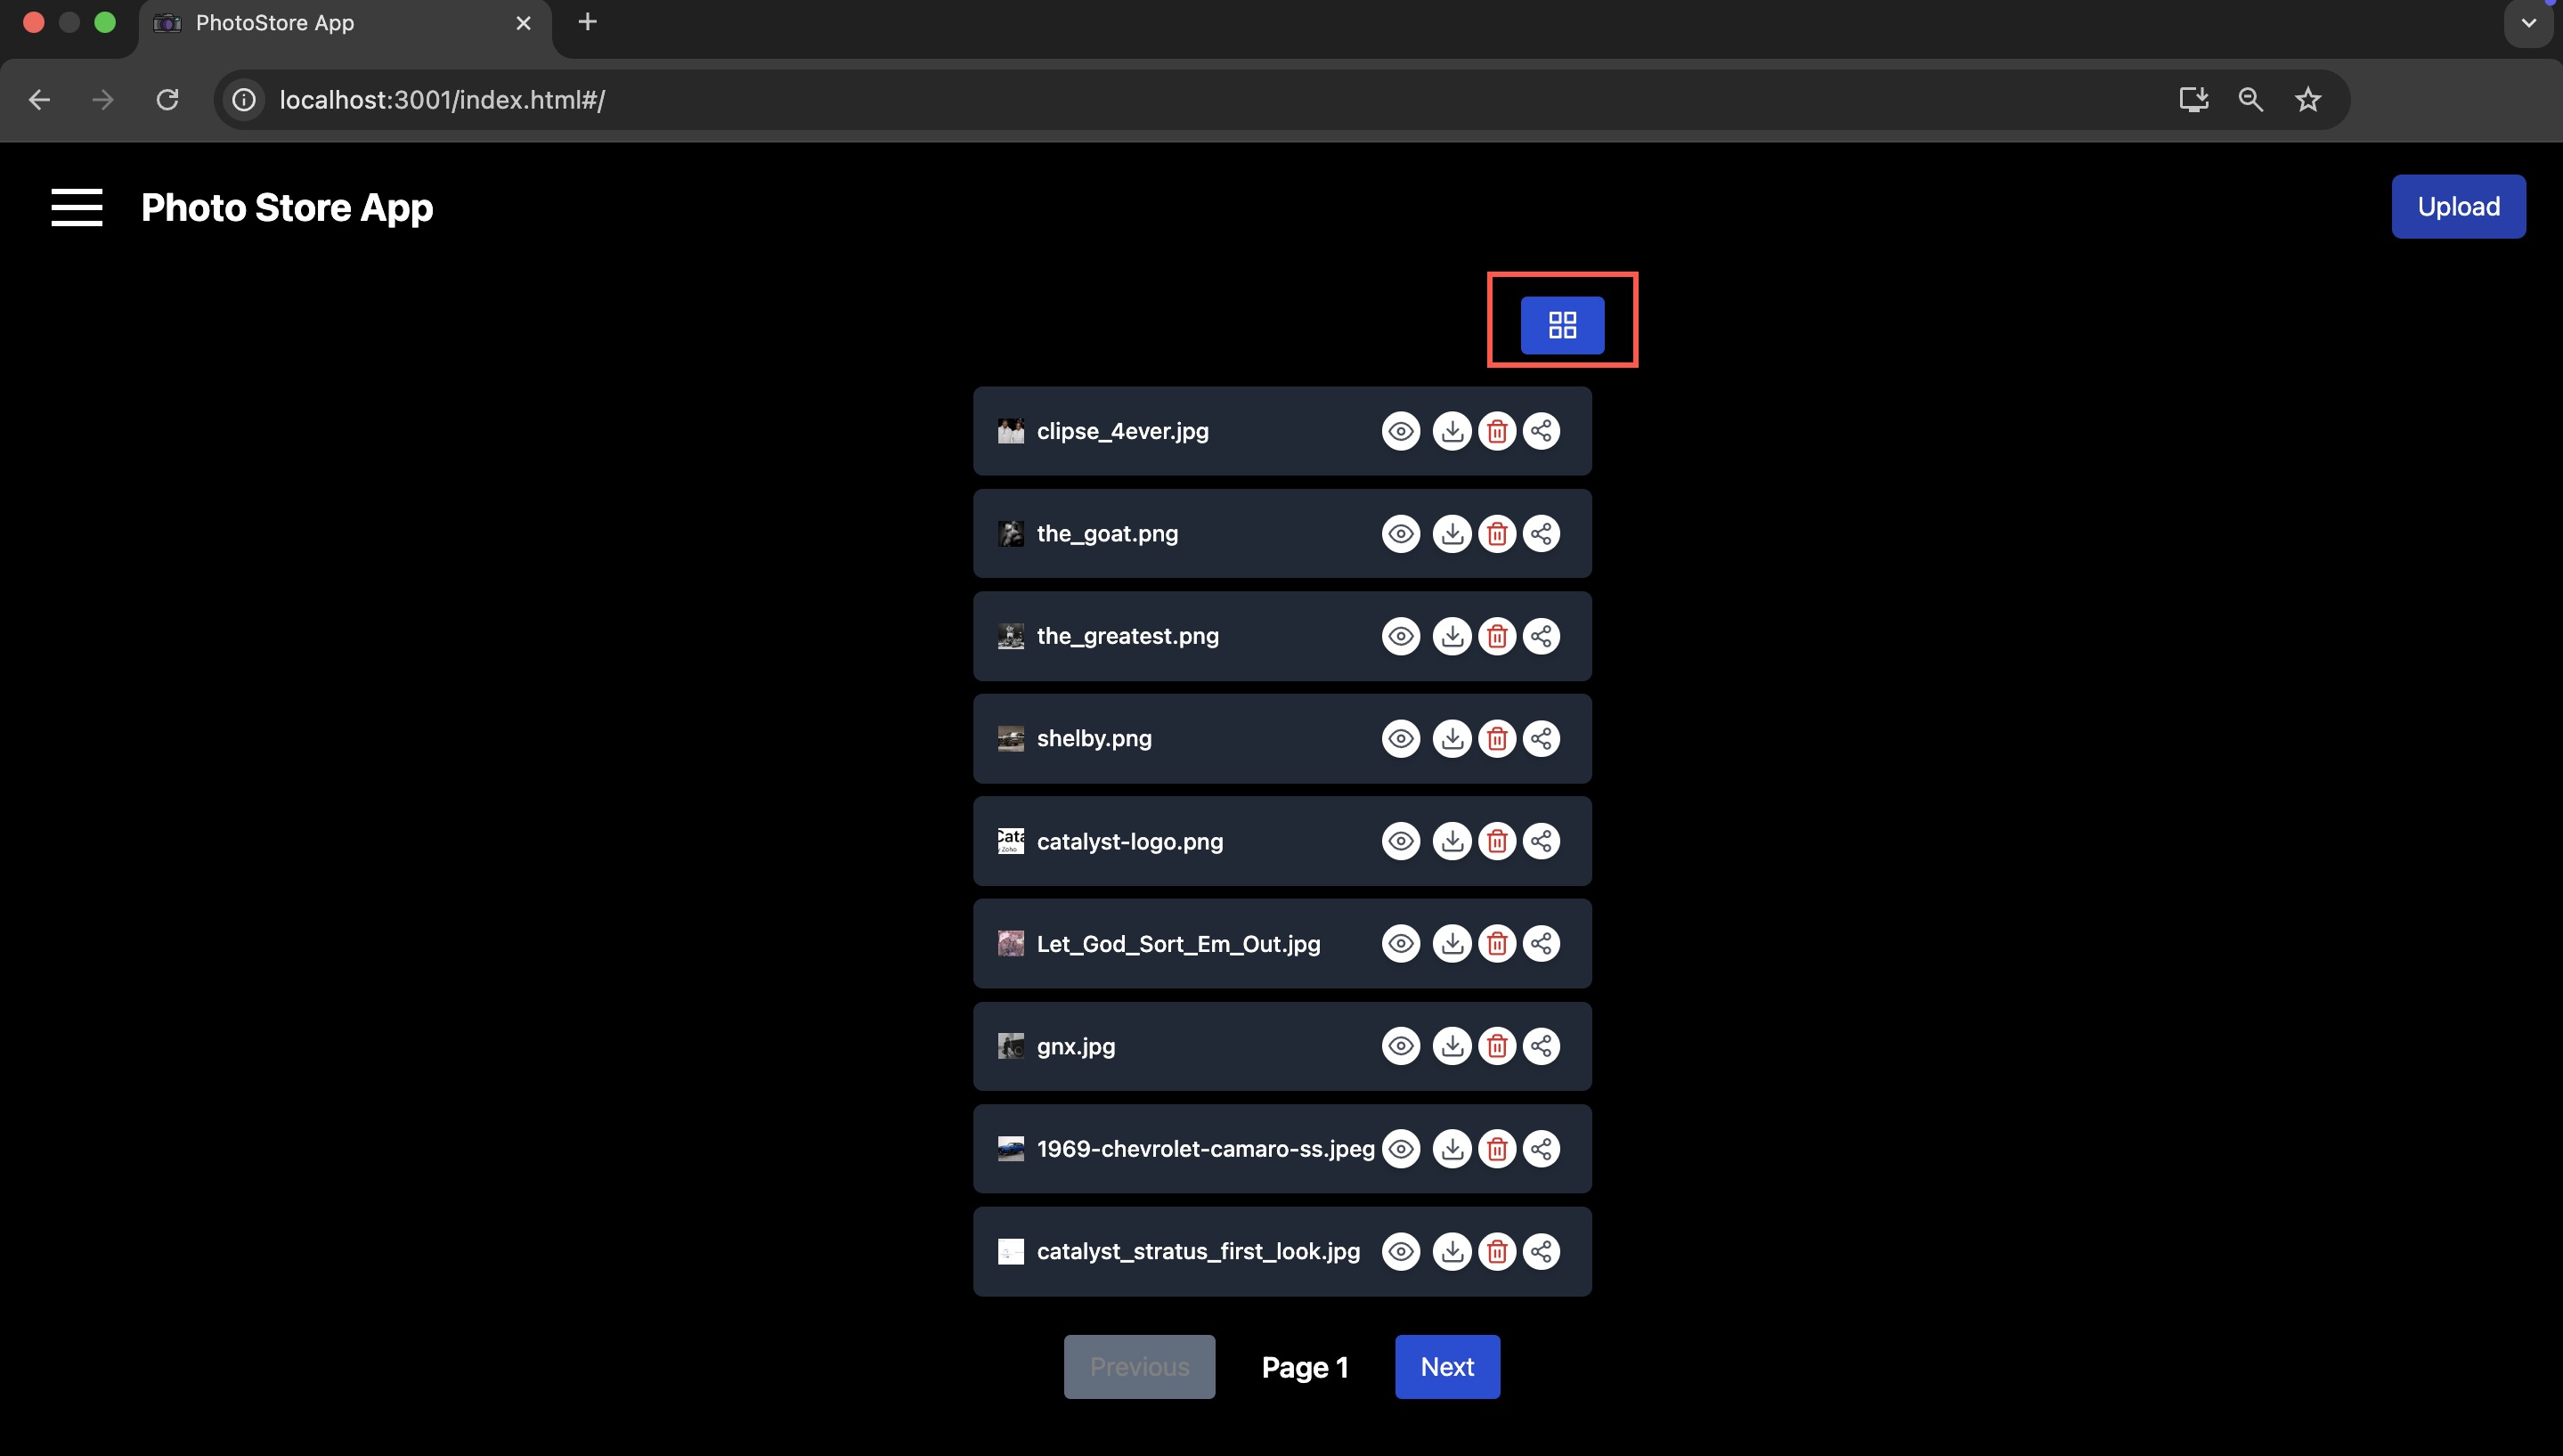
You can use the hamburger-icon again to switch the view back to thumbnails.
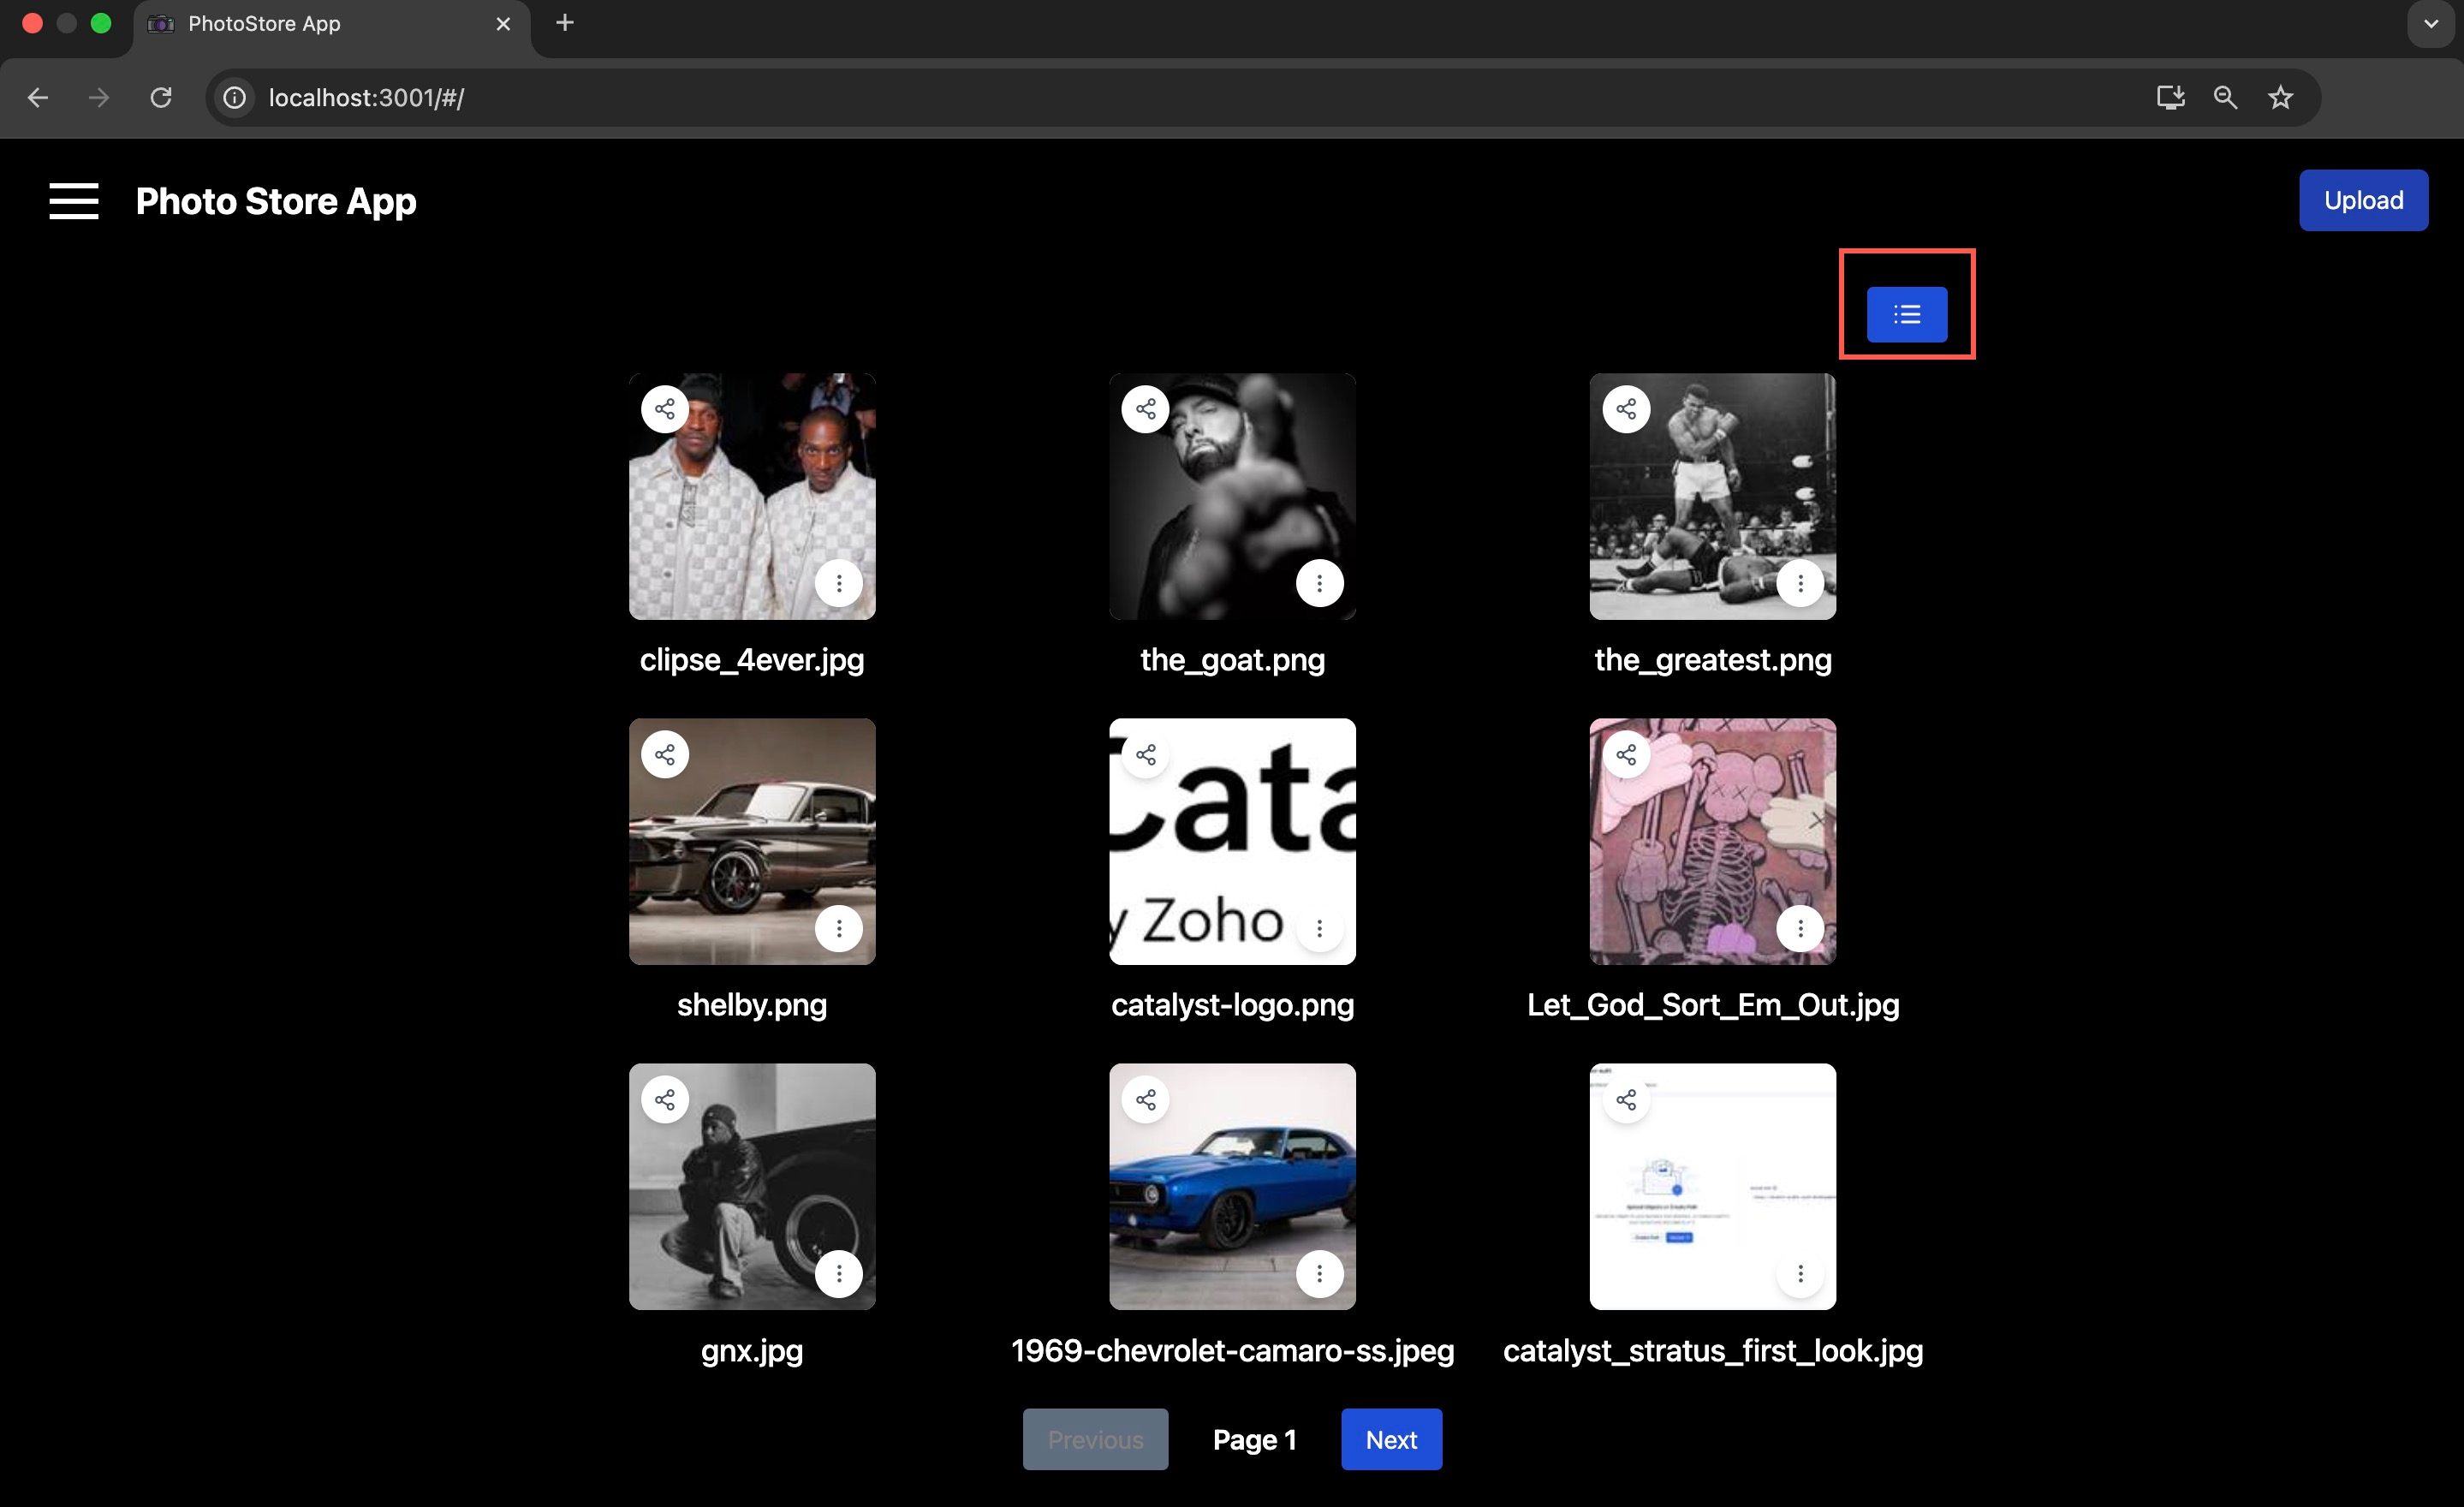
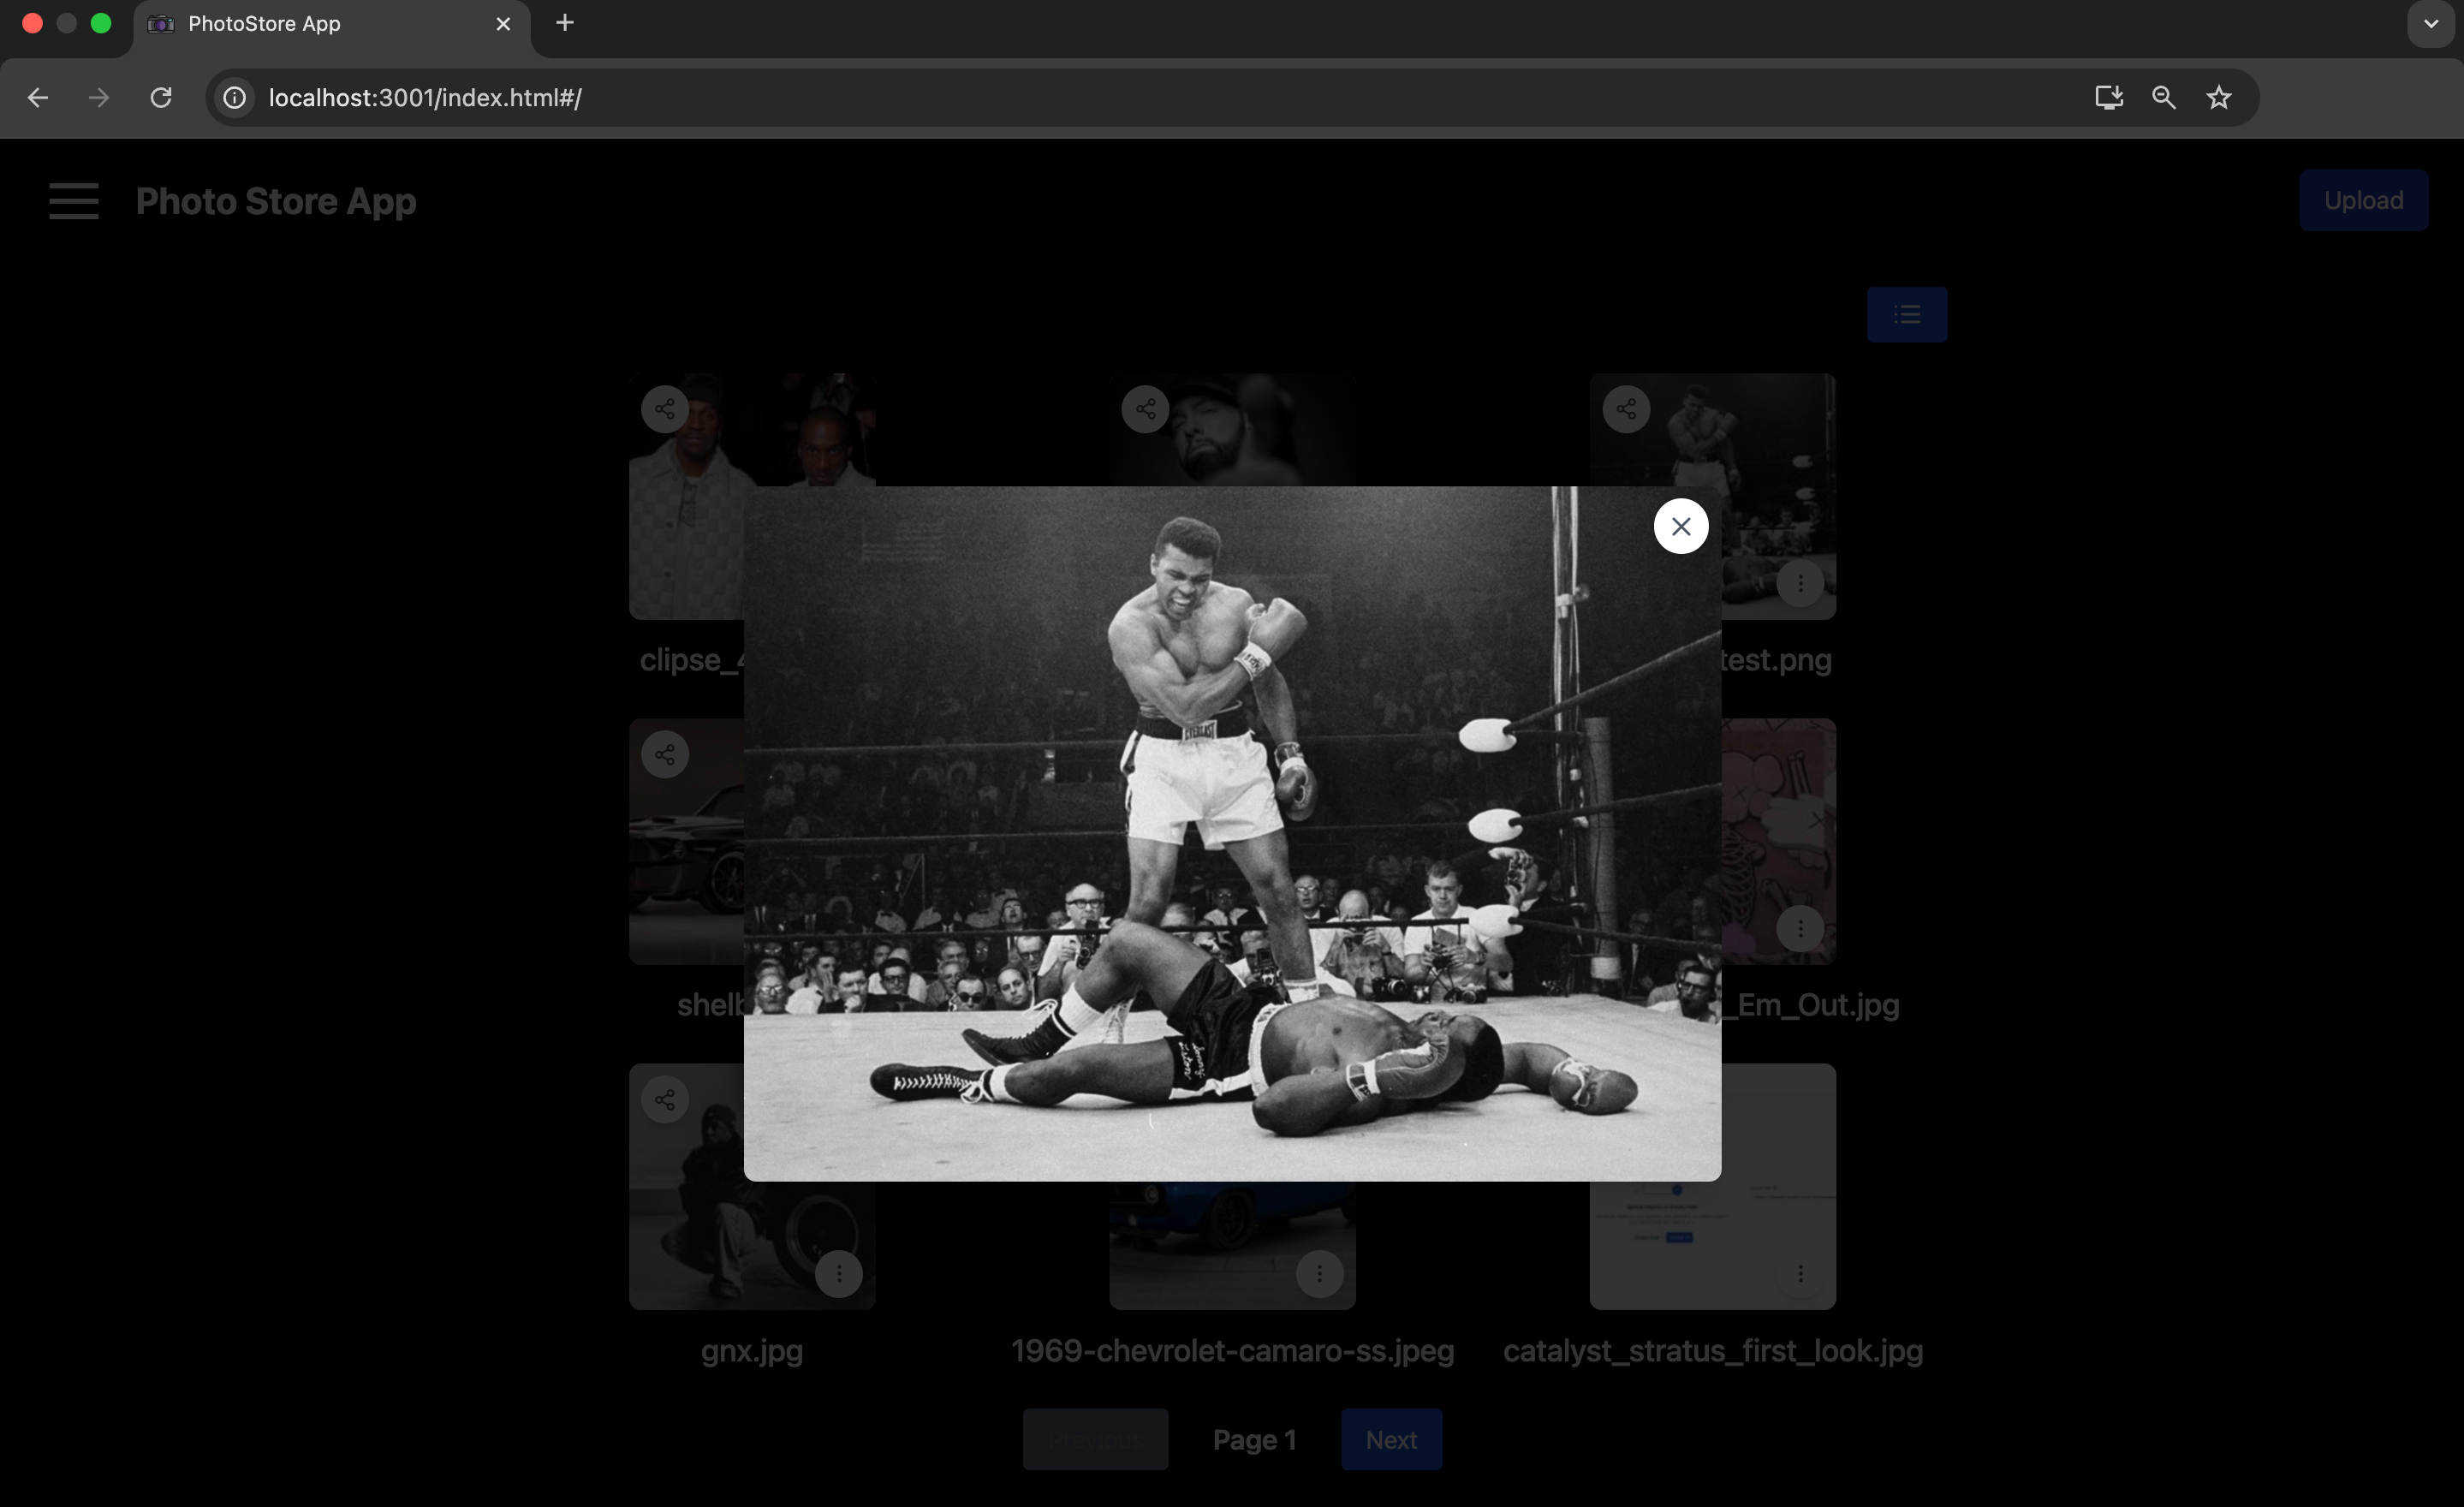
You can also click the required image to view it in its original size.
Test Case 4: Delete and Download Functionality
You have the option to download or delete an uploaded image.
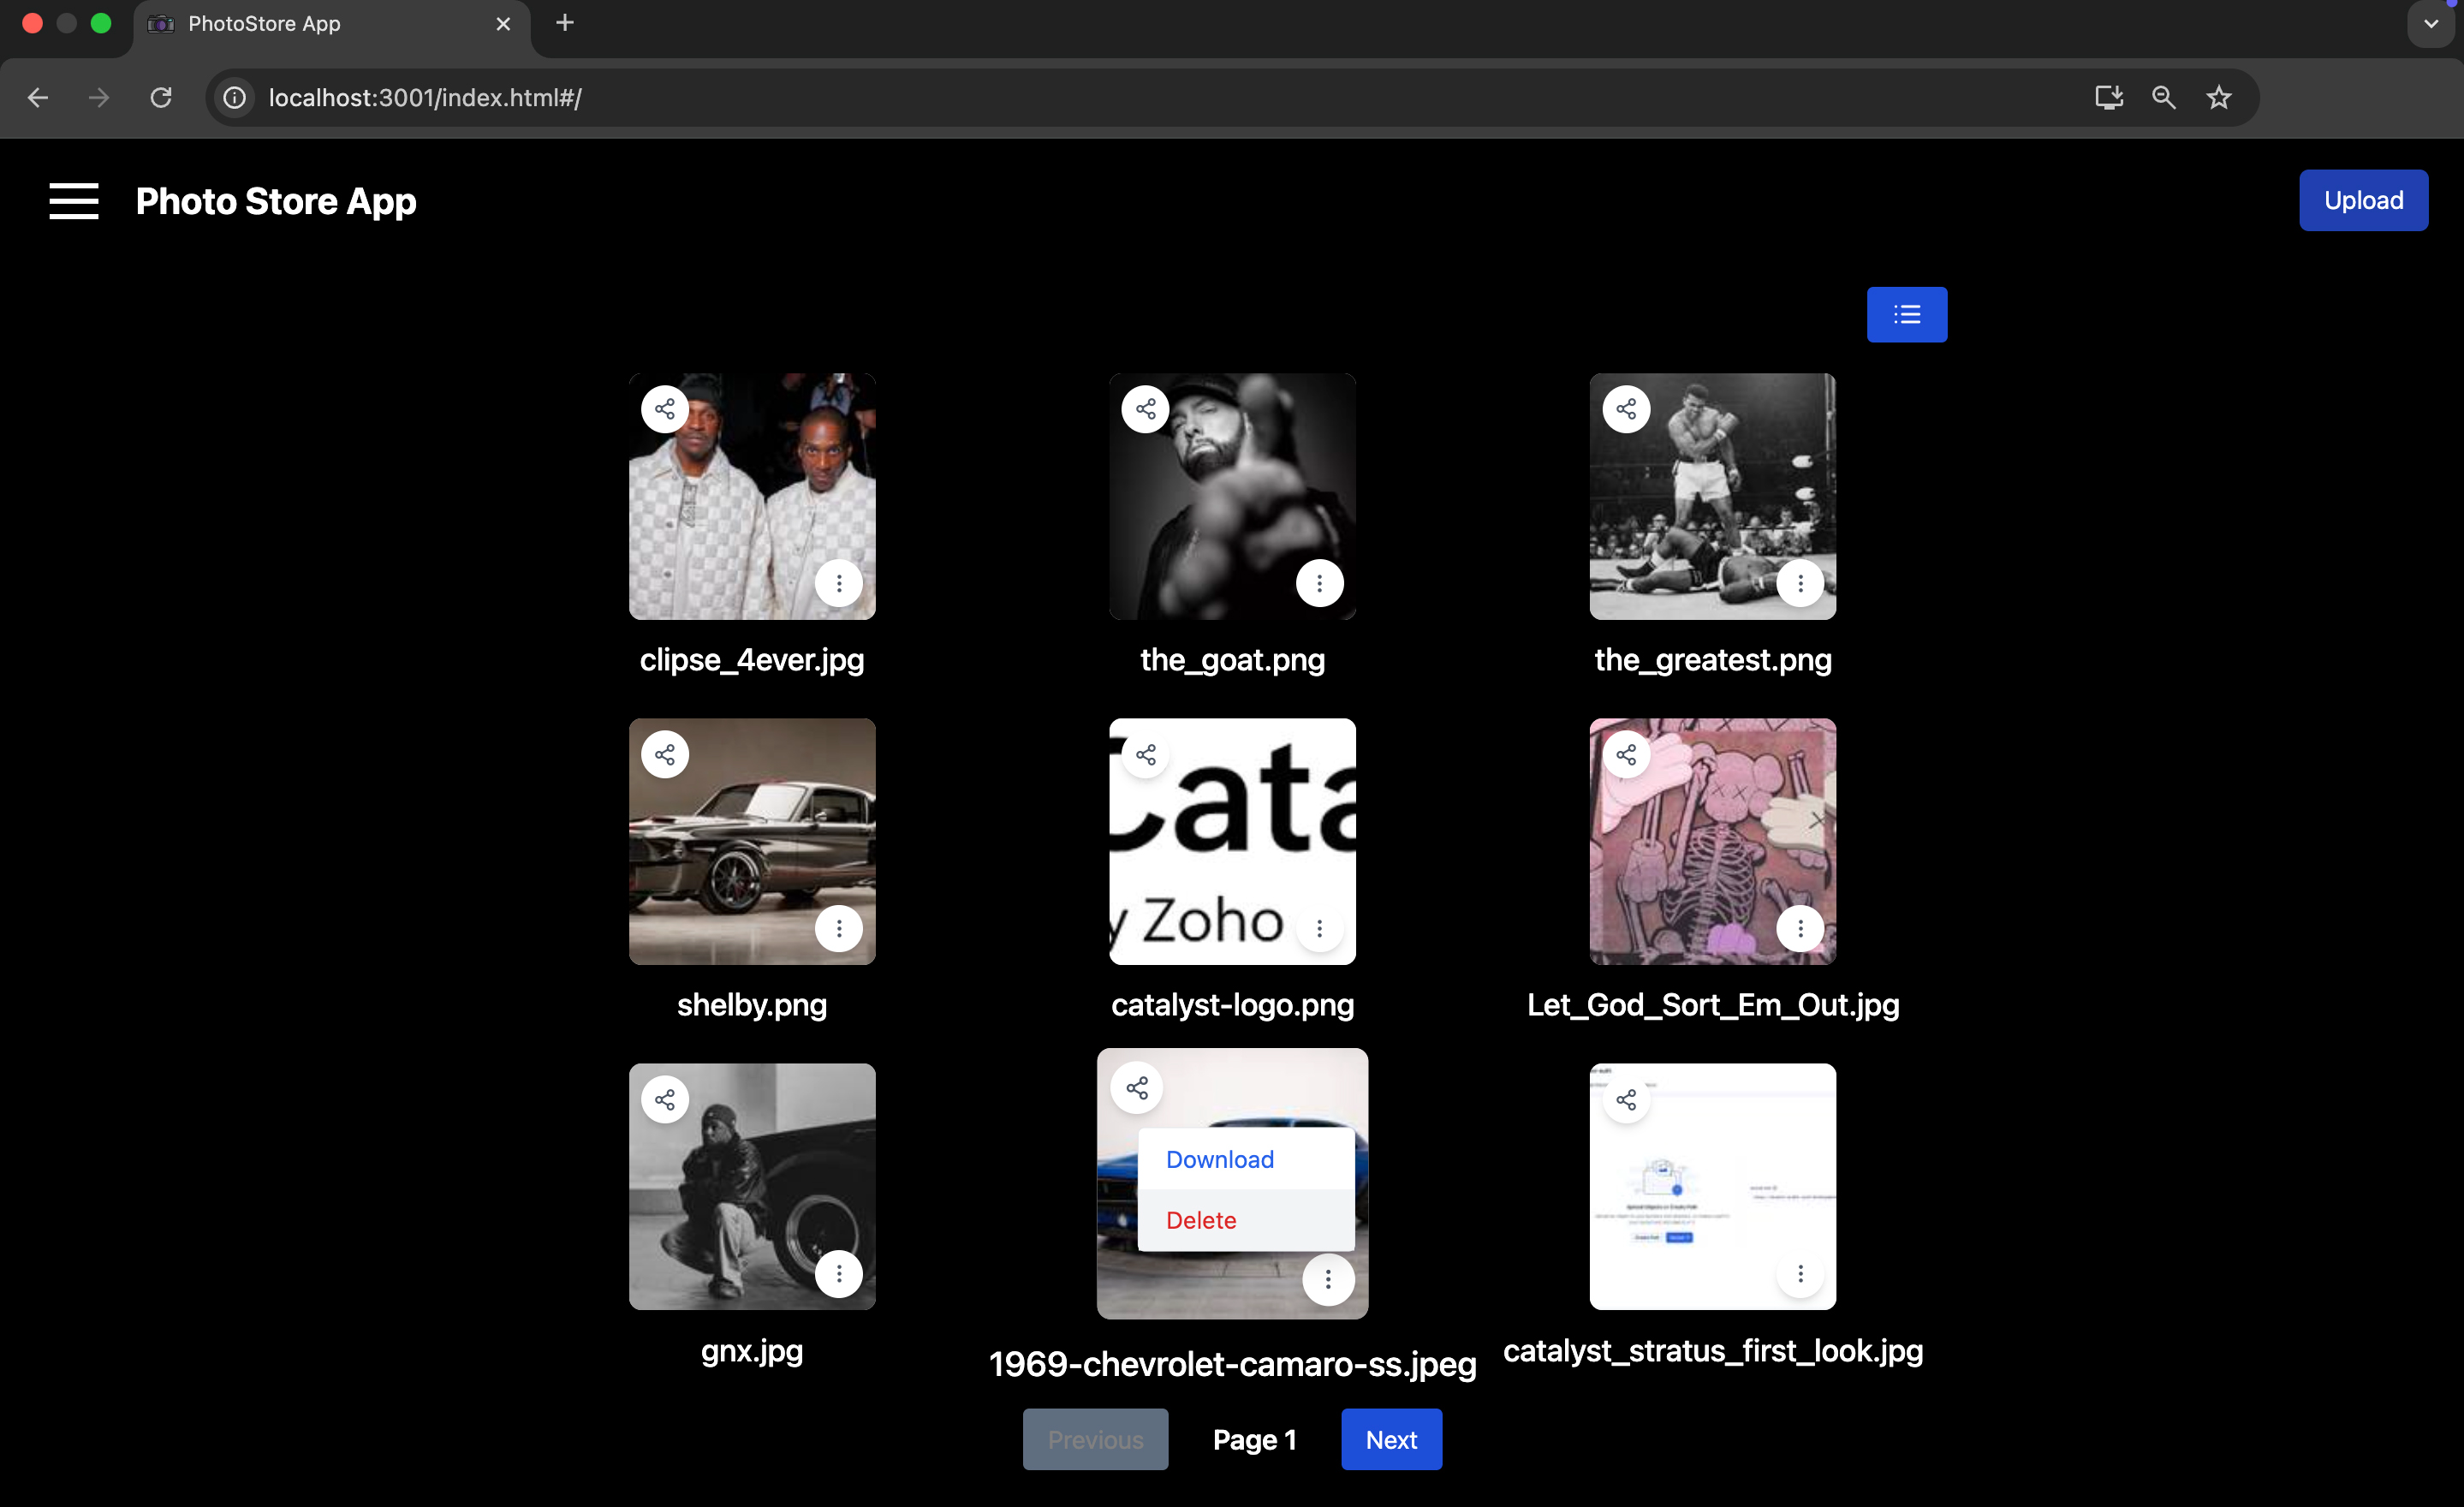
To delete an image, you can click the delete icon in list view or click the ellipsis icon and click Delete in the thumbnail view.
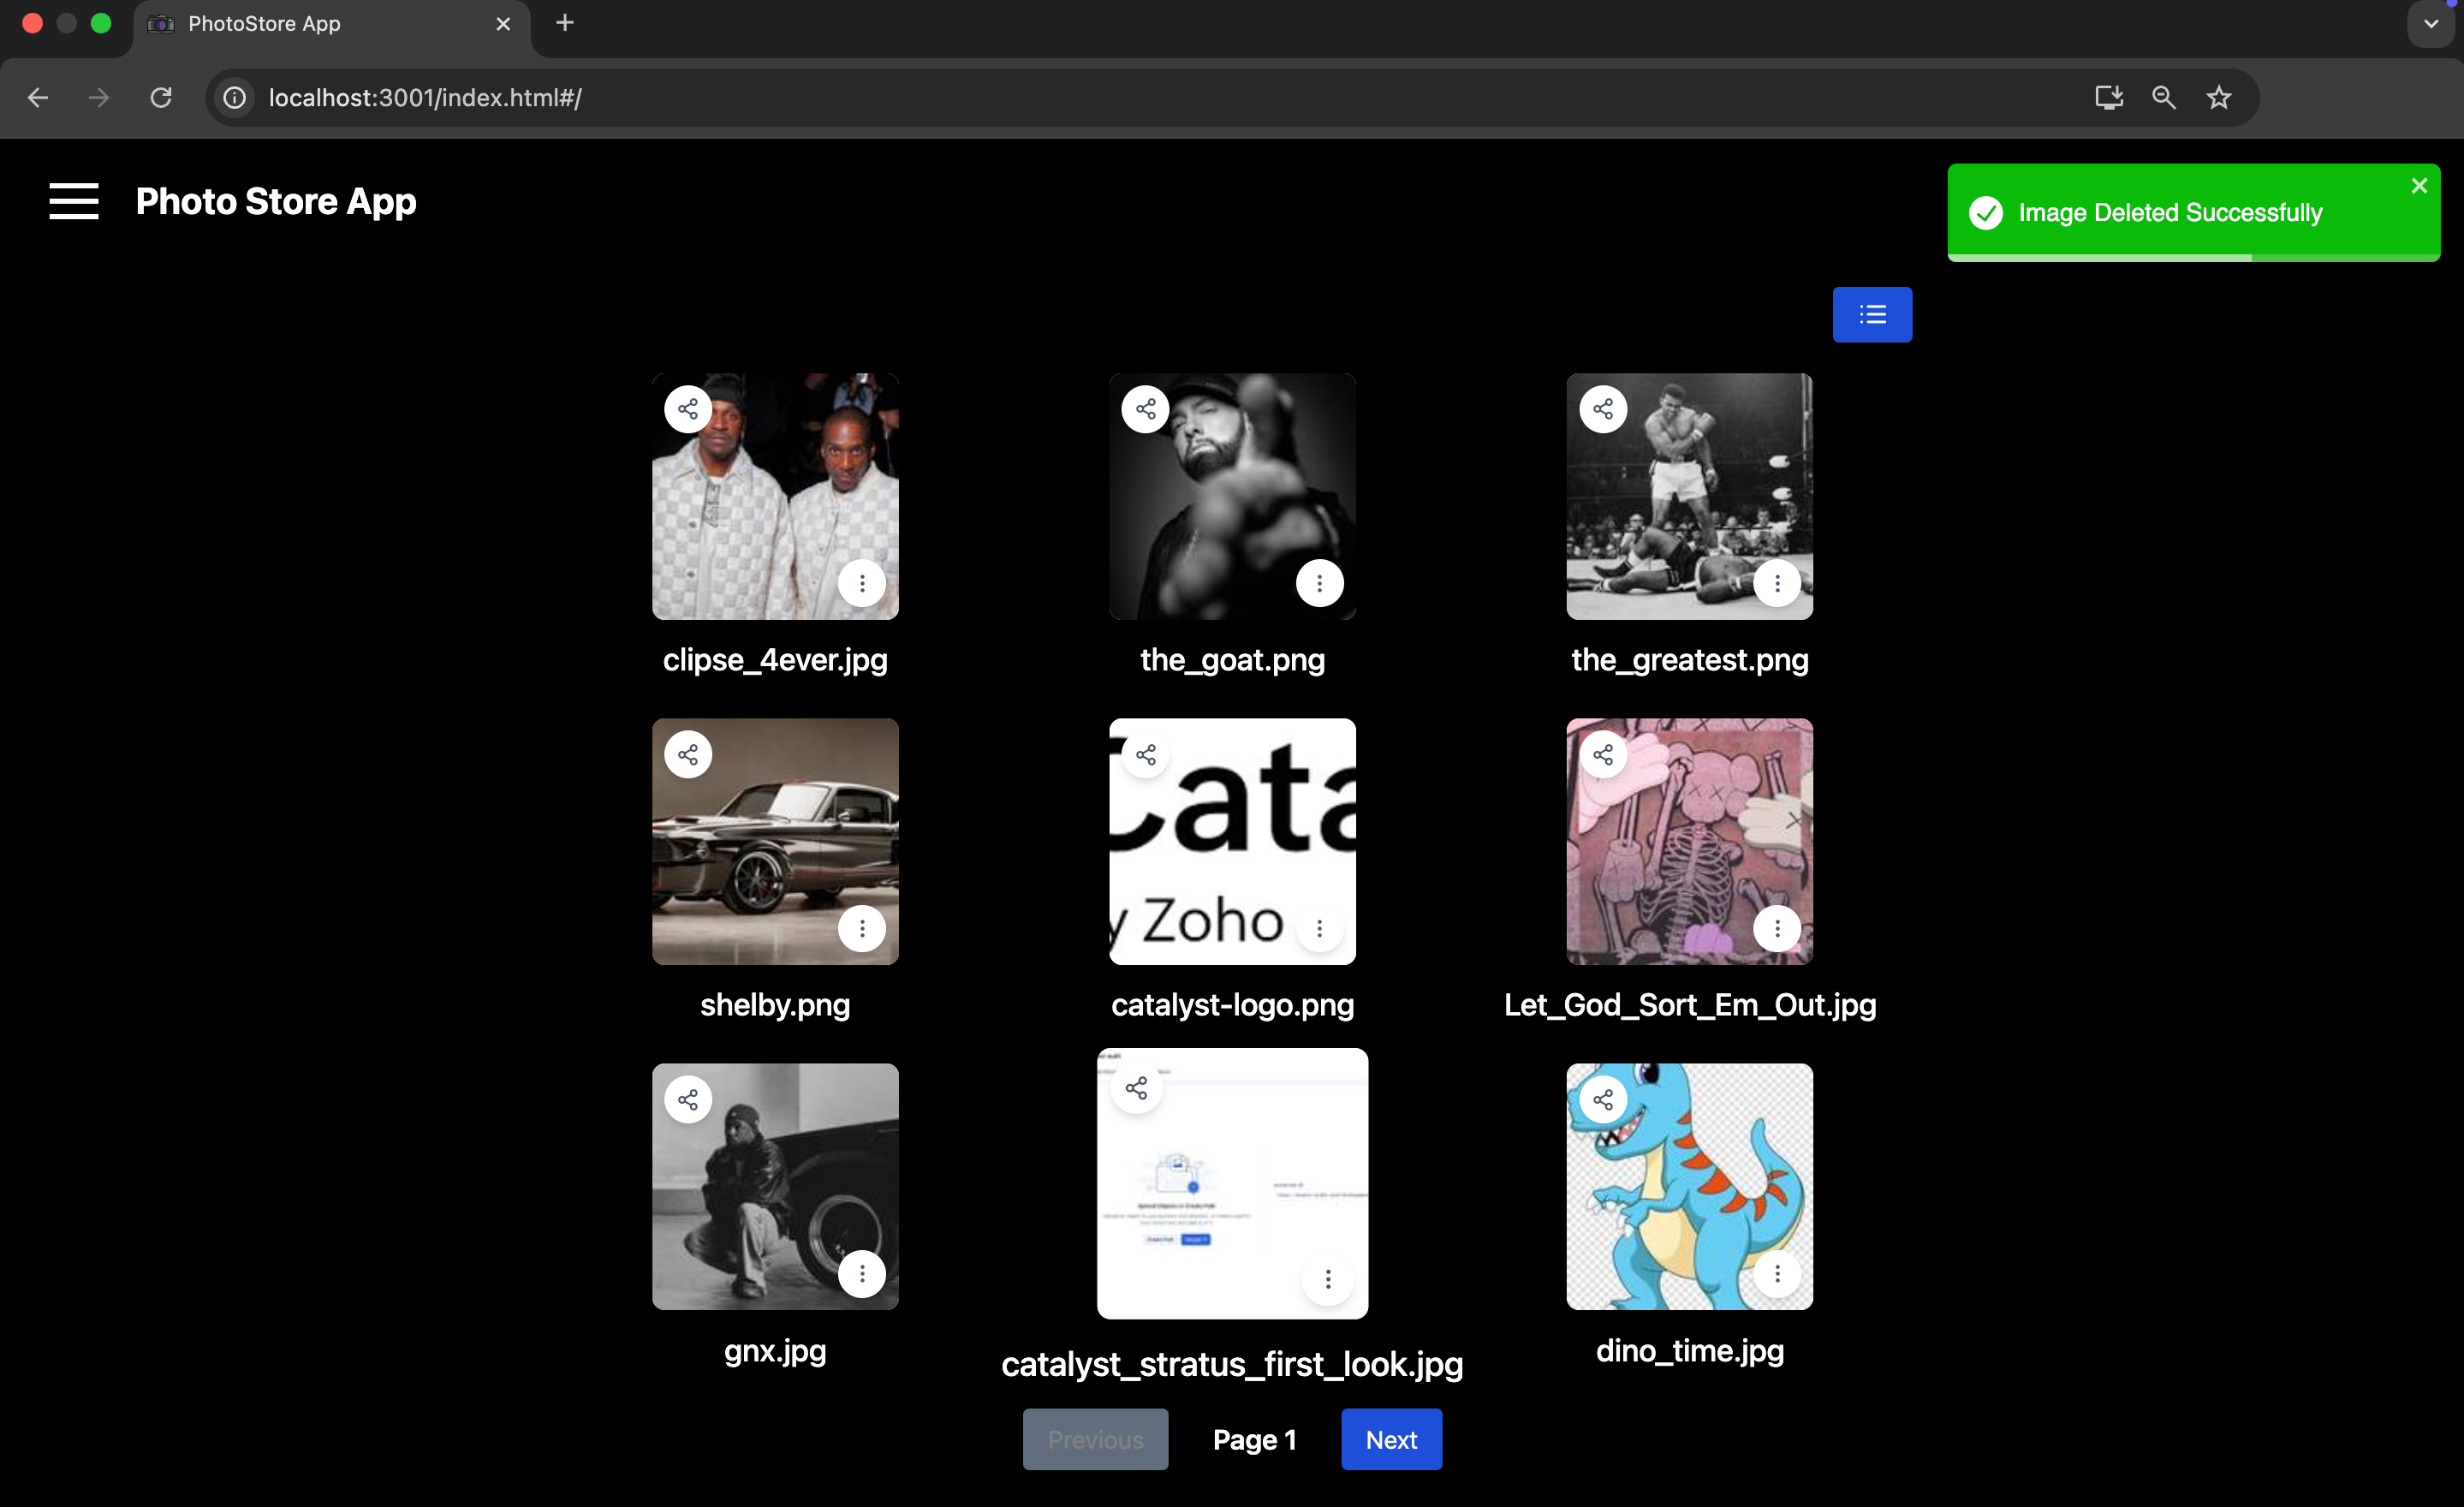
The image will be deleted.
Similarly, to download an image, you can click the download icon in list view or click the ellipsis icon and click Download in the thumbnail view.
The required image will be downloaded to your local system.

Test Case 5: Share Functionality
You can choose to share images with other registered end-users.
Click the share icon to share your required image with other registered end-users.
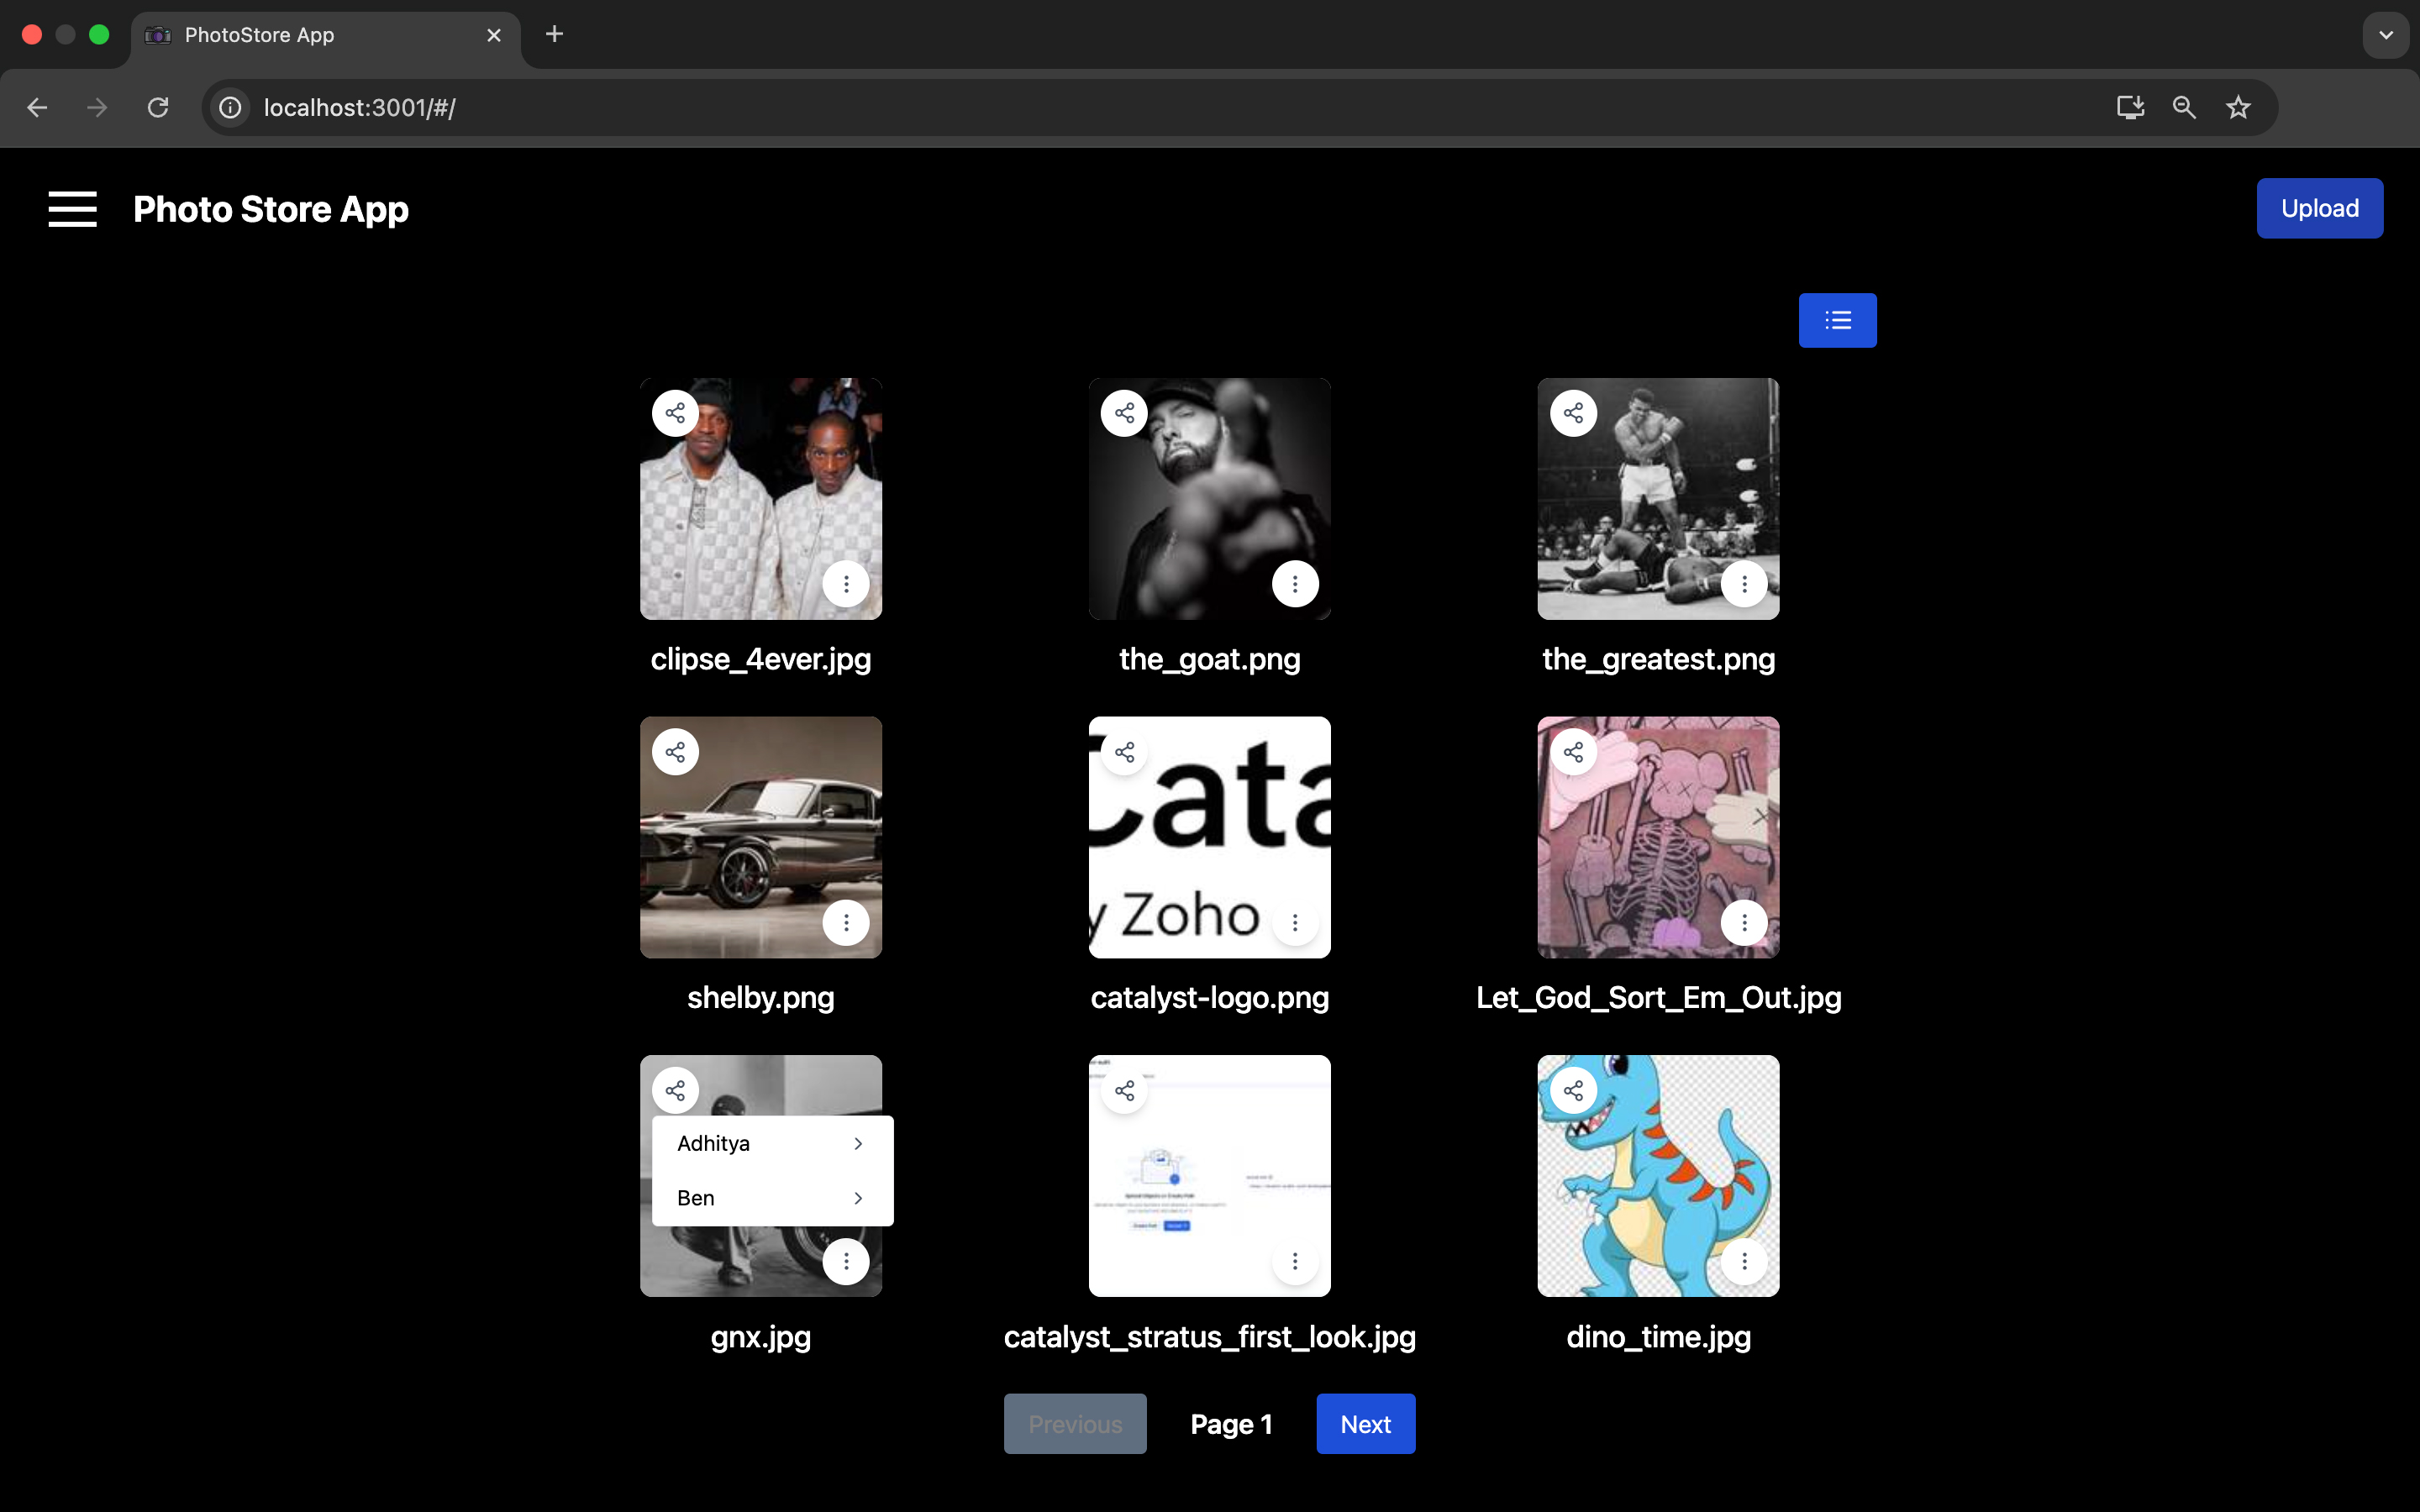
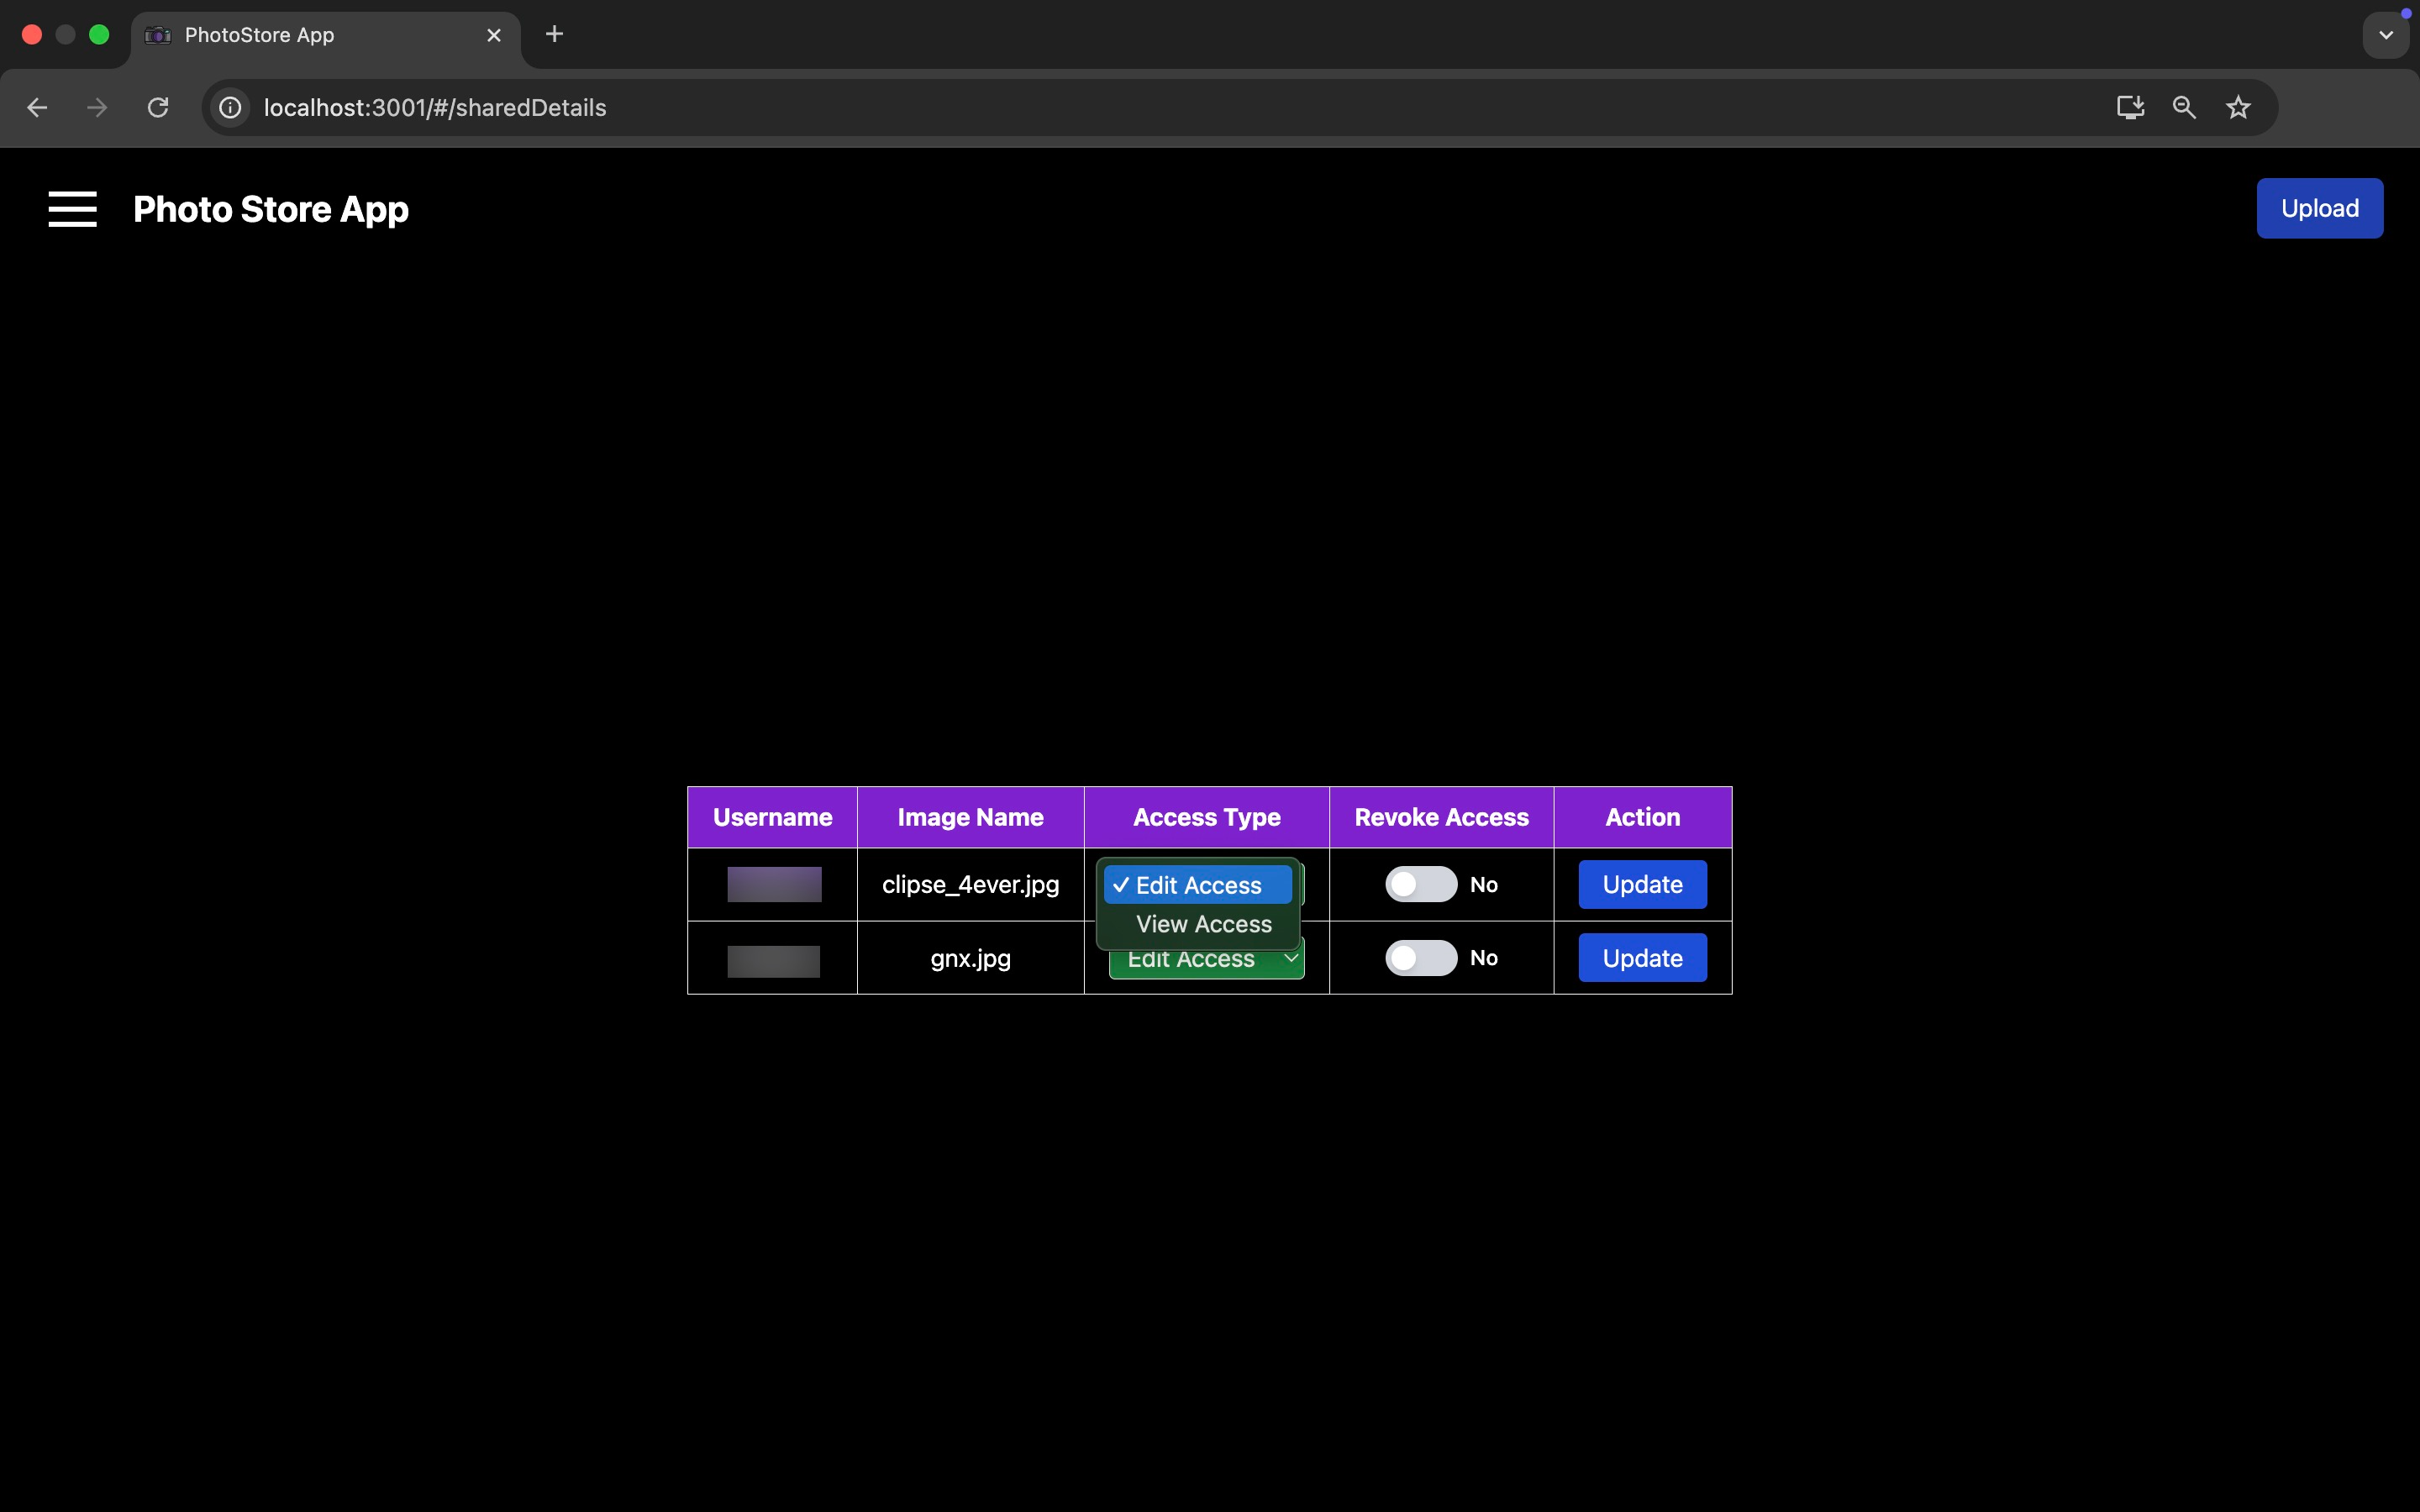
You can also choose to share the image with the registered user in View or Edit access.
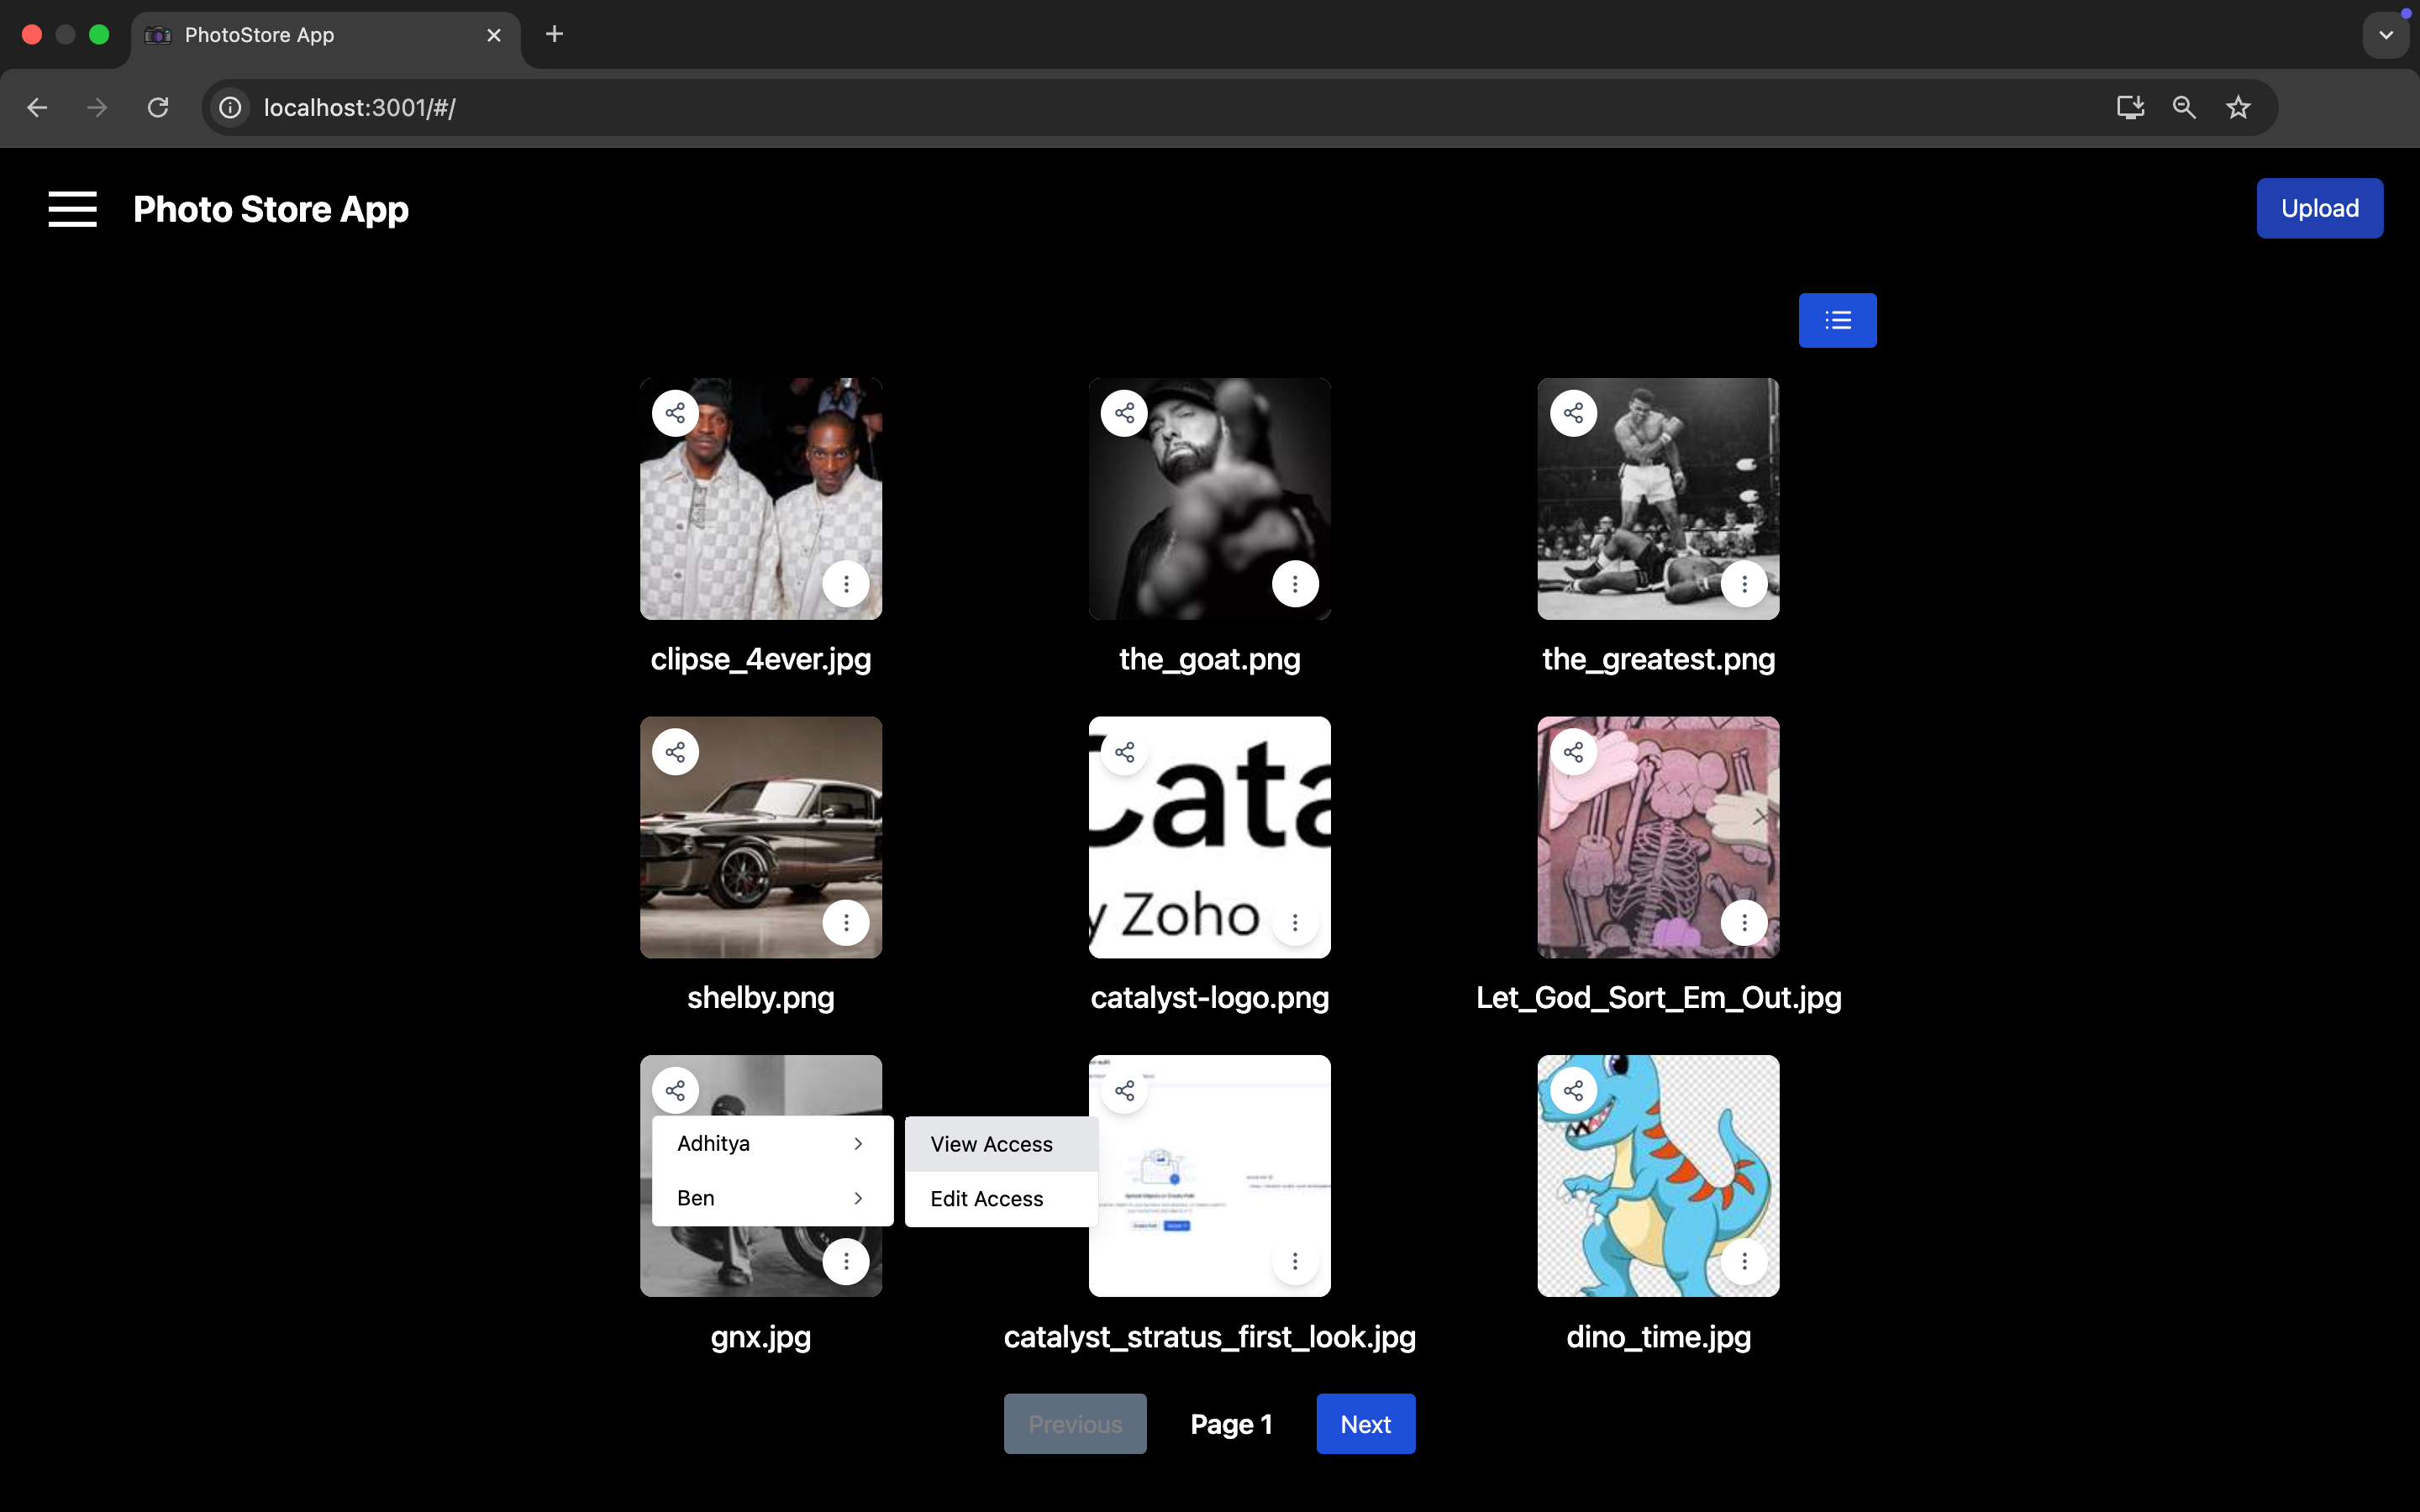
View Access will only allow the end-user to download the image. Edit Access allows the end-user to update, delete and download the image.
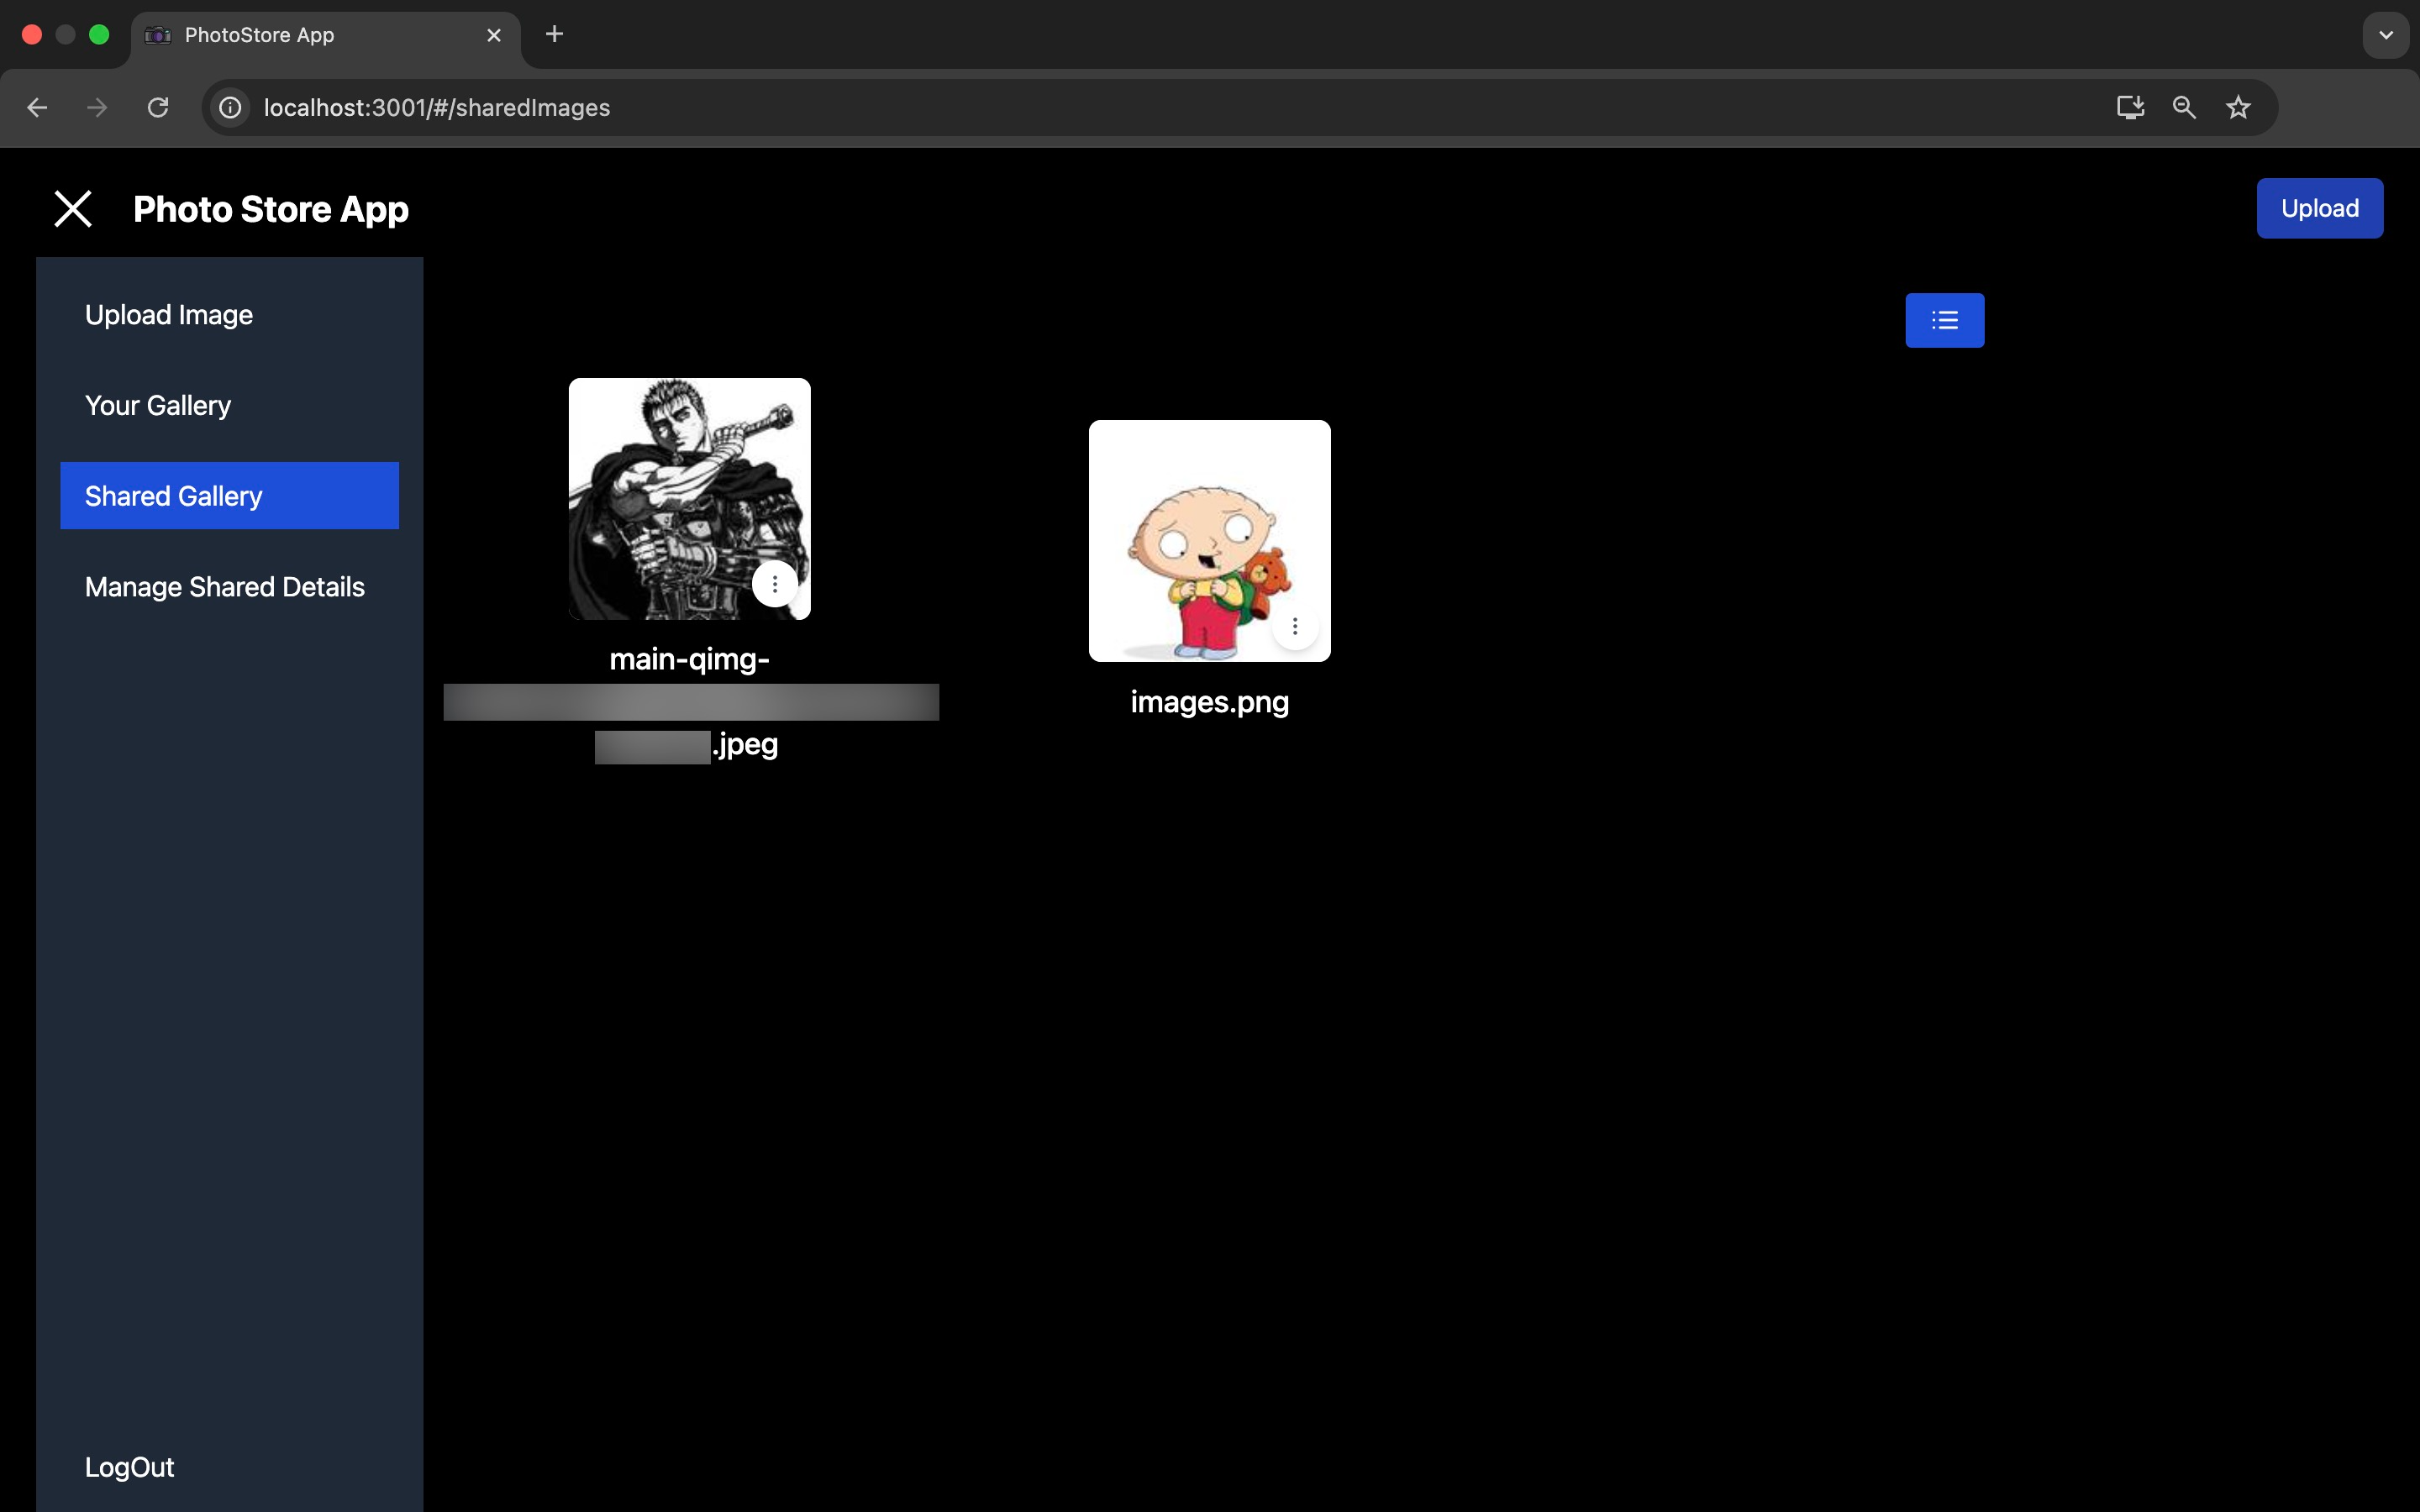
Once you’ve shared an image to the end-user the end-user will be able to view the shared image in their Shared Gallery.
You can use the Manage Shared Details section to update access level of images.
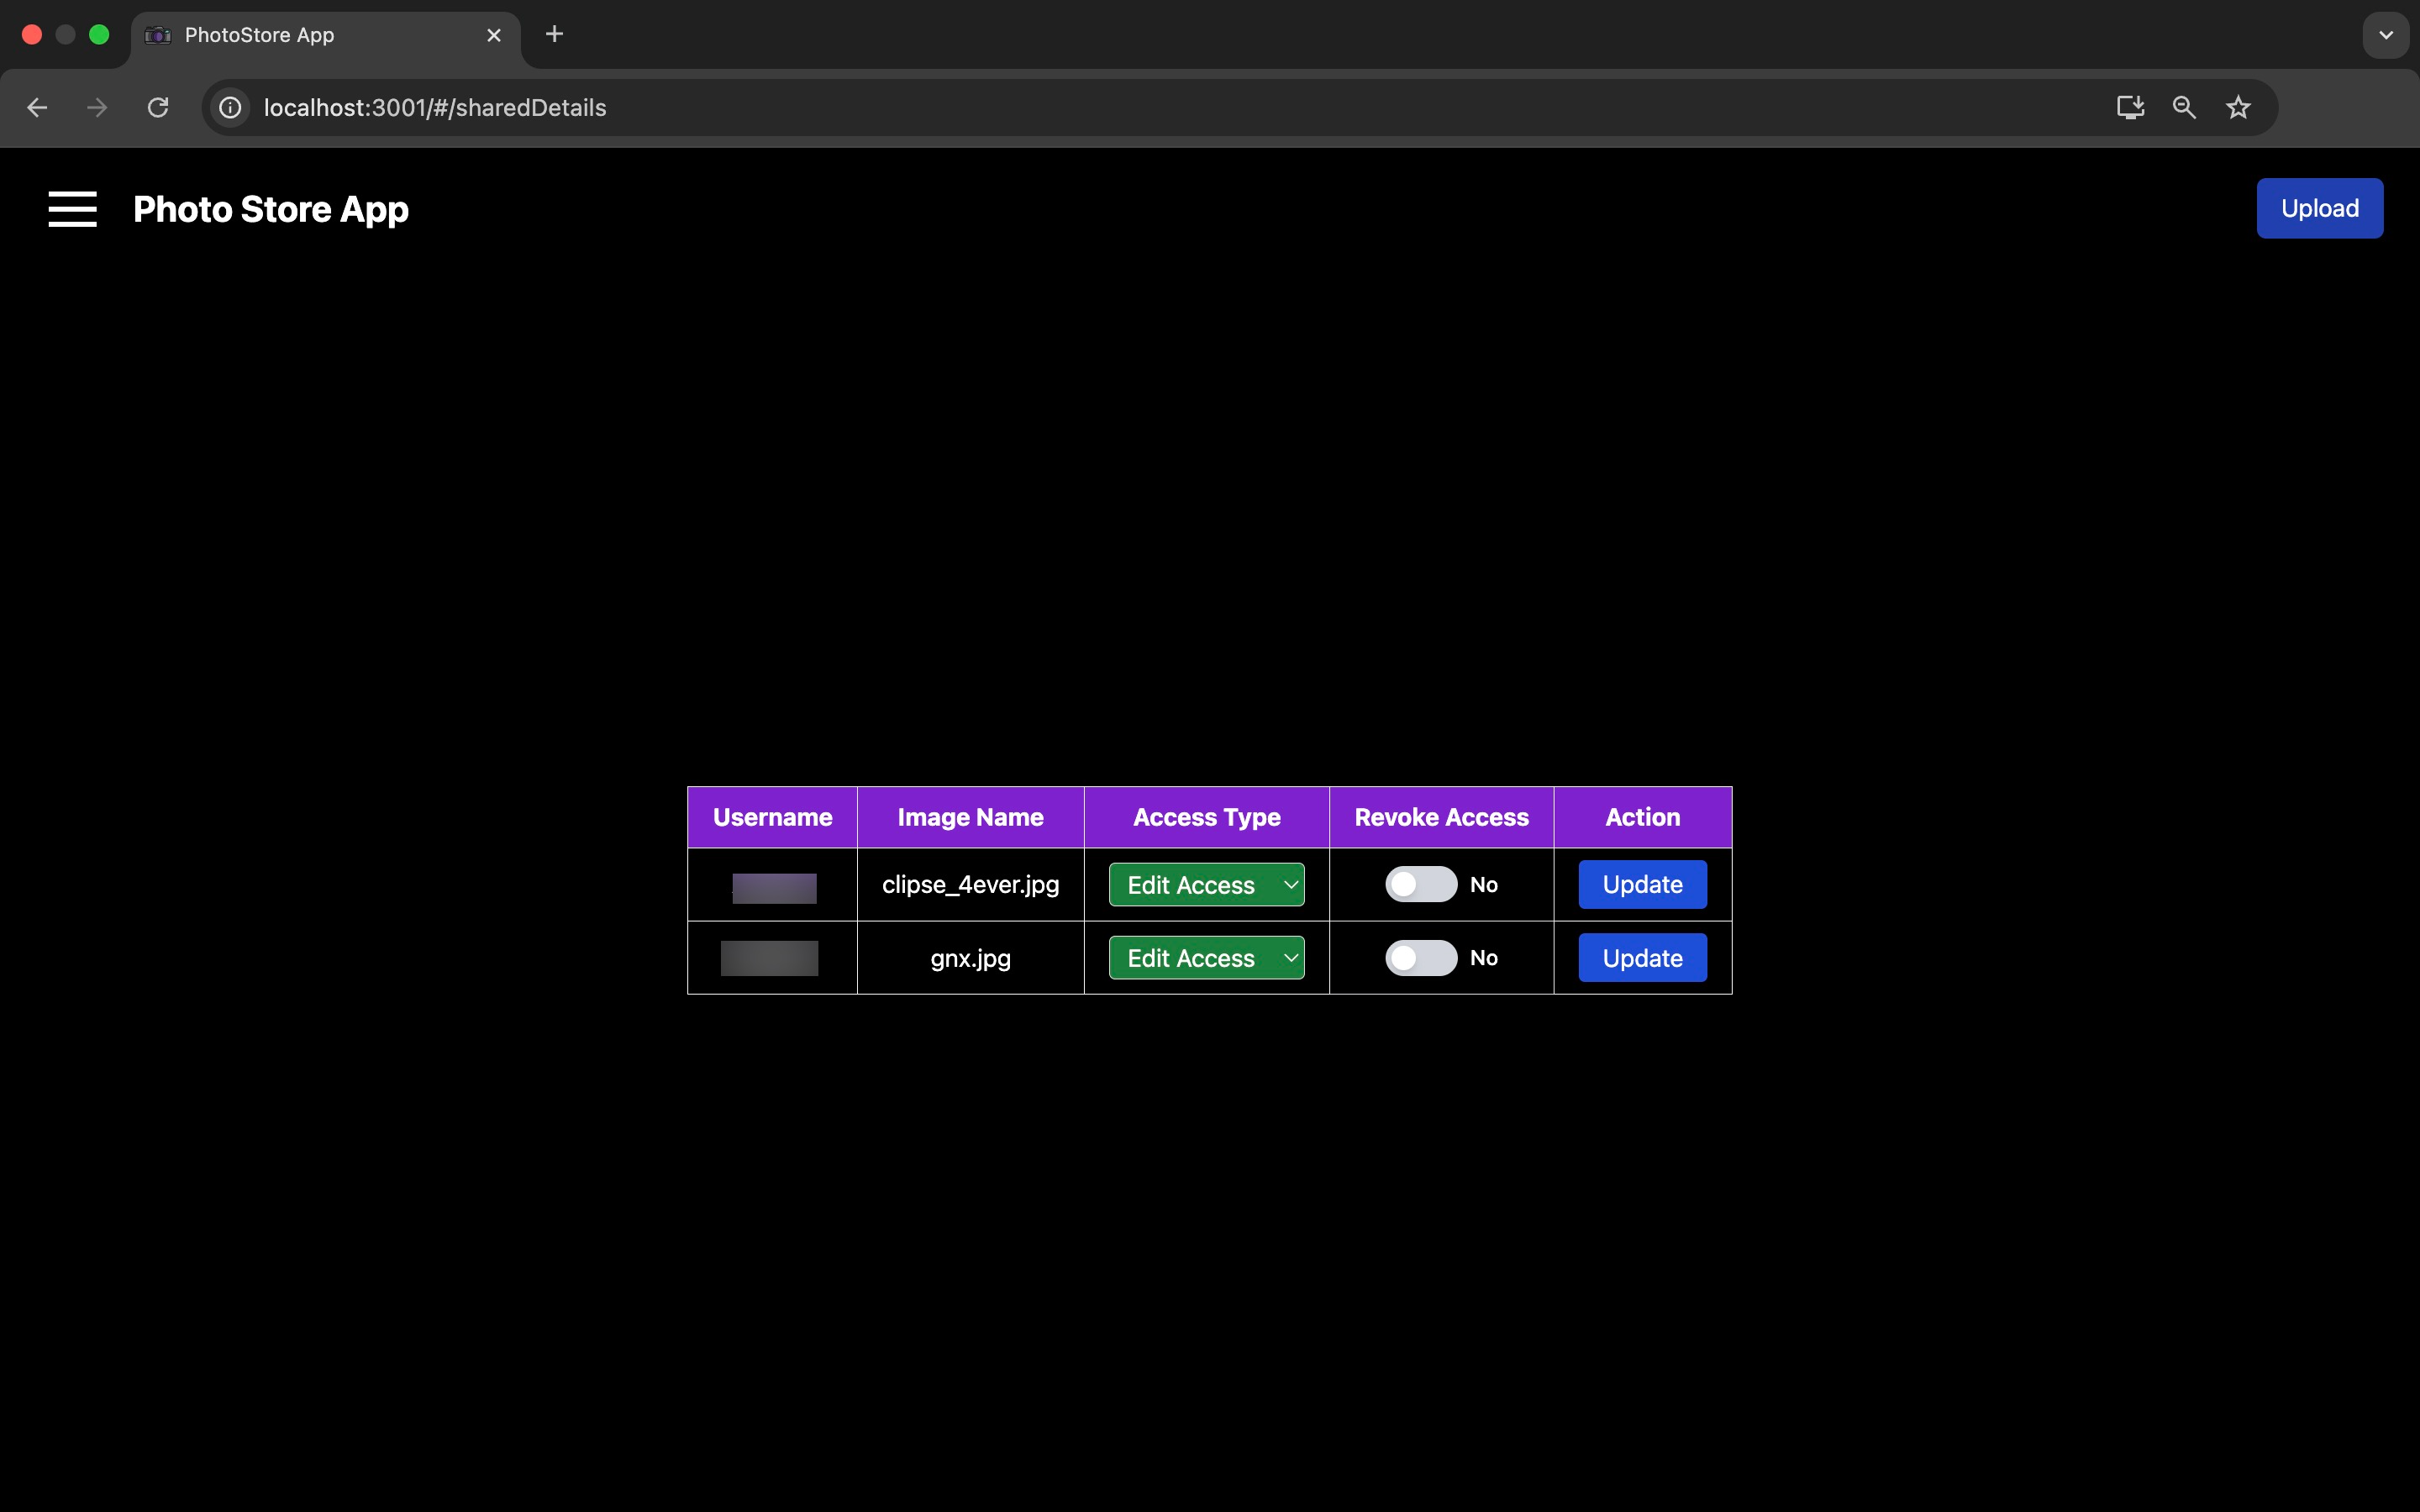
Use the Access Type drop-down to update the access level for the required image and click Update to render the changes.
You can also use the Revoke Access toggle and click Update to remove all access to the required image.

The shared user will no longer be able to view the previously shared image.
If the application is working as defined in this page, then you can deploy the application.
Last Updated 2025-12-16 11:54:44 +0530 IST