Deploy Your Application
We’re going to be using the Catalyst Pipelines service to deploy and maintain your application in both the Catalyst console and your required GitHub repository.
Using the Pipelines service allows us to use a platform dependent package like Sharp. We require the Sharp package to convert and render the uploaded images as thumbnails in the client.
Catalyst runs on a Linux machine, in order to use the sharp package and host it on Catalyst, you could install Linux based package library for sharp package and deploy the application. Alternatively, you could easily deploy the application using the Catalyst Pipelines service and all the required dependencies will be handled automatically. Using the Pipelines service allows you to seamlessly sync your application files between your GitHub repository and the Catalyst console.
To deploy the application using Pipelines:
-
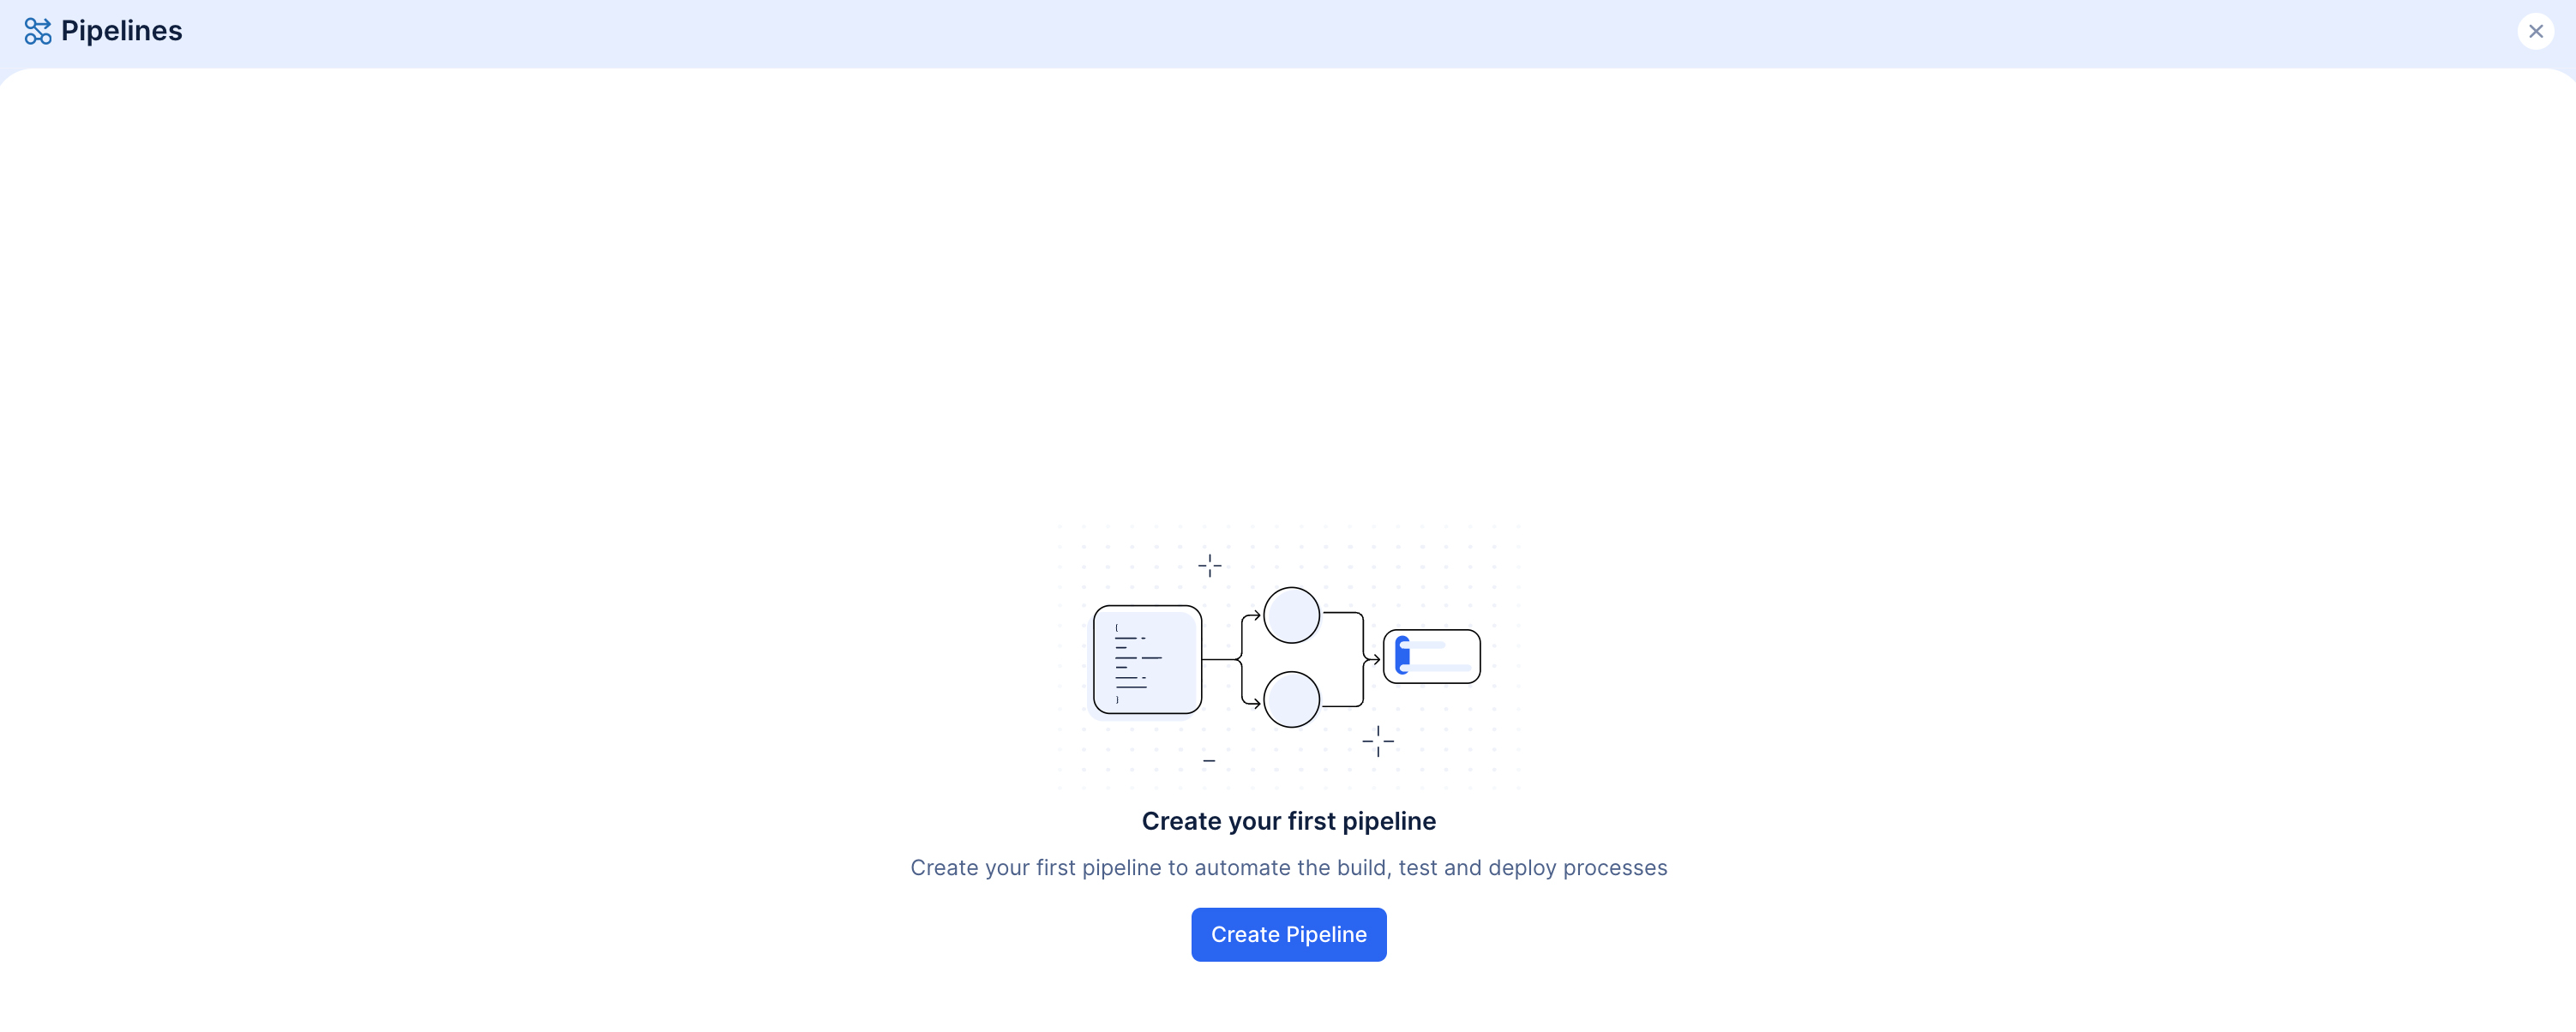
Click the Pipelines icon present in the Console’s sidebar to access the Pipelines service.
-
Click Create Pipelines
-
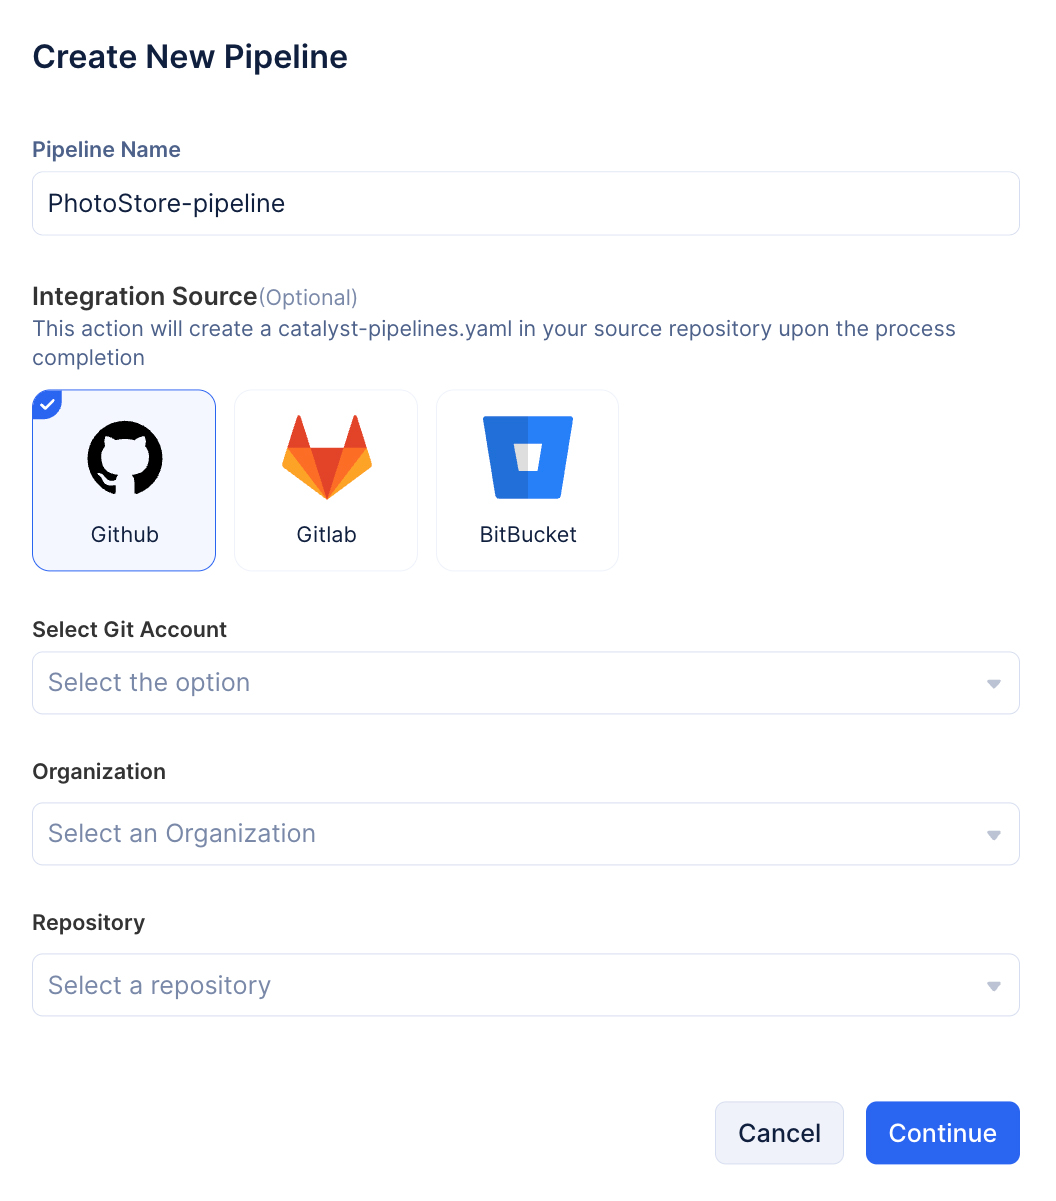
Name your pipeline as “PhotoStore-pipeline” and select GitHub as the integration source.
-
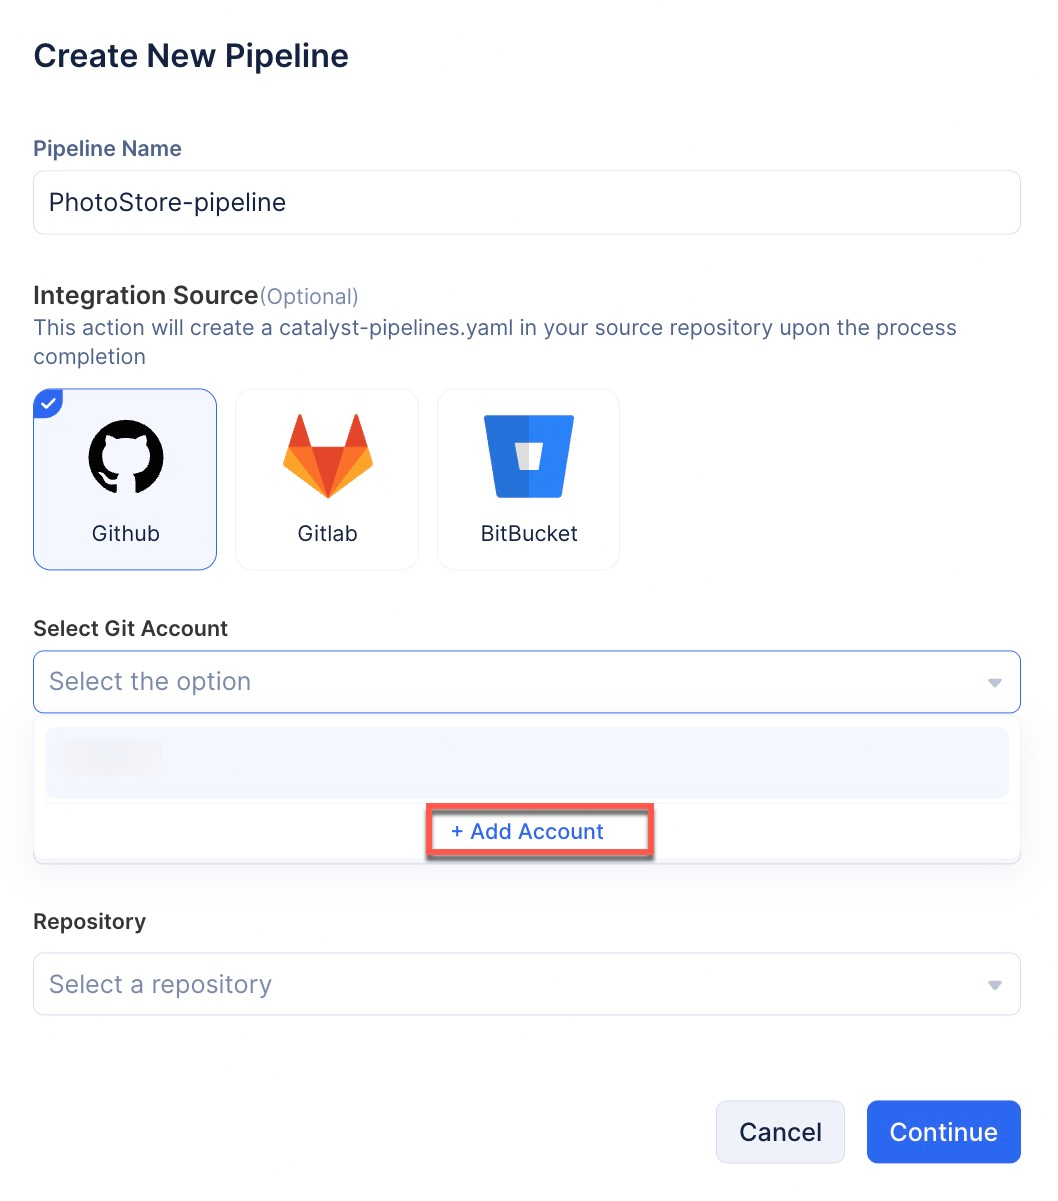
Add your GitHub account from the drop-down. If you haven’t added it previously, you can click the +Add Account button and follow the login steps to add the GitHub account to the Catalyst Pipelines service.
-
Select your required GitHub Organization, and the repository you had earlier created to maintain the application files.

-
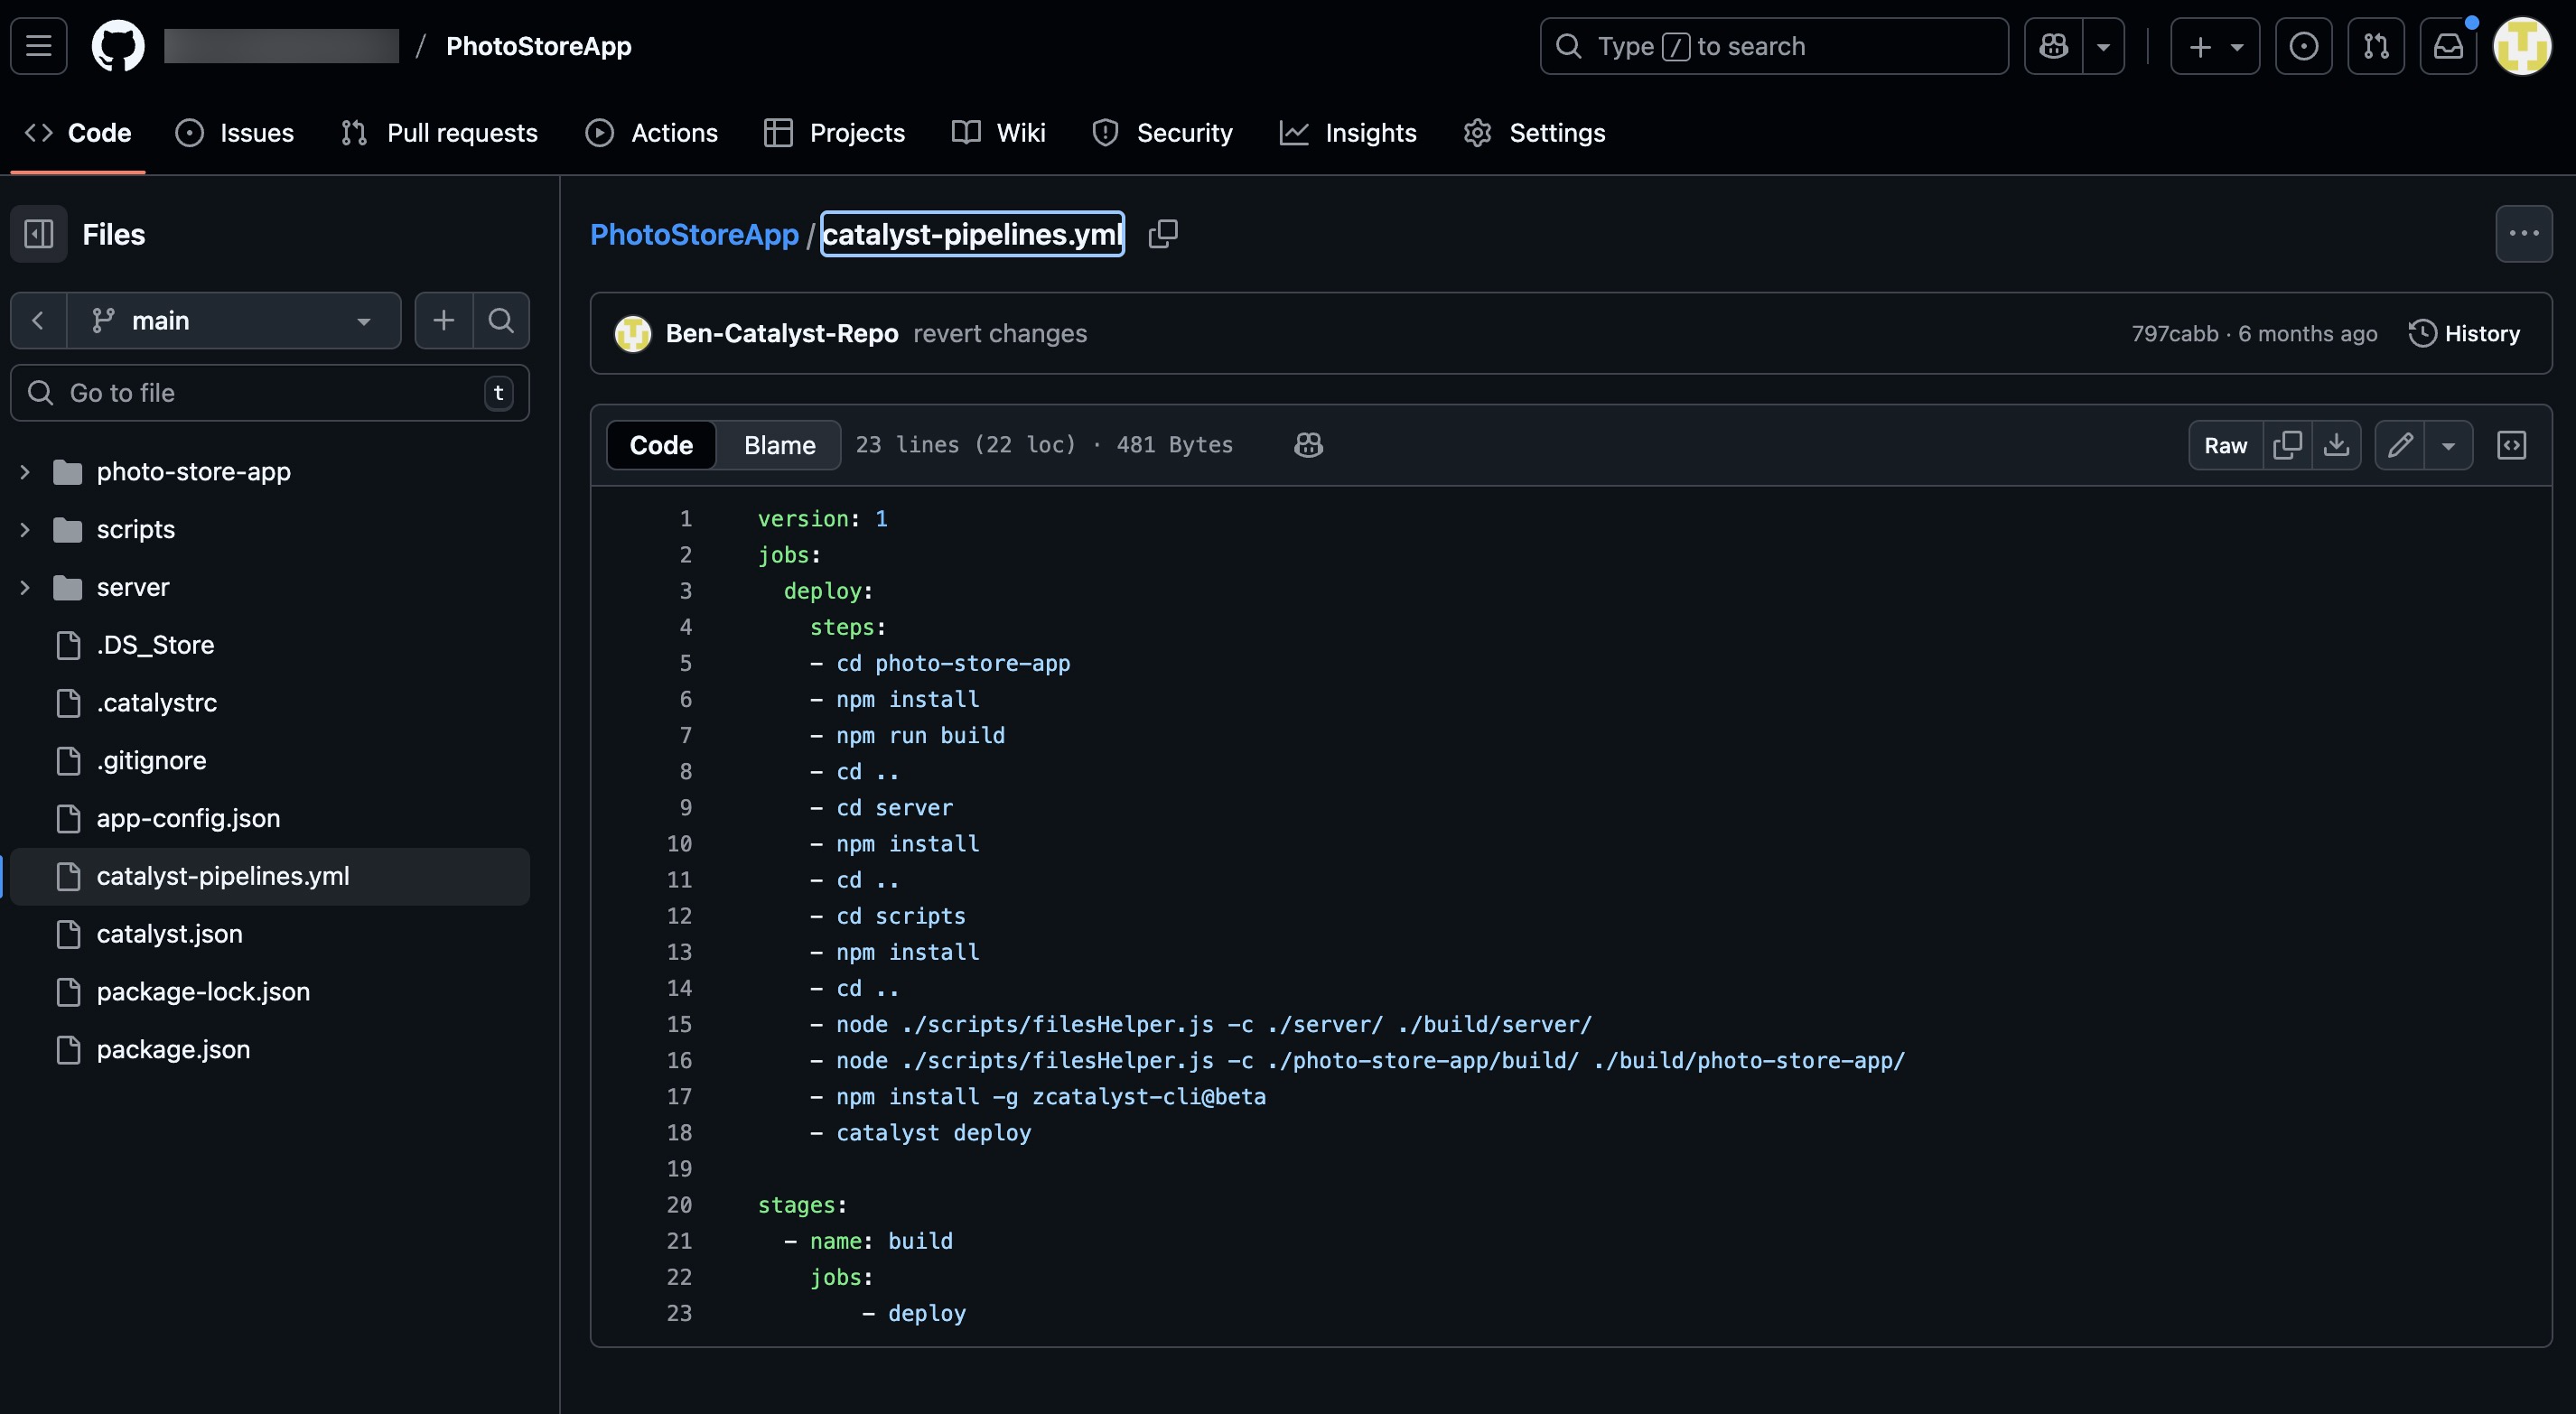
You will now be directed to the code-view of the catalyst-pipelines.yaml file.
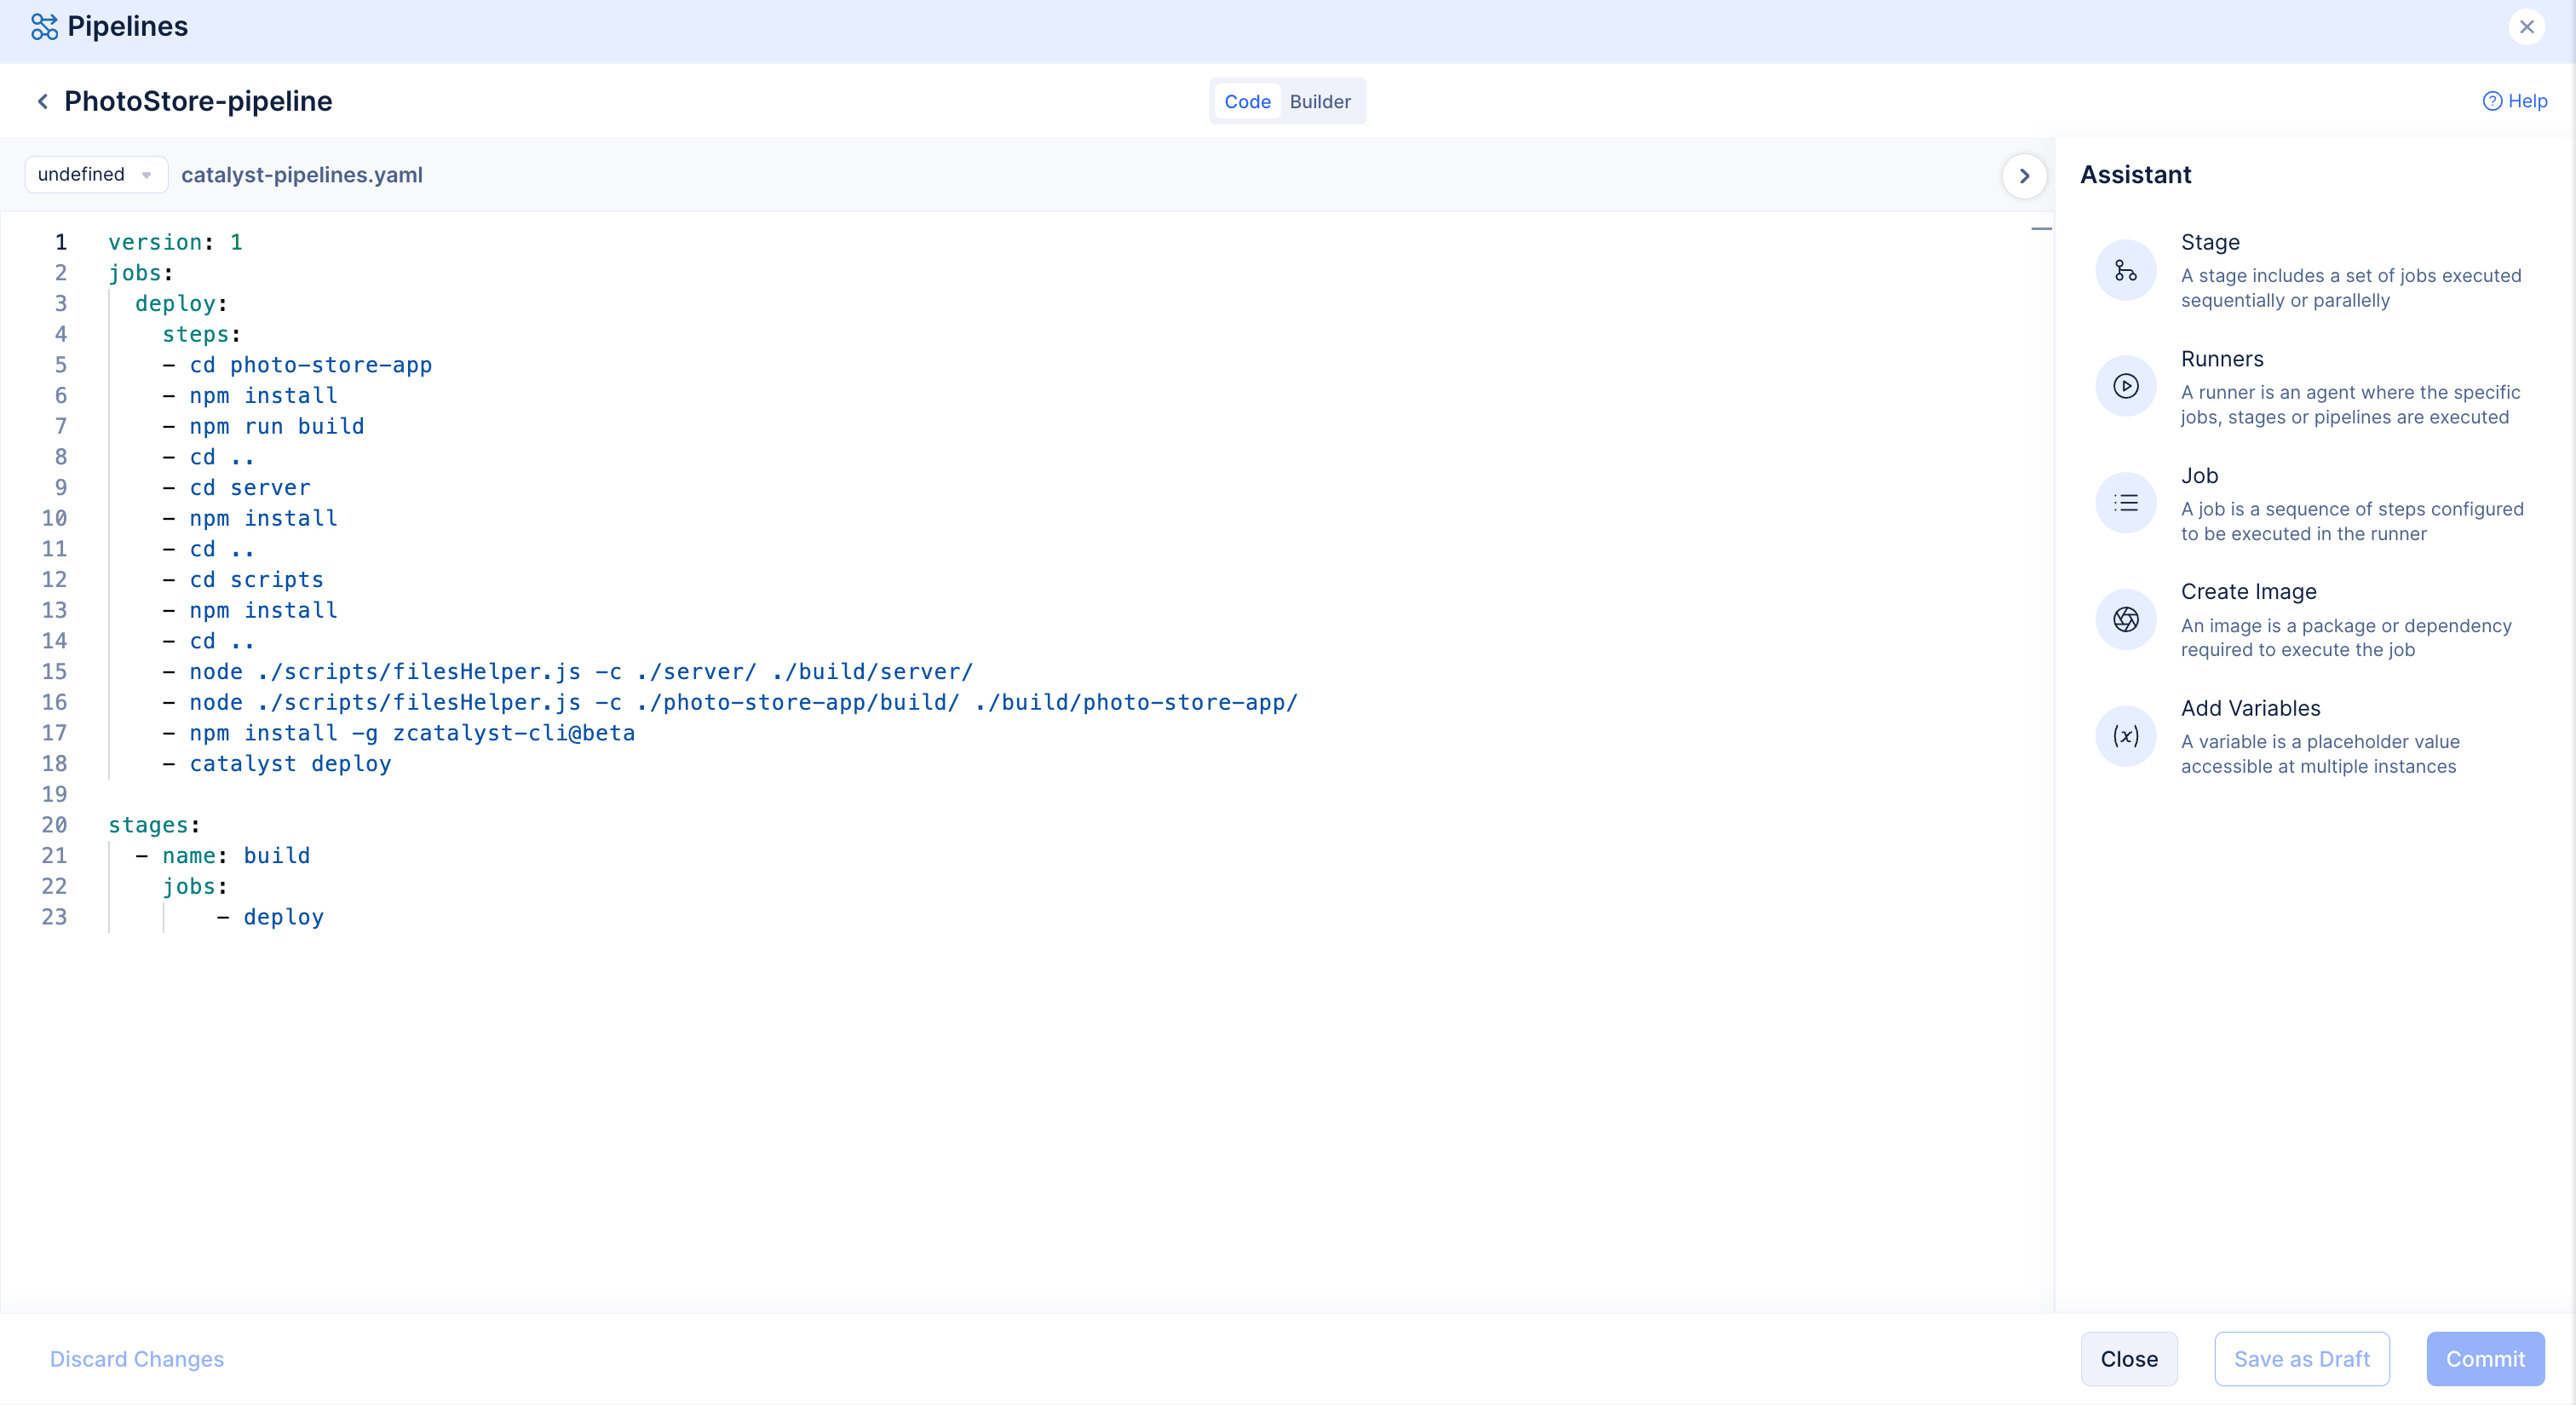
You can also click the Builder tab to configure the .yaml file using the UI.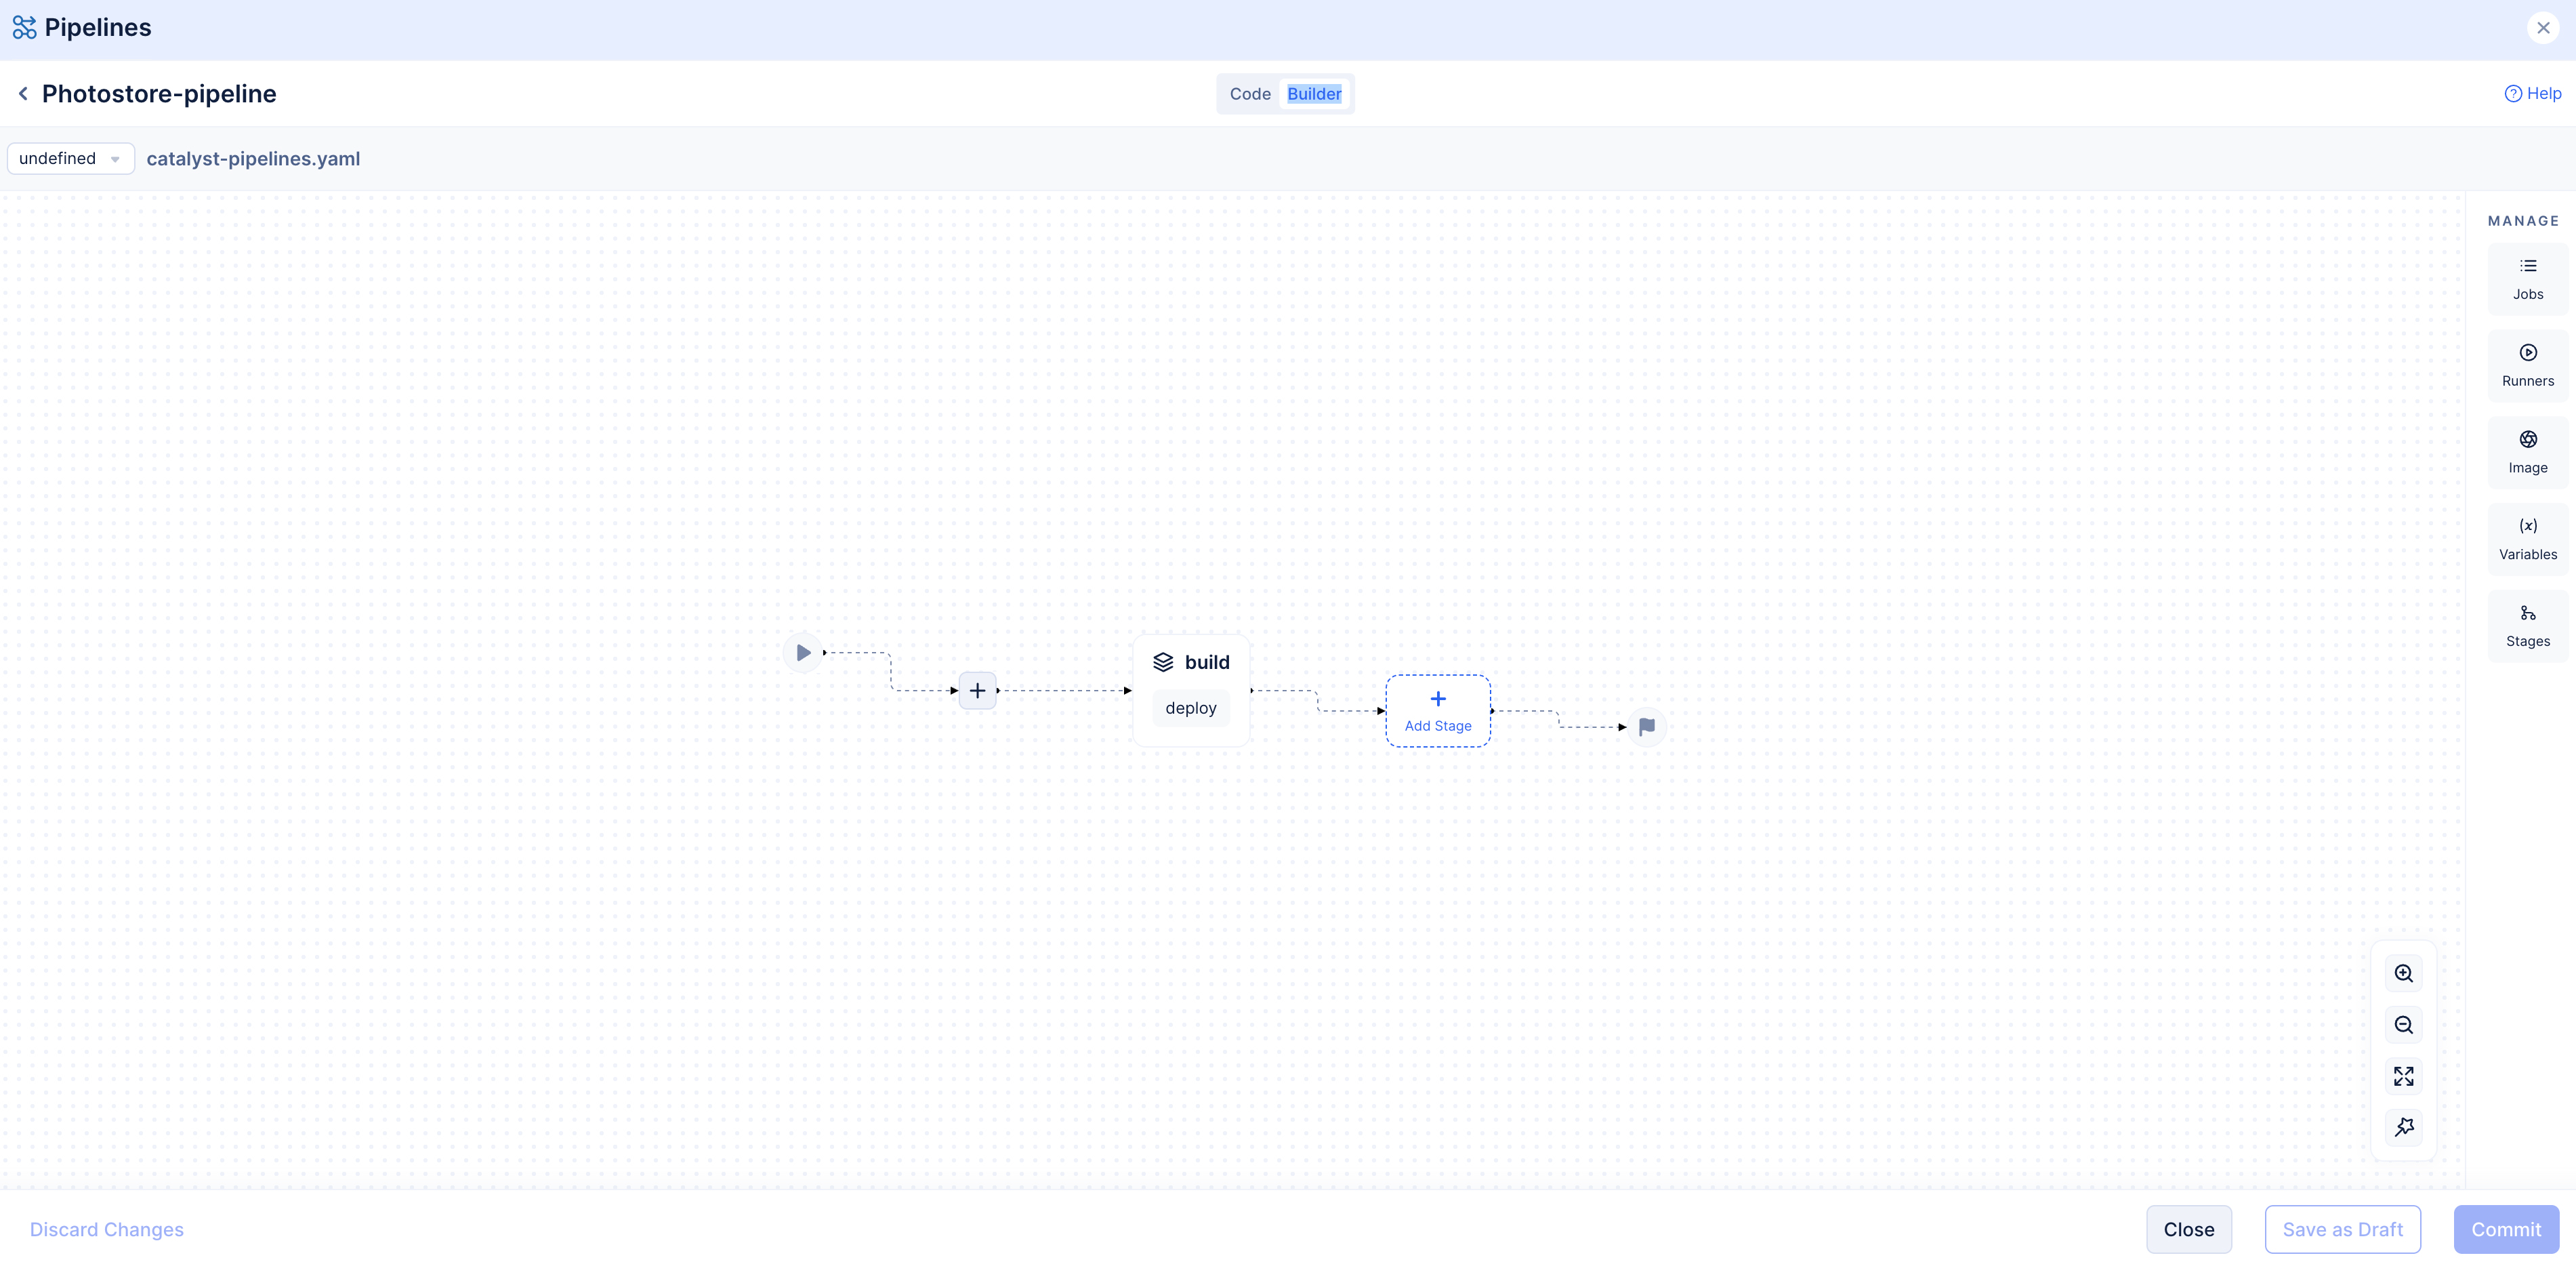
-
Copy and paste the following snippet to define the sequence of stages and configure your Pipeline’s flow.
version: 1
jobs:
  deploy:
    steps:
      - cd photo-store-app
      - npm install
      - npm run build
      - cd ..
      - cd server
      - npm install
      - cd ..
      - cd scripts
      - npm install
      - cd ..
      - node ./scripts/filesHelper.js -c ./server/ ./build/server/
      - node ./scripts/filesHelper.js -c ./photo-store-app/build/ ./build/photo-store-app/
      - npm install -g zcatalyst-cli@beta
      - catalyst deploy
stages:
  - name: build
    jobs:
      - deploy
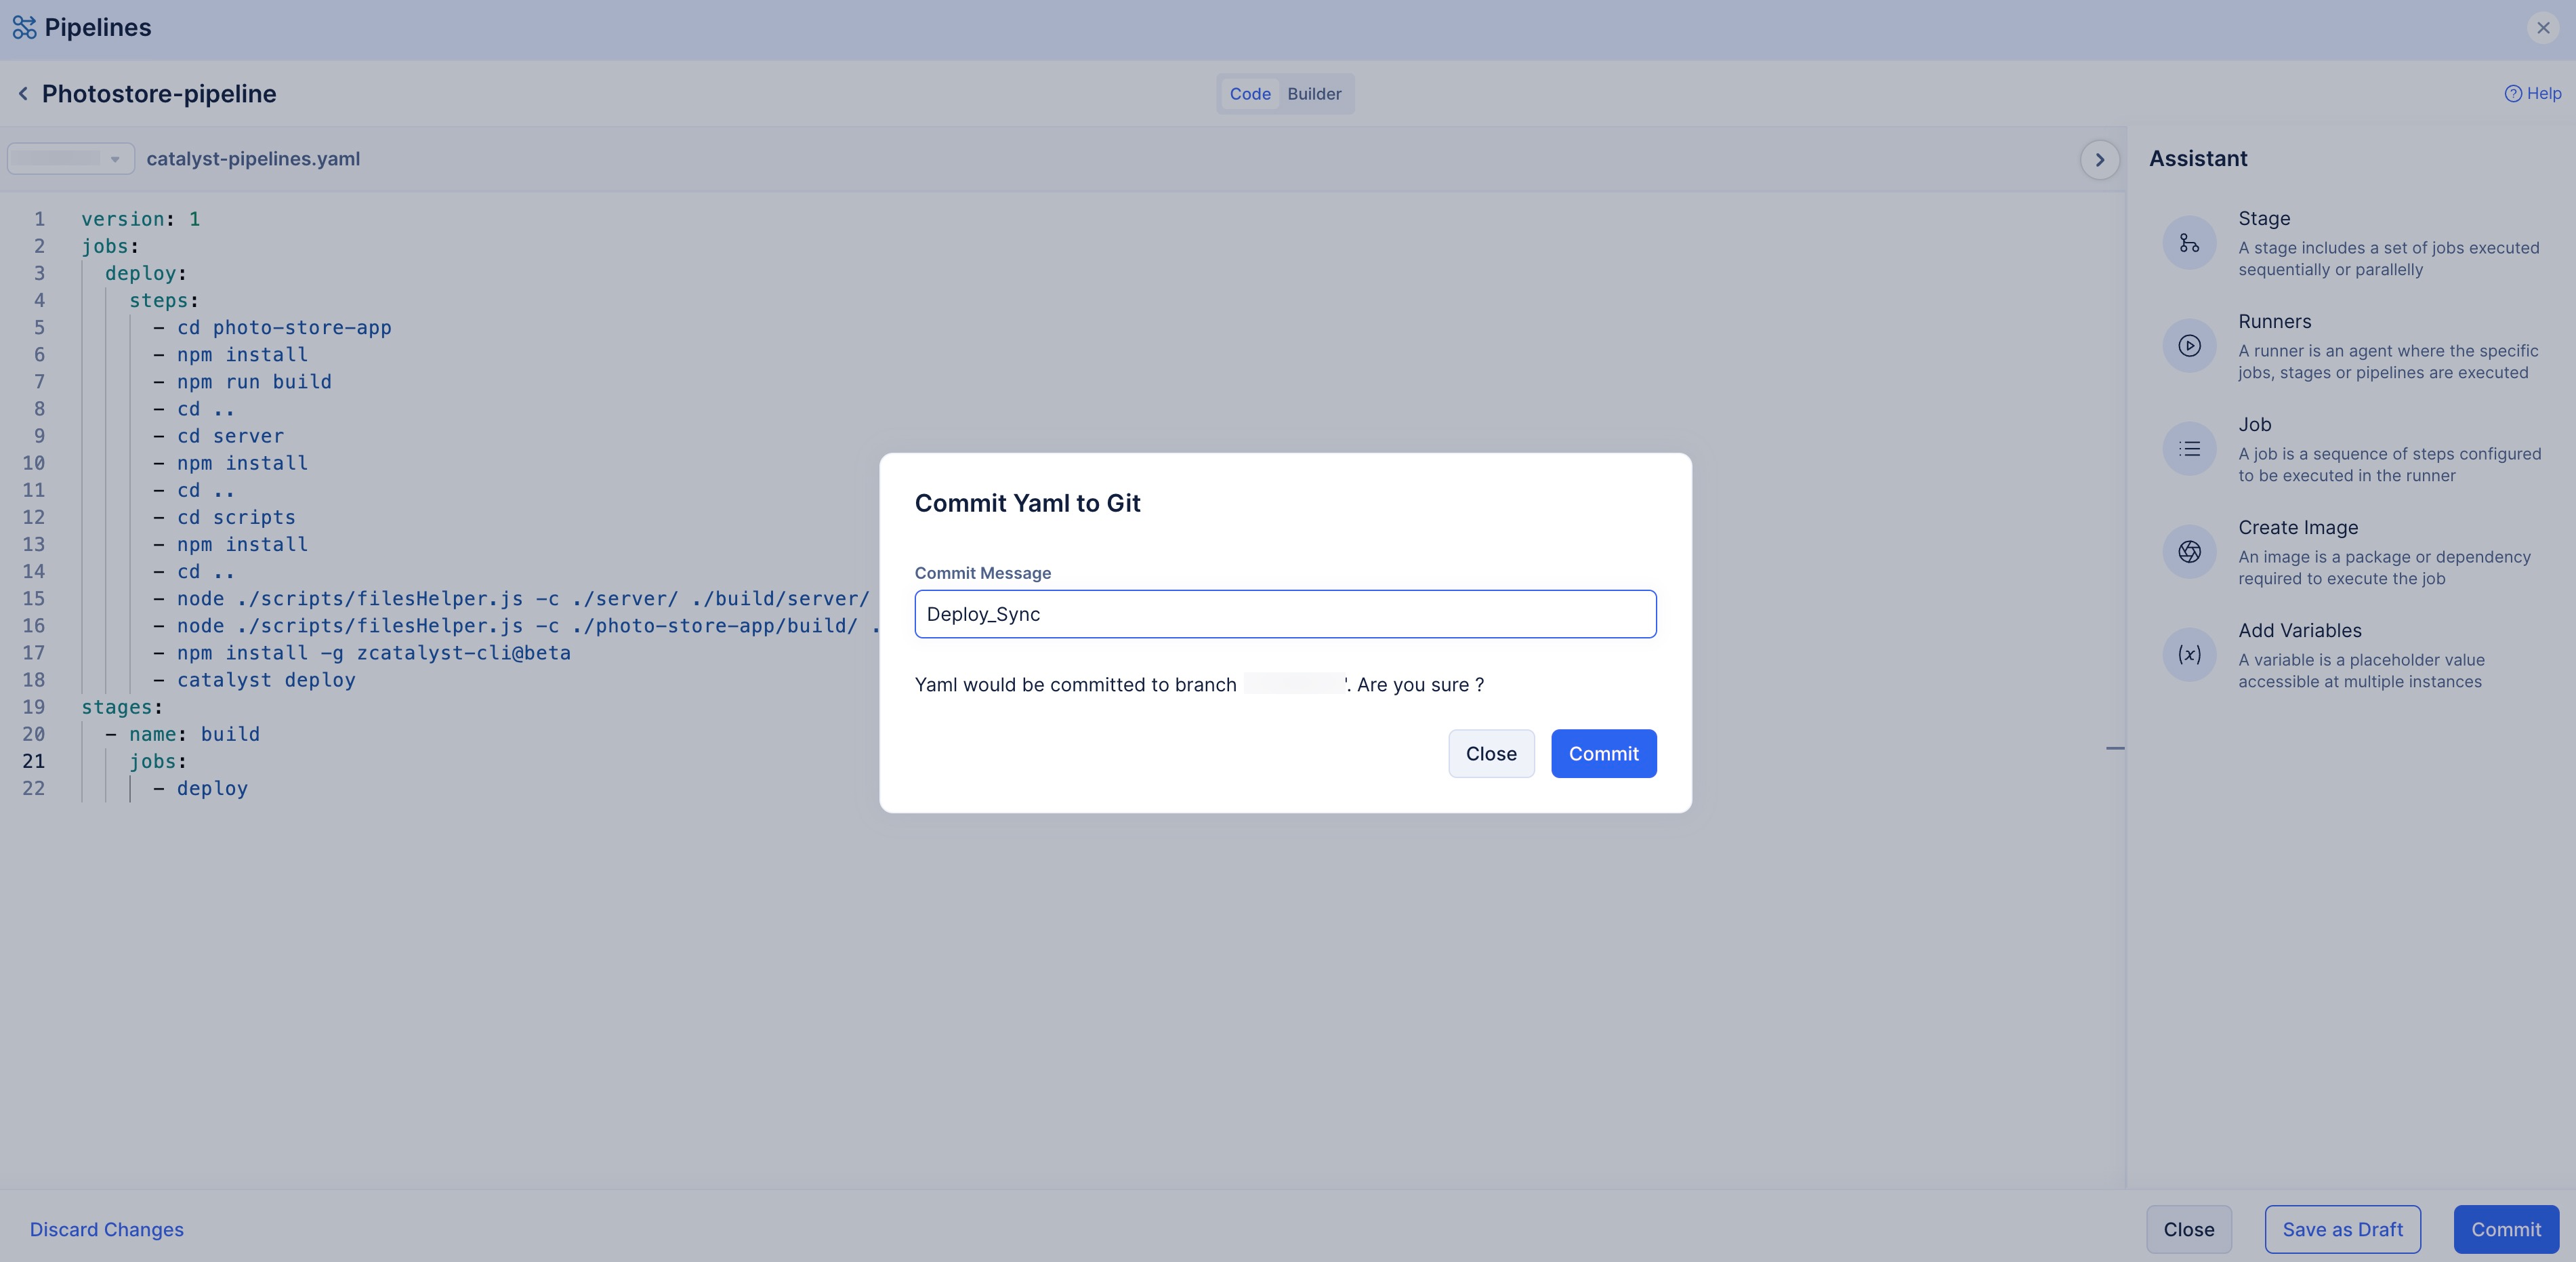
-
Click Commit to execute your Pipeline.

-
Provide a commit message and click Commit.
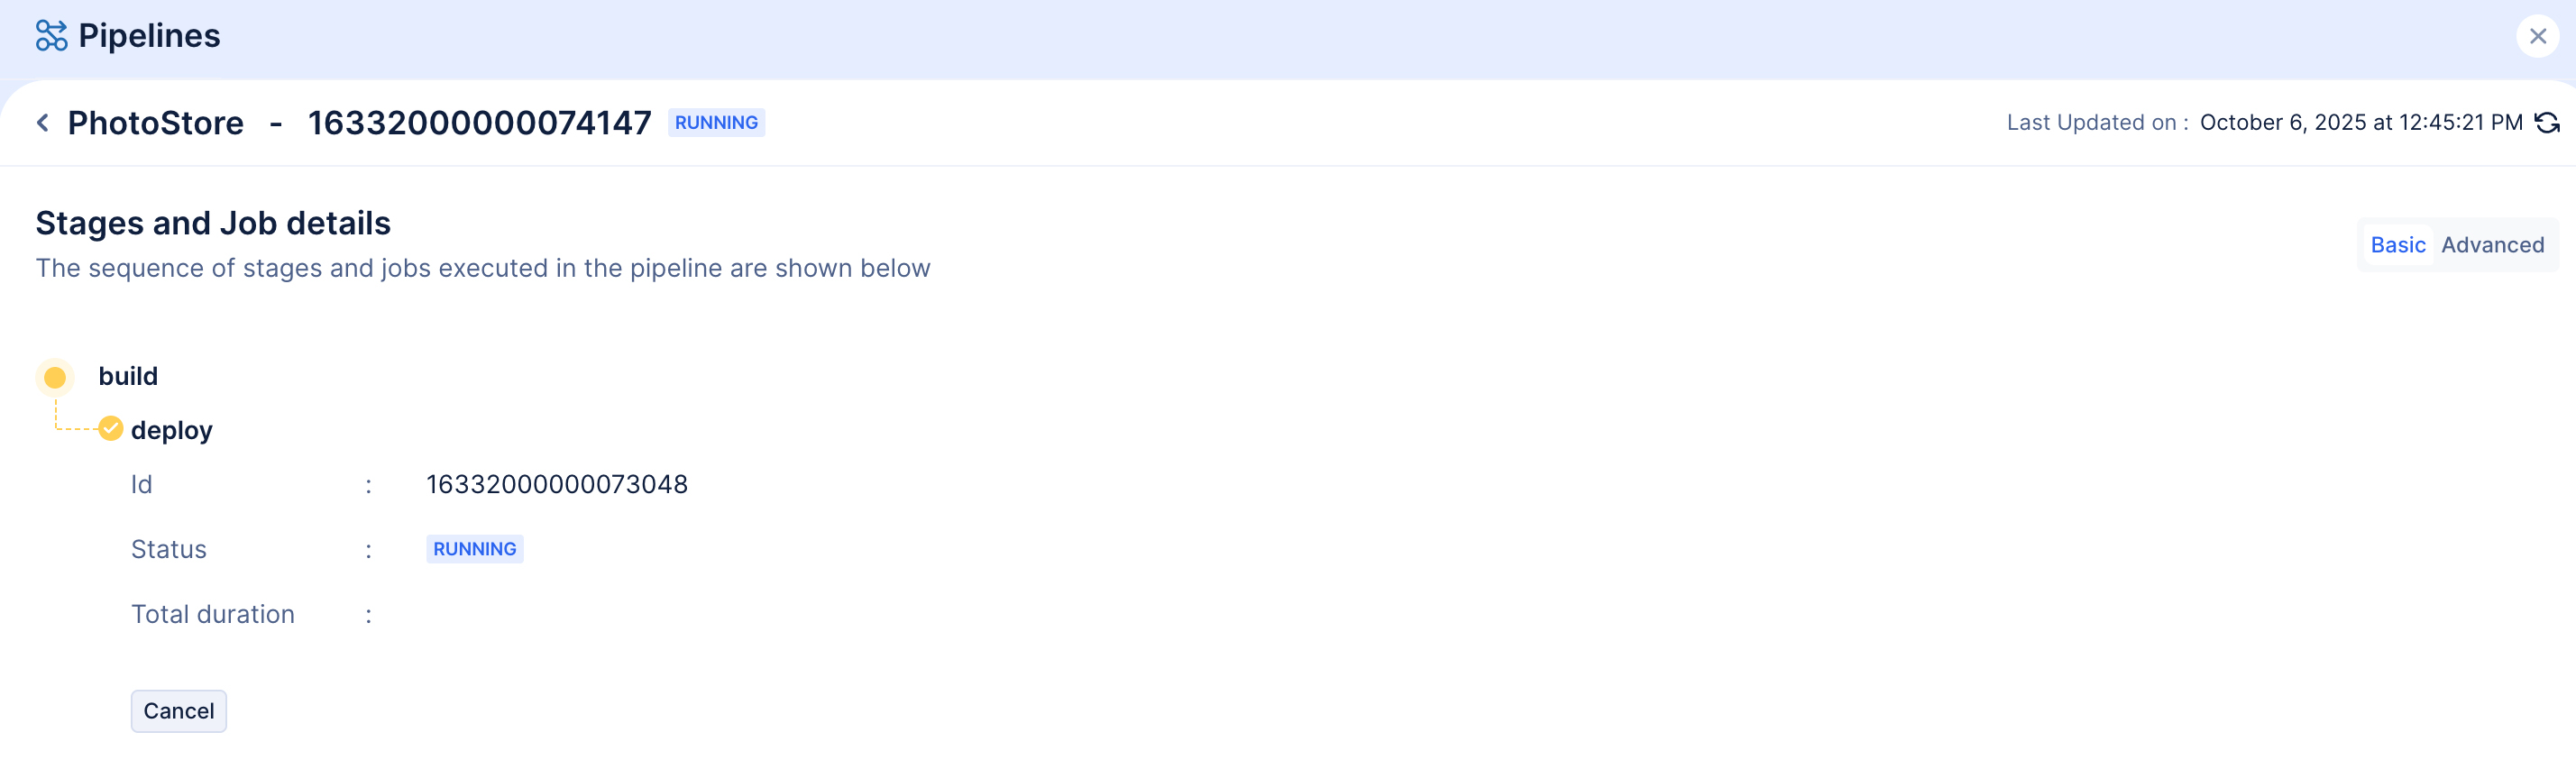
You will be directed to the overview section, where the status of the pipeline will be displayed along with other general details.
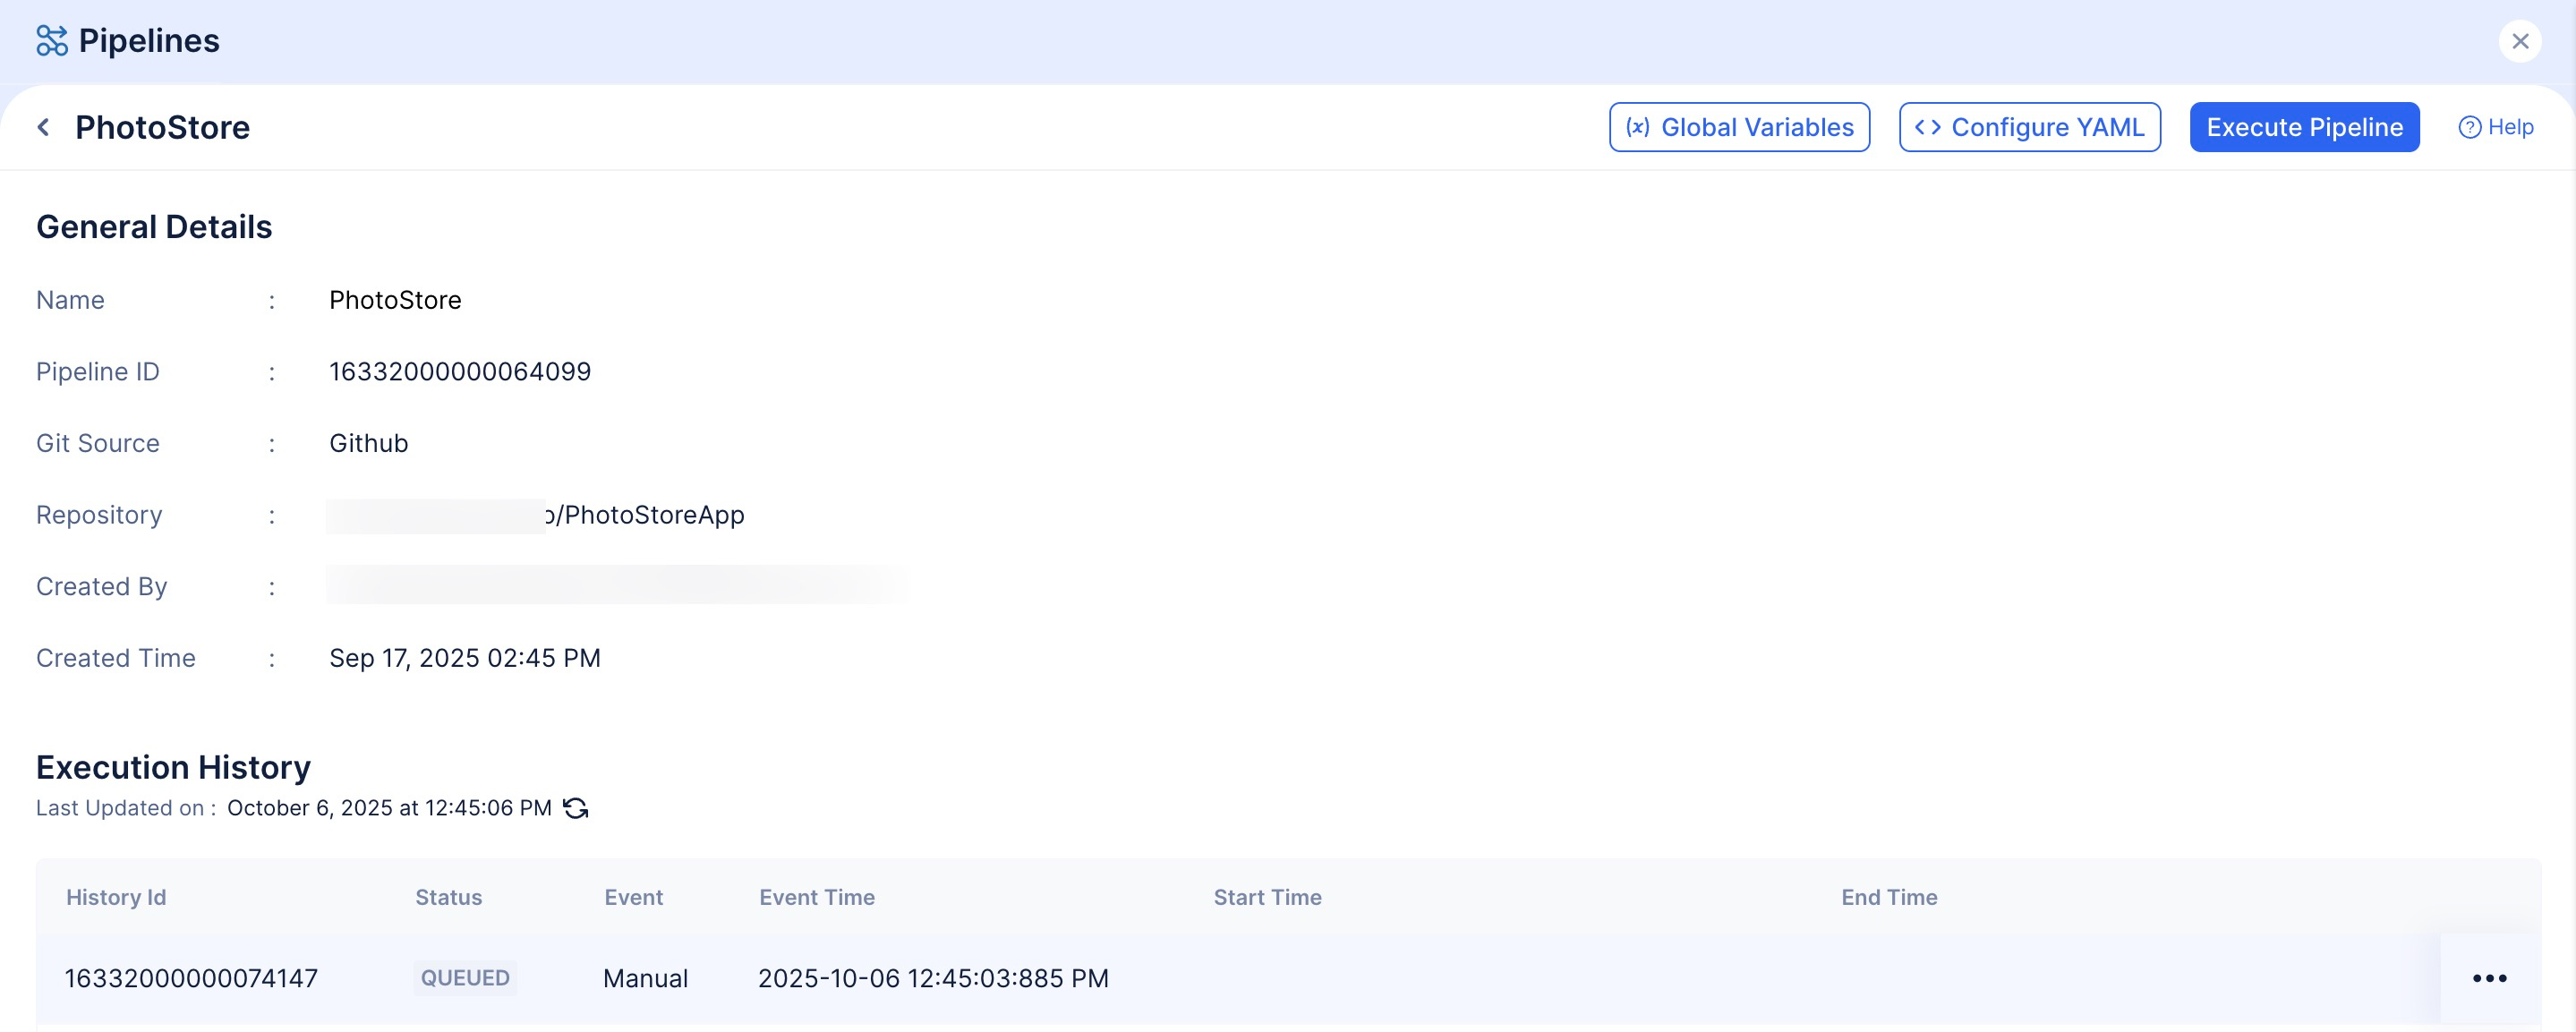
With this step, the Pipeline has been configured and it will automatically begin its execution.
Add Global Variables
We will be adding two Global Variables for this Pipeline.
- CATALYST_TOKEN: This variable needs to be added to point your local CLI to the Pipeline. Steps to generate the required token are listed below.
- CI: You will need to set the value as False. This will ensure that the Pipeline will not fail even if there happens to be warnings in your code.
Generate Catalyst Token
We need to generate a token to allow Catalyst CLI to execute CLI commands from your local system to the Pipeline.
To generate a token:
- Execute the following command in your CLI
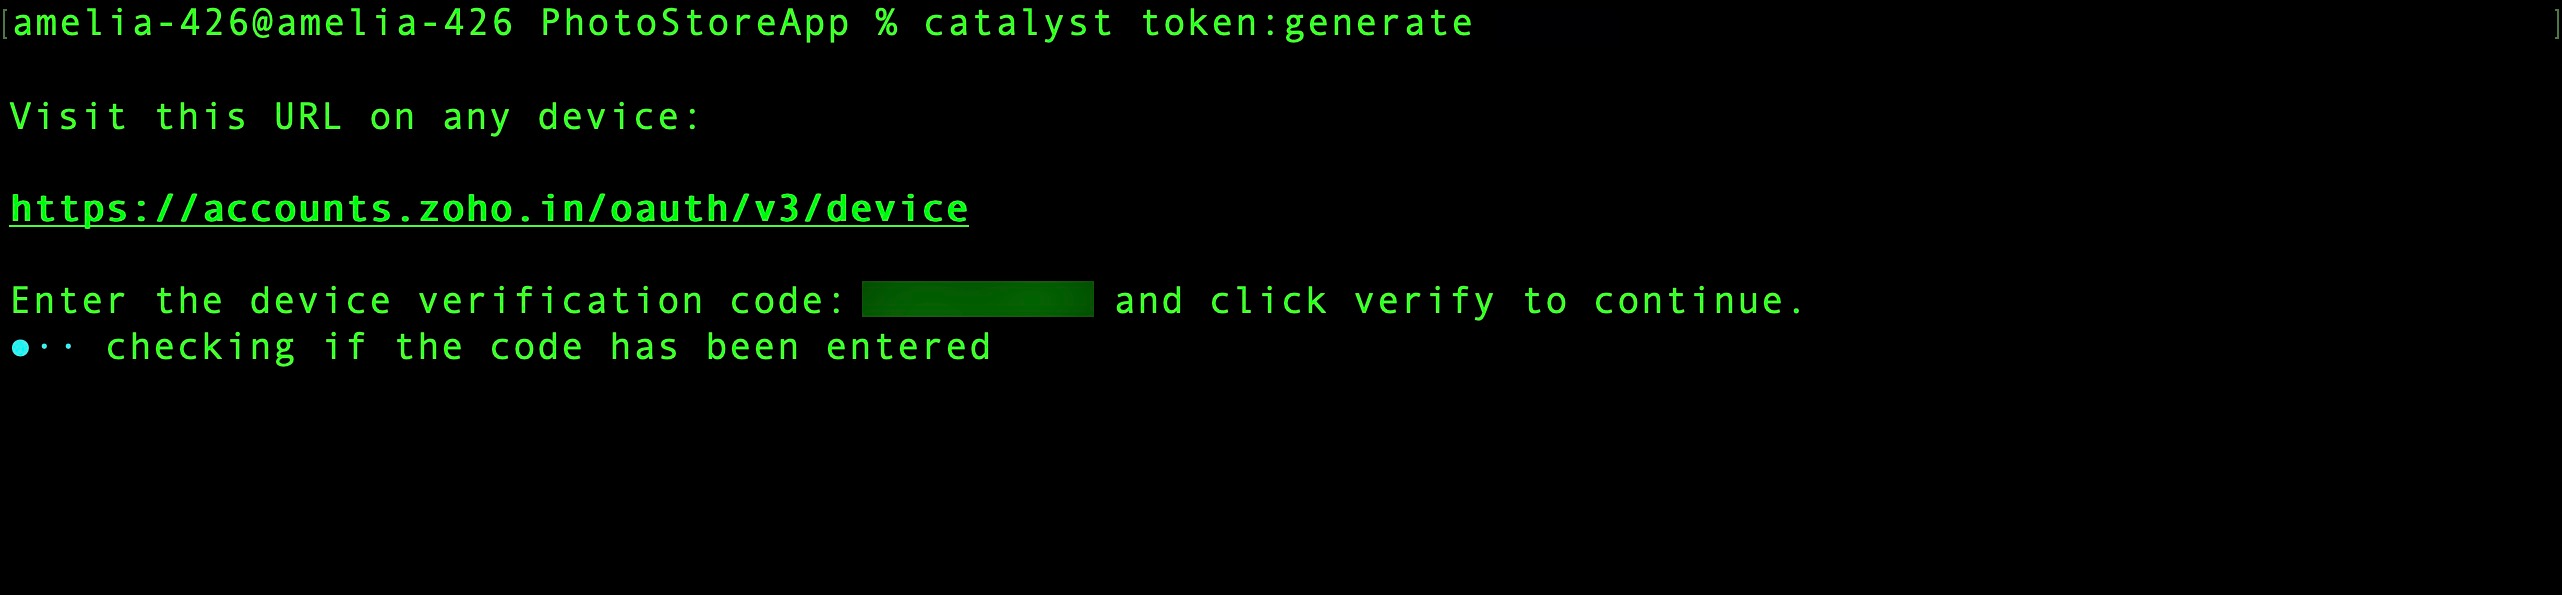
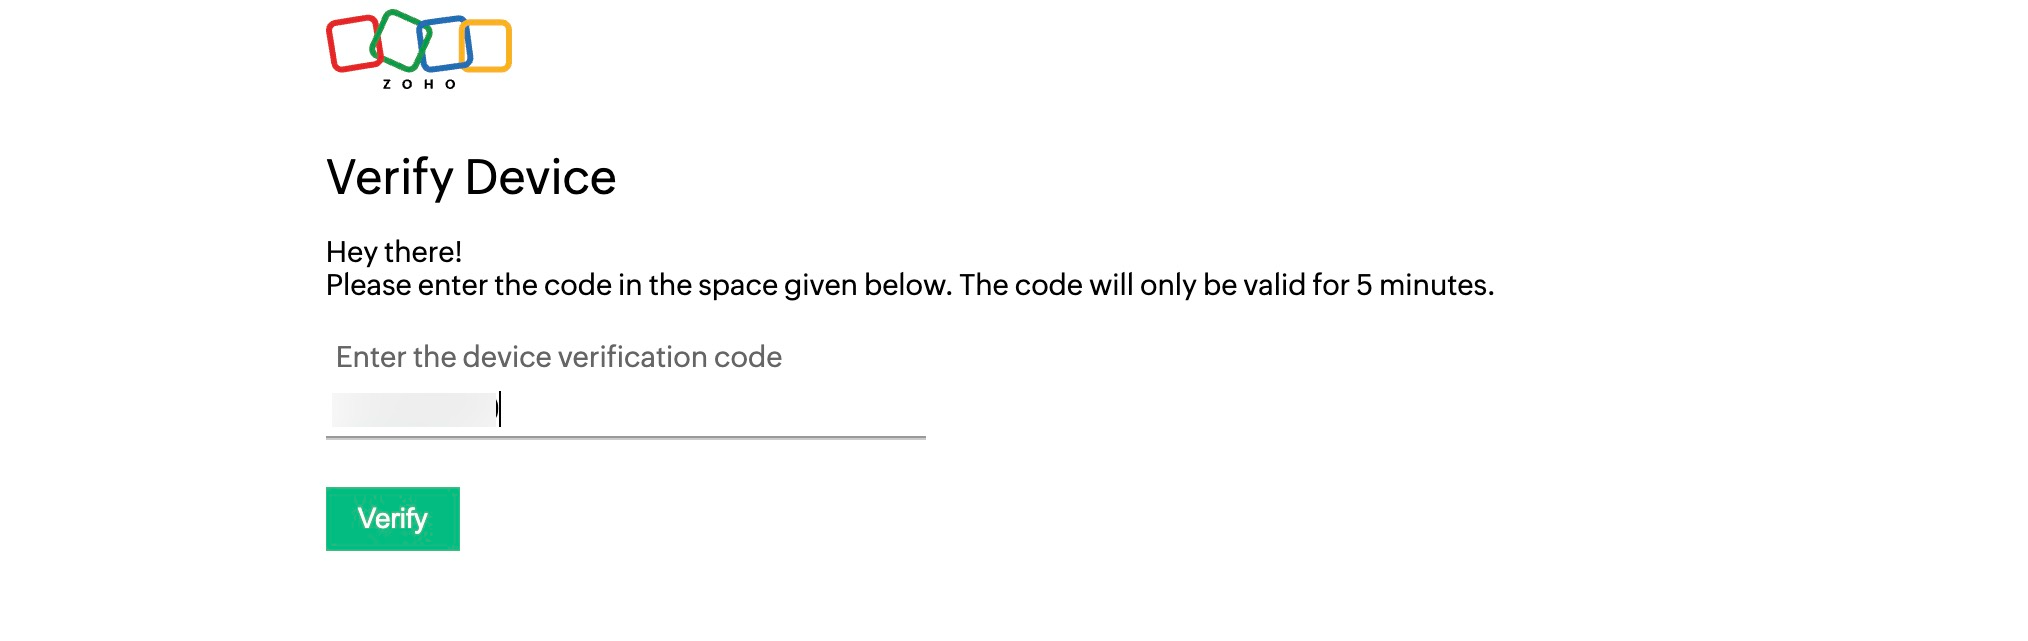
- Navigate to the URL displayed in your CLI, enter the verification code generated in the CLI, and click Verify.
Once the CLI is verified, the token will be generated.

Now, let’s begin adding the required global variables.
To add Global Variables:
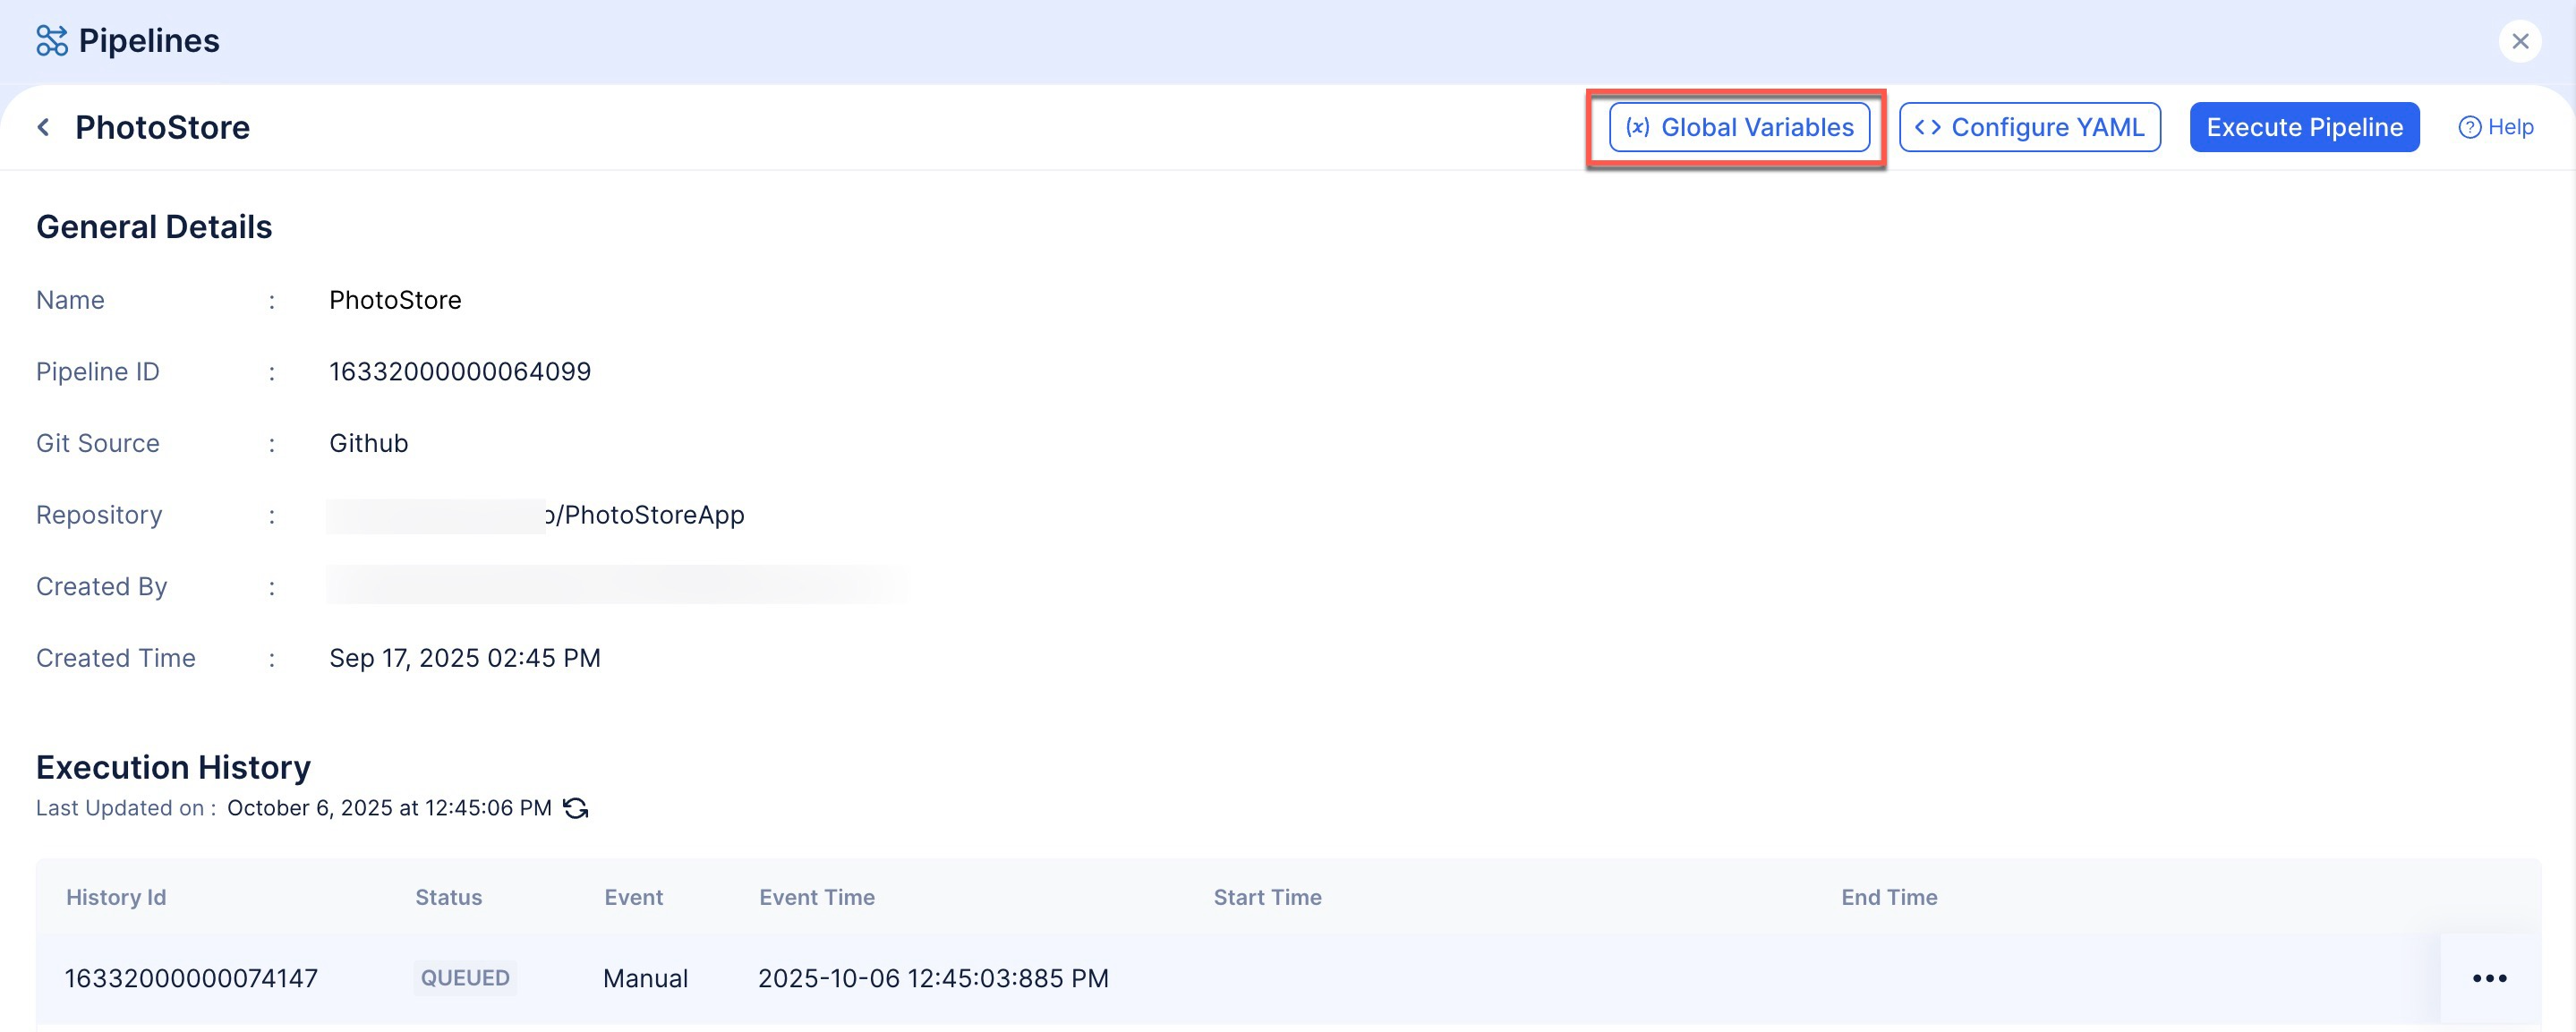
-
Click Global Variables.
-
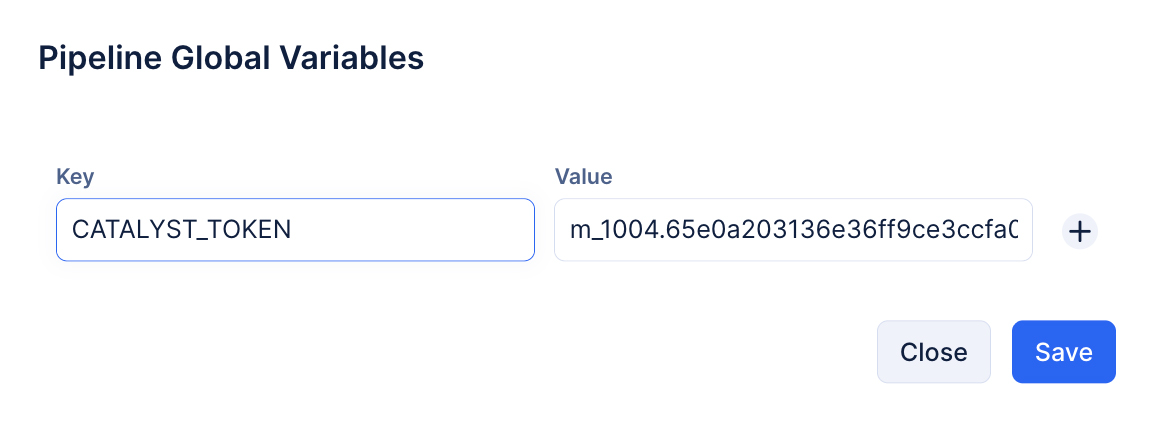
Enter CATALYST_TOKEN as key and the generated token as the value. Click the + icon to add the next token.
-
Enter CI as the key and False as its value. Click Save to add the variables.
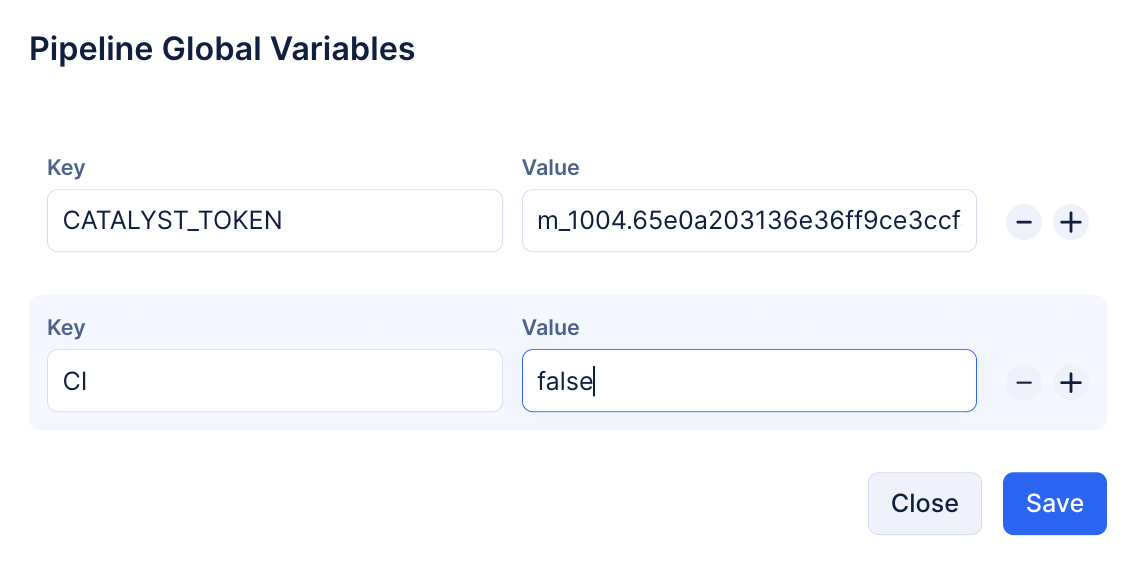
The required variables have been added.
You can check the status of the pipeline by clicking on the executed pipeline for more details.
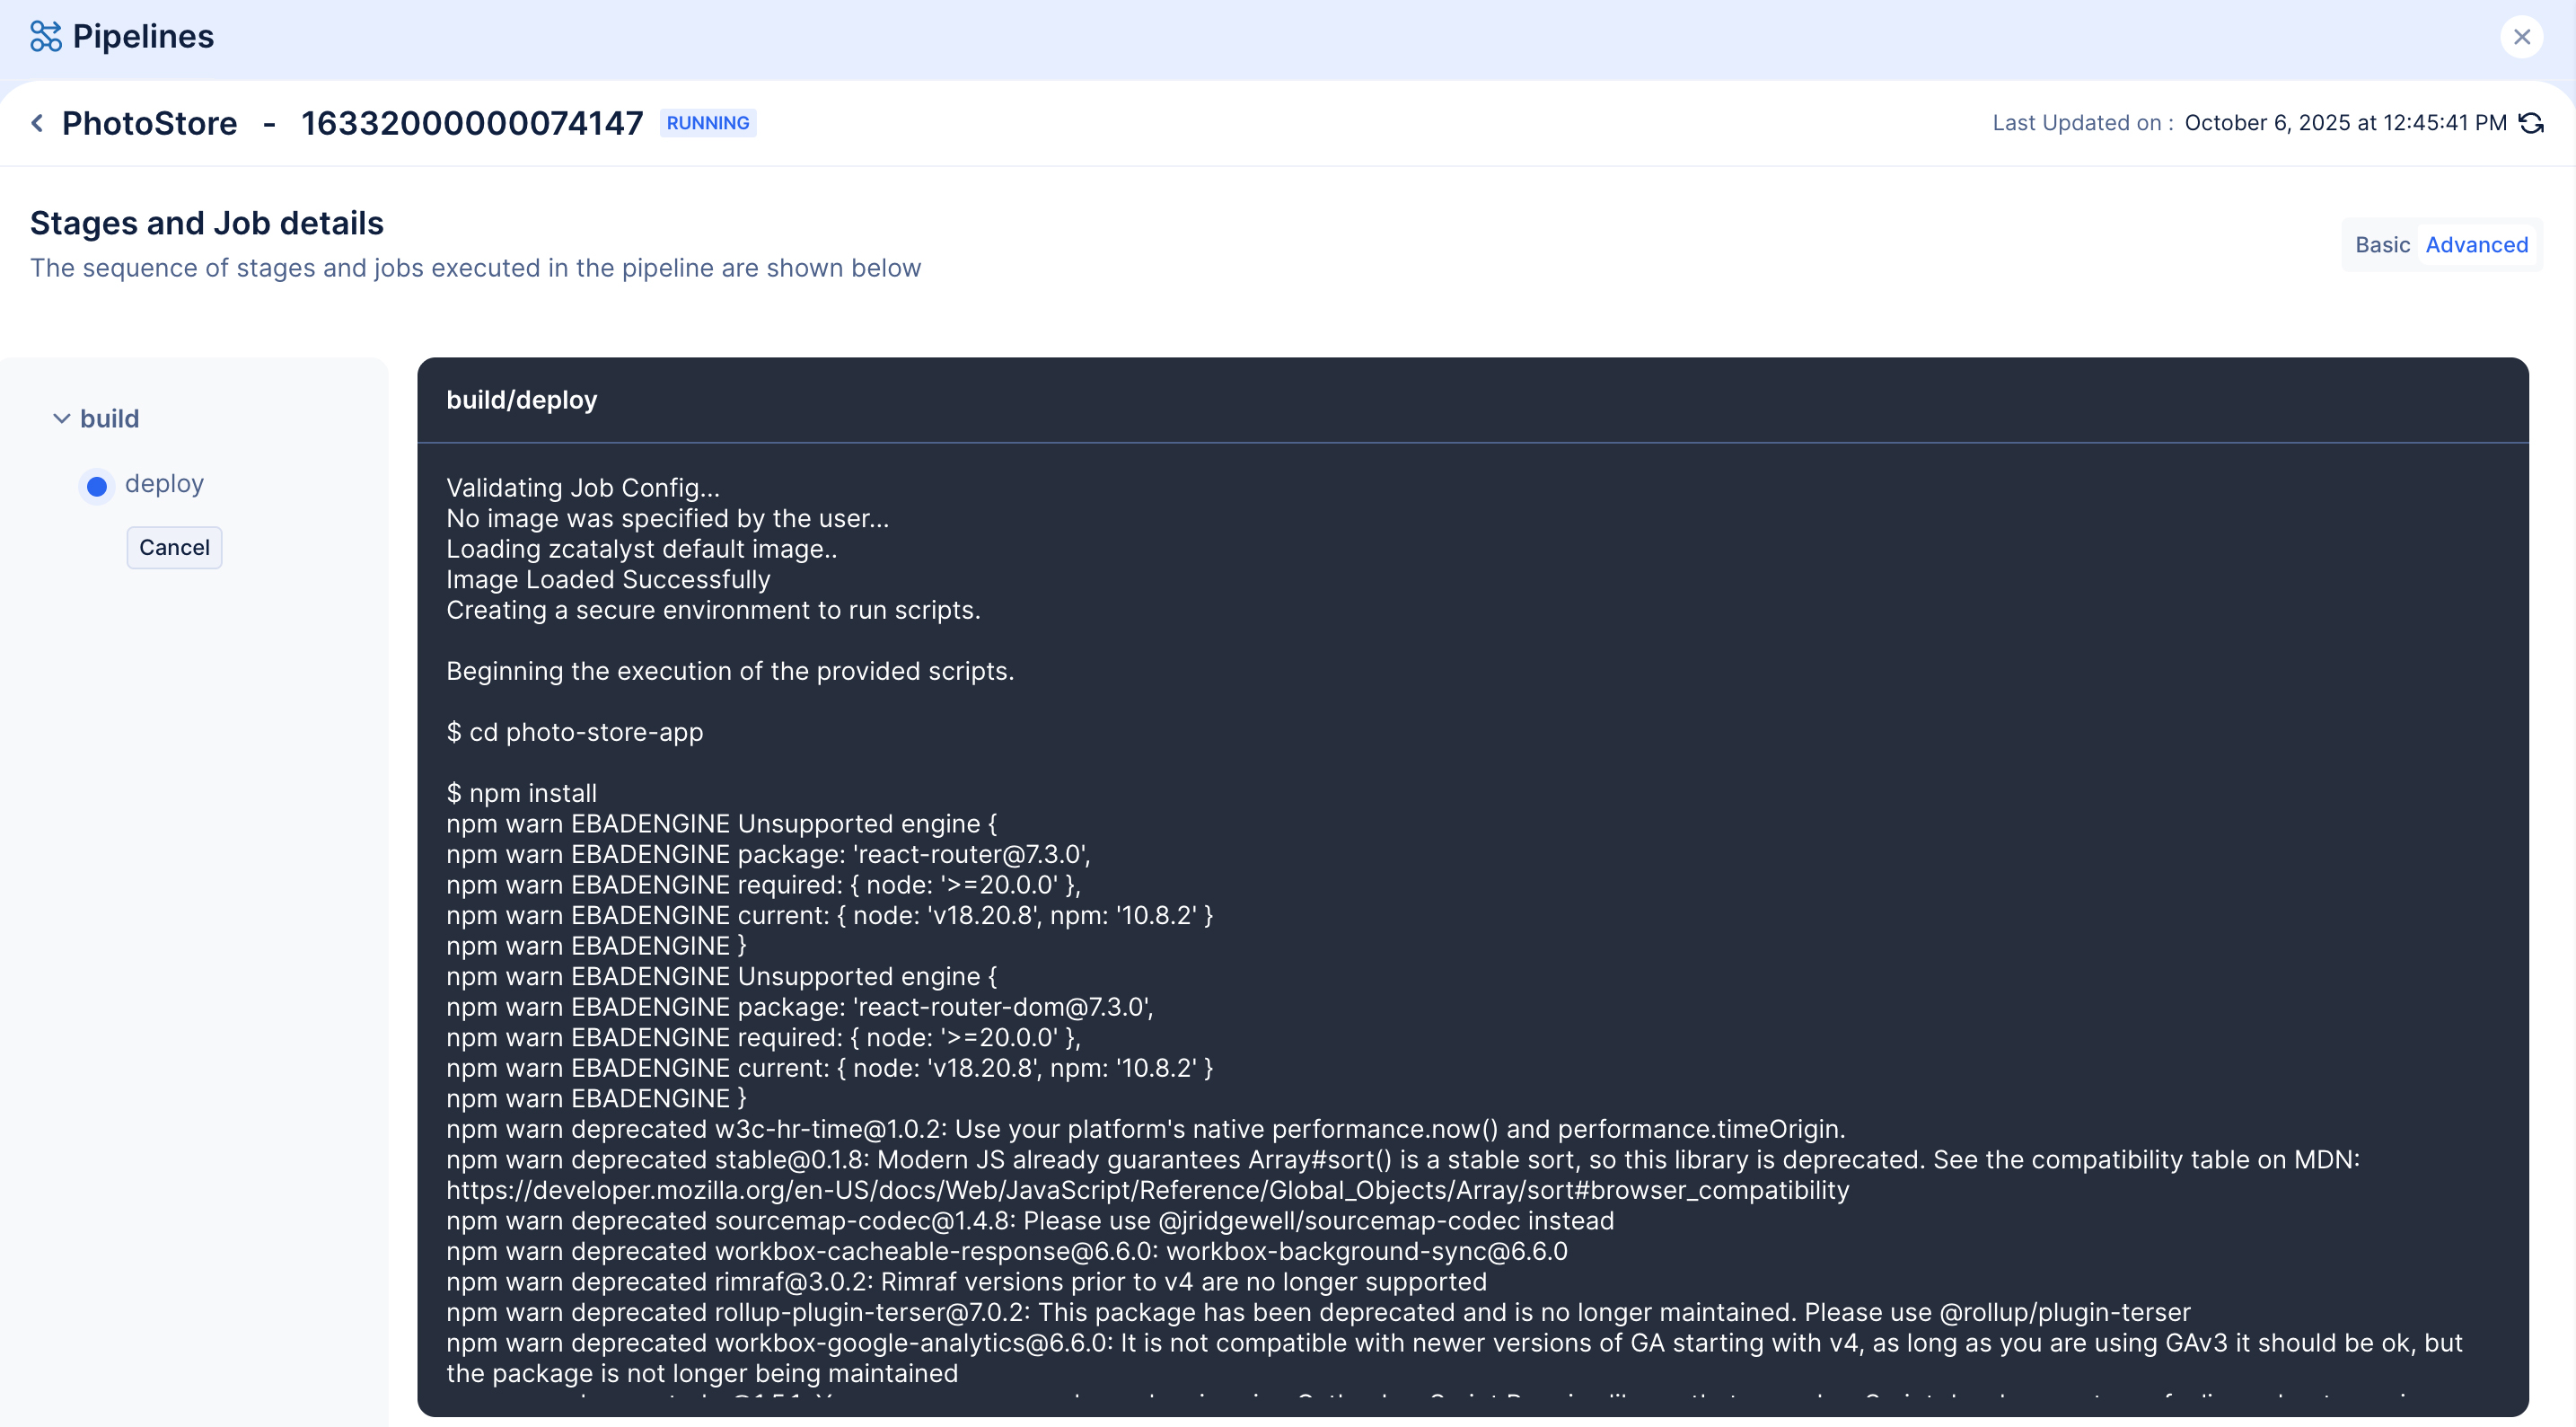
Click the Advanced tab for more details on the process.
In a few moments, the pipeline will be successfully executed.
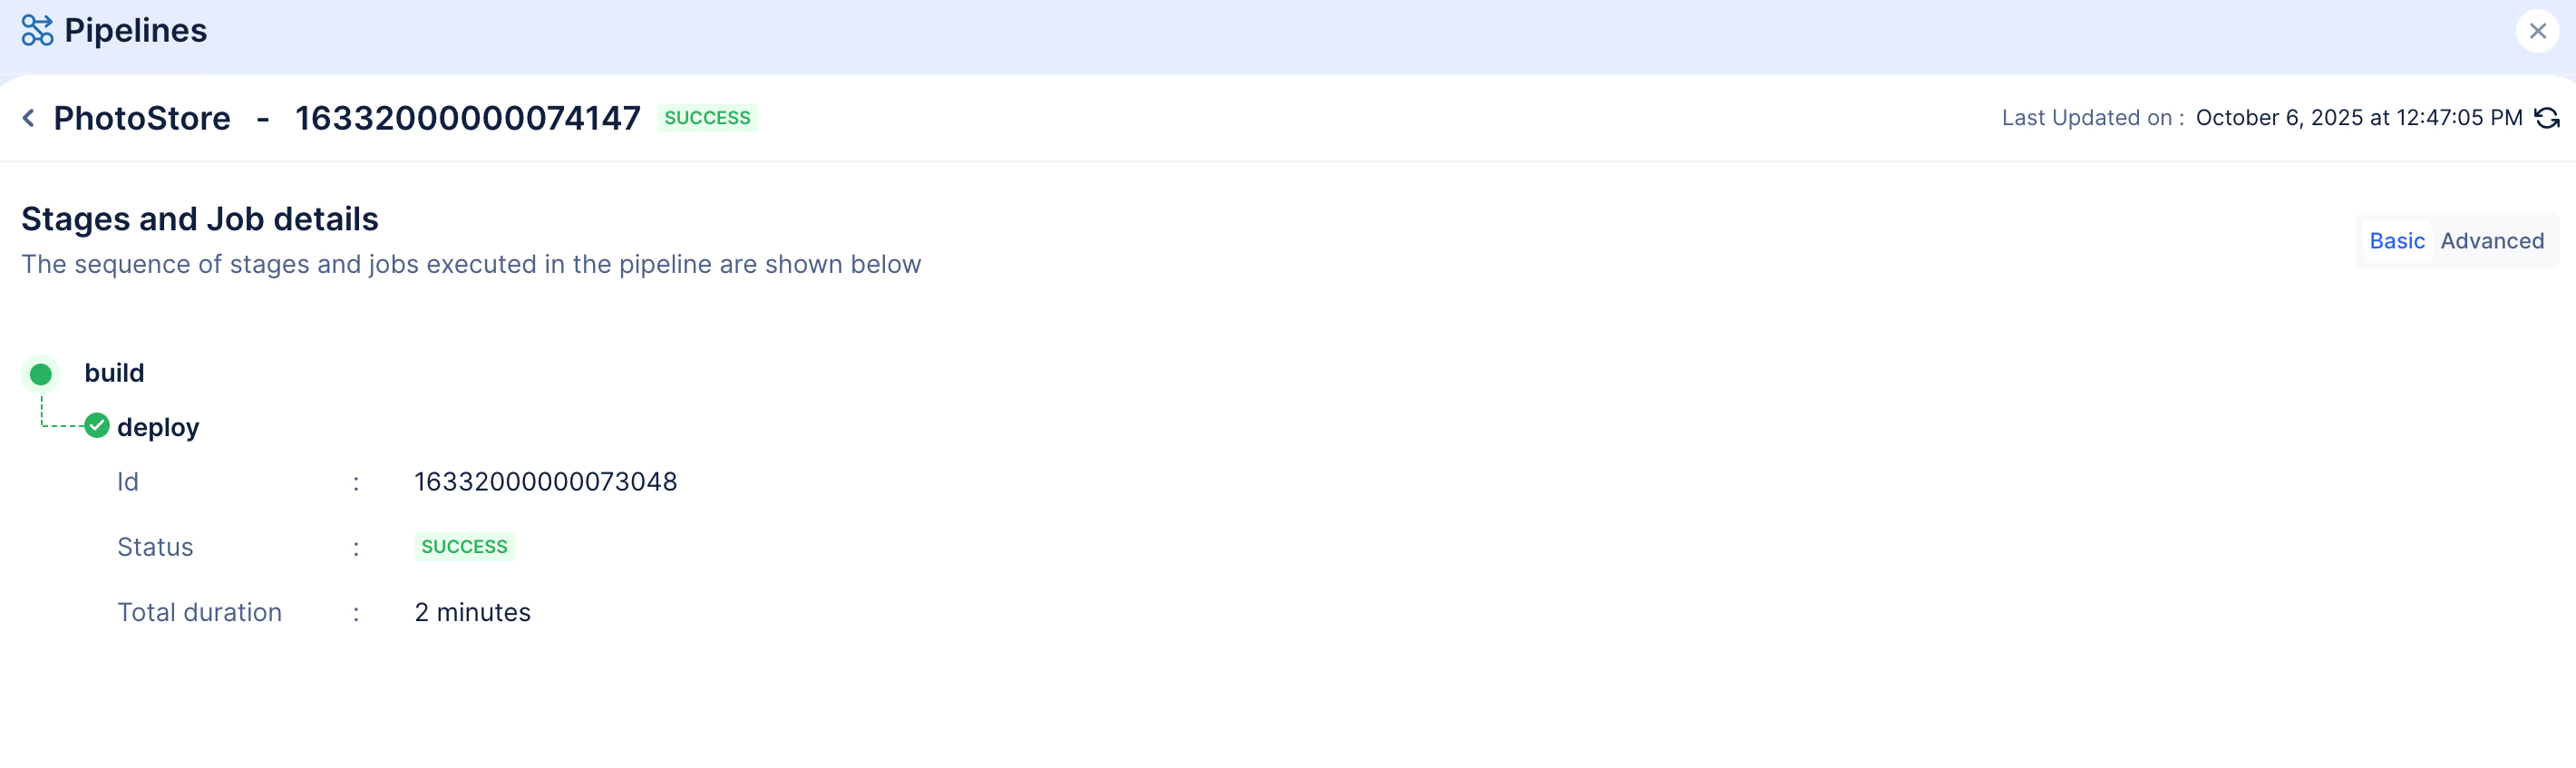
The application will now be in sync in GitHub and the Catalyst console.
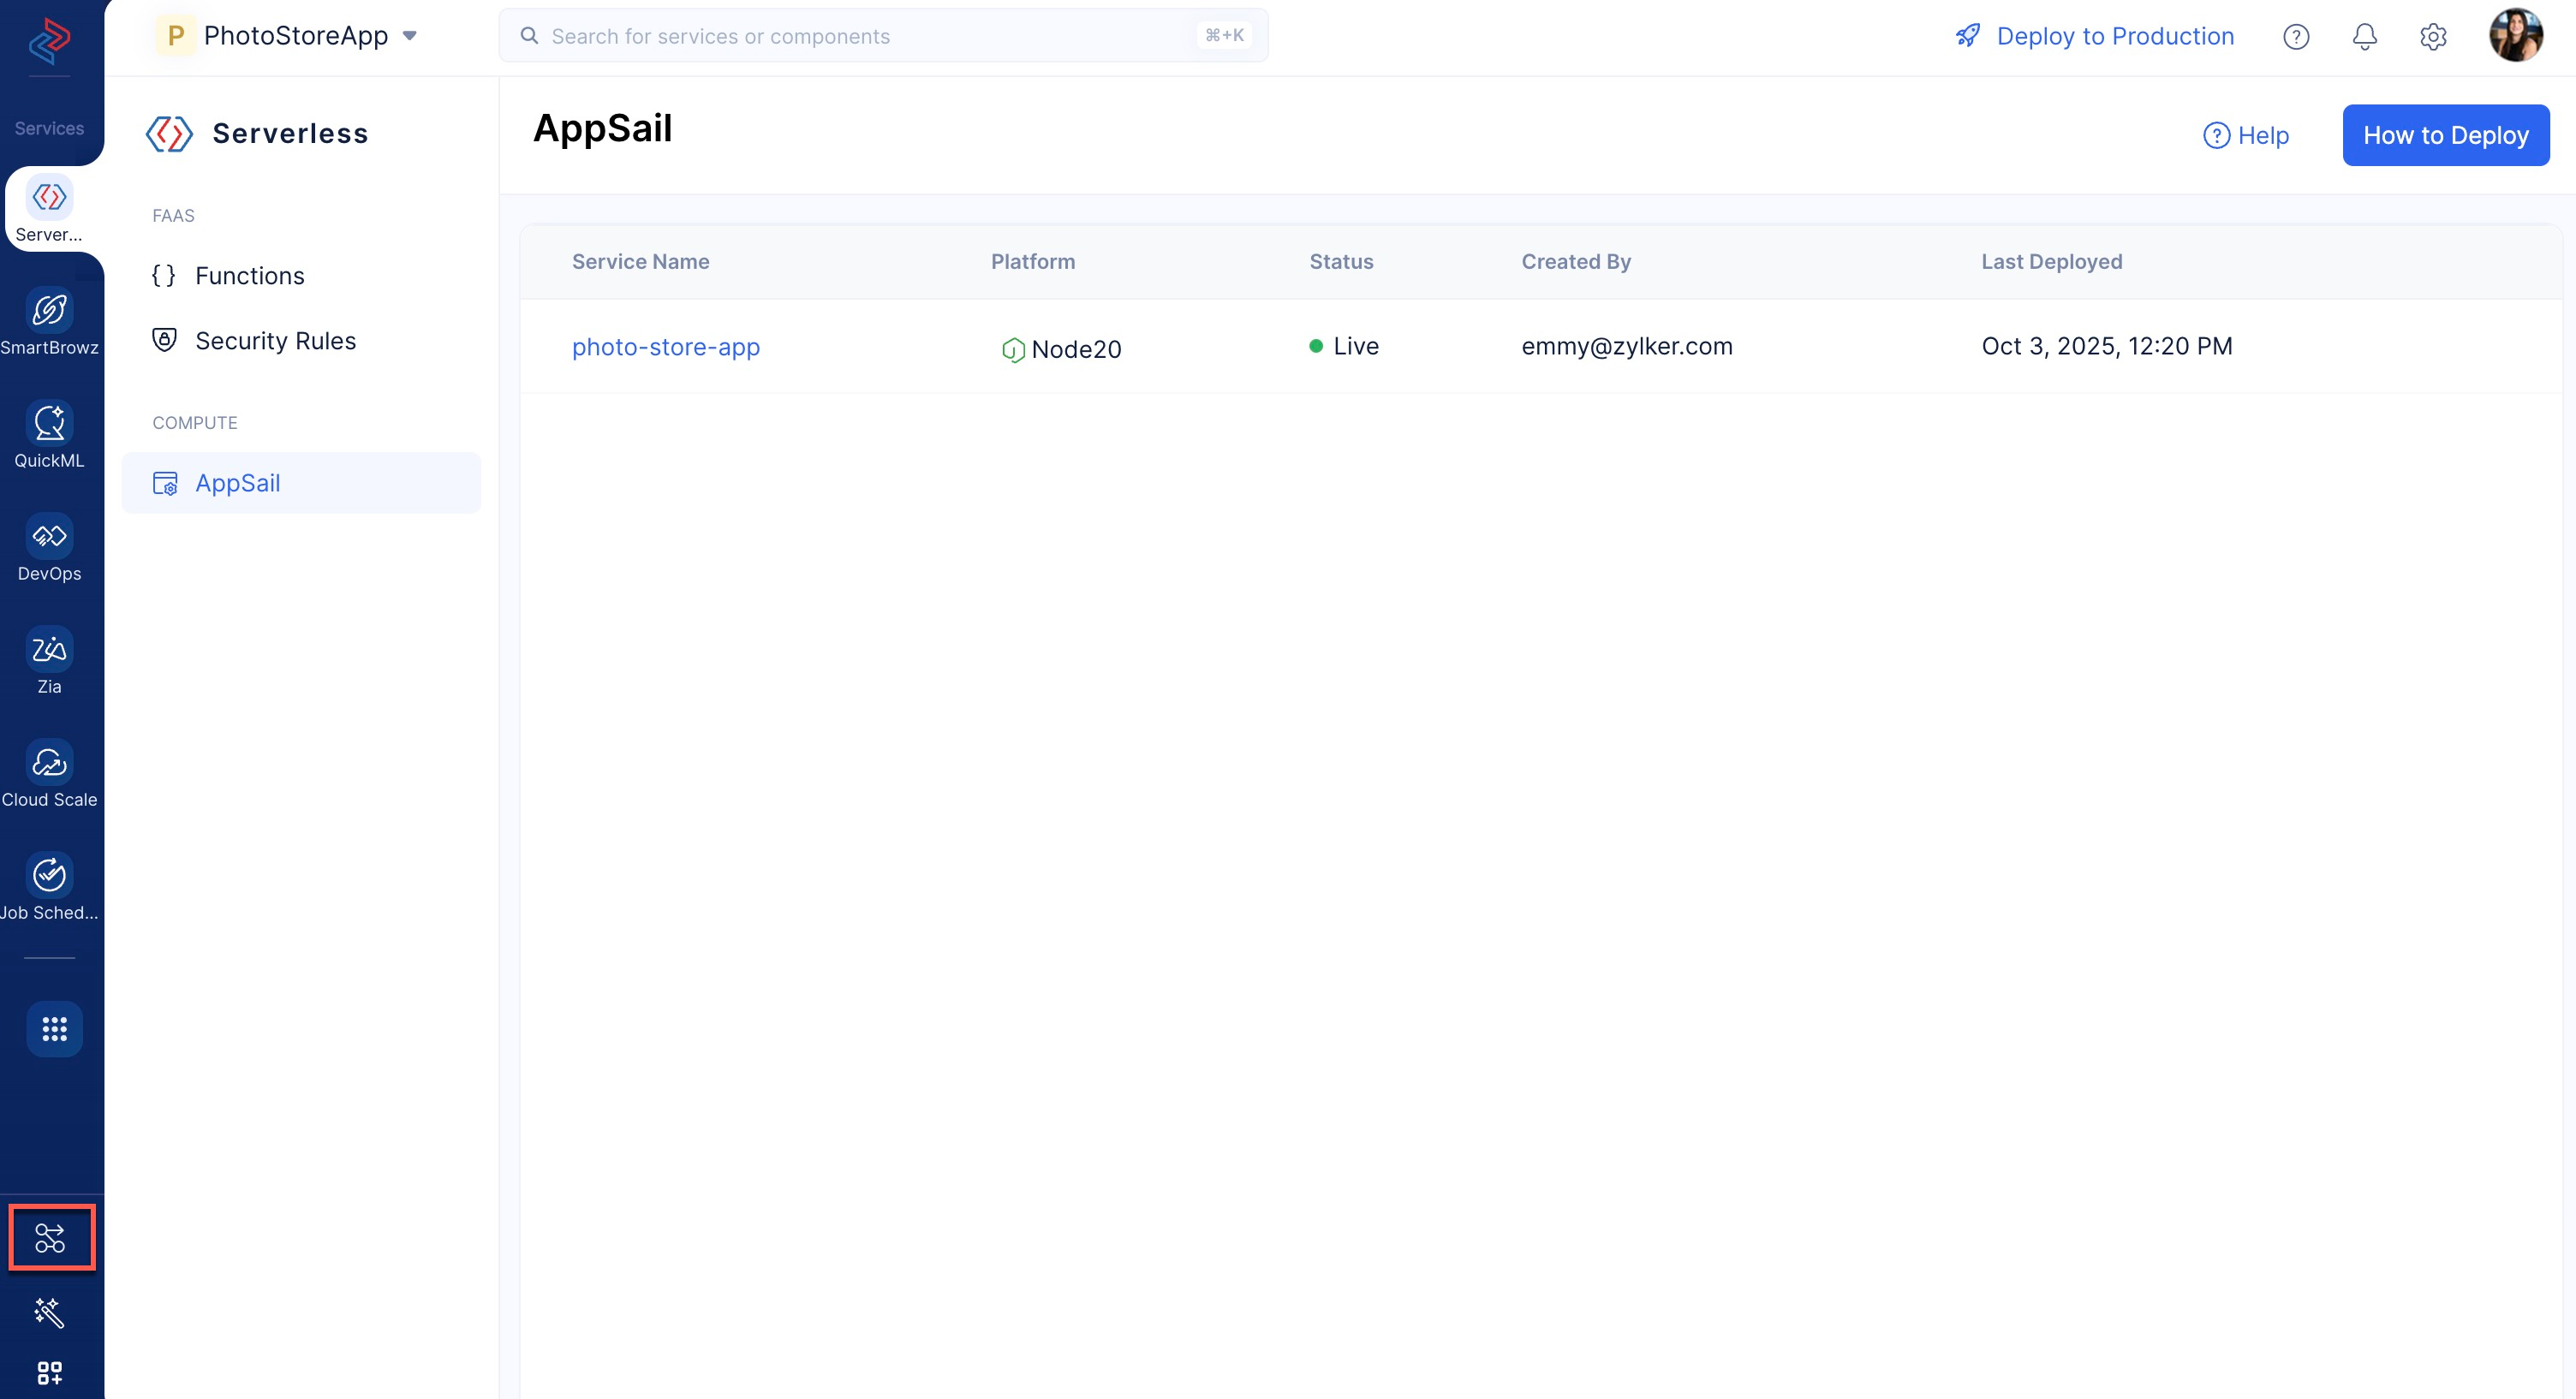
You will now be able to access the deployed version of the application using the App URL generated in the AppSail component present in the Catalyst Serverless service.
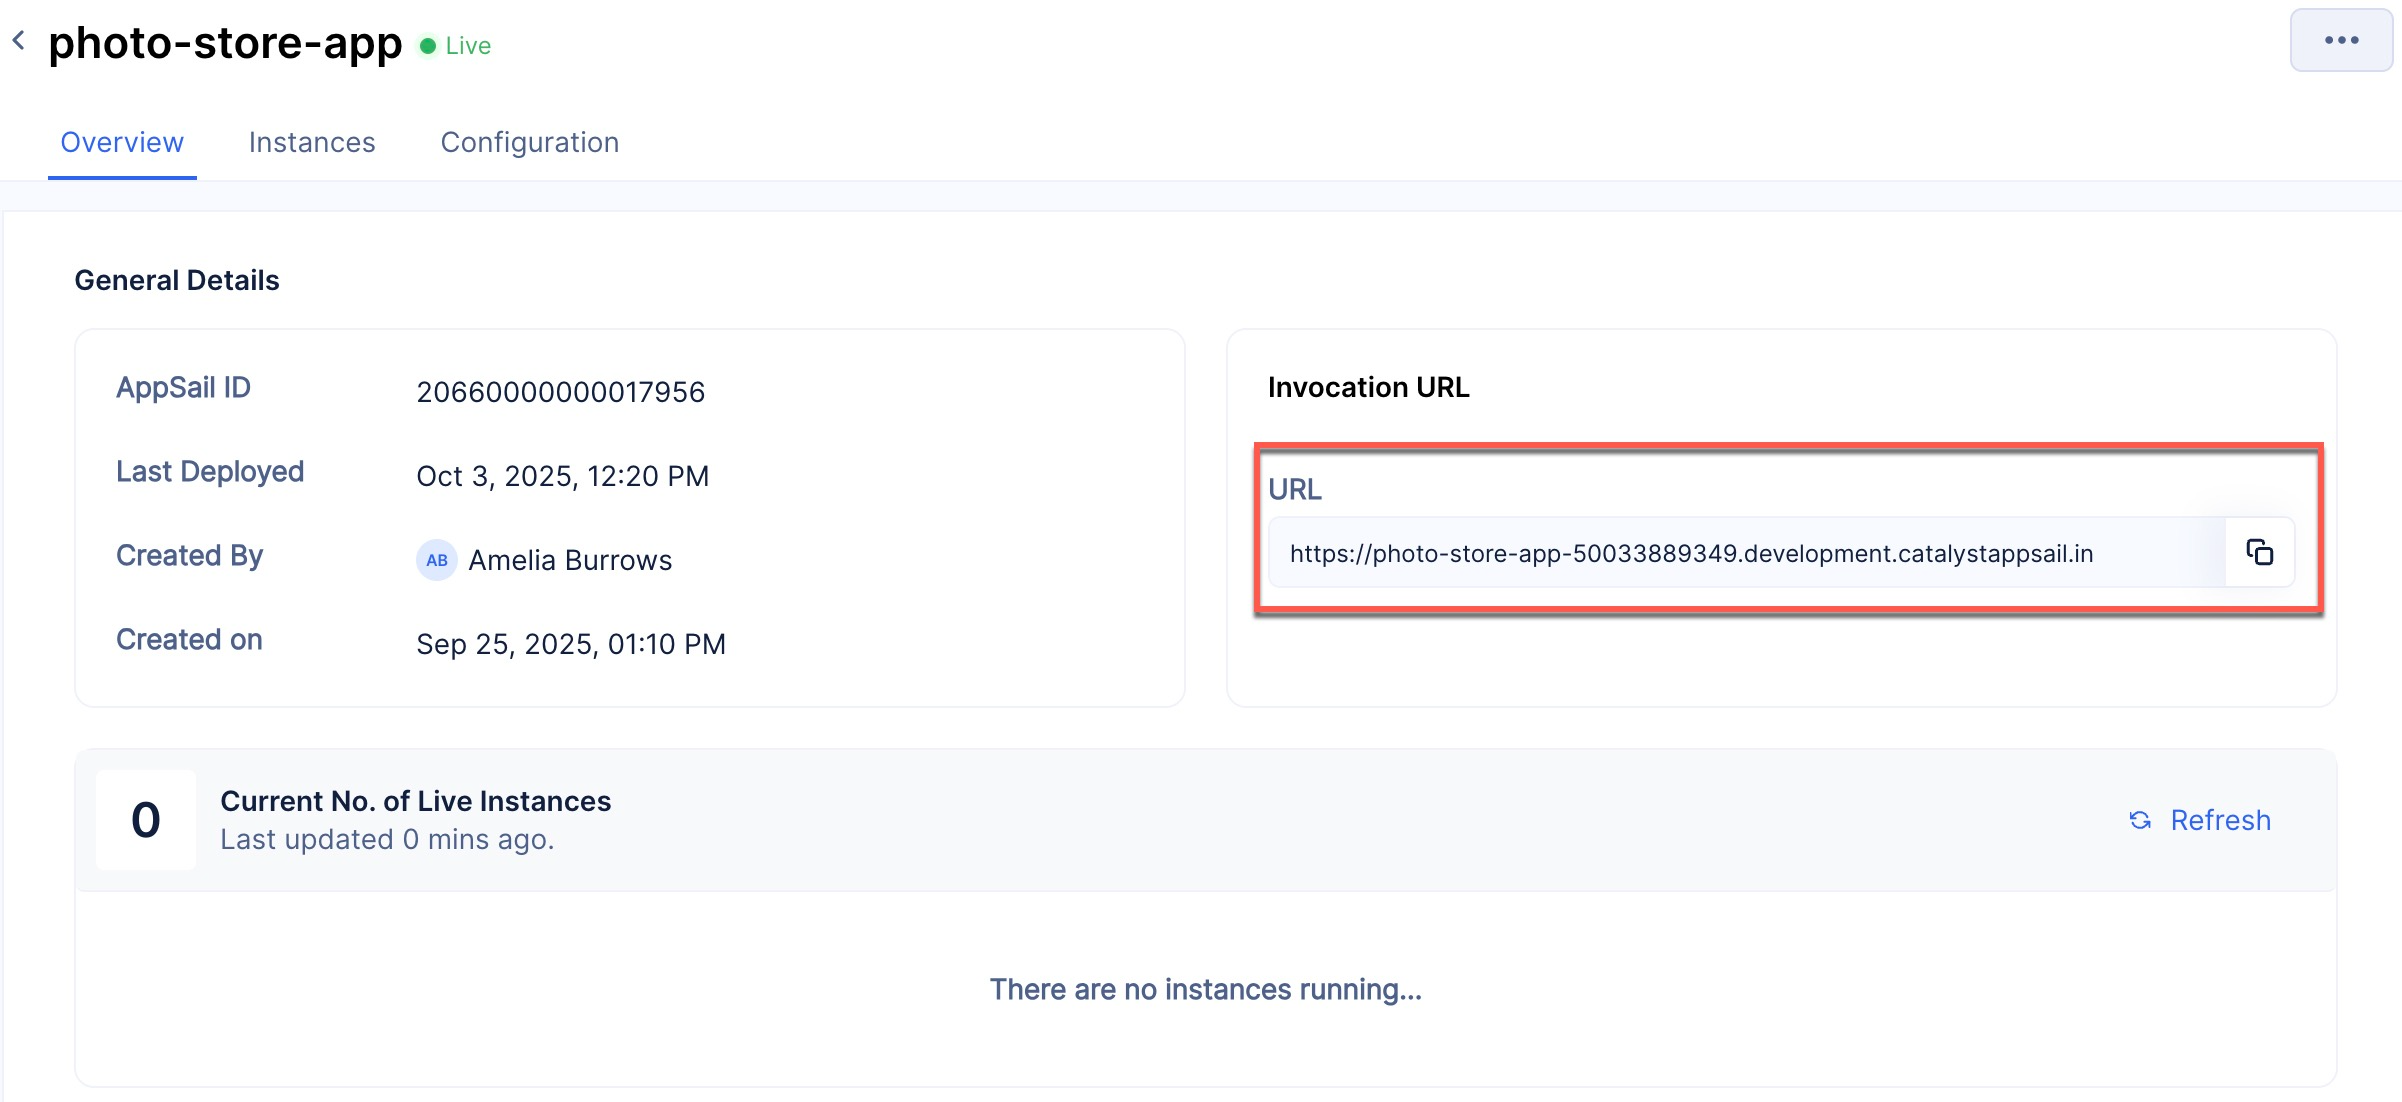
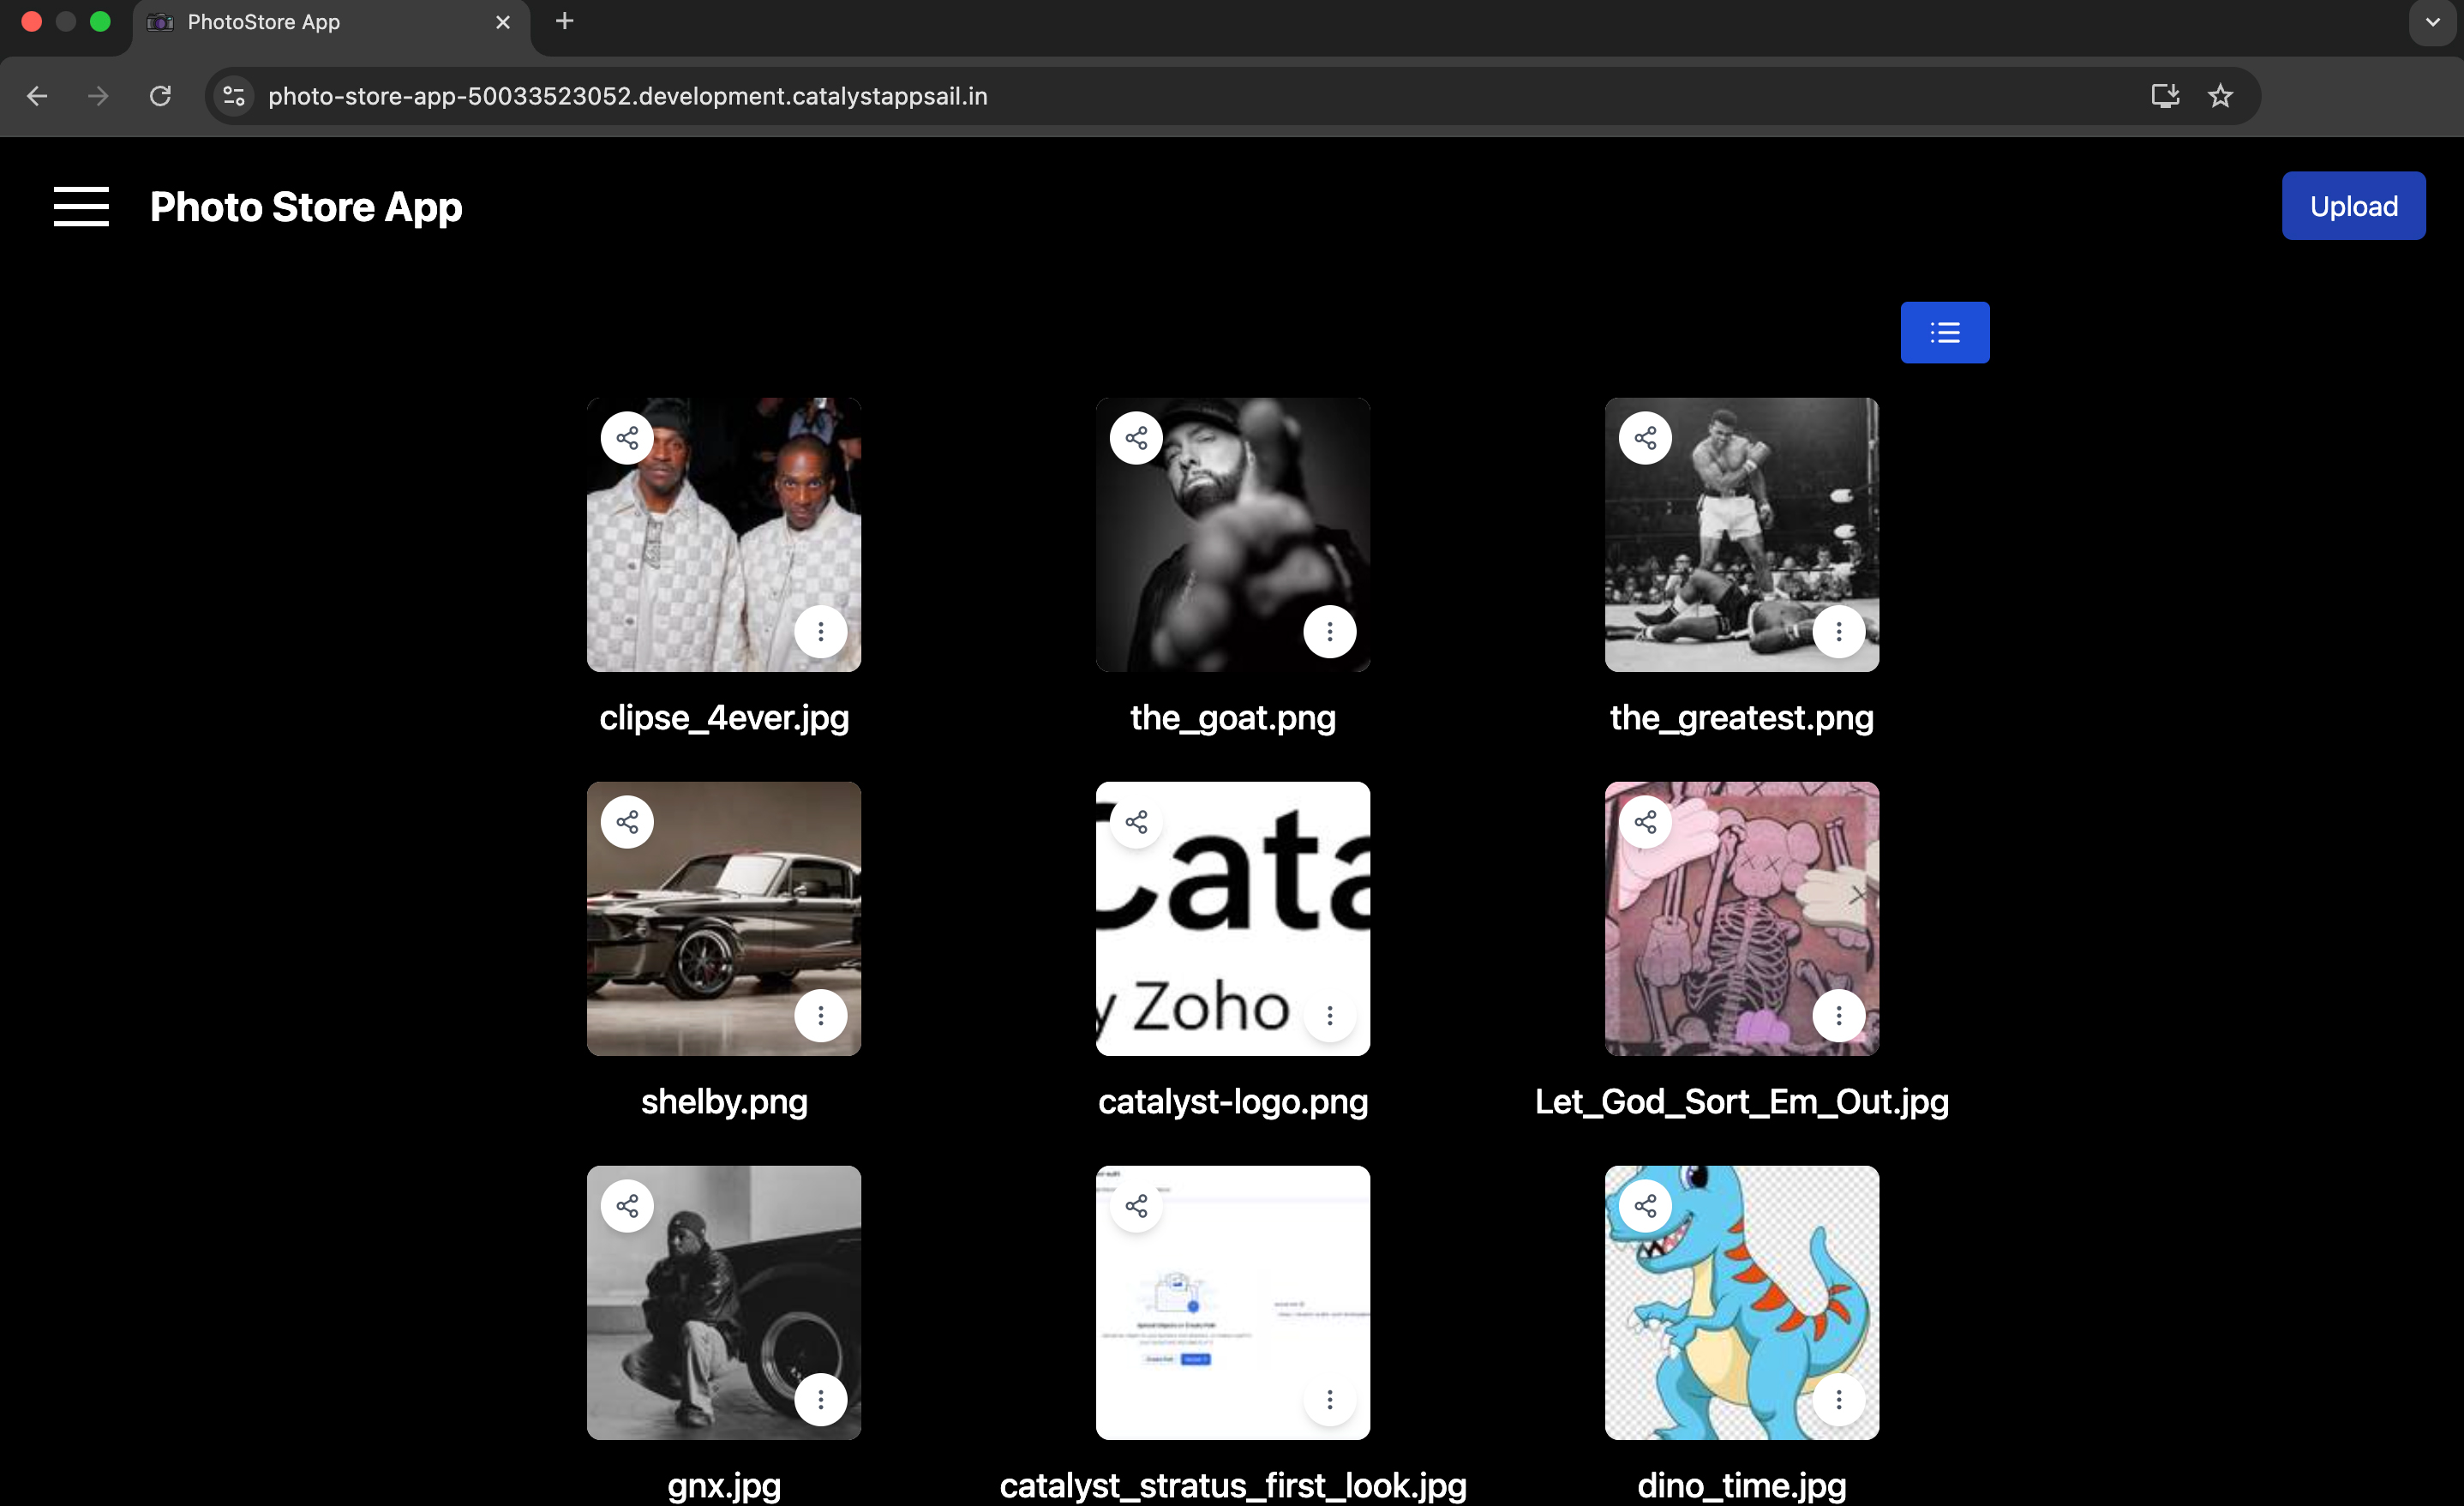
You can execute this URL in the browser to access the deployed version of your application.
Last Updated 2025-10-30 12:36:10 +0530 IST