Test the application
Now we are done configuring both the Android and iOS project. We will begin to test the Flutter application.
Android :
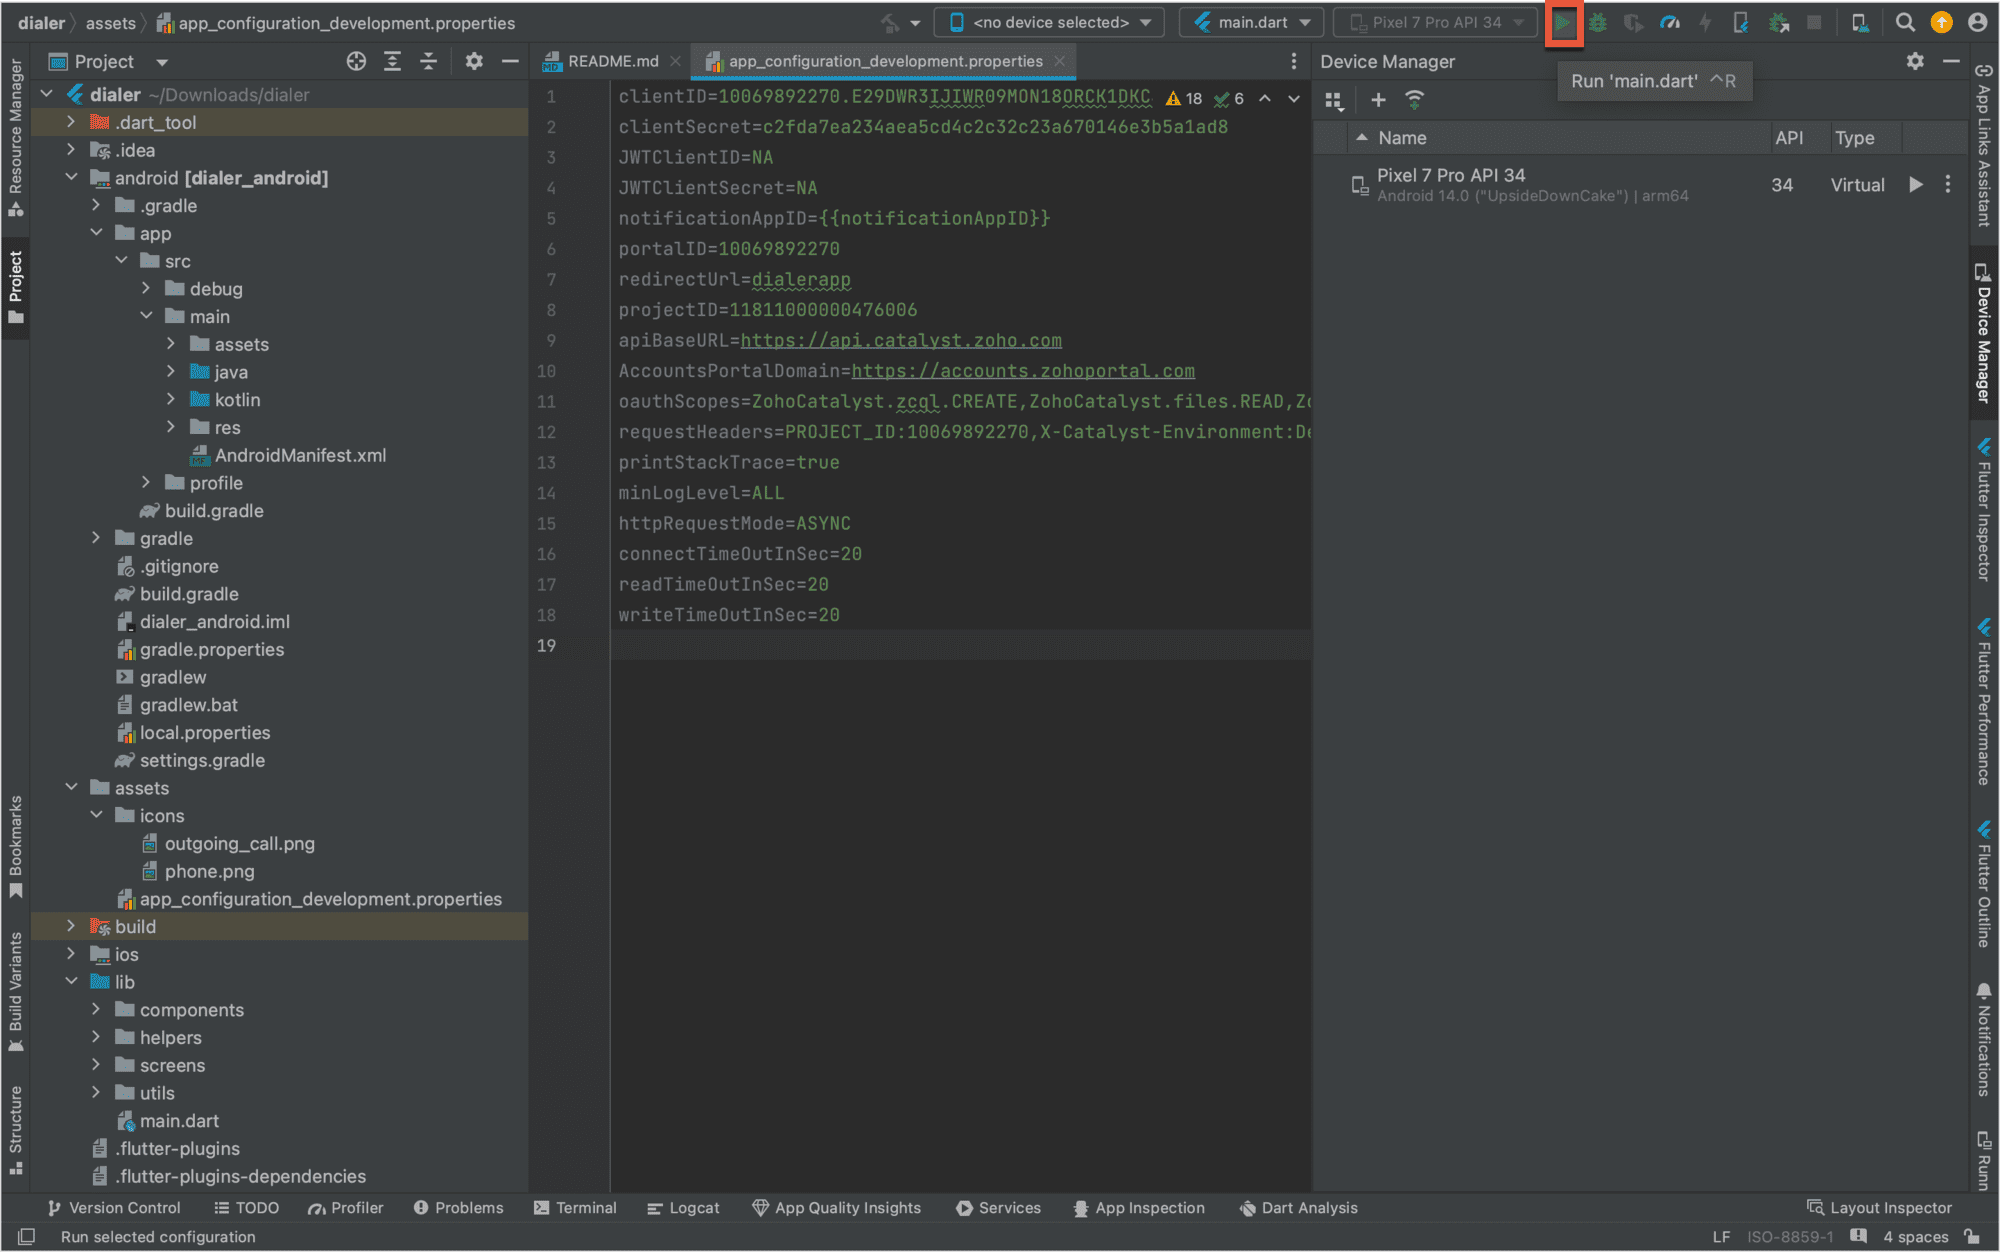
- Open Android Studio and select a compatible emulator device that you have set up, then click Run.
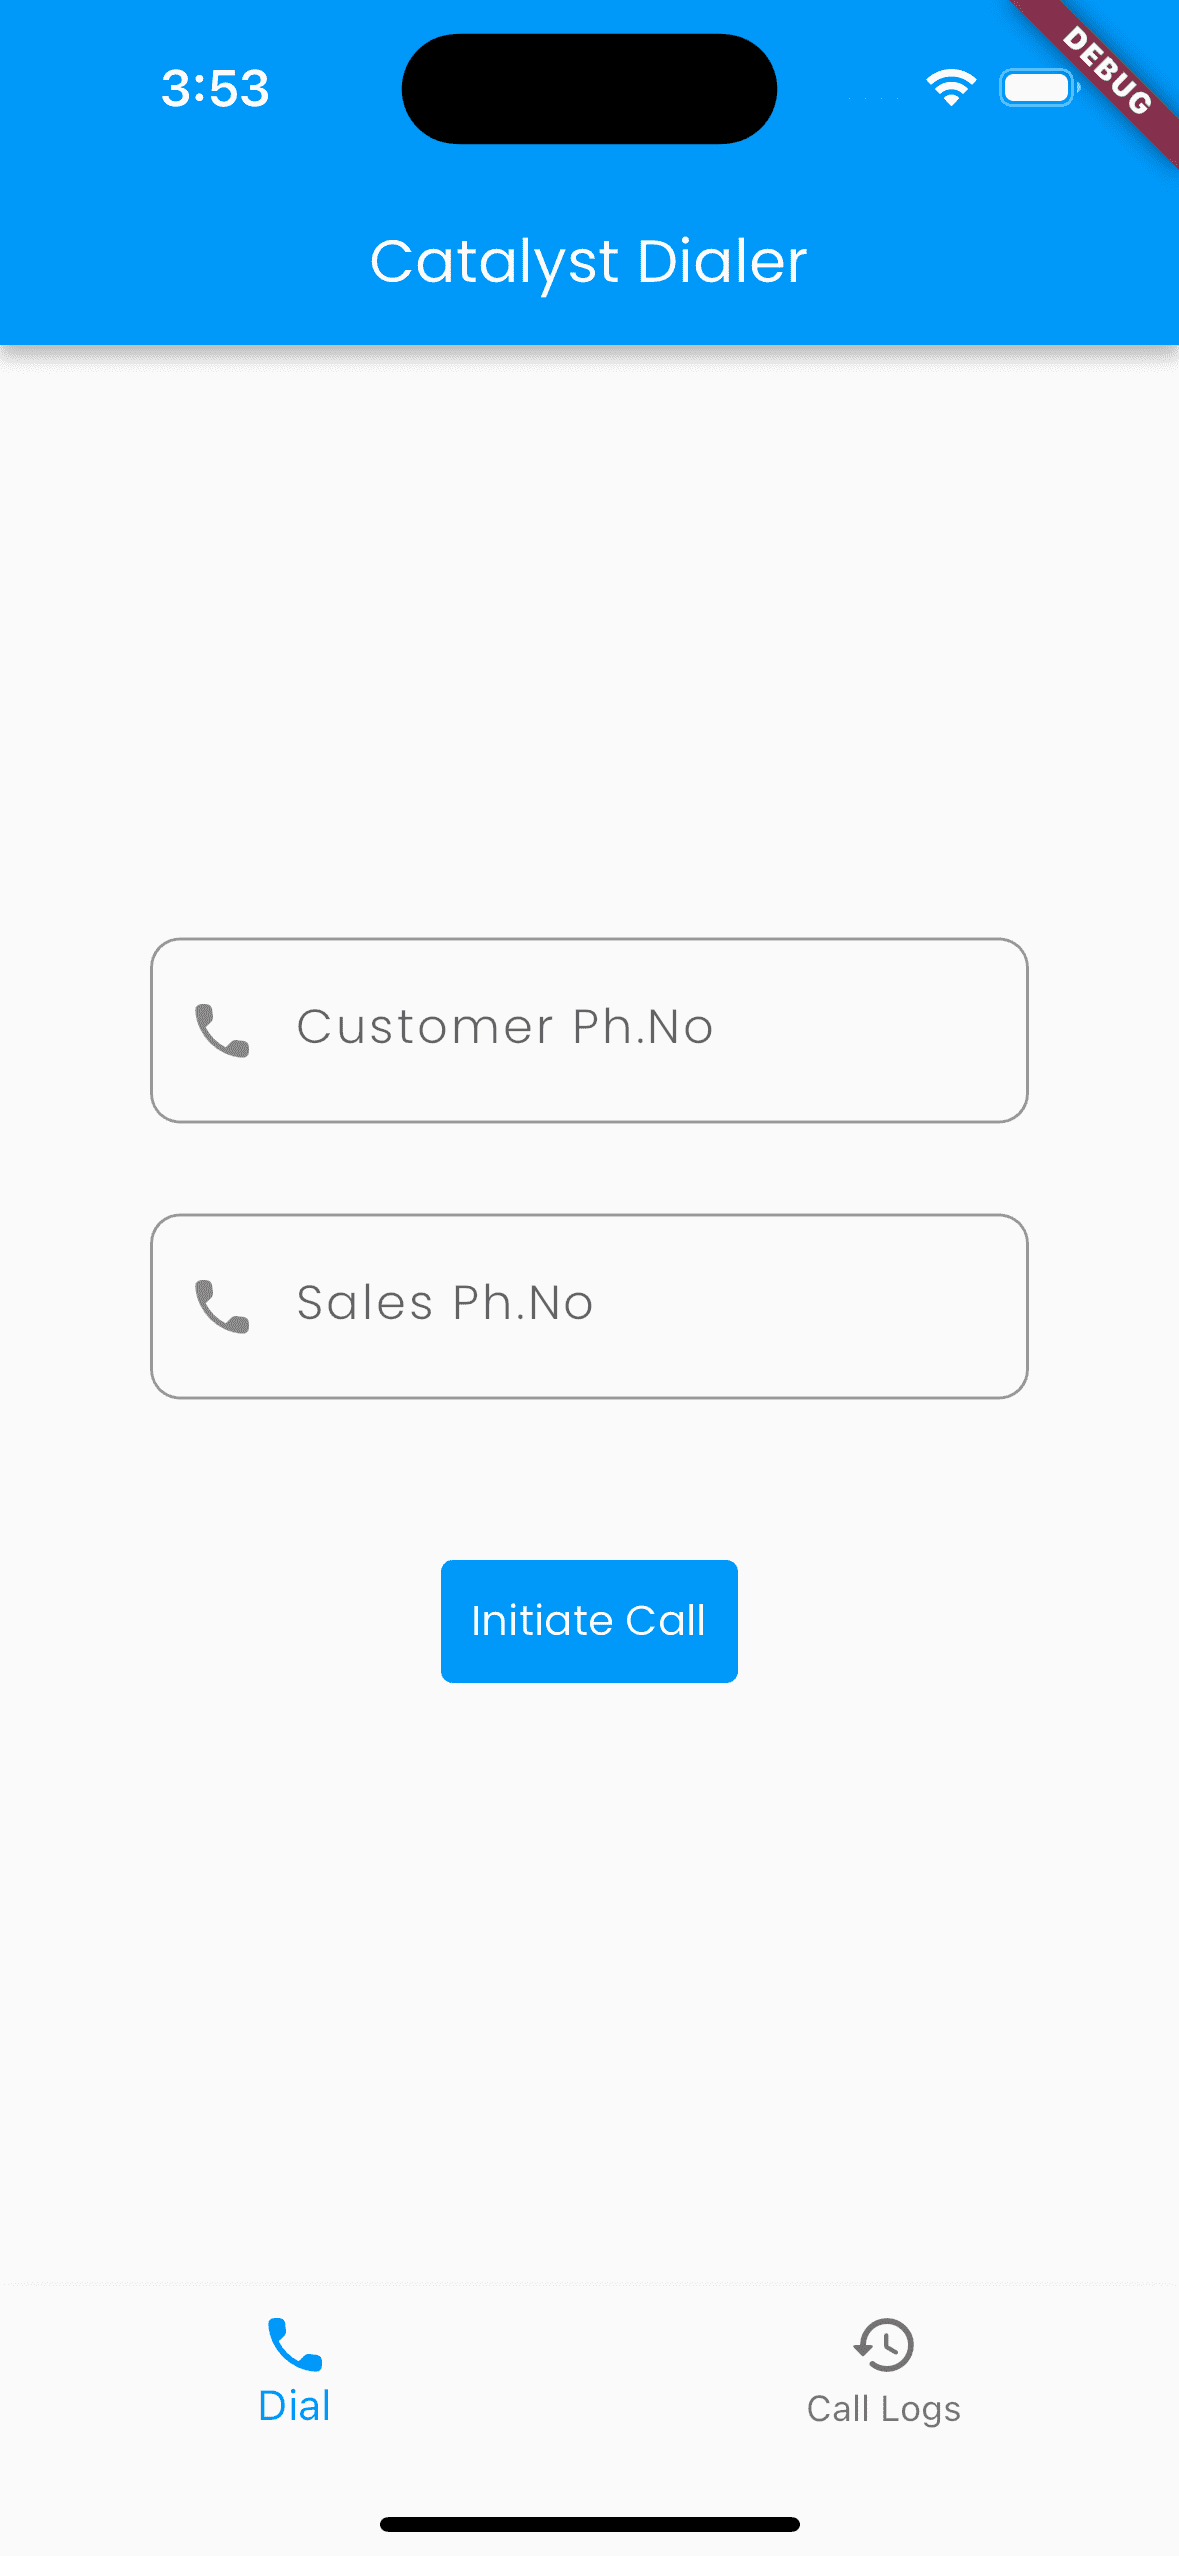
After the emulator device is powered on, open the Catalyst Dialer application from the installed apps. You will see the following screen:
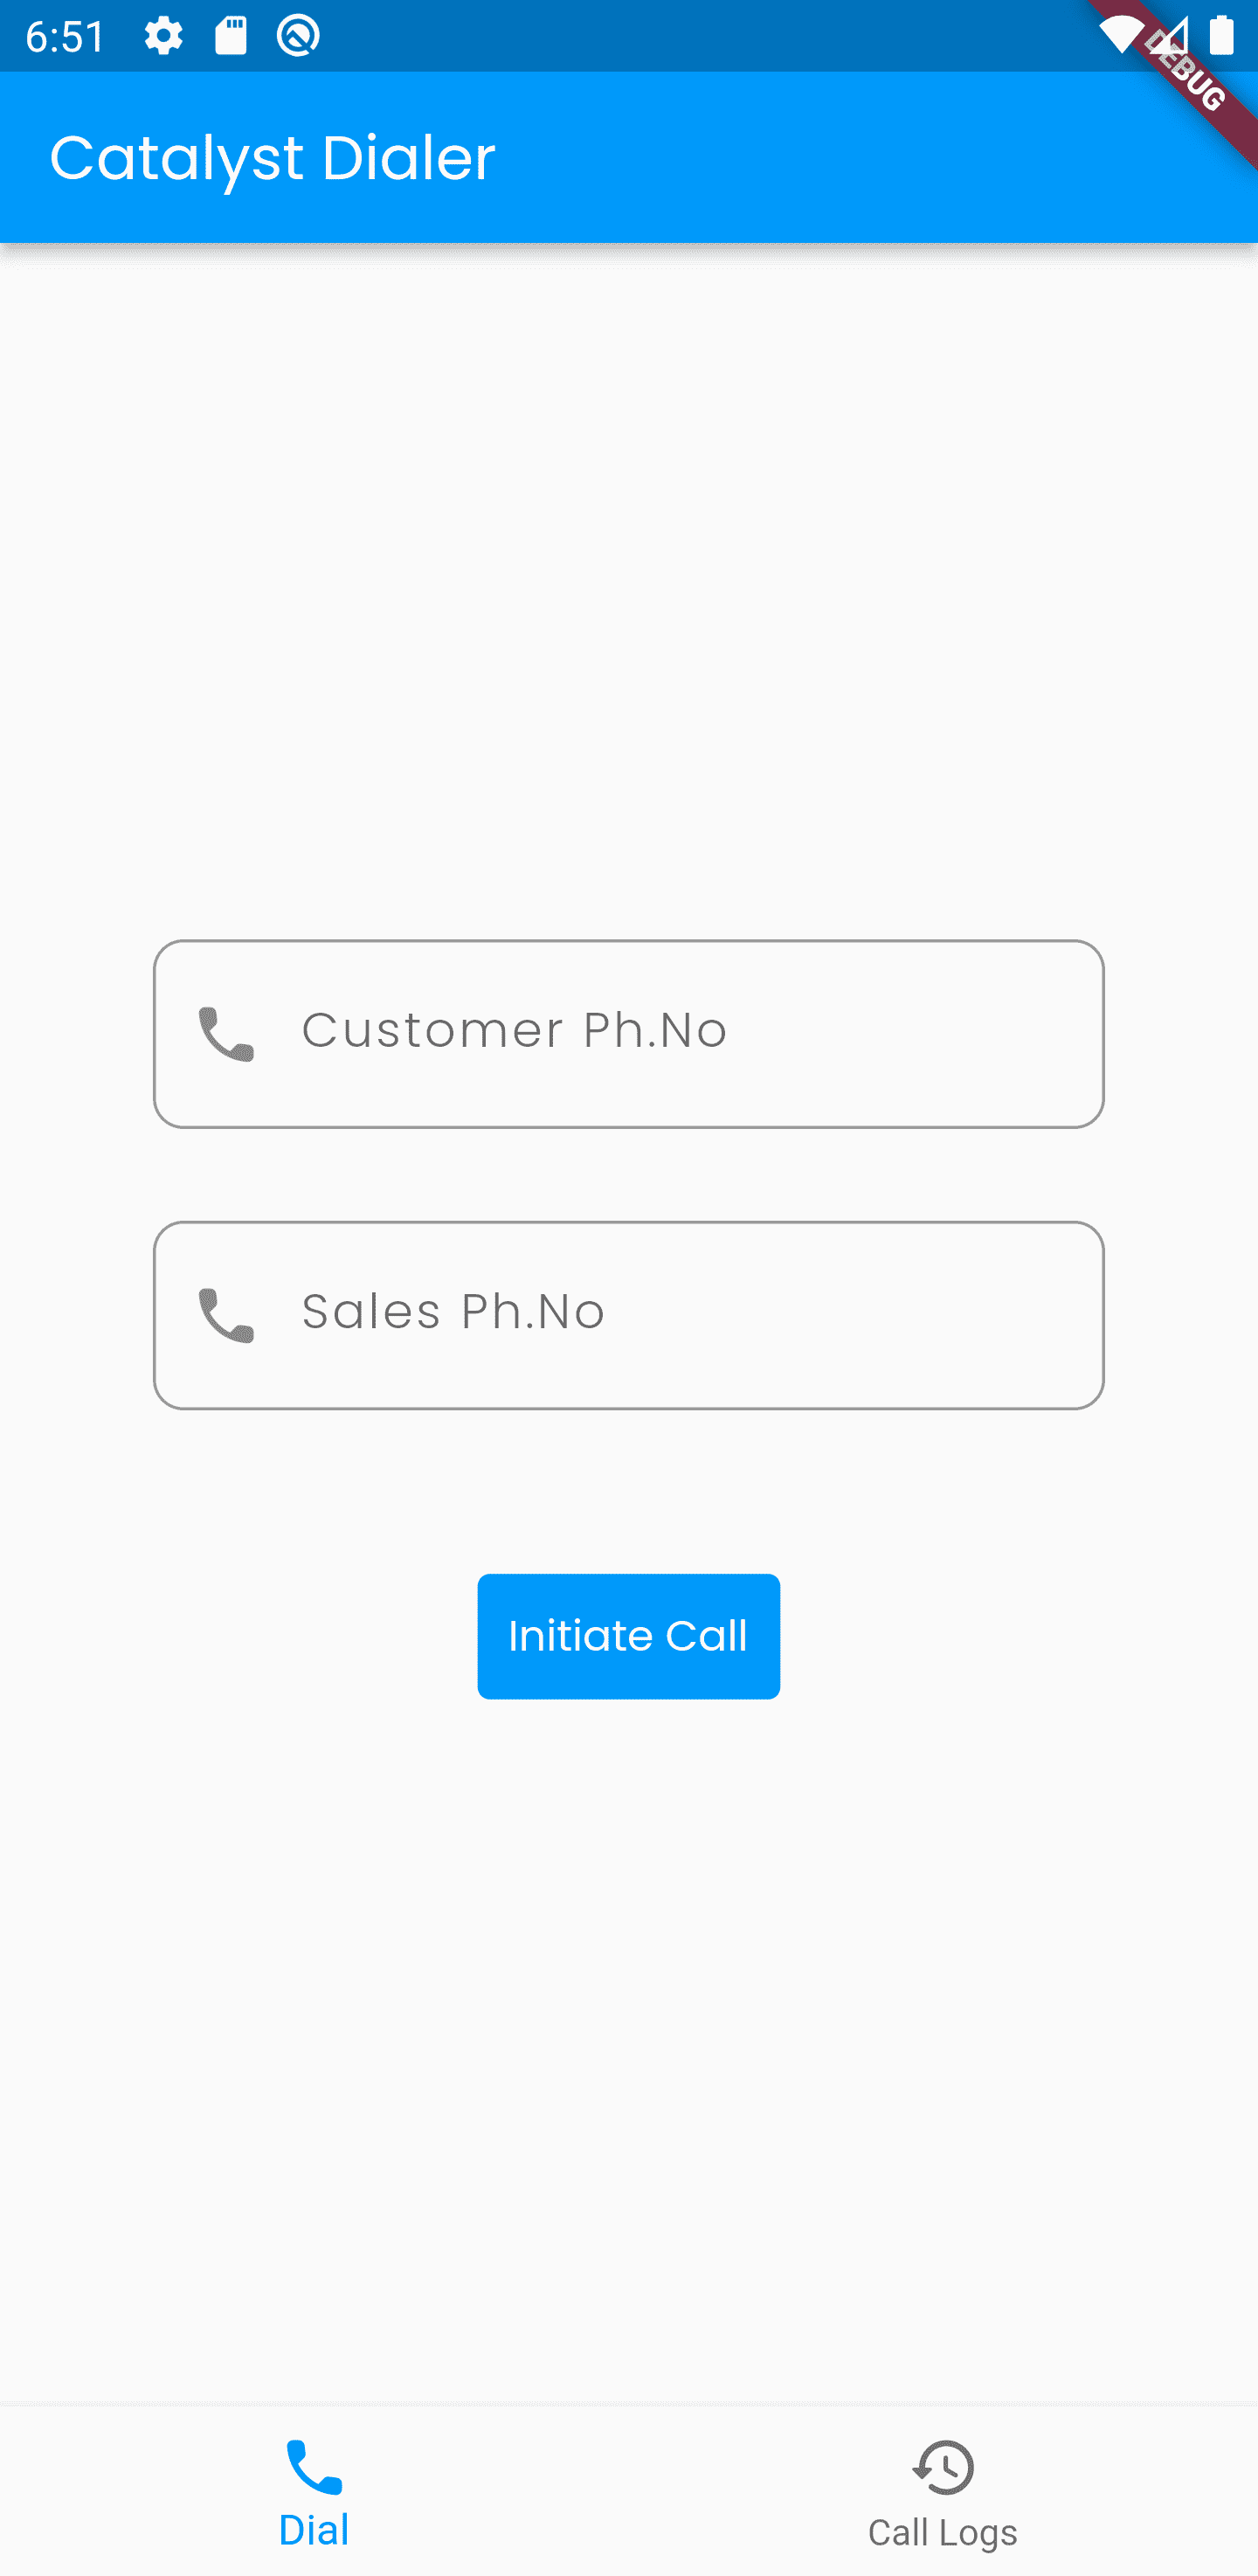
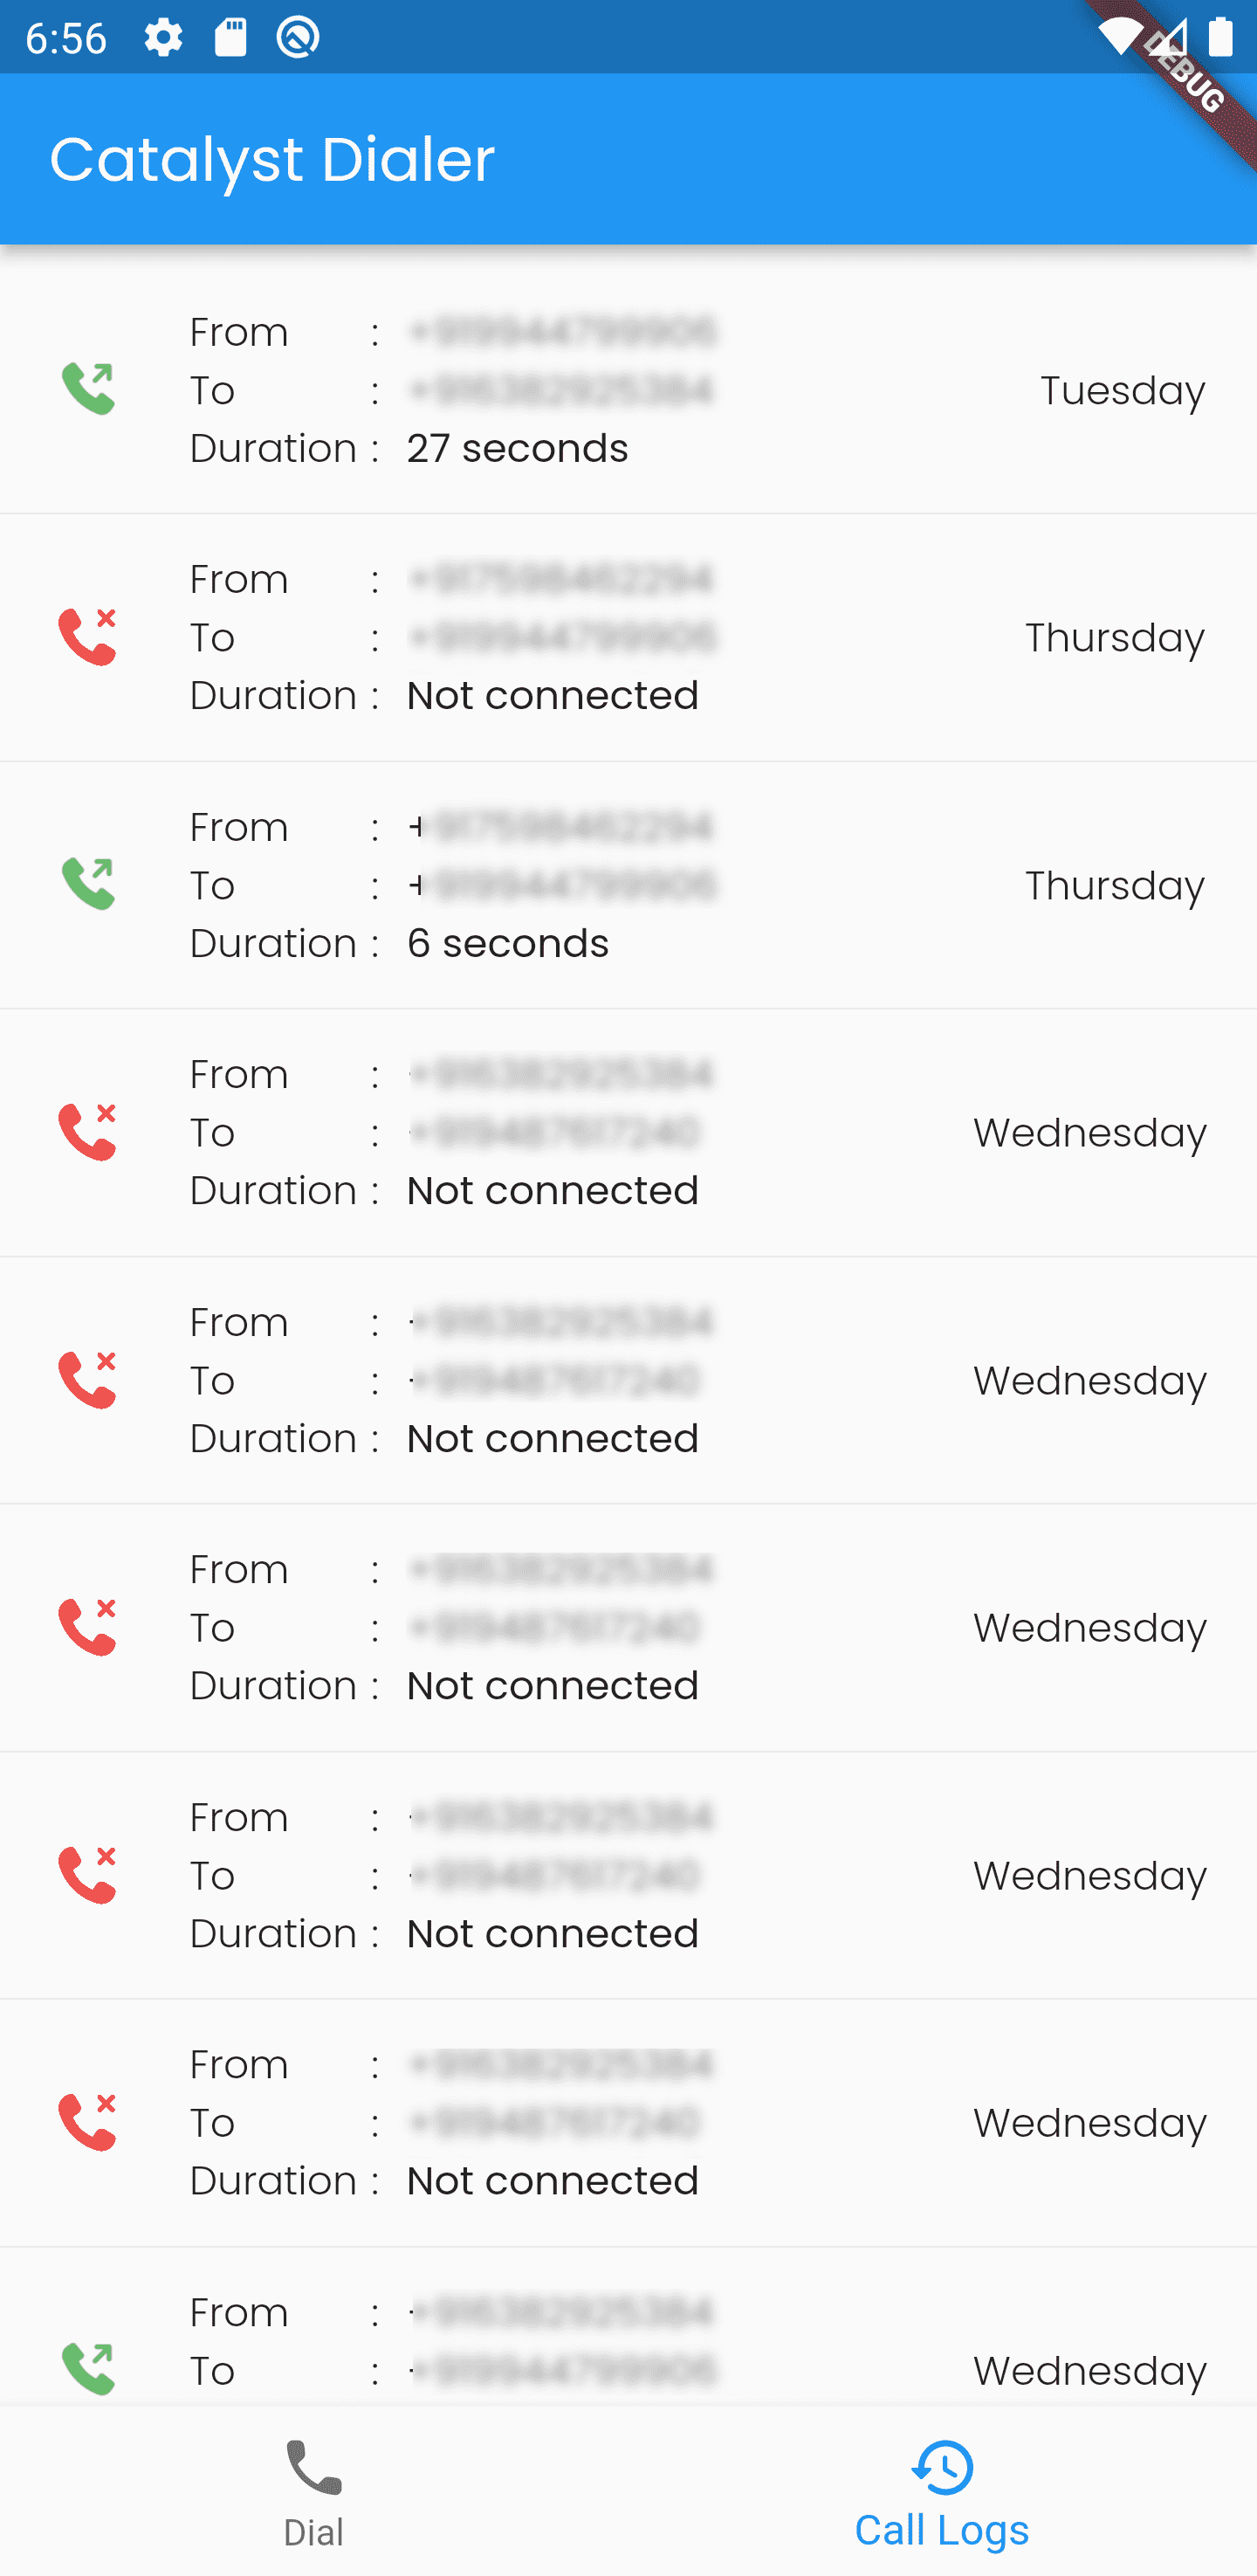
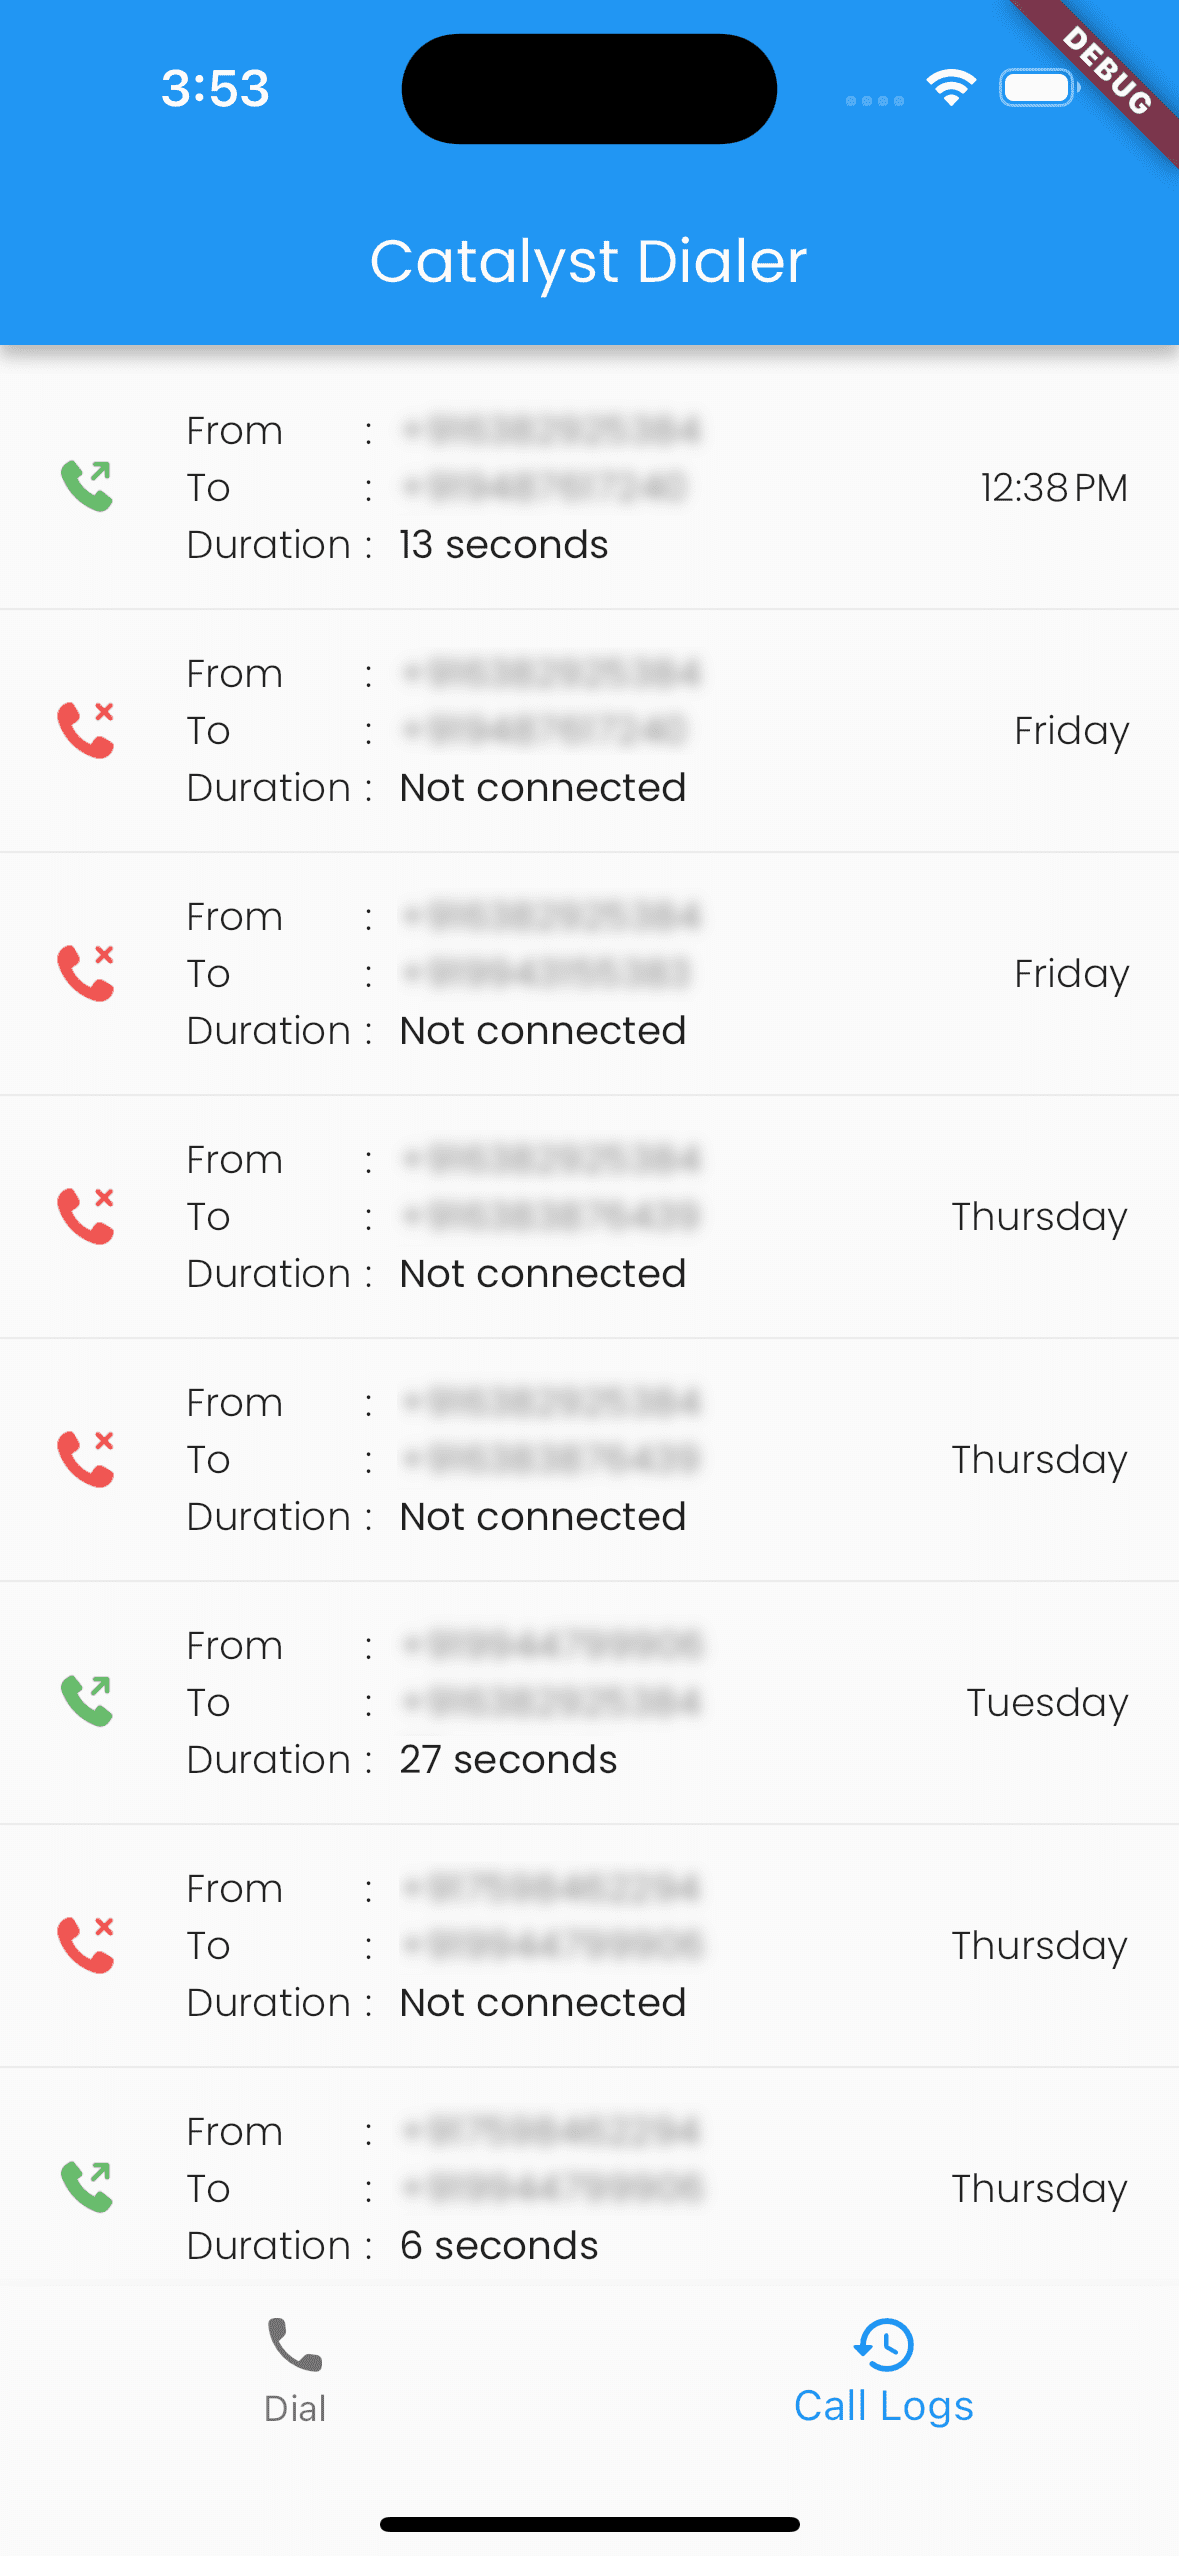
Enter the sales and customer number along with the country code in the Dial section, and click Initiate call. The call will be initiated, and on successful connection, a call log will be registered. You can access the logs by clicking the Call Logs button in the app from the bottom.
iOS:
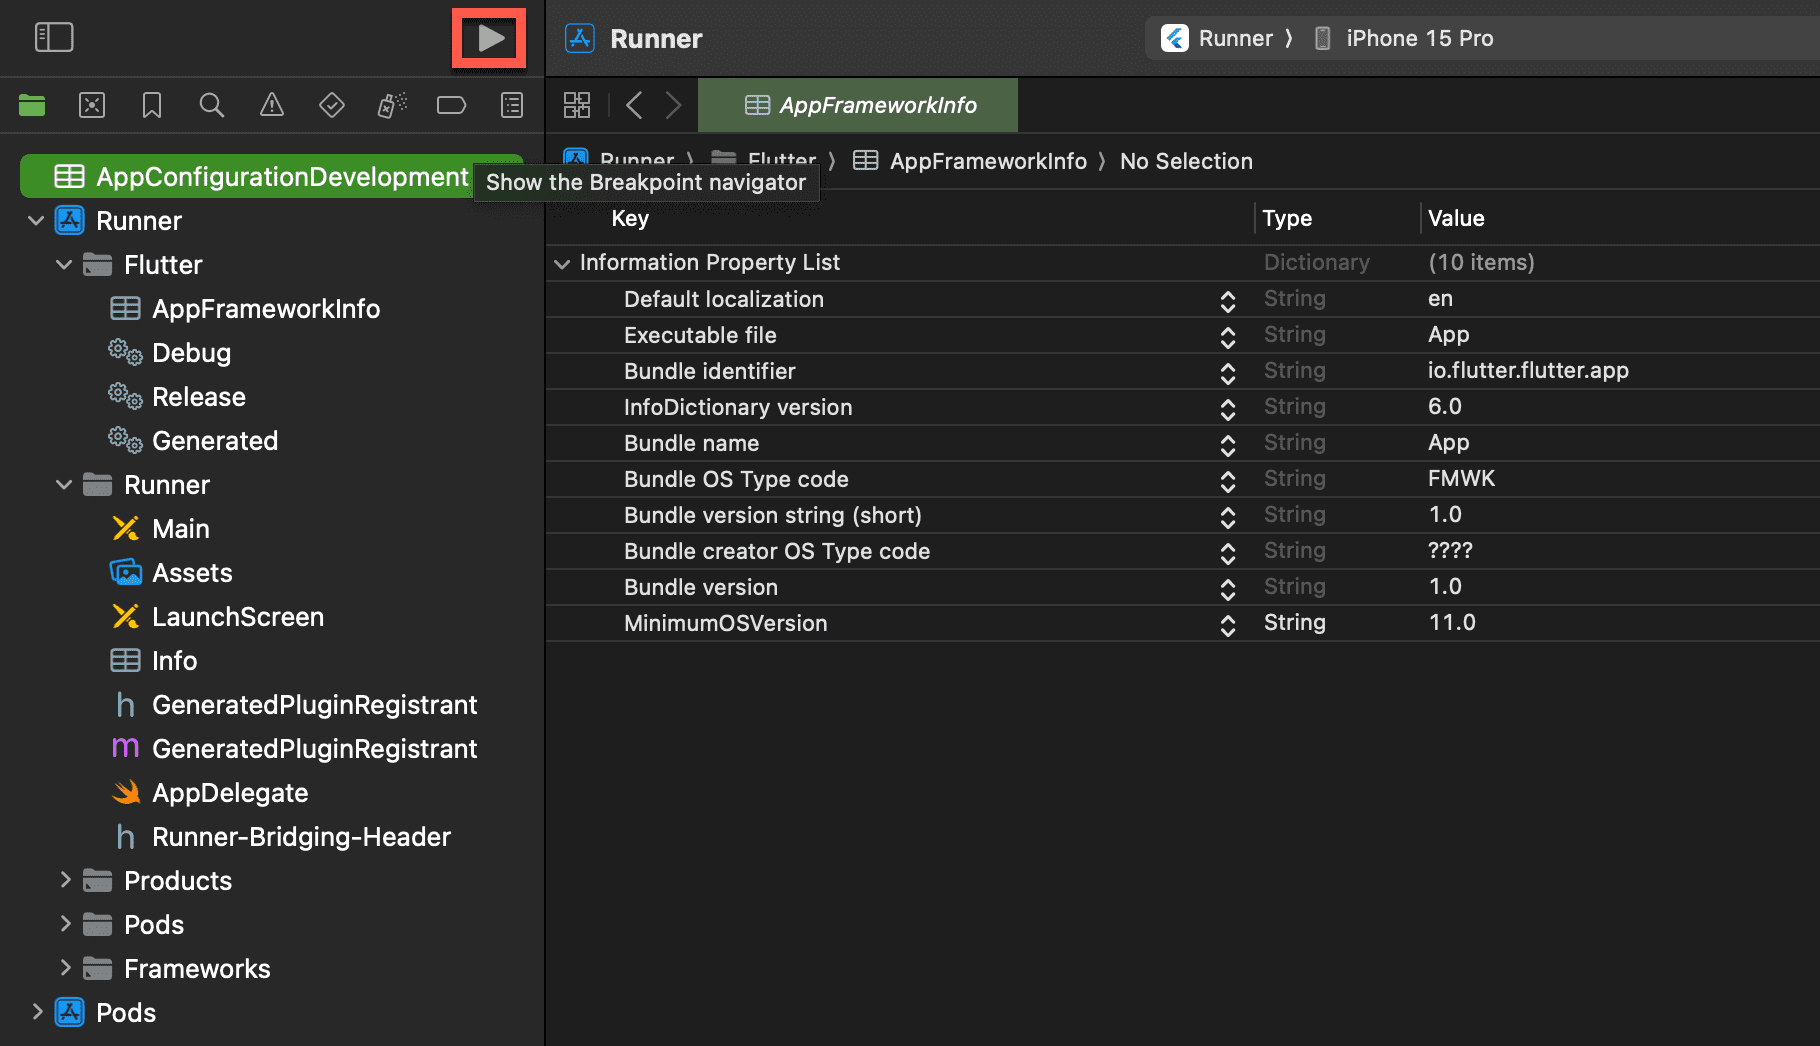
To run the iOS application in the simulator, open XCode and click the Run button from the top.
Enter the sales and customer numbers along with the country code and initiate the call.

Similar to the Android application, the call logs can be viewed by clicking on Call Logs.
Once your app runs successfully on the emulator or device, you can proceed to generate an installable file for distribution:
-
For Android: Generate an APK (Android Package) file.
-
For iOS: Generate an IPA (iOS App Store Package) file.
Steps to generate the build:
For Android (APK):
- In Android Studio, go to Build > Build Bundle(s) / APK(s) > Build APK(s).
- Once the build is complete, click Locate to find the generated APK file.
- You can then install this APK directly onto any Android device.
For iOS (IPA):
- Open the project in Xcode.
- Select Generic iOS Device or a connected real device as the build target.
- Go to Product > Archive.
- After the archive is ready, use Organizer to export the build as an IPA file.
- You can then install the IPA using tools like TestFlight, Apple Configurator, or through manual device provisioning.
Last Updated 2025-05-15 11:38:27 +0530 IST