Prerequisites
Before you begin building the application, you must have the following prerequisites installed on your system:
-
Catalyst CLI : Catalyst CLI contains a host of tools that enable you to initialize, develop, test, and deploy the components of your application from your local machine. We will be working with Catalyst CLI in this tutorial.
You must perform these actions:
-
Install Catalyst CLI: Catalyst CLI is installed through NPM. You must therefore have NPM and Node.js installed on your system before you install the CLI. Refer to the Install Catalyst CLI help page for details on the pre-requisites and the steps to install it.
-
Login Catalyst CLI: After you install Catalyst CLI, you must authenticate the CLI with your Catalyst account before using it. Refer to the CLI Login help page for the steps to log in from Catalyst CLI and the various options available for it.
-
-
Any IDE tool for Node.js code development : Download and install an IDE of your choice in your system. You can use any IDE to work with the function and the client code. Some popular choices include Visual Studio Code, IntelliJ IDEA, Eclipse, and Sublime Text.
-
Install Flutter
-
Download and Install Flutter : Visit the official Flutter website at flutter.dev and download the Flutter SDK for your operating system.
-
Extract the Archive : Extract the downloaded Flutter SDK archive to a location on your computer.
-
Set up Environment Variables : Add the Flutter SDK’s bin directory to your system’s PATH environment variable. This step allows you to access Flutter’s command-line tools from any directory in your terminal.
-
Run flutter doctor : Open your terminal and run the following command :
-
flutter doctorThis command verifies if there are any additional requirements or dependencies needed for Flutter development and provides instructions to install or set them up.
-
Android studio
Download the latest version of Android studio from their official site. Run the downloaded installer in your machine.
While installing, please make sure to select the following components mandatorily :
- Android SDK (latest version available)
- Android Virtual Device (AVD)
- Device Emulator (You can skip it if you’ll test only on physical devices)
Also, make sure the IDE must meet these minimum supported environments:
- Android Studio- 3.1.1 or later
- OS- Android 21 (Lollipop 4.4)
- Kotlin- 1.3.20
- Gradle- 3.4.0

-
iOS Setup
-
To run the Flutter application on the iOS platform, please ensure to have these minimum supported environments in place:
- CocoaPods
- iOS - 9 or later
- Swift - 4 or later
- Set up a device or an emulator in your IDE for running your app
-
We will be using XCode for running the application in iOS in this tutorial.
-
Instal Xcode from the Mac App Store. After it is installed, launch it and agree to the license agreement, if prompted.
-
-
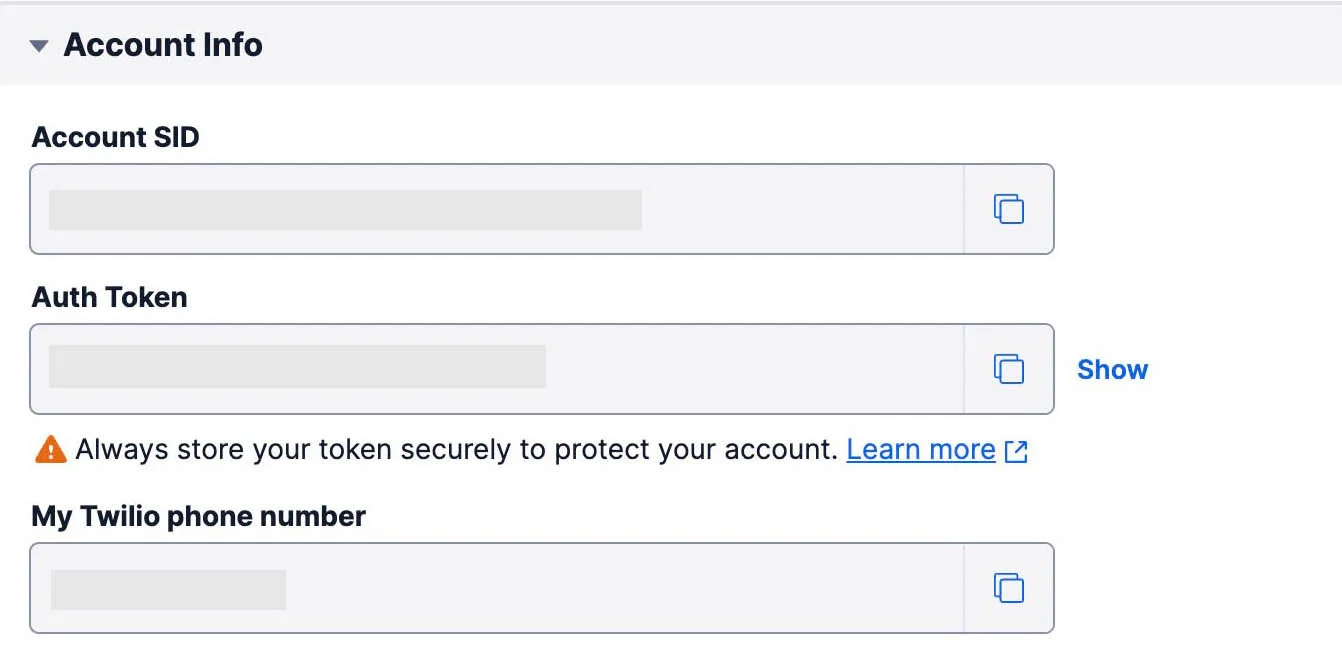
Twilio account and credentials : As discussed earlier, you will need to purchase a paid Twilio account in order to integrate with Twilio’s Voice API. Make sure you obtain the below credentials in prior from your Twilio account:
- Twilio phone number
- Twilio SID
- AuthToken
You can navigate to the Twilio console to obtain your account’s SID and AuthToken. These are auto-generated by Twilio upon account creation. SID is a unique string value provided by Twilio to identify your account’s call resource and AuthToken is generated to authenticate your API requests.
Make sure to get a voice capable Twilio number. Again, this can be purchased for free from the Twilio console itself. As discussed earlier, the primary purpose of this number is to route calls in your application. We will use these credentials in our code section while calling Twilio’s Voice API.
Last Updated 2025-10-30 12:32:19 +0530 IST
