Generate Catalyst CLI Token and Configure it in Travis CI
Let’s generate a Catalyst CLI token.
- Open your system’s terminal and execute the following Catalyst CLI command:
This will initiate the token generation process. The CLI will display a URL that you can visit from any device.
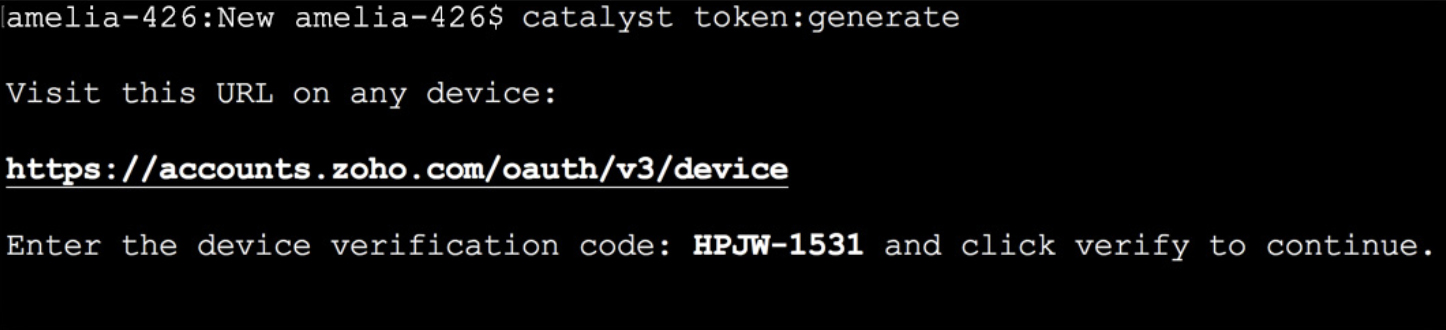
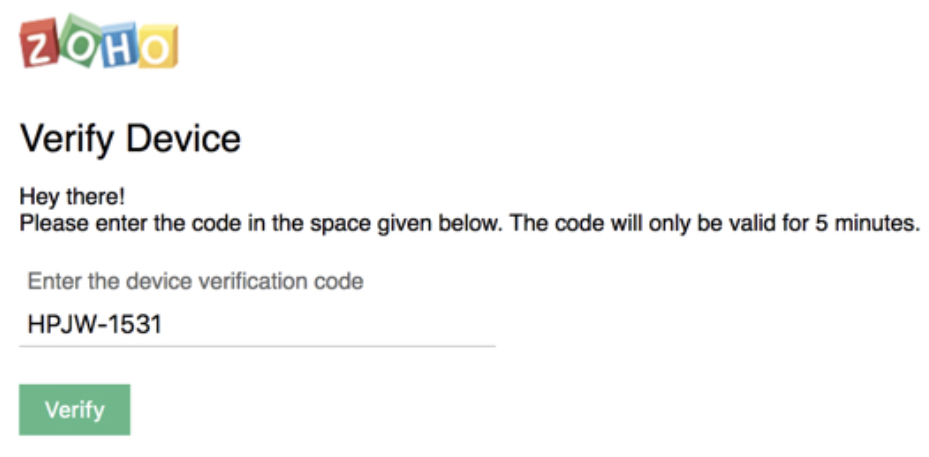
- Navigate to this URL and enter the device verification code that was displayed in the CLI. Click Verify. The code will only be valid for five minutes.
Once your device’s CLI is verified, the token will be generated and displayed in your CLI.

Configure the CLI Token in Travis CI
We generally use the CLI token by specifying it as an option with the CLI command. However, we have not used the –token option in the travis.yml file following the CLI commands, because Travis CI enables you to add the CLI token as an environment variable. Adding the token as an environment variable ensures complete security of access to the Catalyst CLI. It prevents you from openly disclosing the token in the travis.yml file.
Let’s now add the token in Travis in the following way:
-
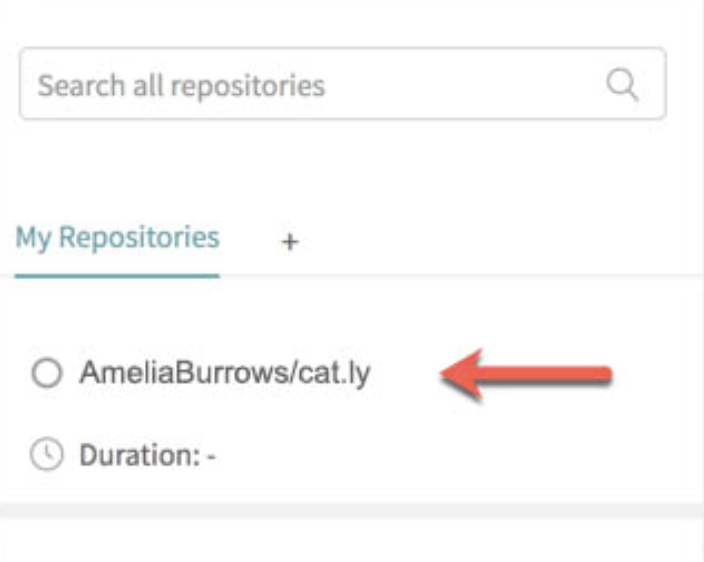
Open the Travis CI console and click Cat.ly’s repository under My Repositories.
-
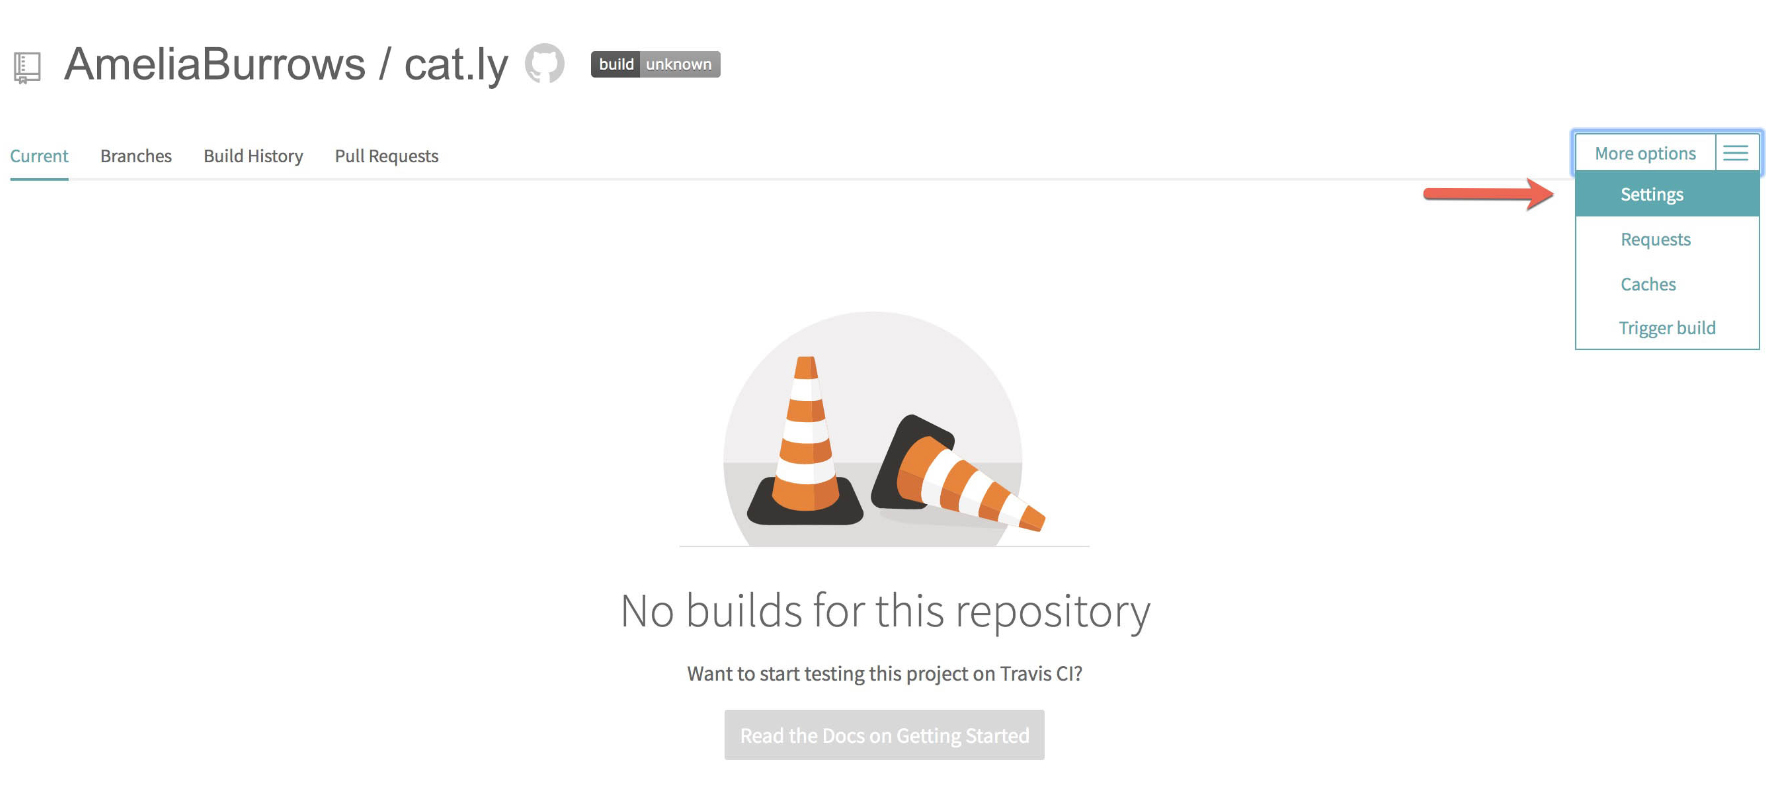
Click More options, then Settings.
-
Add the CLI token as an environment variable by entering the name as “CATALYST_TOKEN” and the token’s value under value. You can select a specific branch of your repo, if needed. Click Add.

Travis will now automatically use this token for authorization whenever it executes a CLI command.
Last Updated 2023-08-04 20:20:24 +0530 +0530